


Jack12477
-
Posts
5,677 -
Joined
-
Last visited
Content Type
Profiles
Forums
Gallery
Events
Everything posted by Jack12477
-
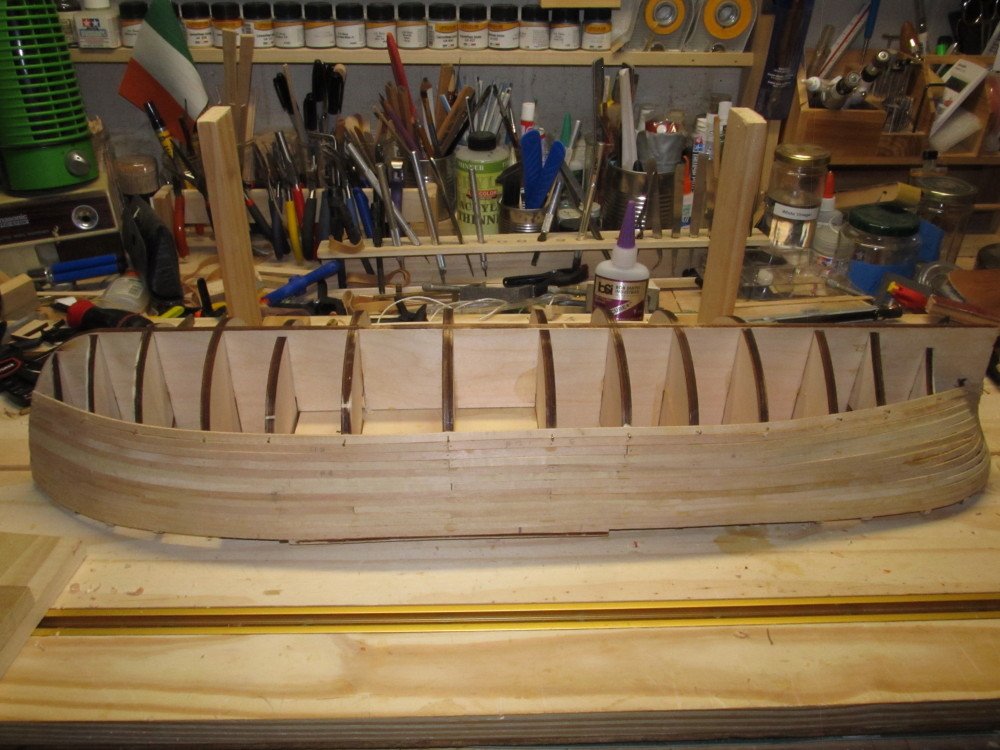
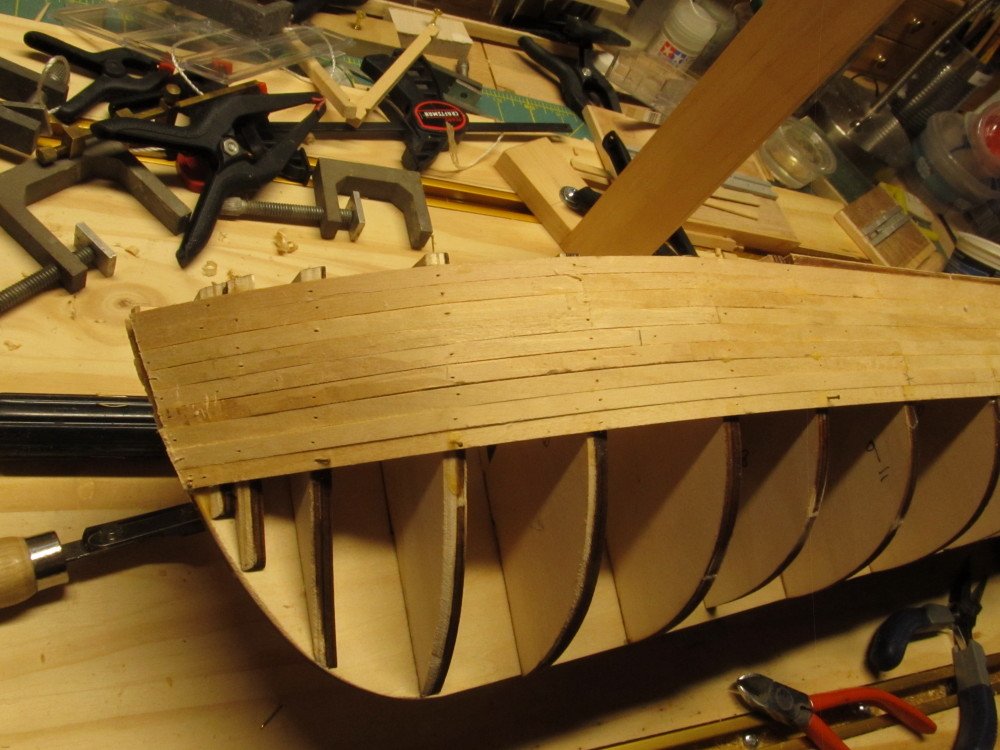
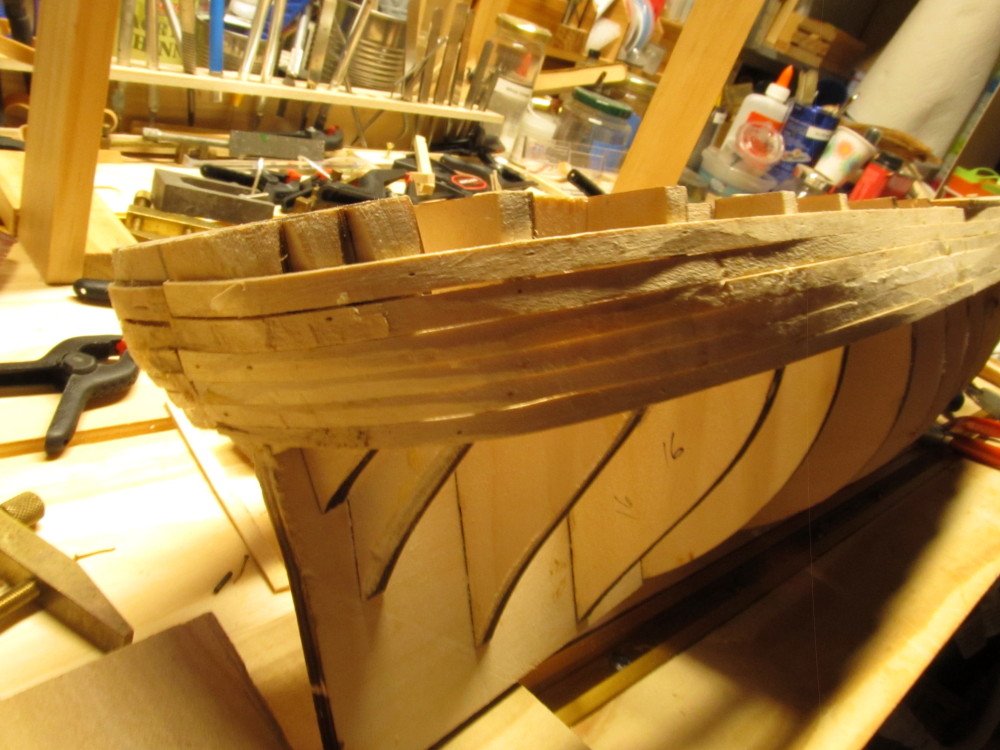
 I think unique to this kit ! I think it is the half way point. Have to read ahead more to be sure. The instruction just say start at deck and install 14 planks downward towards keel then reverse direction. So far only the stern has given me a hard time bending planks to fit the curve, bow has been an easier curve. This hull is big.
 -
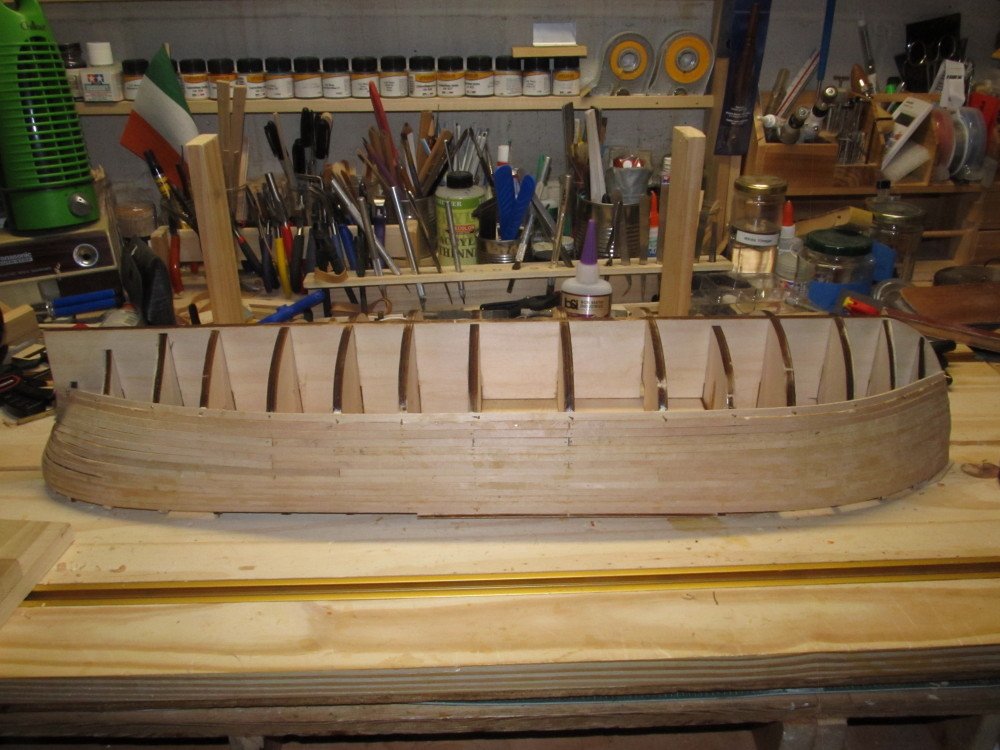
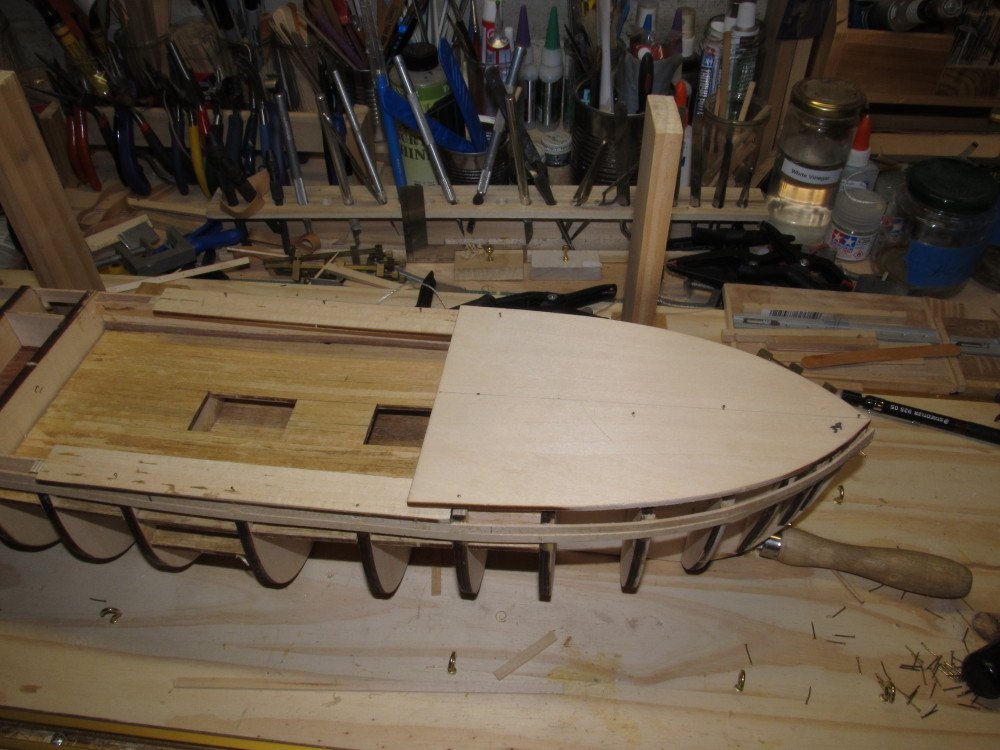
Well a milestone has been reached. Plank #14 has been installed port and starboard per instructions. Now we reverse course and start planking from the keel upward to mid-line. until the two plankings meet.
-
Well I use a custom made left handed sky hook 😉
-
What ! You have to wait that long ! ☹ she should at least give it to you for Christmas. 😉😉😉
-
One of MSW's sponsors USA Airbrush Supply has a nice selection. Shipping costs to UK might make them too expensive but you should be able to locate a UK source. Badger has a nice line of beginner brushes.
-
Brush by hand is how I started until I could get a Badger airbrush. Compressor were huge expensive things back then so I used the compressed air Propel brand cans. Now the compressors are small and inexpensive.
-
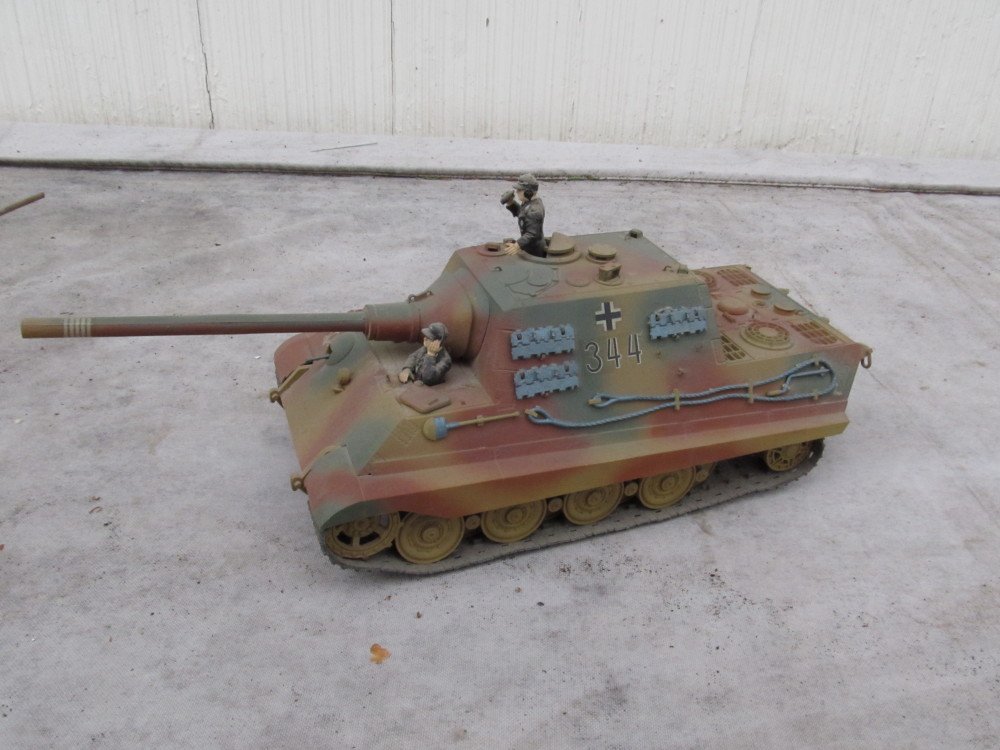
Yea, this was one of my first tank kits. It is an easy build, fun, kit is well designed, parts go together easily, practically no flash to remove. Here's photo of my version. The painting is all free hand airbrush, no masks, using Floquil brand paints.
-
Good choice, Edward.
-
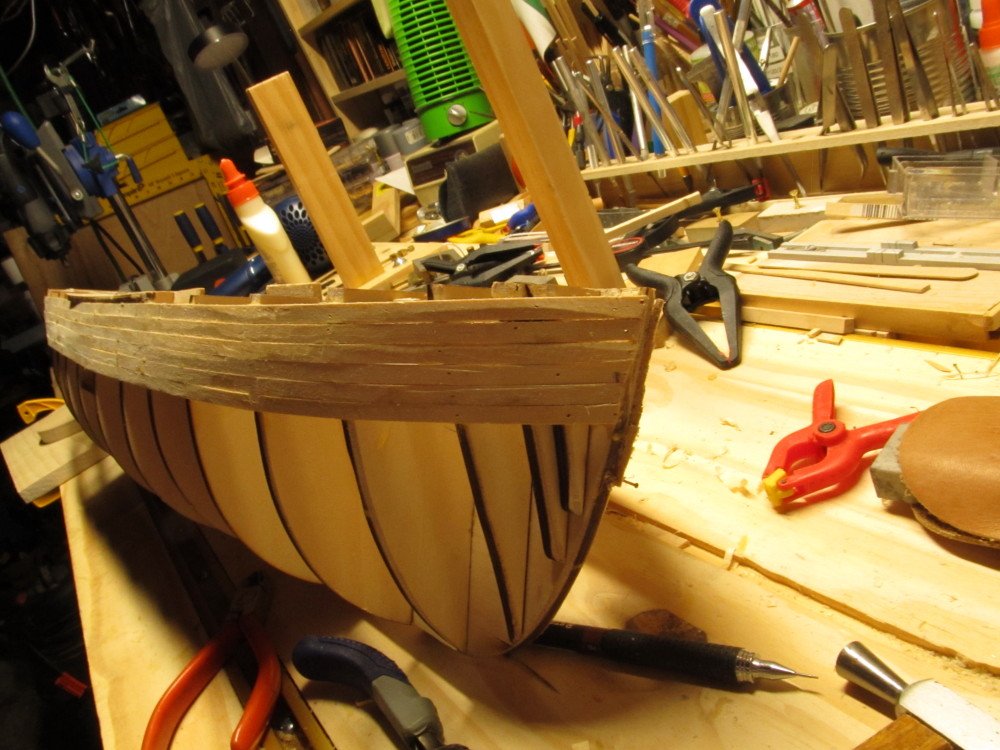
And wood putty. Thankfully this is 1st planking, a walnut veneer planking goes over this layer of planks
-
Small update: Making some progress on the planking. Stern is still causing issues but the bow and midsection are coming along okay.
-
Delahaye 135 by CDW - FINISHED - Heller - 1:24 - PLASTIC
Jack12477 replied to CDW's topic in Non-ship/categorised builds
Very nice ! Great job. -
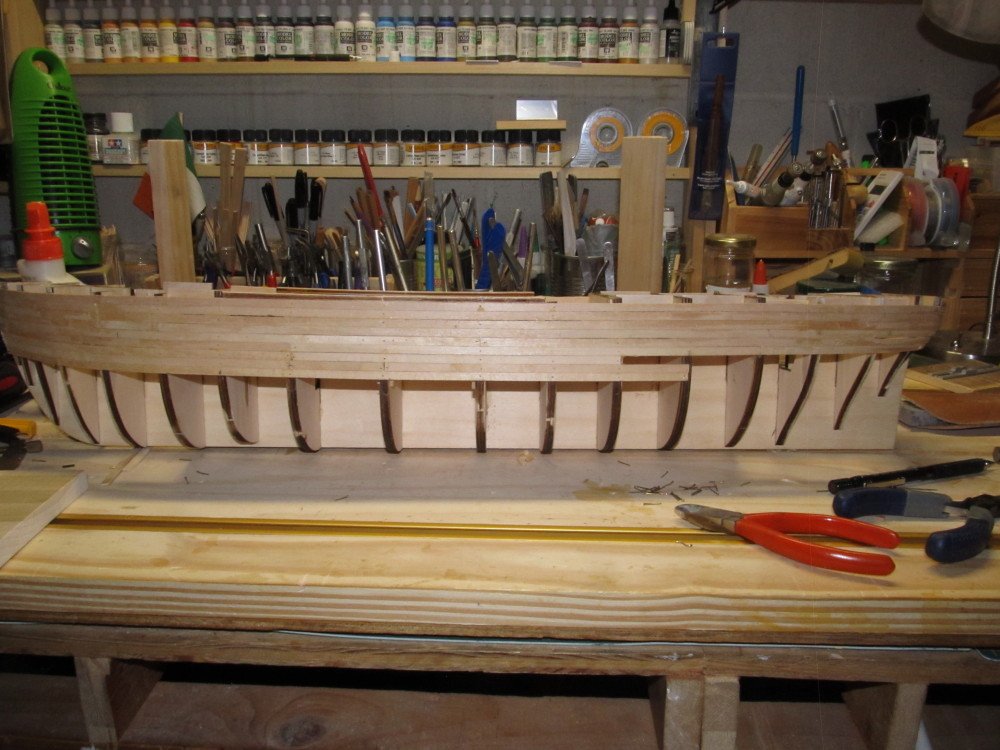
Thanks, Mark ! I've started using shorter planks. The bow curve is easy for now, might get harder when I get closer to the keel.
-
That's my next attempt.
-
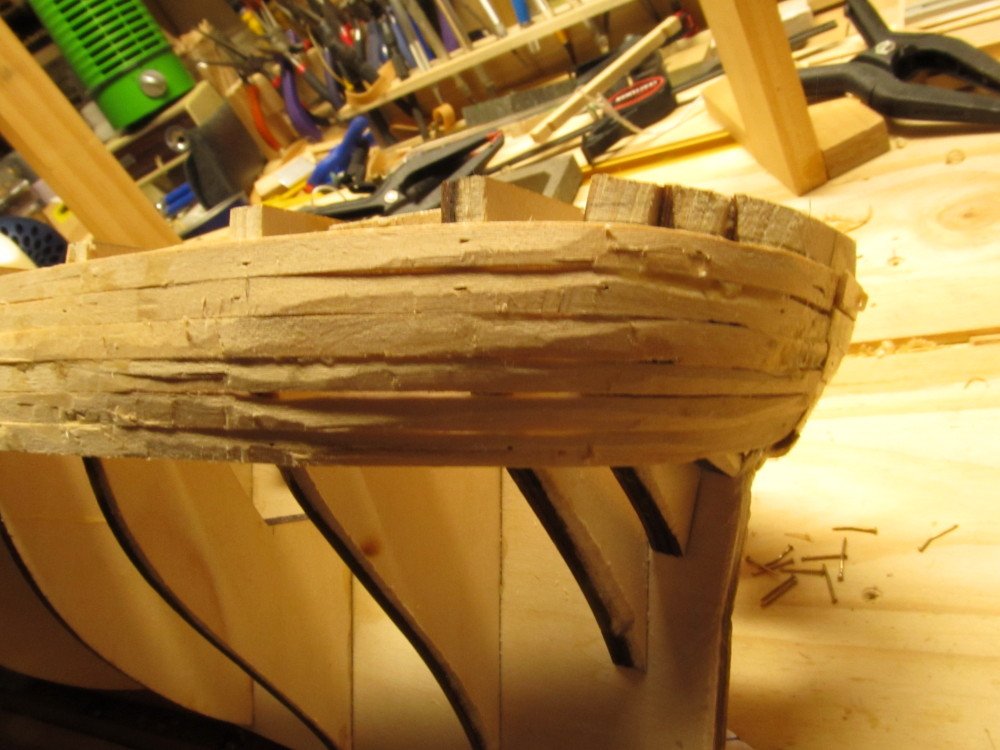
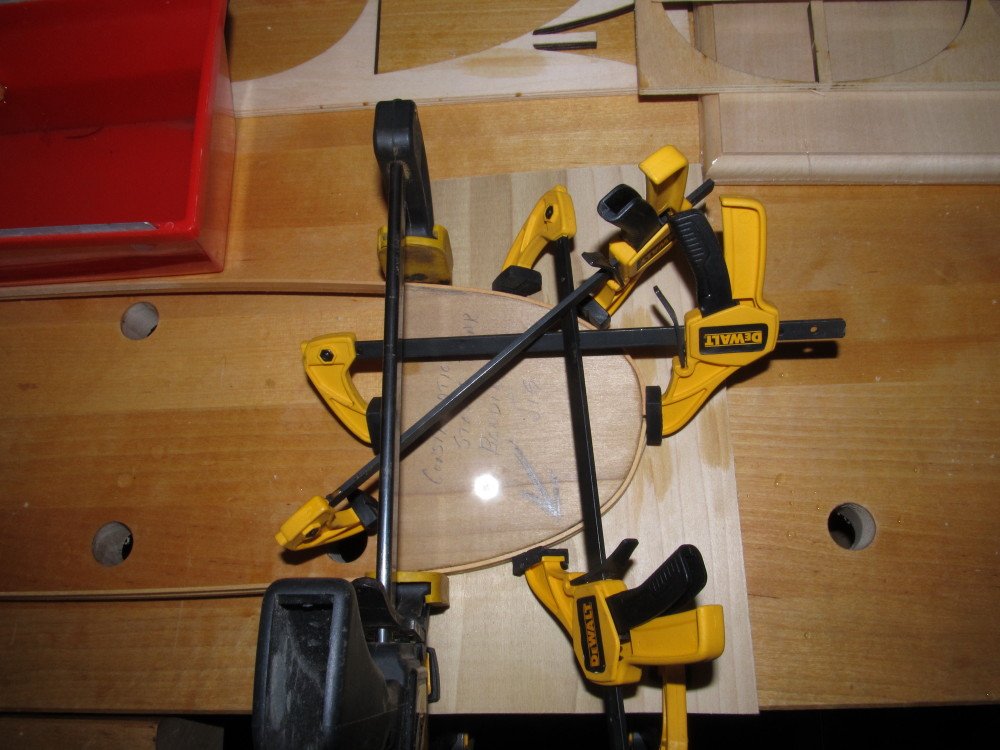
My problem is not the curve of the stern, it is the "twist" to make it lay flat in the other plane. That's where it breaks usually. Yes, clamped in the jig is usually 8 hrs after soaking it. And, yes, I have Chuck's excellent tutorial on planking right on the workbench for reference. 😉😉
-
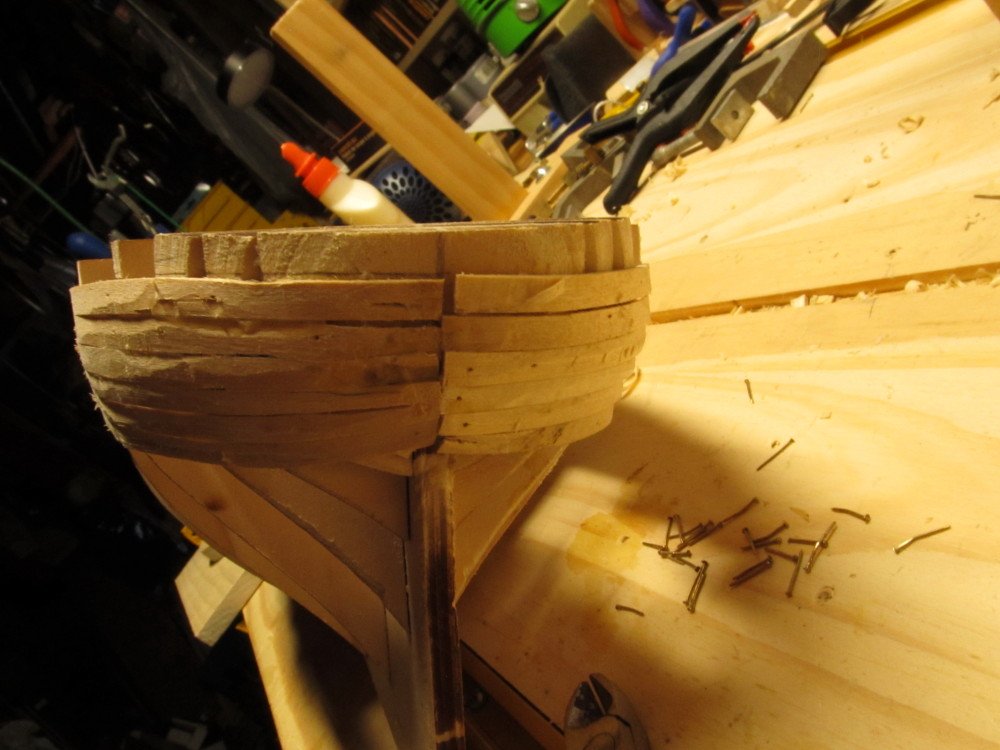
Depends on my attention span 😉 usually 20-30 minutes soaking then into the clamps . Clamps can be overnight if I get distracted. I will say one thing! This rounded stern is a bear to plank and get all the compound curves right without breaking the planks in the process. Even tho I am using water and heat to bend them.
-
Outstanding ! Beautiful house and village ! Well done .
-
Denis can you put the camera in Program Mode (P) and increase the ISO number. An ISO of 400, 800 or higher would compensate for low lighting. I use it all the time, flash sometimes washes out the details at close range. (ancient film photographer still trying to master digital 😉)
-
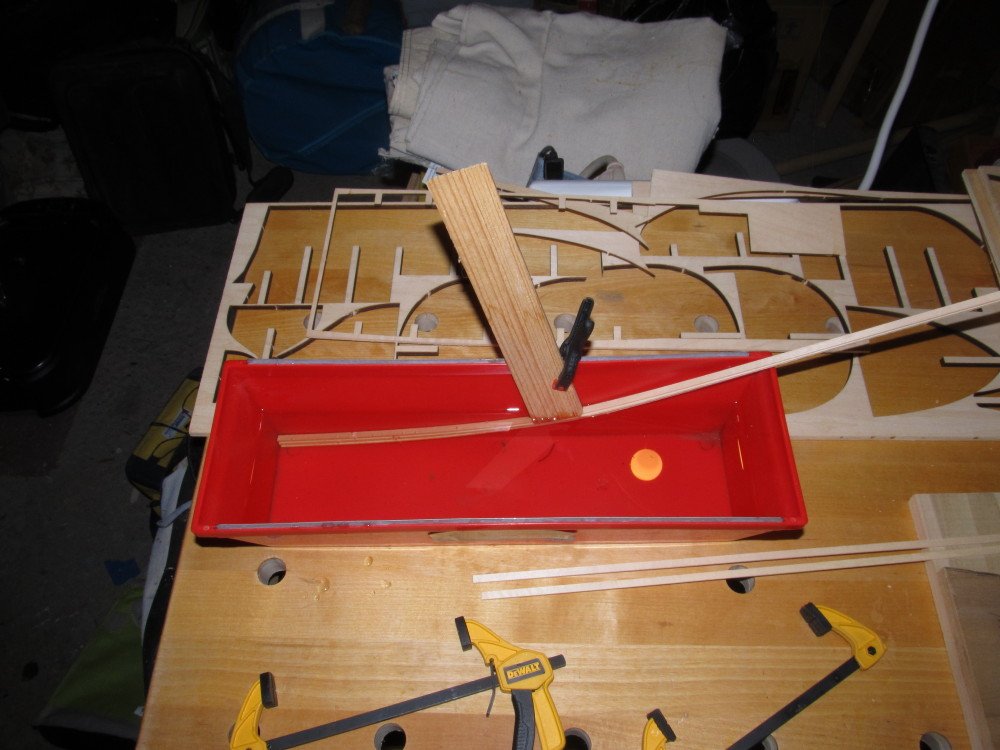
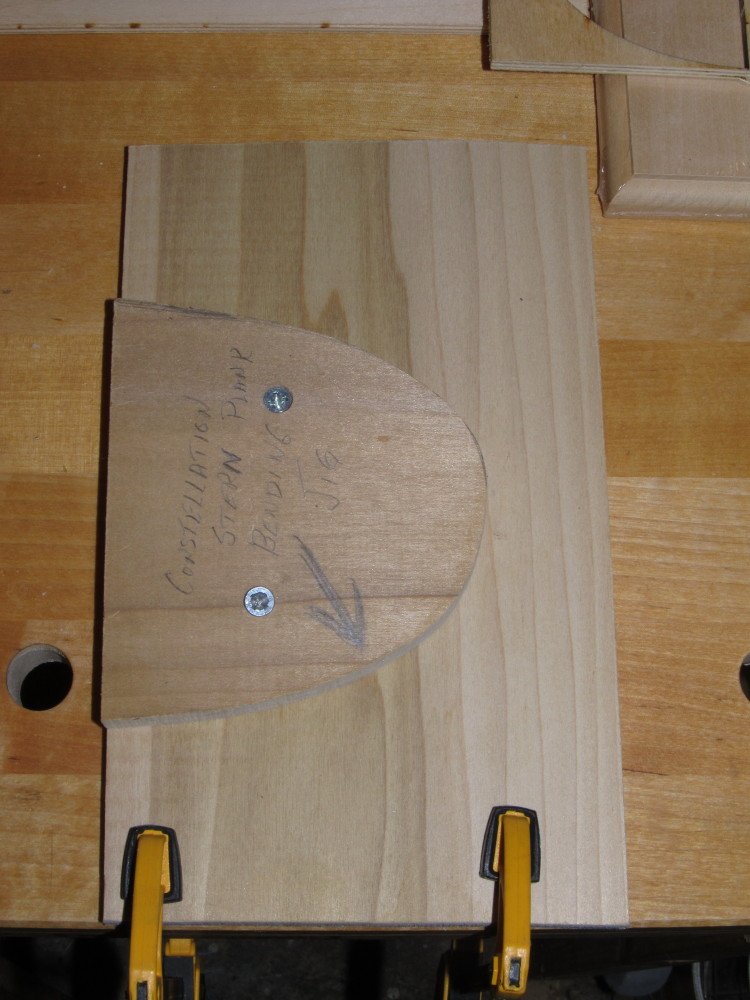
HE's BACK !!!!! Well, sort of back ! Finally figured out how to make part #36 from the non-existent 25 mm x 500 mm sheet . Fabricated some pieces and glued them in place. Started the first 2 top most planks port and starboard. Build a jig to allow me to bend the planks into the curvature of the stern. Easiest way is to soak, bend around jig, clamp and wait for them to dry, then install on model fastening with small nails until glue dries. Photos follow: Plank bending jig and water trough
-
Thanks guys for the support! BTW woke up this morning to SNOW. Yep ! It is snowing in October here in the valley. 😀😀😀 And the lawn is covered in wet leaves, been raining here all week.
-
I think hip replacement and a pacemaker is tad more serious than a ventral hernia repair. The only thing that complicated mine was I developed an Ileus from the general anesthesia which kept me hospitalized for 5 days instead of overnight.
-
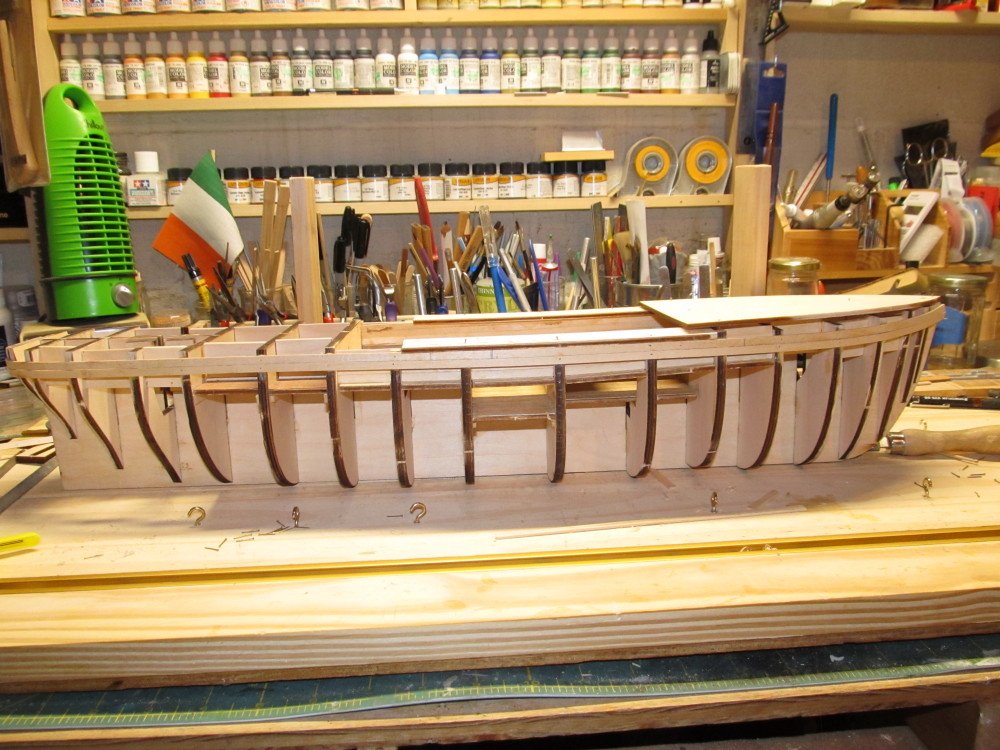
Well, I finally got all the medical drains removed this week. Just one small bandage over the hole where the J-P drain was. That should close on its own by tomorrow. Still on the nothing over 10 lb weight limit for lifting for another week, then nothing over 20 lbs for an additional two weeks, then all activities can resume. Been putzing around the model a bit but still no ambition to dive back in. And this Covid isolation is starting to wear thin, even tho in our area the infection rate is less than 1.5% and holding. I ordered some sample exotic woods from Woodcraft.com, should be here today, to see how they would look as the backbone and runner plank for another ice yacht model. Woods are all 1/4 × 3/4 × 16 and 1/4 × 1 1/2 × 16 inches and are Purpleheart, Bloodwood, Bubinga, and Paduak. The two ice yacht models I have in mind are the Manhasset, which we just restored, and Franklin D Roosevelt's, FDR, latteen rigged Hawk. Unfortunately, the Hawk is locked away in a National Park Service climate controlled storage area and is only brought out for display every couple of years. I did get some rough measurements and lots of photos the last time it was on display (our club helped them set up the yacht for display), so I am hoping that will be enough. Manhassett I have all the measurements and photos from the restoration. But first I have to at least get the hull of the Constellation planked before I can start that project. But first I have to get rid of this post op malaise; been taking a lot of walks around the neighborhood each day, so that helps. Getting old sucks !
-
Delahaye 135 by CDW - FINISHED - Heller - 1:24 - PLASTIC
Jack12477 replied to CDW's topic in Non-ship/categorised builds
Or you need more lives than a cat ! 😉 -
Looking good, Chris.
-
Thanks Lou, O.C.
-
Thanks, Ken, Carl, Mark.


