


Jack12477
-
Posts
5,677 -
Joined
-
Last visited
Content Type
Profiles
Forums
Gallery
Events
Everything posted by Jack12477
-
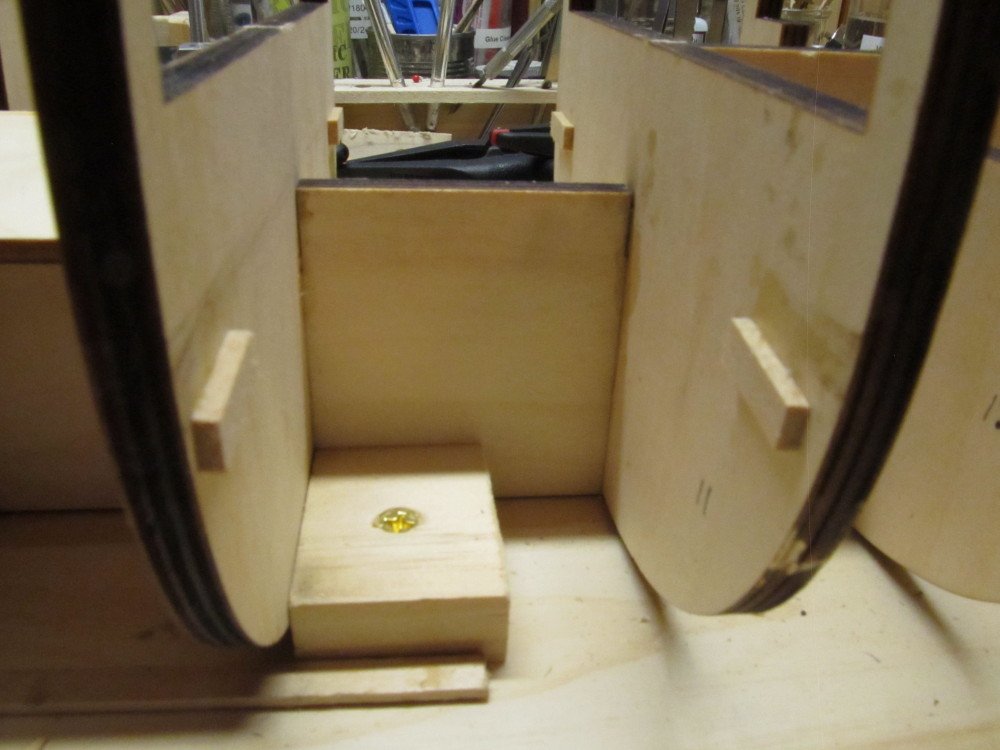
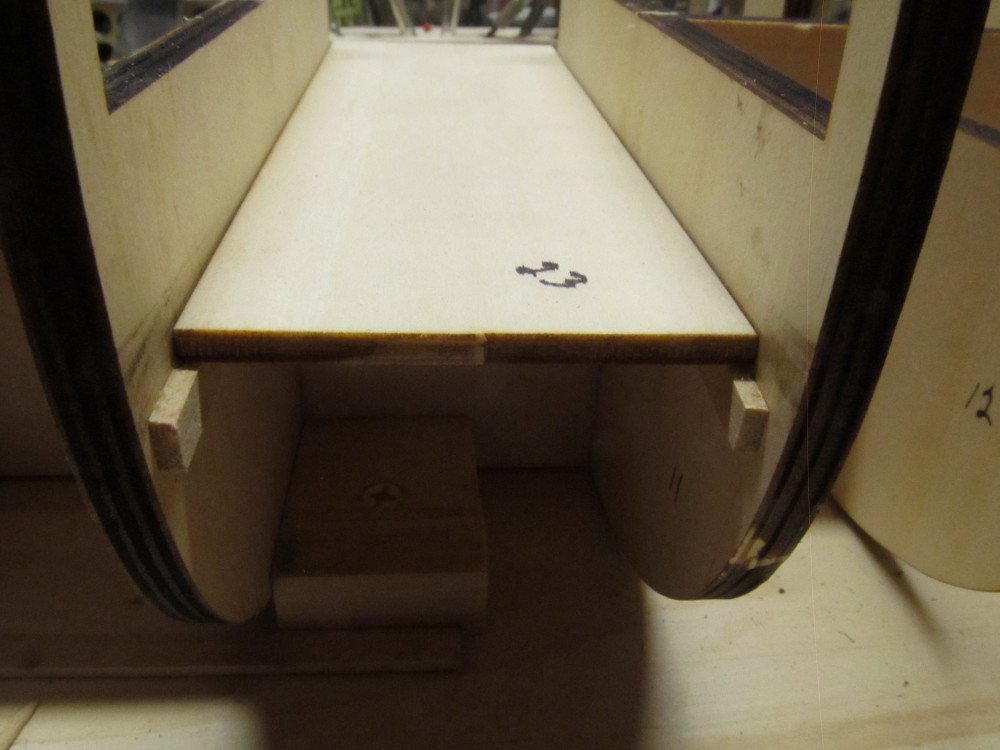
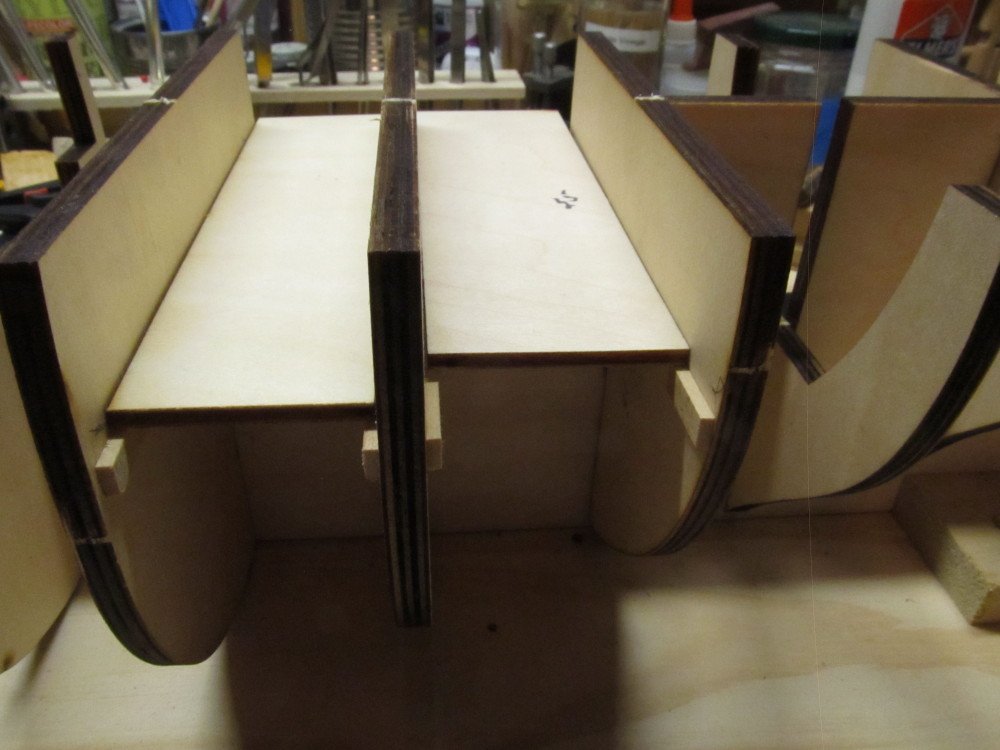
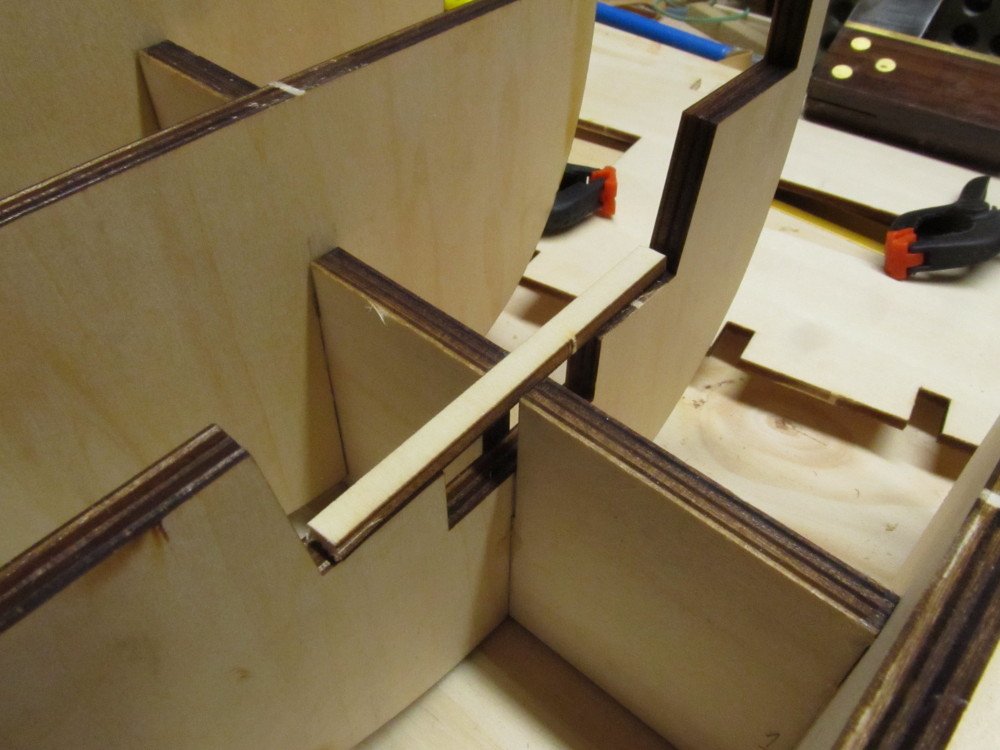
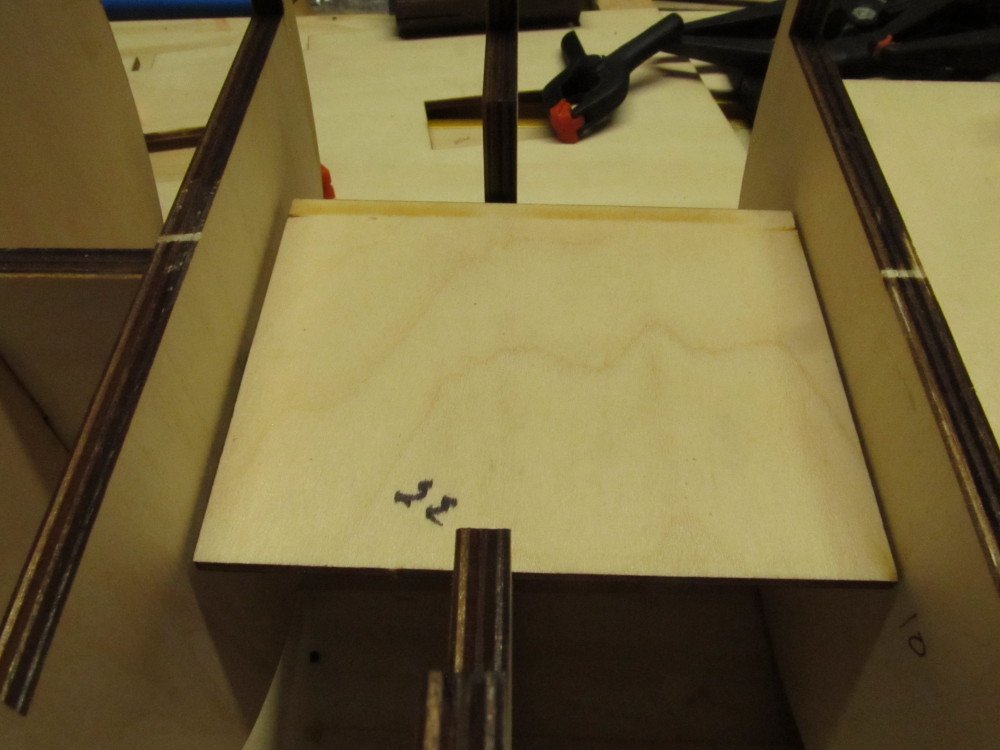
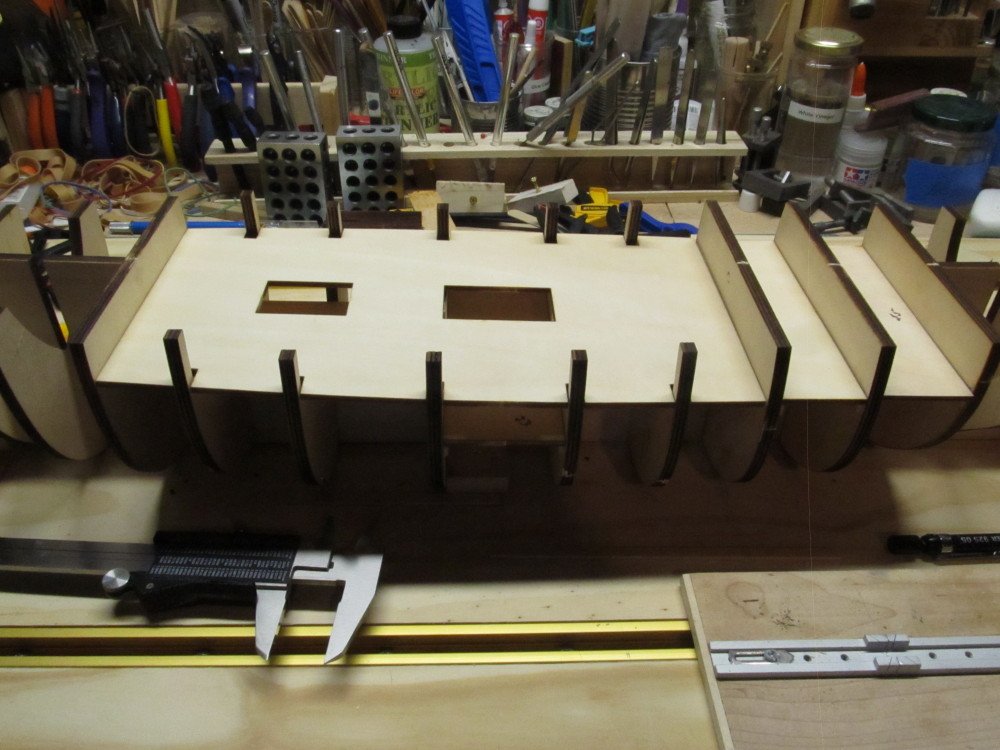
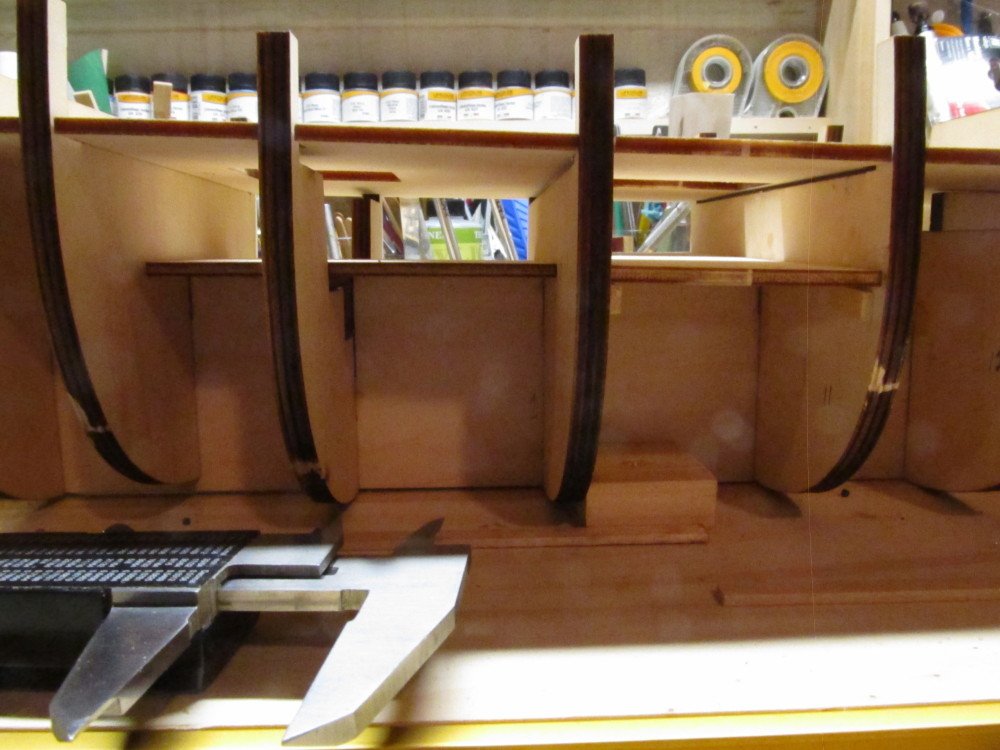
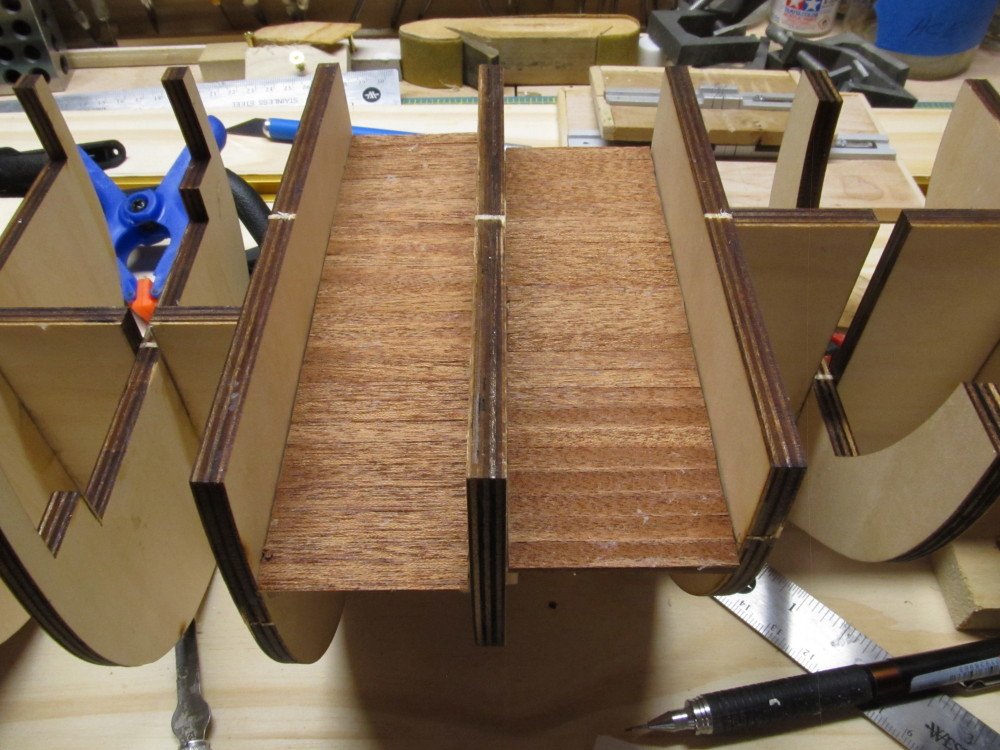
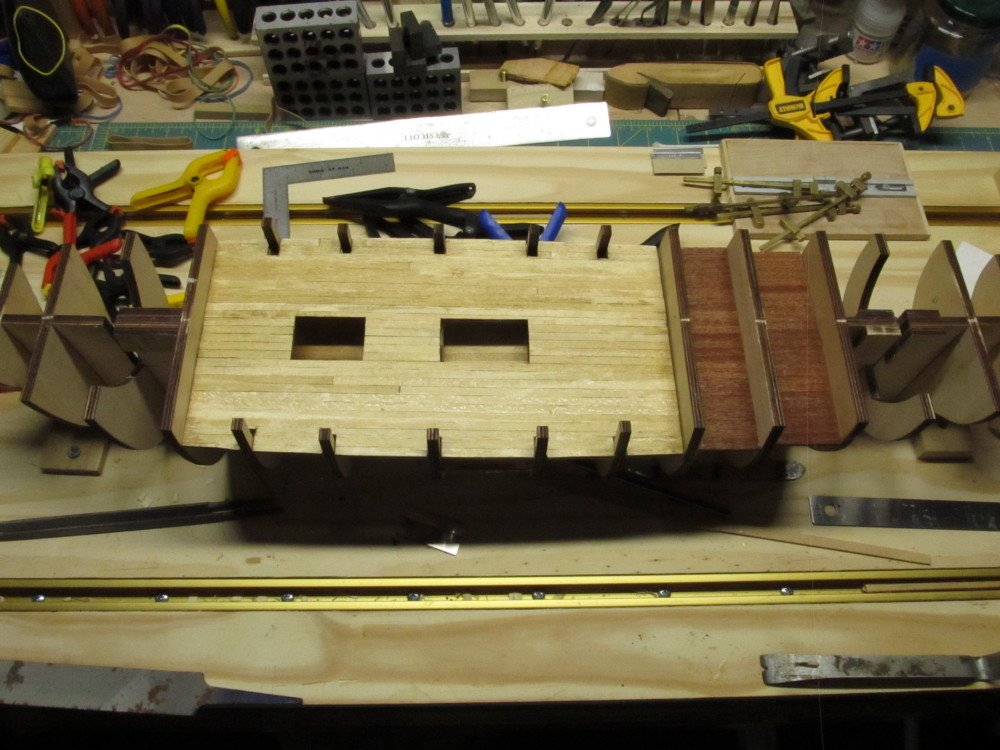
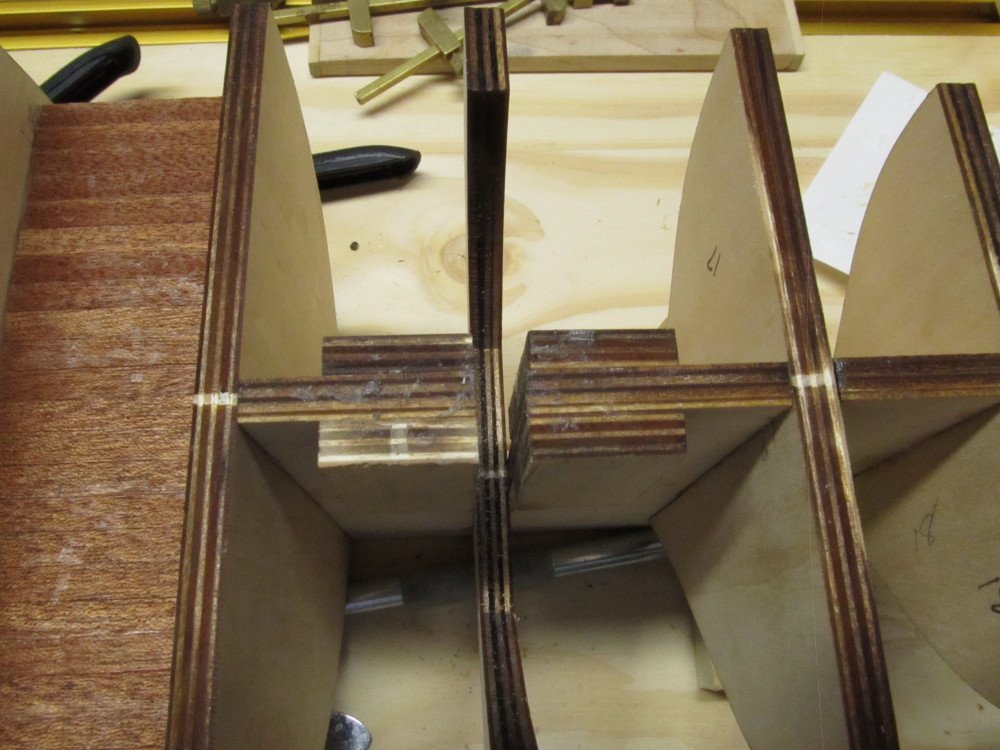
 Small progress update: After gluing and squaring all the bulkheads to the false keel. I started on the lower decks. Totally misread the instructions on the Mukali wood and started using the darker "walnut" veneer instead, after doing the two most aft decks I caught the mistake and switched to the pale yellowish Mukali wood. Which they had printed photos in this kit like they've done in some of their other kits I've built. After installing some cleats to support the outer most edges of the decks so they don't become a "teeter-totter", I installed the lowest decks first. Tried applying some stain directly to the wood but it looked to dark even tho I wiped it off immediately. So for the other decks I put some Wipe-On Poly on a cloth and went over the planks with that first then applied the stain over that, wiping off the stain almost immediately. Finish came out looking a bit weathered to my eye. After this I glued all the lowest decks in place, added the reinforcing blocks for the masts, but left the middle deck just dry fit for now, until I double check all drawing for anything that needs to be added to the lowest decks before I paint myself into a corner - so to speak. Photos follow Dry fitting all decks first Then adding the planking, staining and gluing in place Reinforcing blocks for masts
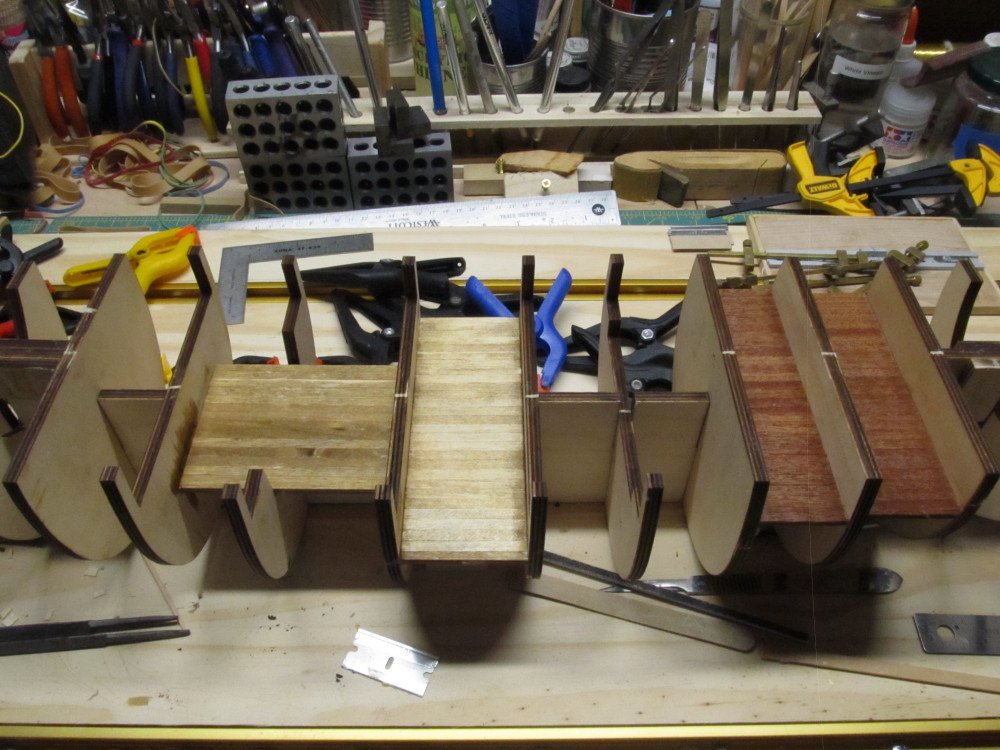

-
Nice job, Denis !
-
Well done. Interesting insignia
-
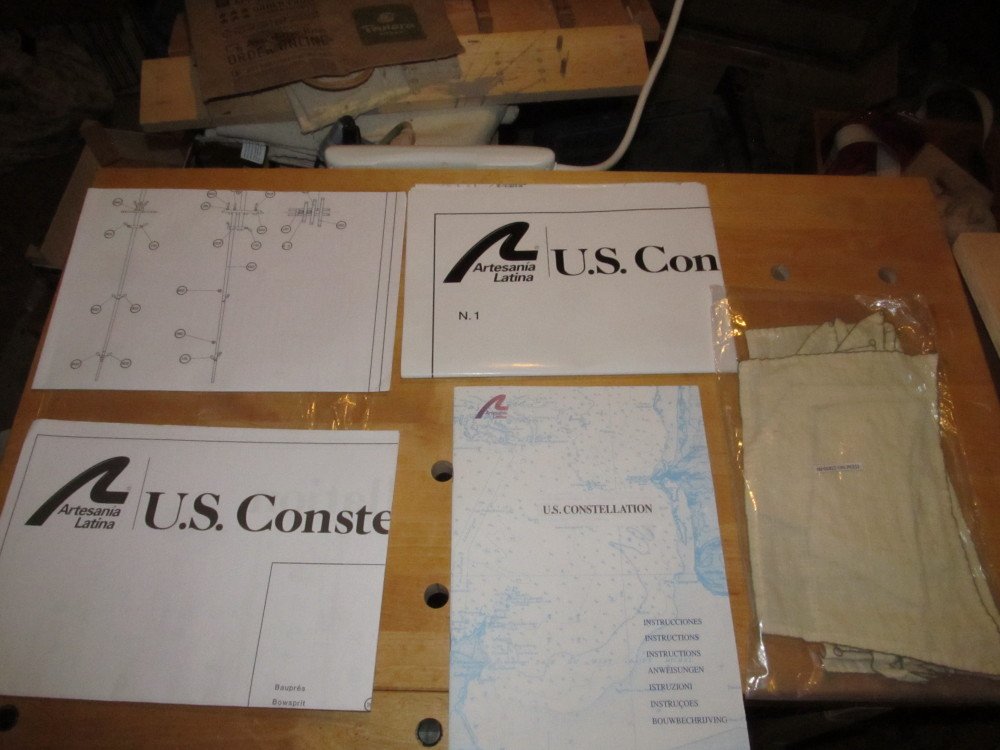
My mistake ! It is the pale yellow wood strips. I think what that picture shows is the sort of catwalk of the main deck around the gun deck, which would be planked with Mukali strips
-
Yea, I've been watching for that step, for now I am dry fitting the decks till I can read ahead a bit. Trying to read the parts list, font is really small and hard to read, seems blurred. BTW Tower Hobbies now lists the kit for $385 USD. Quite an increase.
-
Hi "Albatros" ! Oh yea, you were MIA ! Sorry I missed mentioning you. Have fun in the rigging, be careful of those bos'un chairs, don't fall out.
-
I have two bundles of very thin veneer - one is a yellow/white which I think is ramin other is a reddish brown is this mukali ? It seems to be the only one that matches the dimensions in the parts list 0.6 mm x 5 mm x yyy mm
-
Just don't say that too loud in an airport ! [ hi ! jack ! ]
-
Came out real nice looking OC. I like the color too. Great job.
-
Part # 30 is the dark Mukali veneer wood. See parts list at end of picture book. It seems to be used for all the lower decks.
-
Well looks like the whole gang is here plus a few new viewers, just missing OC and "Spinach man" I guess. @toms10 good to see you again. I will be using your logs as reference. Yours also Mark.
-
That's okay. Can you as a MOD move those last few posts over here. Would add to the discussion. I think I recall seeing that one way back
-
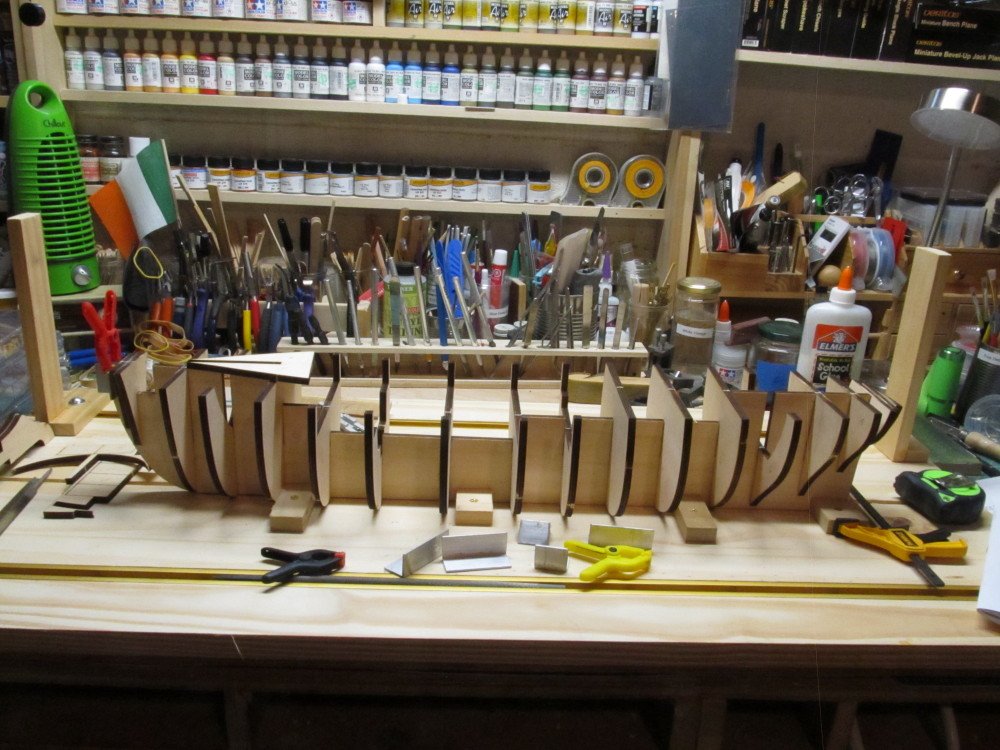
Okay, back to the build. I finished gluing all the bulkheads in place makin sure they are perpendicular to the false keel. Right now I am dry fitting the decks to see how they fit. I notice that 3 will need some type of blocks at the outer ends to keep them from sagging and rocking since the only support is the false keel in the middle of the deck. Photos will follow later once I finish testing.
-
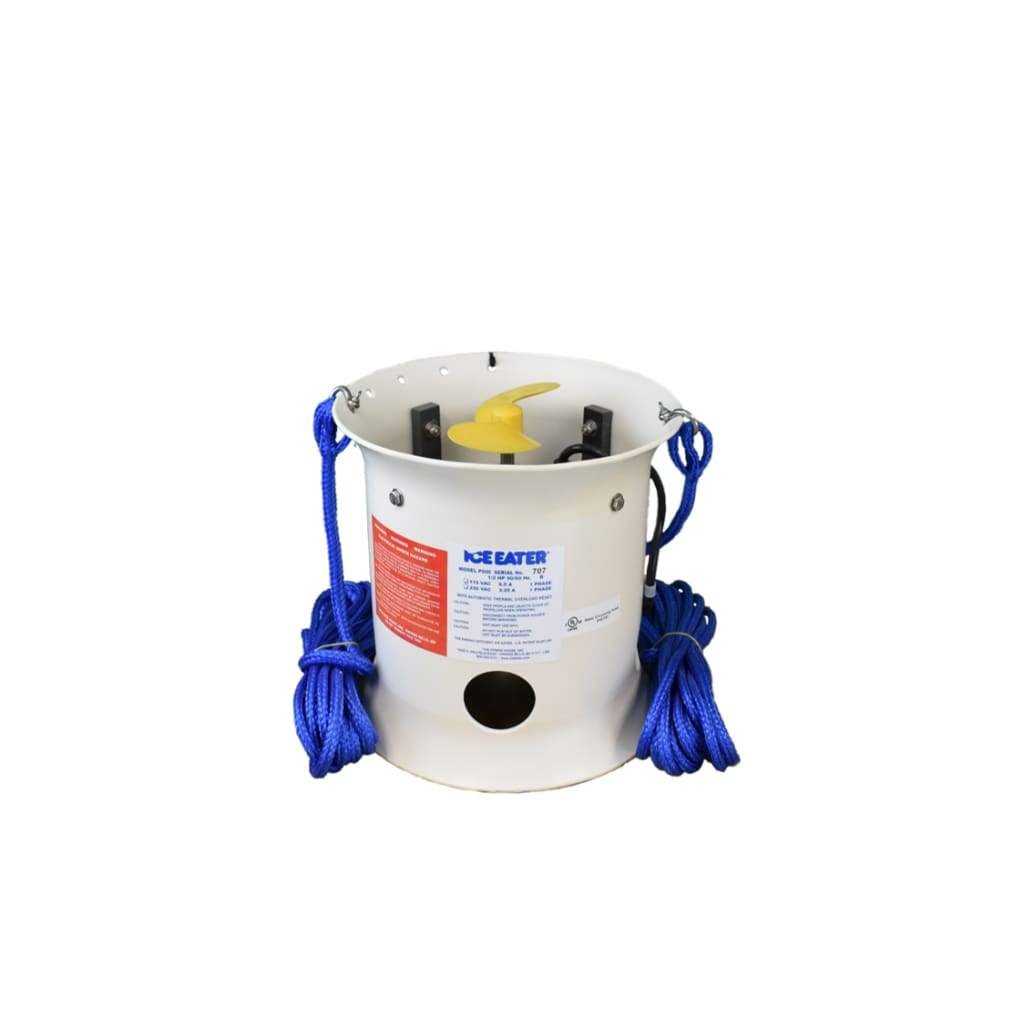
I bet they had bubblers in the water around the for protection. For those who don't know what an ice bubbler is or looks like see photo below. This is one type, basically it churns the water up to such a degree that ice cannot form.
-
Putting bubblers around her would be cheaper. That's how they protect the Clearwater sloop here. And the Coast Guard boats. Of course maybe I could sail my scale model ice yacht Rocket on the pond with the Connie in background
-
Or I could build a backyard pond, waterproof the hull, and float her out there. But then winter ice would be a problem.
-
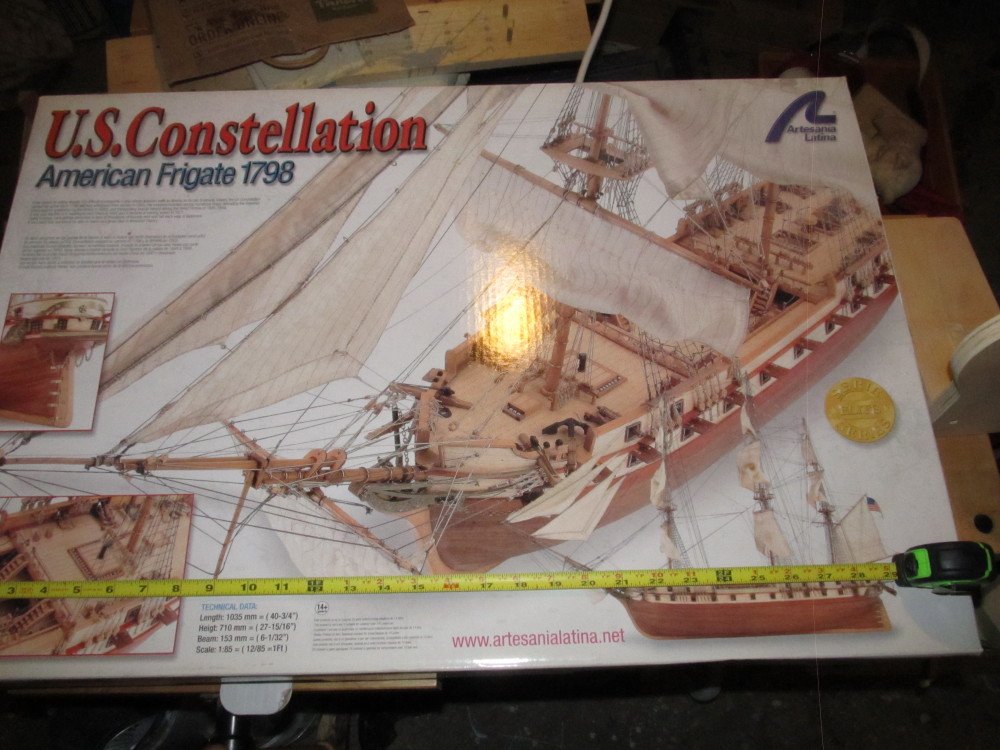
Finished dimensions are Length 40 3/4 inches or 1035 mm Width 6 1/32 inches or 153 mm Height 27 15/16 or 710 mm The odd values are because the original measurements are given in metric
-
Yep ! Now you know why it sat on shelf for 9 years
-
You have a pretty good eye. It is 25 1/2 inches as it sits on build board. Build board is 3 ft long Correct! Finished size. It is just over 6 inches wide before planking. No problem! Just didn't want that discussion to get lost over there. It is worth knowing. I did visit this ship in Baltimore a few years ago with the Admiral and our youngest granddaughter who had to explore every inch right down to keel. It is a really beautiful ship regardless of the history of its rebuild/restoration.
-
Ok guys, can we move this discussion over to my new Constellation build log. Please
-
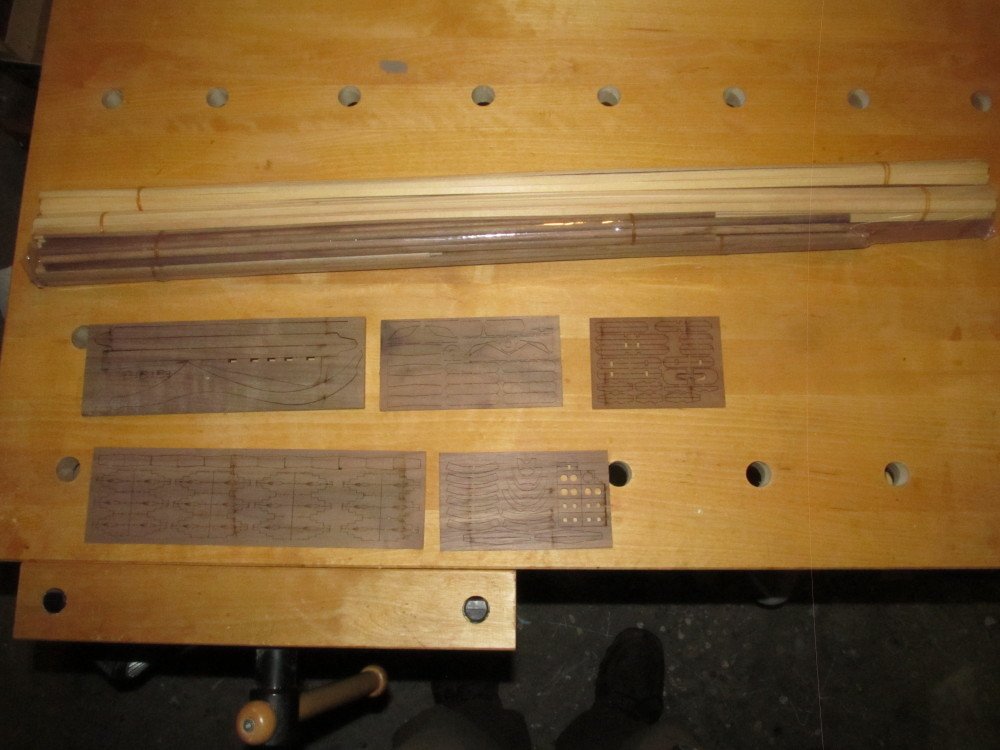
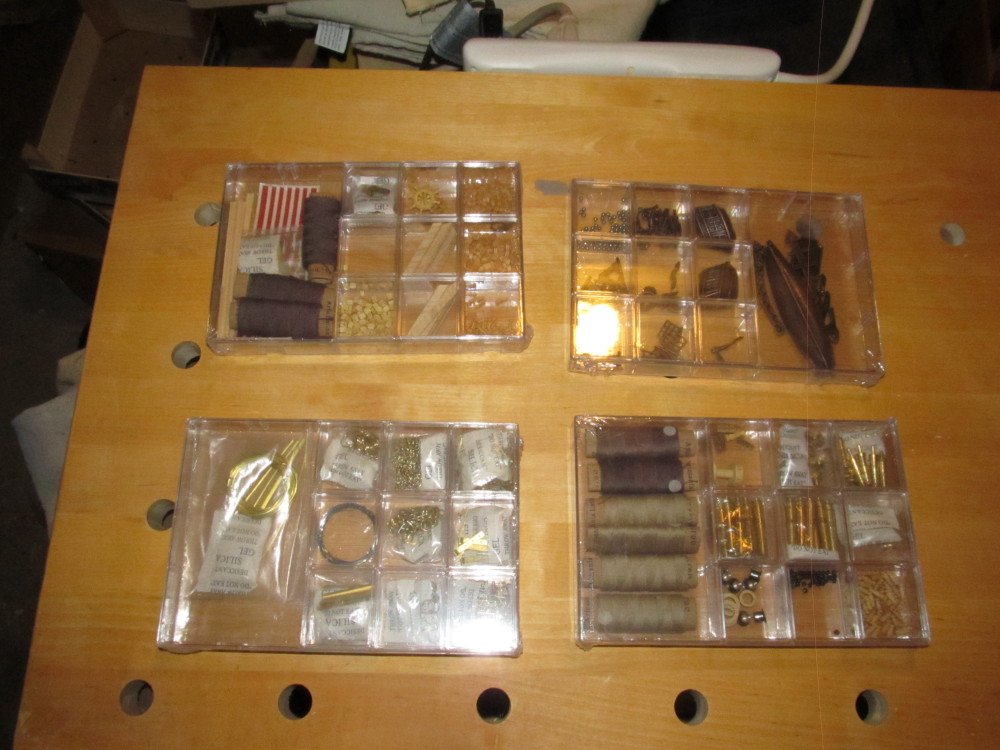
For my next ship build I decided to finally drag the Artesania Latina US Constellation kit out of my stash and start building it. It was given to me by a good friend as a birthday present 9 years ago and has languished on the shelf since then; partly because it was intimidating, but mostly because I did not have the work space big enough to set it up and build it and lastly I did not know where I would display it once built - still don't but that will be dealt with later on. Even the box it comes in is huge and intimidating. I first constructed a build board that will hold it. Unfortunately I routed a groove along the centerline of the board to hold the keel but when the keel sits down in the groove the bulkheads don't seat fully, so I set it flush on the board and screen small cleats alongside the keel to keep it upright and straight. Some startup photos are below: So far I have dry fit all the bulkheads, sanded them as needed and am now slowly gluing them in place use small pieces of aluminum angle to keep everything perpendicular to the false keel. At this point everything is just dry fit

-
Thanks guys, see you on the other side! 😁
-
Hmm ! Guess I should have used Gen Douglas MacArthur's quote instead ! 😁😁😁😁
-
Well guys, @Canute, @cog, @Egilman, @Edwardkenway, @popeye the sailor, @mtaylor, @CDW, @Backer, @Landlubber Mike, @lmagna, just wanted to let you know that I am leaving the dark side and going back to church ; or is it the other way round, leaving church for the dark side? But anyway I am dragging the AL USS Constellation kit that I received as a birthday present 9 years ago out of the stash and onto the workbench as my next build. So I will see you all over in the kit build arena as soon as the dust settles from the mass migration. 😉 But I will continue following all the non-ship builds over here. My son gifted me 2 vintage Verlinden diorama ruins for my birthday and Fathers Day so another diorama(s) is(are) in store for some future build here. One of the ruins is 1:15 scale, misprint in sellers ad, instead of 1:35 but we decided to keep it anyway. Both are Verlinden's original plaster castings in original unopened boxes. As Arnold once said ""I'll be back" 😎
-
If the camera has the "spot focus" feature, try using it.
