


giantdog
-
Posts
87 -
Joined
-
Last visited
Content Type
Profiles
Forums
Gallery
Events
Posts posted by giantdog
-
-
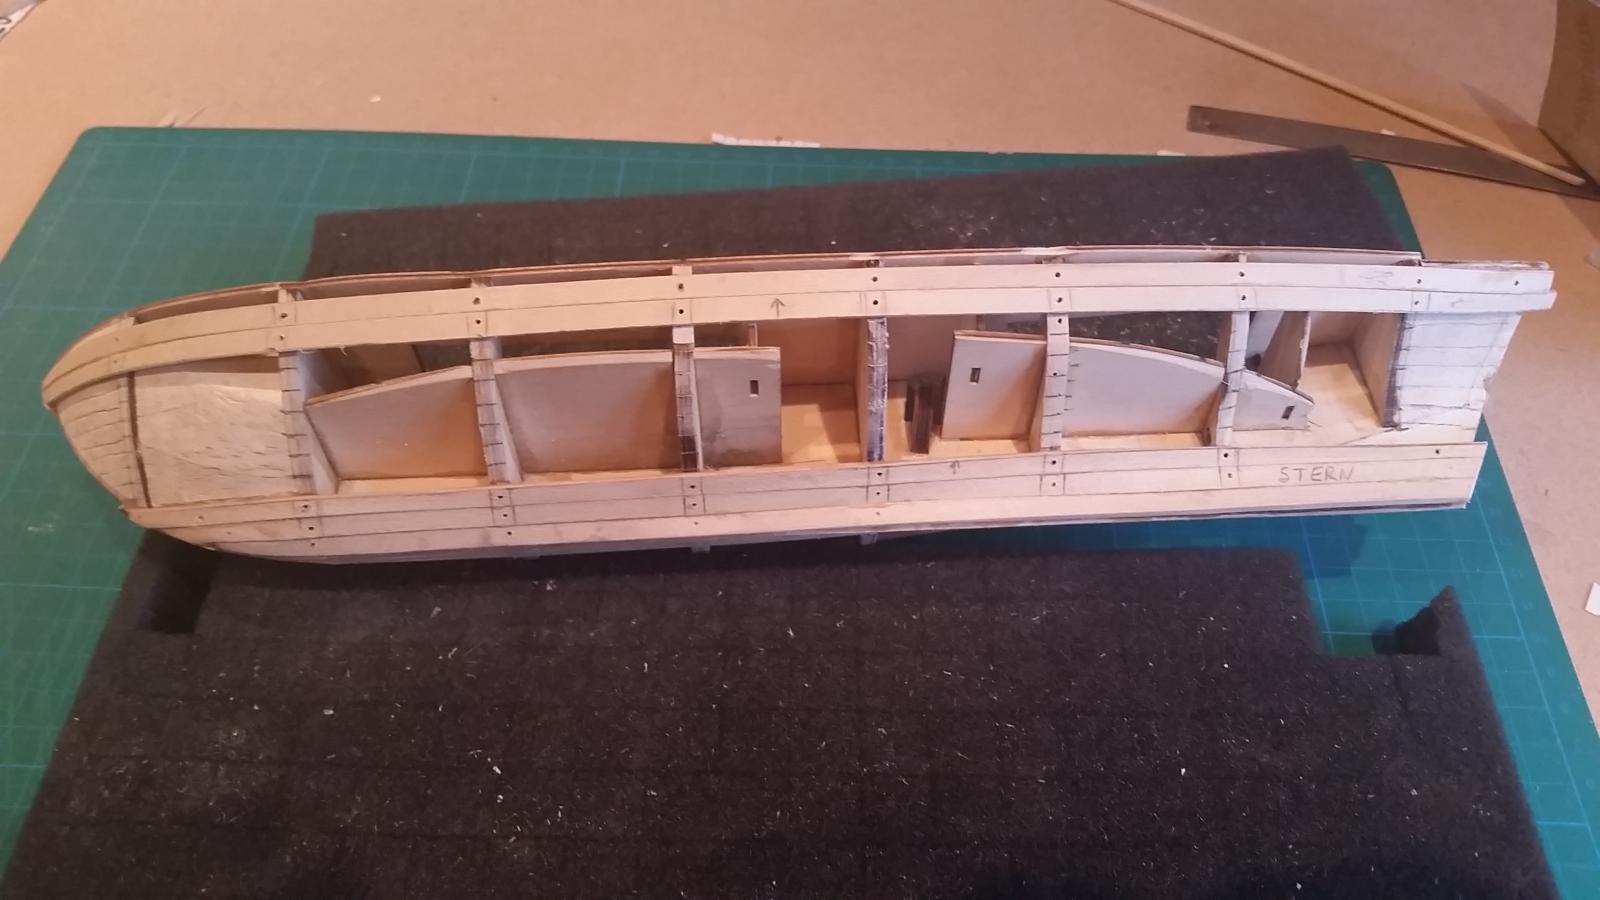
The bulwarks were a NIGHTMARE!!!
I just couldn't figure out how to get them to lie right.
I substituted the ply bulwarks that came with the kit and cut ones out of base wood, still getting them to fit was hard.
I'm sure I took some photos of how I wrestled them into submission using numerous clothes pegs, clamps, elastic bands, tears, cuss word and force of will.
Just can't find them right now.Once I got them on one thing I noticed was they had a concave profile, not sure what I did to get that but there you go.
A little bit of filler smoothed them right out.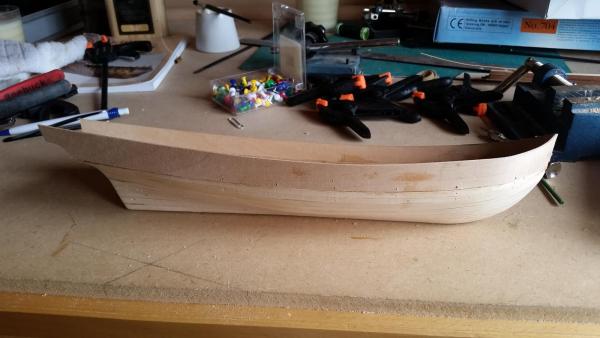
-
Hi everyone, I haven't been on for a while as my mother managed to burn her house down

She was unhurt thankfully but it's been a bit busy sorting the rebuild out.
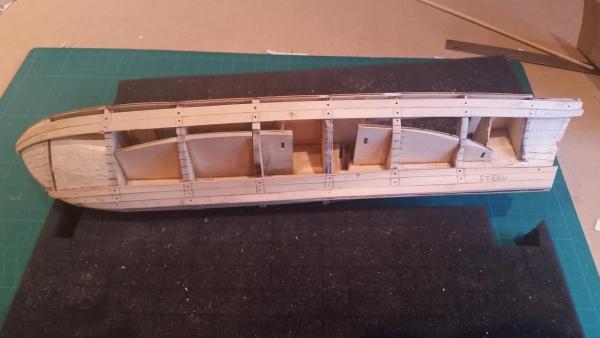
But on the plus side my little ship has been my escape, 9 months on the clock and still plodding along

So, where am I up to?
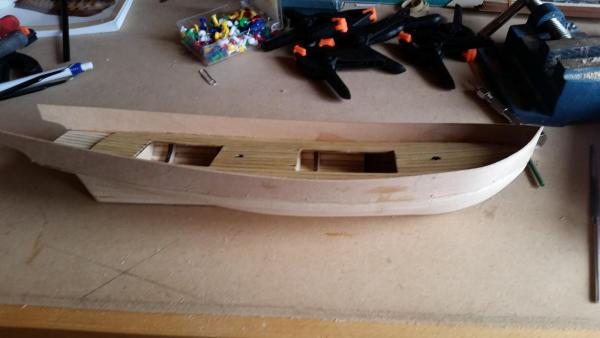
Well I got the deck done.
-
really struggling to get the bulwarks sorted, I'm reading every build log I can find lol.
-
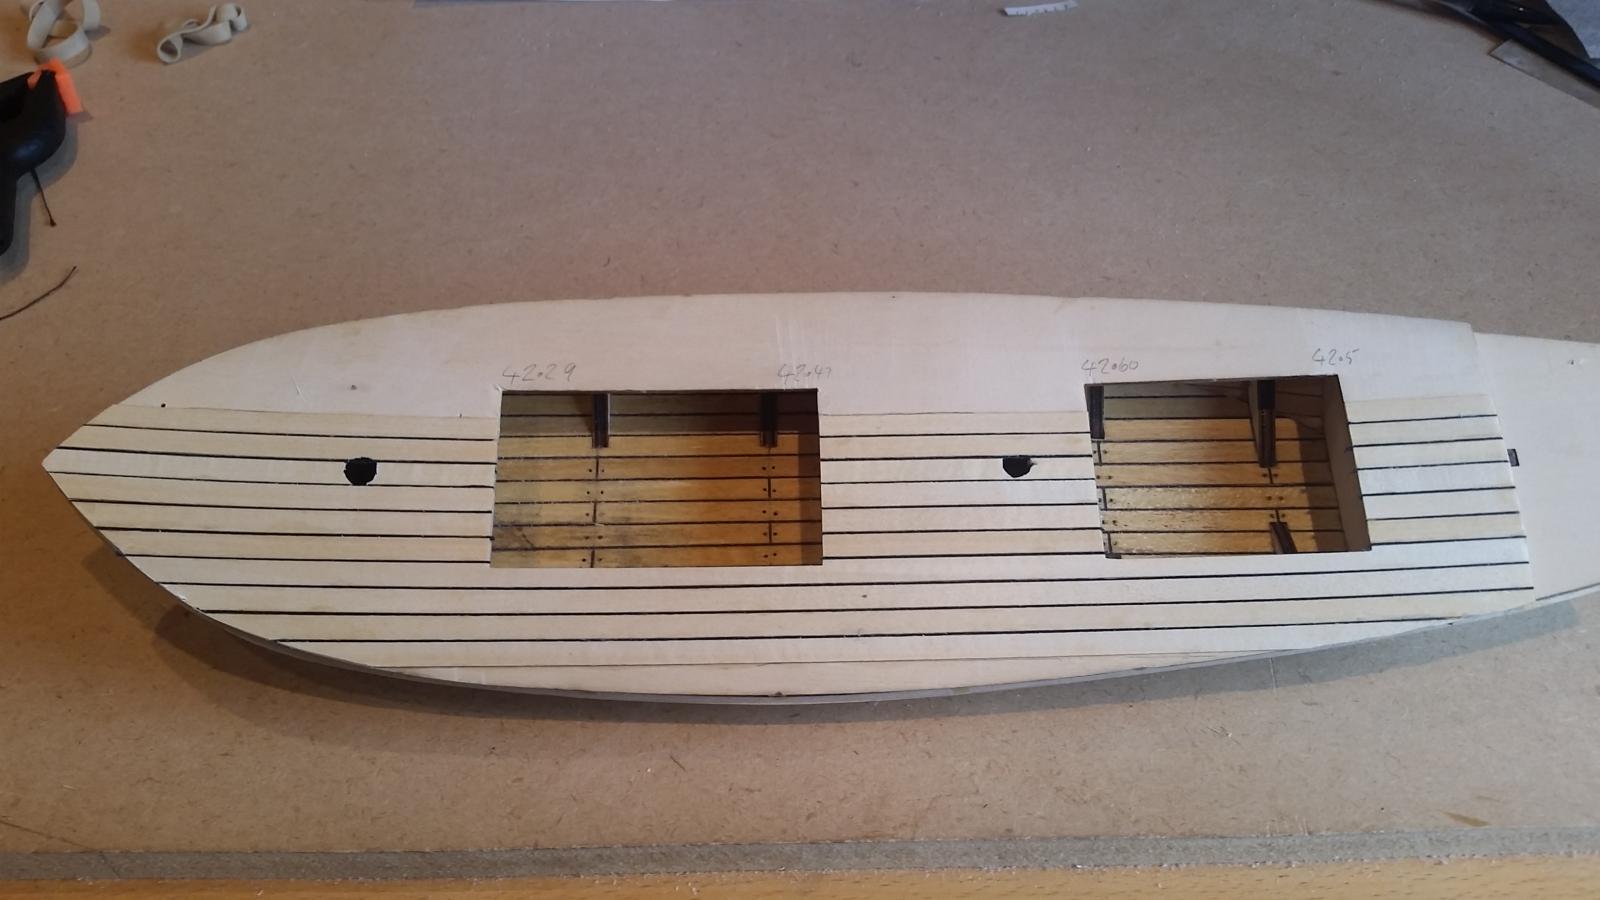
Ok, moving forward.
I removed all the laid planks and sanded smooth. I thought about the black paper route but the curve of the deck kinda threw me, sooo.
I went back to the thread idea, I bought some 0.1mm and I've used that technique.

-
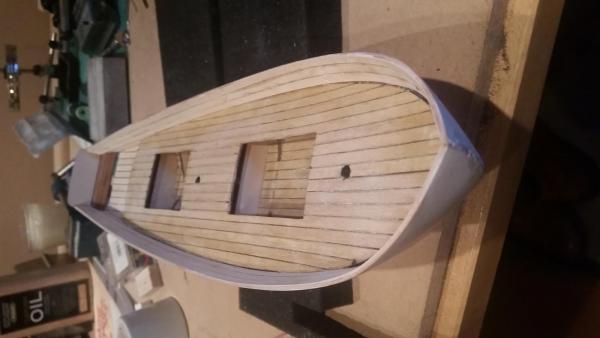
on the lower decks I used 0.1mm black thread which when scaled up gave a chaulk of 5mm (baring in mind I'm not going for total scale accuracy).
I need to get to the shops and buy some more I guess. Goodness knows what I've done with it.
I'm just in the process of removing the planks. -
I think you are making the caulking to wide for the scale. Nice idea but go thinner. My advice would be use the line as a spacer and after the deck is planked and smoothed put it in. That way you will have a neat look.
David B
I have to agree with you David, I can't find the thread I used for the lower decks which was much thinner.
I've been undecided about this thread but you've confirmed my thinking and I think I'm going to remove the planking and start again.
Thank you for your input.
-
-
-
-
-
-
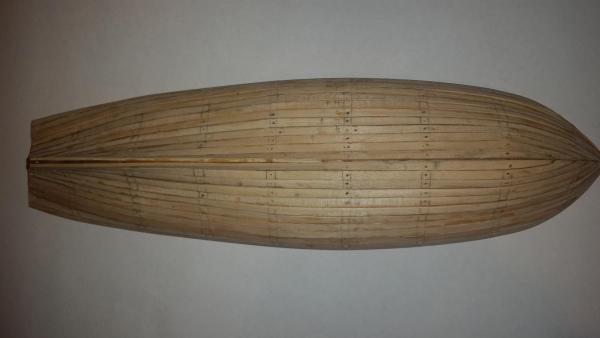
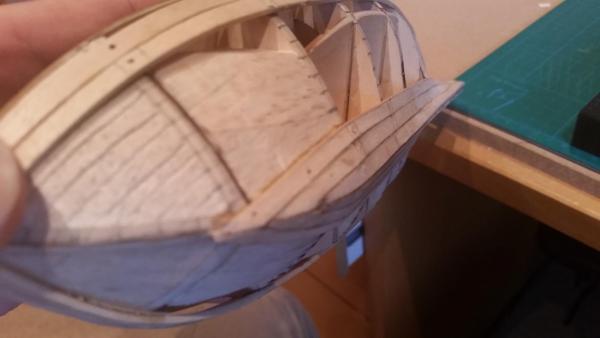
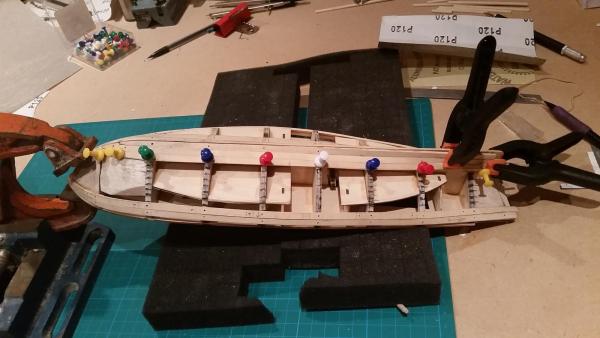
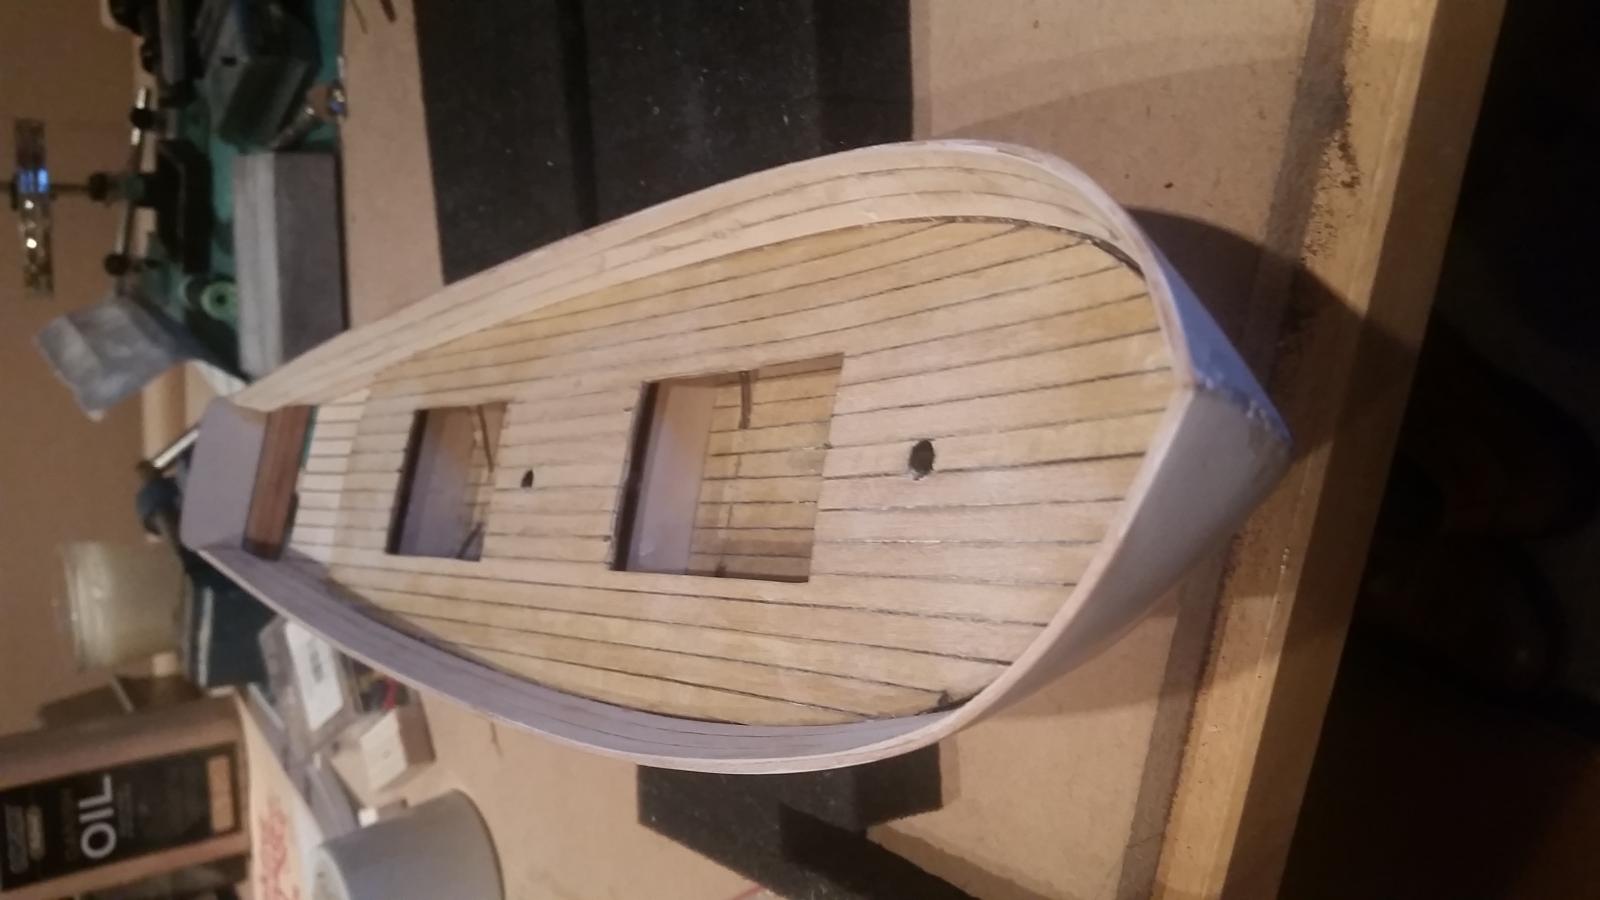
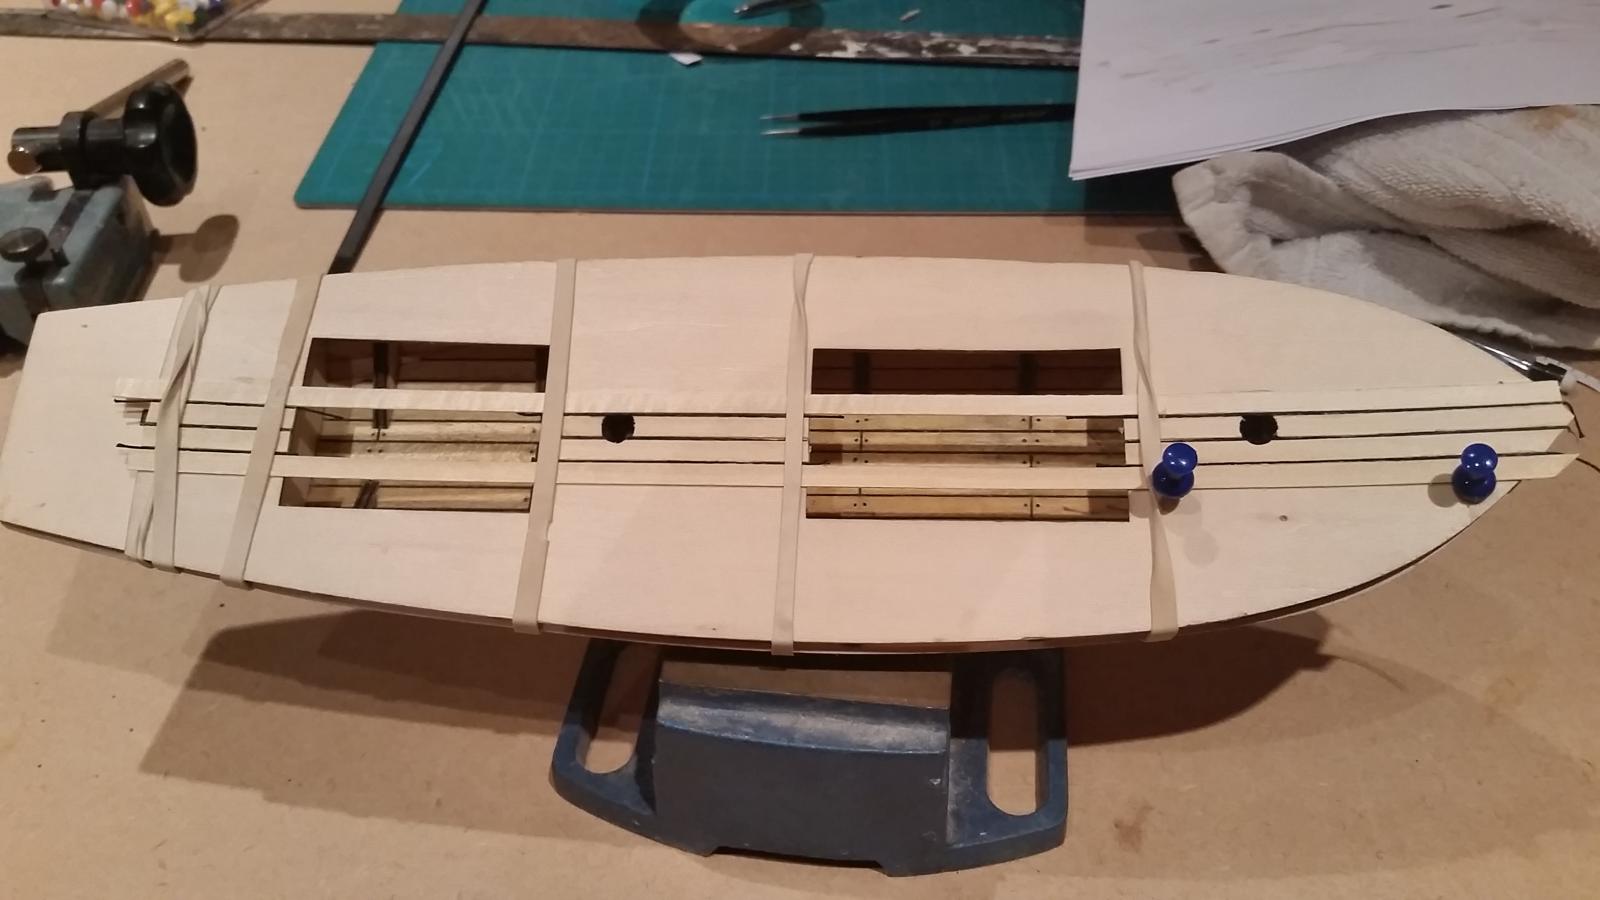
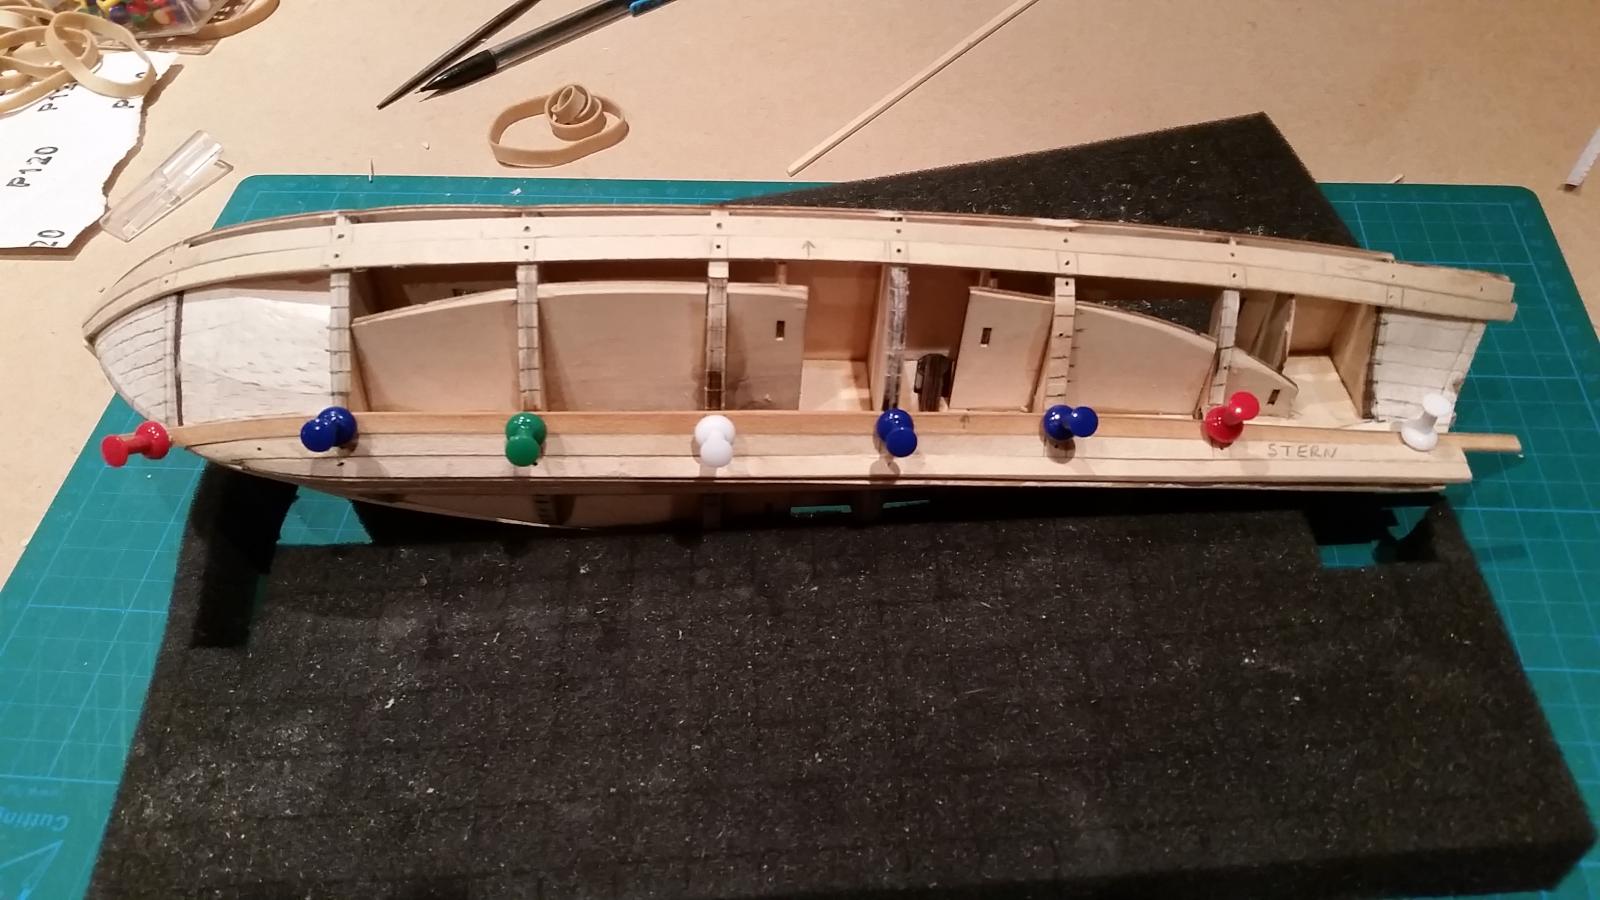
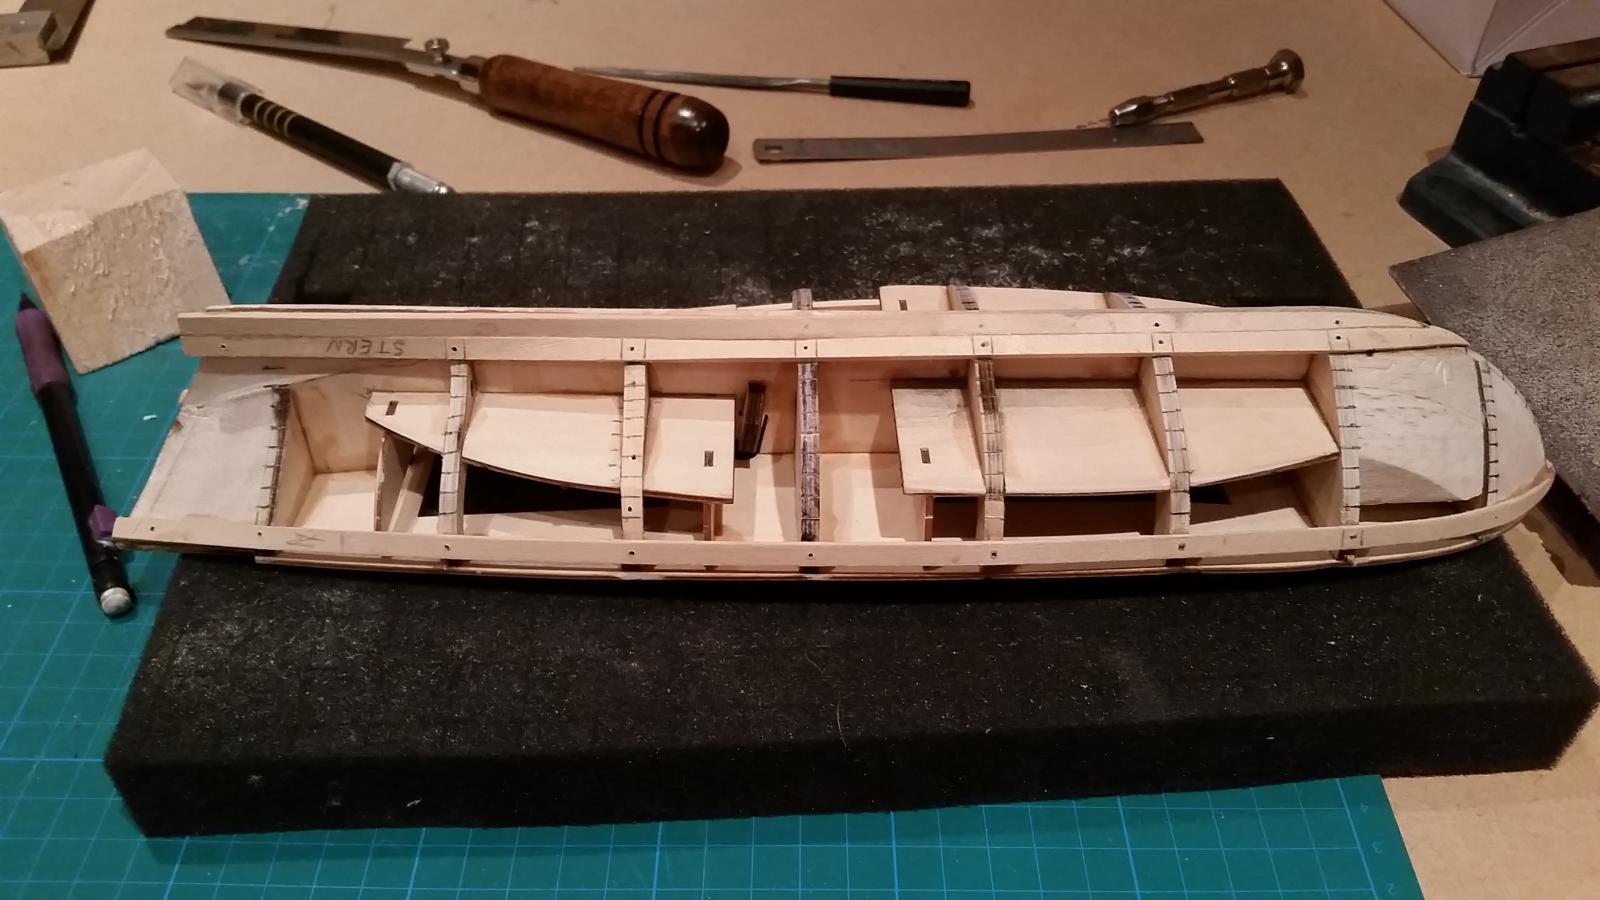
Well, it took a little while longer than I first thought but I've finally got the first layer of planking finished, hurrah!!
It's my first build and as such my first attempt at planking, my goal was to try and have no stealers or drop planks.
The main thing I regret is pinning through the planks to hold in place while the glue set, but once I'd thought of pinning next to the plank I managed a more appealing look. As this is the first layer I can live with it.
What do you guys think?
What could I have done better/differently?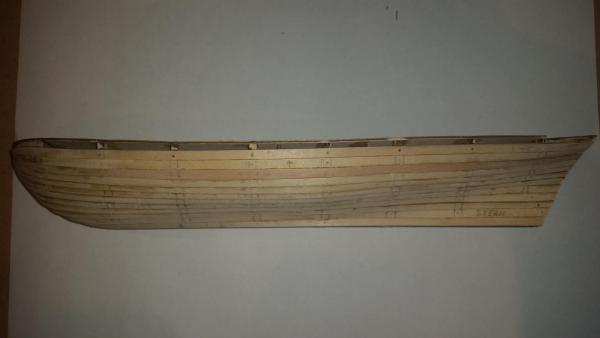
-
Hi Guys, I hope everyone is having a Happy Holidays.
Just got 2 weeks off work and rubbing my hands together for lots of building when my mother fell and broke her hip at the tender age of 82, so I'm currently living with her whilst making trips home.
Actually managed to get a plank fitted today so hurrah. -
Thanks Keith, right at this moment the promotion feels more like a curse than a blessing

I'll recap how I'm going about shaping the planks on the next one I fit.
I've been thinking about the holes when pinning in place and you're right I don't want hole in the 2nd planking.
I have a cunning plan which I wish I'd done on the 1st planking.
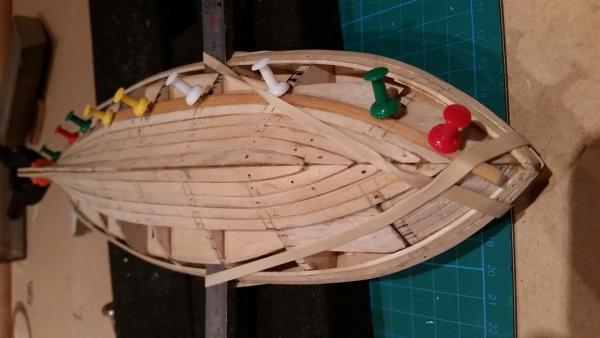
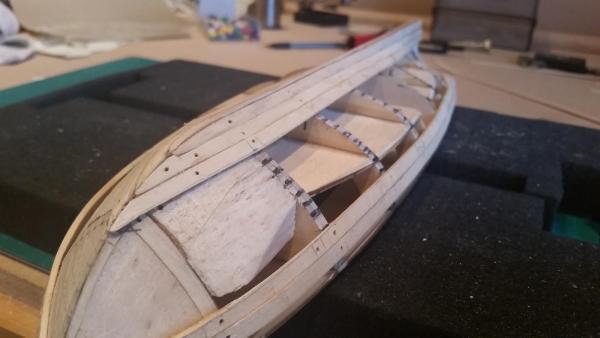
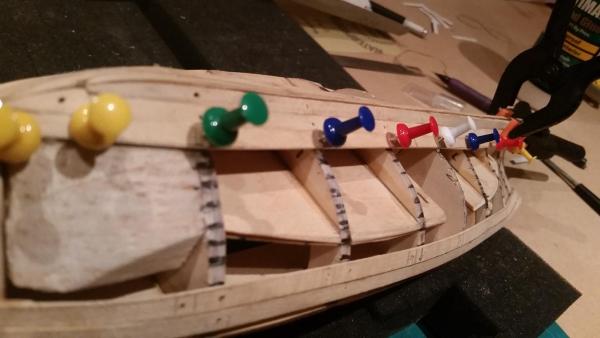
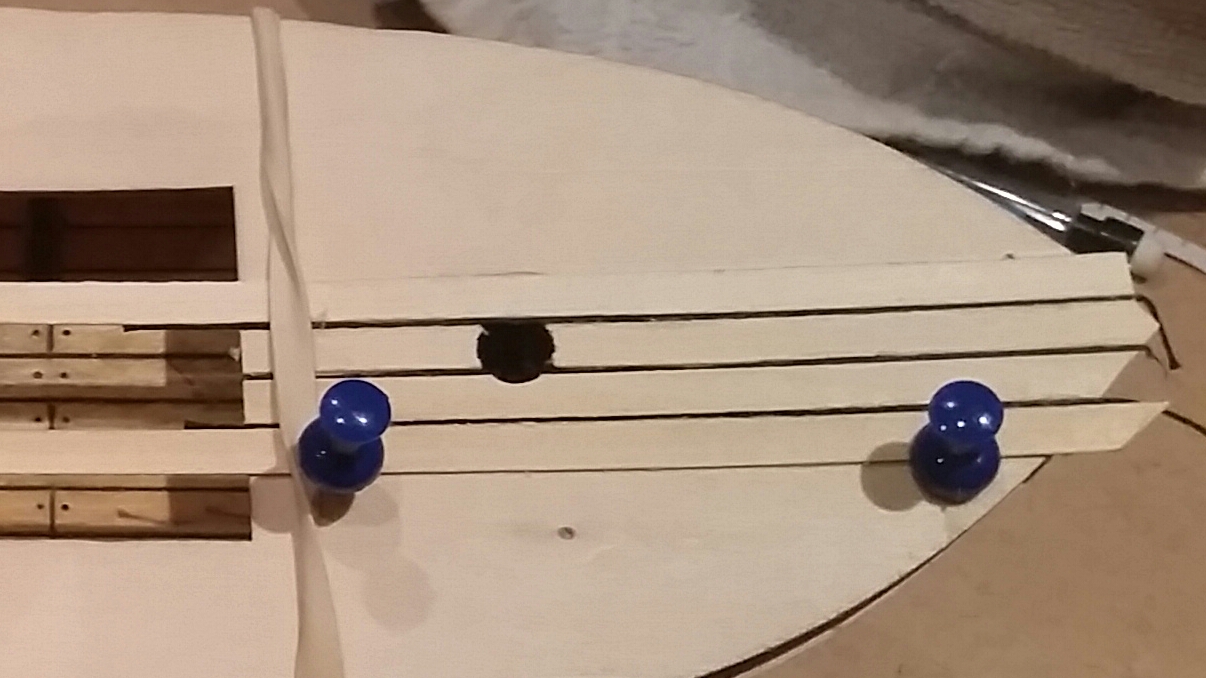
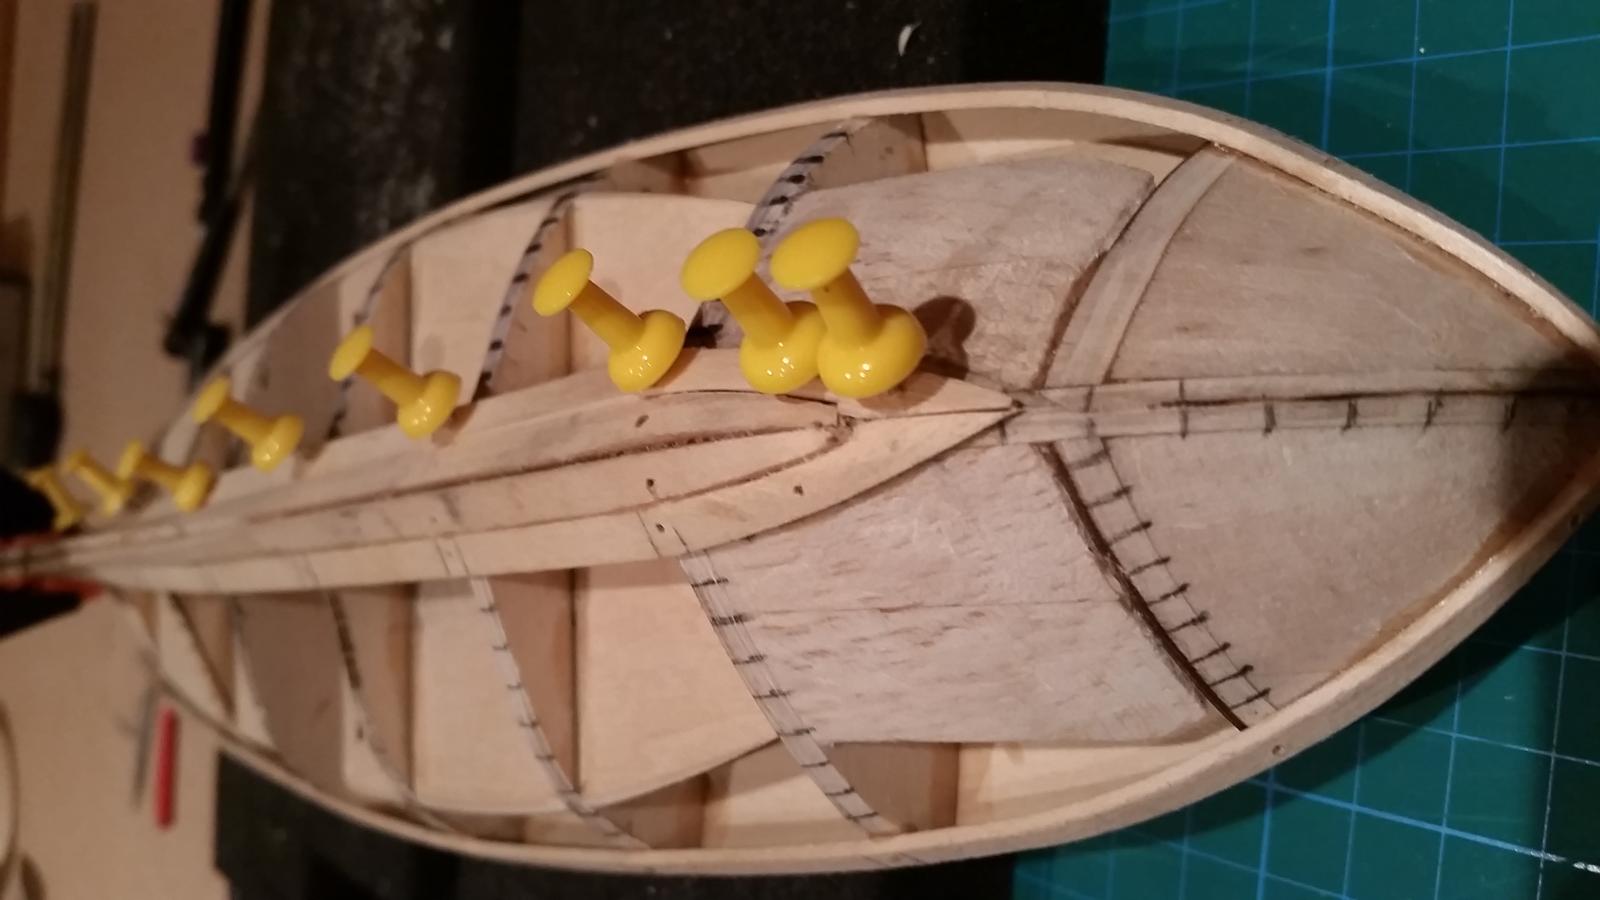
As I've done in a couple of places already, with the 2nd planking I'm going to put the pin 'next' to the plank not through it.
I'm pre-drilling each pin to prevent splitting the bulkhead.
By putting the pin next to the plank not through it I'm hoping the pin itself will hold the plank up against the previous plank while the plastic head of the pin will hold the plank down.If you look at the nearest 3 pins in this photo that's exactly what I mean.

I'll try this method on the next plank so watch this space.
- themadchemist and Grimber
-
 2
2
-
Steady progress, I'm currently in the middle of an intensive promotion course at work so struggling for time at the moment.
My Swift is my treat at the end of the day if I've got enough course work done
- themadchemist and Grimber
-
2
-
this is a great kit for a beginner or the more experienced wishing to add scratch detailing to the model.
I'm loving building it.
It's taking all my efforts to build as is but I'll see if there's any extra I can do when I get top side.
The thread inbetween the planks seemed to work well so I'm thinking I'll do that on the main deck.
-
She looks great, you have some really top notch symmetry between the two sides.
thank you
-
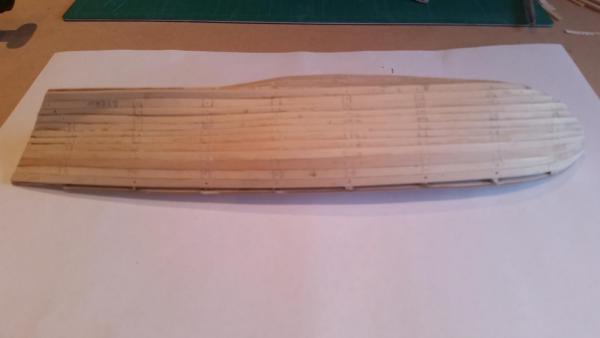
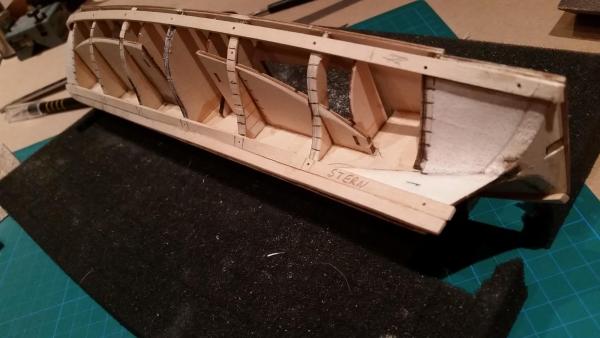
With the thinning you did back in post #78, the stern keel line should be thinned sufficiently that you have very little thinning to do. Nothing like I did.
You pictures are illustration a beautiful planking job and really nice fit. You question on the "no dropped planks" would be correct, but actually it would be strakes as in a real pilot of approximately 50 foot, it would be impossible to find 50 foot planking and each strake would be made of several shorter planks, but as your not having to eliminate a strake due to spacing, we typically say "no dropped planks". It was also a goal of mine on my build and as it appears, your planking is going together much better than mine, based on the clinkering effect your getting, but that is all fixable with scraping and sanding.
The question is.... the 1st planking is going to look so good, your not going to want to cover it.
Excellent planking giantdog.
By the way, give those giant canine an extra hug. My wife's sister had tragedy the last 2 months and lost all 3 of her dogs to age and health issues. Love them while you can. I know my two are getting extra spoiled this weekend as I mourn for their cousins. Its crazy how deep they get in your heart.
Thanks for the very kind comments Keith, I'm really pleased with how it's coming on.
I'm taking 2 days to fit reach individual plank, one day to spill and dry fit. One day to final fit.
Please extend my deepest sympathies to your sister-in-law from this side of the pond. Dogs really do break your heart, they take a piece with them when they go but that's ok because your heart is that bit bigger for having them in your life.
I am taking mine to the pub now for a couple of beers and shall raise a glass to your sister-in-laws beloved dogs.
The pub I go to dates from the year 1135.
-
Looking very good. I will give you a heads up ( well ahead of time ) that when you get to sanding and shaping you will need to thin down the 1st planking around the stern end where the keel and stern post will later attach as it will all be too wide and won't sit flush with those parts. I'd take those 2 parts out and measure them and keep it in the back of your mind when your shaping. And you will have to also compensate for the 2nd planking thickness when thinning as well.
I didn't do this on mine and when sanding it to get it close I got the the 2nd planking so thin I could see through it in spots to the 1st planking.
I thought about that and am hoping that the step I took in post #78 will help this problem.
I thinned the false keel down from 4 mm to 2 mm to reduce the amount of sanding I have to do.
I cheat and read everyone's log then use the information I find, taking a bit from here and a bit from there then have a go at apply the lessons learned from you guys.
I spotted that adivedog (I think it's in his log) he mentioned he had an issue with the false keel being too wide and I couldn't see anyone else had thinned there keel down. So, I took a leap of faith and went for it. Fingers crossed it pays off in the end.
I'll keep you posted.
Thanks for the supportive posts, I love how yours is coming along.
Building these babies is rather addictive.
-
-
Thanks guys, just flying by the seat of my pants. Reading and re-reading your logs and copying, so it's all thanks to you.
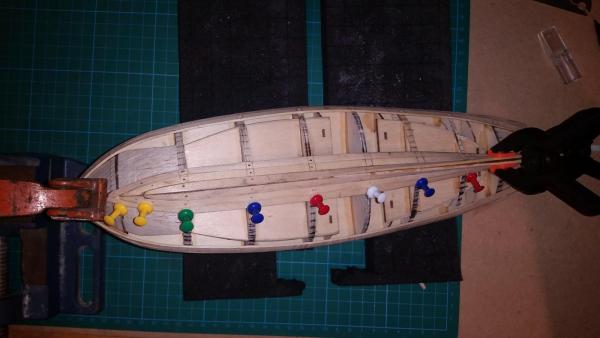
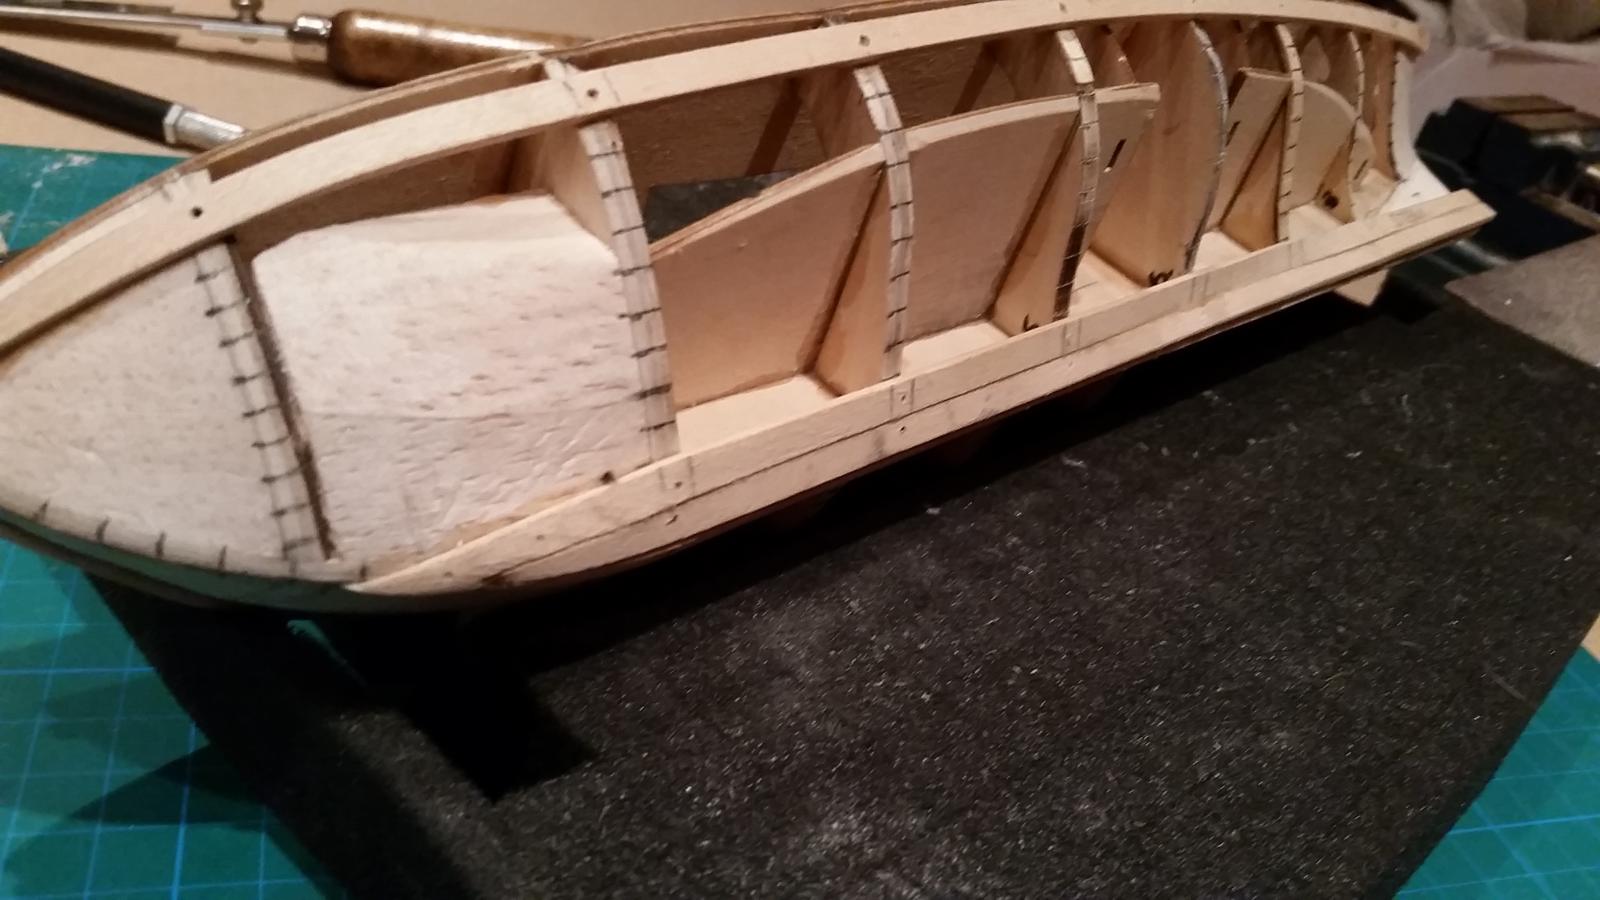
Not looking too bad so far and pretty happy with the line the planks are taking.
I'm trying to go for no 'drop planks' (is that the right term?) i.e. each plank runs the whole length of the hull.


-
still plodding on.
I've not given up


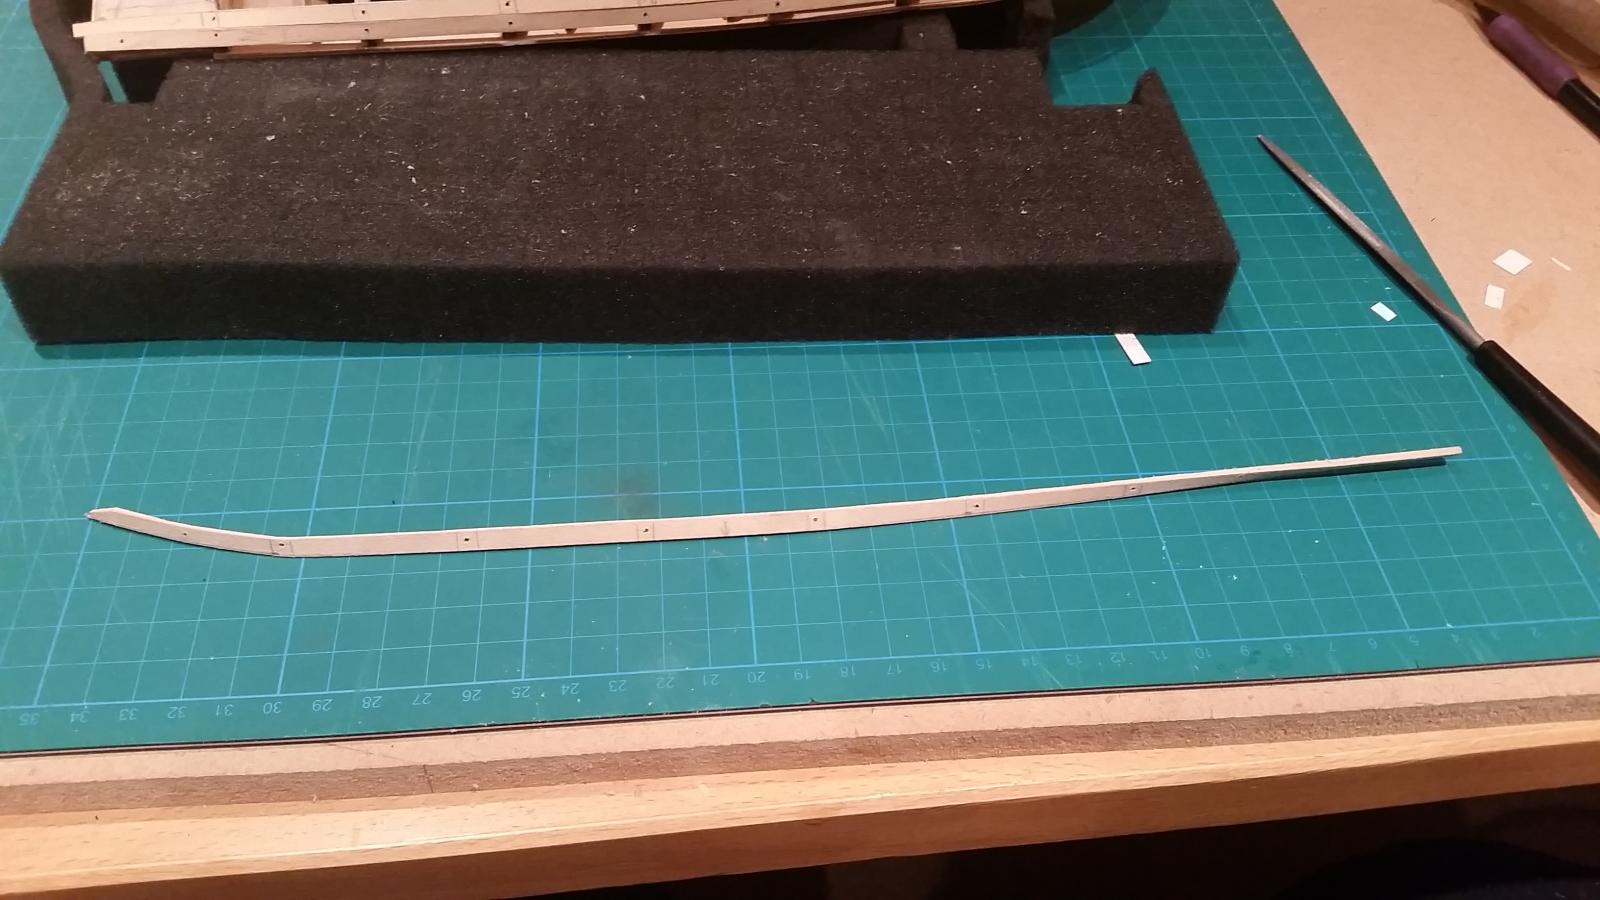
pre-bent and dry fitted
Pretty much simply continuing as I've done with the previous planks.
It's at times like this I wish I knew what on earth I'm doing.
- themadchemist and Grimber
-
2
-
I've read and reread the entire thread and stared at every photo for a ridiculously long time.
I am stunned by the craftsmanship.
a
Absolute art.
-
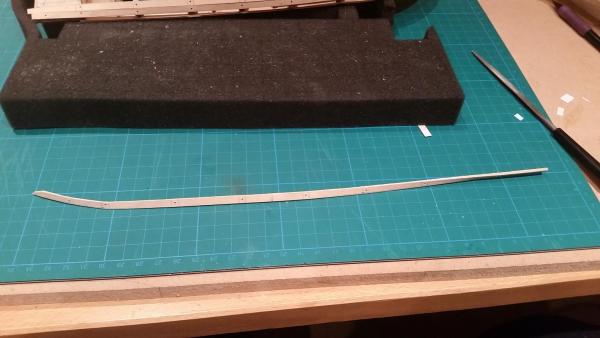
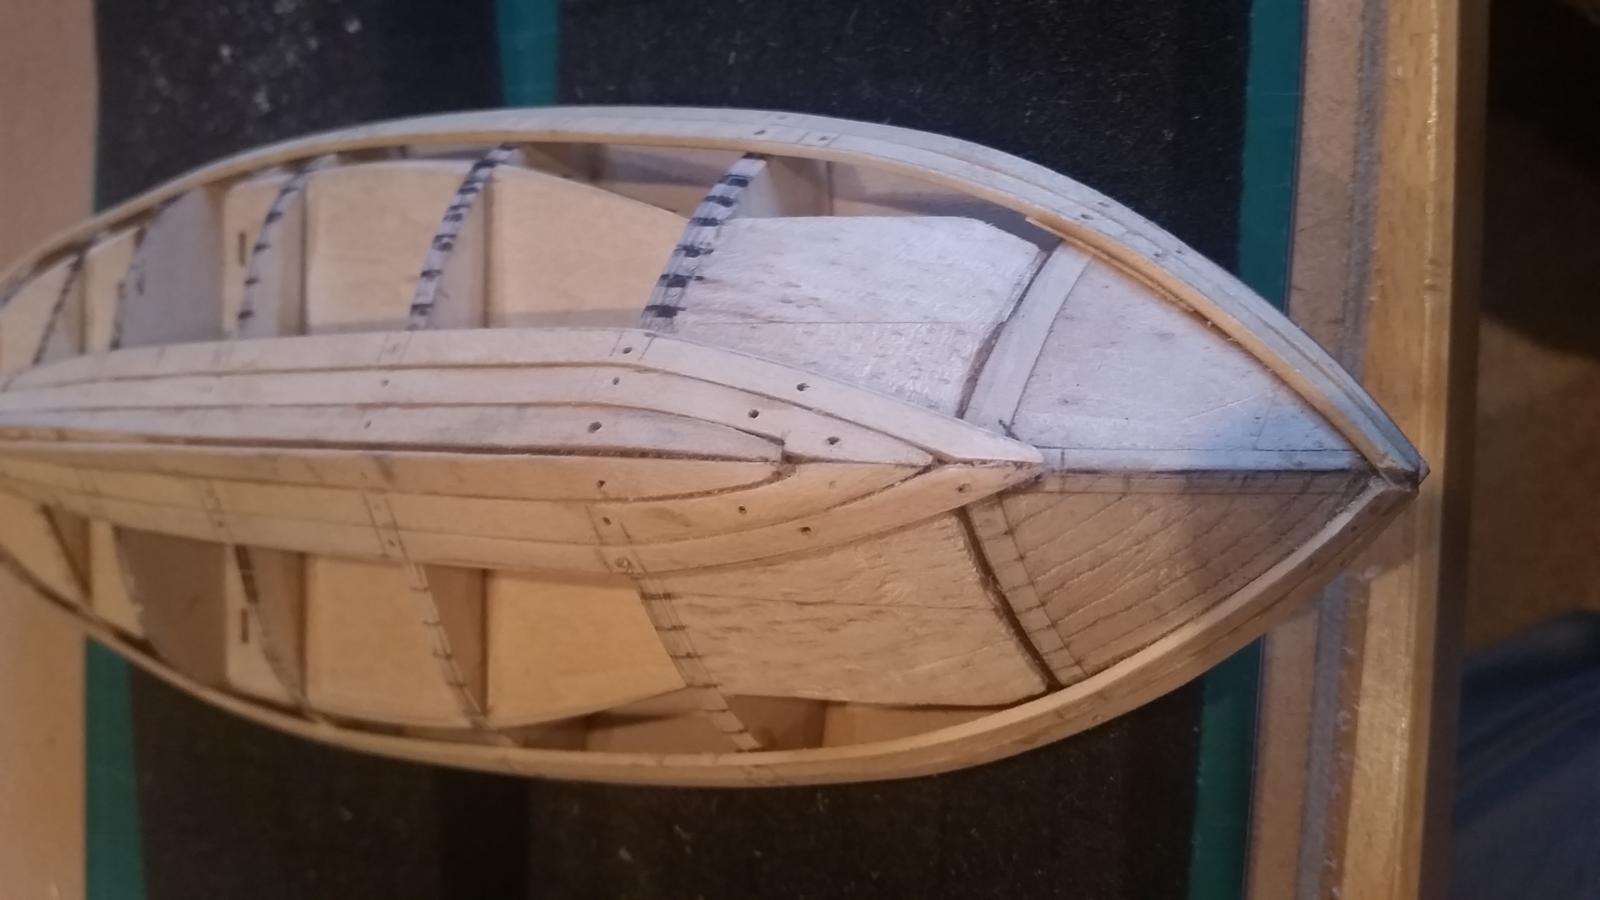
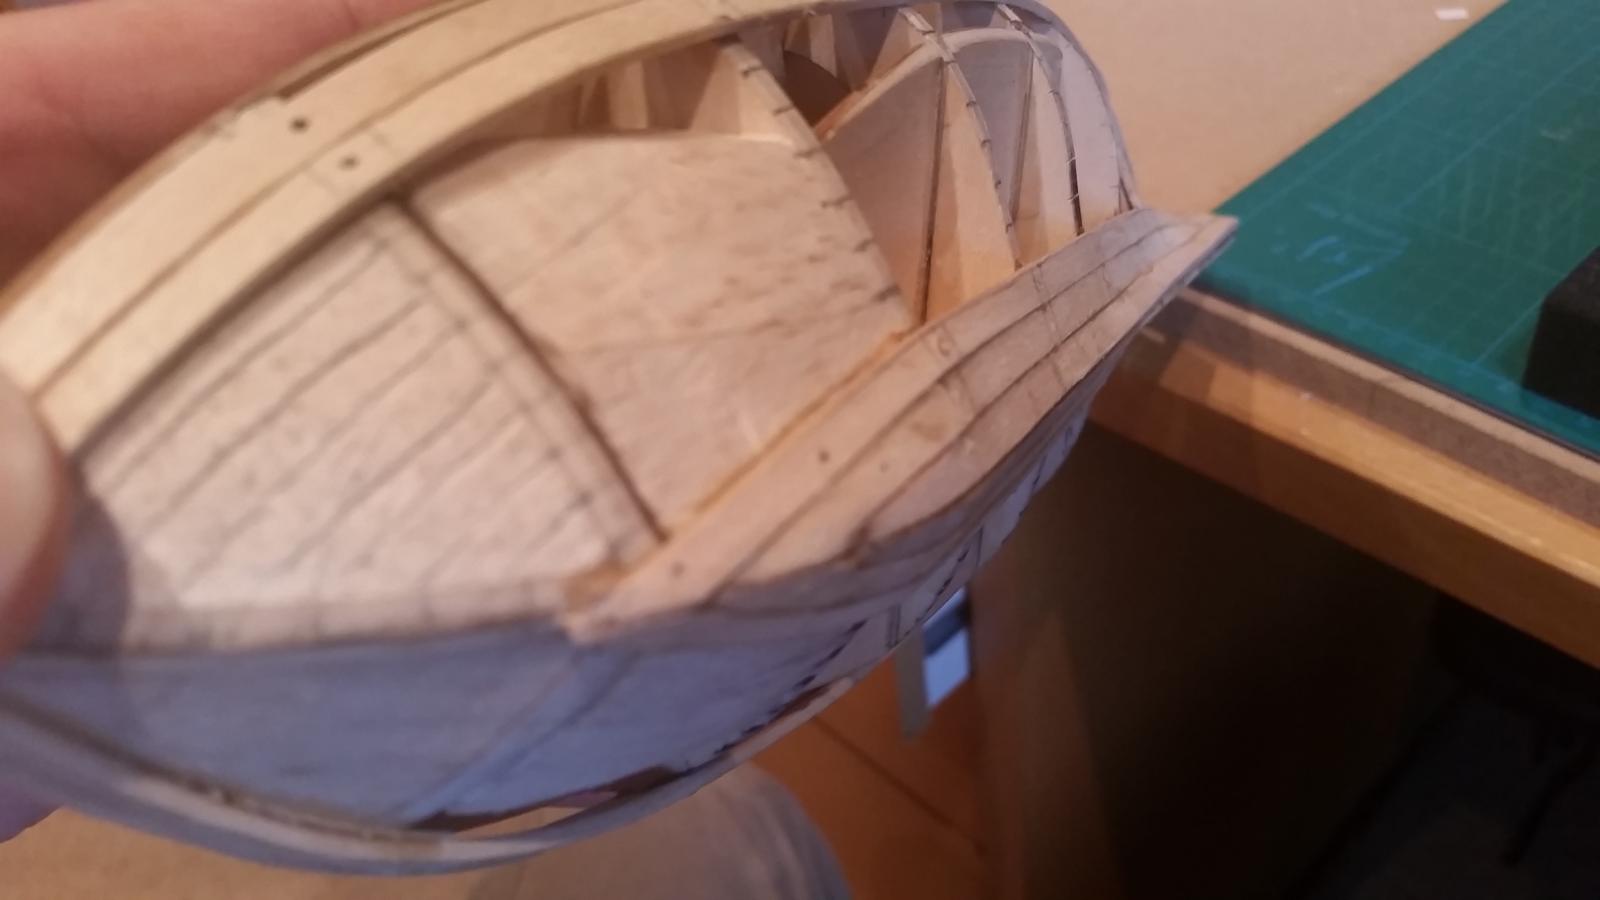
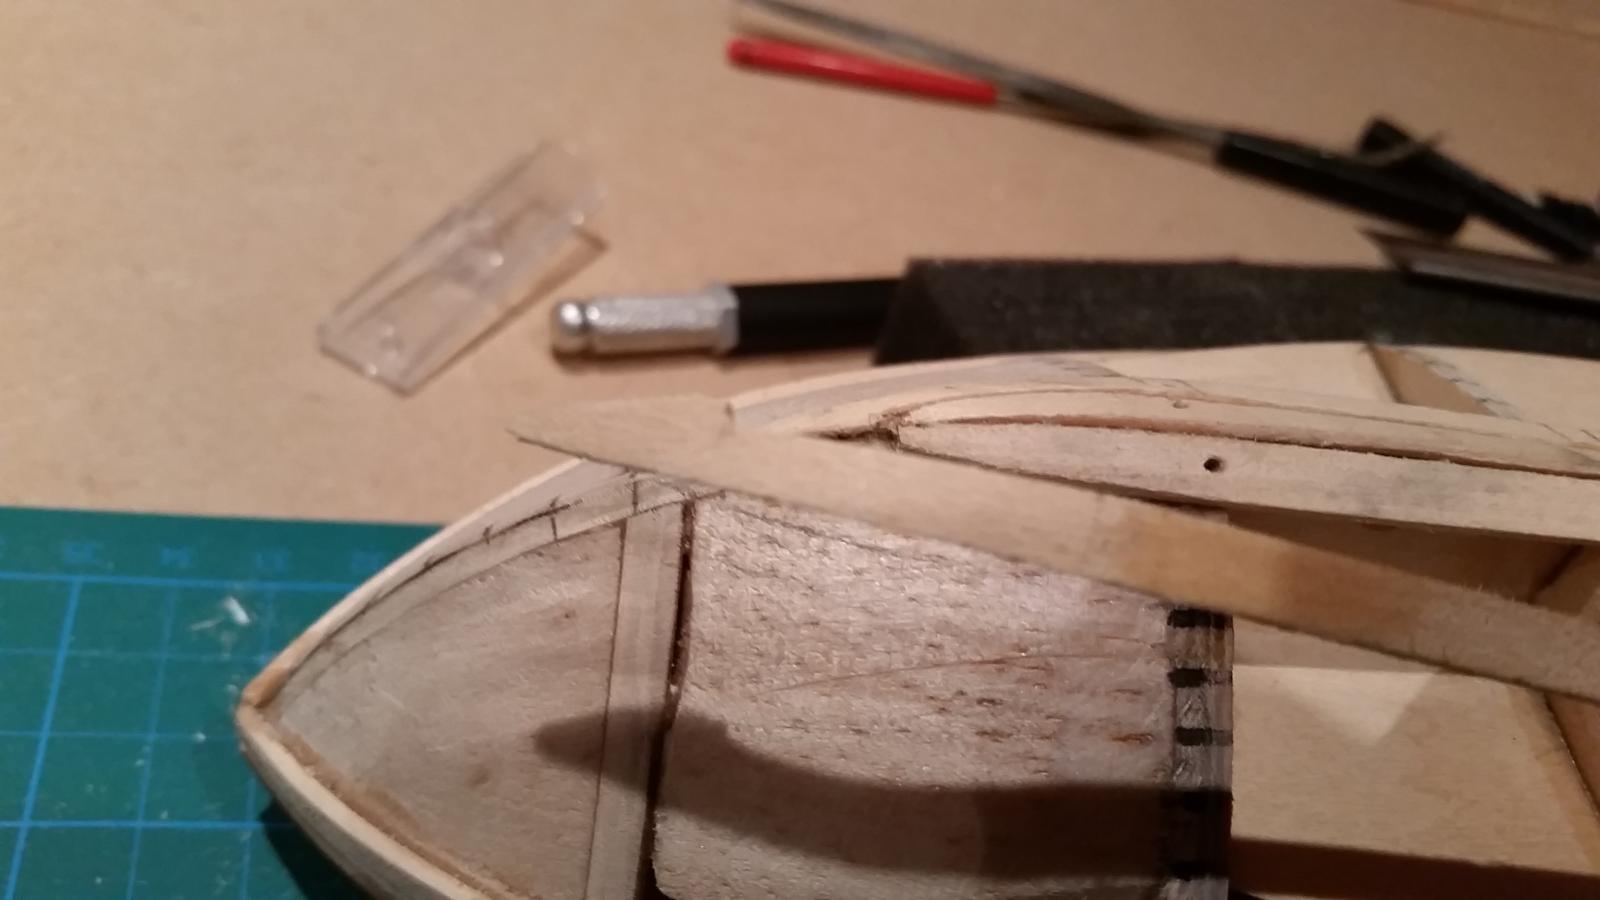
This enabled me to trim/sand the plank to this shape (sorry, taking photos with one hand with my phone is a little difficult so there a bit blurred)

Once happy (ish) glue in place.

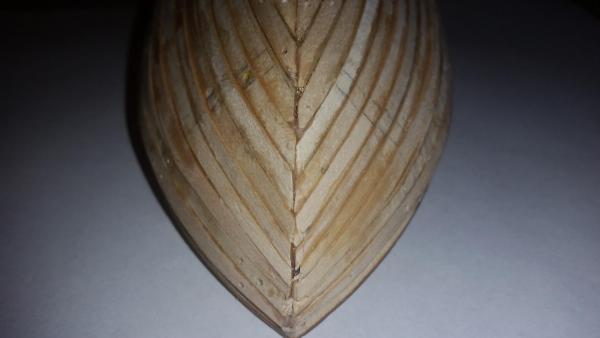
In a earlier post I mentioned that I had thinned the false keel down, I hadn't noticed this done on other builds but was worried that the keel would end up being rather thick once all layers of planking where in place.
With the first layer of planks mine measures 5.17mm
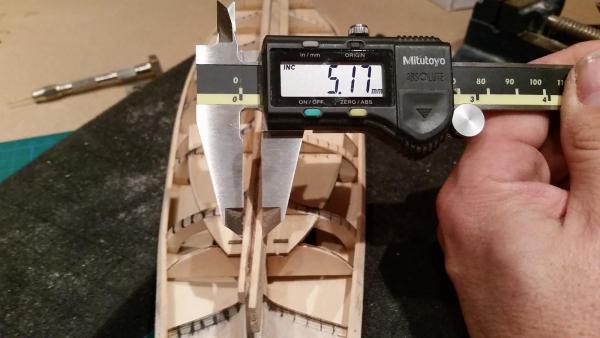
Here are a couple of photos of the first next to garboard plank.


- Div and themadchemist
-
2


Swift 1805 by giantdog - Artesania Latina - first build
in - Kit build logs for subjects built from 1801 - 1850
Posted · Edited by giantdog
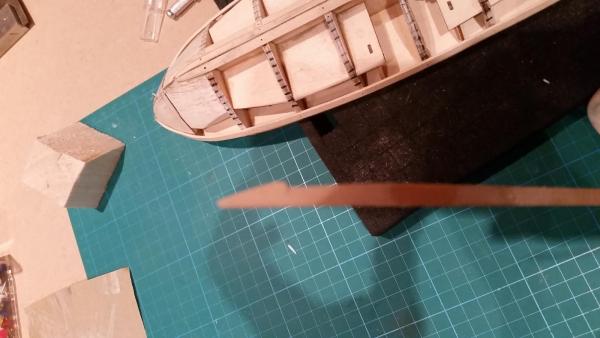
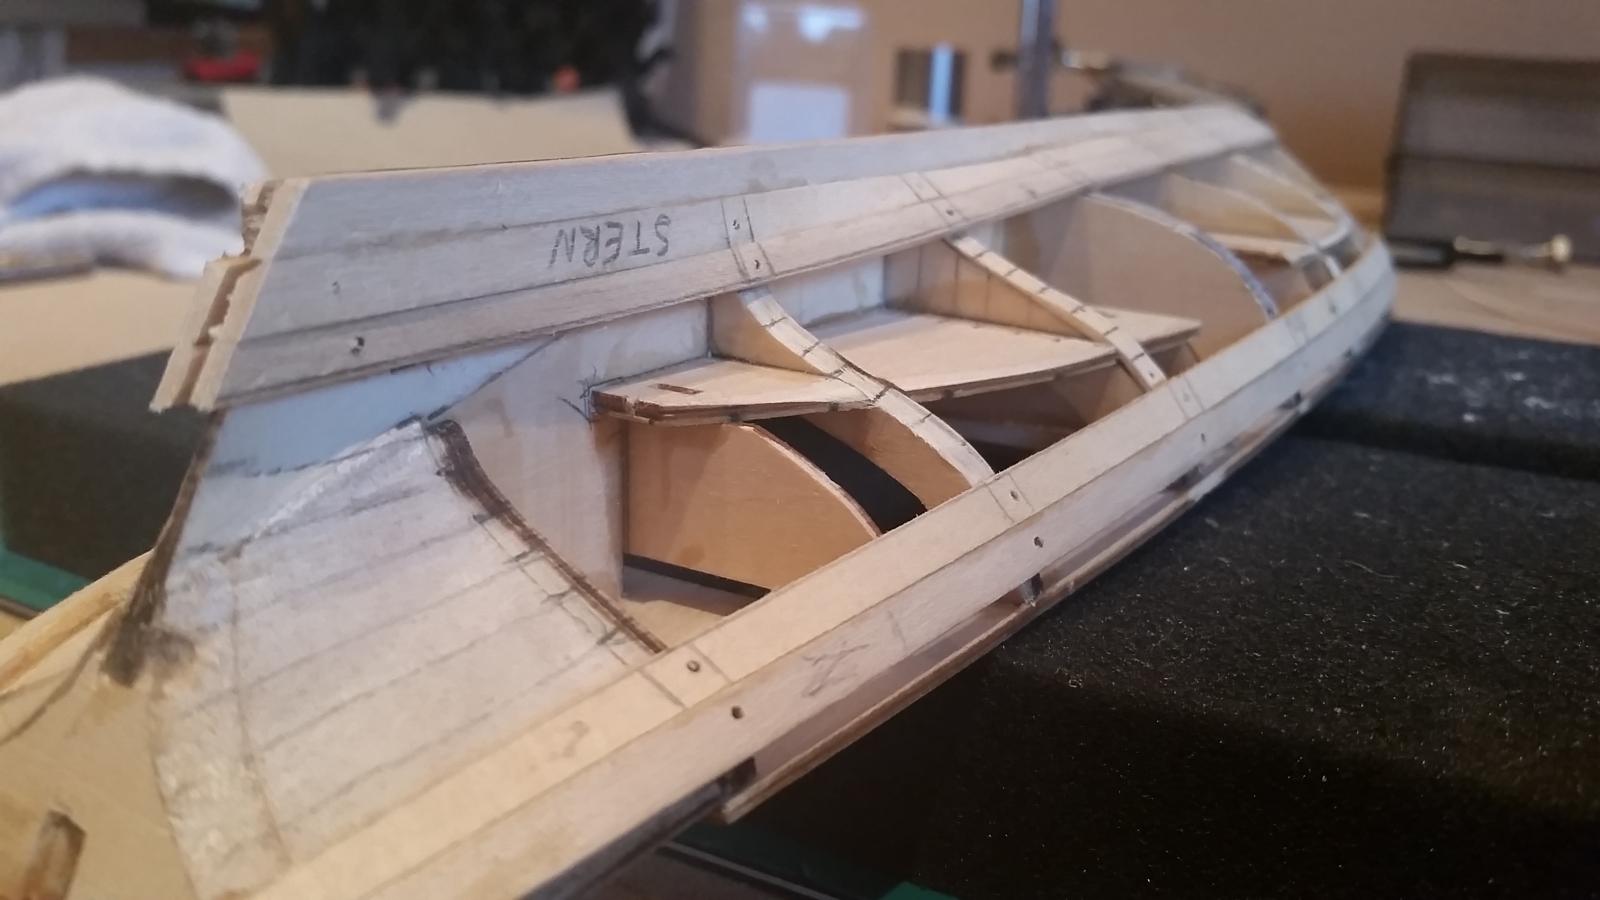
and on to the transom
So, that's where I am.