-
Posts
51 -
Joined
-
Last visited
Content Type
Profiles
Forums
Gallery
Events
Everything posted by RevKB
-
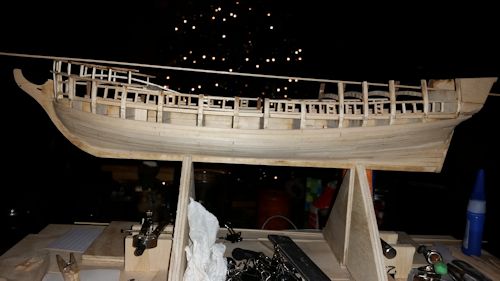
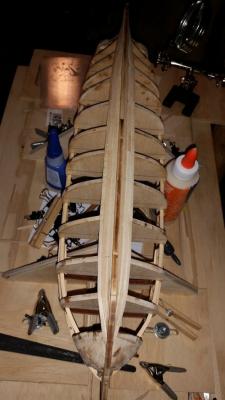
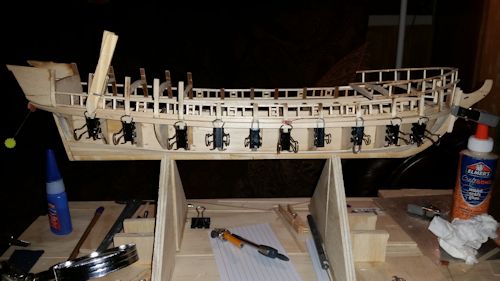
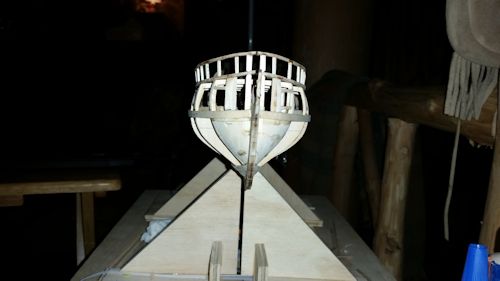
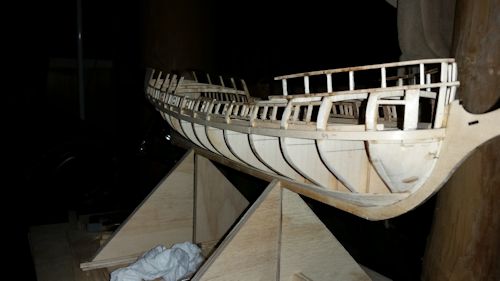
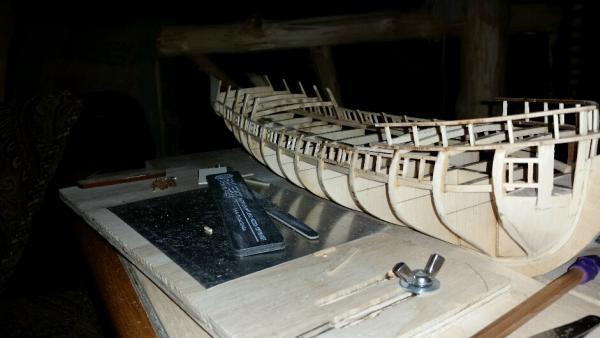
Ok a little side note , I have been working nicely on the Snake over the past 2 weeks or so , adding some detail . But the great news is I was blessed to take a business trip to Philly this past week and afterwards headed to NYC to see the L' Hermione. Here are some great pics of that trip , can anyone guess what ship Im working on next? On a side note I does anyone know where I can find plans for Her? More Pictures to follow
-
Howdy everybody! It sure has been a very busy couple of Months with my daughters wedding , masters classes and ministry. I just uploaded a new video of planking and look to progress more this week on the old snake. Take a look and I will post some more of my progress this next week. https://www.youtube.com/watch?v=WWr_U1claH4
-
Johnathan, great build ! I absolutely love what you did in the stern, i had contemplated the same thing , but chose not to as this was only going to be my second ship and I wanted to get another one under my belt by the book before I wreaked one.again great work.
- 131 replies
-
- rattlesnake
- model shipways
-
(and 1 more)
Tagged with:
-
Ryan, welcome to the snake pit, as many of the boys have been so helpful to me I am sure they will be an encouragement to you as well. I just finnished my planking and would sugest you vet the bow fillers well. I HAD though i did a good job on mine only to find i left a smidge to much roundness that caused a few planks to miss the a bulkhead completely. This of course wont be seen or know of once the rest of the planking and decks are on but its something to look at .
-
Jessee, this is an amazing build , she is beautiful and I found some really nice points to look forward to doing on my build.
- 607 replies
-
- scottish maid
- artesania latina
-
(and 1 more)
Tagged with:
-
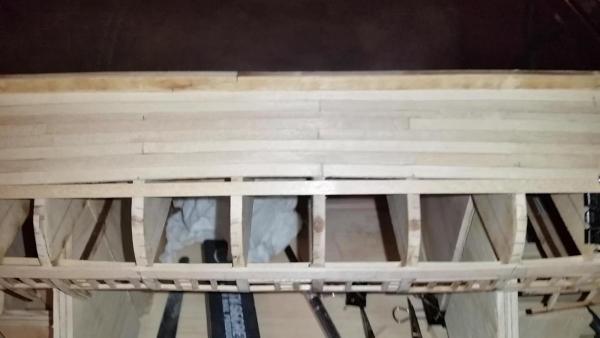
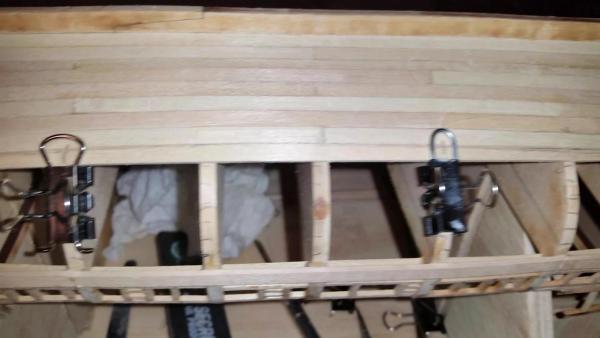
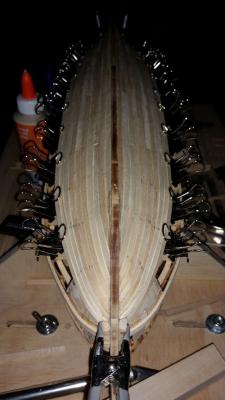
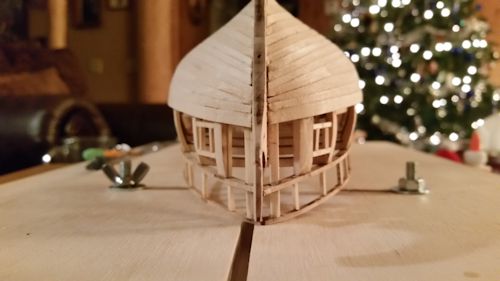
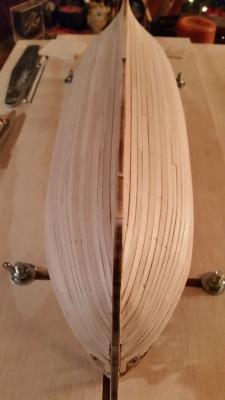
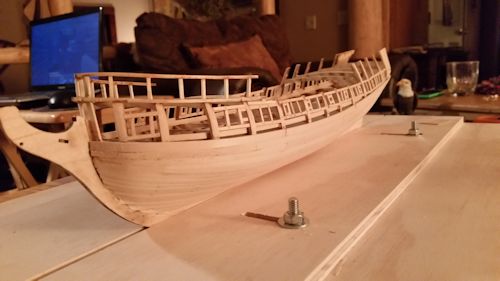
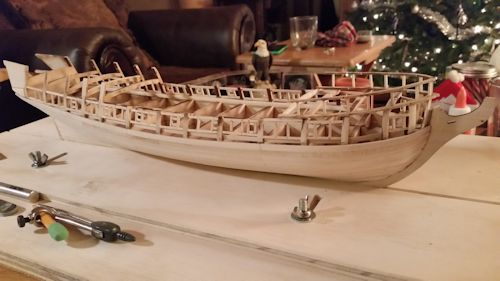
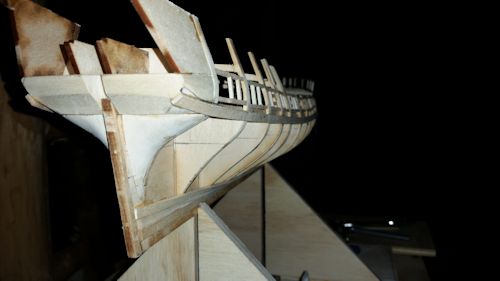
I pray that all of your Christmas celebrations were filled with love of family and friends and your new year’s found you all safe and sound .its been a little while since my last post as this past Holiday season was filled with family and church . I start out this build log saying that I had a blast at planking and found that following the directions to the letter was almost impossible to do . I made it up to where the first batten was and found that the curvature of the hull called for some spilling in order to keep the plank line I wanted. This process also revealed that My wale board was a little off and so I needed to remove it and re-situate it . so here is the progress thus far. Here is where you can see the hull line did not match the line I wanted for the hull. so some trimming had to be done Here is the spilled piece in place to check for alignment Progression of planking went easy after that and i found I didnt have too much bunching at the stem although I did have to place one stealer , because i thought it would look cool and authentic so far so good all done view , notice the stealer and that not too much bunching at the stem of the planks , I mantained at least half the plank width these pictures are pre-sanding, I have decided to stain this hull with a ceramic process of staining and then antiquing it to look worn and weathered. Over all I am very pleased with how well this hull came out , although I did learn some new things as the planking process advances. I will be making a short video of this process as well .
-
Scott, that is superb work ! Im looking forward to getting to that step, but alas im still on the hull planking. Your ships is coming along beautifully
- 264 replies
-
- rattlesnake
- model shipways
-
(and 1 more)
Tagged with:
-
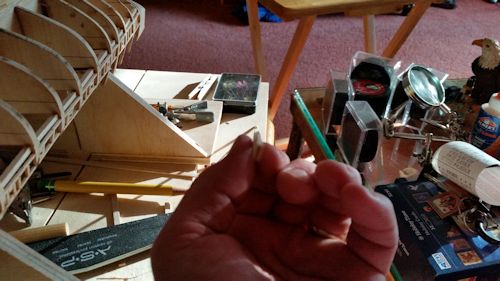
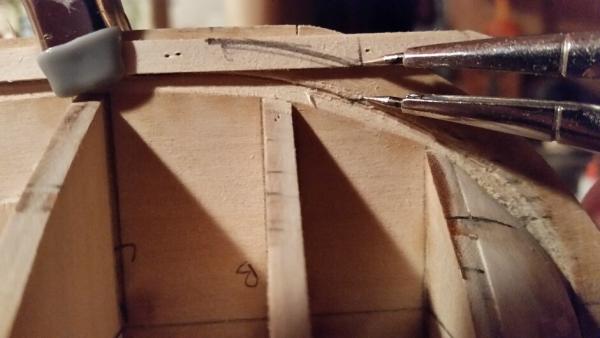
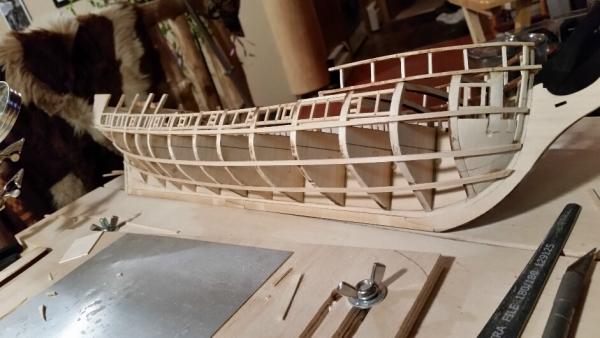
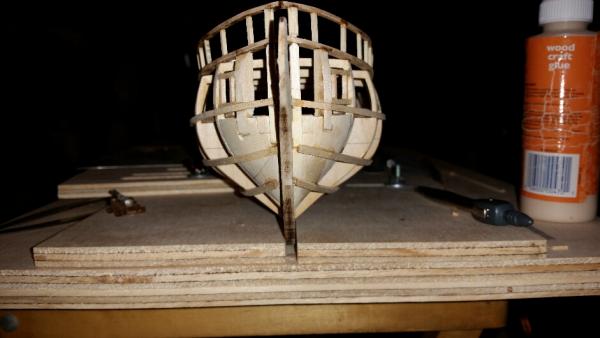
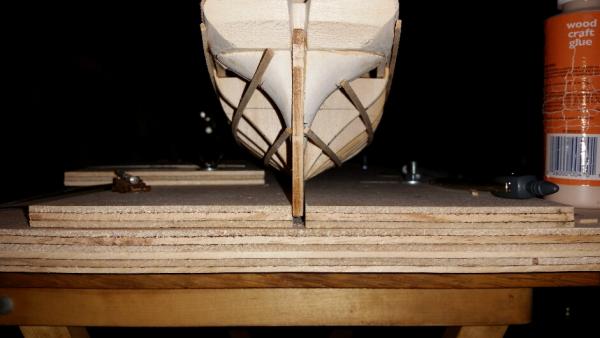
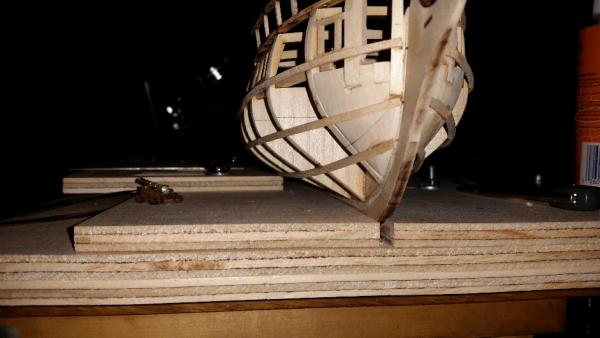
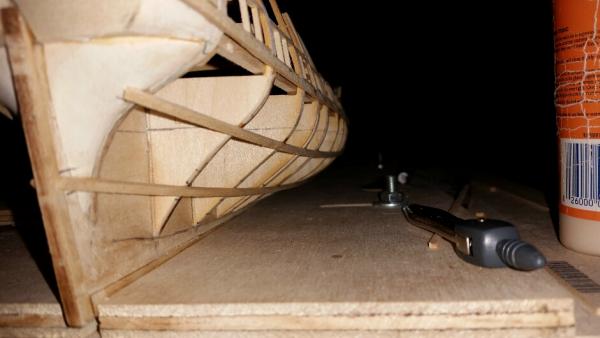
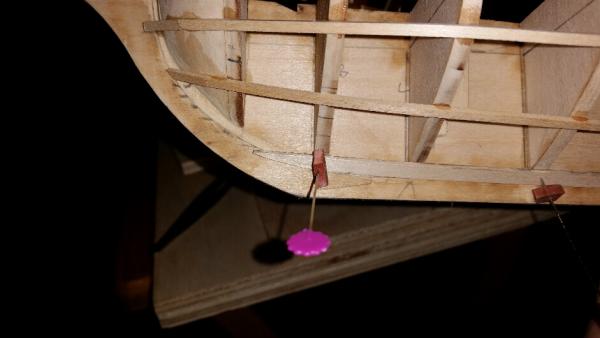
Ships log, After spending time reading and re-re-re-re-reading the planking instructions I found myself confused and a little hesitant on trying to attempt the planking of my snake the ways they were instructing, mostly because of their differing approaches on how to do it . I also came to the realization that the RS instructions are unique to this hull and the practicums were on different hulls, I know that the methods were the same but none of them could reconcile what I knew from experience. So with the practicums echoing in my mind ( I know they really had room to echo) I decided to embark into the saw dust. As shown above I measured and cut out the Garboard plank and placed it into Very Hot water so that I could make a wet set . I like this method as it lets the board dry in place before gluing and allows you to fine tune it easier than fighting to keep it in place. For all of my soaking I use a Voss wide mouth water bottle filled all the way to the top. I let the planks soak only about 5 mins as any longer makes the wood swell to much and no further pliability comes as a result. Here you can see the Garboad plank is bent to the shape of the hull One thing I took to the extreme cost me in having to spill the third strake downward and that was not allowing the garboard plank to naturally ride up the Stem, I was overly mindful to keep it flat and level along its length.Now I took all of your advise in not letting the Garboad go too far up the stem and yet didn’t realize that it can naturally ride up instead of staying flatt. If you look closely you will notice the third plank in the middle is only 3mm while in the stern and stem it is 5mm. It took some extra work to make it fair for the future planks and was well worth the effort. This is where I had an apostrophe, I knew I was going to have a measurement problem going from stern to stem. I knew I couldn’t have the planks less than half of their width , and my sample planks shwed me I would be way over that it I didn’t have exact measurements. But how could I have exact measurements to use the planking fan unless I had something to measure against? The battons / lines I had placed on the hull were not exact and I found others troubles with them to be of no use on how to solve this issue so It dawned on me now that I had the three planks in at the keel and they were fixed , I needed another fixed position to measure against . that being the wale line > it was time to place the wale line . So I wet set the wale plank and took exact measurements to assure fairness on both sides, I let it set over night to dry and marked each bulkhead to assure their proper gluing in place, I then glued them with wood glue to allow me to fine tune them into position. The end result was a flowing wale plank down the length of the hull and their measurements were right on the money. Over all I am very pleased at how they came out and look forward to trying the planking fan now that I have something to measure against. This concludes my ships build log for December 12, 2014
-
Howdy Scott, so far it seems to be working fine . I am in the process of adding strakes now and am up to the third one above the Garboard. one thing I found was that I went a little to far the other way from your suggestion to not allow the garboad to rise up the keel. I took the over cautious rout and ended up having to spill the second strake up in order to make it back to true on the hull. I will post pictures tomorrow if I can . I have found that the planking plans are a little confusing to me with all the measuring and strips. I also find that out of three different directions they all come at it differently. So I decided to employ my experience to the wood and only time will tell if it was the wise choice. I will say this , that oddly enough this is very relaxing to work on these planks , Im not finding it the problem child of the ship modeling . Time will tell, but so far Im having a blast, and that's what truly counts in the end right?
-
Thanks for all the input here Jpett, Well after our talk yesterday Iwent ahead ad removed the battens. This ended up in about an hour worth of repairs and sanding. Now I measured the g bulkhead and still only make 15 strakes, then I spent the rest of the day pondering why i have 40,3/32 decking pieces in the kit, i went back and read the directions only to seemingly infer some of these can be used for strakes.This revelation sent me on another tangent, so I went and looked at the link you supplied and then decided to try something , if it worked great if it didnt I would only be out a few pieces of decking. What i did was take two 5/32 plankes and line them up on the keel. This allowed me to uses the width of the garbord to then follow the curve of the rabbet.After checking for trueness and triming , I soaked it in hot water and then pinned it into place.It worked like a charm. Now I have a dried fair garboard that I can now easily leave in place without gluing and work on the next strake. I am going to attempt this for the first section, and when I am happy with it then go back and glue them all before I move on. Incidentally, if i used the 3/32 planks I would come up with 18 strakes not including the garbard qnd wale lines.
-
Thanks Jpett,I had totally forgot that i would have to measure to the center of the beam as i preceded around the convex. That helps alot, now assuming that the fan takes this into account, do i measure the gap between the battens and then transpose that to each individual bulkhead? If that is the case then i am glad i removed the battens last night,, although it caused some light damage to some parts i had to go back and reglue. In the future i would not recomend glueing tempoary battens , the string application works much easier.
-
Ok Guys , I took a paper and lined the bulkhead with the bottom line touching the top of the garboard strake to the top of the wale is 75 mm. that divided by the 5mm wide strakes comes out to 15 strakes that plus the garboard comes to 16 total. As for the garboard strake I am only allowing it to rotate to fit into the space and not curve up, I laid up the next strake to see how it would line up , so far it looked ok. Im going to look at this some more before I move forward. Thanks for the input guy's
-
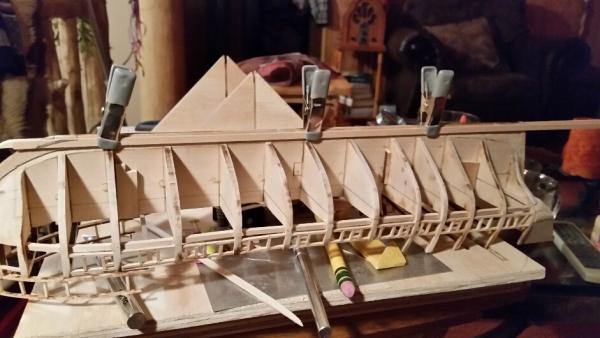
Thanks Jonathan I added those books to my Christmas list. Well life and ministry has been super busy, but alas I was able to put the battens on the hull. After doing this and seeing the hulls lines i found that the thread idea would have worked easier and made adjustment simple. But for now i woill leave well enough alone. you will notice my battens come to a common measurment in the stern and stem. As these are guides i wasnt overly conserned with their exactness, if they eere line i could have adjusted them to peffection but felt they were good enou th h. Now as for the garbord strake I followed the lines on the plans precisely. I also transfered the measurements from the plans in the stem and stern, the only thing I am a liþle conserned with is i can only fit 5 strakes per section. If anybody sees something that i may have missed please give a shout, i have gone through countless build logs on planking and read through all the tutorial s at least a dozen times
-
Thanks Scott, As I work through this build I am feeling pulled to look into a plank on frame build.my youngest daughter and i play assisans cread and they had one area that a ship of the line was being built. That along with a few videos on youtube of full size replicas, has intrigued me. I am looking at diffrent ship plans now. Has anyone else considered this undertaking? And how did they go about it ?
-
Wow Wow Wow , this is an amazing Job! absolutely beautiful! The Lord has truly blessed you with an eye for detail. In His dust Rev KB
About us
Modelshipworld - Advancing Ship Modeling through Research
SSL Secured
Your security is important for us so this Website is SSL-Secured
NRG Mailing Address
Nautical Research Guild
237 South Lincoln Street
Westmont IL, 60559-1917
Model Ship World ® and the MSW logo are Registered Trademarks, and belong to the Nautical Research Guild (United States Patent and Trademark Office: No. 6,929,264 & No. 6,929,274, registered Dec. 20, 2022)
Helpful Links
About the NRG
If you enjoy building ship models that are historically accurate as well as beautiful, then The Nautical Research Guild (NRG) is just right for you.
The Guild is a non-profit educational organization whose mission is to “Advance Ship Modeling Through Research”. We provide support to our members in their efforts to raise the quality of their model ships.
The Nautical Research Guild has published our world-renowned quarterly magazine, The Nautical Research Journal, since 1955. The pages of the Journal are full of articles by accomplished ship modelers who show you how they create those exquisite details on their models, and by maritime historians who show you the correct details to build. The Journal is available in both print and digital editions. Go to the NRG web site (www.thenrg.org) to download a complimentary digital copy of the Journal. The NRG also publishes plan sets, books and compilations of back issues of the Journal and the former Ships in Scale and Model Ship Builder magazines.


