HOLIDAY DONATION DRIVE - SUPPORT MSW - DO YOUR PART TO KEEP THIS GREAT FORUM GOING! (Only 13 donations so far - C'mon guys!)
×


russ
-
Posts
3,086 -
Joined
-
Last visited
Content Type
Profiles
Forums
Gallery
Events
Everything posted by russ
-
John: Thanks. Russ
-
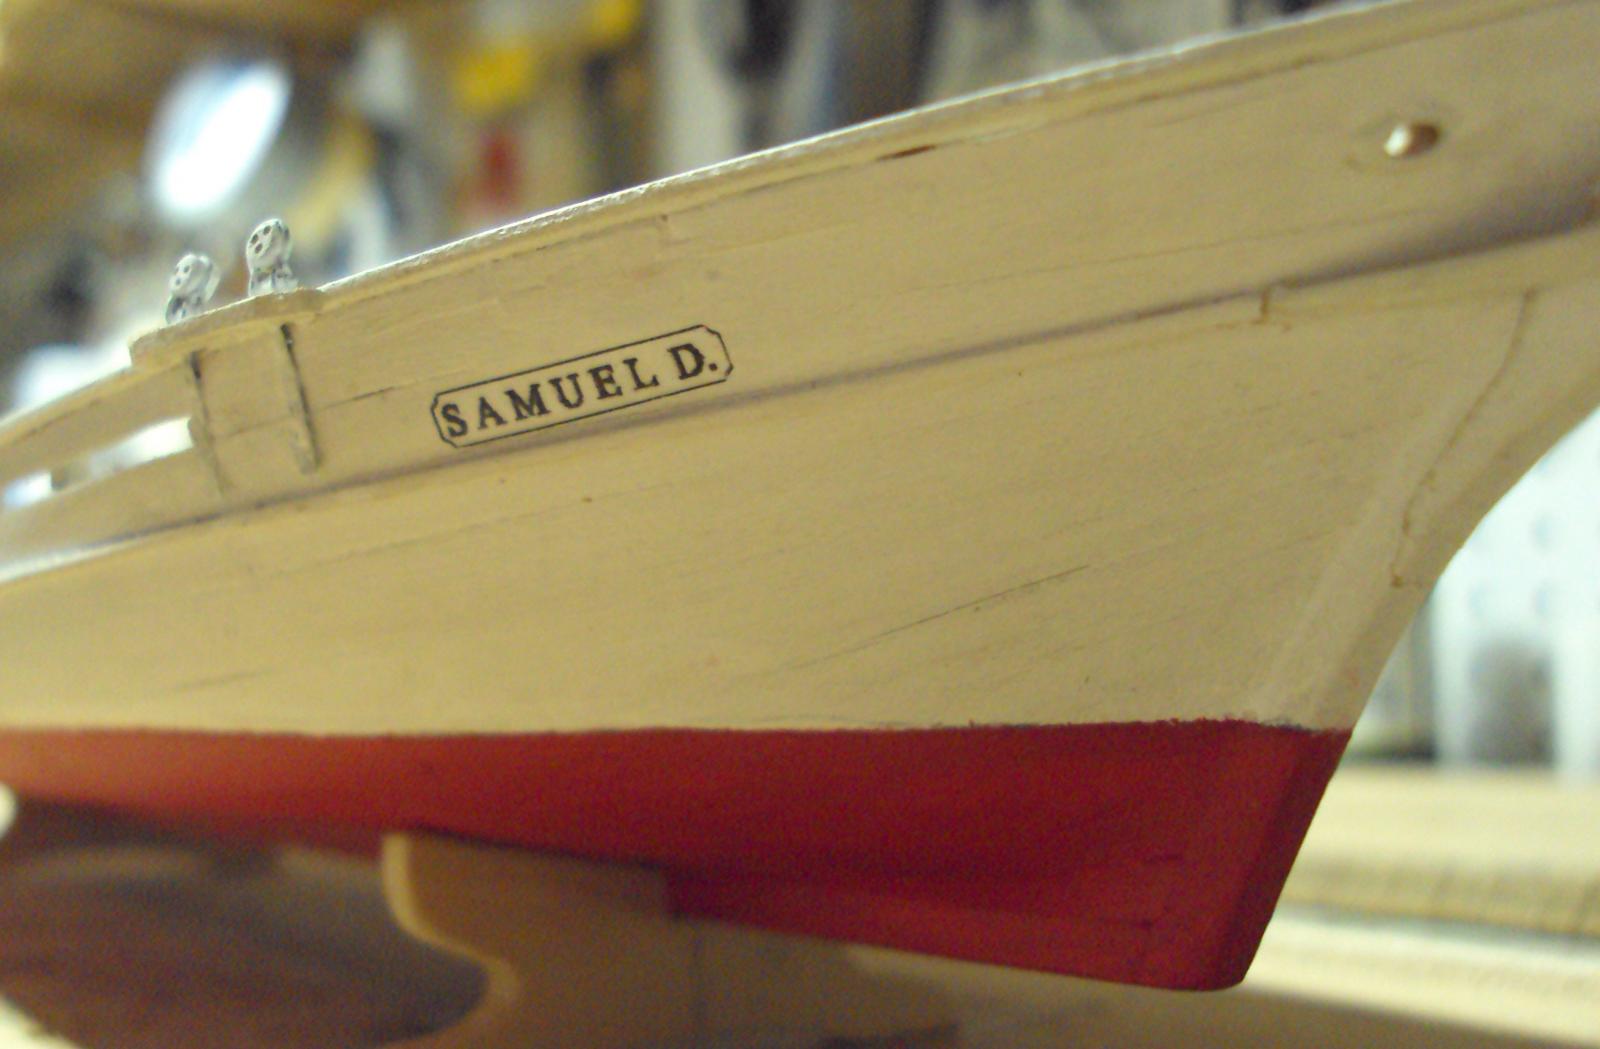
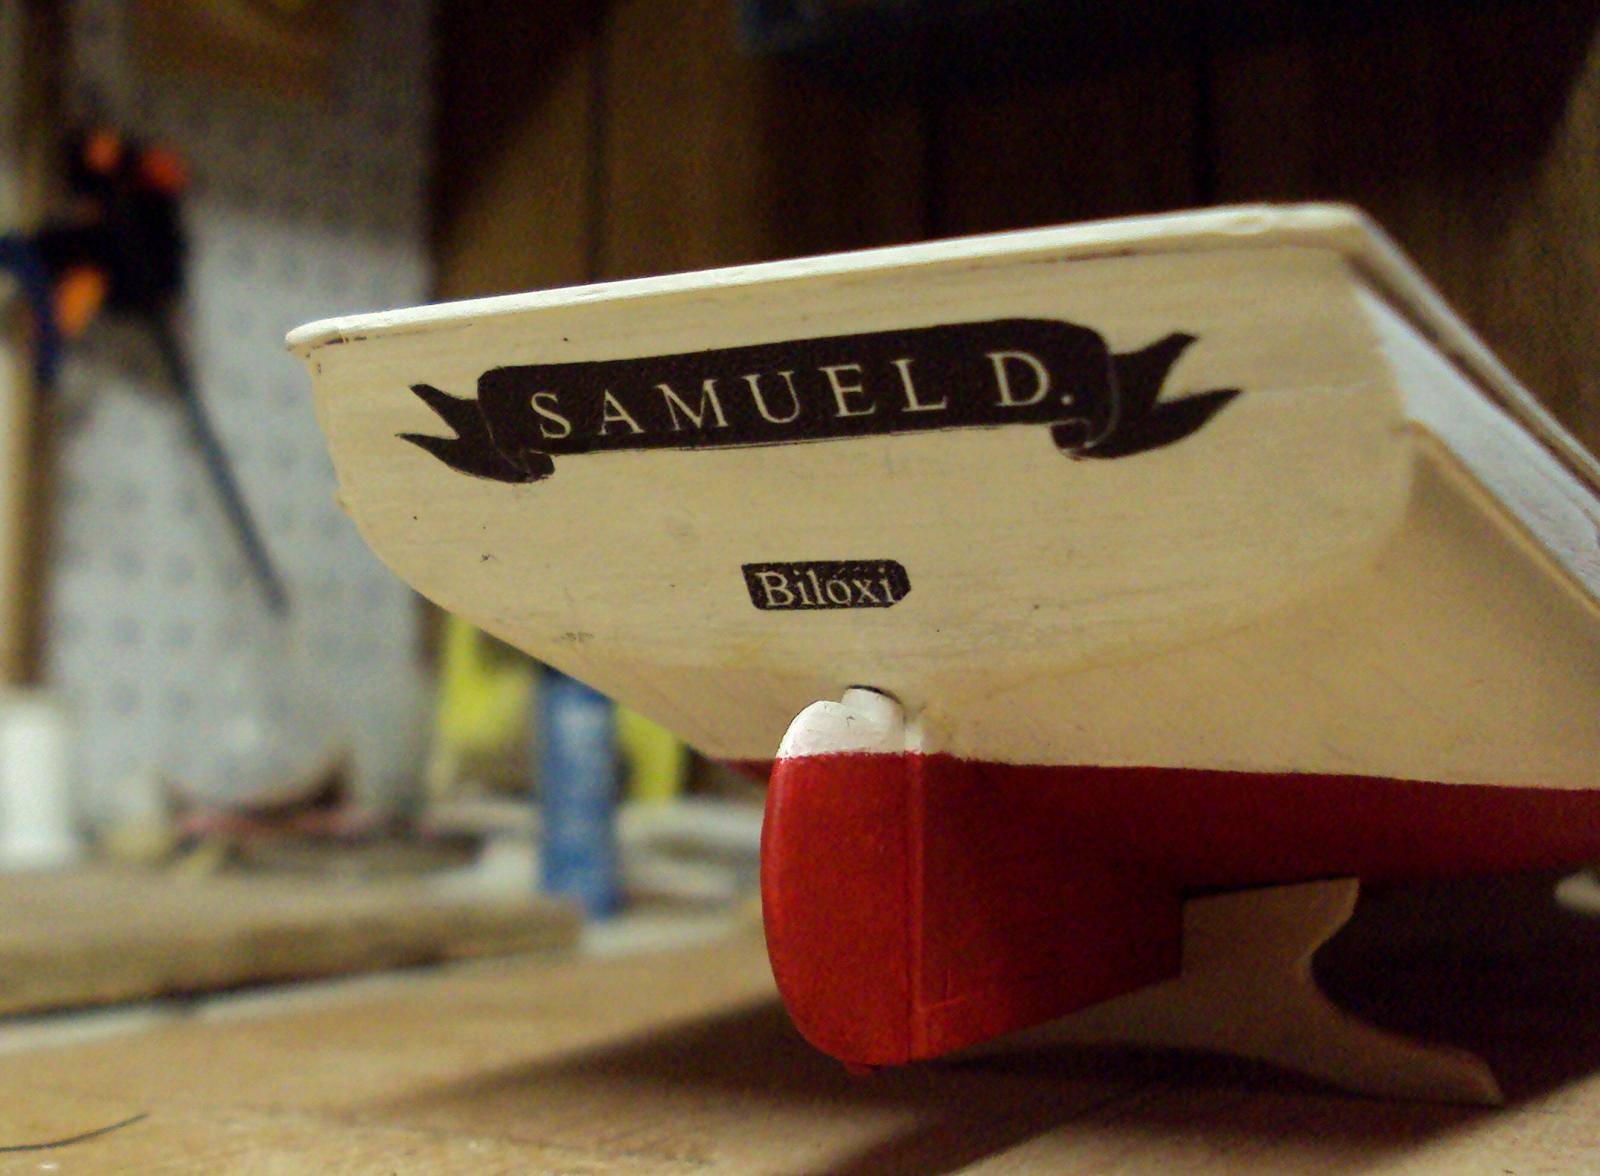
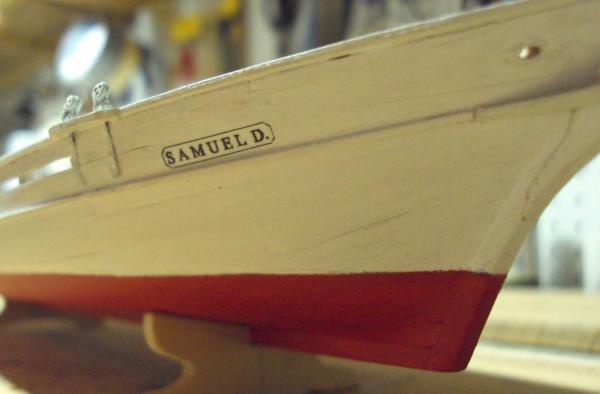
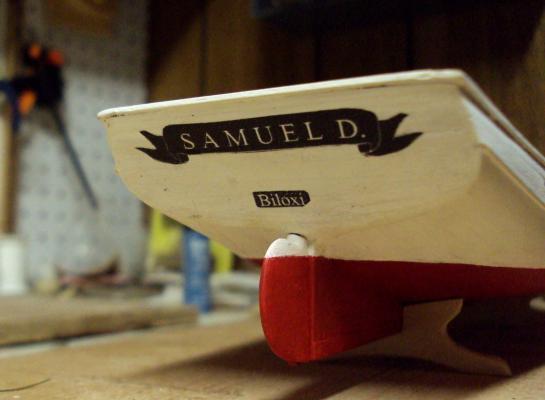
For the name of this schooner, I made up some decals. This was my first experience making water slide decals, and it was interesting and educational. The only thing to be added is the "of" between the name and the hailing port on the stern.
-
When you do the conversion from the metric dimensions, this kit is 1/64 scale, the same size as the Mamoli and Model Shipways kits. This kit, as well as the other European kits of this vessel, are based on the Model Shipways kit. That kit was based on Howard Chapelle's original research on the Rattlesnake from the early 1930s. He first presented his redrawn plan of this vessel in his book History of American Sailing Ships, published in 1935. His plan was based on the original British draught from when she was captured. The original Model Shipways kit was introduced in the 1950s and it was a solid hull kit. They changed it to a POB hull in the 1990s. Russ
-
So long as the patterns you use match the plans you working from, then all is well. Russ
-
Hamilton: At this point, I would trust your hand more than the accuracy (or lack of it) of the copier. It is a very low tech way of doing it, but it sounds like you are on the right (accurate) path. Russ
-
John: Sorry, no dredges on this schooner. She is ready for the regatta. Russ
-
John: Yes, I think the spreaders will have a metal band around the ends. A hole will be drilled up through each end of the spreader to take the topmast shroud. Russ
-
Sam: Thanks for the kind words and for looking in on my work. It is appreciated. Russ
-
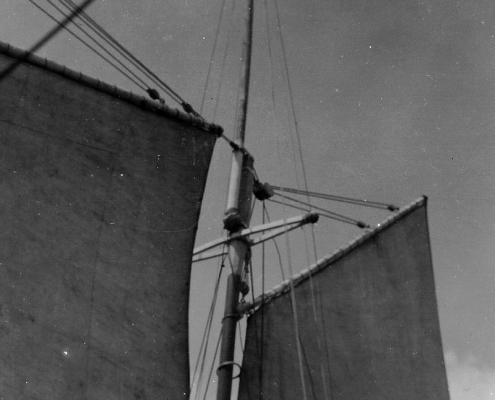
Carl: I am very fortunate to have some photographs of this item and that good one of the masthead to show how it goes together. Russ
-
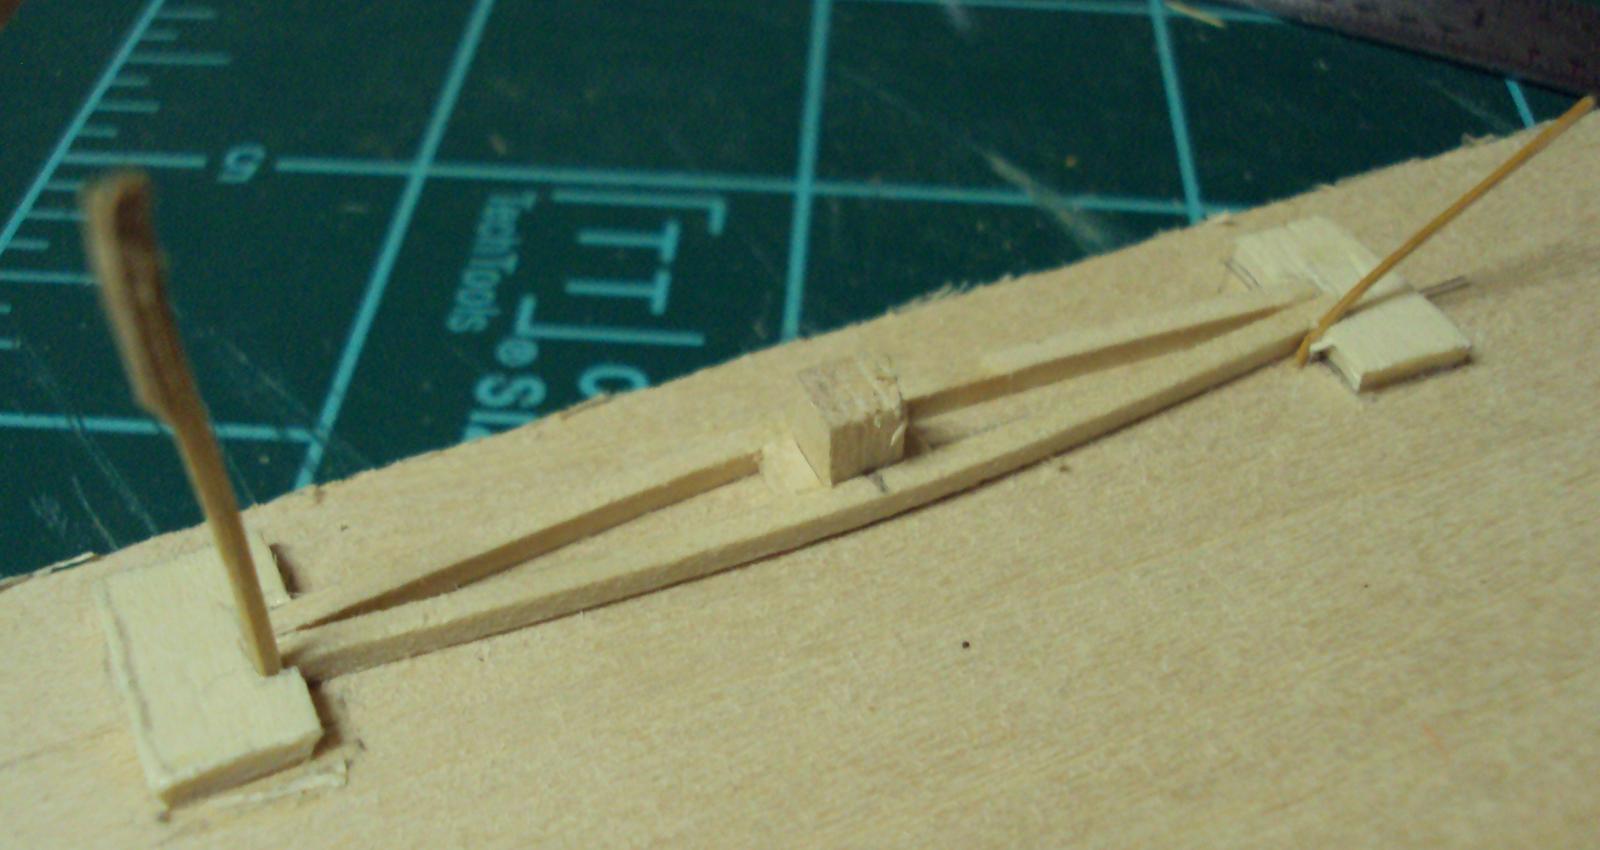
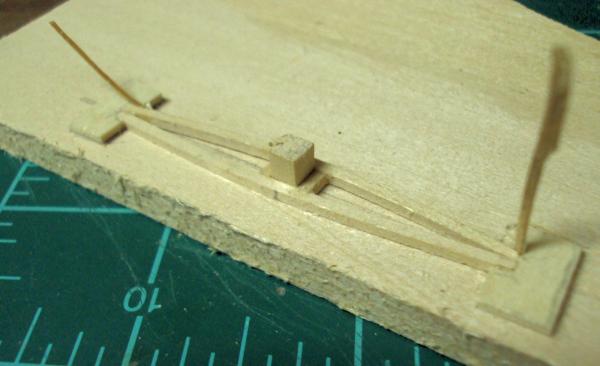
This schooner has a spreader on the mainmast to handle the topmast shroud. Here it a photograph of a spreader on a local schooner and the jig I am using to make the spreader for the model. Russ

-
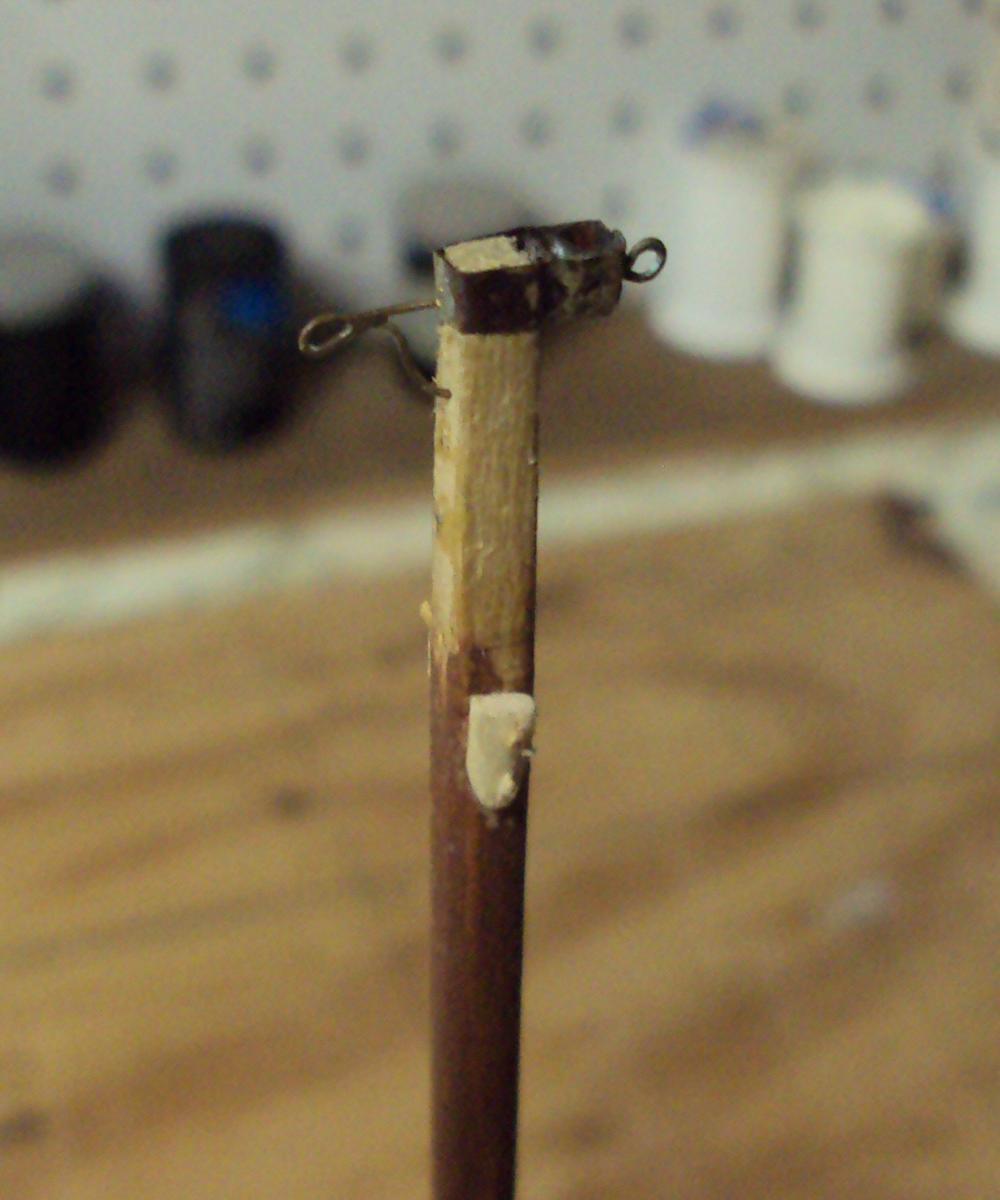
Okay, I know it looks a little scary, but in the end it is going to be painted. This is the main mast head band with the band for the topmast to pass through, as well as the iron for the topping lift. This fitting was soldered up from brass strip and wire. Do not mind the cheeks. They are not completed yet. The cheeks will be sanded down and the spreaders for the topmast shroud will rest on them. Russ

-
Thanks to everyone for the kind words and likes. Working on the mainmast today. Russ
-
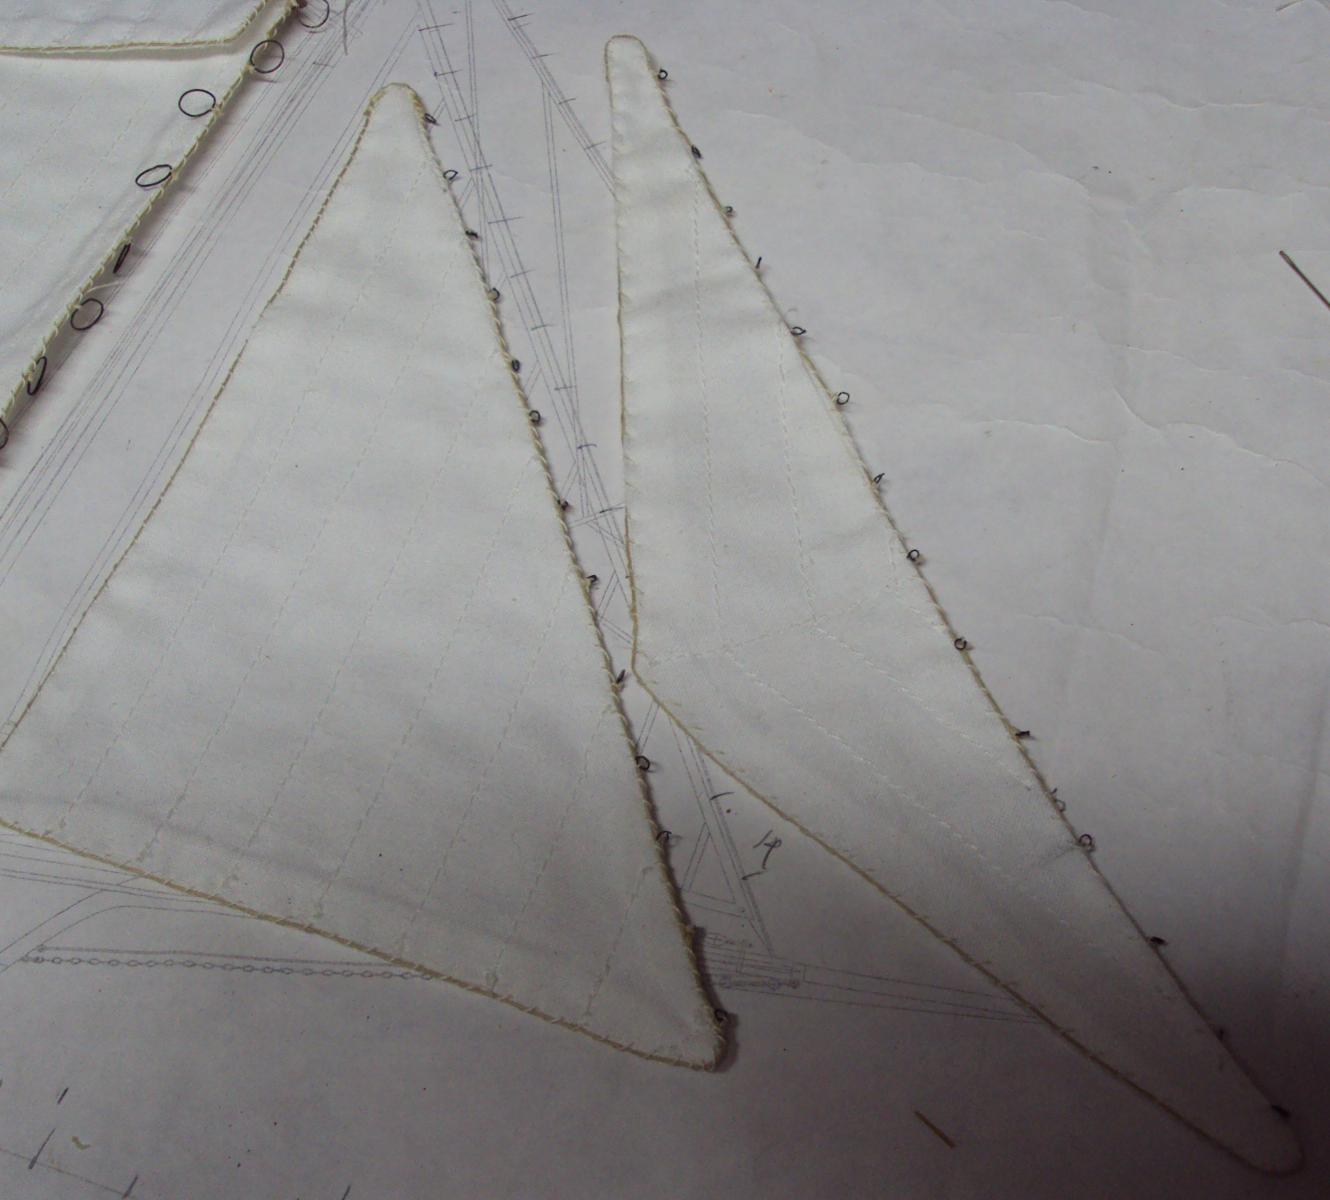
Pat: Thanks. I had a local person sew the sails for me. She did really nice work. I sewed the bolt ropes and added the hardware. Russ
-
John: Thanks. I am going to test rig them on some thread to see how everything hangs. That should tell me something, one way or the other. Russ
-
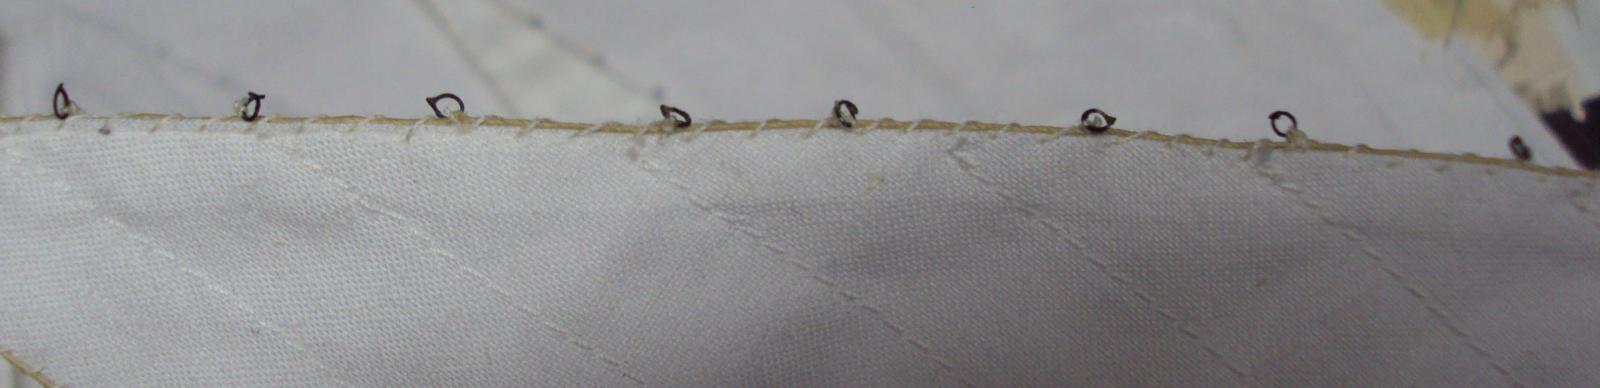
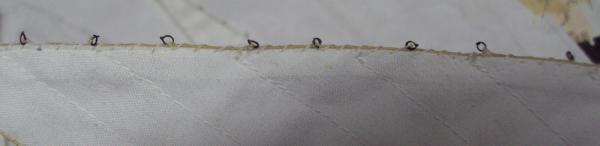
Thanks. The rudder is tucked up under the stern a bit so I am not too worried about knocking it on something. However, it is good to be cautious. The sail hanks are very thin blackened annealed steel. I doubt there will be any rust issues, but in any event, the model will be cased. I was/am worried about the scale appearance. I think these will be okay. Russ
-
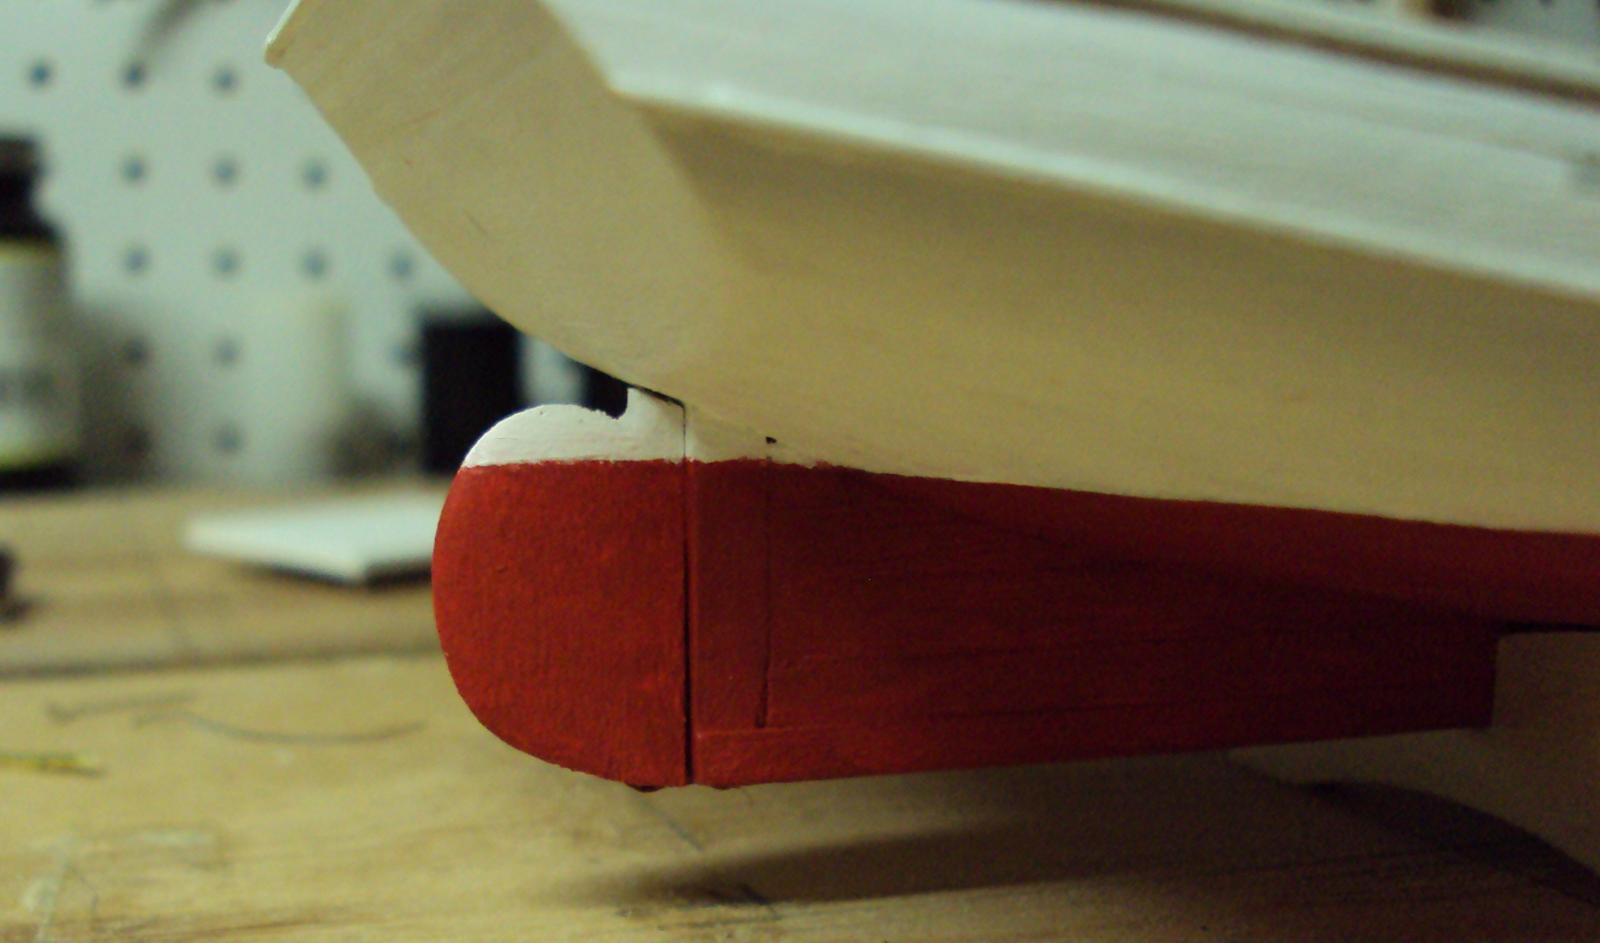
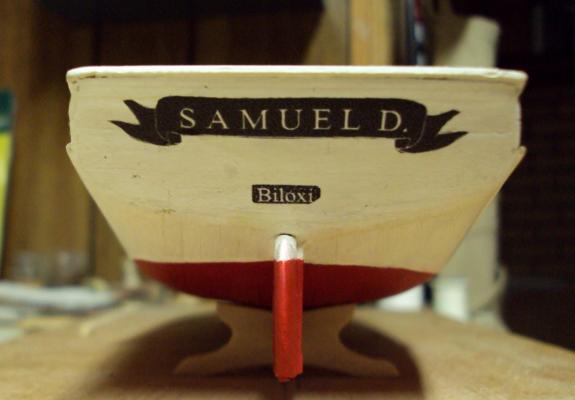
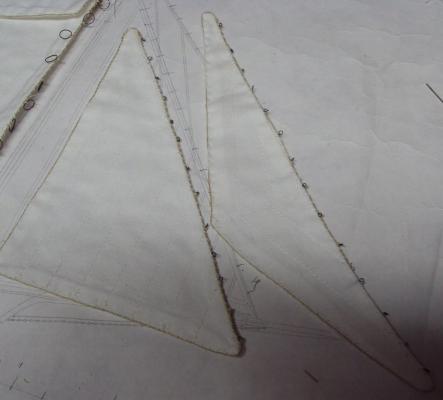
Made some progress this past weekend. The rudder is made and mounted. The rudder does not turn. It is just there for appearance. There is a brass plate under the keel and two pieces brass wire soldered into the plate that connect to the keel and the bottom of the rudder. The rudder is also held in place by bamboo dowels that go up into the hull and into the sternpost. The paint work needs a little touch up, but it turned out fairly well. The headsails have their hanks. The hanks are soldered blackened steel wire. The inside diameter is roughly 1/16". That is 3 scale inches. They are tied onto the boltrope. Russ

-
I would think, given the vessel and when she was built, that wire rope would have been used. Russ
-
Barbara: The .021 line will be okay, I am sure. Lanyards can be the lighter color thread. Russ
-
John: Thanks. I am hopeful I can get more done this weekend. Camille took a lot of good things here on the coast. So much history lost to hurricanes over the years. Russ
-
Bob: Thanks. This is design that I reconstructed based on tonnage admeasurements and photos of Biloxi schooners from around the turn of the 20th century, particularly those built by Martin Fountain Sr. He was a famous local builder who produced some of the best looking Biloxi schooners. Russ
-
Pat: Thanks.
-
Elia: Thanks. I considered not painting the bottom, but as long as it has taken to get this far, I decided it really needed the red bottom. Russ
-
Ken: Thanks. I have been building all along, but not on this model. I am glad t be back at this model though. I hope to get it completed this summer. Russ
-
Alfons: Thanks. I hope you can get your workbench rebuilt and get back to building. Good luck. Russ
-
Thanks. I have made a few touch ups this evening and it looks much better. I think it will pass muster. Russ