kostas_gr
-
Posts
239 -
Joined
-
Last visited
Content Type
Profiles
Forums
Gallery
Events
Everything posted by kostas_gr
-
 thank you very much garward
-
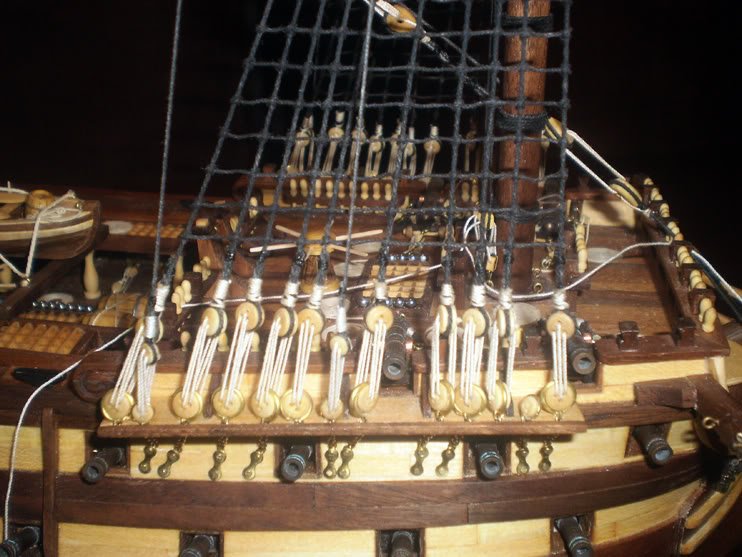
I will wait till all rigging and sails are done, and I will make a test, probably create a couple of "false" dead-eyes on the channels and paint them and see how it will look. But I have already decided that in the next model (san fransisco or wasa) I will definatelly use same black color and probaby pay more attention for the dimensions of ropes (diameter)
-
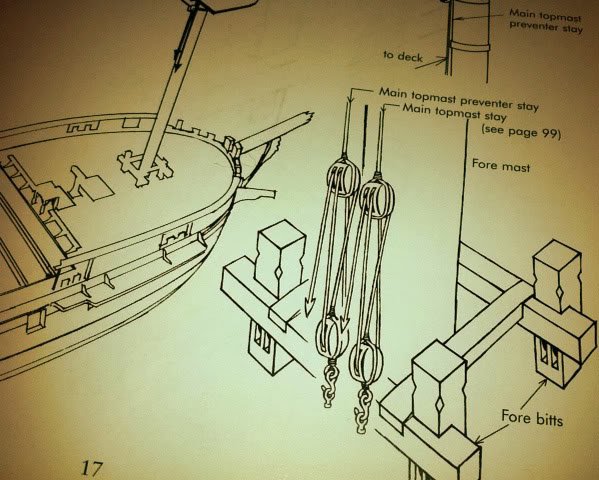
also nice picture for the rigging of anchor, any chance you have more pics for anchors?
-
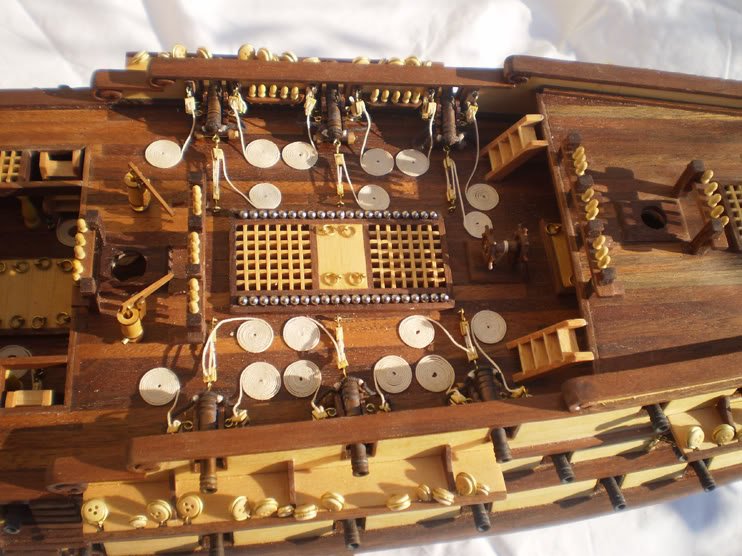
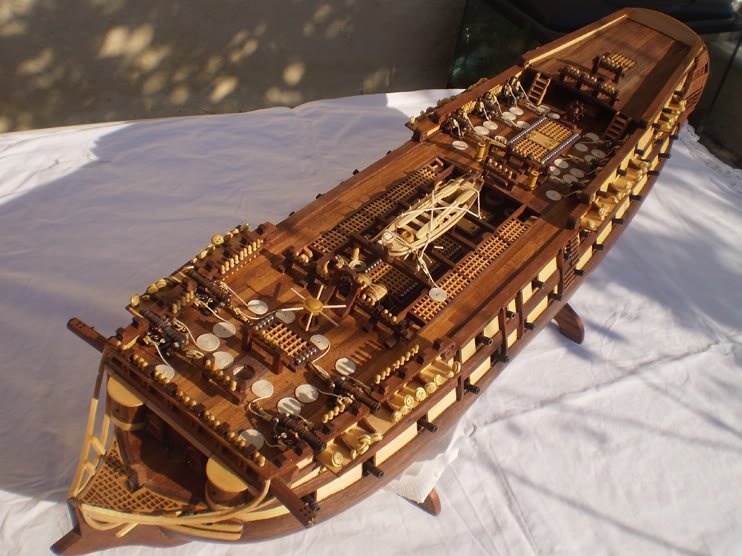
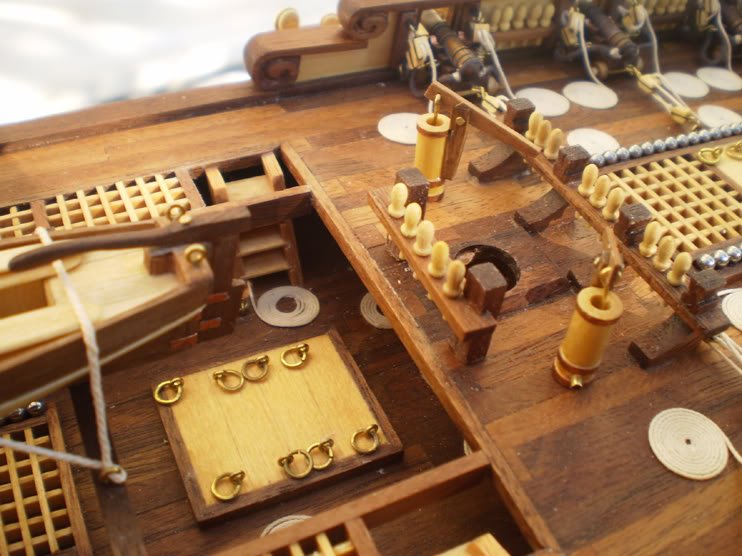
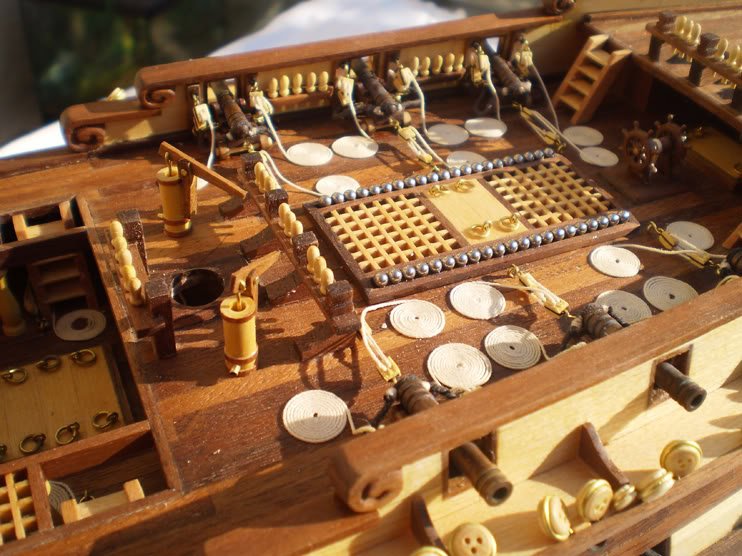
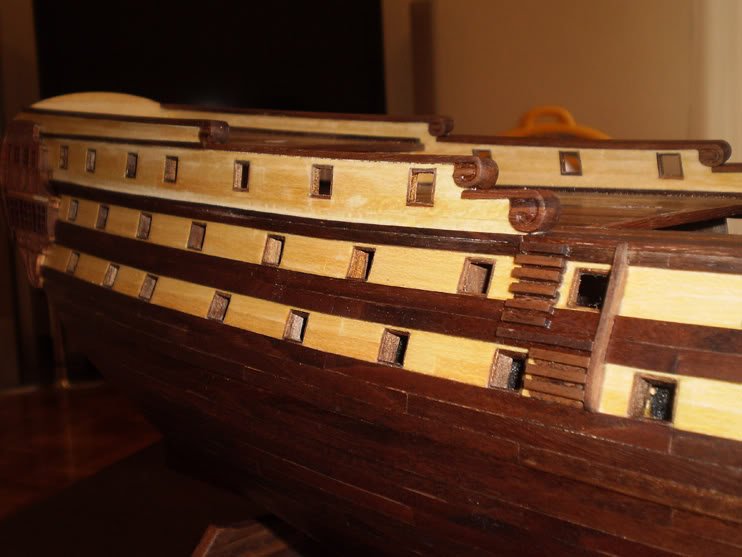
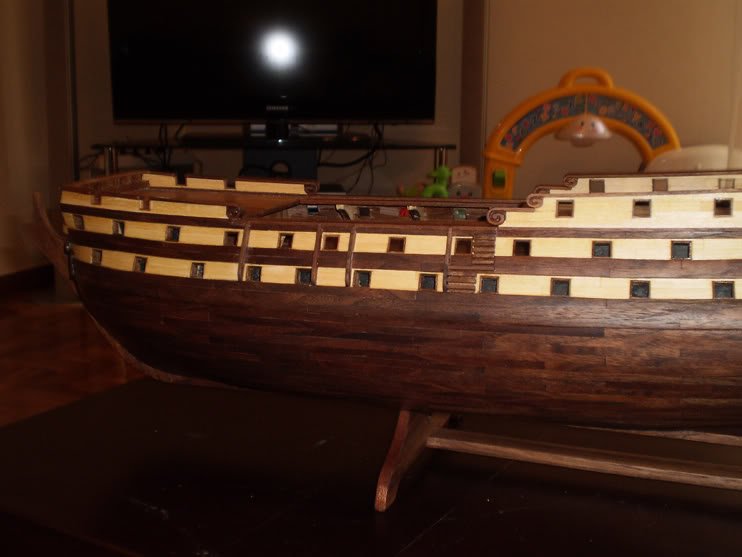
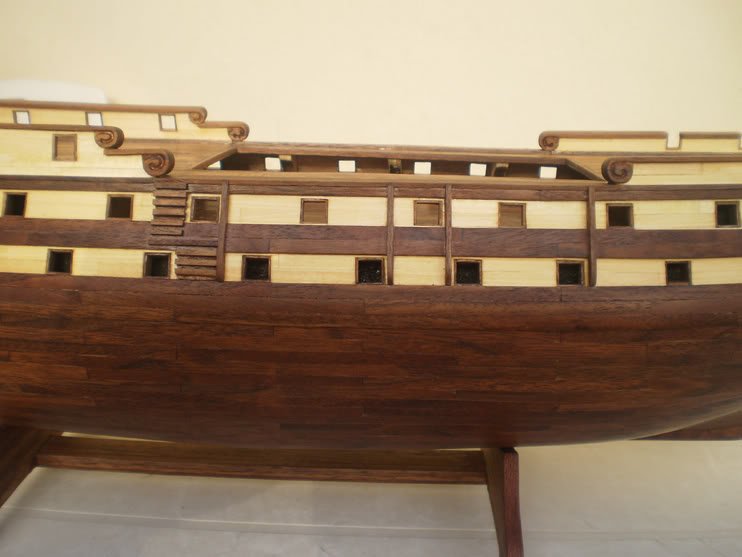
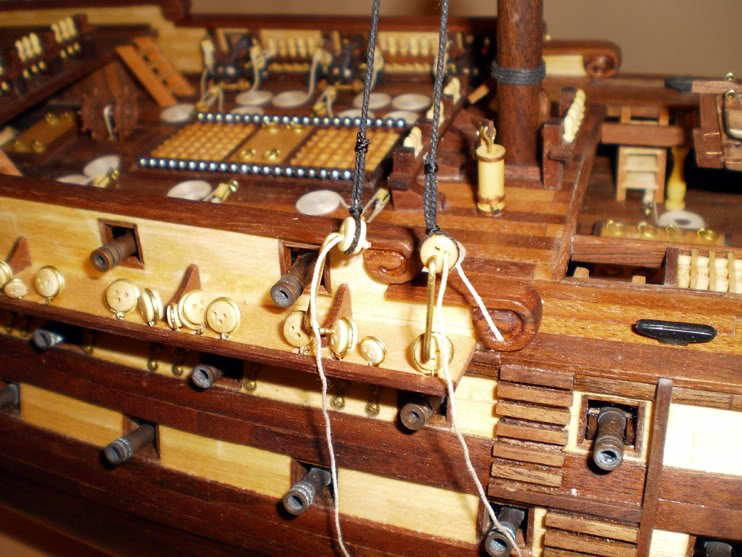
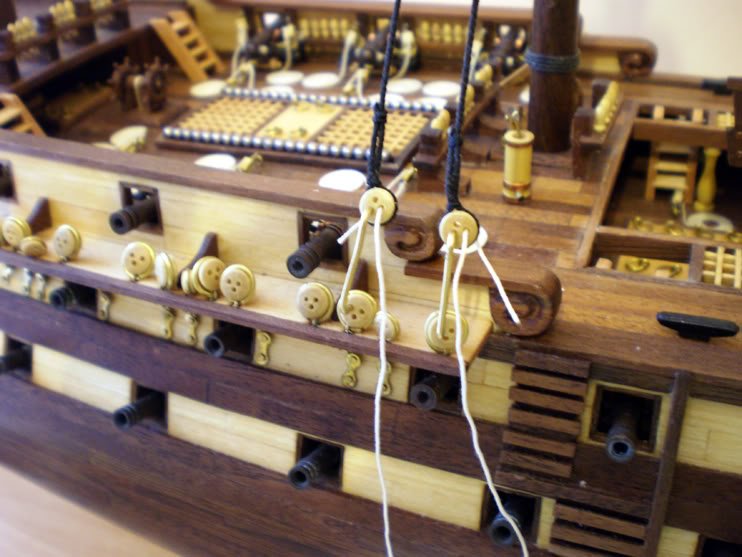
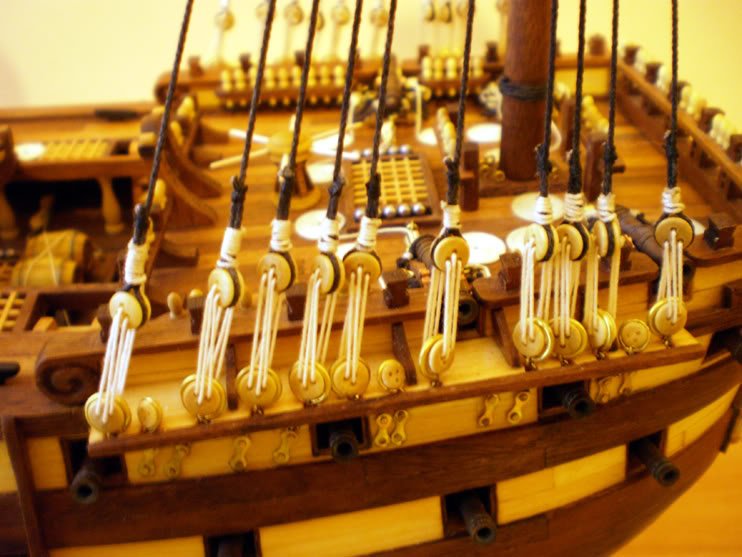
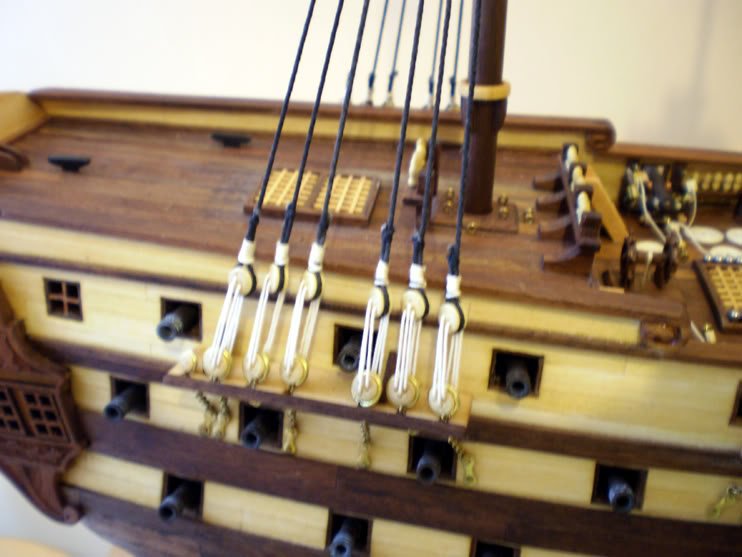
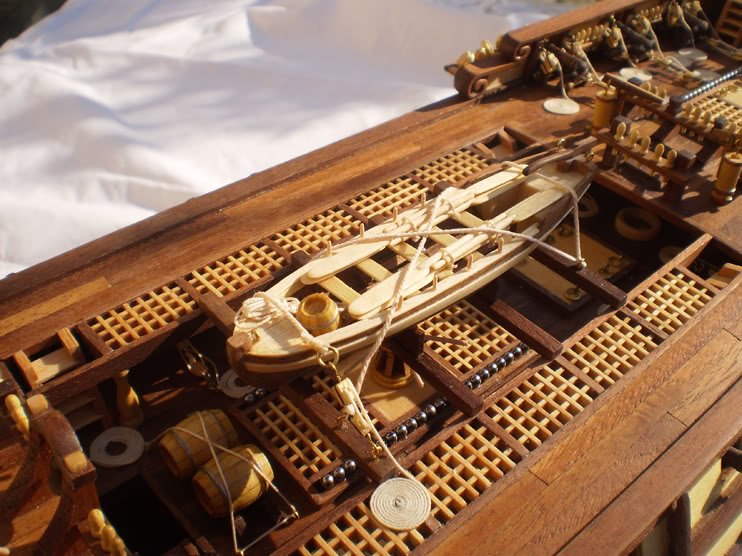
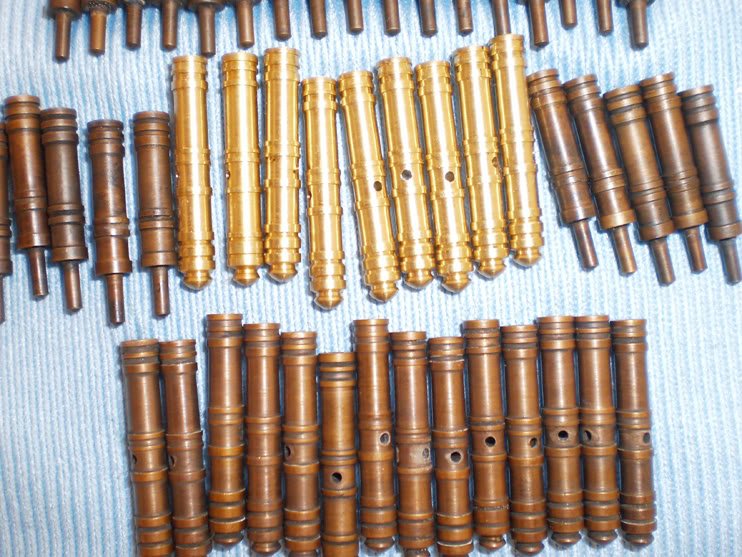
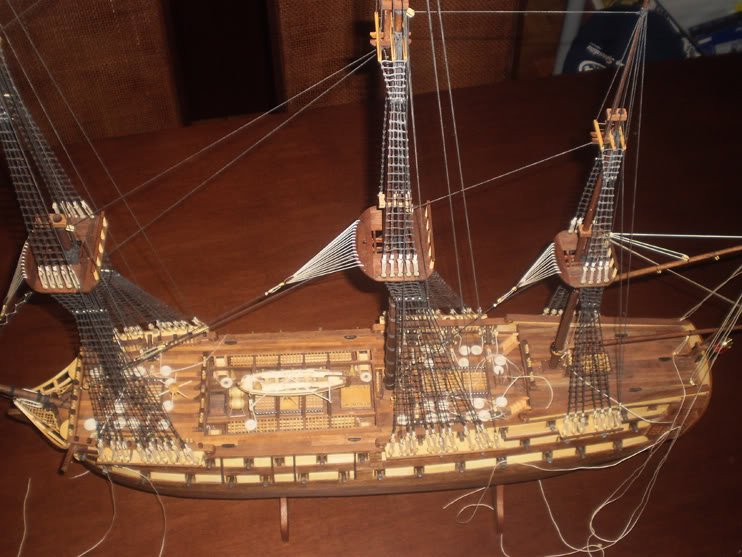
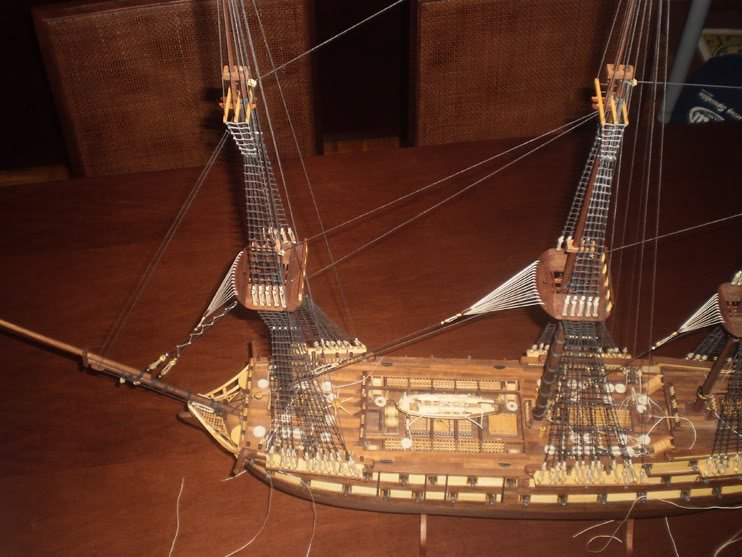
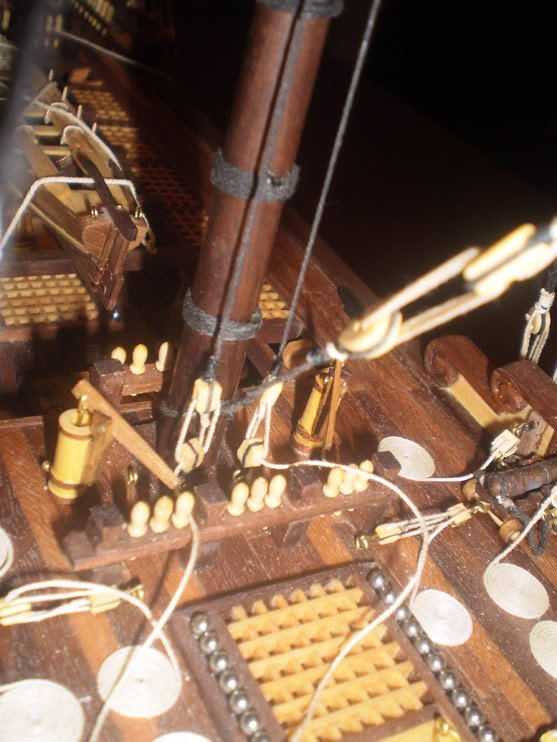
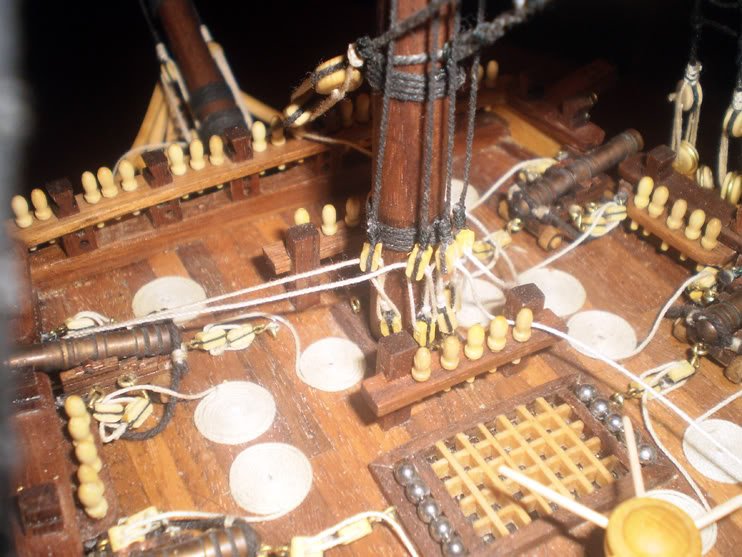
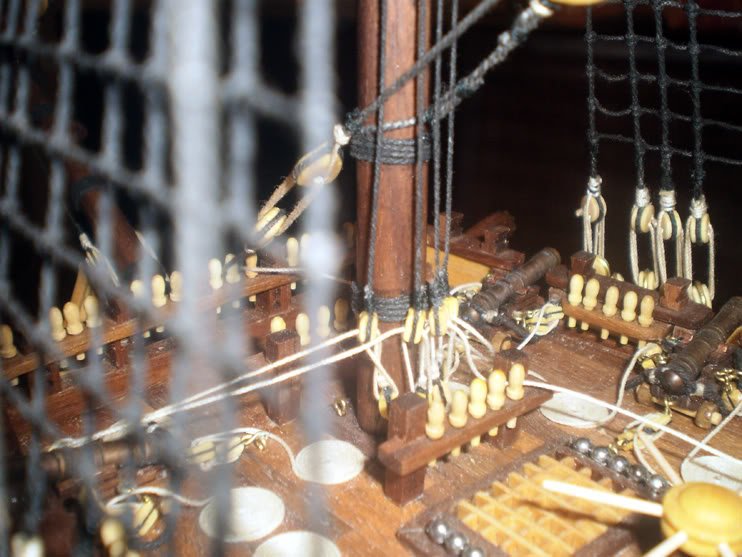
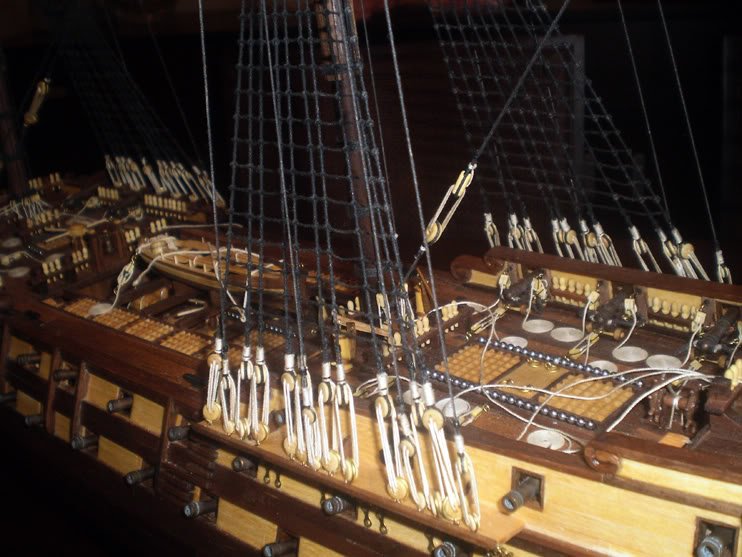
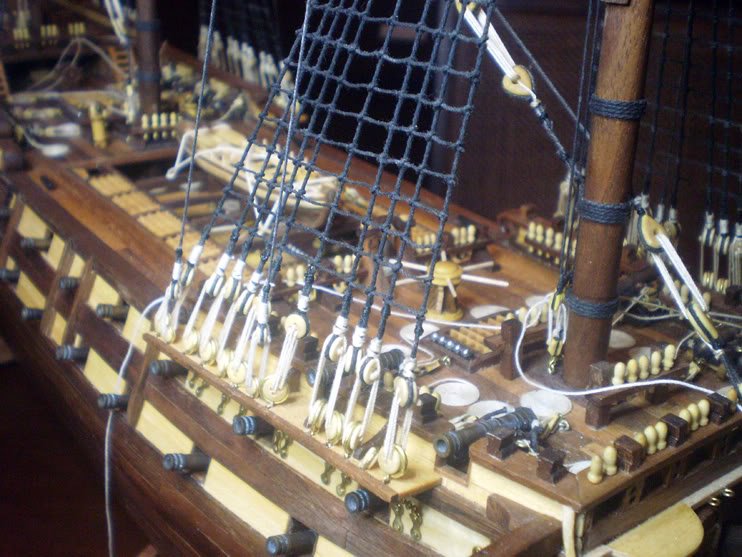
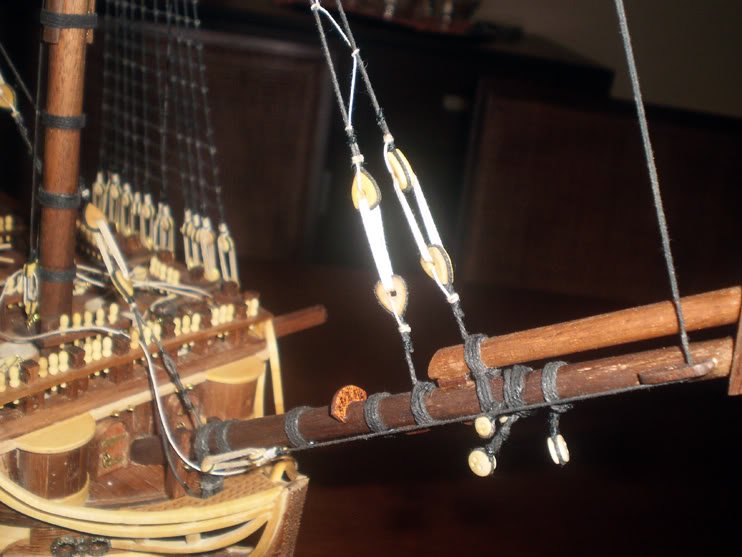
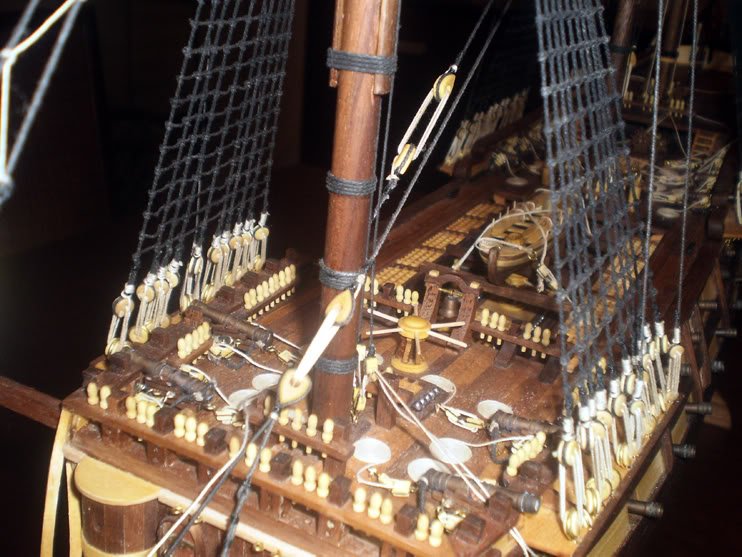
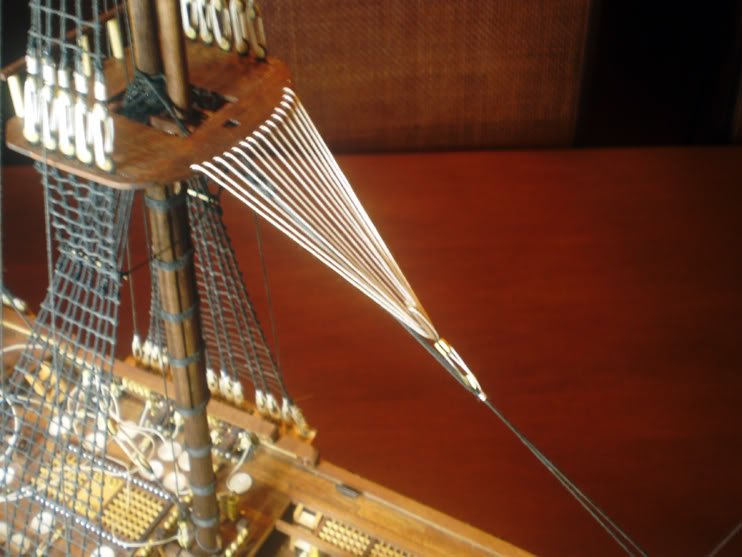
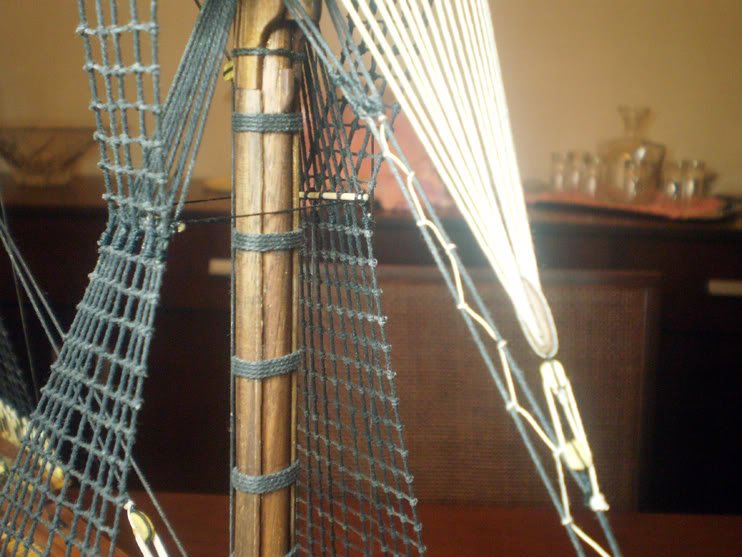
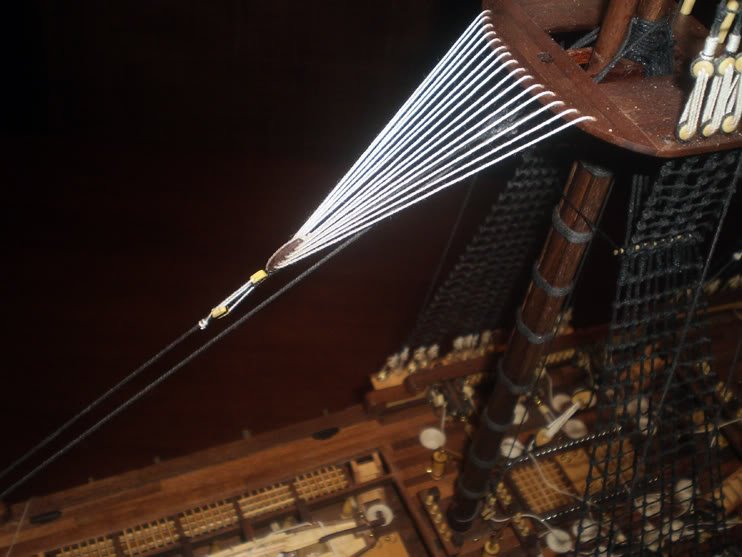
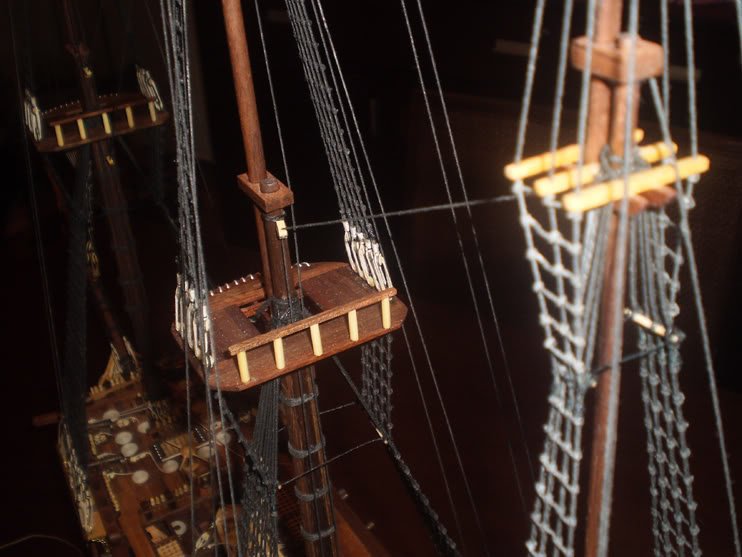
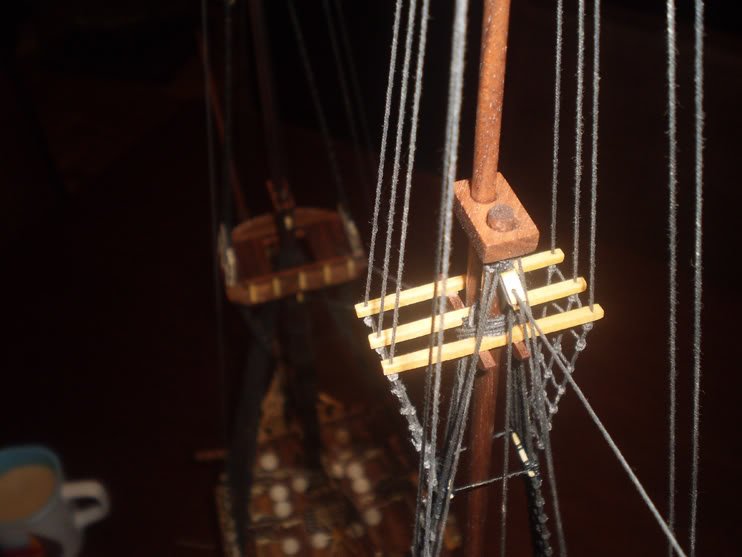
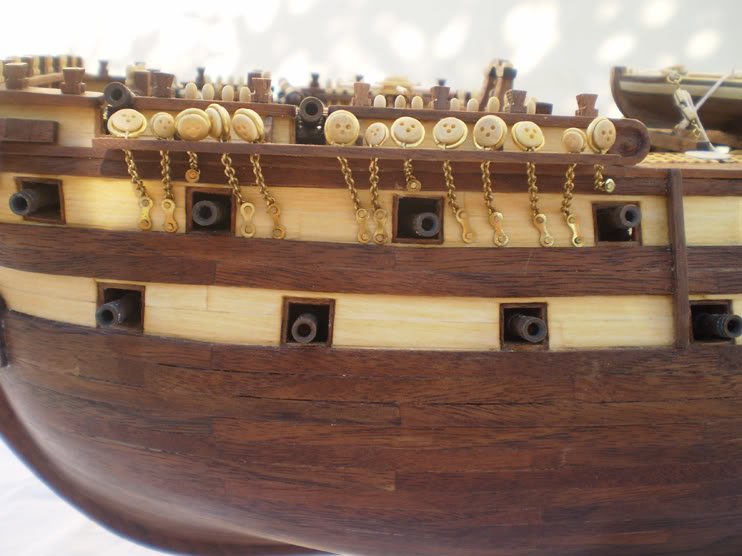
in some models (pictures from build logs and magazines) I have seen using same color like your picture, but also i have seen lighter color my logic told me to use dark color (your suggestion actually) becouse I consider it as standing rigging in the model shop they told me that the dark color (blackish) supposed to be rope with tar in order to be more resistant, and the rest was natural (beige) but becouse of the usage and dirt was getting darker and I should use the light coloured shroud I didnt knew what to do and I have chosen the beige color, becouse if I wanted to change it, I could use dilluted black paint. still havent decided As I was making progress with rigging, it become more obvious that I have some issues with the diameter of the ropes I used actually I am using 2 styles, most common in my kit the thin one (lets call it A type), and the second type the one I made with ropewalk using 3 ropes of type A But I think that the rope I used for ratlines should have benn thinner
-
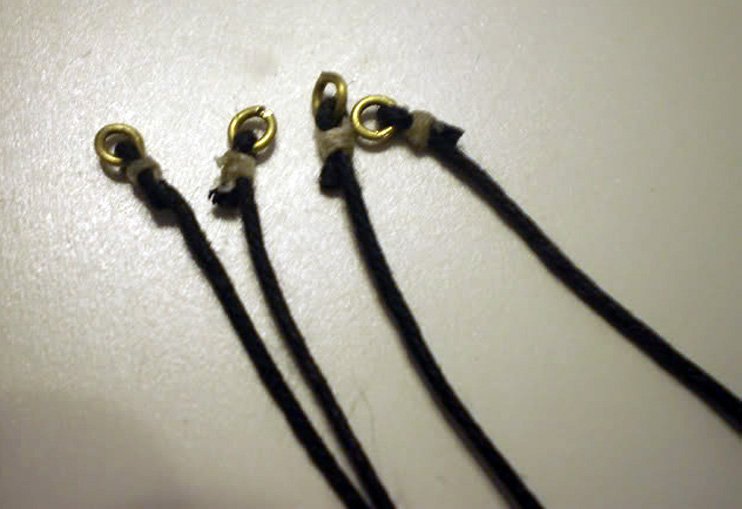
garward can you please explain me with more words and if possible pictures what you excactly say... i am not so familiar with terminology I have used 2 colors for shrouds, black (painted with enamel paint)->for standing rigging, and the nanutral that shroud had (light sand, BEIGE) for the rest also I have few more questions about rigging
-
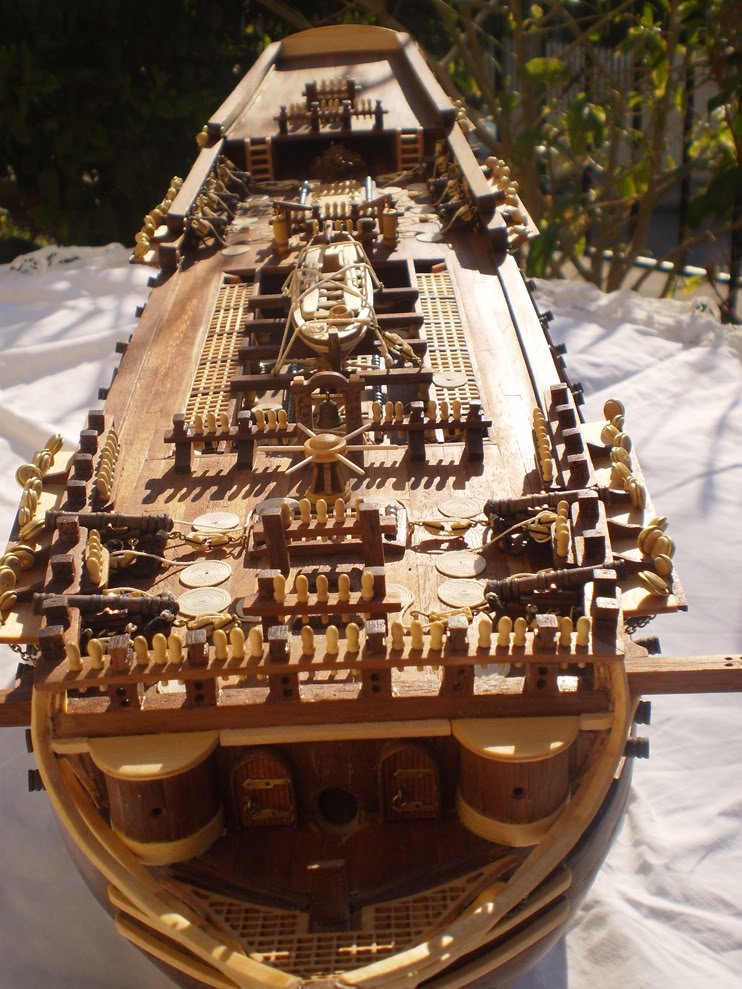
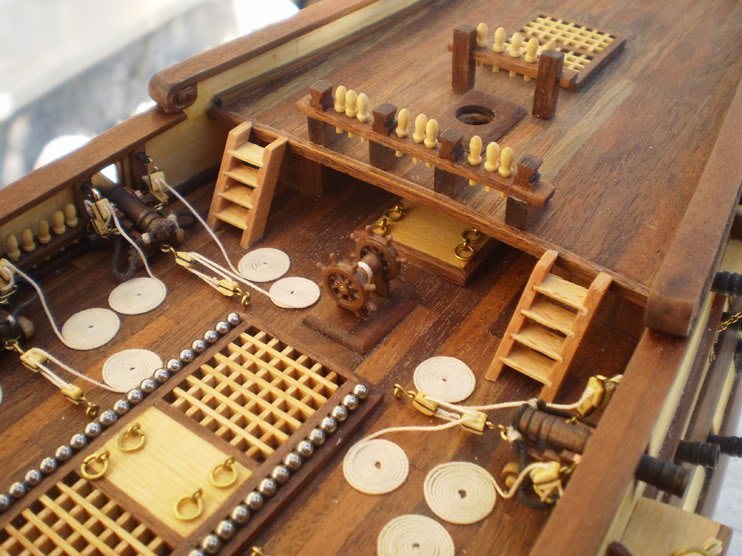
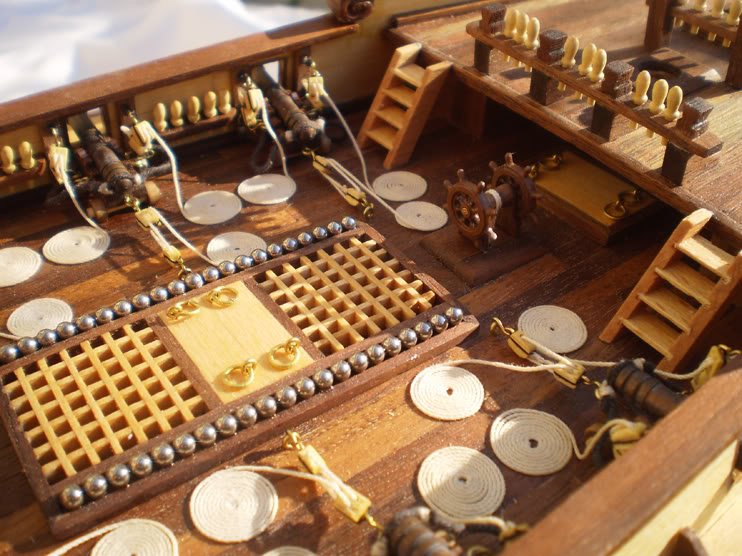
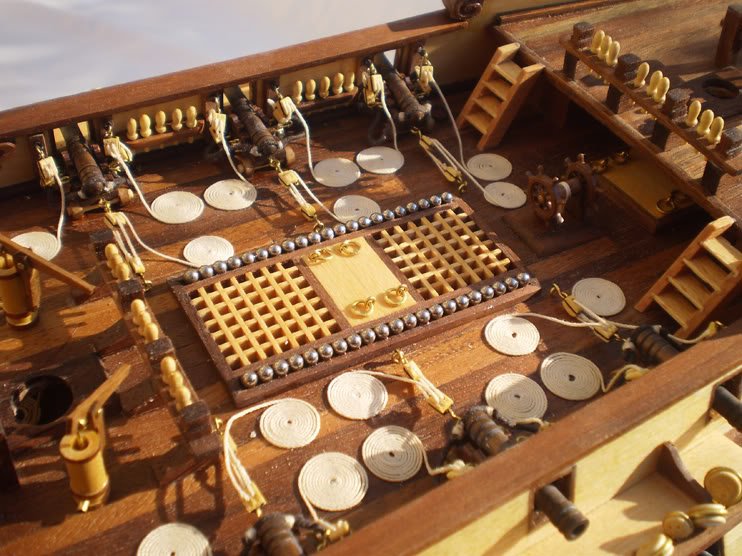
David thank you for your kind words, it is first my build, but in every step I made lots and lots of tests, not to metnion how many hours I have spent (and still spending) reading other member's logs took me so far around 4 years (I am not so much dedicated, some times I am taking 4-6 months breaks, or I am waiting till I find the right build log to follow and match with mine) I am trying to finish it before summer (I am working on the fore mast sails atm), becouse my four years old daughter aint gonna let me stay inside house while outside is warm and sunny........
-
I think I will not like coppering, I mean I am lucky that my ship dont need one looks good, but I cant imagine how hard it is nice work stergios, more pics please
-
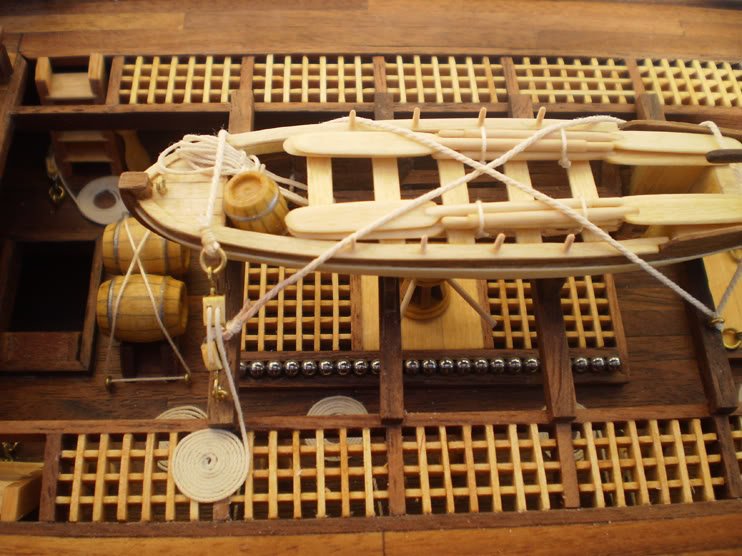
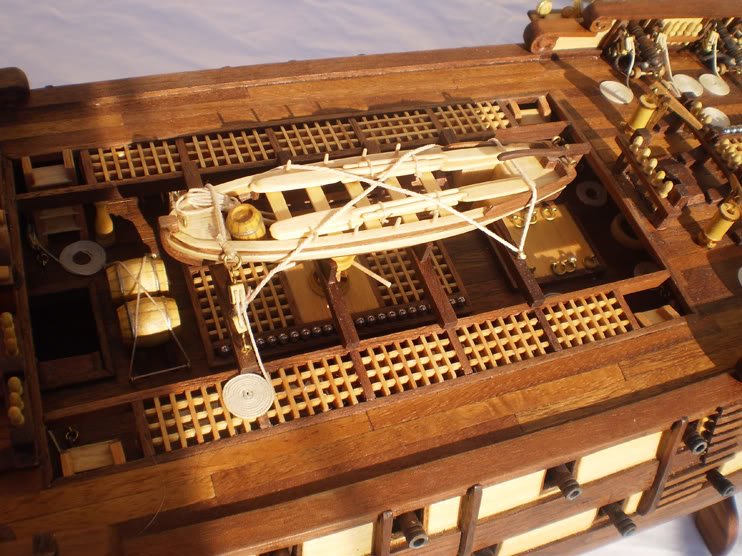
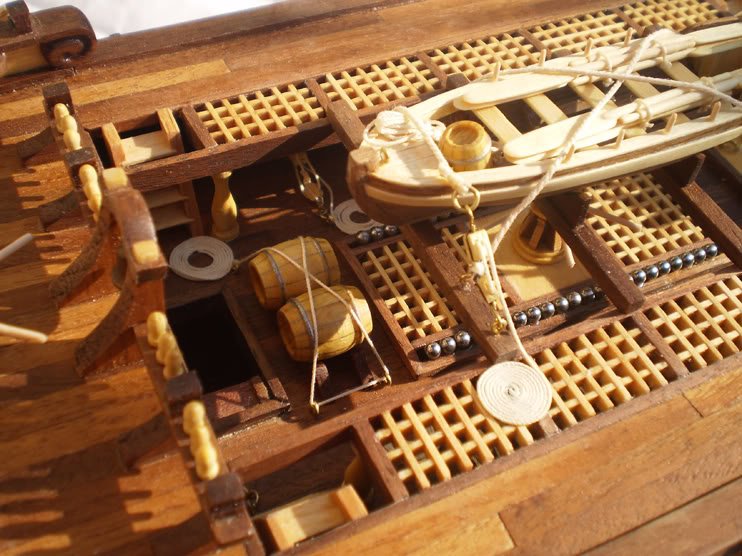
barge Artesania provides a metallic barge, there was no thinking about painting it, so as a first step I tried to "plank" it, but it looked way too thick, so I decided to start buidling it from scartch. I looked into a lot of pictures from other posts of this forum.
-
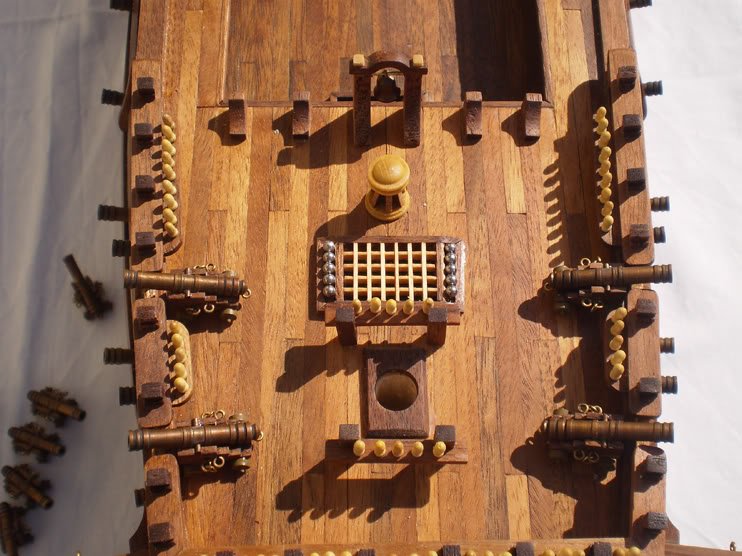
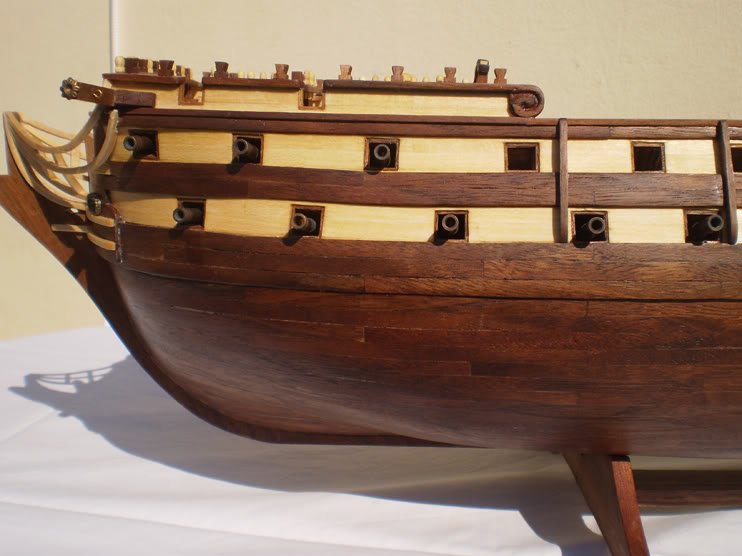
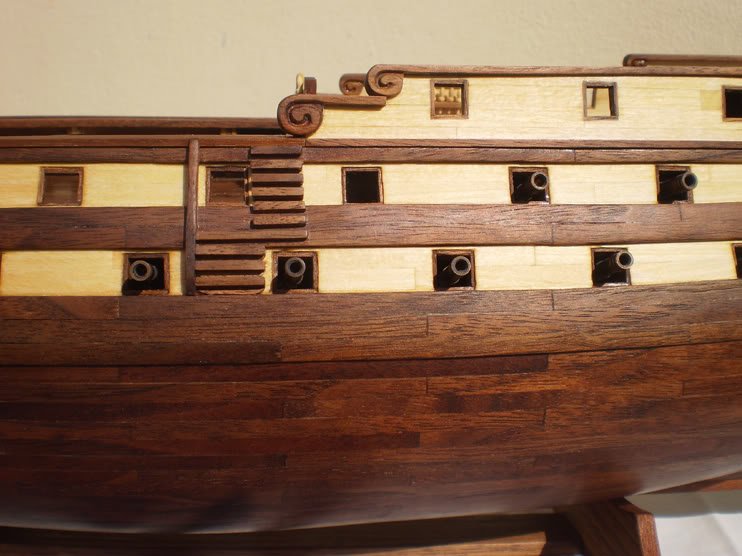
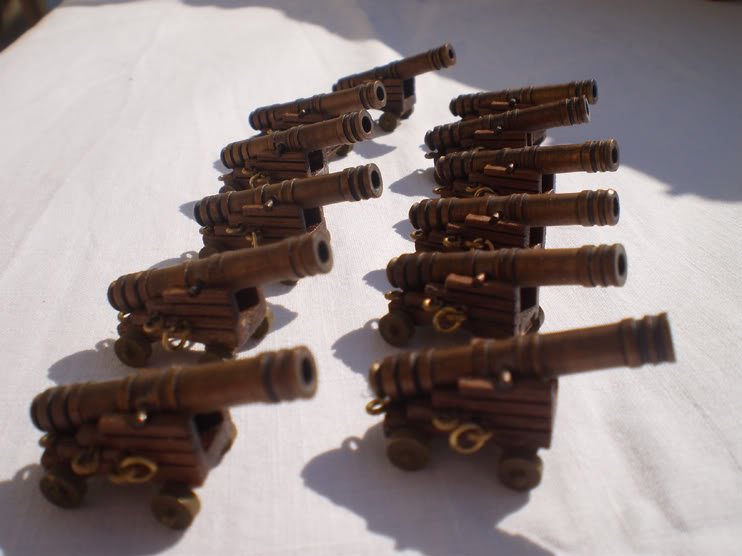
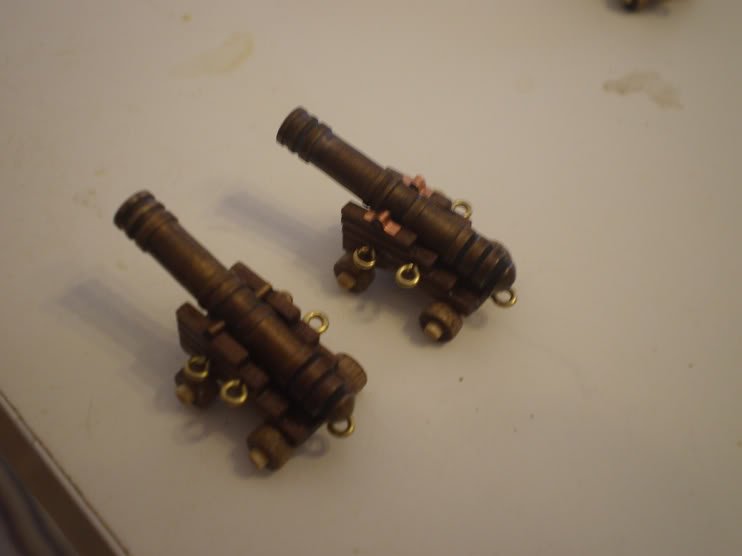
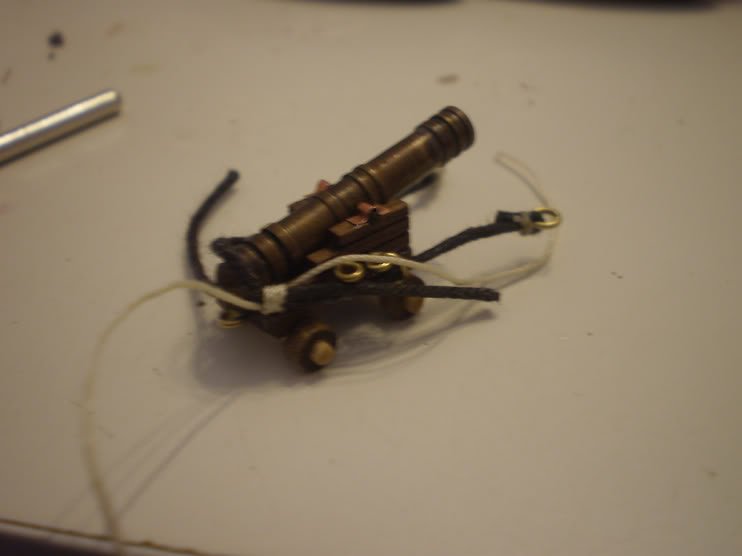
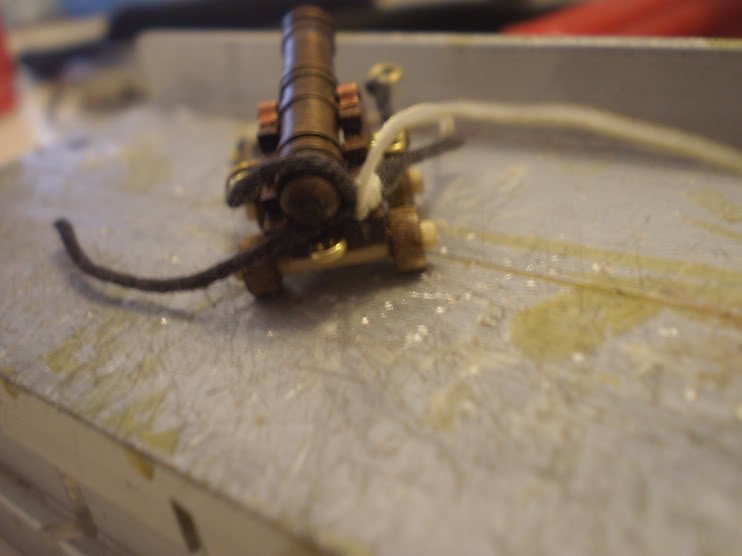
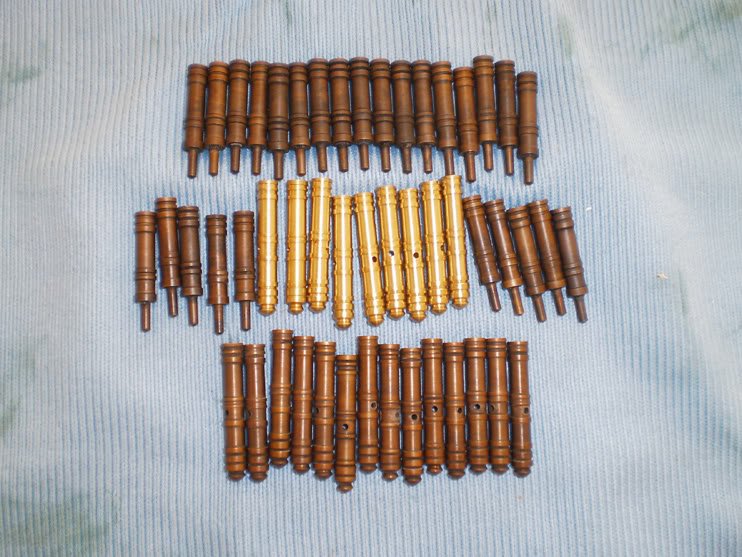
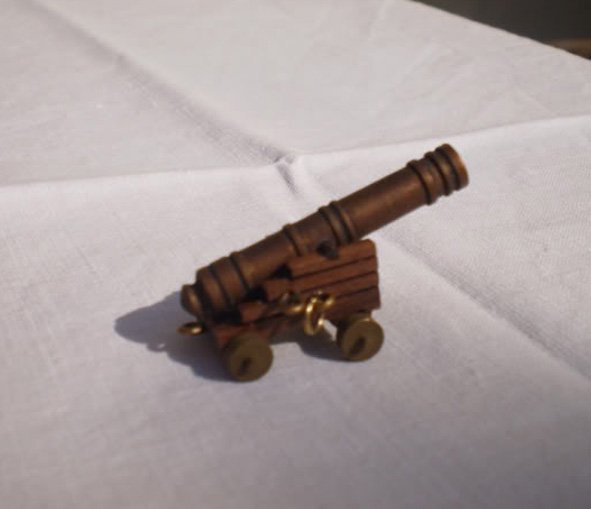
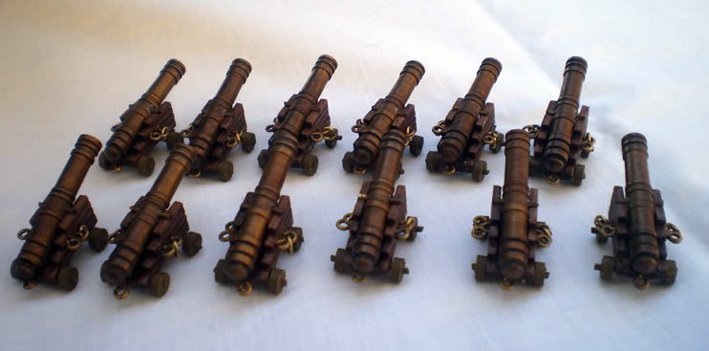
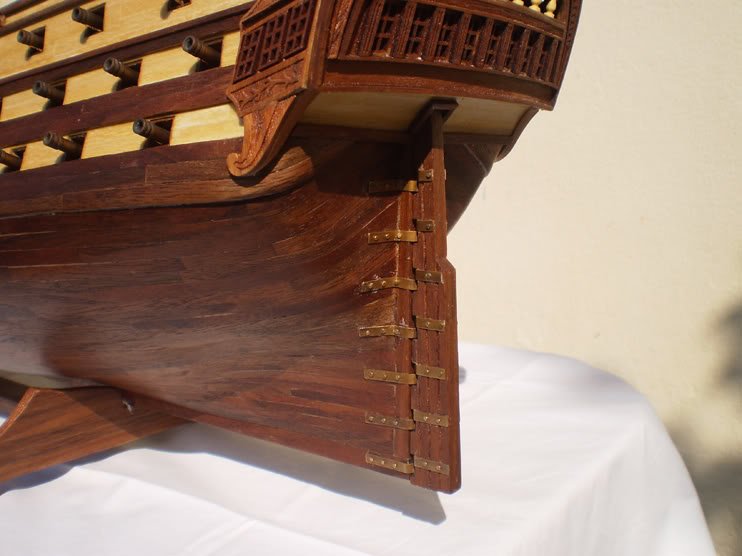
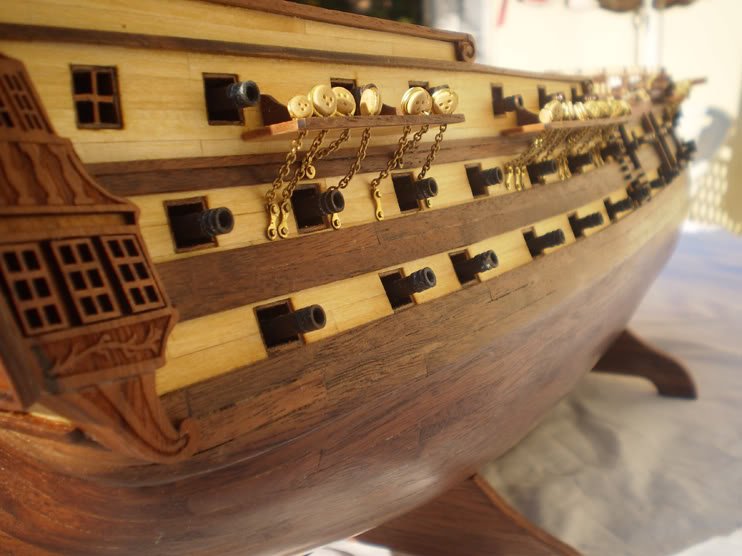
Oxidizing cannons I have used a redish liquid I got from a friend that works in making lewellery, they use it to make brass look older I thought it was sulfuric acid, (in fact I was prettty sure about that) but he told me it is not. before I apply it to cannons I have used some spare I had, to check about how much time is needed to get the darkness I like also you need to wipe out very very well,and make sure is complete dry, else the oxidizing will continue and will make some green snow like effects (I am still trying to get rid of this rast in some cannons without ruin the patina I made)

-
MONTANES by Garward - OcCre
kostas_gr replied to Garward's topic in - Kit build logs for subjects built from 1751 - 1800
garward your build log.... always an inspiration I thought that you will be bored to post all over again, but thank god you did thank you for your awsome bulid log -
MONTANES by Garward - OcCre
kostas_gr replied to Garward's topic in - Kit build logs for subjects built from 1751 - 1800
garward, your build log, always an inspiration to be honest, it crossed my mind that you will be bored to post everything all over but you posted thank you -
thank you petro I have to post the rest of the picturew, and at the same time take some snapshots with the current progress
-
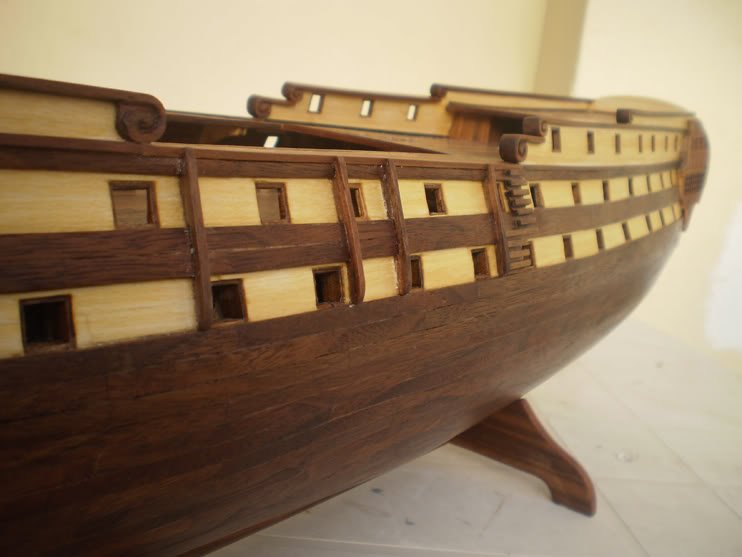
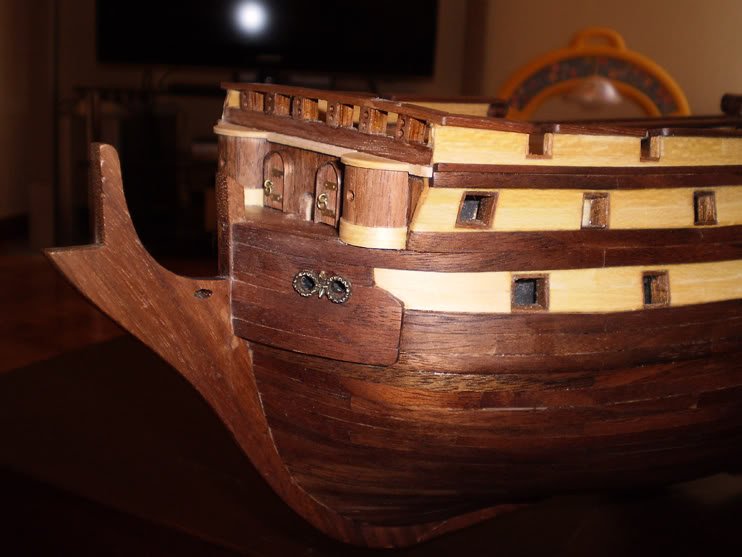
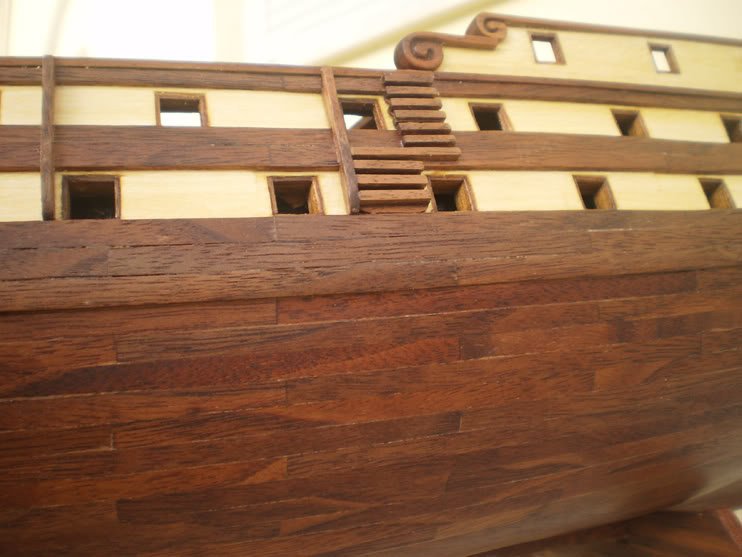
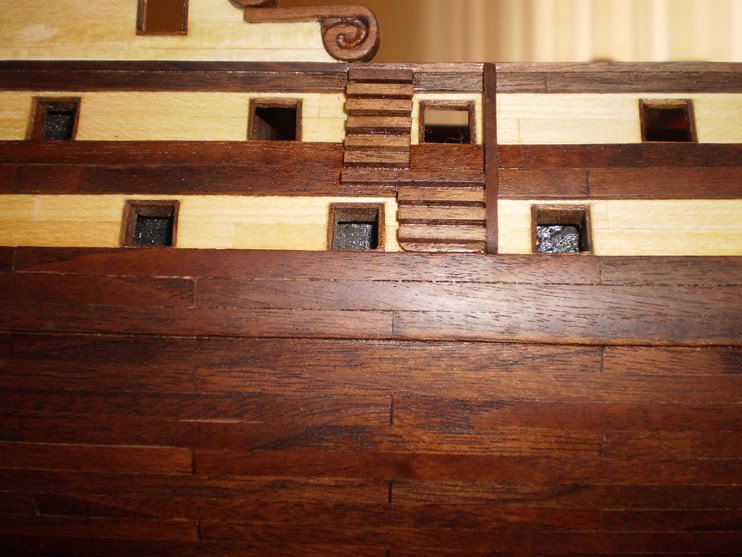
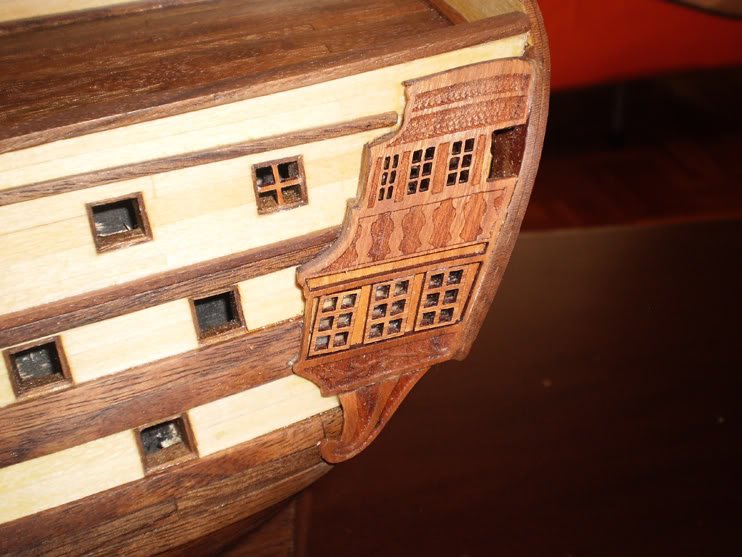
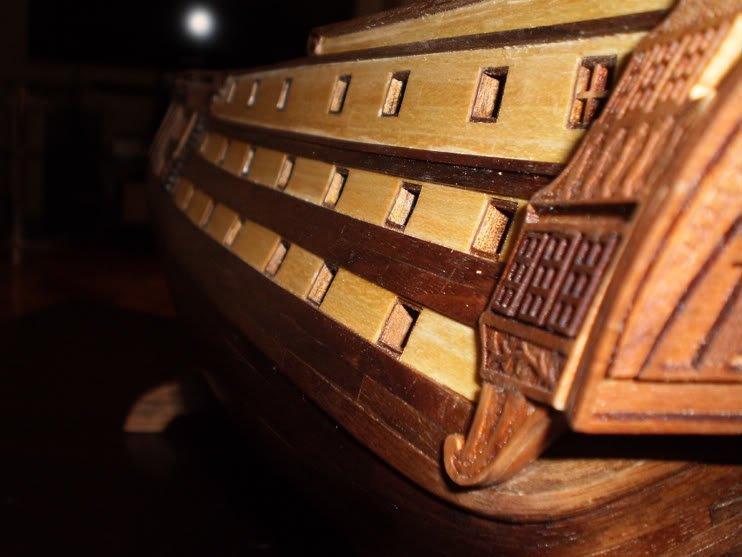
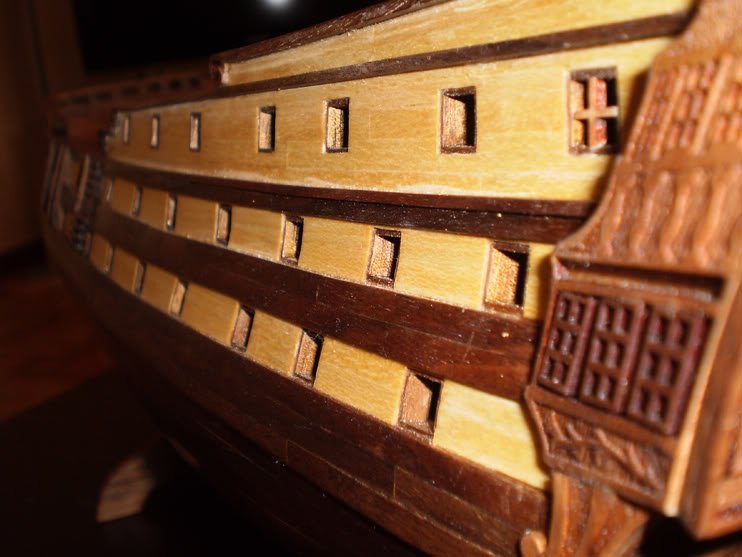
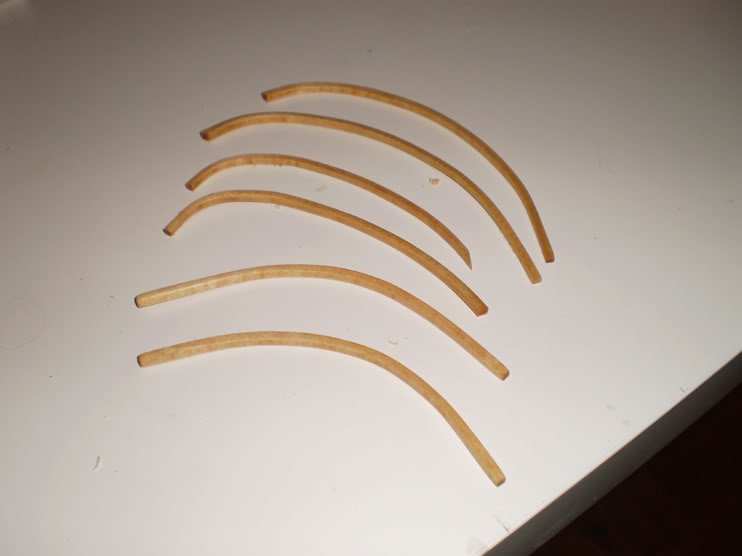
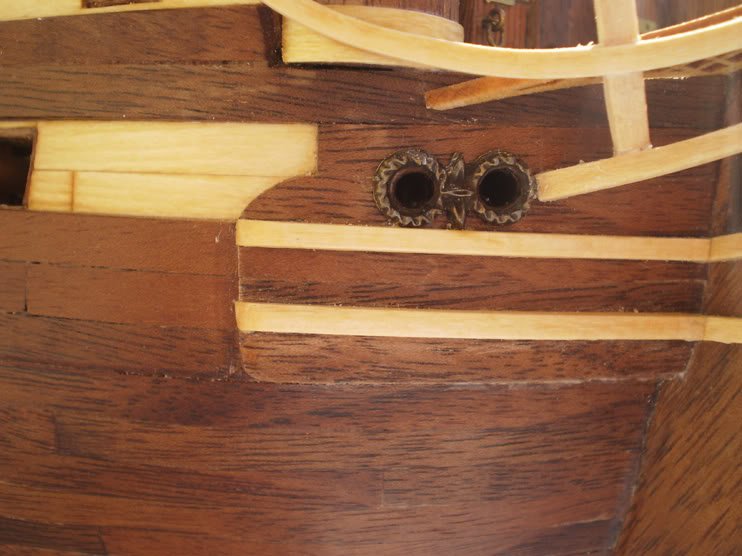
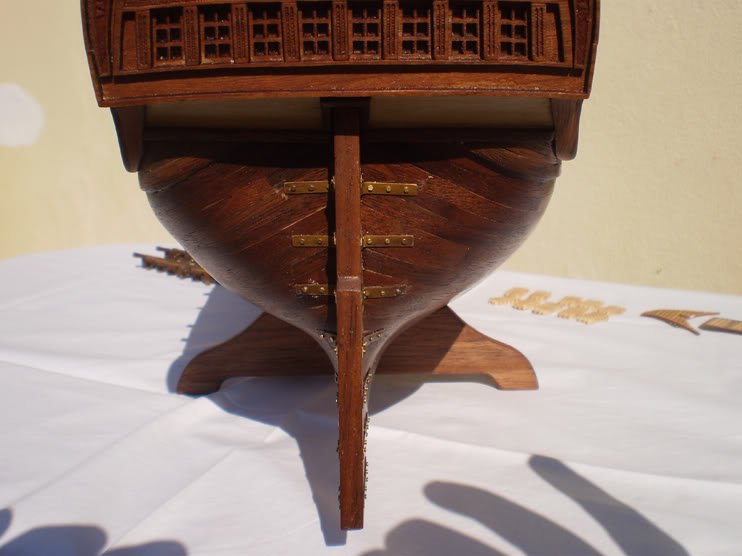
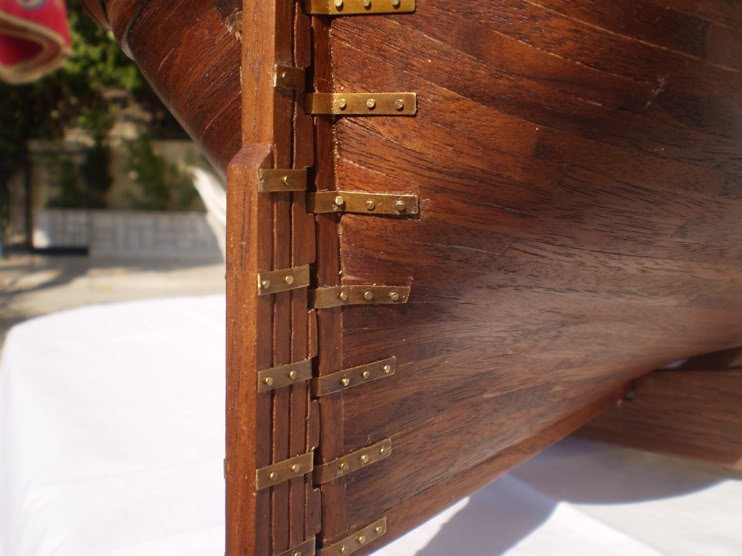
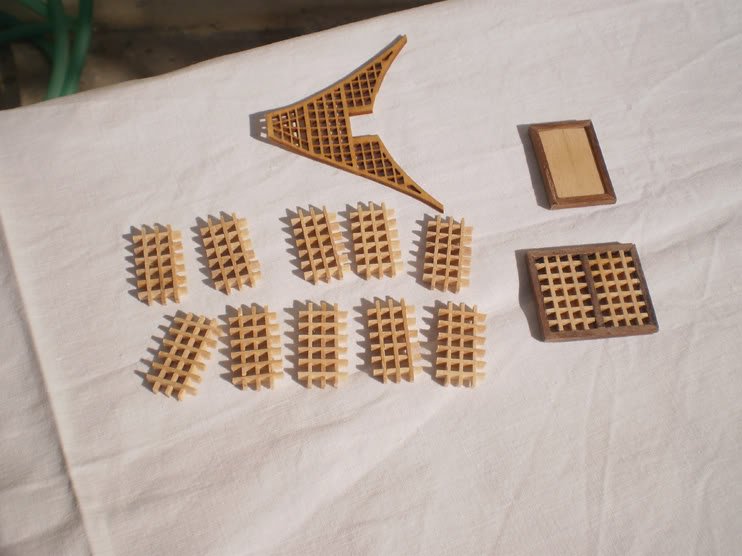
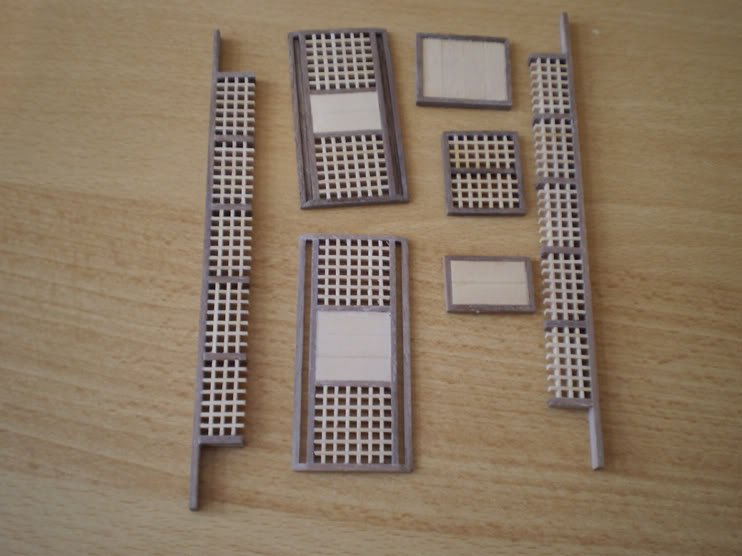
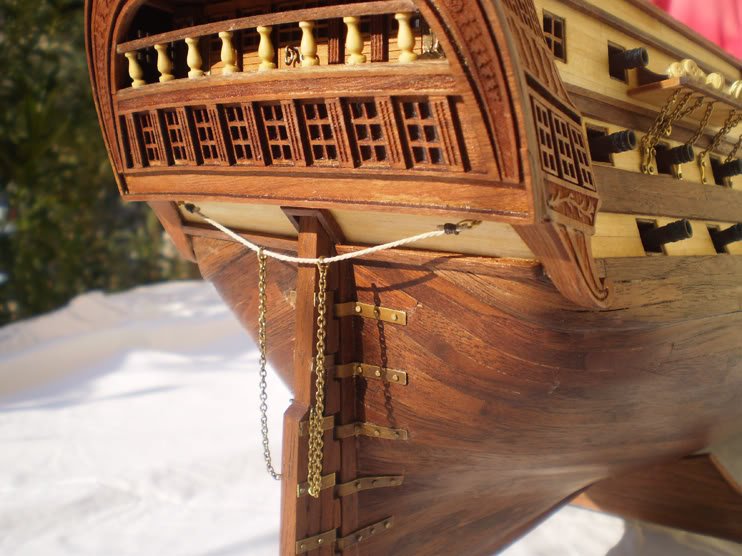
the headrails that artesania provides are made of brass, i have either paint them or make wooden, I tried the second becouse I wanted to be more realistic first I have bend the brass rails and placed them on the kit, and after ward I used them as a mold to bend the wood sticks
- 76 replies
-
- 2
-

-
- san juan nepomuceno
- artesania latina
- (and 2 more)
-
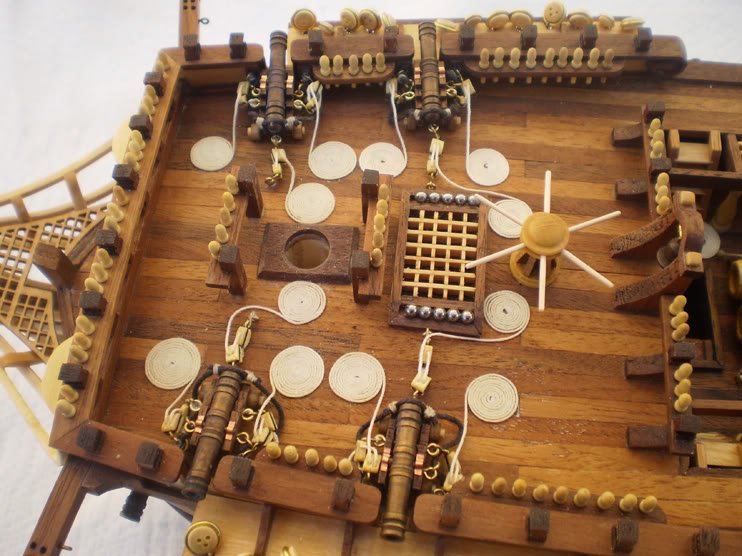
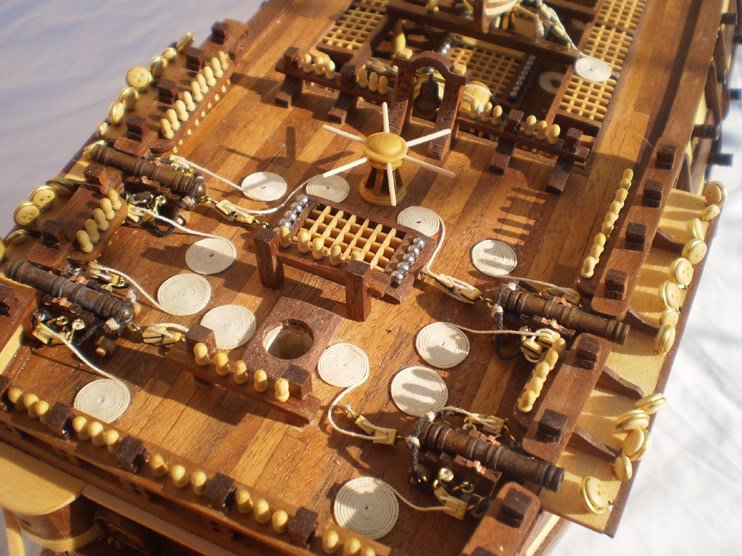
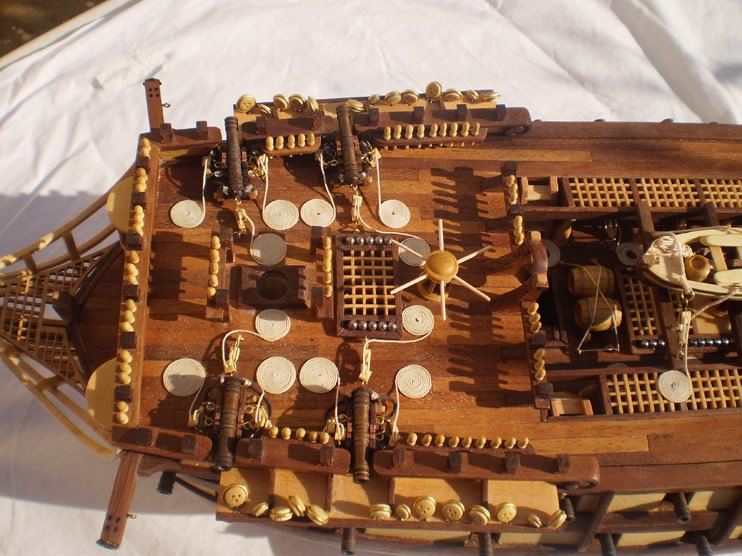
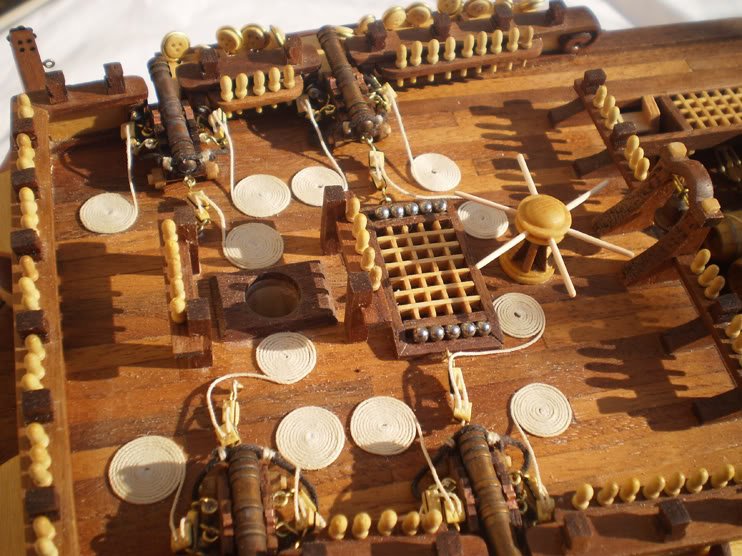
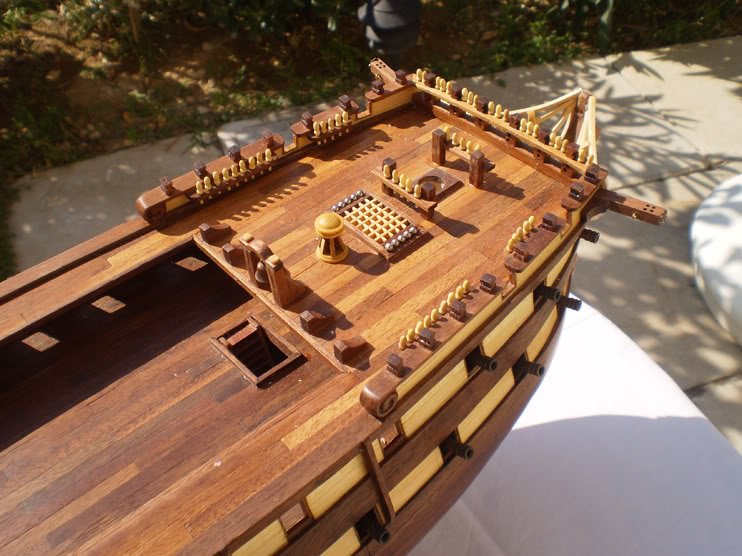
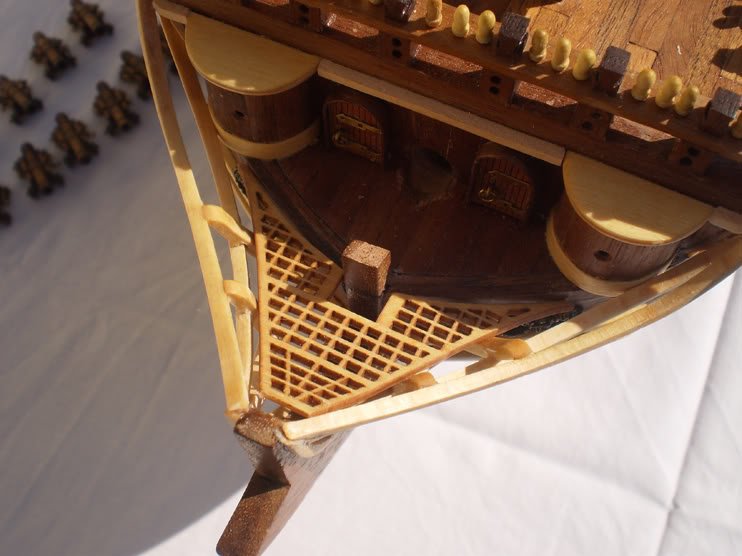
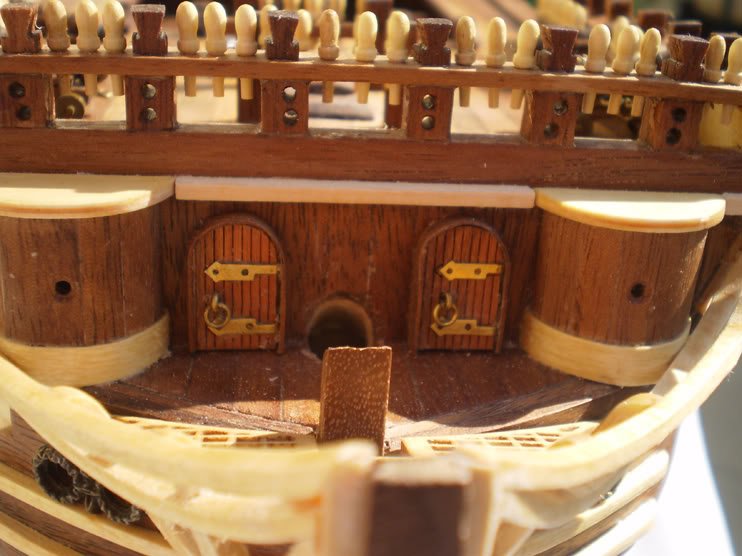
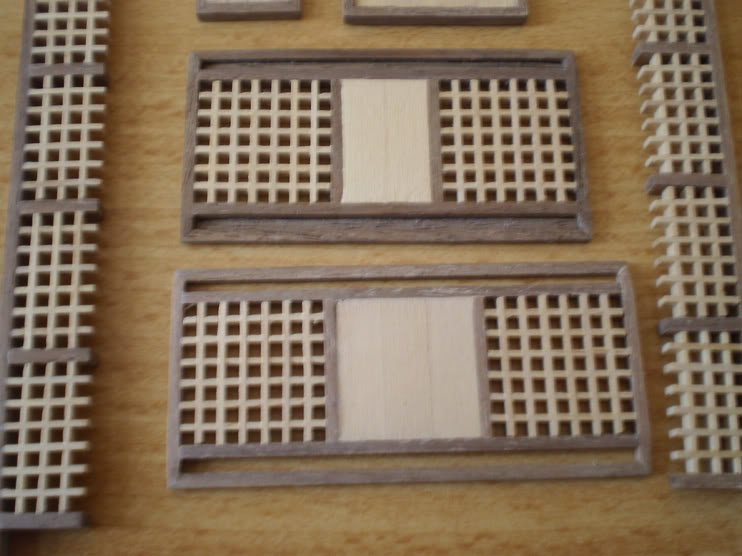
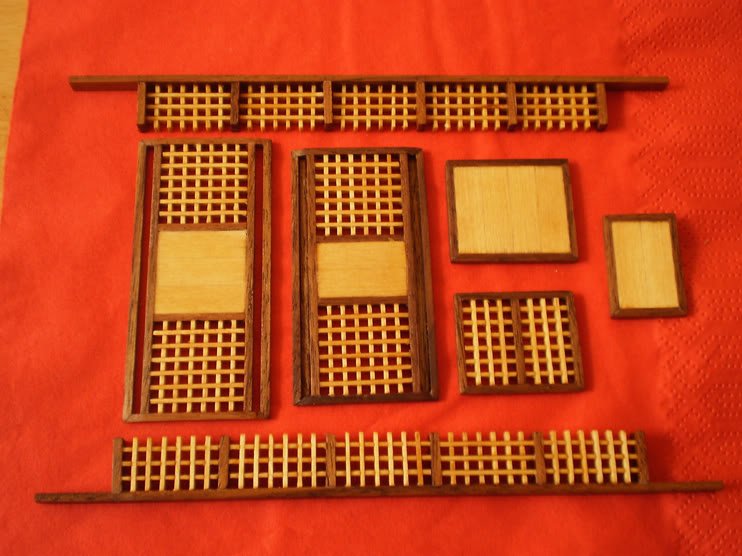
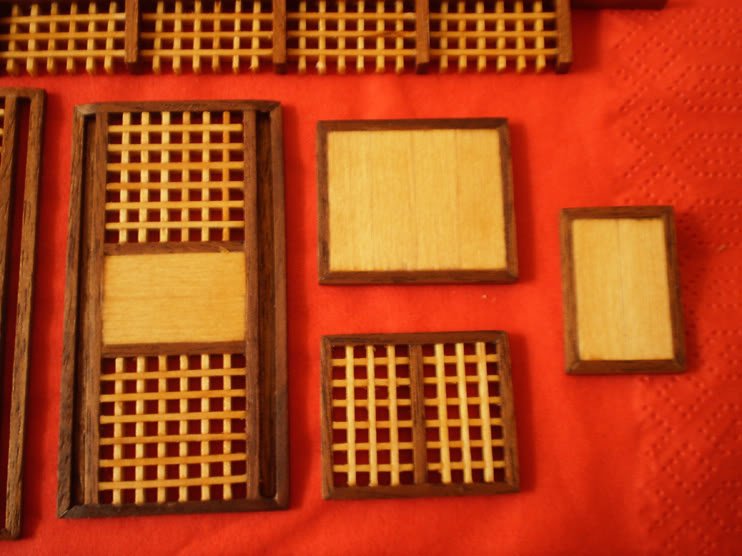
rudder crates
.JPG.d1dee4ca411f87bf5e317e17209cb927.JPG)