jollymillar
-
Posts
61 -
Joined
-
Last visited
Content Type
Profiles
Forums
Gallery
Events
Everything posted by jollymillar
-
 Sure was but back at it now...... thanks for the note JM
 -
Well had to take a year off the model but I am back now and starting to organized. Will be posting pics soon and then get underway with planking. going to be a long winter. Take care JM
-
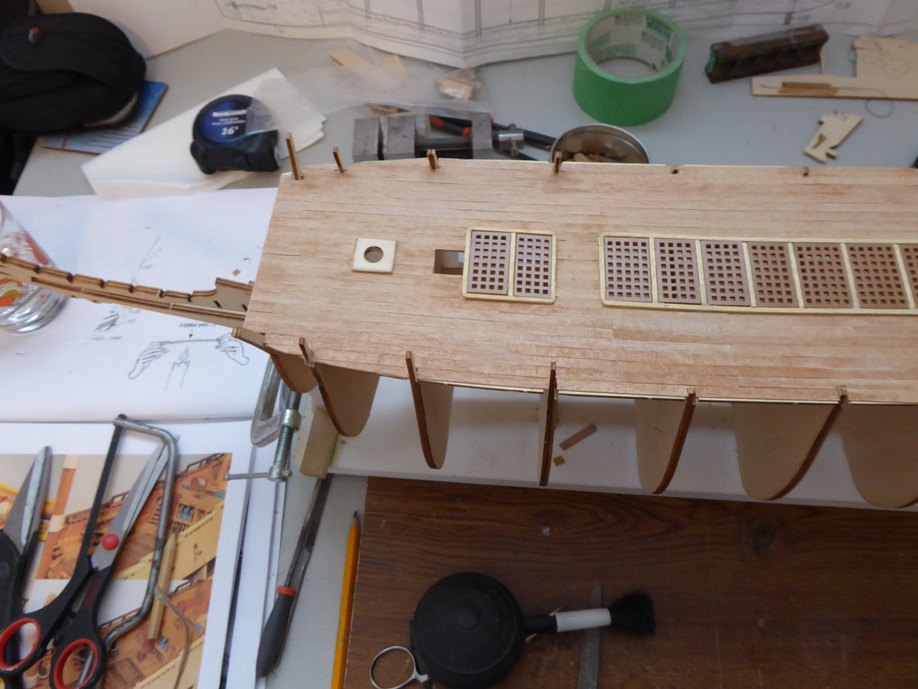
Well working on the Wasa bulwark's now, a bit tedious but has to be done. Will post some pics shortly. JM
-
Well things are moving again after the summer break. Great to be be back at it, and looking forward to getting a lot done this winter.

-
Modeling has slowed down due to the summer outdoor chores, but I am managing to move along slowly. Hit some snags as I broke the bulwark projections on the front end stay, and had to do a repair. Also some of the "pins on the bulwark broke off. Not sure how this happened though. It can be repaired when I get more time. Onward and forward with a great seal to do. Will take some parts outside and complete them on the deck as the weather is fantastic.

-
Well I agree plastic models were not for me either. You cannot beat working in wood JM
-
Looks like a great start, can I ask were the Jolly Roger popped up from ?? I have not seen it before. JM
-
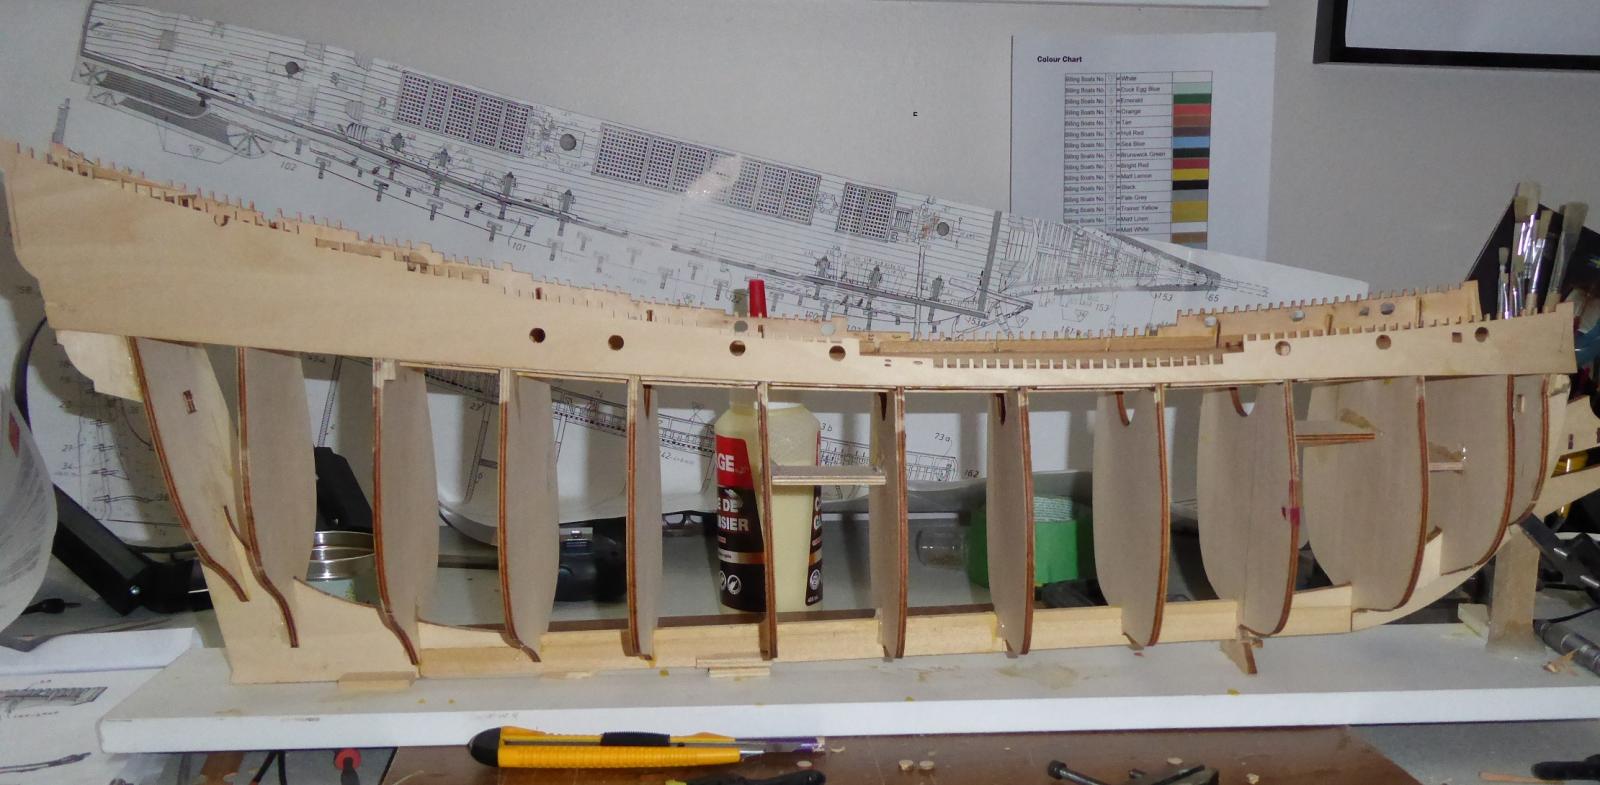
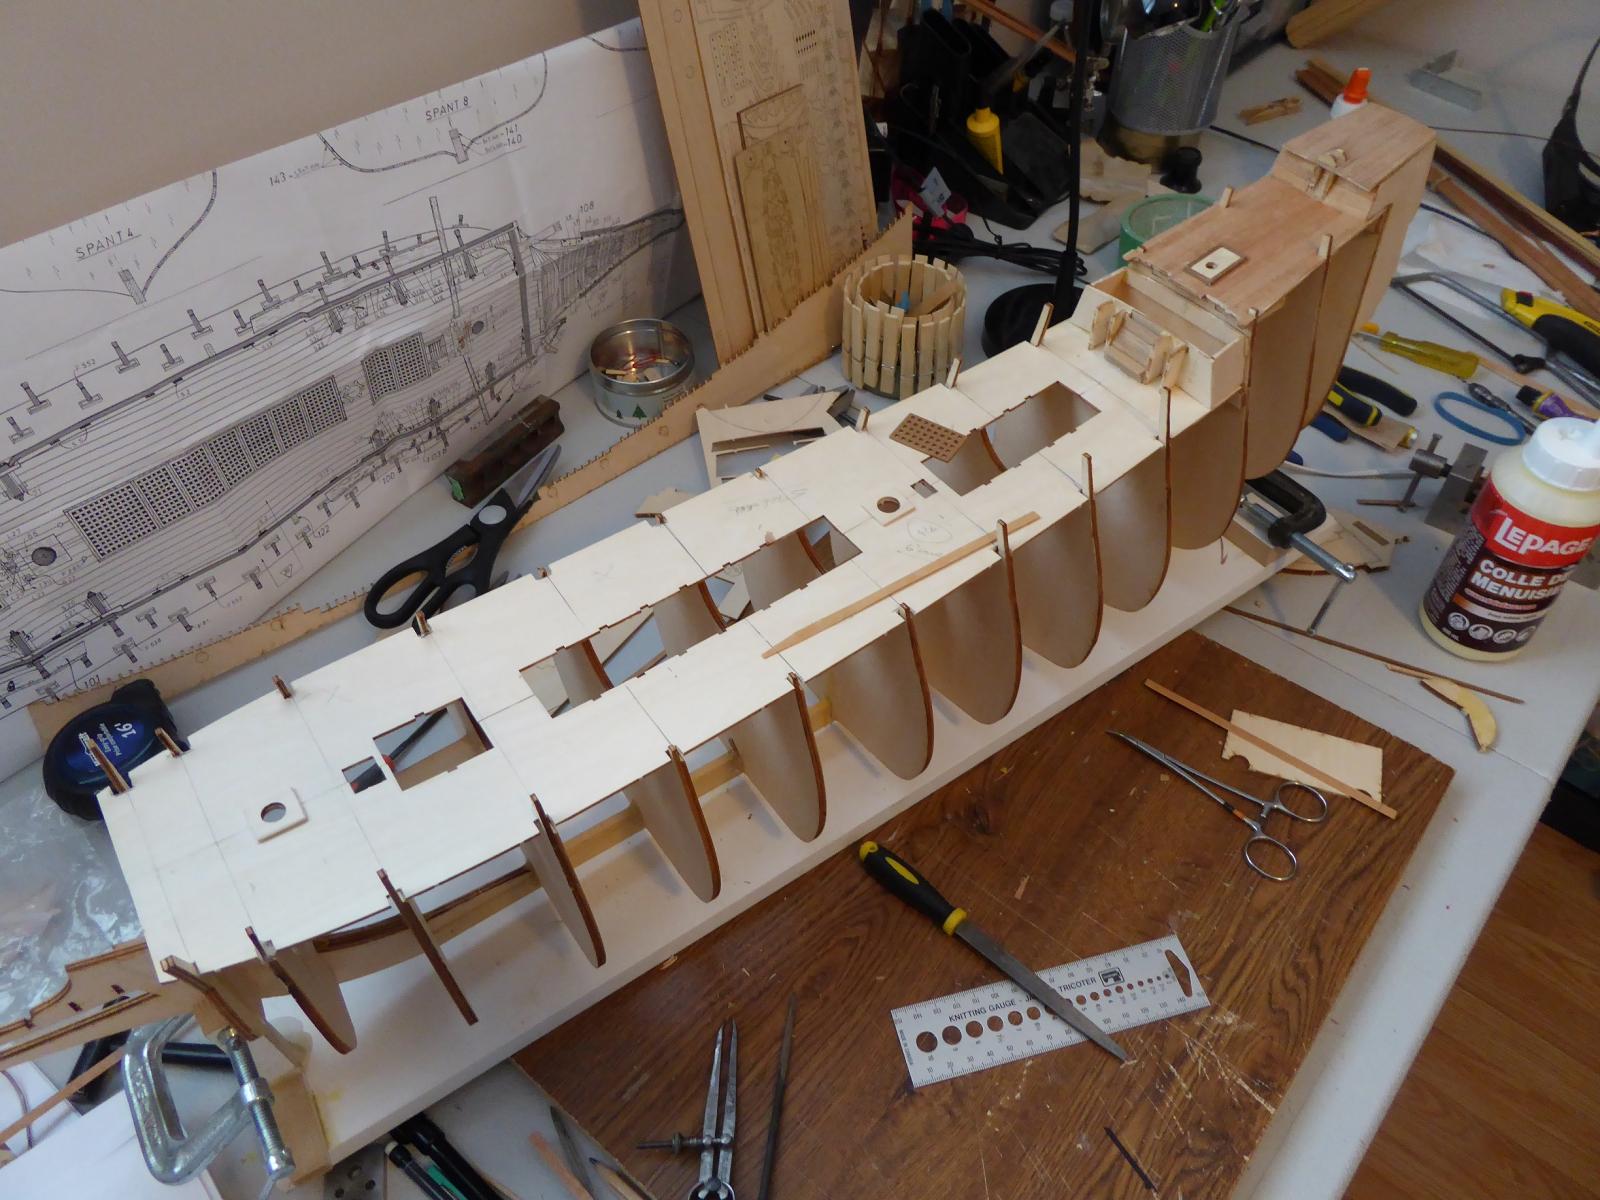
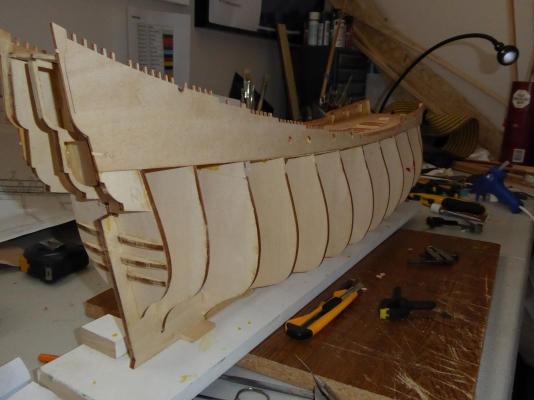
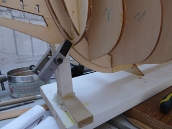
Pic of my frame JM Just make sure when you turn your model over support the deck adequately JM
-
Christine, couple of points..... there is such a thing as a "nail tool" I have never used one but I have heard that work quite well. As for my experience I use a pair of pointed pliers to hold the nail while I tap in using a very small hammer I got from a rather cheap tool kit which had screwdrivers and such that you really could only use once as they bent at the end..... great little hammer though. Holding the model can be tricky... I have tried holding it in my lap for the smaller models, works sometimes, however the most stable way is to purchase a "hull planking vise" or build your own planking vise by assembling wood and clamping the model to it right side up and then turning it over and clamping the hull upside down to complete the bottom planking. Bit awkward to explain but I hope you get the idea. Always make sure the model is supported properly especially when you turn it over. Hope this helps...... you can contact me if you need any more clarification. I will attach a couple of pics to see if they help ..... JM
-
Glad to hear you are "SOAKING" up all the info!!!!! JM
-
Jimz66, thanks mate !! JM
-
Well isn't that interesting...... the link is there. How did I do that??? Who cares it is there. JM
-
Here is an interesting site with excellent pics of the finished Wasa which may help some in their quest for the colours of the model.... It is a little awkward to find and try as I may I could not insert the link.... anyway here it is, just follow the instructions. http://www.finemodelships.com/ Click on pictures and scroll down to "VASA of 1628" Click on that link and then click on "details" The pictures are good. Hope you find it. JM
-
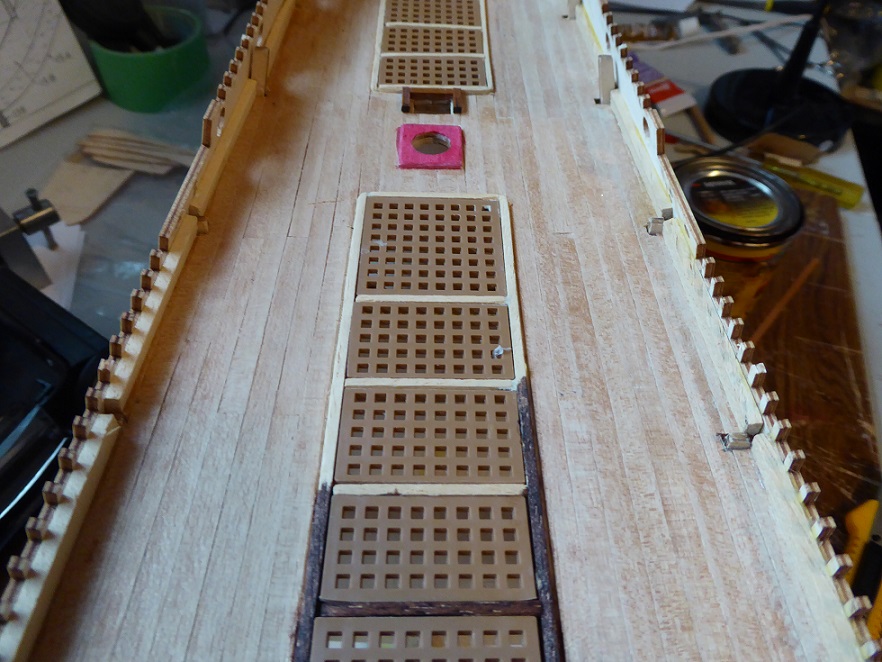
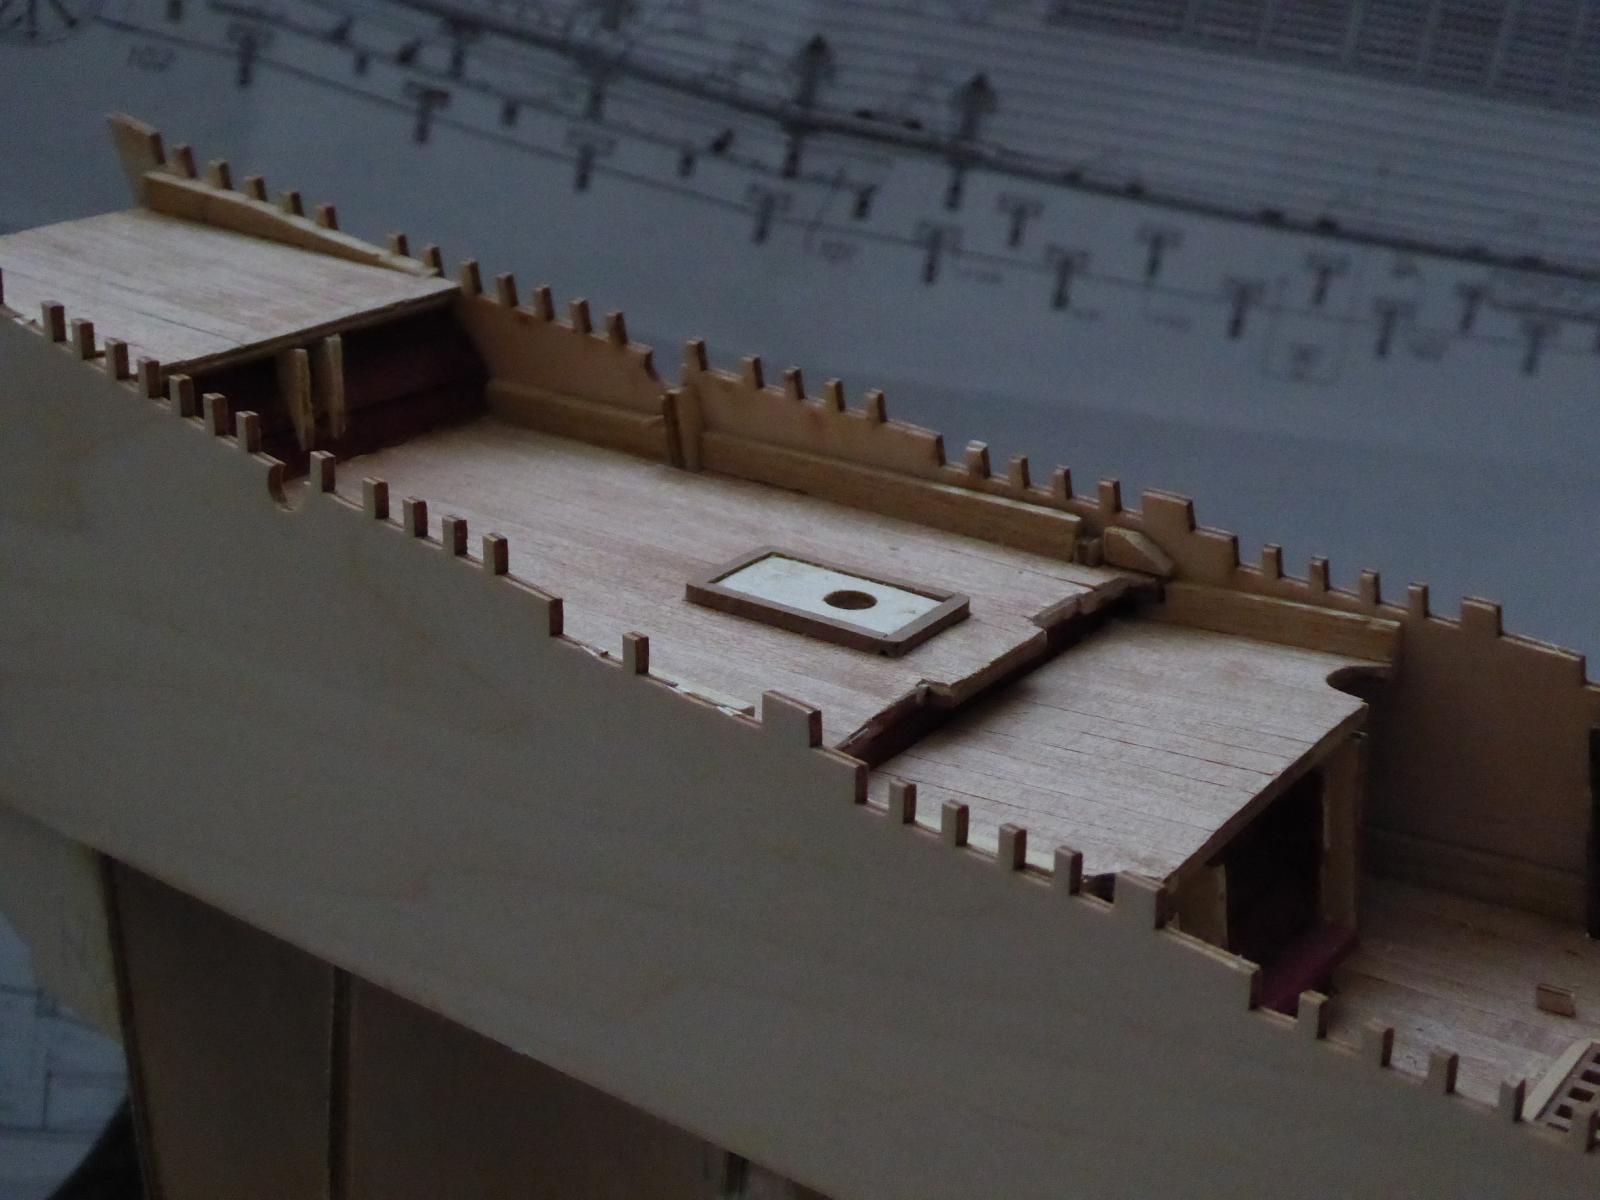
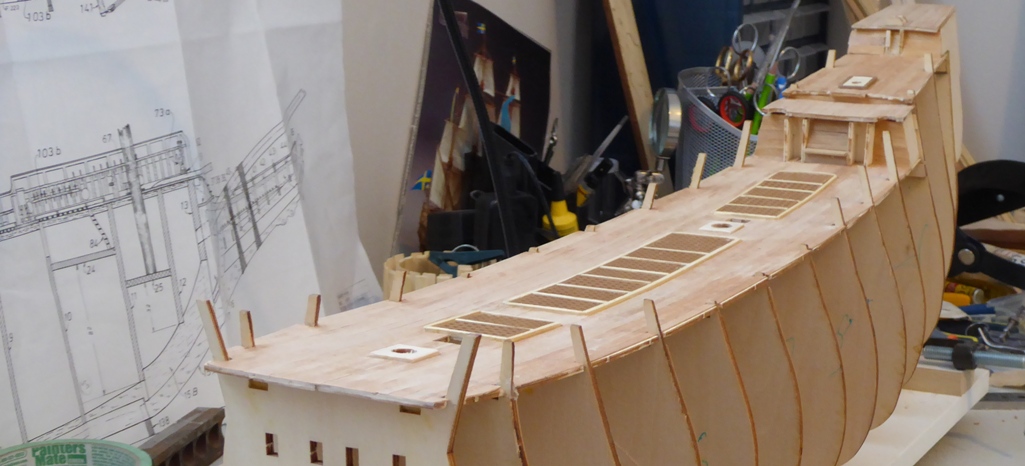
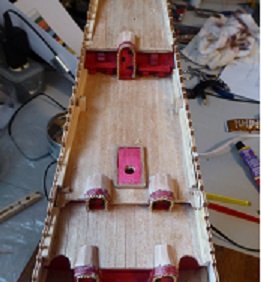
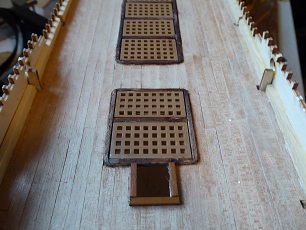
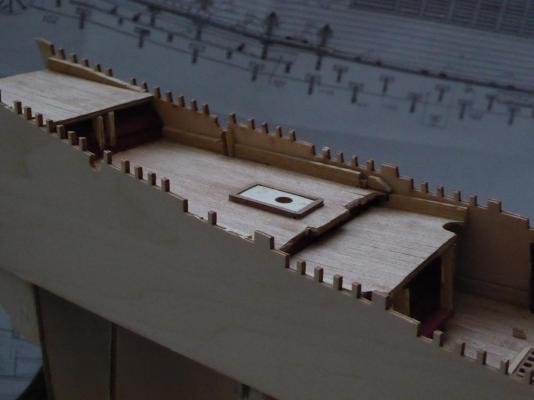
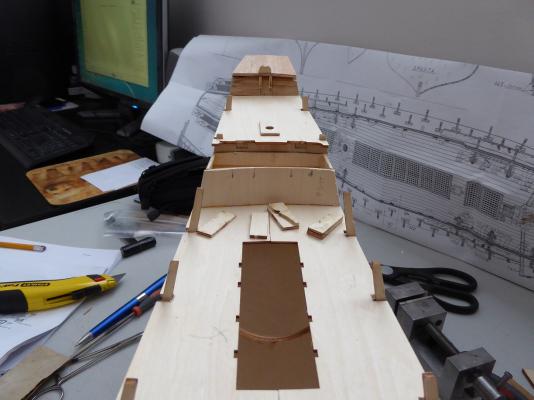
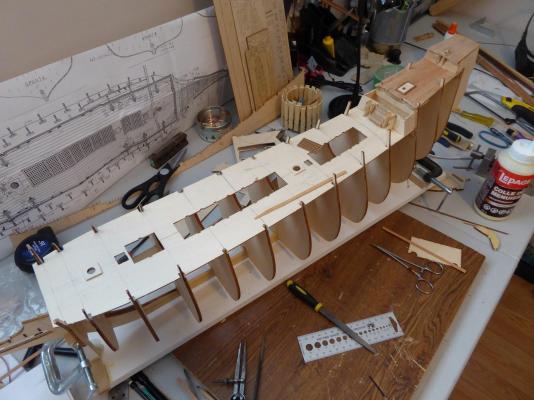
Couple more pics of the WASA. Coming along but slow with lots to think of. Thanks to you all that have posted your help on the site and also answered some of my questions. It is really helping.... More pics to come..... JM
-
Matti..... Thanks for the info, I have ordered a couple of books from the museum dealing with the pain..... now onto the gun ports !! JM
-
Nazgul.... two quick questions ?? I cannot view many of your thumbnails on your building log, is the problem my end?? Also the painting of the hull differs from blue to red on different boats..... any reason for this ?? JM
-
http://www.billingboats.com Found this site, which is from 2012, strange! but after navigating around it a bit, I found some downloads (four pages) which where missing from my instructions. Although I am working on the 490 Wasa, there where plenty of other Billing Boat downloads. So if it helps anyone take a look. Also found some colour pics...!! The Billing instructions are amazing.... NOT JM
-
Karl.... thanks so much for your quick reply..... I am enjoying the Vasa build, but it is a little daunting at the moment. Cannot help but love it though, and all this snow we are having means I can work extra hard on the build !!!!! Cheers, JM
-
Karleoop.... is the anywhere I can look to get the actual names of the colours you have used on your model. it looks fabulous and I would really like to get the paints organized so I can pre paint a number of parts. Thanks, JM
-
Also I have noted that you can jump from one thing to another if you try to follow the instruction booklet, but this is not helpful and it is best to finish off one area then look at something else. It is a challenge, and working on such a fabulous model and historical boat, you just do not want to make any mistakes and make it a original as you can. The kit was bought for me by my daughter four years ago when she visited the museum, so I want to get this right....... cheers guys JM
-
Nazgul, I am currently trying to rationalize the "Table of Contents" to the actual wood that came with the boat. Did you find it fairly accurate because I am not. 1077L to 1086L in the material column, is this suppose to be length ?? Any help would be appreciated. right now it is a Dam !! Billing's boat. Cheers, JM
-
Mar3KL... just discovered your pics on your forum, and they are a huge help to me just starting my model. Thanks for the time and effort you have put in. JM
-
Dirk.... thanks for the information, I will certainly look at this to see if it will work out. JM