


aydingocer
-
Posts
857 -
Joined
-
Last visited
Content Type
Profiles
Forums
Gallery
Events
Posts posted by aydingocer
-
-
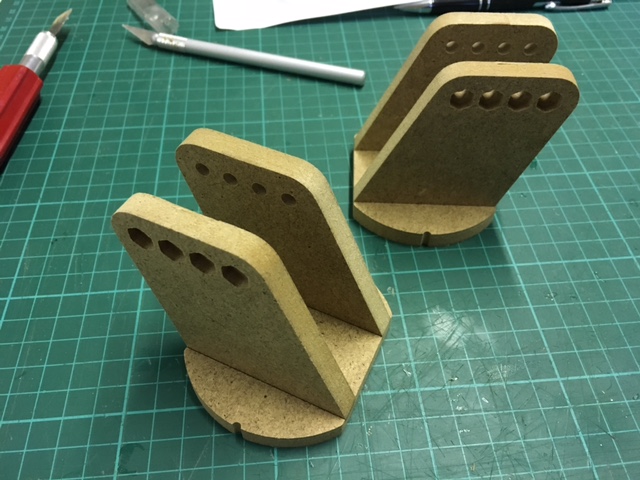
Continuing assembly

- Ryland Craze, Archi, Mike Y and 6 others
-
 9
9
-
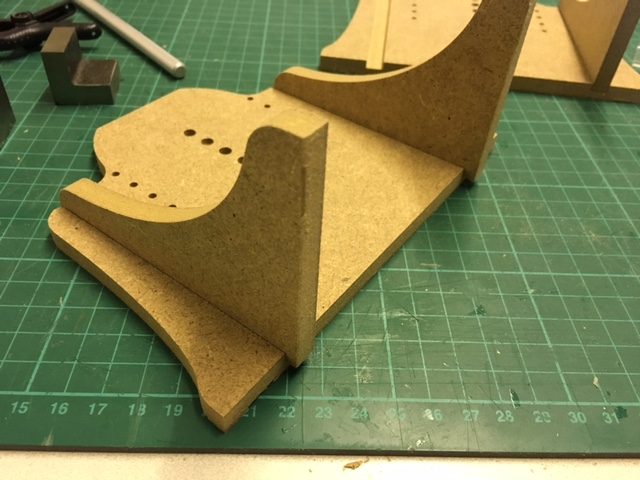
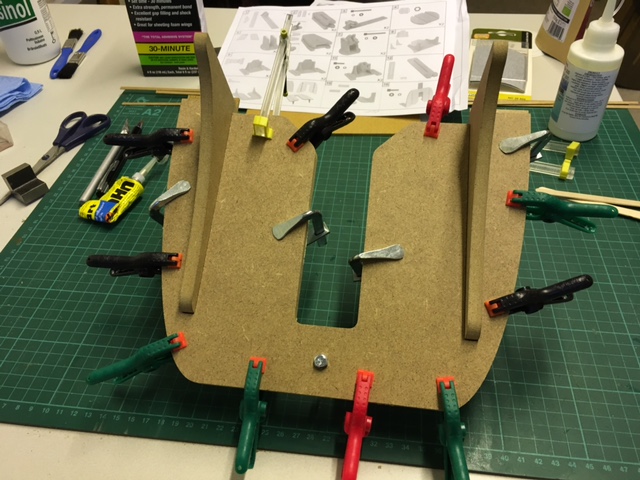
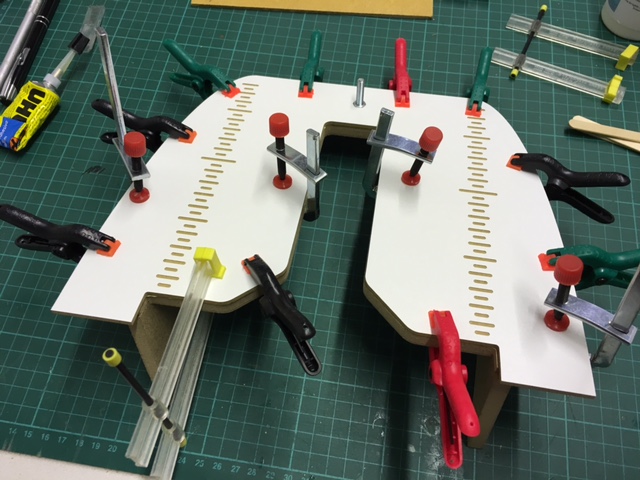
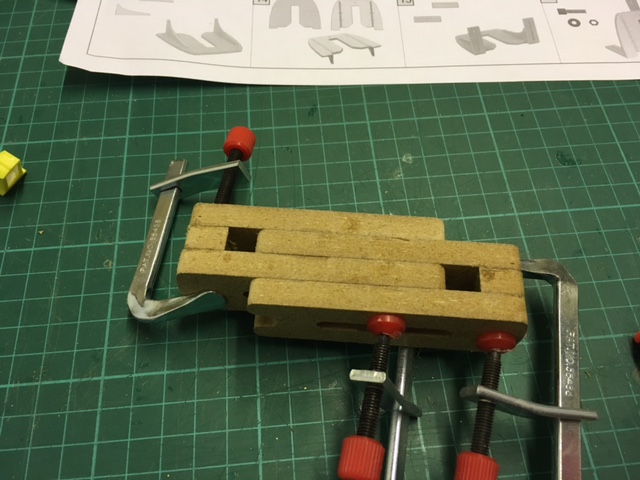
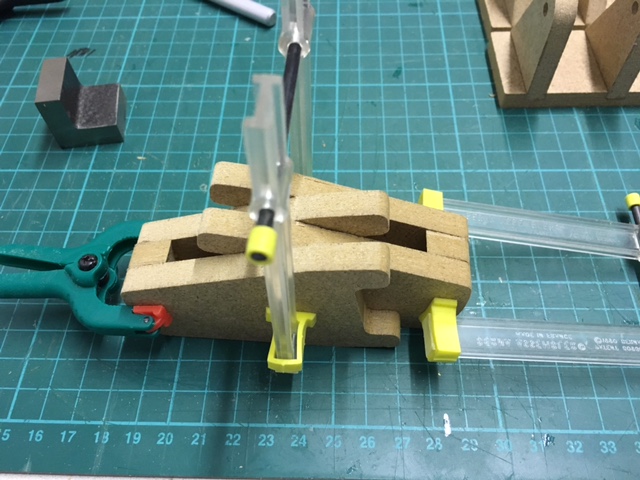
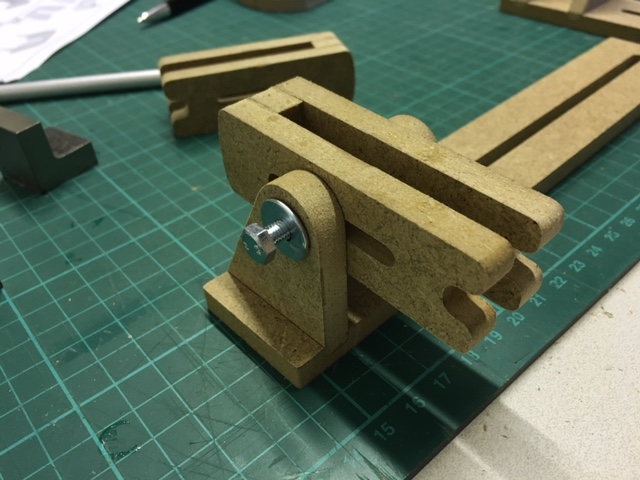
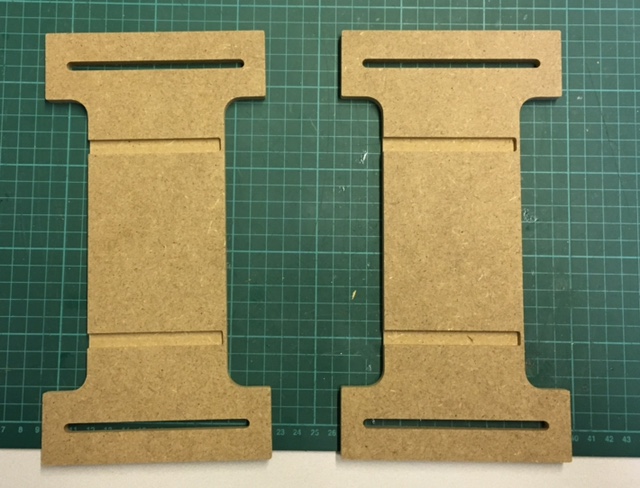
Following the order of the instructions, it is relatively straightforward to assemble it. However perfectly aligning the parts has been sometimes challenging. In the various photos you'll see I have used other parts to support the assemblies while the glue is drying, in addition to the clamps. This is also suggested in the instructions.
-
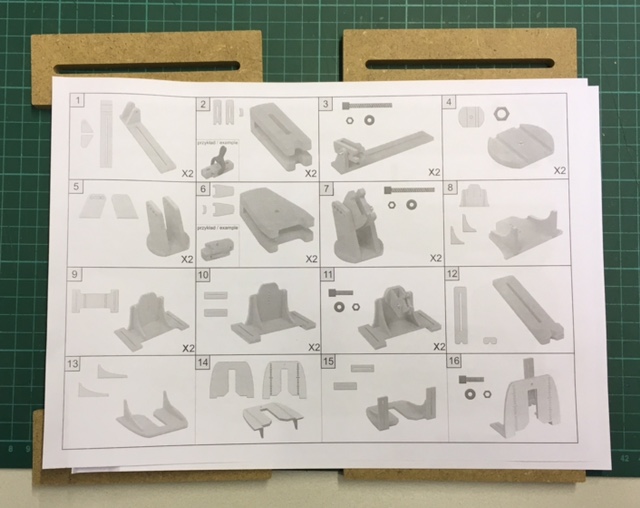
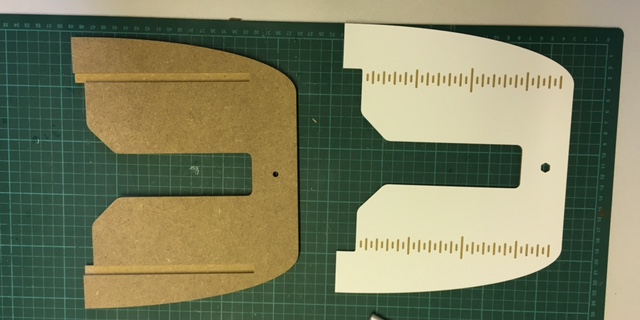
Instruction sheets. Pretty clear, but some photos are missing details which is sometimes confusing to find the correct orientation of the pieces. There is no accompanying text (almost none).
- mtaylor, MEPering, Ryland Craze and 1 other
-
4
-
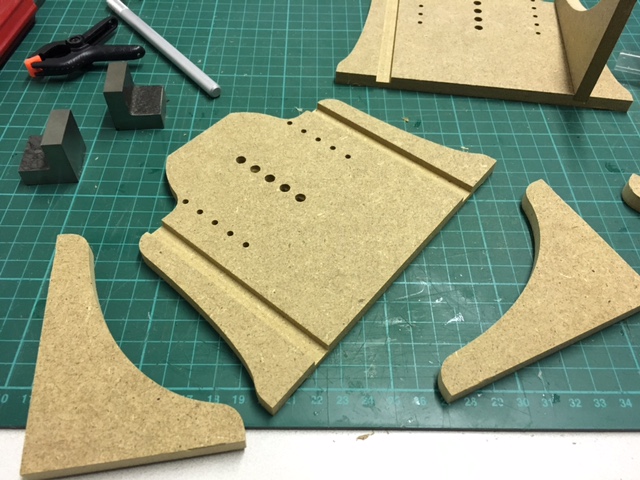
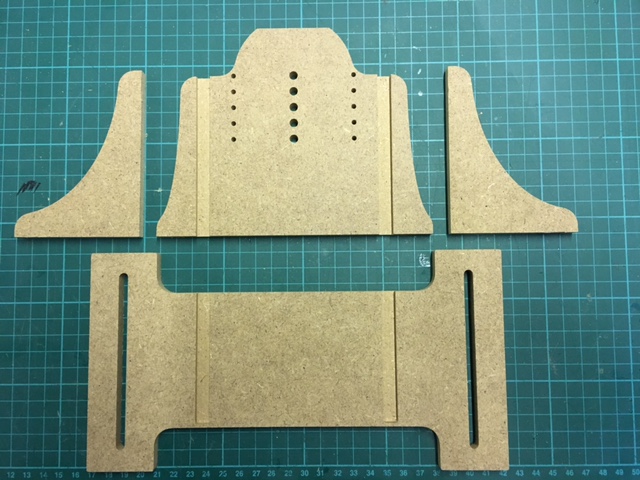
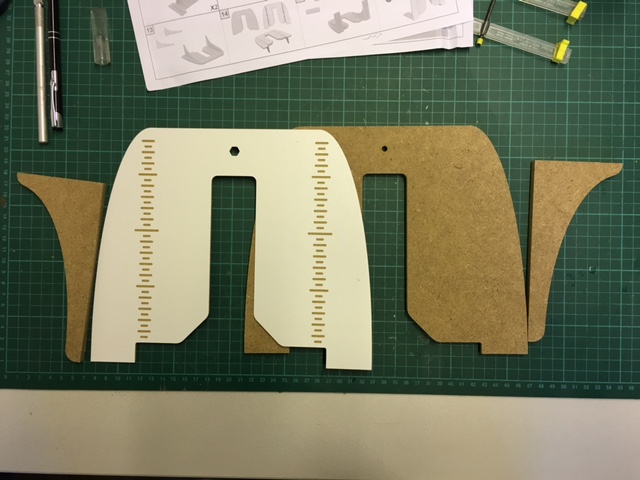
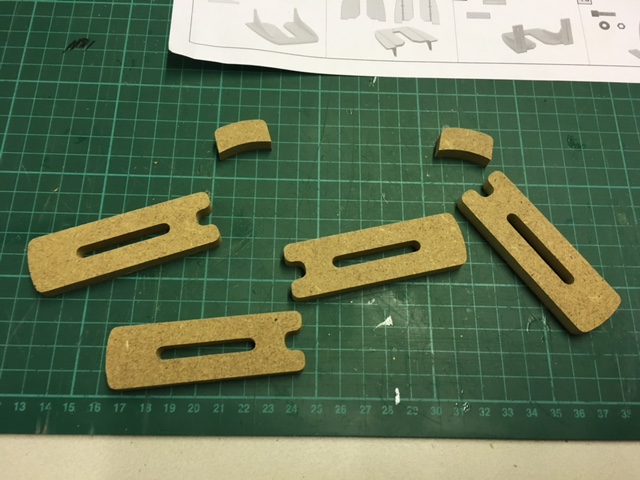
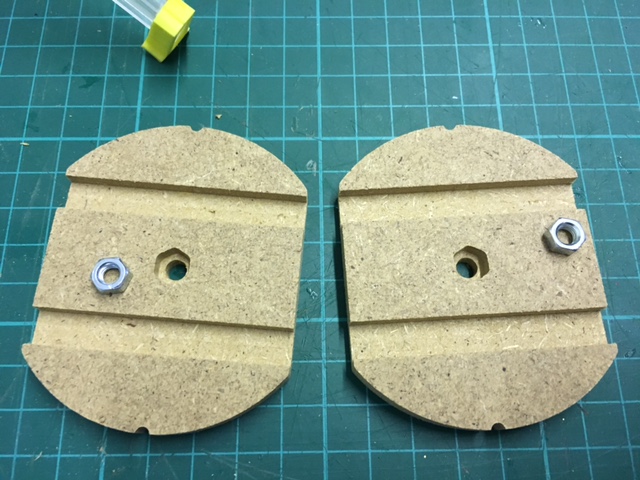
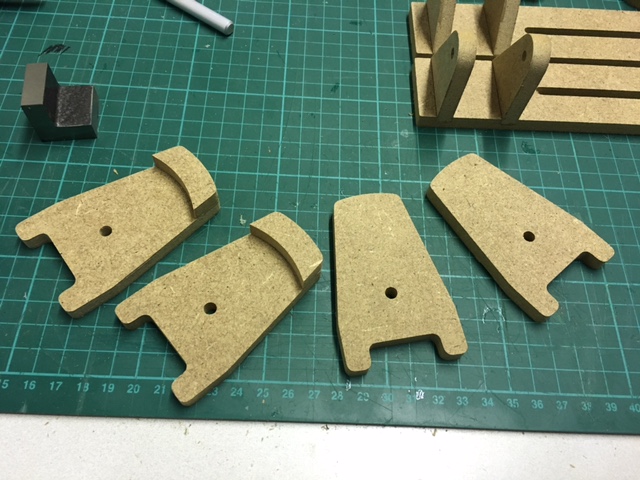
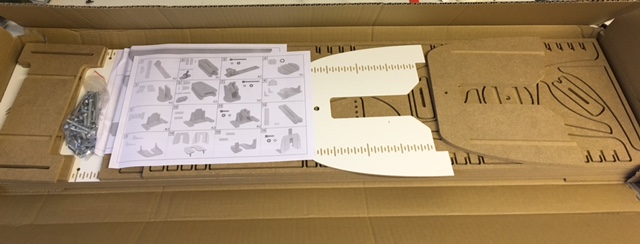
Unboxing the package, here are the pieces. First impression is the very high quality MDF and precision.
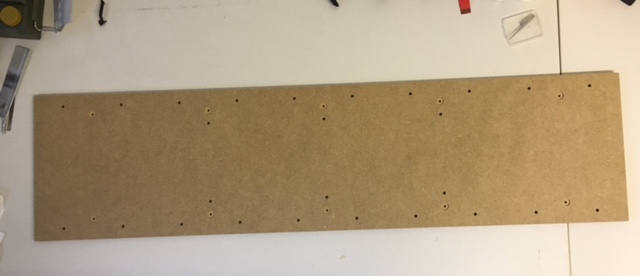
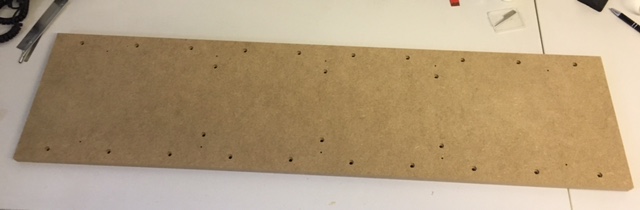
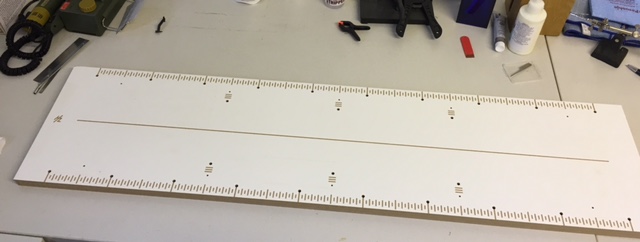
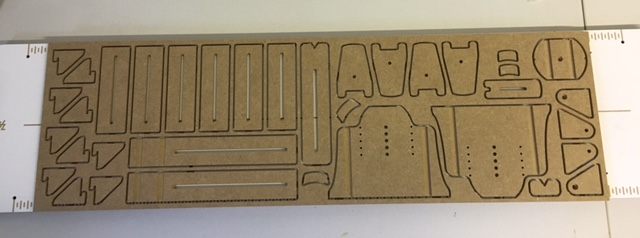
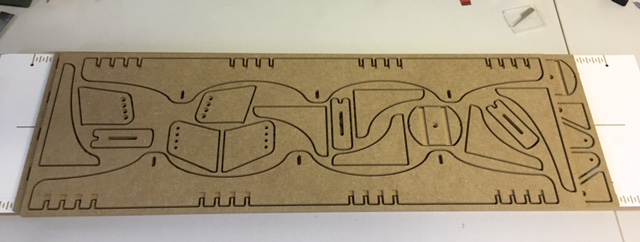

- MEPering, mtaylor, Ryland Craze and 4 others
-
7
-
Hello Dear Model Ship World Forum fellas,
I am new to this forum, joining from Helsinki (Finland) and this will be my first post.
In the past years I built Bluenose (Billing Boats), San Juan Nepomuceno (Artesania Latina), Titanic (Mantua), Endeavour (Caldercraft - This one I quit half way indeed, for varoius reasons ) and after a few years of idling around with other hobbies, recently I decided to start a new model, which will be Amati Riva Aquarama. There are some excellent build logs of this model especially in various forums focusing on Radio control models, inspiring me to take a new challenge including radio control, water proofing etc.
Anyway, I am hoping to post a build log of it here once I start doing it, but before that I wanted to build a great looking building slip for model ships by a Polish company called Hobbyzone (www.hobbyzone.pl). I saw this tool in one of those forums which I mentioned and thought I have to have one.
So this topic is a build log of this tool.
Regards.
Hobbyzone building slip for wooden ship models
in Modeling tools and Workshop Equipment
Posted · Edited by aydingocer
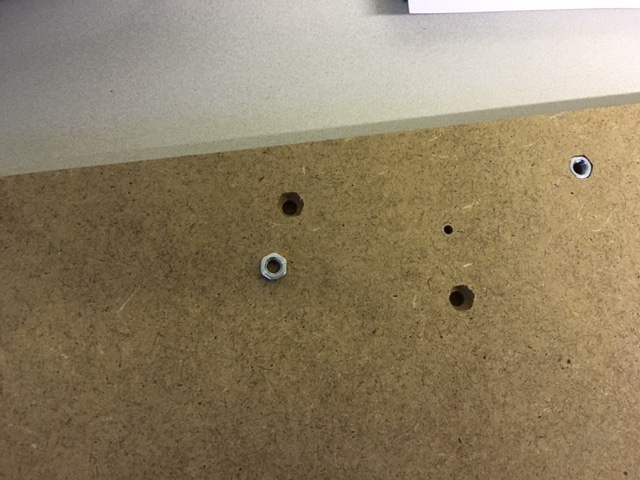
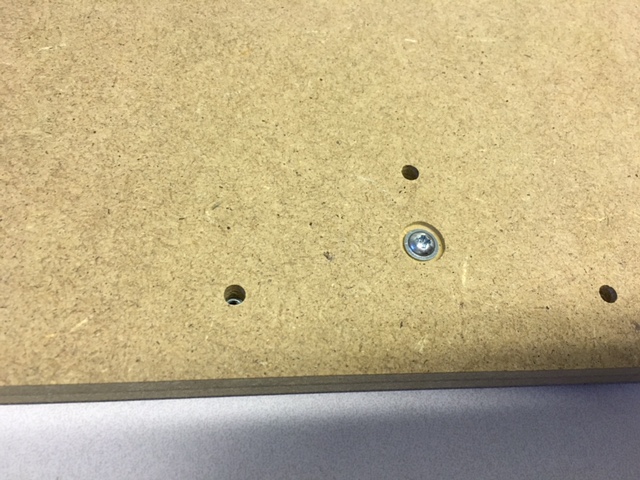
There were also nails included in the package but I did not find a use for them. Maybe they are meant for enforcing some of the assemblies in addition to glue, but there is no mention of where to use them in the instructions.
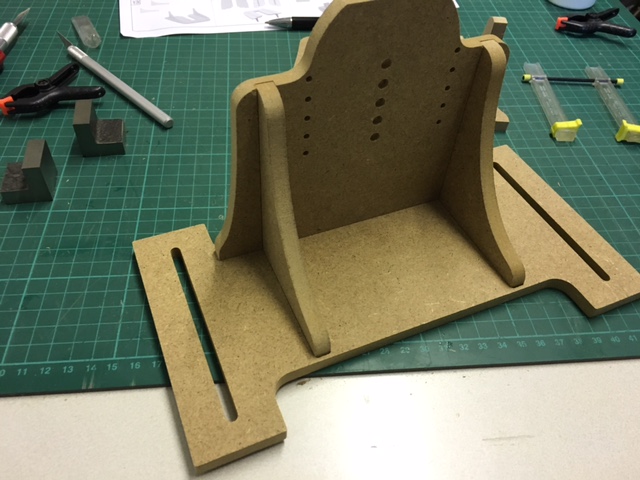
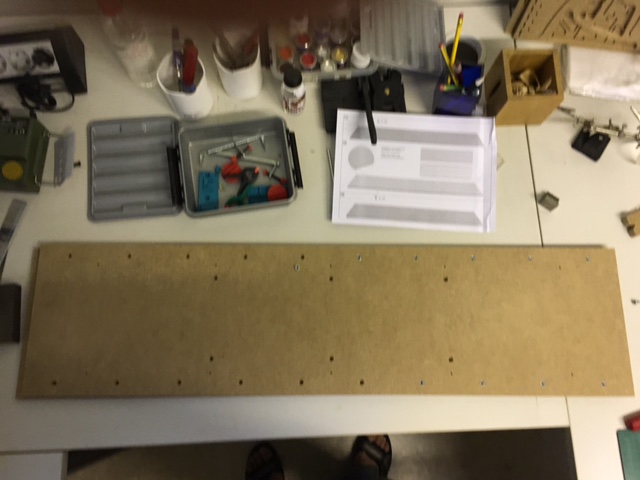
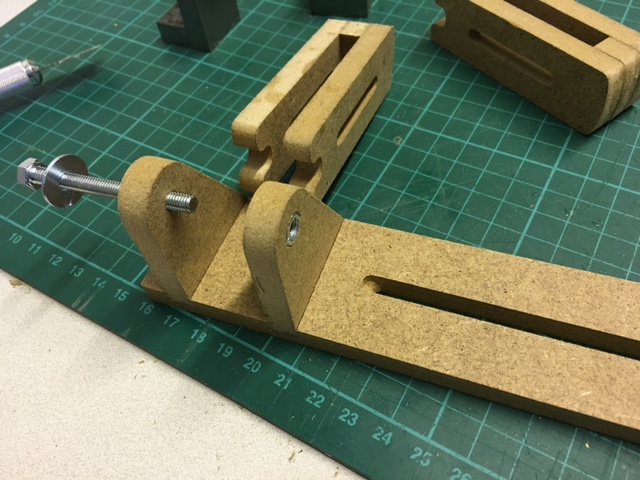
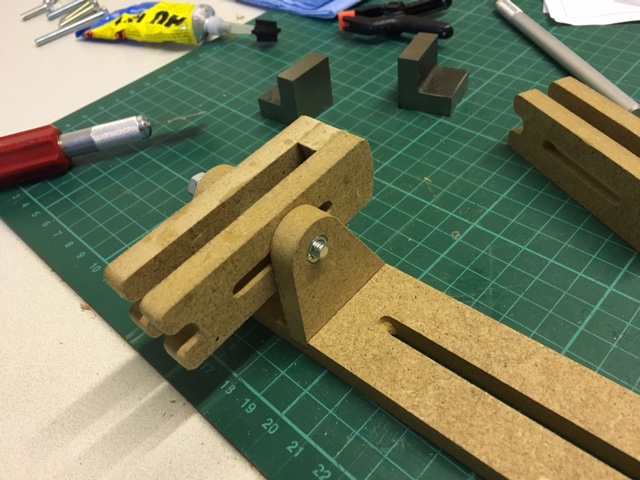
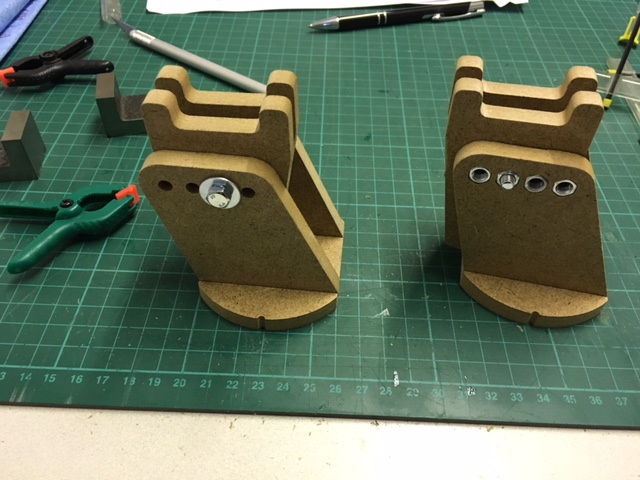
EDIT: In the last photo of this post, note that the piece has been fixed with double screws per side. This is a temporary action I took just in order to maintain the right angles correctly until the glue has dried. While in use there will be oce screw per side (you can see from the final view photos)
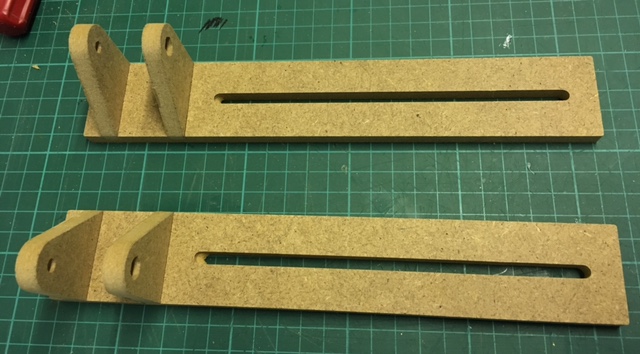
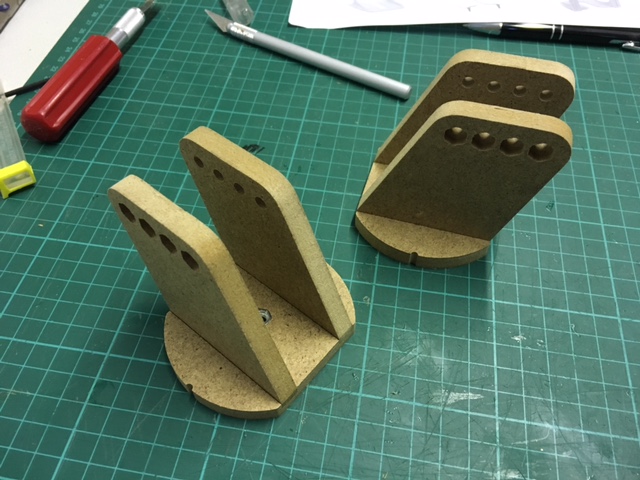
Getting there: