-
Posts
858 -
Joined
-
Last visited
Content Type
Profiles
Forums
Gallery
Events
Posts posted by aydingocer
-
-
-
-
Hello Aydin, I will be following your build log as well. I for one would love you to build it for full RC operation, swimming and all. There are a number of concerns that I would have if I was building this kit - 1) how to make it watertight, 2) how to balance it in water, and 3) how to apply a perfect gloss coat, and 4) how to avoid parts from falling off when she goes swimming.
I would be very interested to see how you overcome these.
Thanks for the interest Keith. And who knows, with a few more encouragements like yours, I may go the full measure and face all the challenges you've mentioned
 .
. -
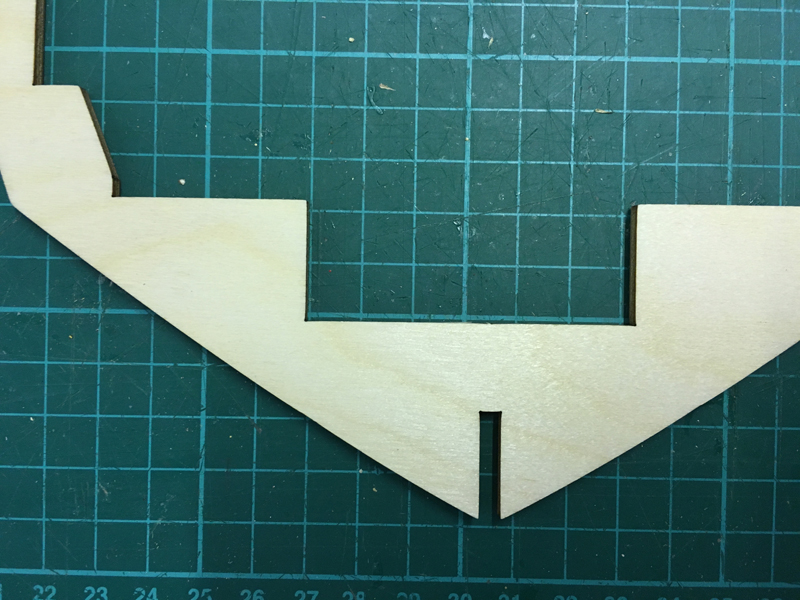
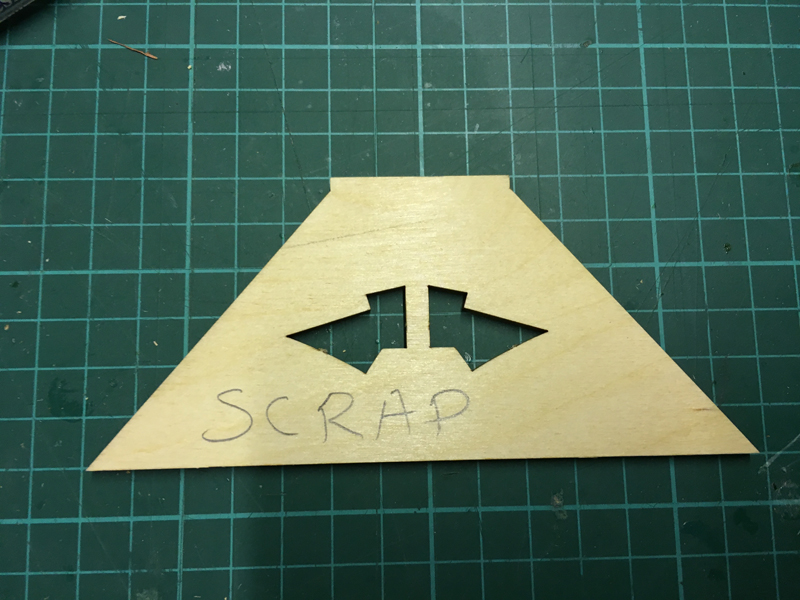
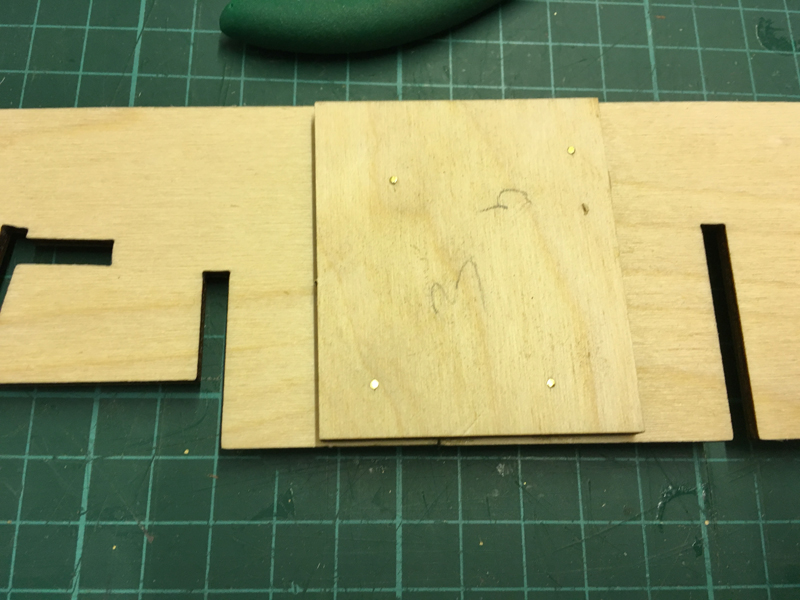
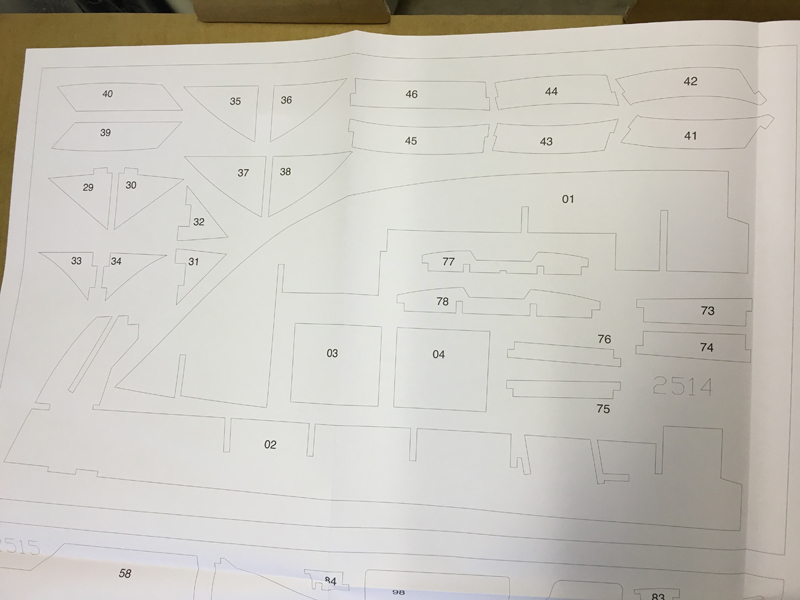
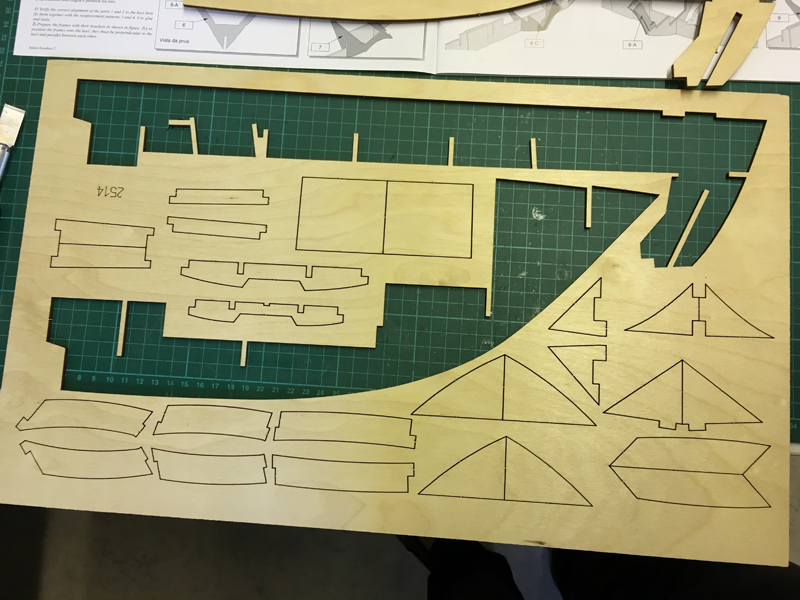
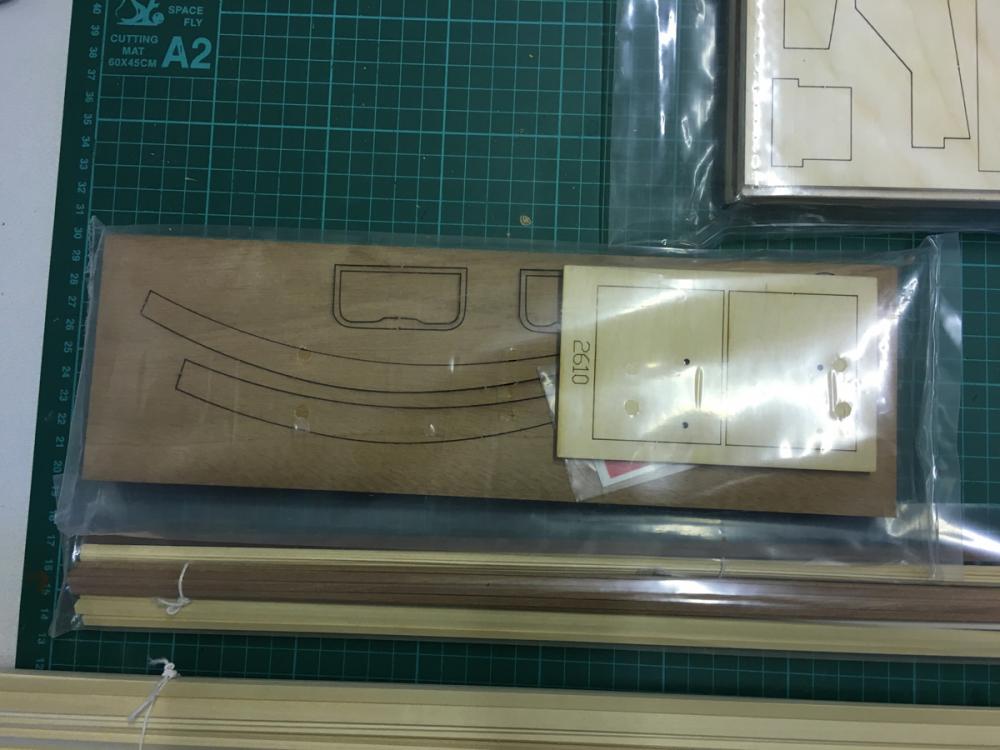
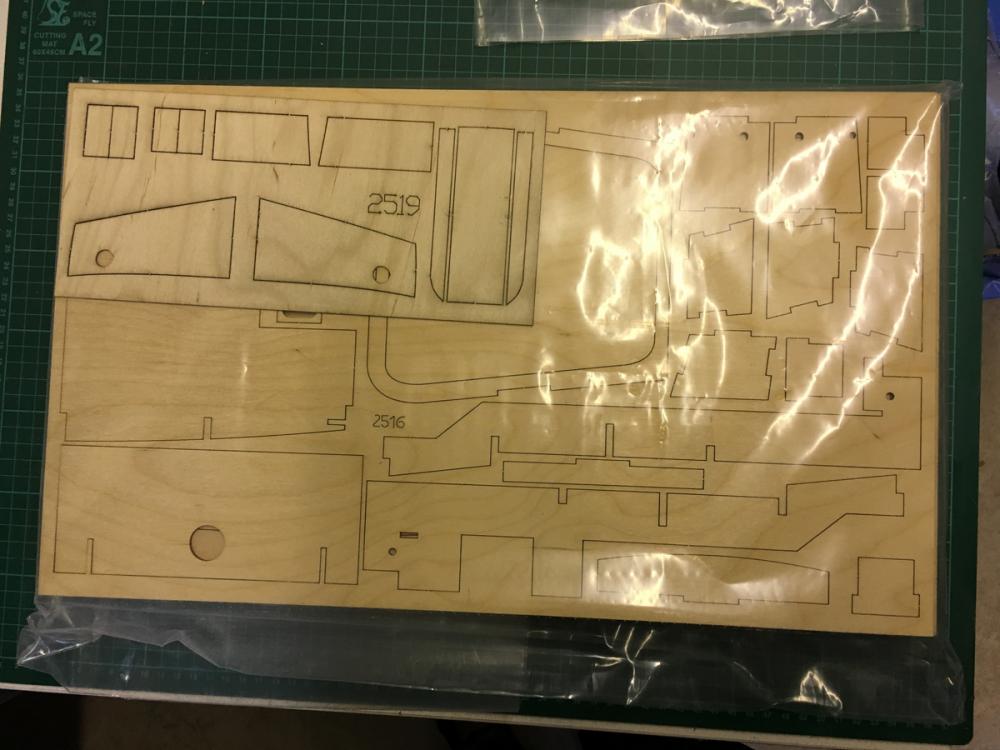
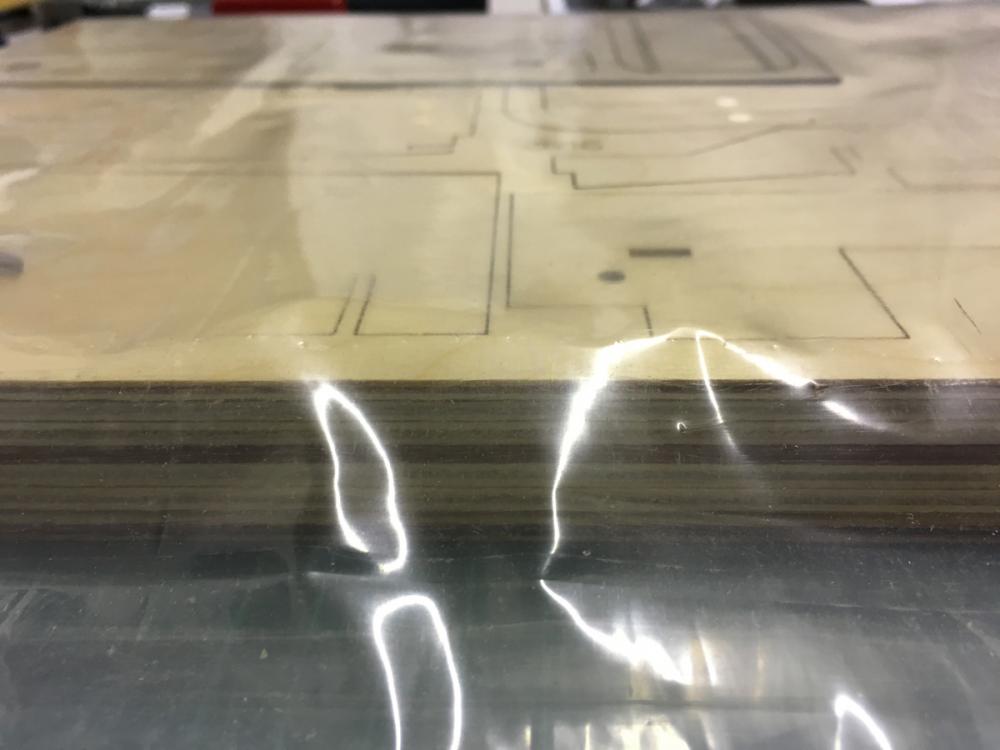
I cannot pass by not pointing out how precise the laser cuts are. This photo actually belongs to a "scrap" piece. The cuts are so clean that they look like a real piece. That's why I wanted to mark them "scrap" so that I won't wonder where the heck it belongs to.
 . The reason I keep some of them instead of throwing away is to use as a support or test material when needed.
 -
- fatih79, John Allen, cog and 5 others
-
 8
8
-
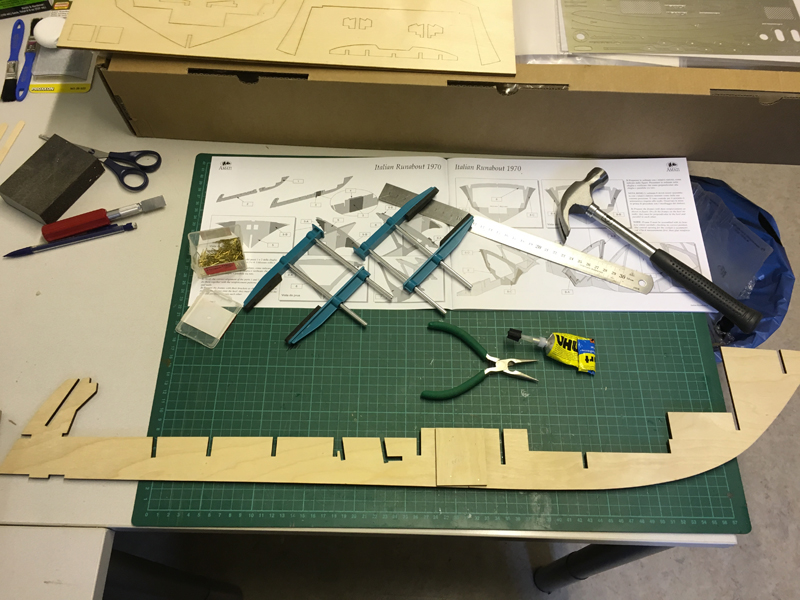
Keel in place, with reinforcements. I opted to "reinforce" the reinforcements using a few nails in addition to the glue, even though I use UHU HART the "pinnacle of German chemical engineering"
 , adding a few nails won't hurt the German pride, I suppose
  .
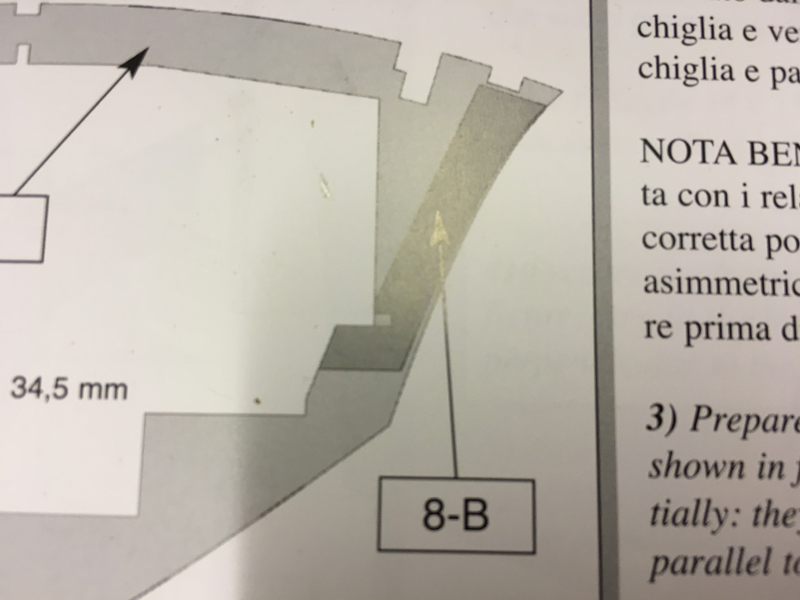
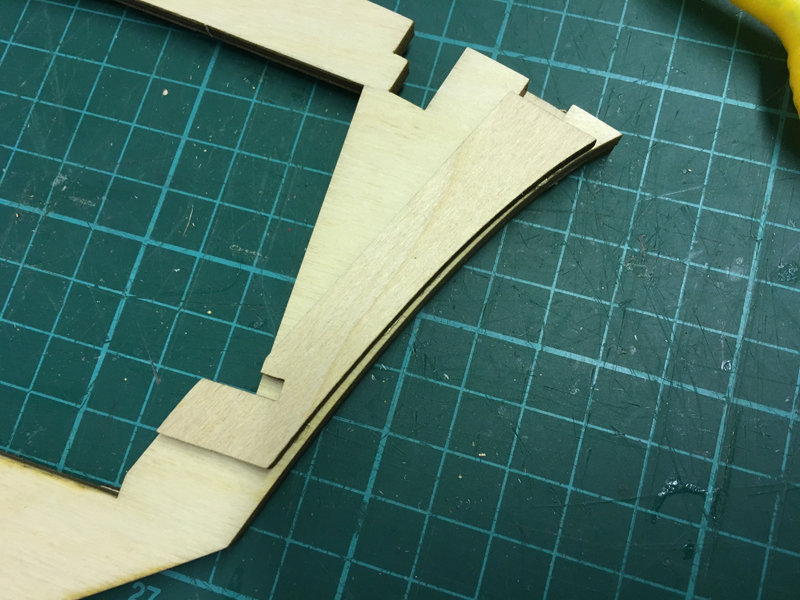
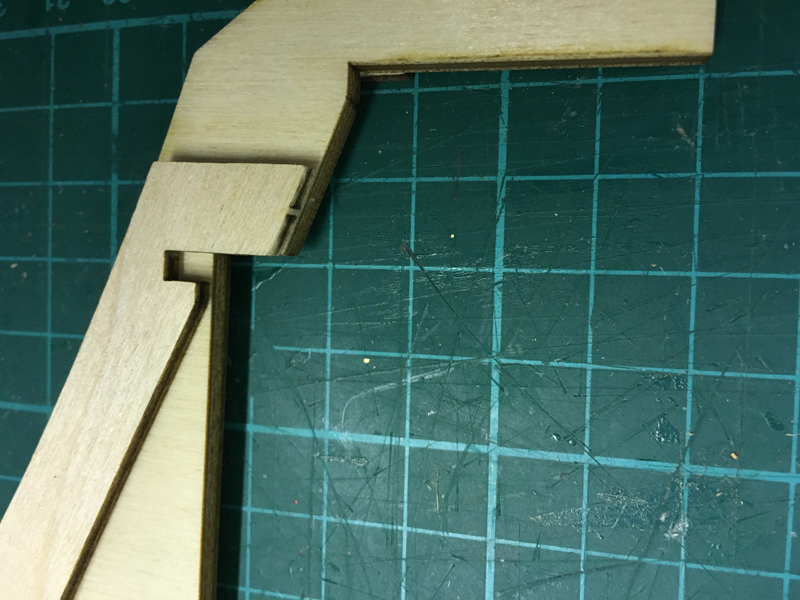
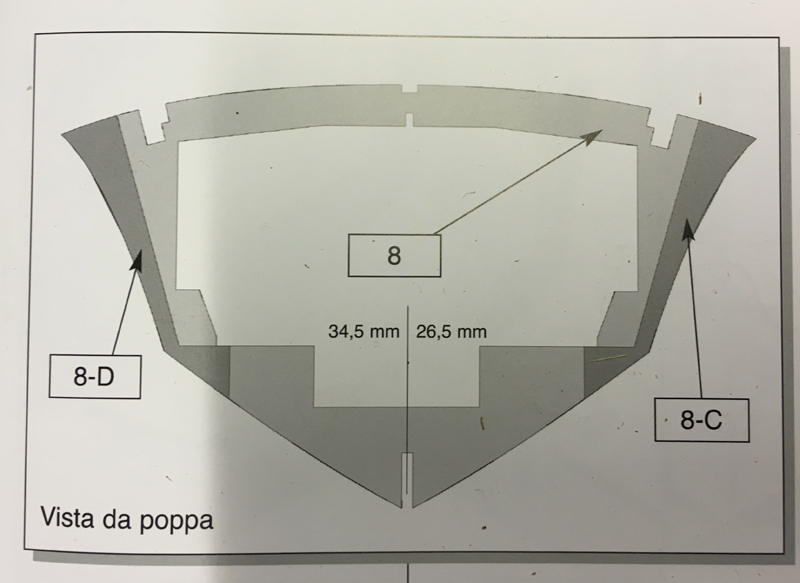
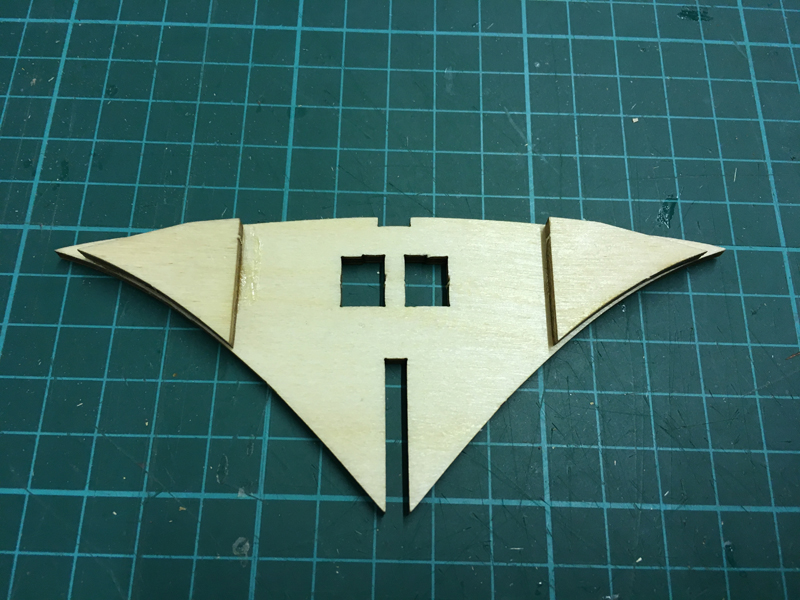
.The reinforcements, as seen in the photo, as well as the others so far I have experienced, do not always sit flush with all the edges. This is sometimes important point to watch carefully while gluing them. I have one example to this issue further ahead.
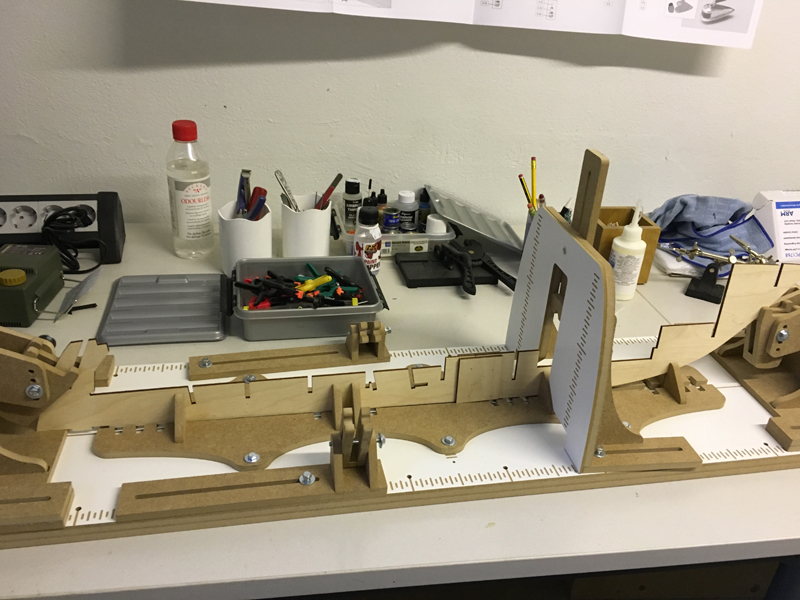
In the last photo, the keel is now placed and tightened on my building slip.
-
-
Alright, now I didn't plan to start today, but thanks to the Finnish summer, the weather forecast promised rain the whole day so I can peacefully sit home and start building this beautiful model!

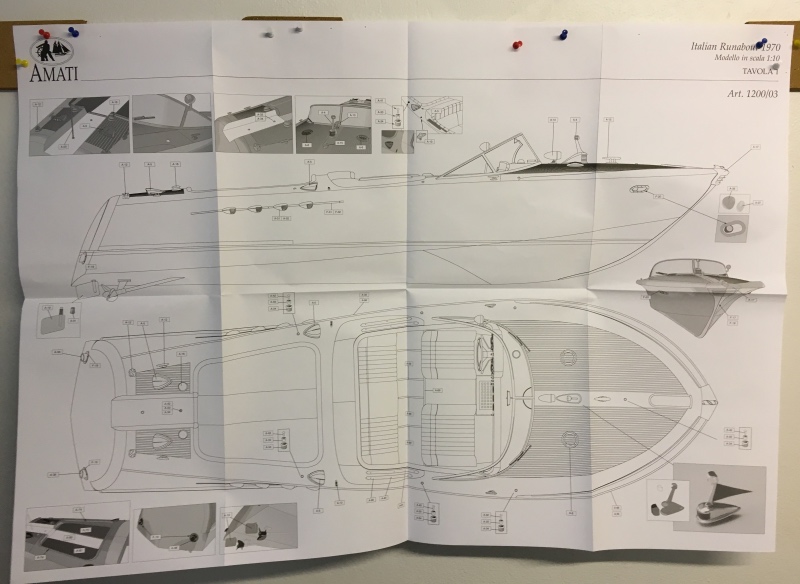
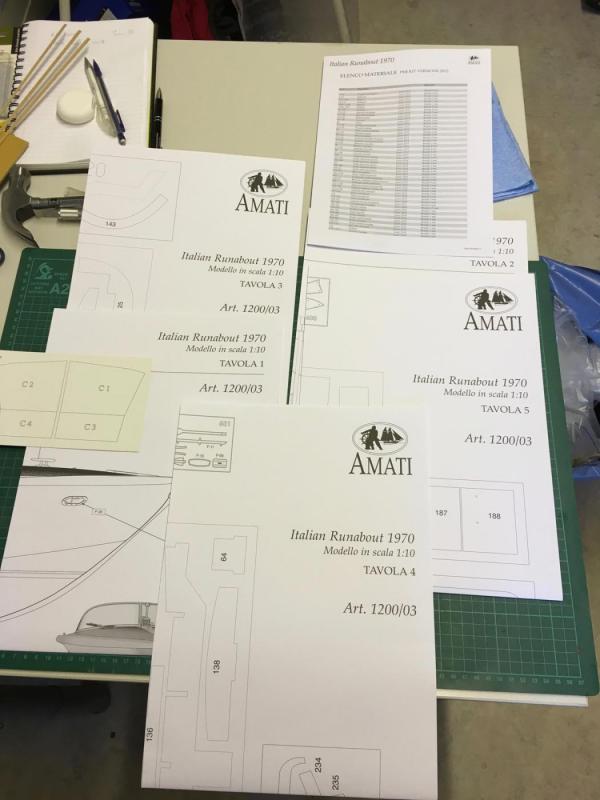
The first plan sheet is now nailed on the wall. It won't be in immediate need, but gives a construction yard feeling and motivation (doesn't it)? And an idea to you what the plans look like.
-
-
What about the shipping rate, did you see anything on that when you check? That just pop up in my mind.
- add the product(s) to your shopping cart
- go to Check Out
- Select country
and you will see the shipment options with prices. You do not have to register nor enter any details about you.
Cost me around 65 Polish Zloty (around 15 euros) to ship to Finland.
-
-
-
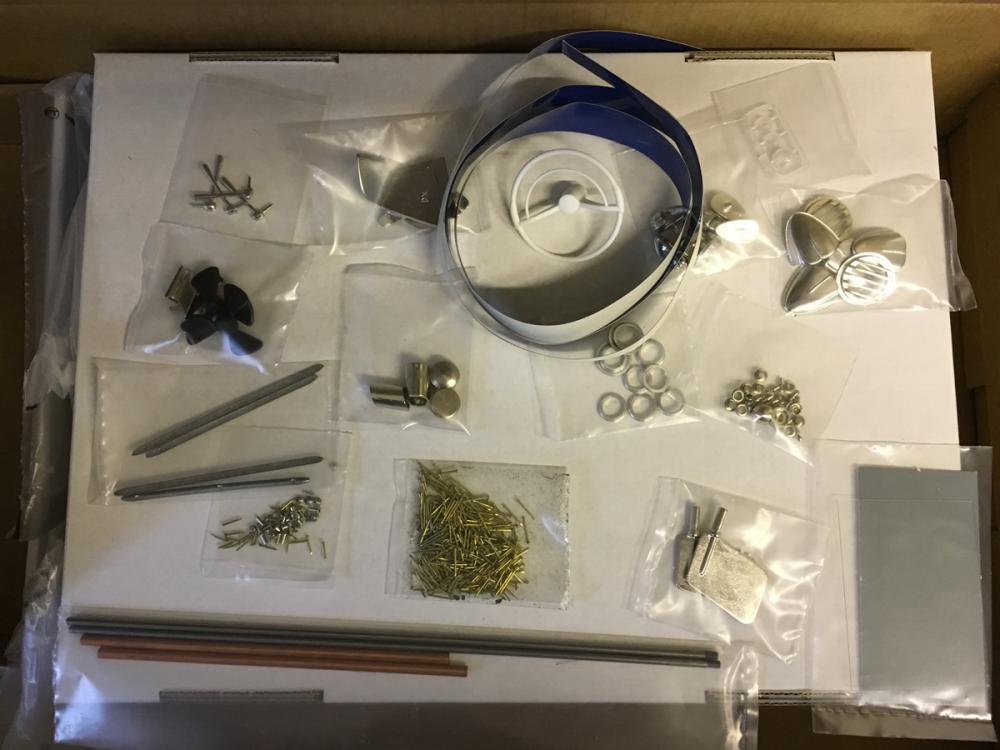
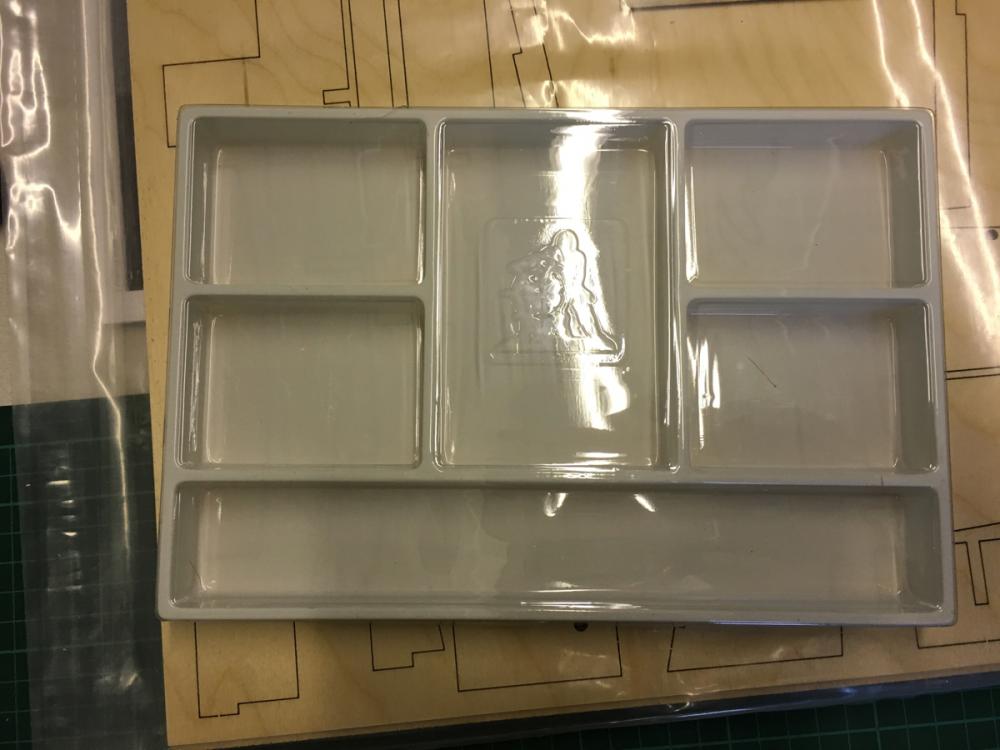
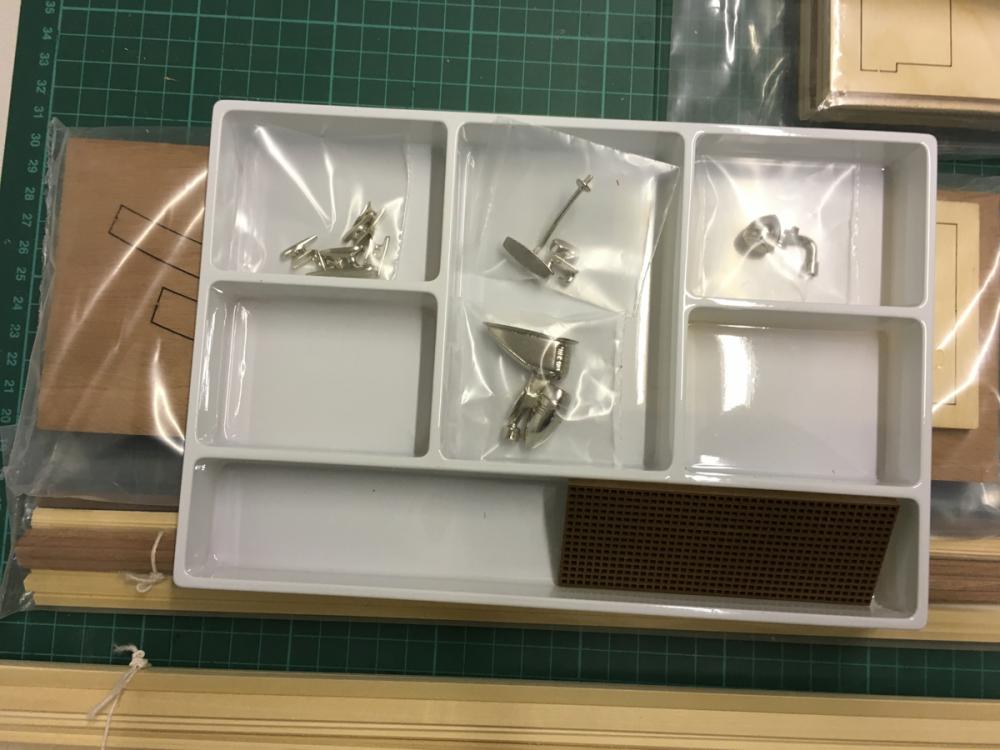
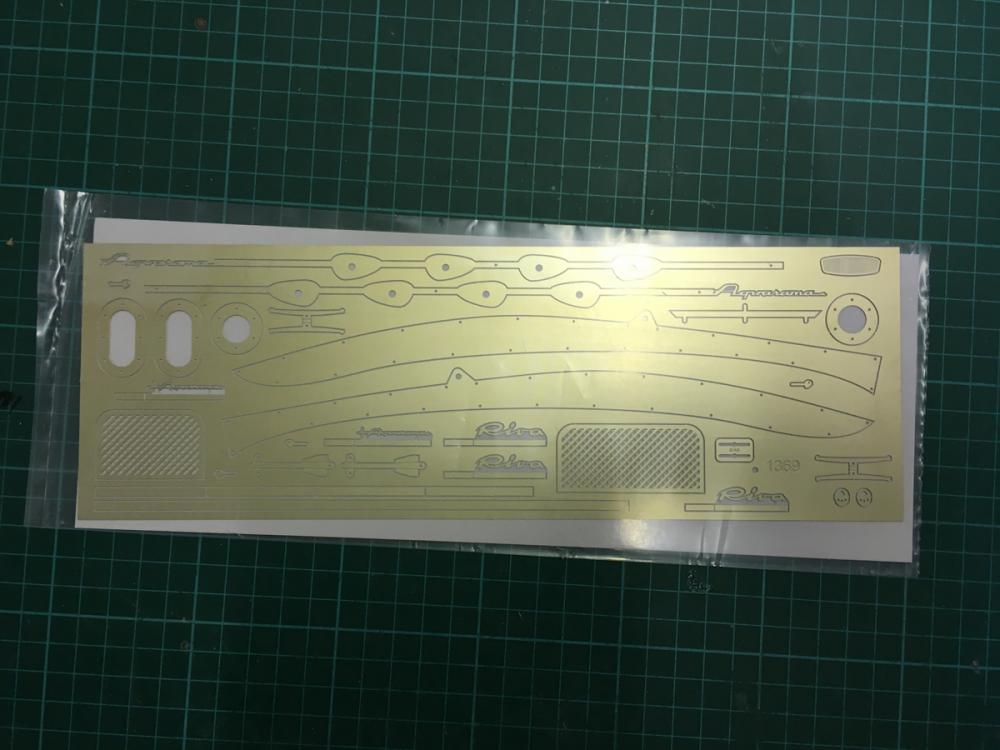
And last but not the least, the accessories and ornaments. The box had obviously been shaken quite a bit during transport, the pieces were scattered all around the box, but luckily they were contined in their own box so that they did not get any damage. They should've otherwise been sitting calmly in their white plastic containers
 . Also it seemed to help that they are further protected in small plastic bags.
 -
-
-
-
-
-
-
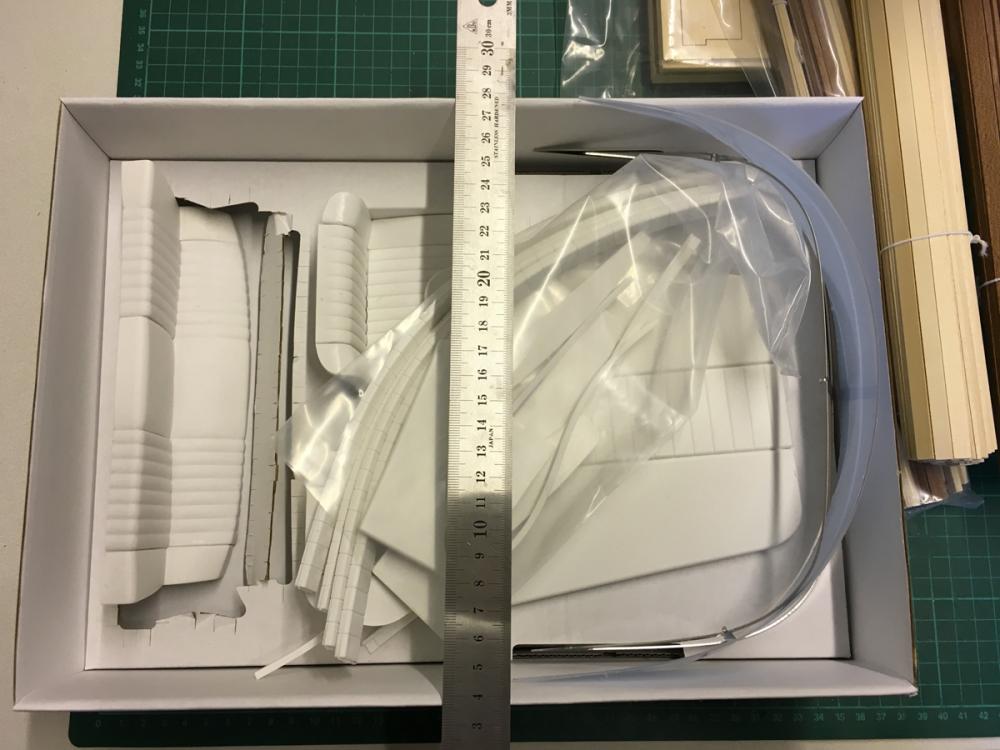
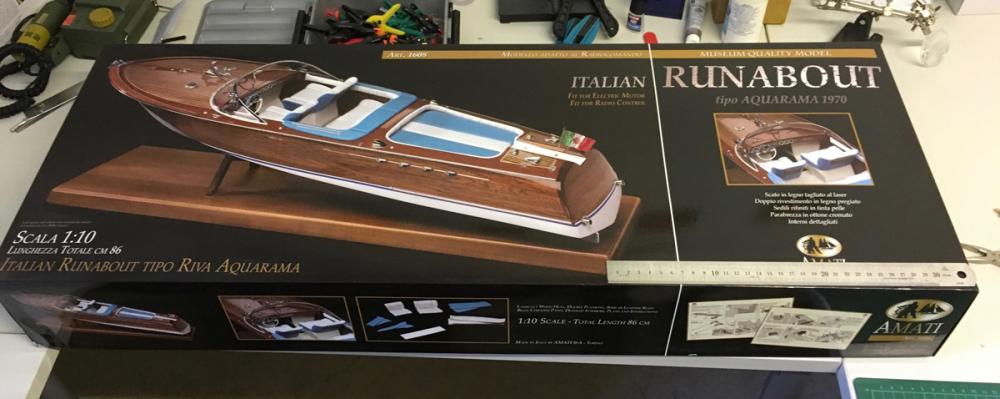
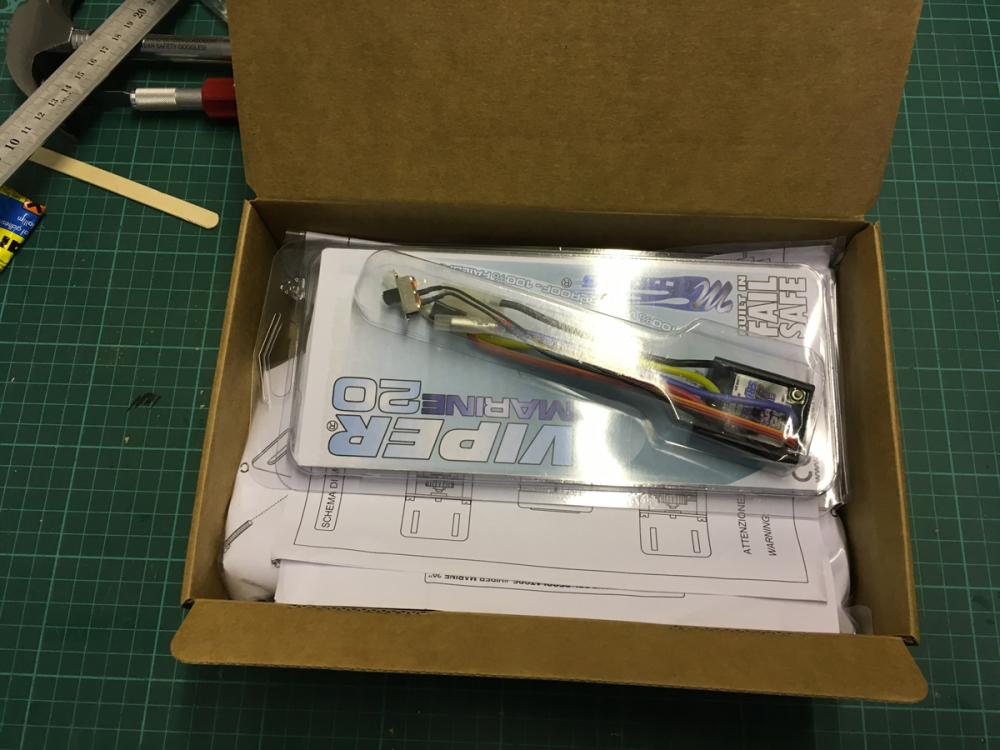
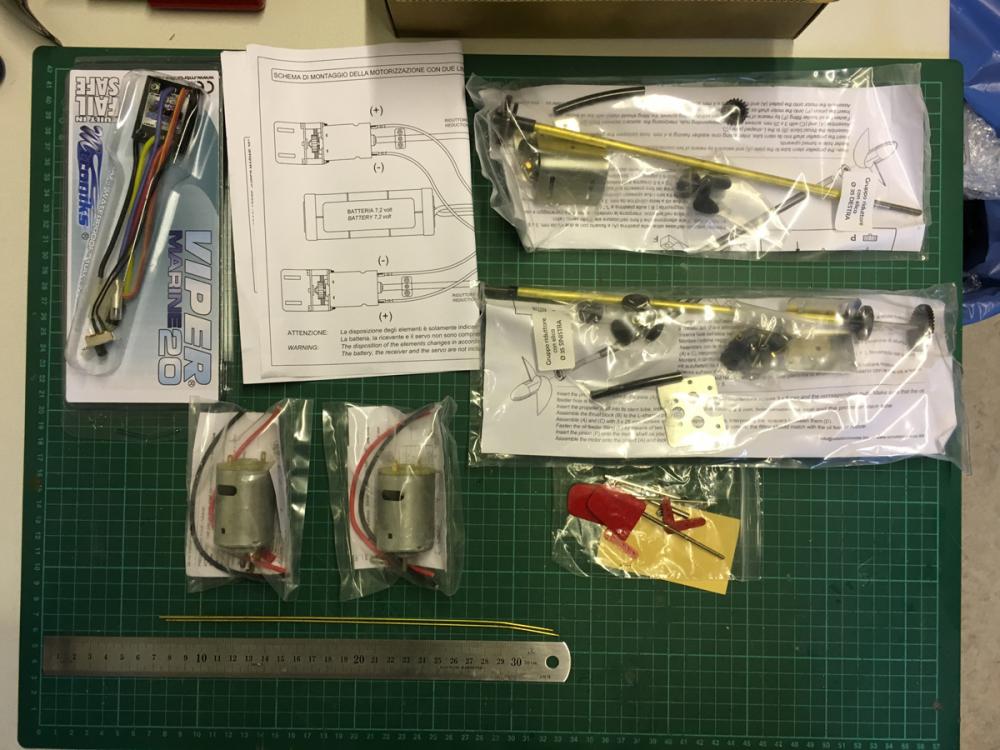
I ordered the standard kit + the radio control module. At this moment I am not sure if I just want to make it a semi-static model (i.e. fully operating radio functionality but not for swimming) or go the full measure and make it a swimming model. It will all depend on how I succeed with my test runs of applying water insulation (e.g. glass fibre coating , epoxy etc). Something I have not done before, but let's see.
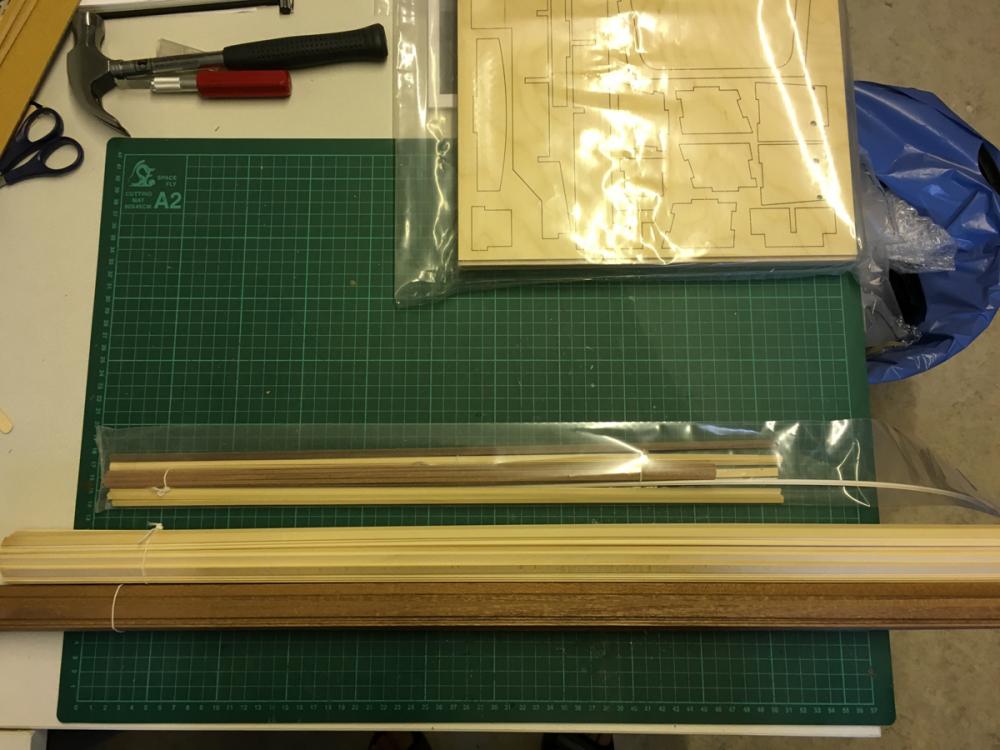
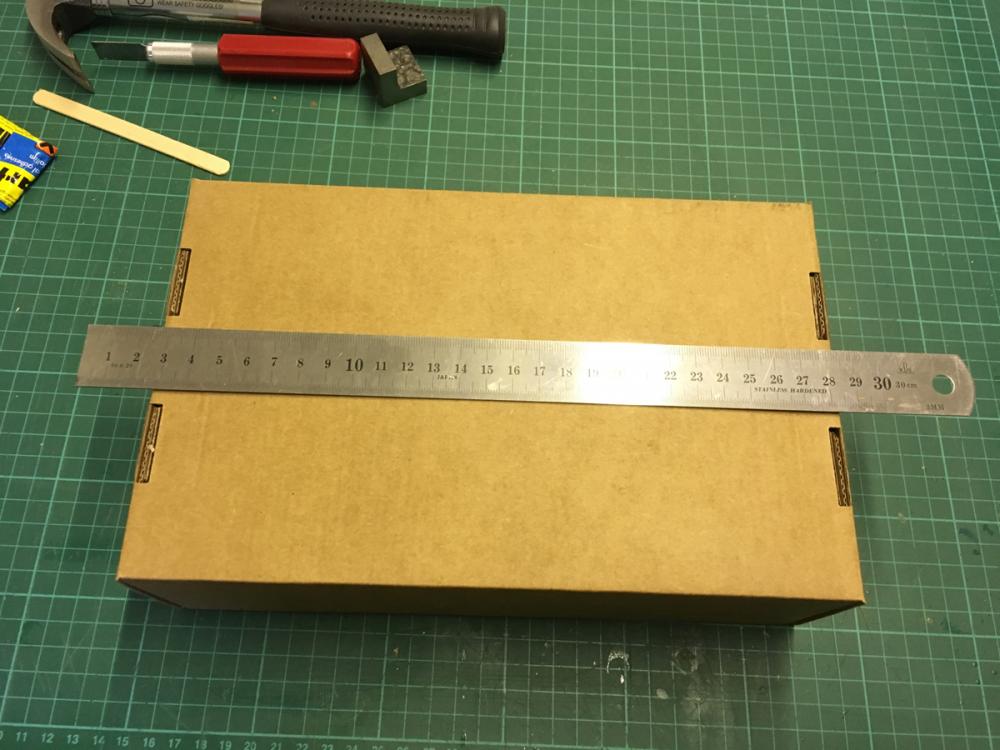
The first box which came out of the delivery package is the radio control pack. I have included a 30cm ruler in some photos and placed the parts on a cutting mat to let you compare the size.
-
-
Hello dear fellow forum folks,
I joined this forum yesterday with an introduction followed by my first build log of hobbyzone build slip where I mentioned my plans to build a great looking model of Riva Aquarama from Amati.
Having built several static models in the past, this time I decided to take a different challenge but was not sure exactly what that would be. Surfing in various ship model forums I got struck by a few build logs of a beautiful radio model from Amati, namely Riva Aquarama and then it was not hard for me to decide to go with this model.
I ordered the kit from euromodels.co.uk since I had done shopping with them in the past and they have reasonable prices. Payment and shipment was swift and no problems at all. Only thing is that they are not very good at answering your emails: I asked a question about the several options of this kit which are sold separately before I ordered but did not get any reply. Earlier, I had asked also another question about HMS Fly concerning the availability of their photo-etched extension kit but did not get any response either. Anyway, no real complaints here, maybe their email providers are not working properly.
Back to the kit: Amati offers several options for dudes like us who want to build it:
- The boat itself. This is a big scale kit (1:10) at 86cm length which makes a great deal of details
- Radio control kit (includes motor, rods, cables, electronic speed control etc...)
- Accesory kit (this was what I was not sure whether the standard kit includes it already or not, for which I did not get a reply from the shop. I asked it to Amati and no reply from there either). The reason of my confusion is that Amati also sells other parts for those who want to scratch build, therefore I wanted to make sure whether the accessory kit contains for example better replacement parts than what comes with the standard kit, or just the same parts for those who want to scratch build. This kit alone costs around 140€ so it is not something you want to buy before making sure. At this moment I still don't know the answer but I will figure out before I come to the upholstery stage. In brief, this is what I am talking about: http://www.amatimodel.com/en/models/naval/classic/amati/runabout-upholstery-and-windshield-kit
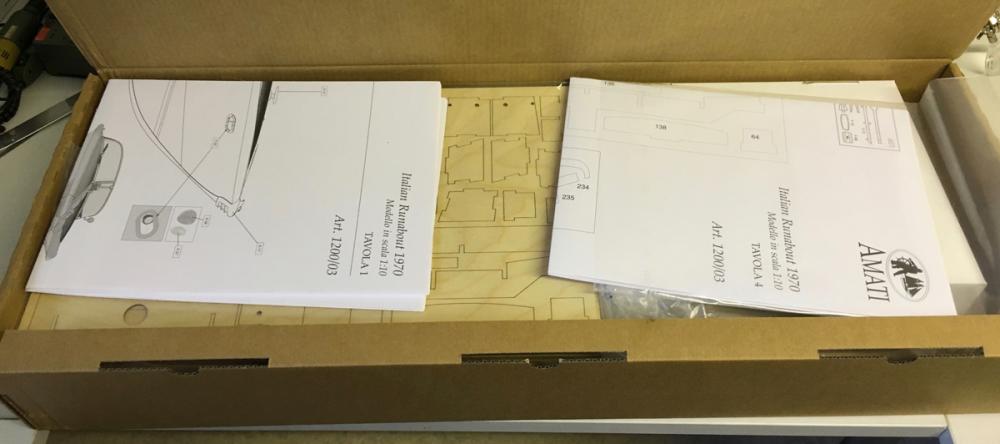
Overall, after unboxing and initial inspection, I have to say that
- the part quality is very very good. Especially the wooden strips are the best so far I have worked with. Each of them look straight, smooth like soap with no chips and splinters at all.
- Plans are clear and print quality is excellent
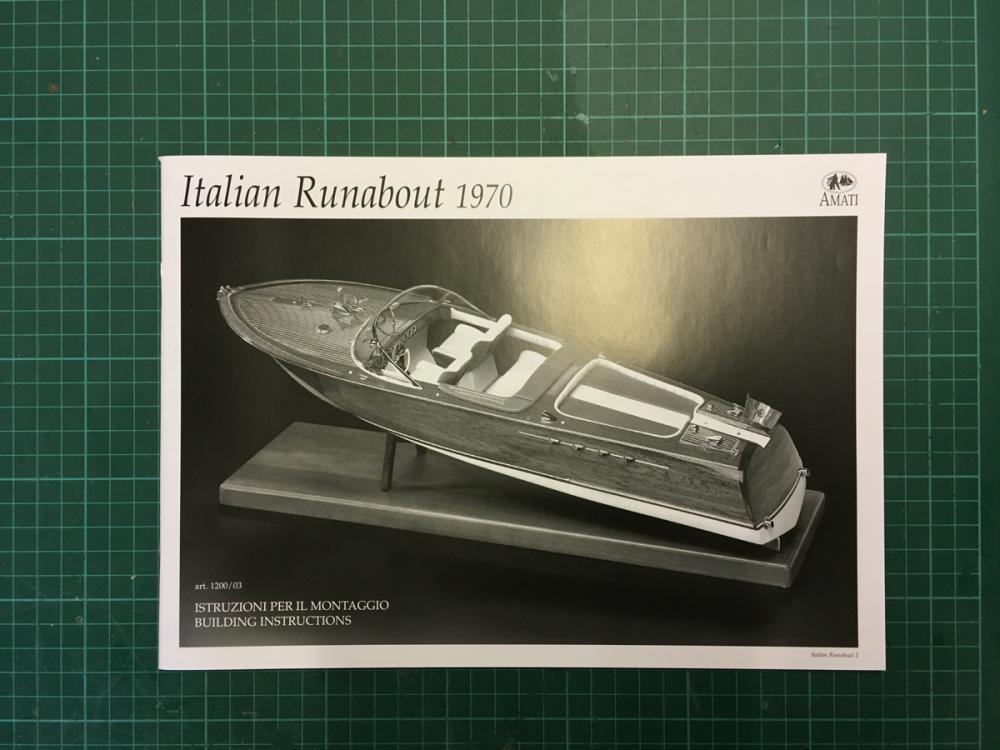
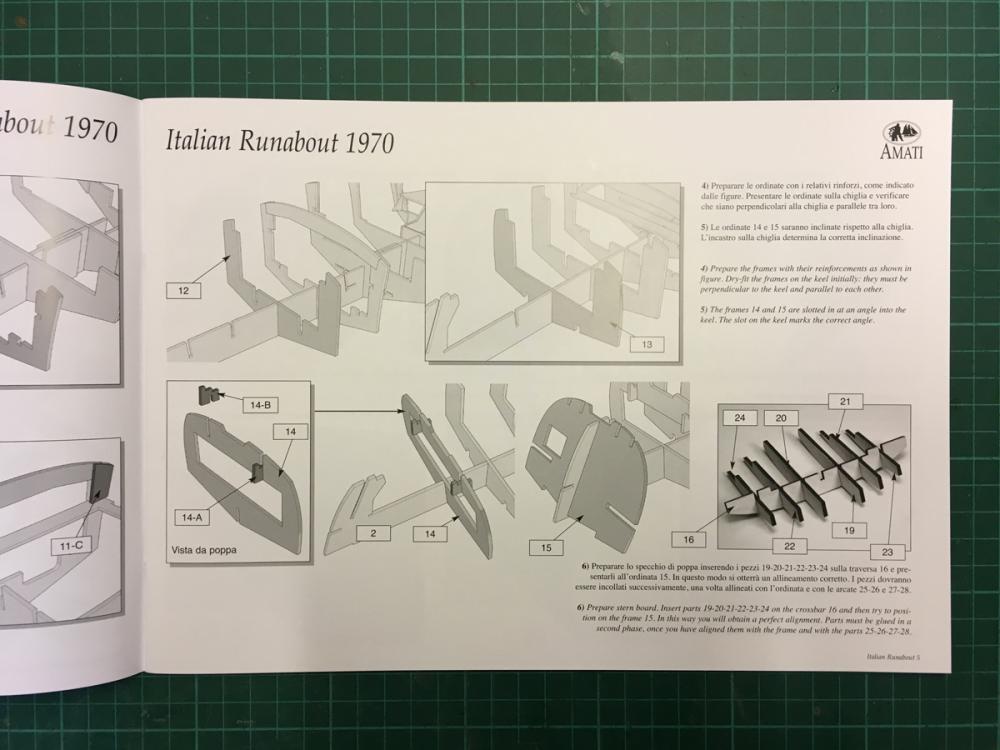
- Instruction manual is clear with lots and lots of photos, descriptions and tips, both in English and Italian.
-
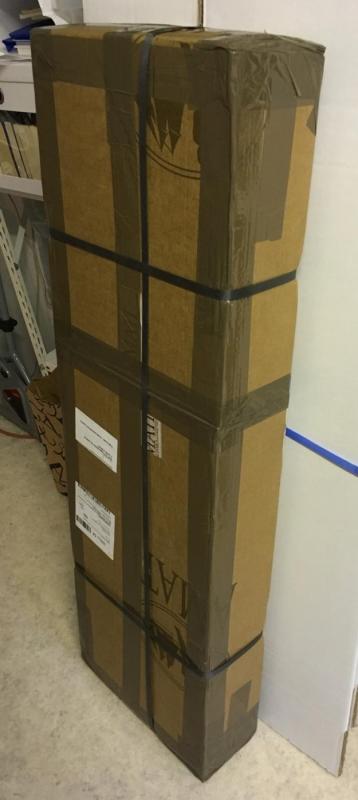
Spacious packaging, easy to place the parts back in to the box after unboxing, as opposed to some kits boxes where it feels like opening a can of worms you cannot pack back

Alright, today's posts will be about unboxing and of the parts and package in general. I hope to start the build by tomorrow.
Regards,
Aydin
-
-


Riva Aquarama by aydingocer - FINISHED - Amati - RADIO - A new challenge for a so-far static ship builder
in - Kit build logs for subjects built from 1901 - Present Day
Posted · Edited by aydingocer
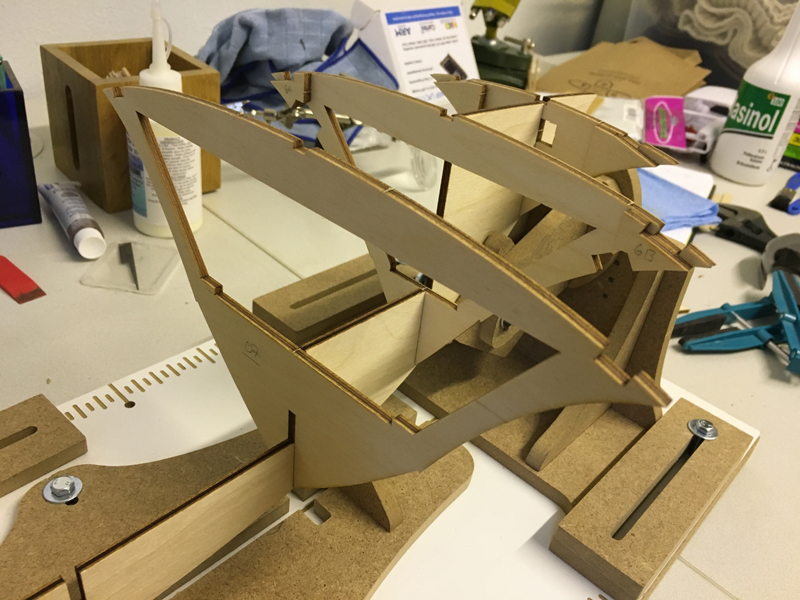
All parts so far ripped from the sheets are dry-fitted on the keel.
That's all for today. Thanks for watching.