HOLIDAY DONATION DRIVE - SUPPORT MSW - DO YOUR PART TO KEEP THIS GREAT FORUM GOING! (Only 20 donations so far - C'mon guys!)
×


qwerty2008
-
Posts
552 -
Joined
-
Last visited
Content Type
Profiles
Forums
Gallery
Events
Everything posted by qwerty2008
-
I was going to comment on how nice the deck looks but it seems everyone else beat me to it. Great work. Lextin.
-
Wow 60+ pounds my largest model only needs abought 20 pounds. You may want to make a bolt on external keel to hold at least half the ballast so you can remove allot of weight for ease of transport then bolt the keel back on just before launch. You would also gain added stability from doing this. I made some rough calculations for my Byzantium awhile back and found that if I were to cast a 1.5" square bar of lead every inch added to the length will add approximately 1 pound. Lextin.
-
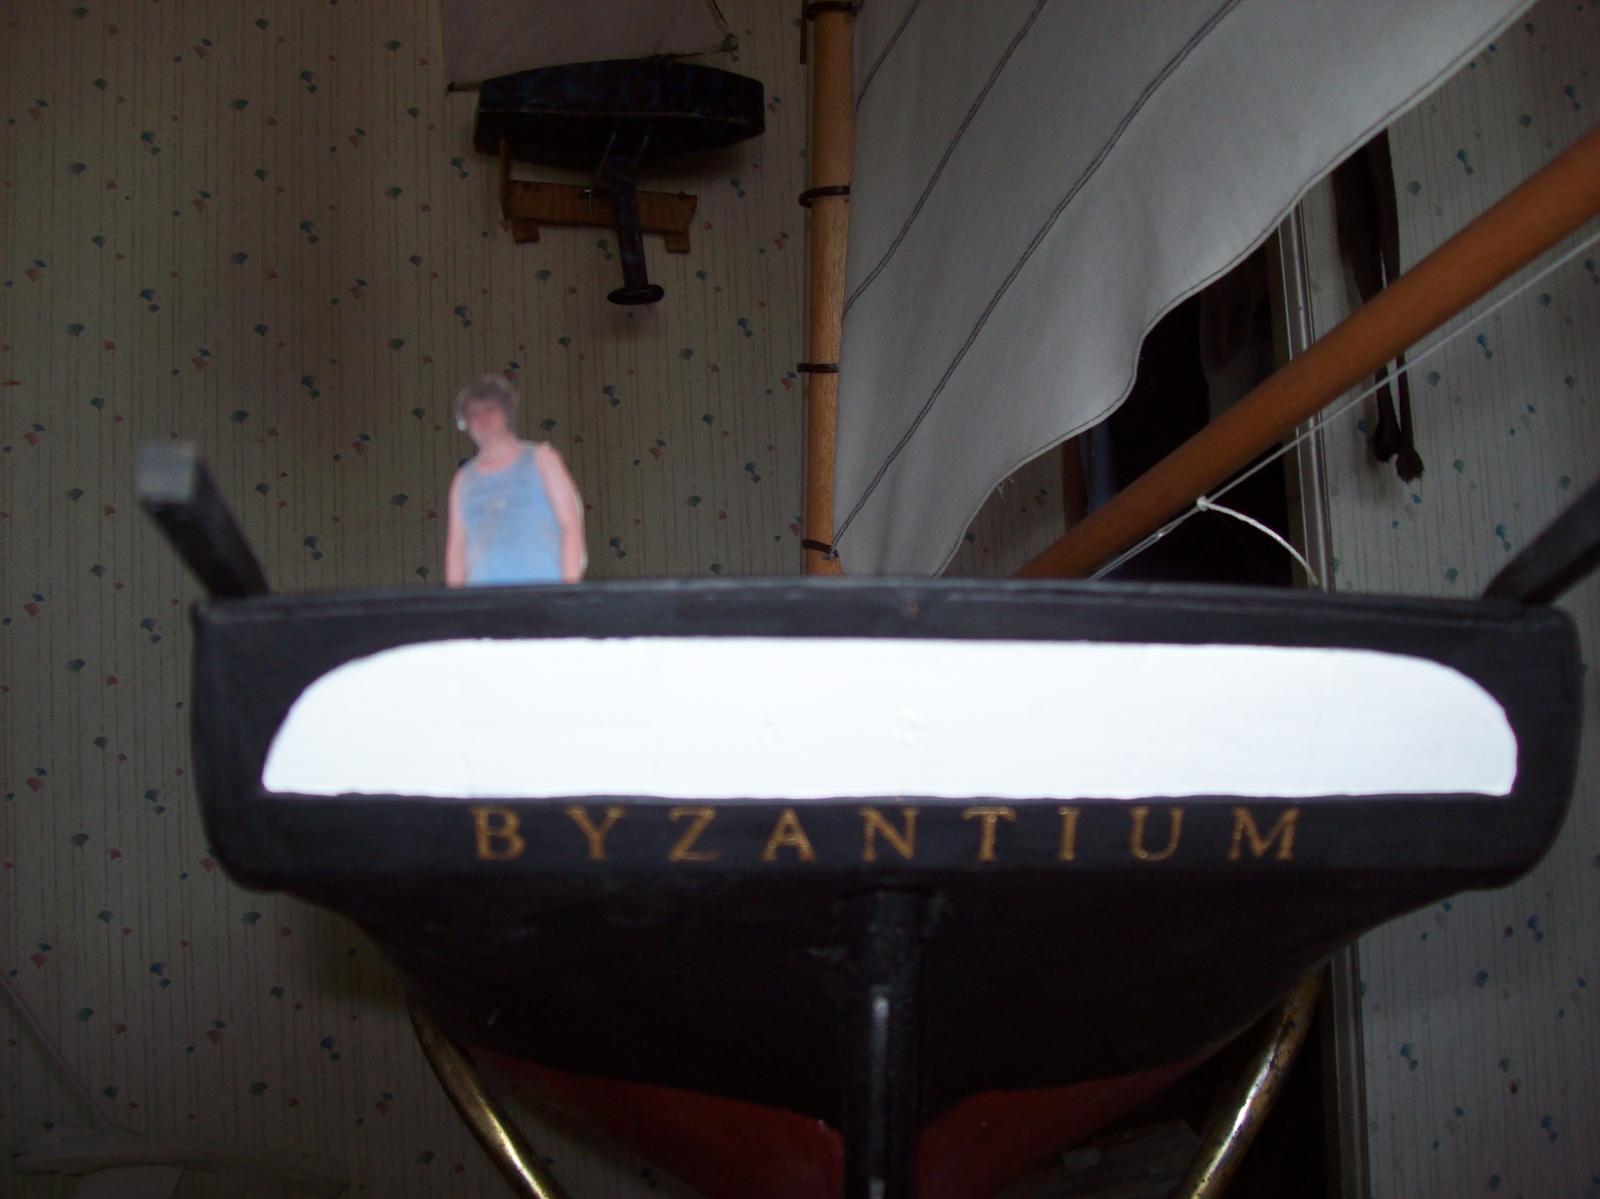
No I don't think that I will wish I was that size. I don't know what was going trough my mind but when I made the paper cutout I made it at 1:24th scale not 1:20th scale A new correctly sized cutout is in the works. Lextin.
-
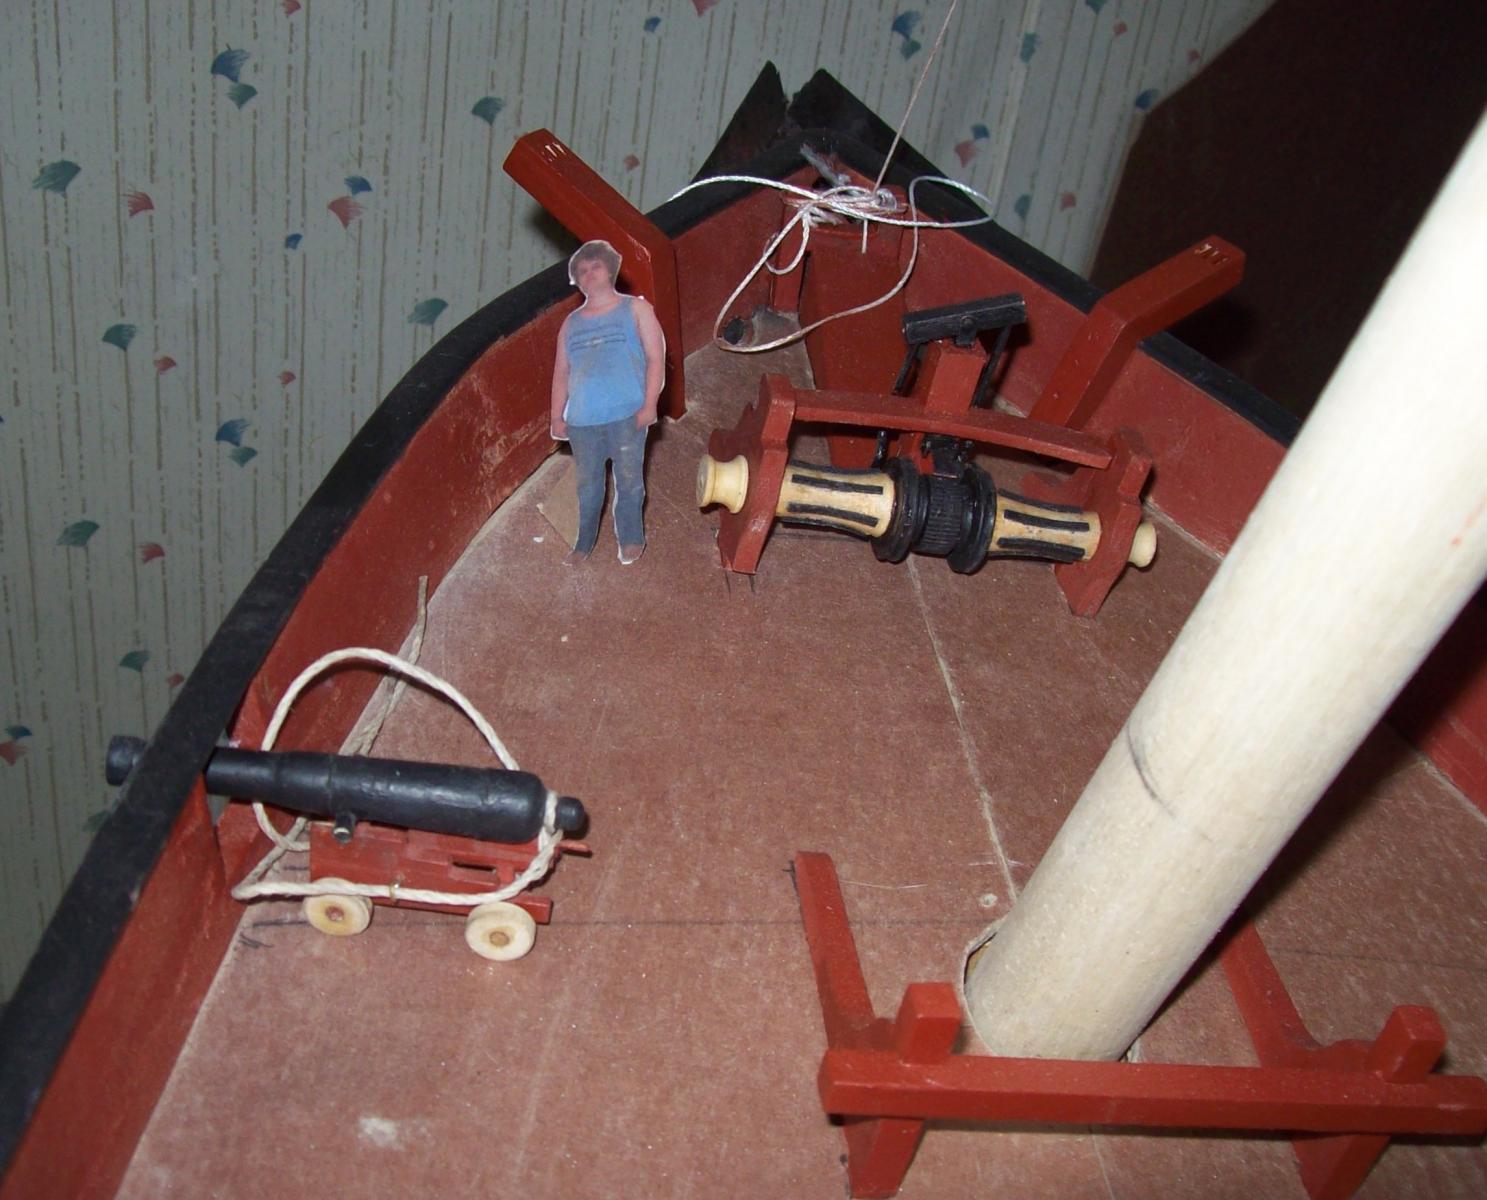
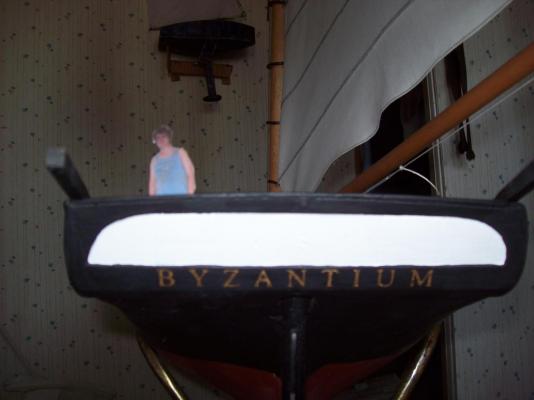
I painted the name on the stern. I also made paper cutout of me in 1:20th scale, I look a little short in the picture with the windlass but its just the angle the pic was taken from, the rail actually about waist height. Lextin.

-
I am a big fan of the red and black. Great work!
-
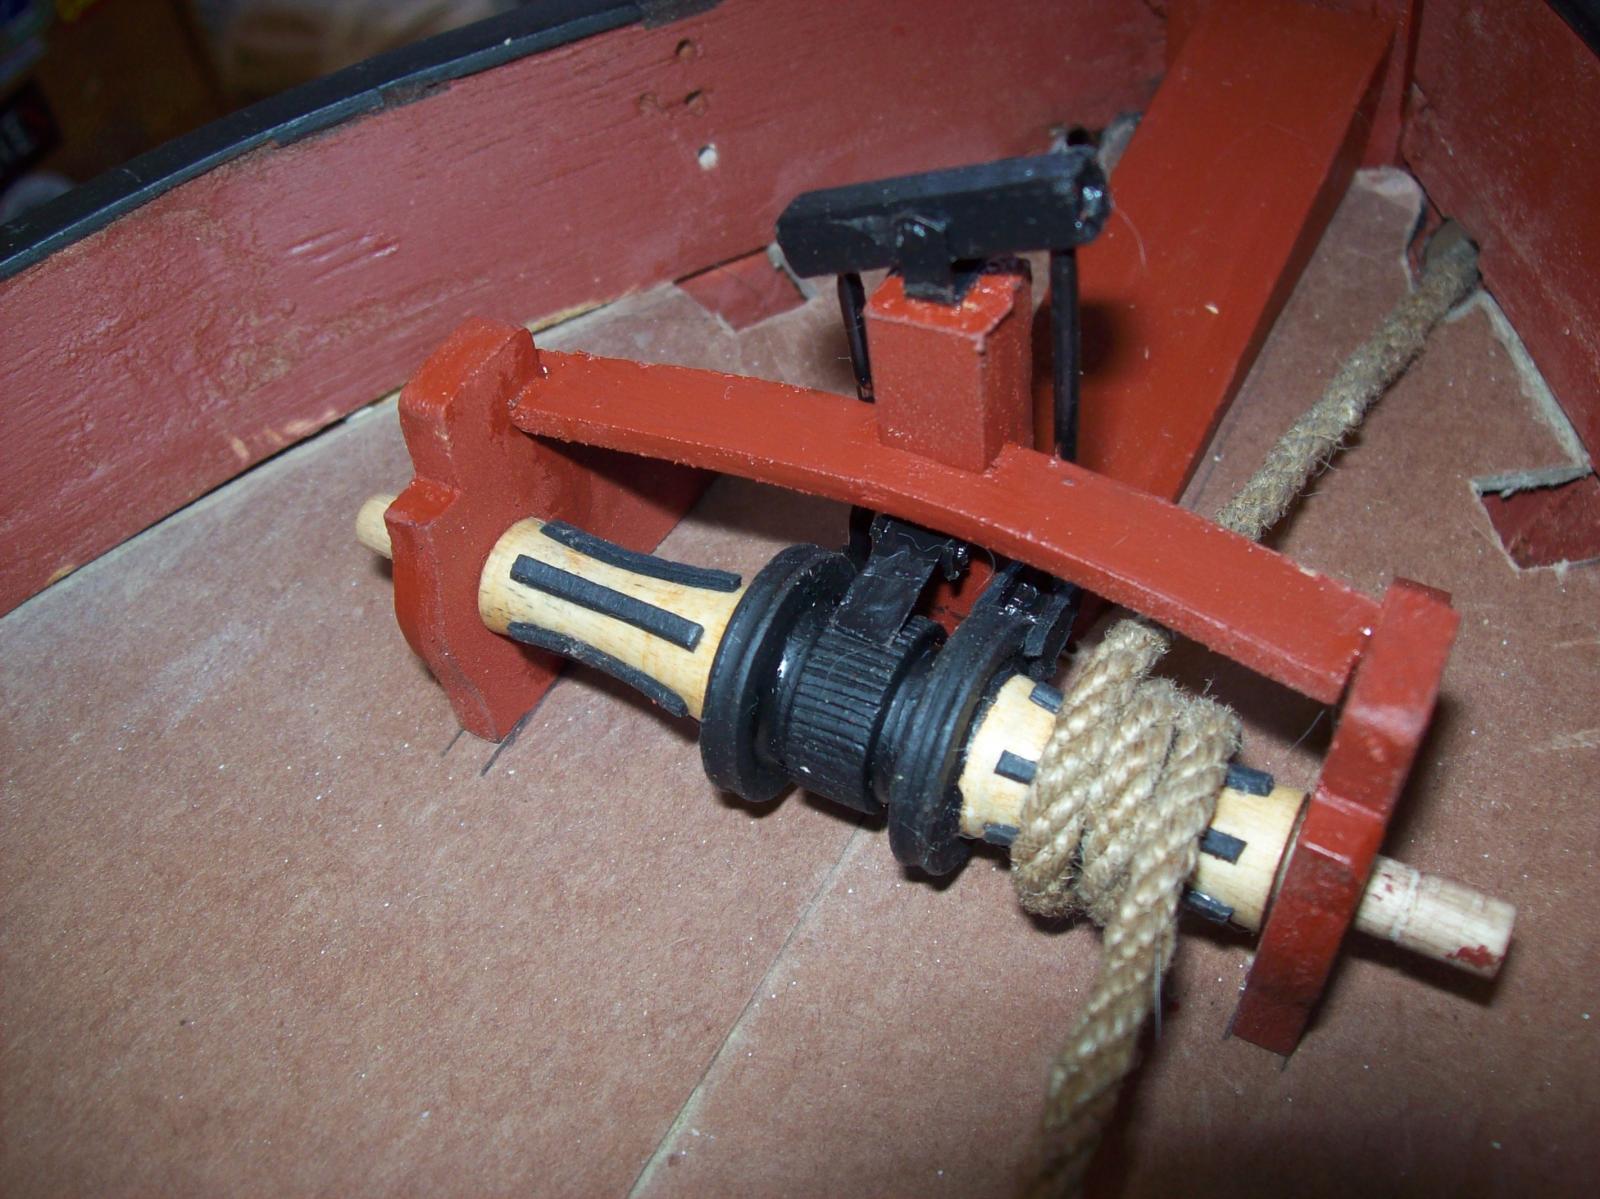
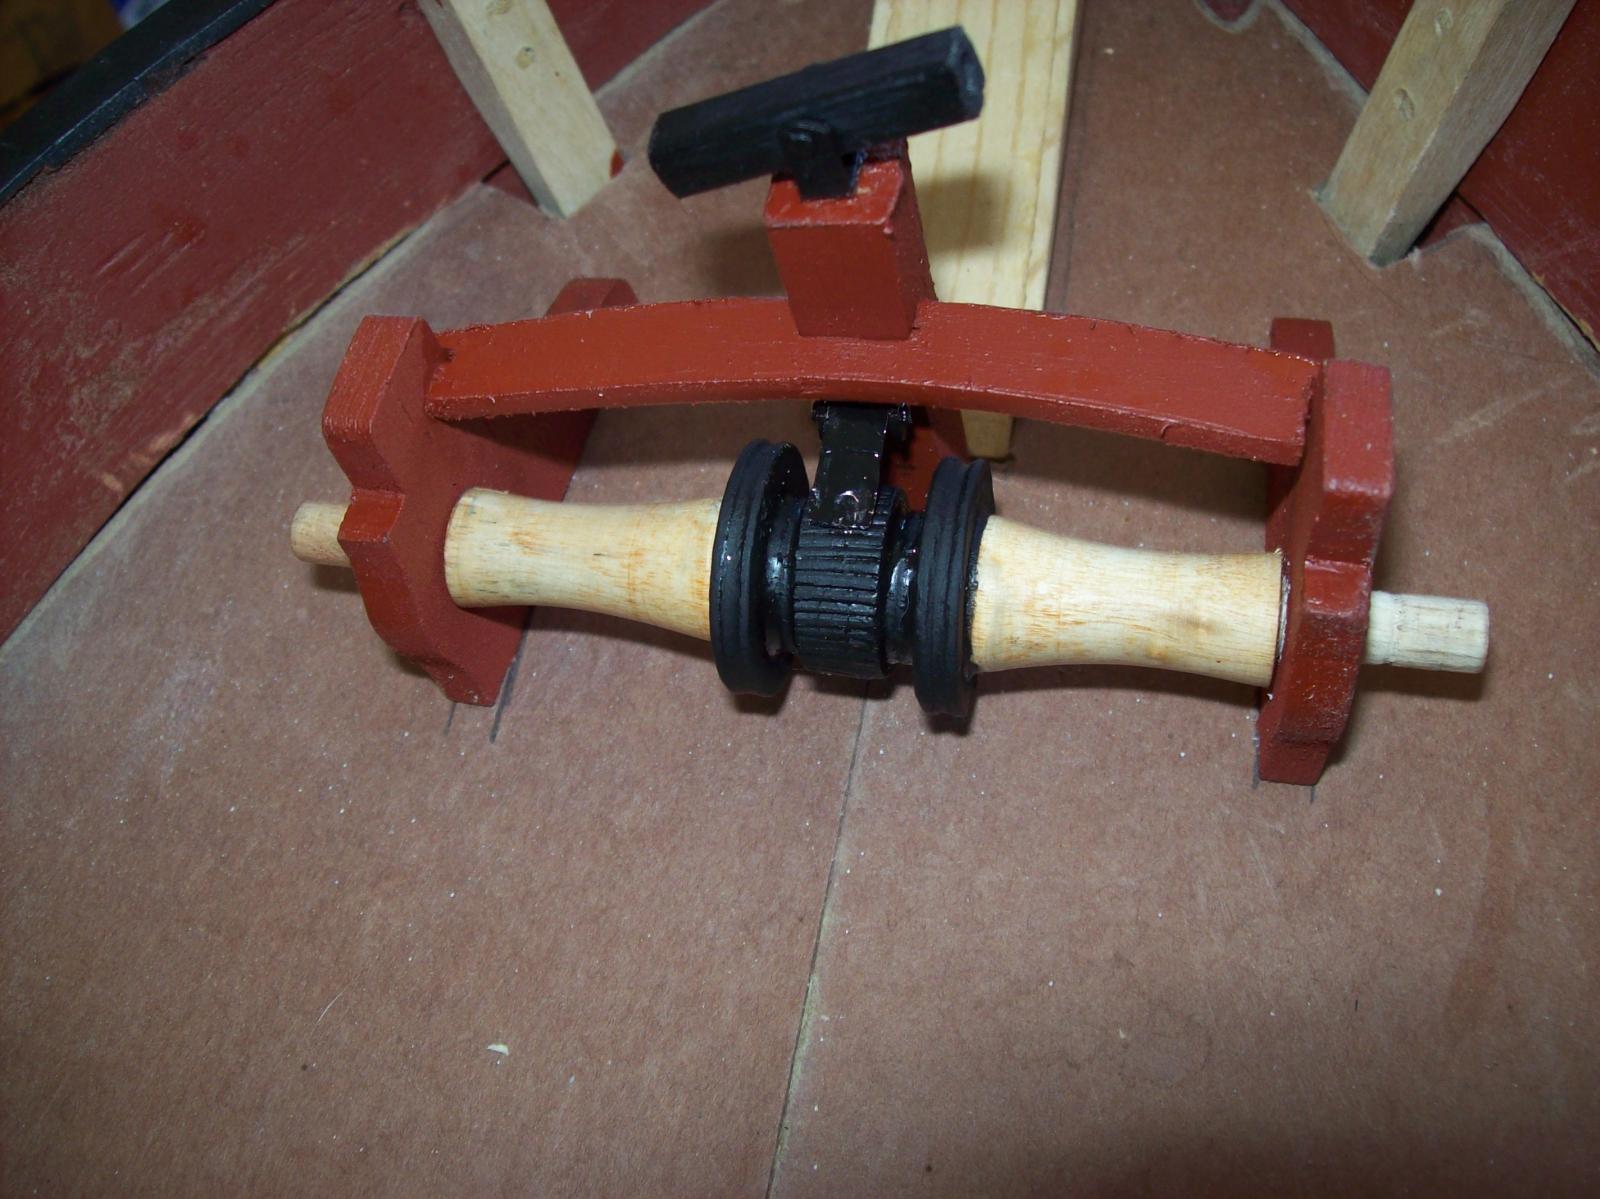
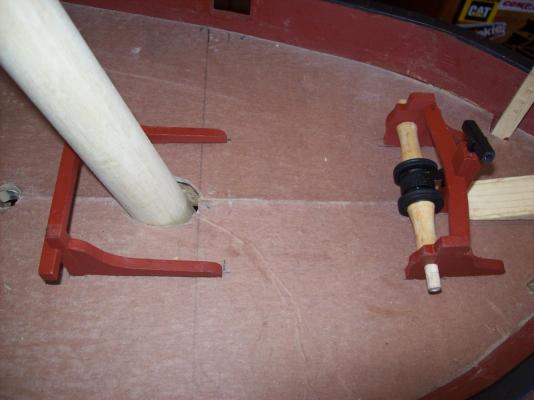
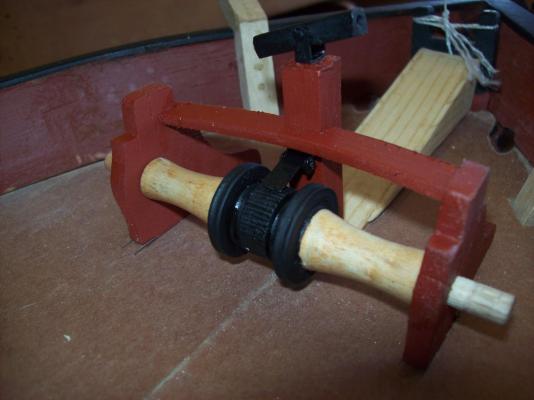
Well not quite finished as I found out after writing my previous post I still hadn't made the warping drums on either side. I have since made the drums and will post pics of the NOW complete windlass soon. .-.. . -..- - .. -.
-
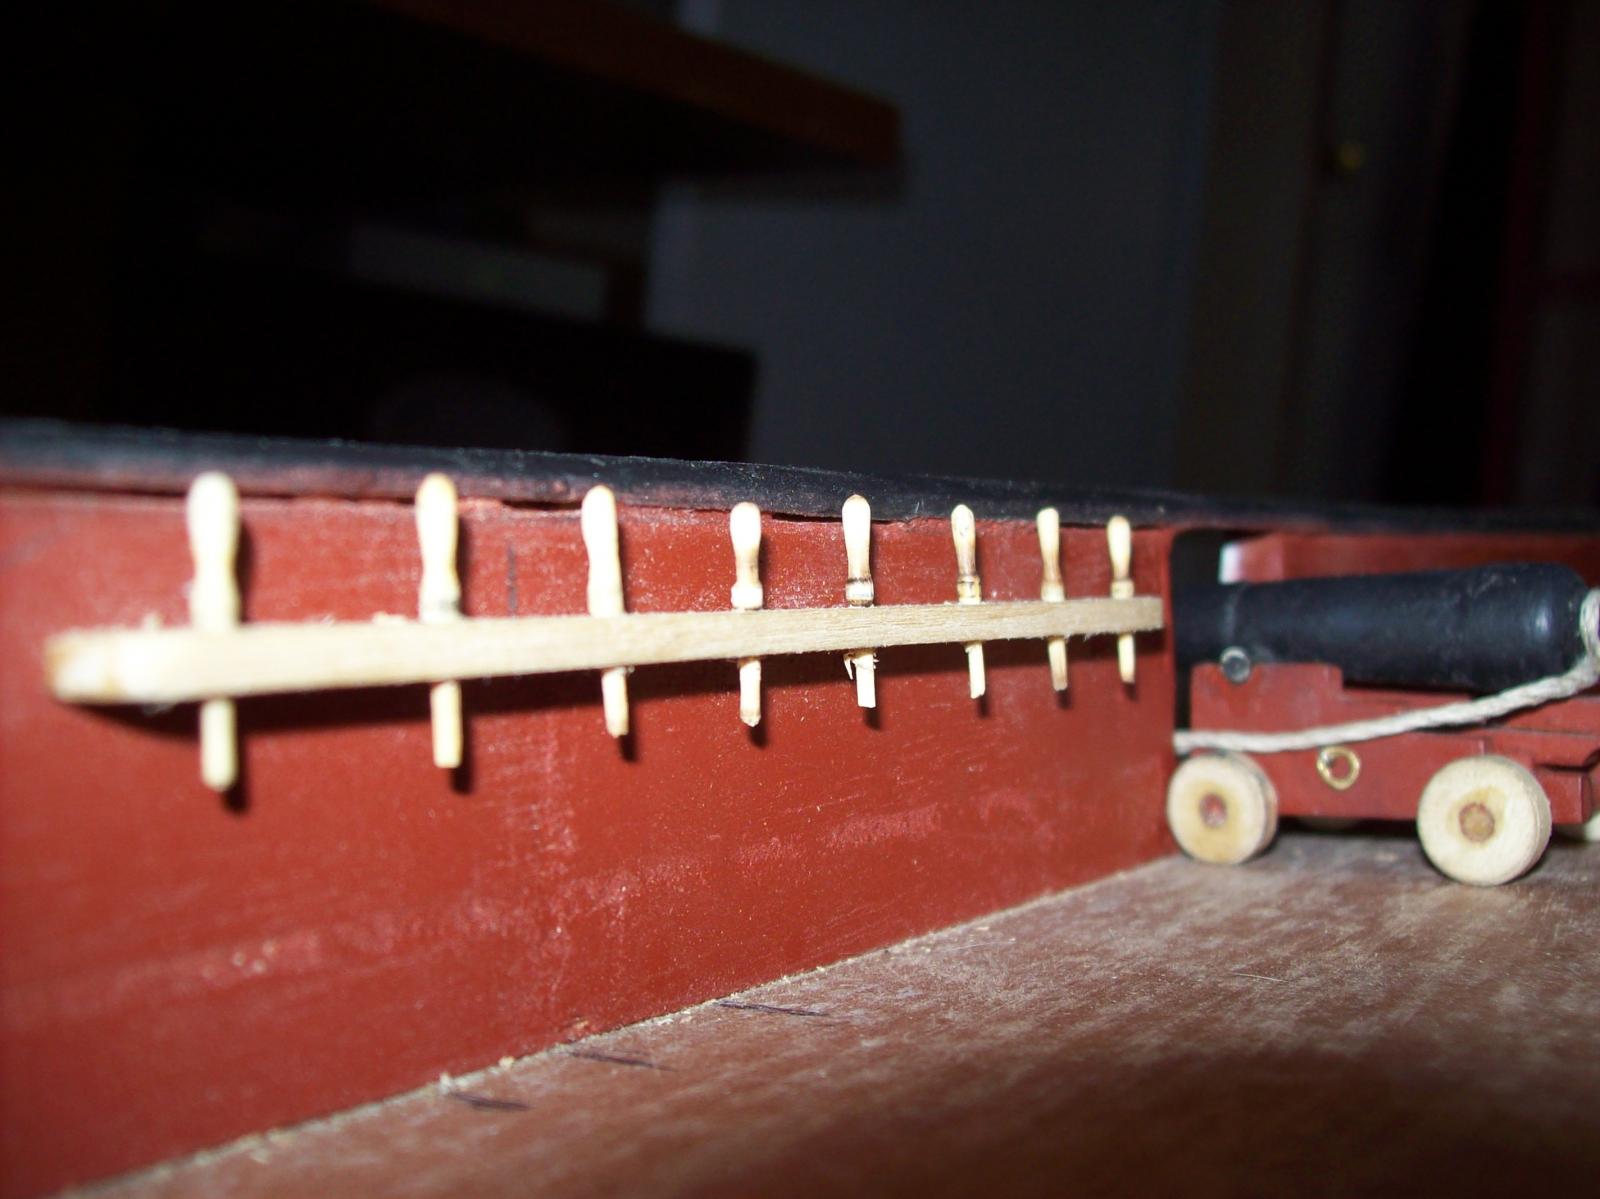
Here are some pics of the new windlass. I still need to make the travelers and the whelps but am happy with how it came out. I also painted the riding bits red. While transferring the pictures to my computer the connection was lost between the two devices and it deleted most the pictures on my camera aswell as rearranging the folders in my camera. I never had this happen before. Lextin.

-
I did the same thing with my 1/100 scale Sovereign of the Seas in favor of a larger 1/20 scale model. Lextin.
-
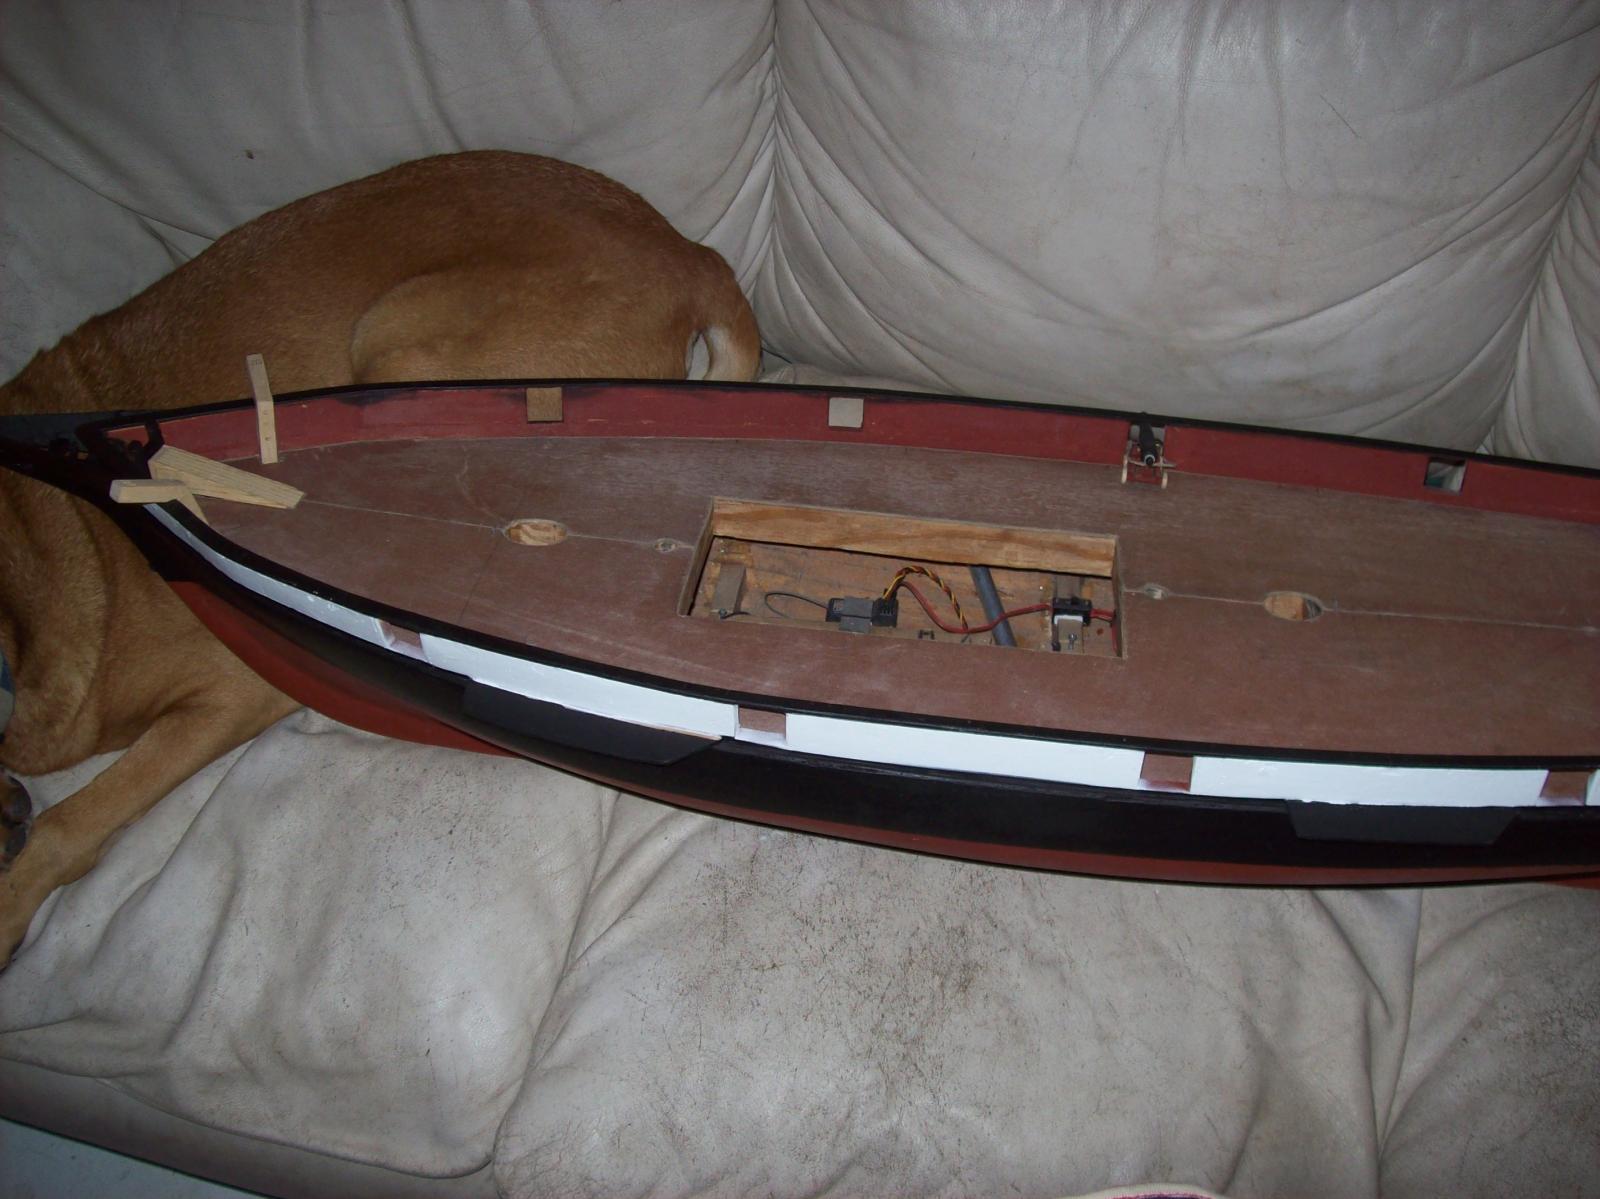
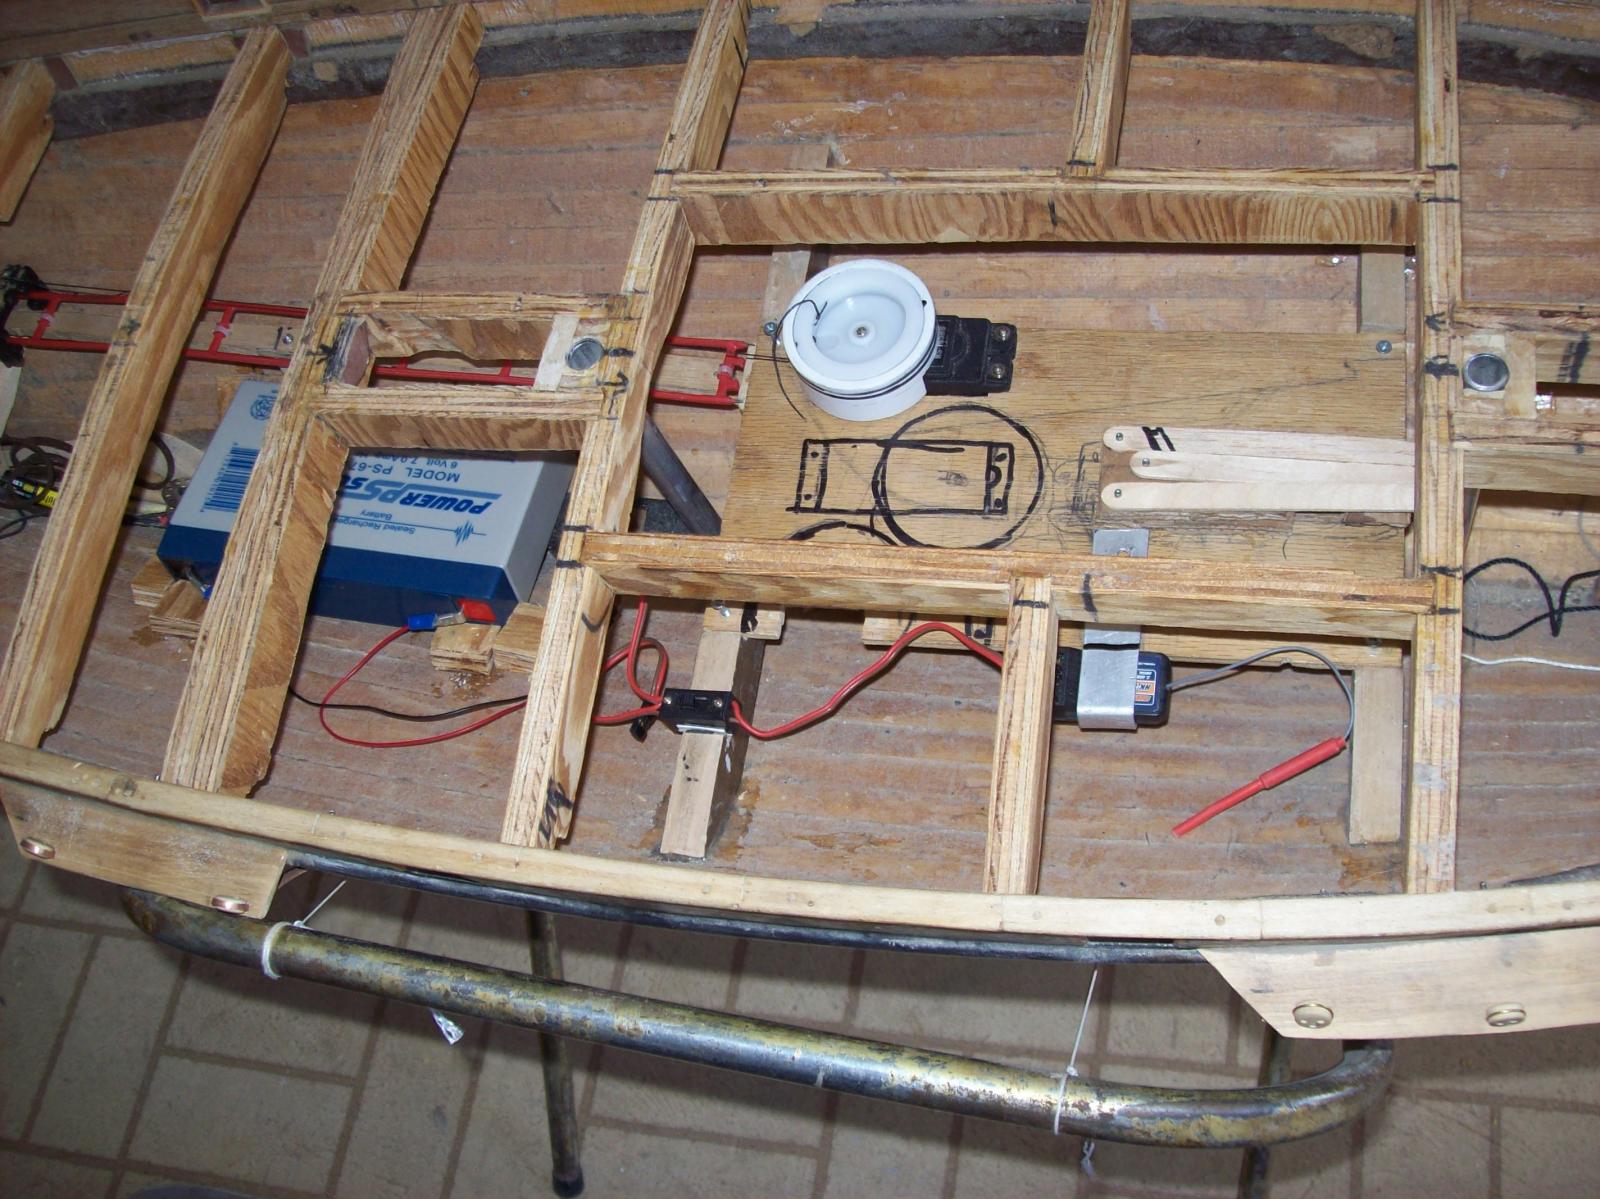
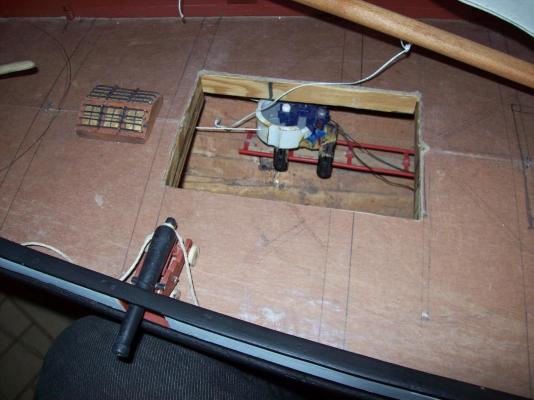
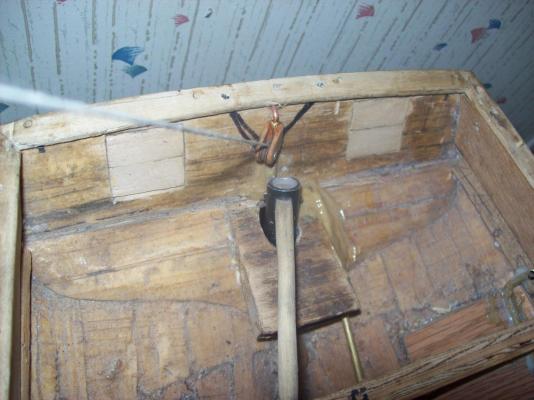
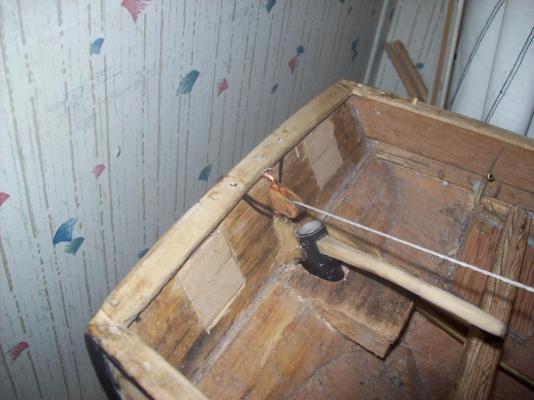
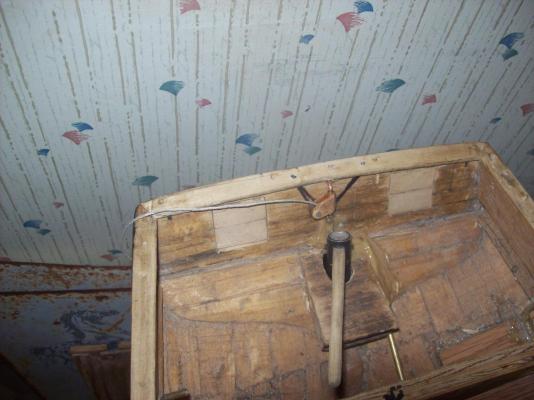
Since I decided to go with the windlass instead of the capstan I was left with a large area of blank deck towards the stern so I framed in a new hatch and cut a hole in the deck. I will make a separate board to mount the rudder servo under this new hatch, plus I will be able to get the battery in and out easier now as well as having access to the stern area. .-.. . -..- - .. -.
-
Thanks David I will give it a try besides what do I have to loose, a few small pieces of wood. Lextin.
-
I have decided to use a windlass after all and get rid of the capstan. I want to use a purchase type windlass but they are considerably more complex than a windlass that uses bars, would I be able to easily fake it? .-.. . -..- - .. -.
-
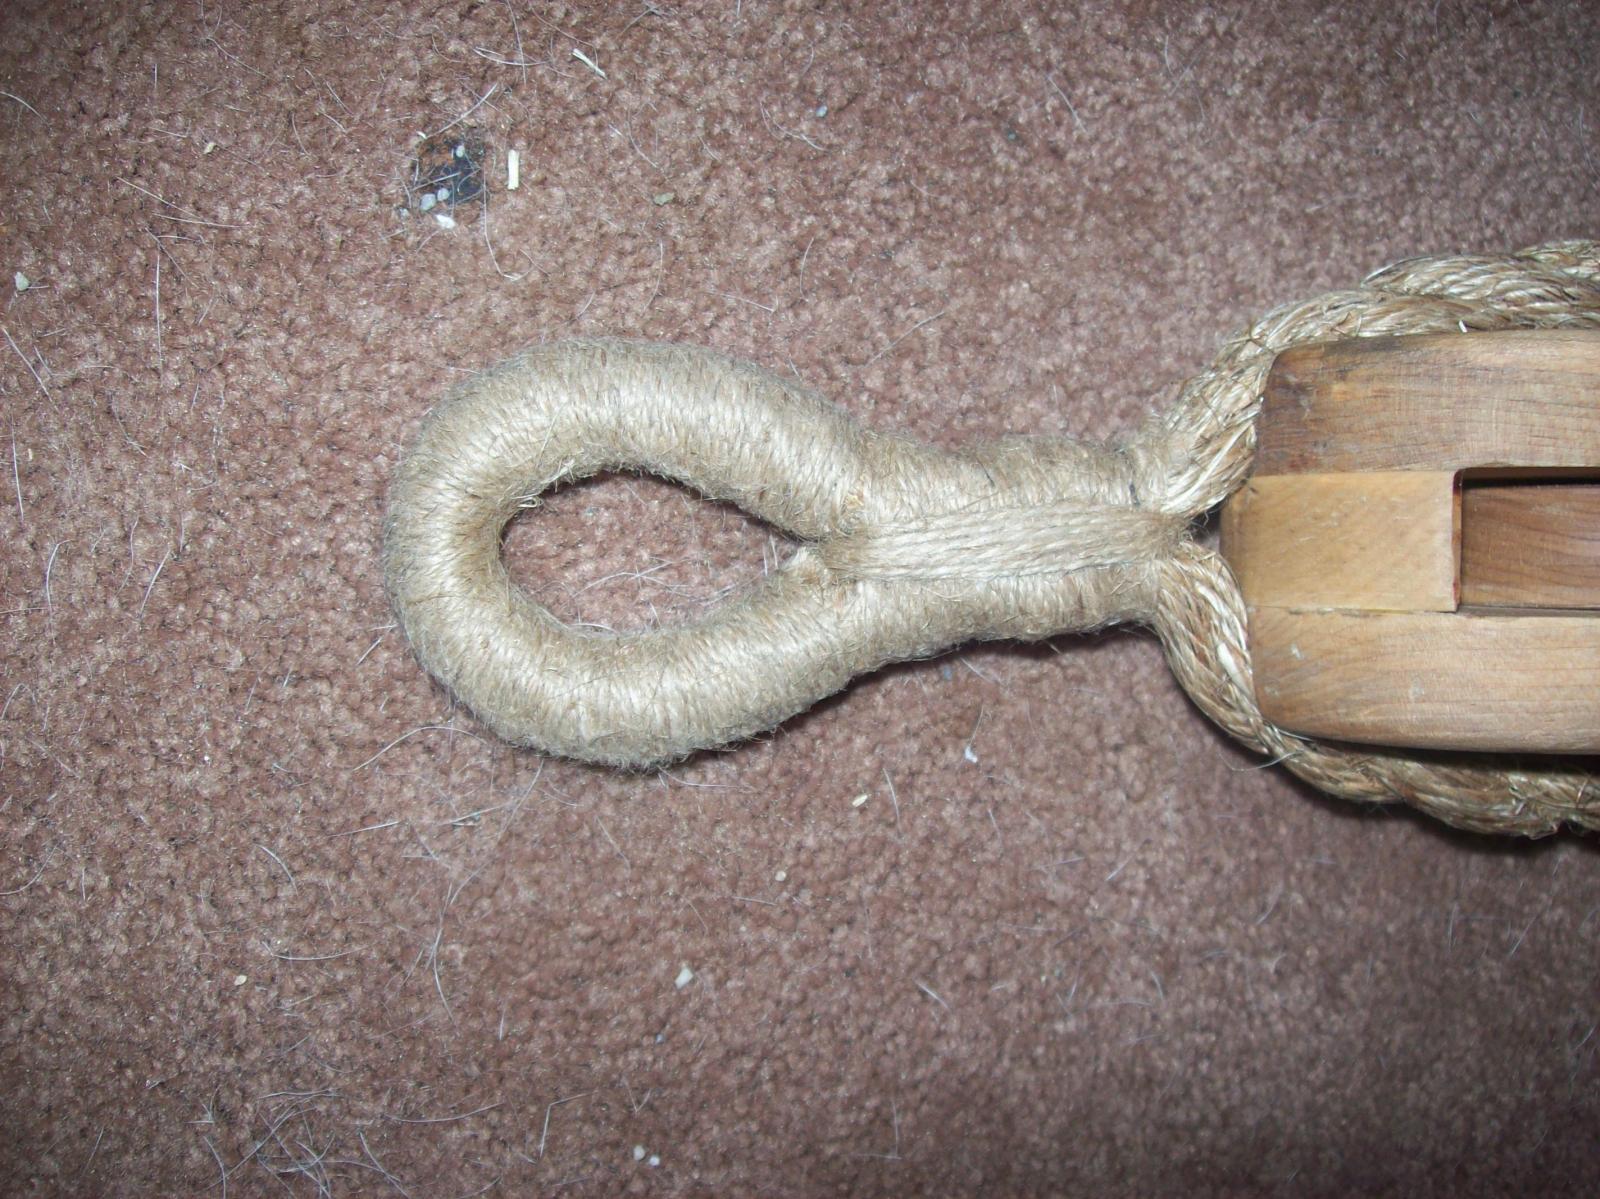
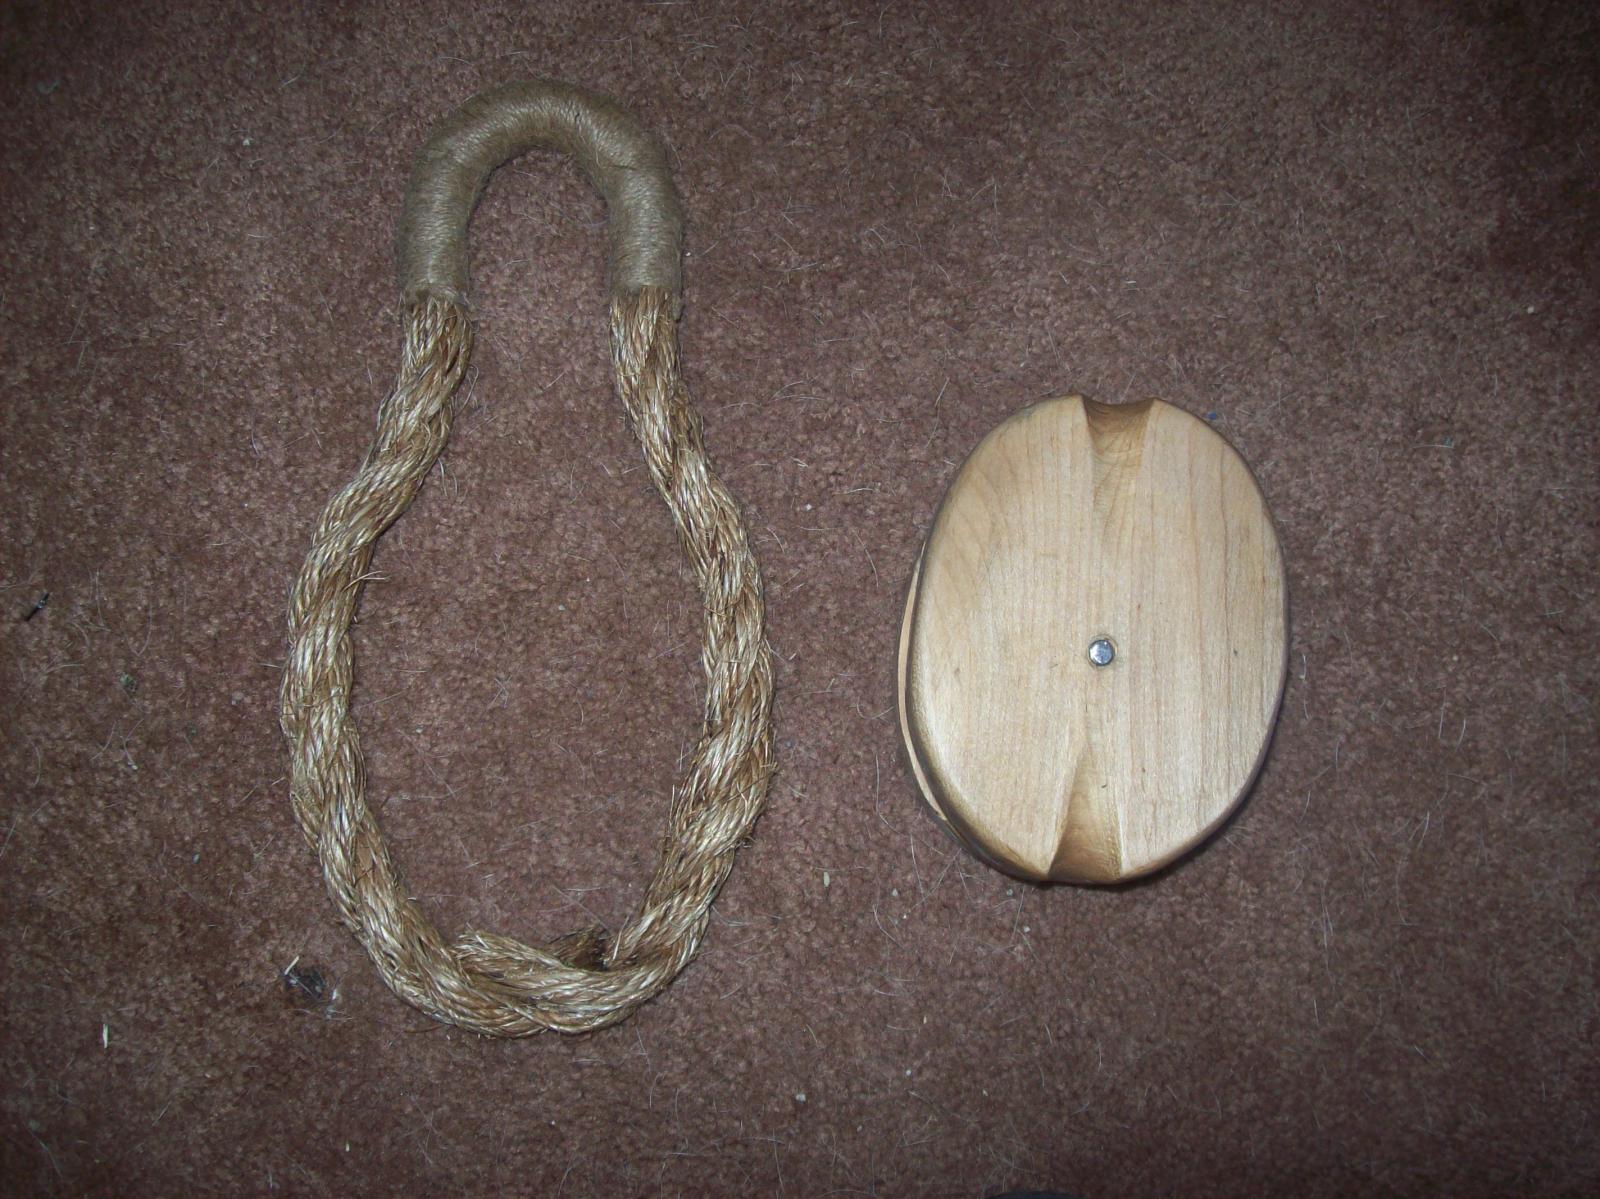
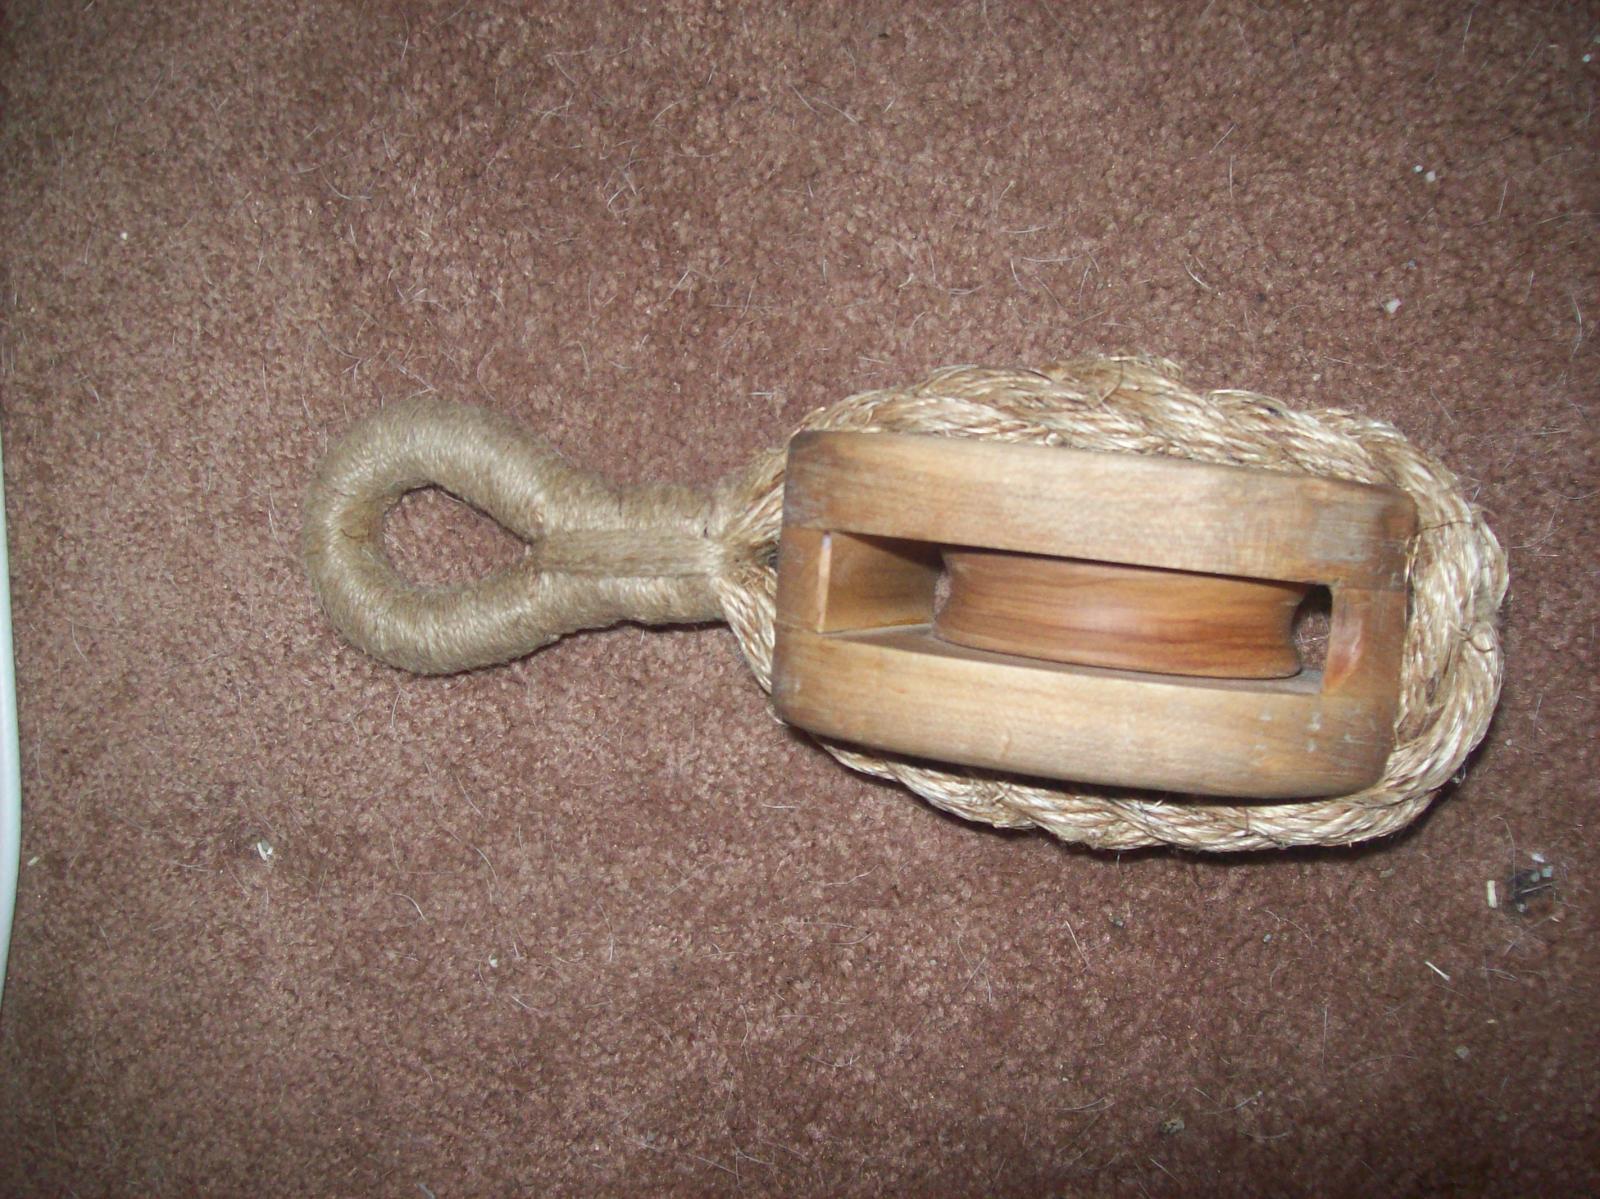
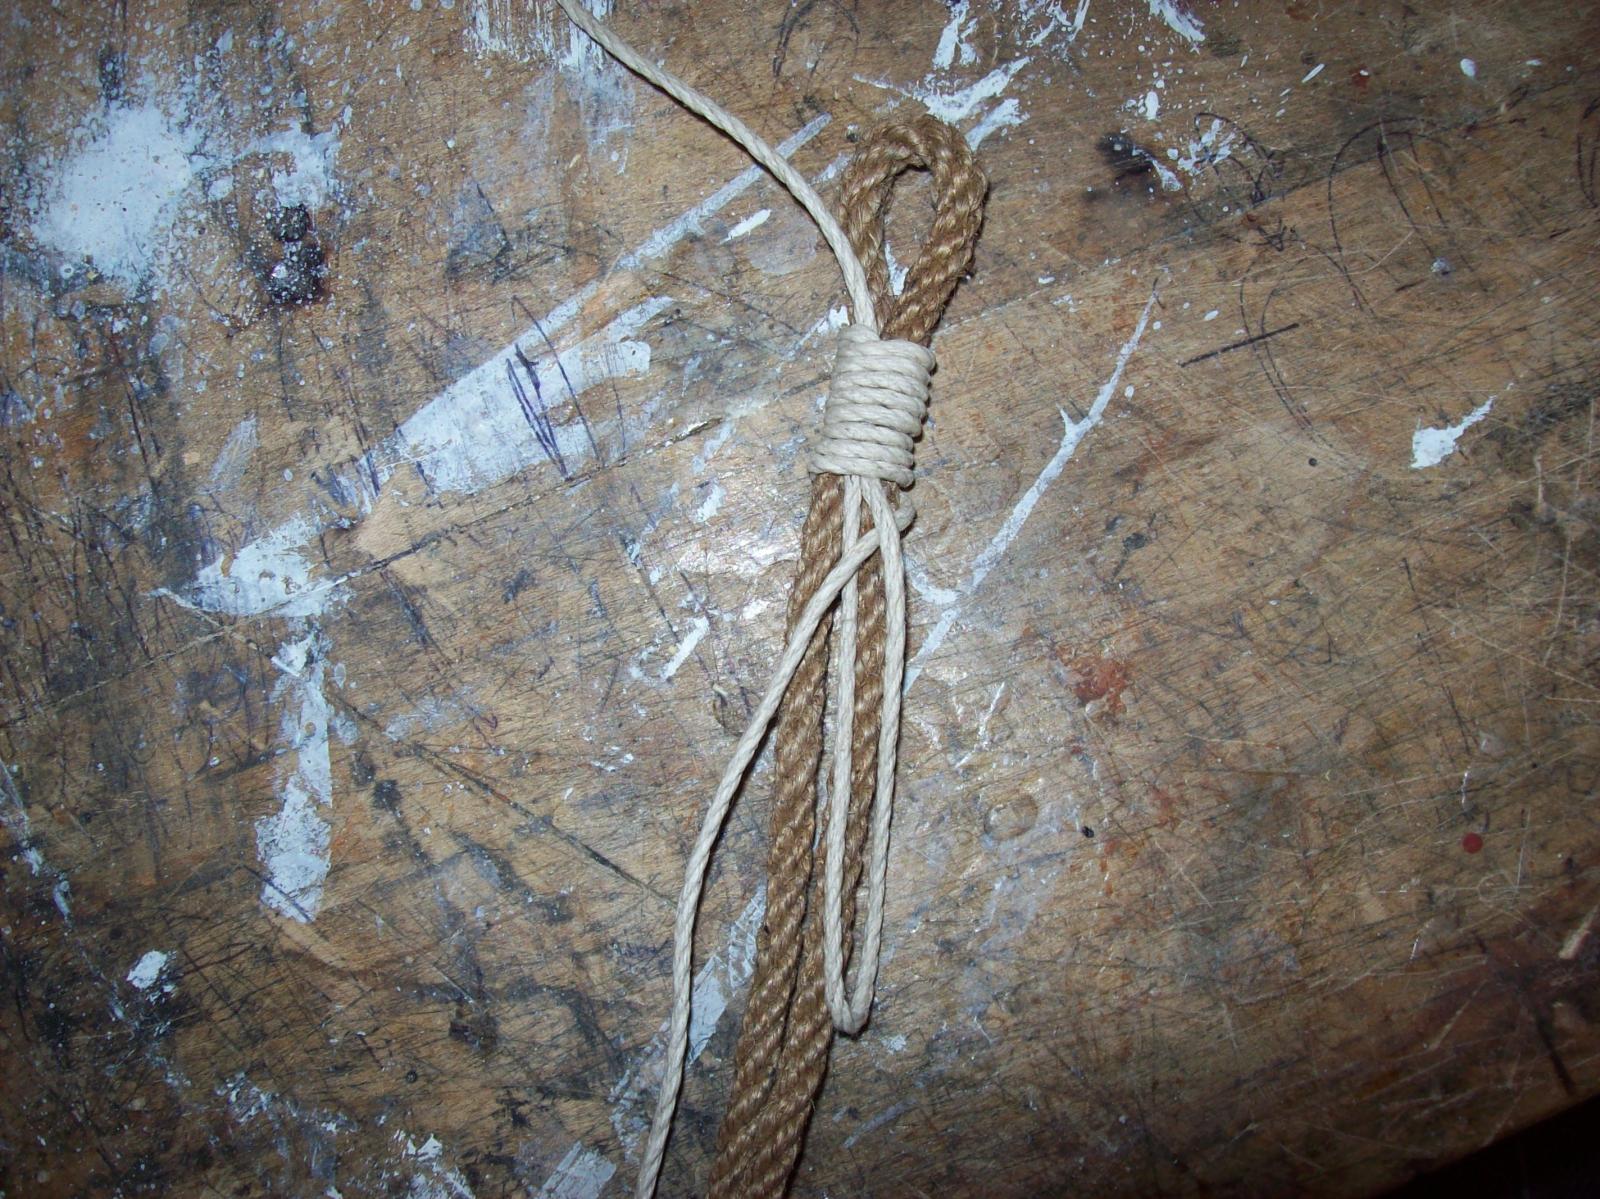
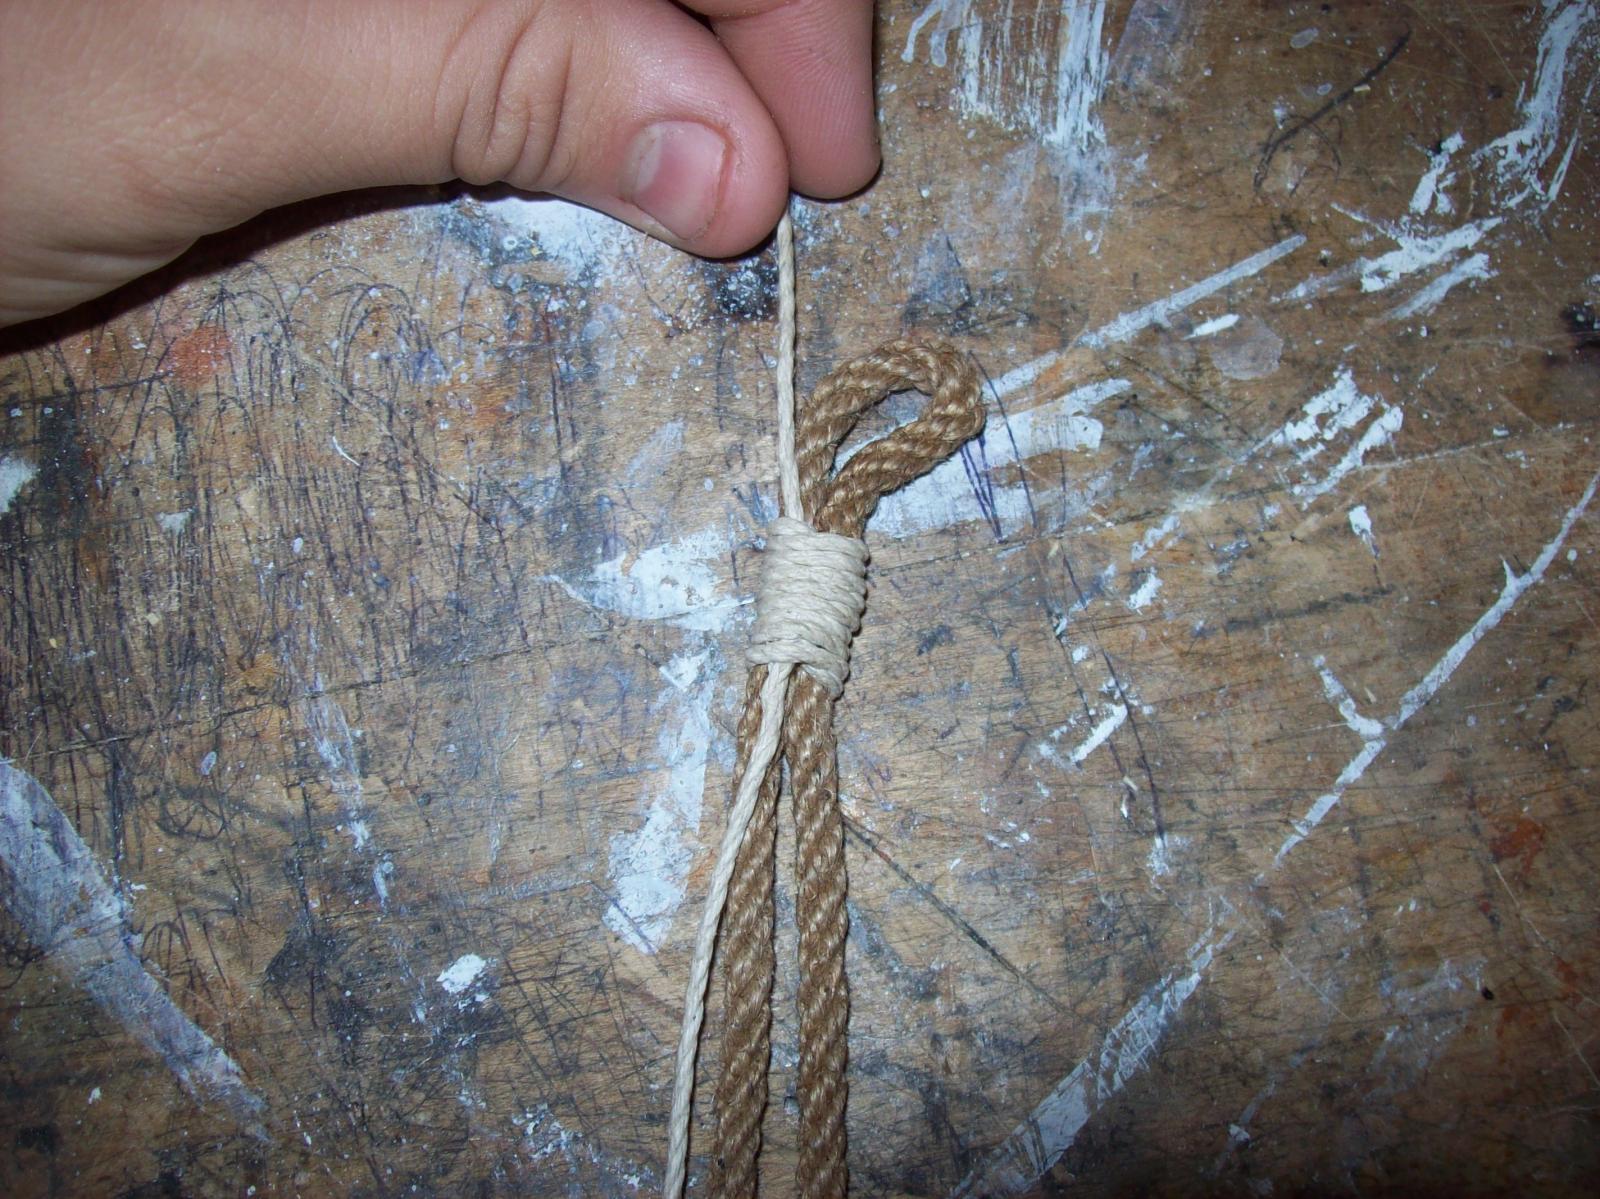
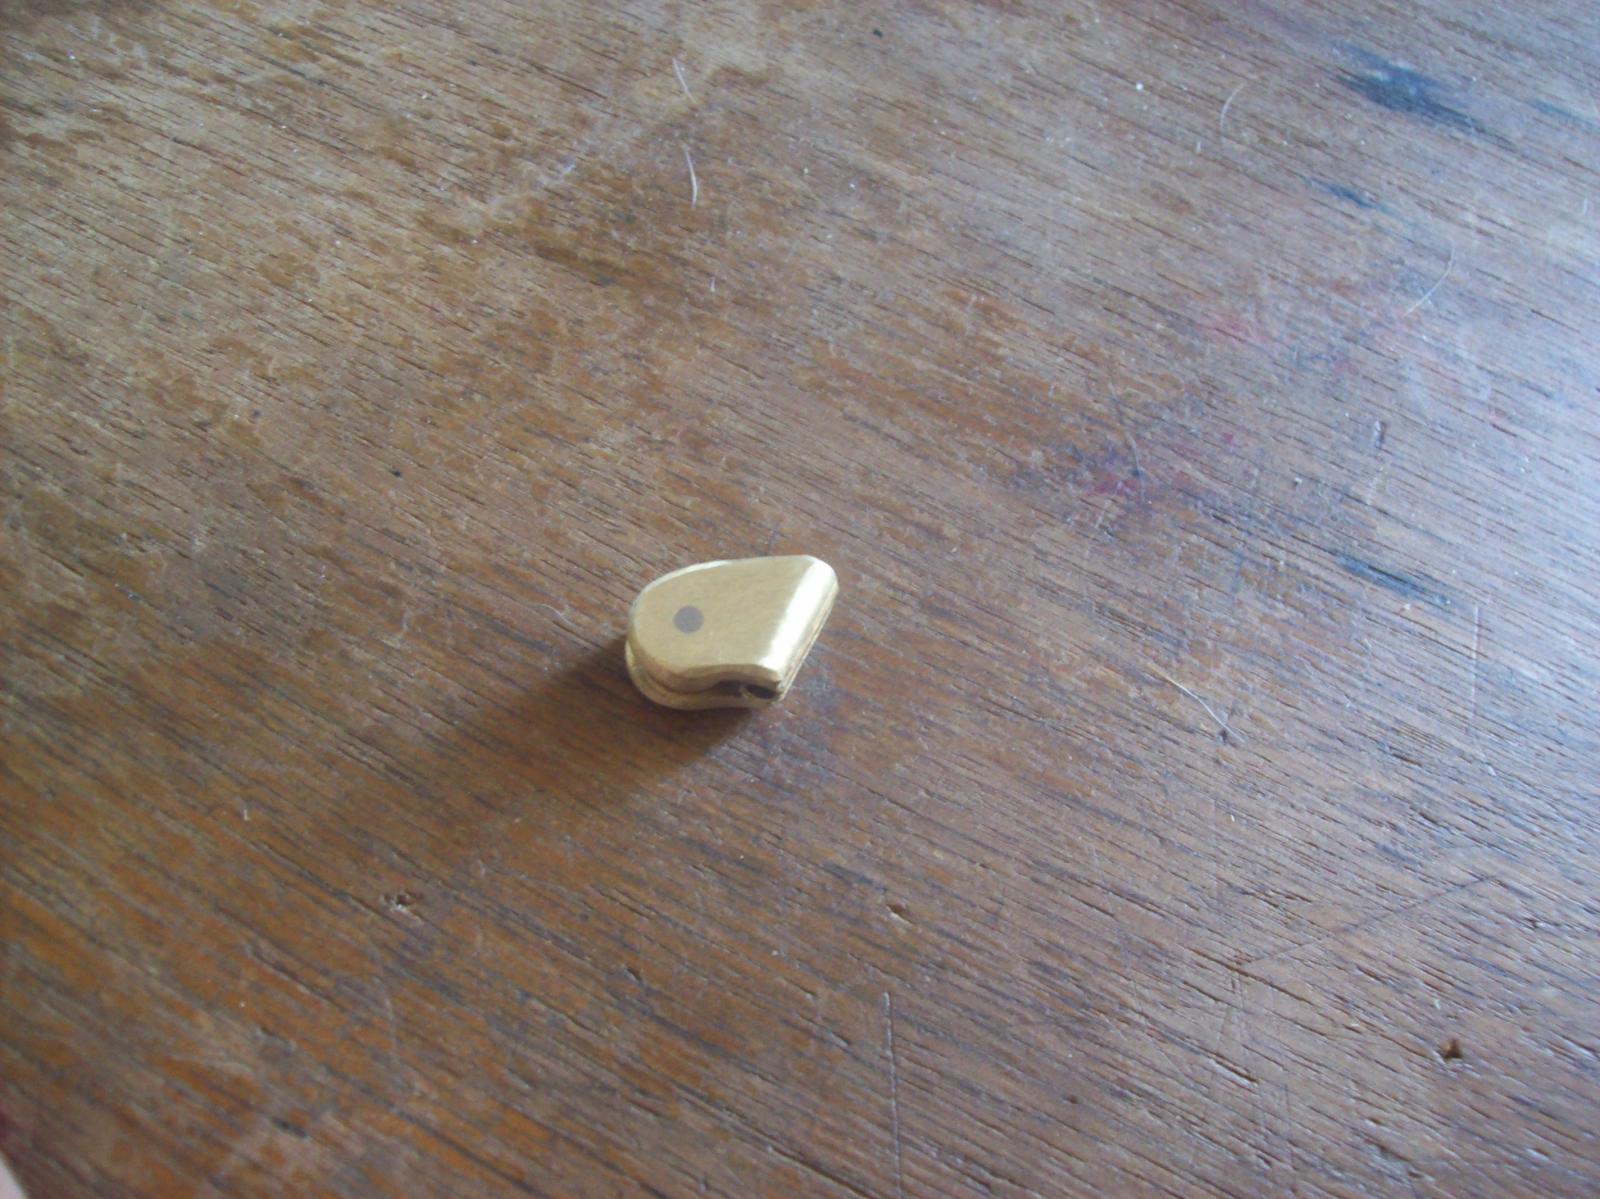
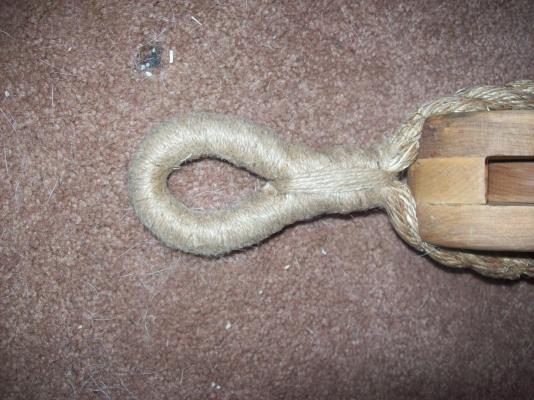
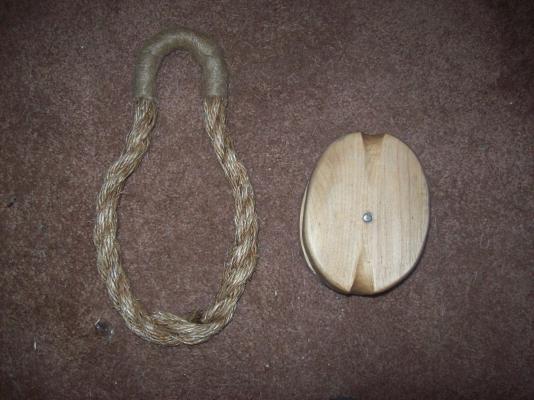
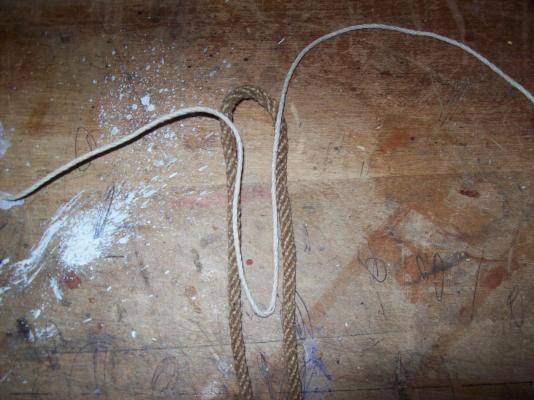
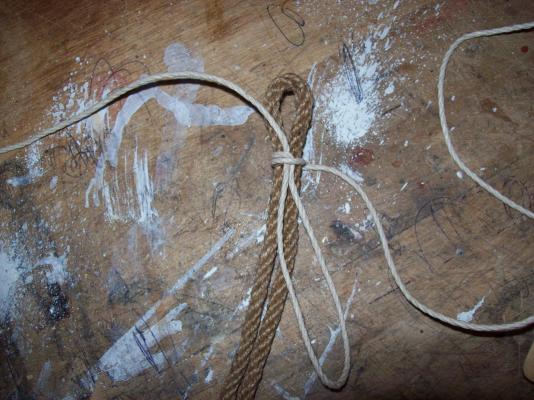
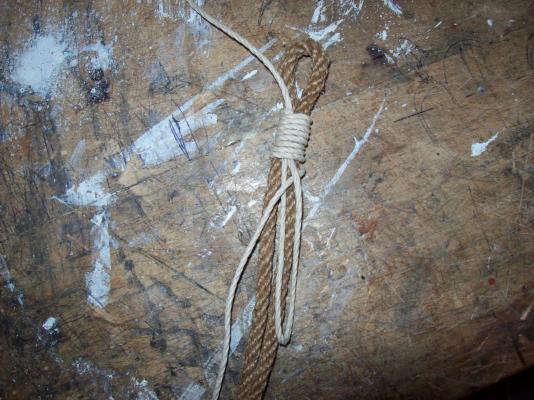
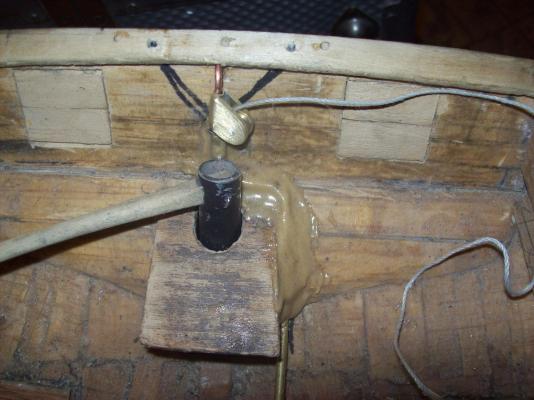
Here are some pictures of a full size block that I made aways back, it only has one eye but to make a second eye you would just need a larger loop of rope and seize the eye around the boom first then seize the second around the block. To seize start from the eye end and make a loop as shown, then begin wrapping (if on a block wrap towards the block) around the rope being seized, once you reach the end of your seize pull the end through the loop created earlier. then pull the loop tight until the loop disappears inside the seize, and lastly cut the ends off. Lextin.


-
I use a Dremel for most the powered work on my models but also have a cheap Harbor Freight rotary tool which is smaller and lighter but not as powerful or accurate as the Dremel. The bit that I use the most is the sanding drum with the coarse sandpaper. You can use any brand of bits as long as they have an 1/8" diameter shaft, Harbor Freight sells several sets of accessories for a reasonable price, if you don't live near a Harbor Freight there's always eBay. Lextin.
-
I applied the second and third coats to the bulwarks then did touch ups on the rest. Lextin.


-
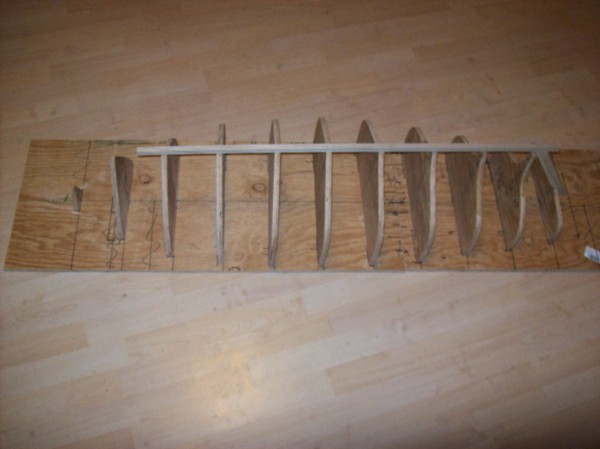
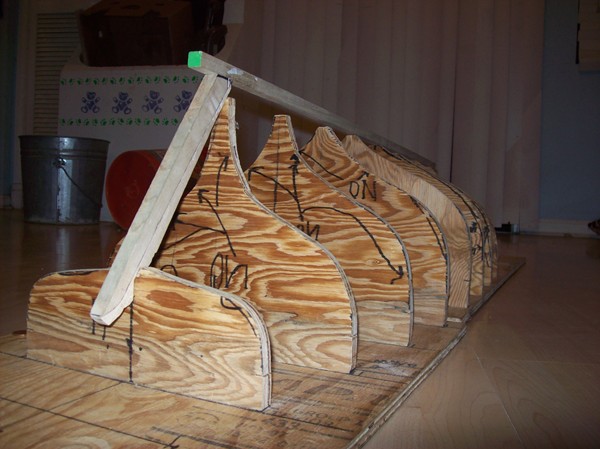
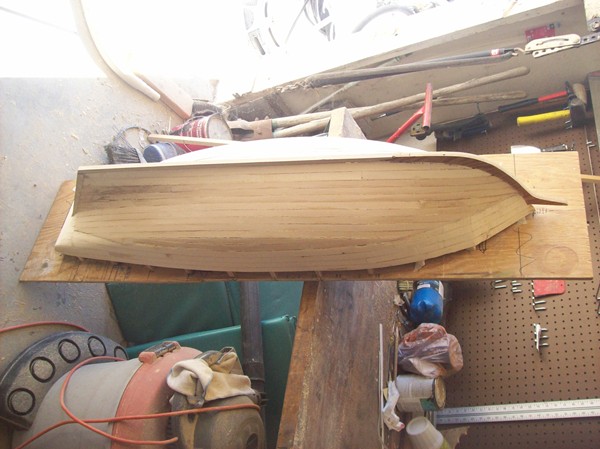
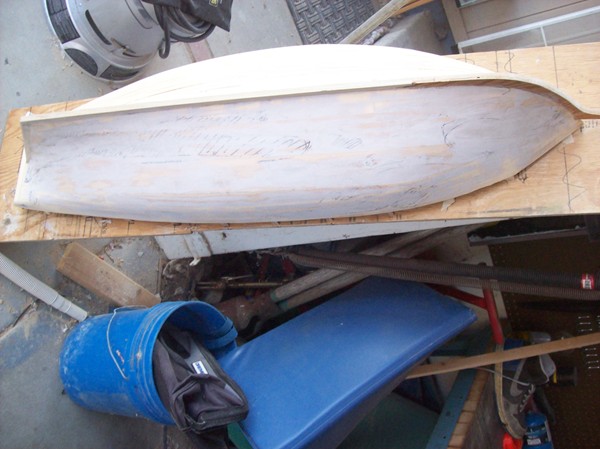
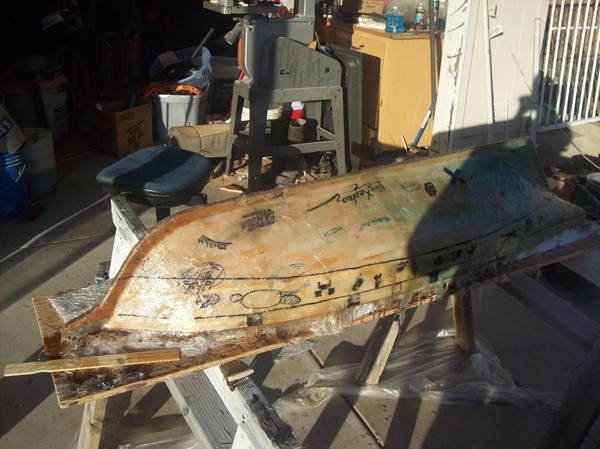
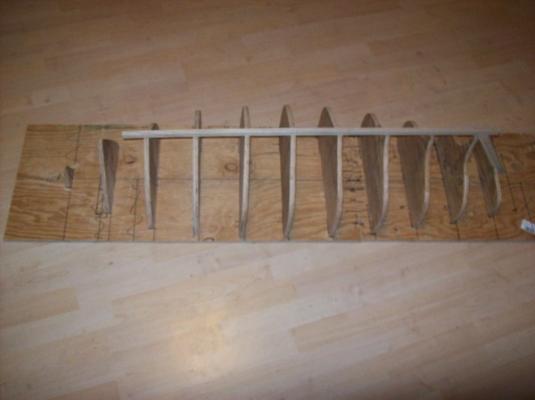
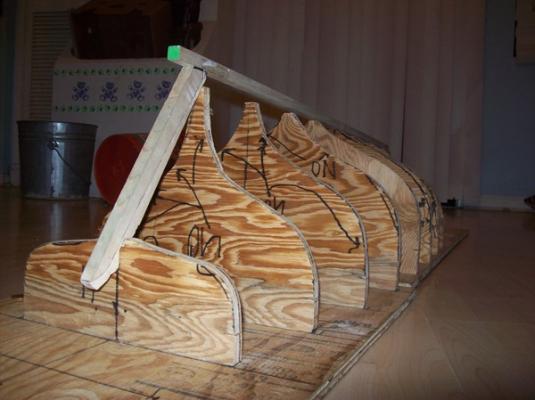
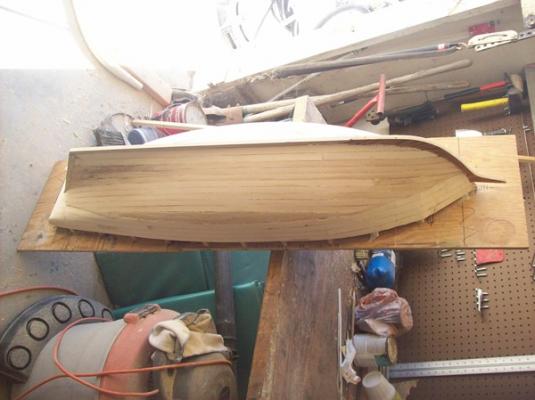
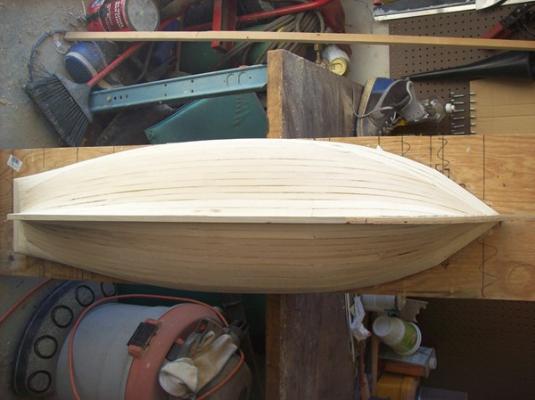
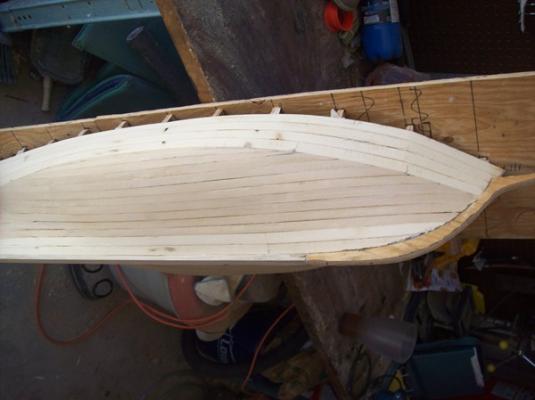
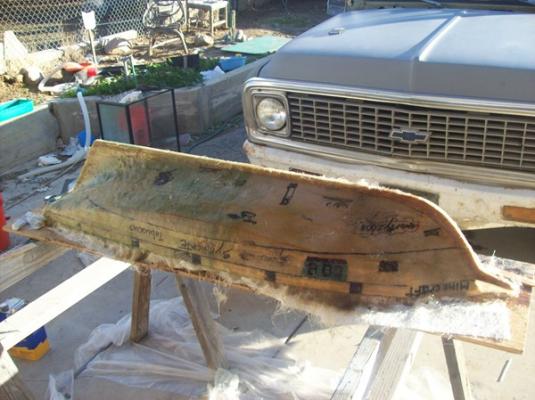
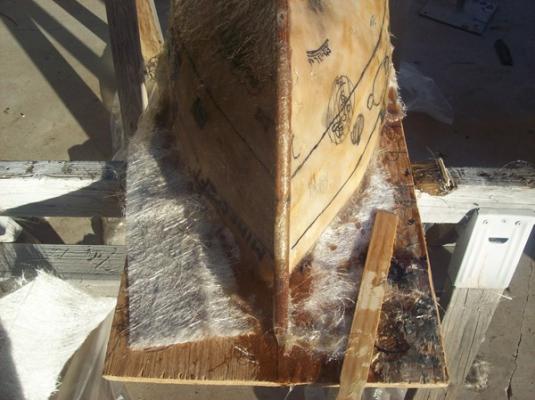
Jerry you just reminded me that I never posted any older pictures as I promised in my first post. They are a good way to show how far I've come. I thought that I had more from during the planking process but they must not have been backed last time I restored my computer so the only copies went down with 1.0. Lextin.


-
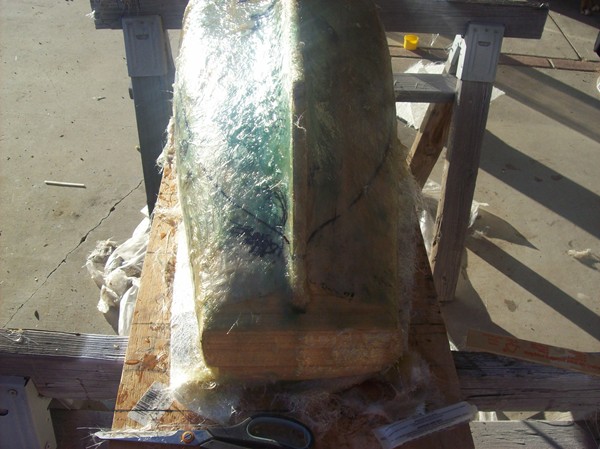
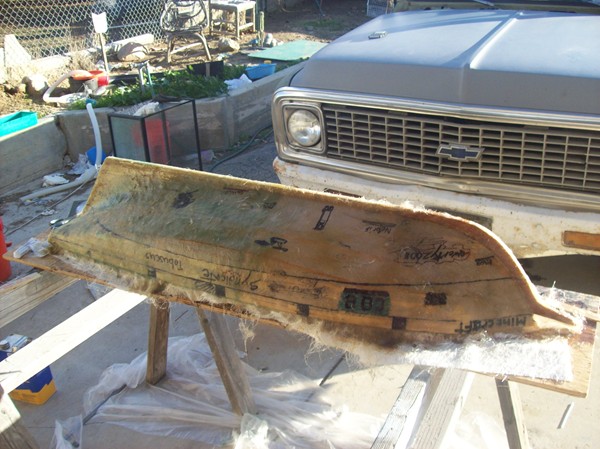
Daniel: I painted the whole thing with thinned fiberglass resin before any color went on. Lextin.
-
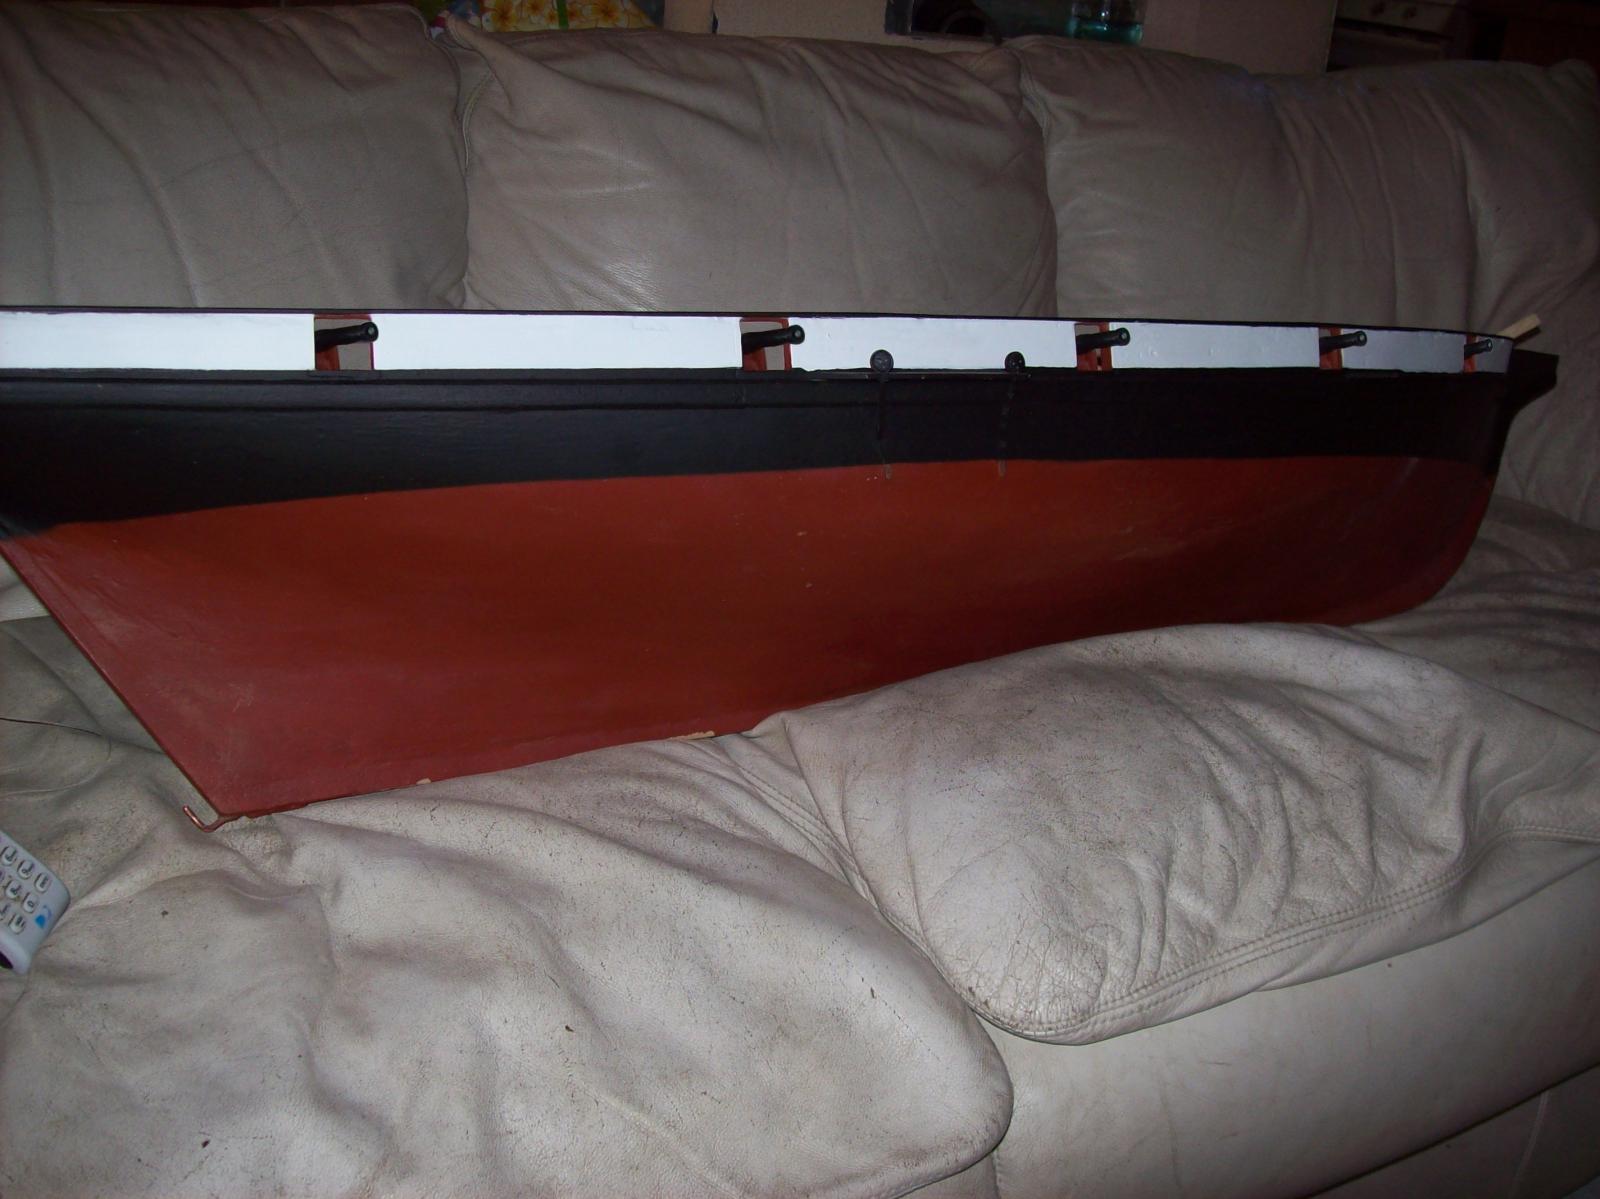
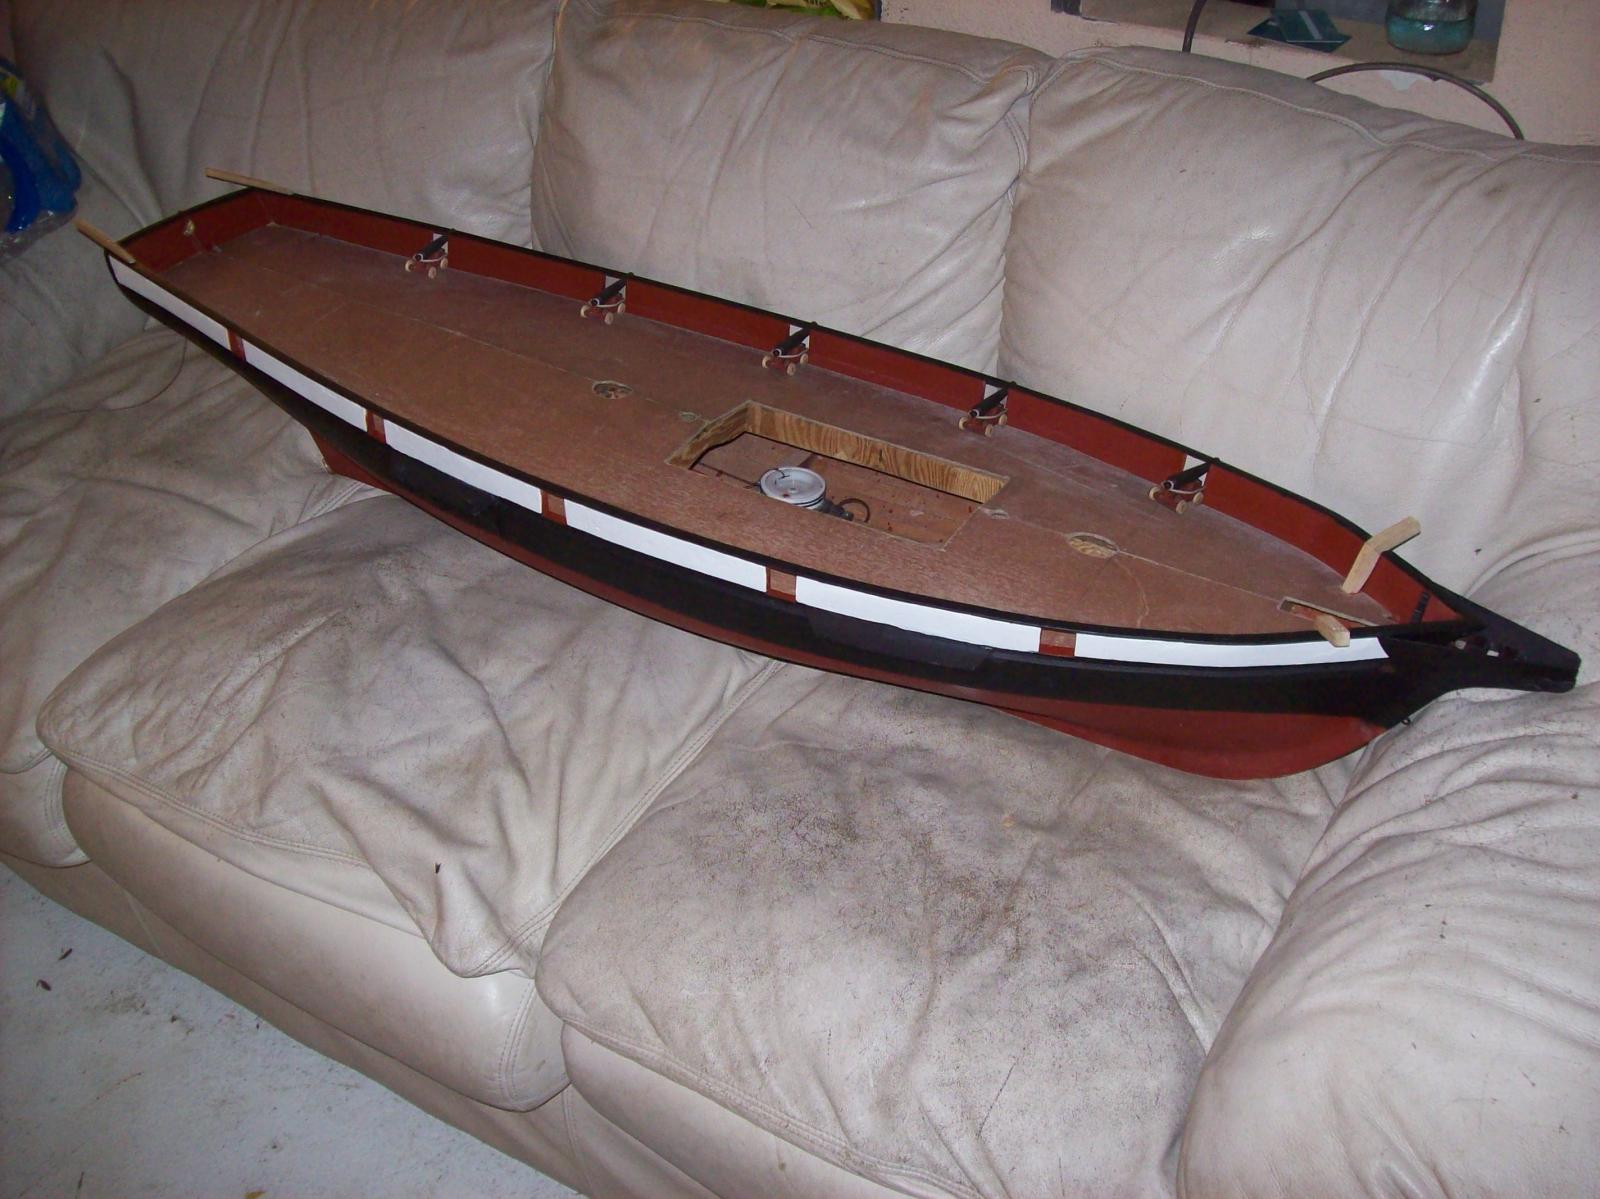
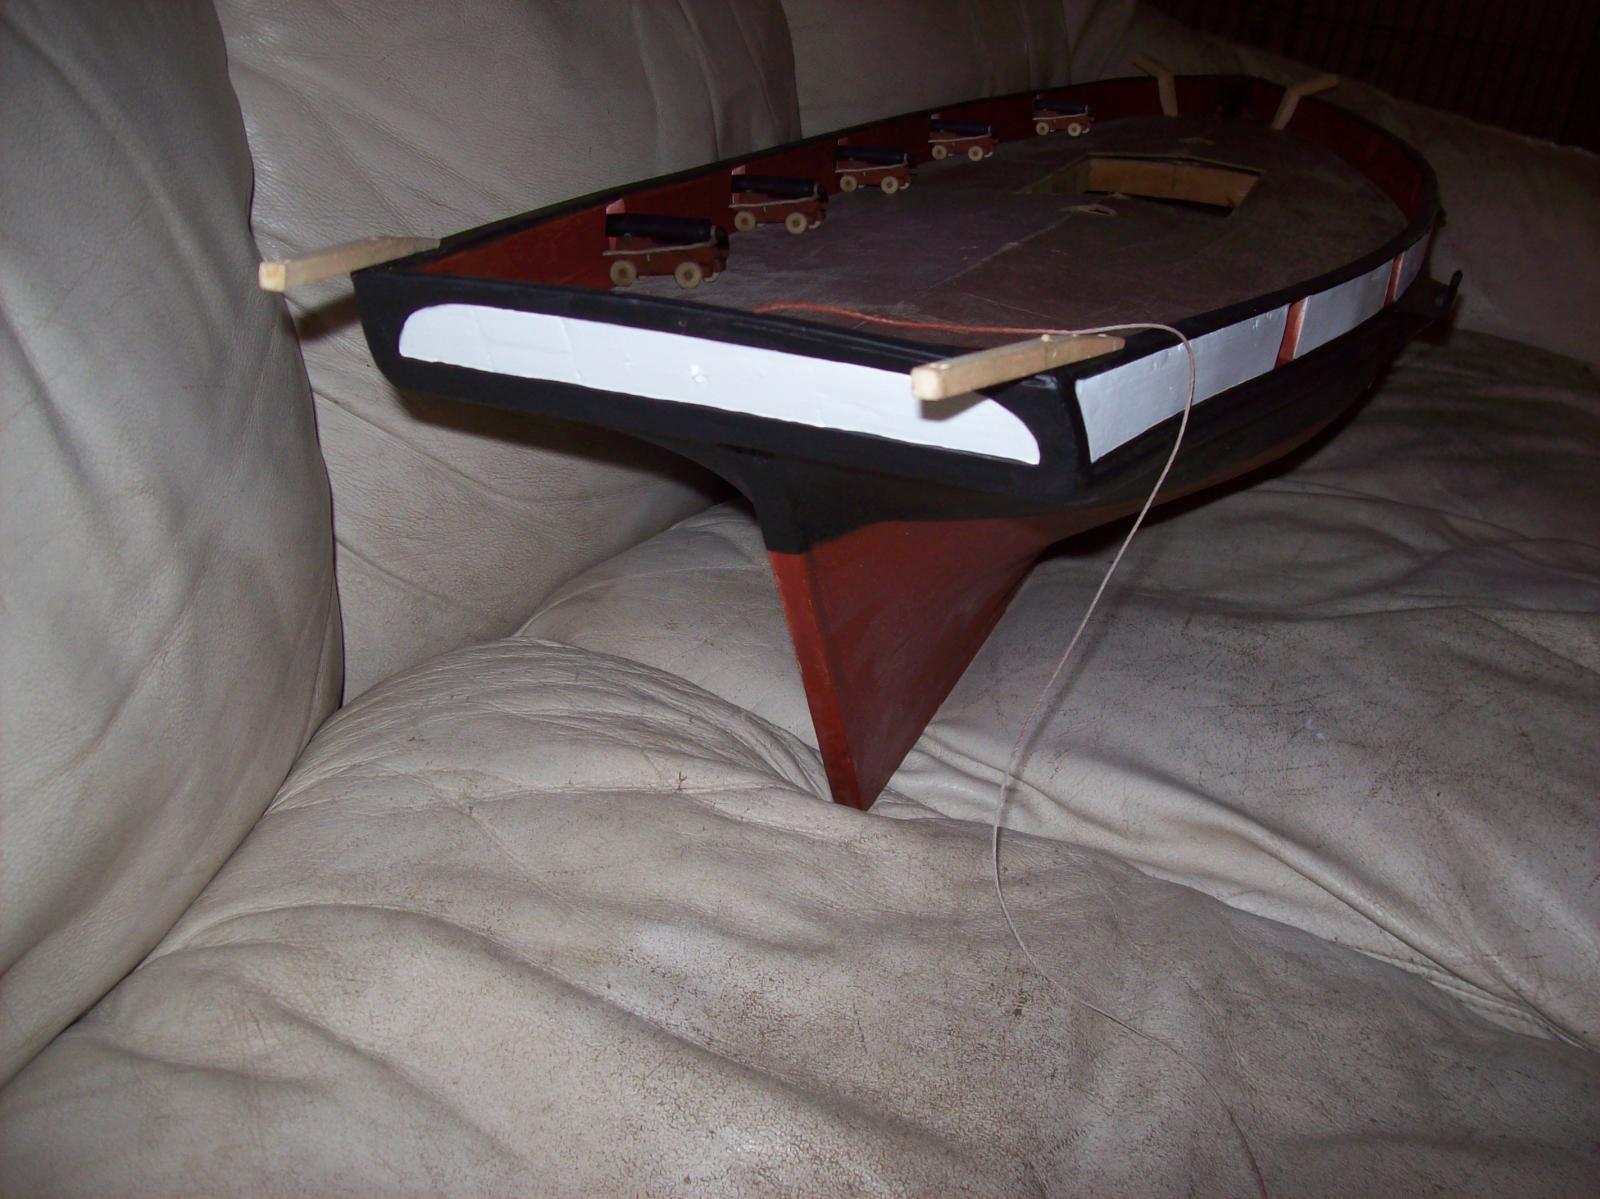
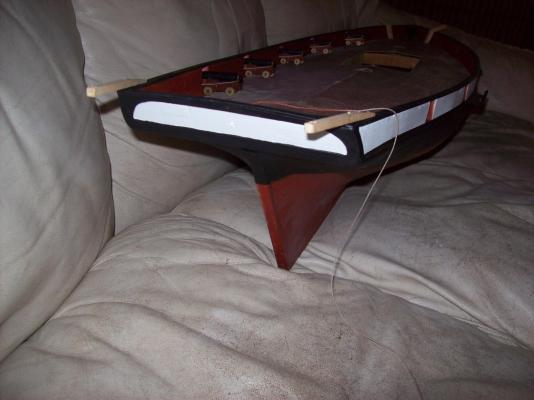
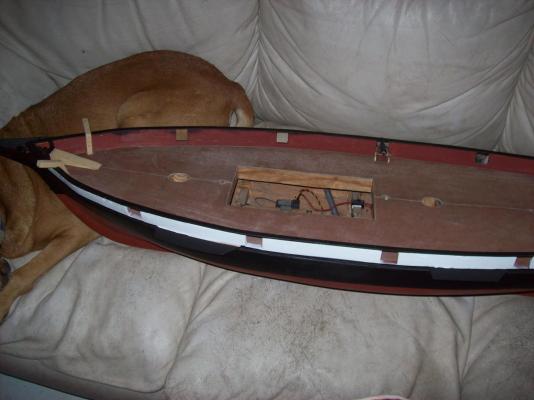
The Byzantium is now sporting the latest fashion, white gun port stripe black rails and red bulwarks. I still need to apply another coat of red to the bulwarks and do some touchups. Lextin.

-
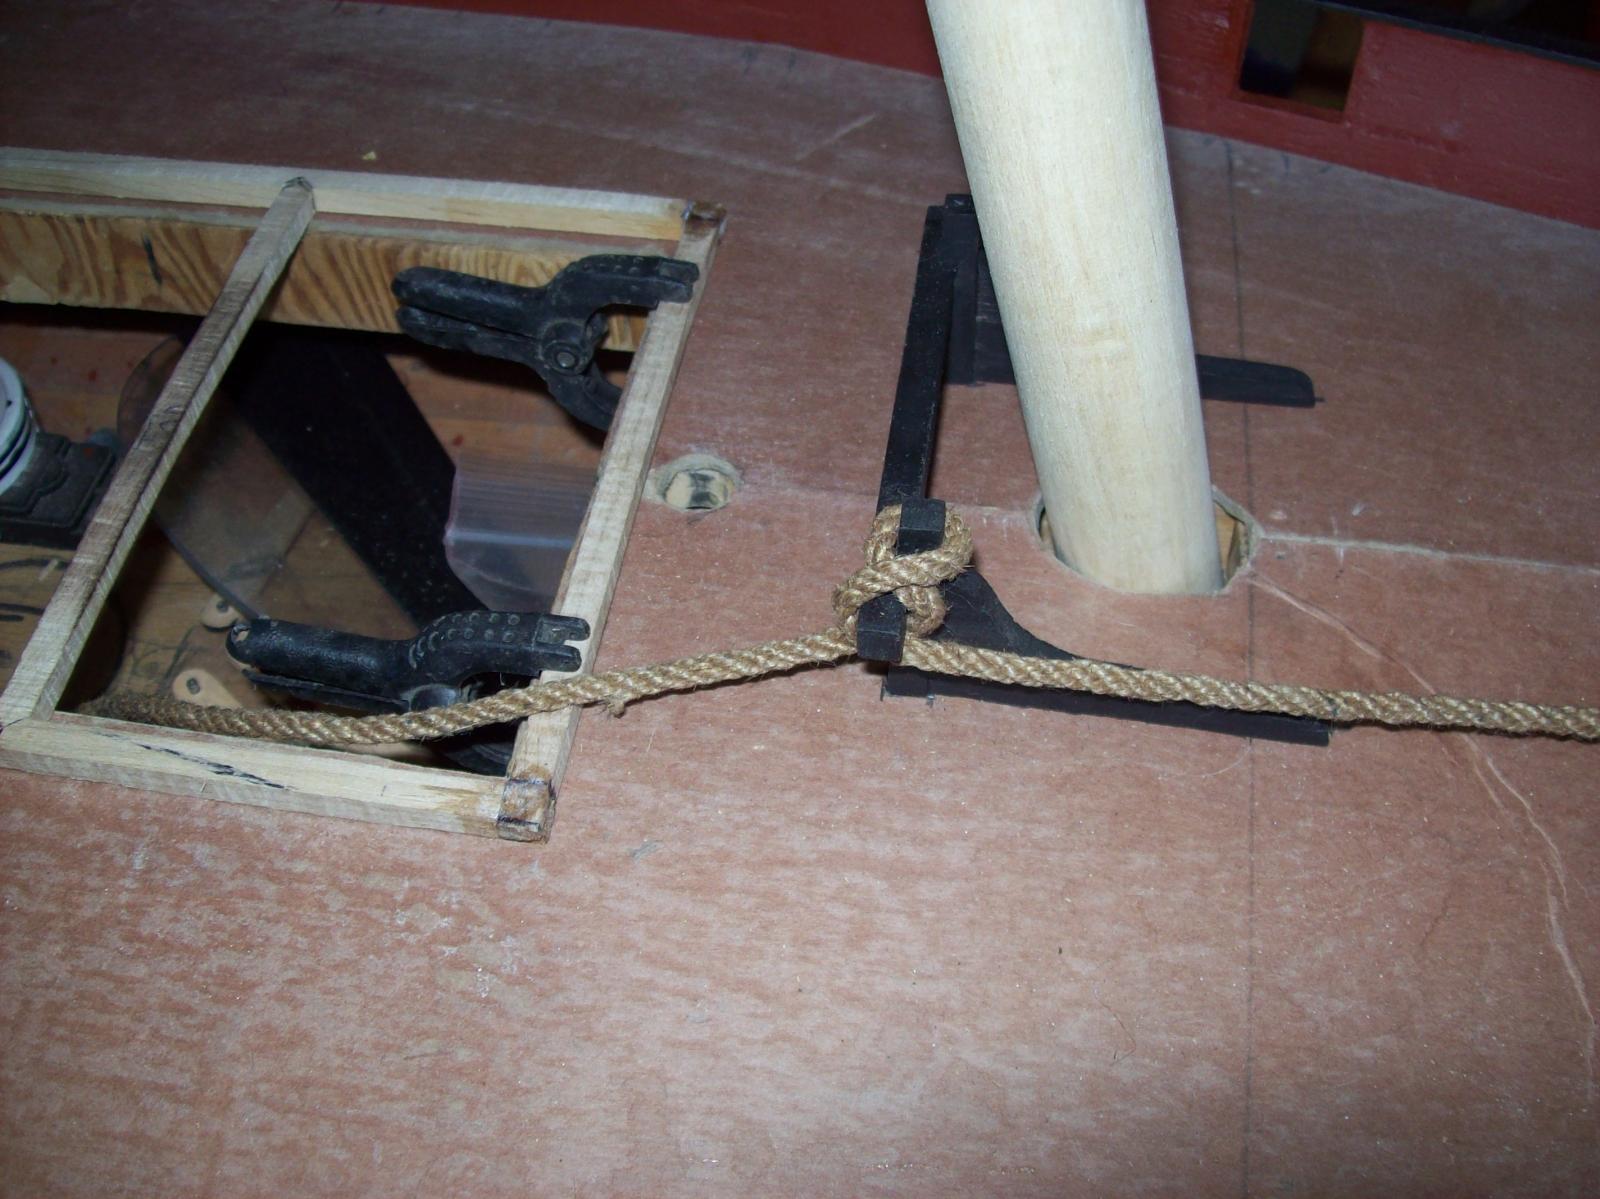
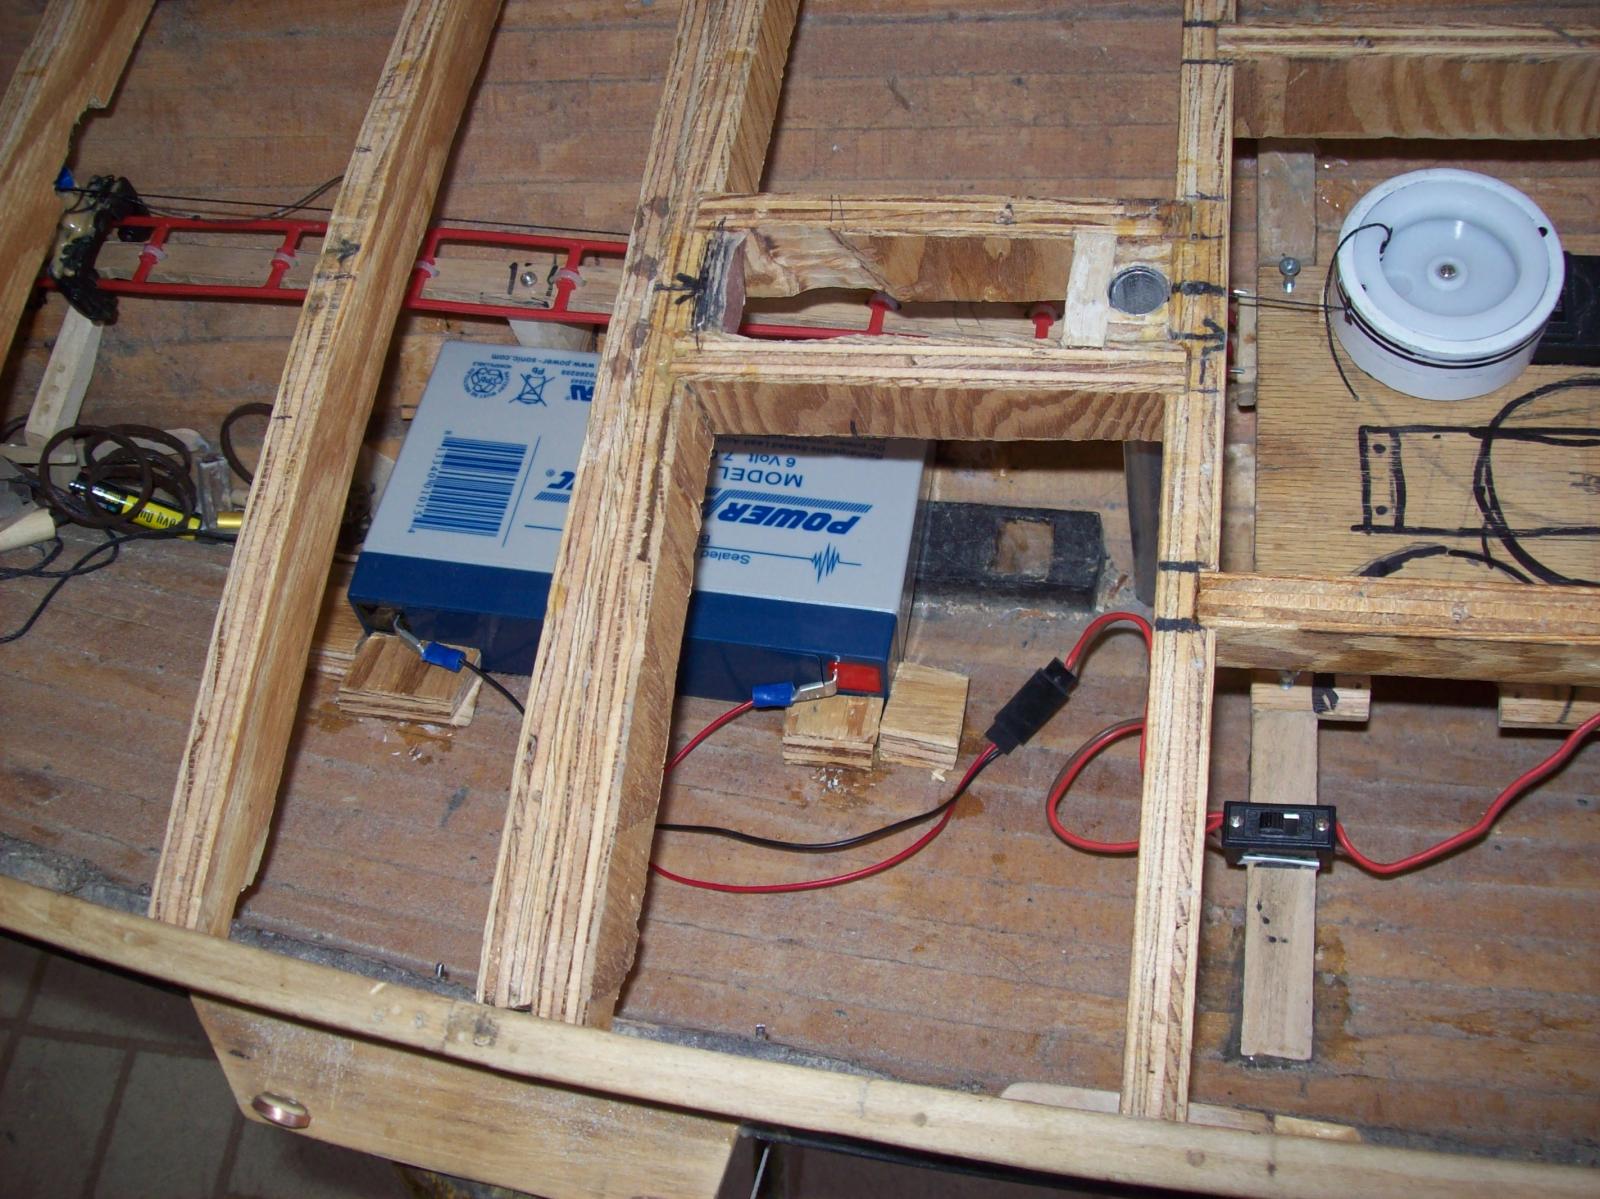
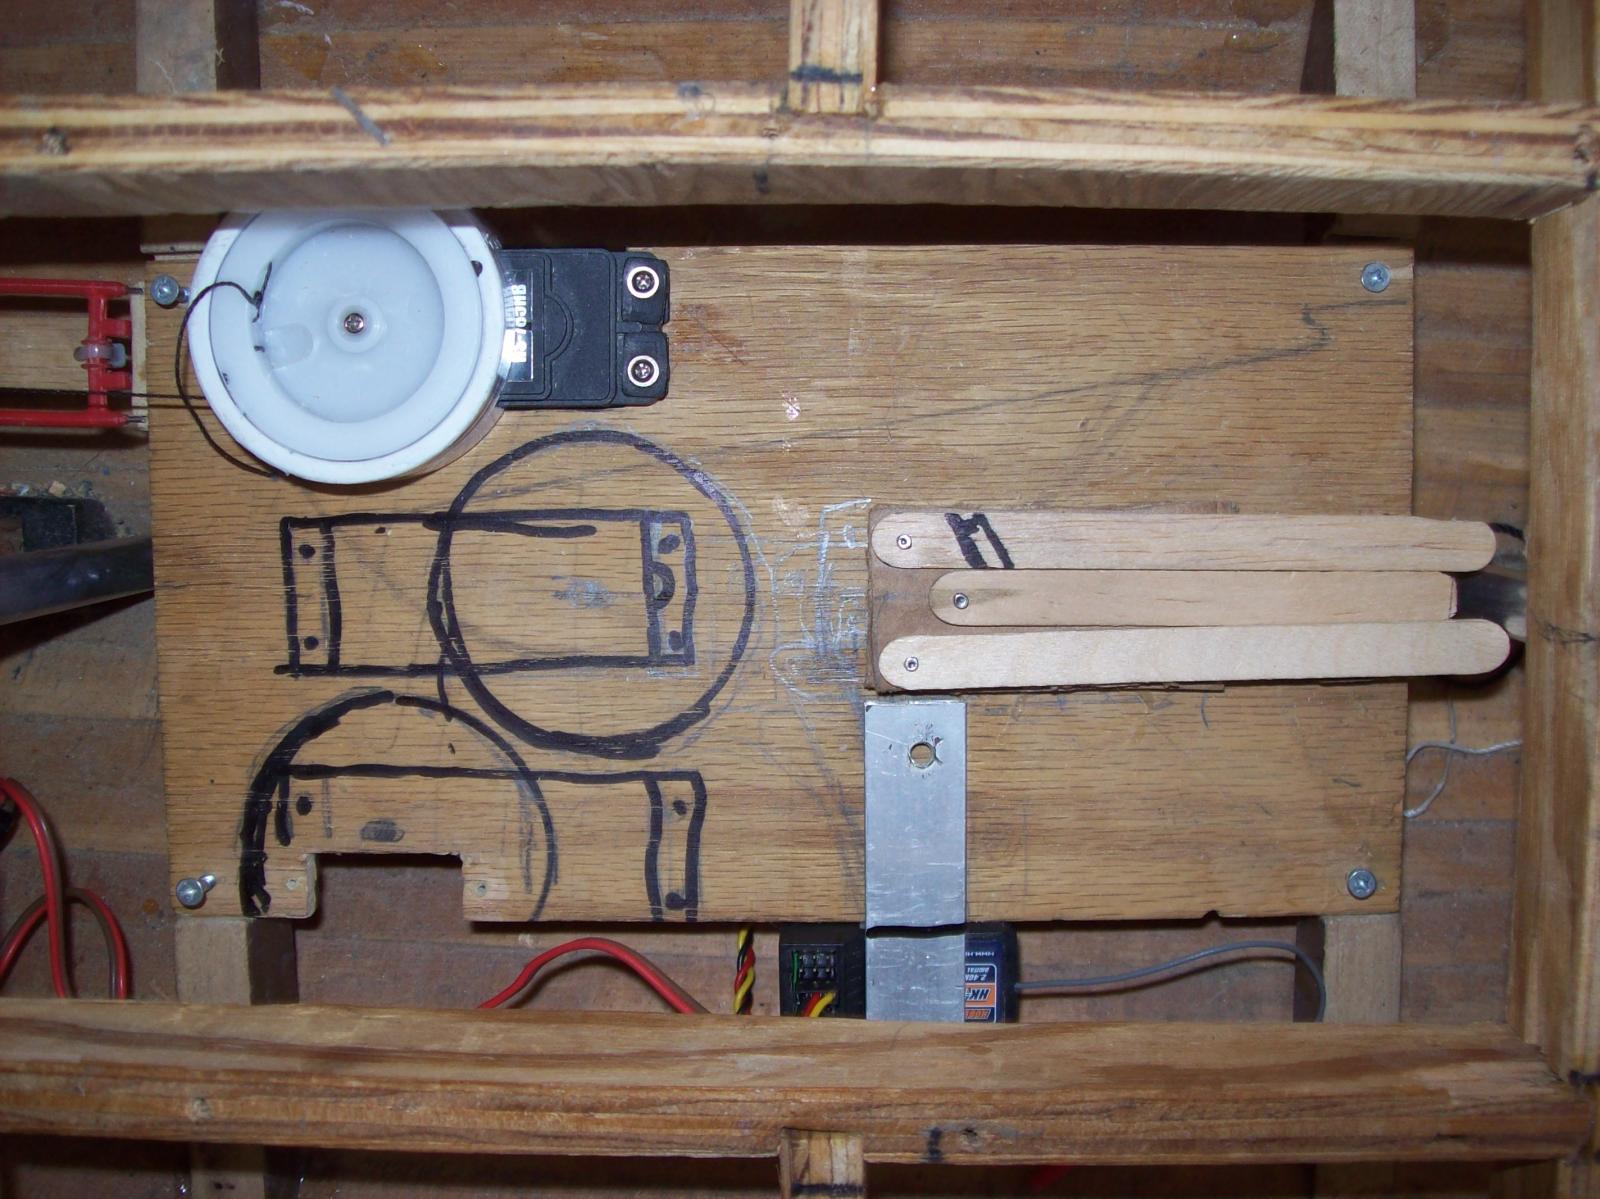
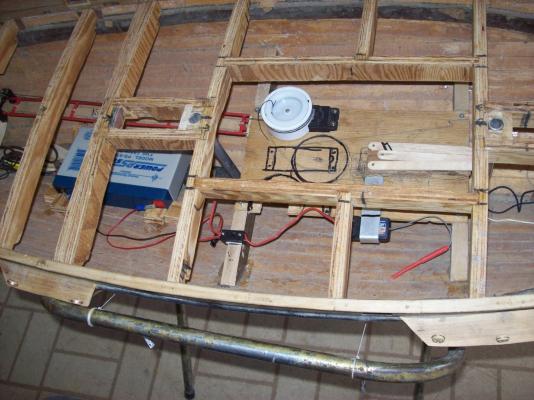
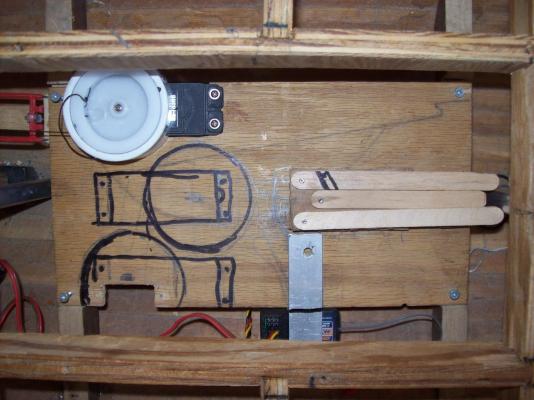
here are some pics of the battery and my new servo tray layout marked with sharpie. I could not get the battery beneath the servo tray as per my original plans so I put it behind the main mast, it will be difficult to get in and out but it will have to do. Lextin.


-
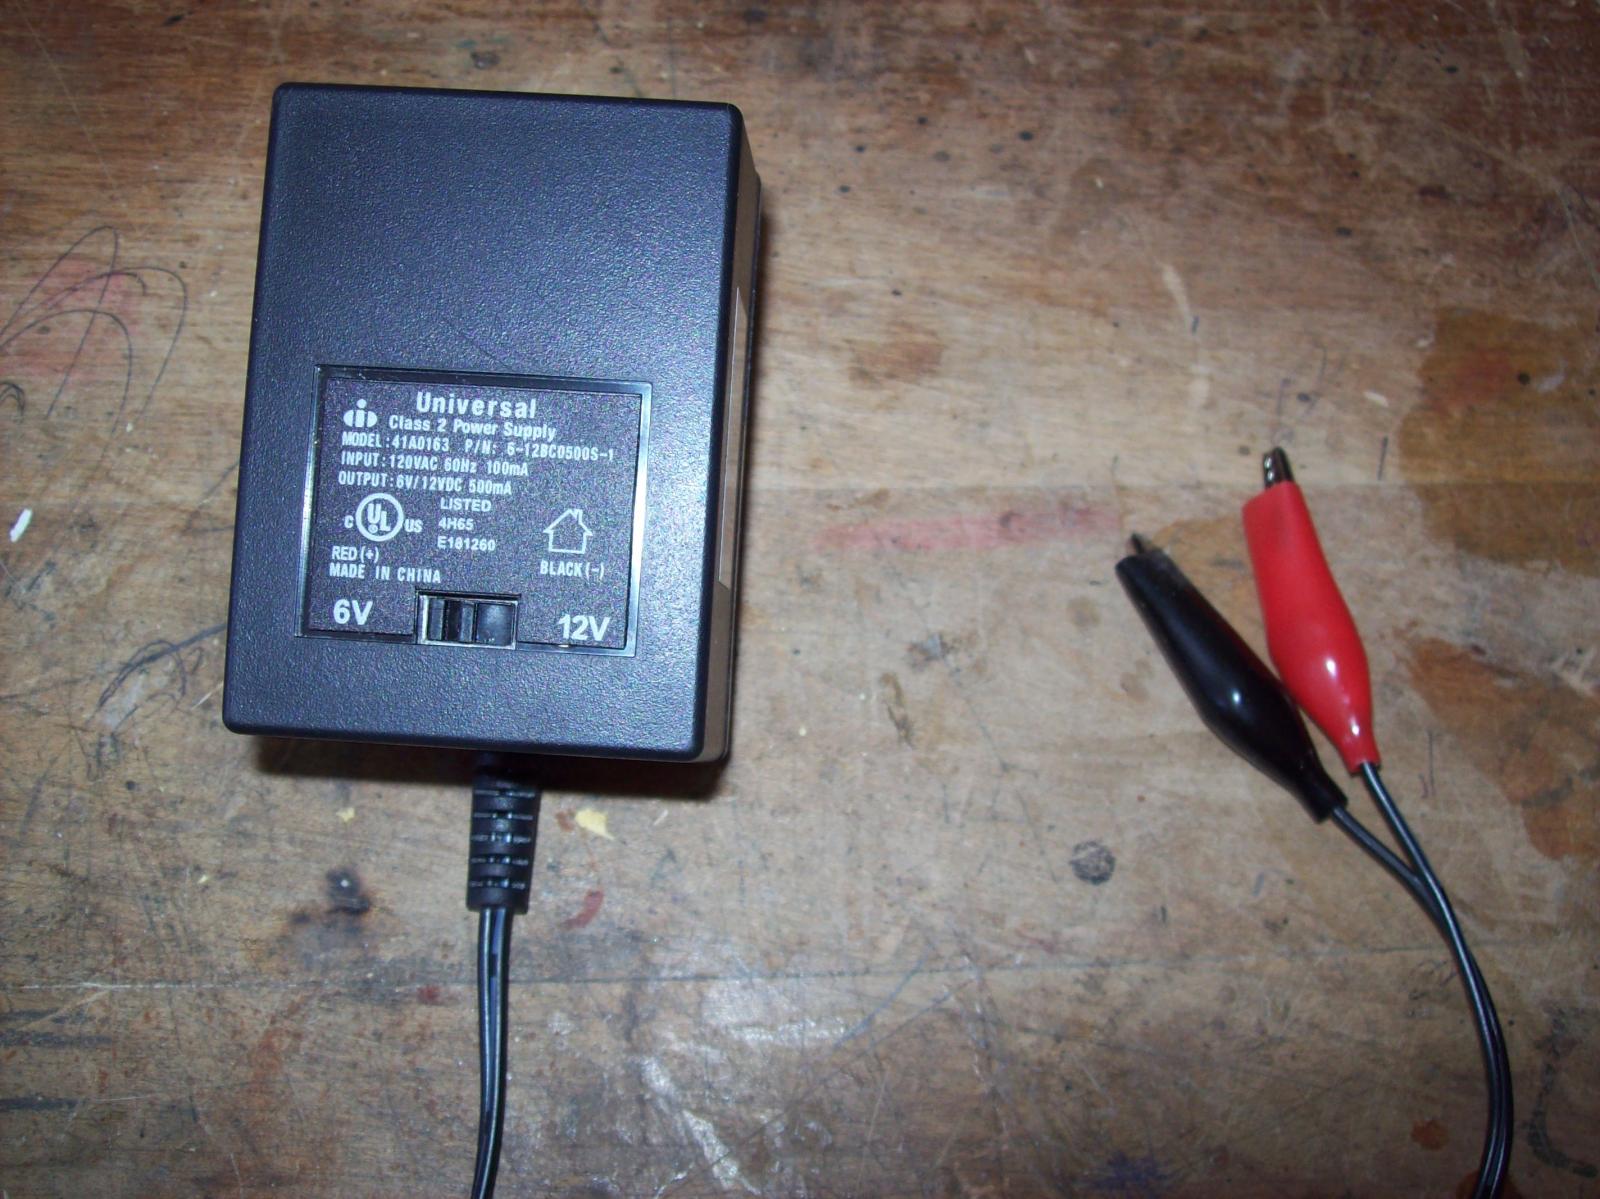
The battery arrived today so I did some test and got the winch servo to lift 9 pounds of lead, 3 times what it could lift on my previous battery pack. If I had more weights I might have been able to get close to the 12 pounds it says it can handle. I did a test with it in the hull hooked up to my pulley system and it ripped out the eyebolt the end of the sheet was tied to. Lextin.
-
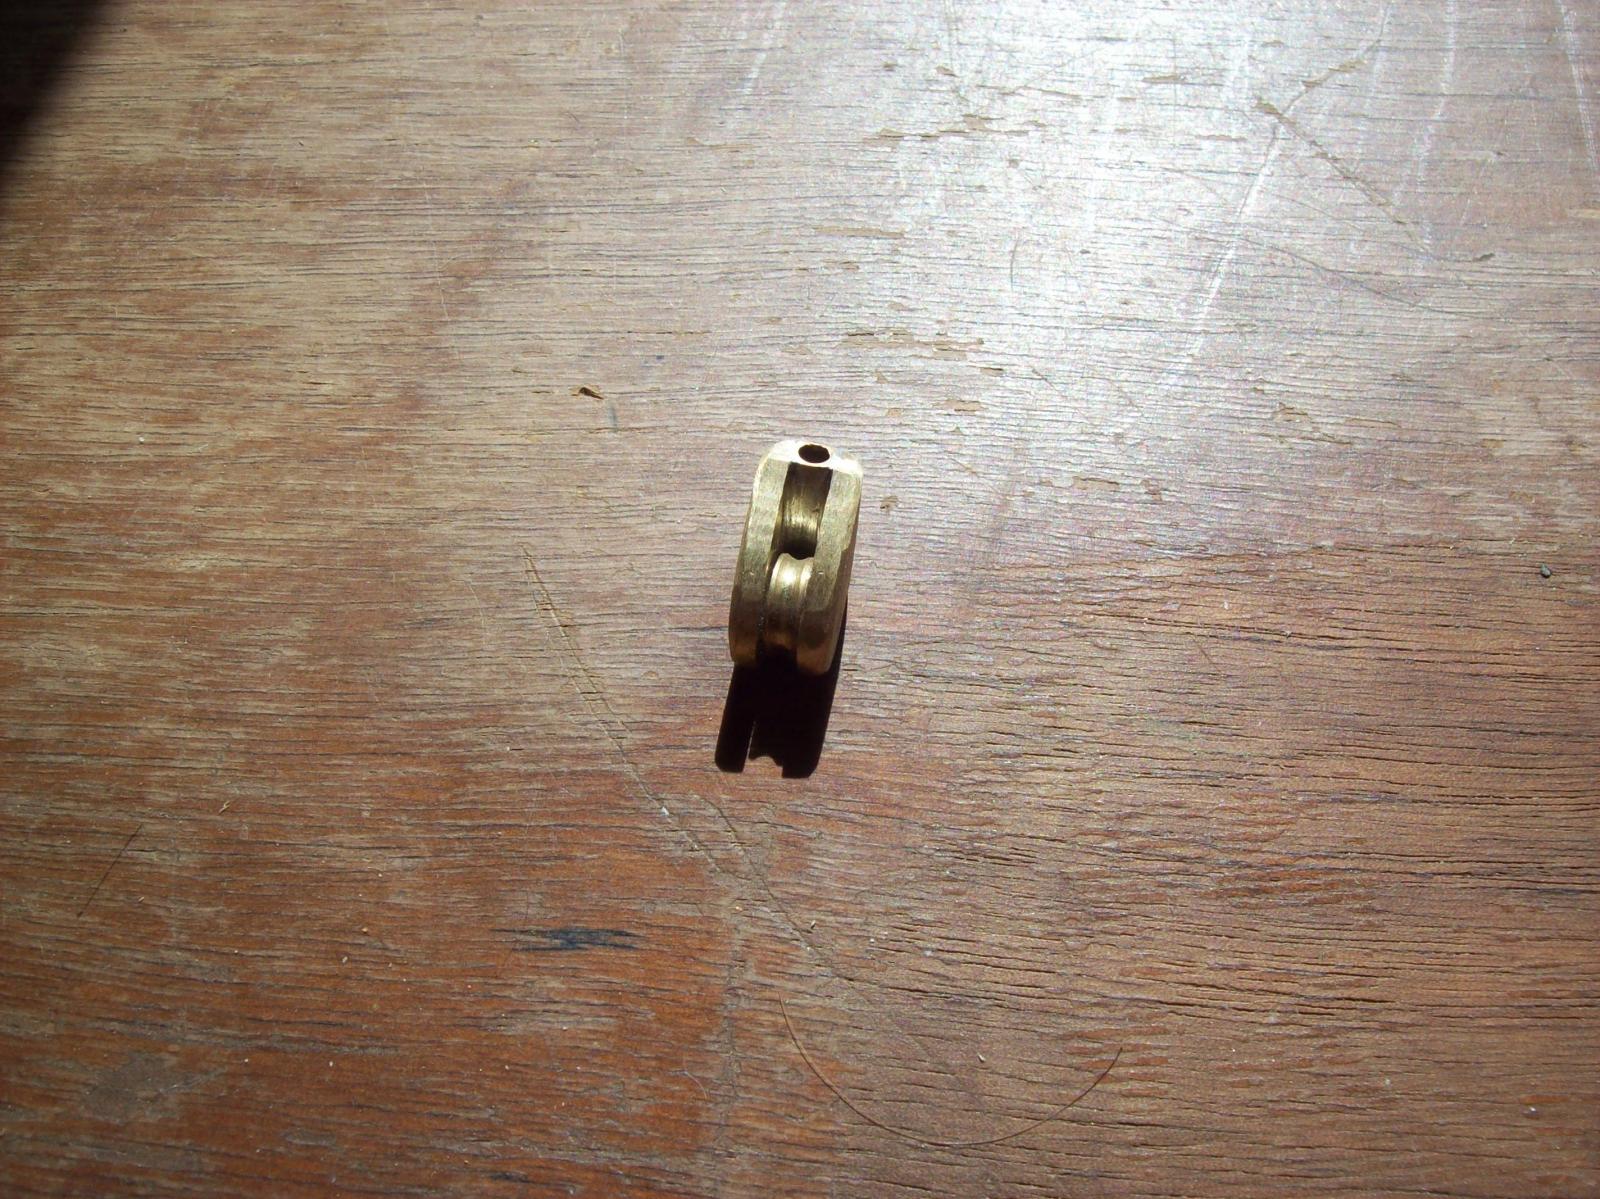
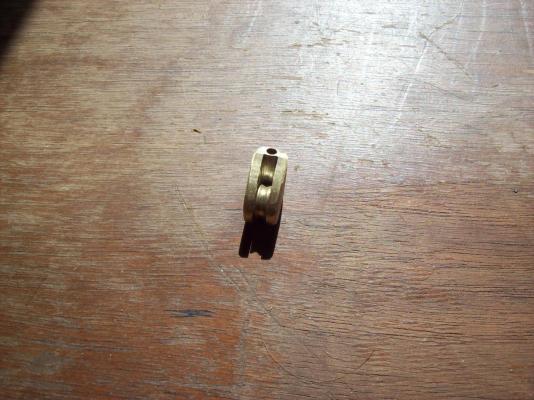
I ordered the battery yesterday it should be here within the next few weeks. I also took some better pictures of the block which is my first successful piece of brass work. The problem I kept having was that the solder didn't want to stick to the metal. Turns out that I was getting the metal to hot, when I lowered the temperature the solder worked perfectly. Lextin.


-
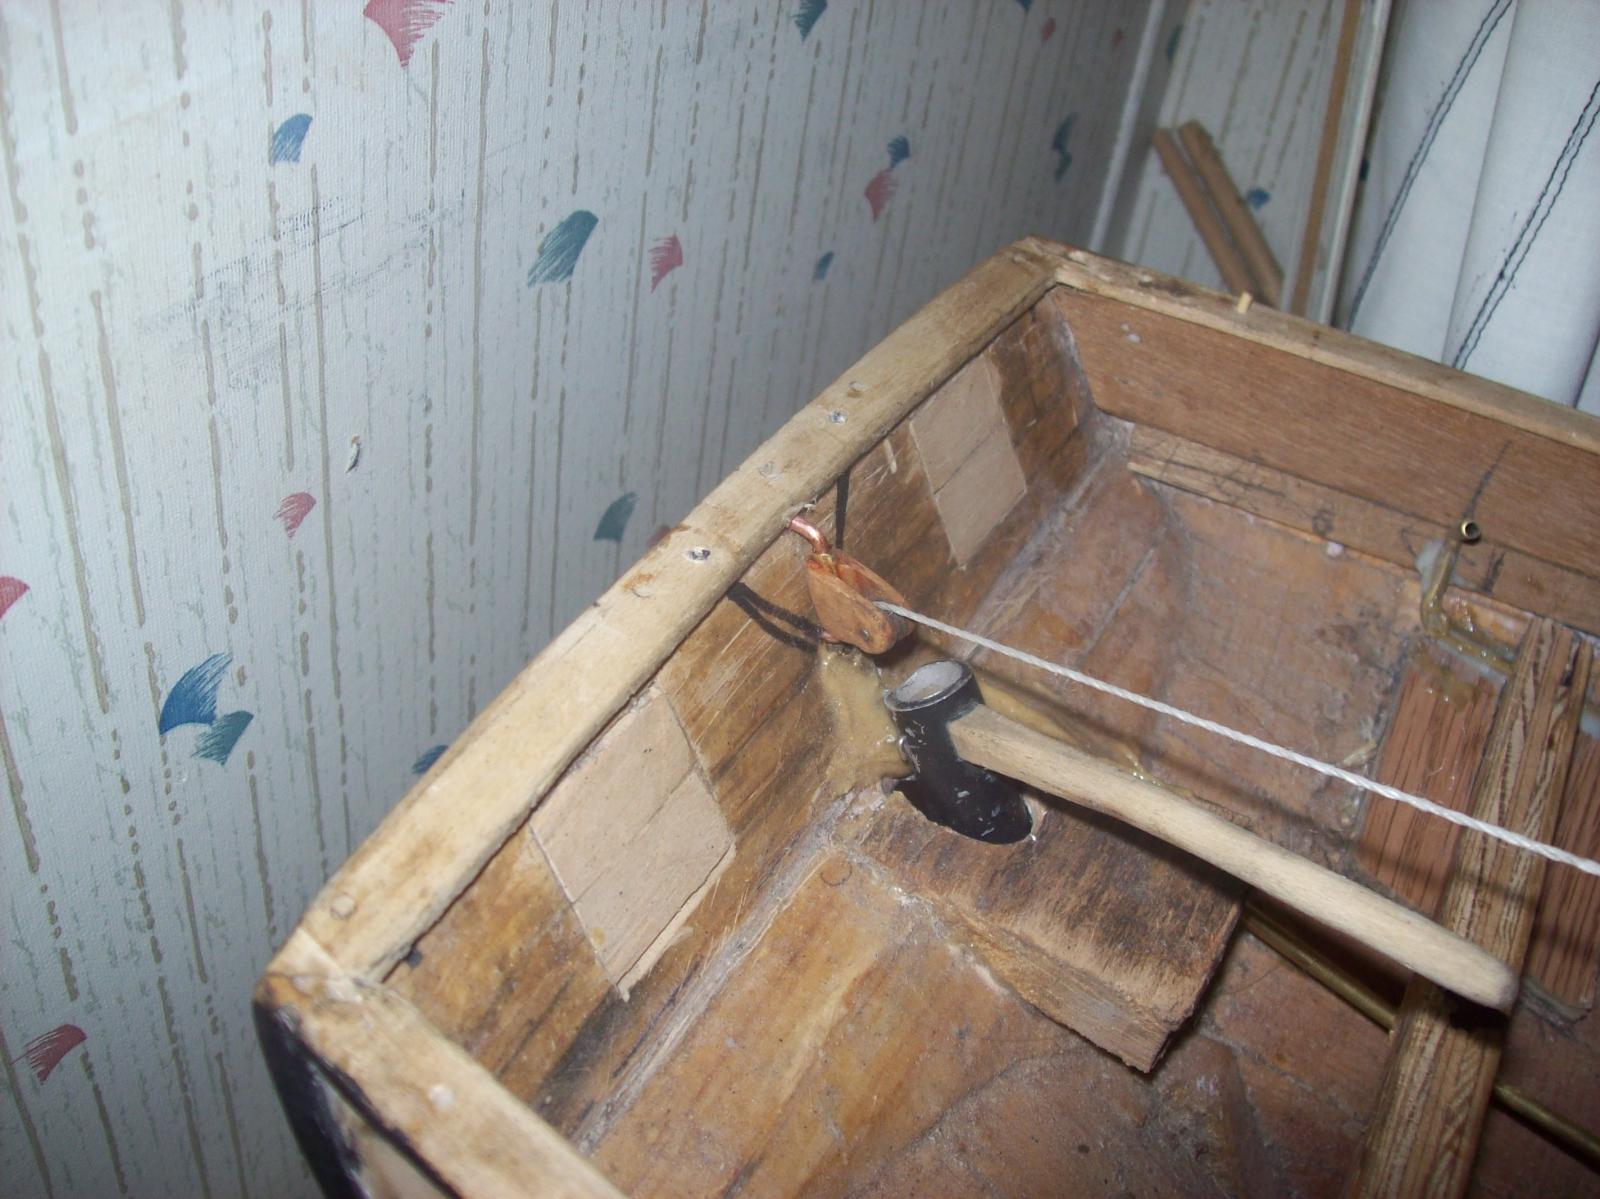
I made a brass block for the main sheet to replace the wood one shown in the last post. Lextin.

-
I made a a special block for the main sheet and took a video of how everything works. I am not very good at making videos so be warned it is kinda crummy. Lextin.
-
I made some rope from the spectra and it works nicely but is kinda glossy. Lextin.