HOLIDAY DONATION DRIVE - SUPPORT MSW - DO YOUR PART TO KEEP THIS GREAT FORUM GOING! (Only 13 donations so far - C'mon guys!)
×


qwerty2008
-
Posts
552 -
Joined
-
Last visited
Content Type
Profiles
Forums
Gallery
Events
Everything posted by qwerty2008
-
I added the wales and cut two chase ports in the stern (the gunport lids are temperarily hinged with some tape) I also temporarily attached the stern davits. Lextin.


-
No not yet but I will probably build a mock up on sketchup then possibly make a small scale mock up to test the movements. My Tx/Rx is really cheap and doesn't allow full travel on my servos so that will make things interesting.
-
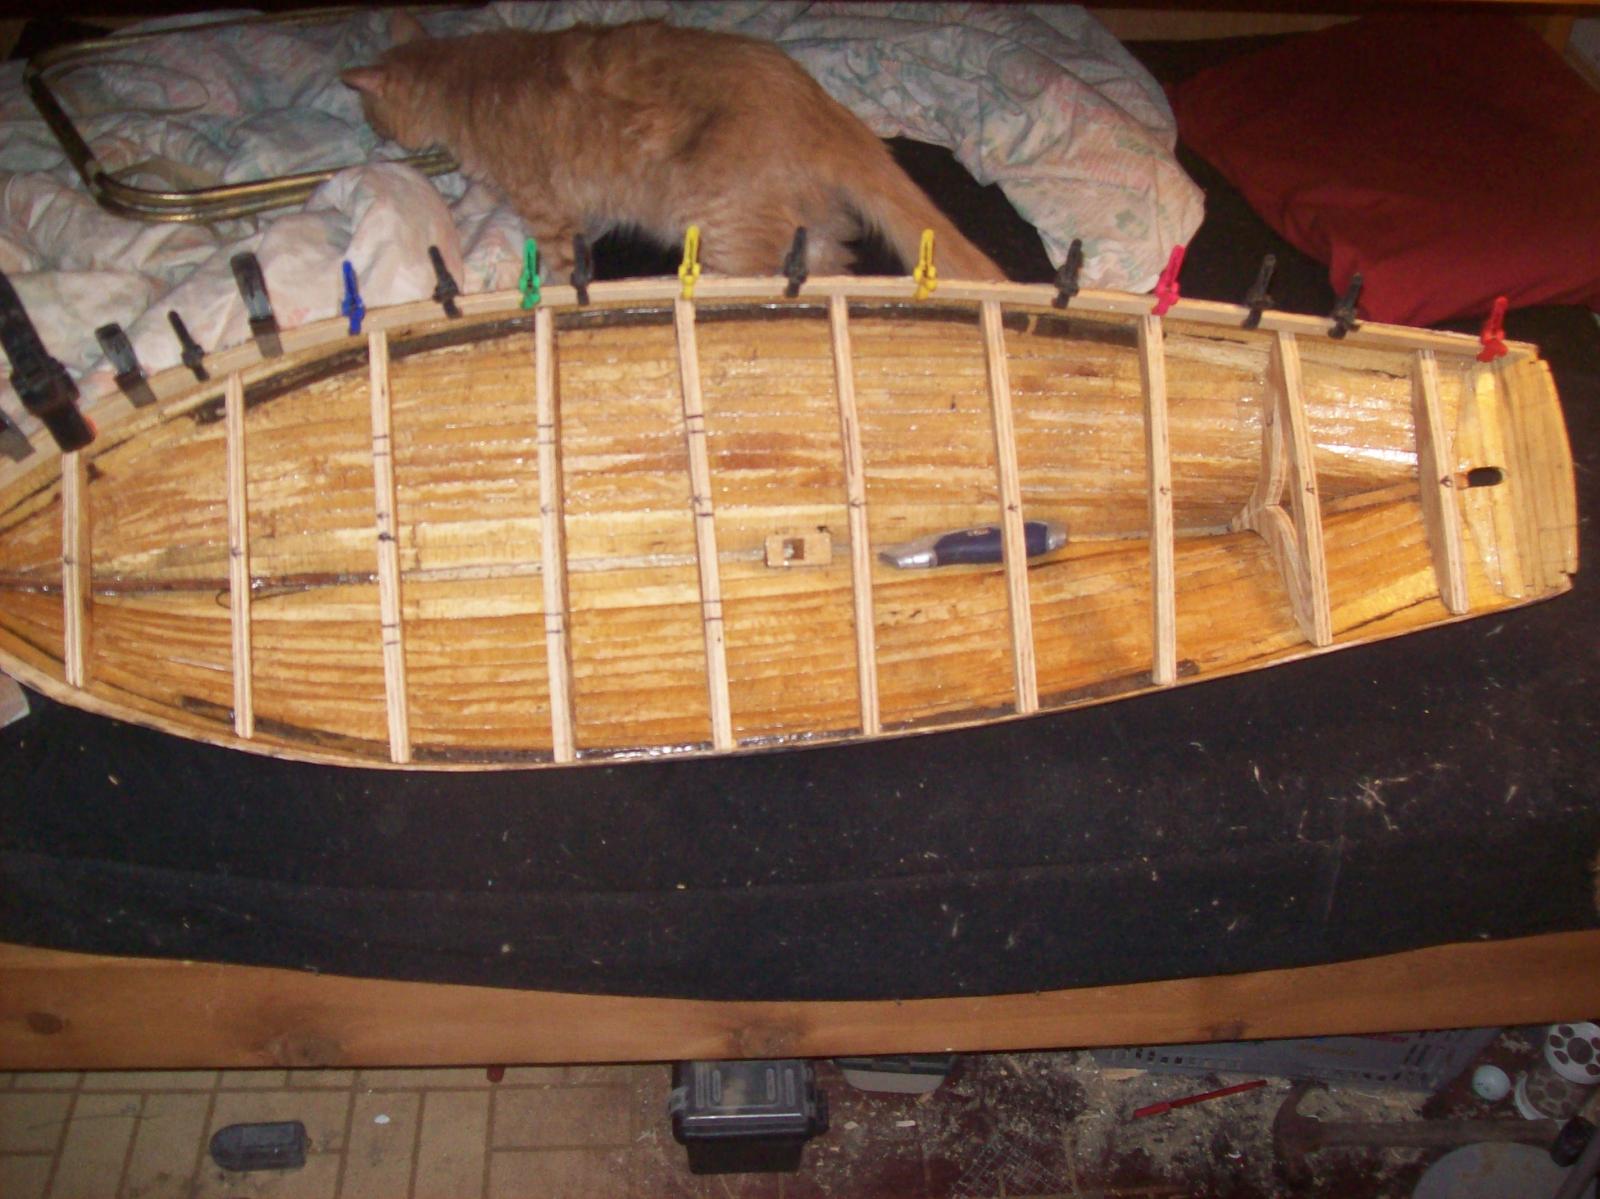
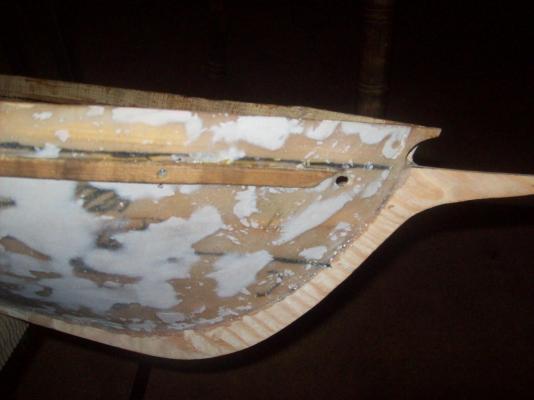
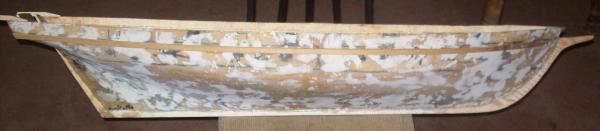
I have coated the inside of the hull in fiberglass resin thinned with acetone and test fitted a strip of wood to build up the inside of the bulwarks. Lextin.
-
Intro to Card Models Part VIII: Building V108 - Miscellaneous Bits
qwerty2008 replied to ccoyle's topic in Card and Paper Models
I finished up mine today, I skipped some pieces but I don't think that anyone will care that it doesn't have railings or anchors. -
Thank you for the information now I can picture the Polycrest as I read the book. Lextin.
-
I have begun reading the Aubrey / Maturin series and am currently nearing the end of the second book (Post Captain) and have the next two books (H.M.S. Surprise and The Mauritius Command) reserved at my local library. I am kind of puzzled on Aubrey's ship the Polycrest can anyone shed some light on what it might have looked like? I have not been able to find any ships that are even close to his descriptions, in the first book he gave such detailed descriptions and measurements of the Sophie that I was able to get a clear picture in my mind of what it looked like but there's hardly any information on the Polycrest. Thank you for your help. Lextin.
-
If I ever built the Orca I would be to tempted to change it to the minnow from Gilligan's island.

-
I am glad to see your build back on MSW. Lextin
- 553 replies
-
- 1
-

-
- sloop of war
- constellation
- (and 3 more)
-
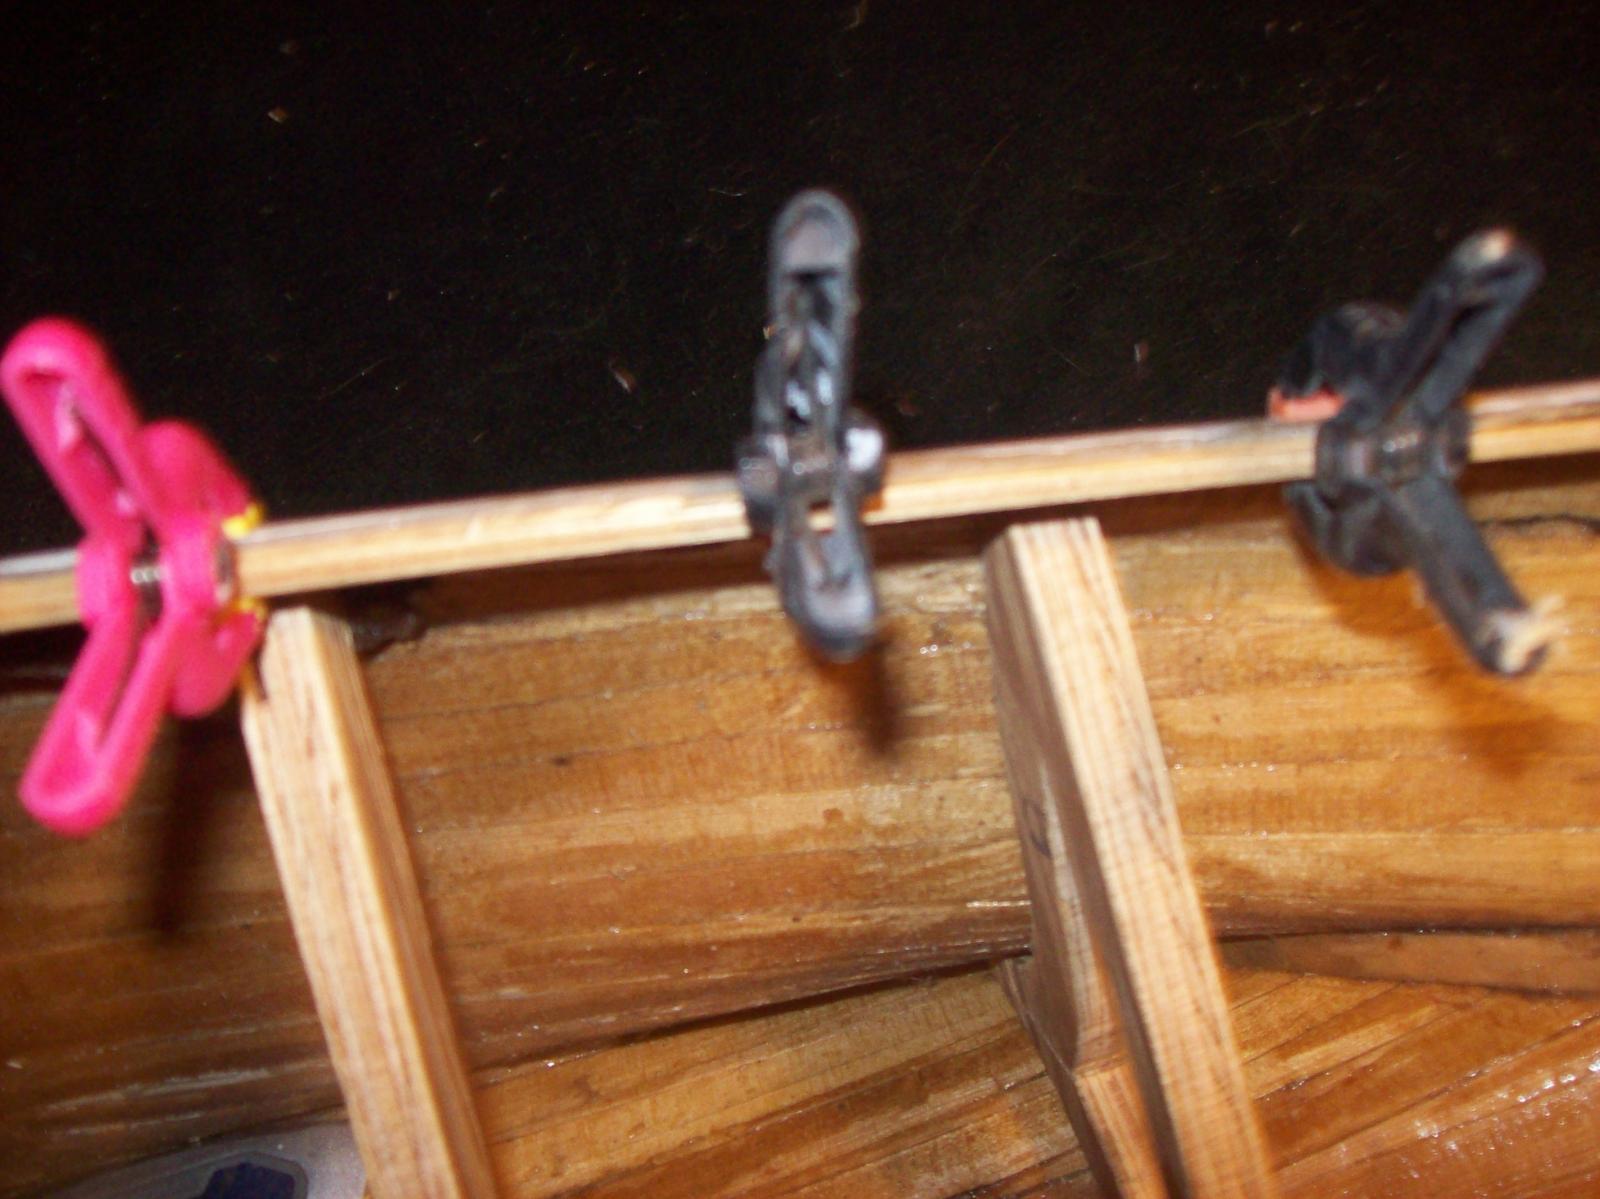
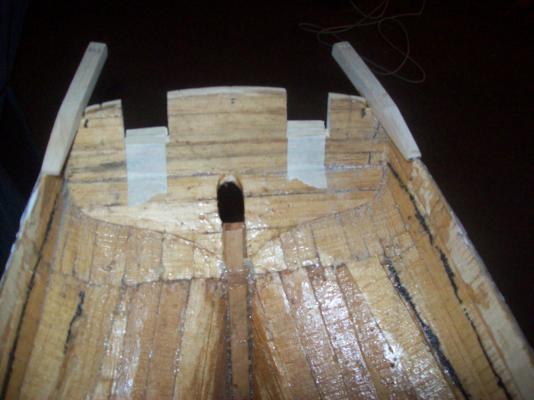
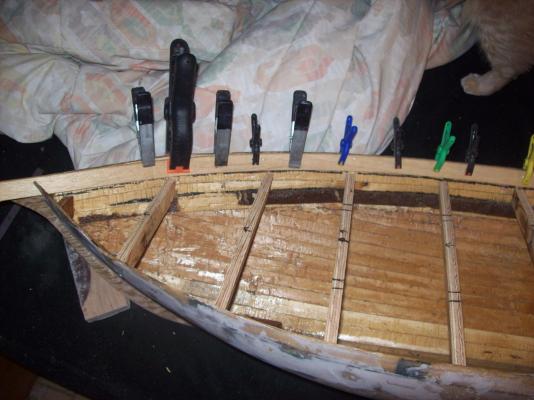
The mast steps and deck clamps are already glued in place but the deck beams will bee left out until I coat the inside with resin.
-
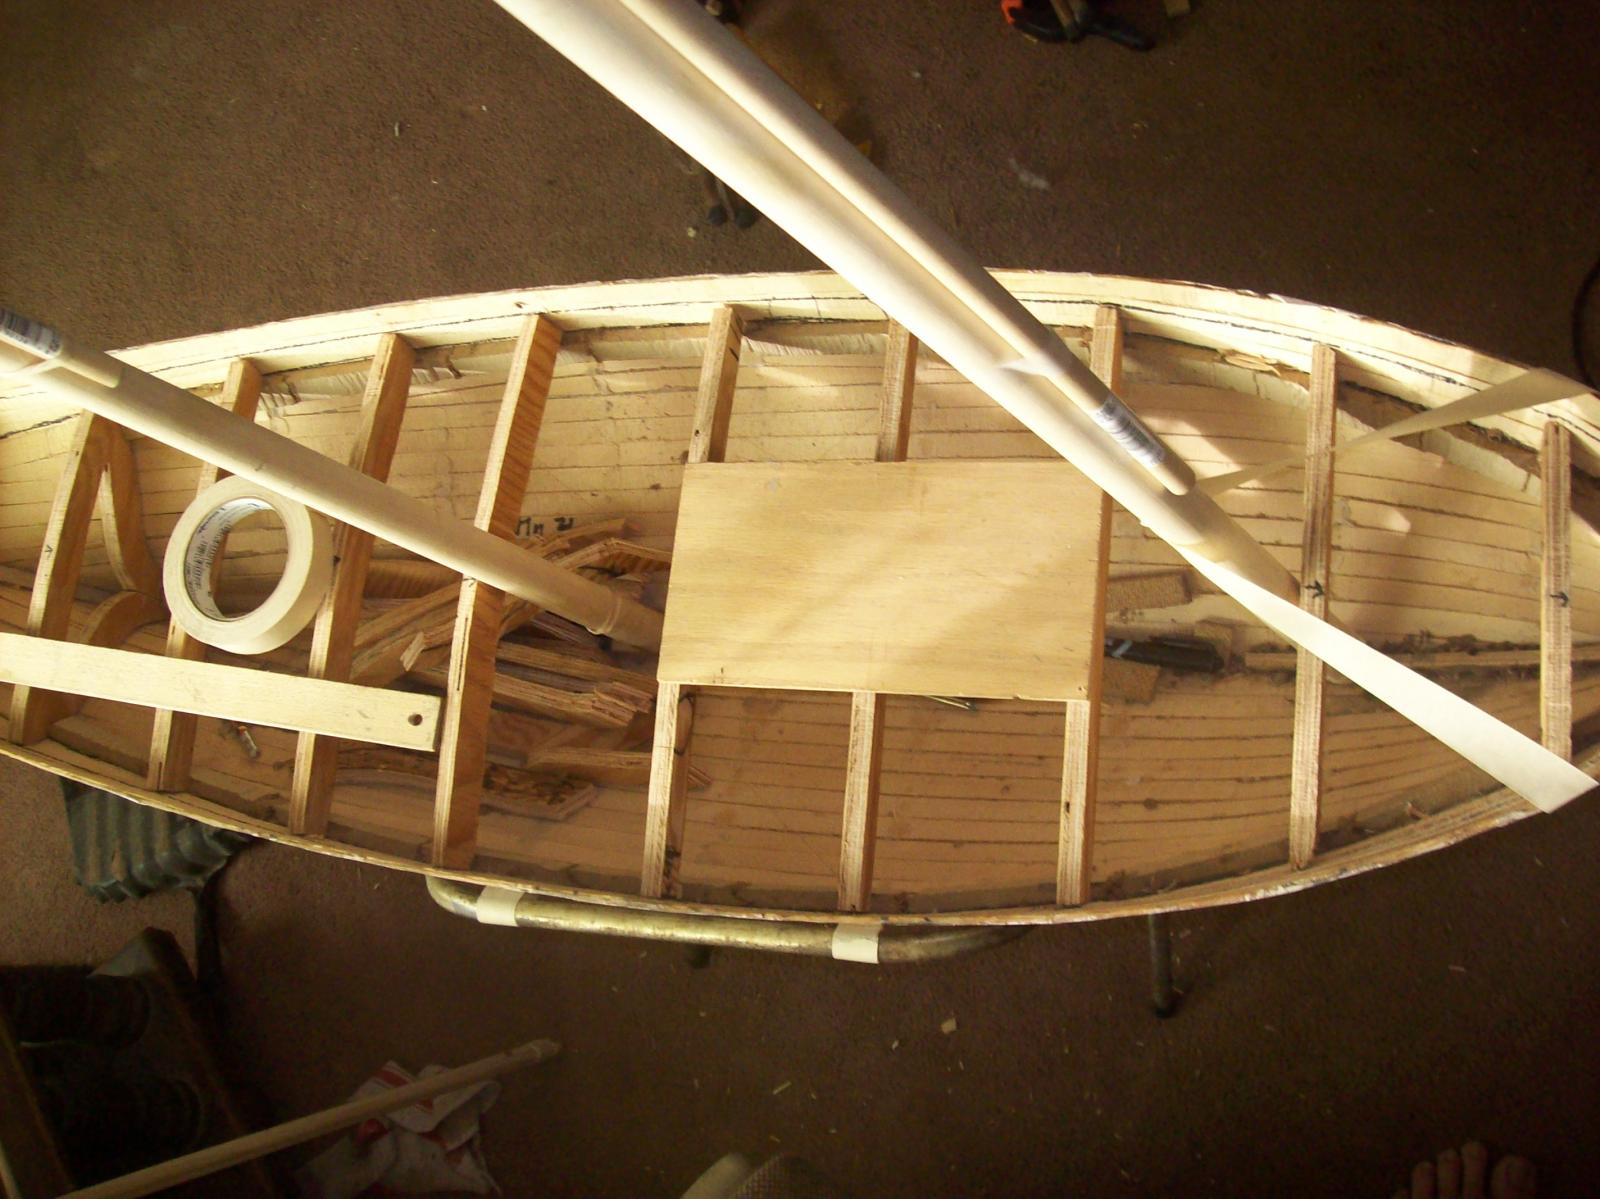
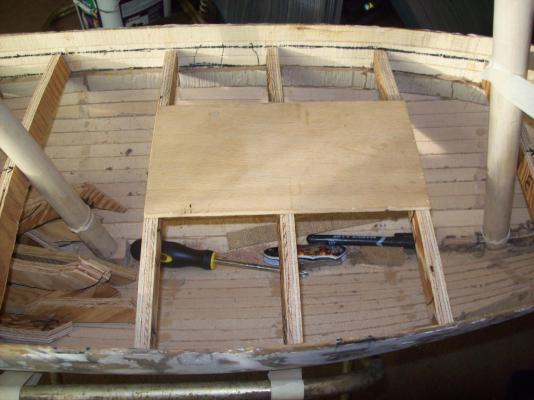
I found a piece of plywood that looks like a good size (9.5 inches by 5 inches) for the main hatch. I will use the plywood as a guide for framing in the main hatch. I was wondering if I should add bow and stern chaser cannons if so would the stern chasers get in the way of the tiller? and how would I mount the bow chaser(s)? also there is alot of unused space towards the stern should I increase the broadside?. Lextin.
-
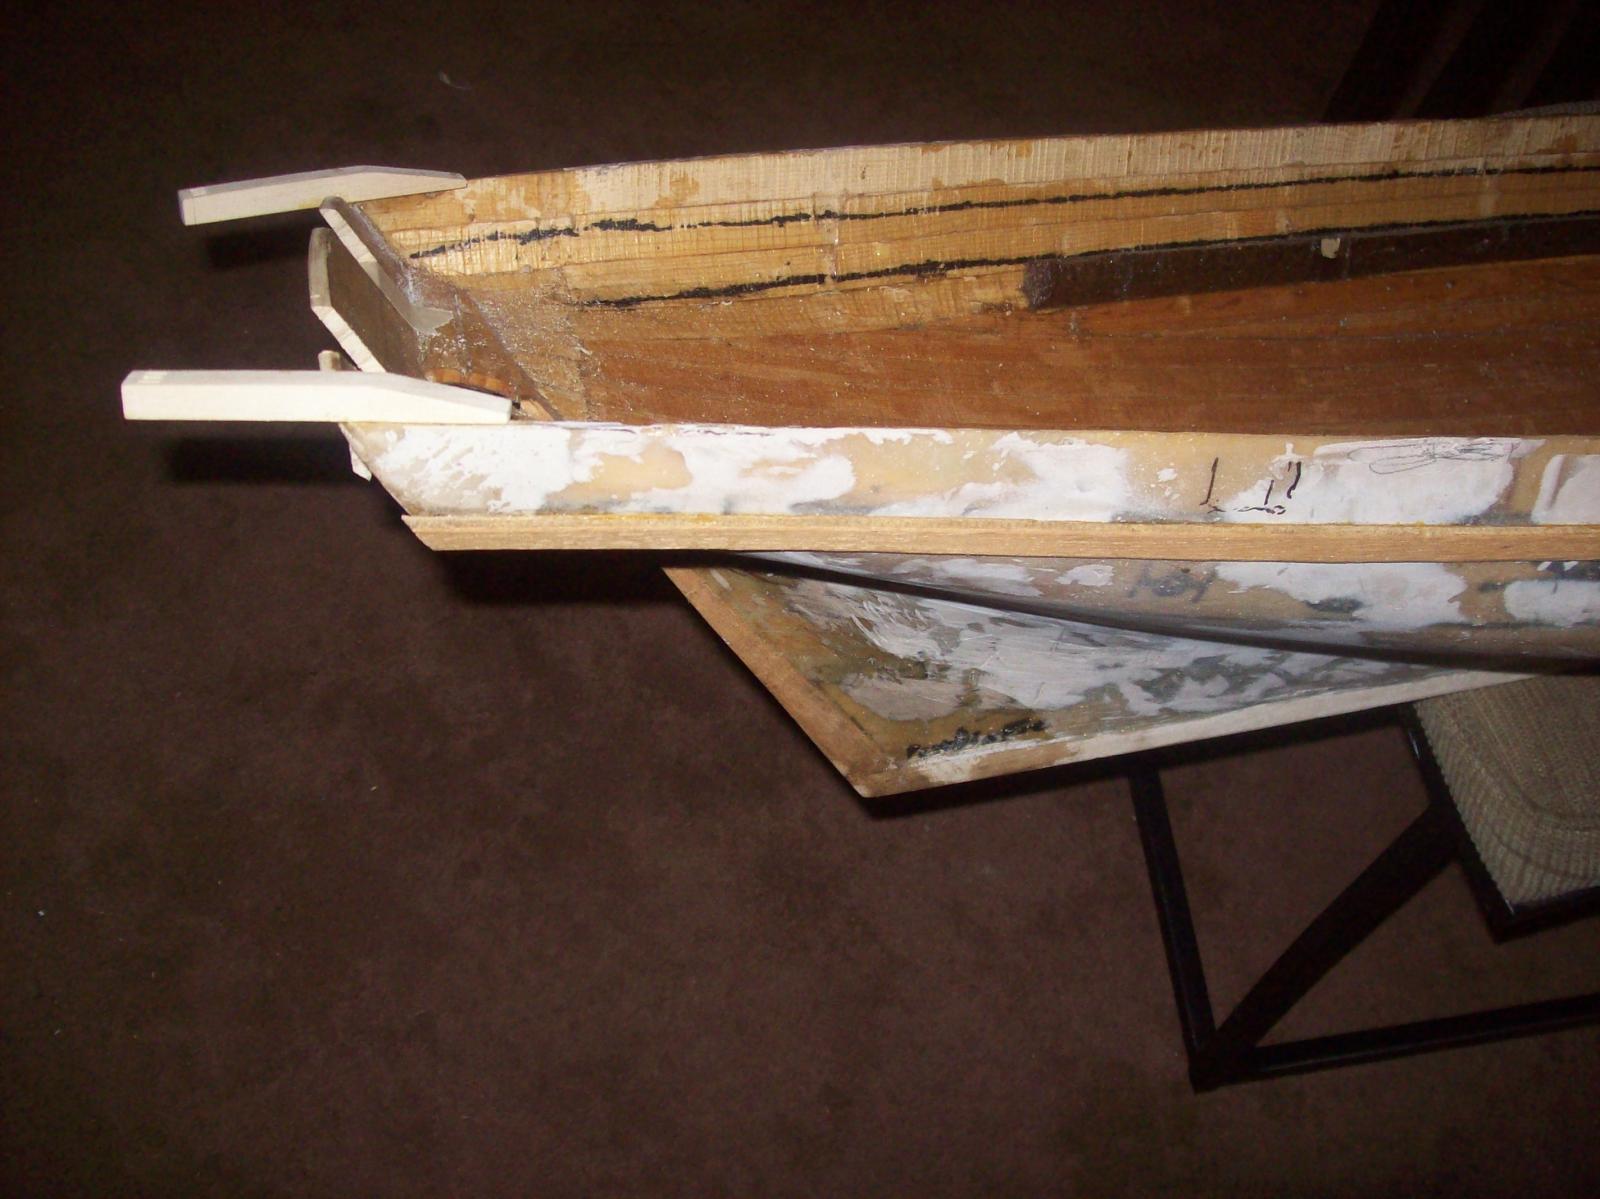
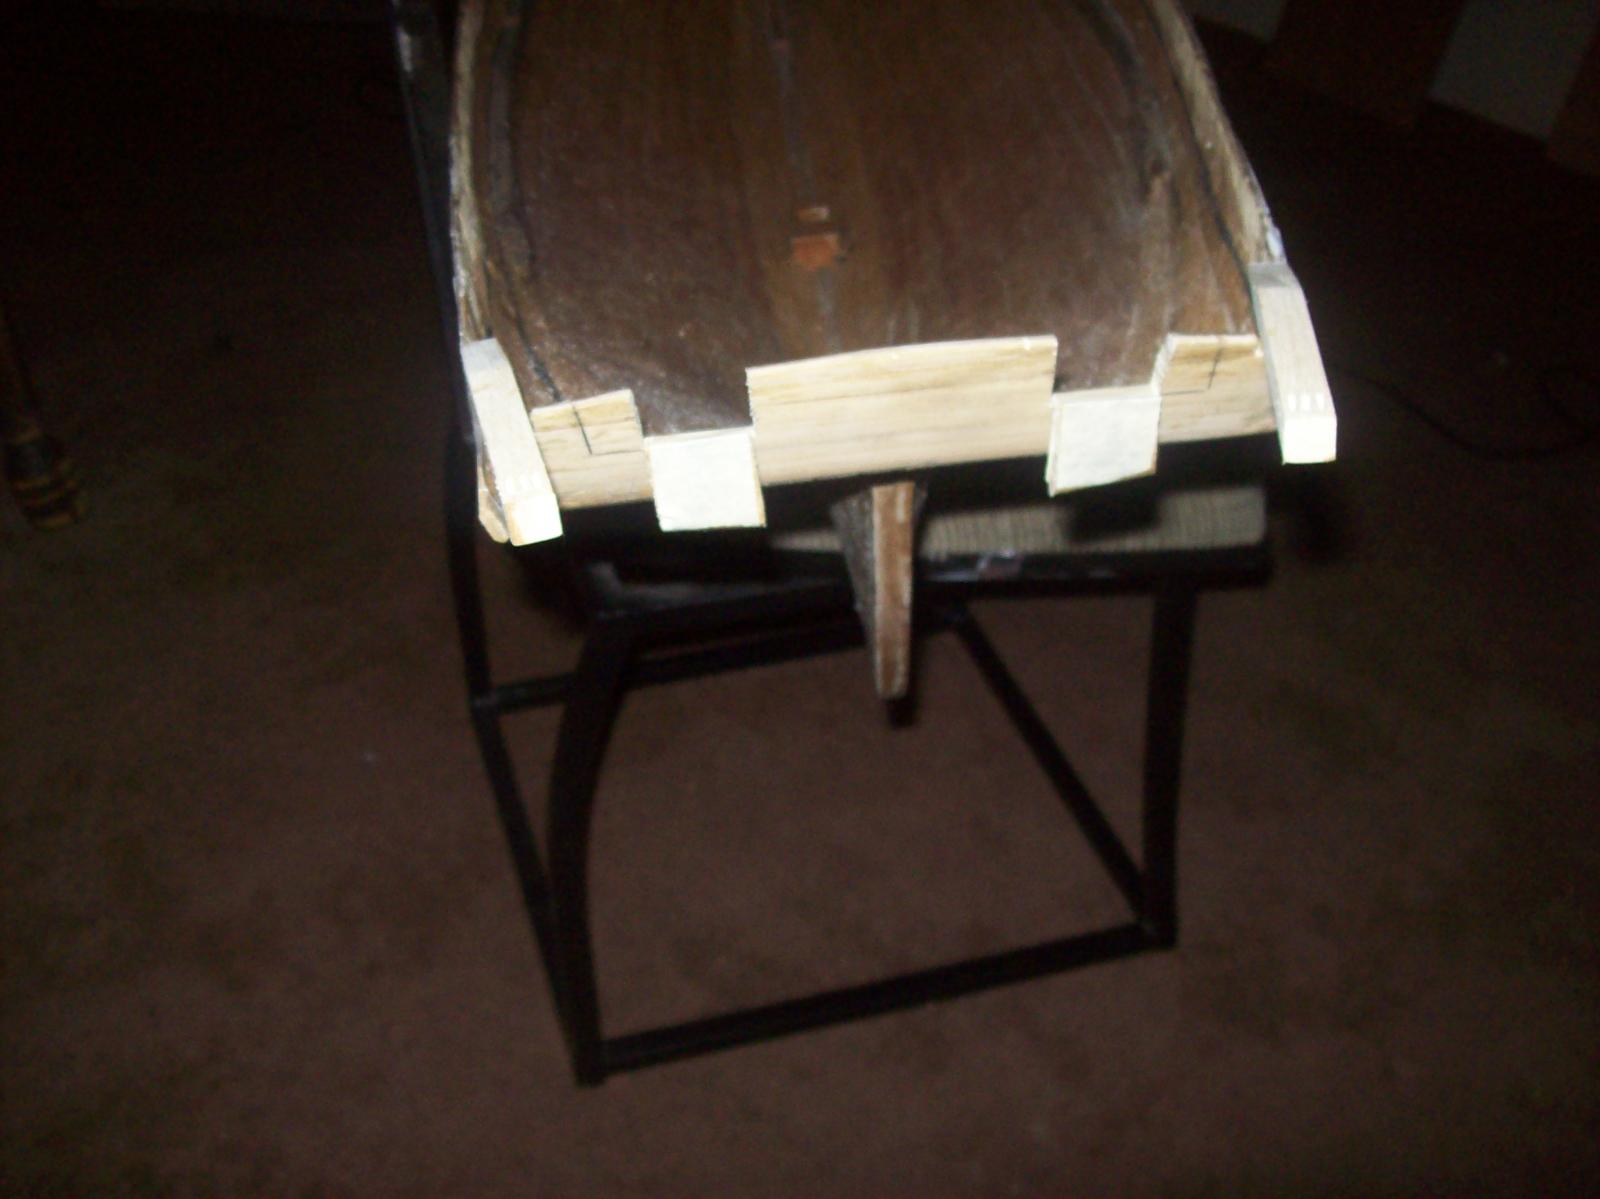
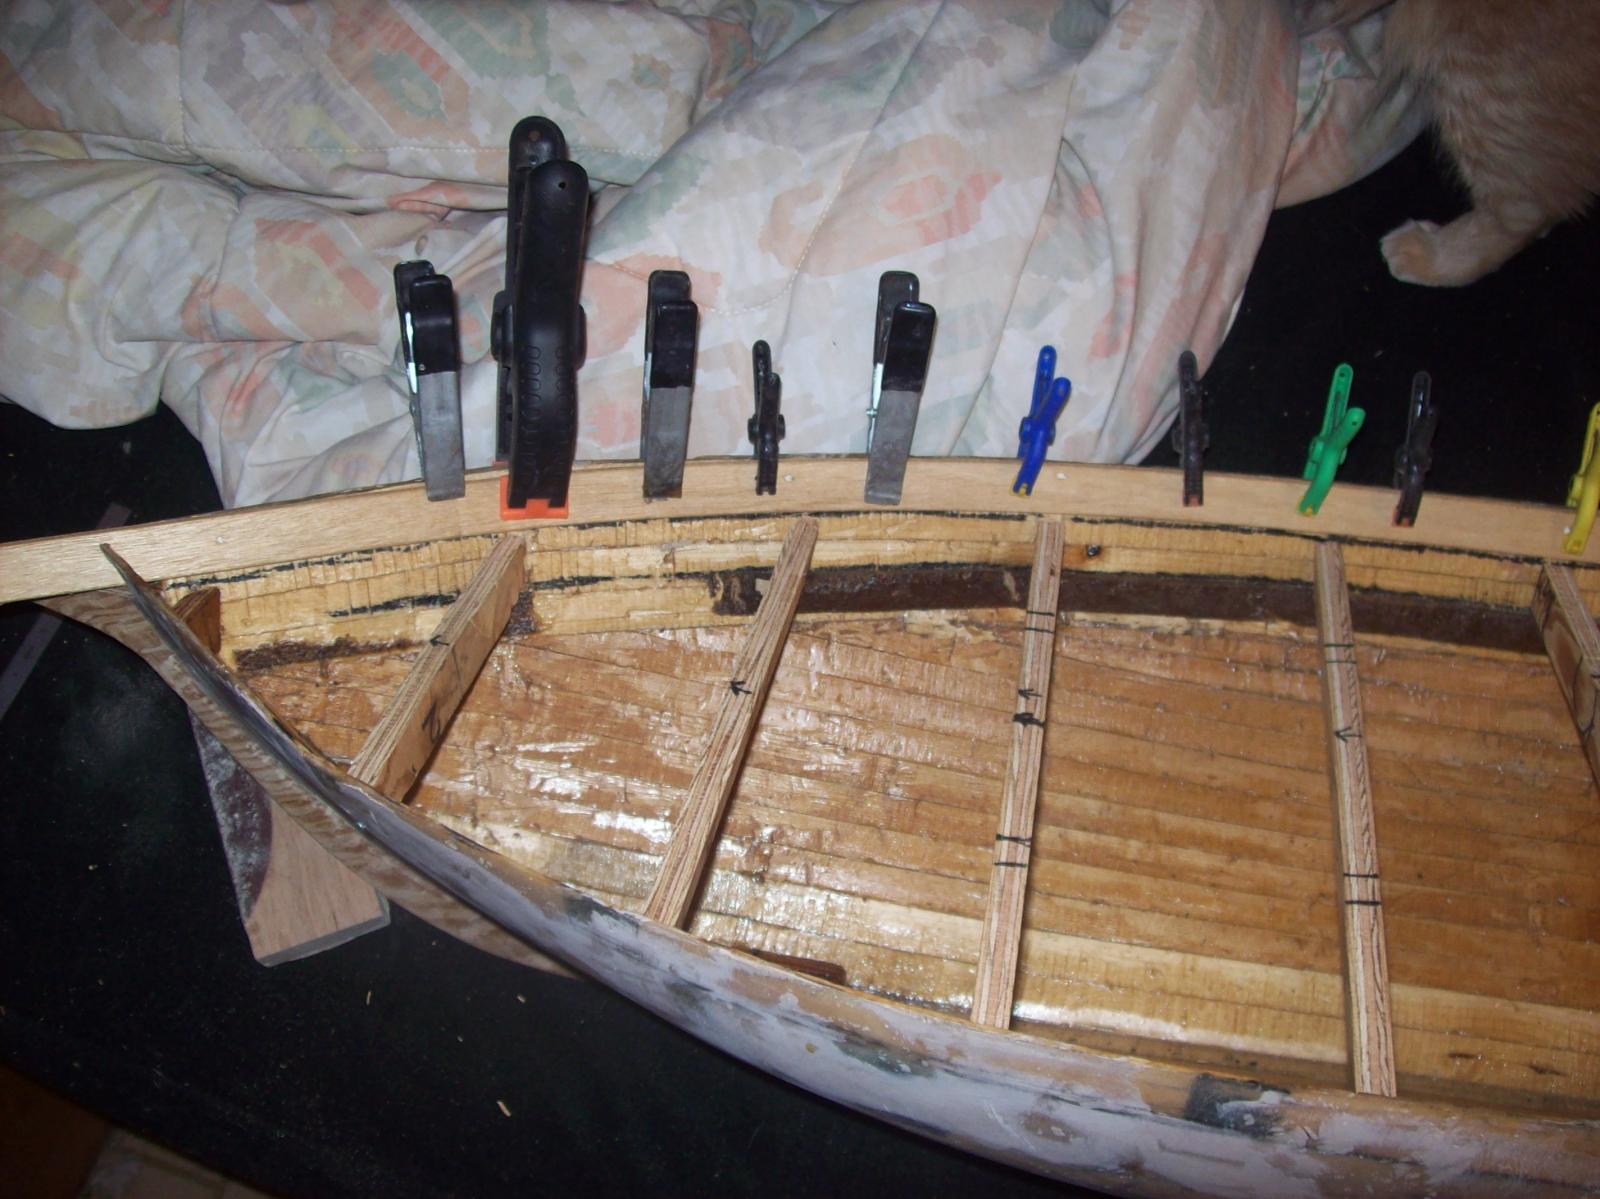
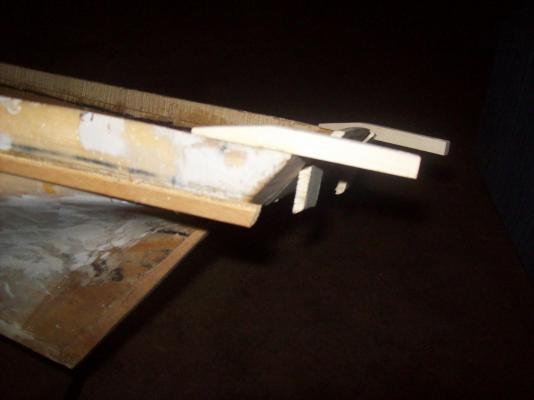
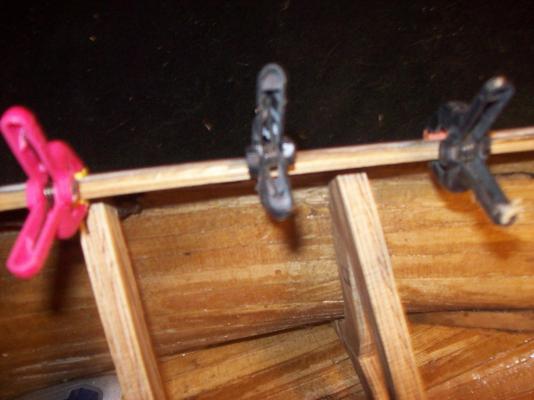
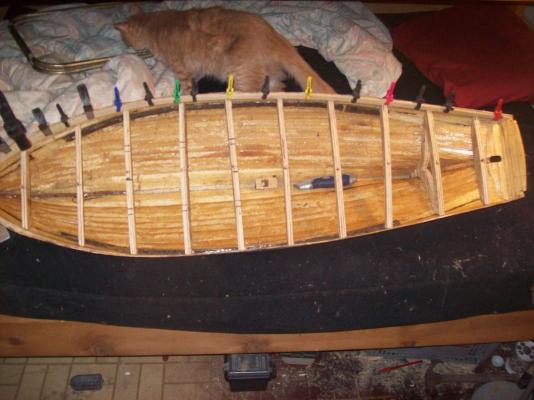
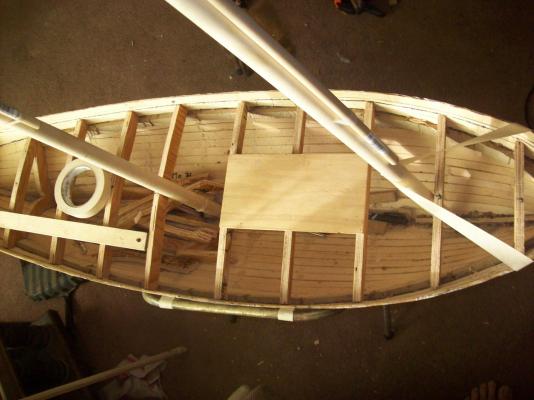
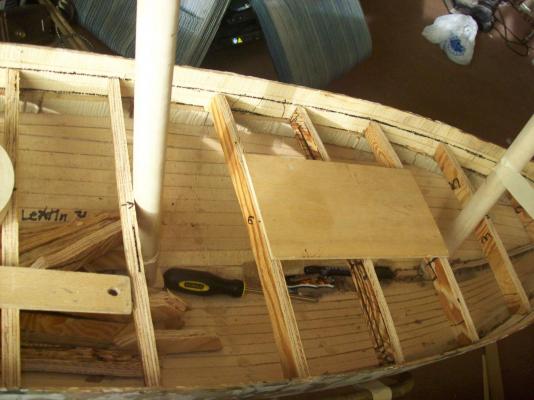
I decided to take Jerry's advice and cut the out the frames leaving just the deck beams the pieces that I removed weighed abought 1 1/4 pounds. I glued some scrap wood to the sides to support the beams. This didn't do much for weight but it freed up alot of space inside the hull. I will work on making them all even so the deck will sit flat on top of them. Lextin.
-
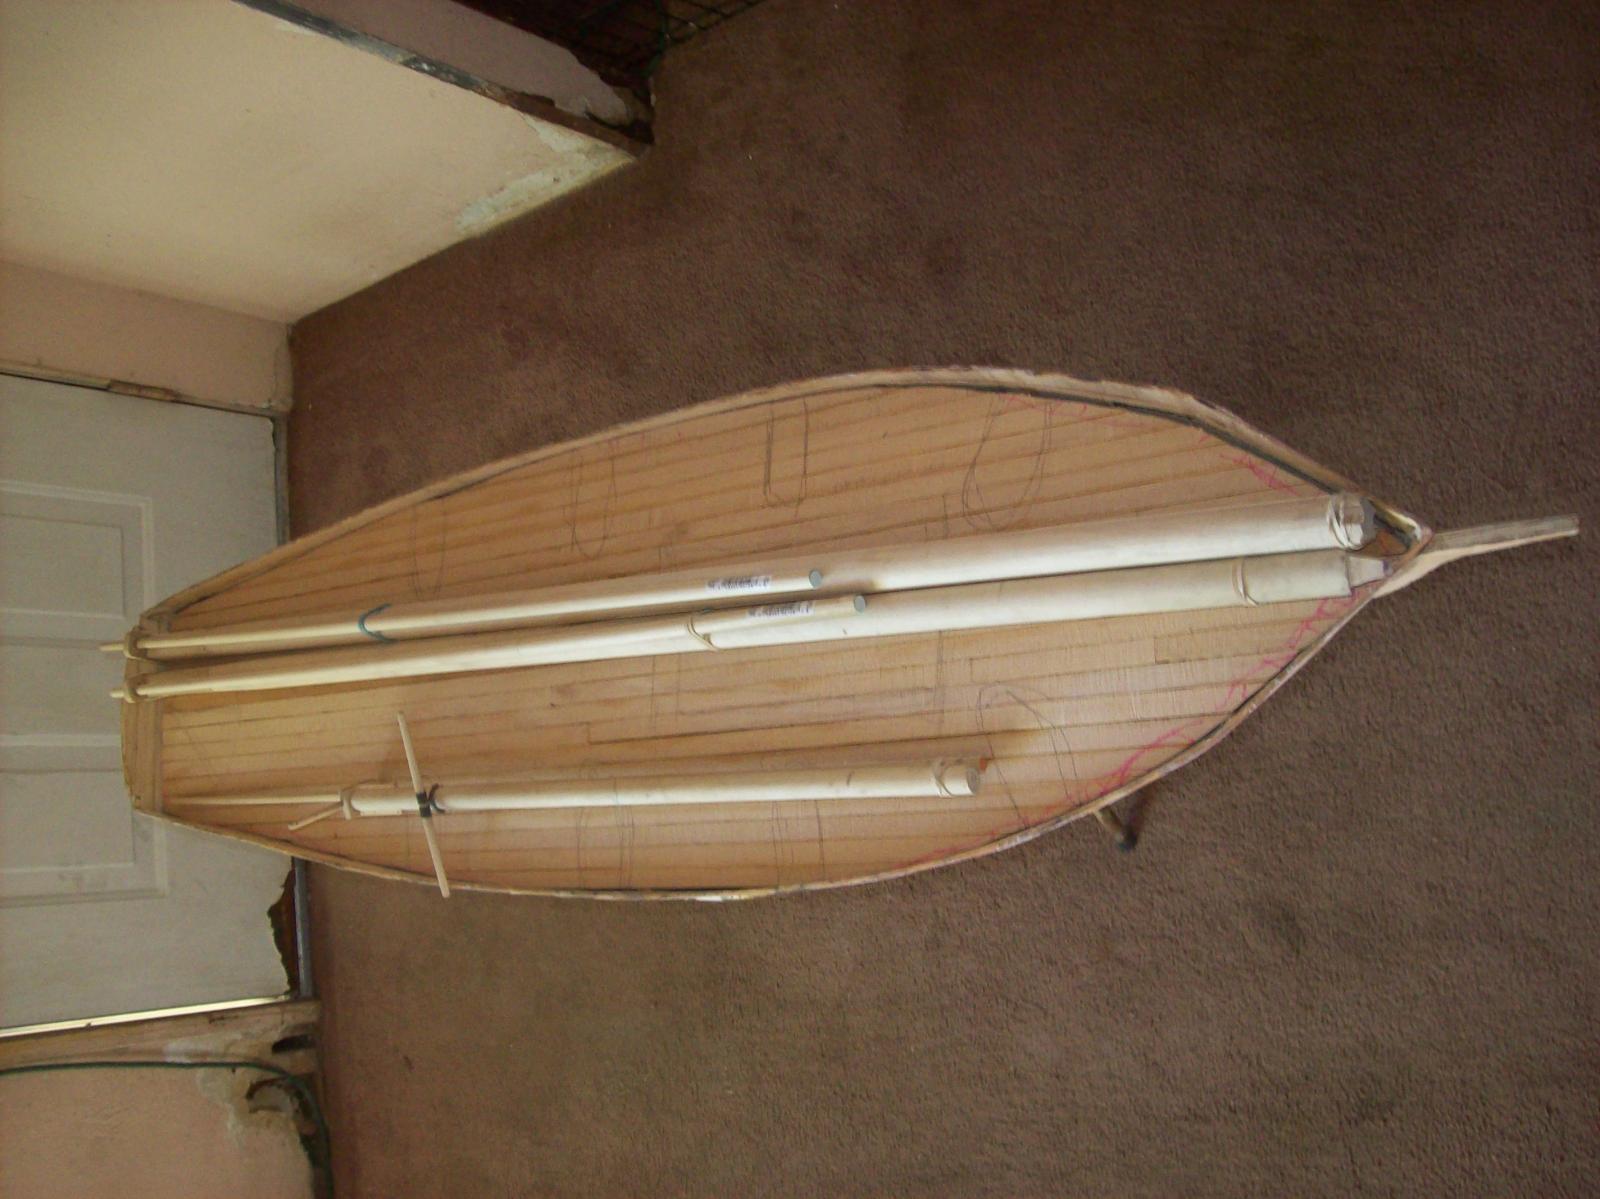
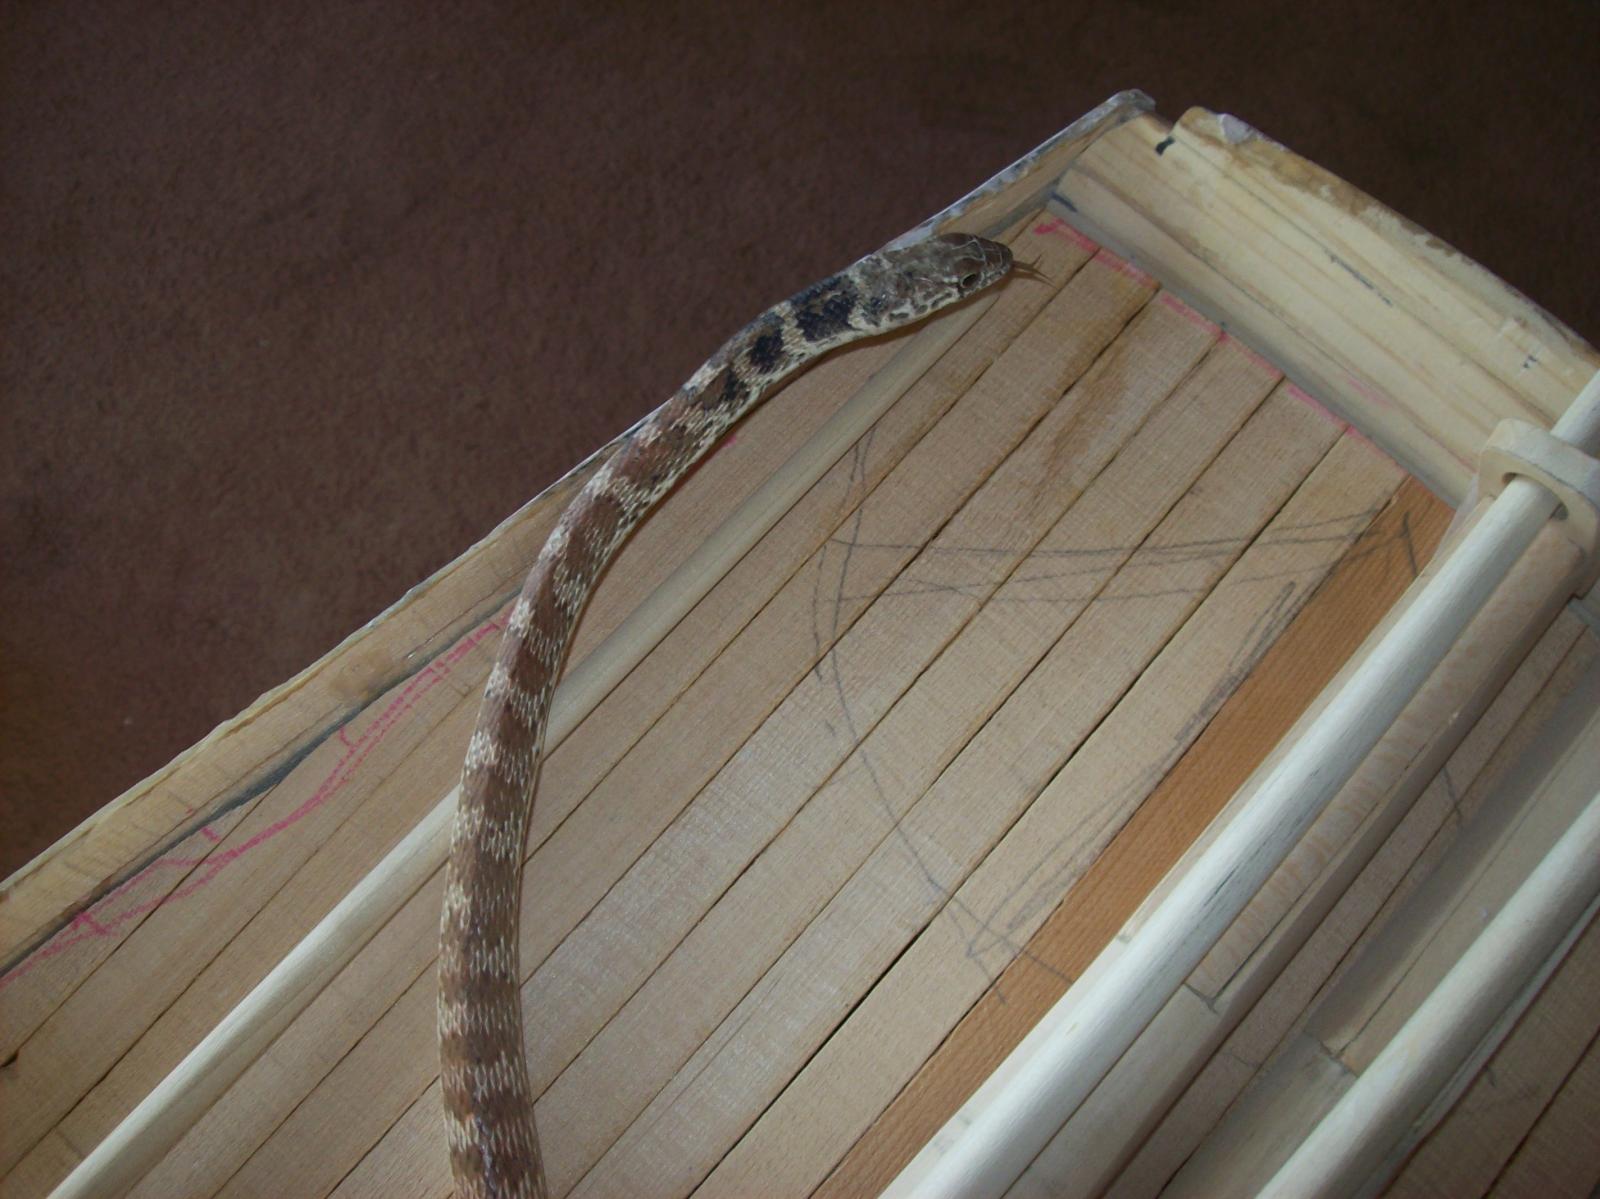
the main reason I recut the formers was to make deck supports. I weighed the model and it currently weighs a little less then 9 pounds (hull 4 pounds bulkheads 2.5 pounde mast 2 pounds deck a little less then half a pound, when I floated it (just the hull) it took all my lead (30 pounds) to bring it down near the to the waterline. It is overweight but I will make a deep keel to help with stability. as I was writing this post my dad found a 4 foot long coachwhip outside so I went out and caught it. I took some pictures then let it go back under the house.


-
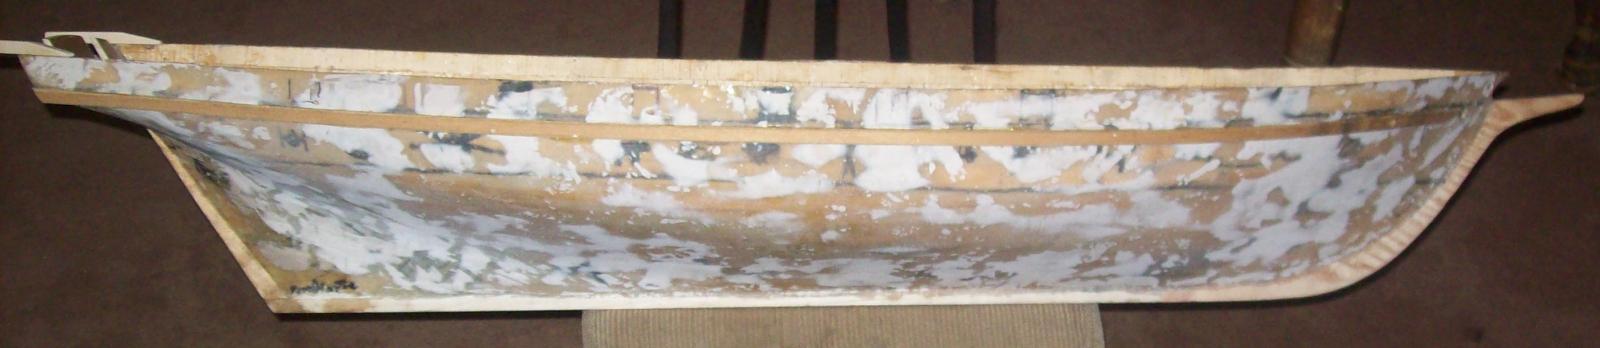
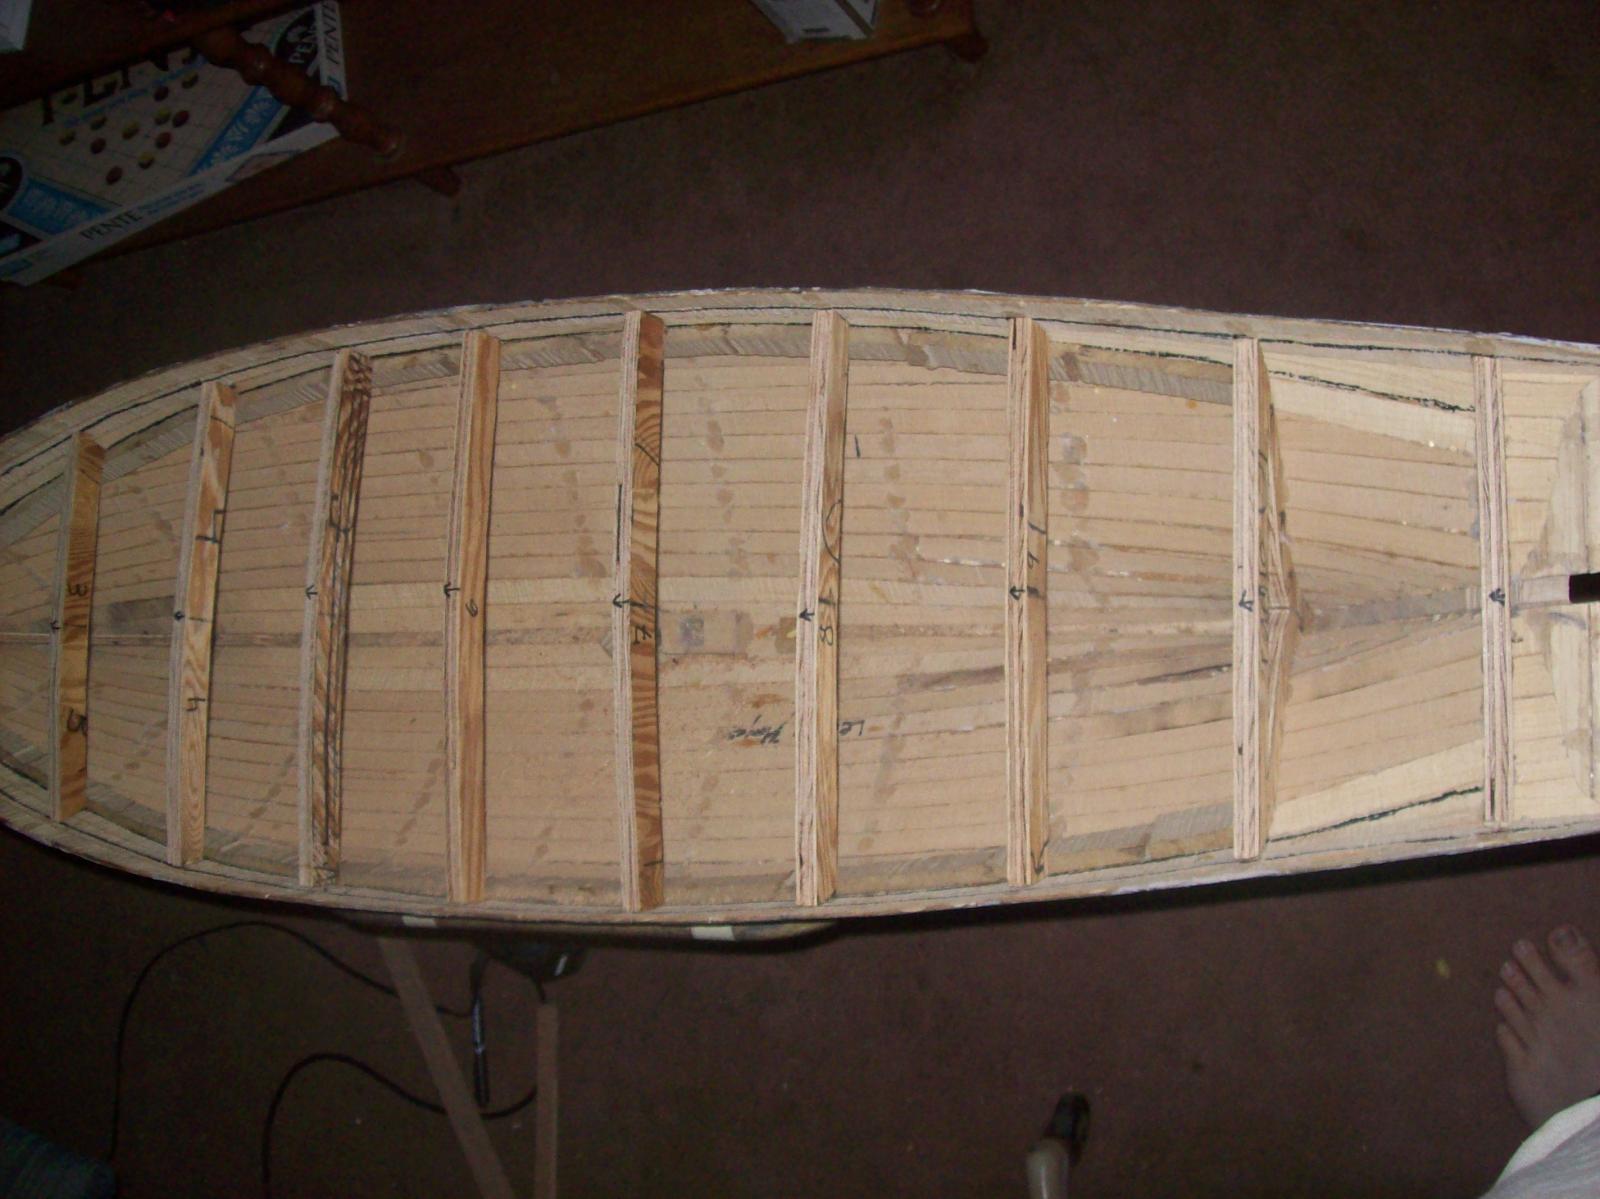
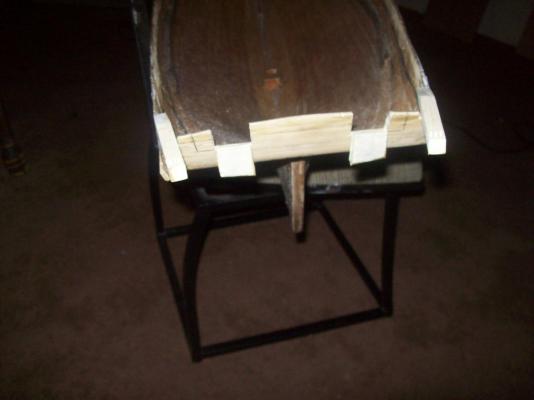
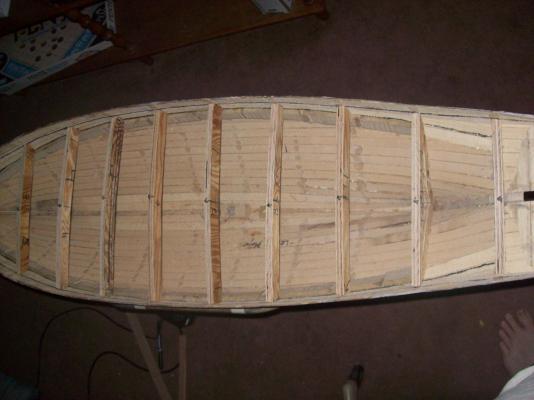
today I used the bandsaw for the first time since I moved and recut the hull formers into there final shape. Also I made a portable stand from using the legs from an old folding table. Lextin.


-
R/C ...WHAT TYPE OF GLUE SHOULD BE USED???
qwerty2008 replied to Cap'n Rat Fink's topic in RC Kits & Scratch building
I use whatever glue that I would use on a static model but I make sure that I coat the entire hull in fiberglass resin to seal it. Also the bigger the model the easier to RC. I built the HMS Sovereign of the Seas in 1/100 scale now I Know that was way to small hence why I stopped working on it and started on the much larger 1/20 scale Byzantium. Lextin. -
Intro to Card Models Part VI: Building V108 - The Superstructure
qwerty2008 replied to ccoyle's topic in Card and Paper Models
I cut out my ships wheel it turned out really good so I'm in for doing the interior. -
Intro to Card Models Part VI: Building V108 - The Superstructure
qwerty2008 replied to ccoyle's topic in Card and Paper Models
I would love to see the interior done but I am not that skilled a modeler. I will cut out the ships wheel to see how hard it will be then post my vote. -
Intro to Card Models Part VI: Building V108 - The Superstructure
qwerty2008 replied to ccoyle's topic in Card and Paper Models
part 24b fit perfectly on my model they must have fixed that problem after you downloaded yours. -
Intro to Card Models Pt. V: Building V108 - The Hull
qwerty2008 replied to ccoyle's topic in Card and Paper Models
On mine I used the second (thinner paper) set of printouts and just cut out the part twice then glue them back to back. -
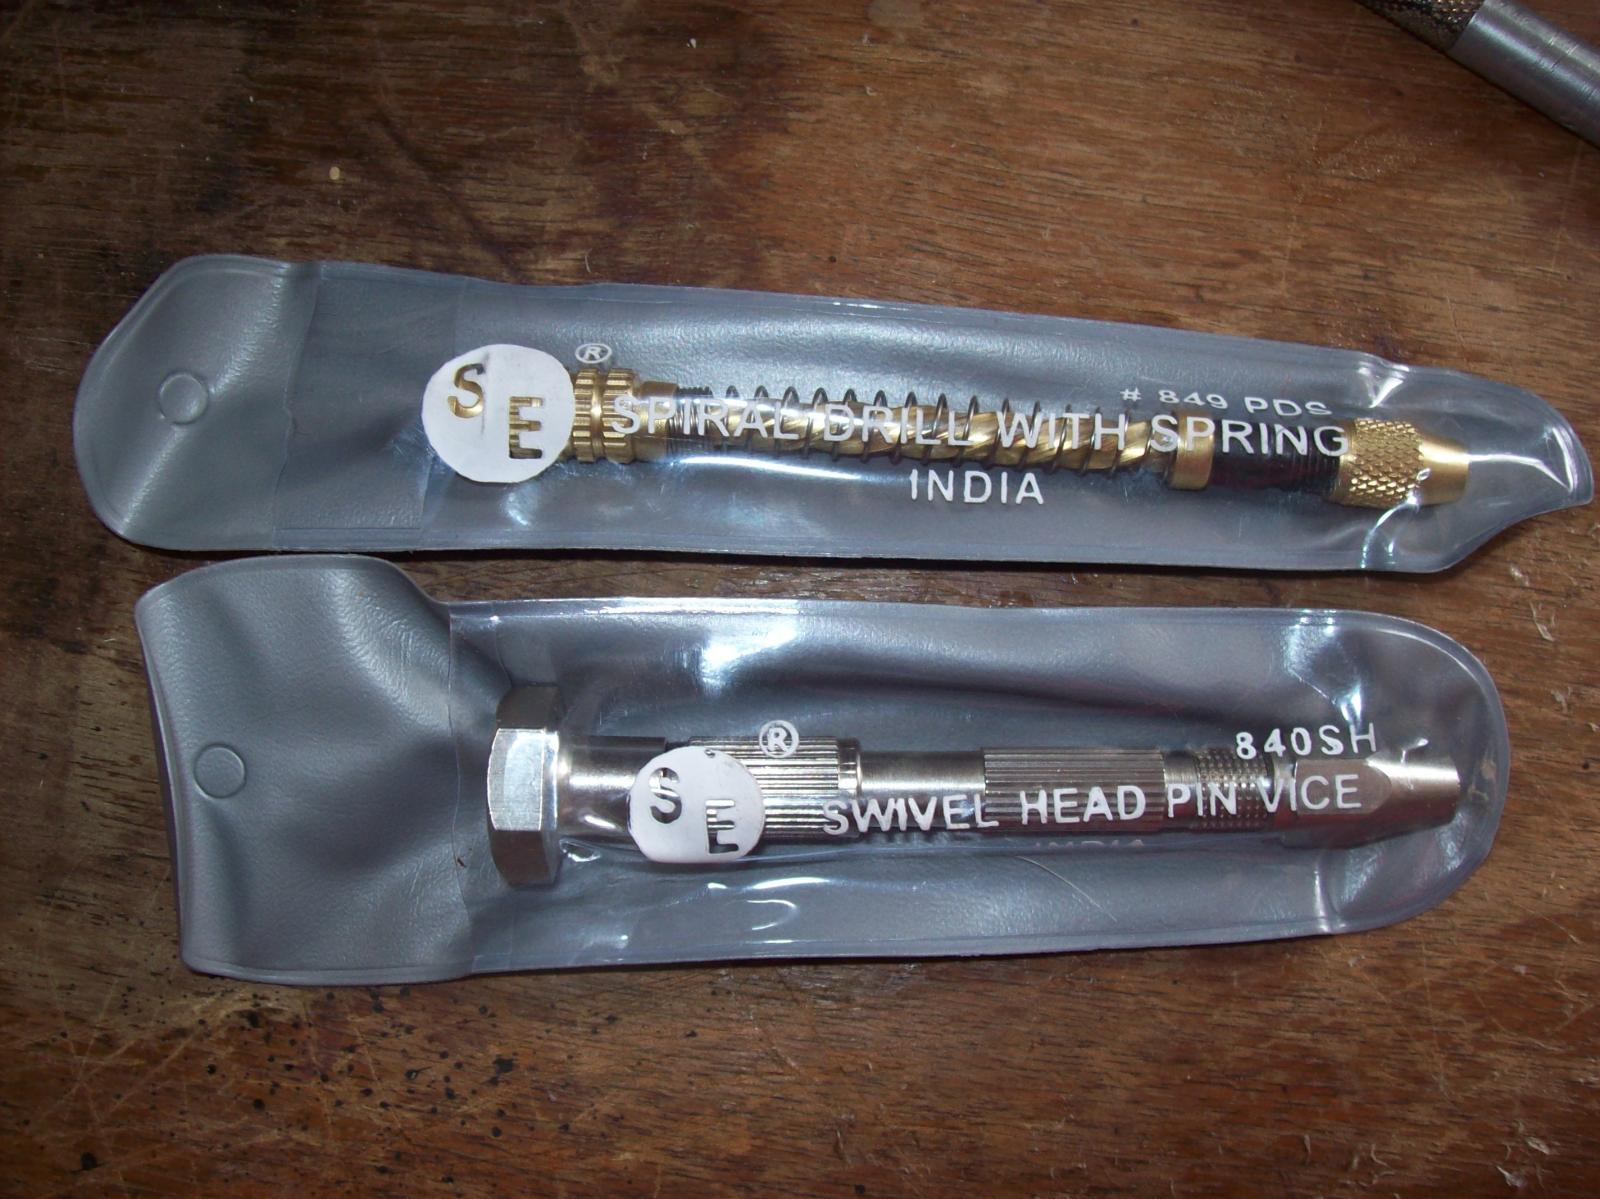
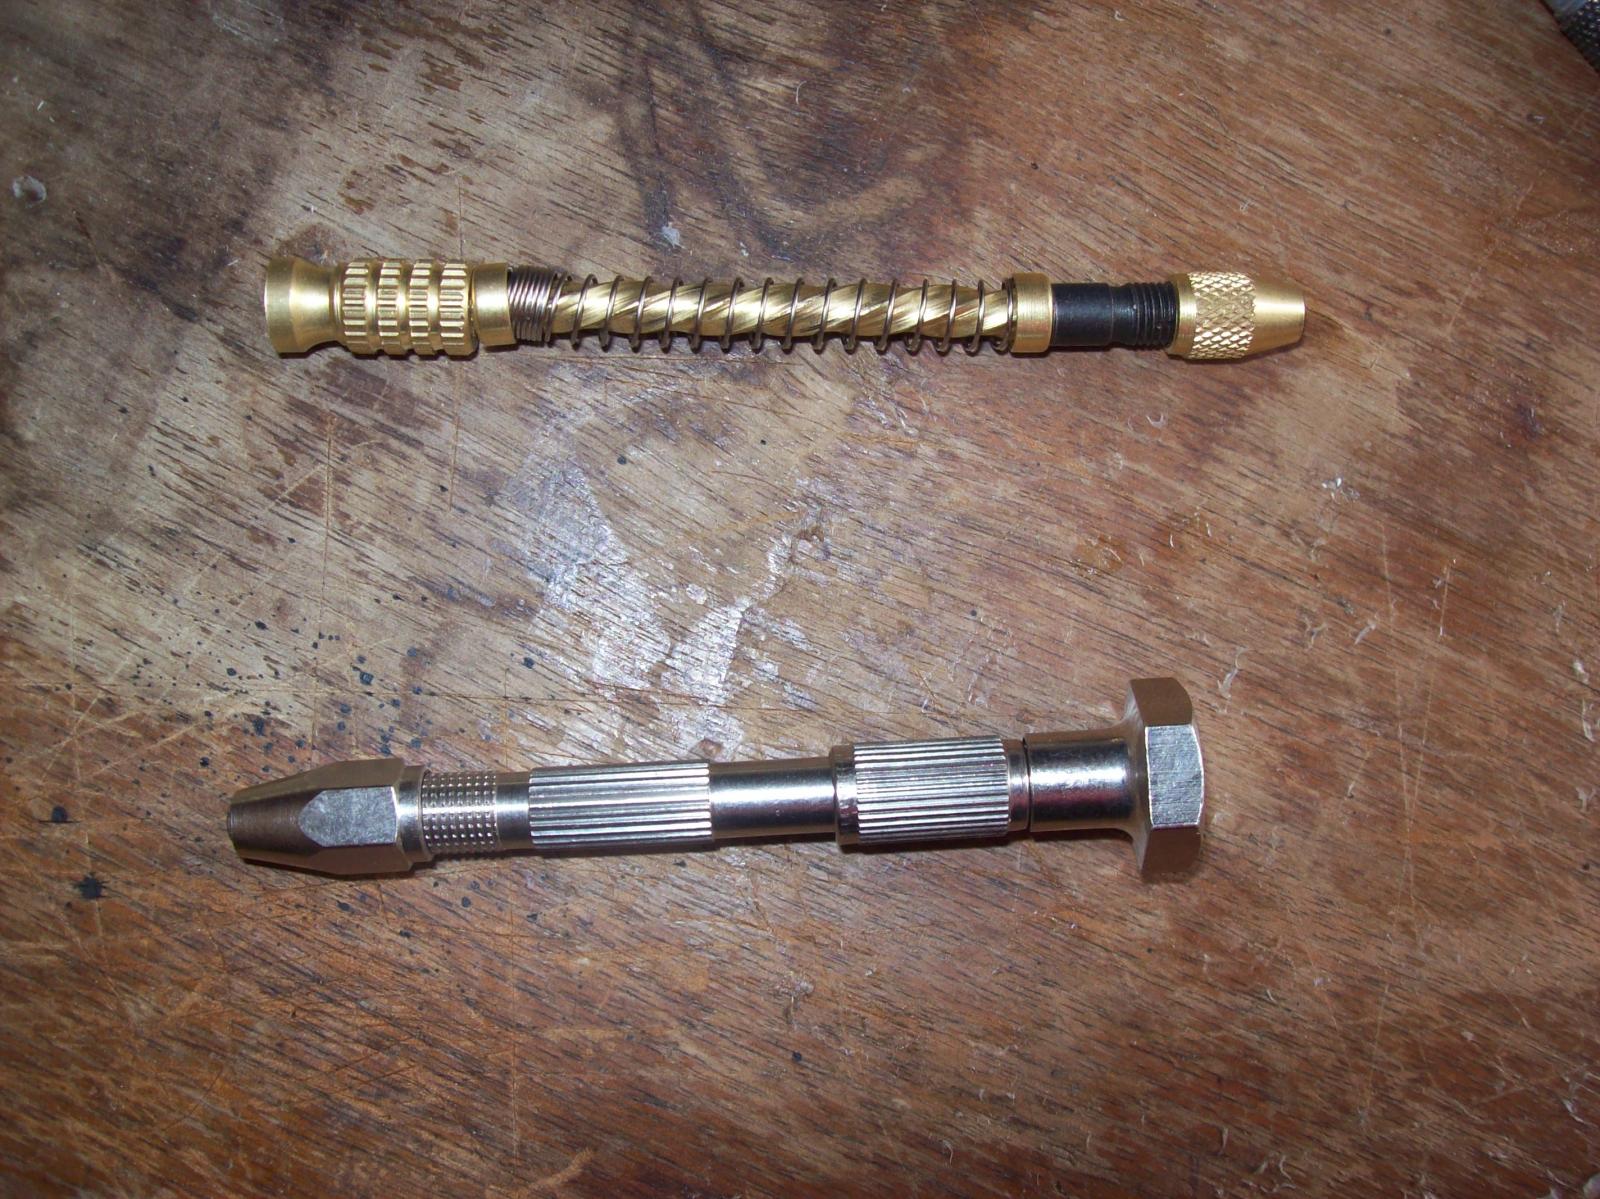
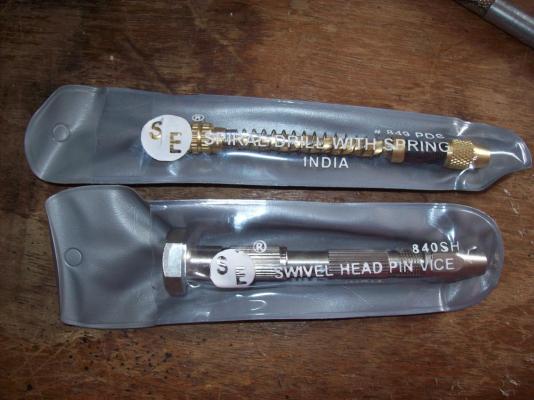
The spiral drill is a piece of junk but still usable it had burrs (I removed them at the destroying an Xacto blade in the process) in the chuck preventing the drillbits from going in straight also its bent where the chuck is attached to the handle. The pinvice on the other hand is excellent and works great holds the drillbits nice and straight the head swivels effortlessly. As I was writing this post the swivel head on the spiral drill popped off . I might buy another pinvice from that company but I will never buy another spiral drill from that company again. Lextin.
-
I ordered a pinvise and a spiral drill off Ebay and they arrived today Lextin.

-
After looking at pictures of blocks online I decided that my problem was that the grooves I cut into the block were at the wrong angles so I sanded then deeper and retried it worked this time thou the spanish windlass still did get in the way it wasn't as bad this time and I was able to get it really tight thank you so much for the information. Lextin.


-
I made the grommet and served the eye then I tried how you said to tighten it for the seizing but the spanish windlass kept breaking and when I made it strong enough not to break it was too big and got in the way of the seizing how should I proceed?. Thank you. Lextin


-
I think I got it figured out now I just need to get the rope.
-
I am not sure that I understand exactly how the gasket is made but I get the picture and will do some small scale test first so I know what I'm doing before I start on the block I made earlier. Thank you. Lextin
-
I am making a block and am wondering how would the rope that wraps around the block be made for a full size block? would the whole rope be served or just the eye? how is the rope spliced on the bottom? would there be a thimble in the eye or not? It is a single block that is 5 inches tall with a 3 inch diameter sheave wheel. Also, its a bit late now but did I make the right choice in making this block from hardwood or were real blocks made from a softwood like pine?