HOLIDAY DONATION DRIVE - SUPPORT MSW - DO YOUR PART TO KEEP THIS GREAT FORUM GOING! (Only 20 donations so far - C'mon guys!)
×


qwerty2008
-
Posts
552 -
Joined
-
Last visited
Content Type
Profiles
Forums
Gallery
Events
Everything posted by qwerty2008
-
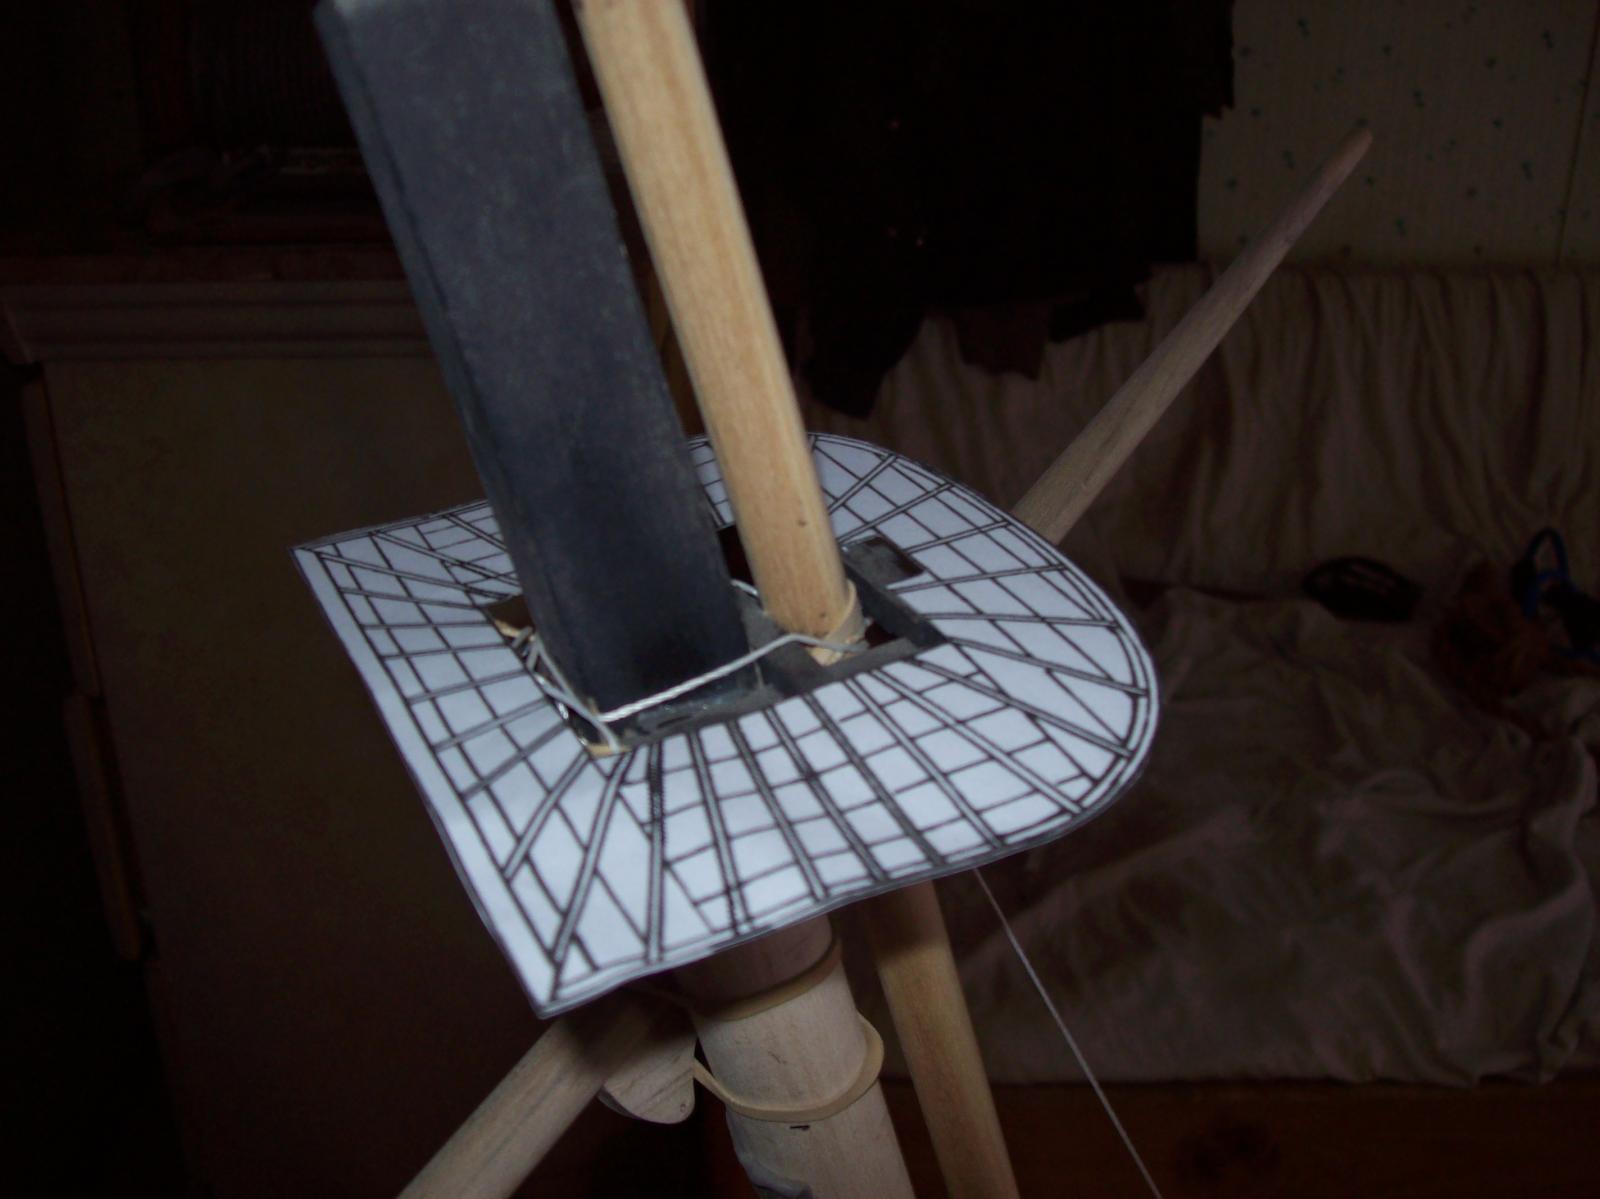
I have done a bit more work on the carriage and have decided to make notches in the axletrees that will fit over the rails which will be abought 6 inches long (10 feet in scale) and will rotate on center when all is said and done the barrel should sit at just abought the right height to shoot over the railing when leveled. I may remove the hammock cranes to allow for greater rotation of the gun. Lextin.
-
I wasn't quite happy with the shape of the barrel so I put it back on the drillpress and turned it again but forgot to seal it with wax before I started painting it and ended up getting an interesting Damascus steel look that I hated to get rid of but had to . I also made the sides of the carriage, I cut the profile into a 3/4 inch thick piece of cherry then sliced it lengthwise into 1/4 inch thick pieces which was a hard task because the band saw is out of commission . Lextin.
-
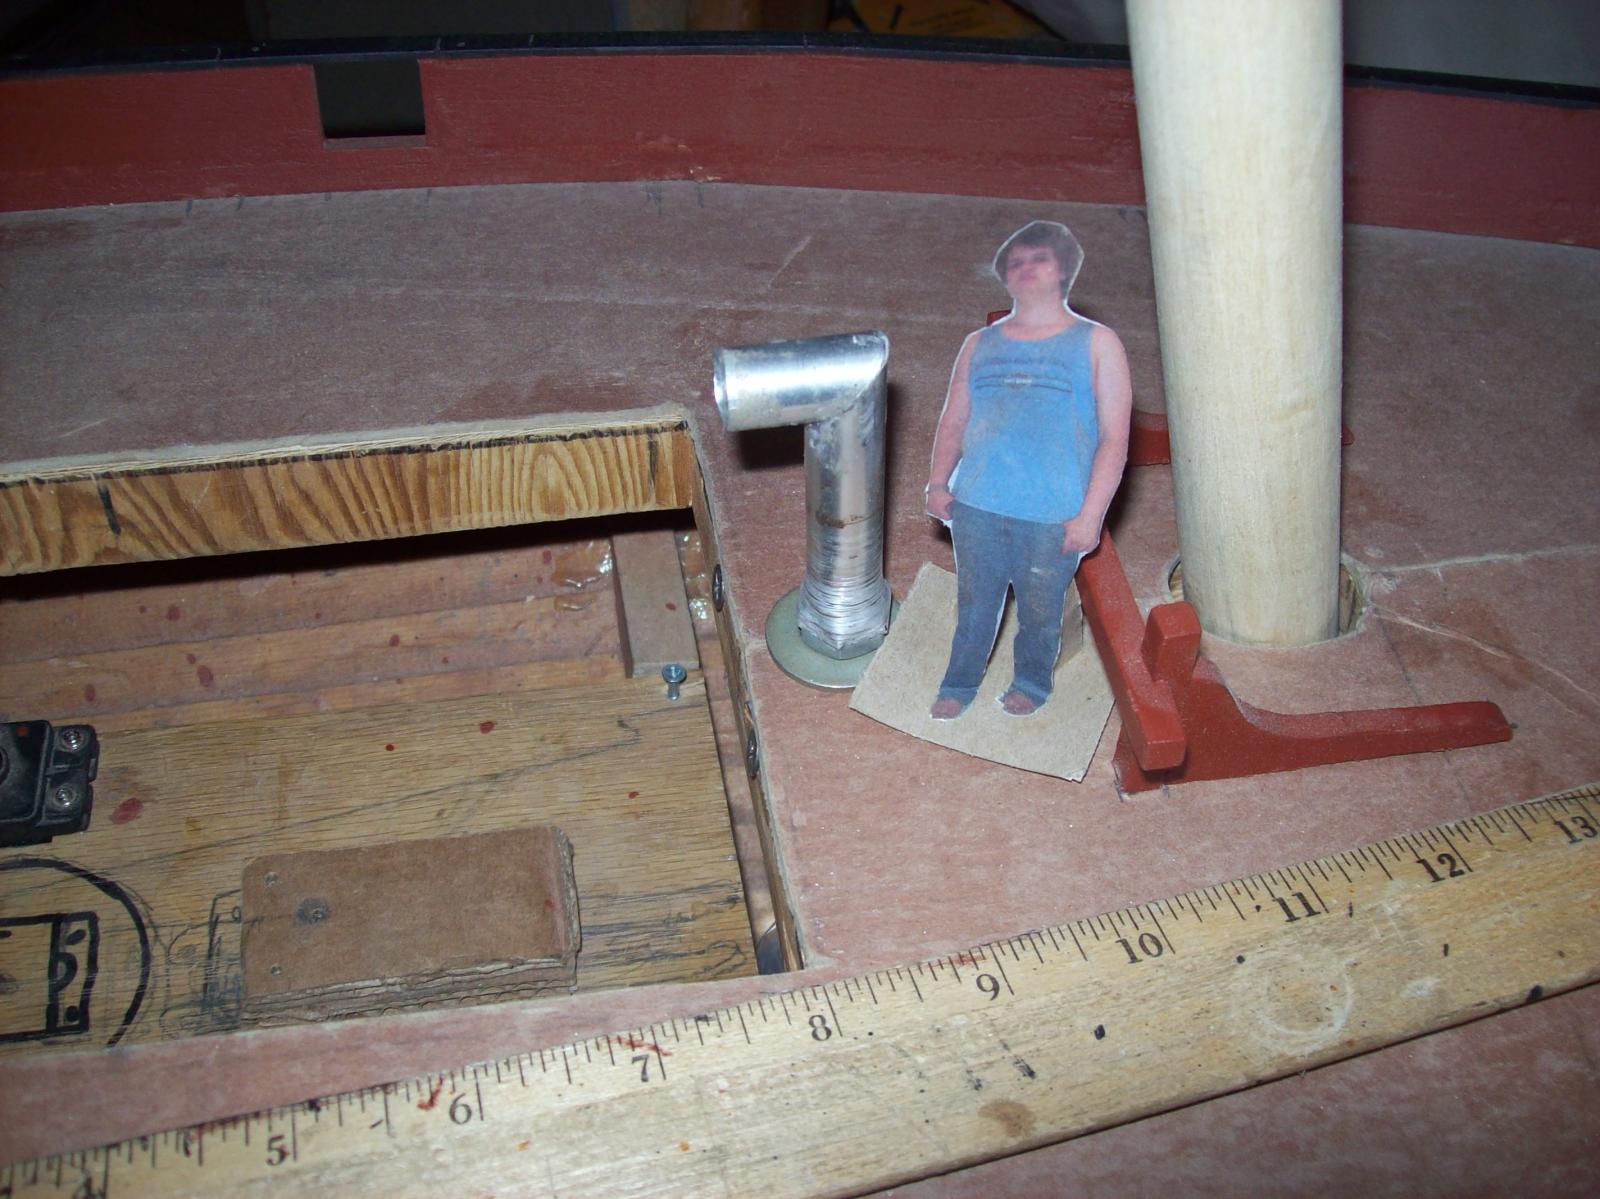
I did find what I needed and have turned a barrel. I wasn't thinking that it would be so big and am starting to question my decision to add it, I will make the carriage then decide if I want to keep it or possibly use a 12 pounder or a carronnade instead. Here are some pictures showing the size compared to my 6 pounder. Lextin.
-
The armament of lack there of has been bugging me so I want to add a pivot gun amidships but cant seem to find any useful information around the interwebs so I am asking for help. I was think of a 18 pounder with a compact carriage that rotates around its center rather then one end would this be an unrealistic setup? also what are the dimensions of a 18 pounder barrel? also pics or drawings of a simaler gun would be helpful. Thank you. Lextin.
-
I decided that my original rudder was kinda ugly so I made a new one and this time out of wood. The rudder will have a clear plastic insert to make it larger but I still need to cut the groove that it will fit into. I was halfway though cutting the rudder when my bandsaw started making a ting.... ting.... ting.... ting sound so I stopped cutting and was trying to locate the problem when I heard a snap and felt something hit my shoulder, I instantly knew that I was in for a long session of hand sawing but I did get the rudder finished. Now the bandsaw is temporarily out of commission until I get a new blade. Lextin.
-
I have mounted the rudder servo and the foresail servo. I will rewrought the main sail line (blue) trough some eyebolts (red) to keep it from interfering with the rudder servo. Lextin.
-
My bad, I was organizing my photo bucket and moved them to a new folder. Lextin.
-
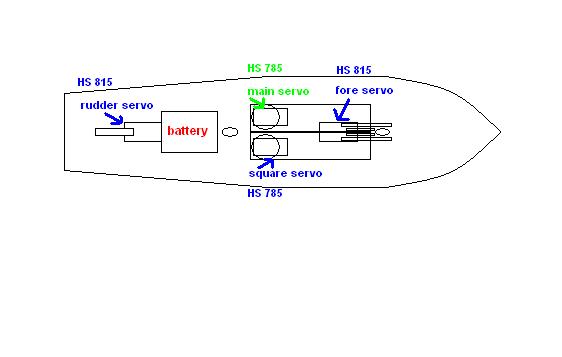
Since my last post I have epoxied the square fairleads in place and made the mount for the rudder servo, there is only one more servo to install and its the most complex one. I was playing around with my radio and found out that the side to side sticks allow for more travel on the servos then the up and down sticks so I was able to coax another revolution out of my mainsail winch by linking it to the left side to side stick and no longer need the pulley that doubles the pull. Here is my new stick layout which makes best use of this quirk. Lextin.
-
I have made the fairleads for the squares and currently have the dry fitted so that I could test the sail rotation. I made two fairleads instead of the before mentioned four to prevent a possible problem below deck, the braces will now split above deck with the split disguised as a block. Lextin.
-
I have mounted the square servo to the tray and figured out where to run the four trough deck fairleads for the square sails. I also made the arm for the rudder servo. Lextin.
-
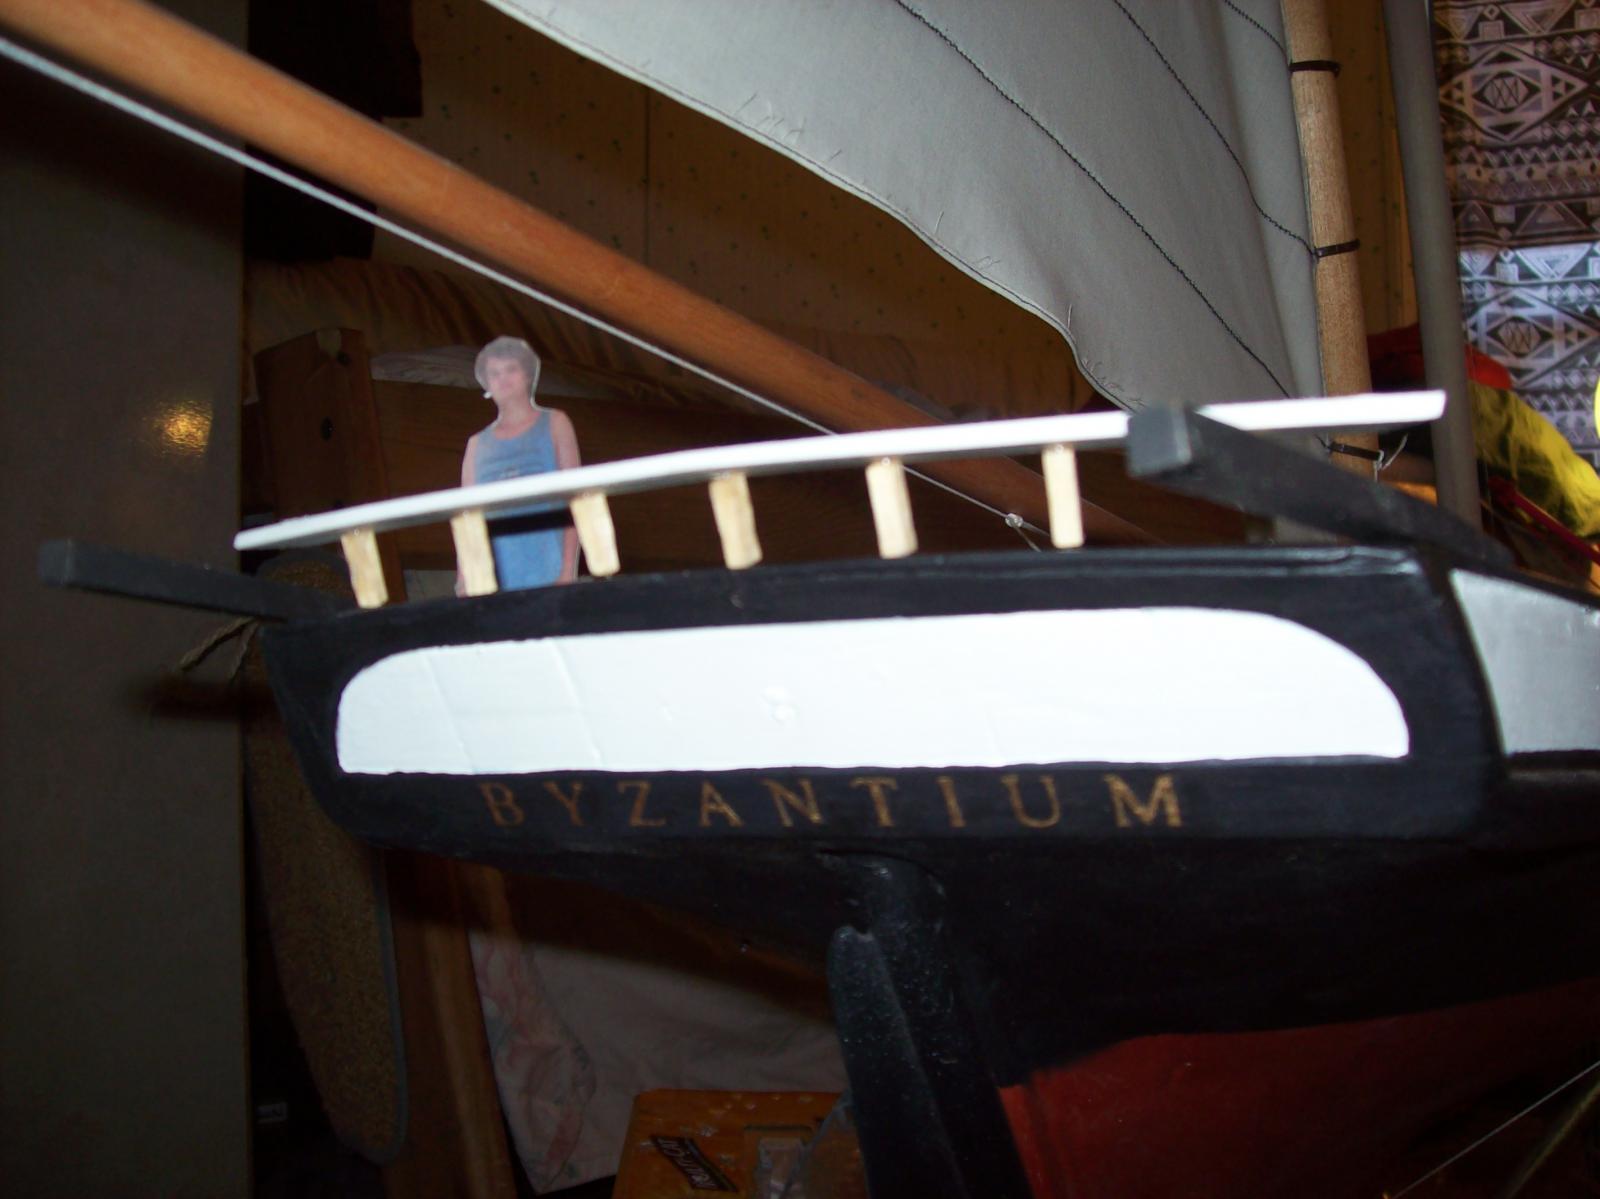
I finally decided on a time period and profession for my Byzantium. It will be an American privateer circa. 1795-1812. I have made some temporary (paper) 15 star american flags as well as a wishbone style martingale boom. Abought the servos, I have been staring at the model with the deck off for hours at a time the past couple of days and know what I want to do but not the specifics like where the fairleads should come up trough the deck to line up with the pin rails and how to make a 3 inch arm for the rudder servo and how long the arms for the fore sail/jib sheets should be. I guess its safe to say that many more hours of staring at the model are needed. Lextin
-
The servos arrived today, apparently because I live so far from civilization it takes 4 days for the mail truck to get from the Adelanto post office to my mailbox . I looked up my TX/RX system and it has halved in price since I purchased it several years ago. Lextin.
-
I was wandering why my servos haven't arrived yet so I checked the tracking information and found that they arrived at my local post office where processed and sent out for delivery on Saturday but were never delivered and I didn't get a notice requesting me to pick it up at the post office. I will check the post office today, hopefully they have them there. Lextin.
-
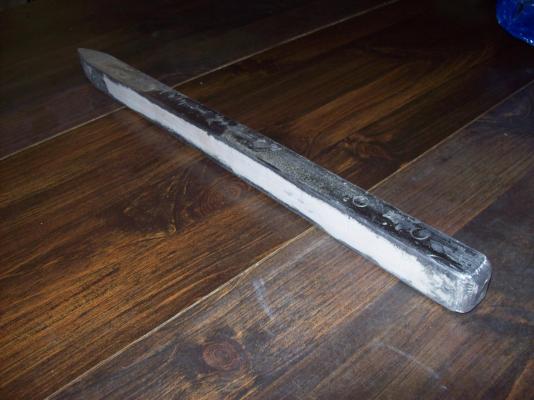
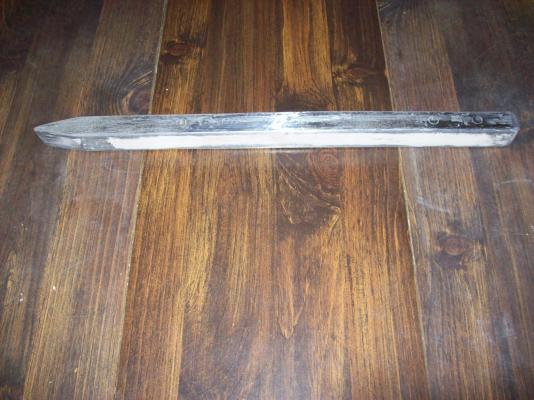
I cast the smaller keel weight which weights approximately 6.5 pounds before cutting, I estimate that I will be removing abought half a pound when I cut it. Lextin.
-
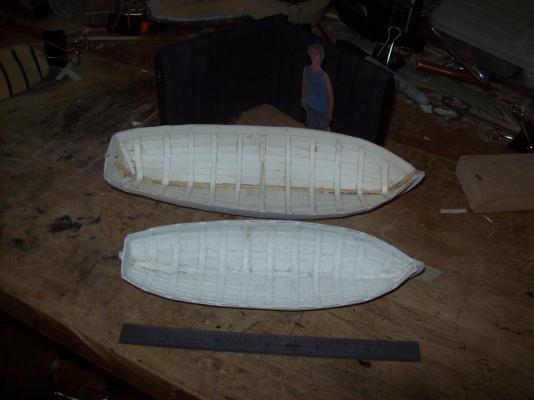
I took some pictures of the keel and boat. Note: the modifications to the plug to prevent oilcanning are only halfway complete in the picture, I have since finished the modifications. Lextin.

-
Pennsylvania by threebs - 1/72 scale
qwerty2008 replied to threebs's topic in - Build logs for subjects built 1801 - 1850
Six feet seems awfully big for a buoy I have attached a picture showing the HMS Victory's anchor buoy which appears to be around 2 to 3 feet tall.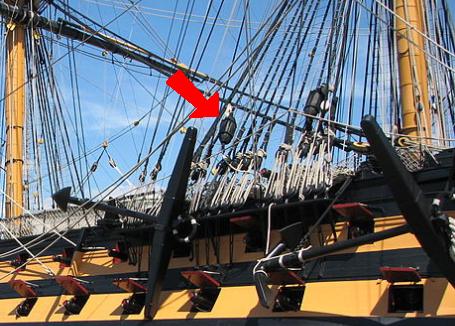
-
I have shaped the keel bulb and decided how to make up the extra weight, I will be making a smaller weight that will be attached between the fin and bulb. I ordered the servos, they should be arriving sometime before the end of the week. .-.. . -..- - .. -.
-
I removed the keel from the mold and weighed it, it only weighs 12 pounds Lextin.
-
I just cast the keel and am currently waiting for it to cool down before I release it from the mold. it is 1.5 inches tall 1 inch wide and 22 inches long and should weigh (if my calculations were correct) just over 16 pounds before cutting. the forward end will be rounded and the aft end tapered. Lextin.
-
Not much progress since my last post, the rails are still not finished but I did make a new (correctly sized) plug for the ships boats. I pulled one hull of the plug but there were some oil canning issues so I made some modifications to the plug to fix these on later hulls. Now for the real reason I am posting today, I think the I am finally ready to purchase the three remaining servos and want to make sure that my current servo layout good before I commit. I am planning on getting two Hitec HS 815 servos (one for the rudder and one for the fore sail/jibs) then one Hitec HS 785 fore the square sails. Image not to scale. Lextin.
-
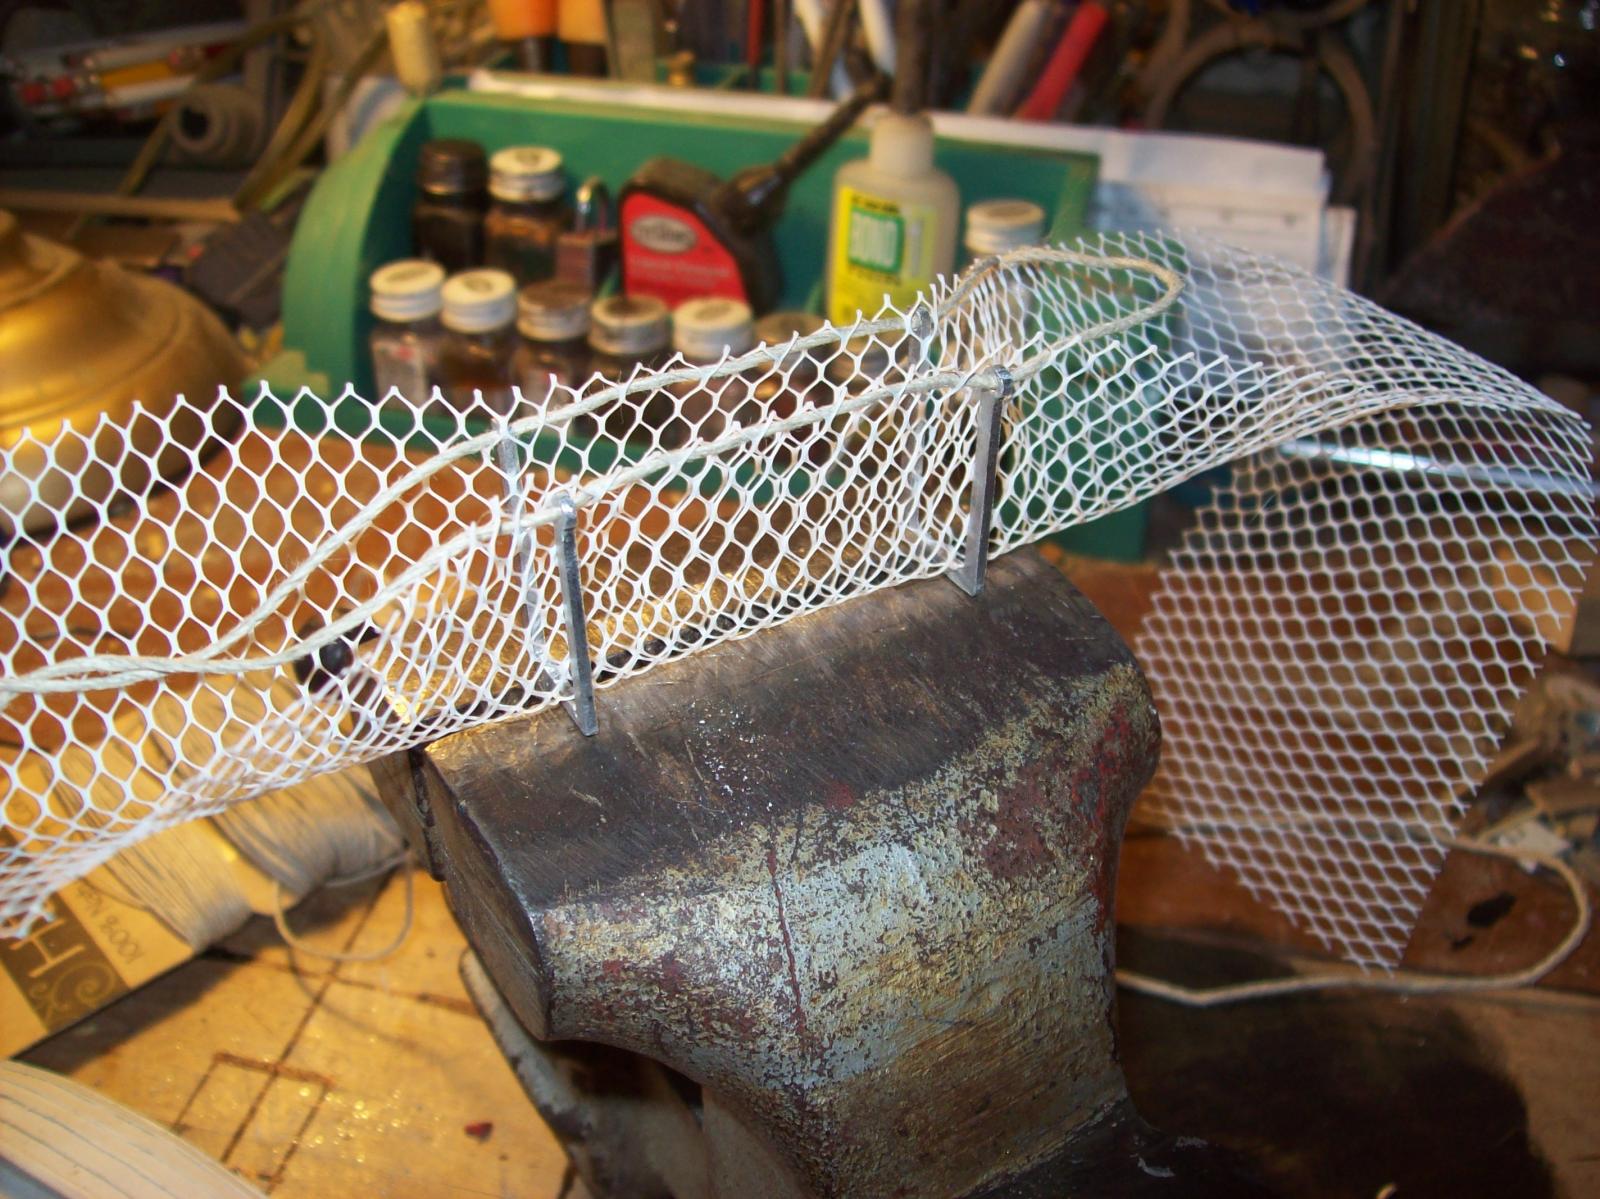
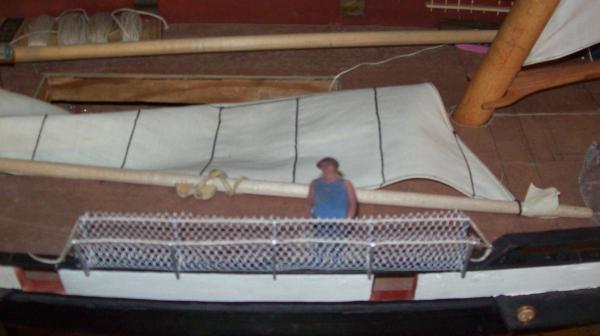
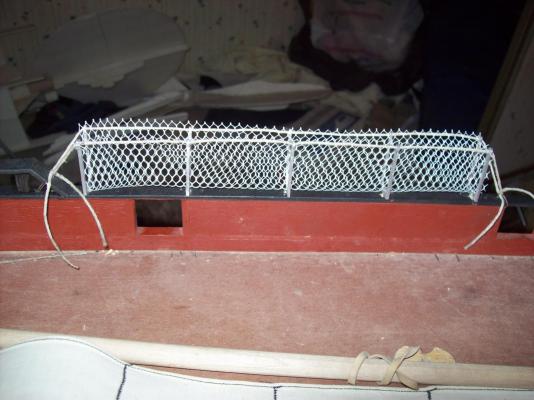
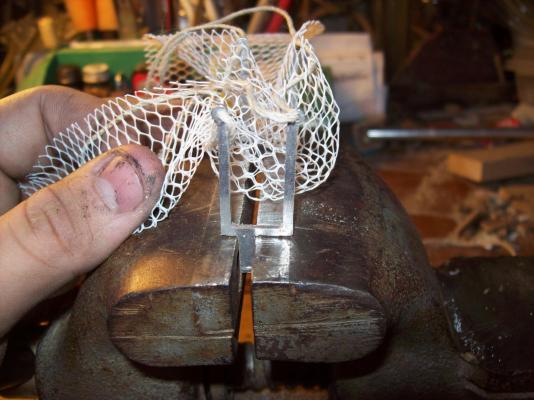
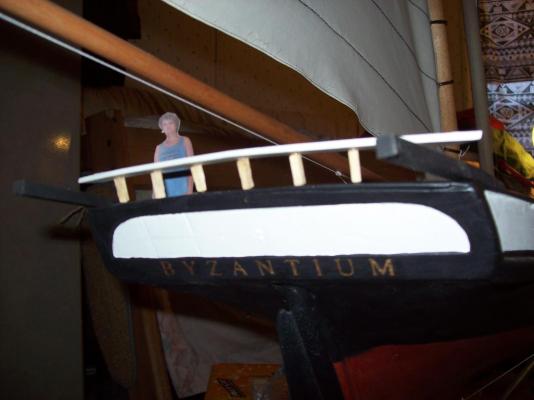
I have made some progress on the railing and got the port side hammock cranes installed with some temporary netting in place. Lextin.


-
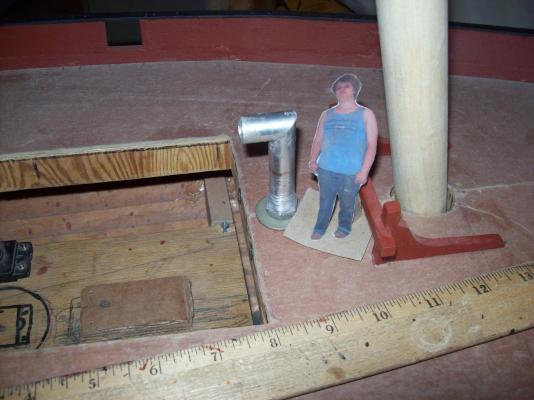
I have made some of the railing but have stopped until I figure out the hammock cranes. I made the first two hammock cranes and rigged them with some hemp cord and plastic (onion bag) netting for the picture. I also made a mockup of the stovepipe, I will try to get some 1/2 inch brass tube for the finished one. I am thinking of adding fighting tops to the mast as well. I was wondering where would the head be located on a mid 18th century schooner? Lextin.


-
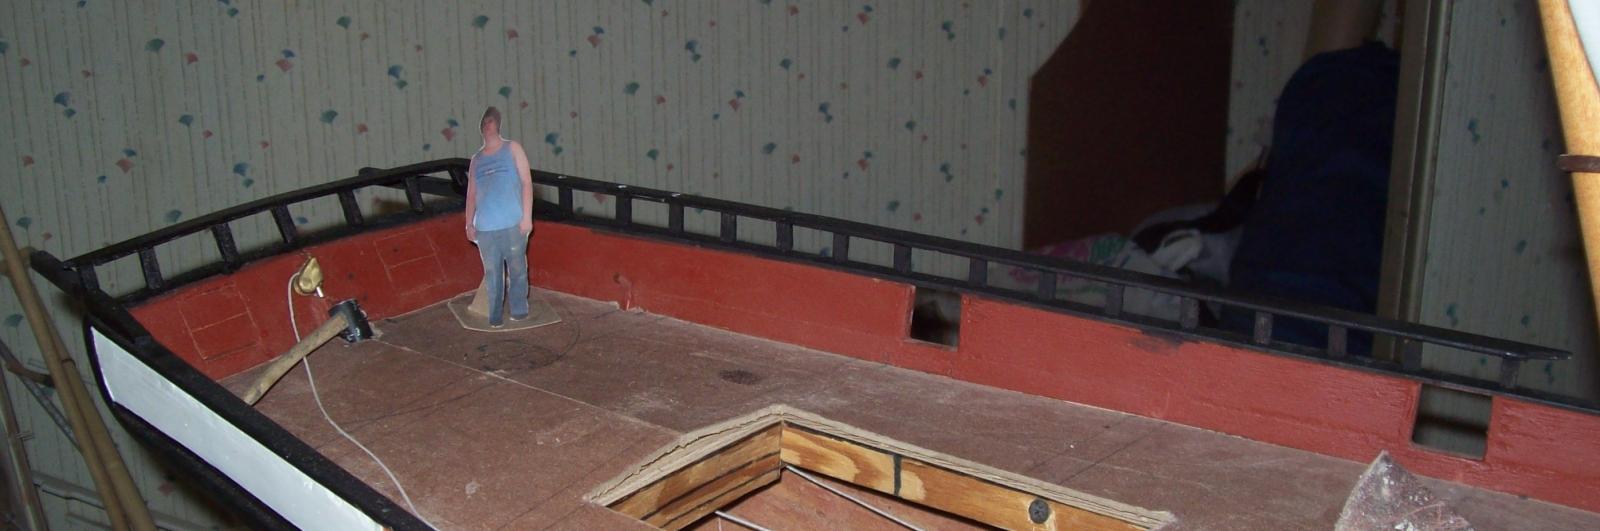
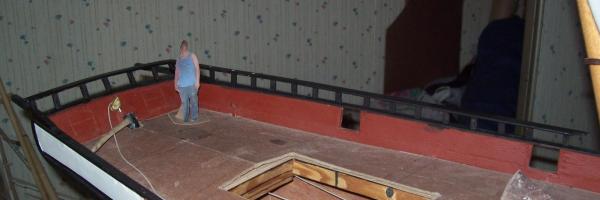
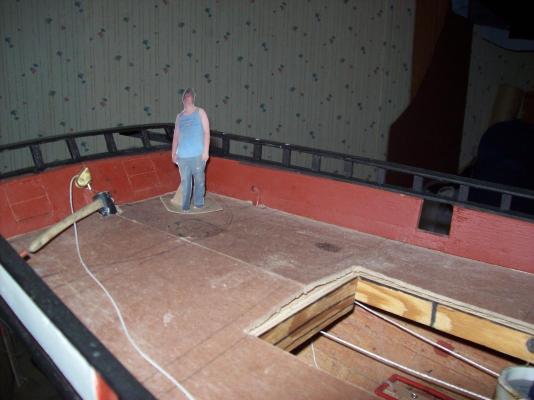
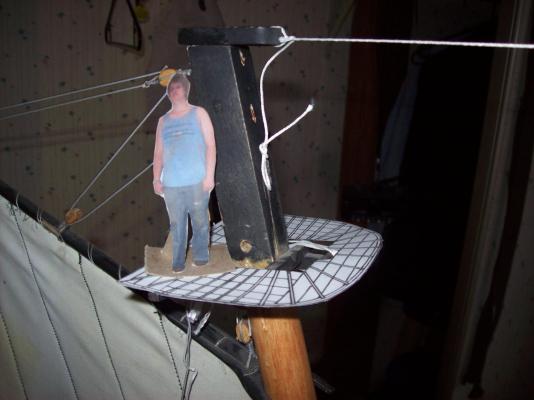
My rails are kinda short so I have been thinking a bought extending them up with stanchions. I made a mockup rail for the stern so I could show what I have in mind. Any comments or suggestions will be greatly appreciated also what is a good way to make the stanchions? and how far apart should they be?. Lextin.

-
Now I wish I had a lathe (I did all the tube flaring for my model by hand with a small nail). I was wandering how you plan on getting the line threw such long tubes?
-
I found a great 4 liter with finger loop at my local water store and the best part is that it is already empty. Lextin.