HOLIDAY DONATION DRIVE - SUPPORT MSW - DO YOUR PART TO KEEP THIS GREAT FORUM GOING! (Only 20 donations so far - C'mon guys!)
×


qwerty2008
-
Posts
552 -
Joined
-
Last visited
Content Type
Profiles
Forums
Gallery
Events
Everything posted by qwerty2008
-
I made the new mold and it came out much better then the last one and infinitely better then the first one. It took me three tries to get the new barrel right but in the end it was worth it. Here are the photos, the small yellow one next to the barrel is the new one, the red one is the second one and the white is the first. I have also included pics of the sail template and the guy spreaders. Lextin.
-
Don't worry I an not taking another of my patented modeling hiatuses, I have just been kinda busy the past few days. I have however made a new barrel for the six pounder cannons and made a mold from it but am not quite happy with how it turned out. This time the mold conforms perfectly to the master but is really fragile and not suitible to cast the ten resin barrels from so I will make a new one the same way but with thicker walls this time to make it stronger. Lastly I have made the template for the main sail so hopefully I will get to making that soon. Lextin.
-
I get this same thing but I find the best way to cope with it is to work on another project (or mini-project) for a few days after which I can usually find inspiration on my model again. Lextin.
-
After reading your post I looked at the servo city chain and see the difference, the links are backwards. Lextin.
-
Jond: I would suggest using Supplex or Taslan fabric for the sails, its what many sailers over at RC Groups (myself included) use for sails. Supplex is a water resistant nylon fabric that has been engineered to look and feel more like cotton and is great for sails on radio controlled models. The fabric can be cut with a hot knife (in my case a soldering iron with a very pointy tip) to make a nice clean edge that wont fray. I glue the material with a waterproof fabric glue called Aleene's fabric fusion and add the seems for the bolts with a fine point permanent marker so very little actual stitching is required and the results are very realistic looking. Supplex can be found on Rokywoods.com they were out of stock on white Supplex when I bought mine so I got Taslan instead but they are both the same fabric I guess you can say that Supplex is just a brand name for taslanized nylon fabric. Lextin.
-
I made the thingamajigs that will hold the spreaders for the guy pendants in place. Lextin.
-
That chain looks almost identical to Knex chain, I know from experience how much of a pain in the fingers it can be to assemble I have close to twenty feet of the smaller size Knex offers. lextin.
-
Mark: Are you asking what keeps the gammoning in place or the bowsprit? if the gammoning instead of making it vertical I made it take the shortest route between the stem and the bowsprit so it doesn't realy want to move and the bowsprit doesn't realty need the gammoning as it is securely stepped into the first deck beam and passes trough the knightheads and the opening in the bow which are both tight fits but the gammoning still applies quite a bit of down force on the bowsprit. Today I made both the hatches aswell as the gangway. I have been thinking about forgoing the spritsail yard in favor of two separate spreaders. I got a new can of red paint but they didn't have the same shade so I went a little brighter (it looks pink but that's just my camera being weird) and think that I like it a little bit more than the old color and will be repainting the rest of the fittings and the inside of the wales the new red latter. Lextin.
-
I got the gammoning made, I used a technique that I found on another forum to allow the bowsprit to be removed. I have also started on a new spritsail yard, in the picture the yard is really long due to me not being sure about how long to make it. I will cut the yard shorter later after staring at it for a great long time to figure out how long to make it. I am running into a bit of a problem which is that if I keep up at this rate I will soon run out of spars and be forced into making sails again . The figurehead was put in place for these pictures as I actually forgot about it for awhile and it needed some screen time. Lextin.
-
I finished the jib boom. My cat interrupted my pictures to eat a string that just happened to be attached to my model. Lextin.
-
These might be posted here already but I found them very helpful with the rigging on my Byzantium. The Elements and Practice of Rigging and Seamanship Boy's Manual of Seamanship and Gunnery Lextin.
-
I have done some work on the bowsprit. Now it is actually tapered and the cap is now perpendicular to the waterline instead of the bowsprit. Lextin.
-
Mike: I used the New Zealand flag because Omega didn't catch the mistake on my US flag so I gave him one he would be able to spot the mistake on. Lextin.
-
I have gotten tired of making sails so I decided to do a little work on the spars. I first made the mast cheeks supporting the trestle trees then I put some color on the fore mast, I also finished (somewhat) the topmast(s) and the fore gaff. I feel that this little bit of work has made the model look dramatically more complete. This is a mockup of an idea I have for the battery hatch cover. Lextin.
-
The Princess is at 1:3300 scale and might be just a little beyond the available scales of photo-ech parts. Lextin.
- 15 replies
-
- 2
-

-
- pacific princess
- bottle
- (and 1 more)
-
Chopping block work table
qwerty2008 replied to qwerty2008's topic in Modeling tools and Workshop Equipment
I screwed the boards to the bottom and sanded the top yesterday to get it ready to bring inside. I now have it setup where my old table was. Lextin.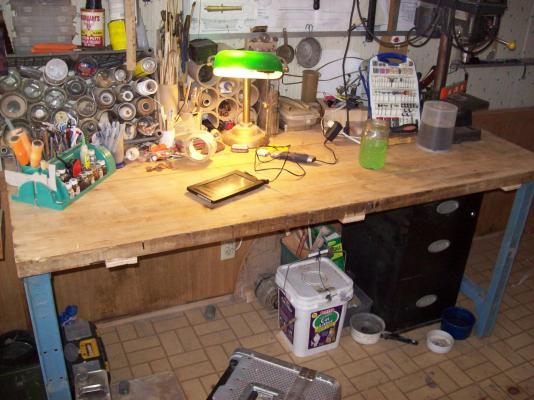
-
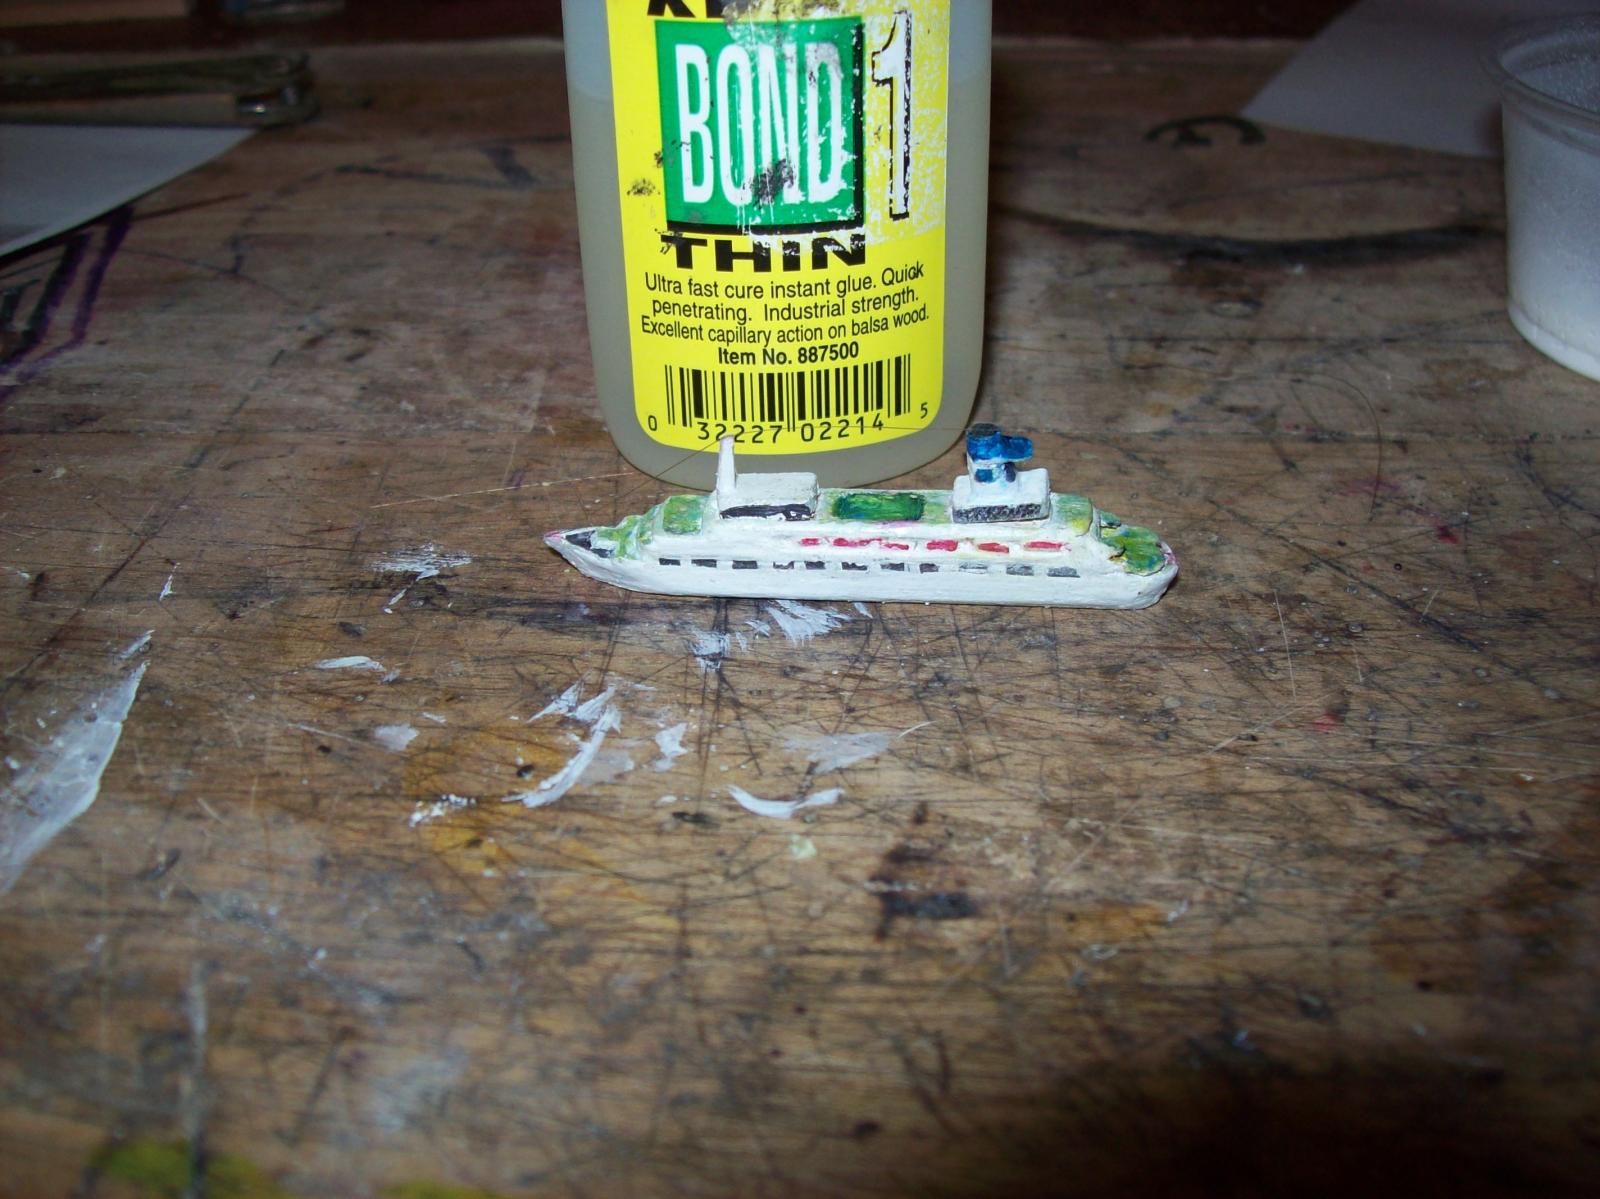
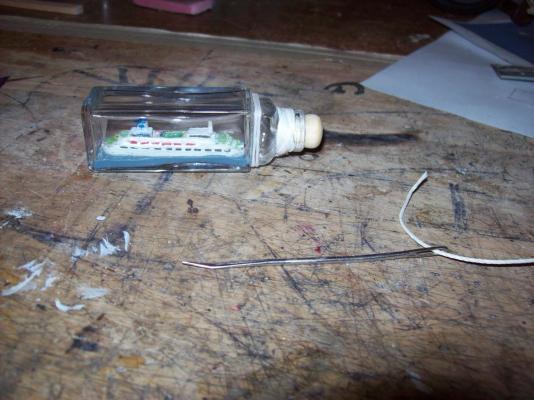
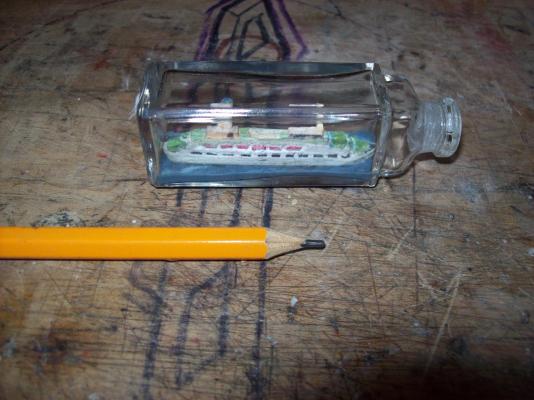
I completed the model next will come the plaque that the bottle will be mounted to. I originally thought that I would go into more detail but my skills arm't up to par with this scale (or any scale for that matter) and it won't get looked at too closely anyways. Lextin.


- 15 replies
-
- 3
-
-
- pacific princess
- bottle
- (and 1 more)
-
Chopping block work table
qwerty2008 replied to qwerty2008's topic in Modeling tools and Workshop Equipment
I will be ripping down some 3/4 inch plywood strips this weekend to screw to the underside then several months down the road I will reglue it. When the time comes I will probably use Michael's method for clamping it. Nope no shop class (unless the garage at my last house counts) as I was home schooled. Lextin. -
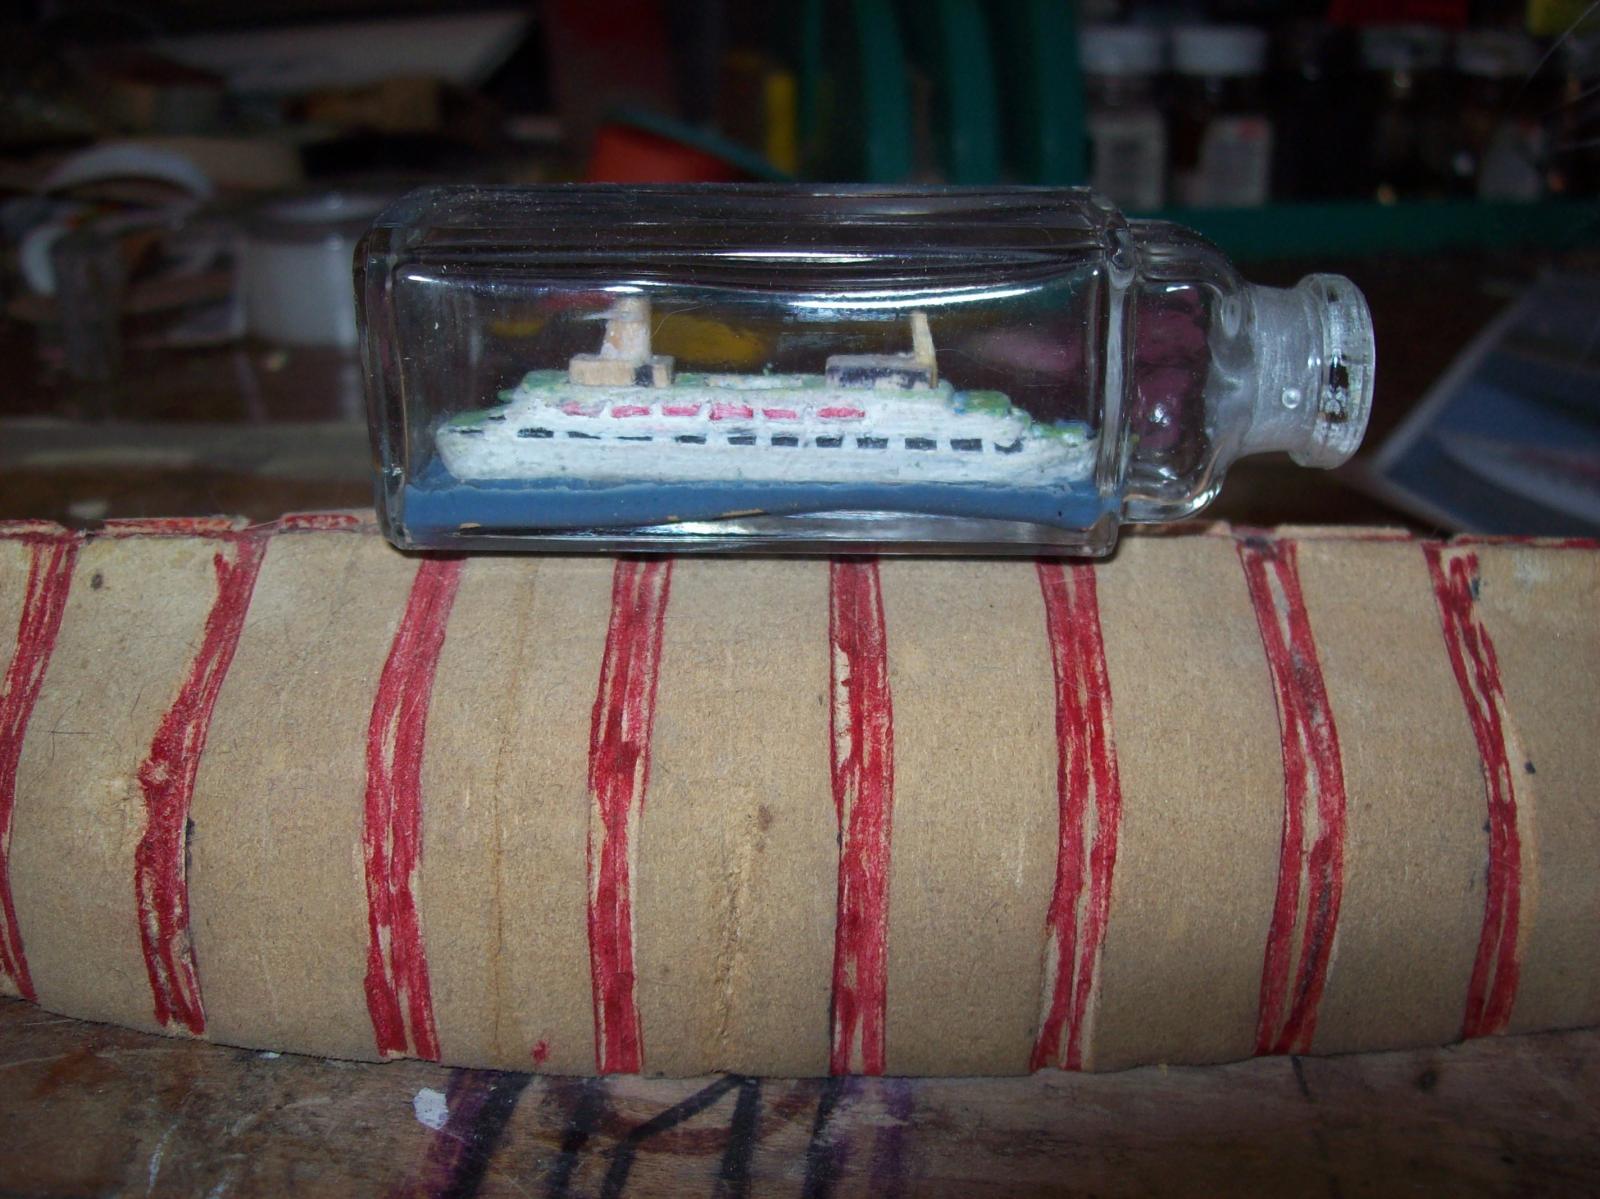
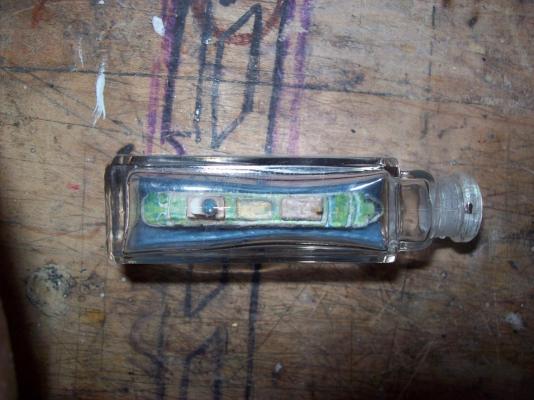
I got a little carried away with building and forgot to take pictures. The hull is made from a scrap of some sort of dense fine grained wood that I find great for carving. I carved the hull with it still attached to the block as per Daniel Siemens method then worried that it would not fit in the bottle I cut it off and sure enough it was way too big to fit though the neck of the bottle. I remedied the problem by filling the bottle with water and using a diamond bit on the dremel I ground the inside of the neck to a square profile to allow the model to pass trough unhindered, this will later be hidden by a Turks head knot. The sea is made from some non-hardening modeling clay pressed onto the bottom of the bottle. I still need to finish the mast and paint both the mast and funnel as well as run the rigging, which is just one line running from the stern to the top of the funnel then to the mast and back down to the bow. Lextin.


- 15 replies
-
- 10
-
-
- pacific princess
- bottle
- (and 1 more)
-
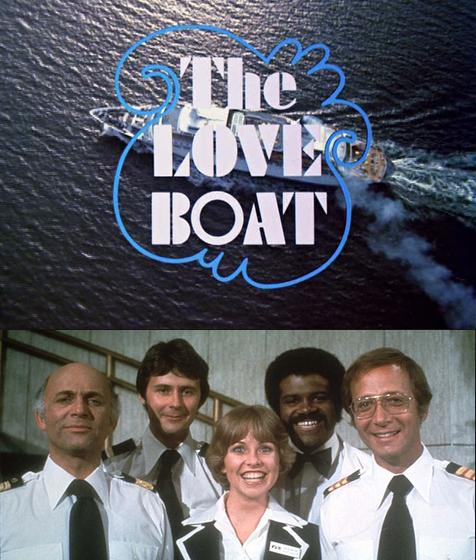
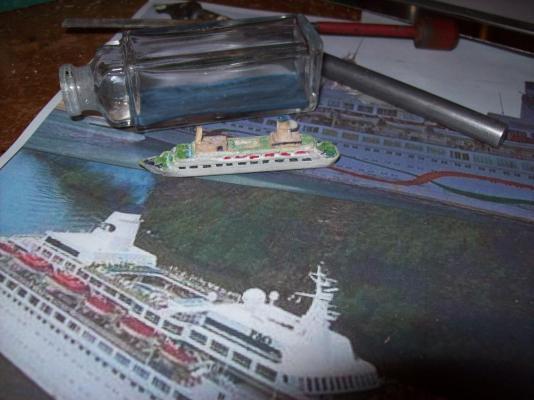
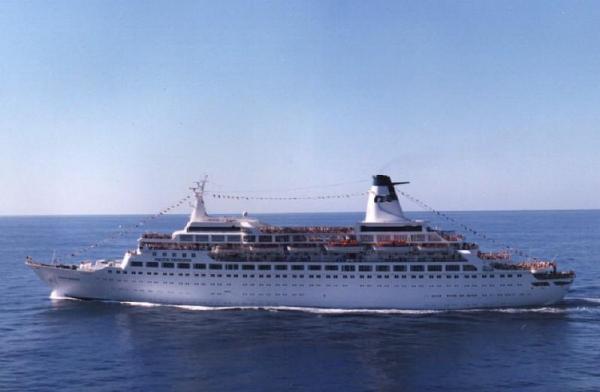
Love, exciting and new Come aboard. We're expecting you. Love, life's sweetest reward. Let it flow, it floats back to you. The Love Boat soon will be making another run The Love Boat promises something for everyone Set a course for adventure, your mind on a new romance. And love won't hurt anymore It's an open smile on a friendly shore. It's love! Welcome abord It's love! This will be my build log for the Pacific Princess cruise ship from the 1980's show The Love Boat. The Love Boat will be about 2 inches long and built inside a small perfume bottle. Lextin.

- 15 replies
-
- 4
-
-
- pacific princess
- bottle
- (and 1 more)
-
I don't really feel up to hunting down a ship for you guys to guess right now so I hand this one over to whoever wants it. Lextin.
-
hr ms Utrecht? Lextin.
-
Chopping block work table
qwerty2008 replied to qwerty2008's topic in Modeling tools and Workshop Equipment
So I should hold of on the gluing but what about screwing boards to the bottom of the table as suggested by Alex? This would still allow me to glue it later on down the road but keep the top flat until then. Lextin. -
I made up the template for the foresail and hung it on the model. I will start making the sail tomorow if all goes well. Lextin.