HOLIDAY DONATION DRIVE - SUPPORT MSW - DO YOUR PART TO KEEP THIS GREAT FORUM GOING! (Only 13 donations so far - C'mon guys!)
×


qwerty2008
-
Posts
552 -
Joined
-
Last visited
Content Type
Profiles
Forums
Gallery
Events
Everything posted by qwerty2008
-
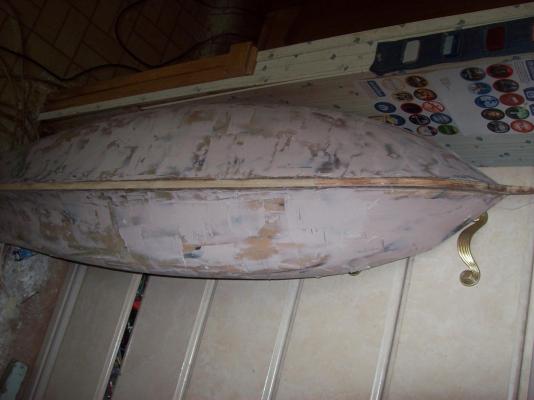
I sanded most of the hull before my dual action sander self destructed. I also sanded the top of the main mast and will try to make the cap today.
-
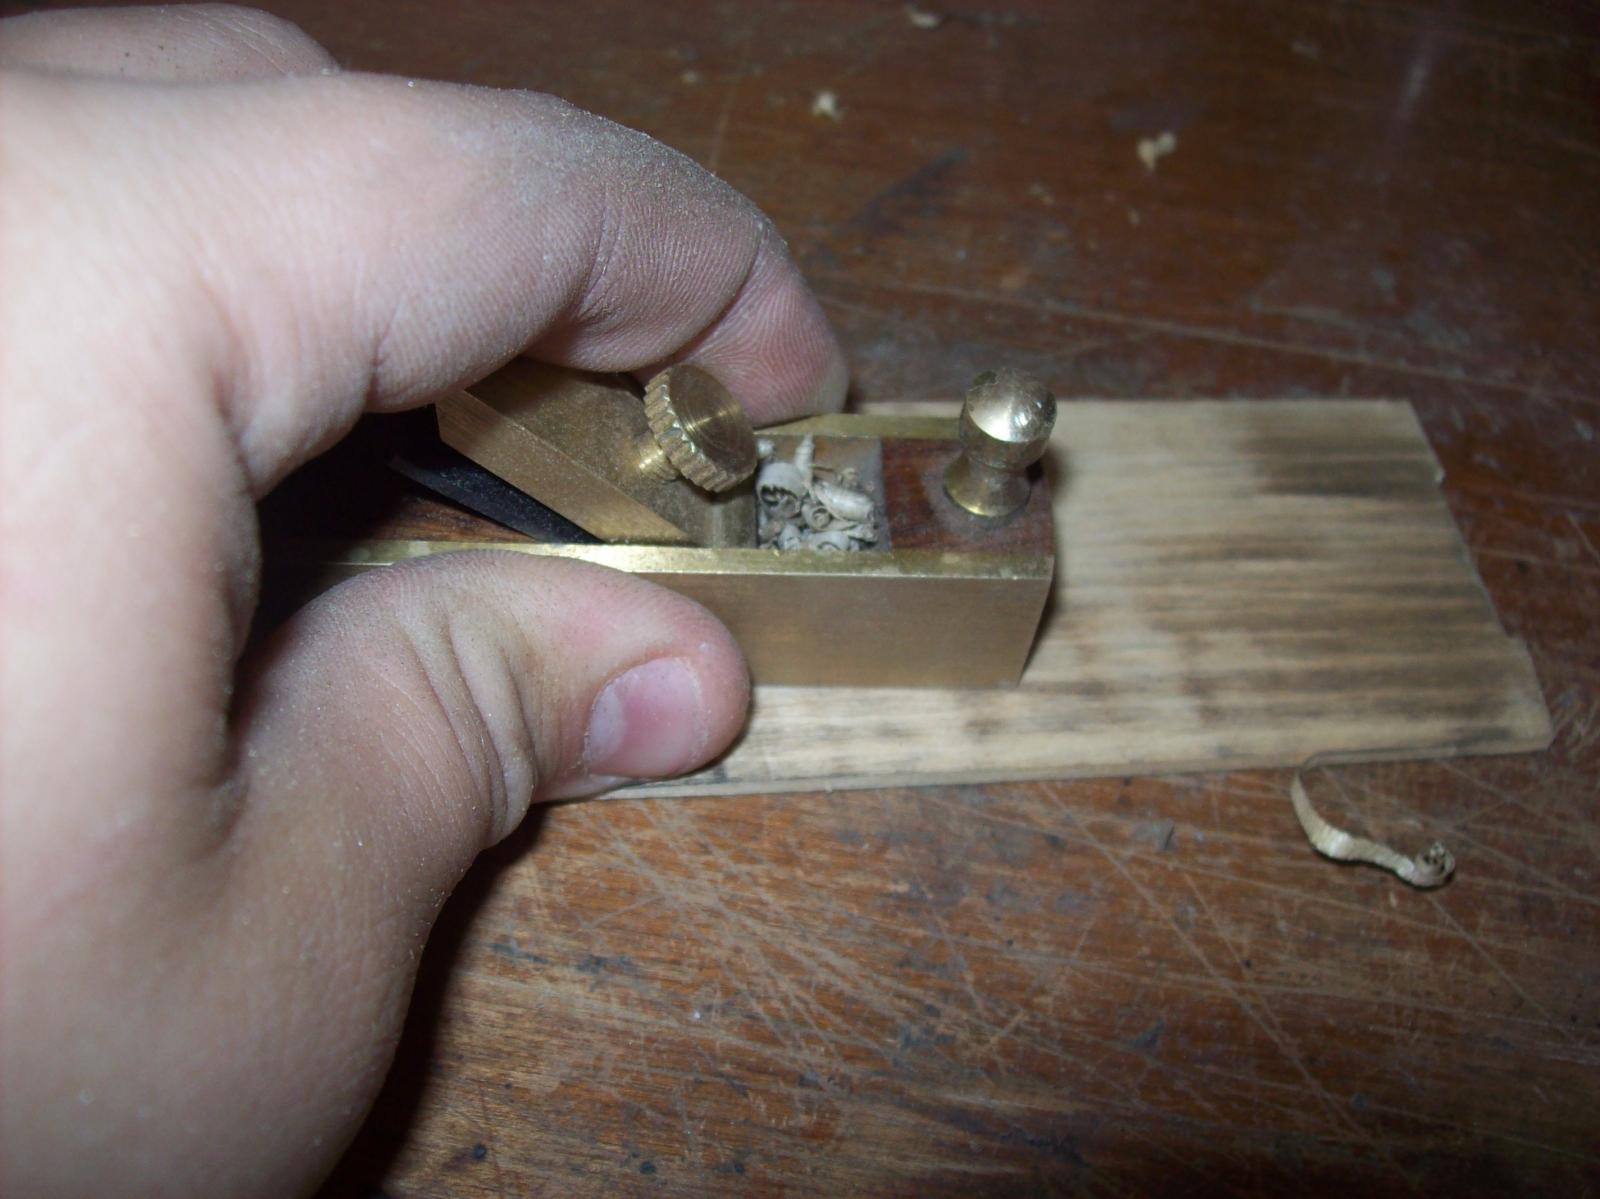
Its hard to see in the pictures but I tapered the topmast for the foremast and the bowsprit with my mini block plane and some 80 grit sandpaper.
-
I love skechup its so easy to use I have made many models on it (mostly houses) since I found it in 2008. I once built a small Chinese junk using a a similar approach to what you are using it was a lot of work and I never got to the mast and rigging.
-
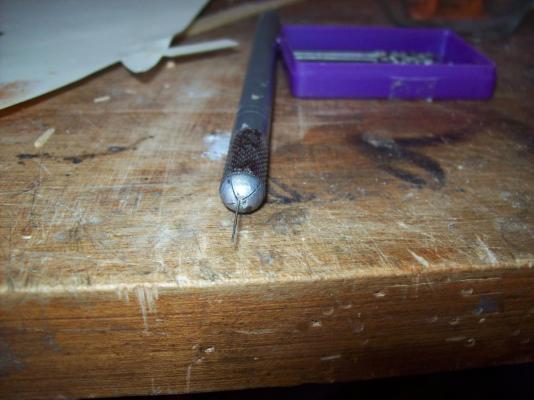
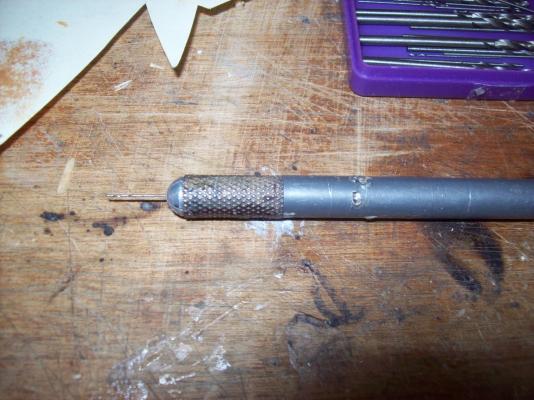
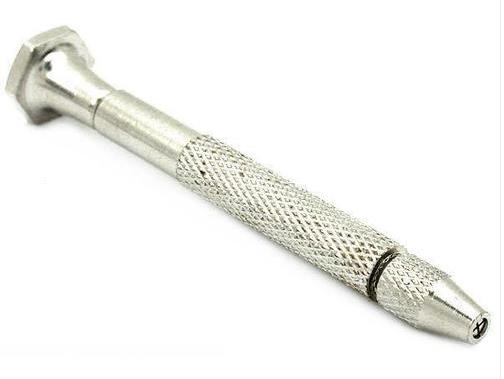
I realized that I already had a pinvise well sort of my 30 year old (was my dads) Xacto knife has a 4 head chuck and works pretty good. I will still get a pinvice and twist drill but will wait until we get the money from selling our other house.

-
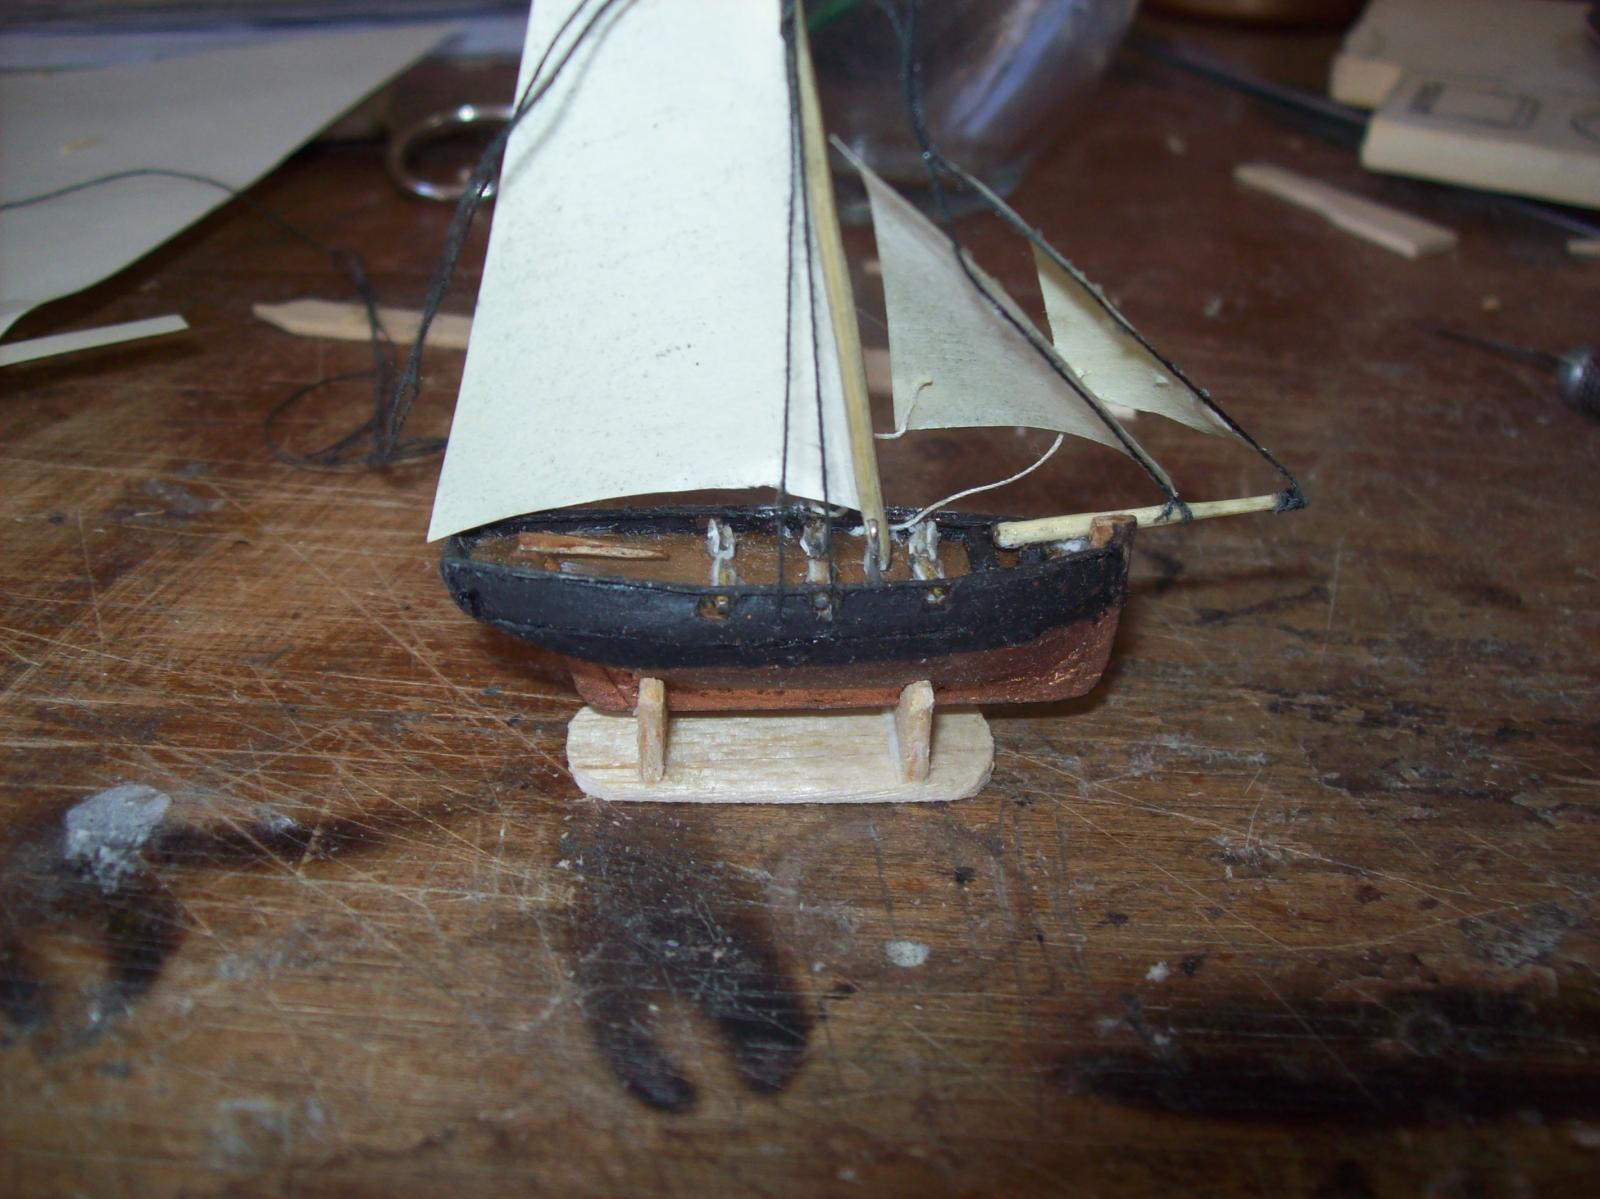
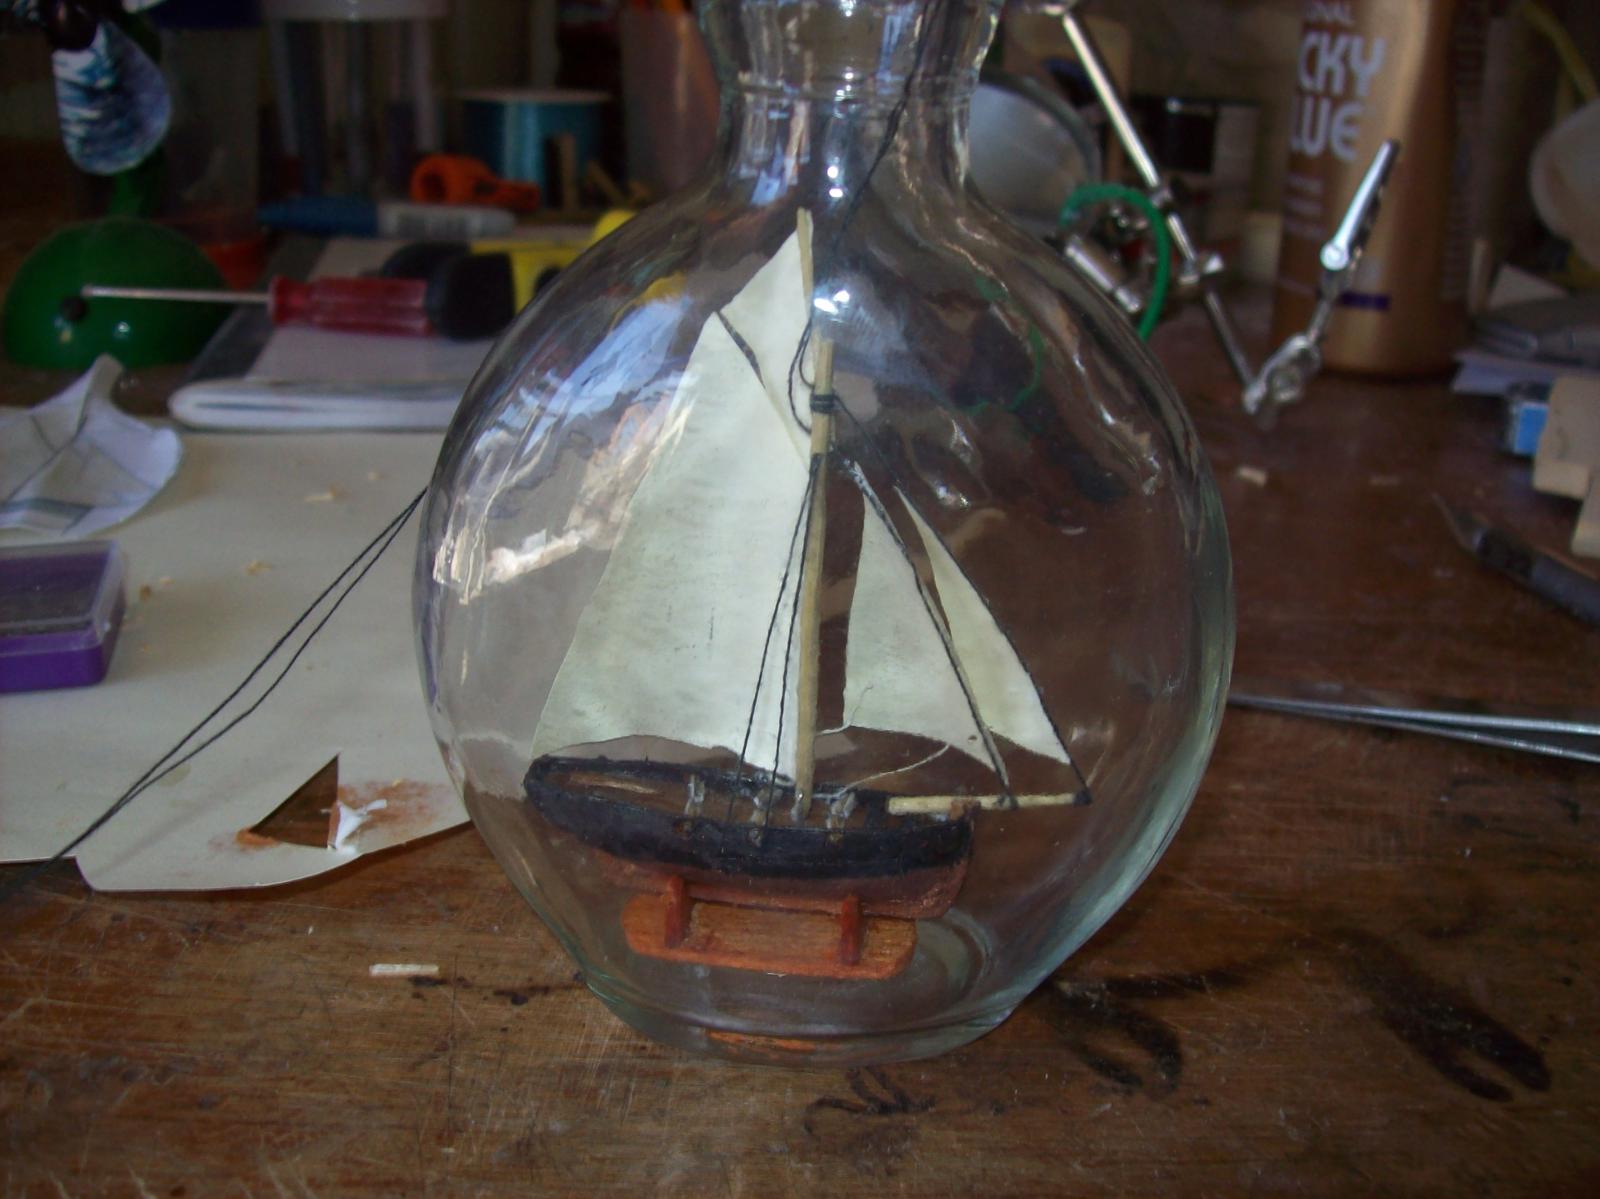
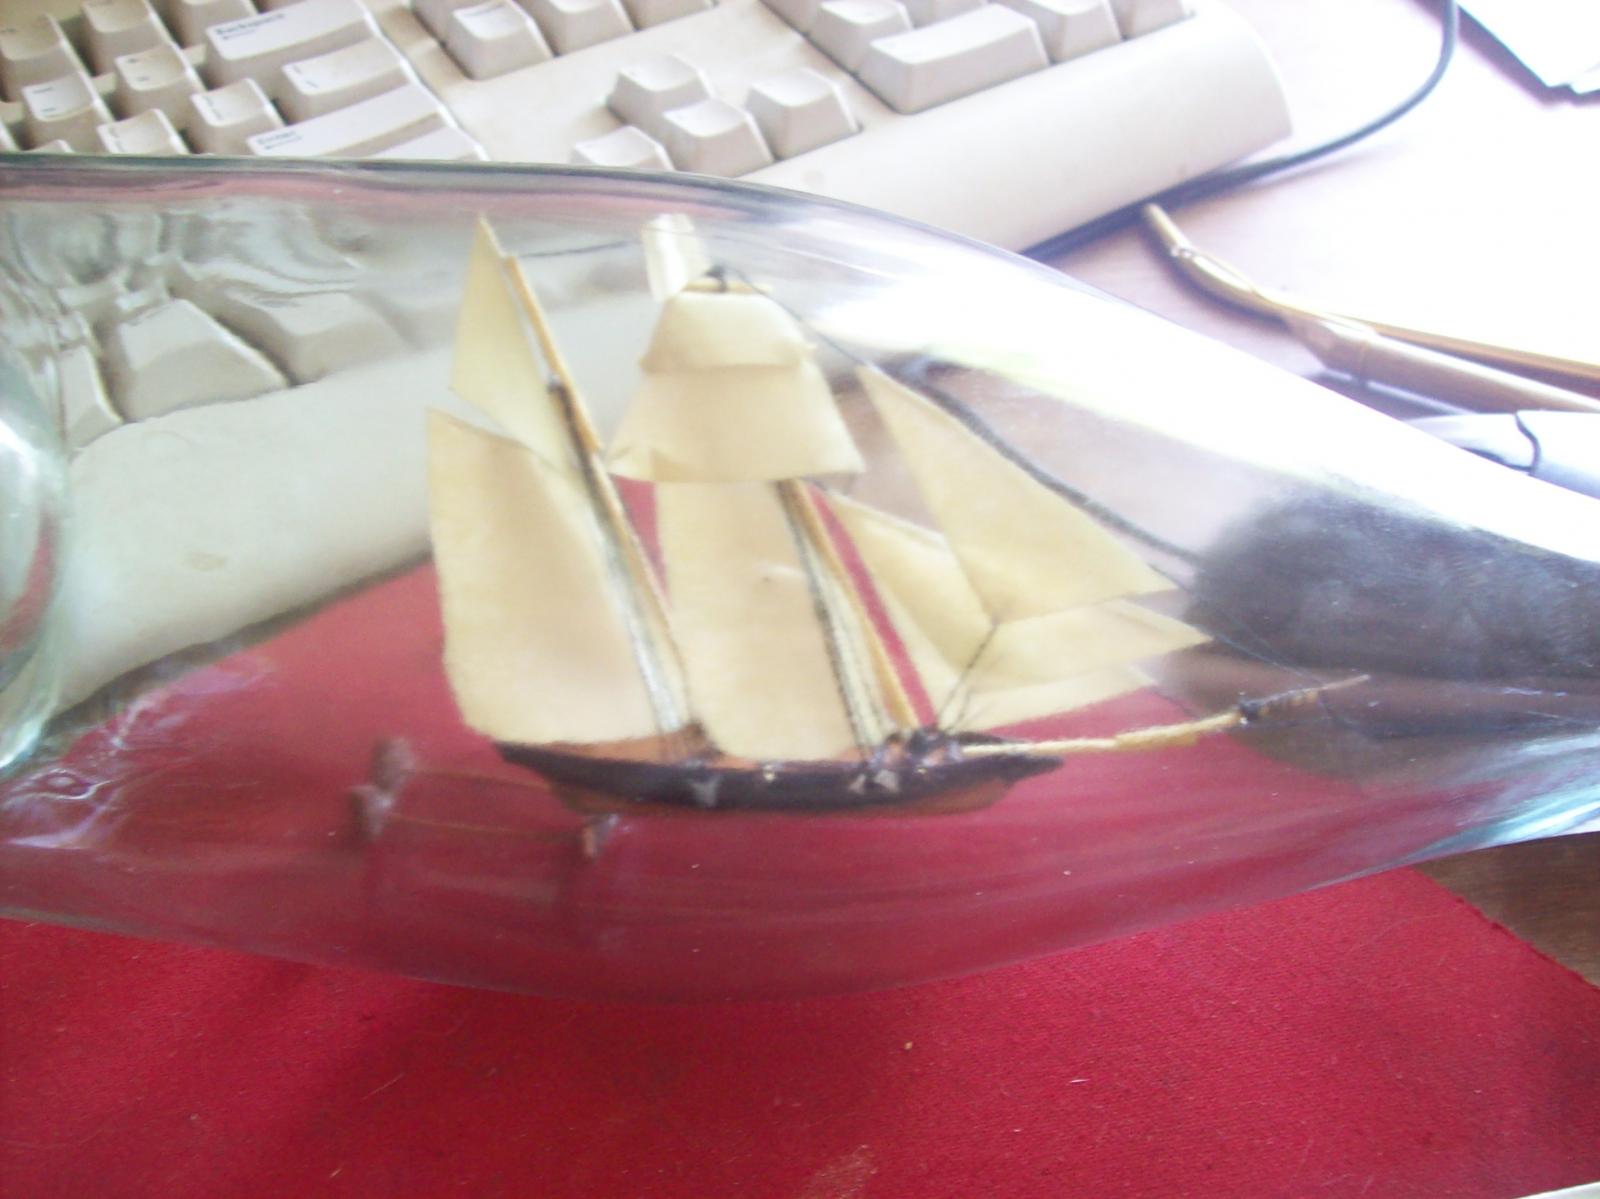
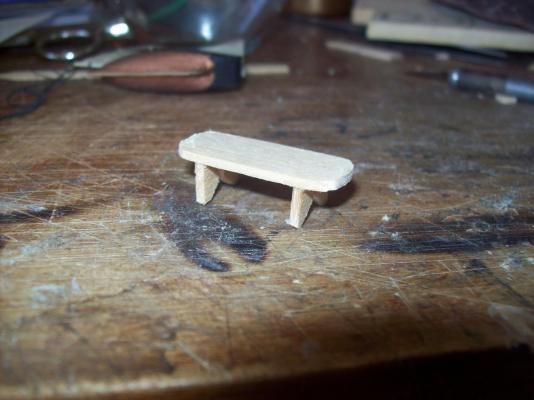
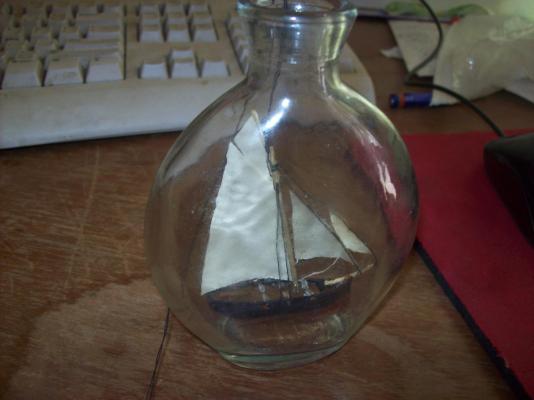
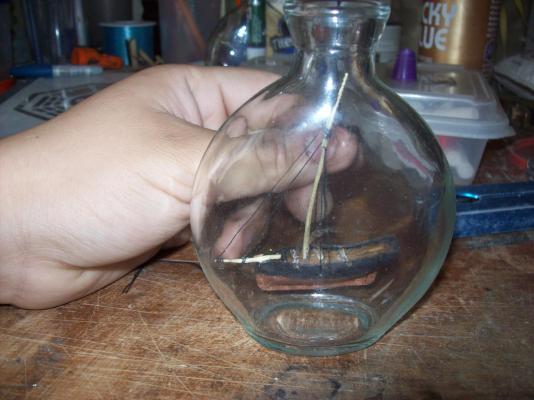
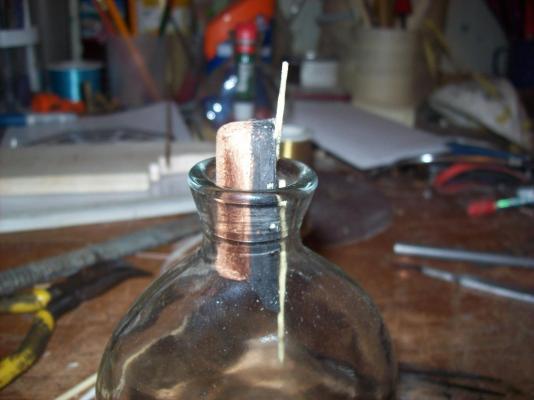
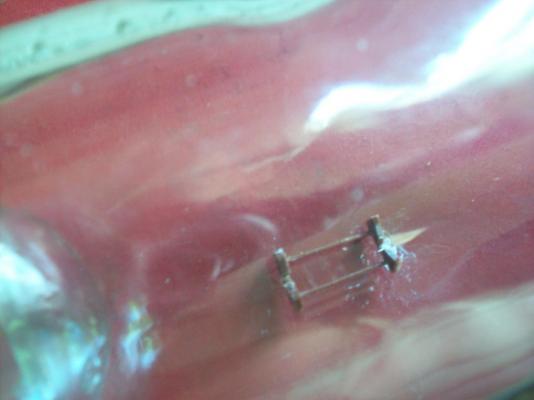
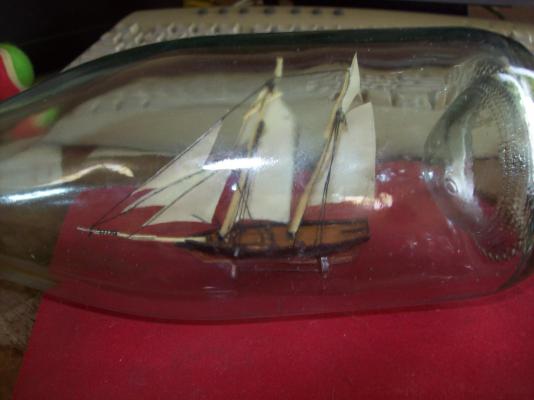
Just a wire with a loop at the end for glue and some long tweezers. I got it finished now I just need to get a cork and make a turkhead knot for the neck. A small table . JK its the cradle. Now adding the ship. Trying to position it. Glued in place. Rigging glued and trimmed. note small brown smudge on jib that was a drop of wood stain that got on the model when I was staining the cradle oops . I will just say that it is a pacth were a cannon ball hit it . Next to the mini Byzantium.


-
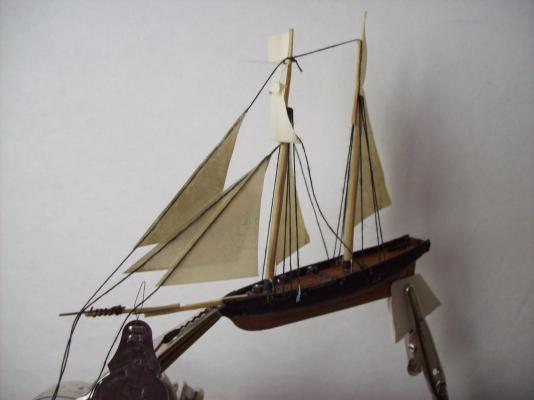
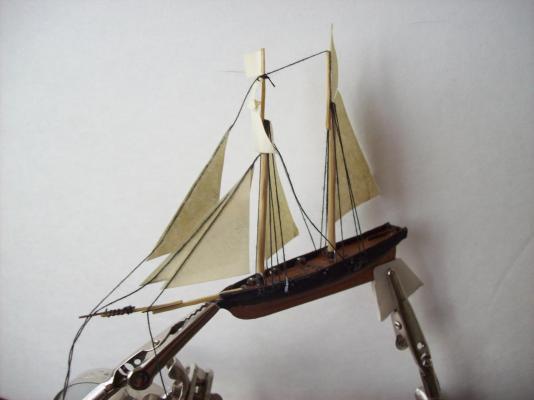
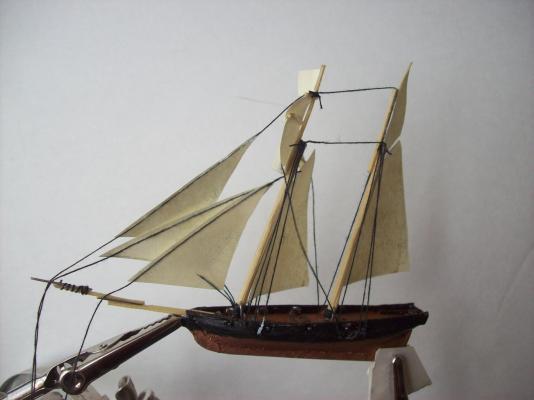
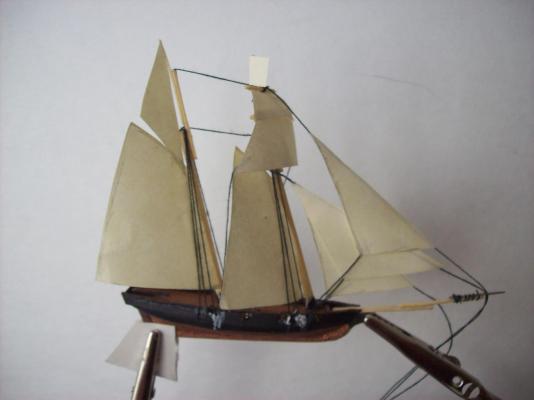
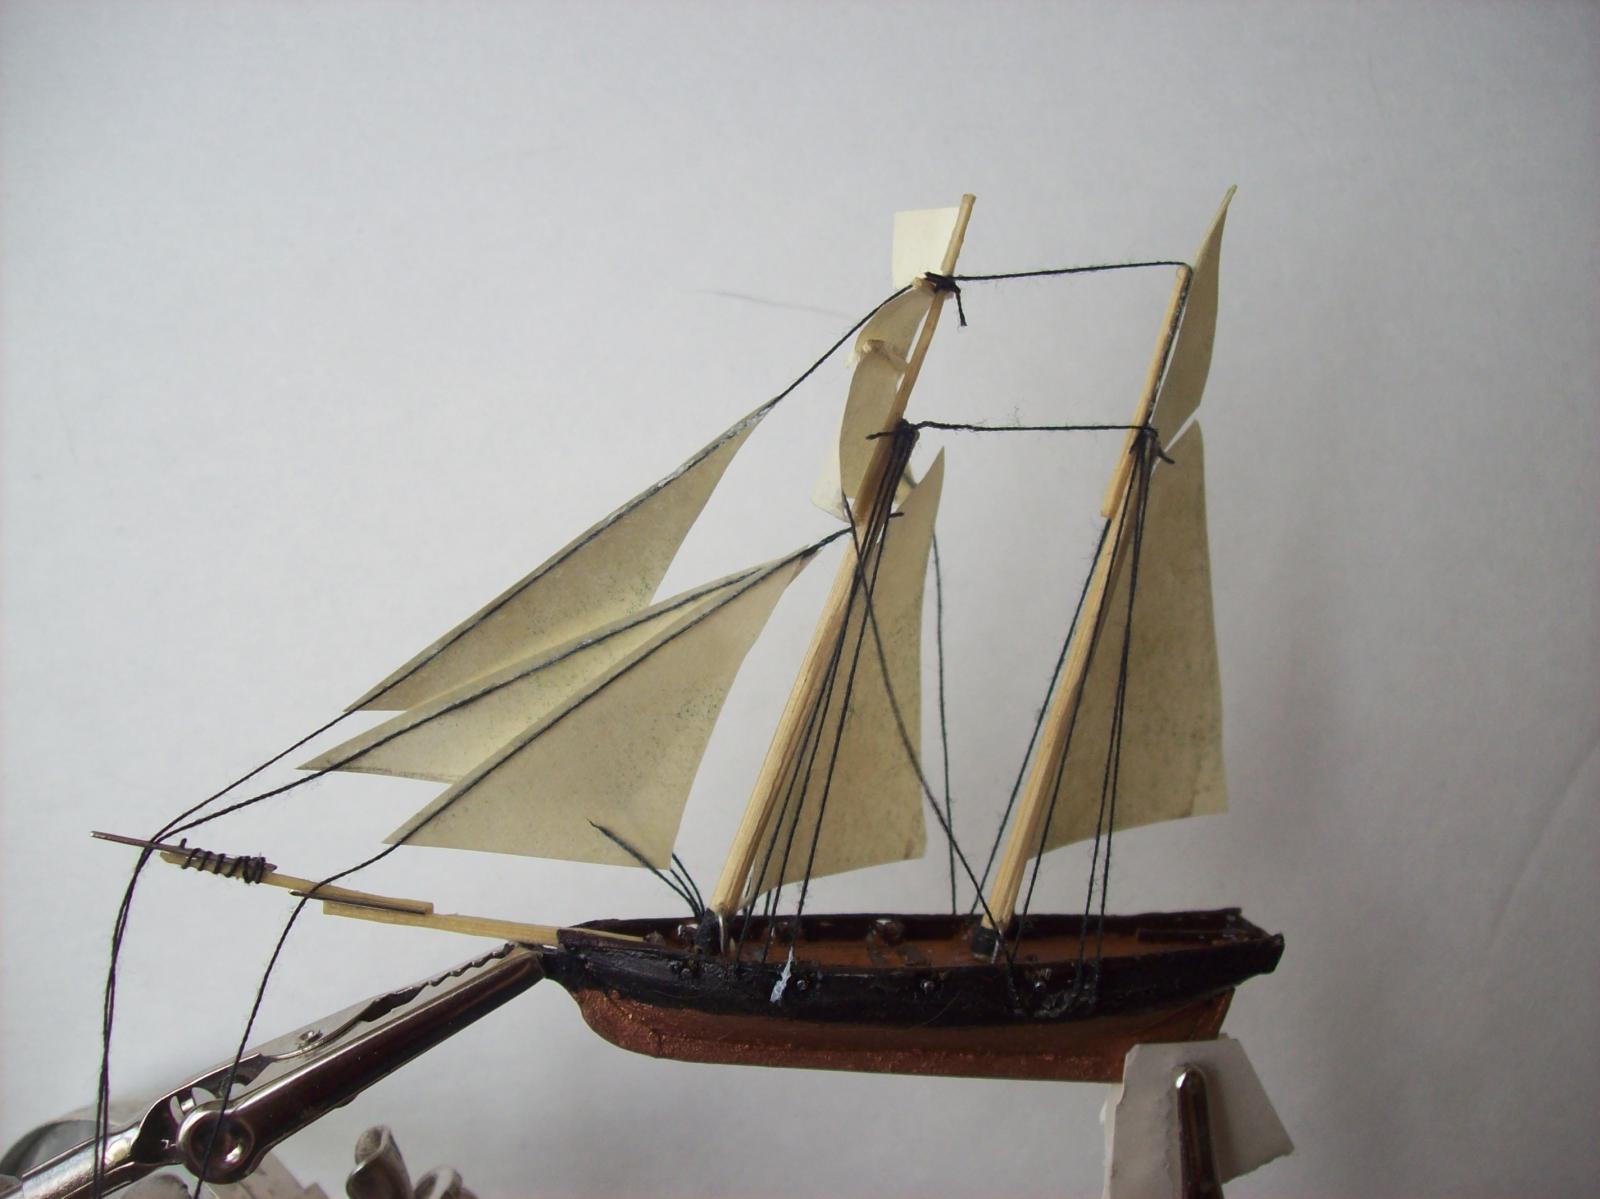
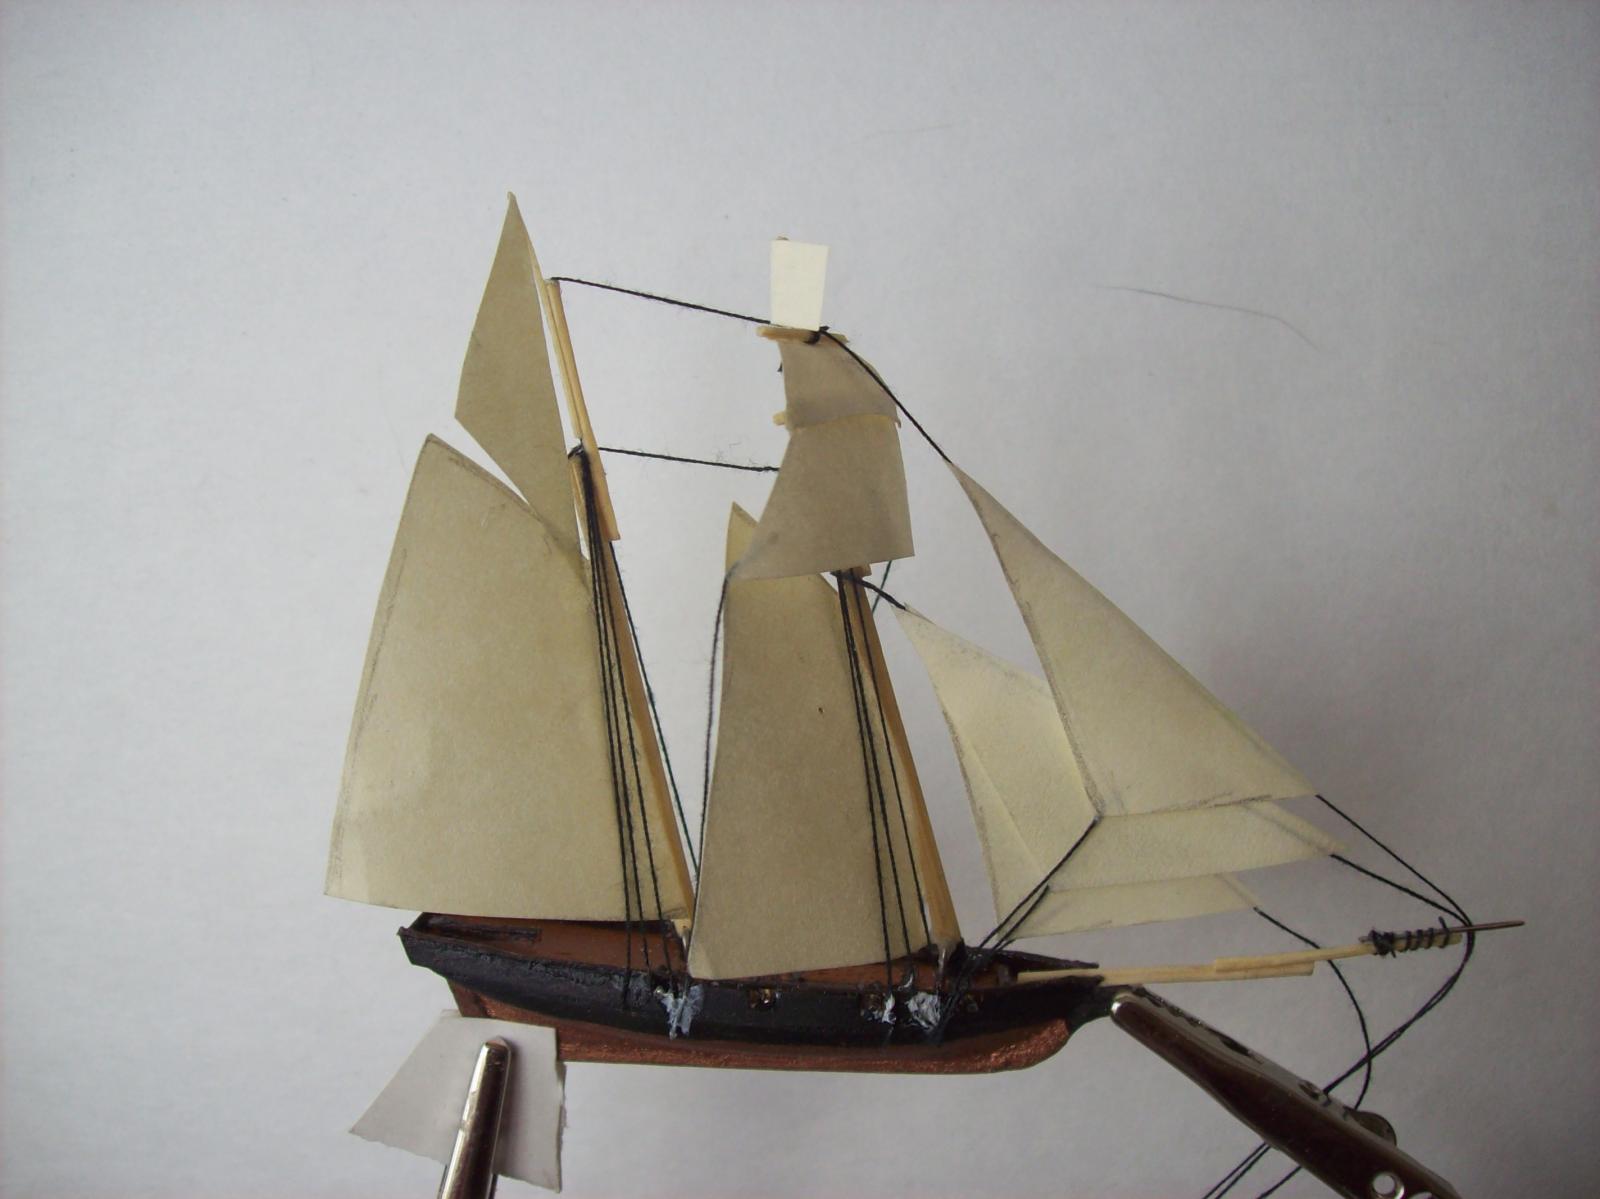
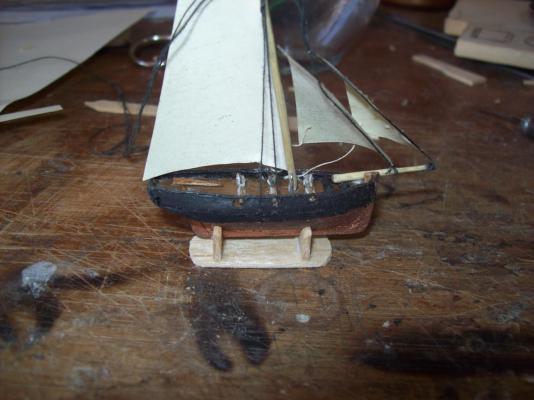
I made the sails and did a final test fit. Next will come the cradle and the final install.
-
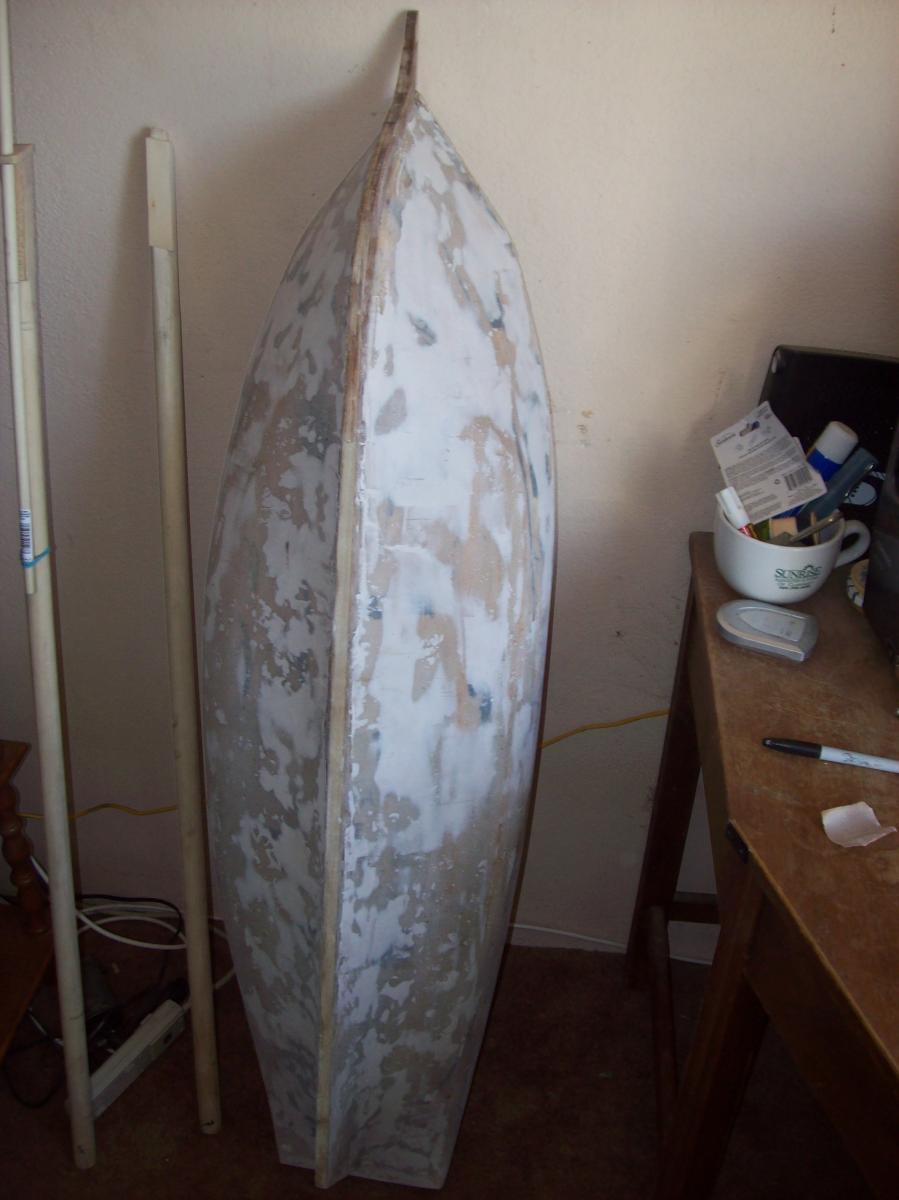
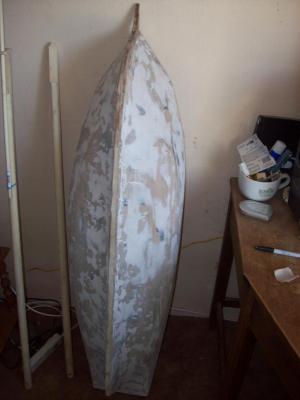
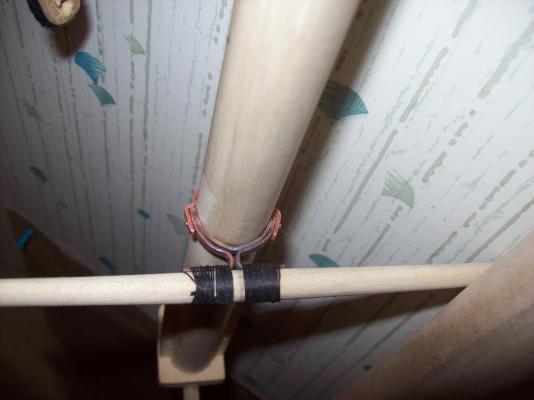
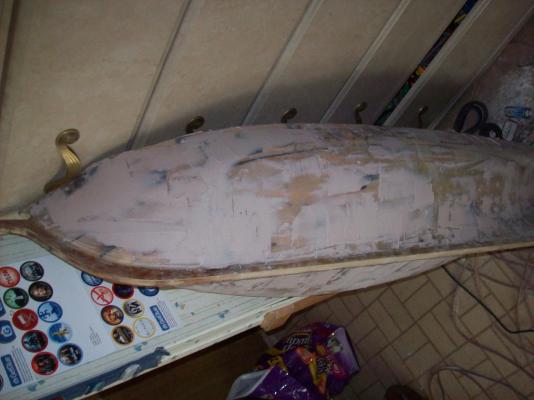
I decided to go with the sprits'l yard. I made the sprits'l yard and a metal bracket to attach it to the bowsprit. I got my bondo from the other house and spread an thin layer over most of the hull, I still have to sand it. the seizing is temporary.
-
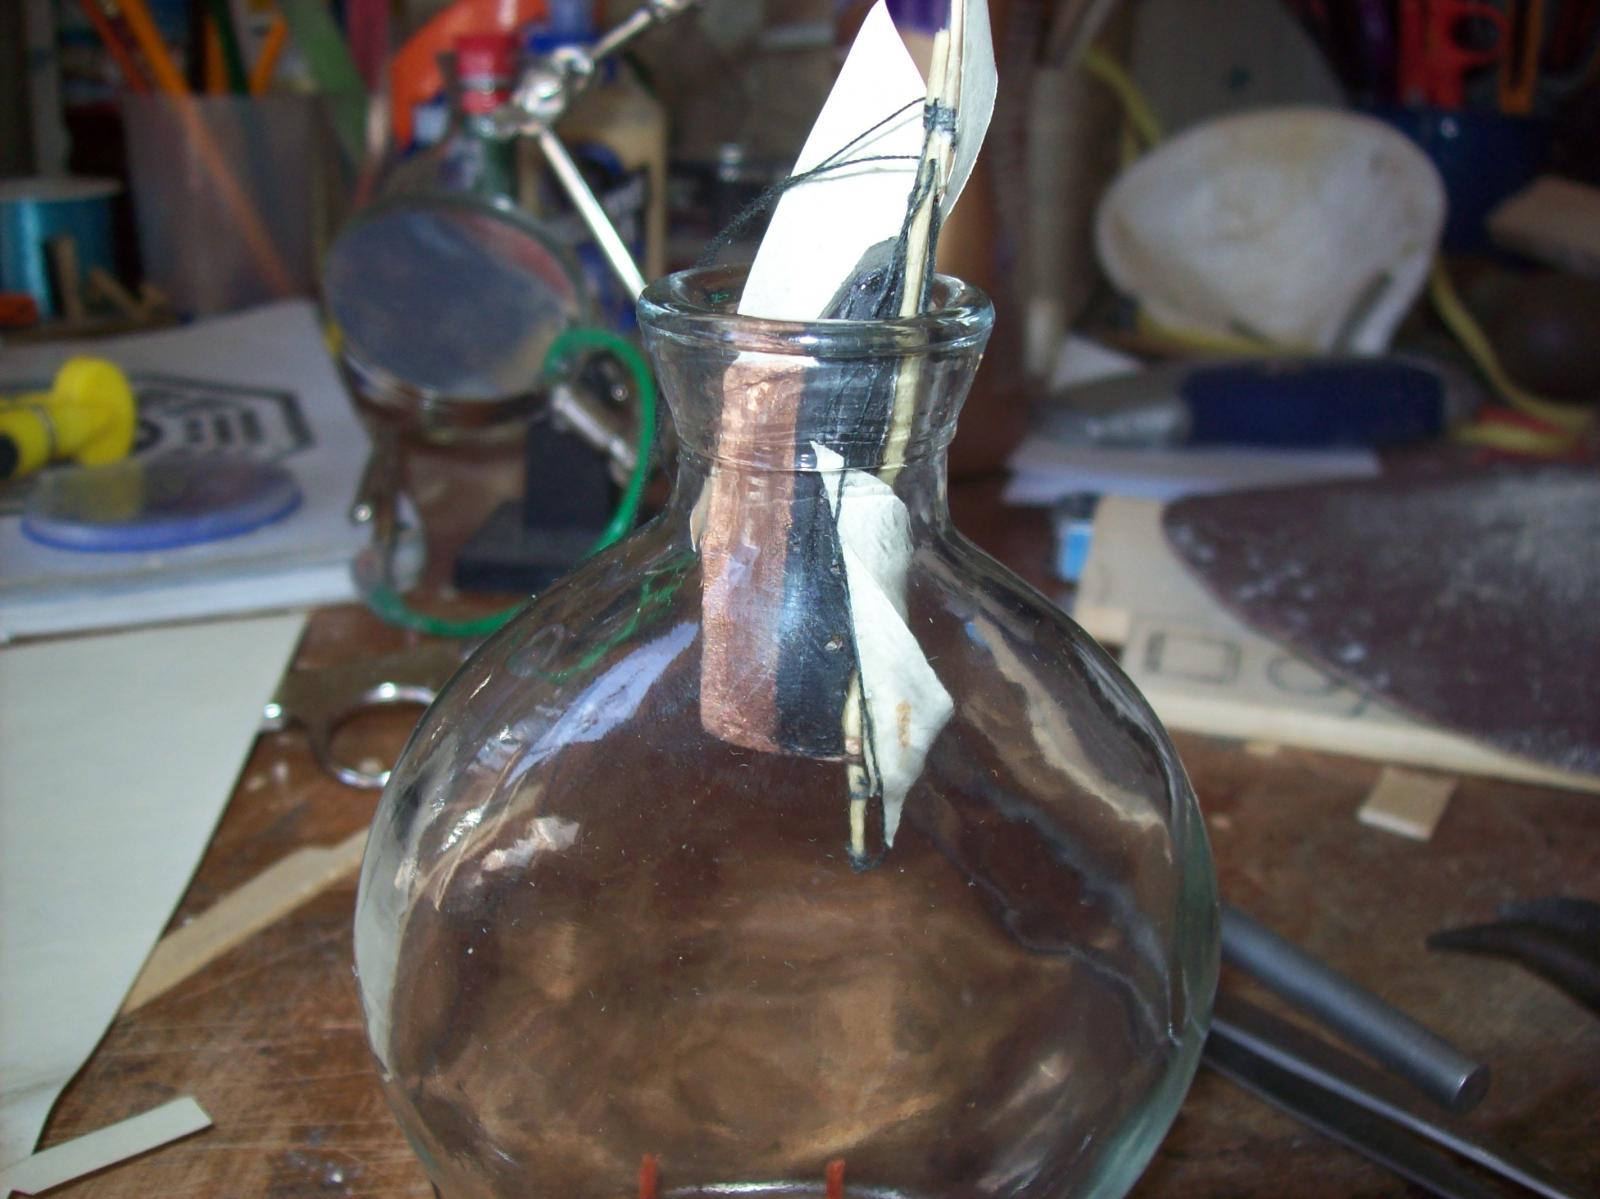
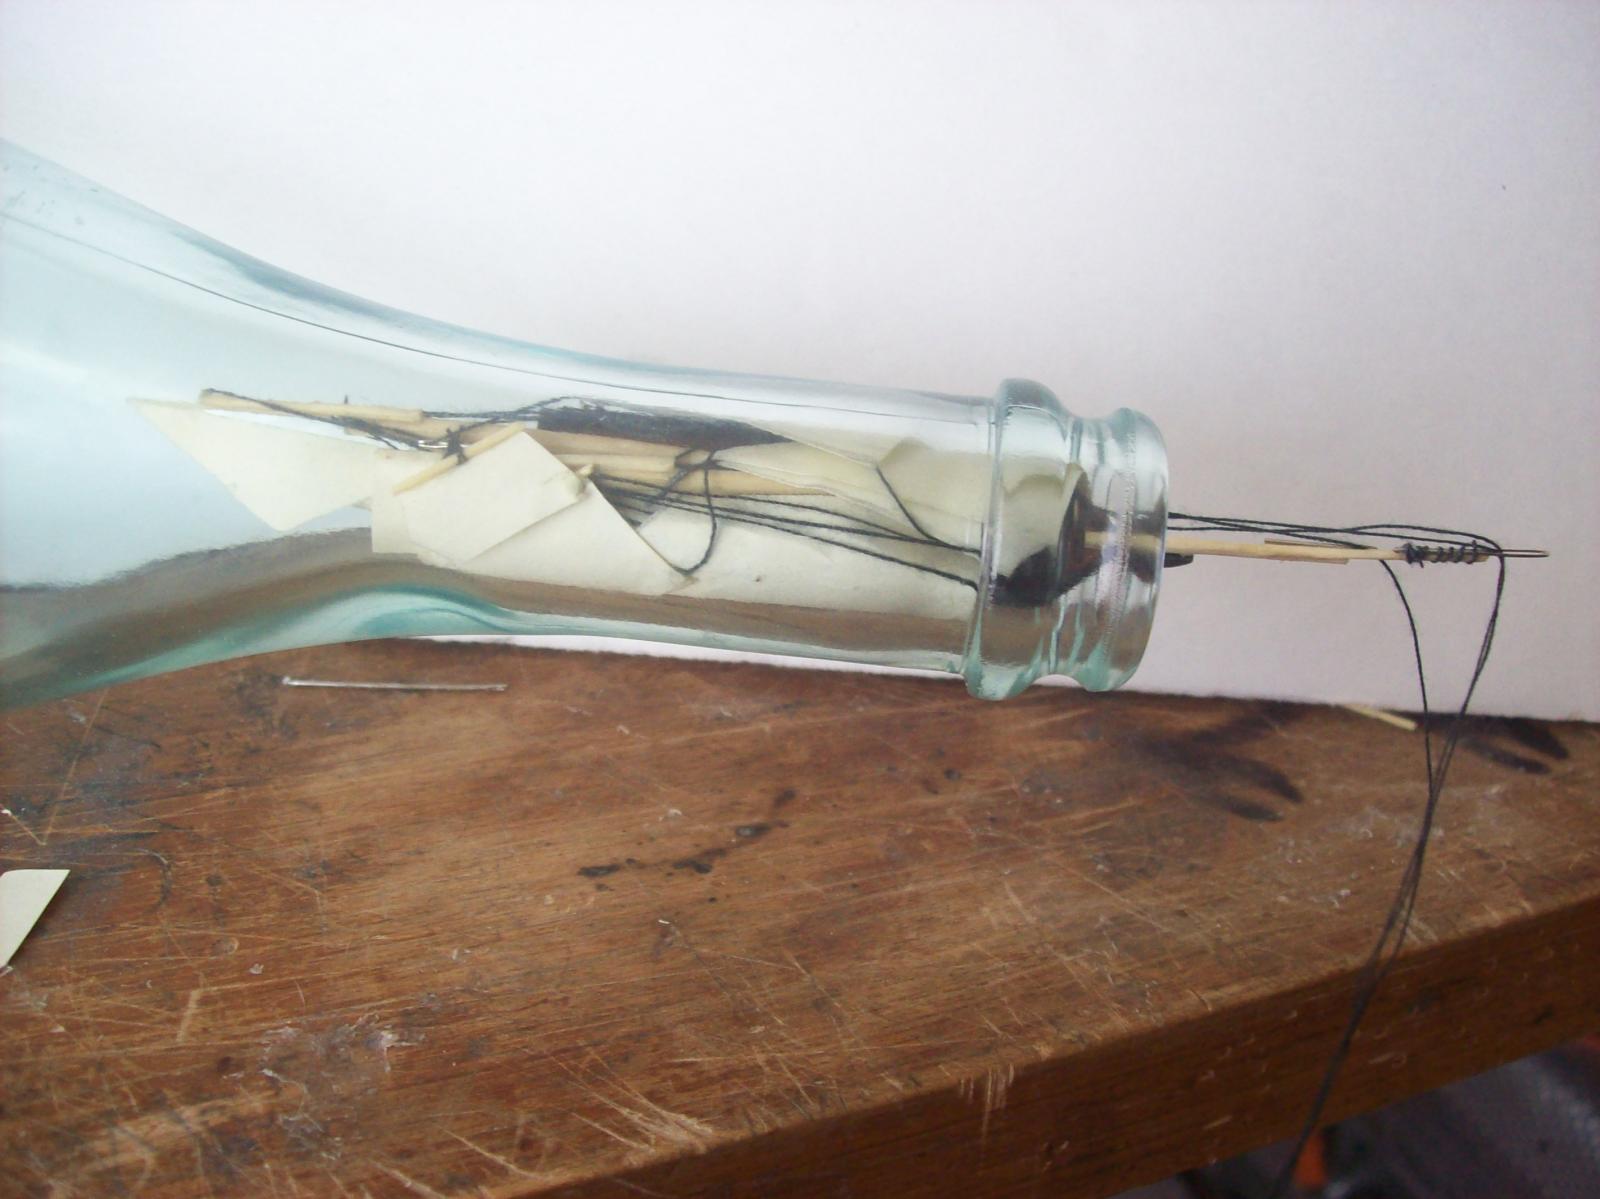
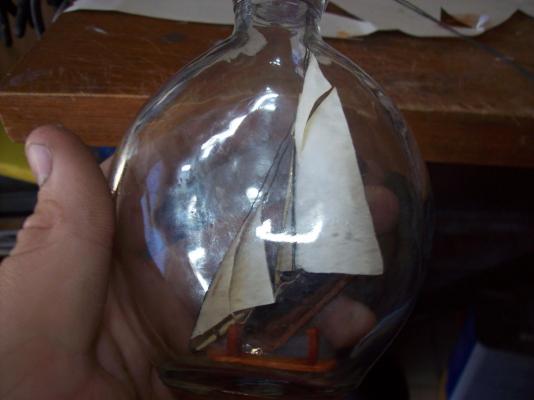
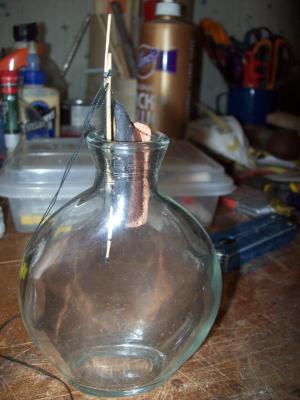
Its just a generic one but I might build a 1/20 scale radio controlled one after I finish (of at least close to finish) my Byzantium. I made the rigging next comes the sails. one showing the unusual bow first method of putting it in the bottle.

-
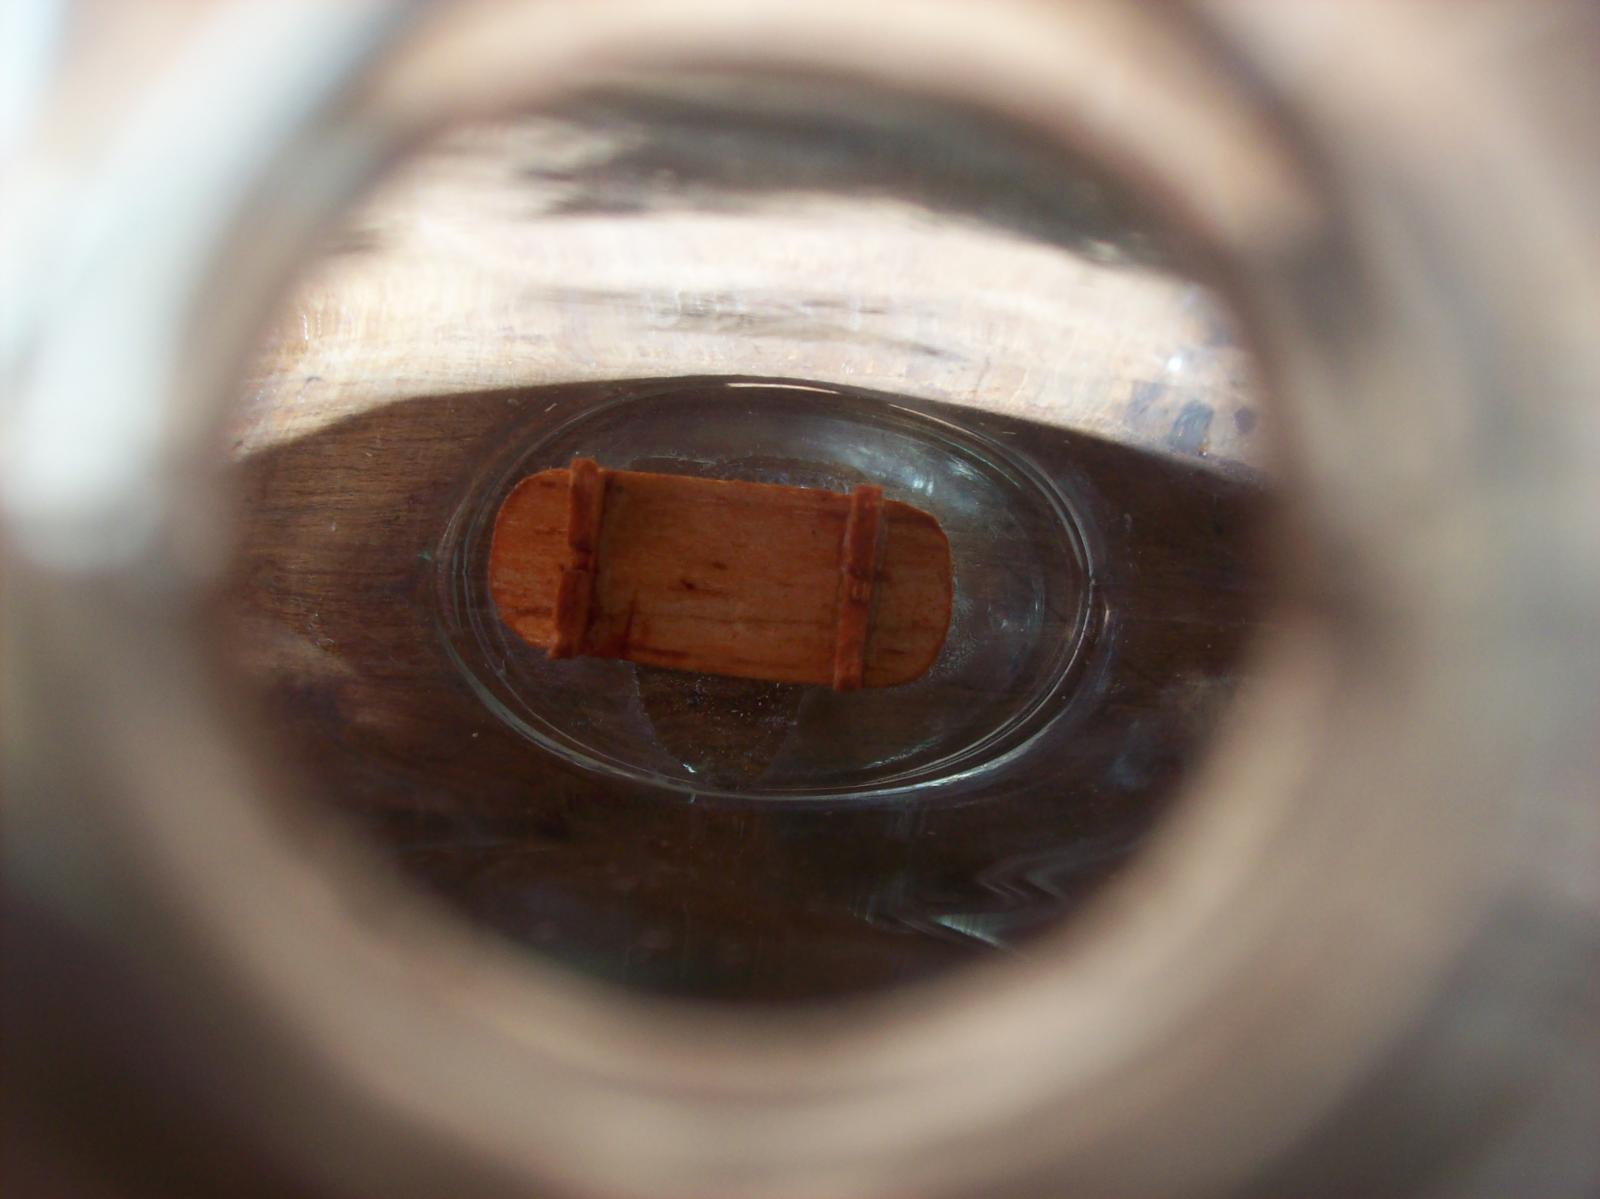
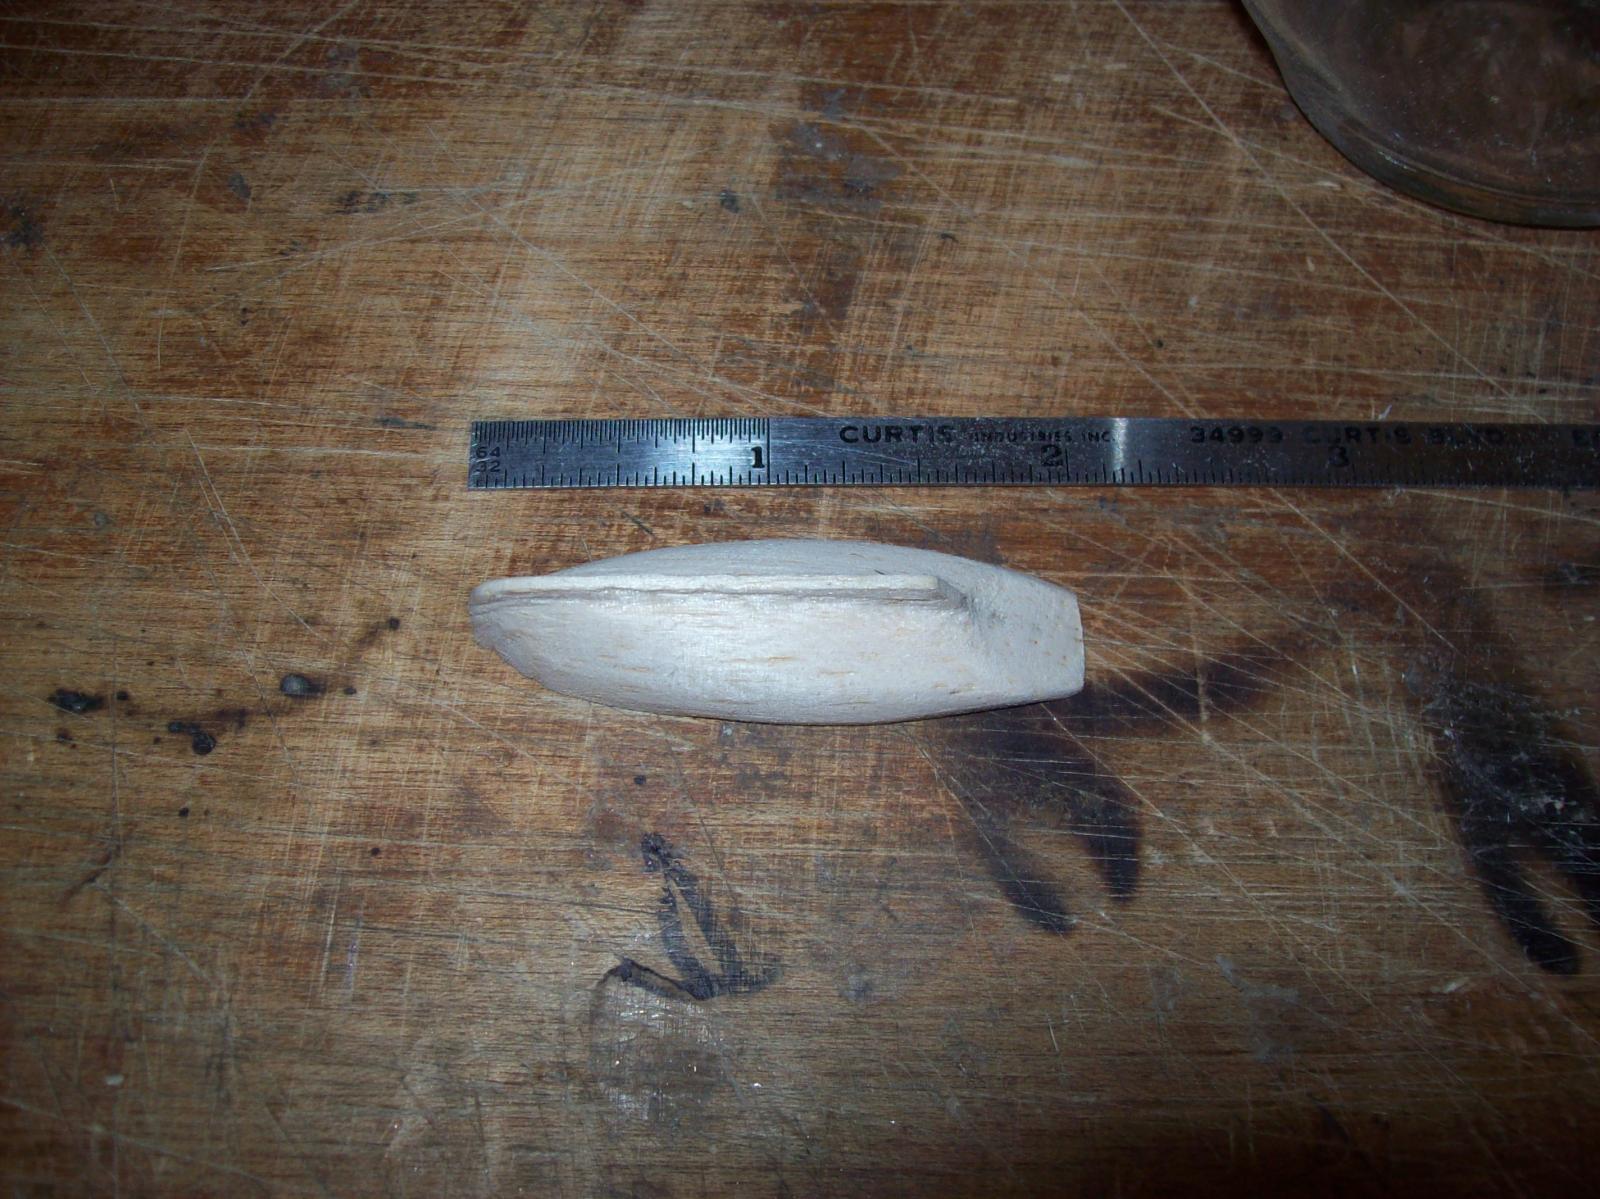
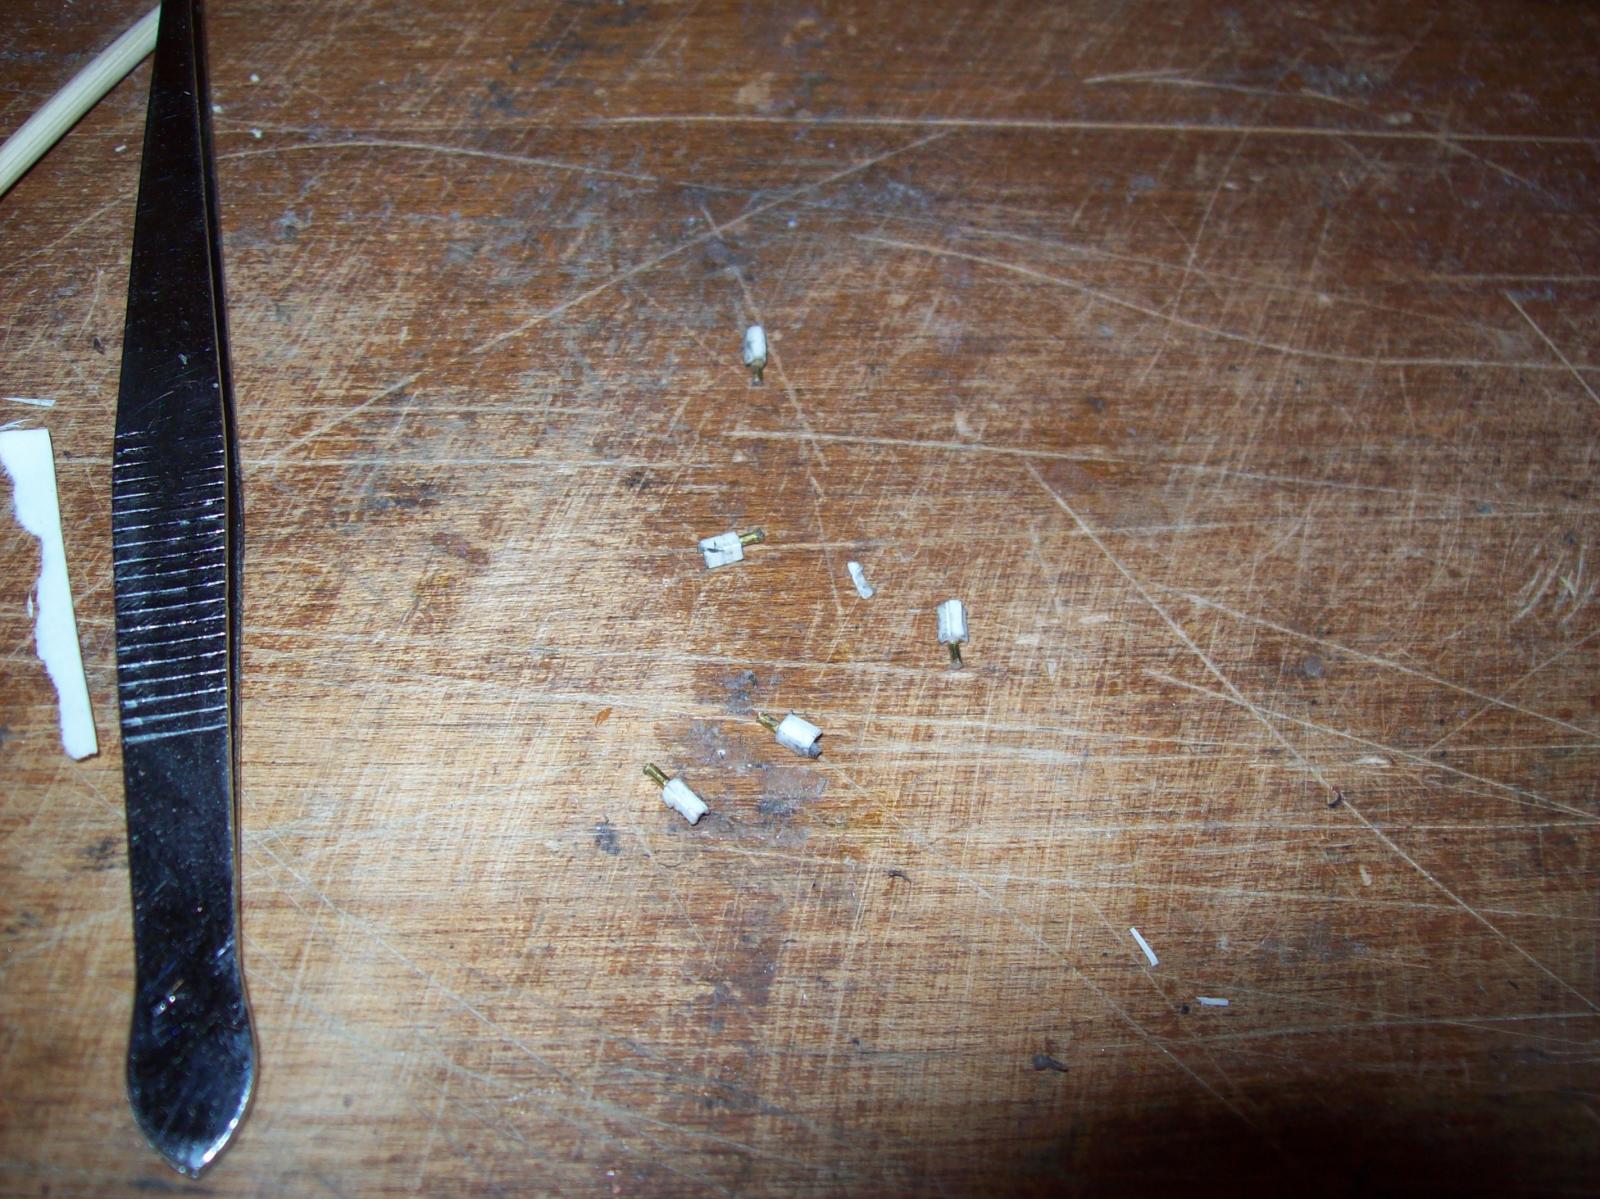
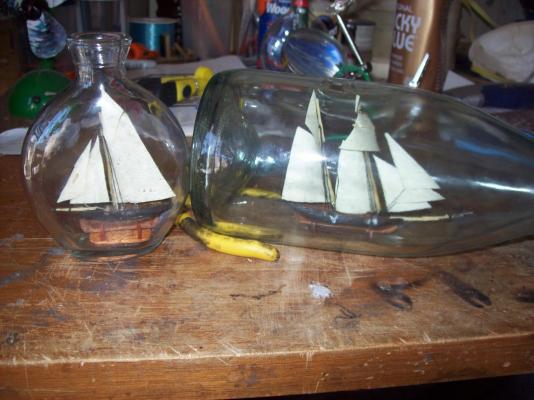
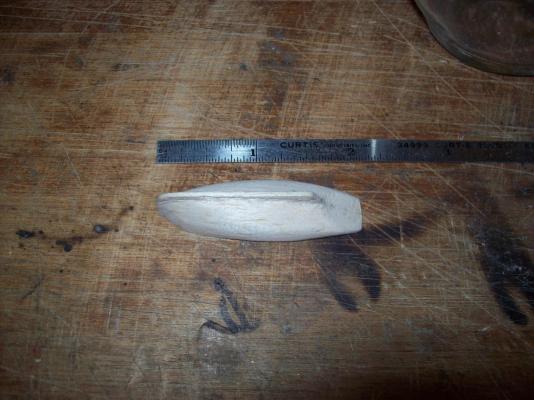
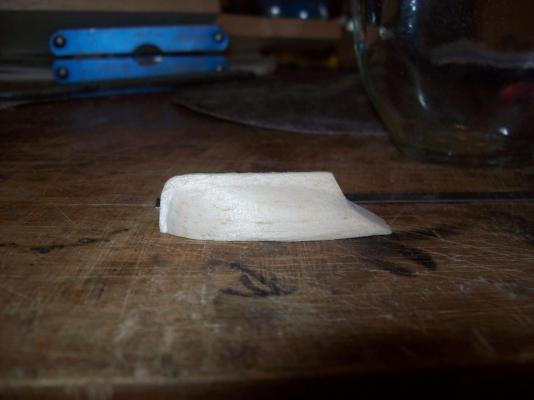
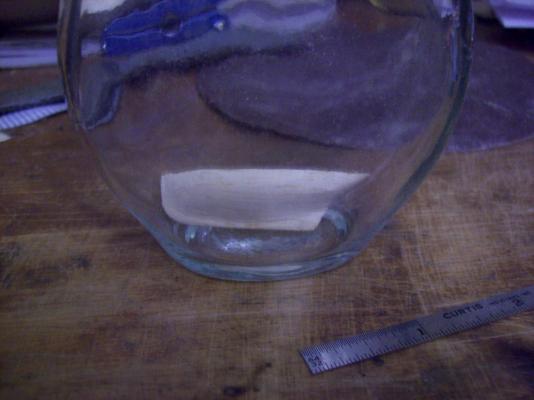
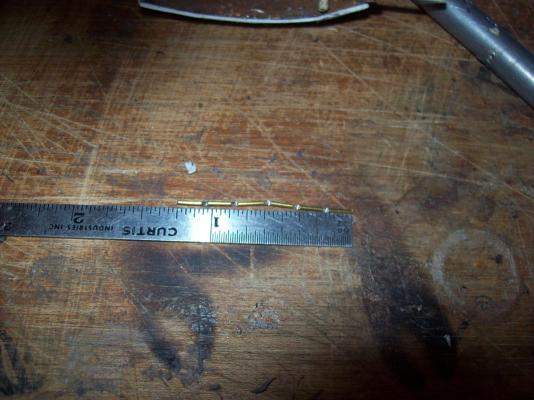
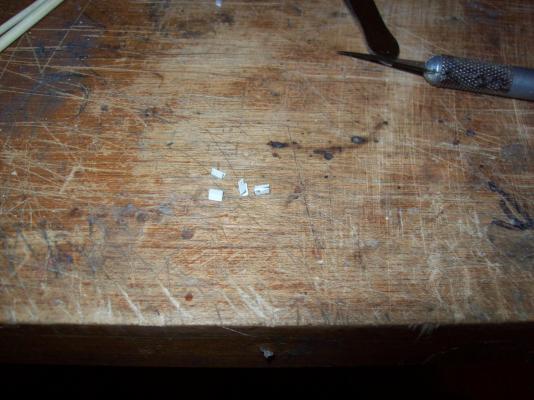
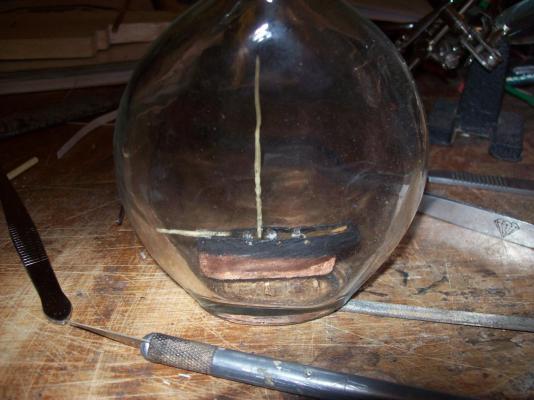
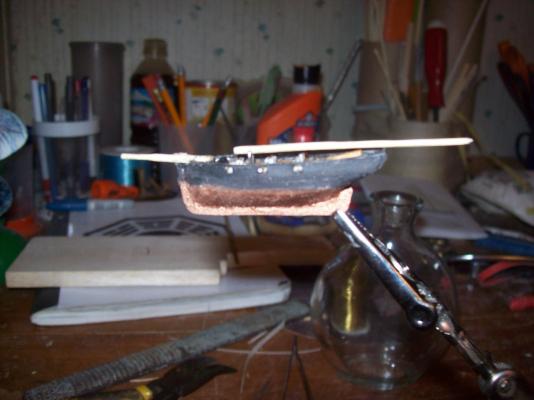
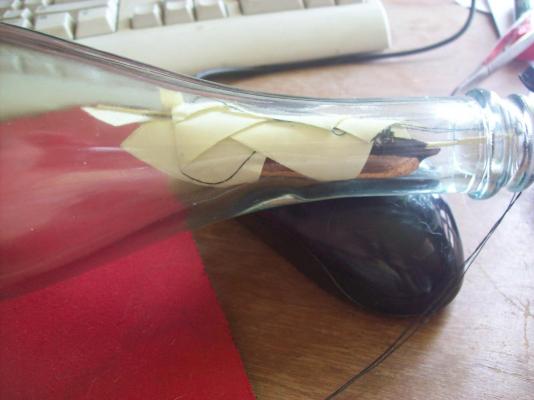
I am officially hooked on ships in bottles (they make excellent mini builds) so when I found a small vase at the 99 cent only store I had to get one and put a boat/ship in it. I decided to build a cutter because it would fit perfectly. First I carved the hull from a piece of balsa that I had laying around. I painted it then remembered that I forgot to make the bulwarks so I made them then I made the mast from a bamboo toothpick. I repainted the model then wile the paint was drying I made the cannons. The cannons were made by first cutting short lengths of brass (plaited) wire then cutting out small squares of heavy card then folding them into a U shape finally I dipped the wire in white glue and placed them in the U shaped pieces of paper.


-
Documentaries of interest to MSW Members - moved by moderator
qwerty2008 replied to Kevin's topic in Nautical/Naval History
I came across the Battle Stations - H.M.S. Victory documentary onYouTube abought a week ago and really enjoyed it. -
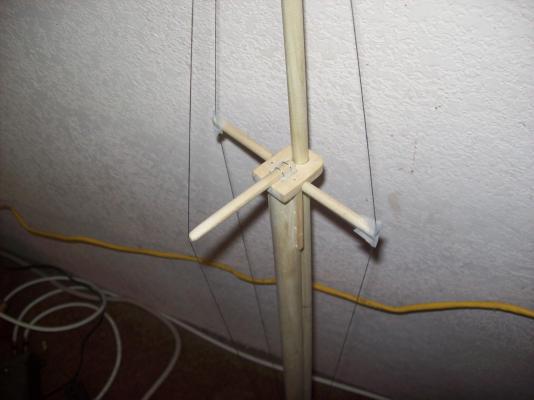
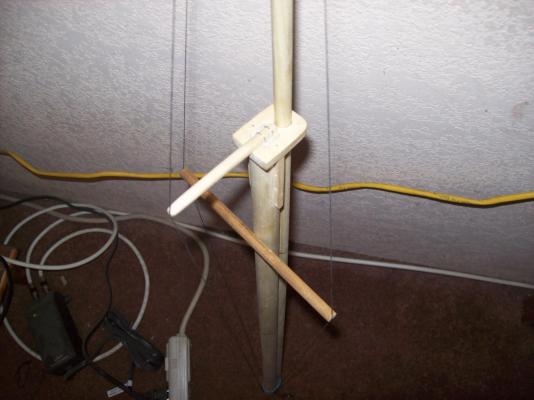
Since I am trying to hit the late 1700s (Jerry's post made me realize that I chose too modern of a ship to base the Byzantium on) what would be the best option? I made mockups of both spreaders and sprits'l yard to see what would look best. I still cant decide.


-
Does anyone know how the bowsprit would have been rigged on the Pride of Baltimore or similar vessel? are the spreaders like the Pride has on its bowsprit a more modern thing? if so should I make a single yard attached to the bottom of the bowsprit? Thank you in advance. Lextin H. AKA qwerty2008
-
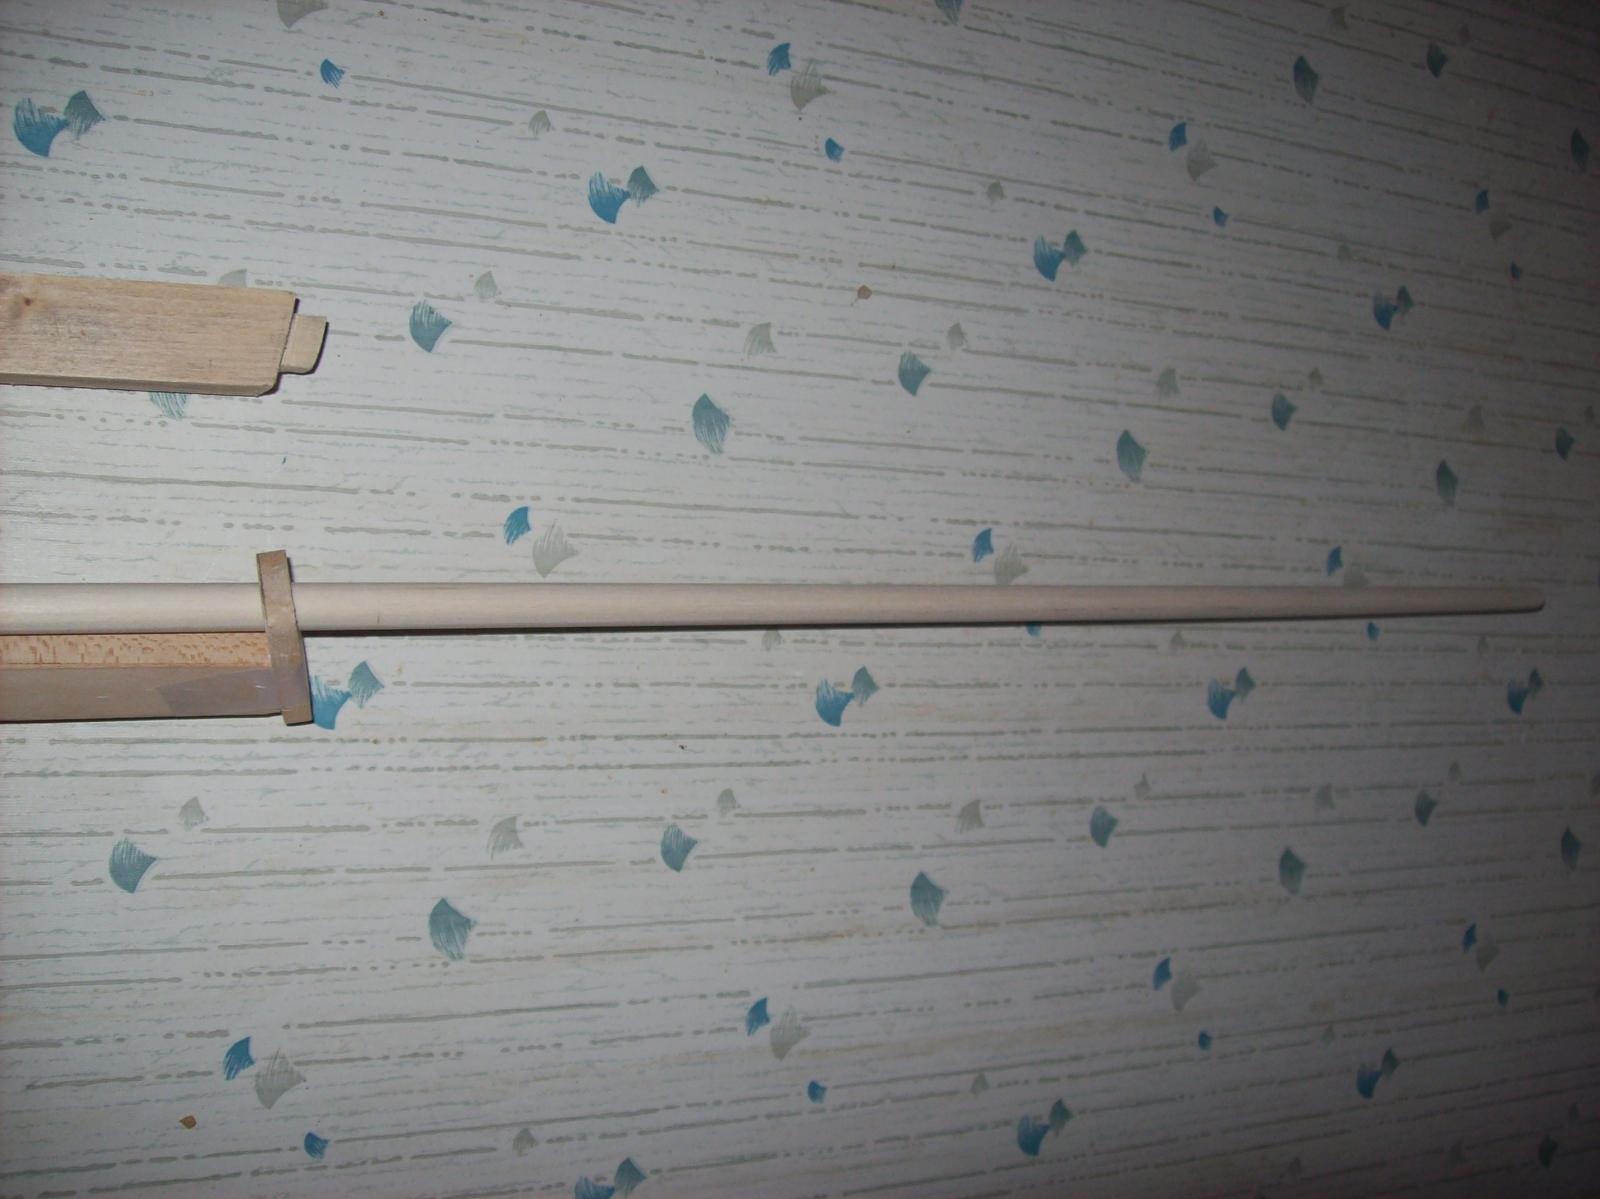
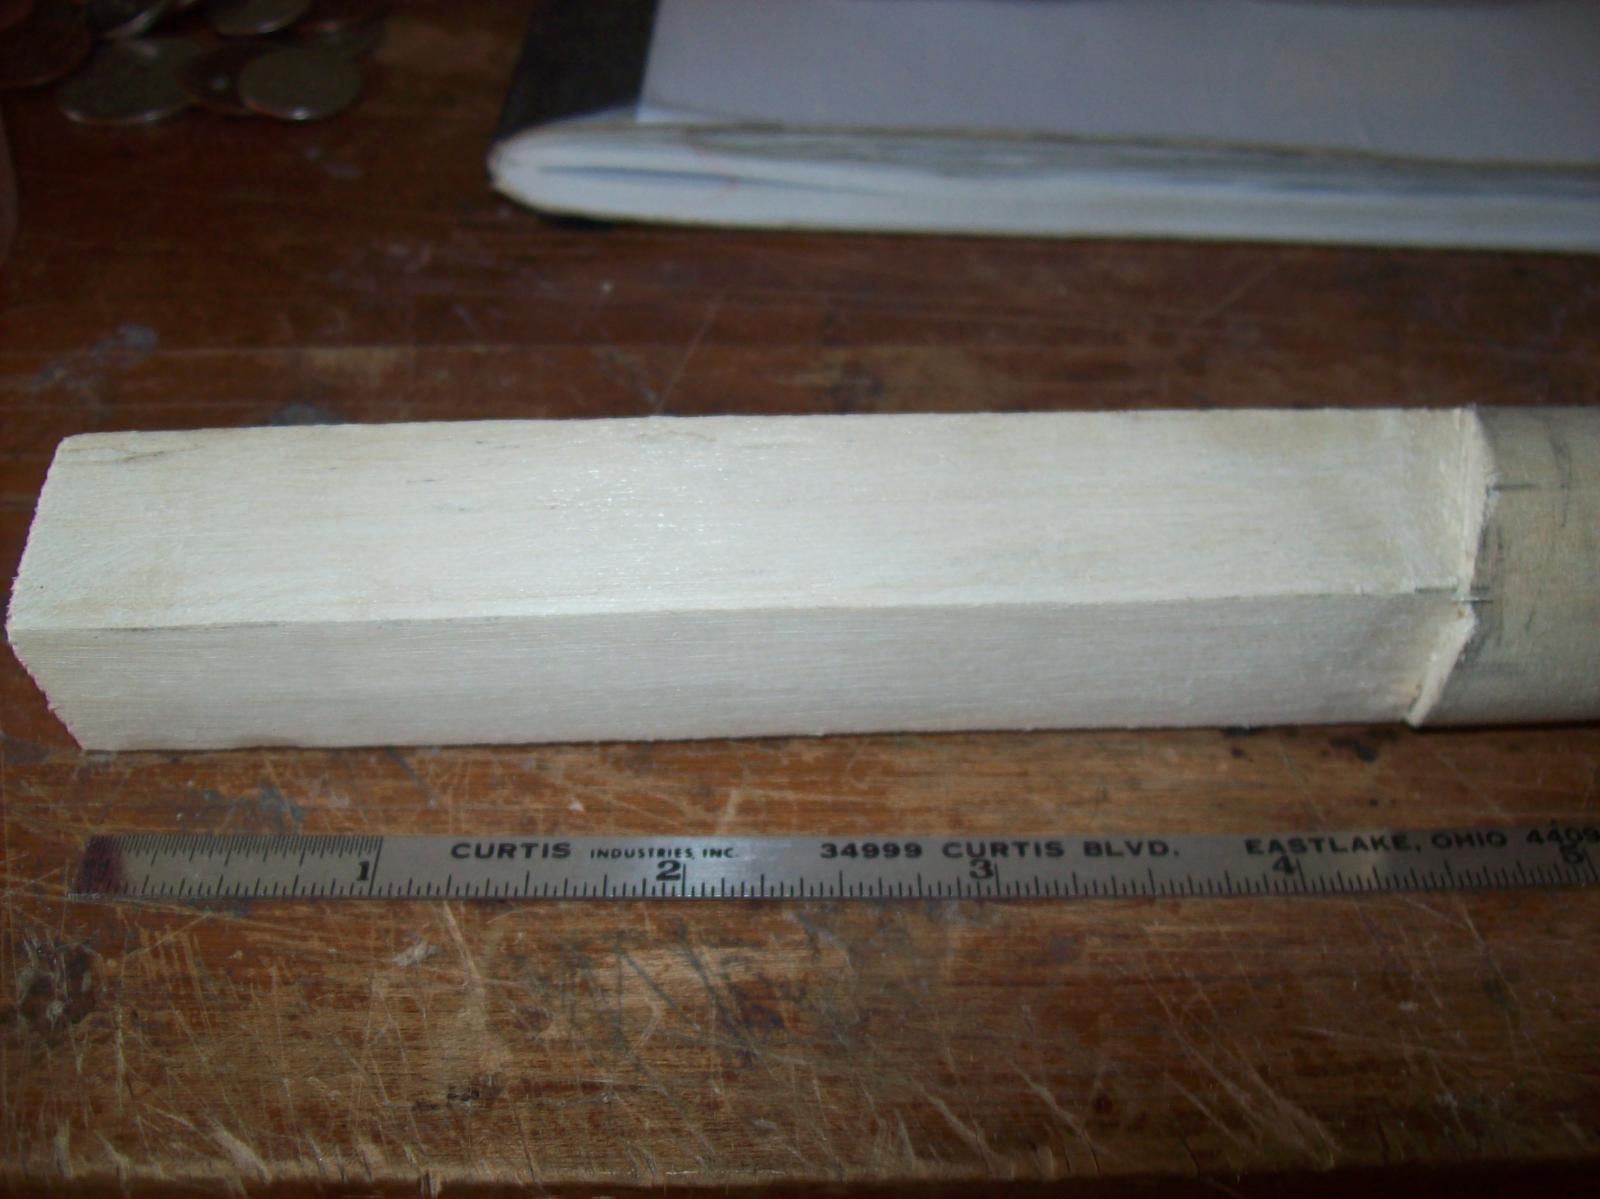
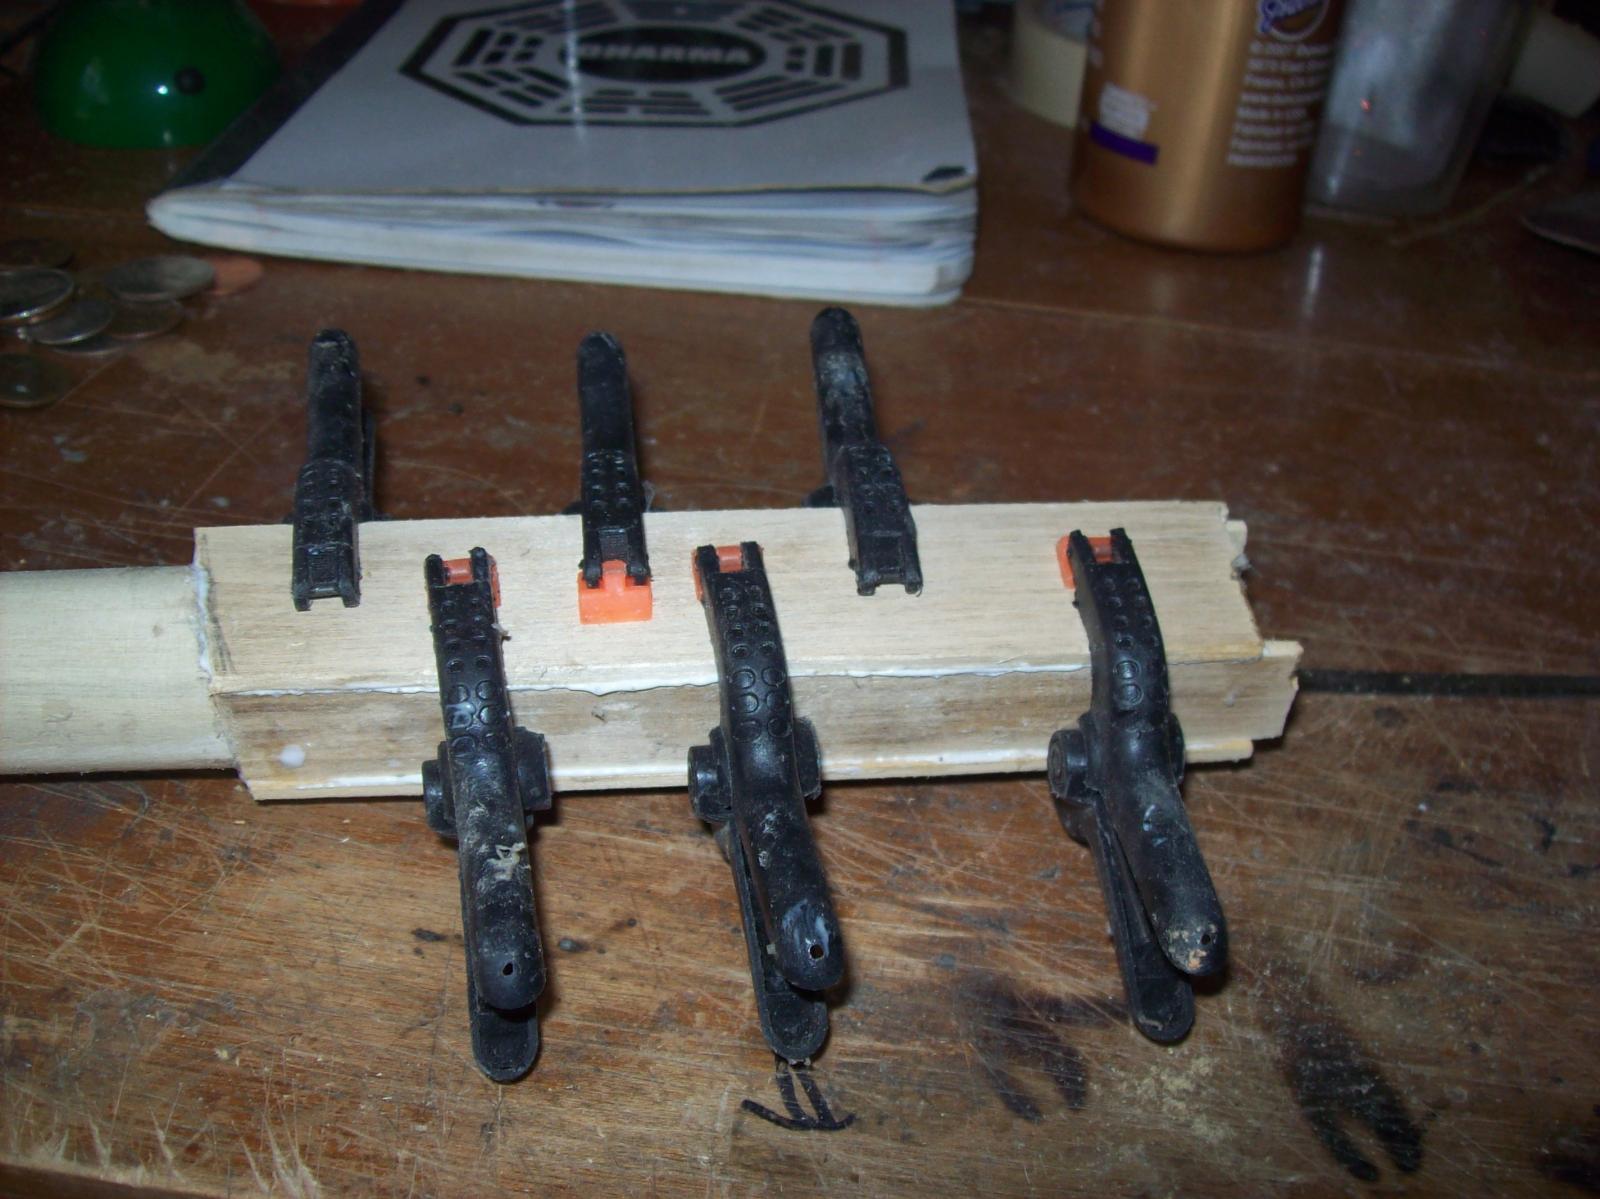
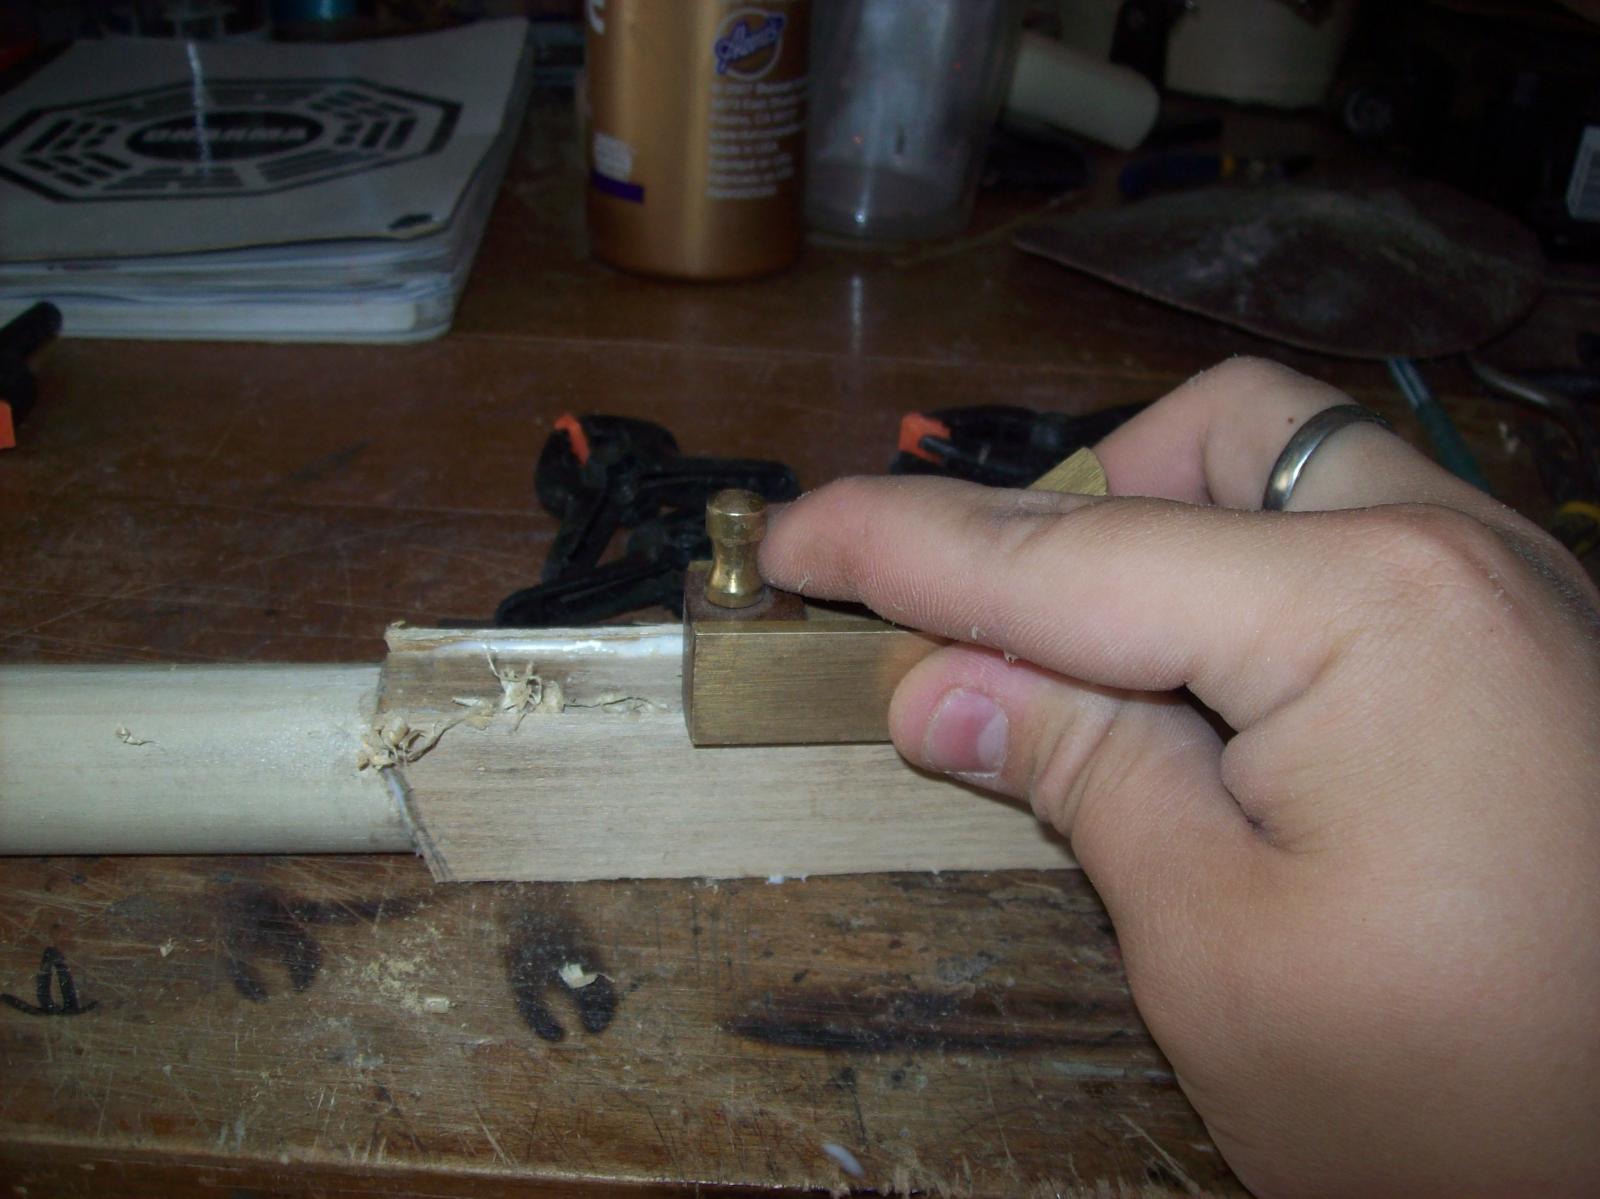
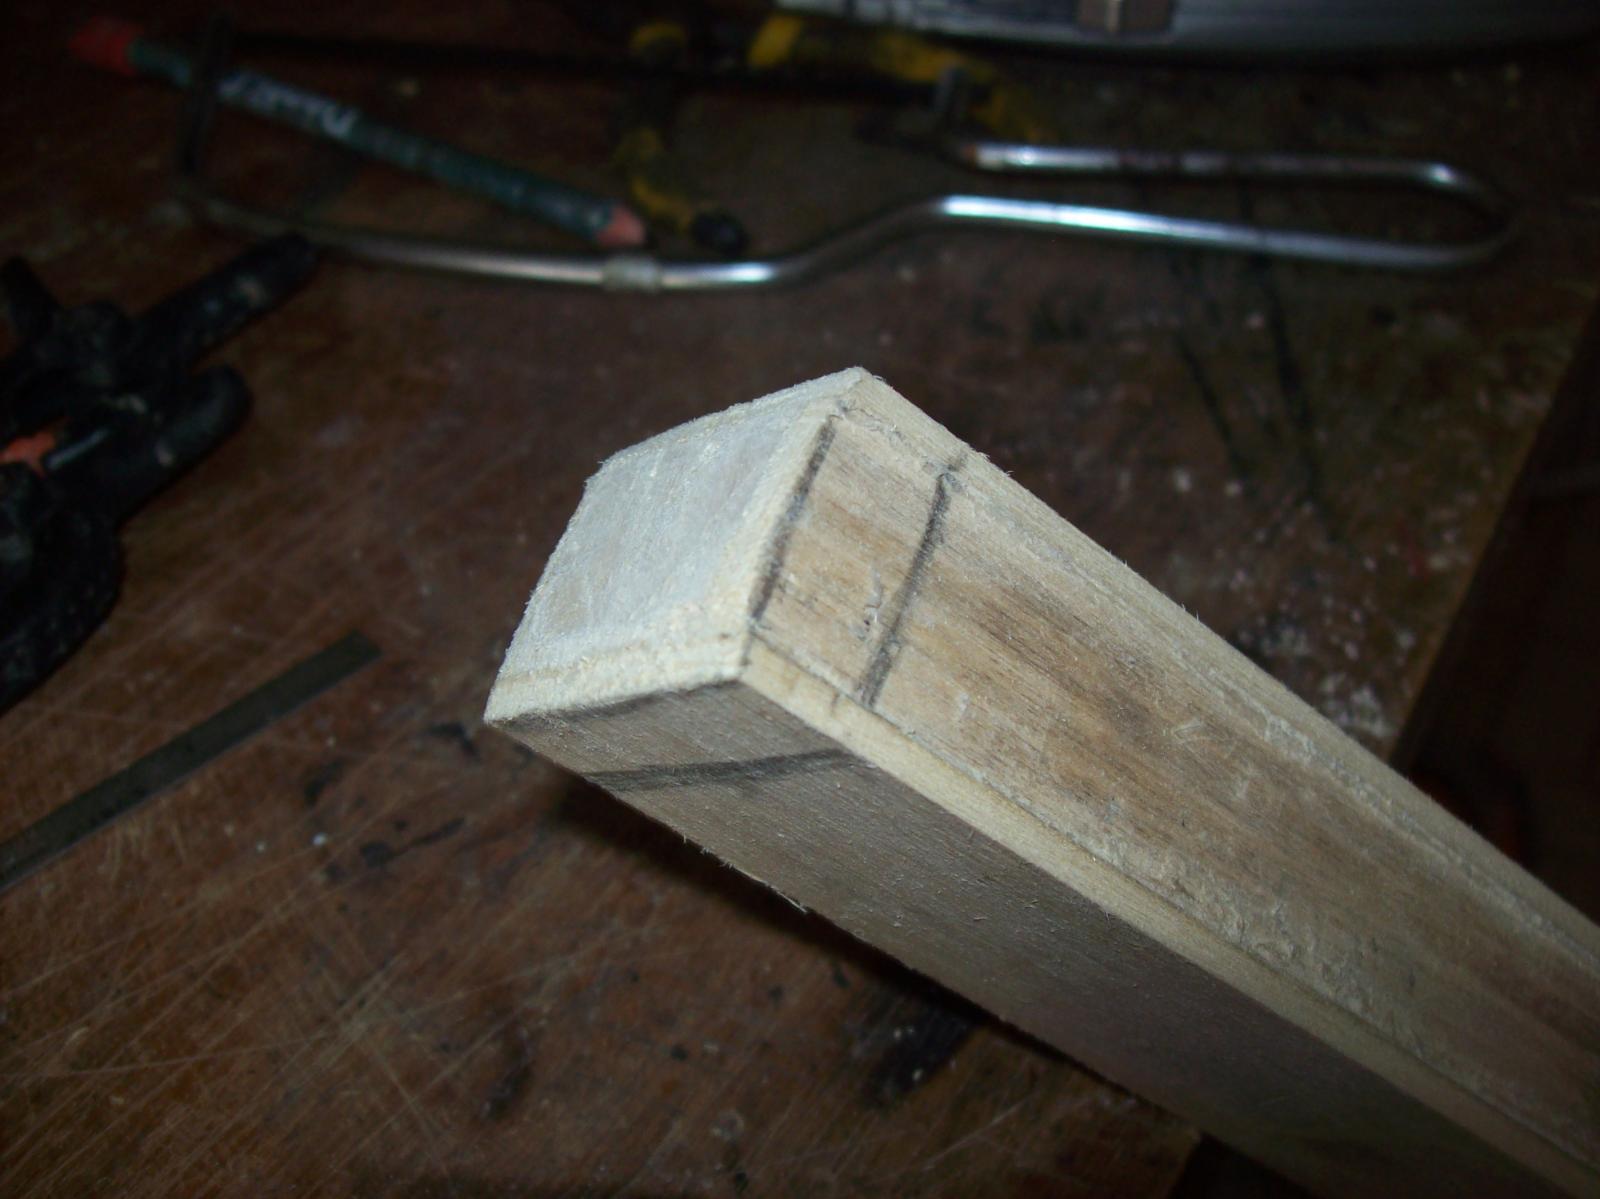
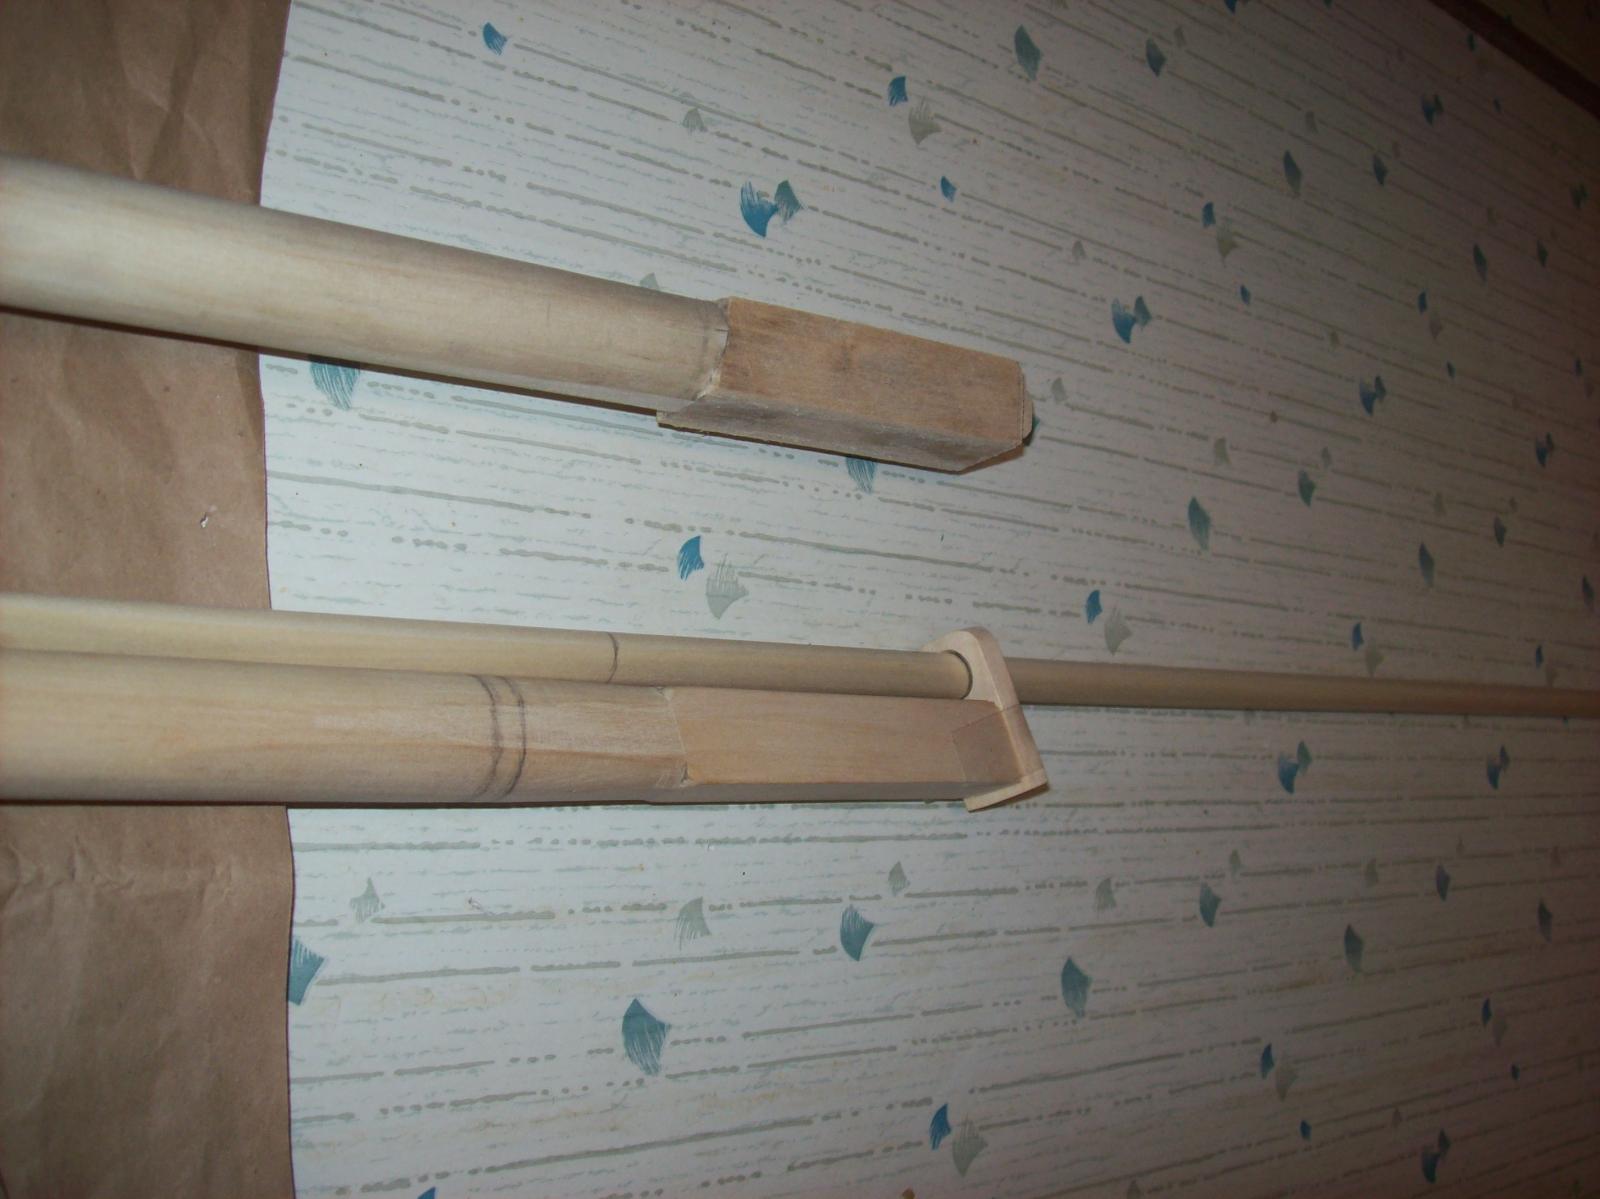
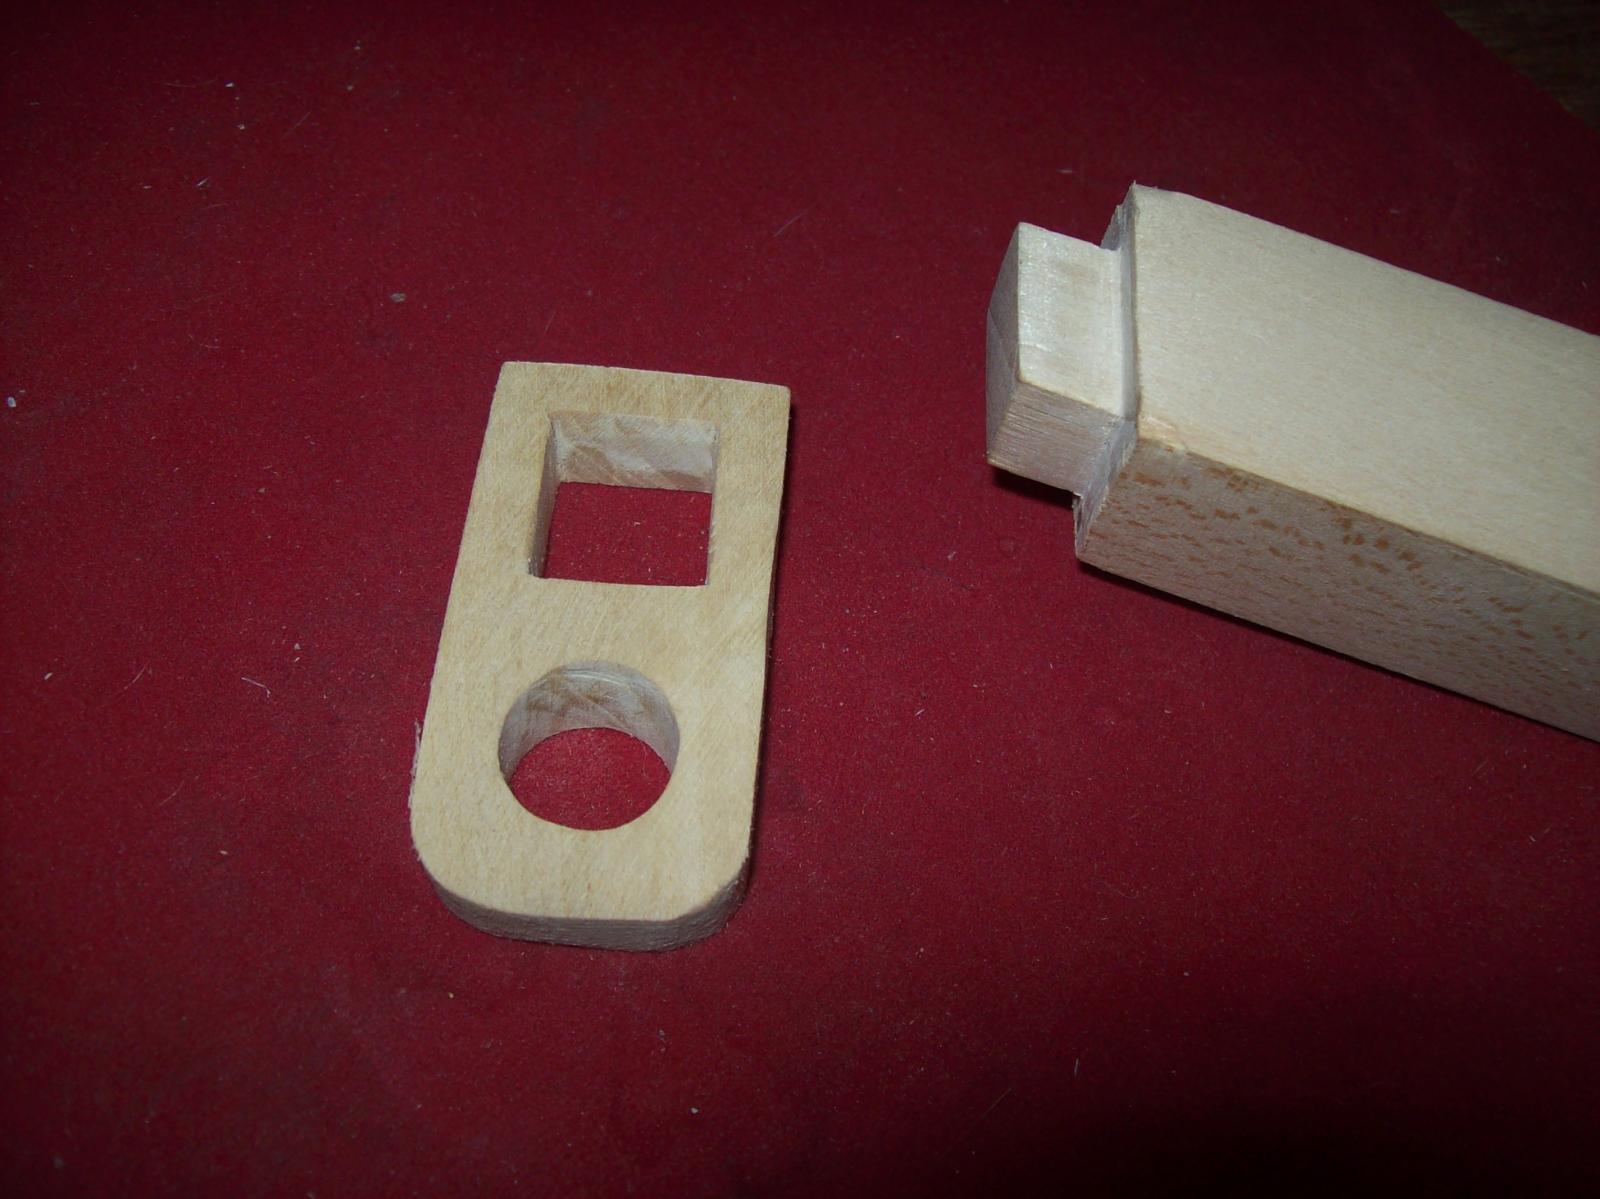
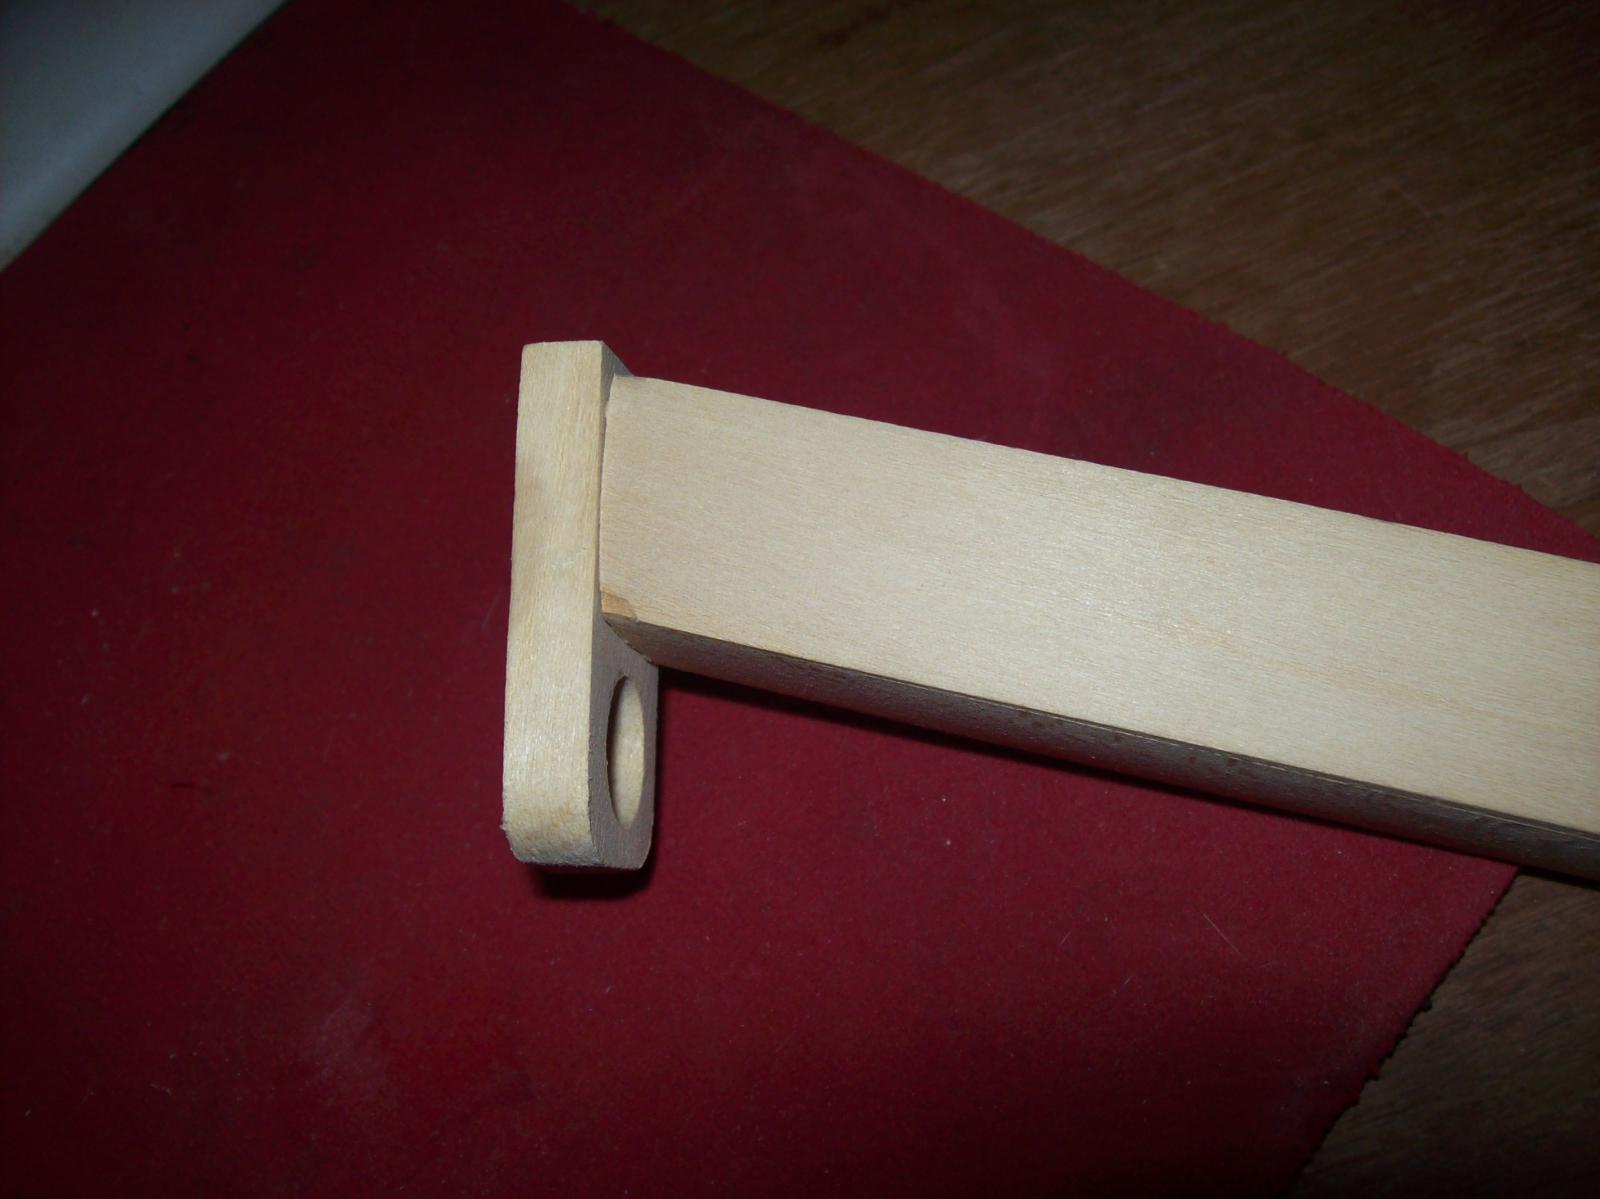
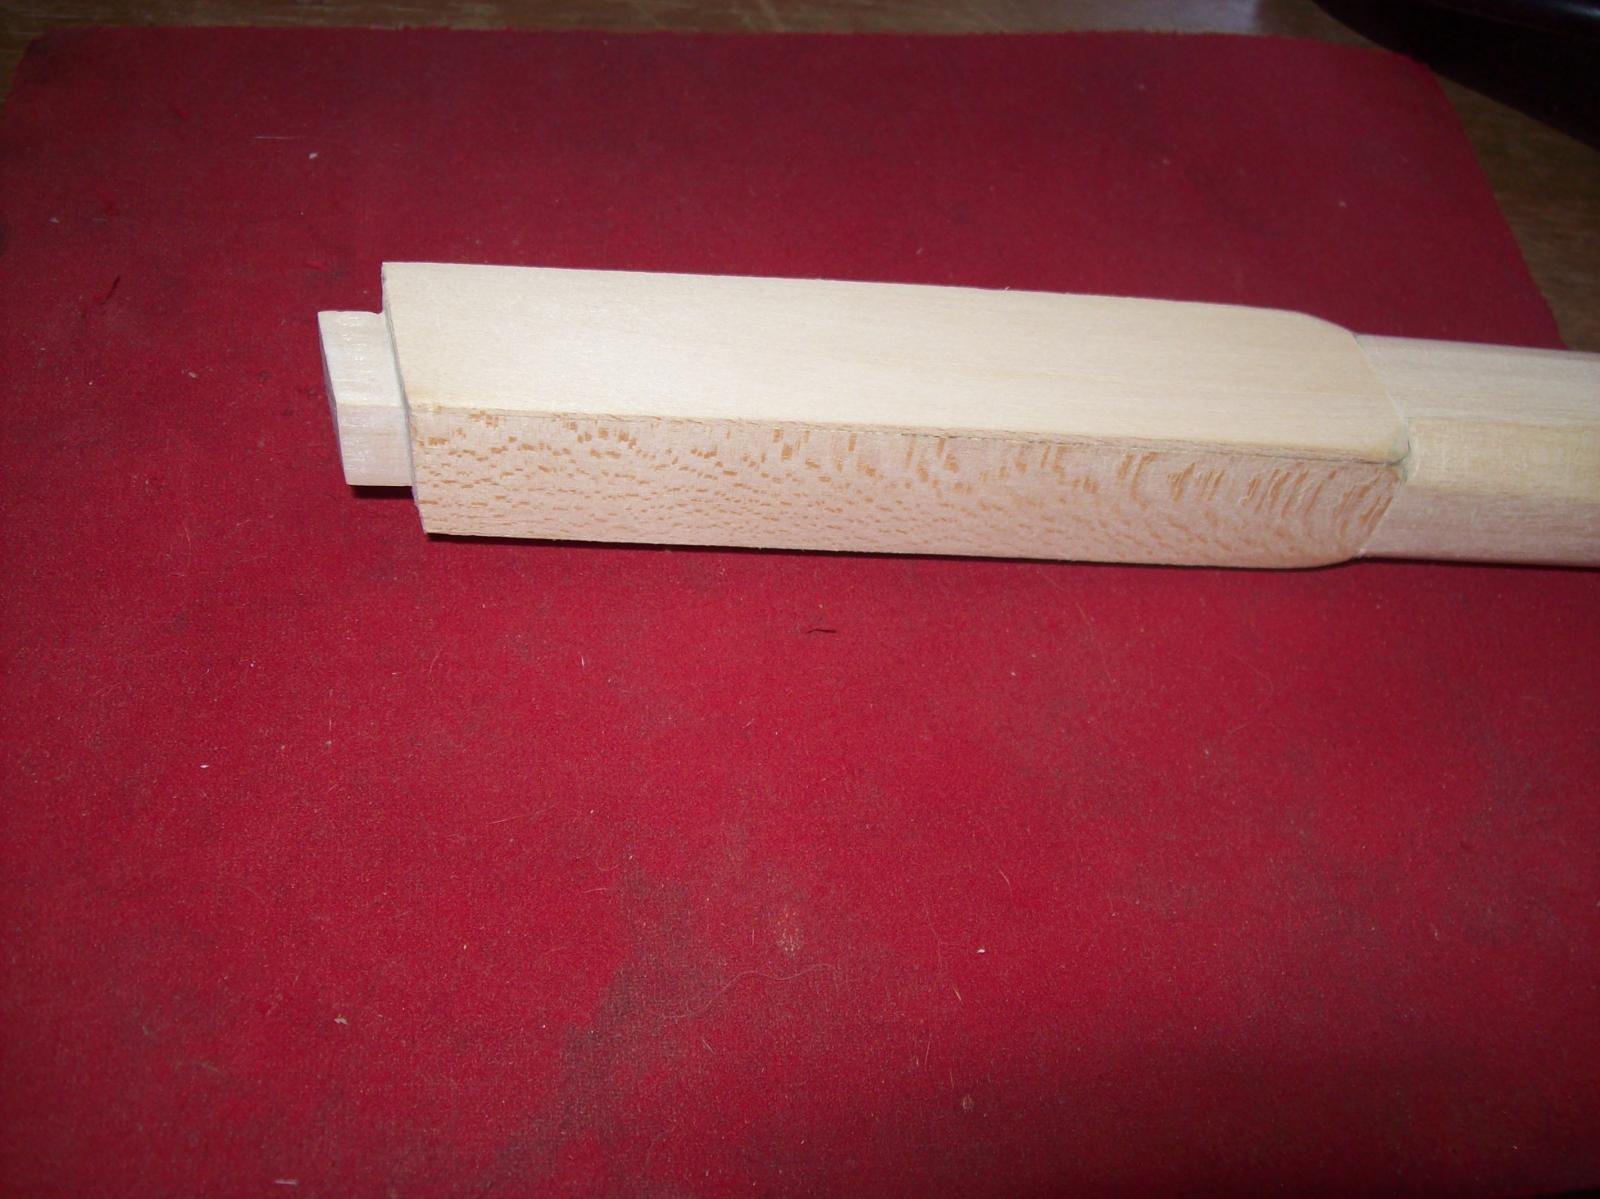
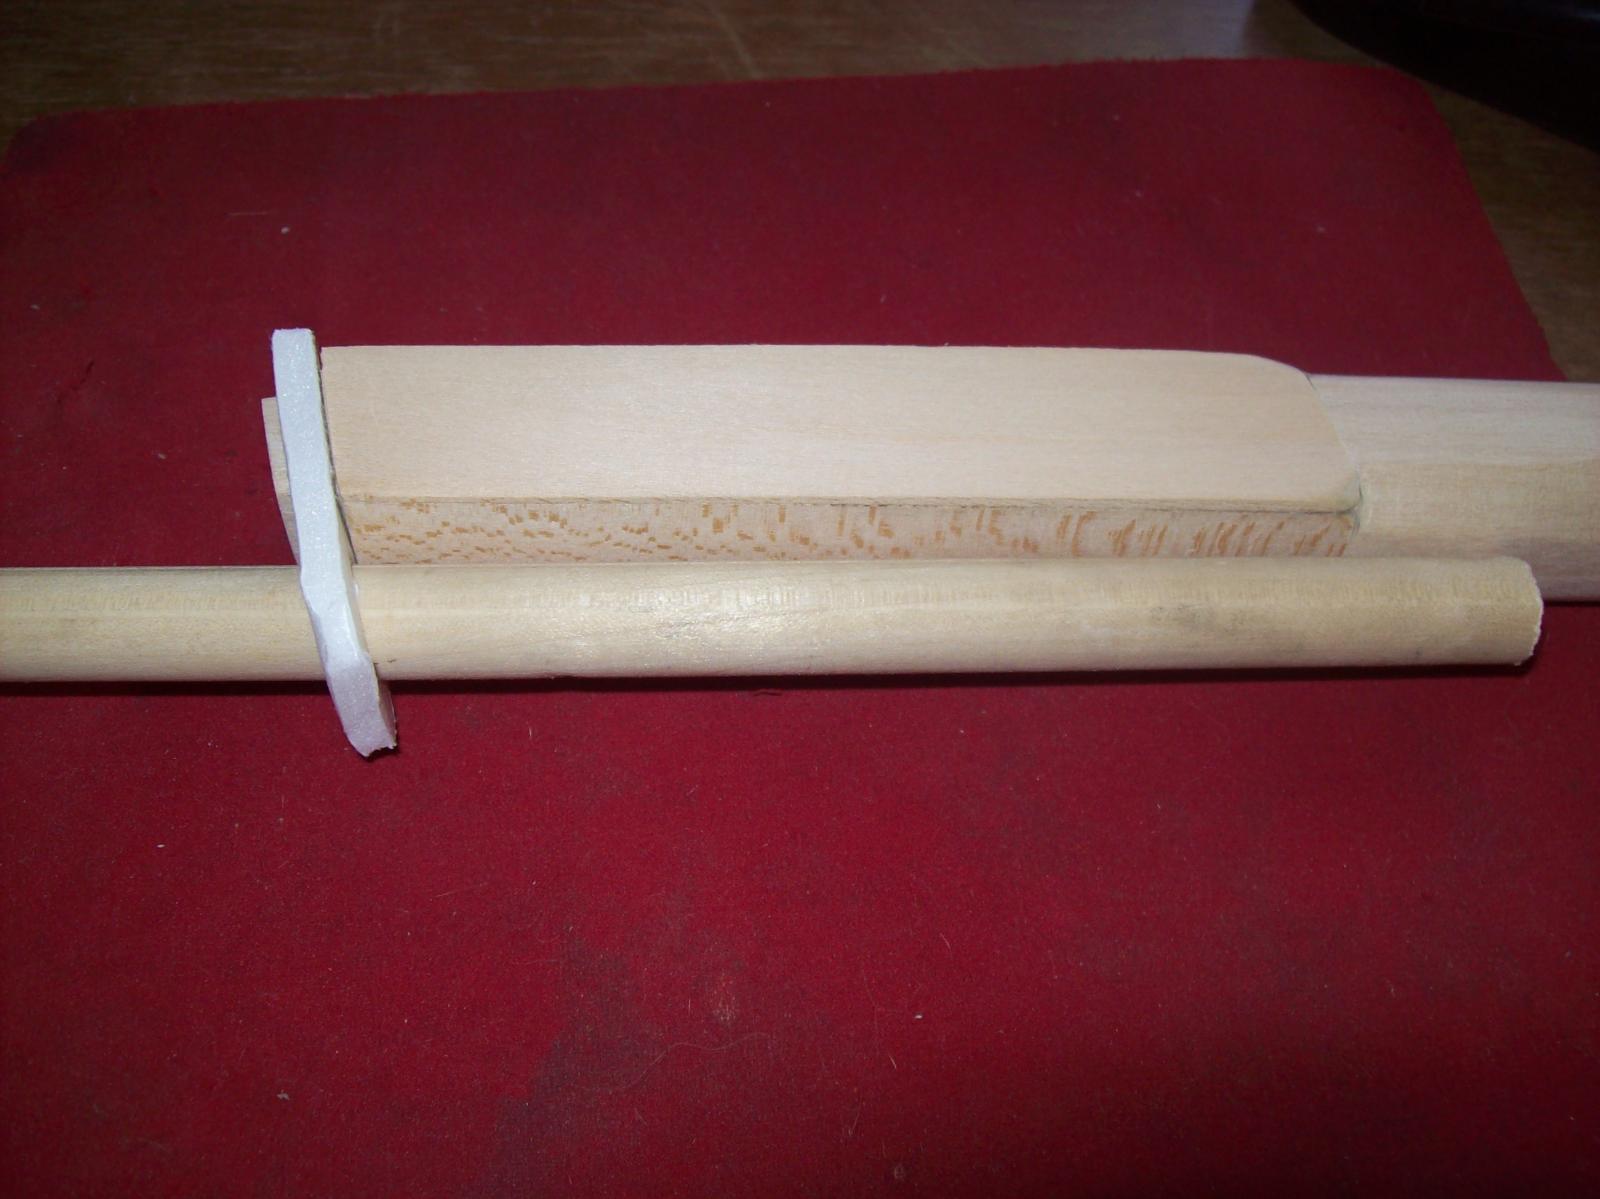
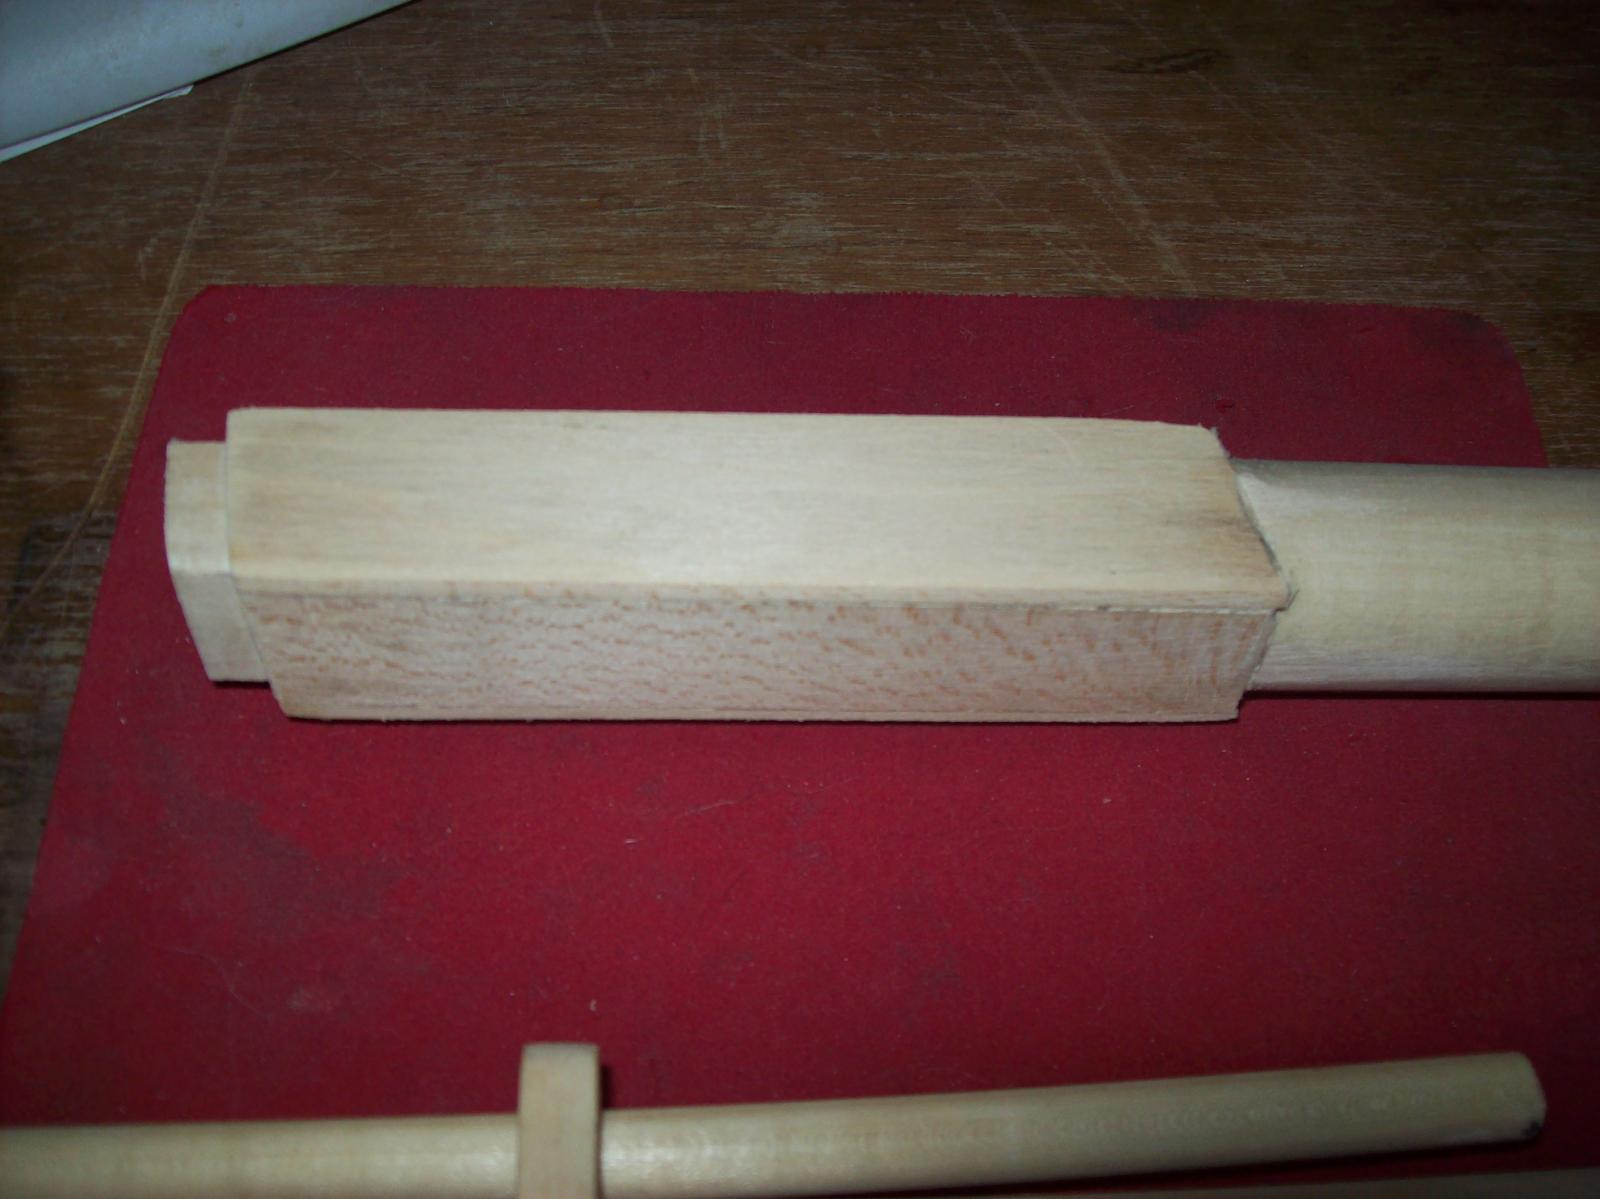
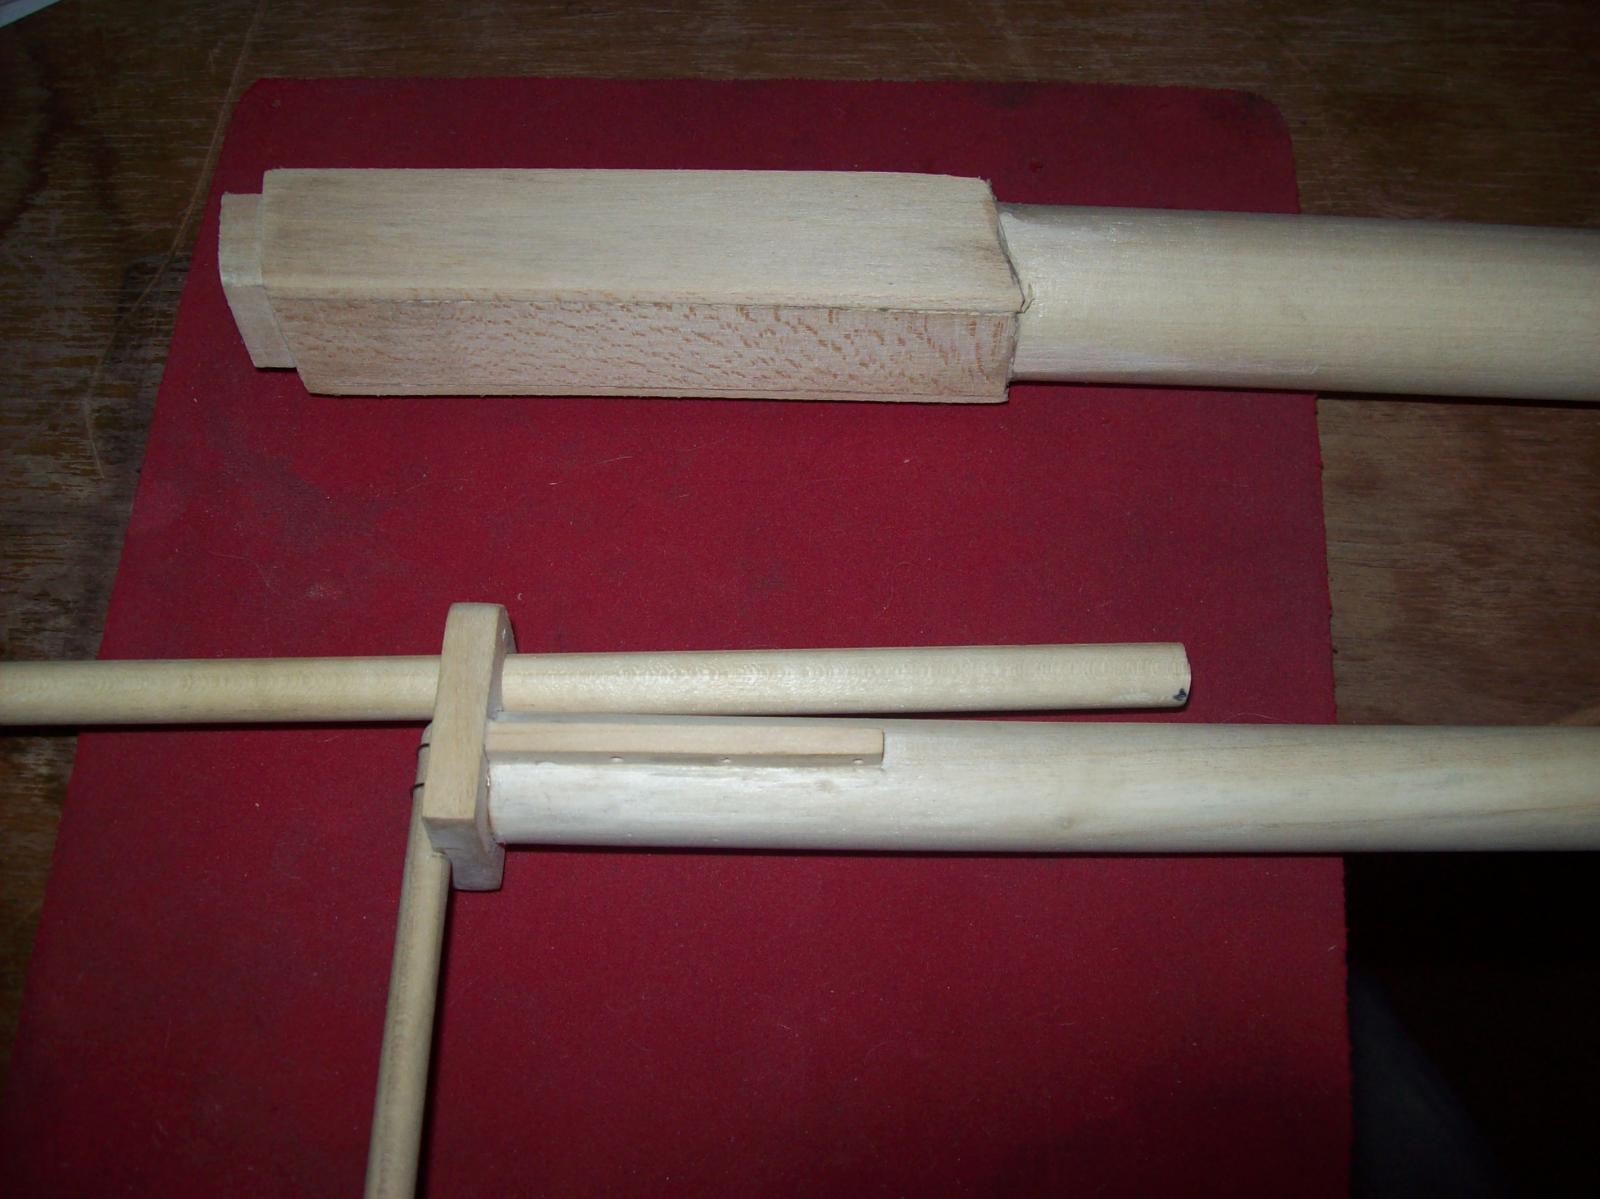
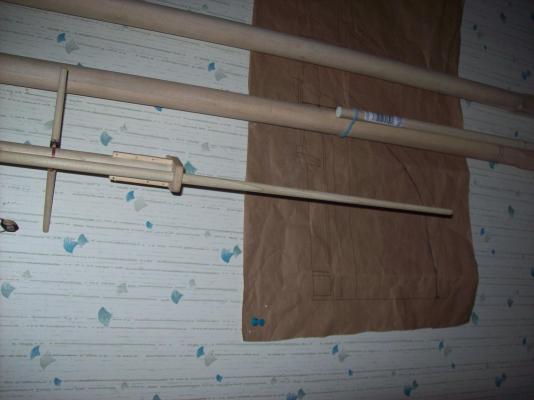
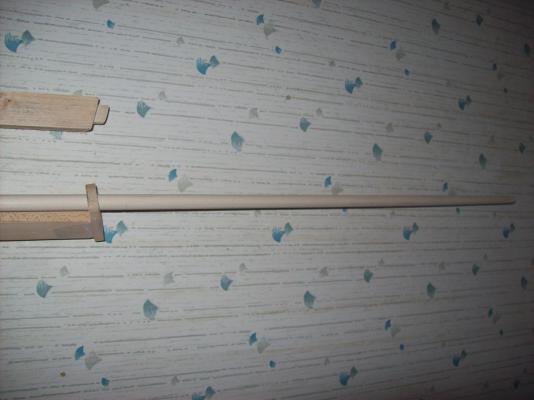
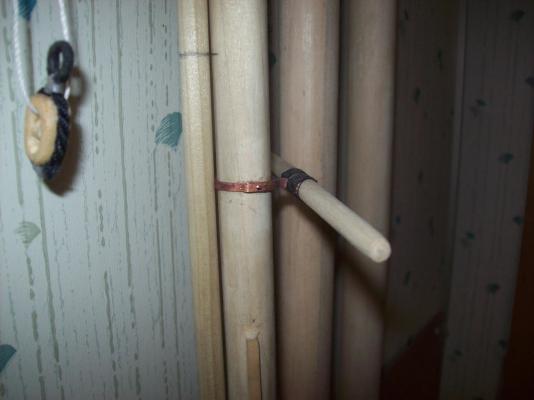
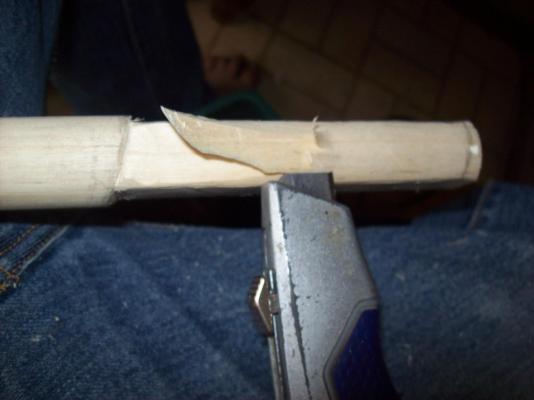
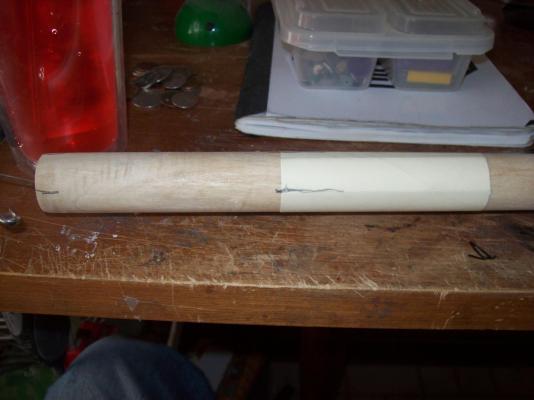
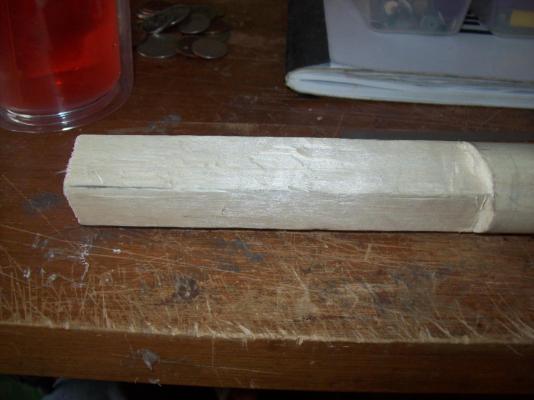
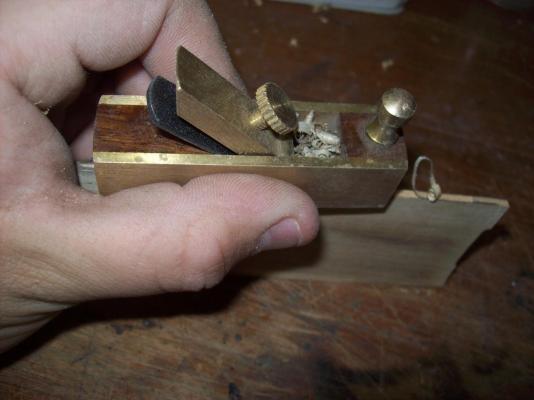
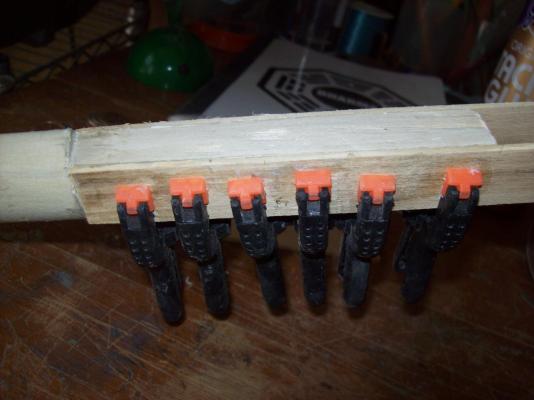
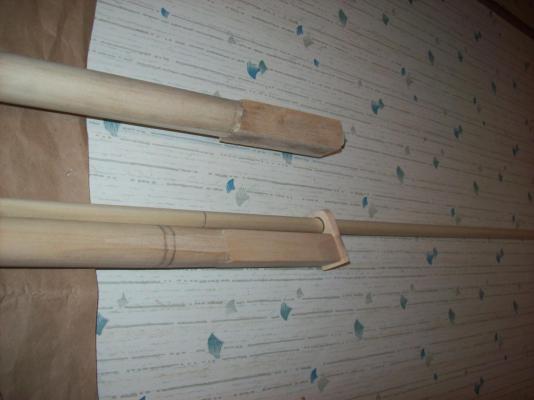
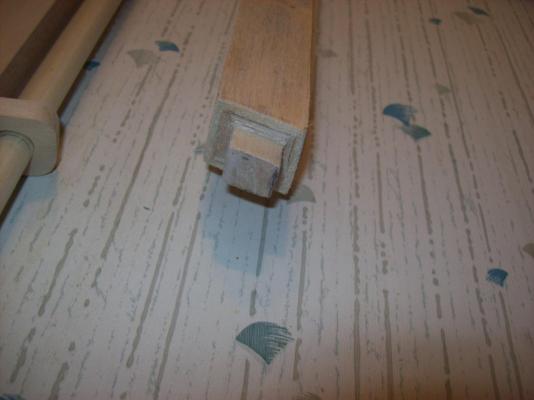
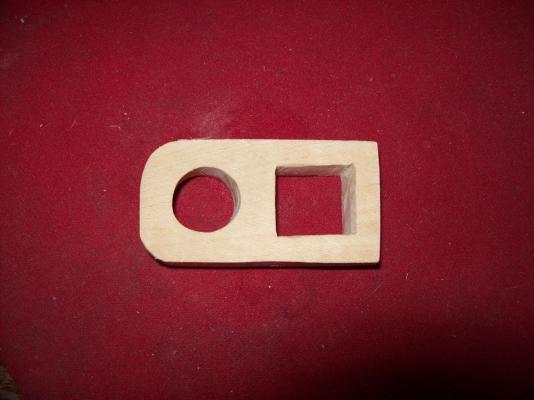
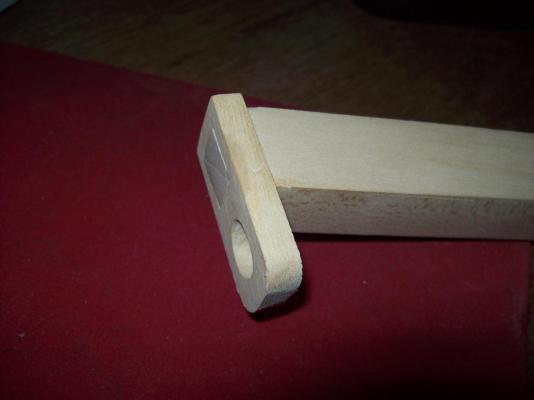
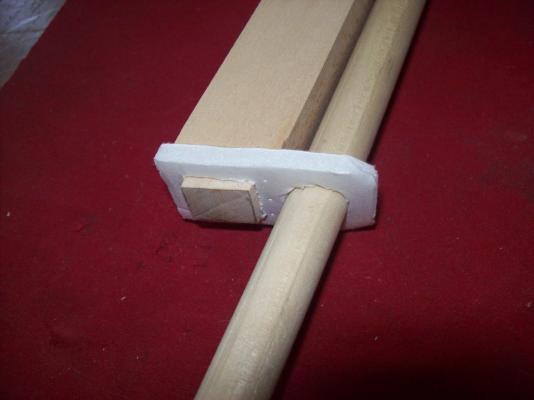
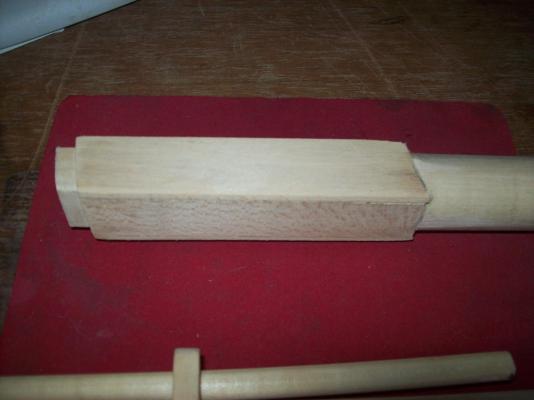
I started on the second mast and decided this time to take lots of pictures along the way. I used a peice of paper with creases in it to mark were to cut too to make the square. Here I am cutting down to my lines with a razor knife. The square after being cut with the razor. After sanding with 80 grit. The wood for boxing the top of the mast from an old set of window blinds. I used a small block plane to remove the finish. I also used the plane to square the edges. The prepared wood. Gluing the pieces of wood to the front and back of the mast. Gluing the pieces of wood to the sides of the mast. using the plane to trim the edges. the end cut too length. the end cut too accept the cap. The mast hung on my closet door next to the previous one.


-
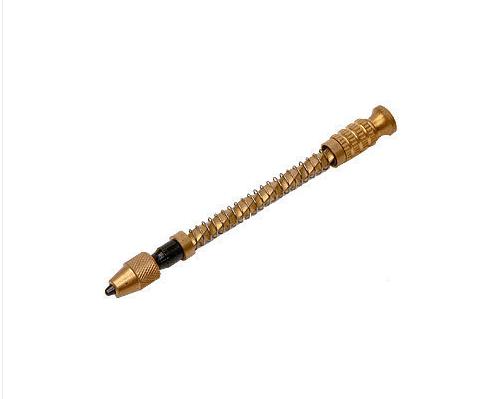
I found a pinvice and twist drill set on ebay for a good price, I will get them if I can get my dad to use his PayPal account because I don't have PayPal yet.
-
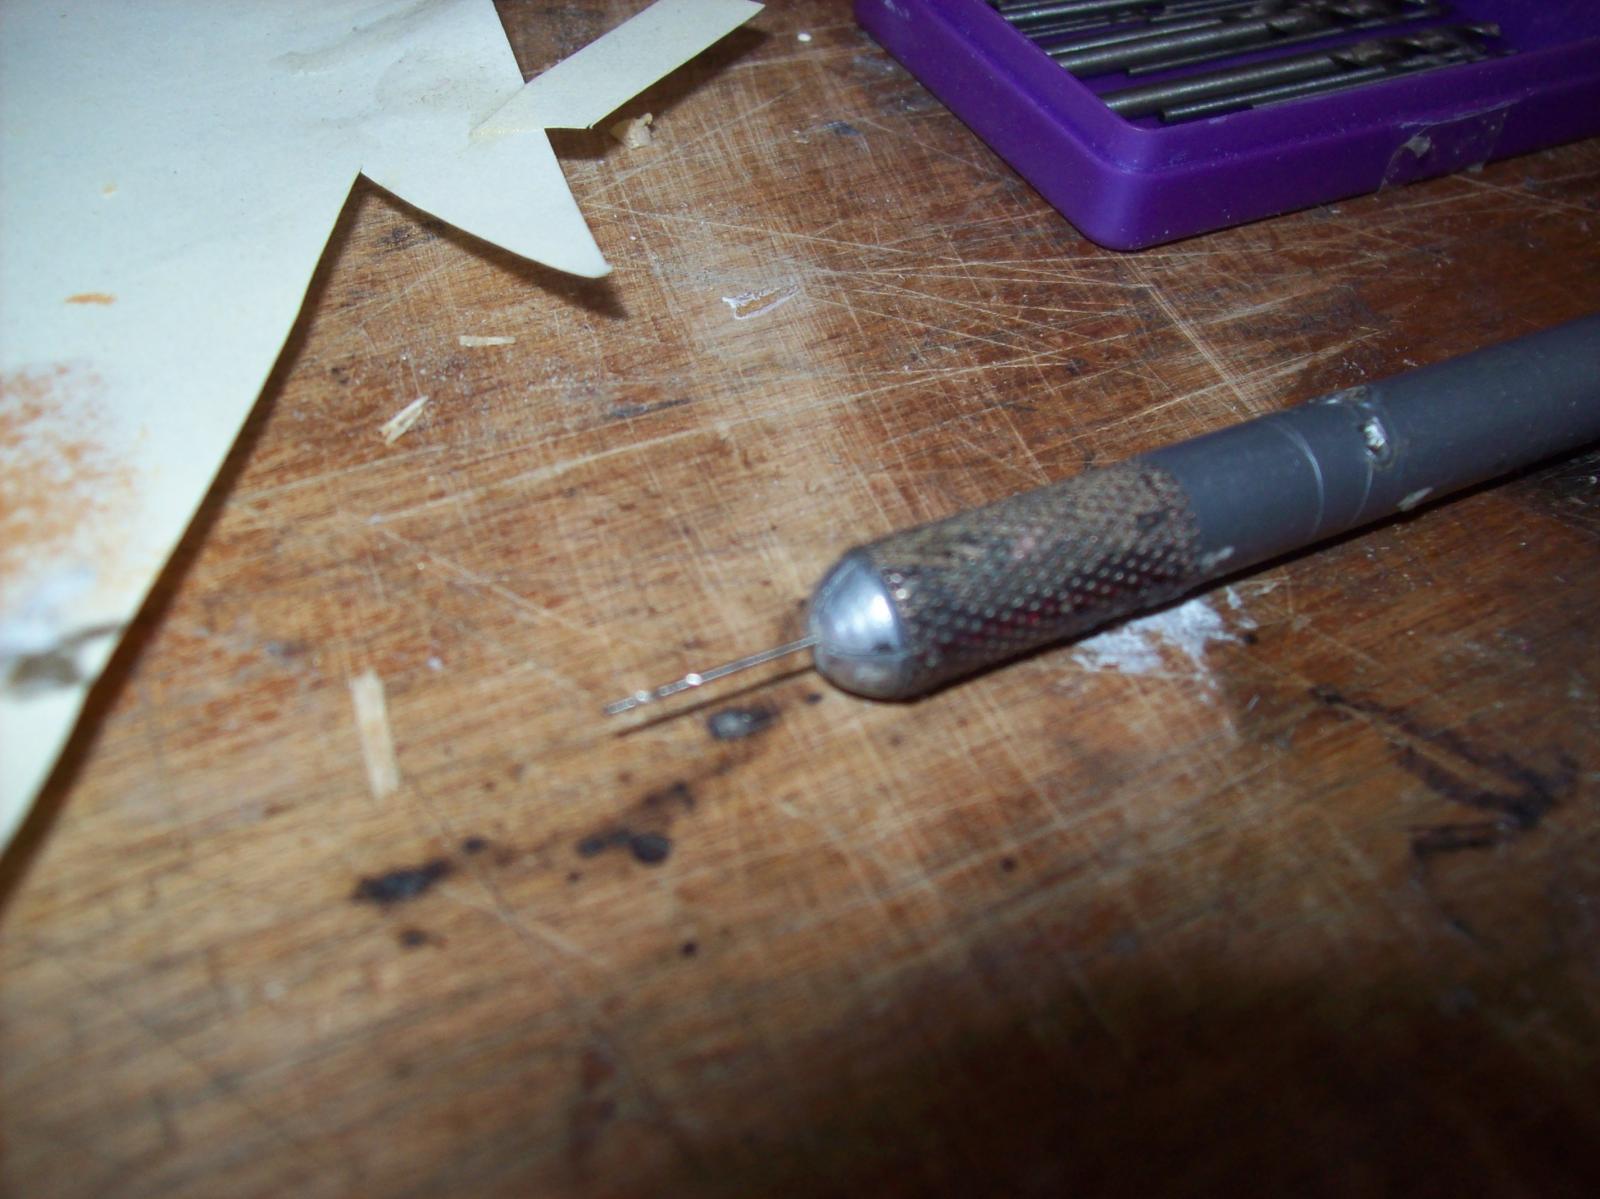
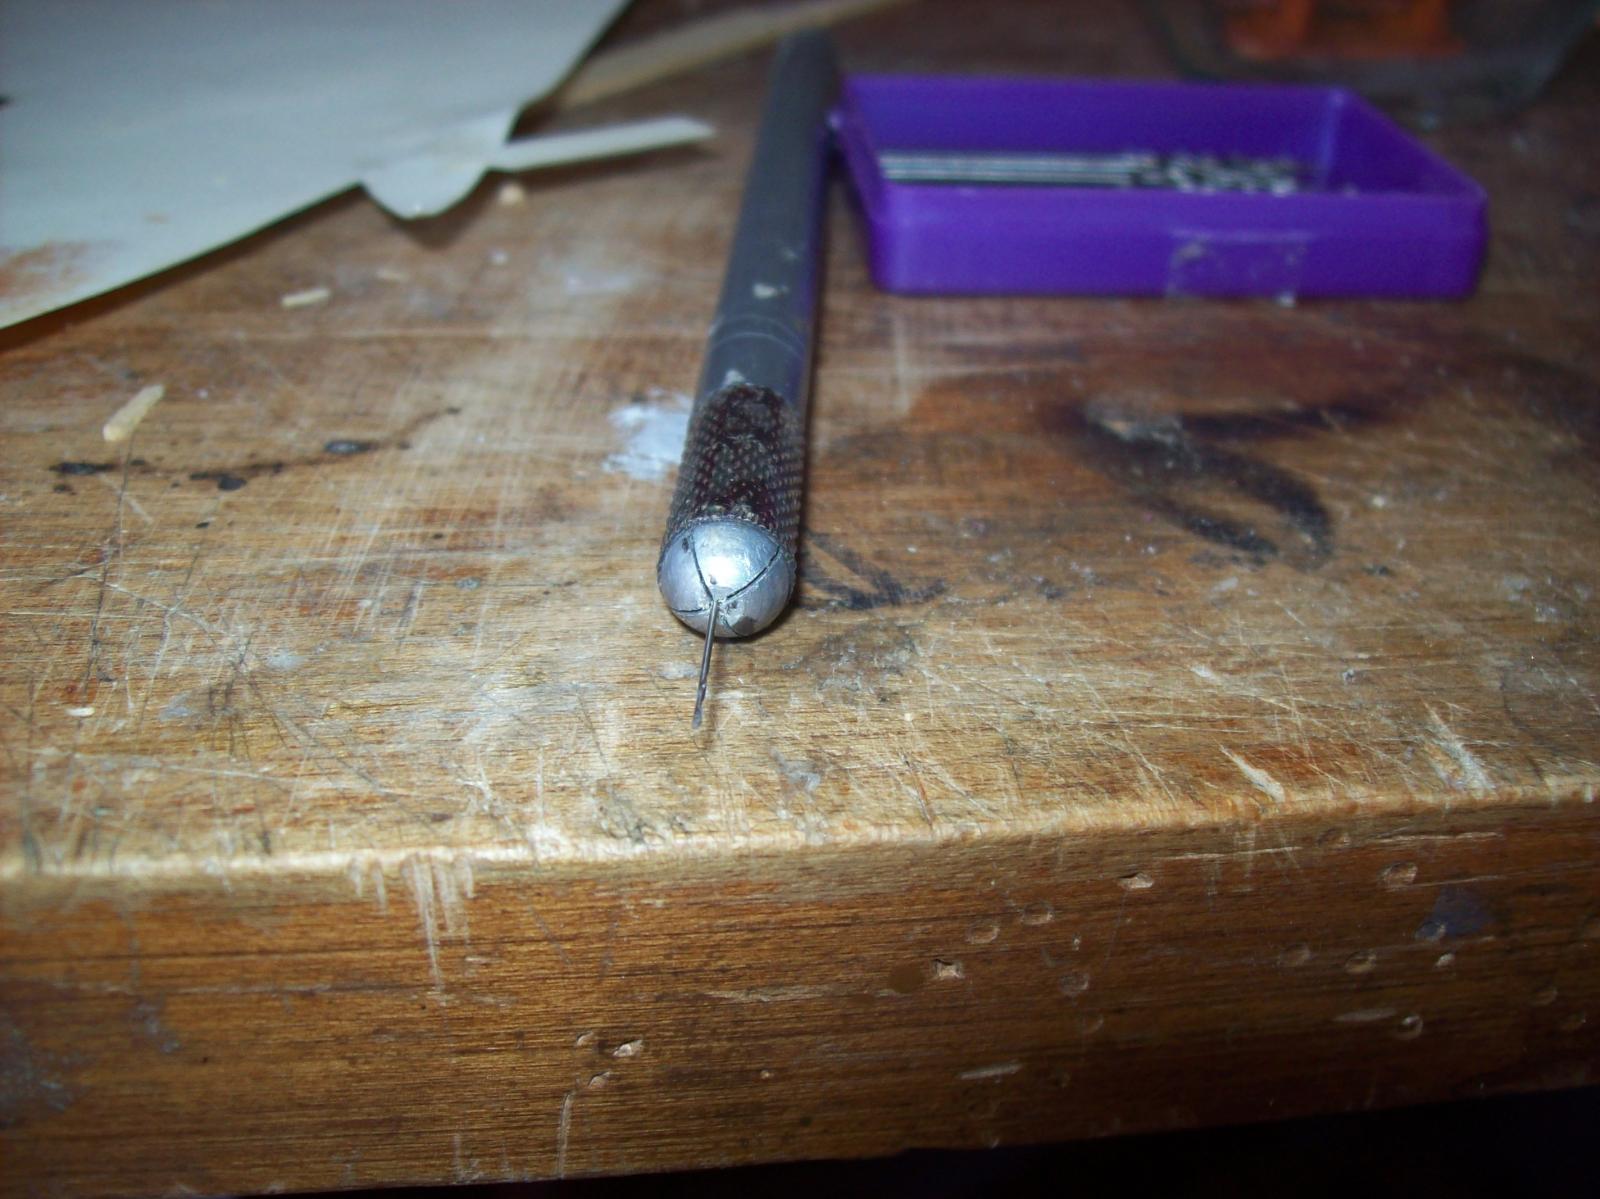
I rigged up a pinvice from a peace of dowel and a sewing thimble it worked very well but being home made it was far from perfect, I will definitely need too buy a real one. I thought that it would be hard to spin by hand but it was really easy and drilled a hole trough the wood very quickly.
-
I stopped by harbor freight today and bought some tiny drillbits 30 for 3 dollars the smallest ones are 0.5 mm. Thank you for the advice I will try to get a pinvice as soon as possible. I will check out model expo if I need more drillbits down the road, too late now that I already bought some.
-
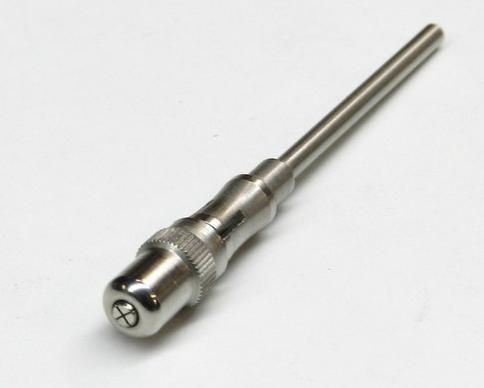
Yes. but I will be using modified needles as drillbits until I get money to buy drillbits. One more question would the Dremel mandrel work as a pinvice?
-
I am planning on getting a pin vice/drill but was wondering which would be best if I only got one or two. A spiral drill. A chuck for my dremel. A mandrel for my dremel. Or a pin vice. Lextin AKA qwerty2008

-
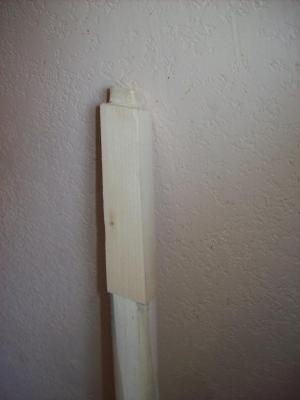
I made the mast cap.


-
I sanded 1/16th of an inch from each side of the square part on the top of the mast, then I cut 1/8th inch off each side off the very top to get it ready to accept the cap which I will make later today.

-
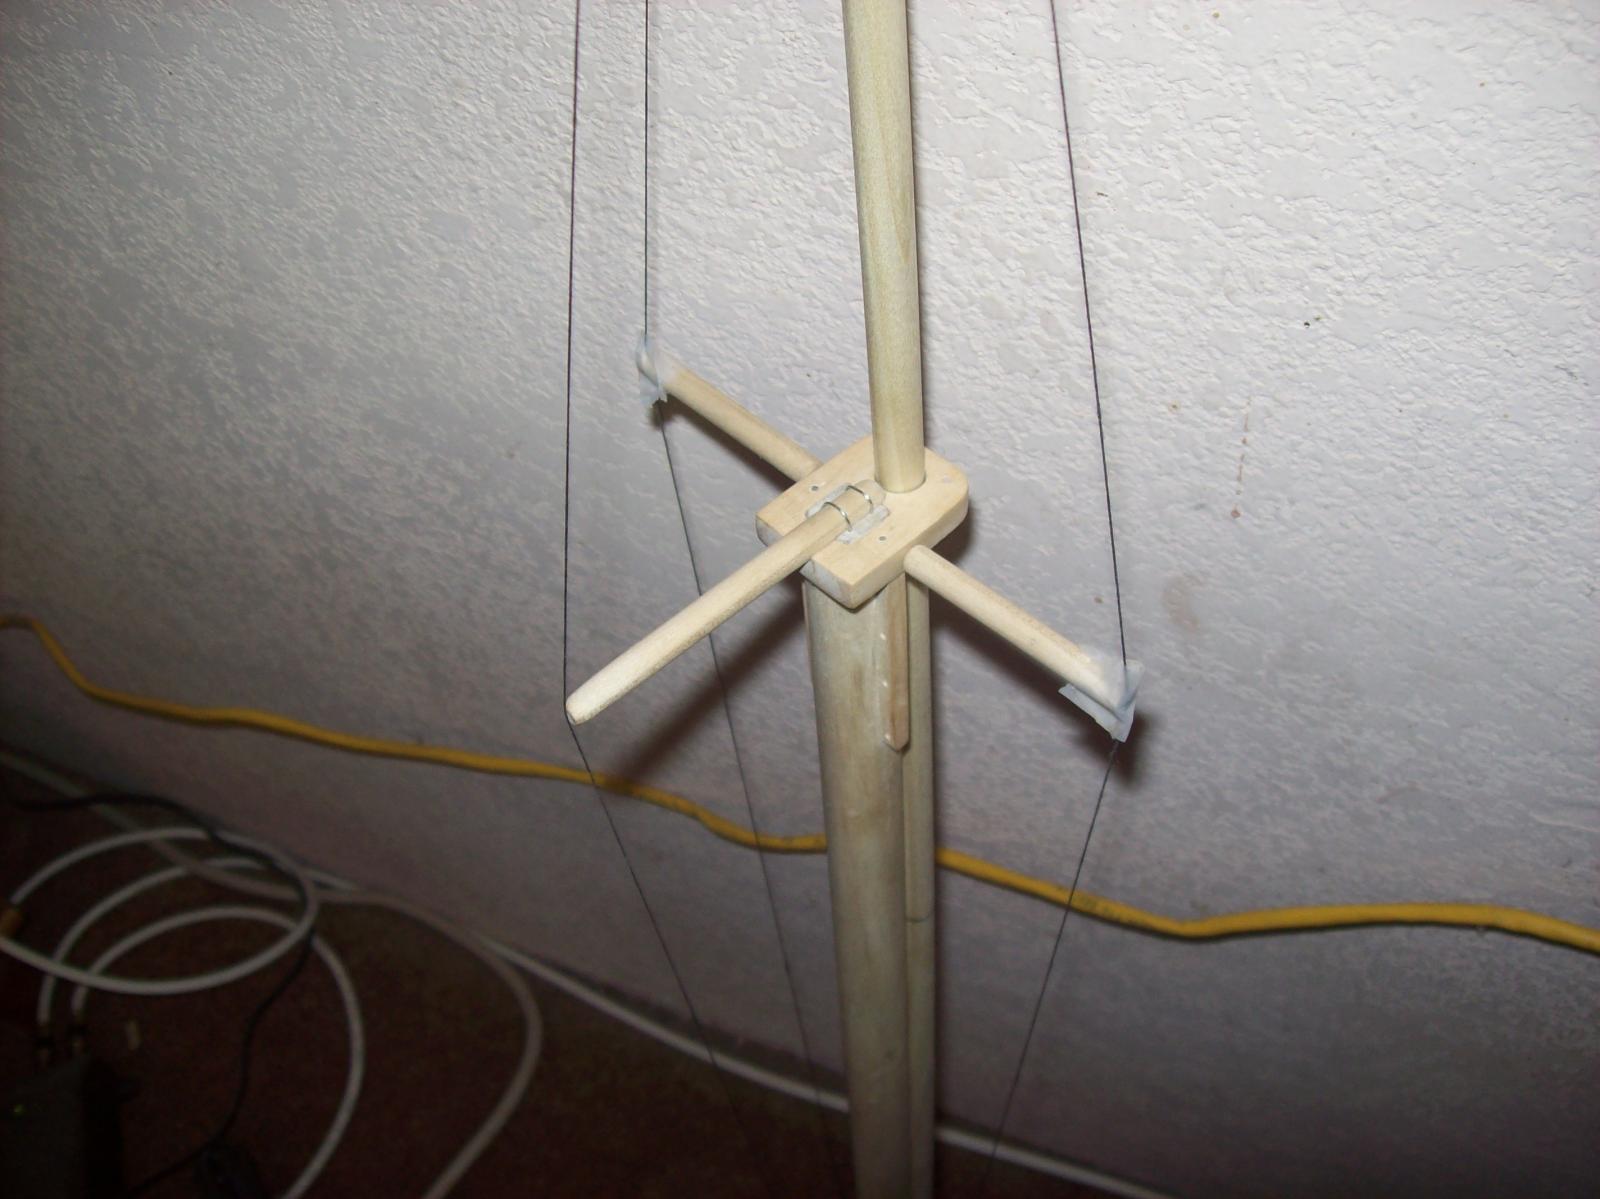
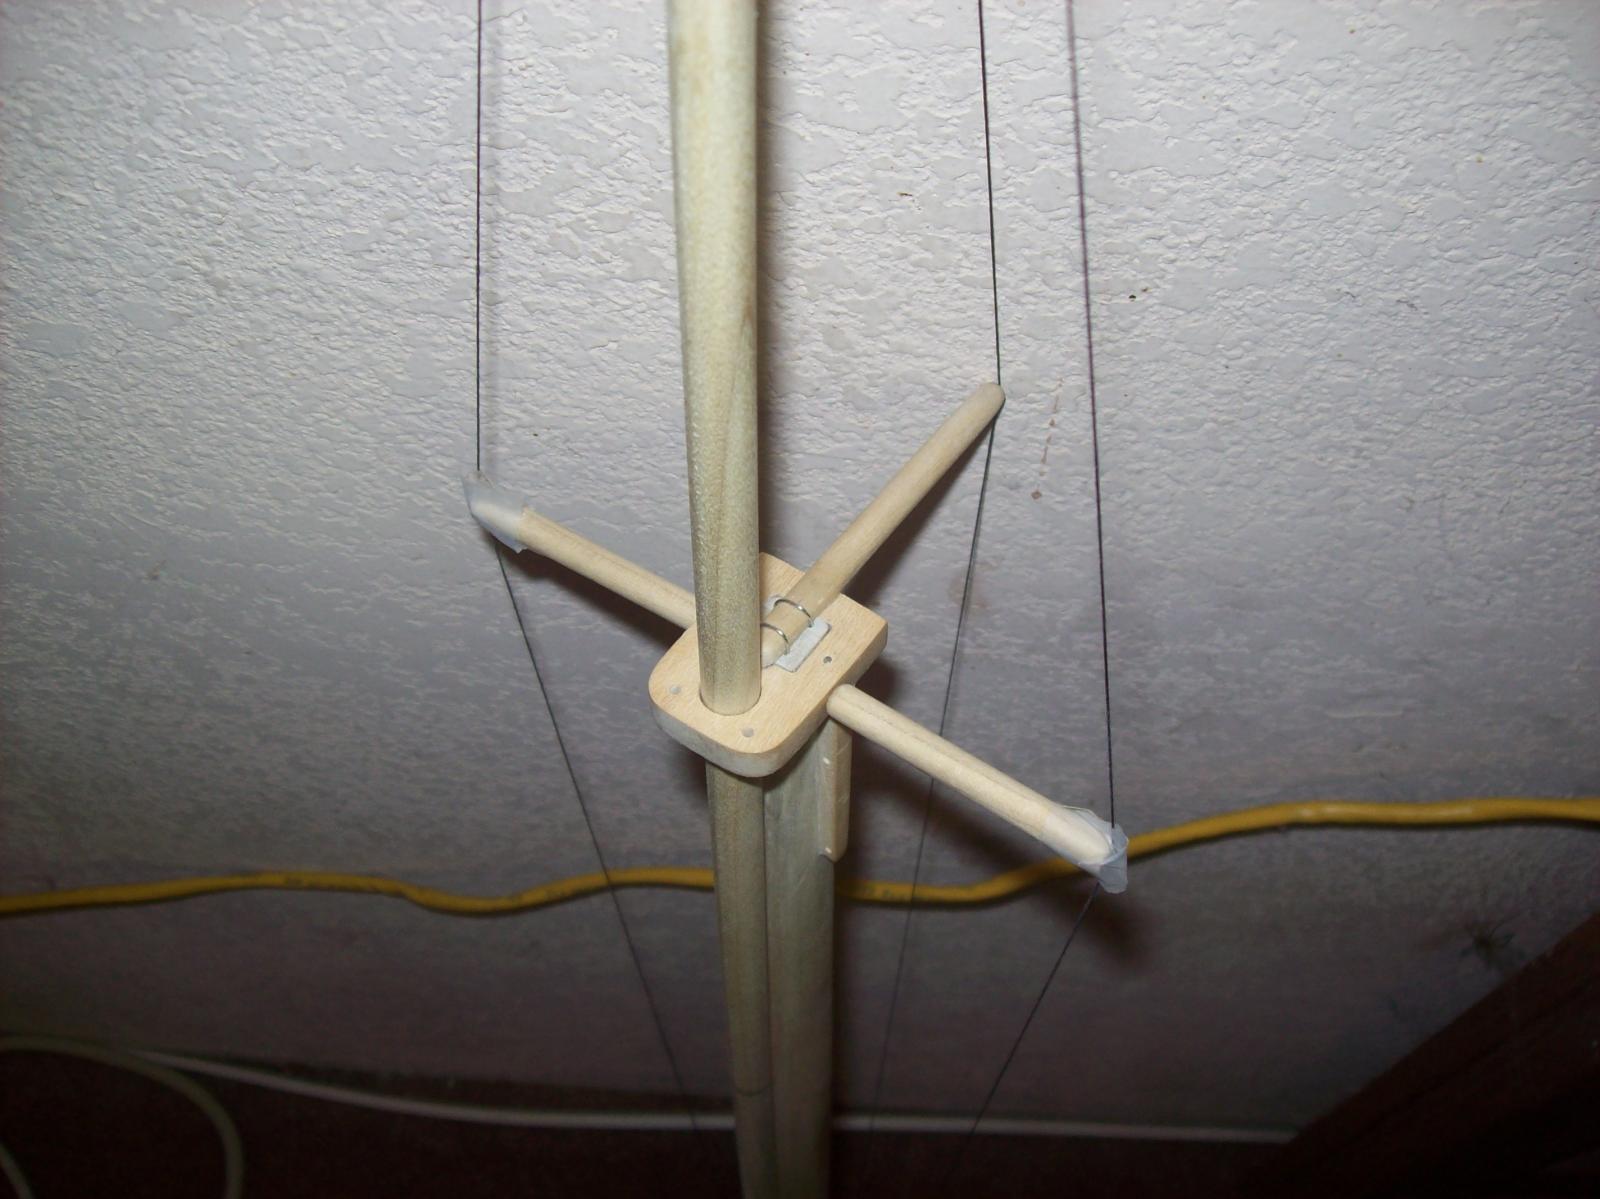
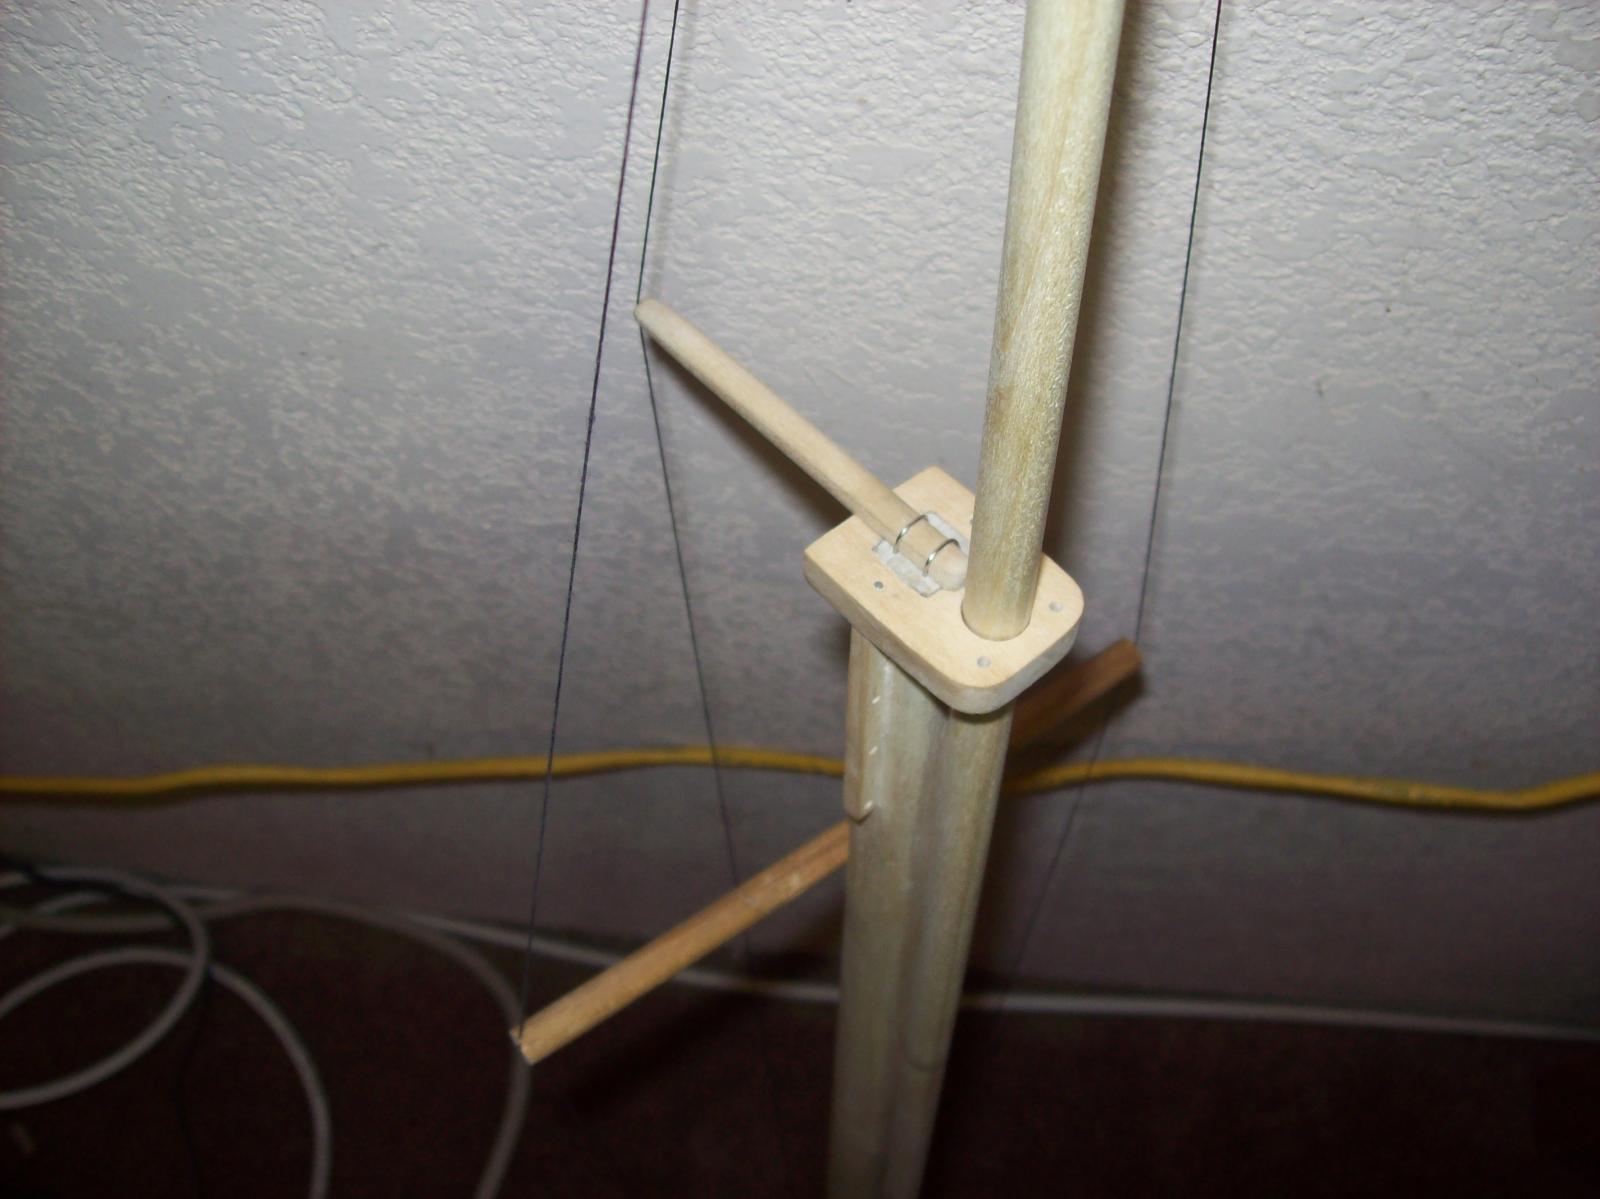
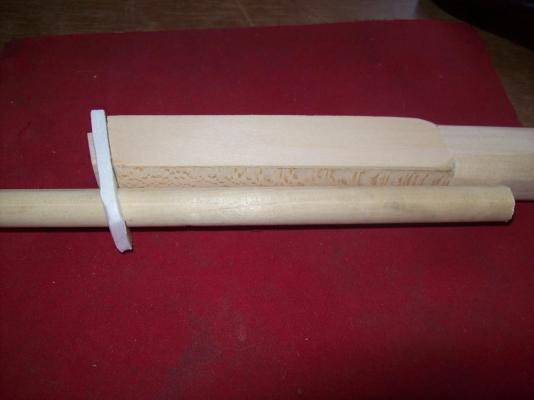
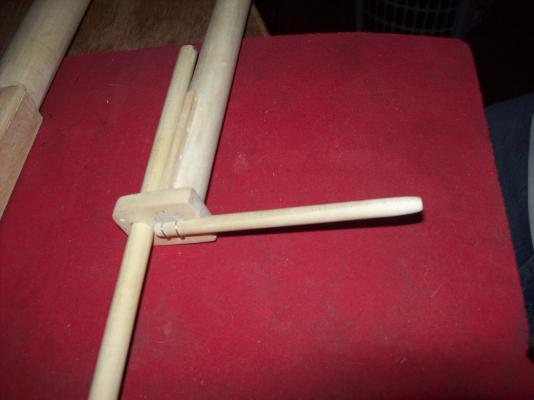
I started on the foremast. First I marked quarters on the round dowel then I cut down to the marks making the end square. Next I took some wood left over from the model farm wagon I am building and boxed the top of the mast to make it larger. I also made the dolphin striker and am wondering how it would be rigged. My drawings don't show spreaders but I know that it will probably need them. I might make the spreaders next.

-
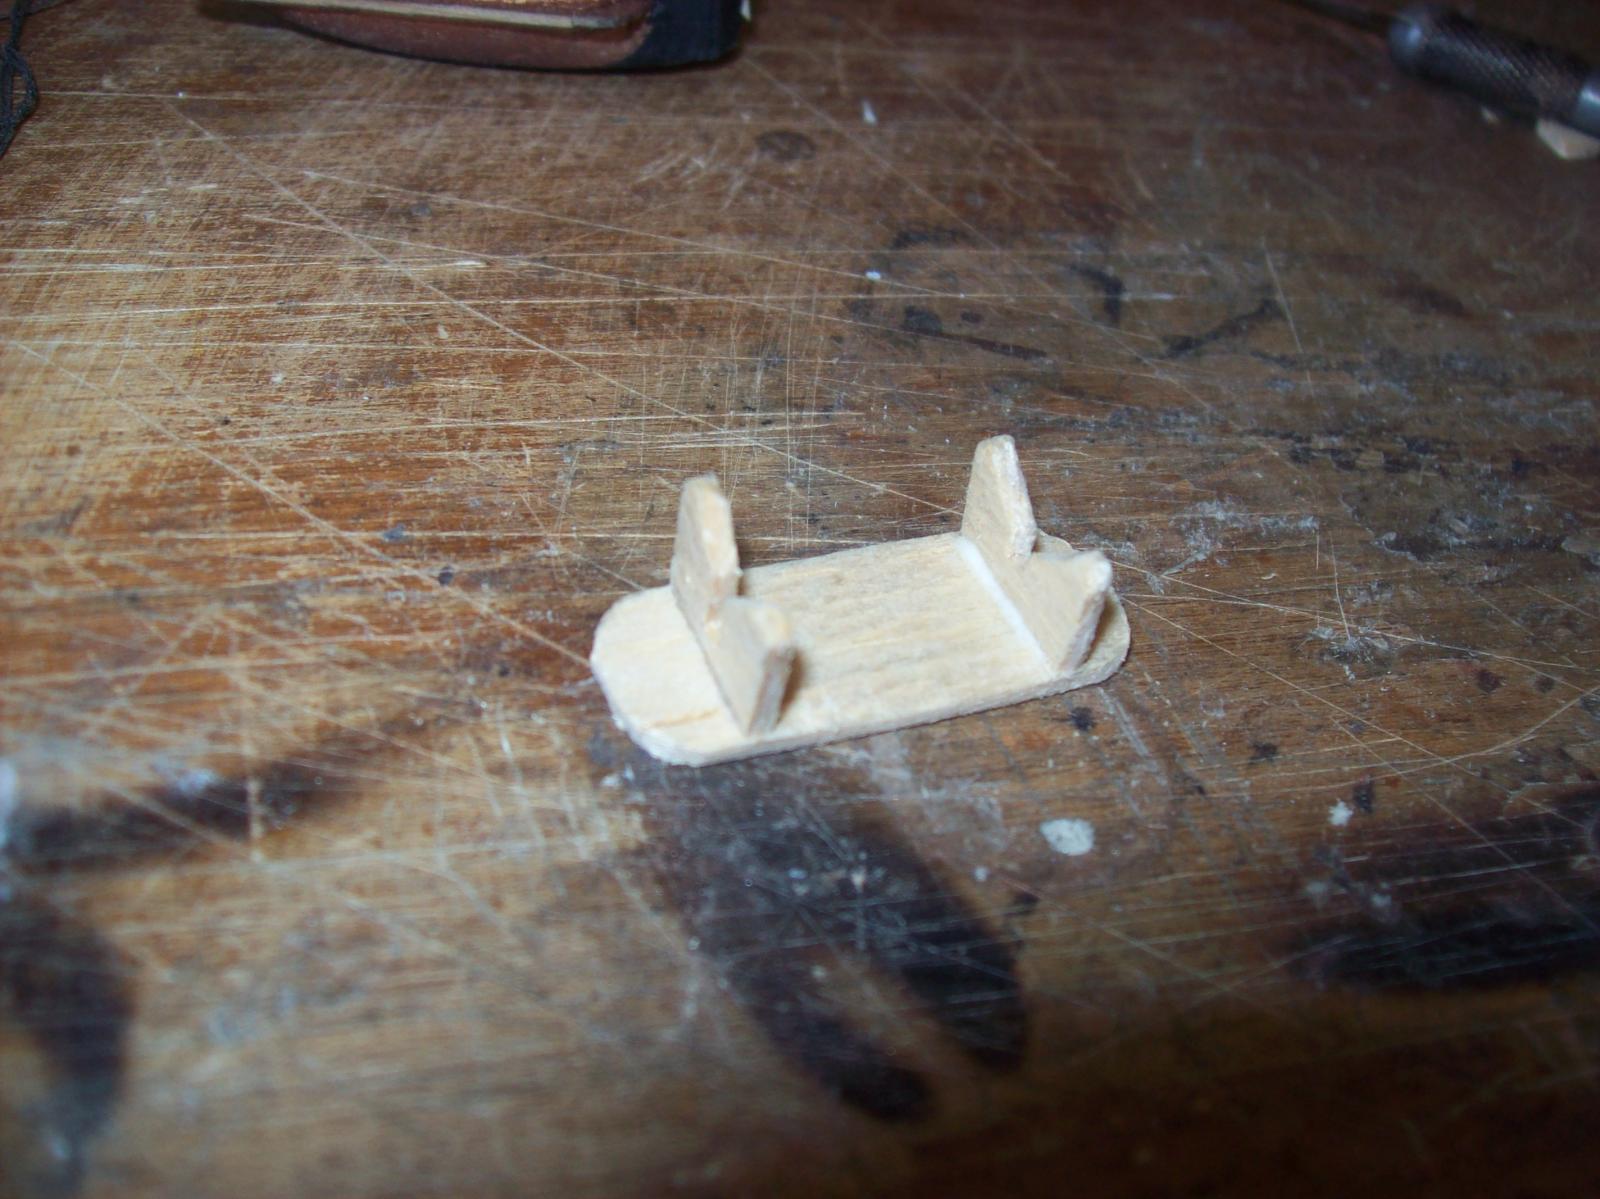
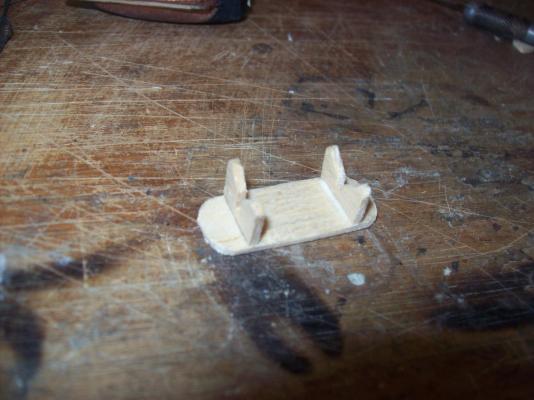
I made the stand from the small boat cradles off my failed USS Constitution.
-
I forgot two pictures, they were hiding in my camera's internal memory.
-
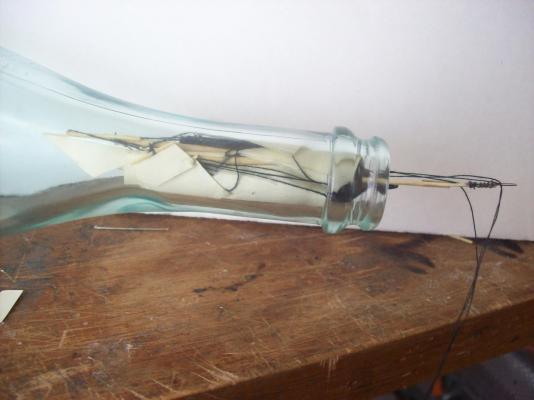
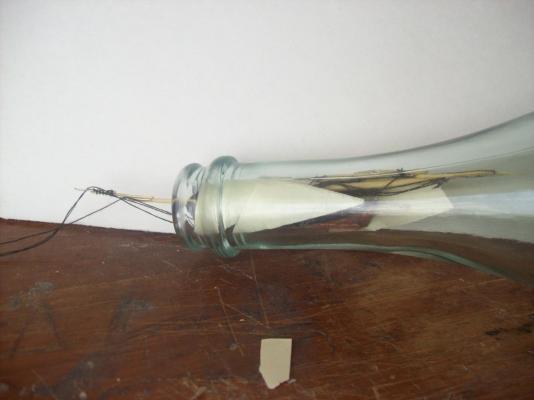
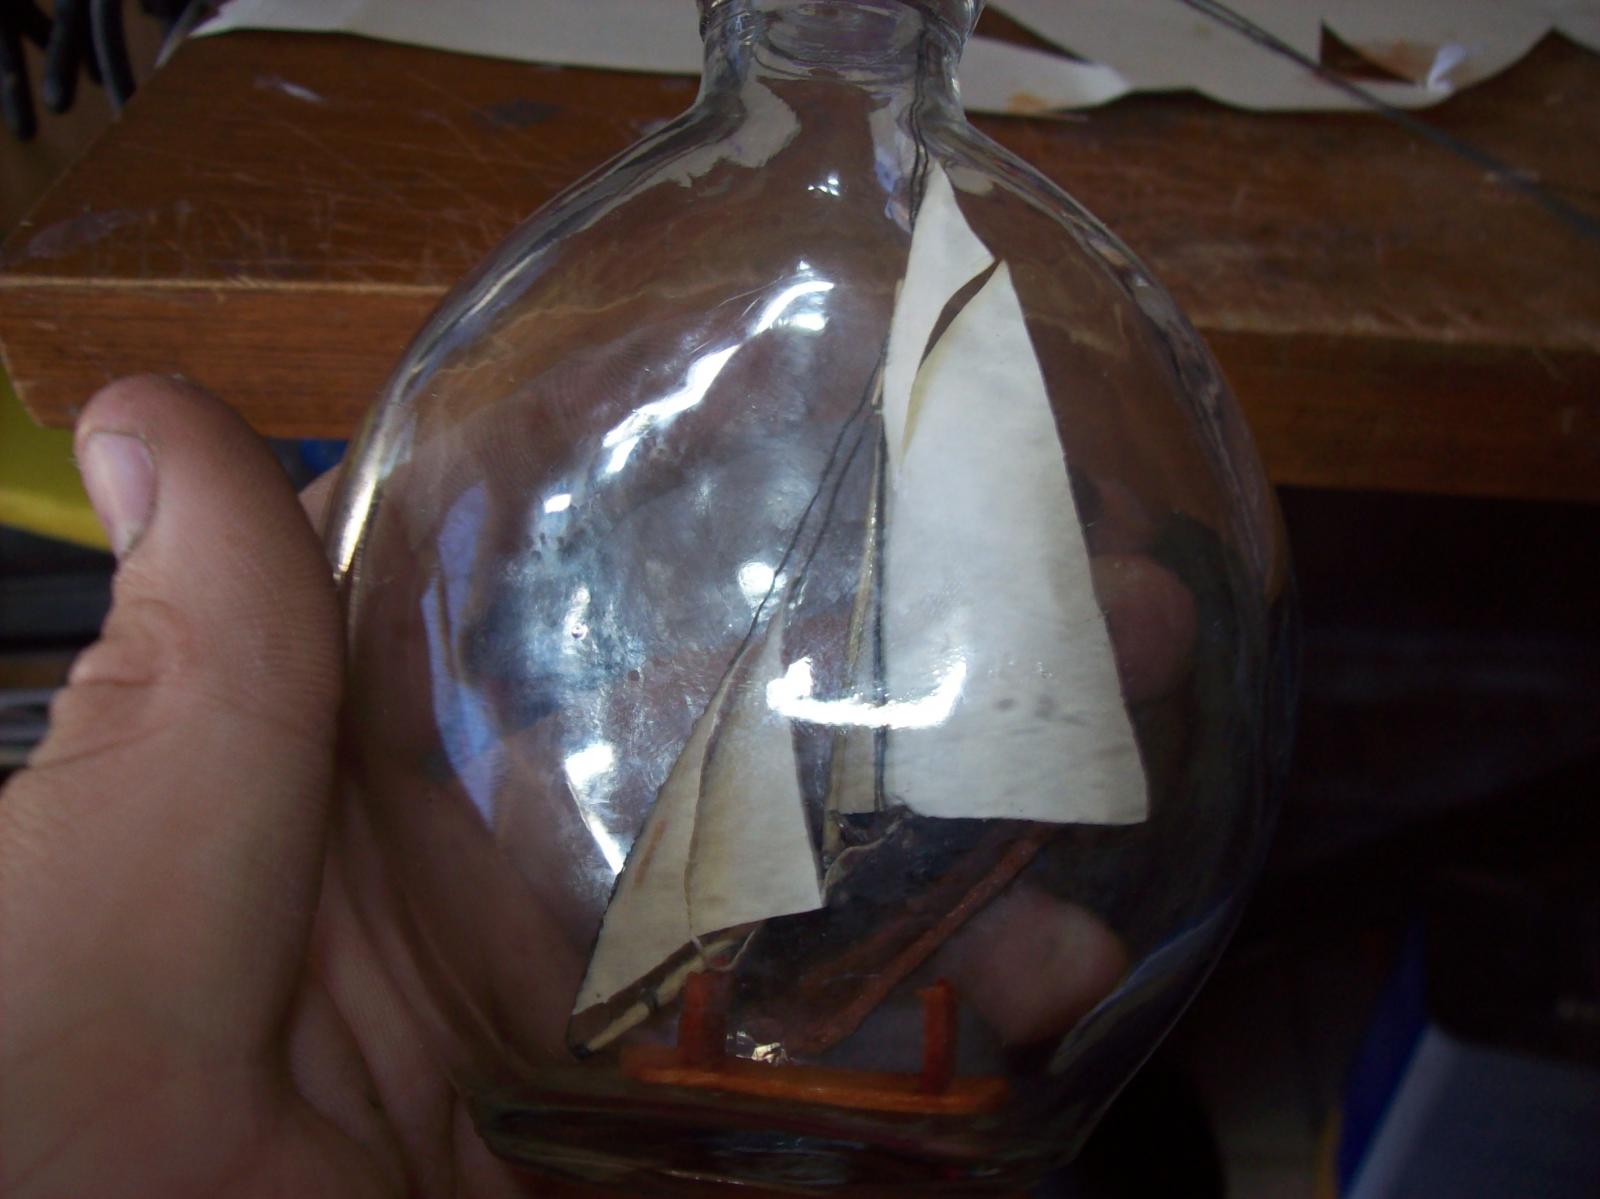
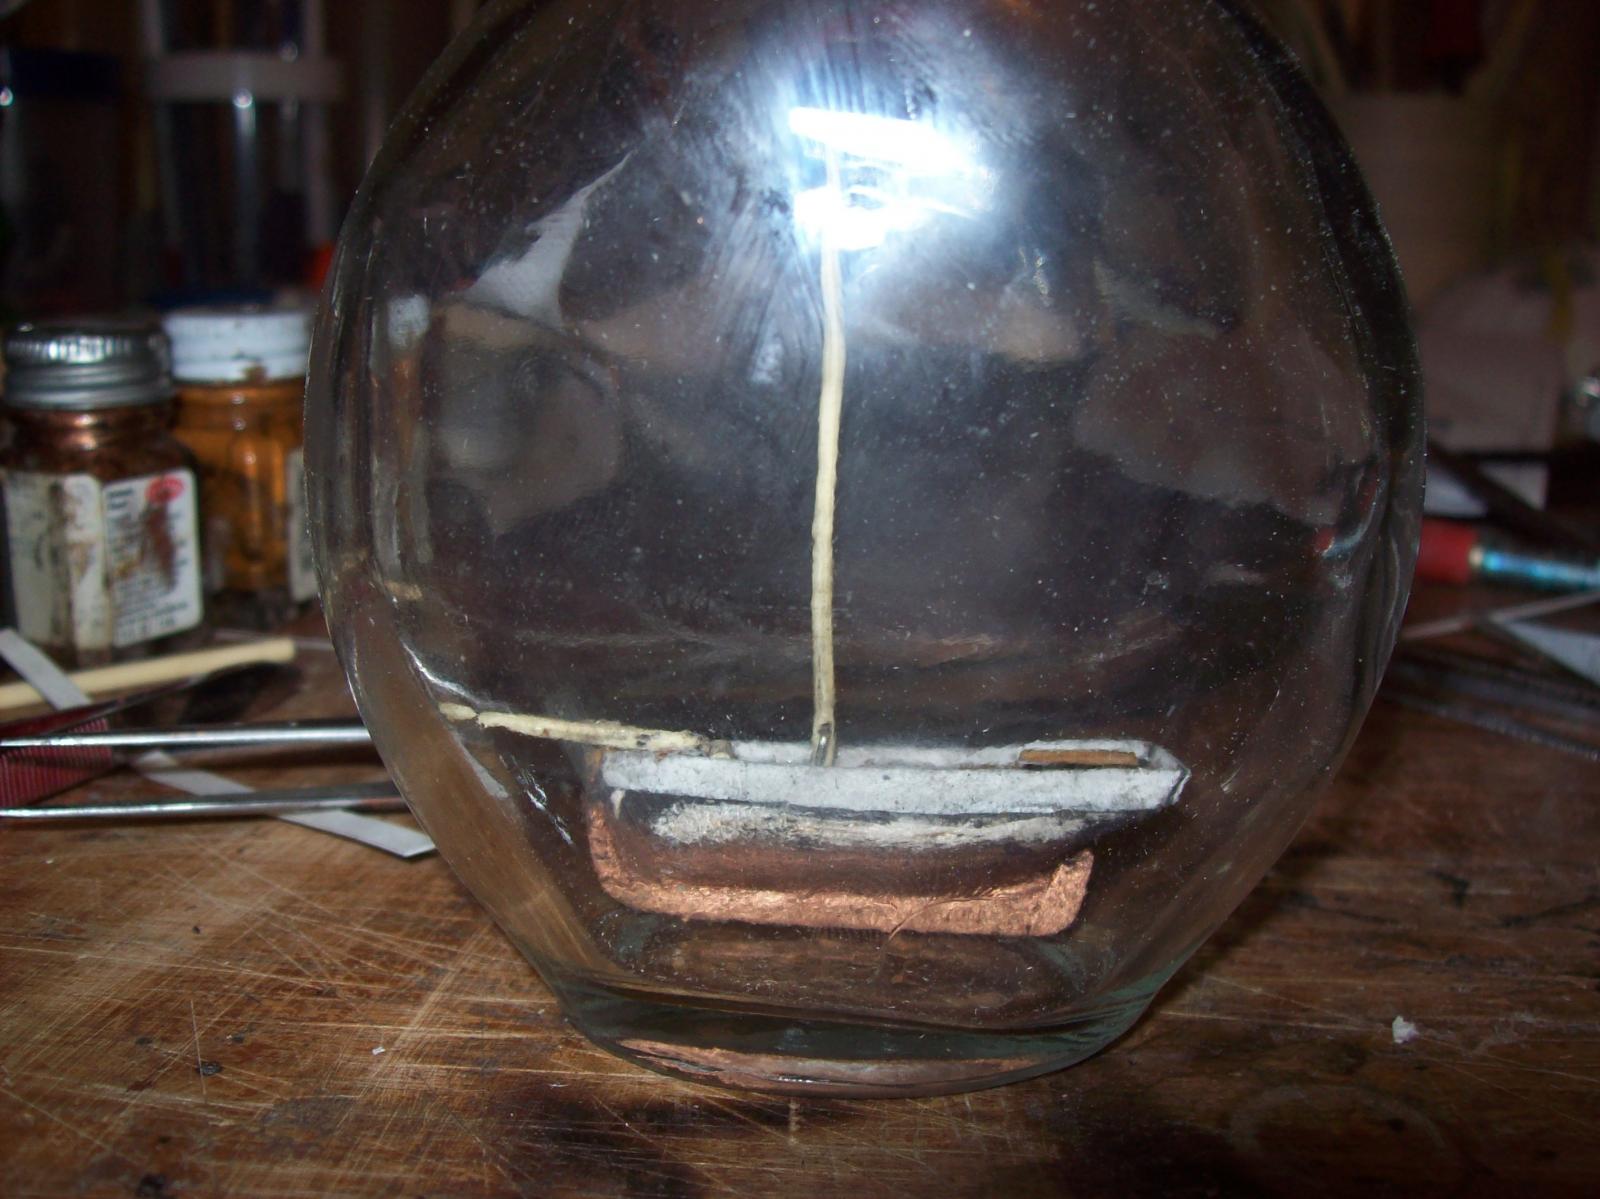
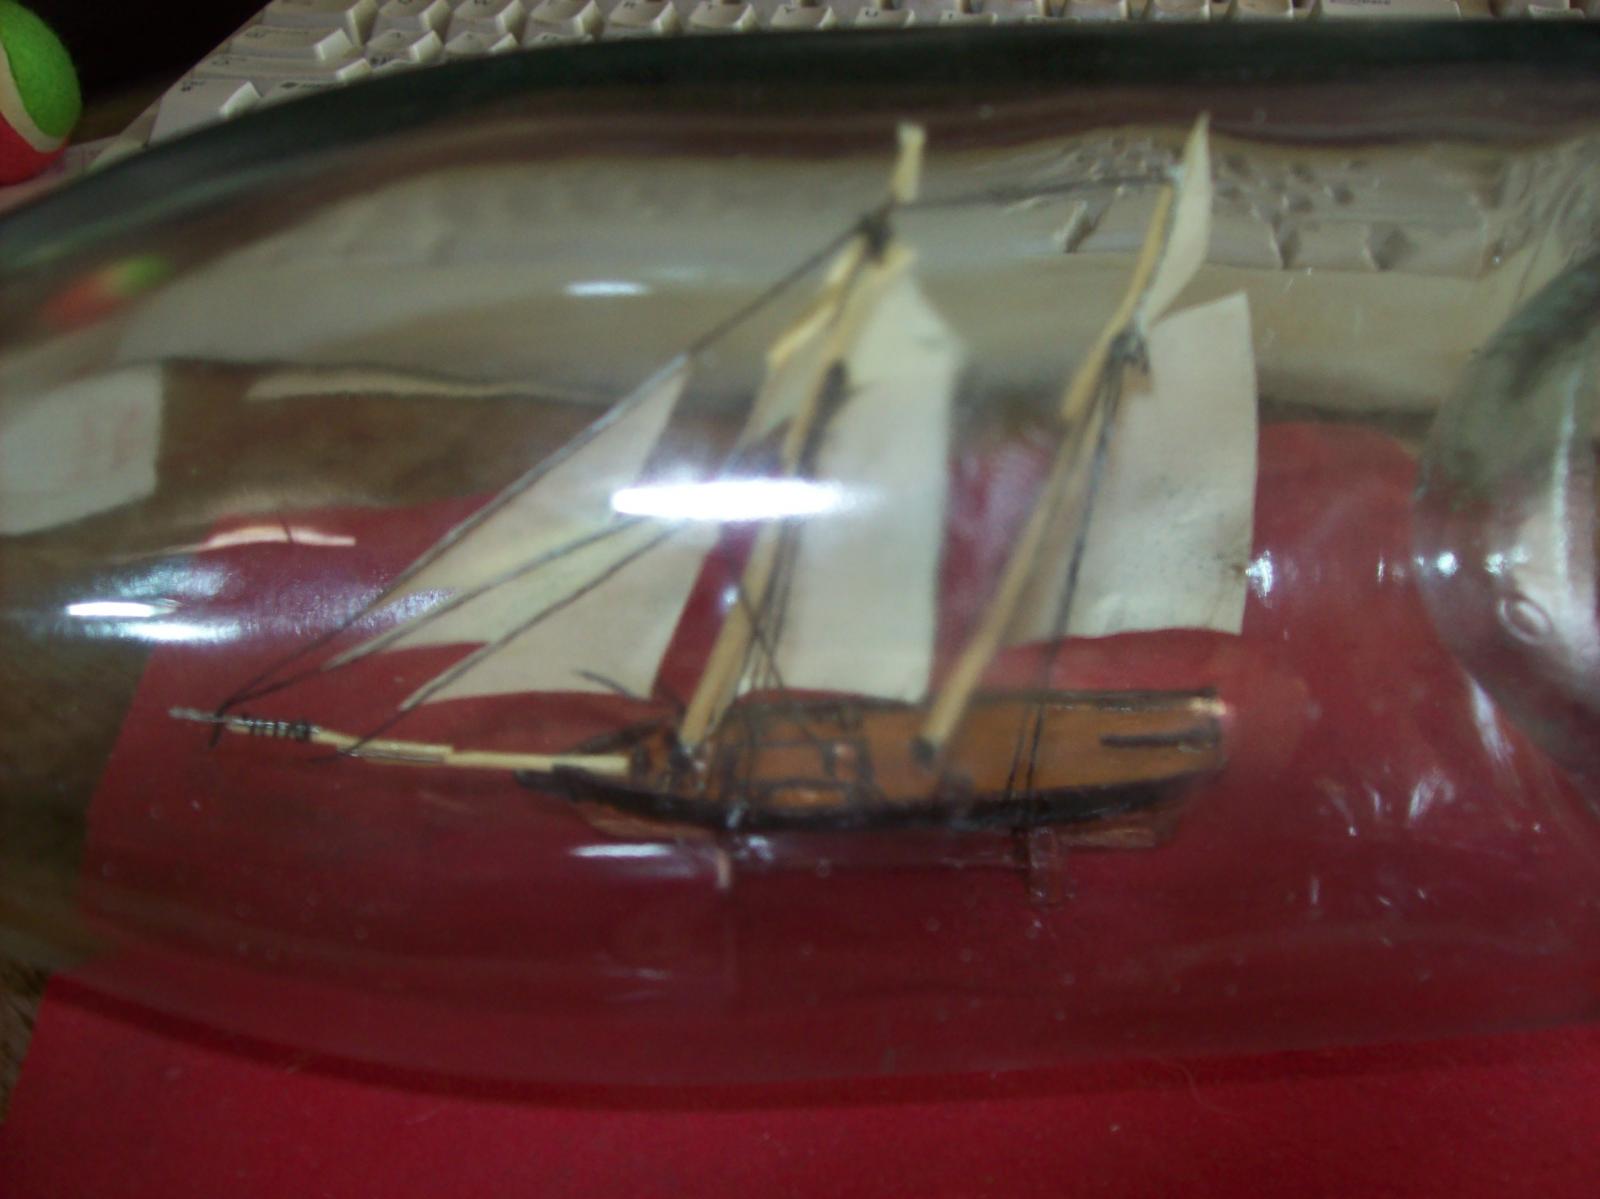
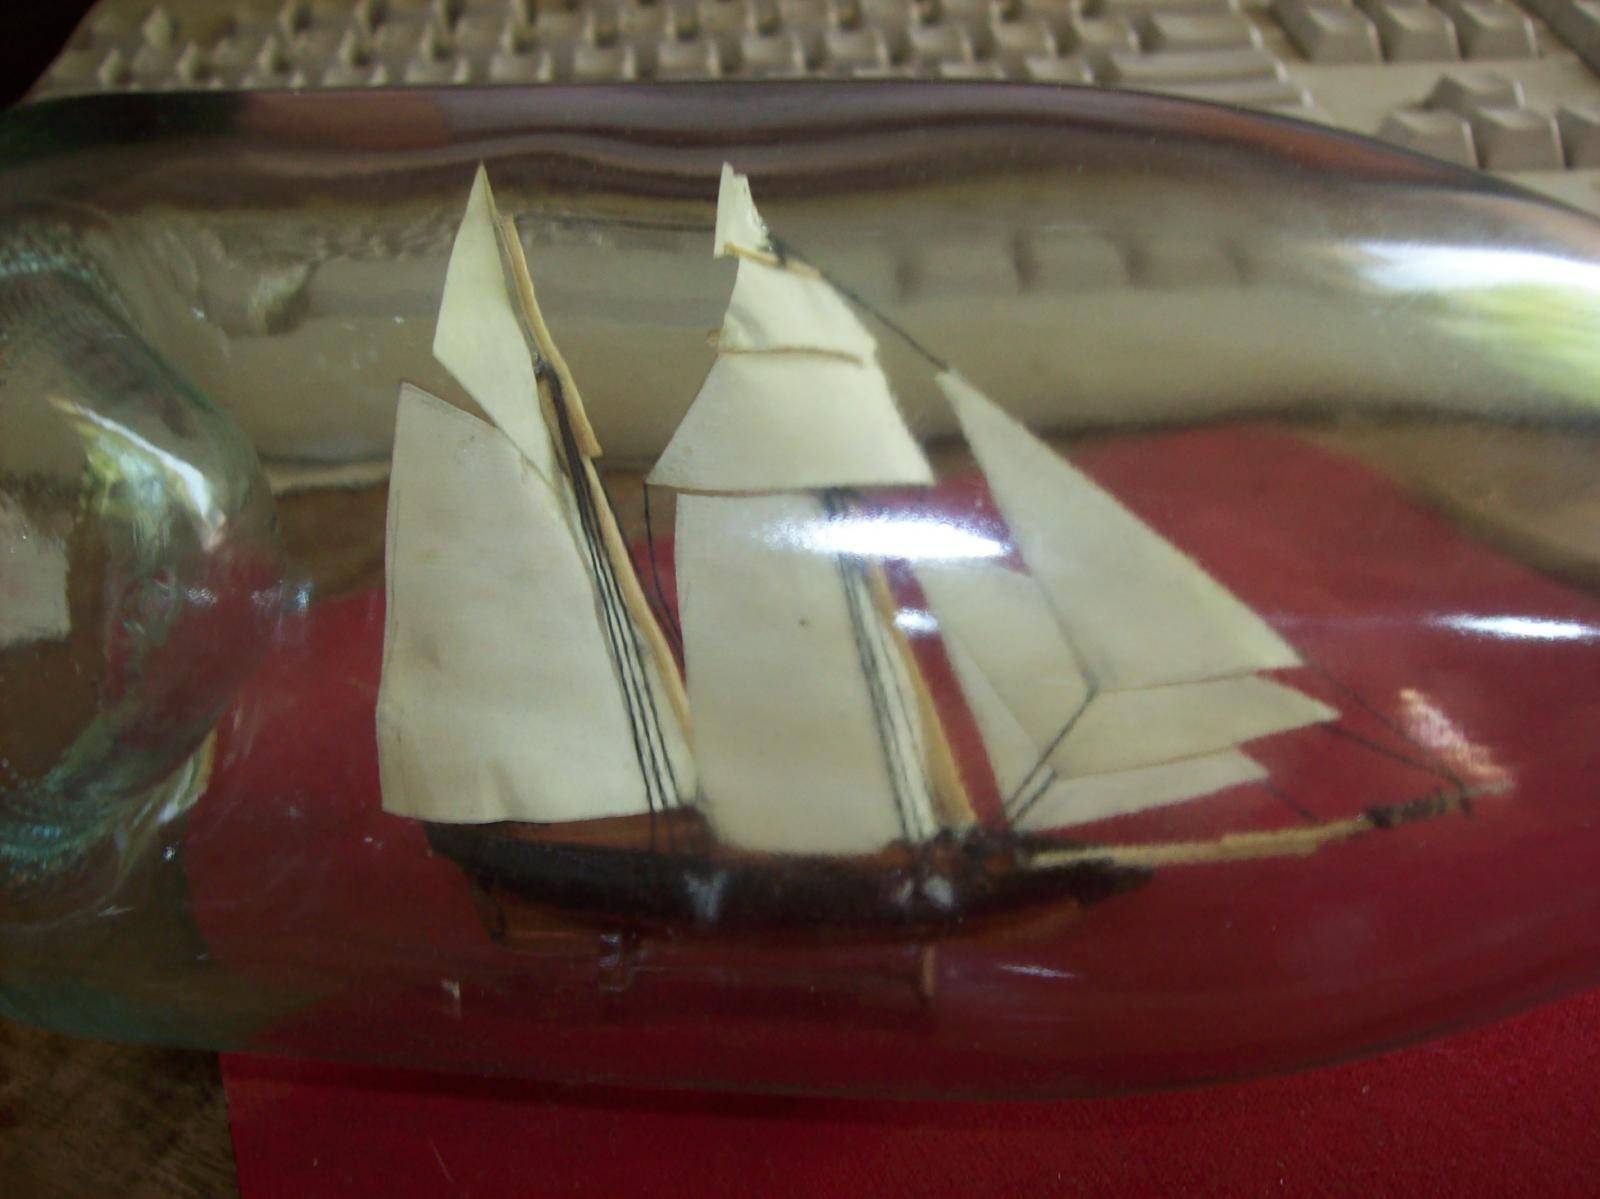
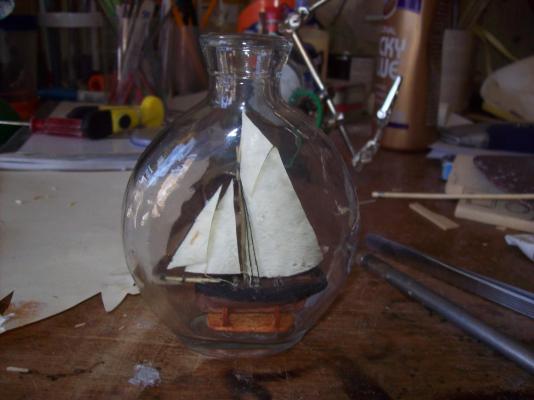
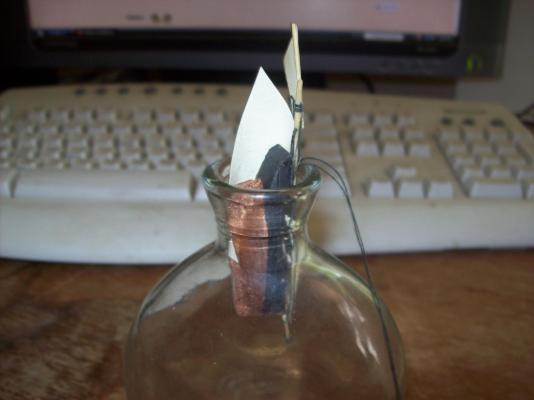
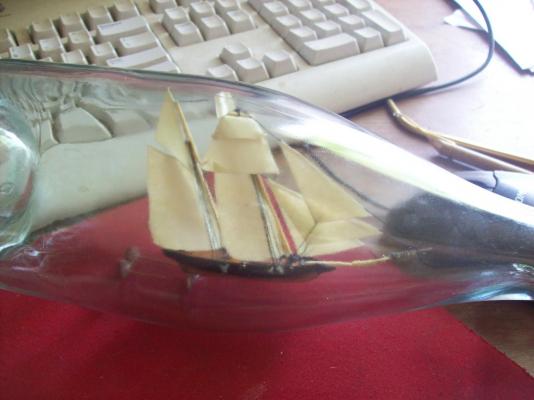
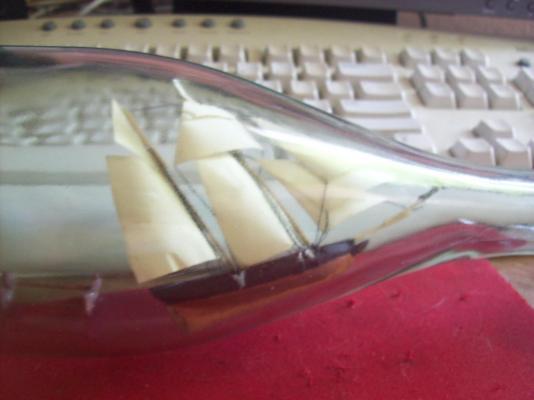
I put it in the bottle it was really easy to set up the sails. The hardest part was gluing it to the cradle. all thats left is to build a cradle for the bottle, find a cork and make some decorative ropework for the neck of the bottle.

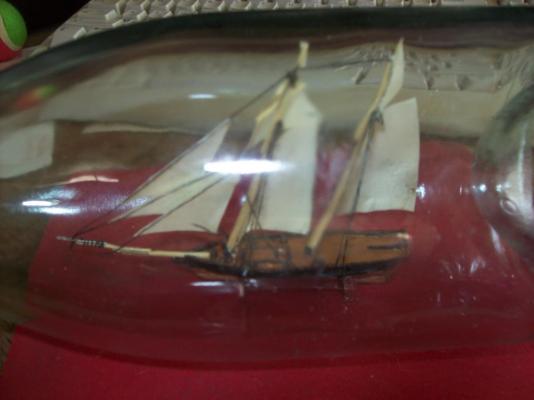

-
your in luck I have finished the rigging and my camera was being really good today. I did change the rigging between the mast after the pics of it setup because the mast would not collapse properly. Also I got the reply box working again . Adding the last fore stay. Almost there. Done.