BubbleHead
-
Posts
107 -
Joined
-
Last visited
Content Type
Profiles
Forums
Gallery
Events
Everything posted by BubbleHead
-
 Thank You Sir. Cut up some battans and ran them for the wales, to my suprise they followed the lines on the frames that is all but one frame. Both sides measure out as a match that was the bigest suprise. I used doubble stick taspe as you can see for the alignment of the battan. At least I'm not moveing backwards any more yet.
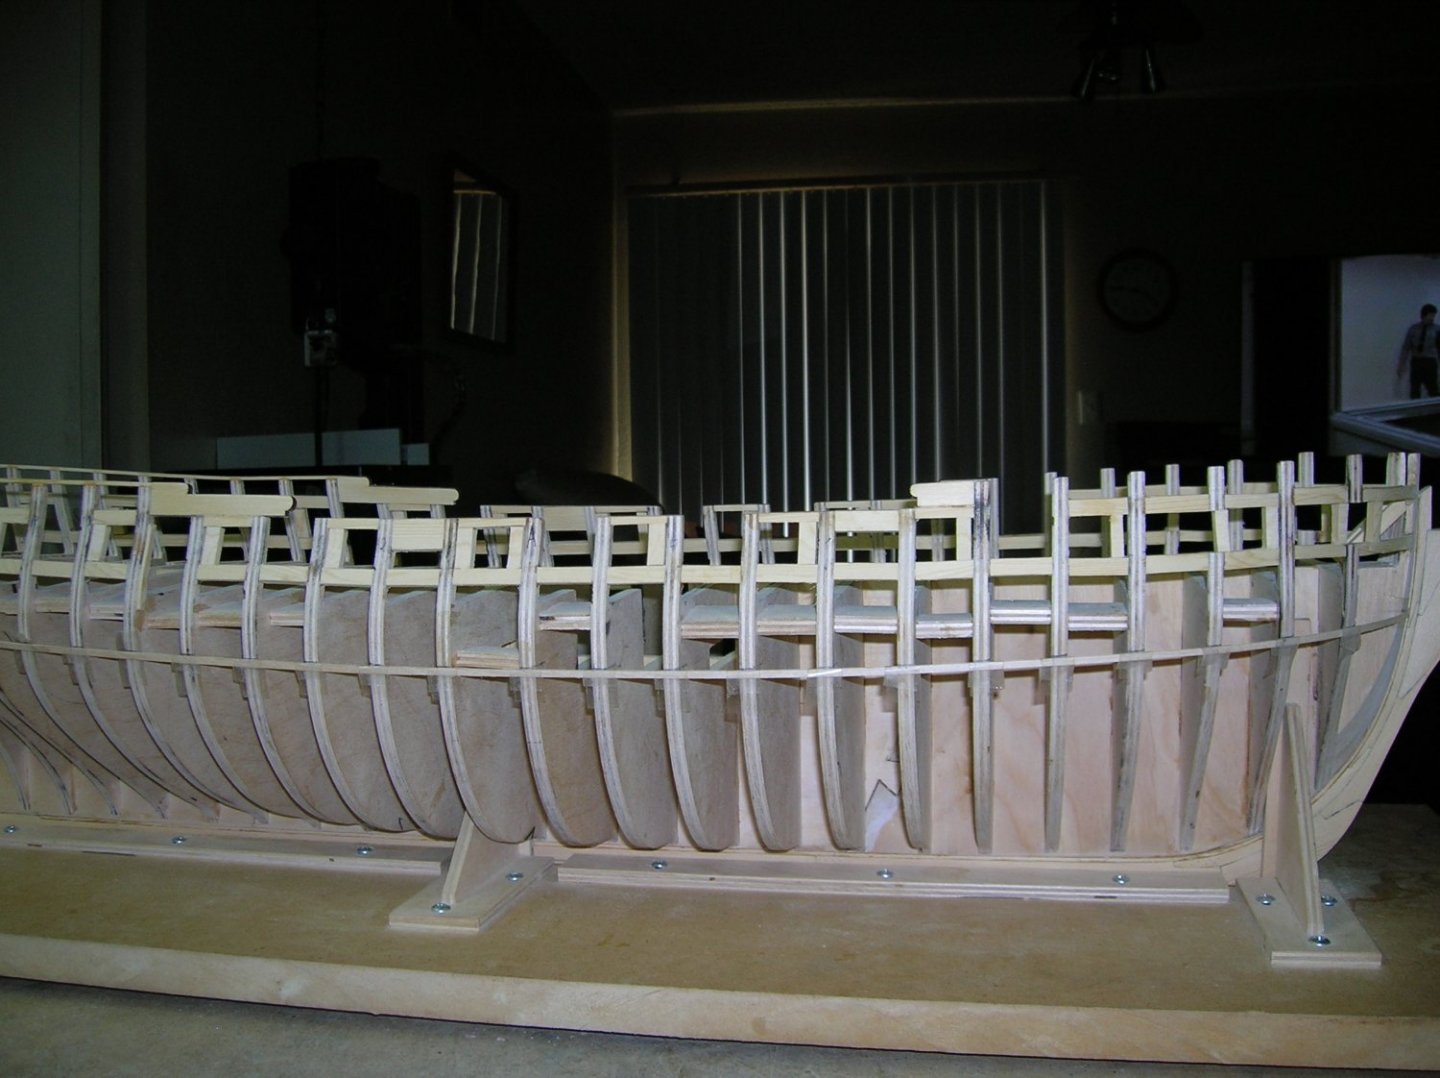
-
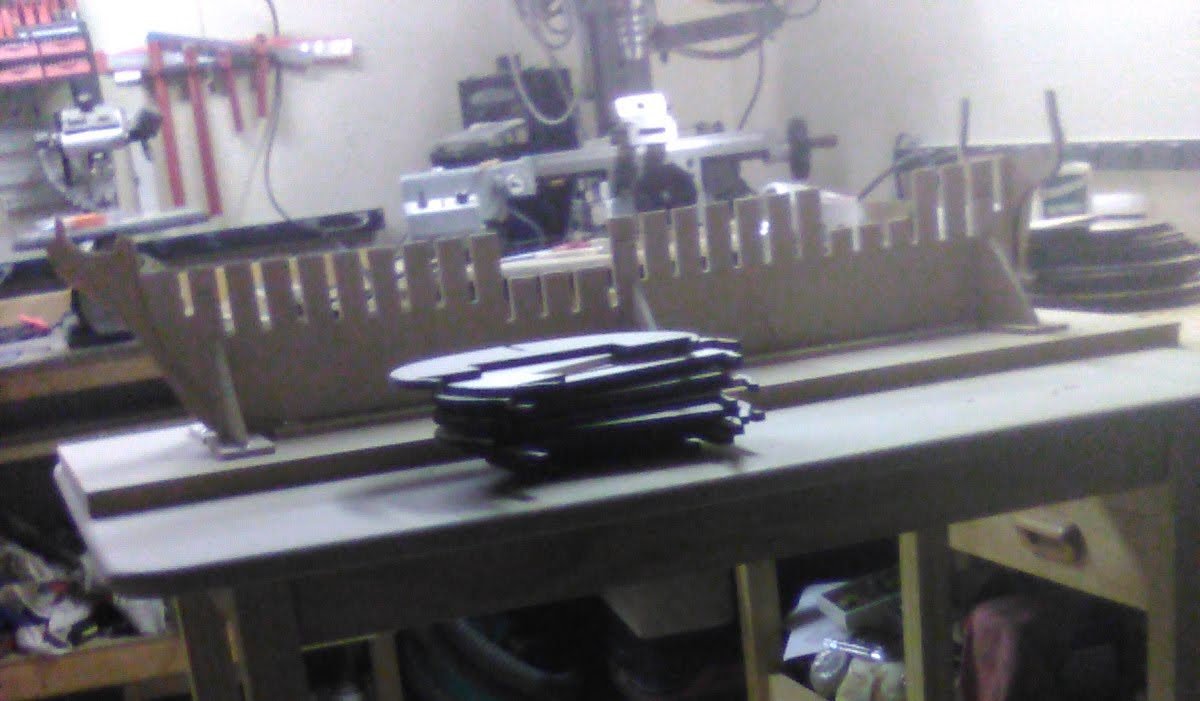
I finally get to move on to chapter two. Made another Ballare didn't like the first one didn't like.
-
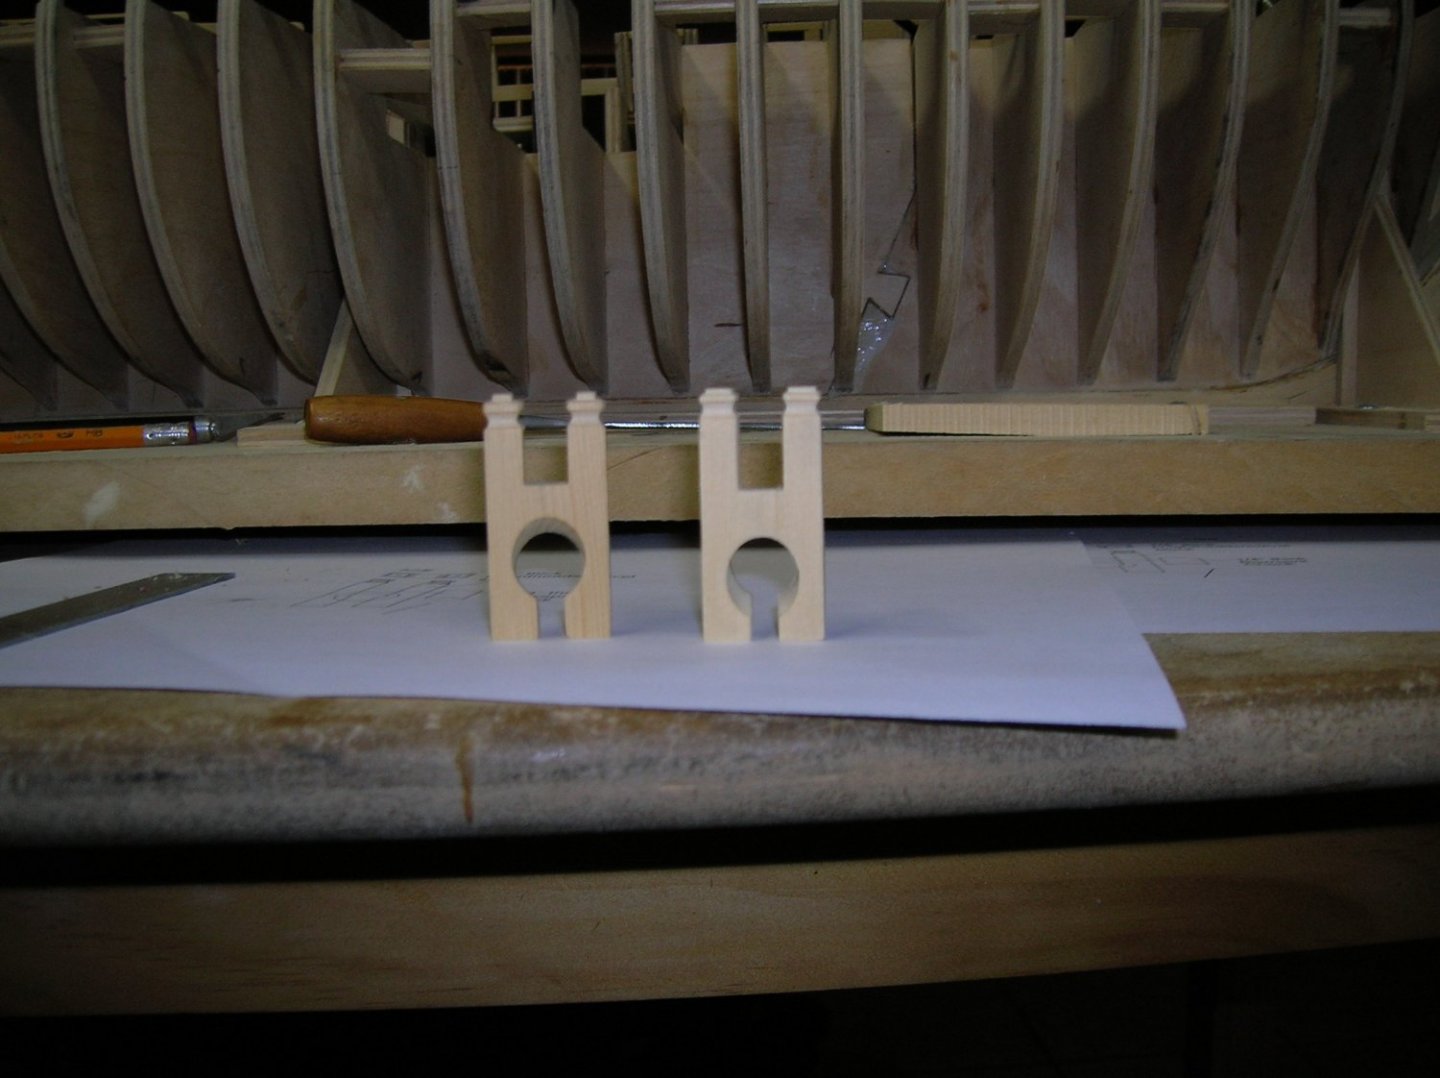
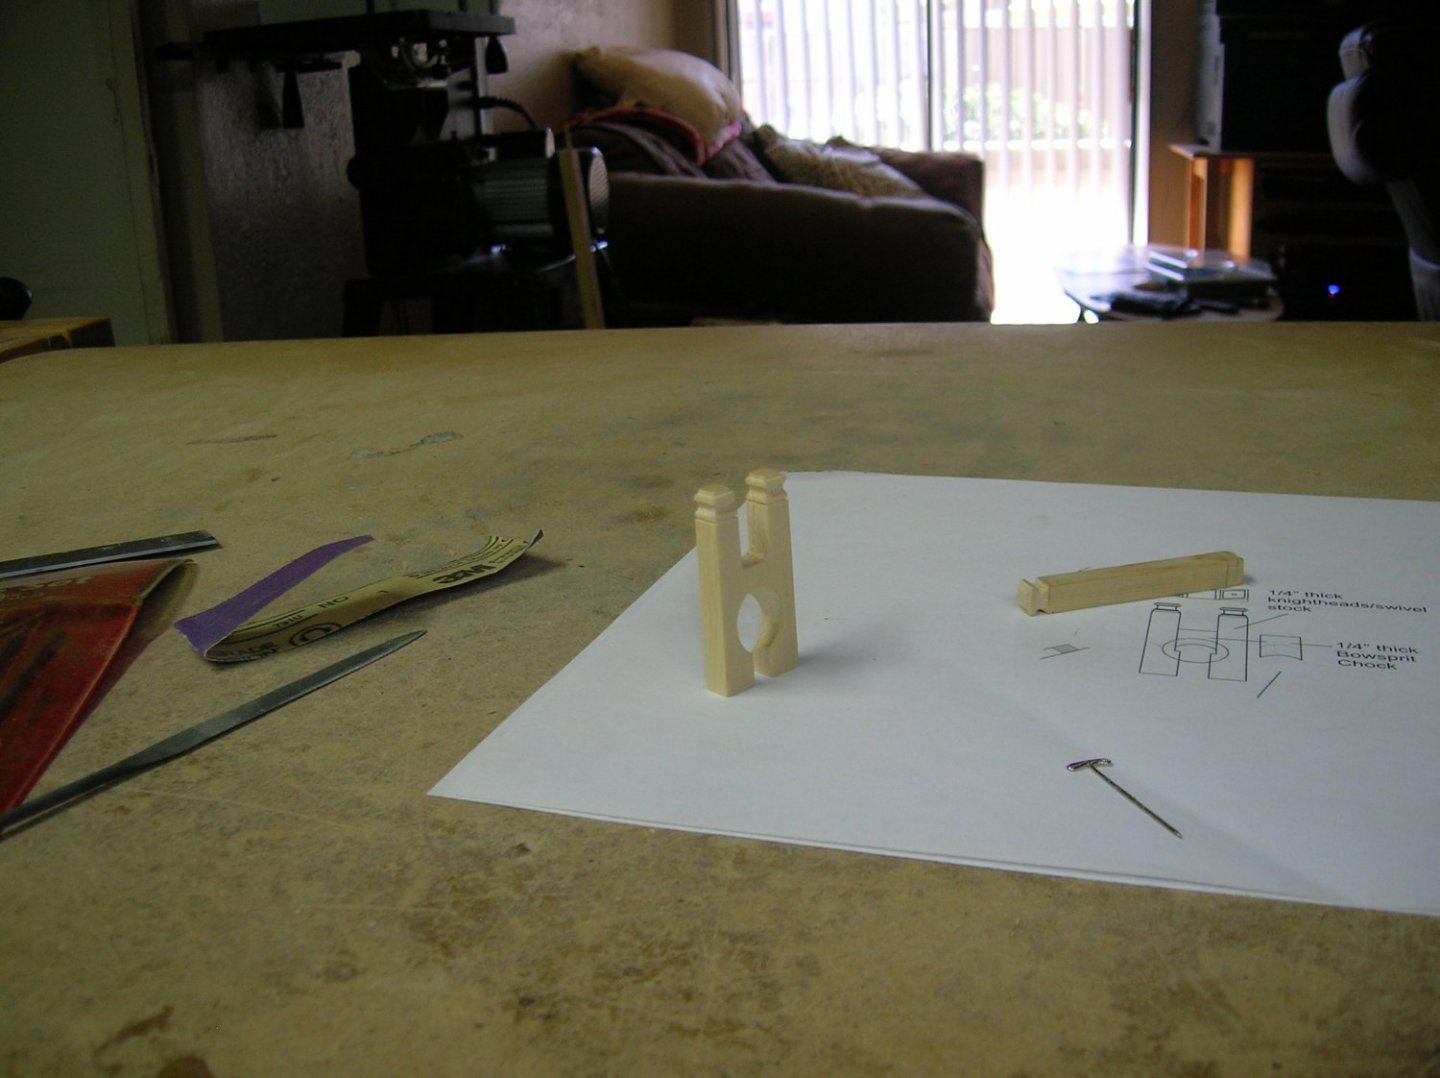
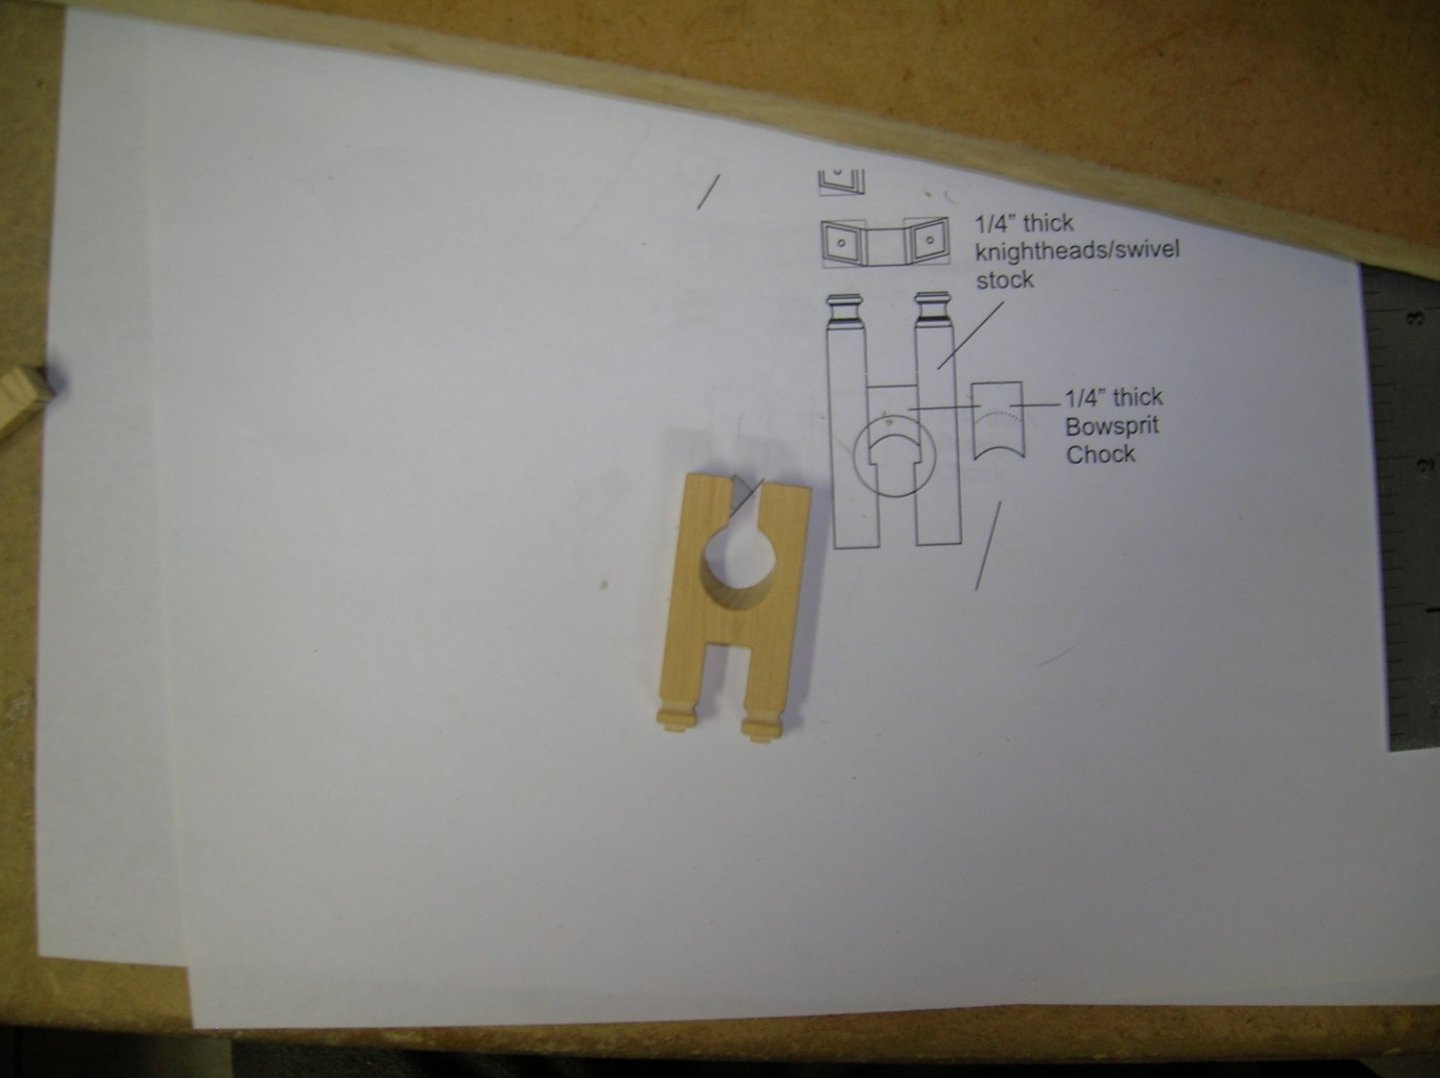
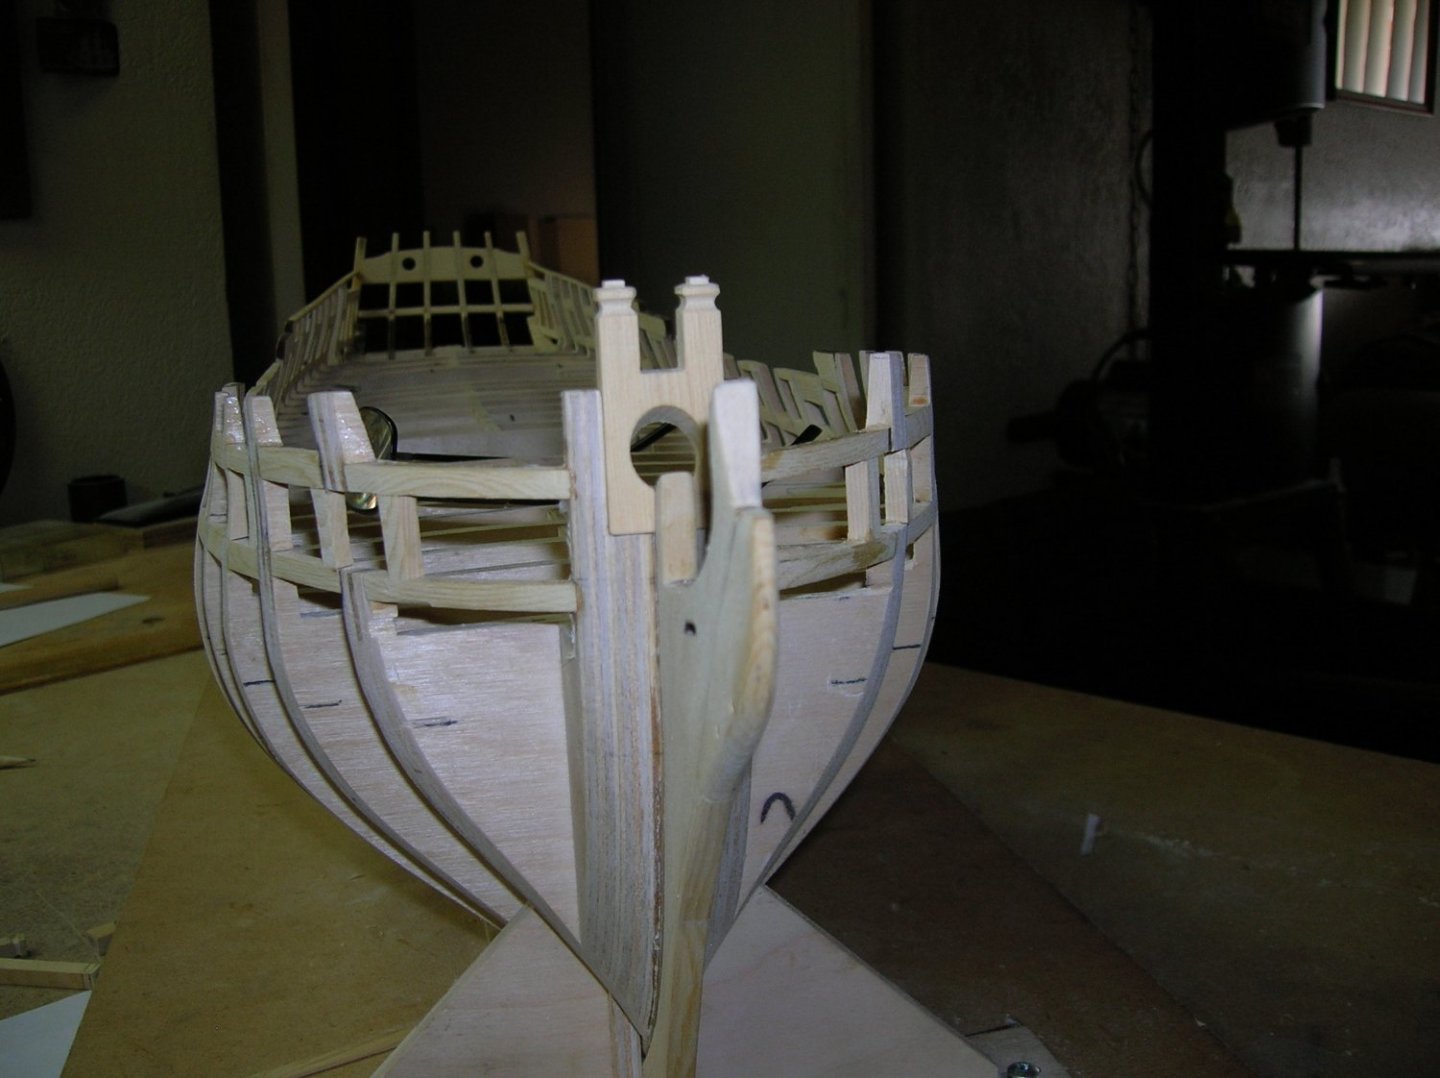
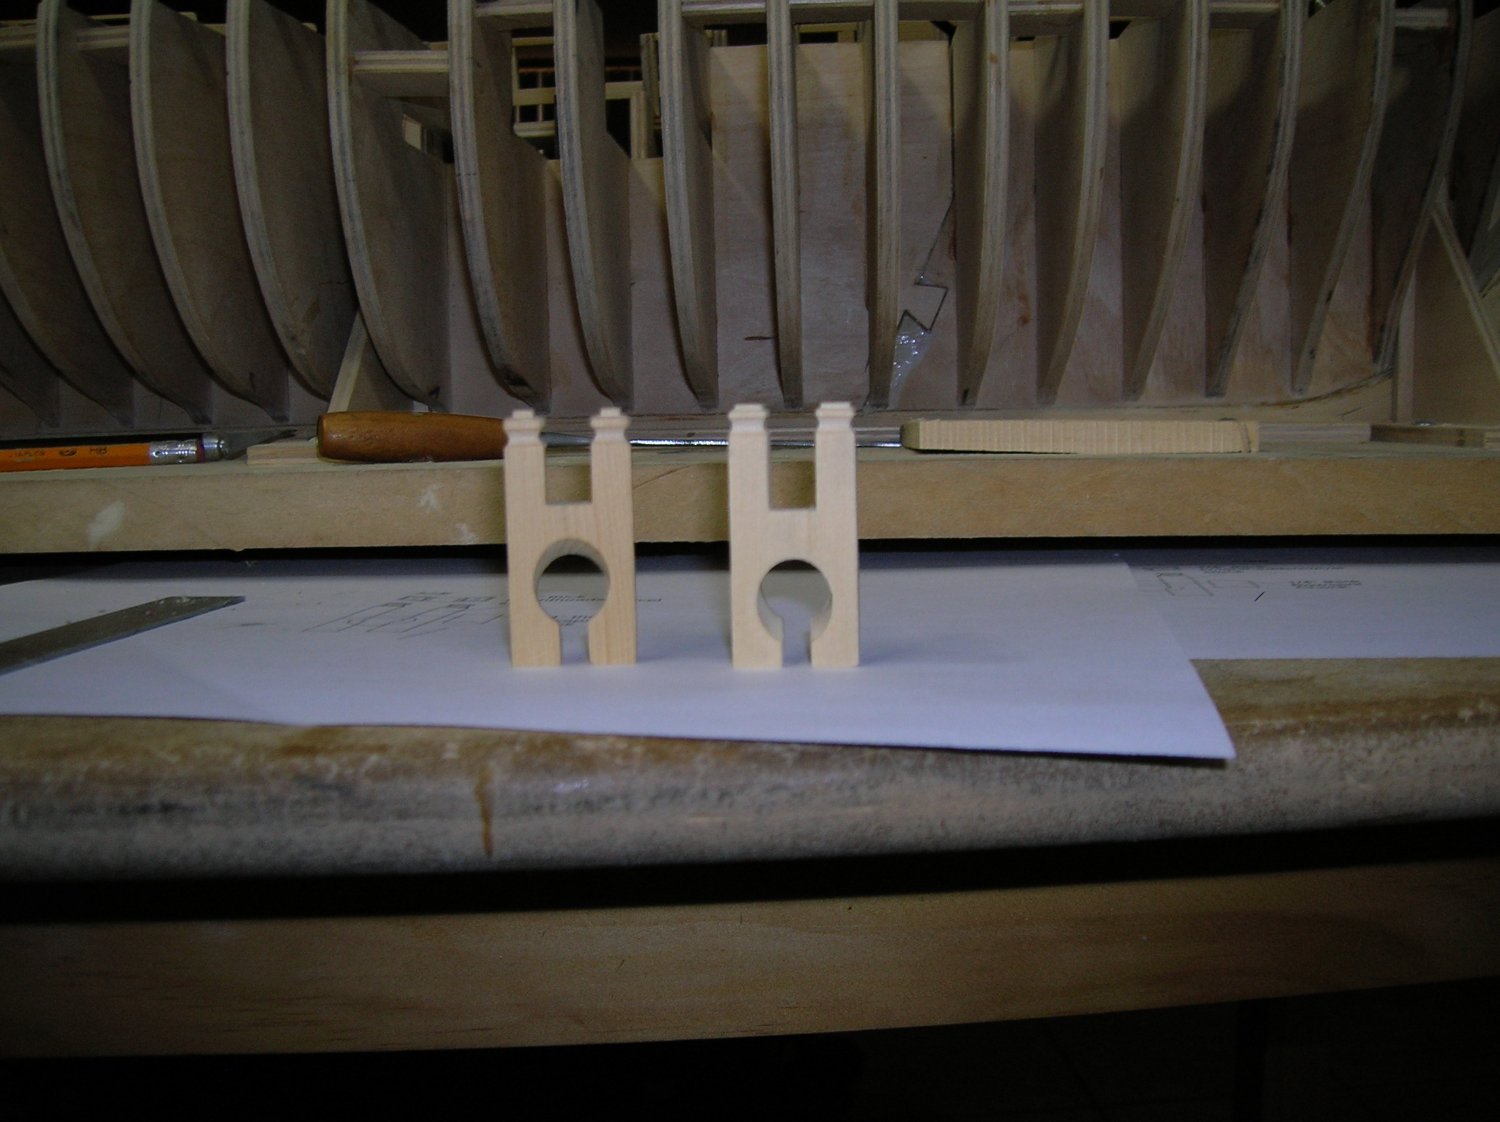
I finally got all my mistakes, redos, crashes fixed and ready to move onto chapete two. Hopefulley I'll do better. Hear is my rendition of the ballard's. What do you think should the top be thinner they are just under 1/16" or just take them off and put new one's on as the square is a little small. Tom

-
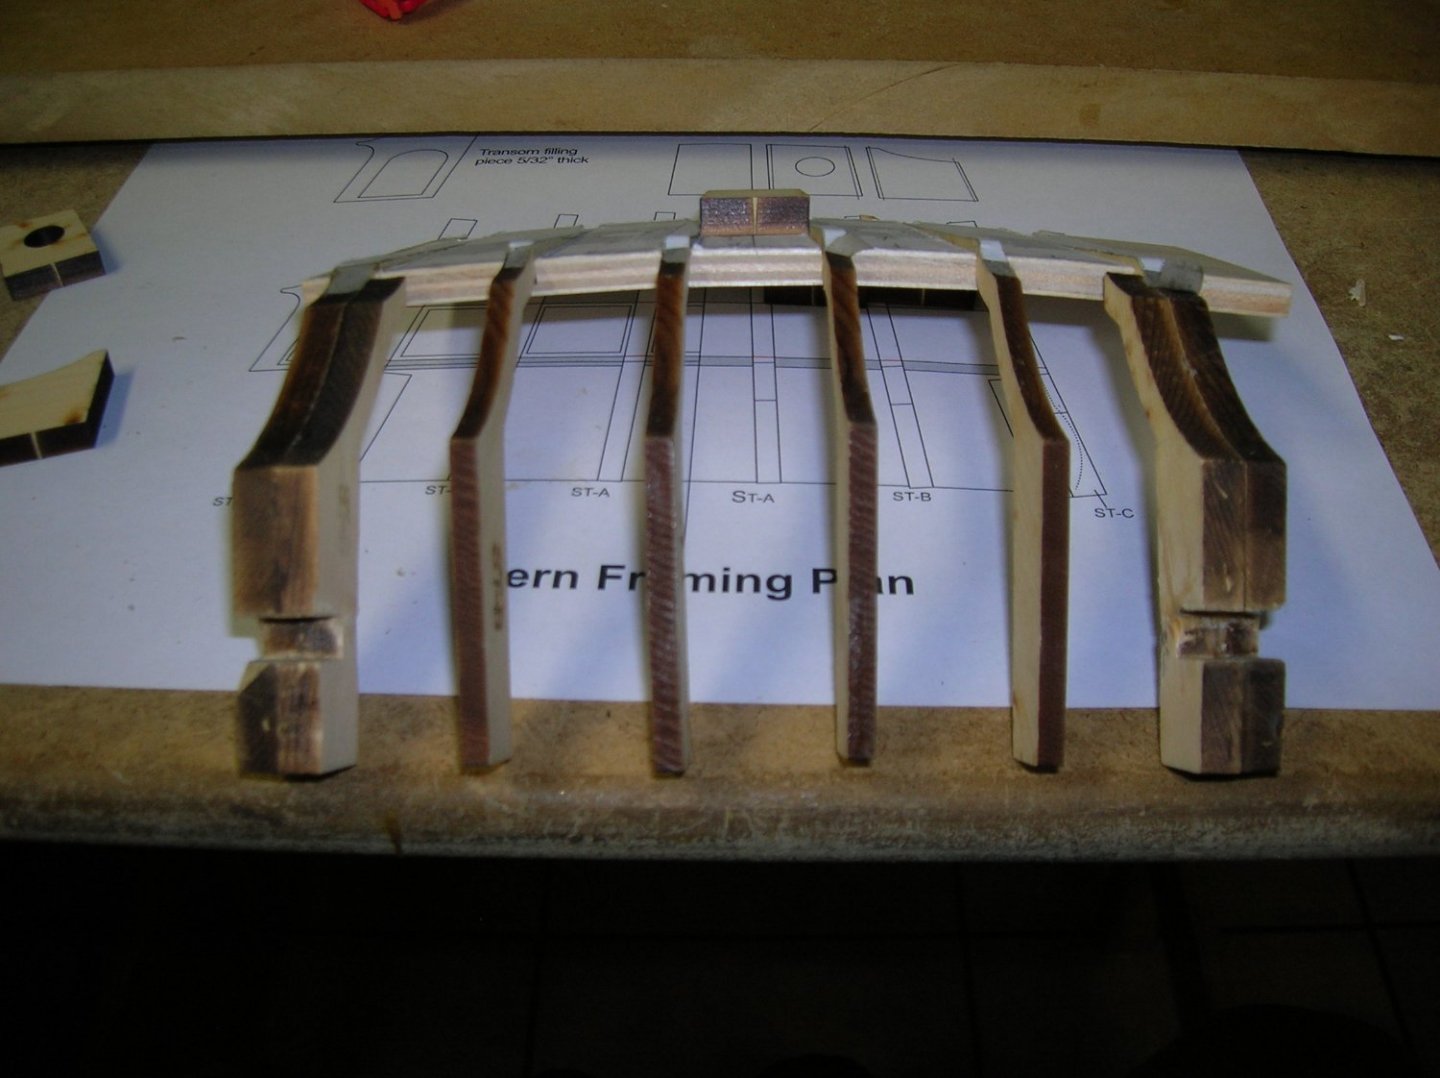
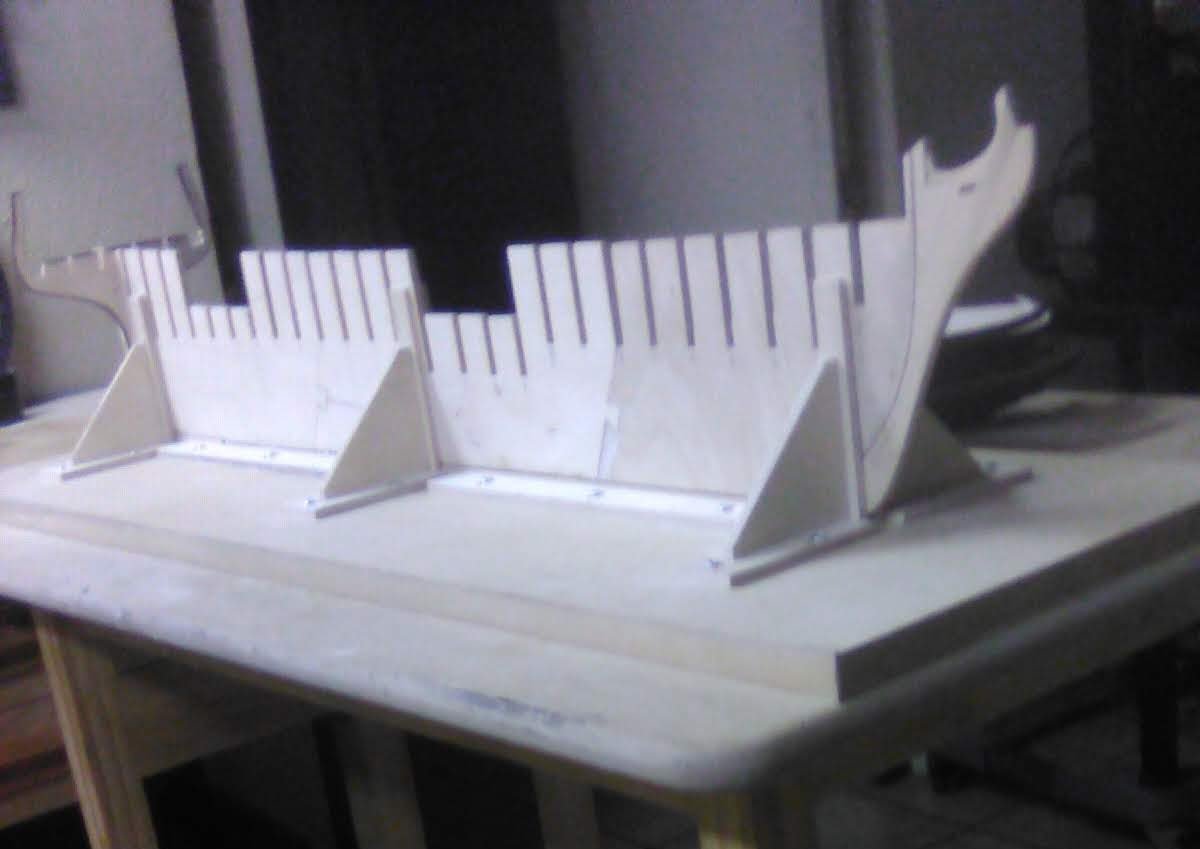
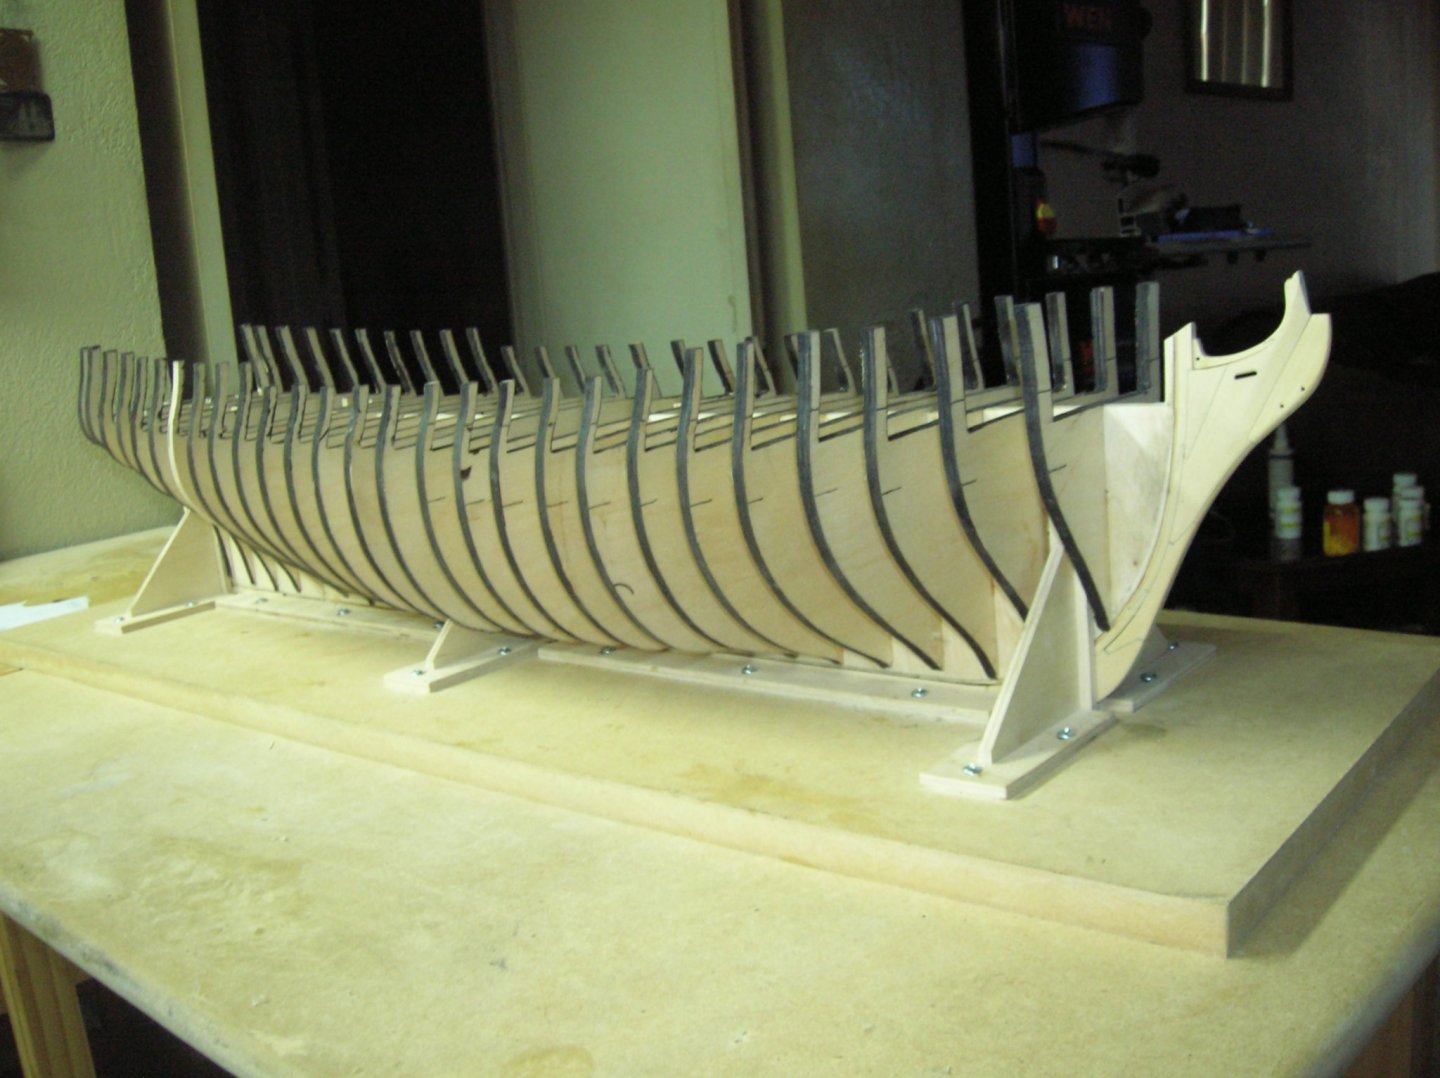
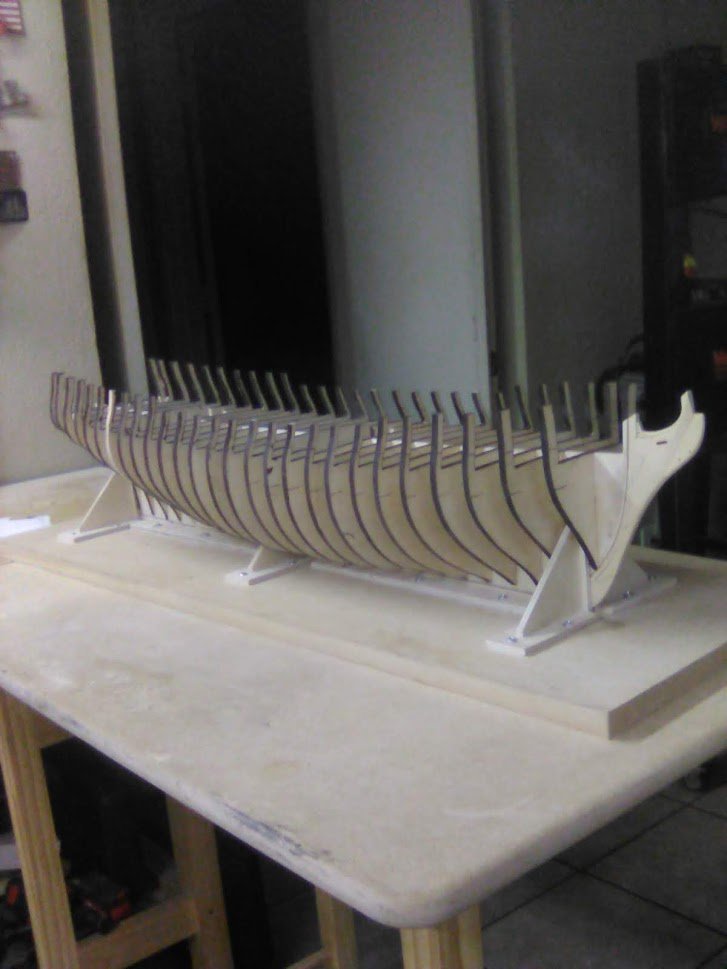
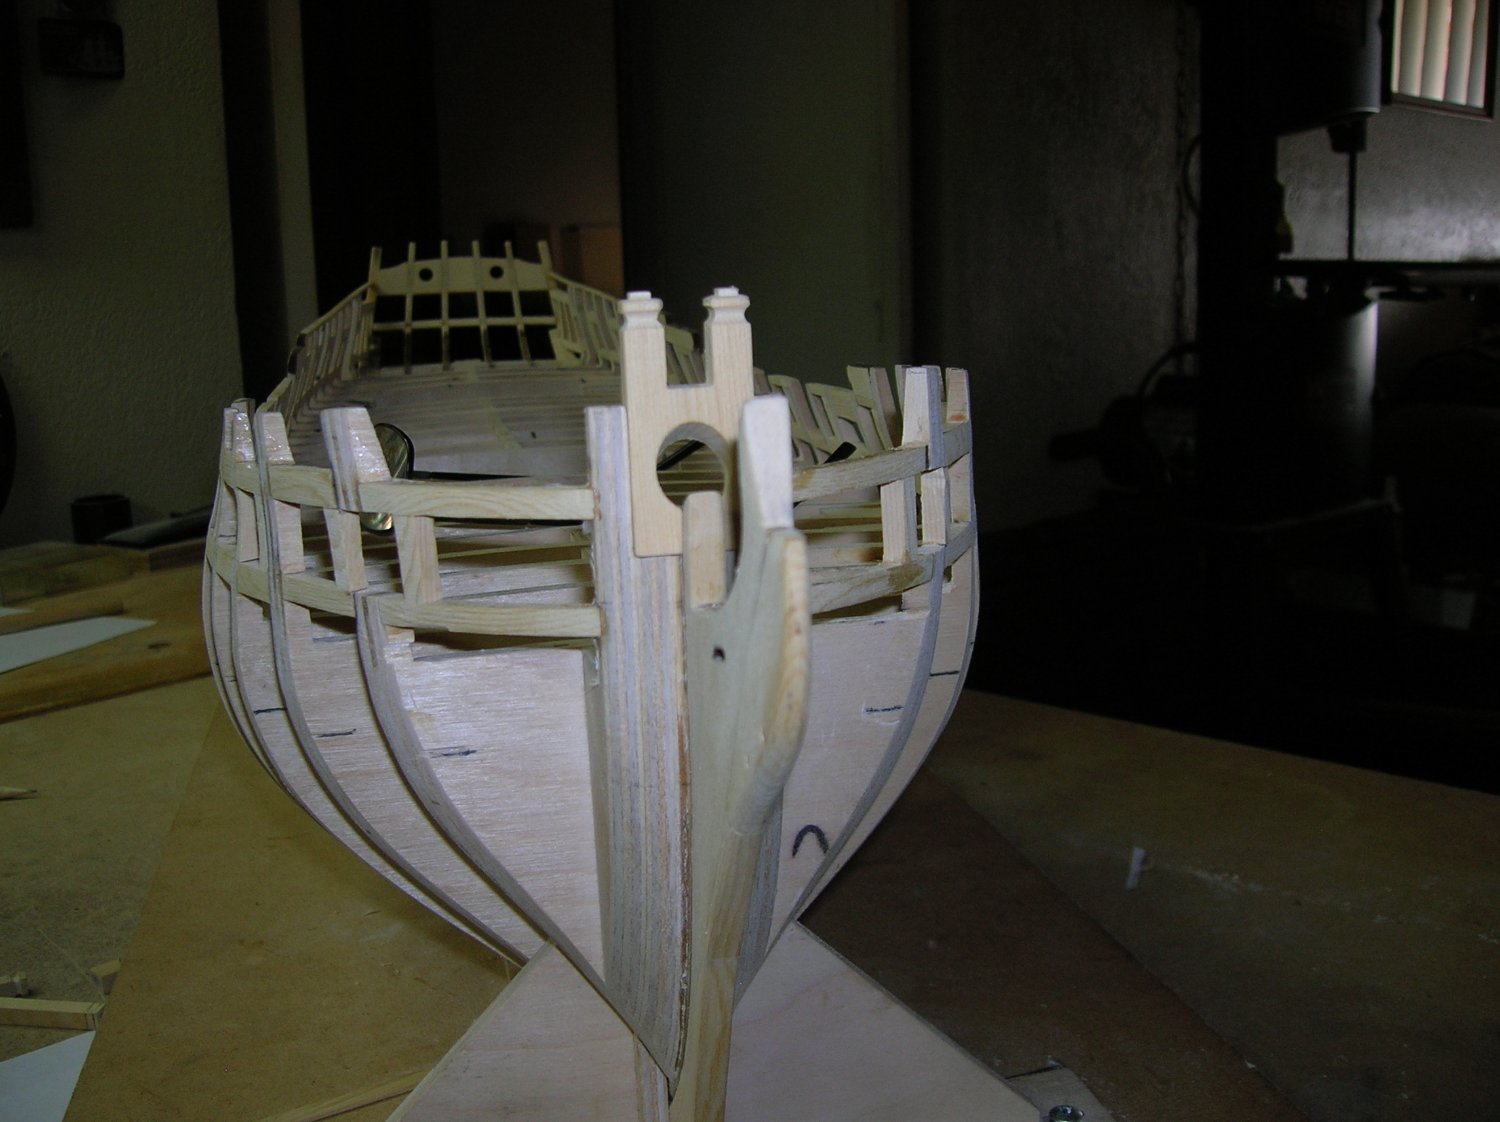
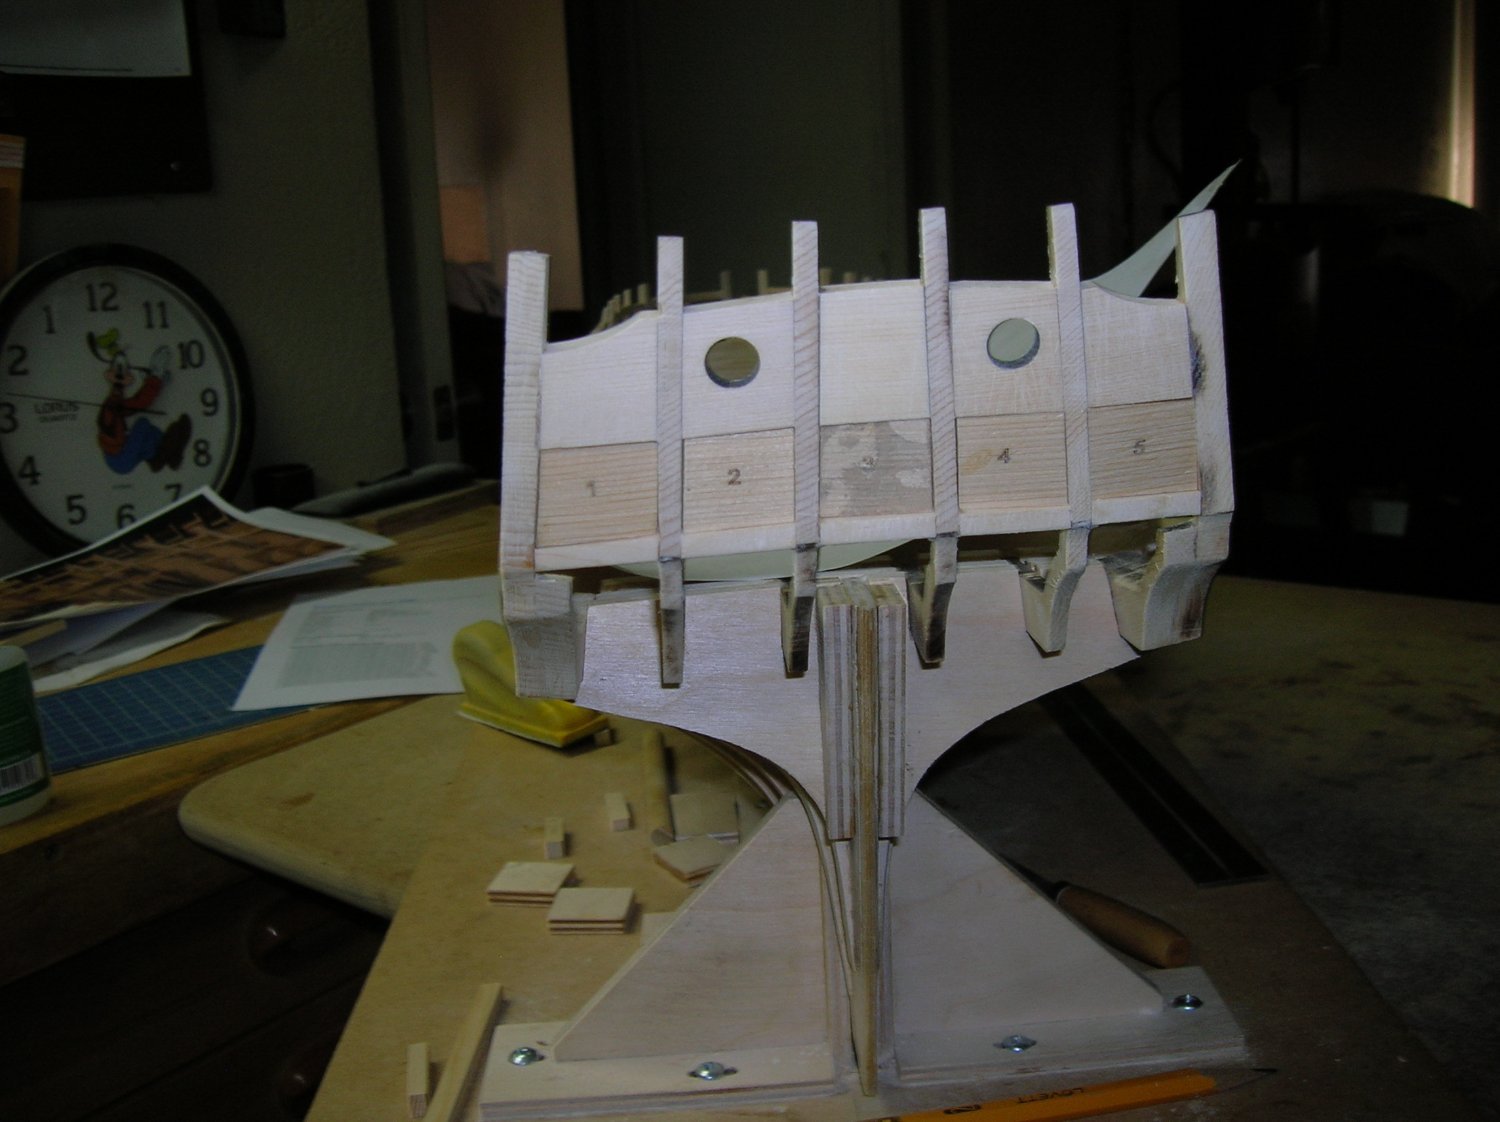
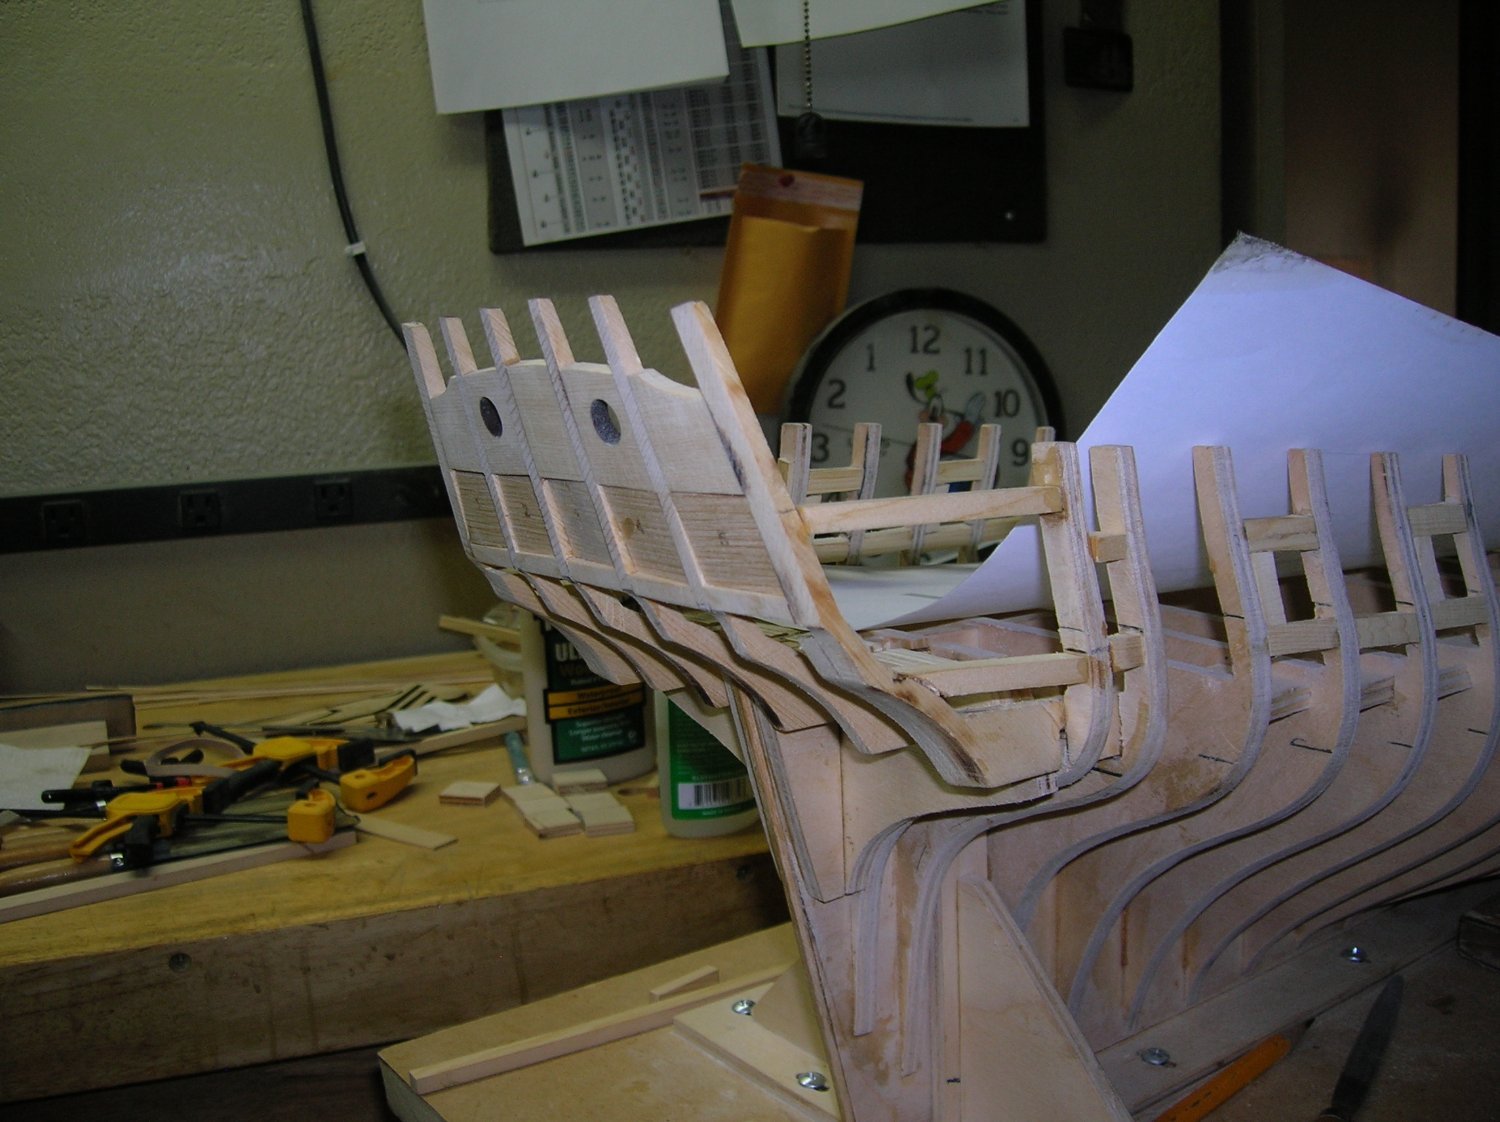
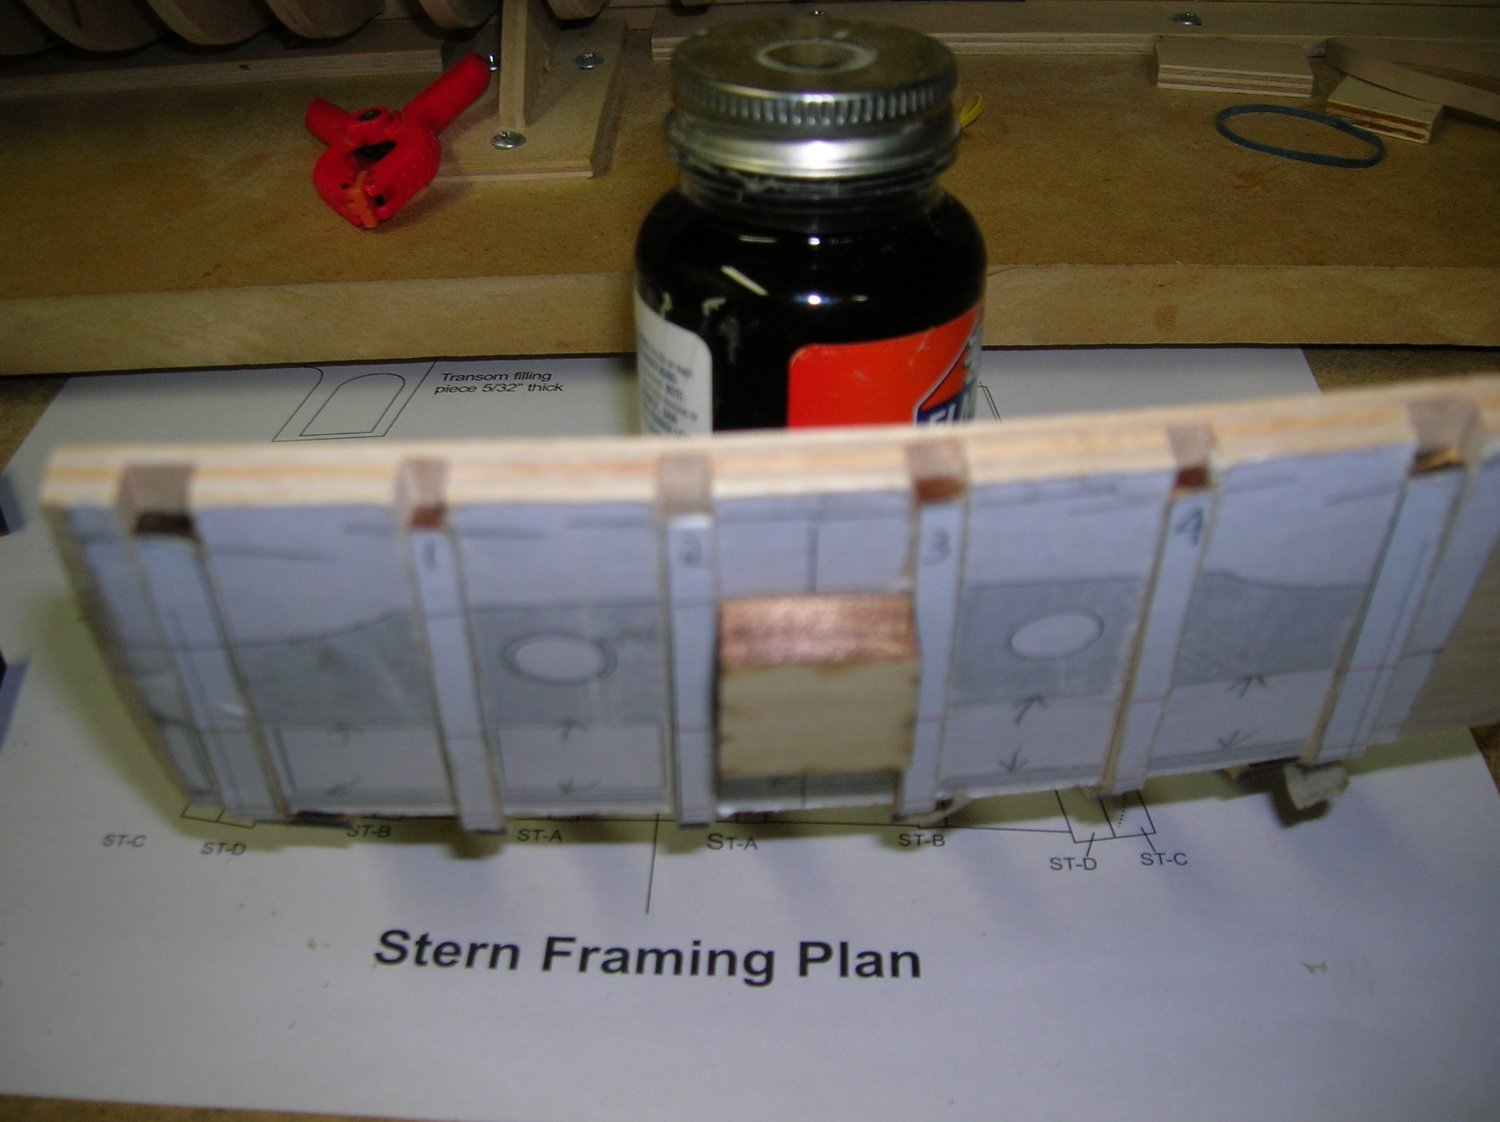
Frank to my suprize it made the curve. The frames fit a little tight in there slots. As I put each one in had to bend each slot a little open to get the frames in and it created the curve. Then pursh all frame bottoms on the bench to make them even and all lines on the mark. I tried everything for three days short of rubbuer glue to keet thoese little devels in. Tom
-
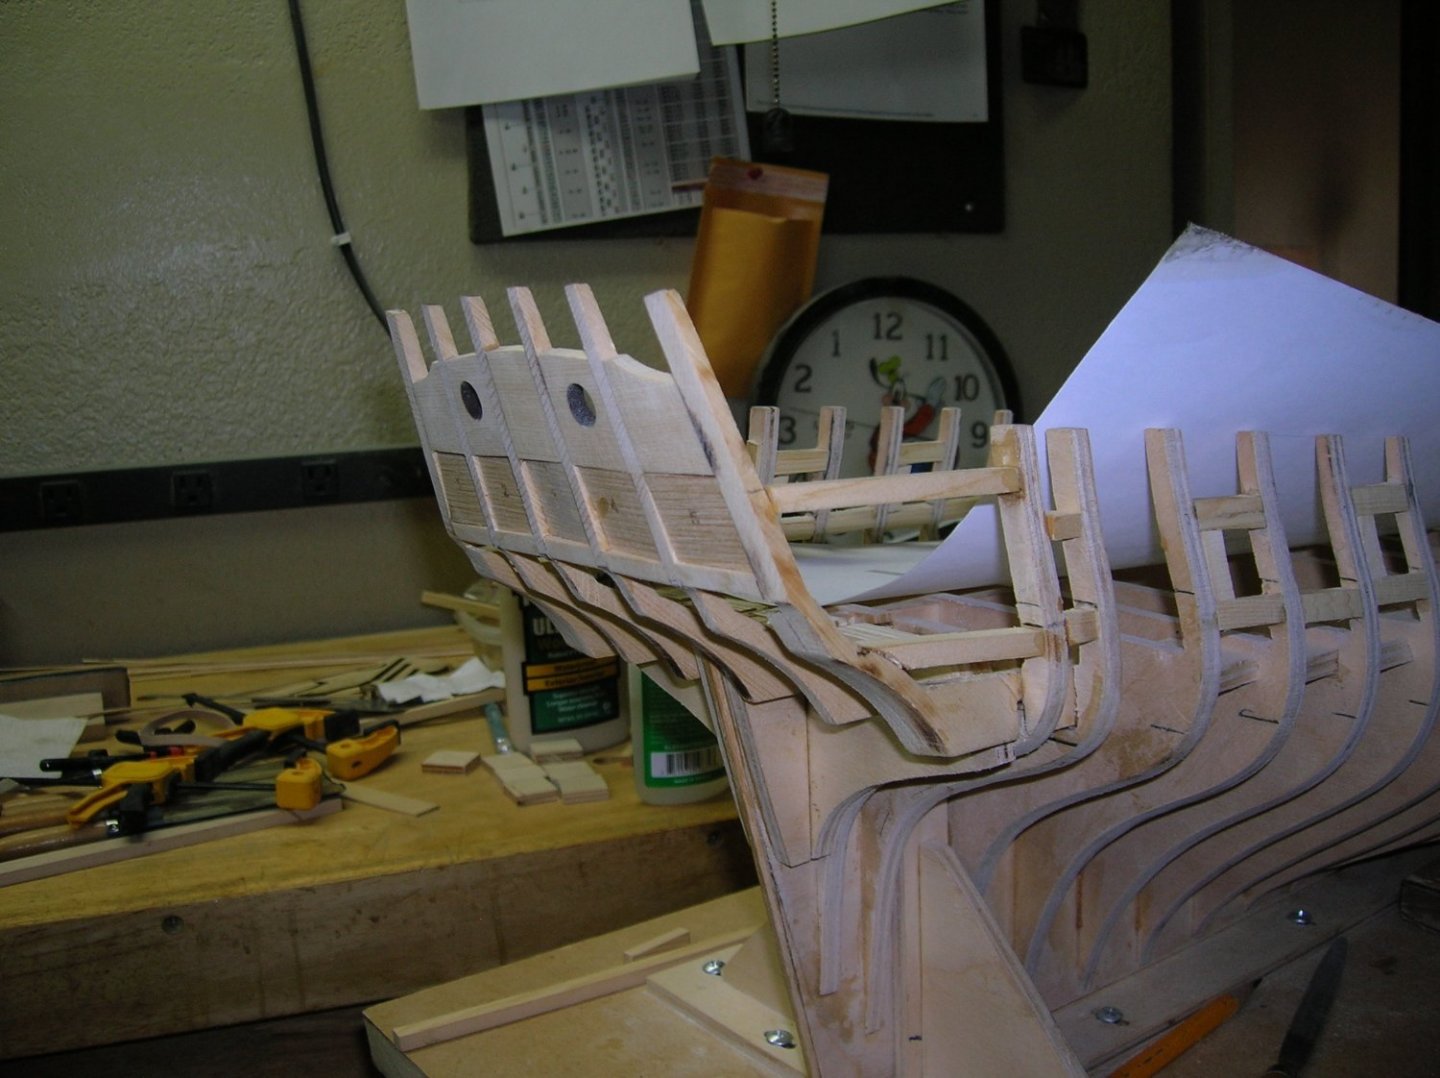
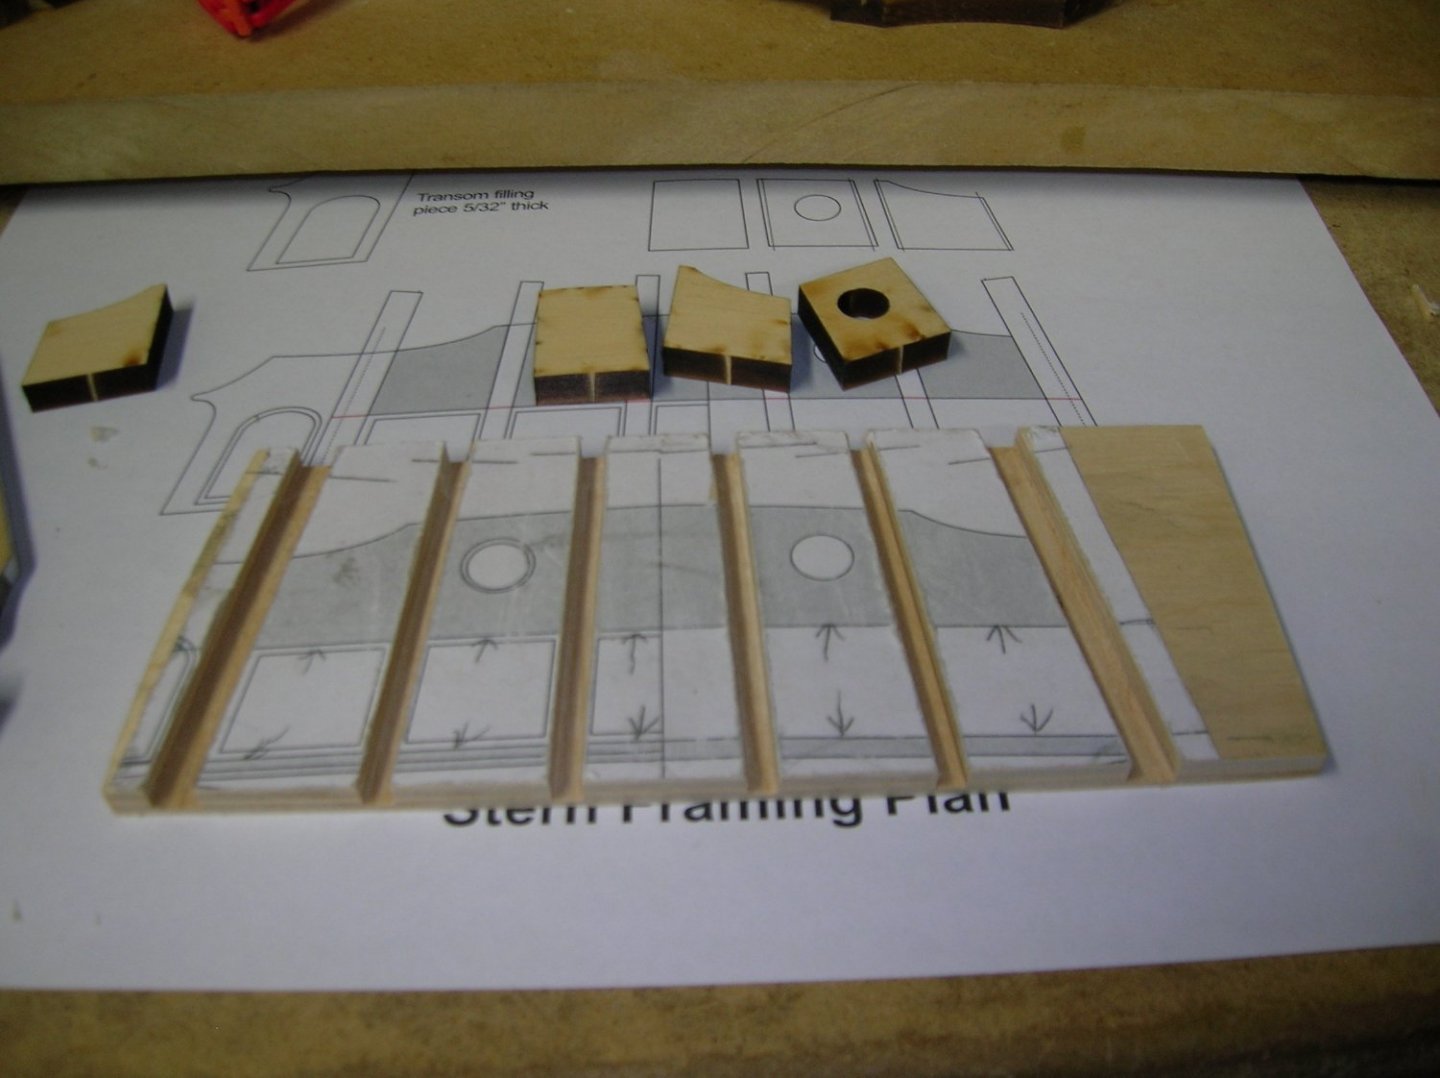
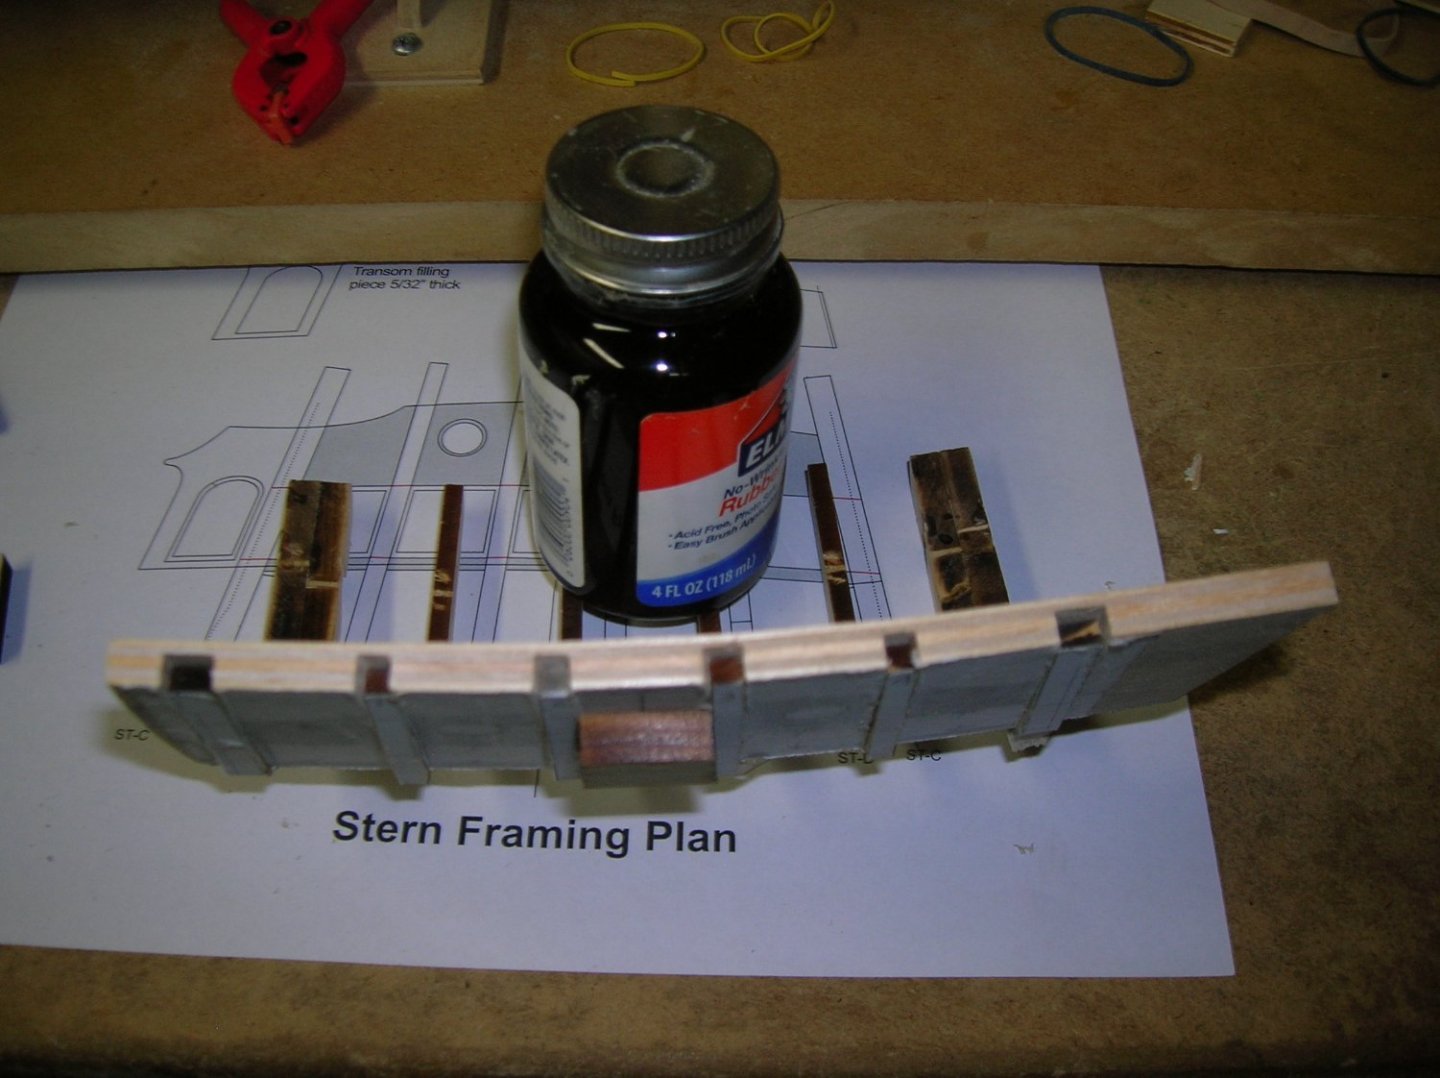
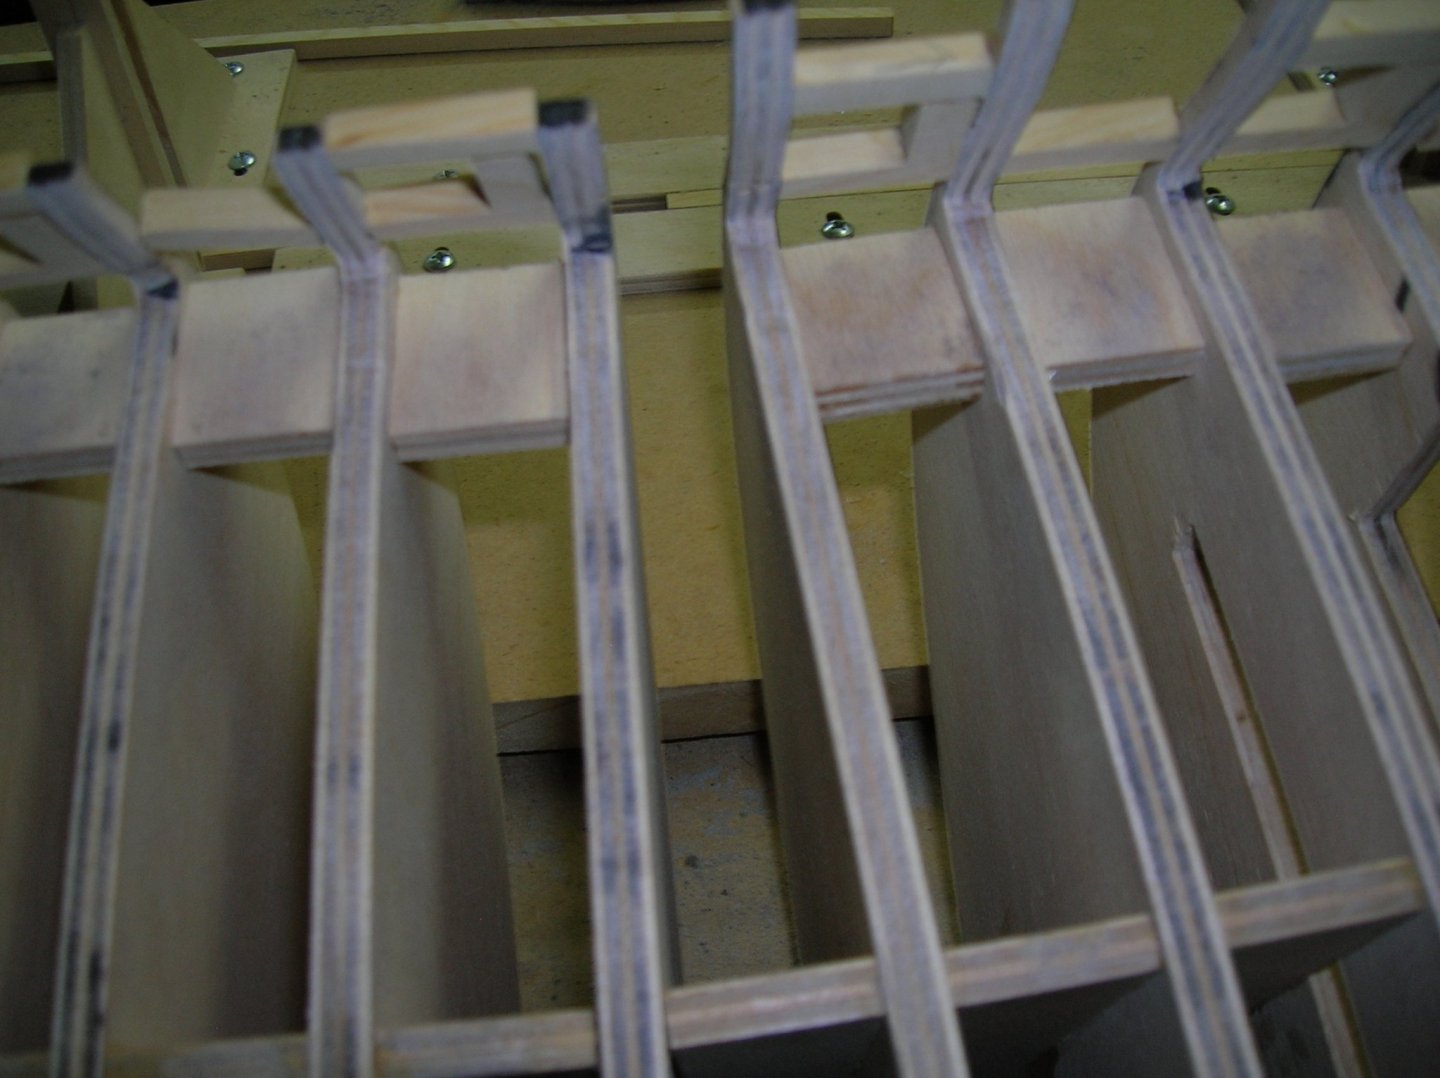
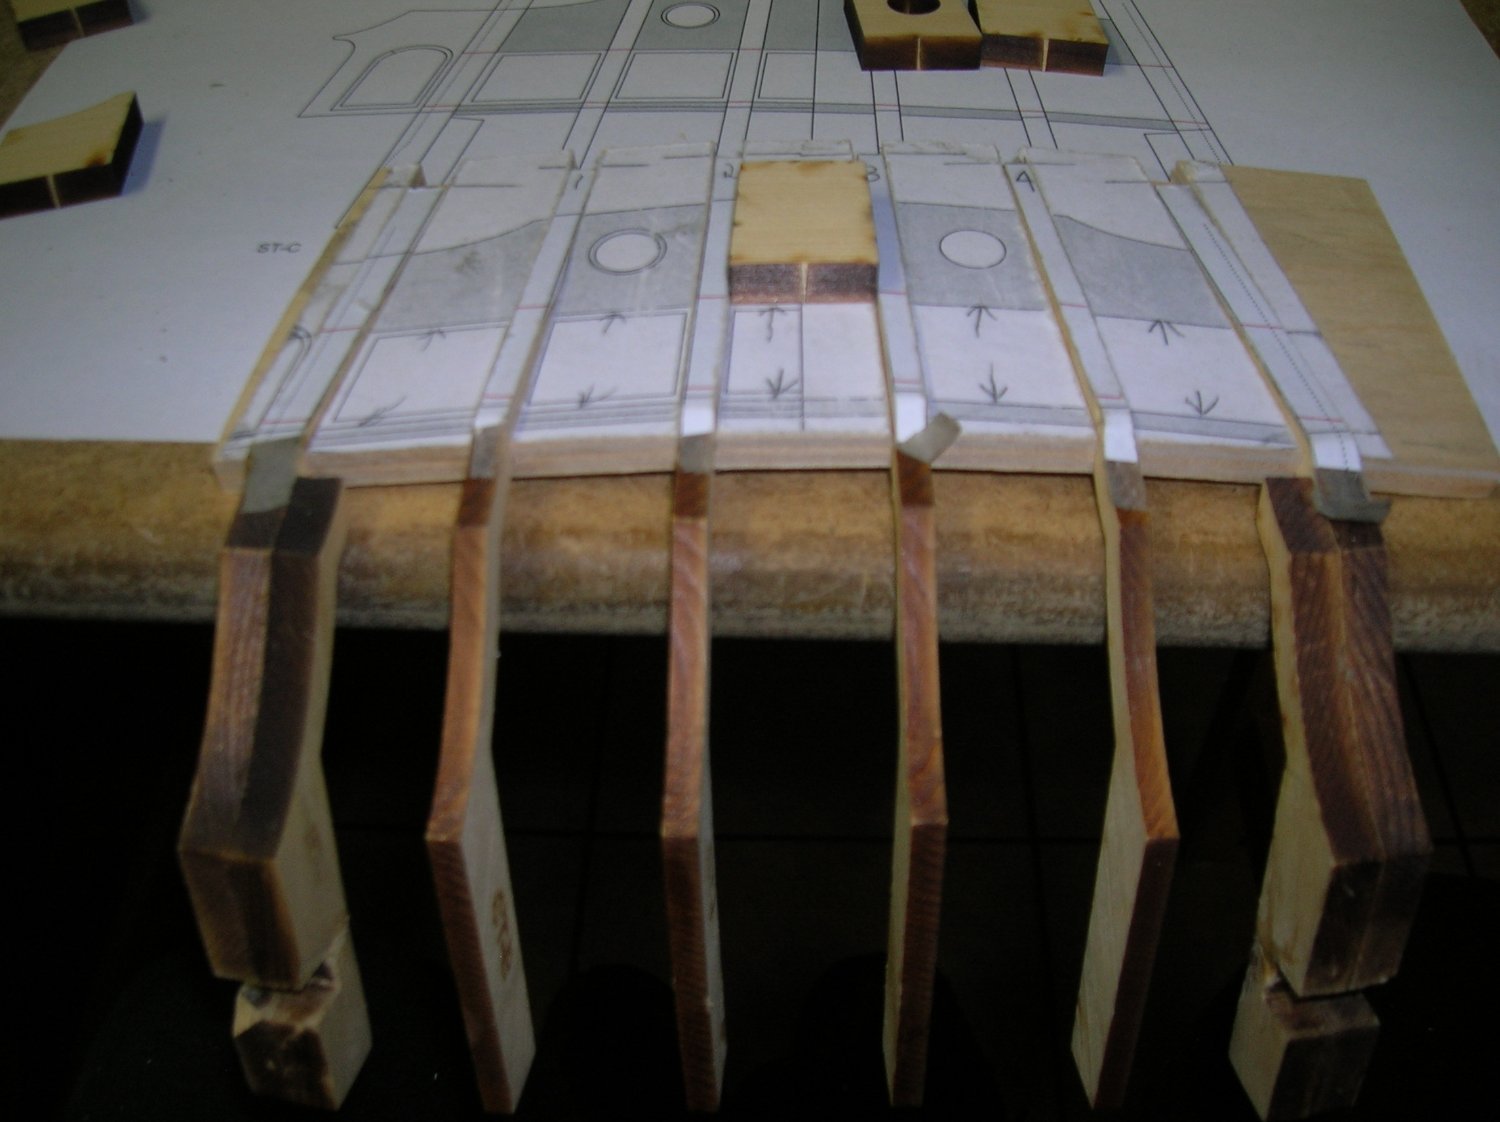
I'll try to explain what I did. First I glued the framing guide to birch plywood and used a 6.6 end mill (this end mill makes a good fit for birch plywood) to make the slots all most all the way through where the frames go. When the frames are installed in the jig it naturaly made the curve and held them in. Then trimmed the bottom of the jig to the tic markes where the bottom sills go, lined up all tic marks on the frames and jig and installed the lower sills. Then I cut the upper sills out of the jig the top was a bit long to make it stifer now I have a two pice jig. Install the bottom jig fits to the installed bottom sills, top jig to tic marks. Install window guides then fit and glue upper sils. When dry frameing jigs of walaw stern frame compleat. All most for got verry inportain step when I first put the frames in the jig I then set it on the bench and made sure all frame bottoms were even and the readjuste tick marks whitch I didn't have to. When it was finnished it fill right inthe stern, all most at the correct angle. Broken frams were unglued and new frams were made.

-
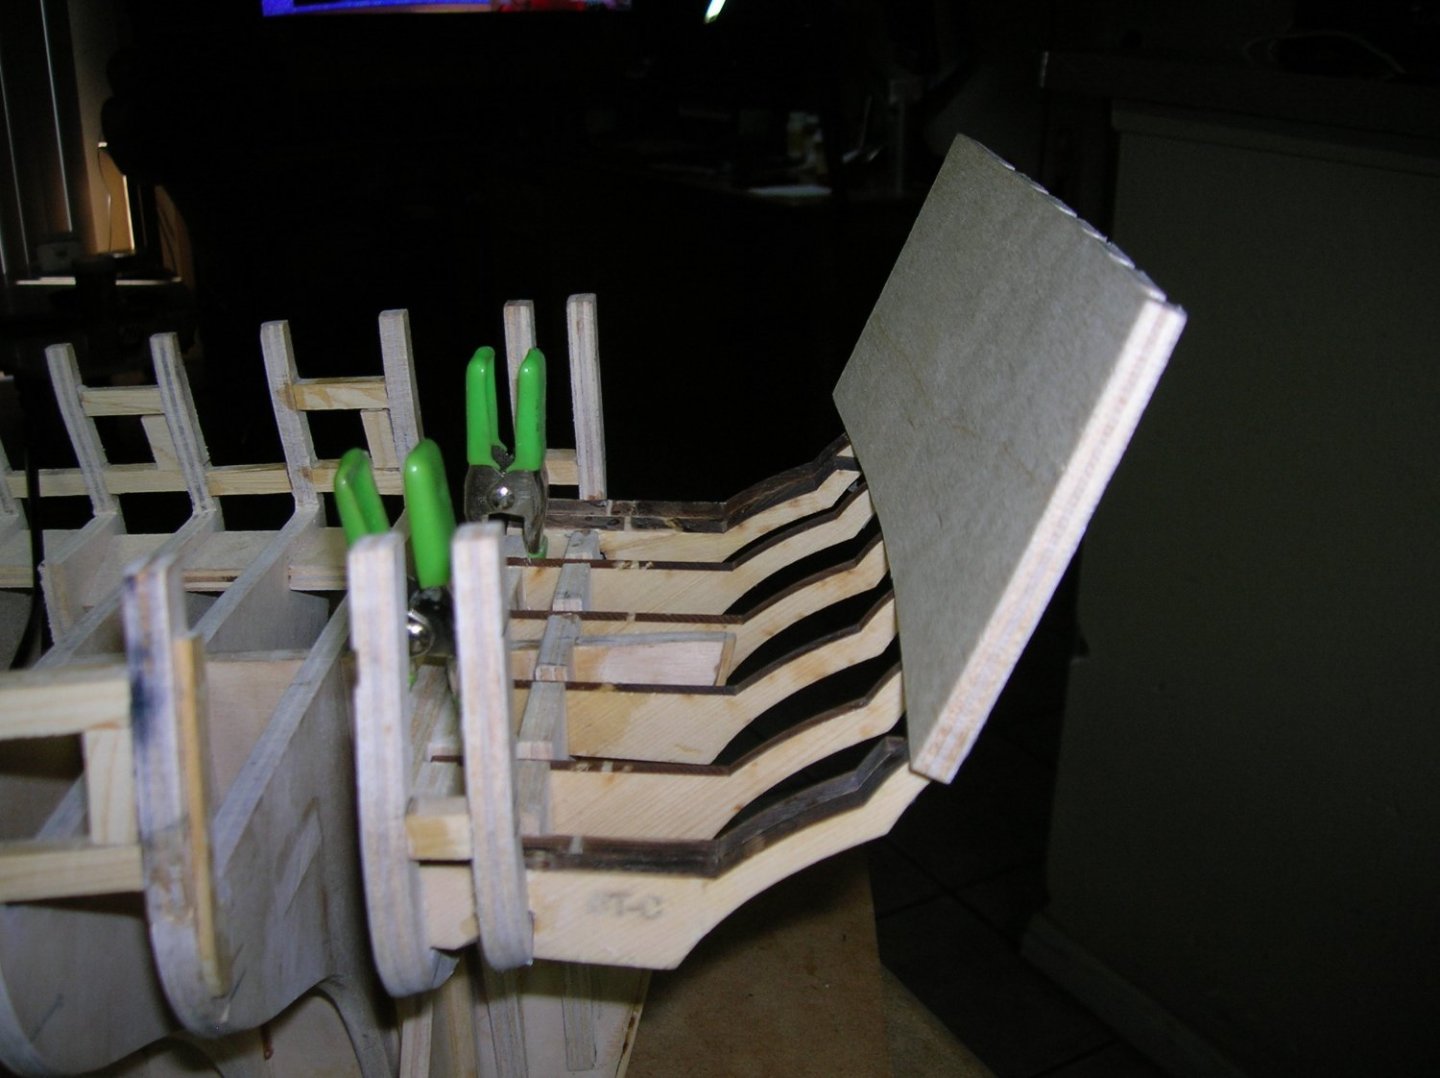
Hello: I'm really running late now. Got the repairs done and thought now I can finally build something. Stern framing up next this looks fun, in my case no such luck. After a few weeks of trying to put the lights (window) spacers in, rubber bands, gluing ungluing parts to see if I could keep them in with rubber bands still just breathe on them, they fell out. Sorry Mr. Passaro I just couldn't make them work for me, so this is what worked for me, and everything fell into place. Everything is just dry fitted now. Tom

-
I do not beleve it's a good idea to have laser cut partes cut some where else, you neve know where the plans may end up.
- 1,784 replies
-
- 1
-

-
- winchelsea
- Syren Ship Model Company
- (and 1 more)
-
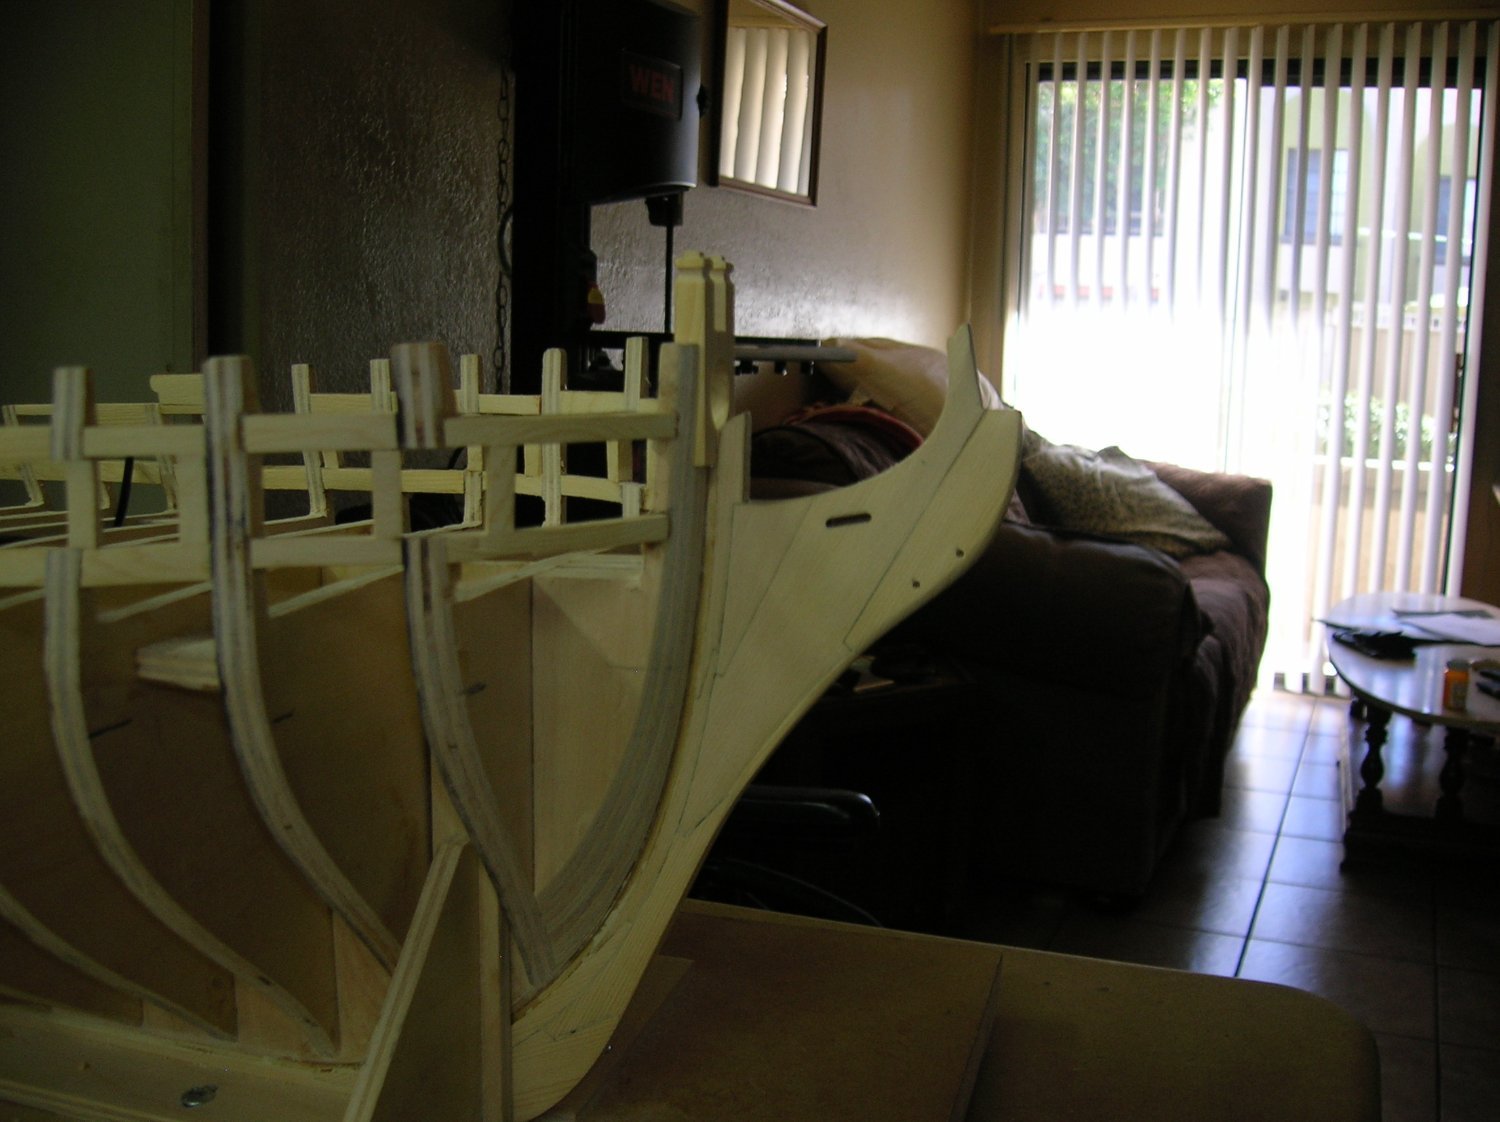
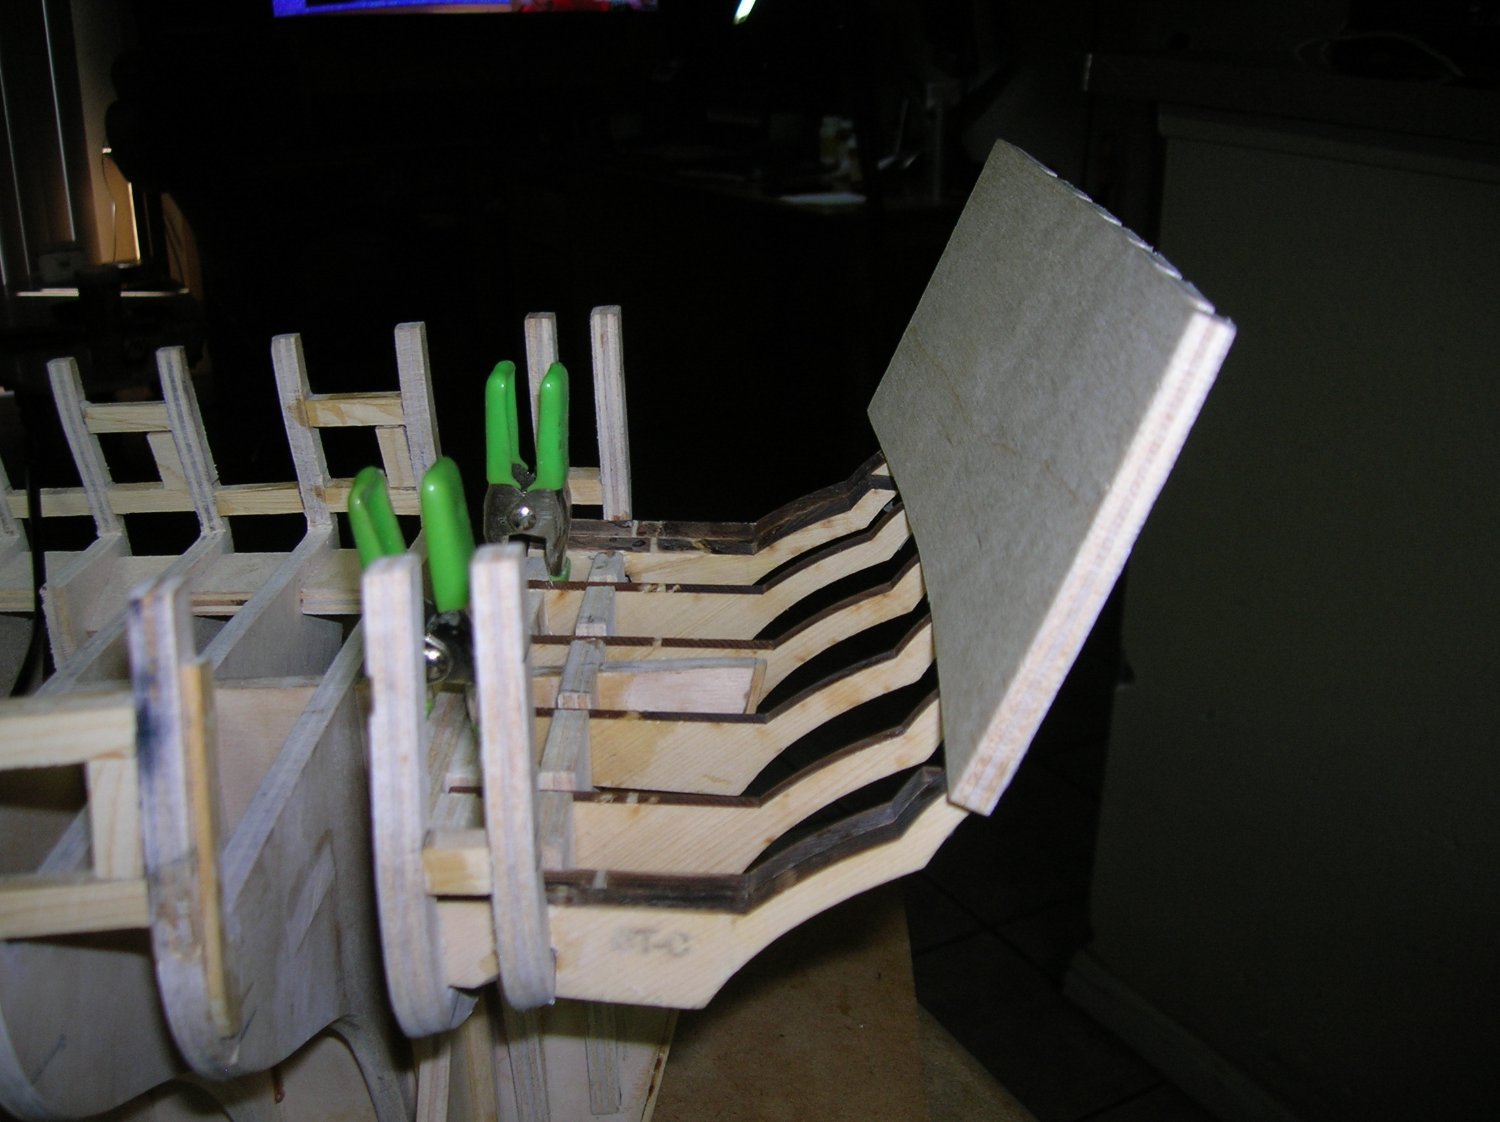
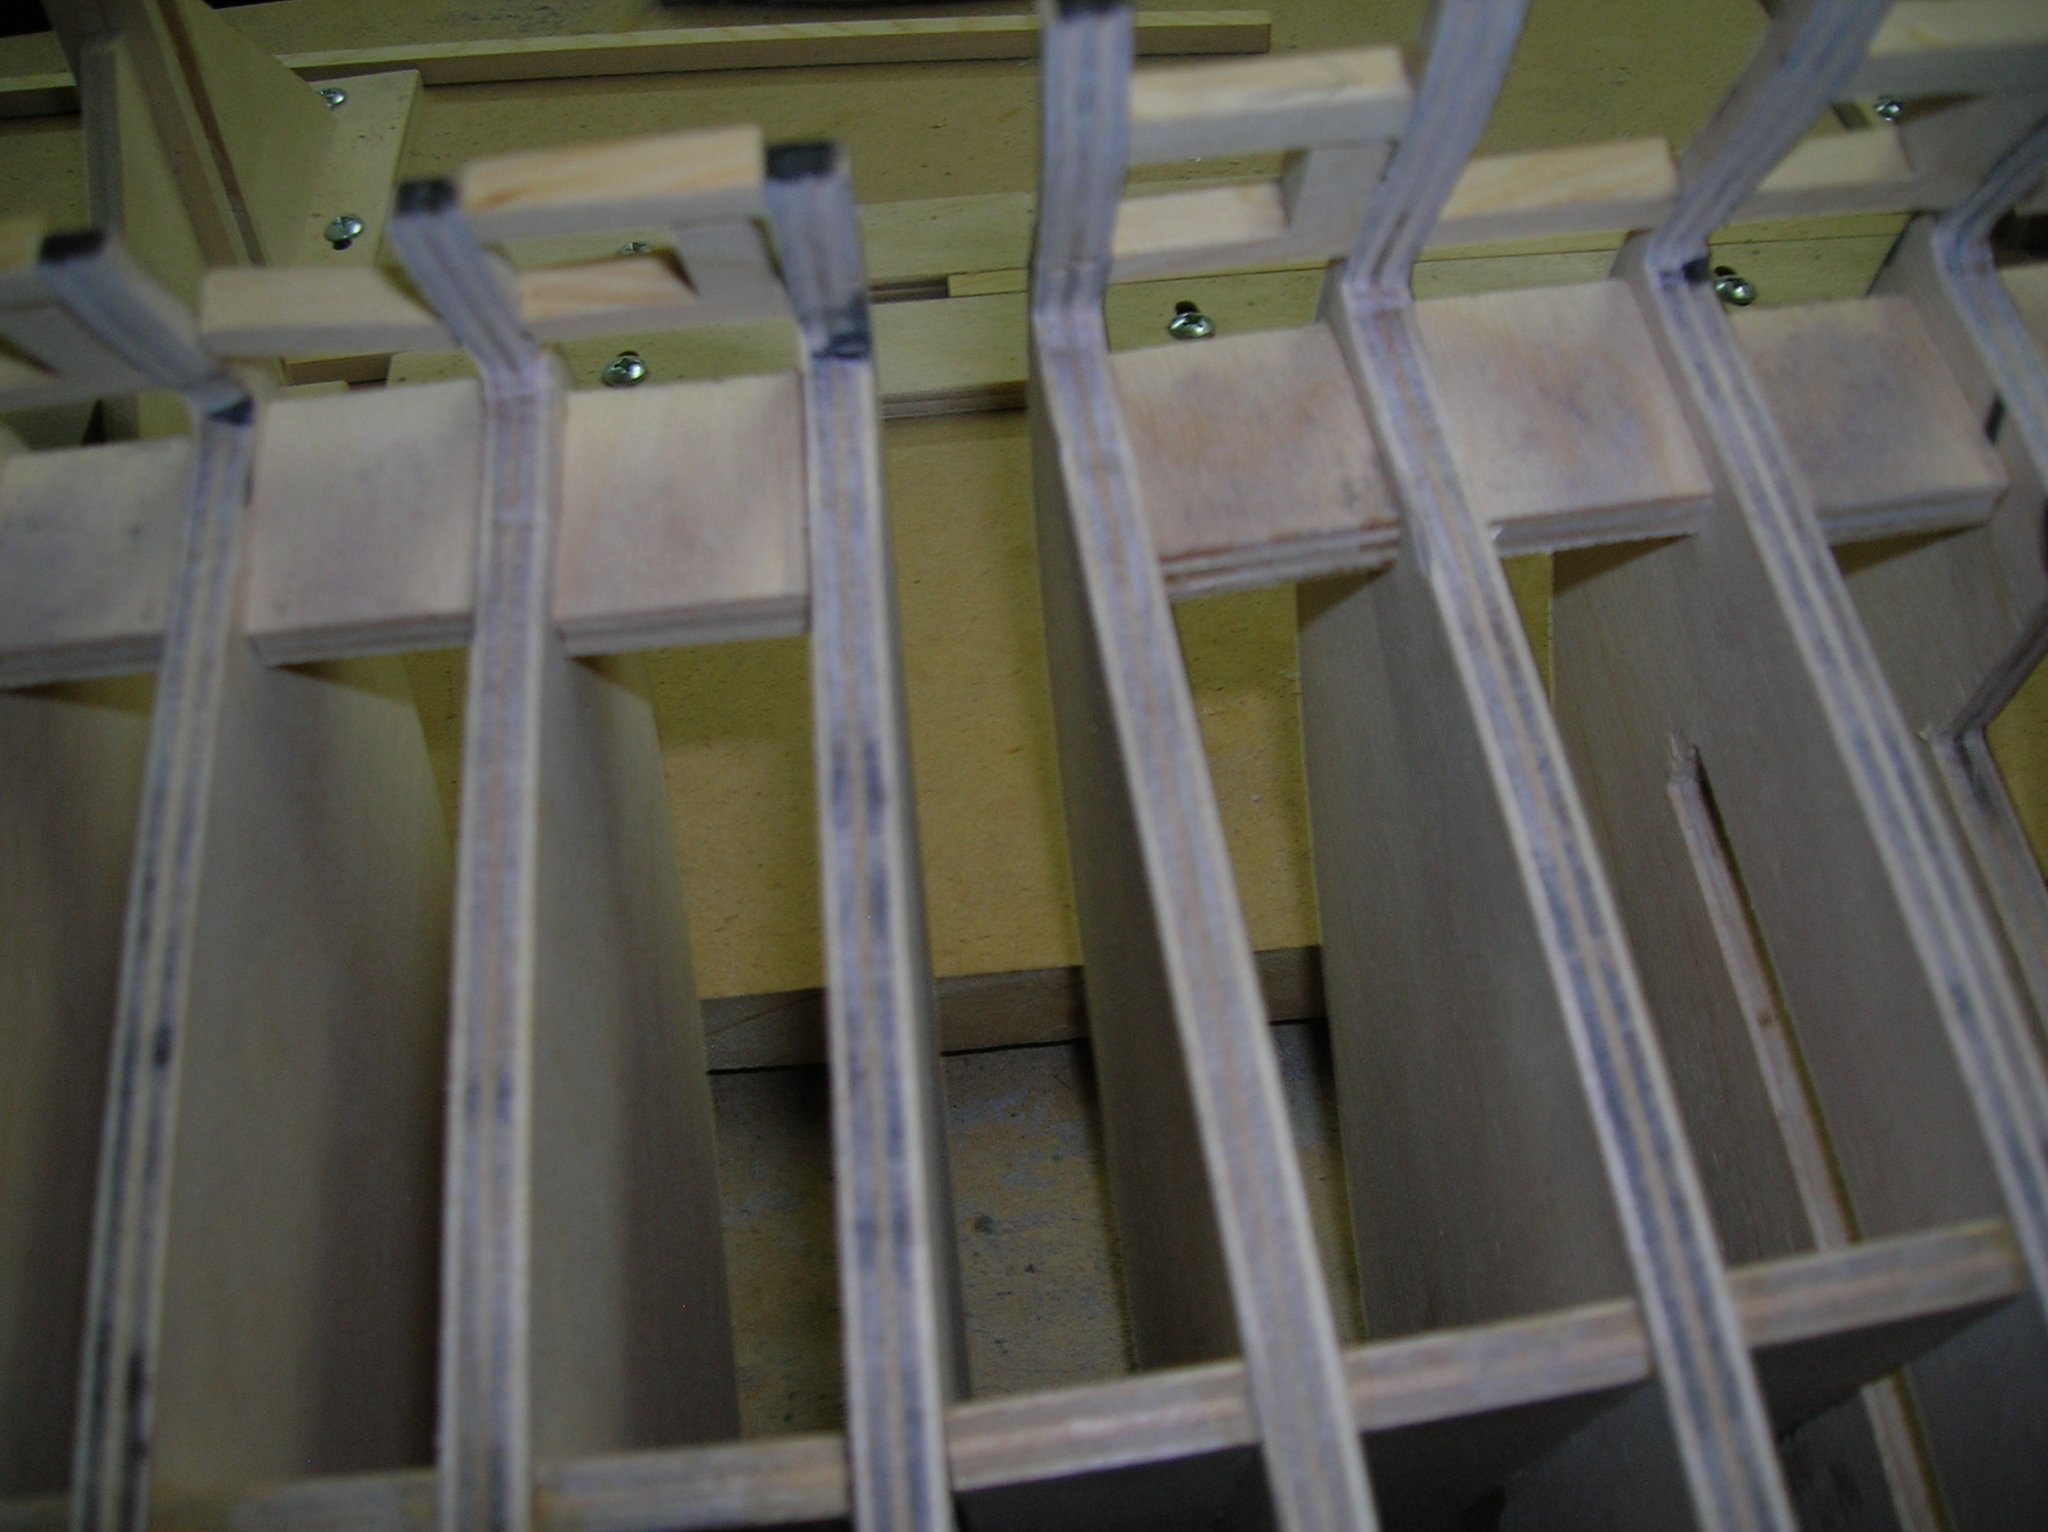
Houston I think I have a problem. I thought I would be done with inborad farring guess not. I have to do a little extra, I don't see where on the plans or in the instructions to do this step. I was starting to clean up was getting the vac hose out and heard a crash turned and no ship on the bench uh-oh didn't put in the work stand. New aft frames needed and I think I can fix the keel back to be straght again will see. I will be a little longer in chapter one. Tom

-
It's been along time since I've been hear, gun ports and farring. Started inside faring and what a mess. The day befor I read Chuck blog about slowing down I told my self you got to excited in a hurry you have to slow down. The reslut in my excitment was a mess. I will be on gun port and inborad farring and most likely repair for a while. Thank You Chuck for the reminder. Tom
-
Please Mr. Passaro please keep up the extraordinary 10. Thank You Tom
- 1,784 replies
-
- 3
-
-
- winchelsea
- Syren Ship Model Company
- (and 1 more)
-
Thank you Chuck. I read that part now that you reminded me. The framing is just in there with a little rubber glue. Also do I think one is in the in the wrong place,I am supposed to know how to read a print, thats what my resume say's but after this I wouldn't count on it. Tom
-
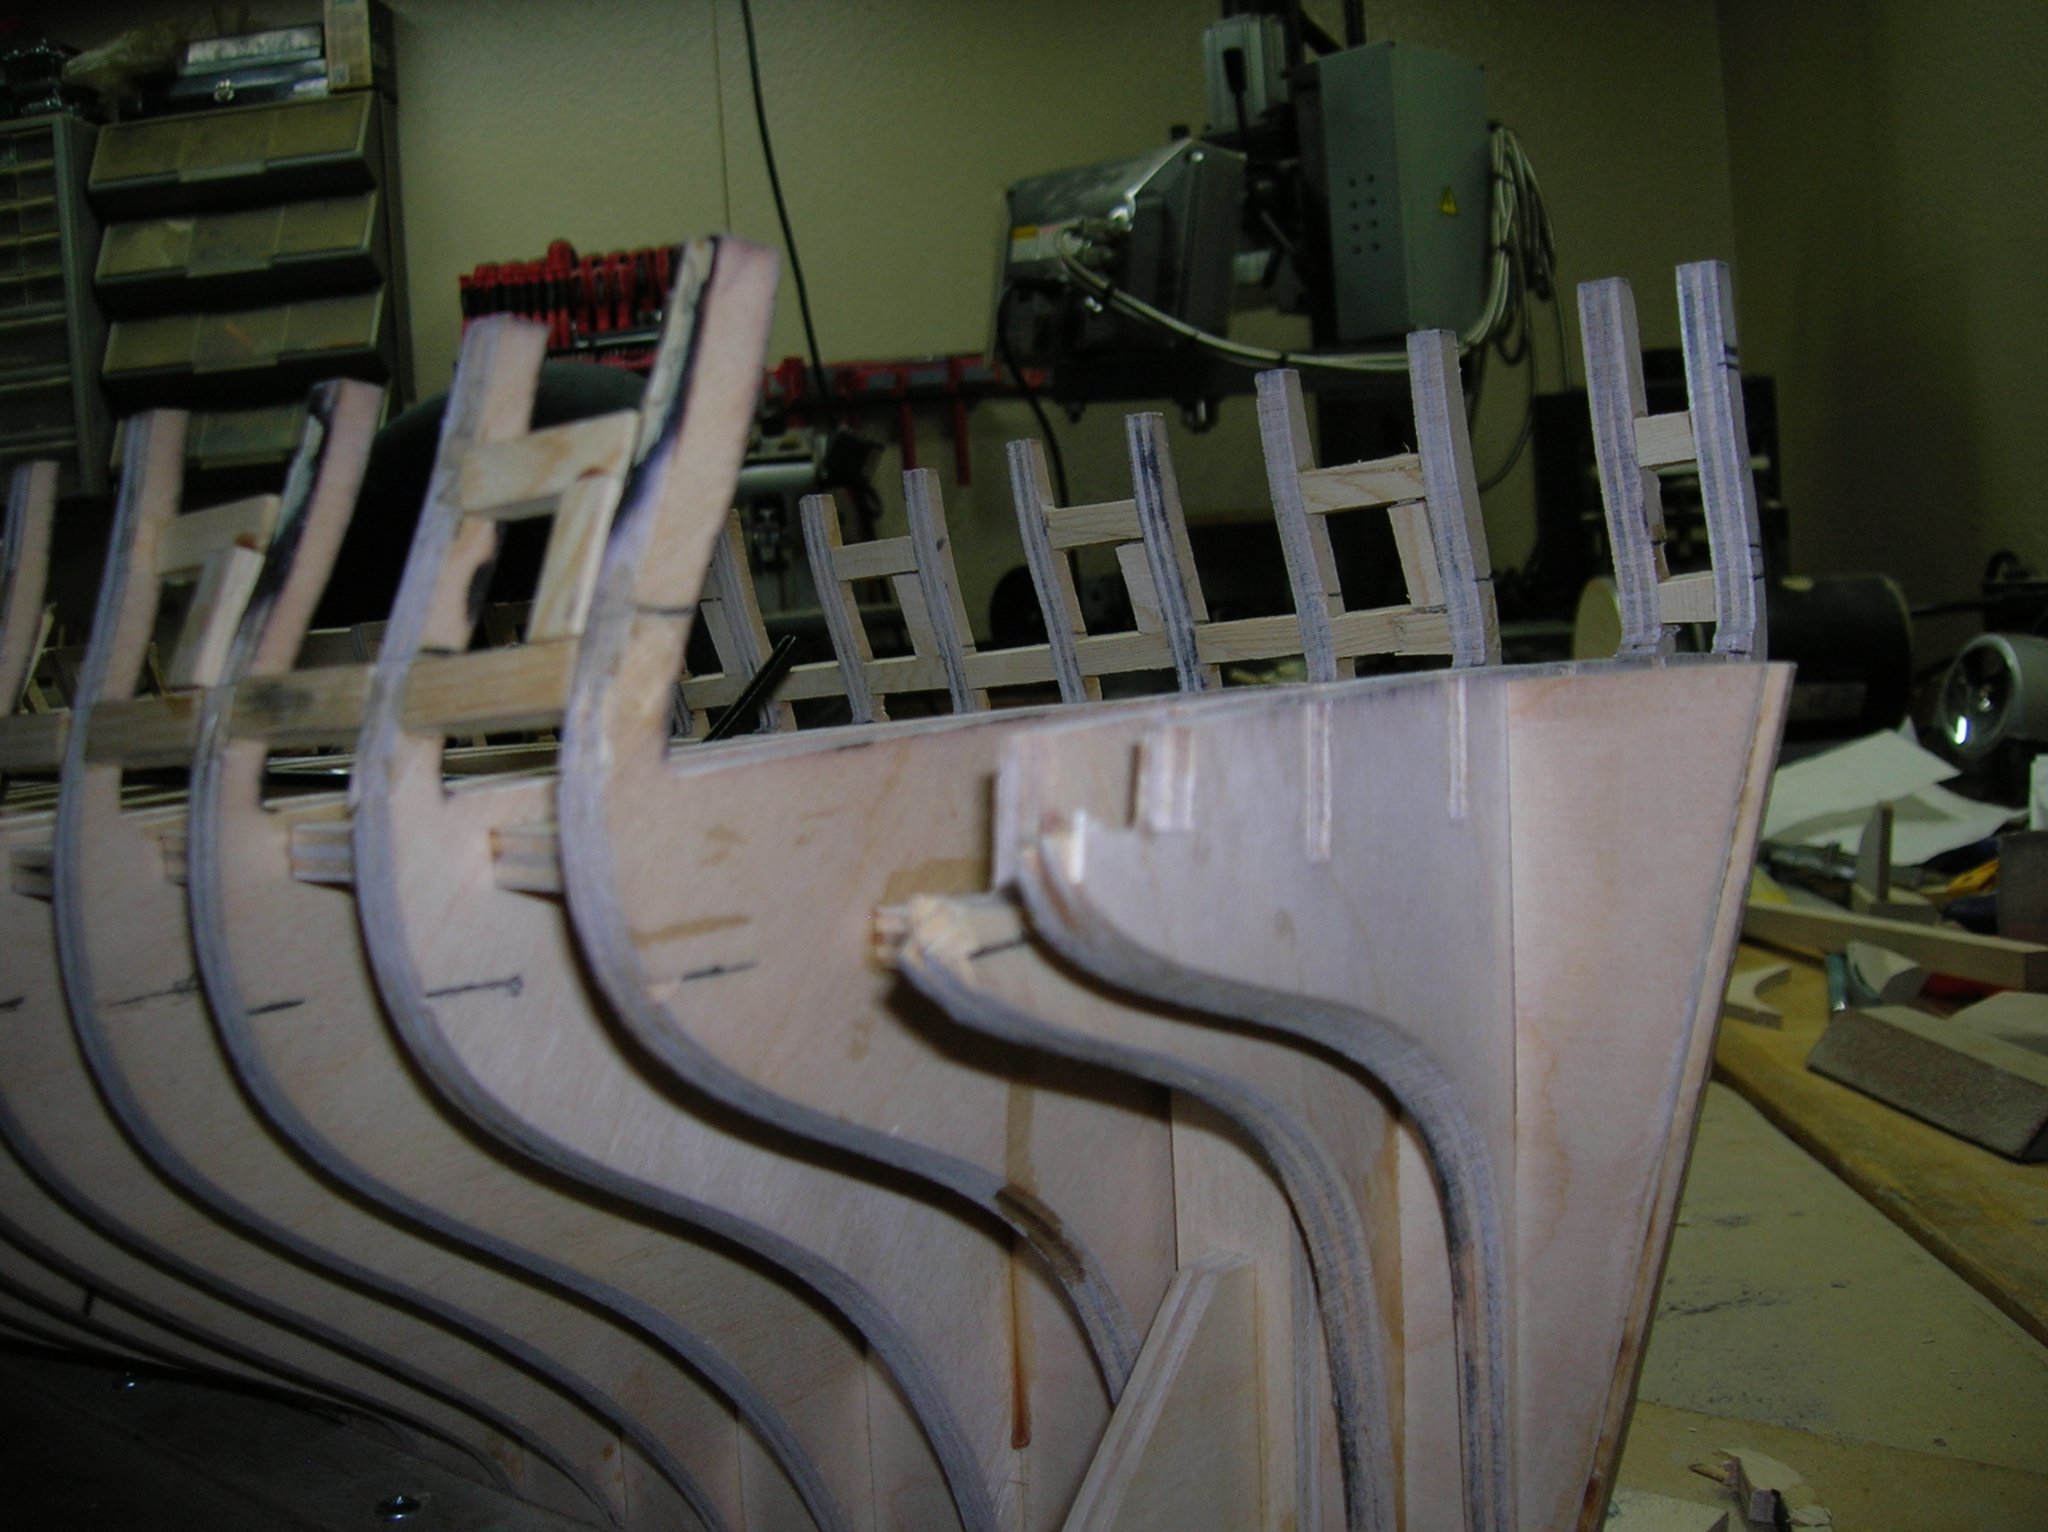
Thank you Reg. They came out really good and square on both sides. That was my next question fairing at the bow. As can be seen the frameing fits good (the top one fits like the botton one must of bumped it) and if I do any sanding they will end up short or not fitting probabl short, don't know what to do hear. I could make a new one but that's not the ponit. The rest there is no or little fairing other than to get the bumps out. Thank you Tom

-
After ten thousand mistakes and redo's I finlay get to build something. Had fun though reparing the false keel to the print. Hull fairing next. Used the camera first (bad pic need new camera) went to phone that was a joke trying to go from phone to hear, bad pic too. TJ
-
Thank you Chuck, chapete 1 arived today in perfect condition. All most ready for it. Tom
-
Thank you Mr Passaro. I'll venture out to Michaels. Thank you Tom.
- 1,784 replies
-
- 1
-
-
- winchelsea
- Syren Ship Model Company
- (and 1 more)
-
I was wondering too, never have done weathering, also please what kind of paint are you useing is it flat, matt, gloss I can't seem to get it right. When I built the Triton I used wood. Thank you Tom
- 1,784 replies
-
- 1
-
-
- winchelsea
- Syren Ship Model Company
- (and 1 more)
-
Thank you. I downloaded everything again, set the printer to custom 100% and #1 bulkhead scale read 1/4" and when printed and compared to the false keel (put in it's slot) it fits perfectly the bottom of the bulkhead hit the bottom of the false keel. I printed cut them out and ready for gluing and cutting and shaping. Staples a mile away and when I had all the others printed thought about having the bulkheads printed but nan I can do it, ha ha. Tom
-
I have a dilemma about printing and which scale to use? Printing No 1 bulkhead with the scale. Print it normal printer is 100% and the scale measures 3/16". Looks good and the bottom of it comes right to the bottom of the false keel. But as I said the scale is 3/16". The width of the bulkhead is 8 11/16" at the second red line, I assuming this is the bottom sill gun port. Now the dilemma When I adjust the percentage to 105% to make the scale that's on the print to 1/4" the bulkhead becomes 1/4" Larger and 1/8" taller, The width is 9 1/6" at the second red line and the bottom hangs over the false keel 1/6". But the scale reads 1/4" now. The false keel prints from the printer the scale reads 1/4". Which do I use print normal or adjust the scale to 1/4"? TJ Sorry don't know what I did but they printed out fine.
-
Hello
Hope this is the right place for this.
I have changed my email, (I don't use yahoo at all) but everything seems to still be going to yahoo instead of google.
When in the profile page to change email it only has a box for yahoo and that's where I put my google address did I do it right?
Thank You
Tom
-
Can i live without a BYRNES TABLE SAW
BubbleHead replied to shihawk's topic in Modeling tools and Workshop Equipment
Yes I would have to agree with the tilting arbor by Byrnes. I have a tilting table but have never used it. I am now looking for a tilting arbor saw just for ease of operation. -
Thank you gentlemen Tom
-
Please could someone tell me, I would like to order Domanoff rope walk. Irt says send an "Inquiries" does this mean I am ordering and paying for the product? Thank you Tom
-
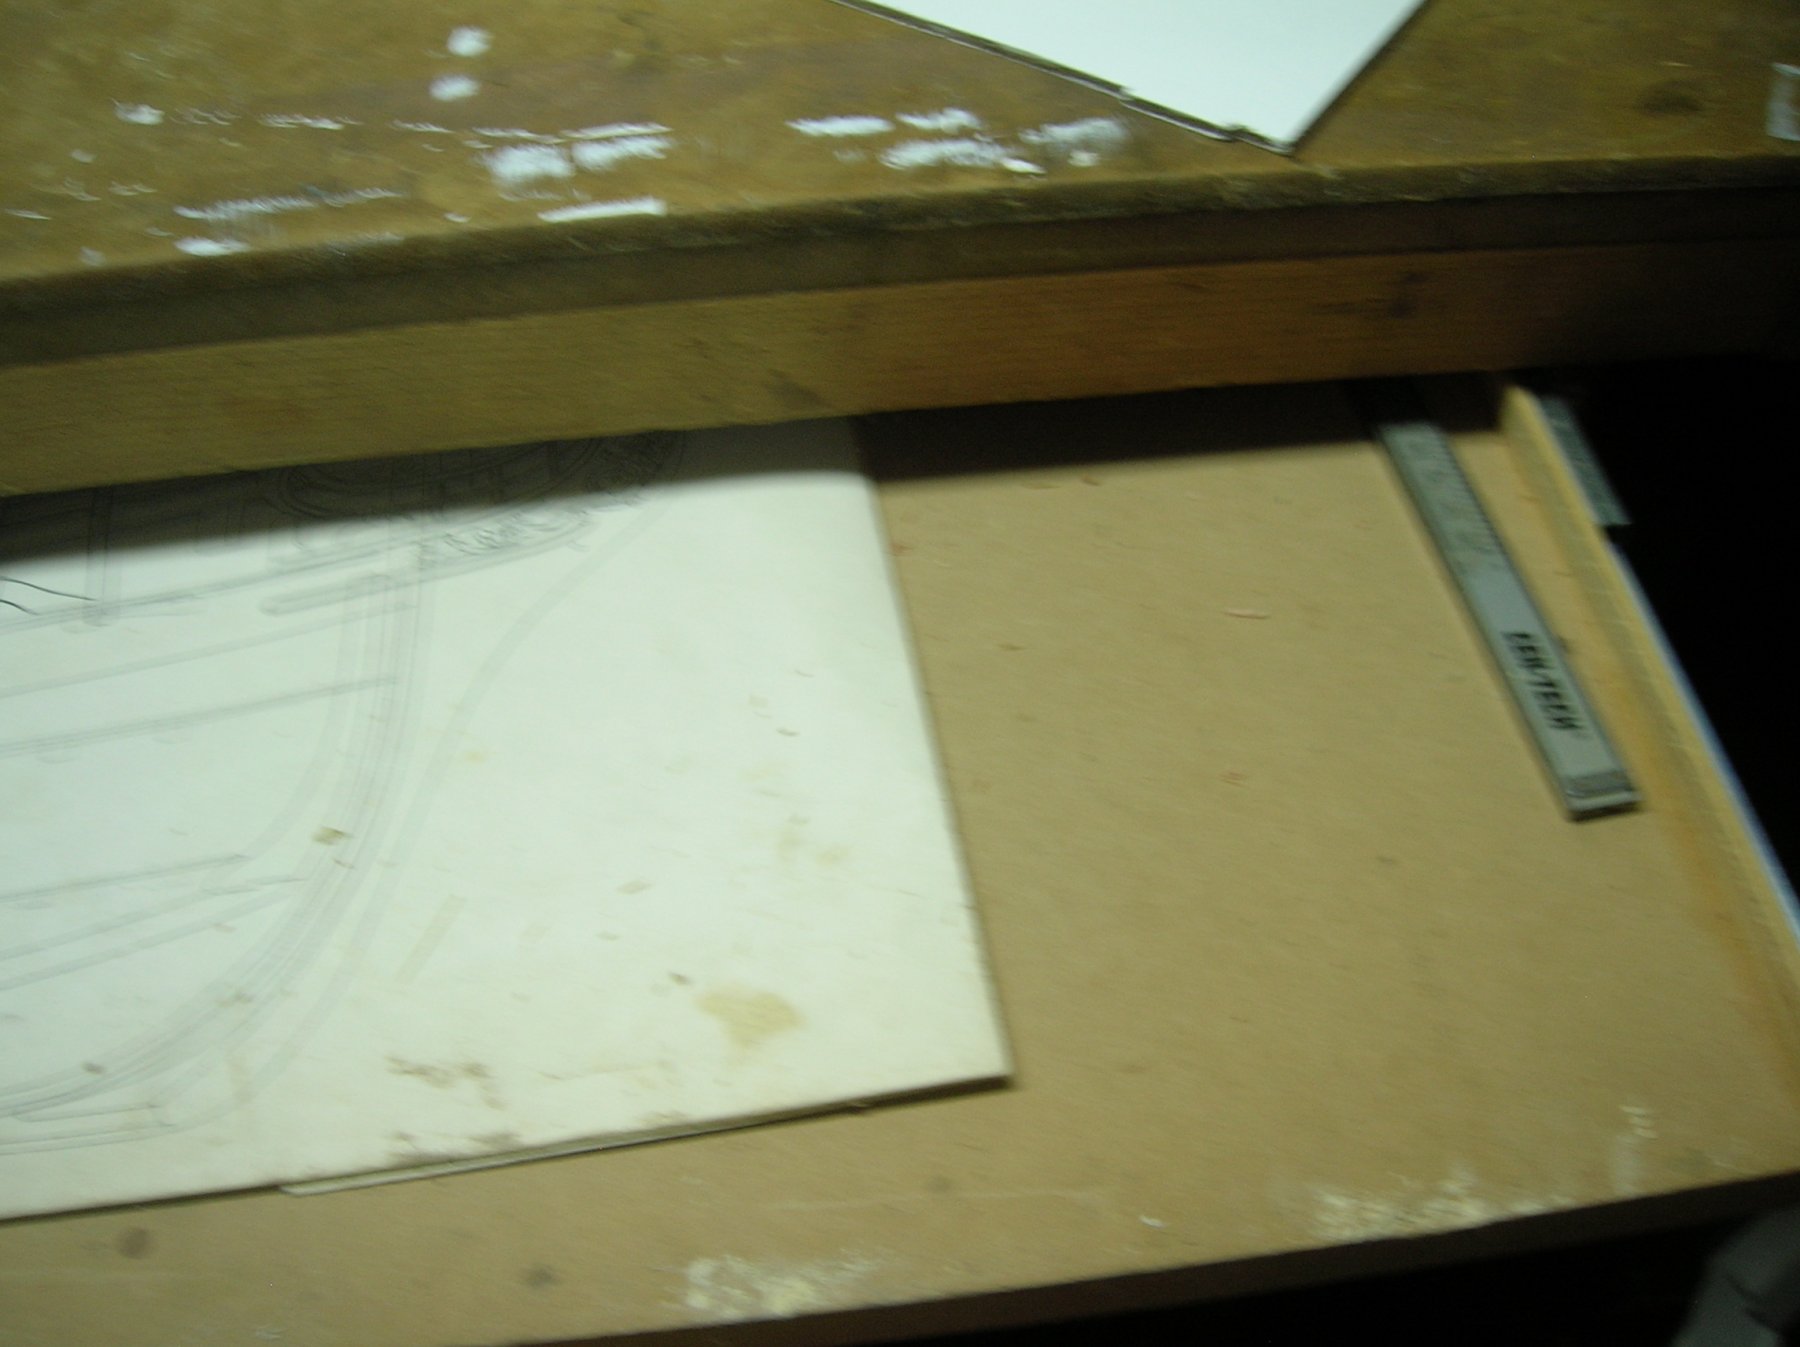
Laying out plans in a smaller workshop
BubbleHead replied to alde's topic in Modeling tools and Workshop Equipment
This is what I did simple. With full extension slides.
-
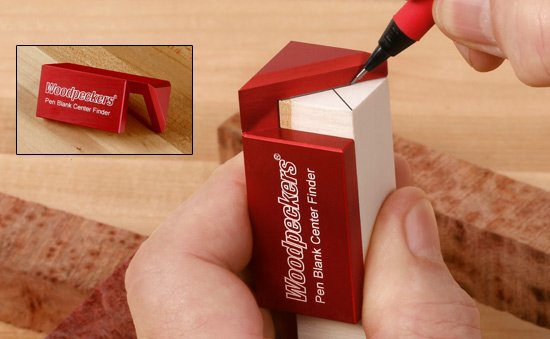
When I try to use the typical centering tool I'm all ways fumbling with the two pieces and finally put the square or round stock in the vice and mark the end. Frustrating. Well problem solved and I would like to share with you what I have found, it's new to me and may be not to new to others. I do not represent Woodpecker tools nor am I advertising for them, but this is great spendy, $29.99+ shipping makes it $39.89 a lot for such a little device just to draw a line. What do you think. TJ


.thumb.jpeg.fc5d633a7b34428fcf19419a73d56d55.jpeg)