HOLIDAY DONATION DRIVE - SUPPORT MSW - DO YOUR PART TO KEEP THIS GREAT FORUM GOING! (Only 20 donations so far - C'mon guys!)
×


BubbleHead
-
Posts
107 -
Joined
-
Last visited
Content Type
Profiles
Forums
Gallery
Events
Everything posted by BubbleHead
-
 Yes to Q. 1,3 and no to Q. 2
 -
How to make sail look like wind is blowing in them
BubbleHead replied to ranikola's topic in Masting, rigging and sails
A long long time ago this subject was addressed some what and one molder had pic of what he did. He made a stand ( two vertical poles) rigged the sail as if it were on the ship ( spar in place) tied the four corners to the poles with a short line from the pole to the corner of the sail, turned on a fan, filled the sail to desired look sprayed with hair spray (final net ) or applied deluded glue. I thought this was a grate idea. TJ -
Thank you Anja forgot. Sent files today. Hope you got them as there are several emails. Tom
-
I Still have copy of the files and be glad to download them or what I have on the disc. Now to figure out how? I keep crashing. File too big. If you you would please send me an email to ********.com Ill send it that way. Guess I don't know what I' doing hear. Tom
-
Thanks Erik too late I had ordered it and without looking at my library list now I'm thi proud owner of the old and new version. Don't know werther that's bad or good. Tom
-
Please what makes this book so expensive? A long time a go I put off buying it a big mistake, just ordered (New 2005 edition) it for a hefty price but satisfied. The book is by Portia A Takakjian. Tom
-
I tried but couldn't download the clip but should be easy to see. May be someone has all ready done this. 1 1/2" hole saw and arbor, cut a piece of paint roller to size, (the fluffy ones) slide it over the hole saw and mount it in the drill press. High speed of course. Now you can puff ships bells or ????? Tom
-
- 2
-

-
Nice work wished mine was half as good. Is this what your looking for. TJ InnerPost@48-1.pdf
-
Just Wishing ...work benches (edited)
BubbleHead replied to BubbleHead's topic in Modeling tools and Workshop Equipment
Richard I have one from Home Depot and Harbor Fright. Put one on each wall and screwed brackets on the end of the benches then glued and screwed two pieces of 3/4" mdf together to fill in the corner. Works for me. Tom I like that I don't even have a kitchen table, that's where I model. Tj -
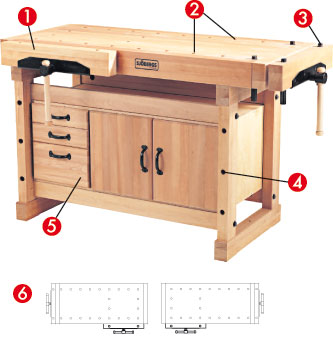
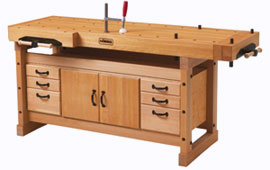
Came a cross this add for work benches. I can see two of them in the corner of my work space. A little out of my price line but what the heck I can wish. TJ

-
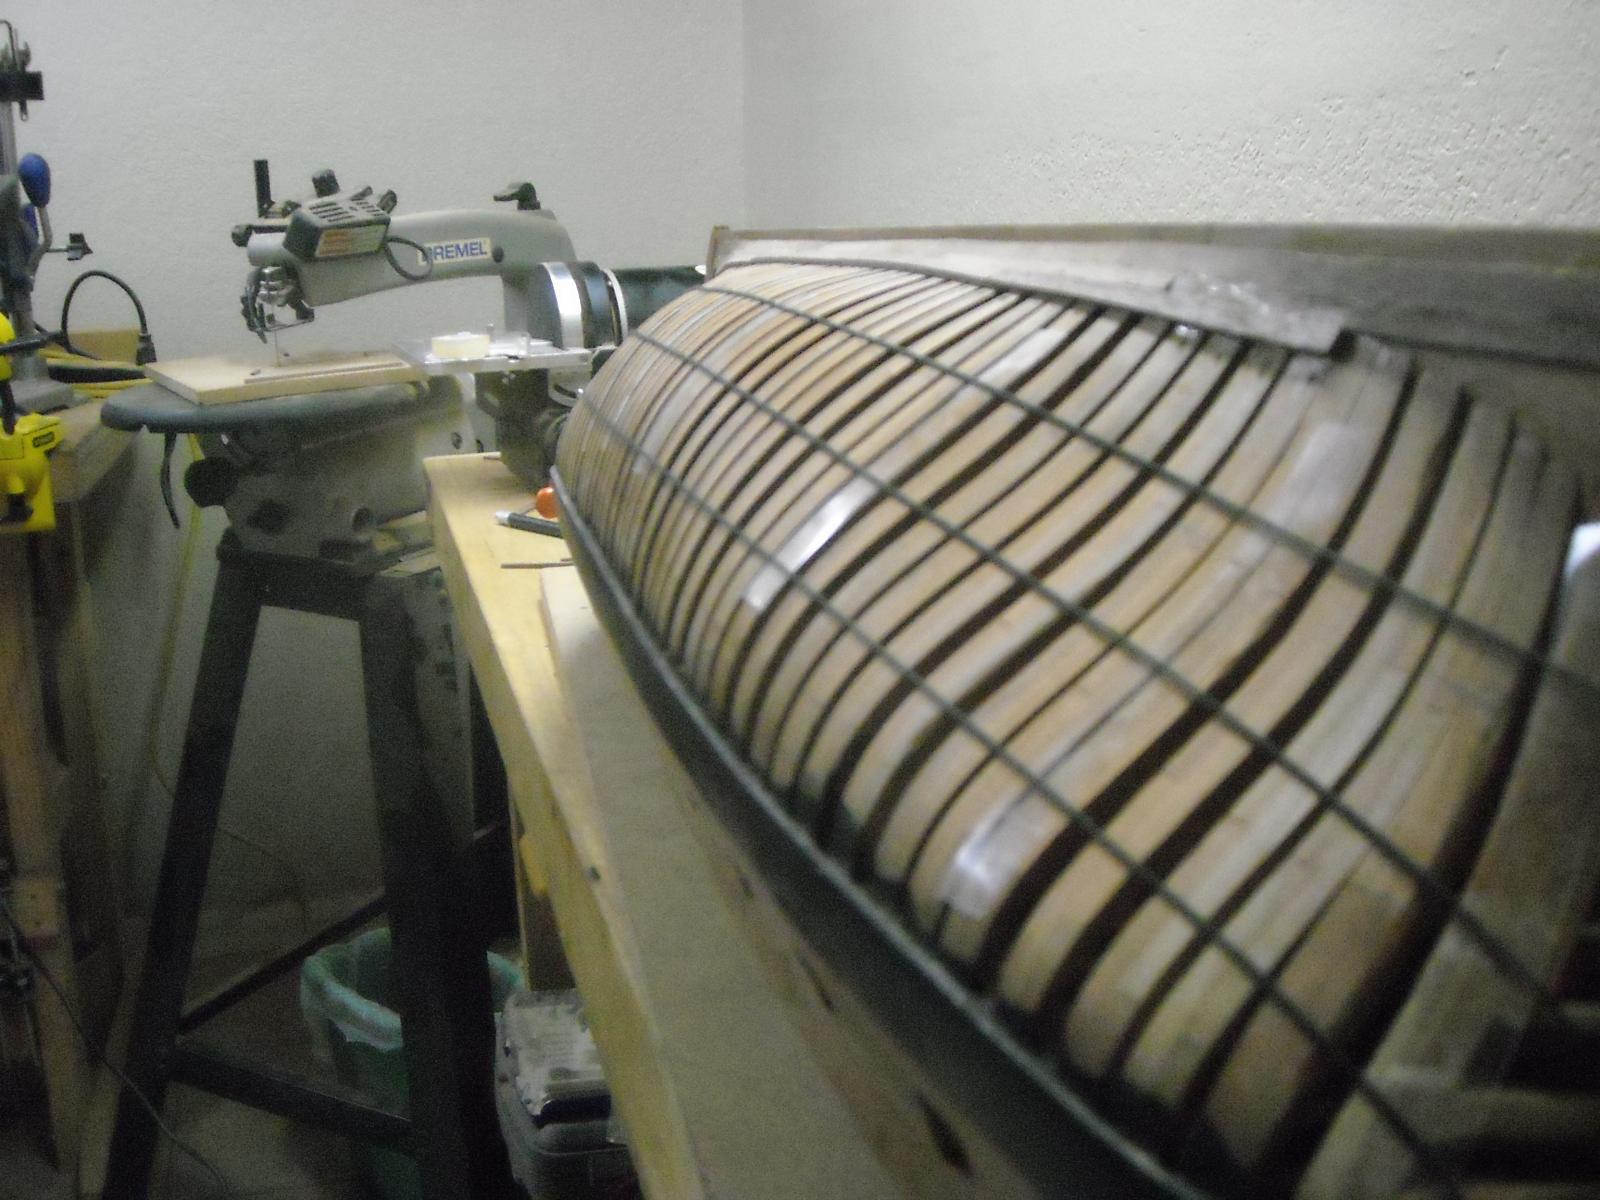
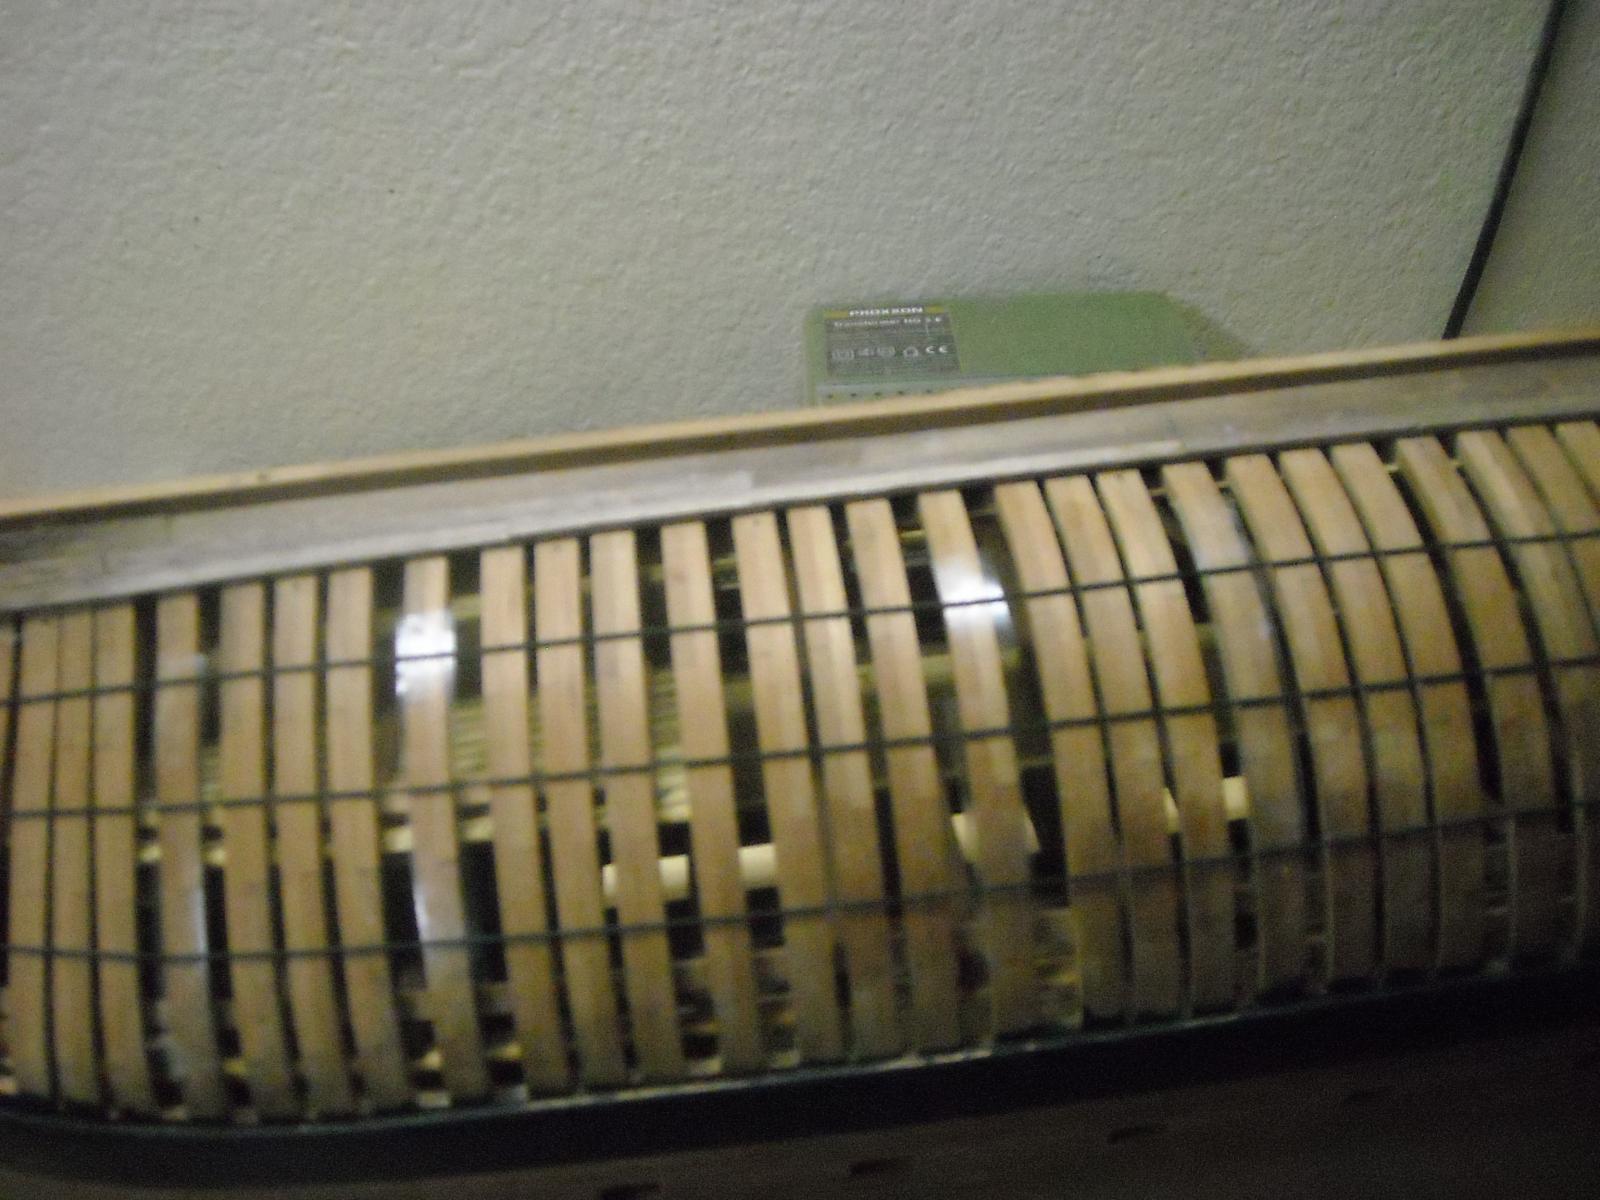
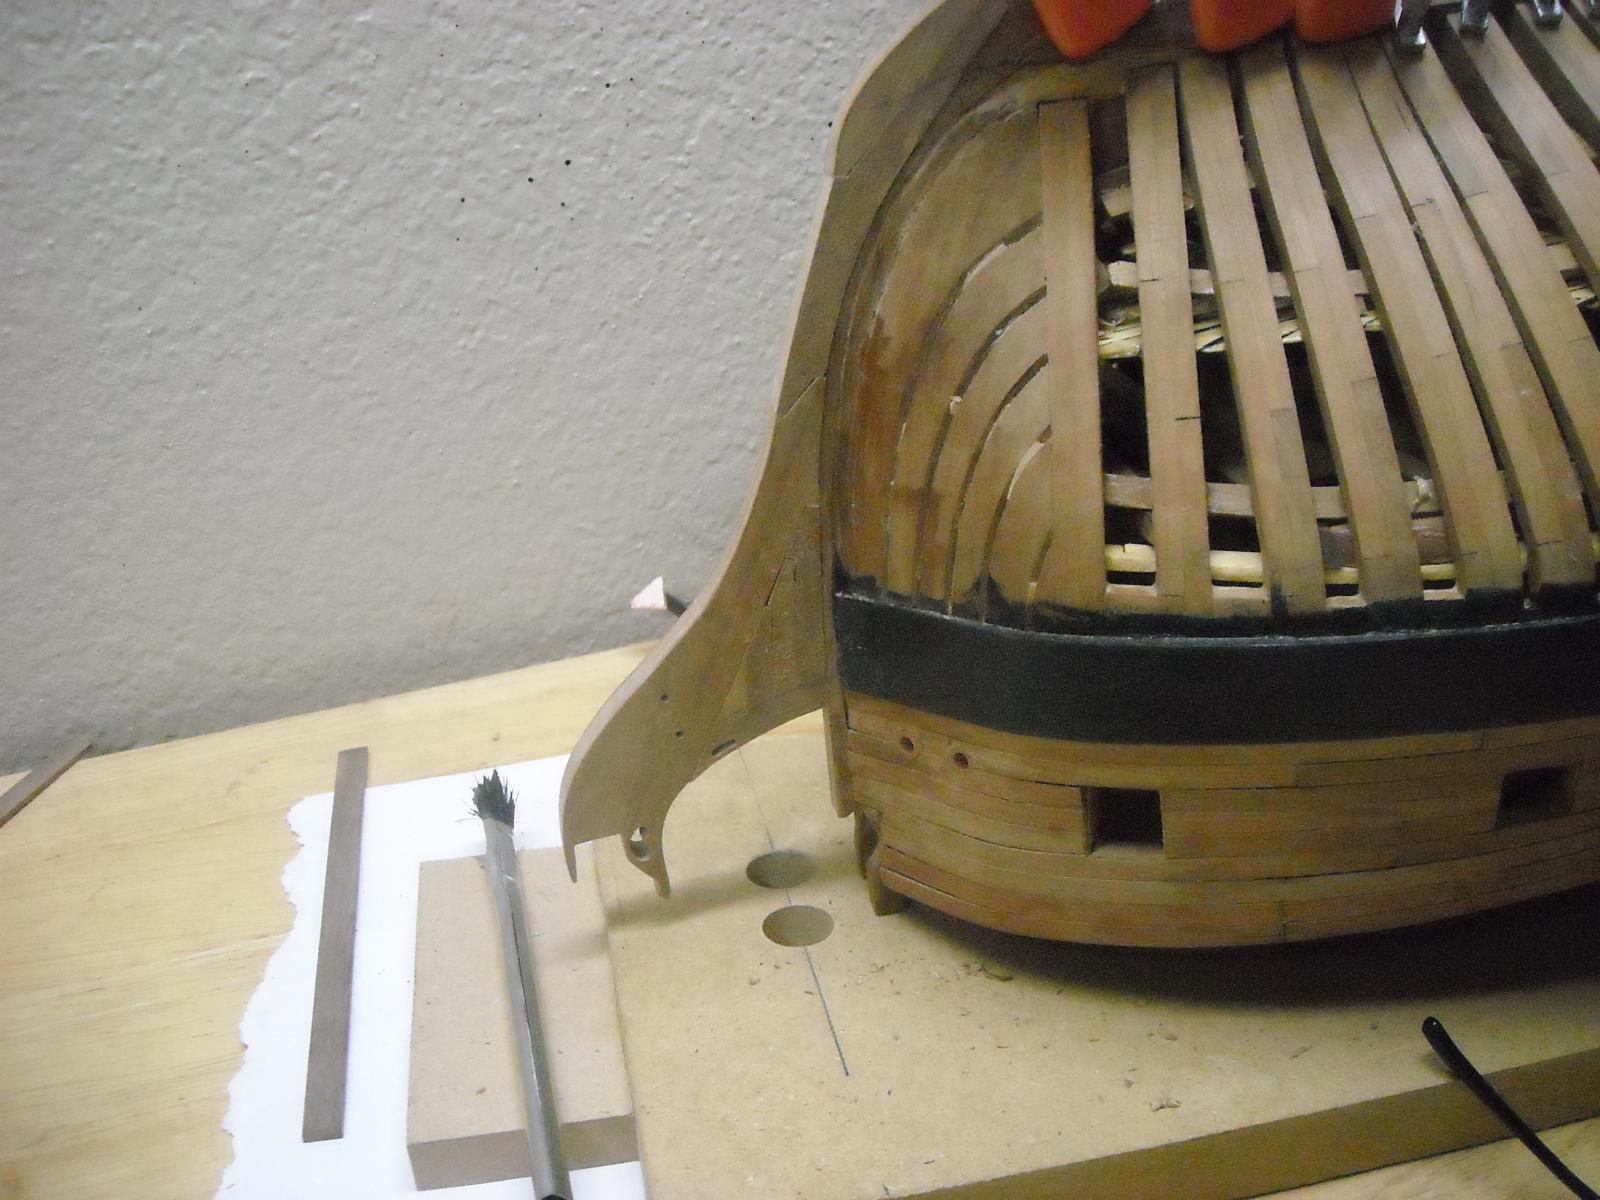
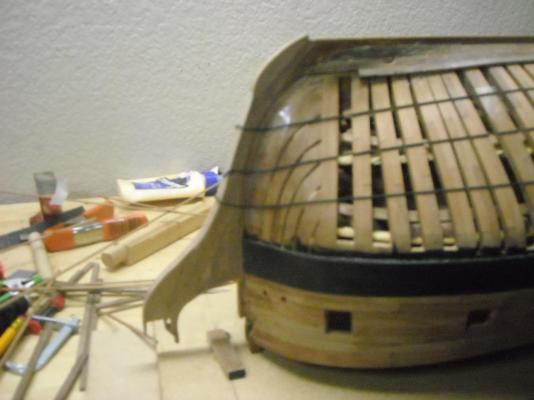
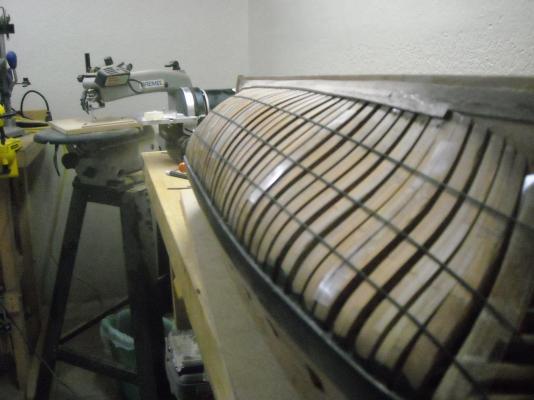
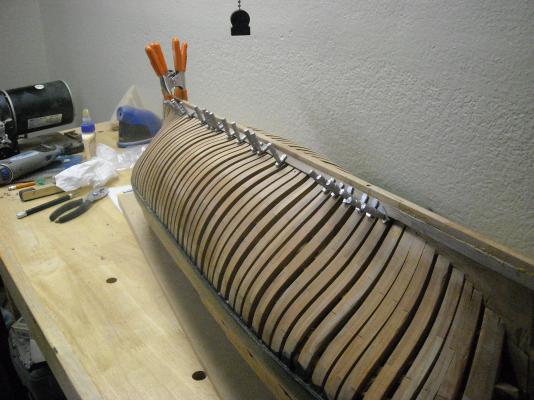
Lining Out Well spent most of the day off and on making battens of various sizes and kinds, glue and tape, nothing worked for me couldn't get them to lay flat spaced right moving them around to get the space to look right and stuck again was to say the lest a mess. So taking some advice I went to line and double sided tape and in about half hour I was done well I think I'm done. I'll put some watered down white glue on to hold them in place better. What do you think will this work. Do they look OK. TJ

-
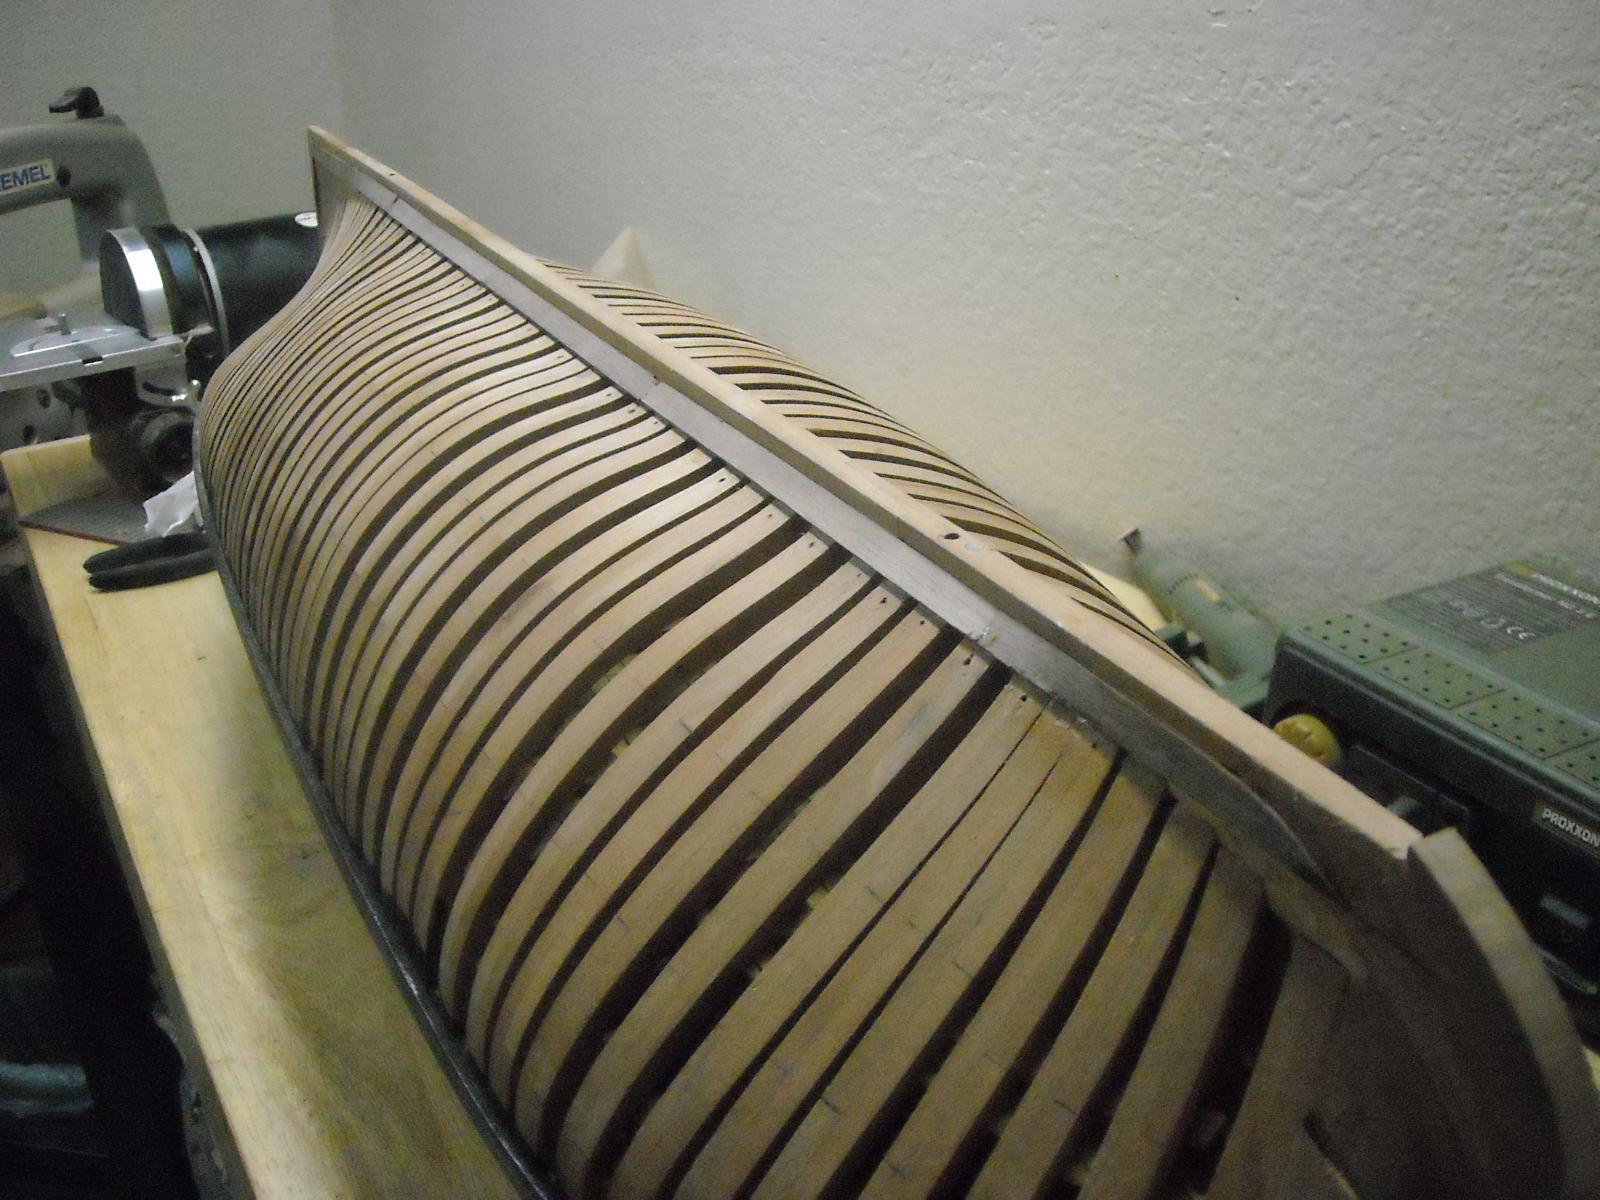
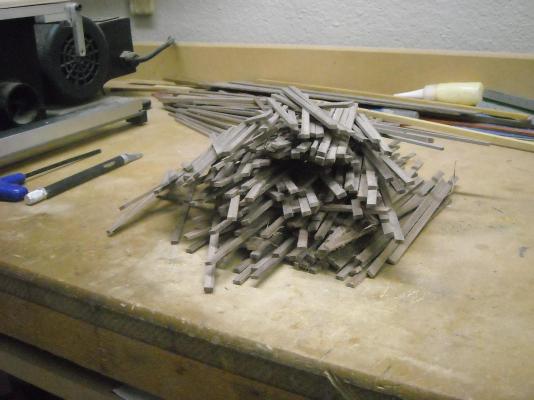
Rich I'll remember that, sounds like good advice. Harvey No and yes. I don't have a shop, like a commercial one, but I do it at home, well in the kitchen dinning area. This is done with the Byrnes tools. First is to resaw the timber to manageable widths and lengths something like ( planking) 7mm X 70-90mm X L? Not very good at this yet, think I need a beater band saw or learn how to use this one. Then mill the timber down to 5mm then cut to length 152mm (scale). It's something like in real measurements 12" X 24' U S . I don't know how long 24' or 1' is in meters. Then cut (using a thin slitting blade) the thickness to 2.5mm which is a little thick left for sanding and lumps and bumps. The width is milled first so that the sides are always parallel and there is always a side to work from for beveling or what ever needs to be don't to fit. Little sanding or none is needed to the glue side and of course the out side will be sanded when finished. This way works for me. Of course if someone has a beater way please let me know. I did put the straight edge up to the garboard and at a couple of joints a little sanding was needed and then it was straight. It was a happy surprise. TJ
-
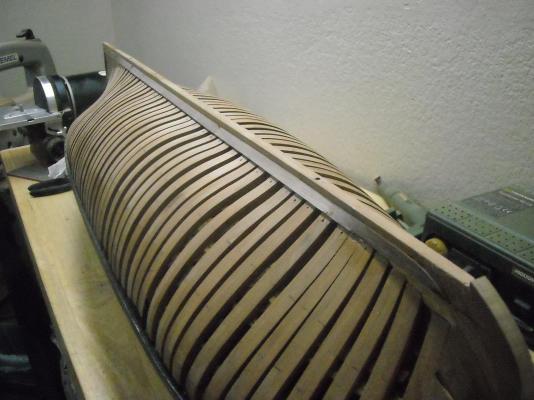
I have finished the garboard and it looks pretty much straight I hope time will tell. It looks like it doesn't fit right it does just made it too thick clamped too tight made dings. I love sanding. Cut planking to day don't think there's enough but it a start. Thank you Tim TJ
-
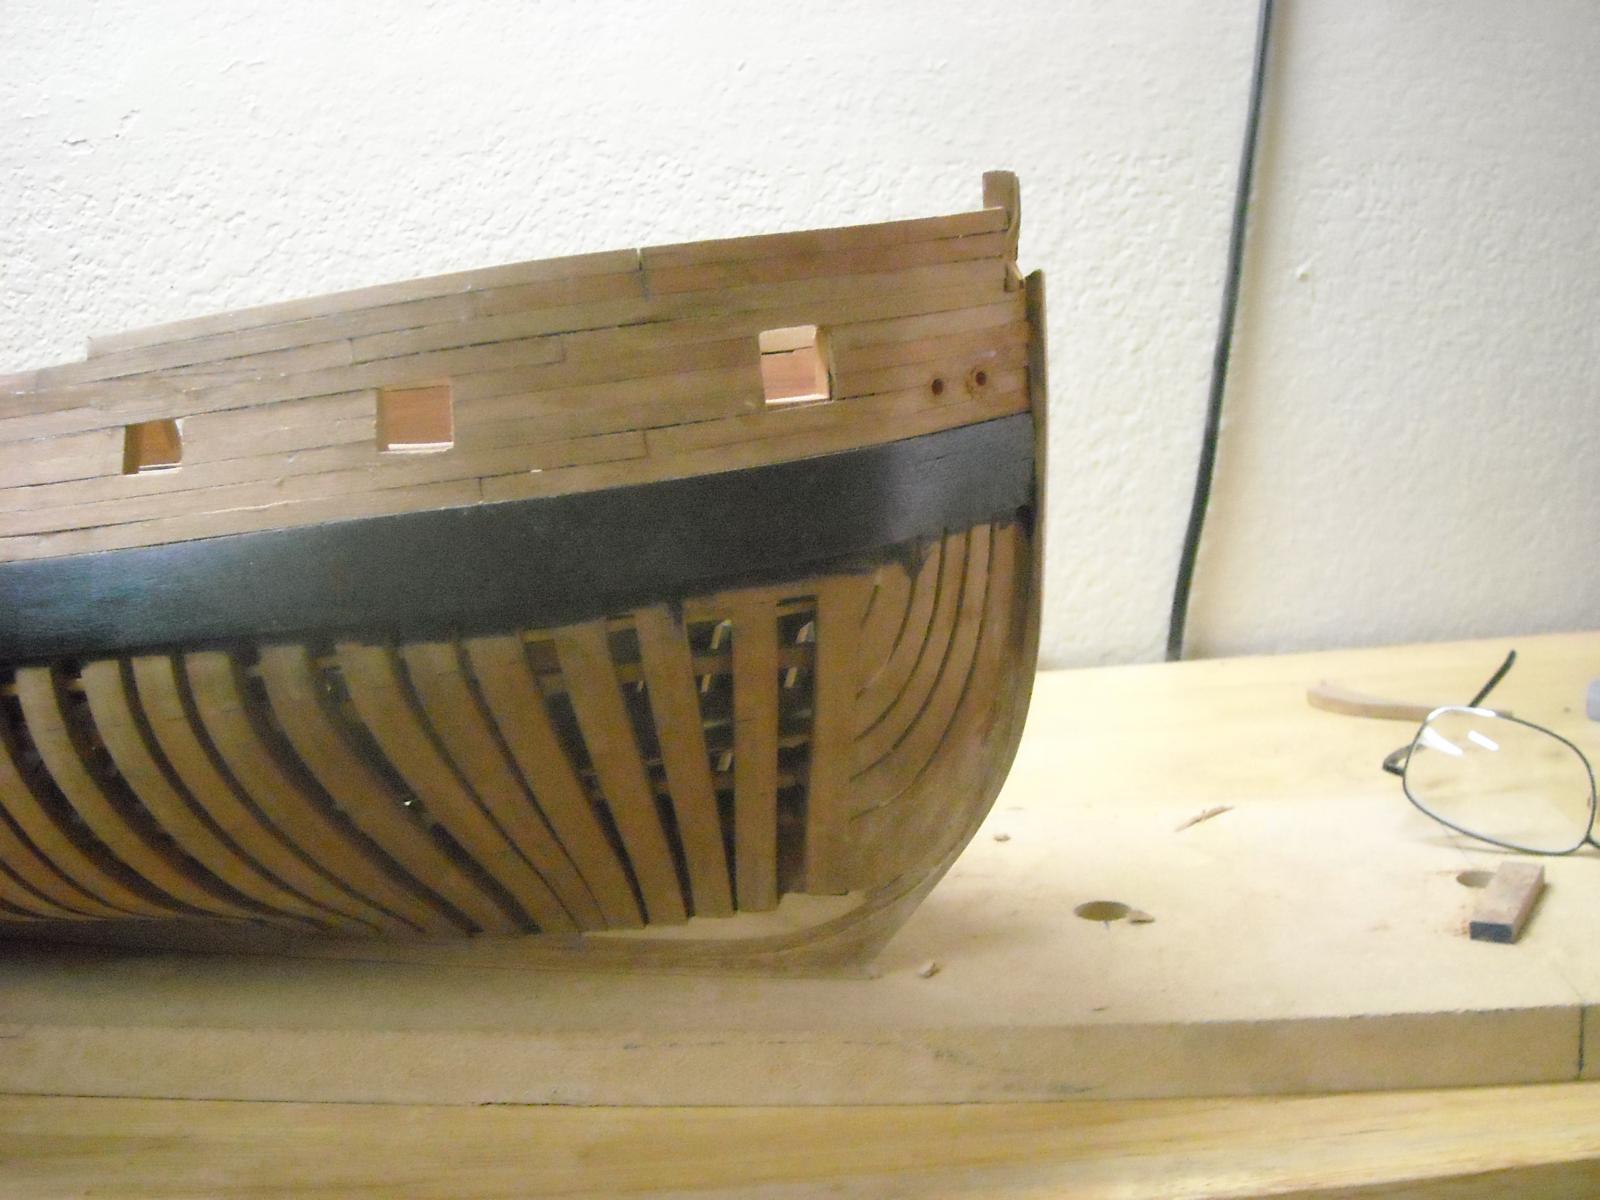
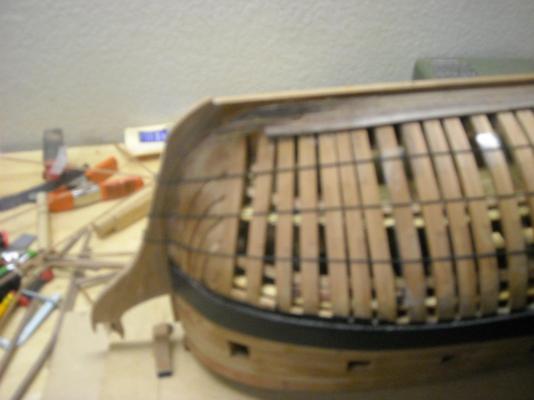
If I can remember how to put the pic in order . I have made repairs from bad docking procedures. But I keep for getting there are two sides to look at and this is the bad side of the bow. Dumb me I figured out the garboard dimensions. Hopefully when all the clamps com off there will be a straight line. TJ


-
Hello: Yes I know it's been a long time. Almost got all the repairs done from my poor docking procedures and I'll post some pic later, but I have a few questions on the Garboard Strake Please. TFFM say's to measure from the book at 1:96 scale and converting it to 1:48 scale I come up with a width of 7.5mm. Or 355.4mm (14inch) English Man of War 1650- 1850 say's 2/3's the molded depth of the keel. I measured the plans and from the false keel to 2/3 of it, it comes out about the same 7.5 mm. This seems narrow to me as the rest of the planking 5mm. May be I have every thing way out of whack. I have to fix the Gripe before posting some pic made it a little large to come even with the false keel. Not bad to fix just one more beginner mistake. Thank you TJ
-
Thank you for the happy B day. It was a good day but not so good the next. I'll take a look at Ed T's Naiad Thank you for the help. TJ
-
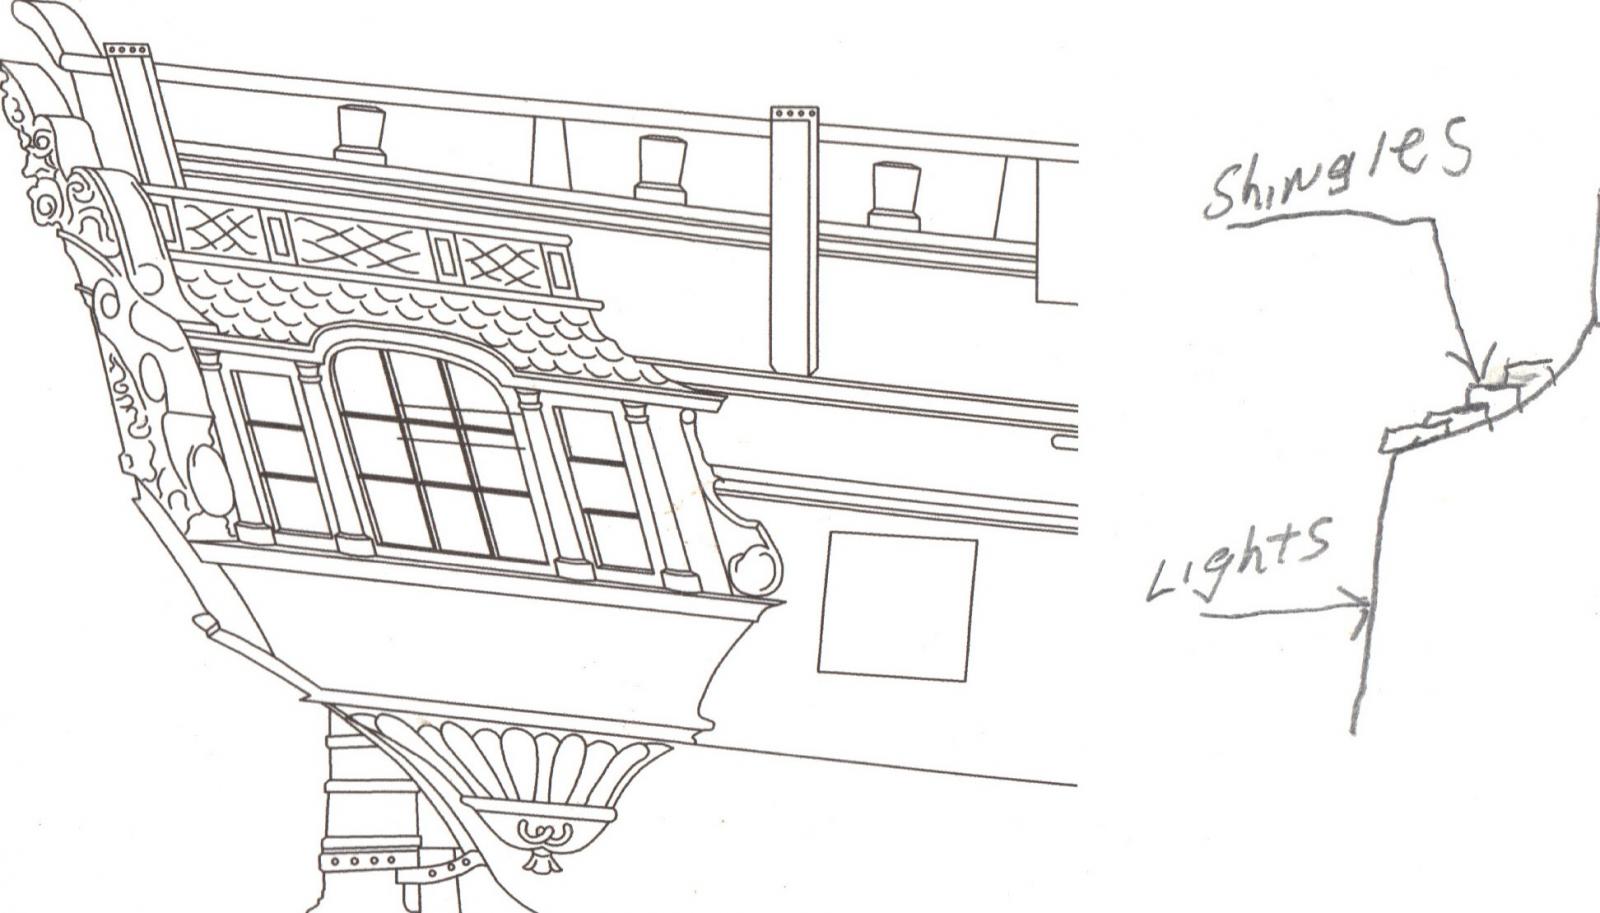
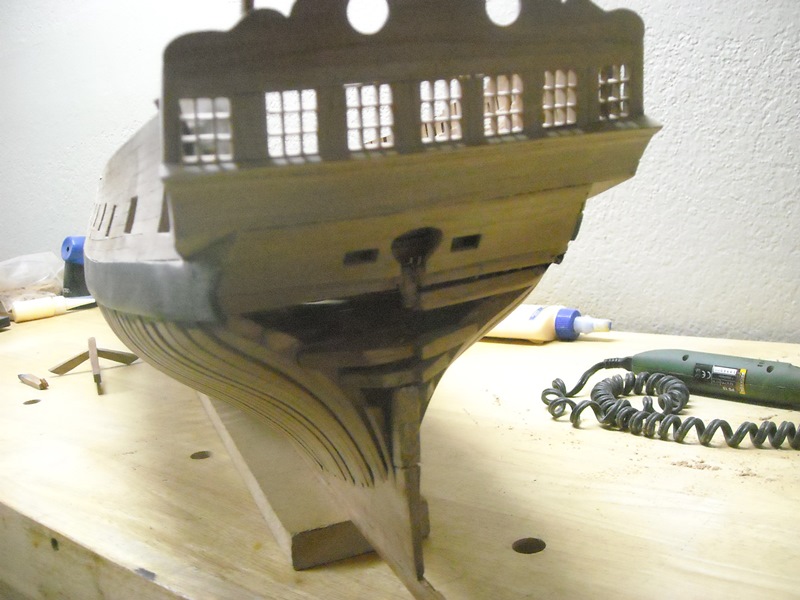
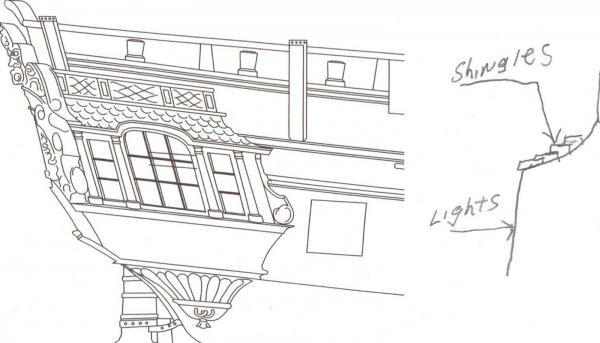
Hello: Thank you. I have looked Wang's ship and very nice wished mine was even half that good. I will probably end up making my quarter galleys the same, but I would like to try and get them like the print. The picture shows my interpretation of the roof of the quarter galleys is this not correct according to the print. Heck I don't know just got to get rid of the lollipop effect. TJ
-
I don't know if there ever was one, but look in scratch build forum HMS Vulture by Dan Vadas the ship is about the same. See what he did for a timber kit. TJ
-
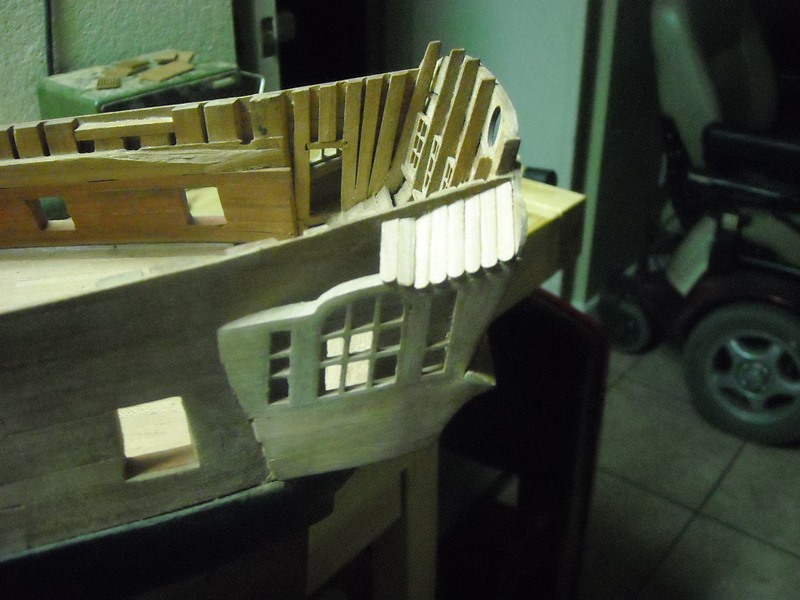
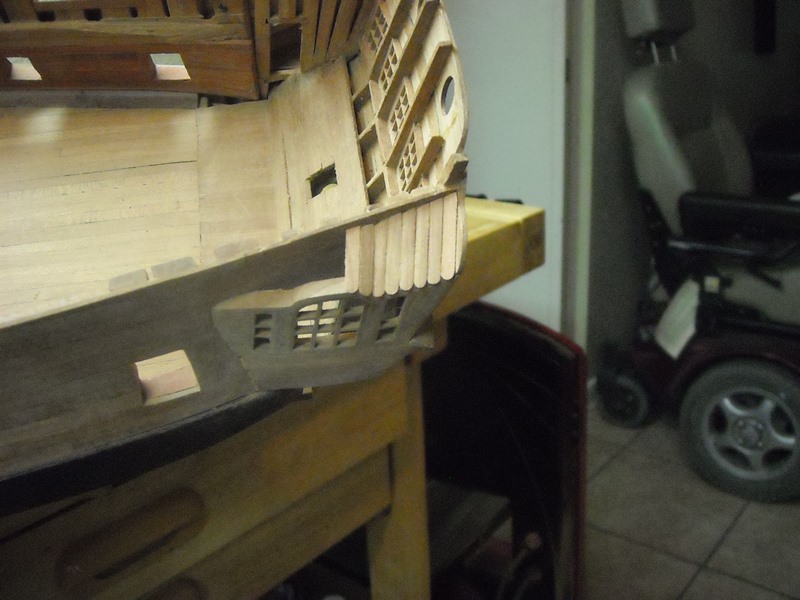
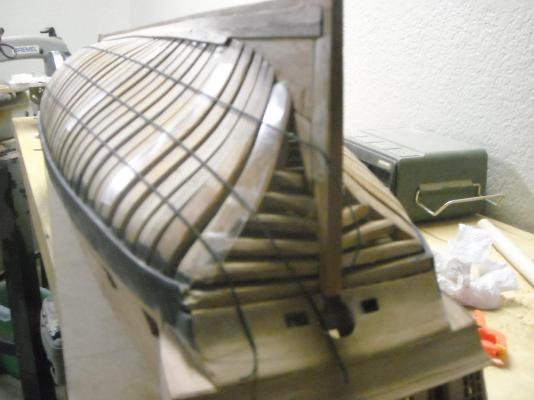
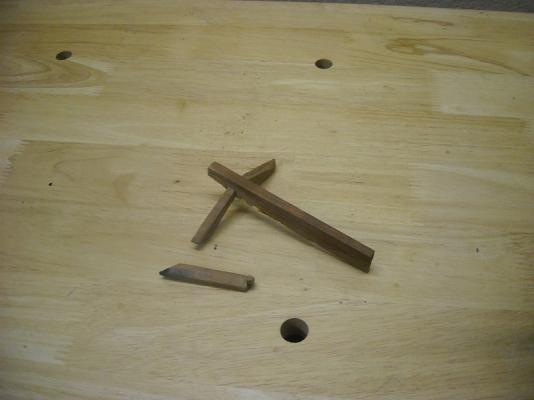
Hello: Been trying to figure out this stern. What's wrong with this pic? Looks like a Bunch of ice cream sticks for the over head. I was going to make it rounded shingles all the way up but don't know after looking at this. Should it be one solid piece flat on top? How is it to be done. Is there any rule of thumb for this class ship. The other pic it fell out of dry dock when repairing the galley lights that got in the way of my fat fingers. I'll repair it after I figure out the stern. TJ


-
Hello: I have used cherry for all most all the build just because it's my first build. TJ
-
Hello; Welcome to the project. This is my first scratch build also and it's grate fun. I just hope you scrap box doesn't get as large as mine when I started. If you need some portion of the plan I have a set and will be glad to send you or what I have. TJ.
-
Hello: Nice to see you getting started TJ
-
Hello: Very nice Danny. TJ
-
Where Do You Keep Your Working Plans
BubbleHead replied to BubbleHead's topic in Modeling tools and Workshop Equipment
Hello: Such innovation. I had thought of those pull down window shads. Then I remembered when I was in grade school (1702) there was a roll down map system like the window shads only some how there were several maps (10-20) on one roller? and all you had to do was pull down the map that was desired. Never did check into it. TJ -
Where Do You Keep Your Working Plans
BubbleHead replied to BubbleHead's topic in Modeling tools and Workshop Equipment
Hello Magnets that's good no holes in plans or the wall like the wall except for hanging the whiteboard. Nick Yes still working on the Triton TJ