


dls
-
Posts
6 -
Joined
-
Last visited
Content Type
Profiles
Forums
Gallery
Events
Posts posted by dls
-
-
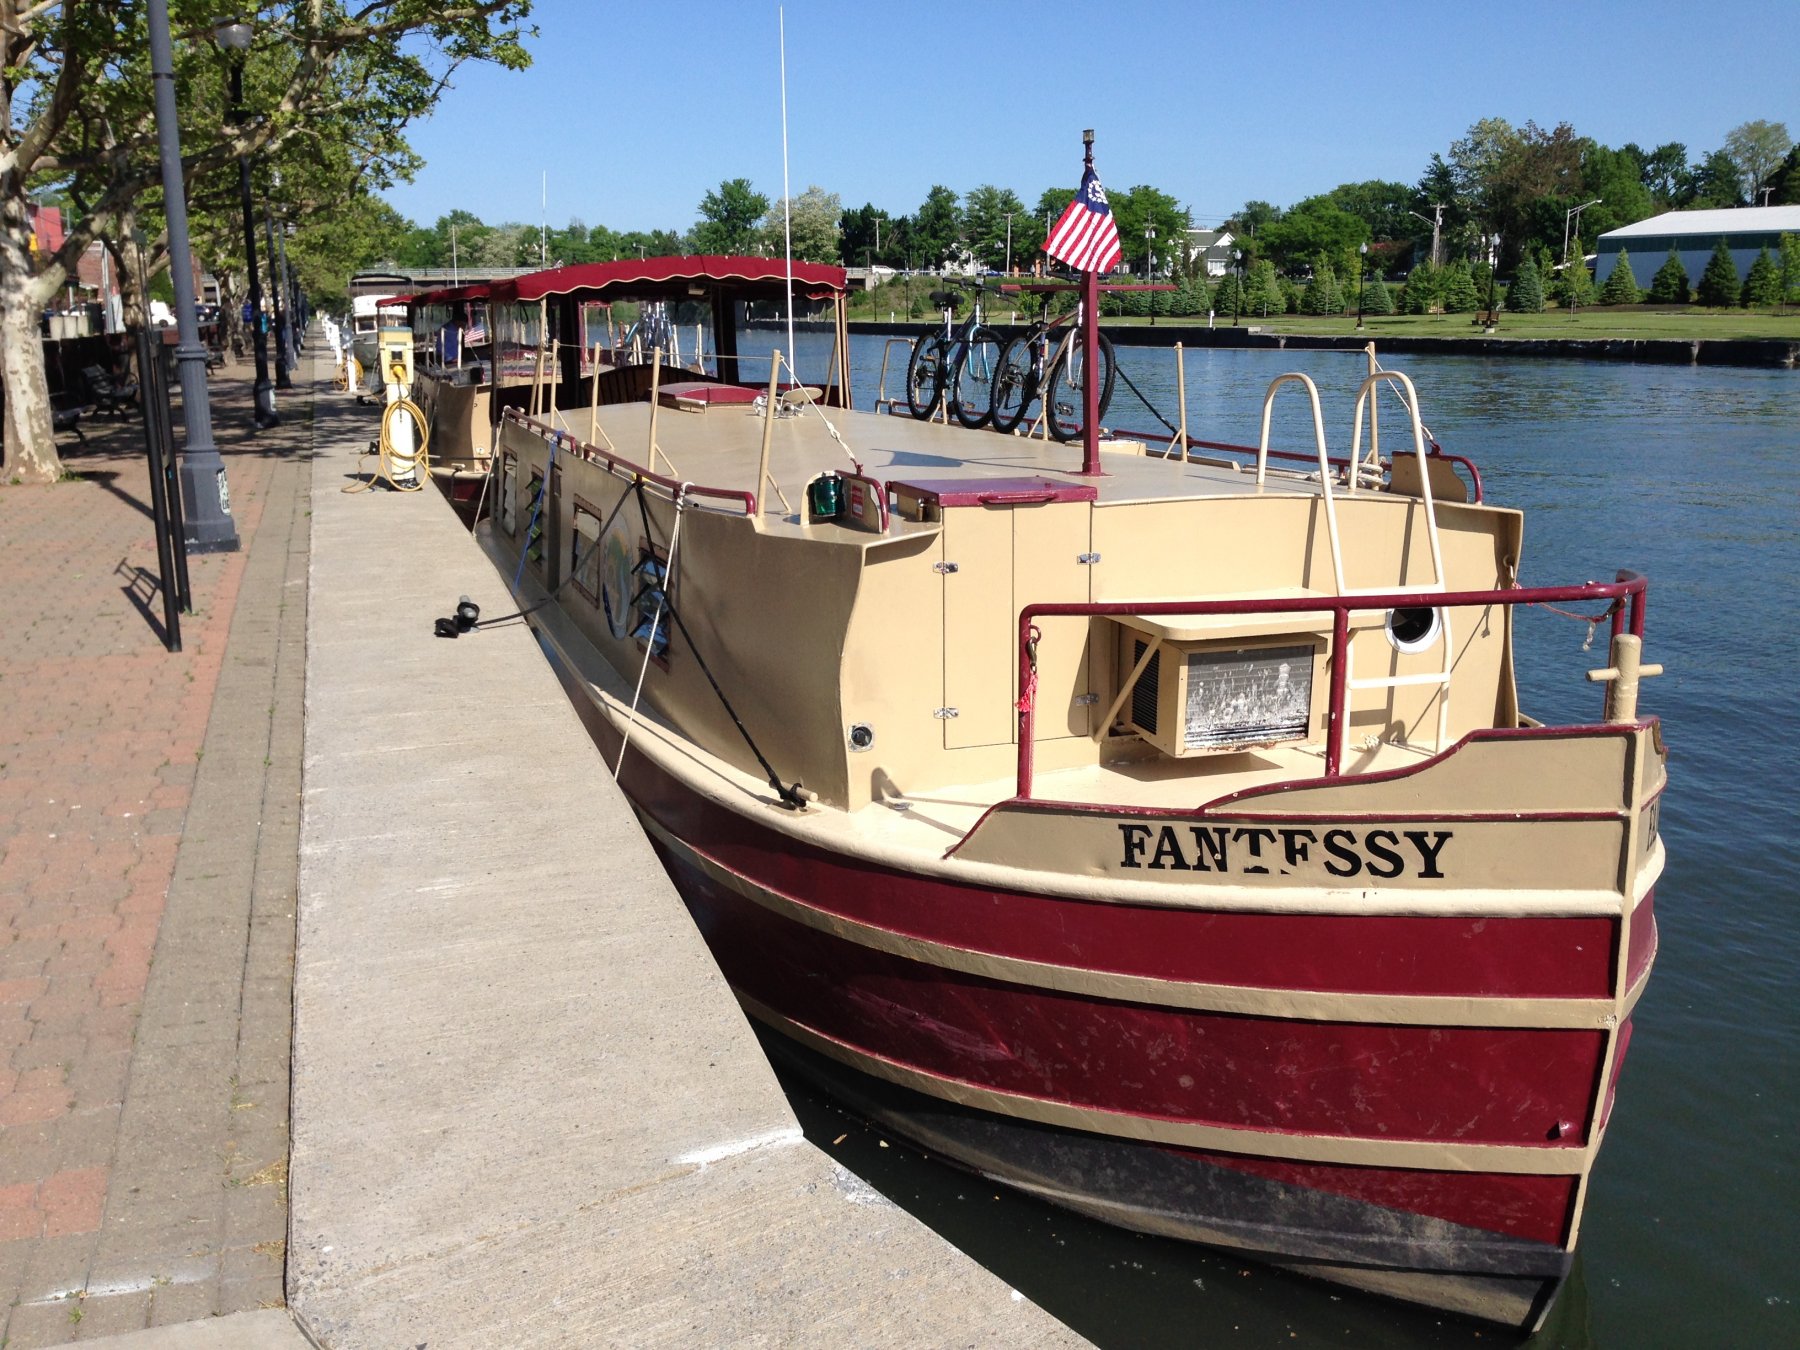
Thanks. Yes, they give you a few minutes of instruction and take you to the first lock transit. Then you are on your own. It is very comfortably equipped - all you take is your clothes and groceries. It helped that I used to drive LST's in the Navy, so handling it was not bad. Tricky in and out of the locks though, but they rent them to anyone, so it is very learnable. Most of the towns along the canal have good overnight accommodations for tying up, shore power and all. A beautiful trip.
- Mirabell61, ccoyle and mtaylor
-
 3
3
-
-
Thank you. Like they say, even a blind hog can find an acorn once in a while. This is my first topic post and I had some trouble finding any specs about the size and resolution of photos. Is there any guidance on the forum about these kind of technical requirements for posts? Couldn't get my profile picture to go up at all . . .
-

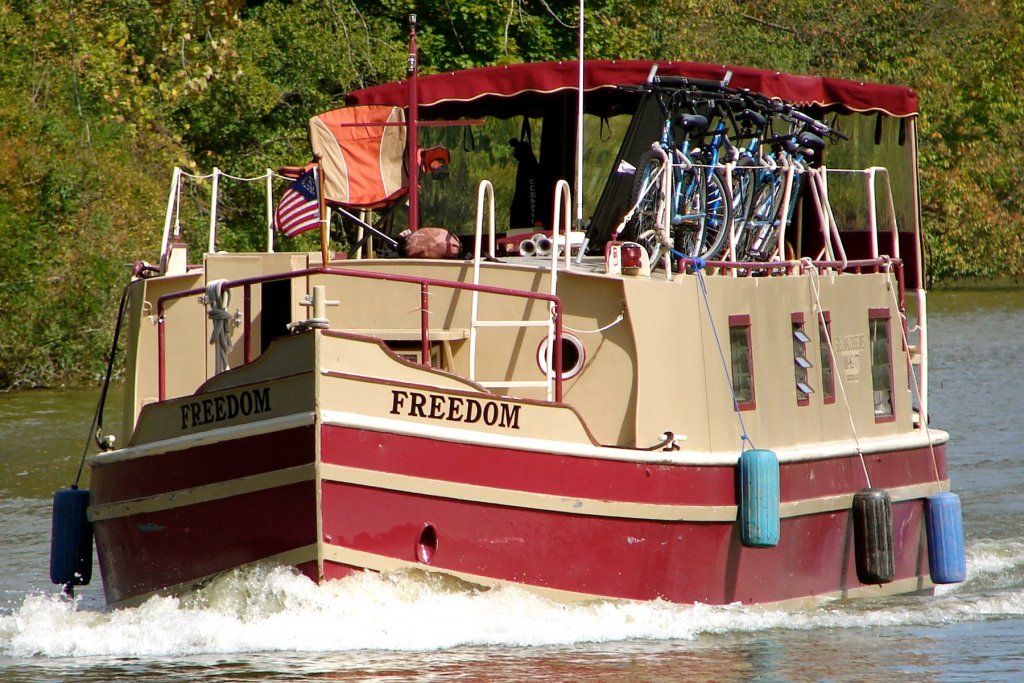
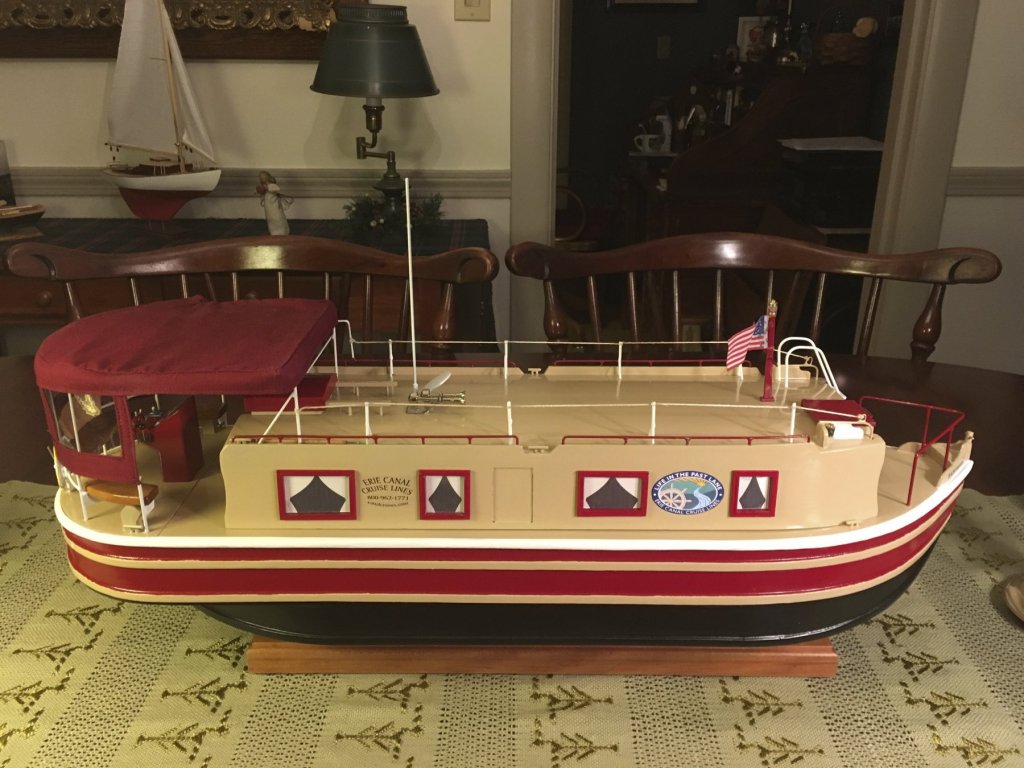
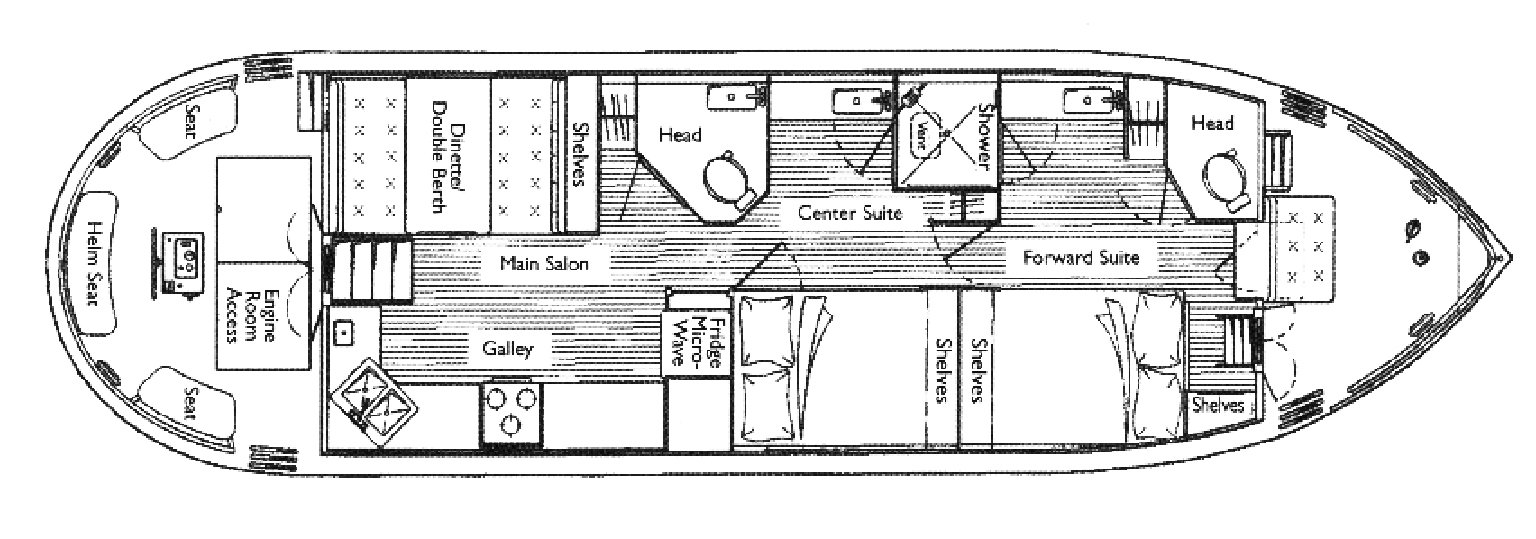
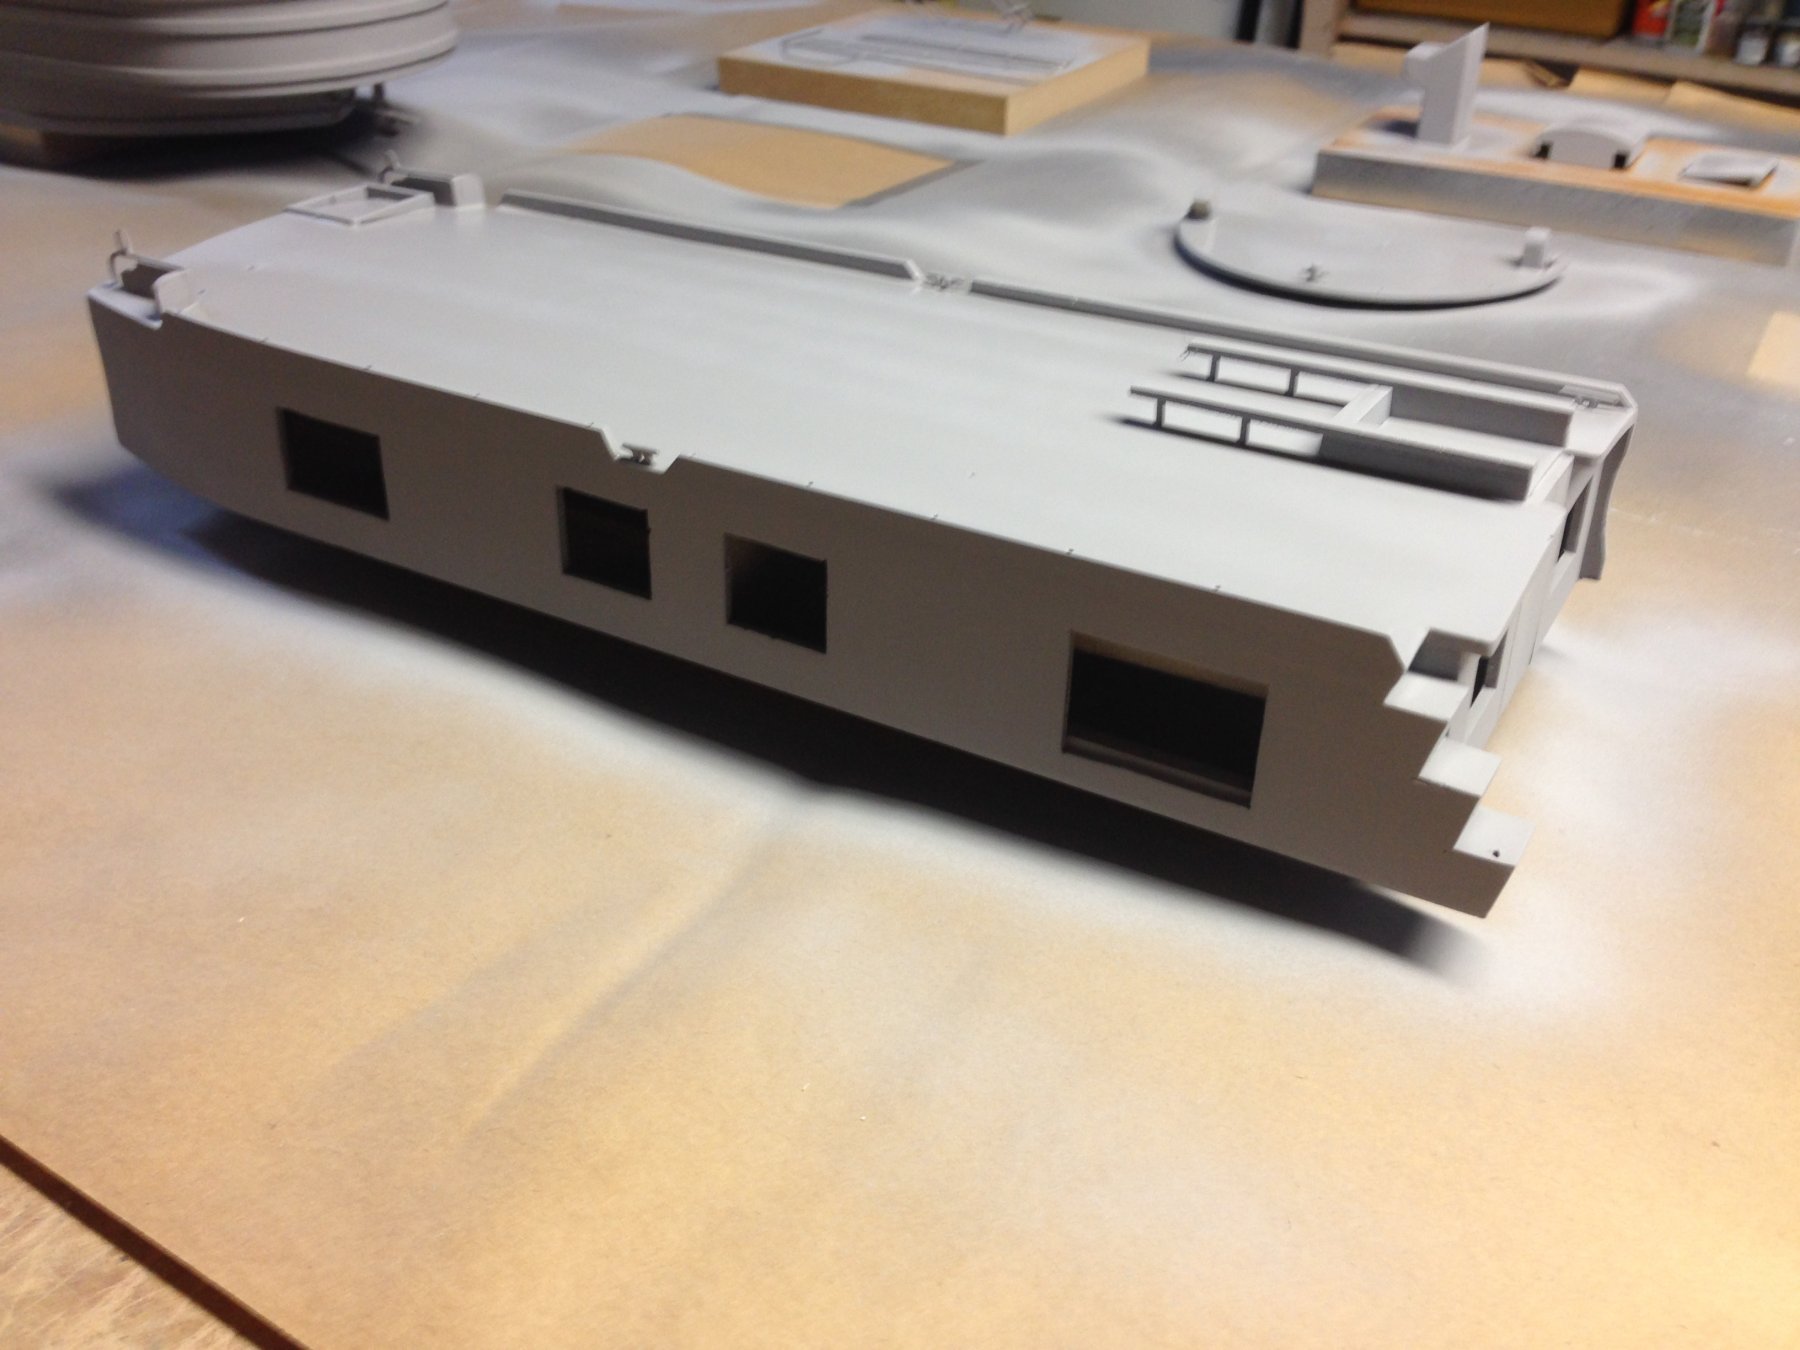
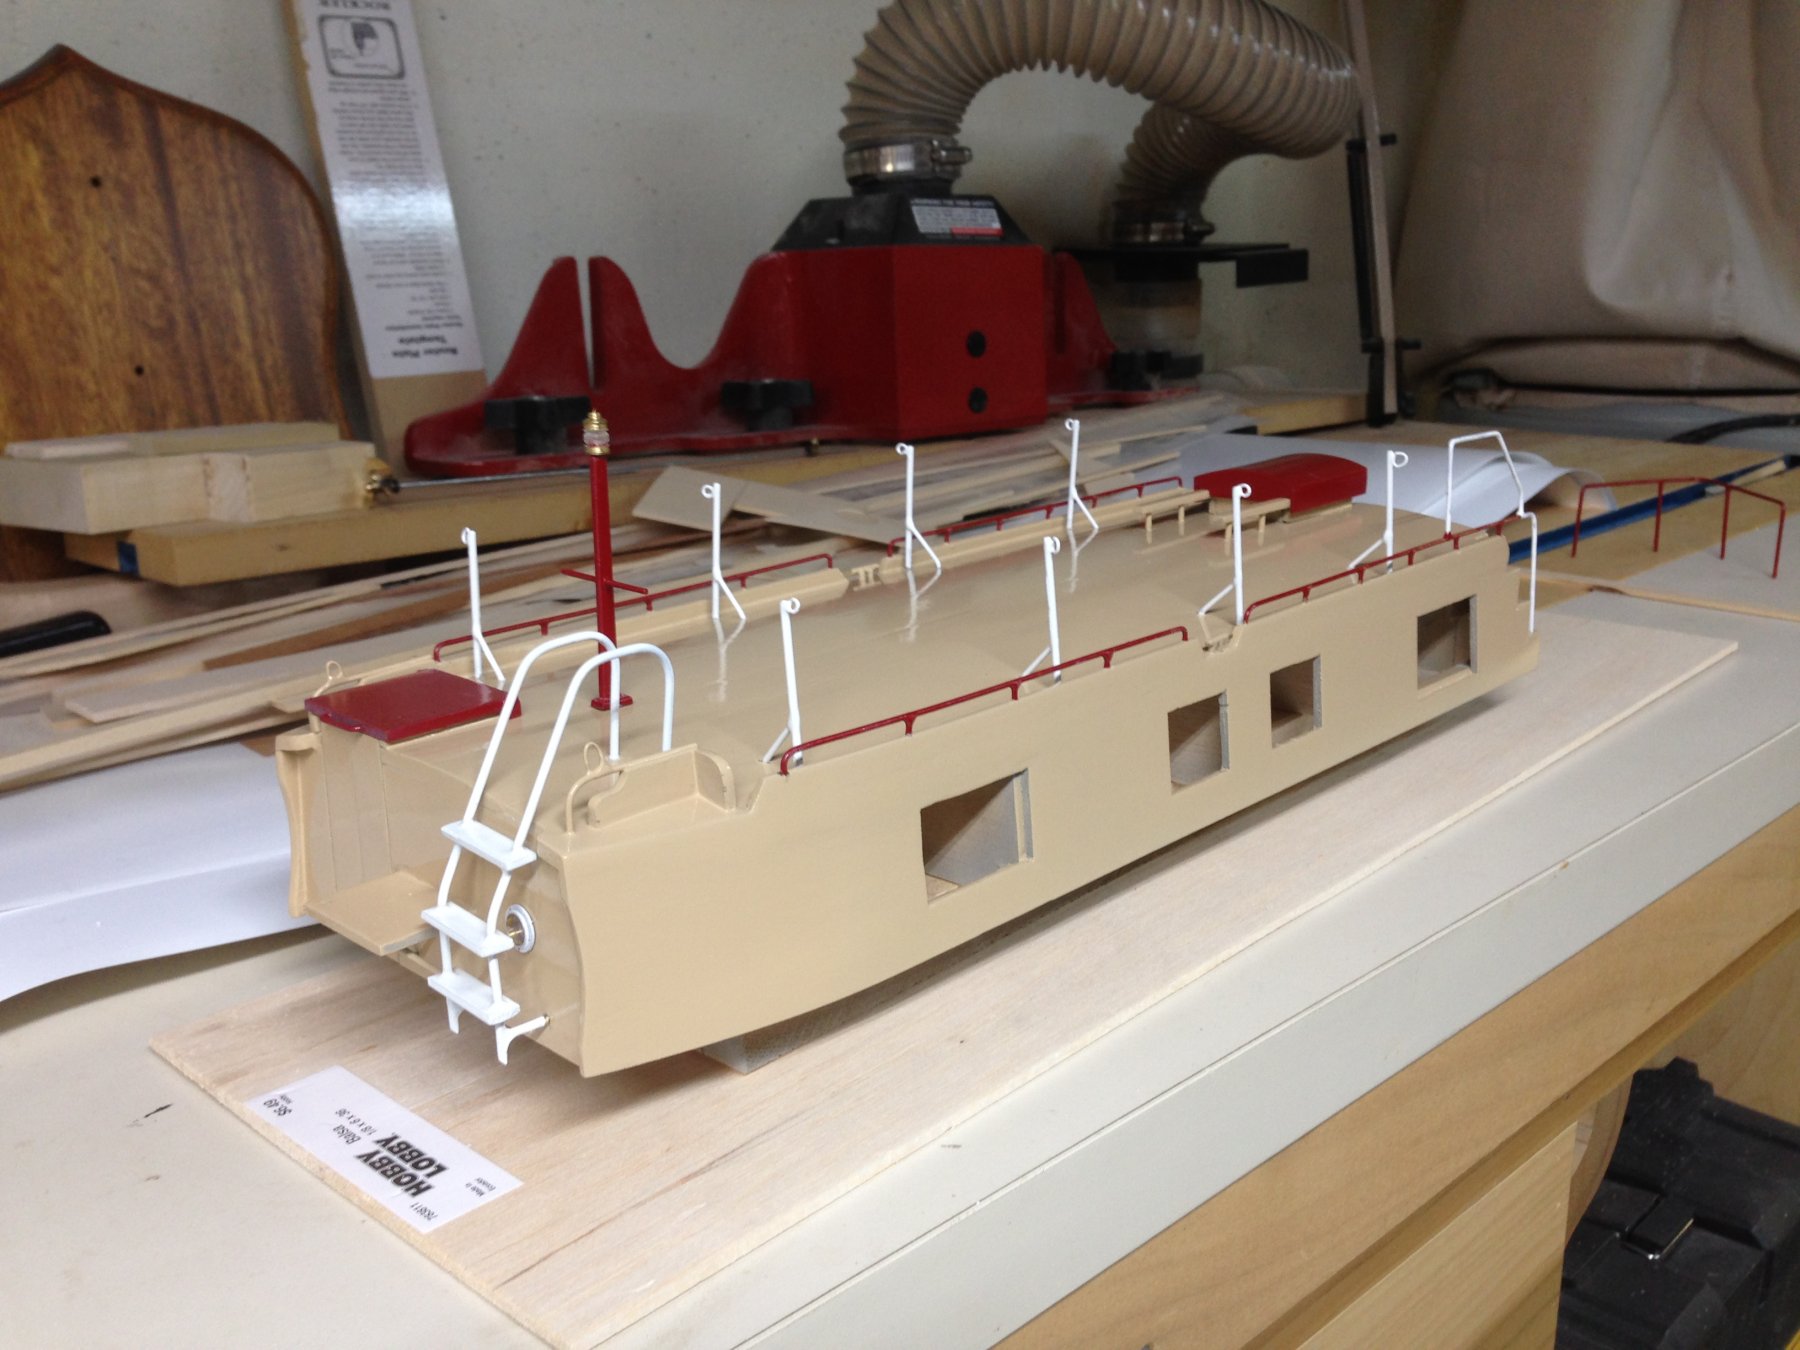
As I said, not your average MSW build, but it is a boat! I've built my share of kit models, but this one will never be in kit form I suspect. It's a 'canal cruiser' that we rented in the Fall of 2014 for a 4-day/night run on the Erie Canal. It was a great experience. These are custom built for the rental company, much on the order of the narrow boats so familiar on UK canals. They are 42-footers, all steel, and displace about 22 tons. With a single screw and small diesel they move along at about 6 knots, helped greatly in slow situations by an electric bow thruster. All I had was the pictures we took on the trip, and had not even seen one below the waterline. So scaling was iffy, but it looks about right.

I decided to try a scratch build just for the fun of it, and as a momento of the trip. I checked a lot of images from the UK on how the hulls are actually built, and they were all pretty similar to what I ended up doing.
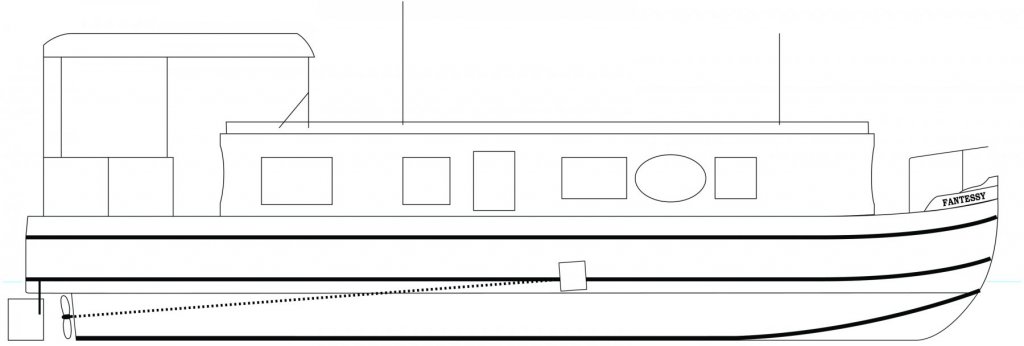
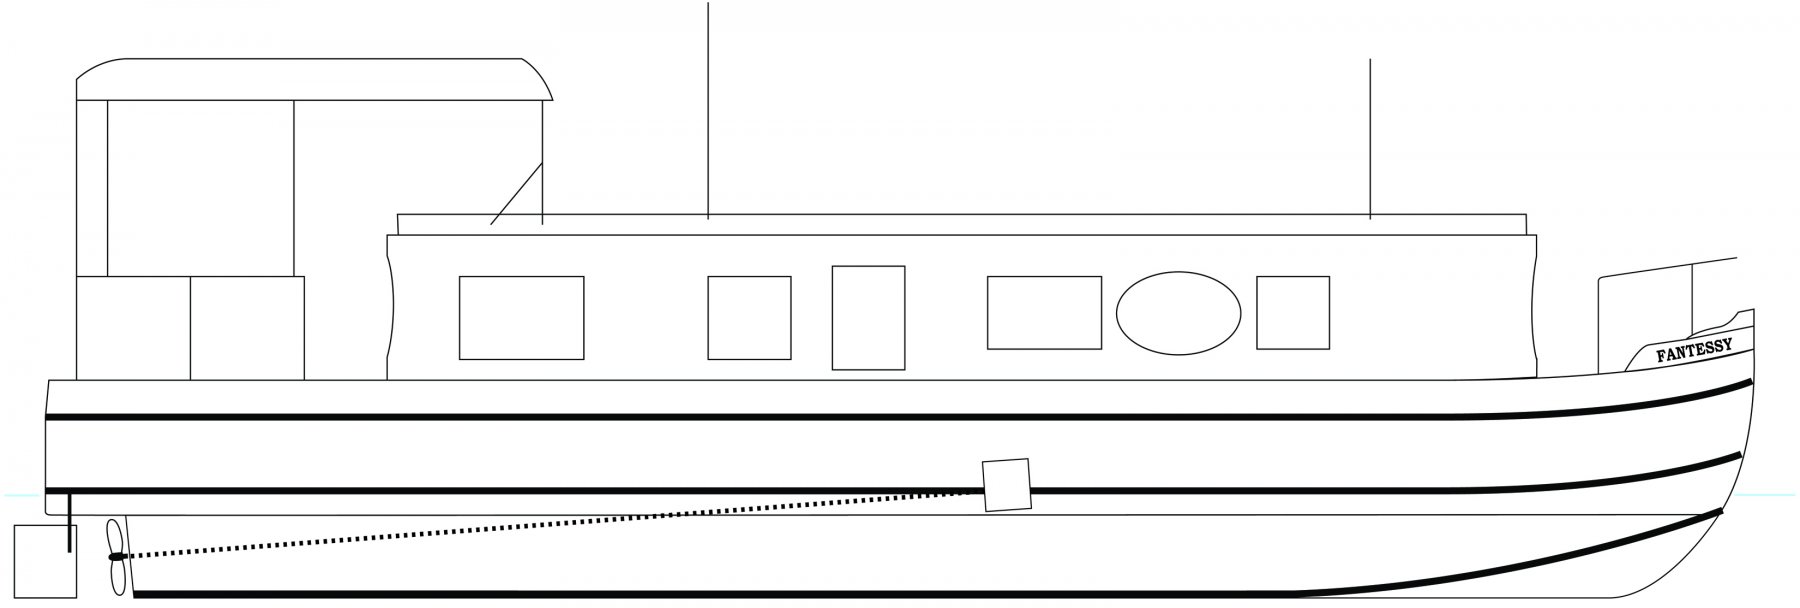
I sketched out a plan using Illustrator, and printed them out full-size (21" long). Initially I thought of making it RC, but decided against spending the money. I did put in the shaft and set the rudder up for a servo, but left it at that.
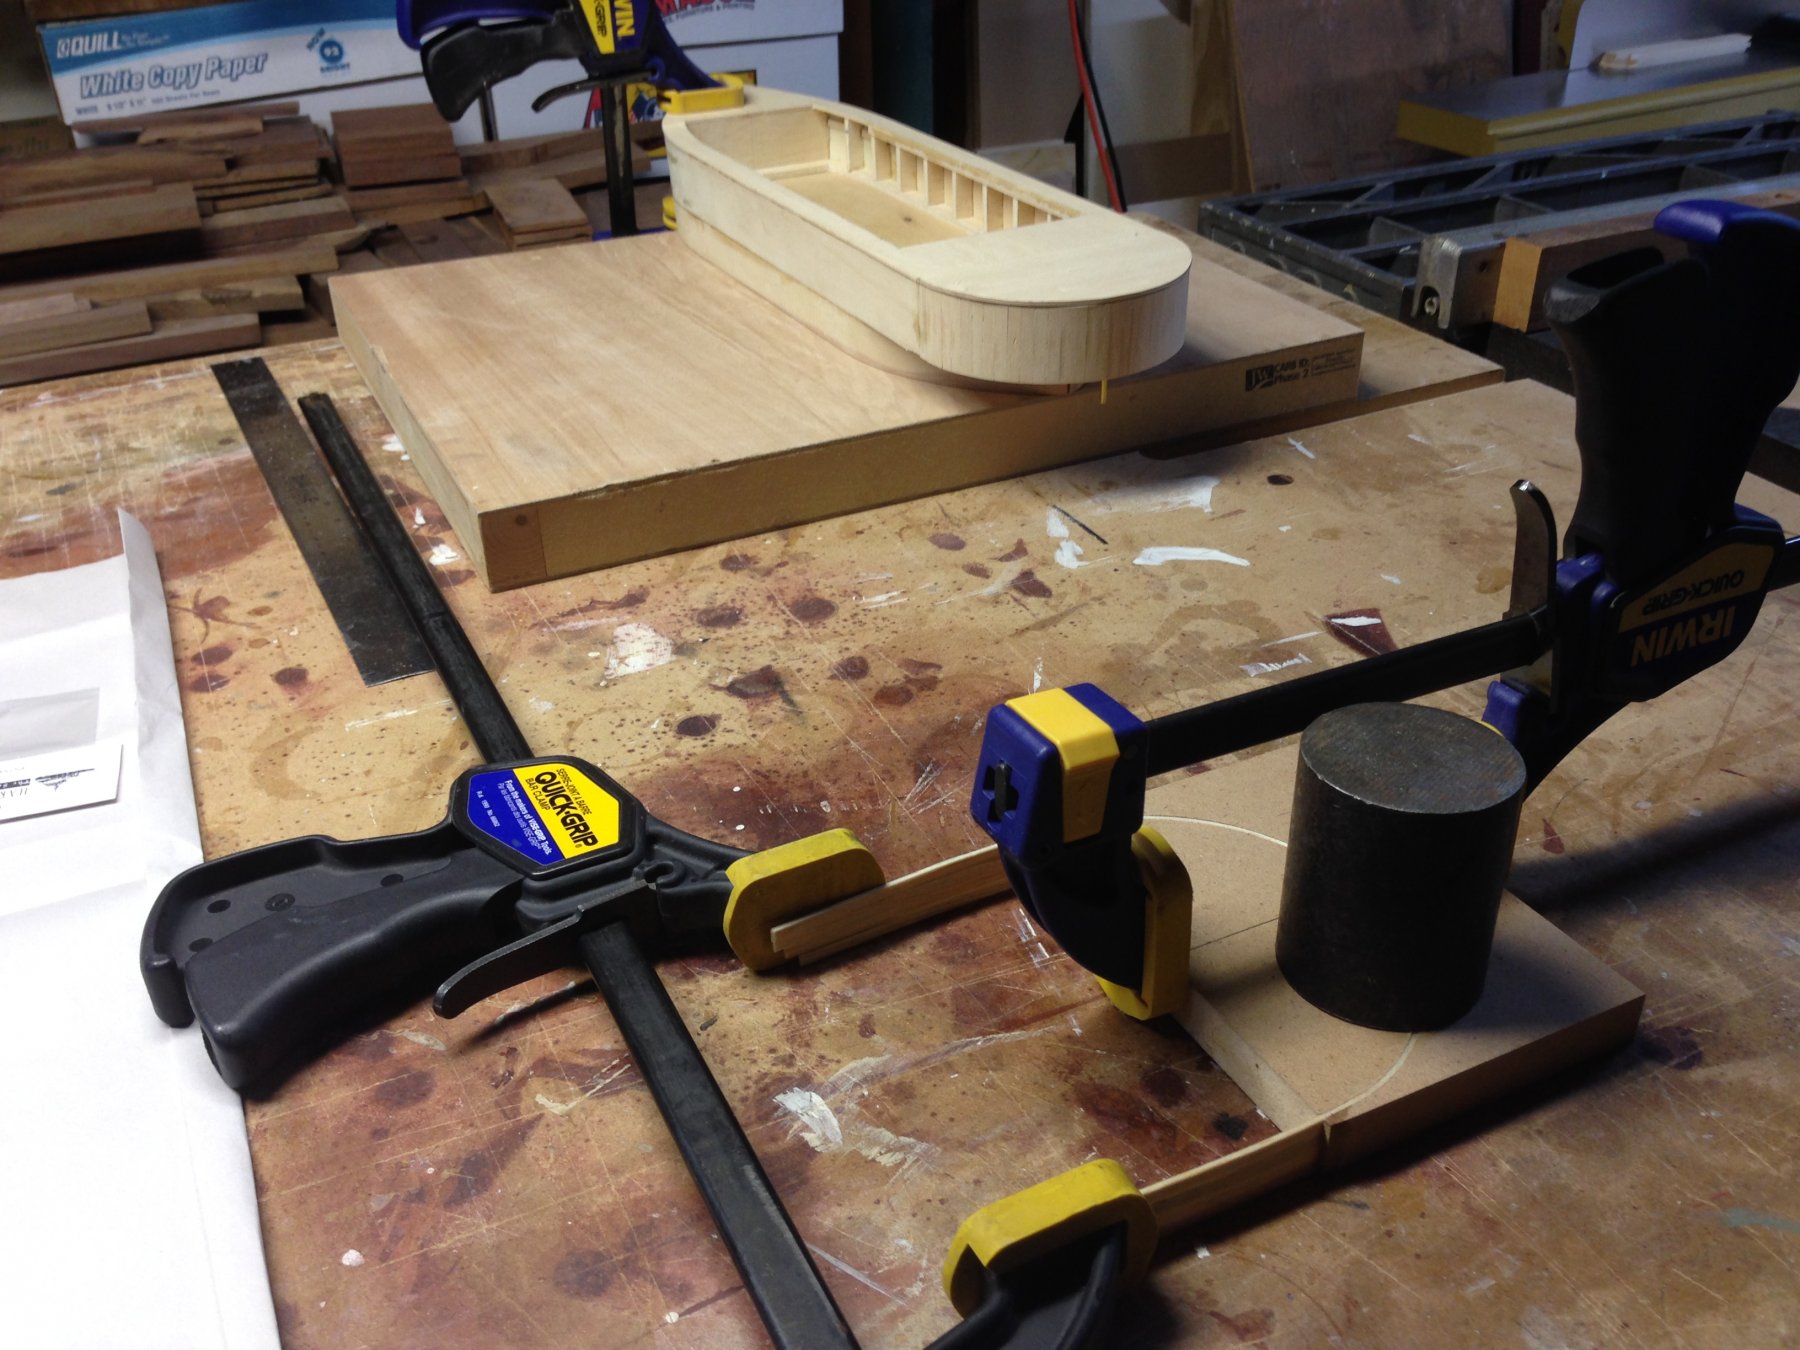
The hull below the waterline is a solid piece of 2x8 pine, cut in half for the shaft hole, then re-glued and shaped. Everything above that used model plywoods and basswood.
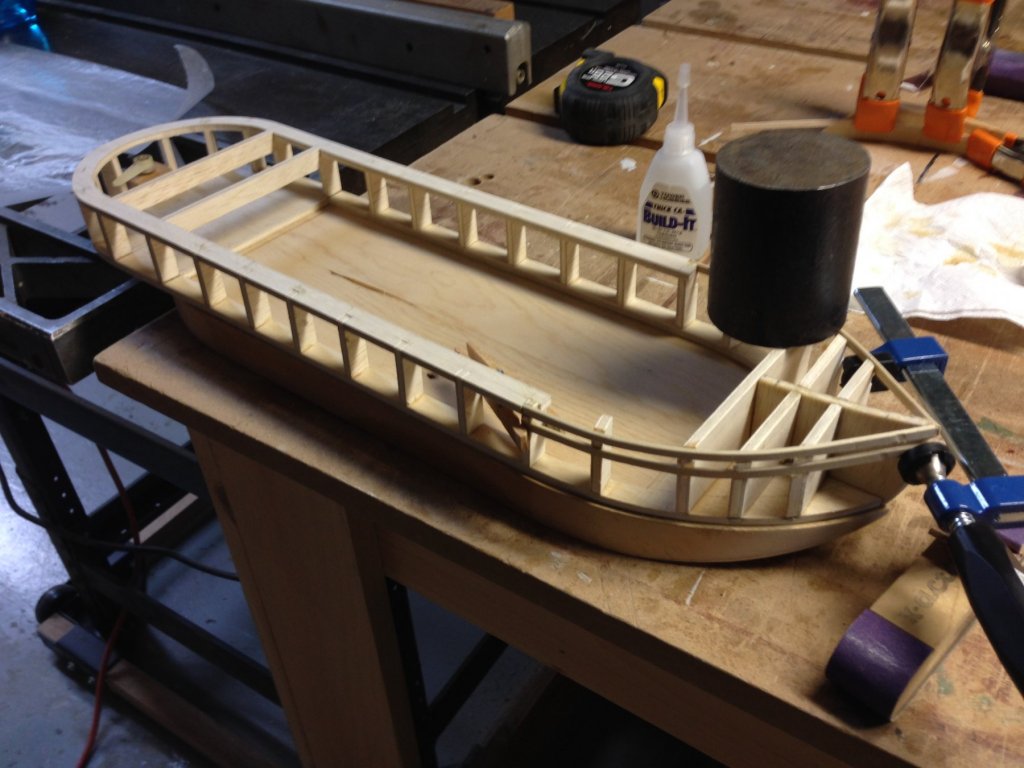
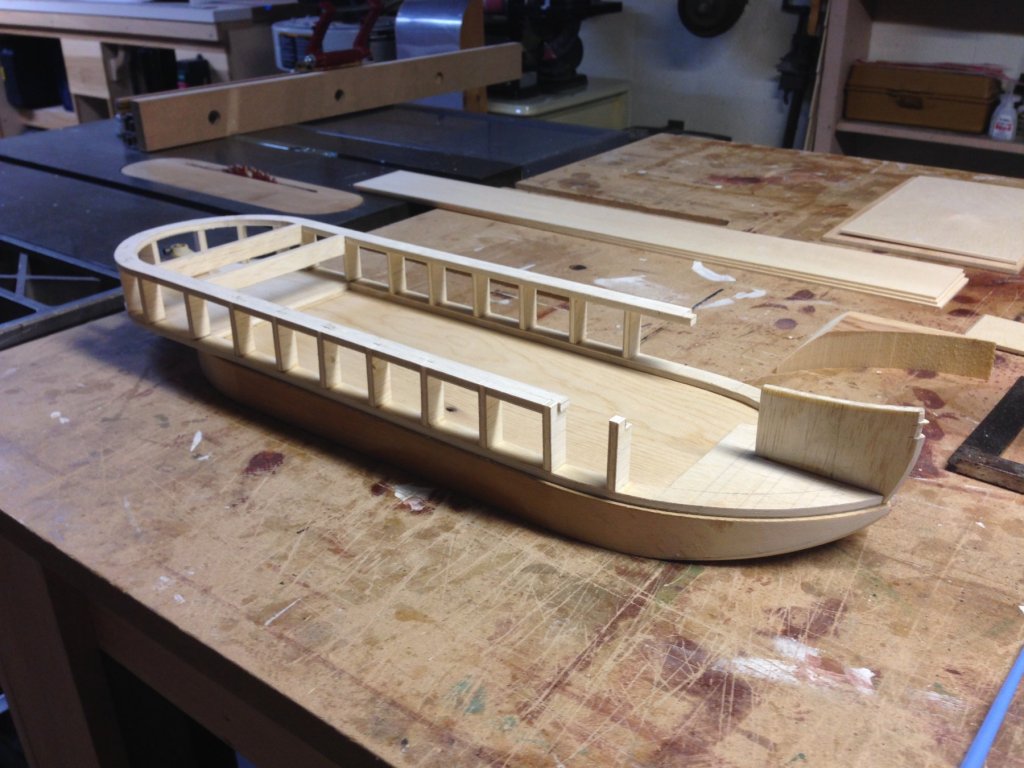
There's not a lot of sophisticated curves here, so hot water and clamps sufficed for the planking sheets, with some vertical strips doing the stern.
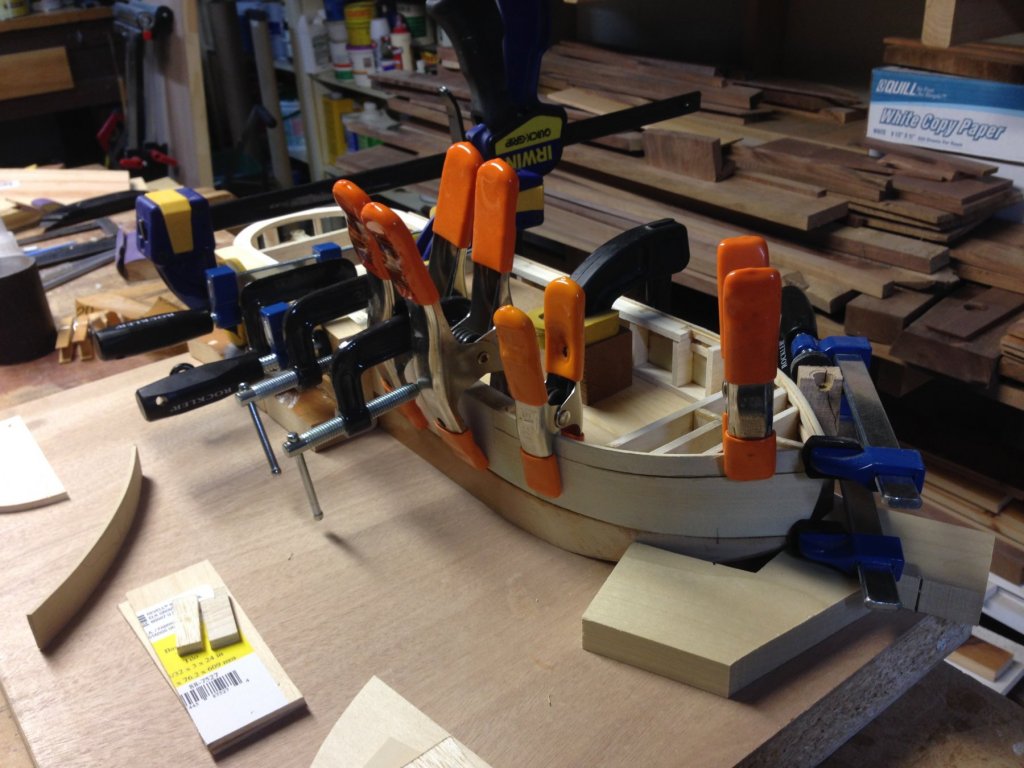

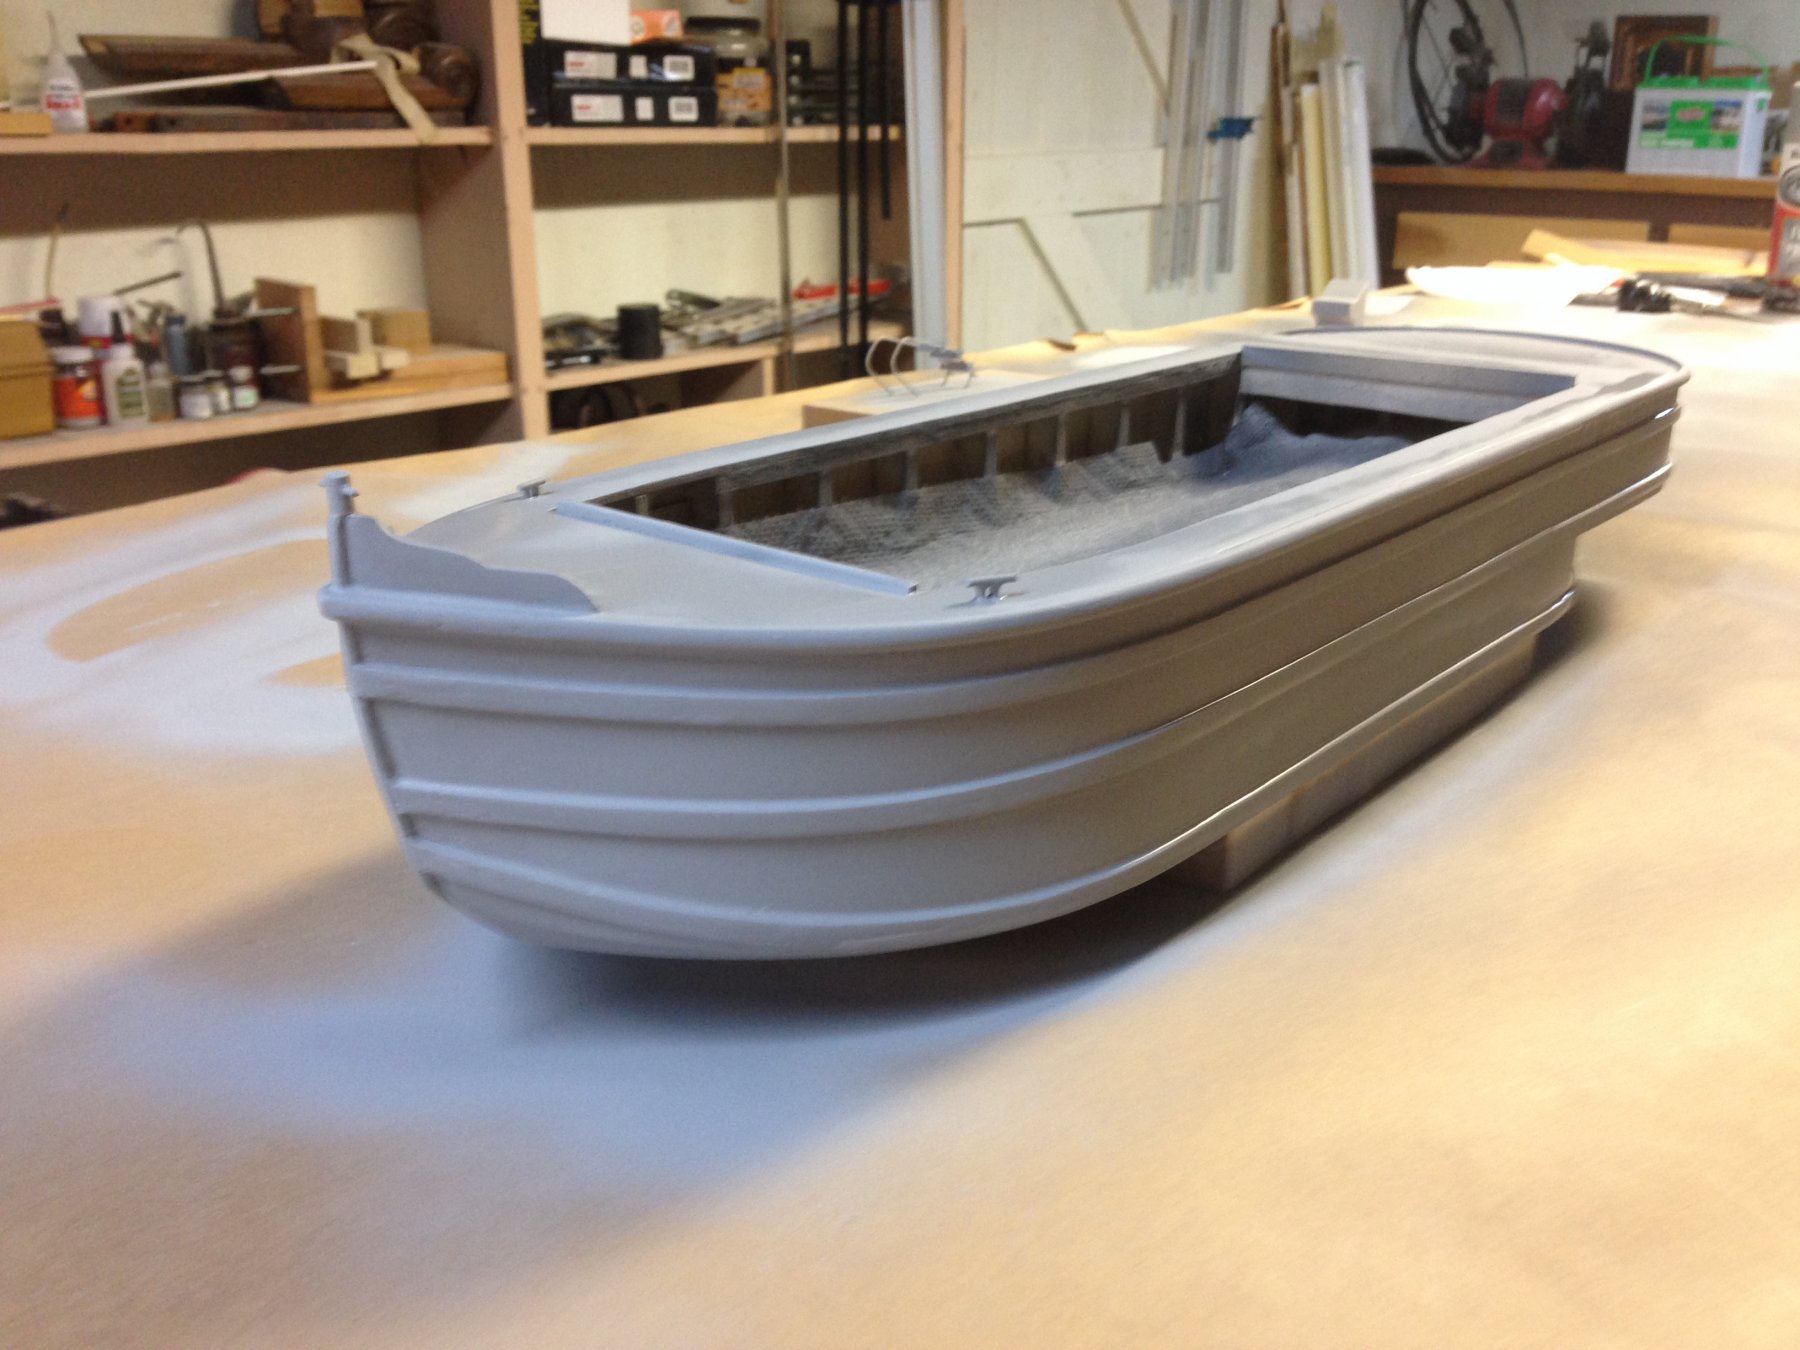
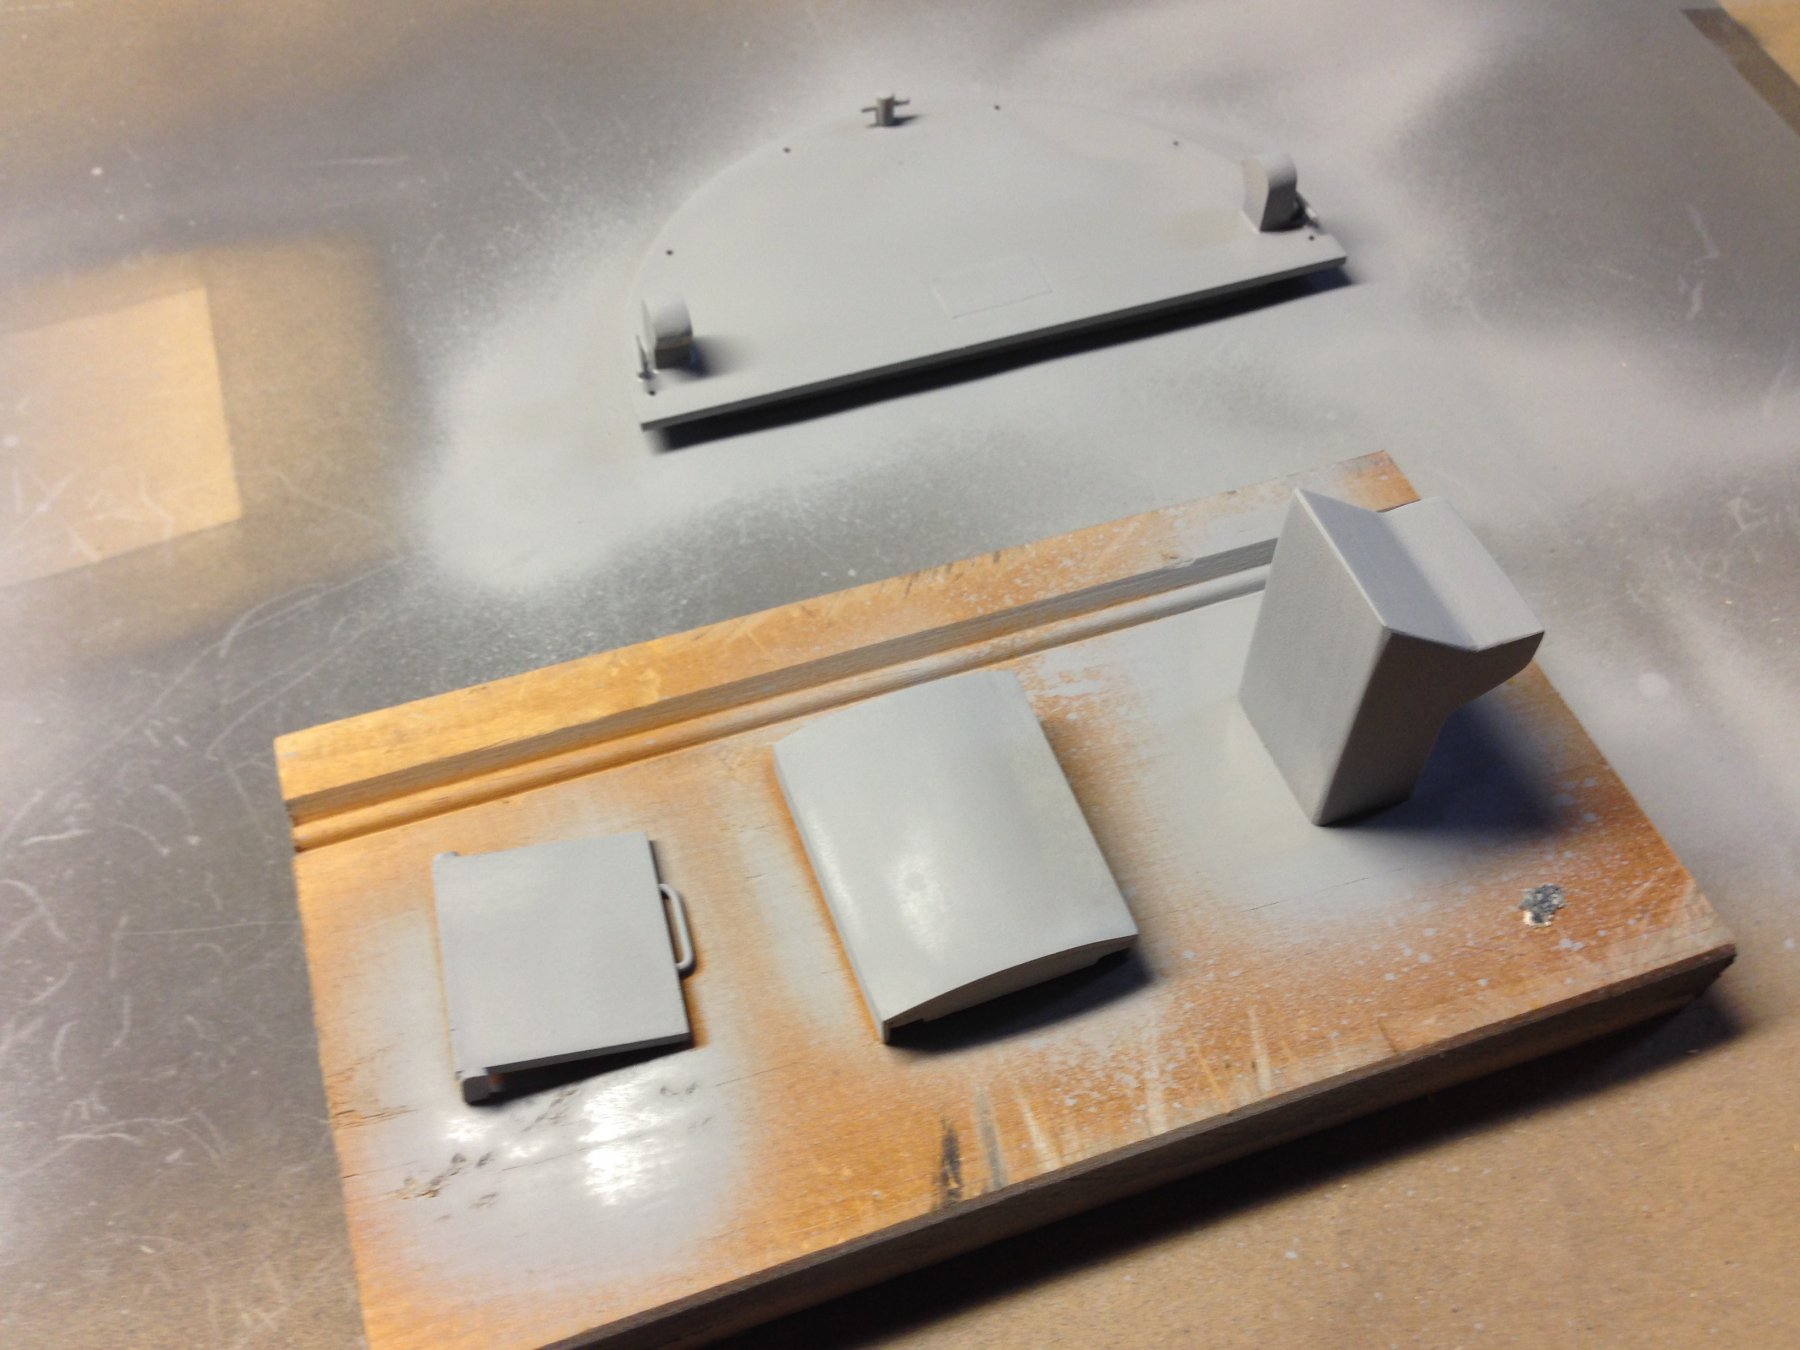
Pretty standard filling and sanding, followed by automotive primer put the hull in shape.
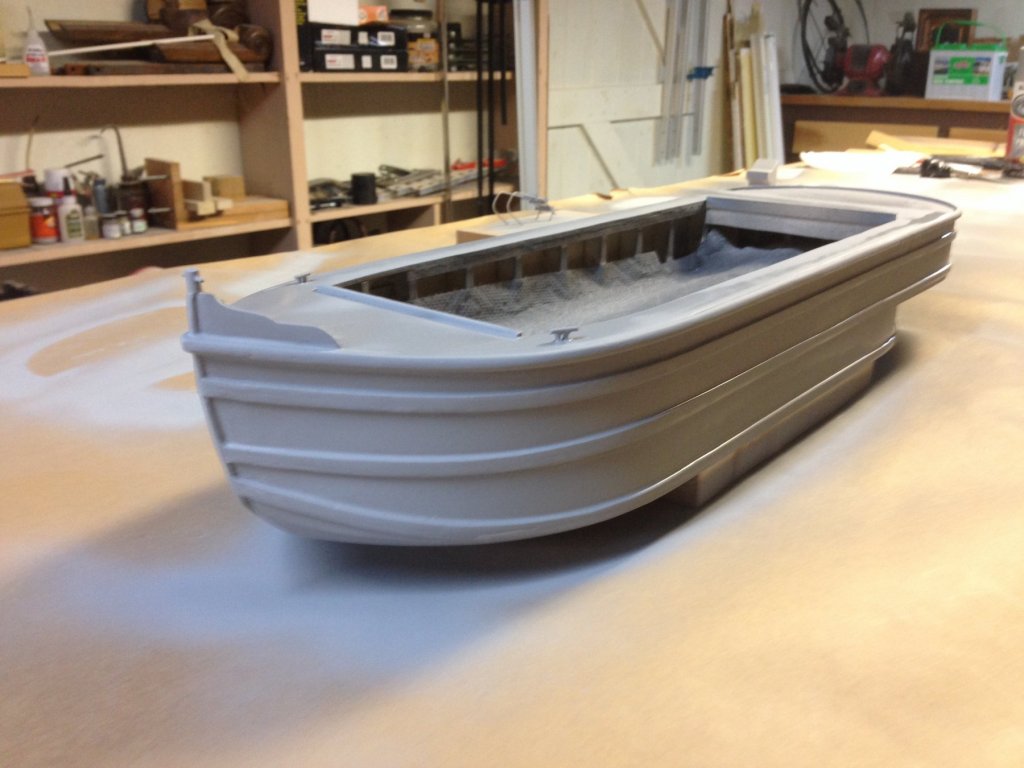
The superstructure was a little more finnicky with slanted sides and some curves, but plywood frames and sheet basswood managed to get it done as well.

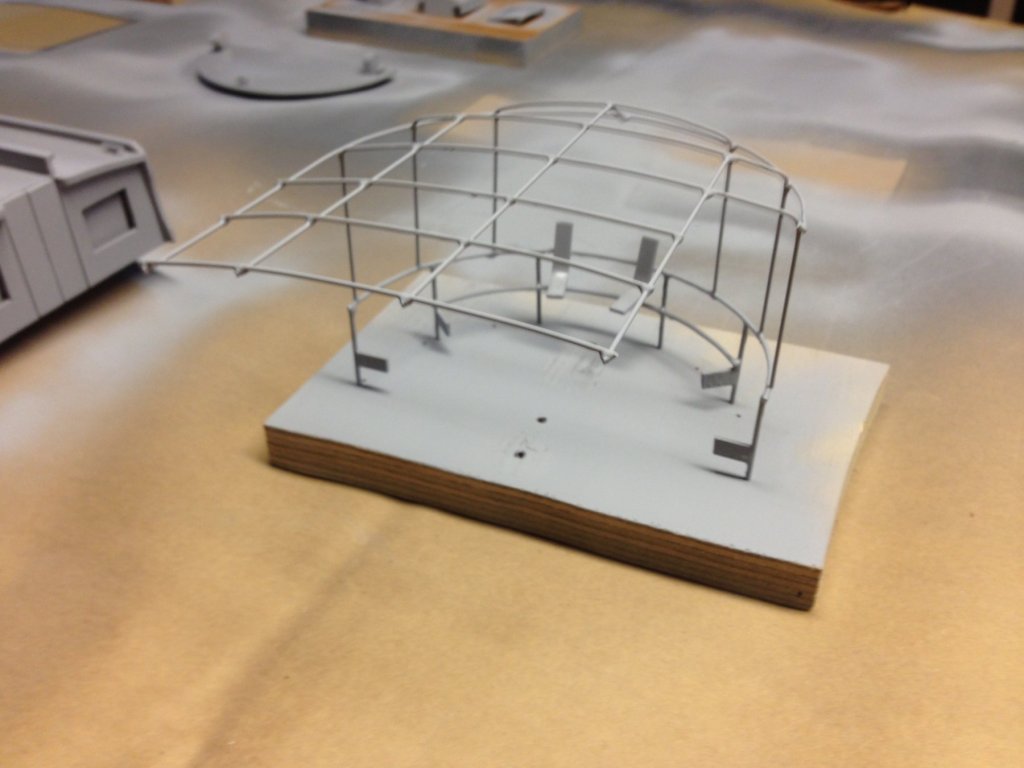
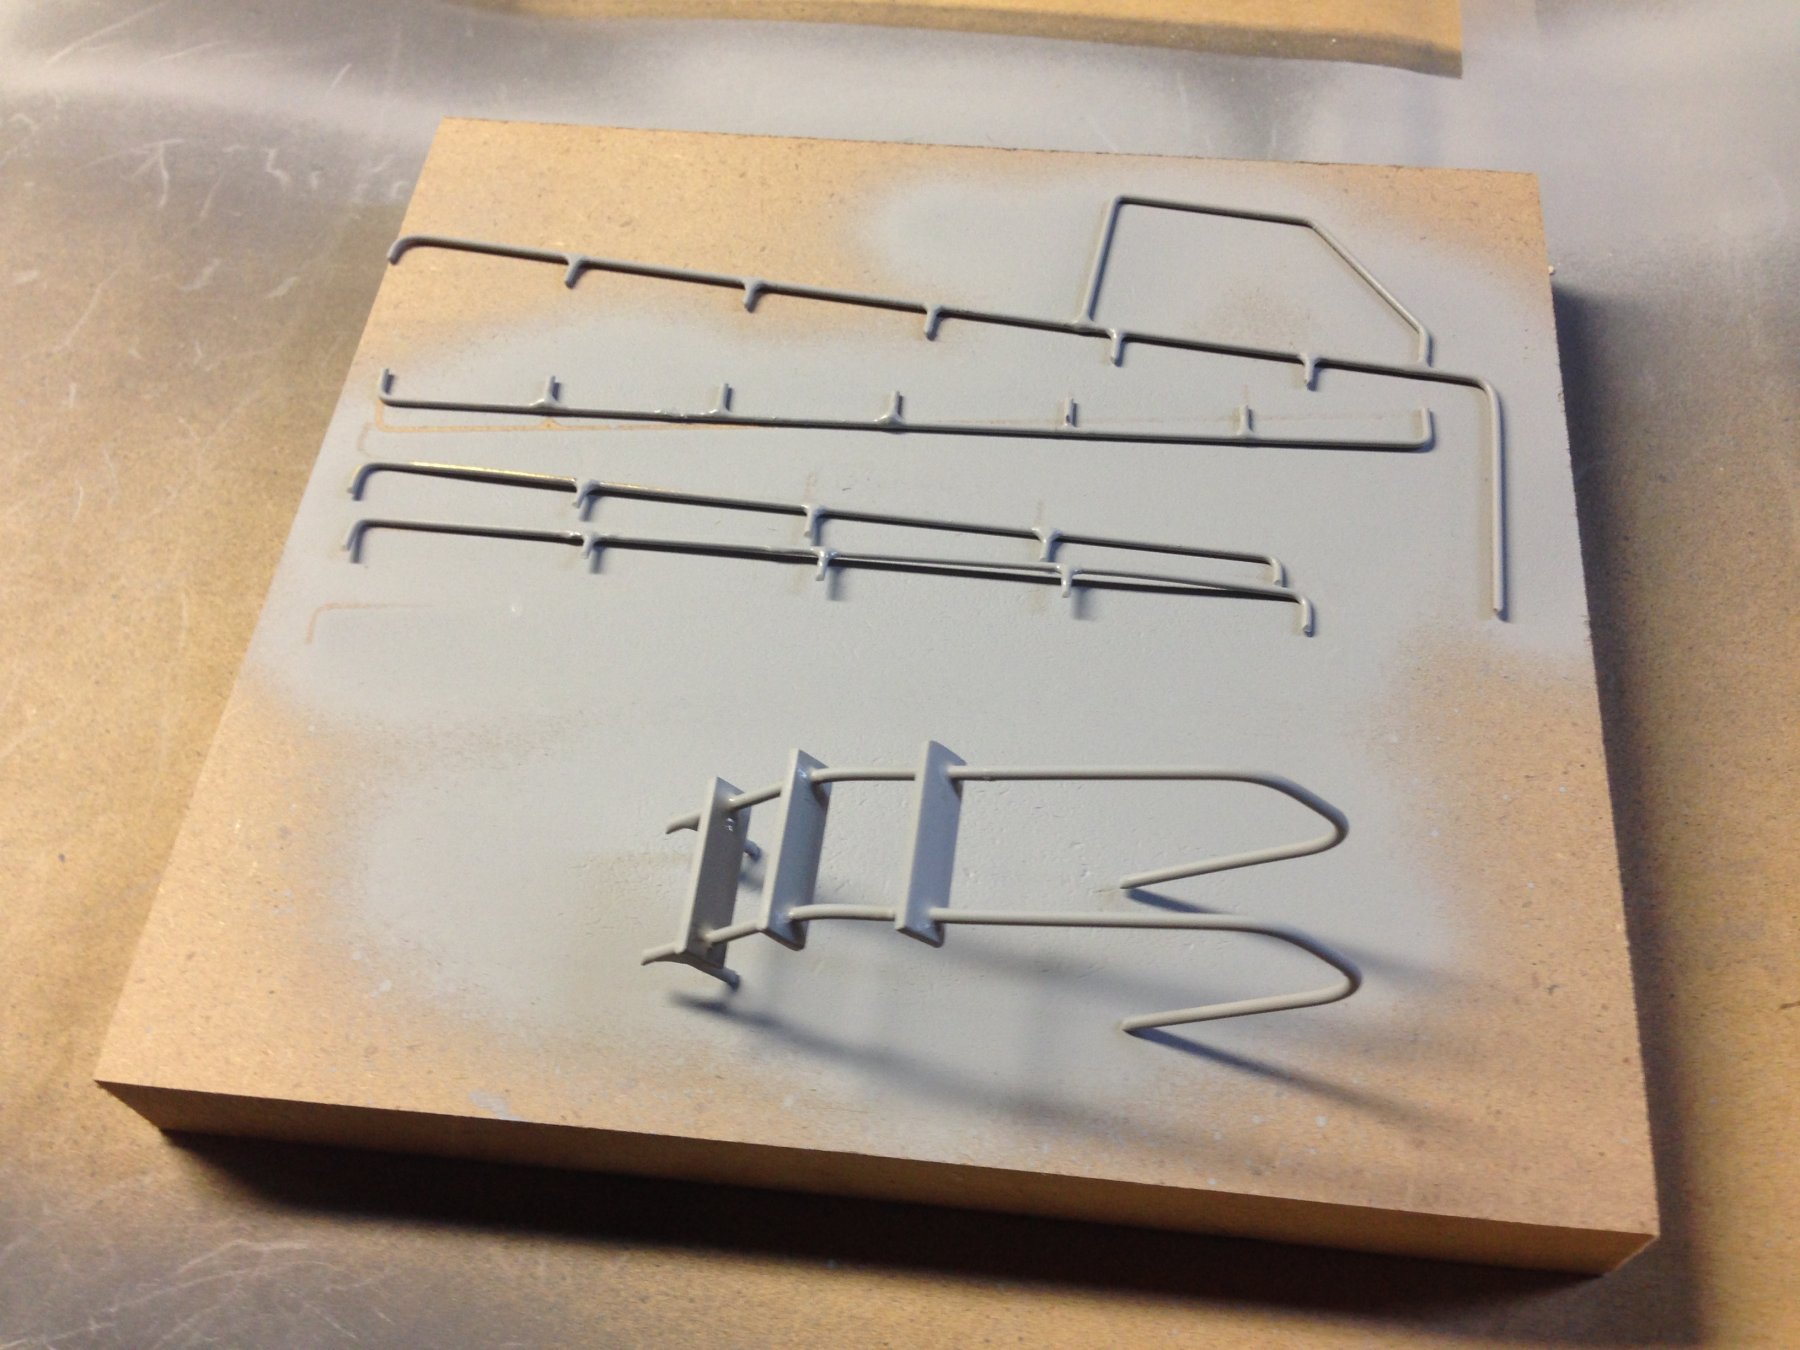
Lots of little parts followed, and lots of brass wire soldering to make the unique fittings here and there.


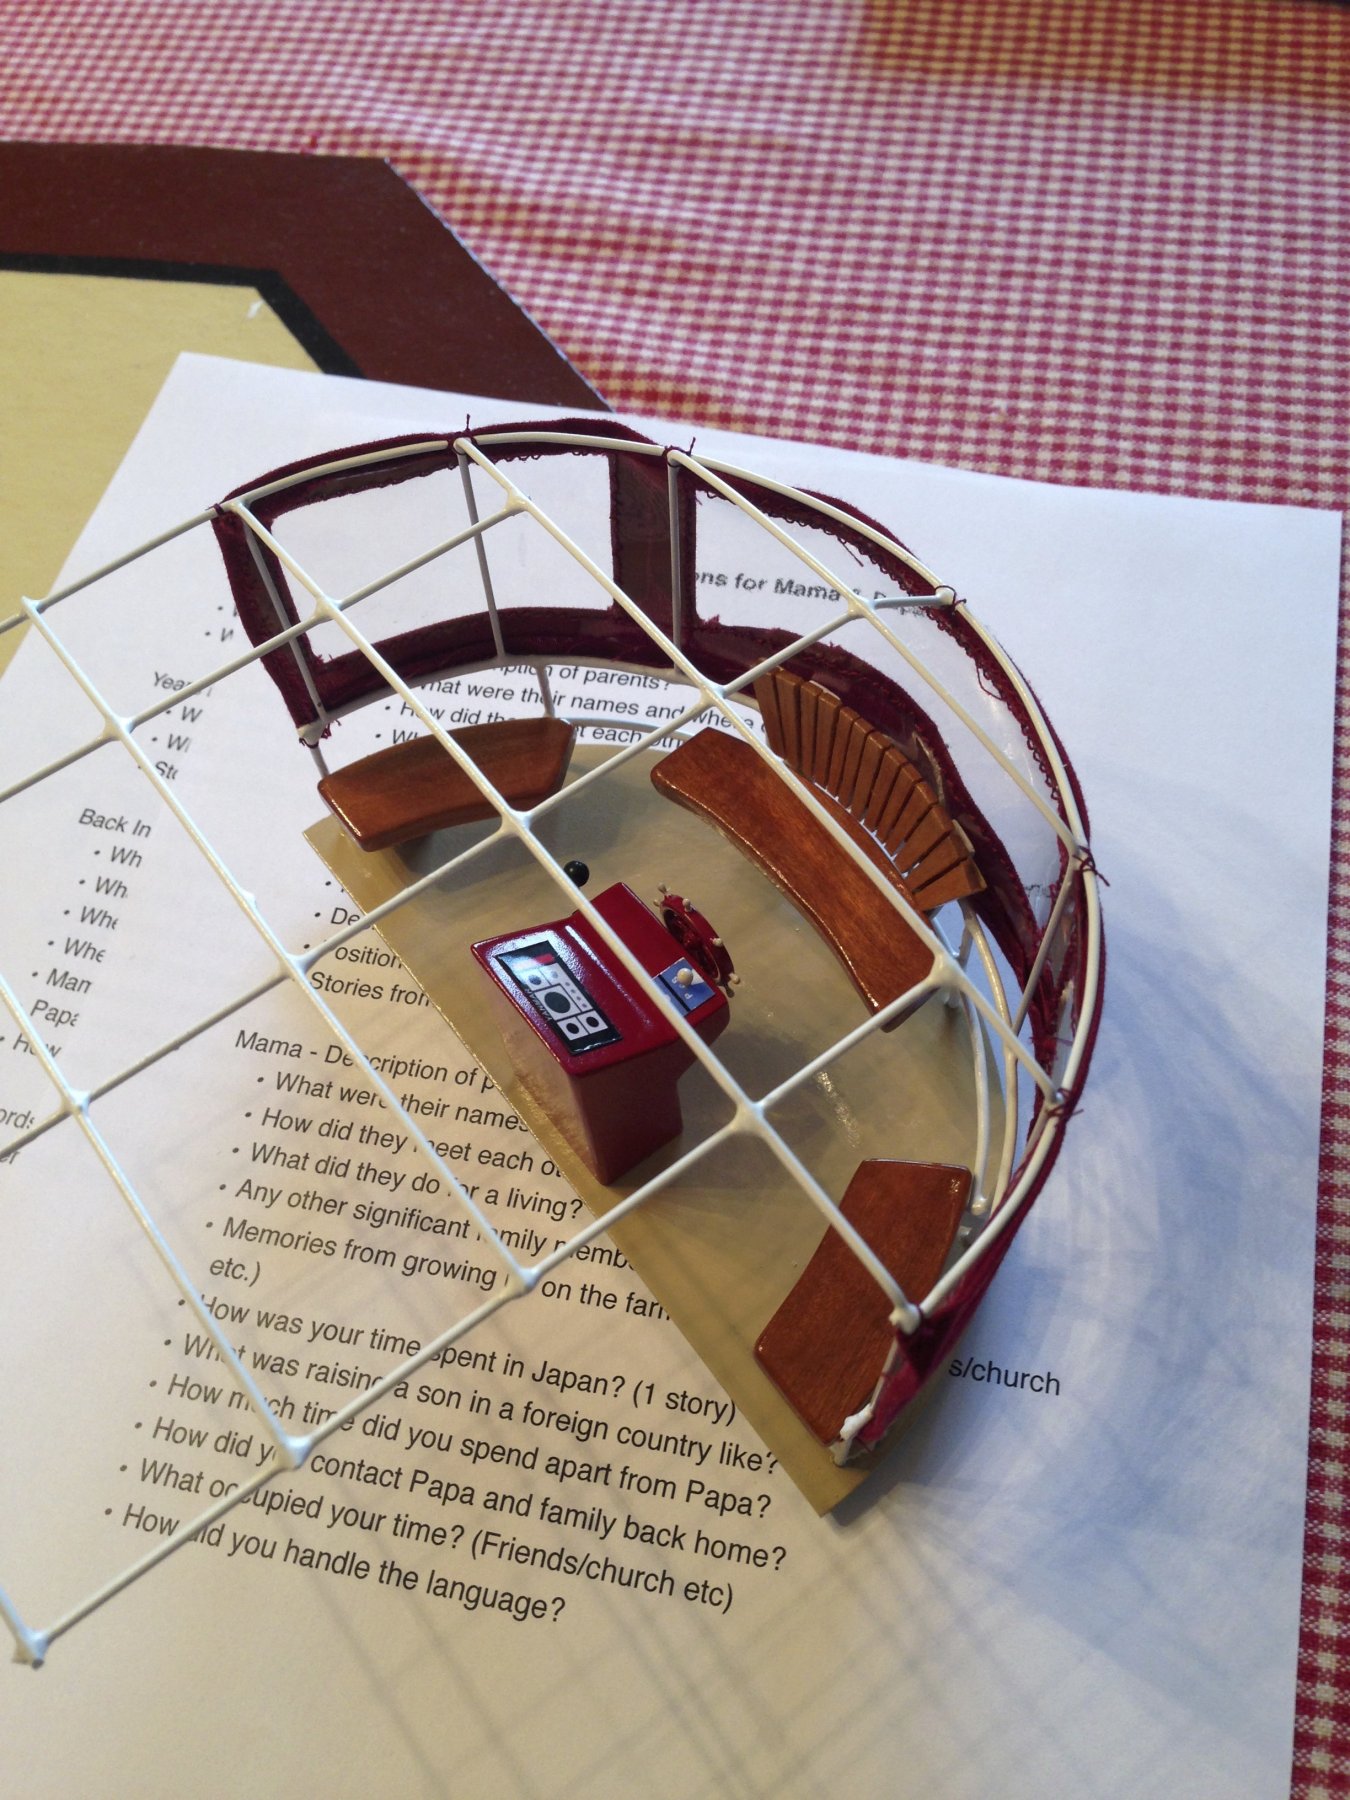
Decals were fun, using cleaned up photos from the actual boat. Their motto is pretty much right on.

Paints were all standard sprays. Thanks to my wife for the sewing part. So it came together and looks pretty close to the real item.


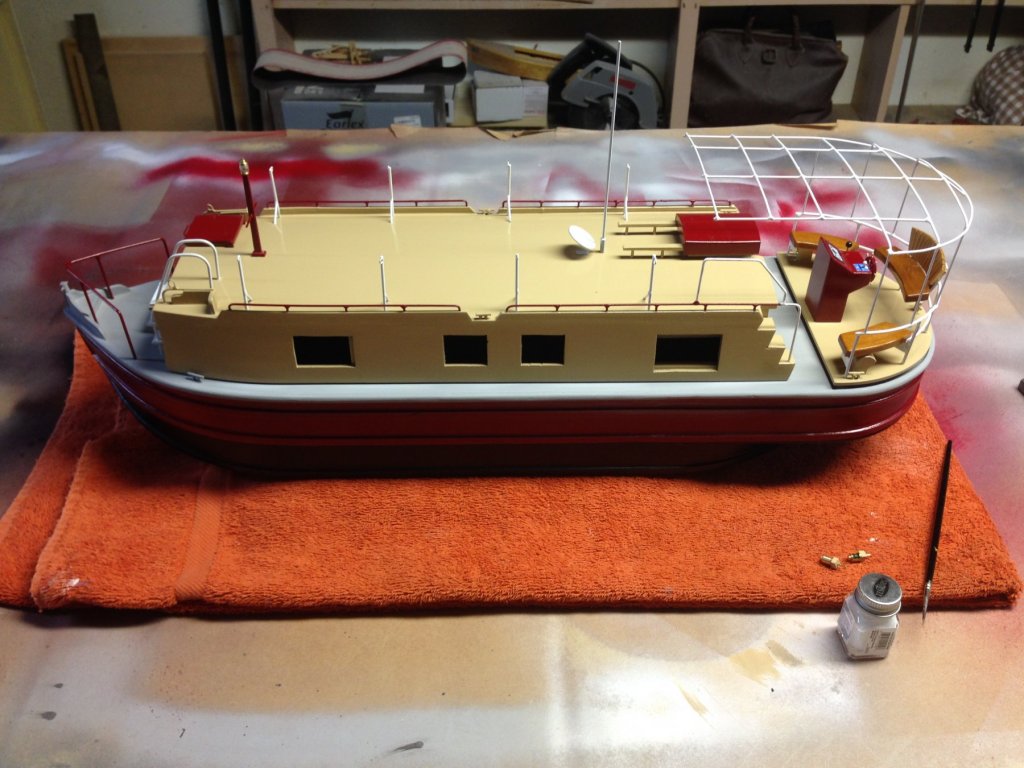
Not the usual stuff I agree. But it was fun. And it reminds us of the trip.
-
Hi Andrew:
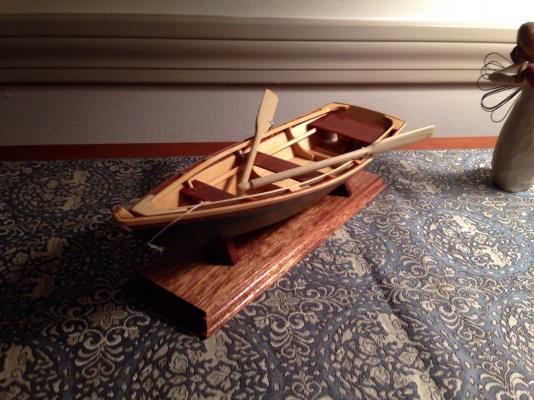
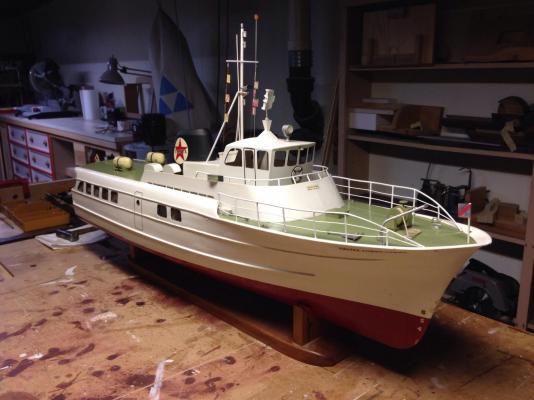
I too recently built the dinghy and have just ordered the john Alden. I'll be watching your build with interest. Meanwhile I just resurrected an R/C Sterling Lumba Lumba I had built back in the mid-70s. Nice to get back into modeling again.
- GrandpaPhil, Bobstrake and Omega1234
-
3


USS Constitution by Kirby - Scale 1:192 - half-hull - From AJ Fisher Plans
in - Build logs for subjects built 1751 - 1800
Posted
Wondered off and on if this was still underway. Nice progress. If at first . . . and all that.