


Ferit
-
Posts
1,166 -
Joined
-
Last visited
Content Type
Profiles
Forums
Gallery
Events
Posts posted by Ferit
-
-
Thanks Matti,
Your kindness as always...
-
The crow's nest for the spritsail of the bowsprit...
For the base, kit had provided plywood, the base was rebuilt with walnut strips...
- Sjors, lamarvalley, NAZGÛL and 8 others
-
 11
11
-
-
-
I have just placed my order for a Duesk1:72 scale model kit NINA , while i am waiting for it to arrive my thoughts turned to barrel making so i did a quick forum search and nothing came up,My question is how do you guys go about making ships barrels,
from one piece (turned on the lathe ) or by coopering.
(Pete)
Hello Pete;
I think that there would be an answer to your question at the link below, at the post number 105 of "Le Bonhomme Richard by Jeronimo" at Scratch Build Log. There is a fantastic job... (But just barrel not gun barrel...)
http://modelshipworld.com/index.php?/topic/300-le-bonhomme-richard-by-jeronimo/page-7
Post #105
-
.
Hi and thank you Keith for the info,
I am quite agree with you. Which tips you have added to the info are very important for bending...
And thank you again for your precious comments, extremely encouraging me...

-
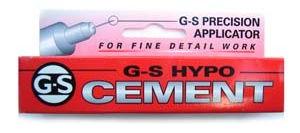
Hello Buck,
I glued the ropes with this cement. It is transparent, gets dry about 10-15 minutes, lets me manipulate, does not change the color of the robe, does not concrete the robe as CA, let the robe be flexible and is removed very easily after getting dry... Ideal for rigging... There is more than enough...
I am putting a very small drop on the thick rope and encircling the thinner rope onto the glue and around the thick one. If you leave the rope at the middle of the work, the spiral does not loose, get glued around the thick rope.
BTW, I have seen Robbyn's suggestion for the trunk of the masts. But I found that idea very interesting and wisely for rigging ropes. Thank you Robbyn.
-
Hi Sjors,
Wow!... She looks puissant and powerful...
-
Your crow's nest looks very nice Ferit.
The way how you rounded the stripes is subscribed
Thank you Juergen,
These words of a craftsman from the fantastic parallel universe (post #222) are much appreciated...
-
Ferit. I'm chiming in with praise for your hoops! You must make an instructional video of your technique. The first episode of MSW-TV!

Thank you Brian for the kind comments...
-
Hello again Ferit
you mentioned that you glued the end with CA. Was CA also used between layers or PVA.
Its amazing what you can make wood do with water and heat.
Hello Keith,
Thank you again
...Between layers I used also CA. Sometimes I have not enough patience to wait that PVA becomes dry. But it's judicious to use PVA. In this wise it's more difficult to see the seam between layers...
-
Thanks for the answer Ferit.
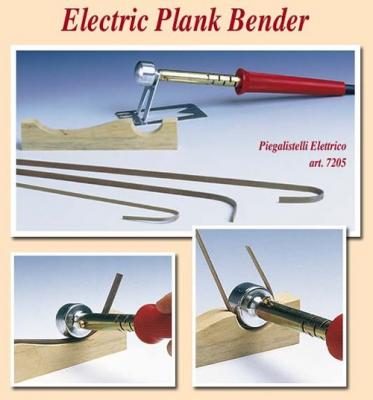
We have so an planck bender also but I can not work with it...
All my planks are still broken so I'll do it on the old fashion way.
Soaking and very careful…...
Hello Sjors,
My humble thought is that the success depends on what kind of wood you use, what thickness / width ratio has your strip, which temperature has the water, how long it's soaked and how enduring you are...
With the hard wood it's impossible...
2 x 6 mm wood strip is more handleable than 2 x 4 mm's...
The water has to be as hot as possible...
The strip has to be soaked 5-10 minutes at least...
Maybe the strip has to be soaked and bended more than 20 times, bended little by little so that even it becomes dried at every turn...
(Please don't consider me as a snappish, I only tried to share my experience that in fact, everybody knows...)
-
Hi klimi,
I am glad to hear that... Thank you...
-
your build is progressing very nicely.
Hello Brian,
Thank you for your kind words...
-
Wow Ferit,
That is nice round crow's nest….
You did it your self?
And how did you did't it without braking?
Hello Sjors,
Thank you for the comment.
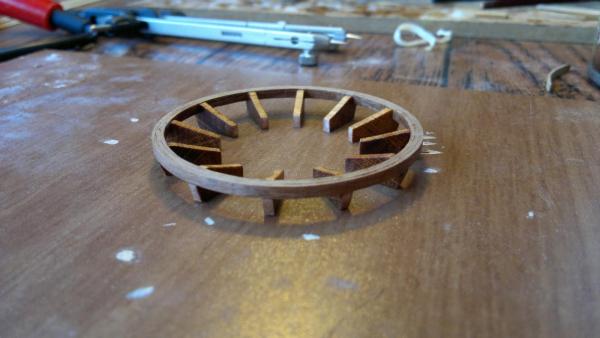
That was:
Phase 1;
I gave a round shape to a wooden strip which had been softened in hot water, by a hot bender tool... Soaked in hot water then bended by the tool, soaked-bended over and over so that even the strip might take a round form... After that, I soaked the strip in hot water for the last time, then without using the bender tool I encircled the wet strip over a piece of timber which had been shaped in a perfect round form, to provide a perfect circular shape. I cut the excessive part of the strip and I glued the junction with CA. I left the strip encircled over the rounded piece of timber. It dried in a good circular form.
Phase 2-3;
The same procedures with the second strip. This time I also glued two strips together as well. Then the same procedures with the third strip... Finally I took the product out the rounded piece of timber...

-
Thank you Hamilton,
It's pleasure to see you following my log and boosting always my courage...
-
Hello Andy,
Happy birthday...
-
Hello Ferit
I've been a bit under the weather and have gotten behind on my build log readings
.
Lots of nice additions. The decks look great fully rigged, the cannon balls and holders turned out excellent, as did the belaying racks. The belaying rack/pins are very unique compared with most styles. I find them very interesting and a wonder bash of an otherwise poor kit molded piece.
Your crows nest method is how I made my mast hoops. I would have never thought to upscale the layering to the crowsnests size though, Great idea! I'll be borrowing that idea.
Its good to see so much progress, turtles may be slow but it's about quality, and you my friend show quality in everything you do.
Hi Keith,
Such heartening words...

Much appreciated...
And you always make fell what you point out in your motto... Many thanks...
-
Yes... Wow...
Very impressive, very clean...
-
She had taken small black vitamins and she is improving in beauty
... -
Hello Popeye,
After the photo sended by Eric, I noticed that you have done the horizontal inclination to the strips joining with the bow as same as the original's... Your build is beatiful and well done...
-
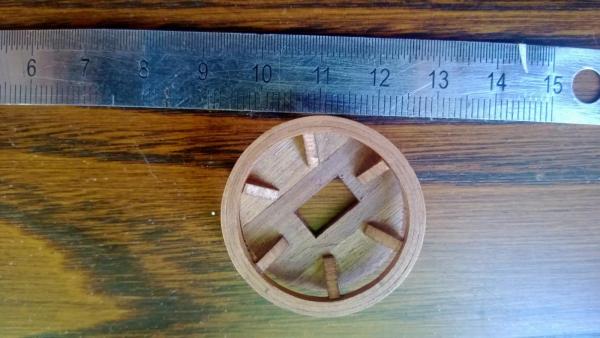
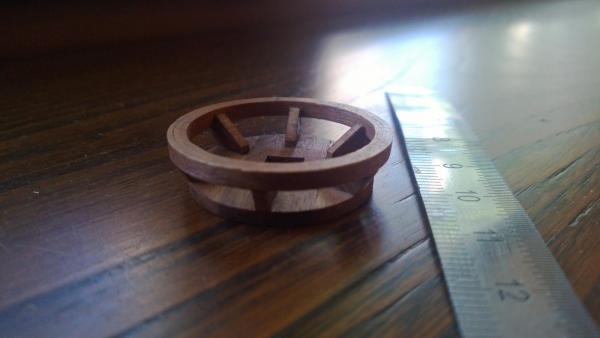
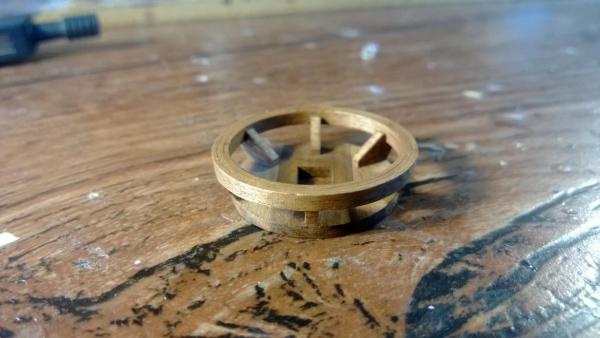
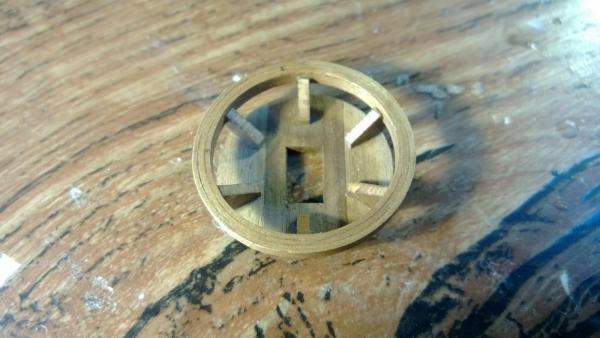
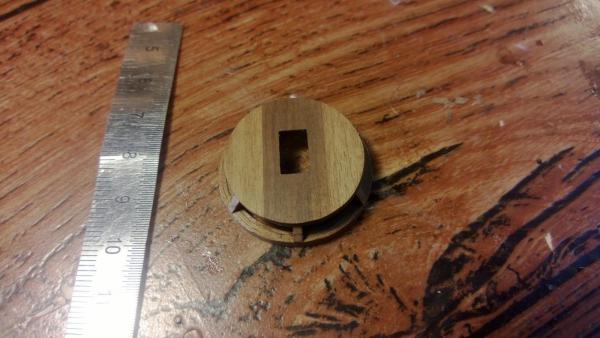
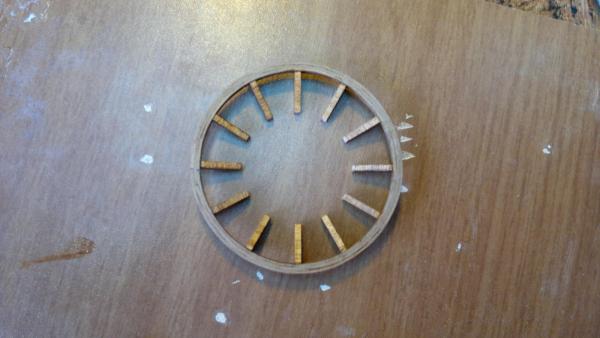
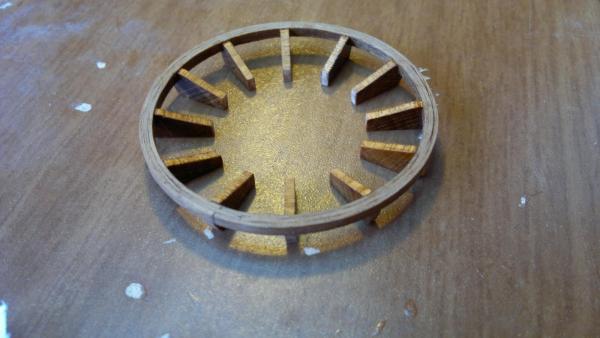
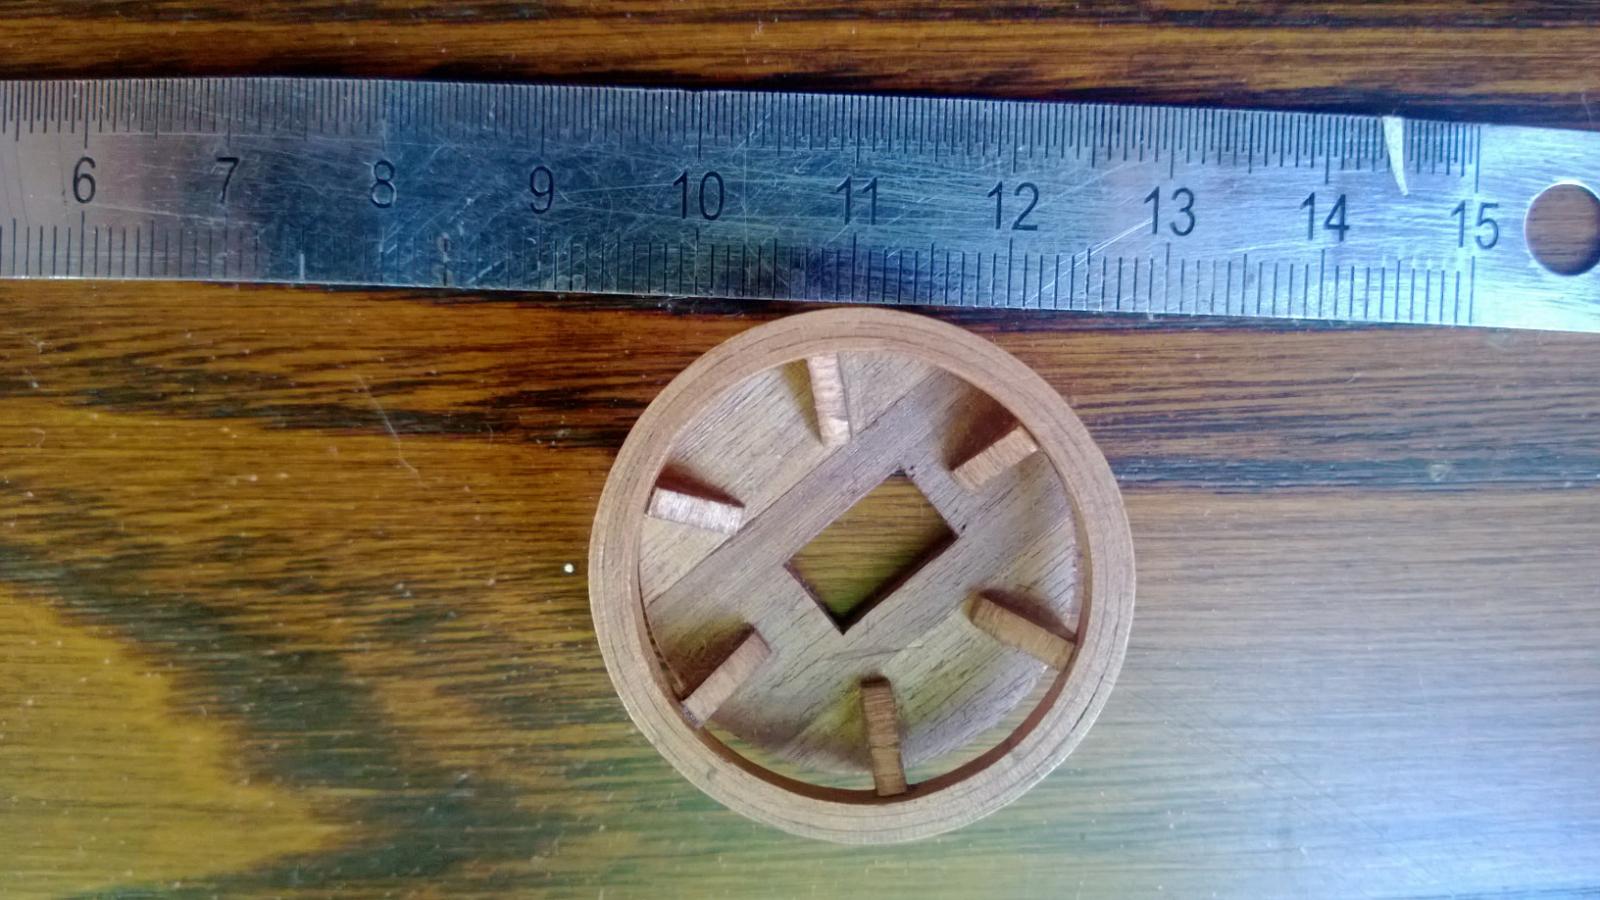
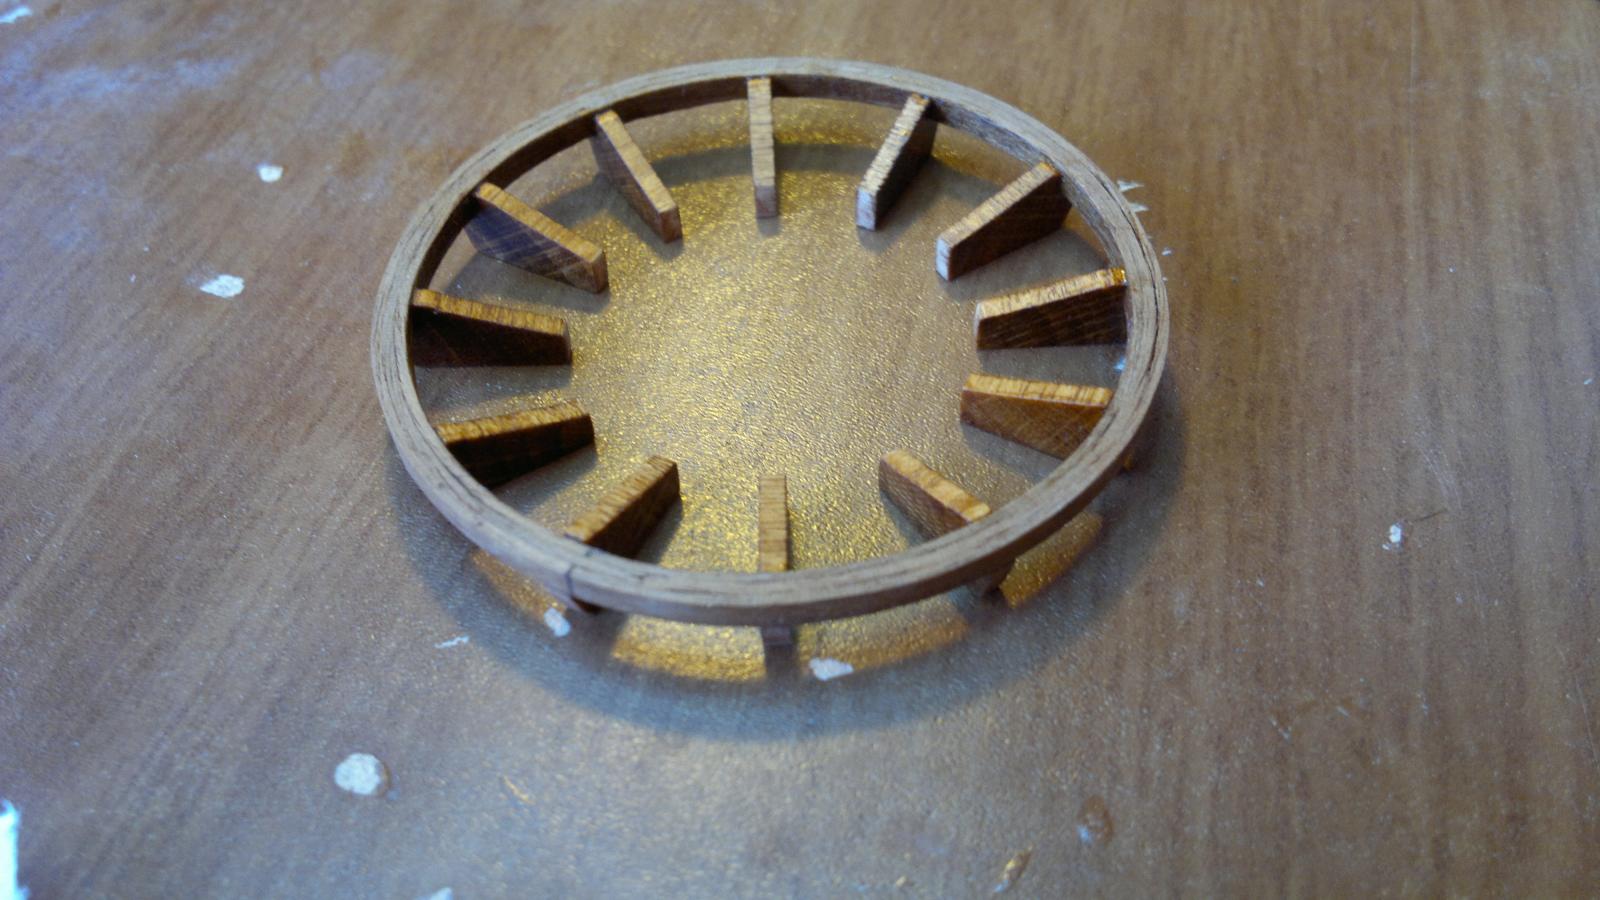
Crow's nest...
Three walnut strips 1x3 mm rounded by bender then glued together...
There would be four crow's nests in different scales...
-
Me to, I think as Chris Watton, I am quite satisfied with the Corel's kit. I decided even on Corel again for my second build. Many years ago I have bought my kit which has not been laser cut, I have had to make some adjustements. I don't know if today their kits are being produced with laser cut materials...
-
Hello Andy,
She looks really great, clean etc...


Frigate Berlin by Ferit KUTLU - Corel - 1/40 - 1674
in - Kit build logs for subjects built from 1501 - 1750
Posted · Edited by ashiponthehorizon
Many thanks to all of you,
I am very happy with your encouragements... Much appreciated...
I have to work more harder to deserve them...