HOLIDAY DONATION DRIVE - SUPPORT MSW - DO YOUR PART TO KEEP THIS GREAT FORUM GOING! (Only 20 donations so far - C'mon guys!)
×

Gbmodeler
-
Posts
465 -
Joined
-
Last visited
Content Type
Profiles
Forums
Gallery
Events
Everything posted by Gbmodeler
-
 Thanks Wefalck! I found one of his books (Navi Veneziane) for future projects, and am waiting for it to arrive in the mail. Great minds think alike😃!
- 55 replies
-
- 1
-

-
- fishing boat
- Fishing
- (and 4 more)
-
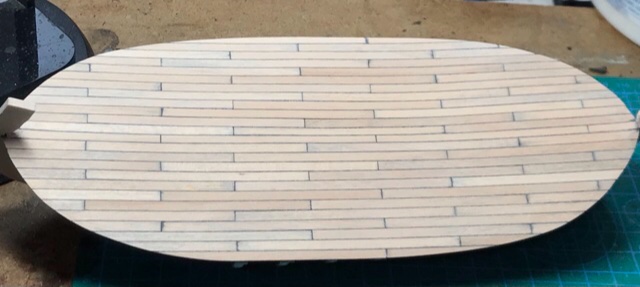
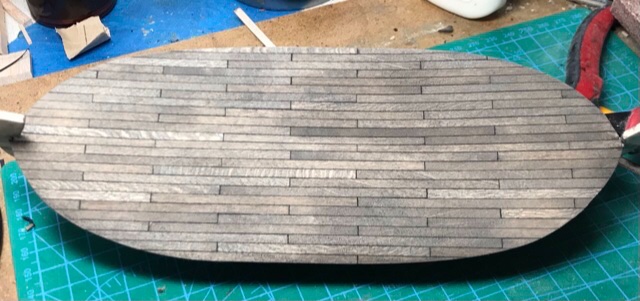
Decking installed, glue smudges and all. Sanded down... Re-stained.
- 55 replies
-
- 5
-
-
- fishing boat
- Fishing
- (and 4 more)
-
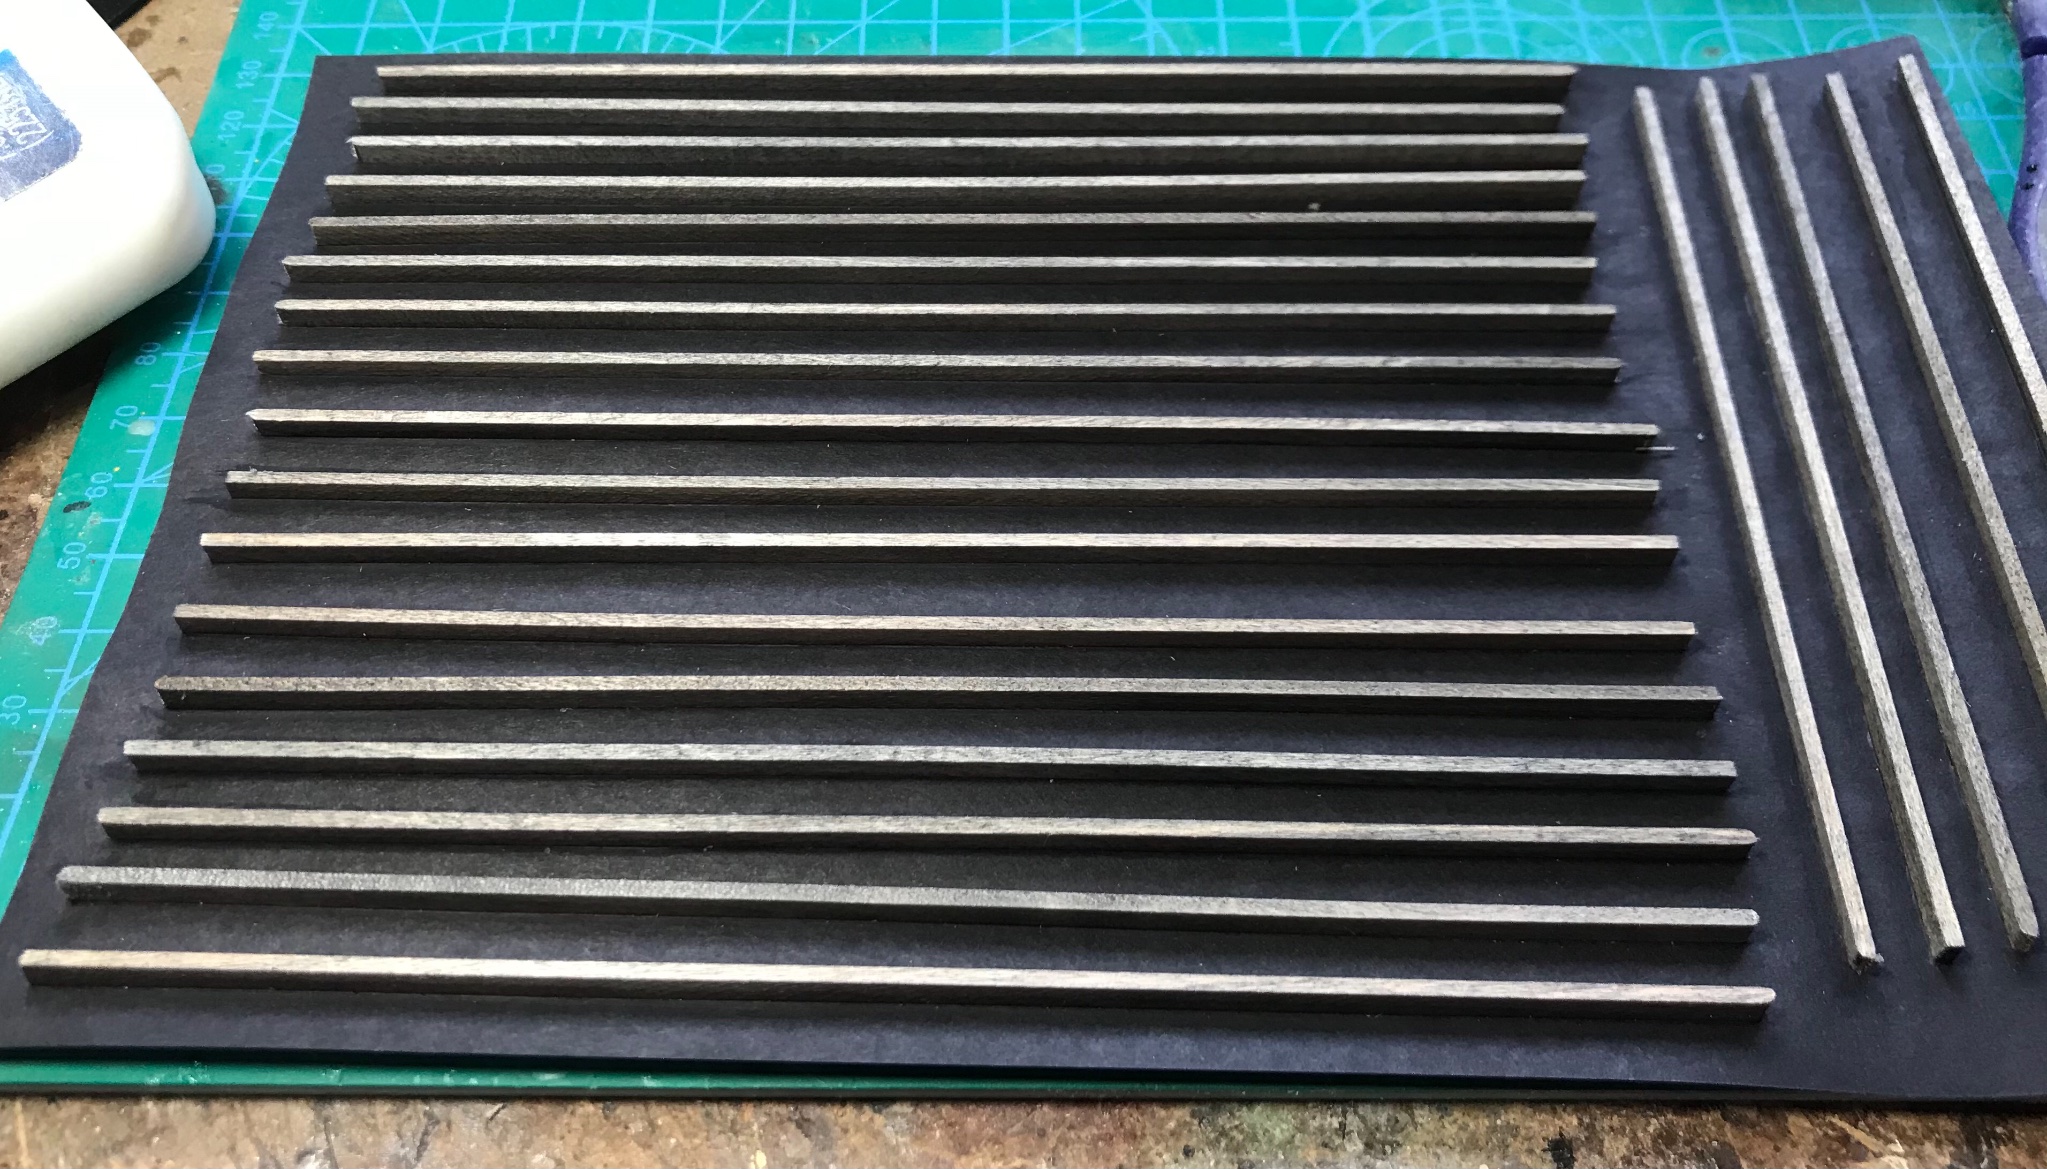
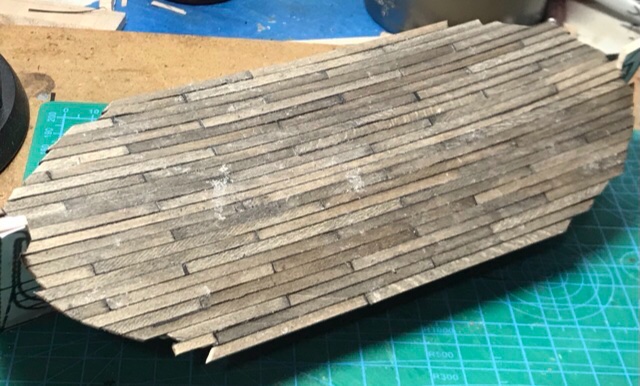
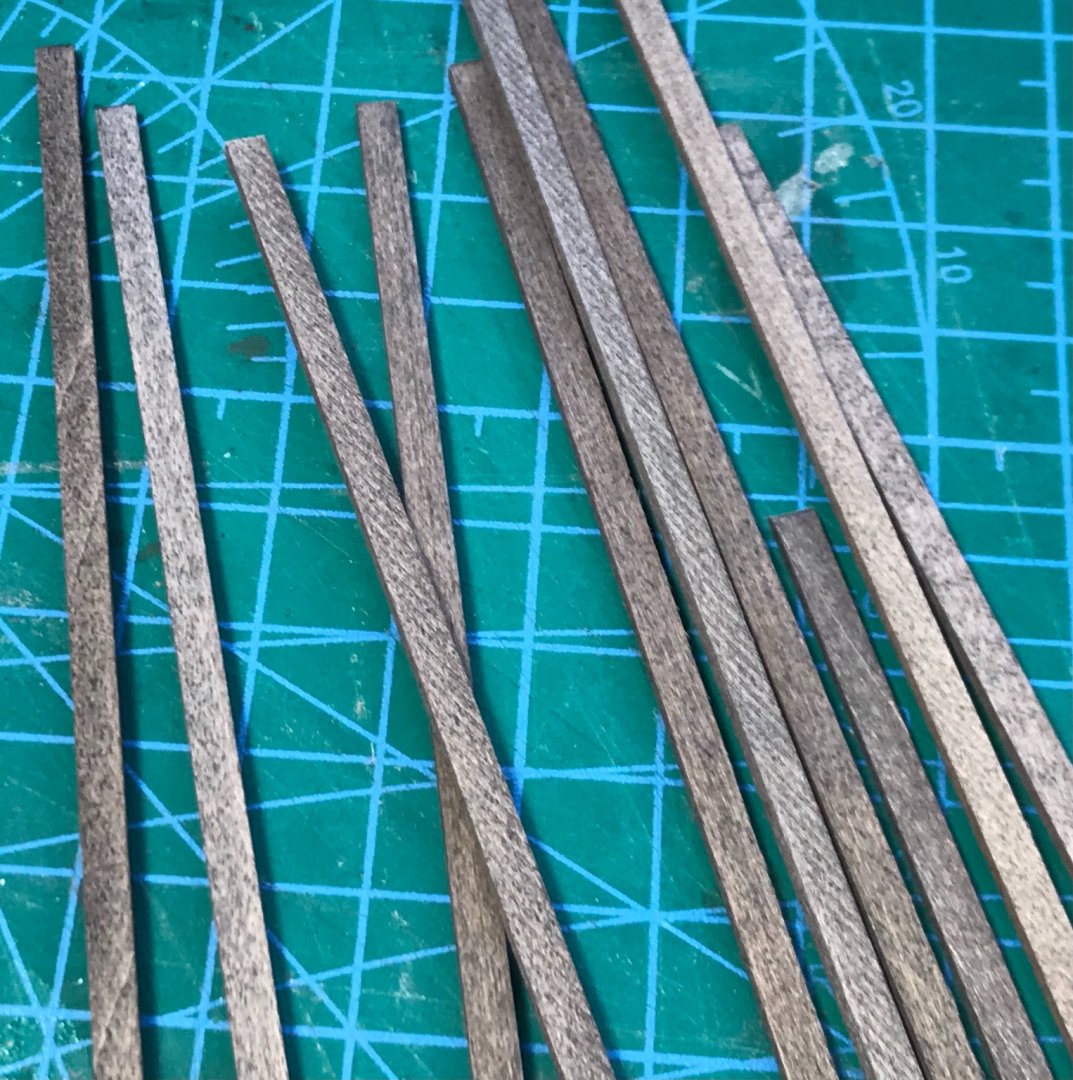
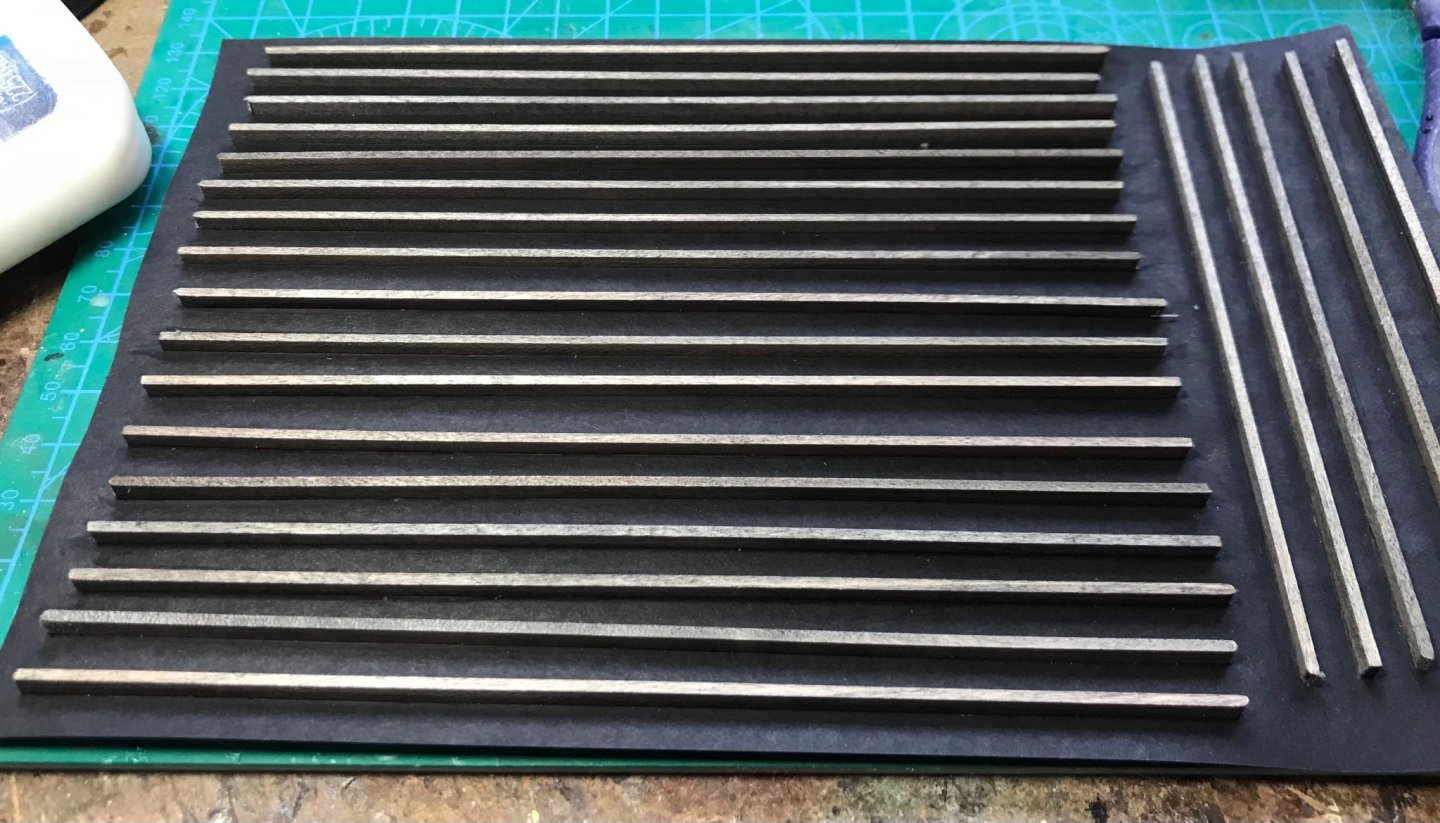
Started the decking process by gluing the cereal box as a "false deck" and staining basswood strips for planking. I am using 1/16 x 1/8 inch strips for planks; and, I always stain the planks before gluing them. Even though they will be heavily sanded later, if you don't stain them before gluing, you run the risk of having dried glue "block" any stain you apply later, or as touch-up. That will give uneven and unsatisfactory results. In this case, I am going for an old weathered look for the deck. I mixed my own "stain" to "weather" the wood. The ingredients are black India ink, isopropyl alcohol, black artist's pastel powder, and water. I haven't ever measured the proportions, I just mix until it looks good. It goes on much darker when it's wet than after it dries, so I test it on a scrap of wood first, making sure the dried coloring is what I want. I've used it to make old wood posts and model railroad flat car floors, but never as deck stain for a ship. I don't know how it will work on a boat, with lots of sanding and re-staining as the model progresses. This could get ugly... The stained strips. Gluing the edges of the deck planks to thin black construction paper (for caulking) with white glue.
- 55 replies
-
- 3
-
-
- fishing boat
- Fishing
- (and 4 more)
-
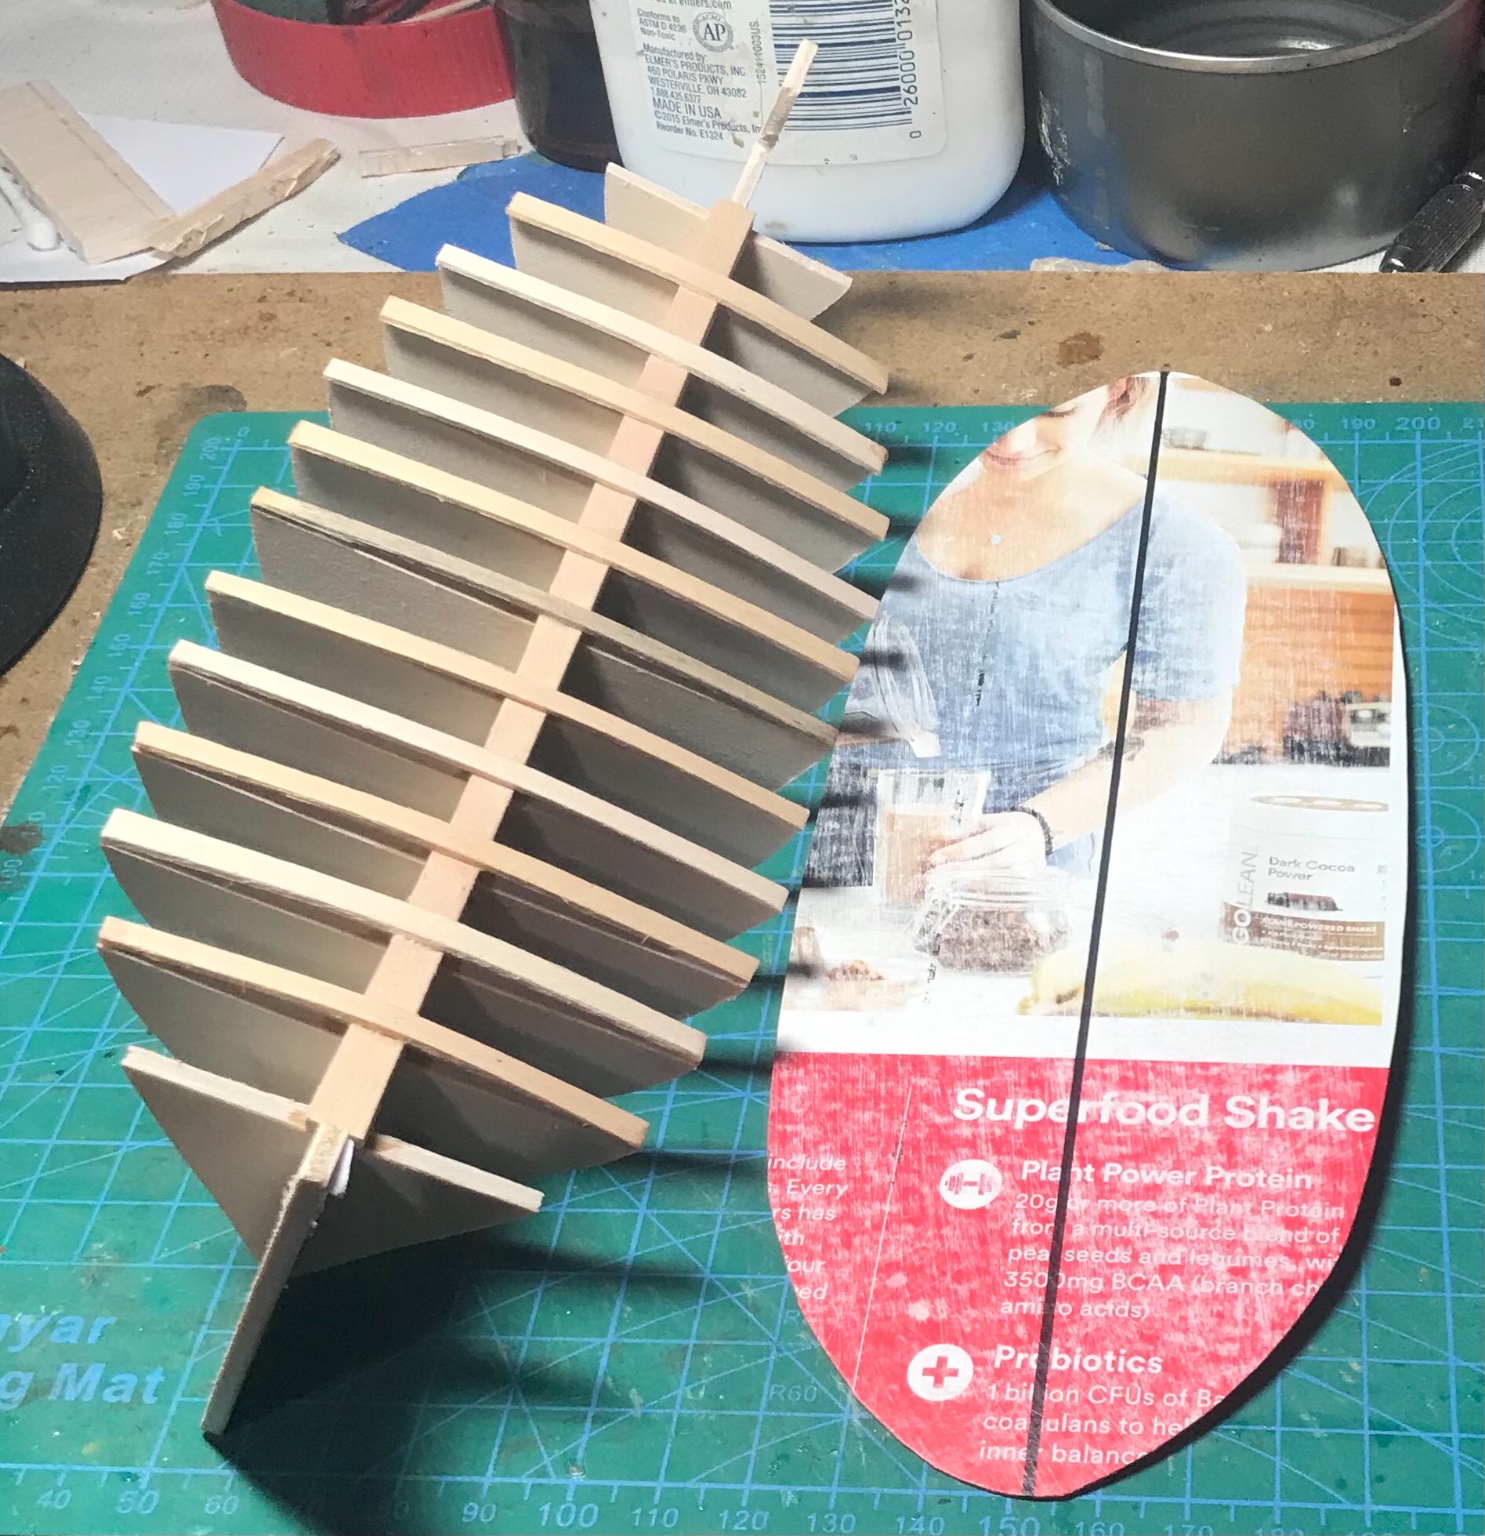
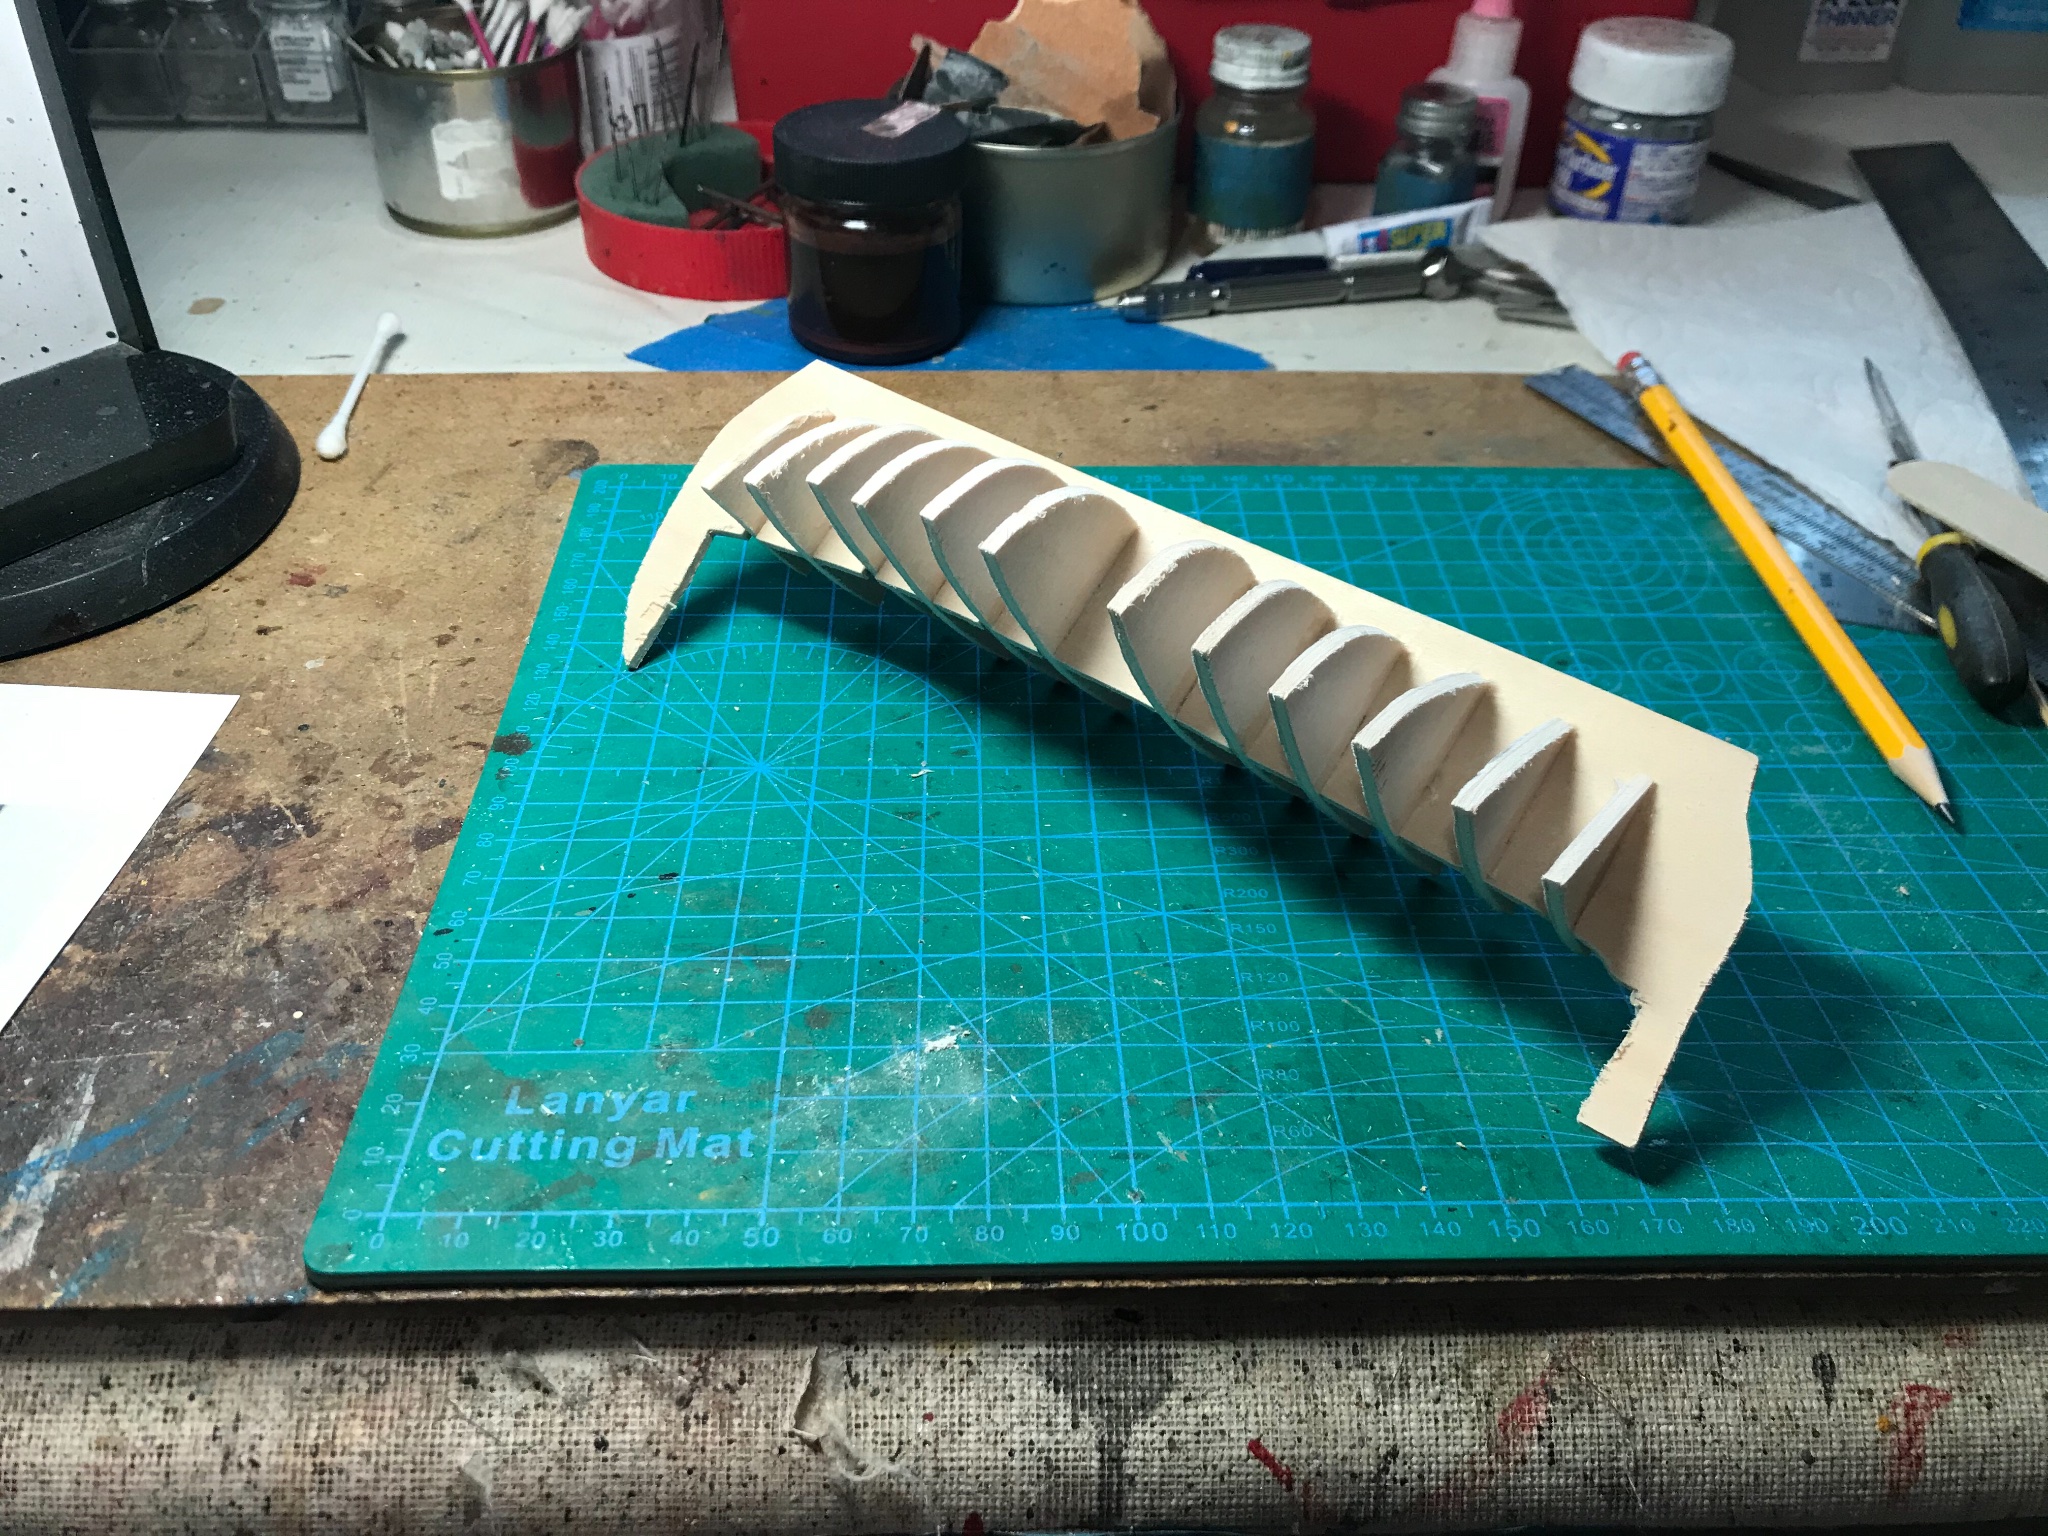
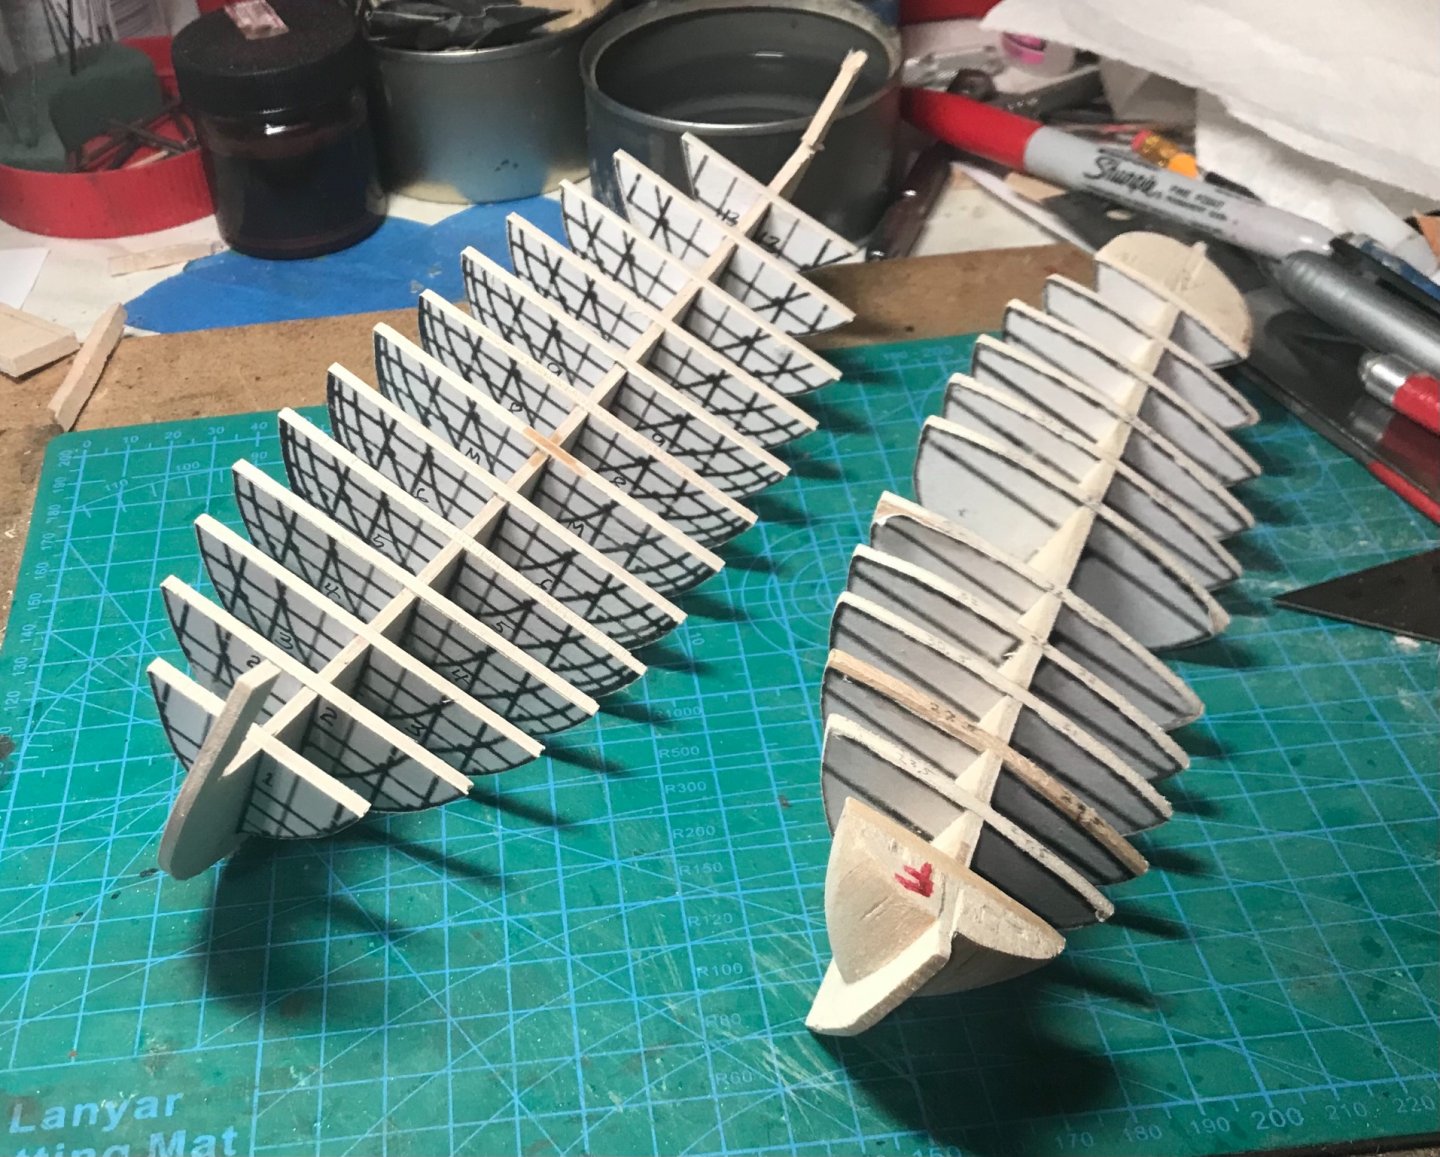
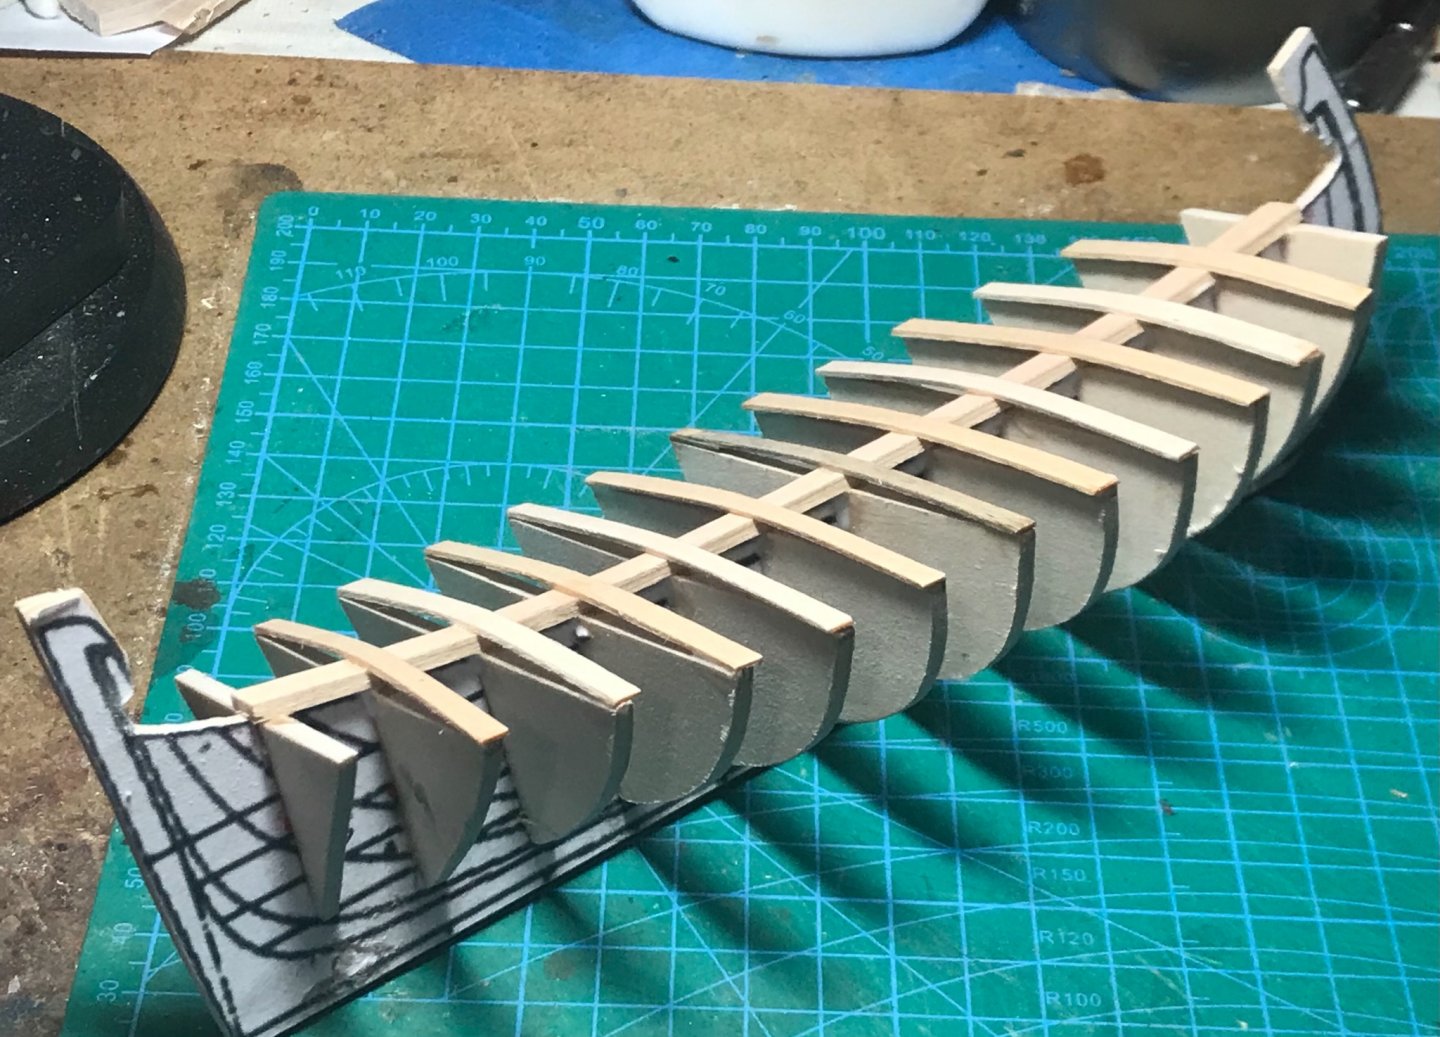
So, after working on the frame (rescaling the line plans, printing out the keel and bulkheads (12), cutting them out from the paper with scissors, gluing the paper cut-outs to basswood plywood, cutting-out the plywood bulkheads and keel with a scroll saw, assembling and gluing all the parts, adding deadwood to both the stern and bow sections), I realized I hated my creation (as shown earlier). In the planning stages, I was concerned this very wide boat would look TOO wide if I did not account for the width of the planking. Therefore, I reduced the bulkheads by 10% from scale, before I printed them out. Although it seemed correct at the time, this was way too much! Looking at Brassera images on the internet, they are thick, chubby vessels. I read somewhere that the width was typically 1/3 the length. Measuring several different images, they are more like 38% width to length. Unfortunately, I had created a skinny and malnourished looking Brassera... Past experience tells me, if I'm not happy with a model or model part, I better repair it it or re-build it. After a day or two of stewing, I decided it could not be repaired to my satisfaction. So... we start anew! The new frame is on the left; old on the right (perhaps I can use it on a future project?). Formers added to the frame for the deck camber... Repurposing an old cereal box as a base for the decking...

- 55 replies
-
- 4
-
-
- fishing boat
- Fishing
- (and 4 more)
-
Thanks Bob! I have seen this site, and plan to use it for ideas for details!
- 55 replies
-
- 2
-
-
- fishing boat
- Fishing
- (and 4 more)
-
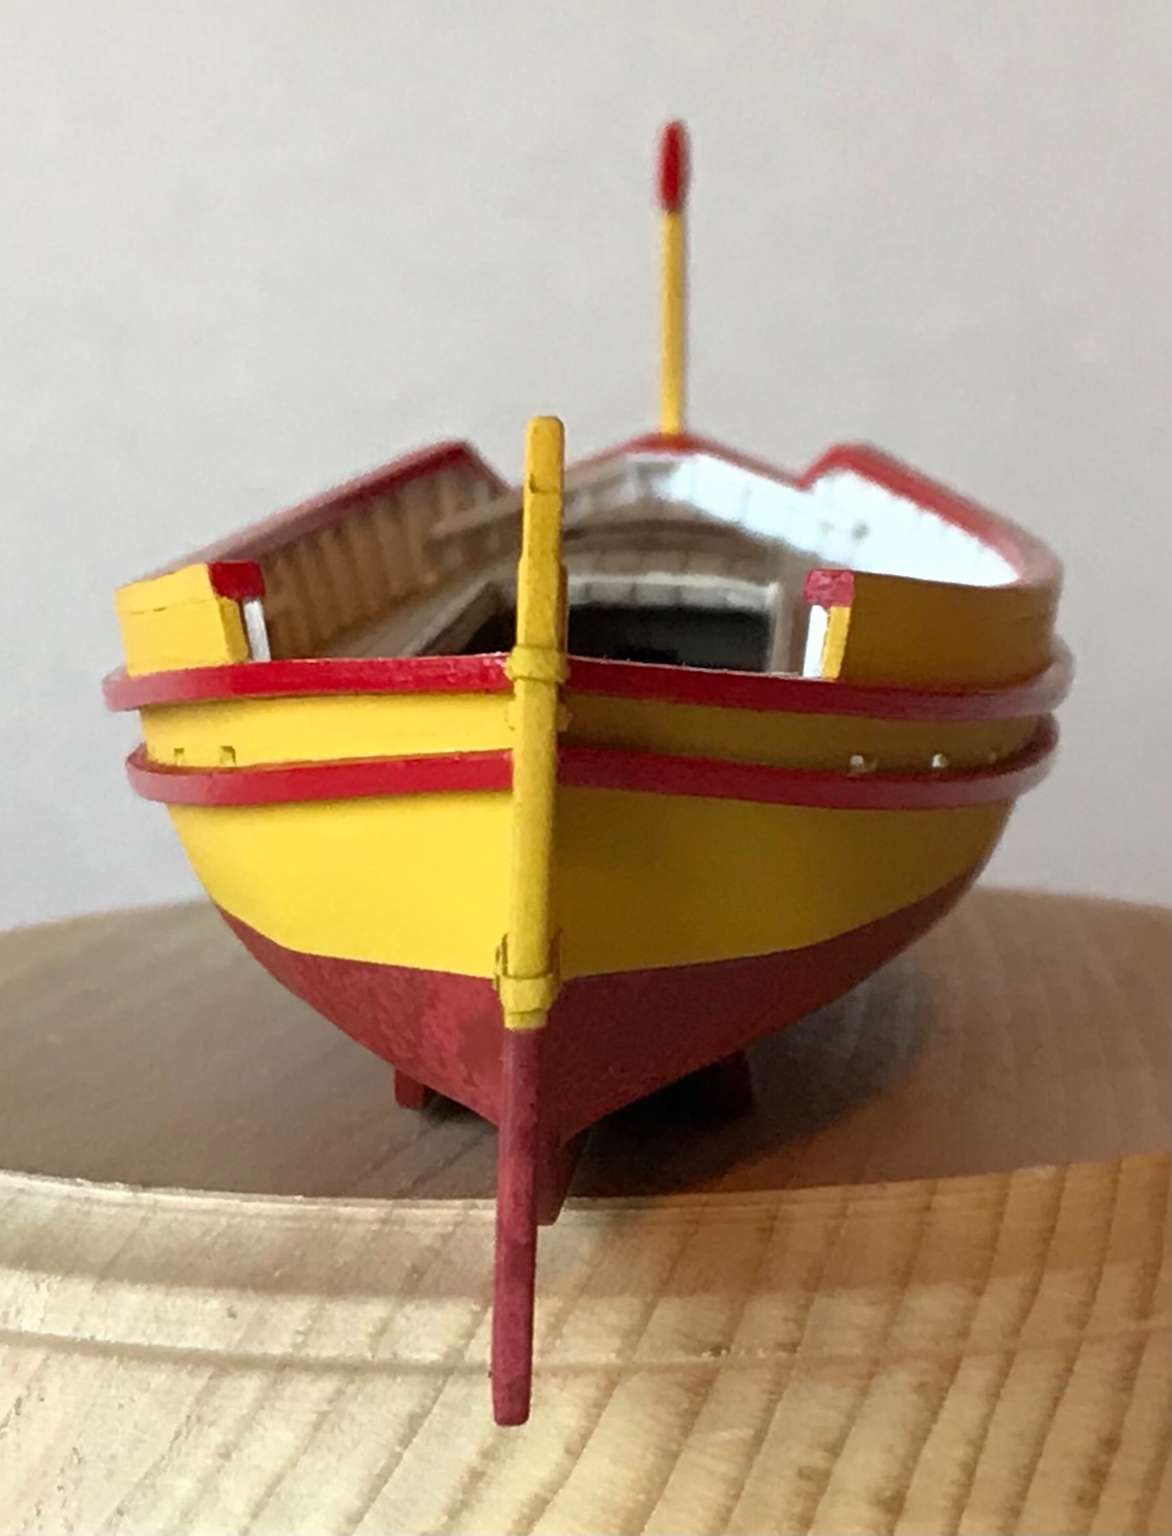
Just started a new boat project. After seeing a photo of a small Brazzera with two lateen masts on Veniceboats.com (http://www.veniceboats.com/brazzera.htm), I had to build one! I have not yet found much historical information about Brazerras rigged this way, but there are several plans for single masted boats available. My model will be fictional, based on the type. A ten meter boat was chosen based on the only photo I could find, from Veniceboats.com. The length of the boat was determined and scaled off the people in the photo, and a comparison to photos of a single masted, 9-meter Croatian boat, "Our Lady of the Sea". The "Our Lady of the Sea" is a modern replica of an 18th century boat. I place the photo of my model in the late 19th century, and plan to make it in Italian ownership (maybe a sponge fishing boat?)... Any info or feedback on Brazzeras, especially those rigged with two lateen masts, would be greatly appreciated!


- 55 replies
-
- 5
-
-
- fishing boat
- Fishing
- (and 4 more)
-
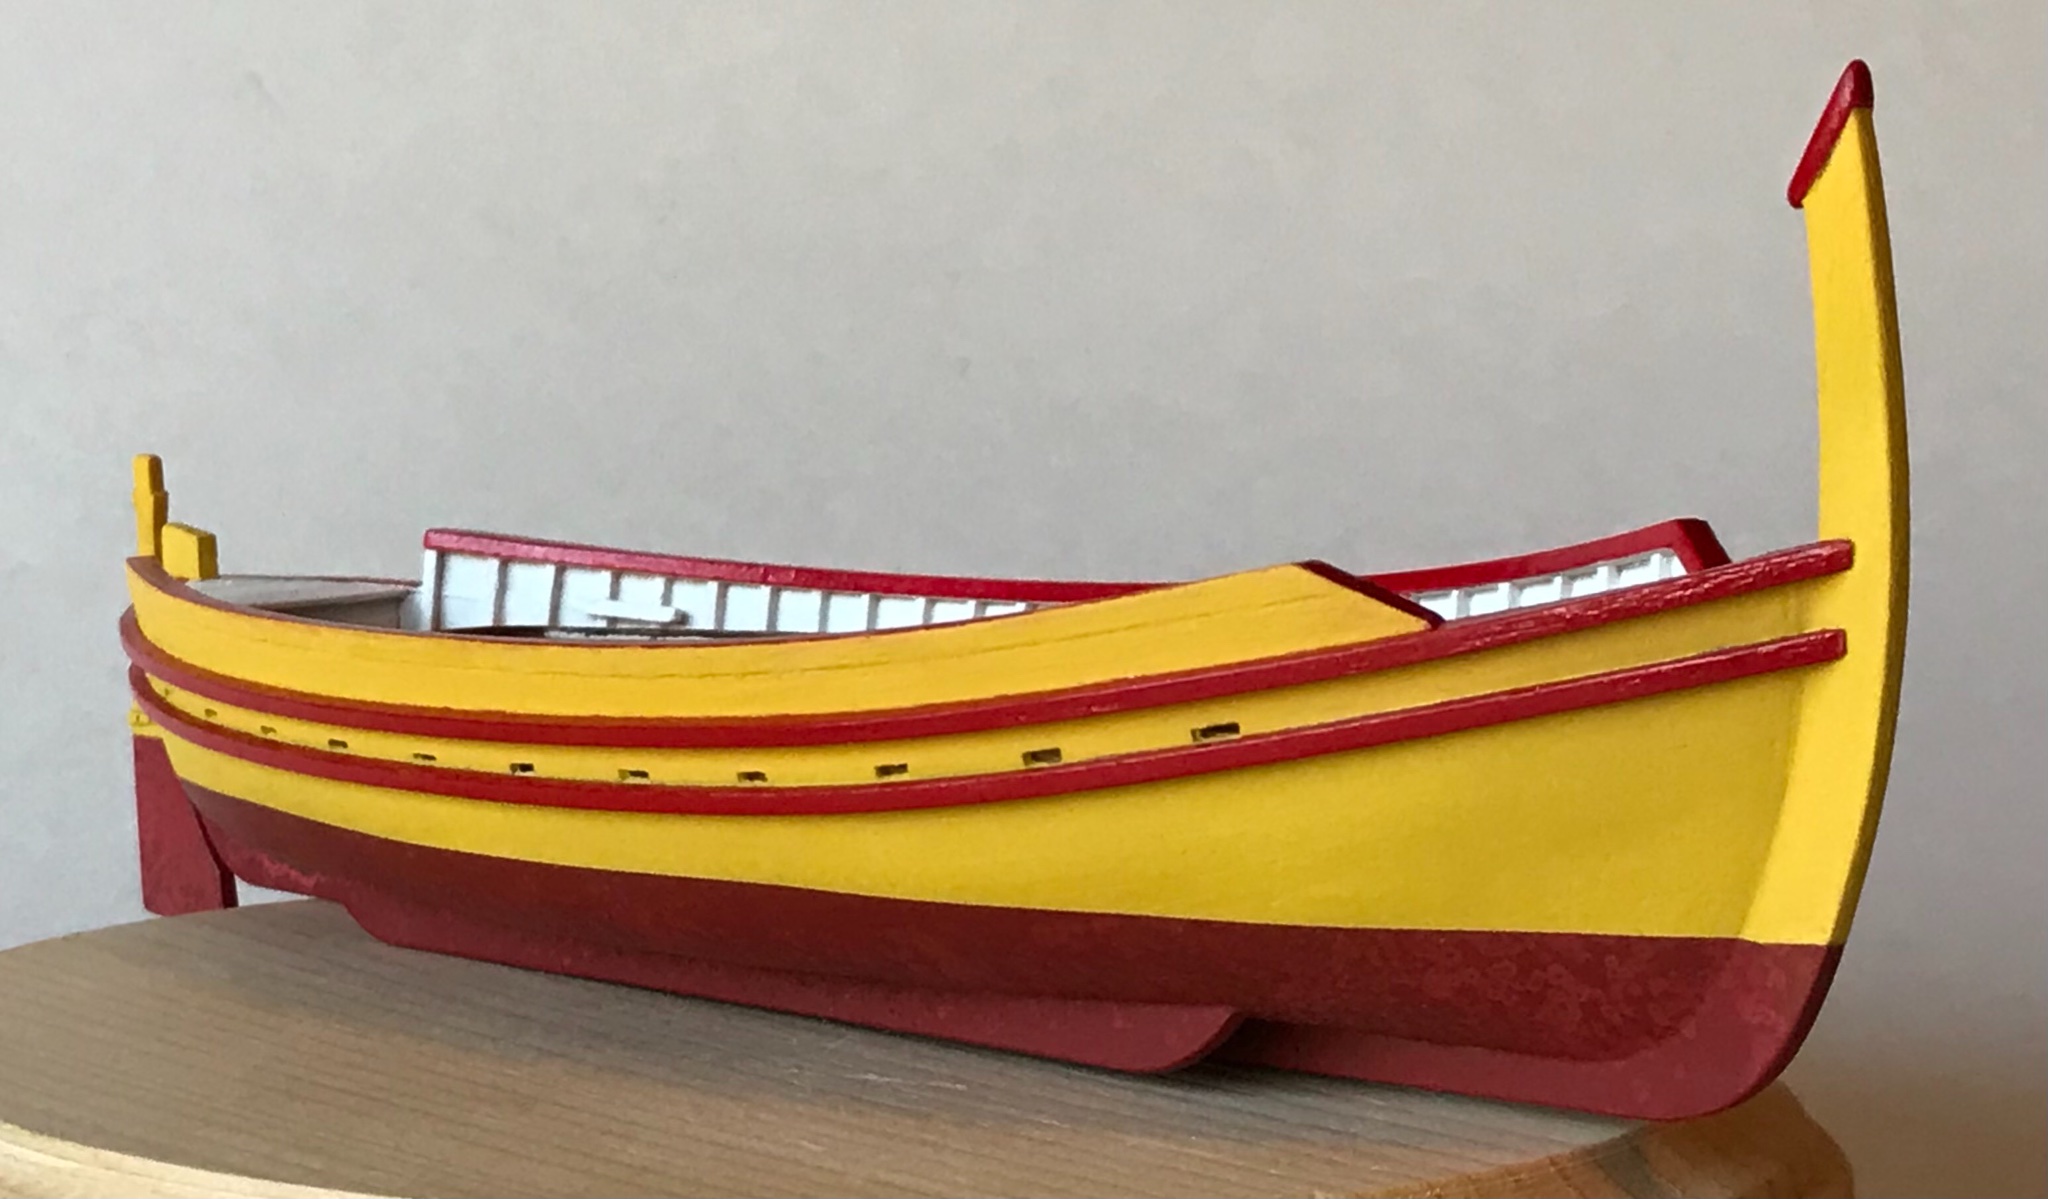
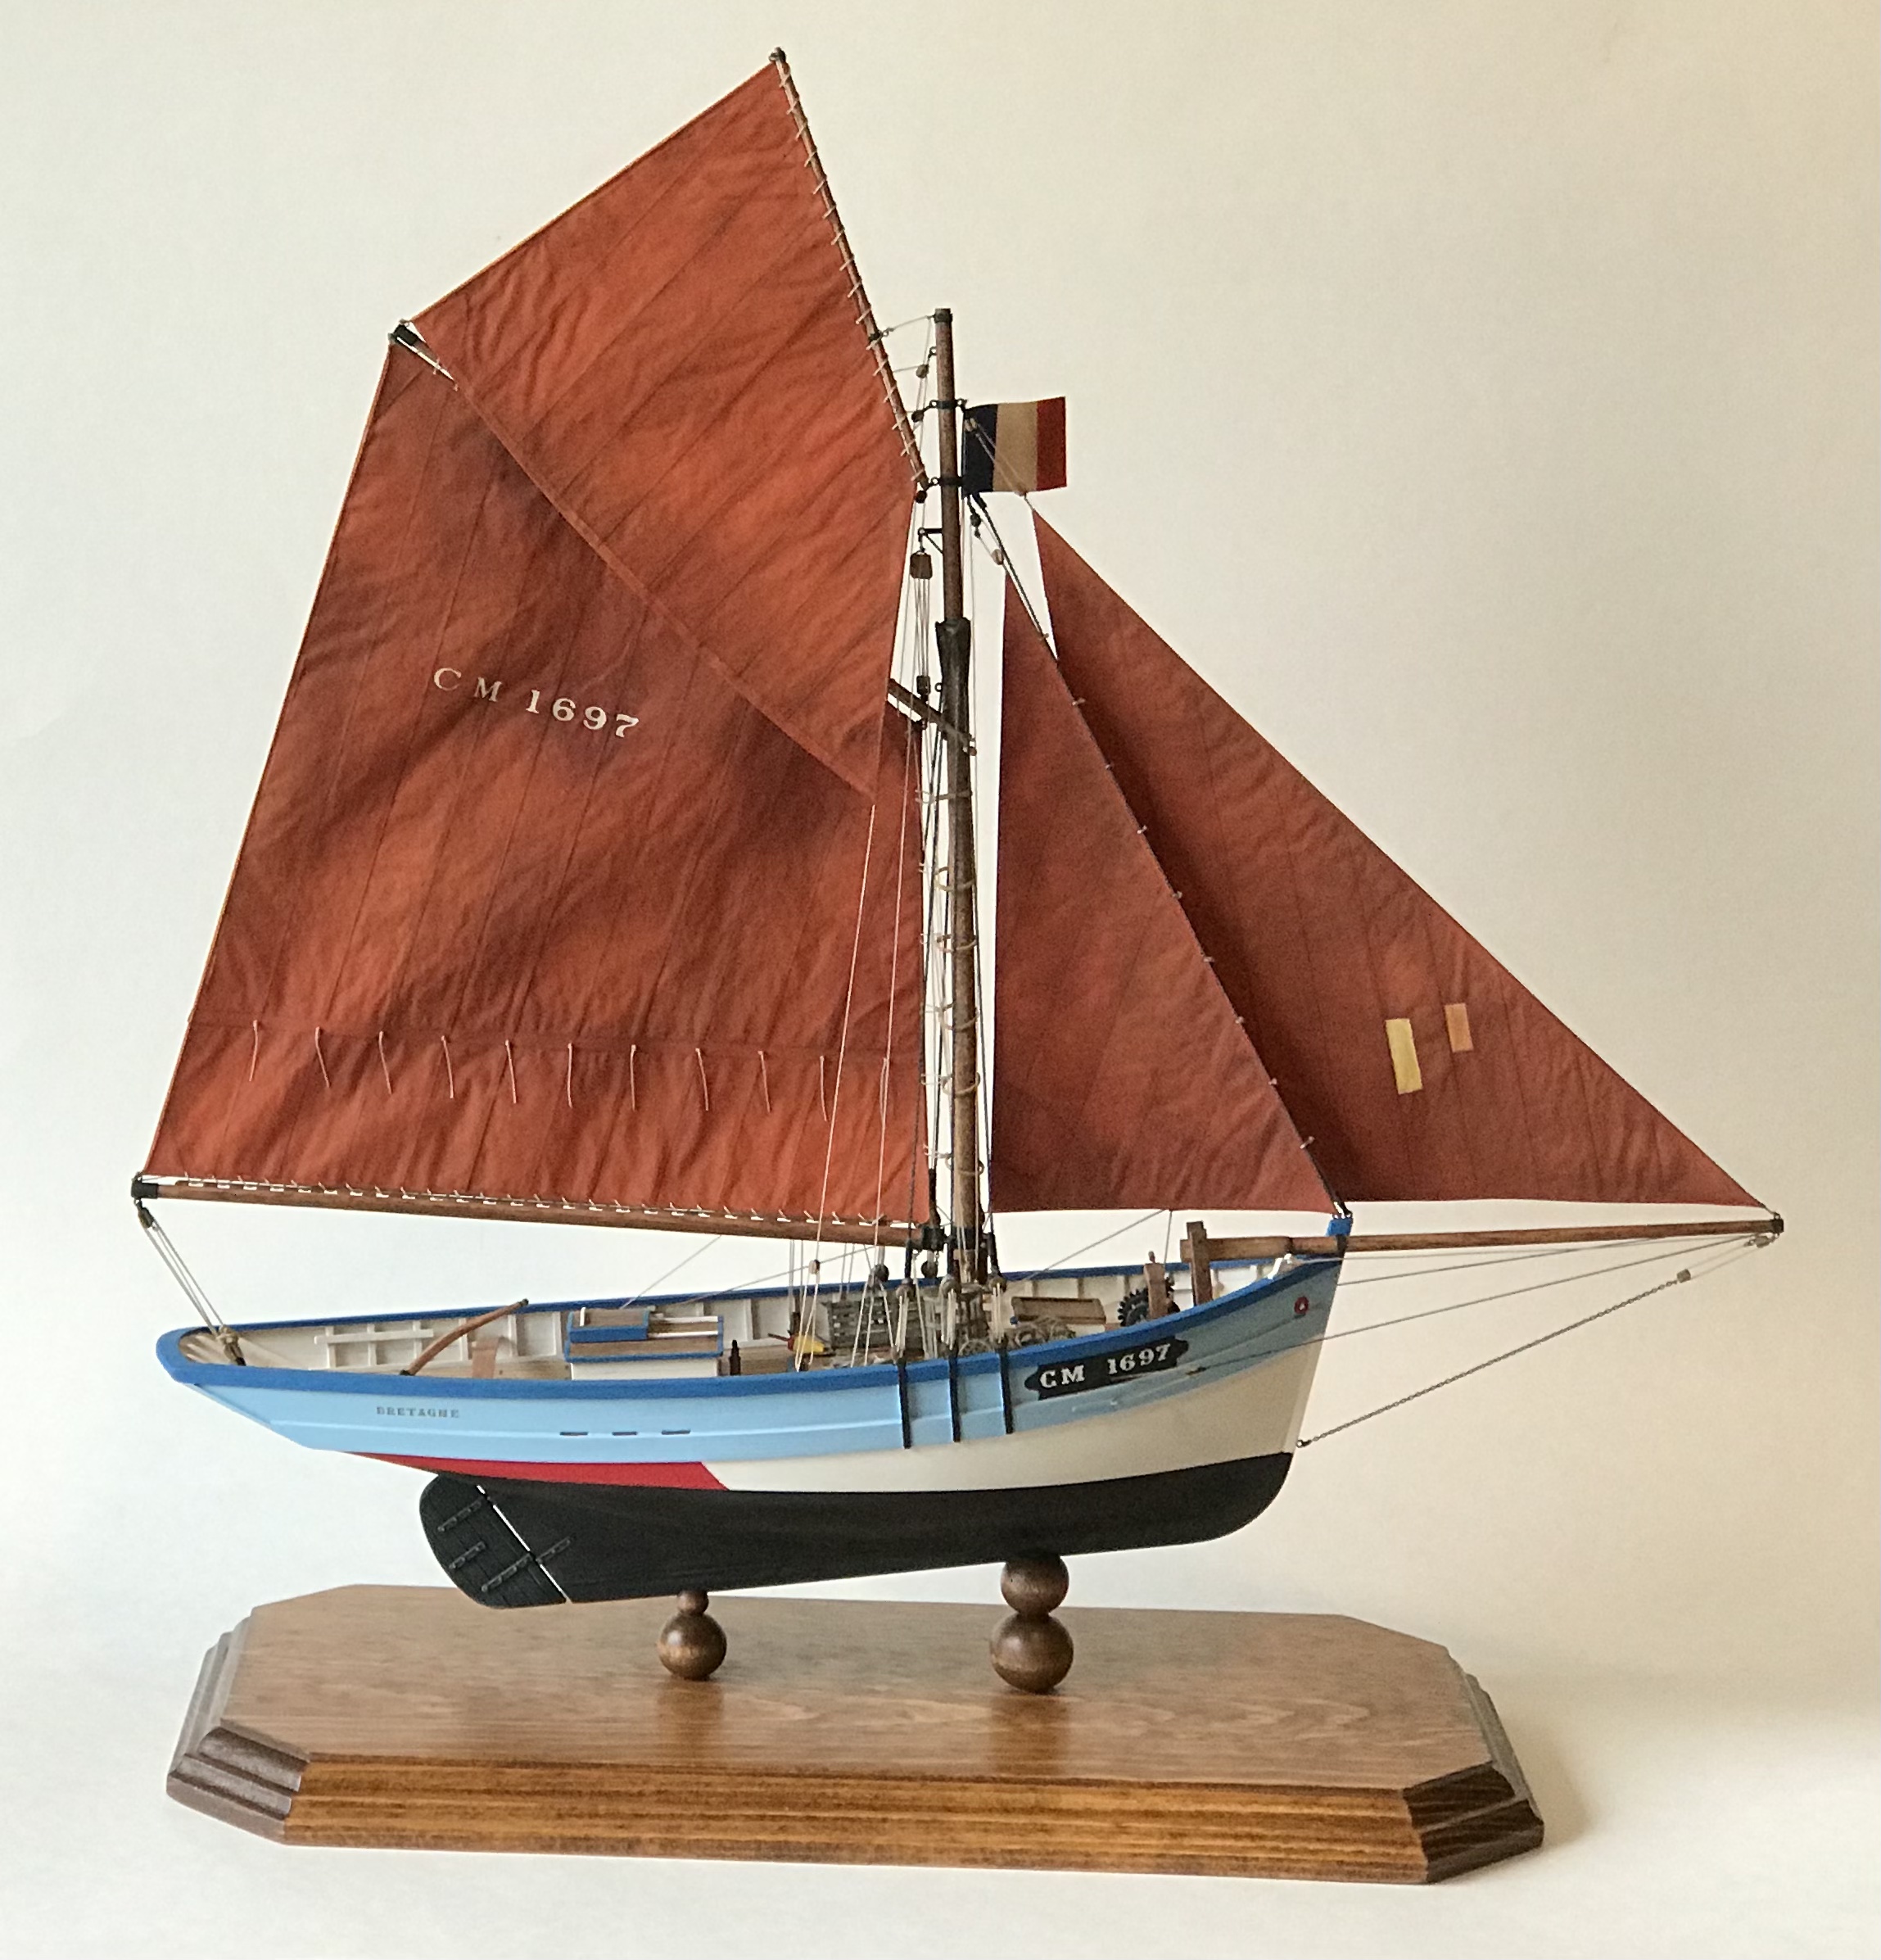
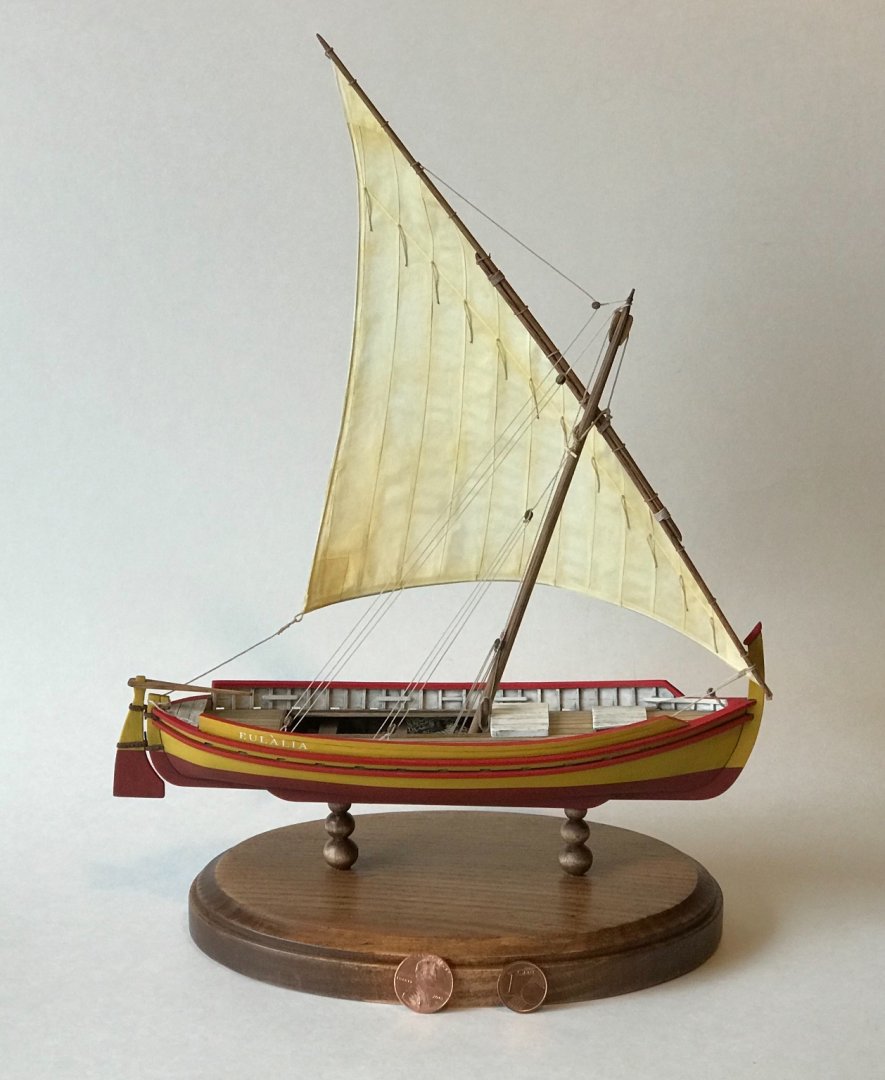
FINI... More photos on the gallery for completed scratch-built models...
- 72 replies
-
- 13
-
-
- fishing boat
- Barco Catalan
- (and 1 more)
-
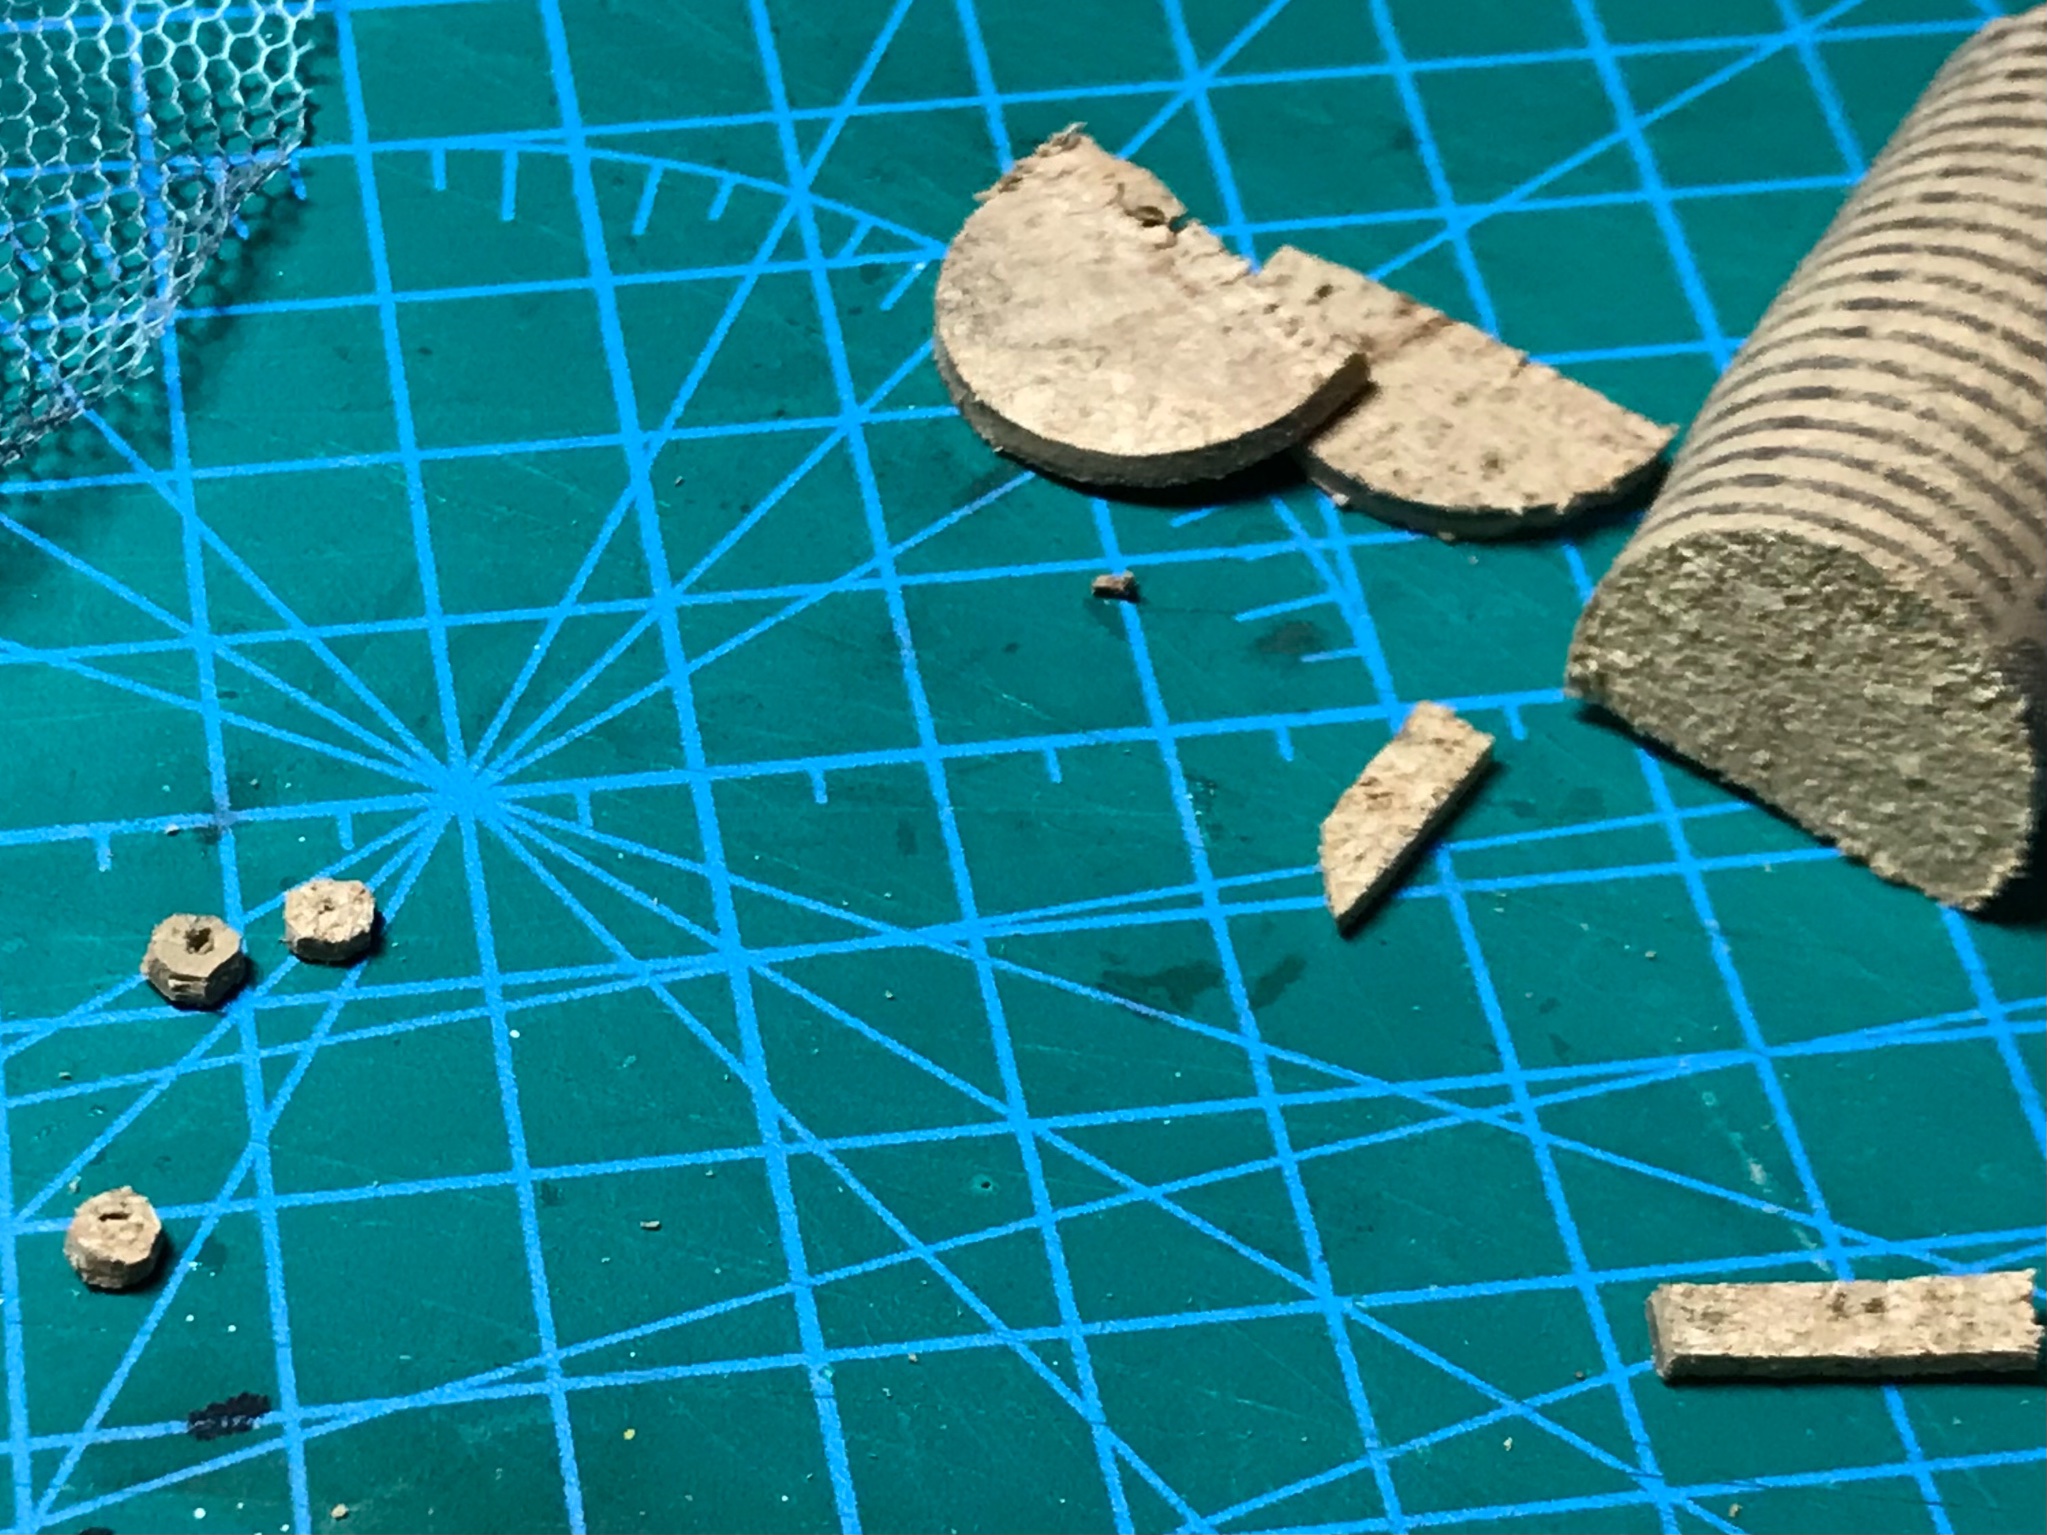
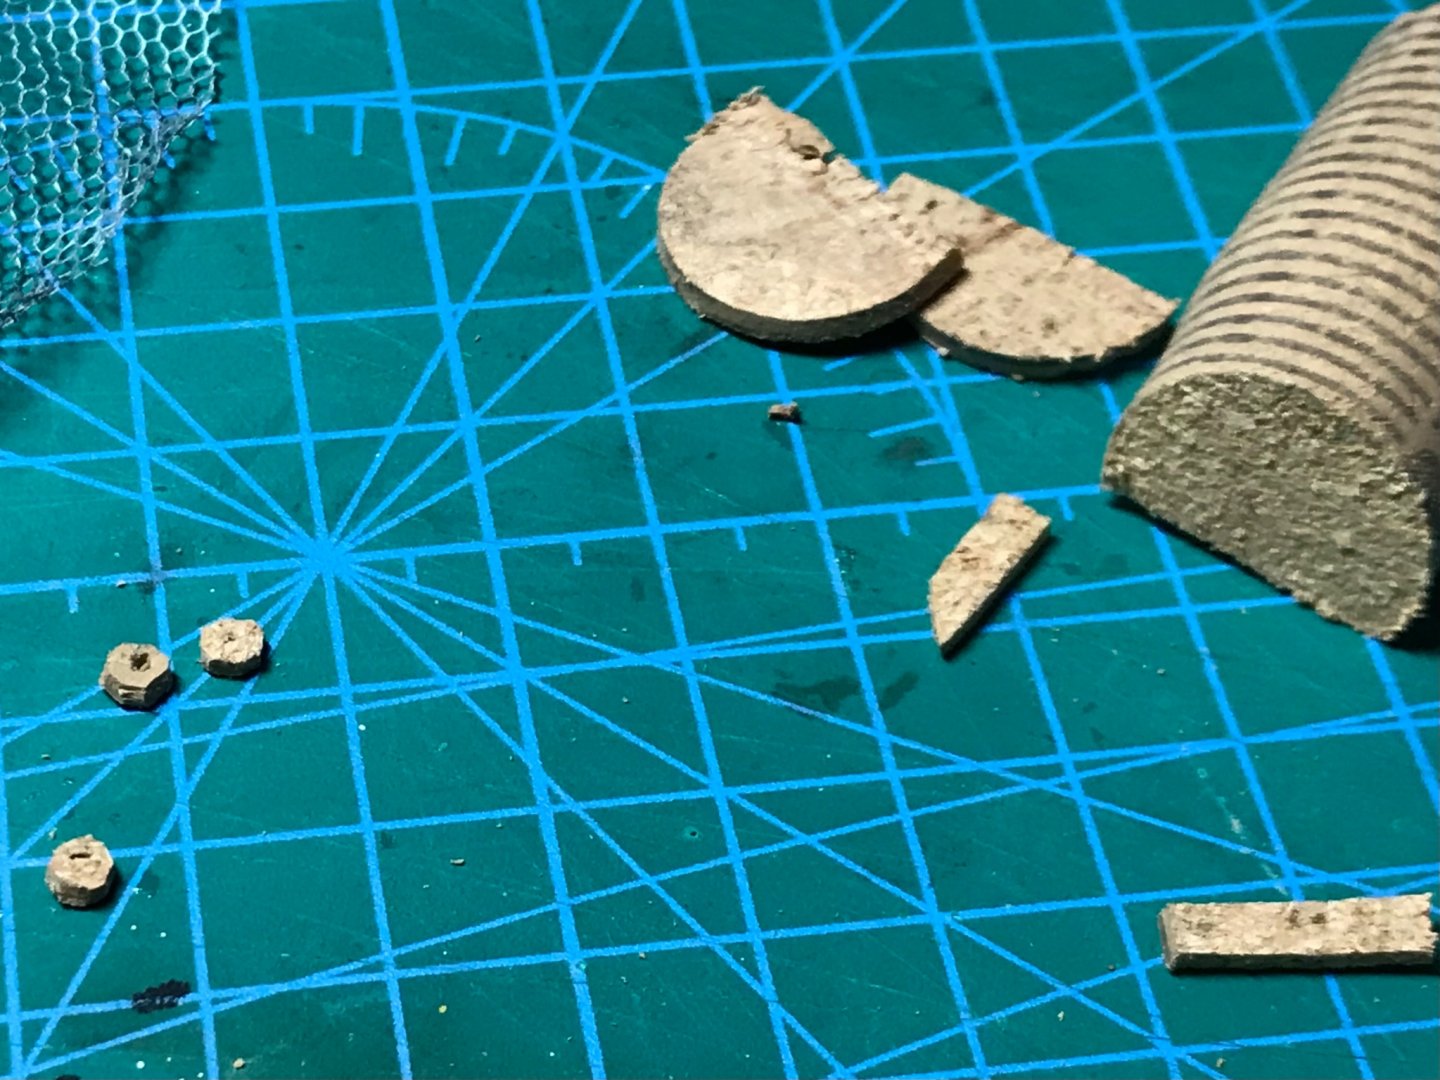
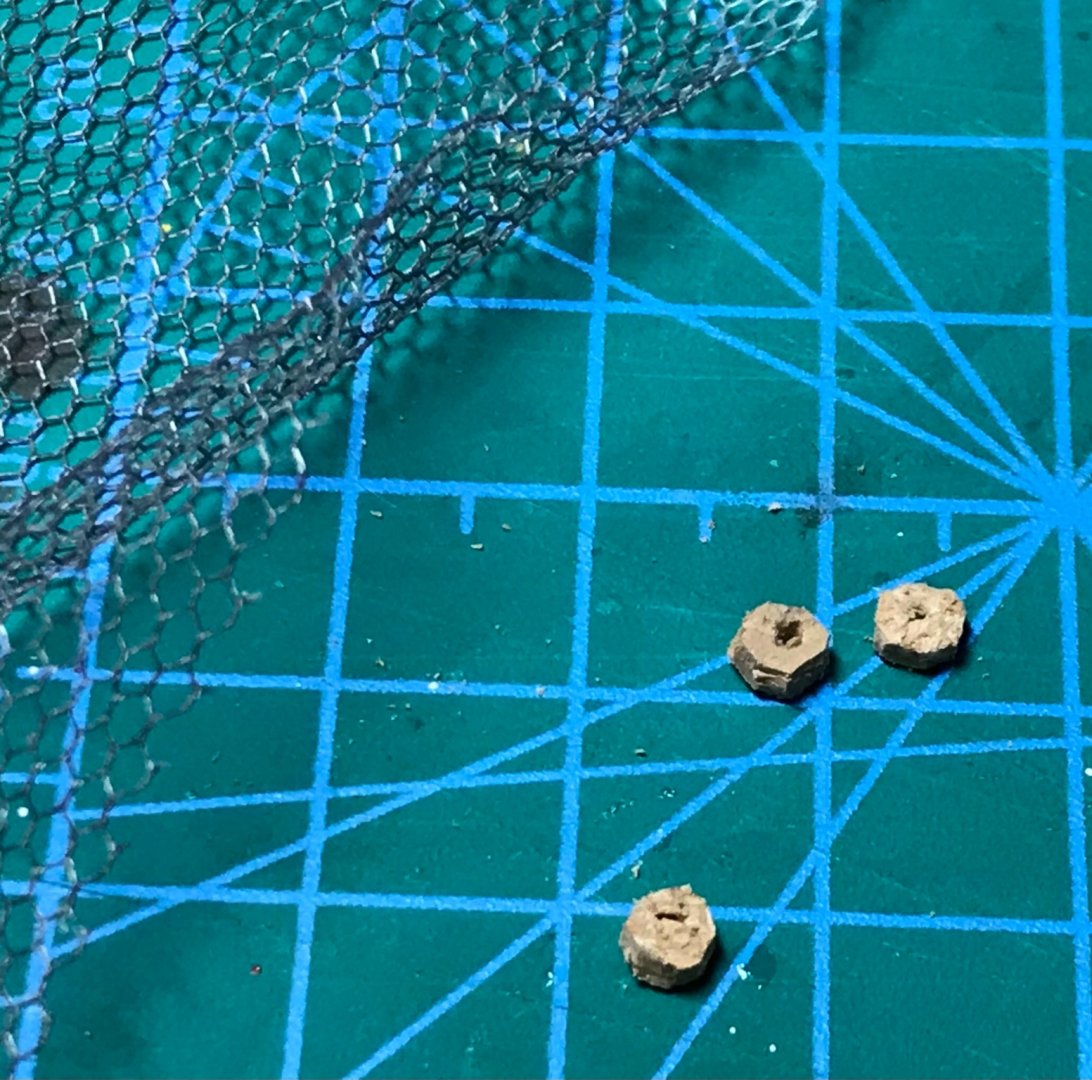
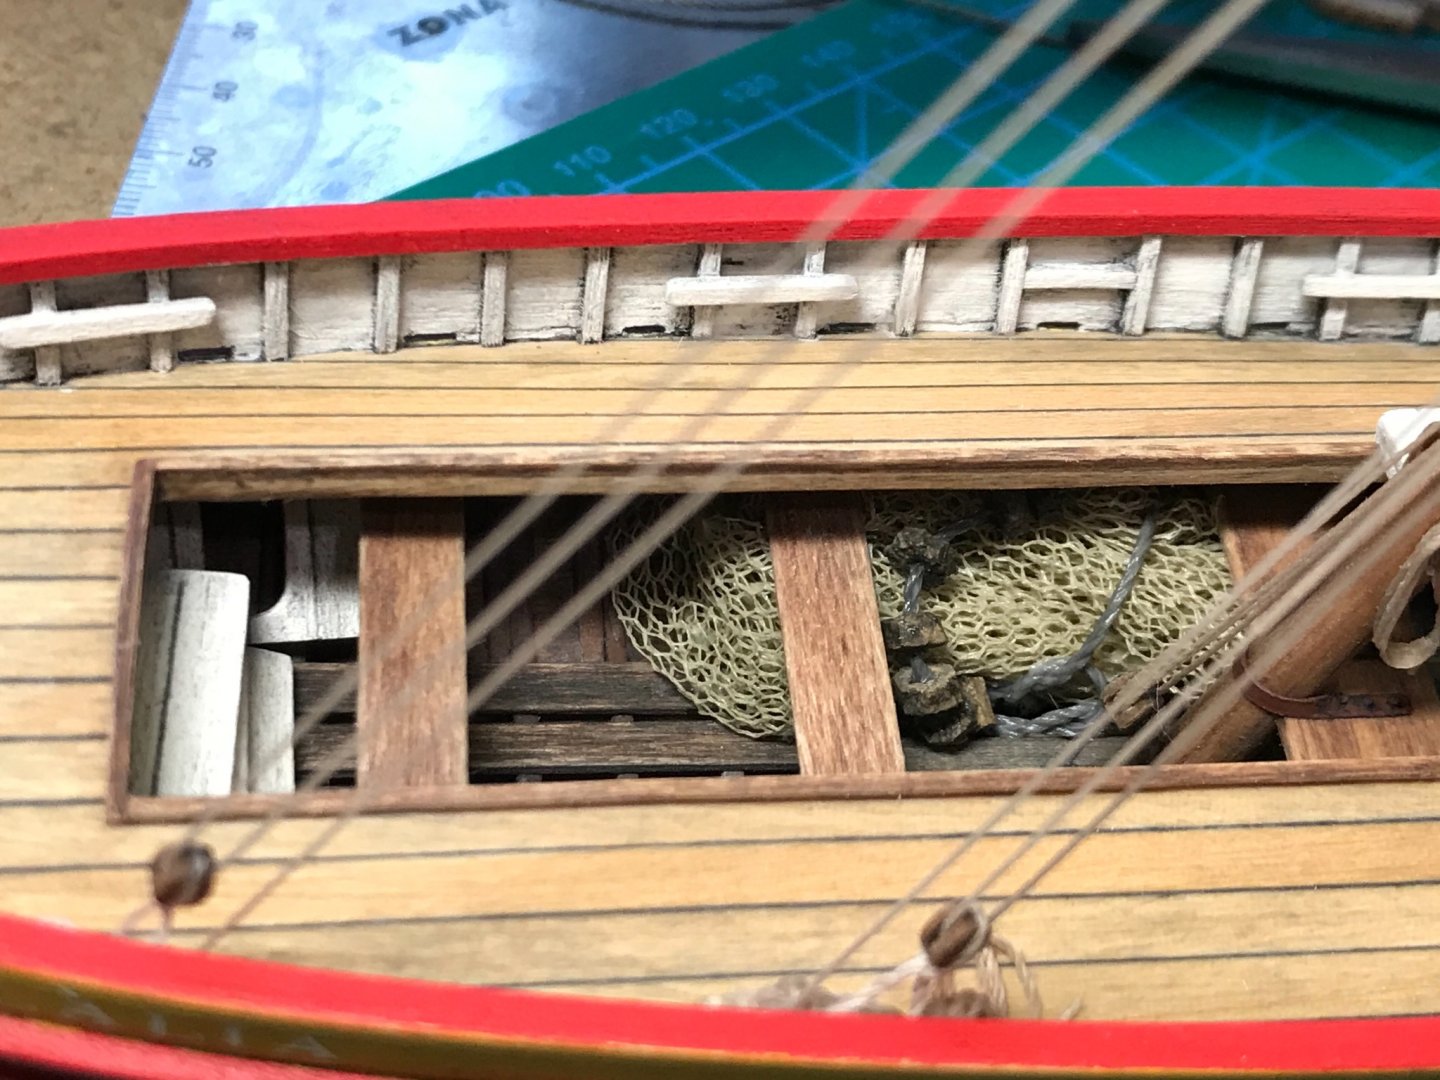
Also decided to throw in a net (made from mosquito netting) and some floats (made from cork slivers). Of course, the cork came from my favorite Spanish bottle of wine! In this photo, the net was just placed and covered with diluted white glue. The glue is still wet. It won't look so shiny when it dries...
- 72 replies
-
- 9
-
-
- fishing boat
- Barco Catalan
- (and 1 more)
-
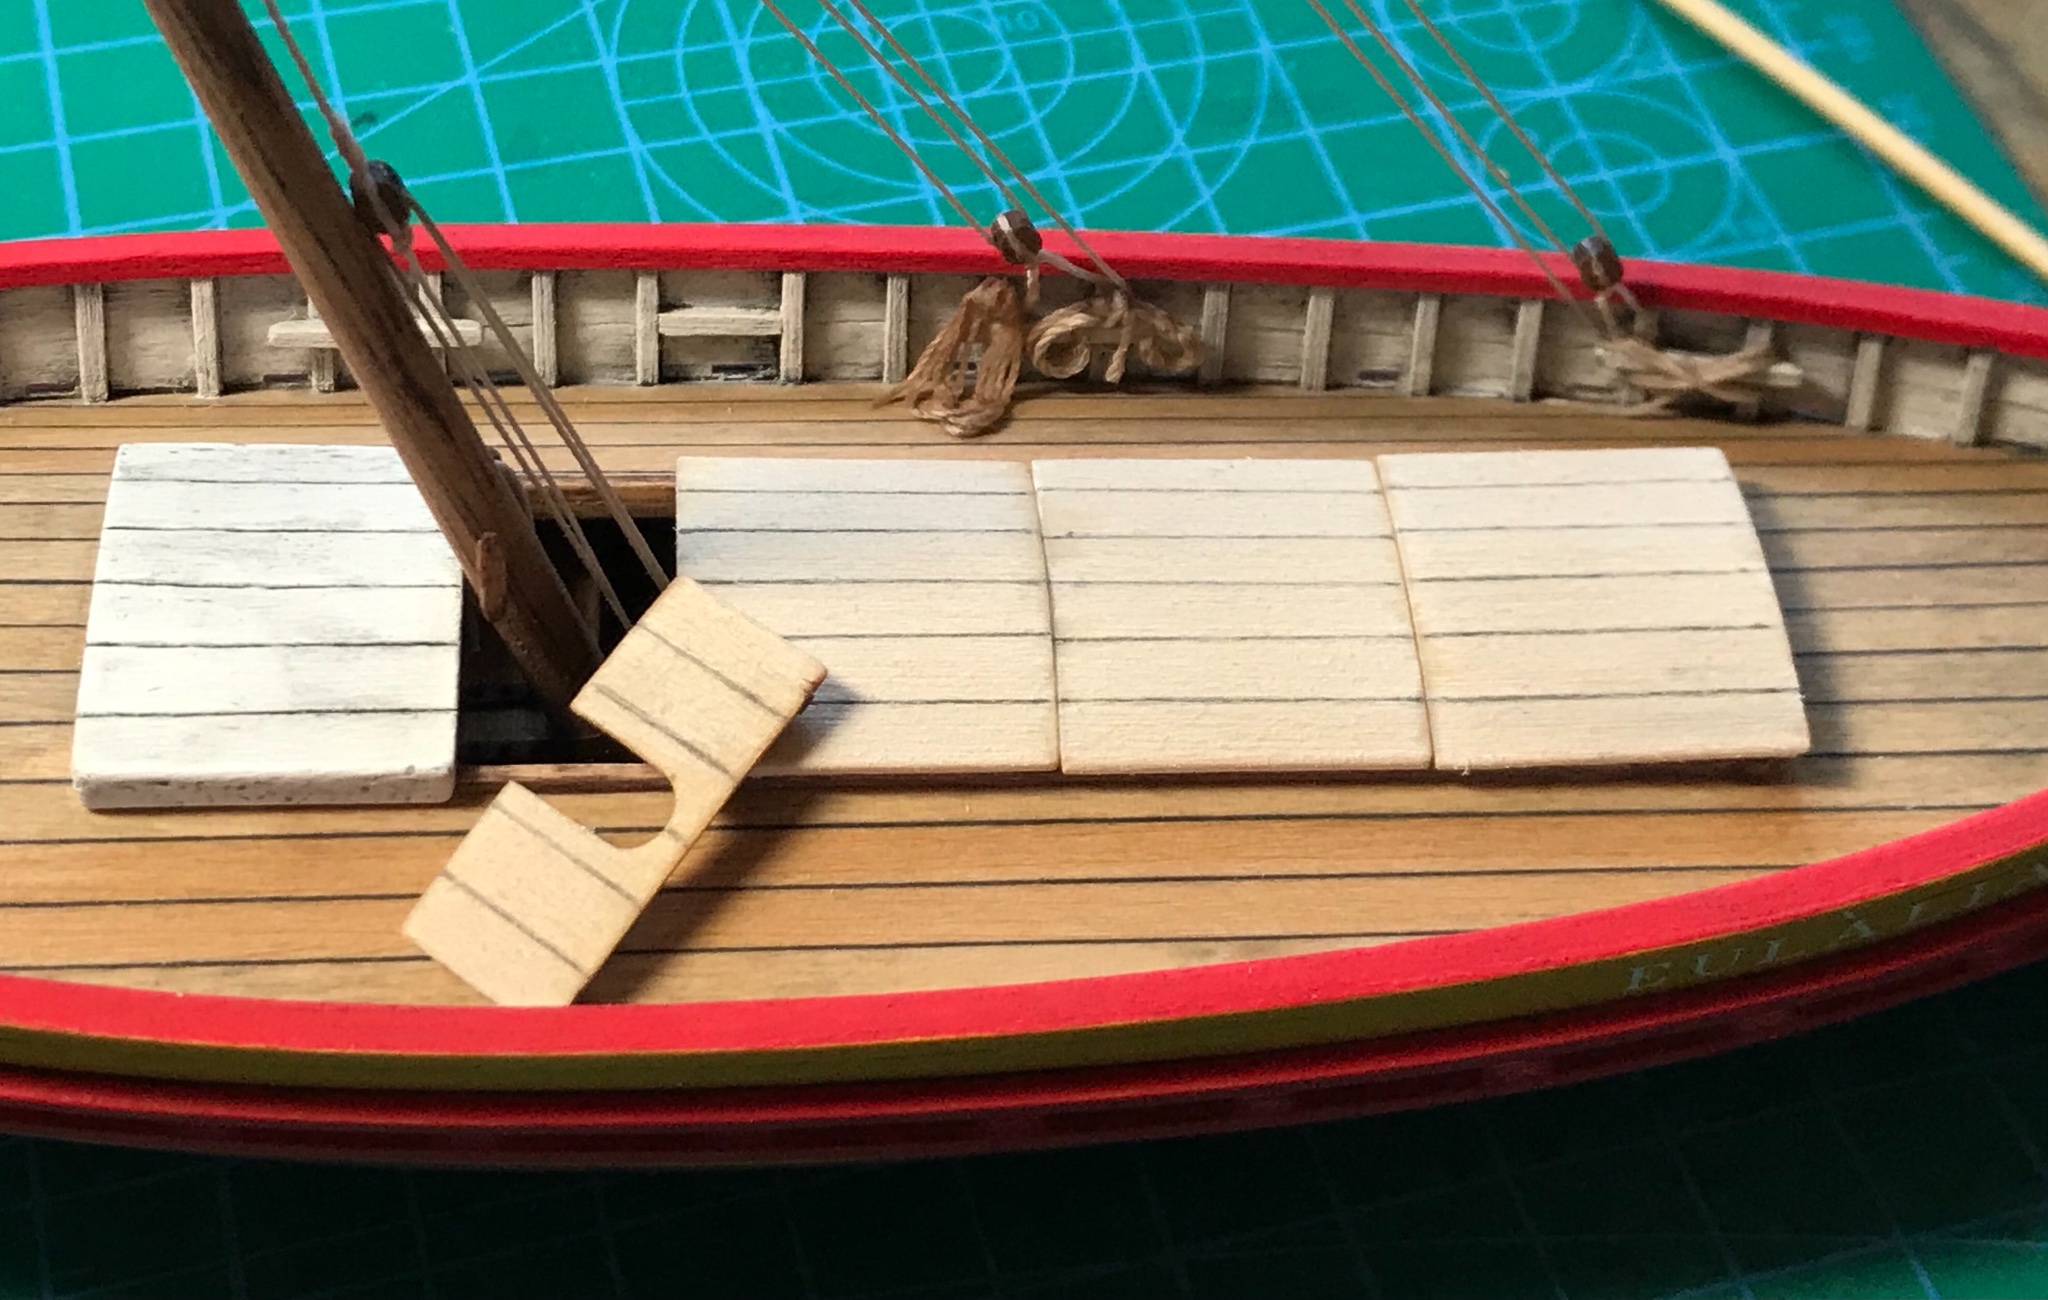
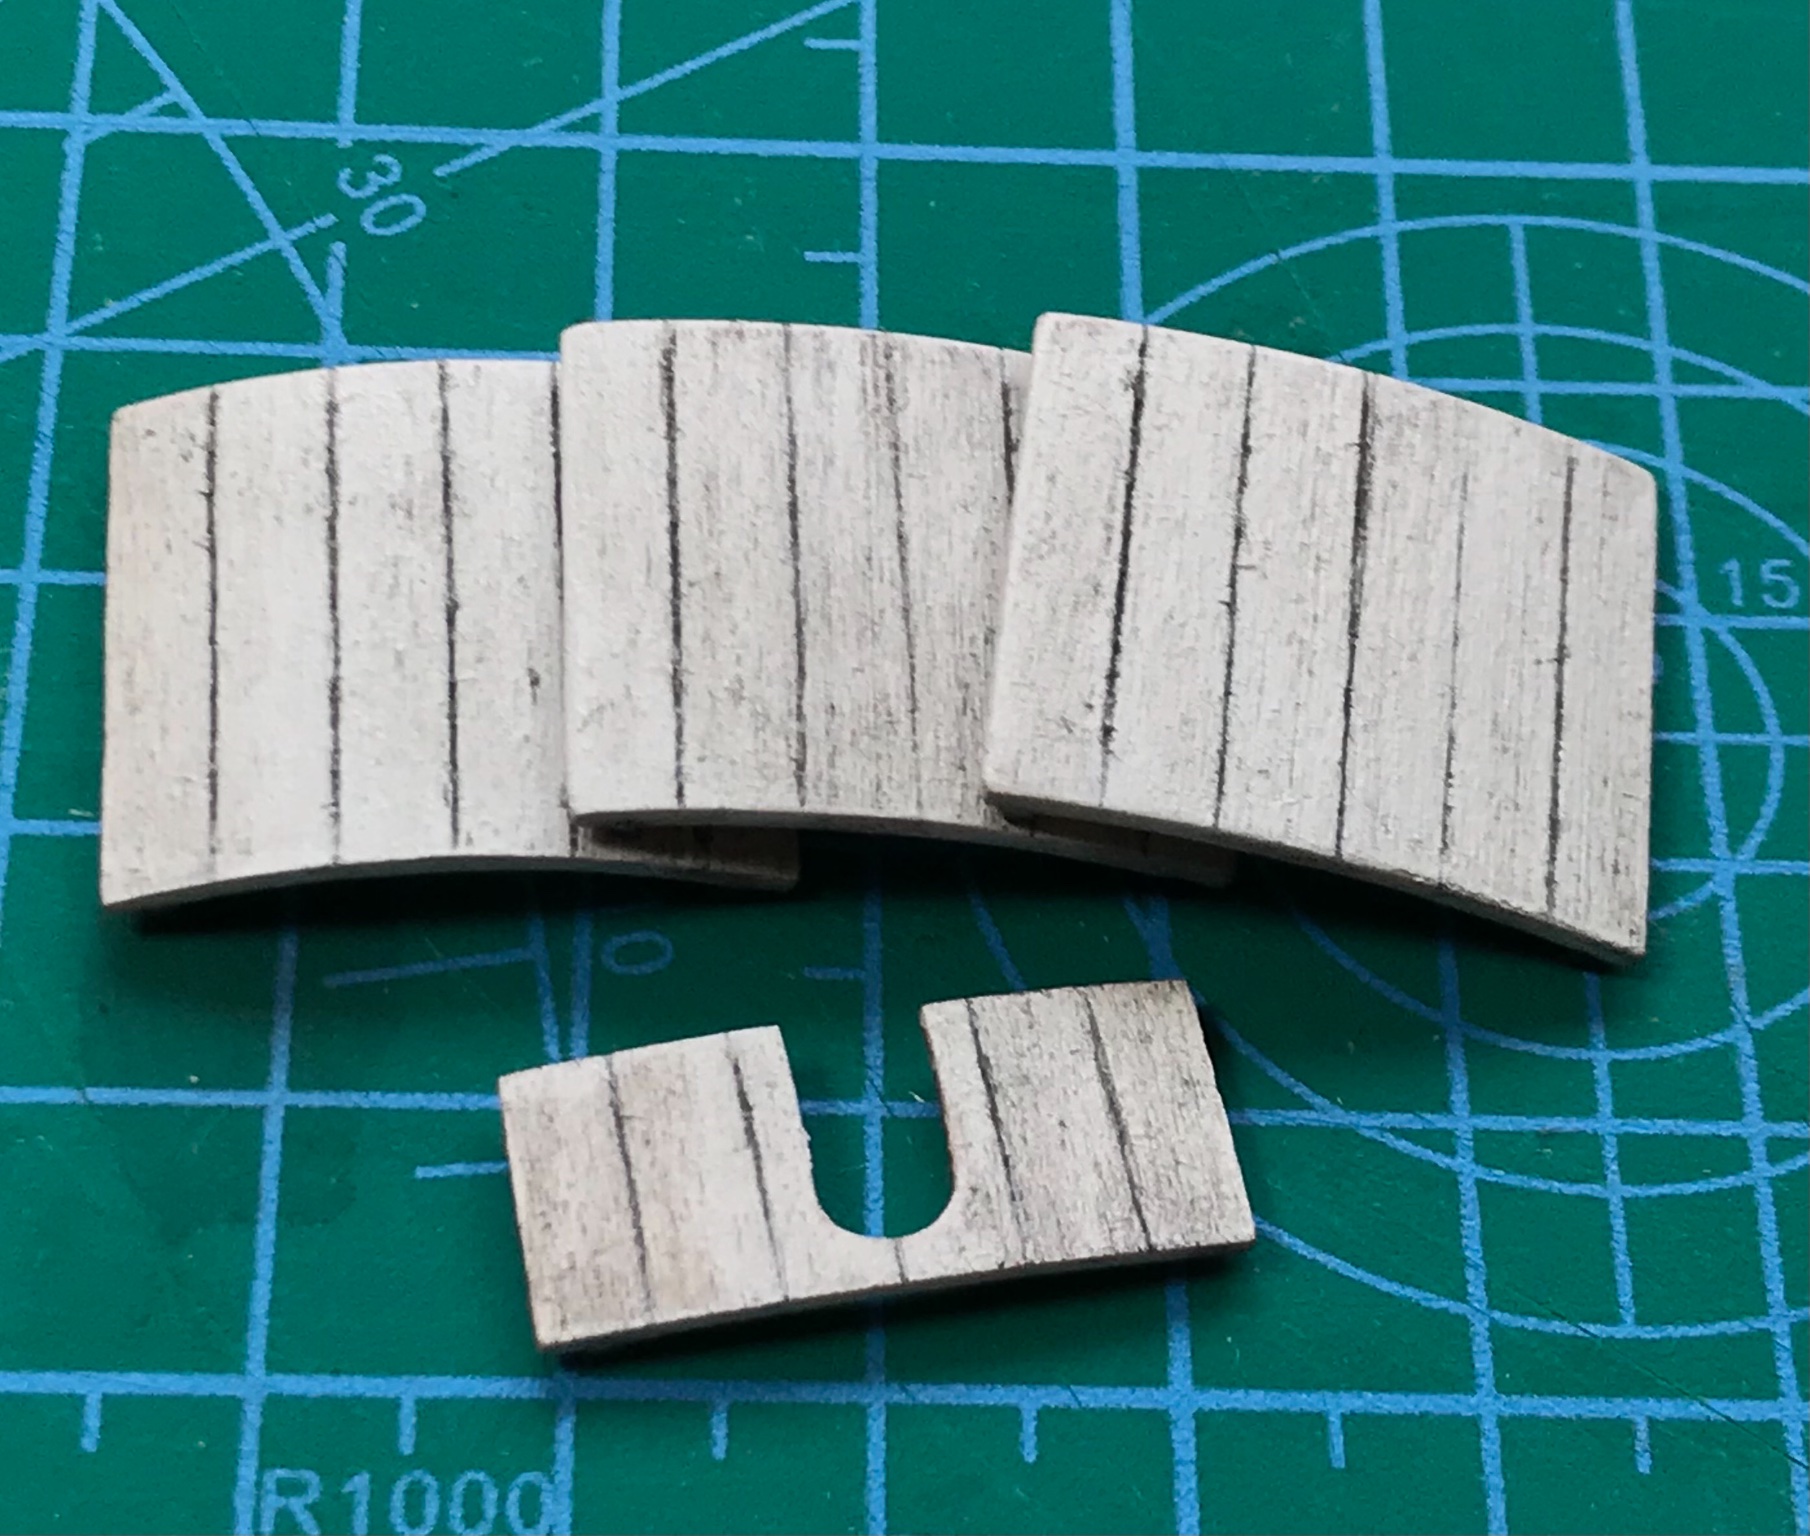
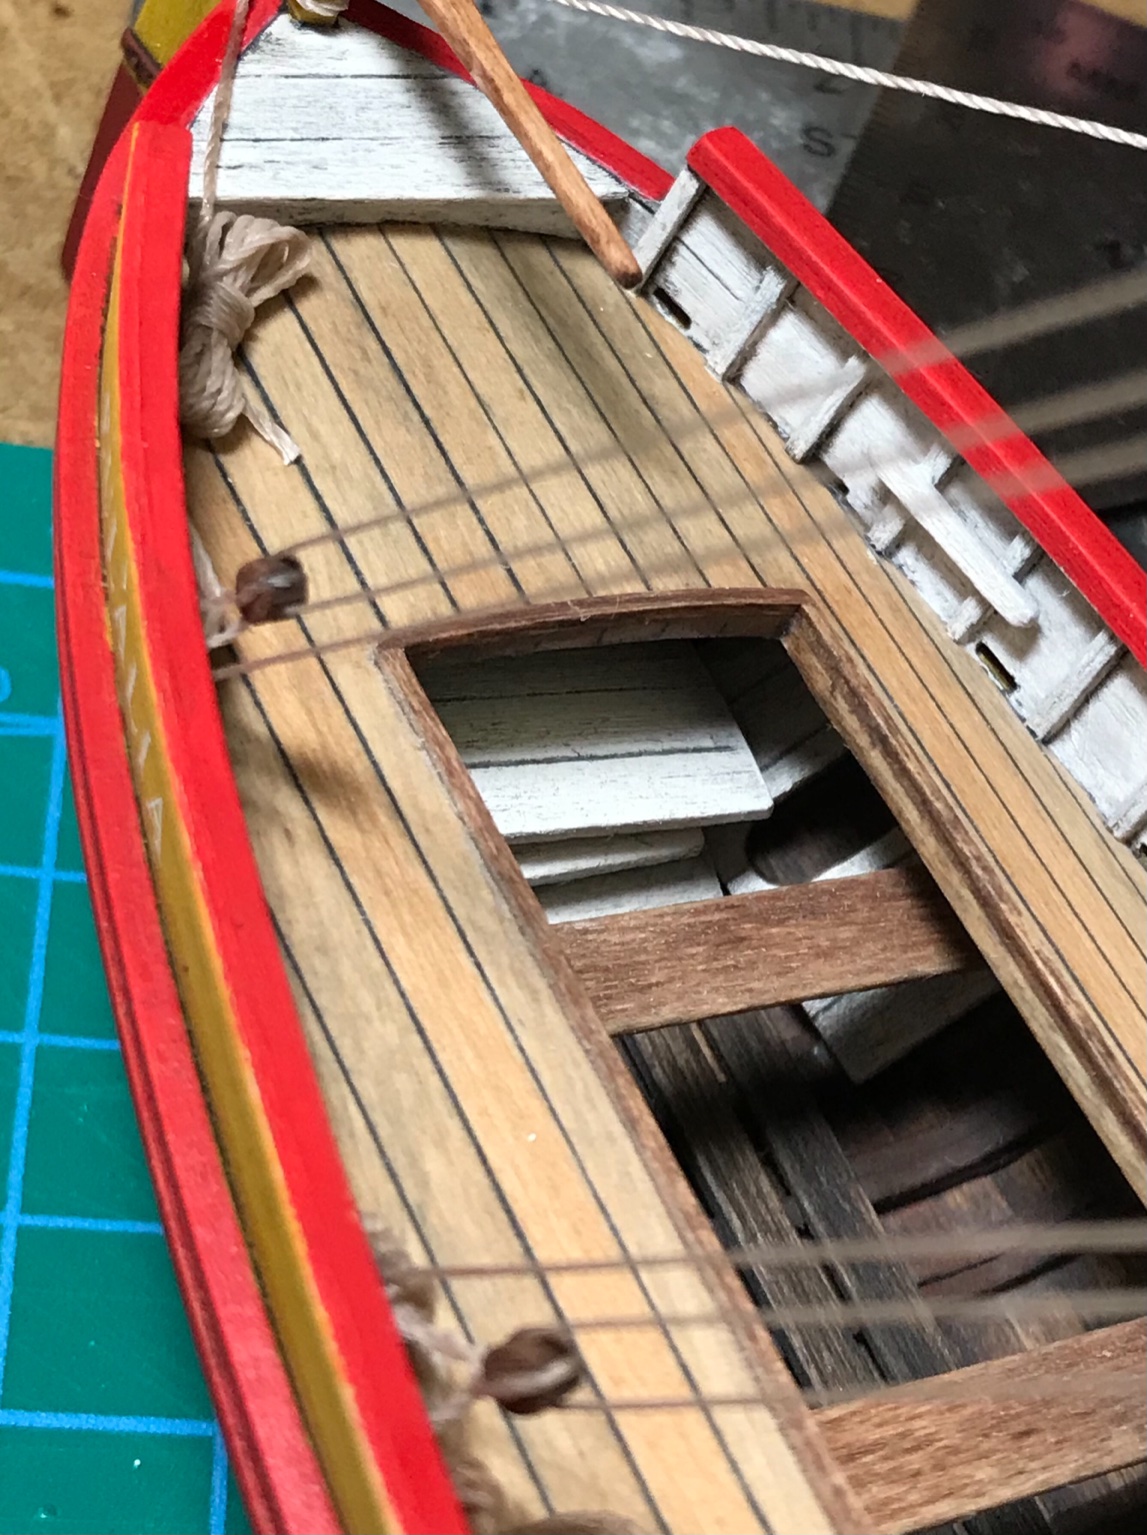
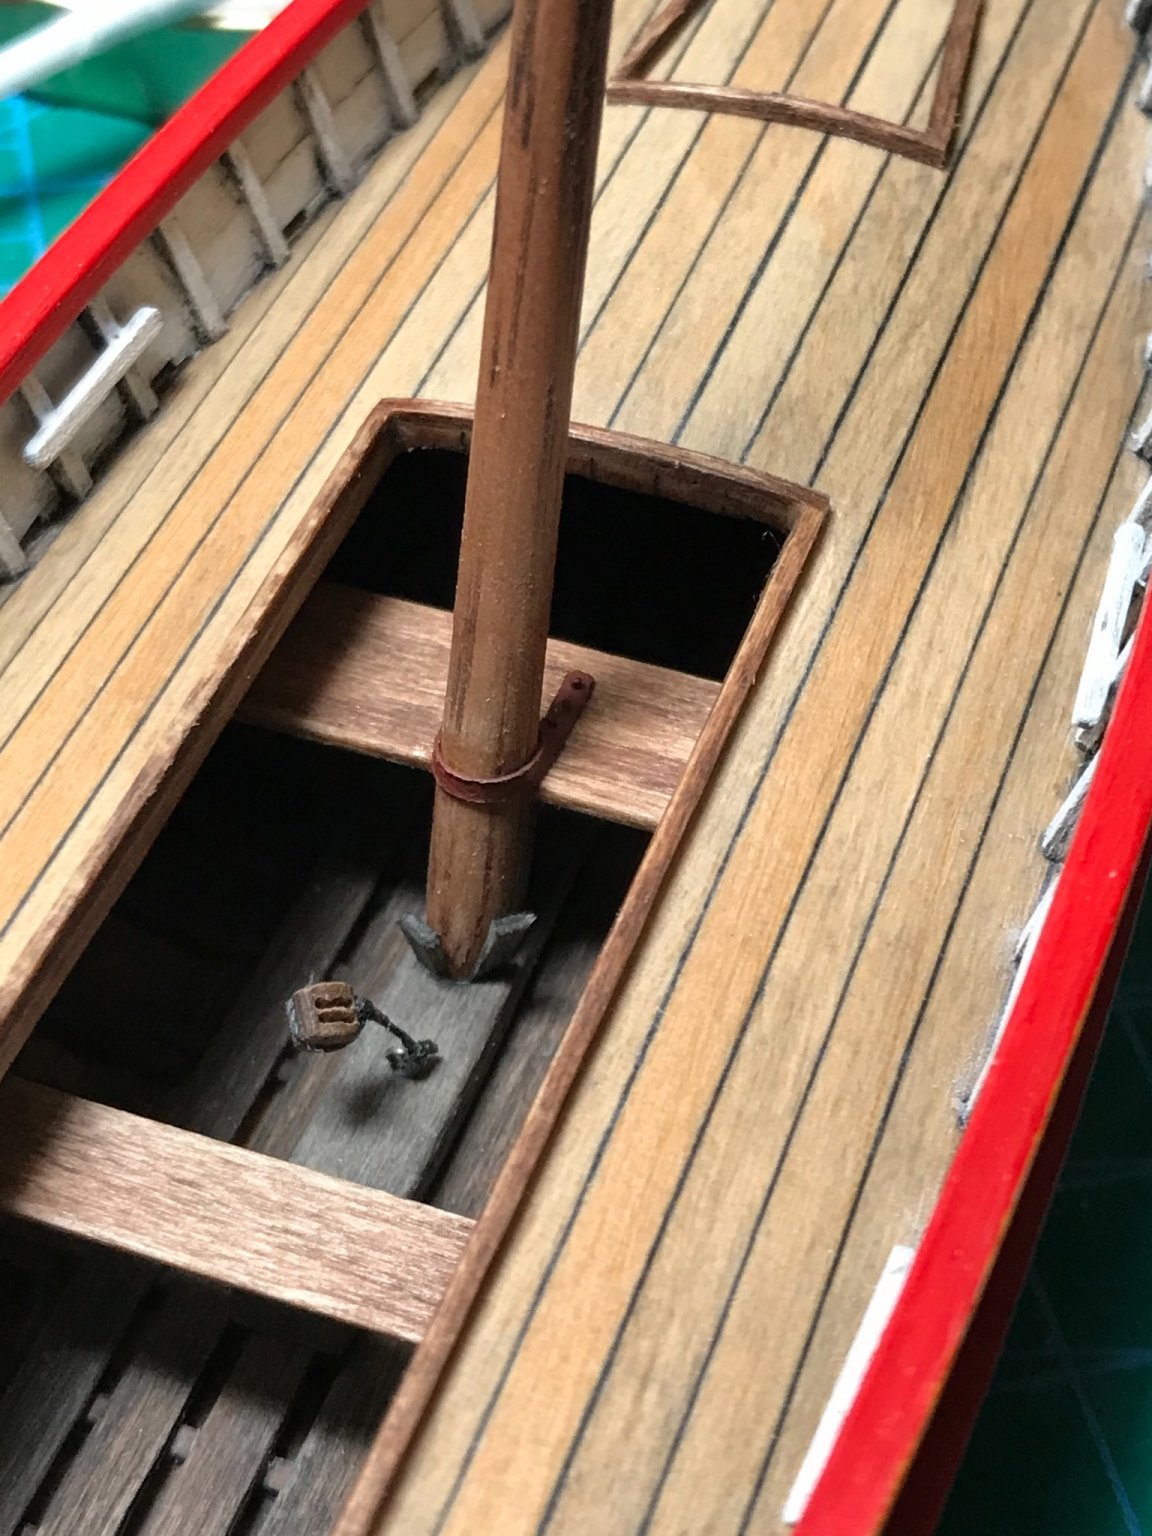
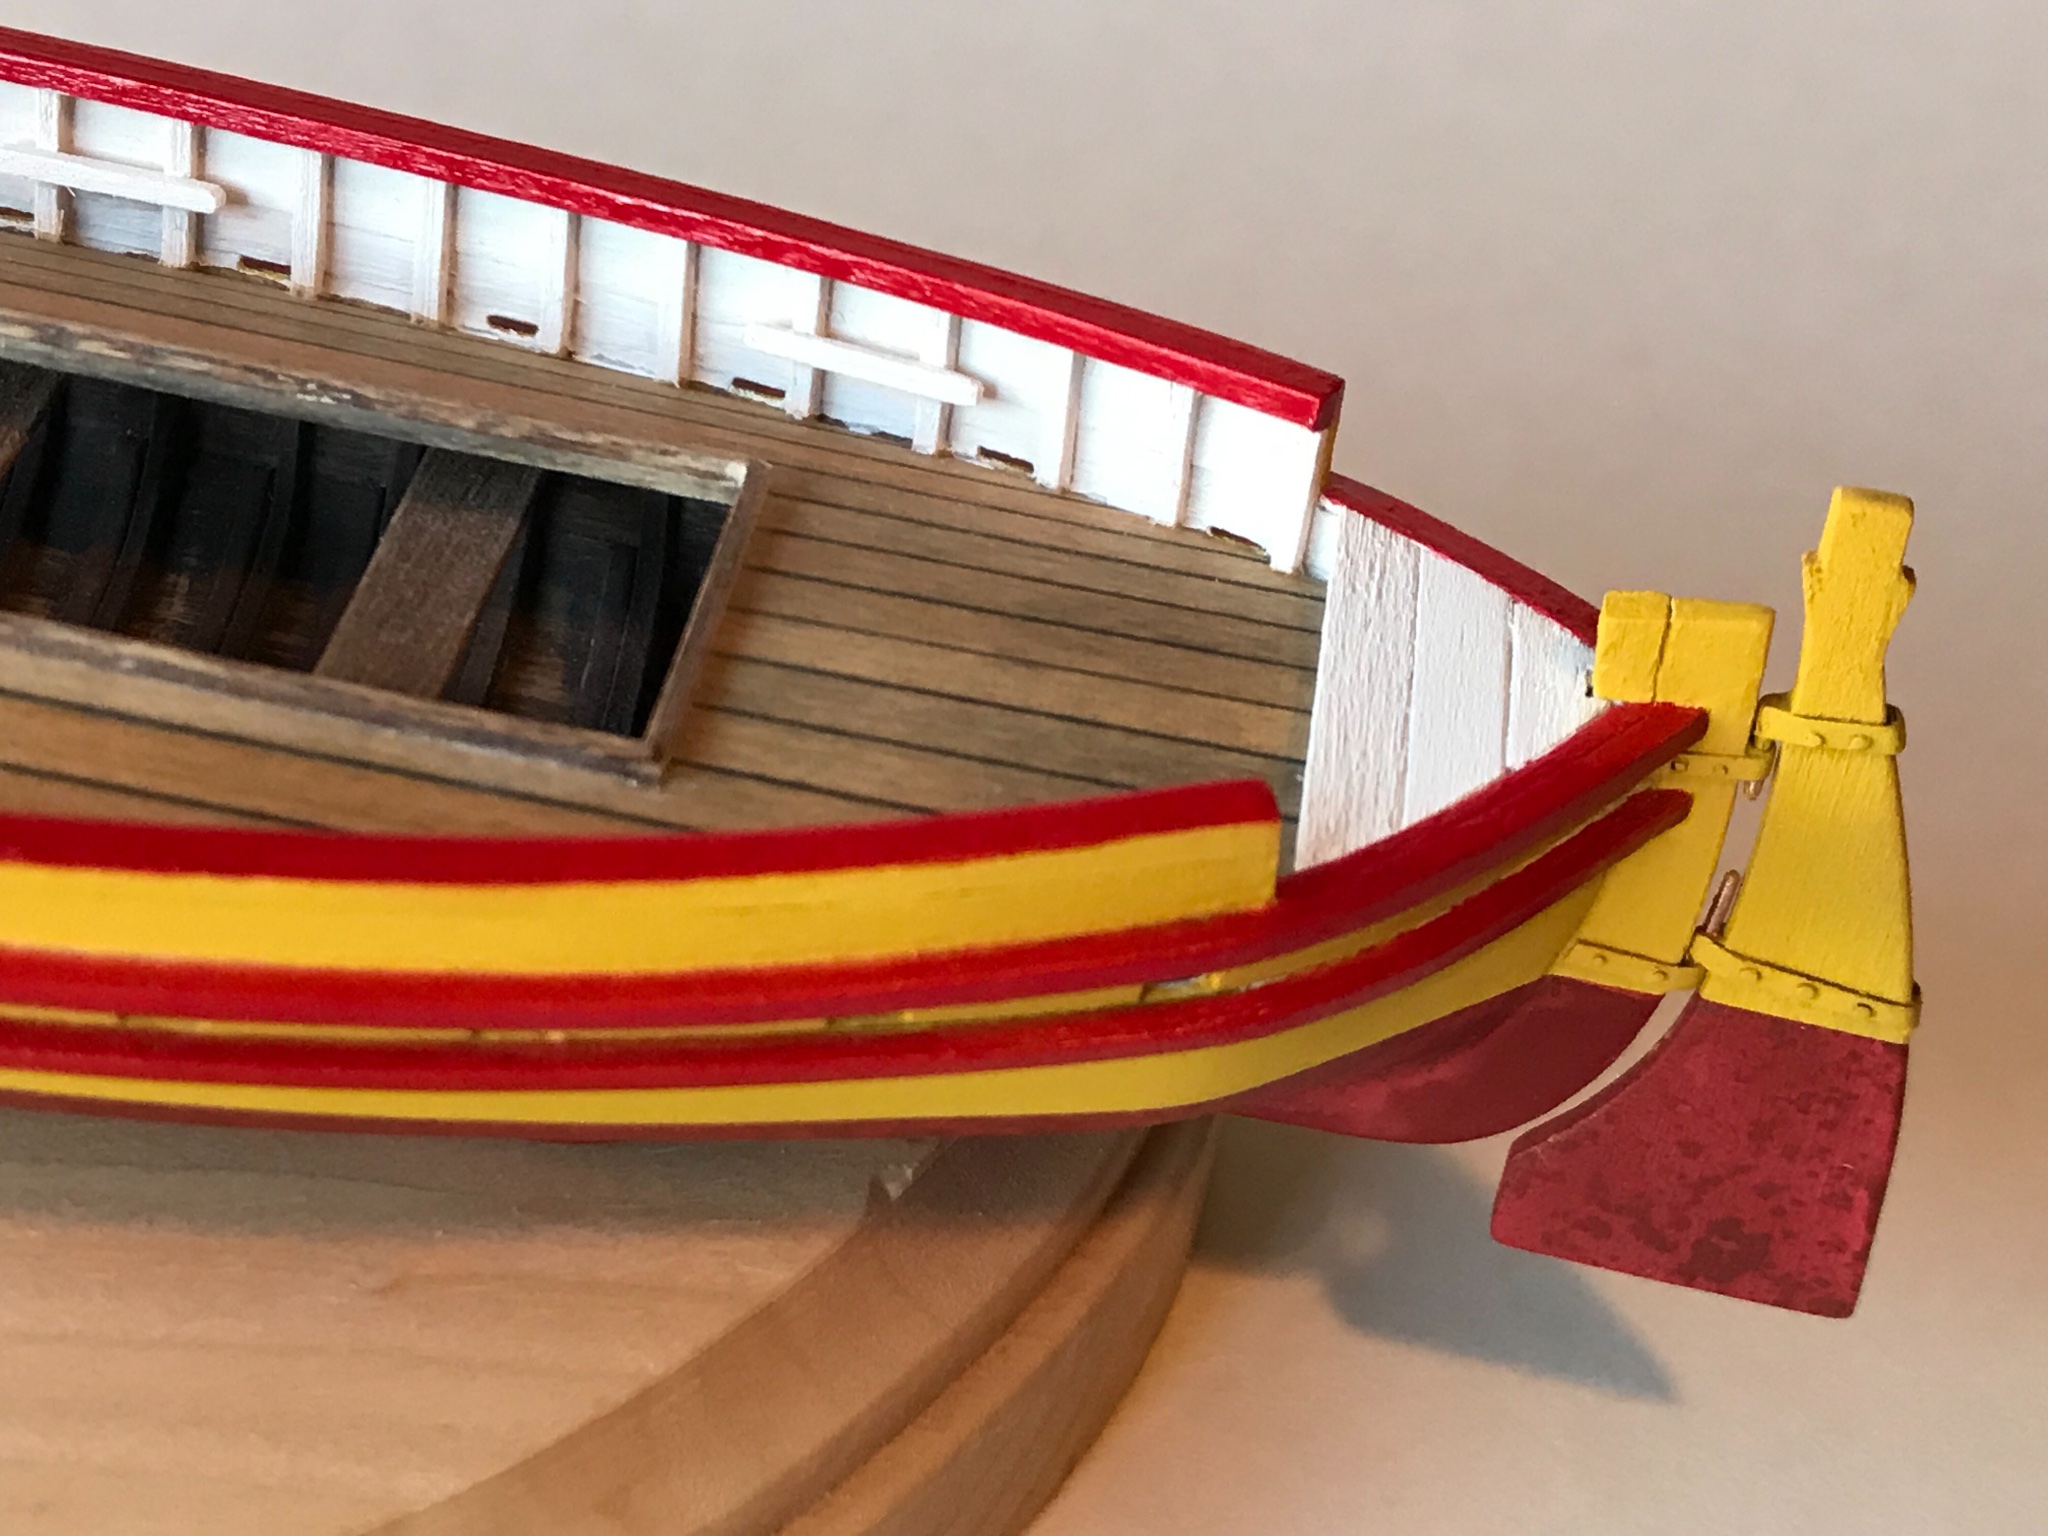
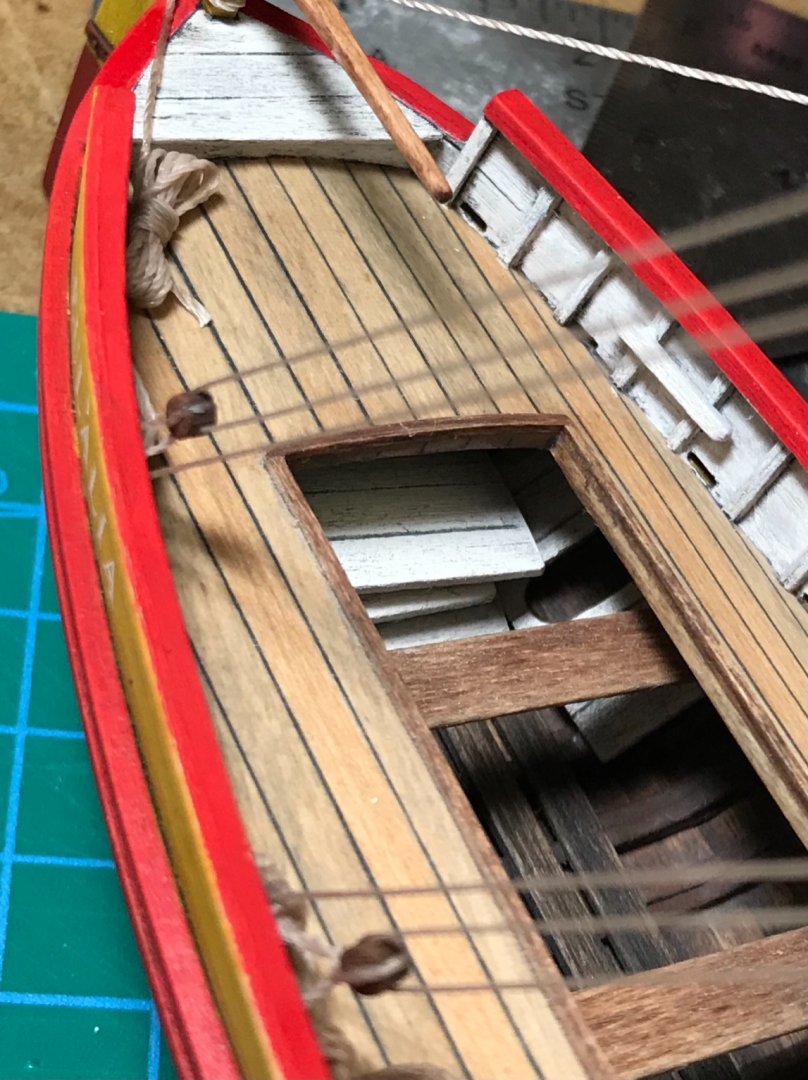
Even though I plan to keep the hold open and visible, I thought I better build the hatch covers that might normally be seen. I do not really know what the fishermen did with the hatch when they went out (stowed them or left them on shore), but I decided to stow them under the deck, aft. Hatches built and unpainted... painted and weathered... Stowed away.


- 72 replies
-
- 7
-
-
- fishing boat
- Barco Catalan
- (and 1 more)
-
Thanks Wefalck! No source for the bolt rope. It just gives the sail more strength along the edge....
- 72 replies
-
- 1
-
-
- fishing boat
- Barco Catalan
- (and 1 more)
-
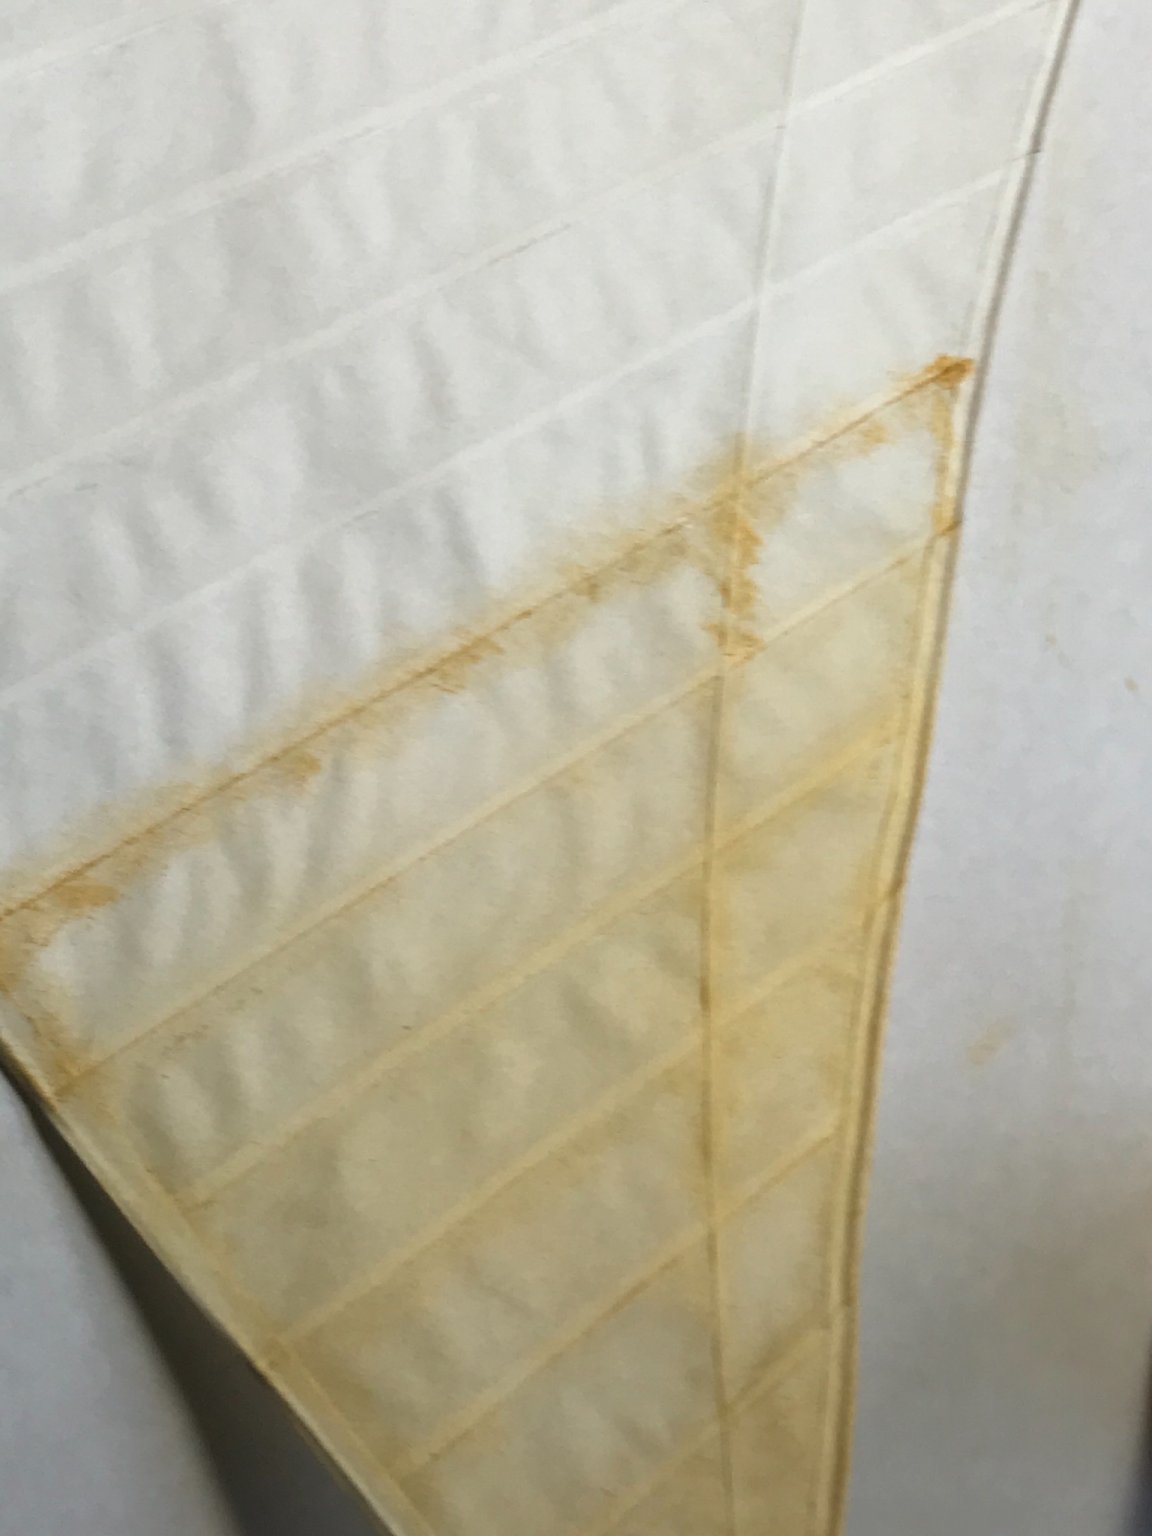
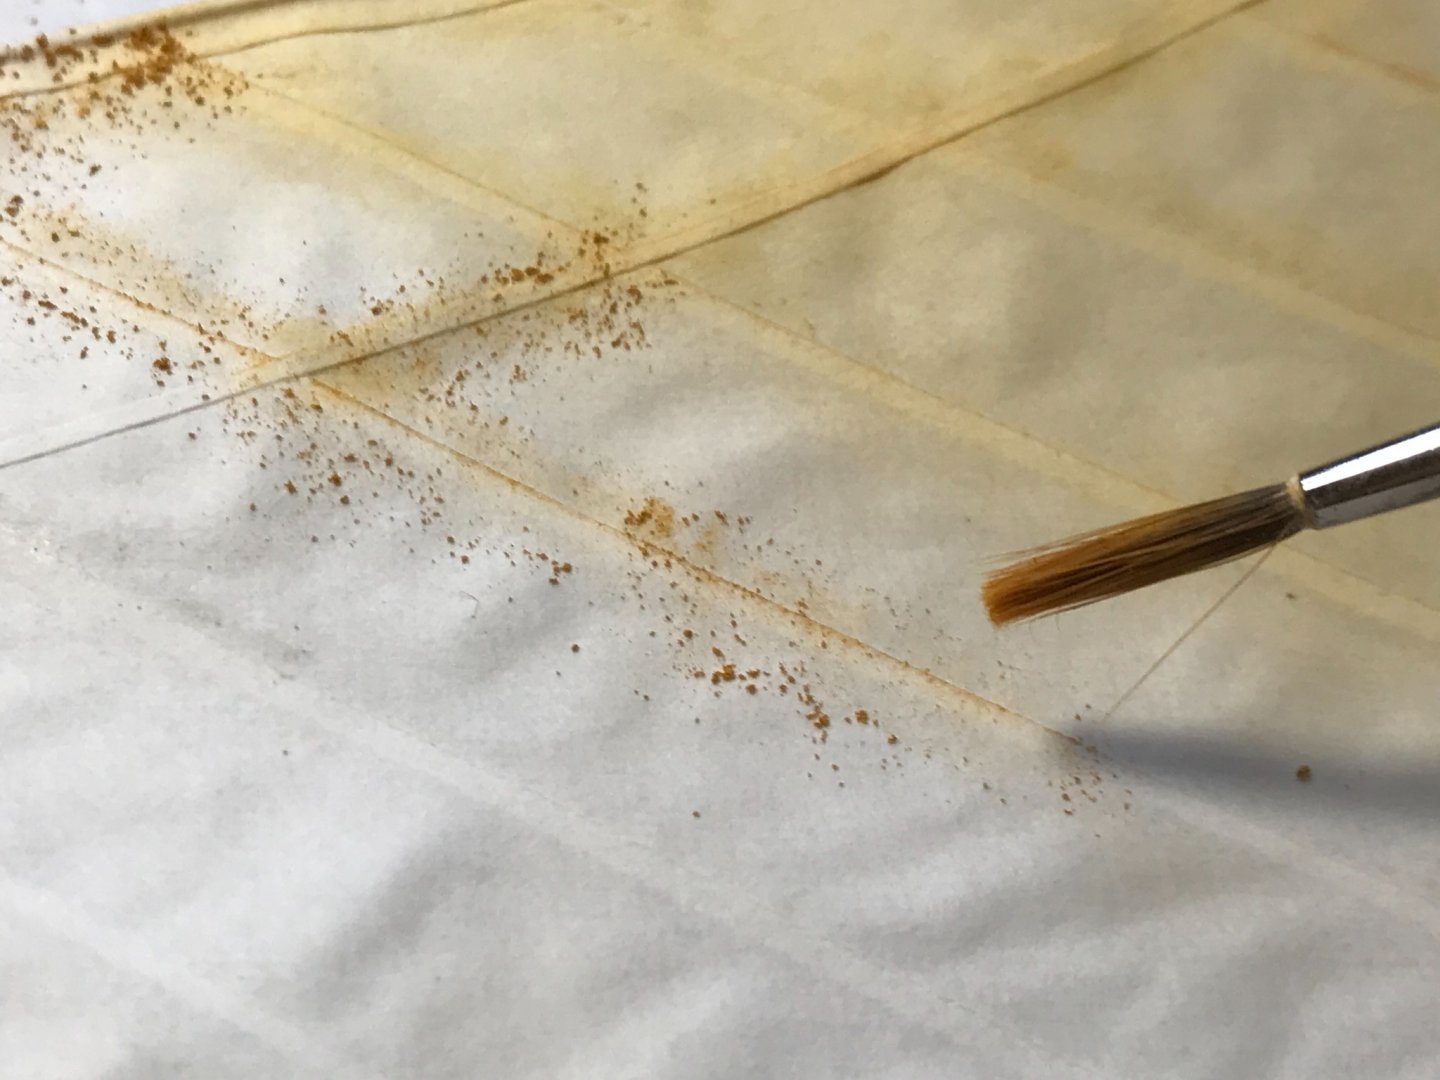
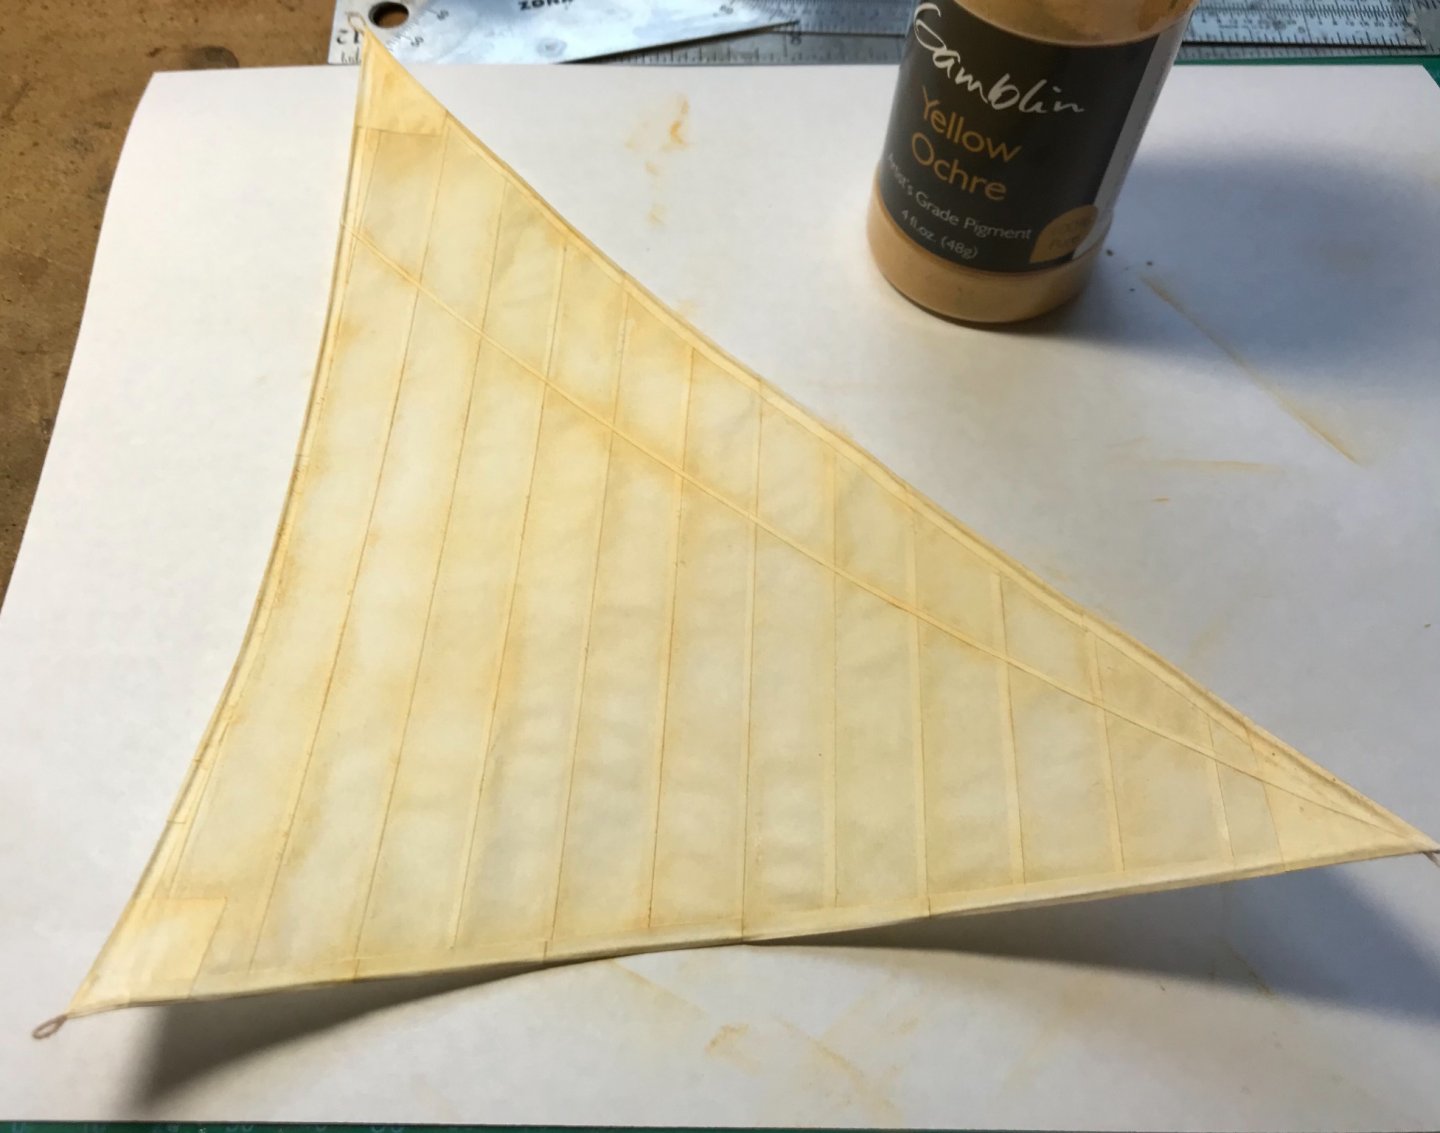
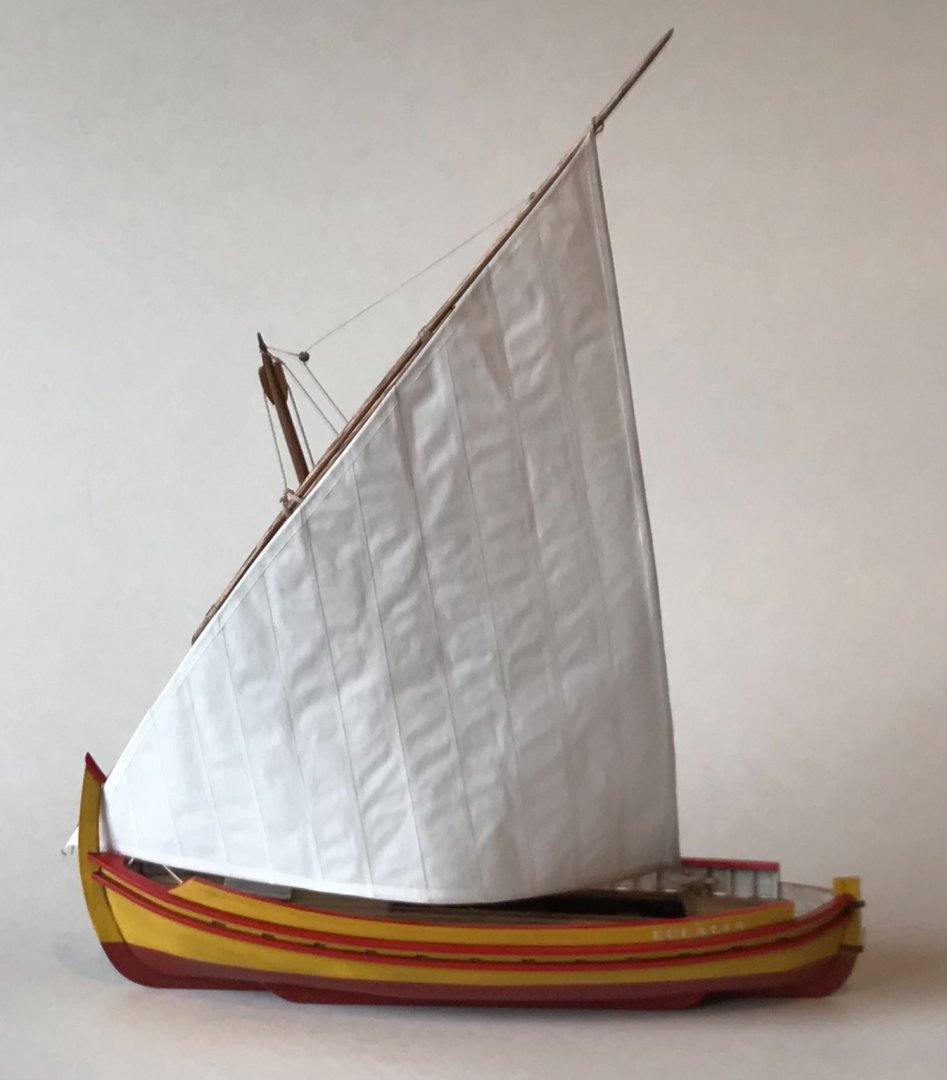
Continued working on the sail, and getting ready to hoist it. Here, the reef line panel and reinforced corners were added: Coloring began using powdered artist pigments. I applied the pigment with a small brush, working along the panels lines and "flicking" the powder into the seam... Then I shook off the excess powder. It's really messy stuff and can get everywhere. I constantly checked the back side of the sail to make sure no powder was going astray, and blew off any interlopers. I was also constantly cleaning the work space (a clean sheet of regular paper) for unwanted globs of powder that might stain parts of the sail before I was ready... Next, using a make-up brush, I gently smoothed the powder into the paper. You have to be very careful not to accidentally crease or fold the paper with your rubbing actions. If you do, they are impossible to repair. I make sure I'm holding the sail down firmly... First side done... Test fitting the colored sail...


- 72 replies
-
- 8
-
-
- fishing boat
- Barco Catalan
- (and 1 more)
-
Thanks for the sail info Wefalck! Almost all the historic photos and art paintings I could find on the internet from the late 1800s show white sails on mediterranean boats, with occasional exceptions, so you have confirmed my suspicions. Thanks! I did a little research on paper weights in the US, and grams per meter (GMS) is far superior. I say that because pounds are based on the weight of 500 sheets. However, the "standard" size of a sheet varies by the type of paper. For example, standard printer paper (20 pound) comes in 8.5x11 inch sheets when you buy it, but for "weight" purposes a sheet is 17x22 inches! Other types of paper have different sheet sizes for weight purposes!!! Seems like there is no way to compare between different types of paper unless you use GSM or have deep knowledge of the paper industry...
- 72 replies
-
- 1
-
-
- fishing boat
- Barco Catalan
- (and 1 more)
-
Thanks Louie da fly! Don't forget to find Catheads excellent tutorial on making sails, here in the forum...
- 72 replies
-
- 1
-
-
- fishing boat
- Barco Catalan
- (and 1 more)
-
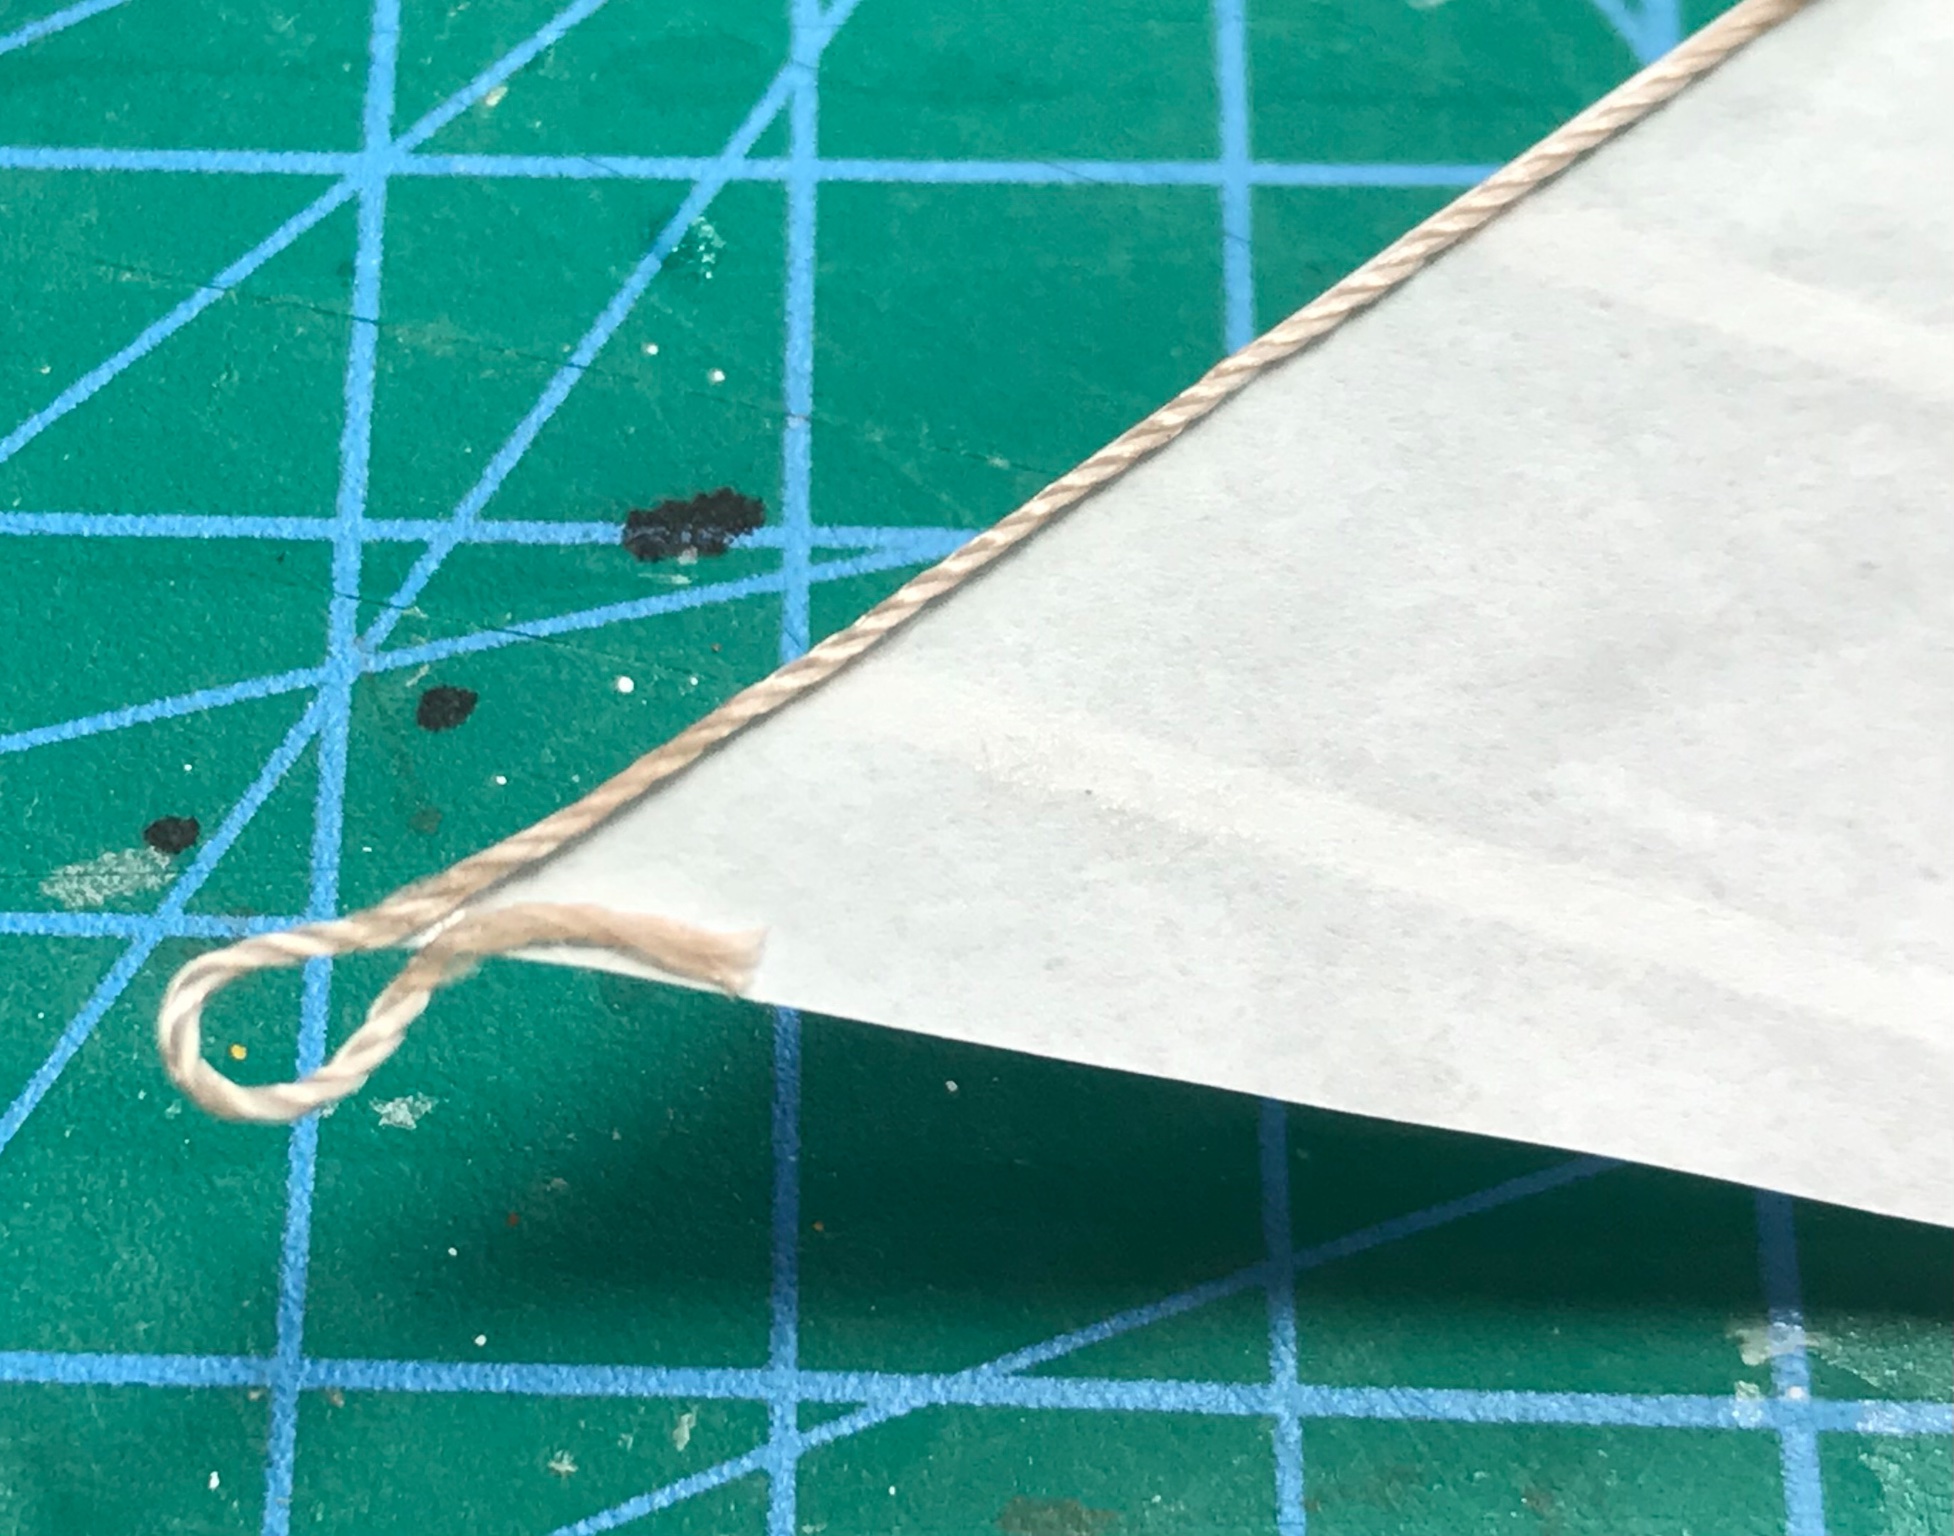
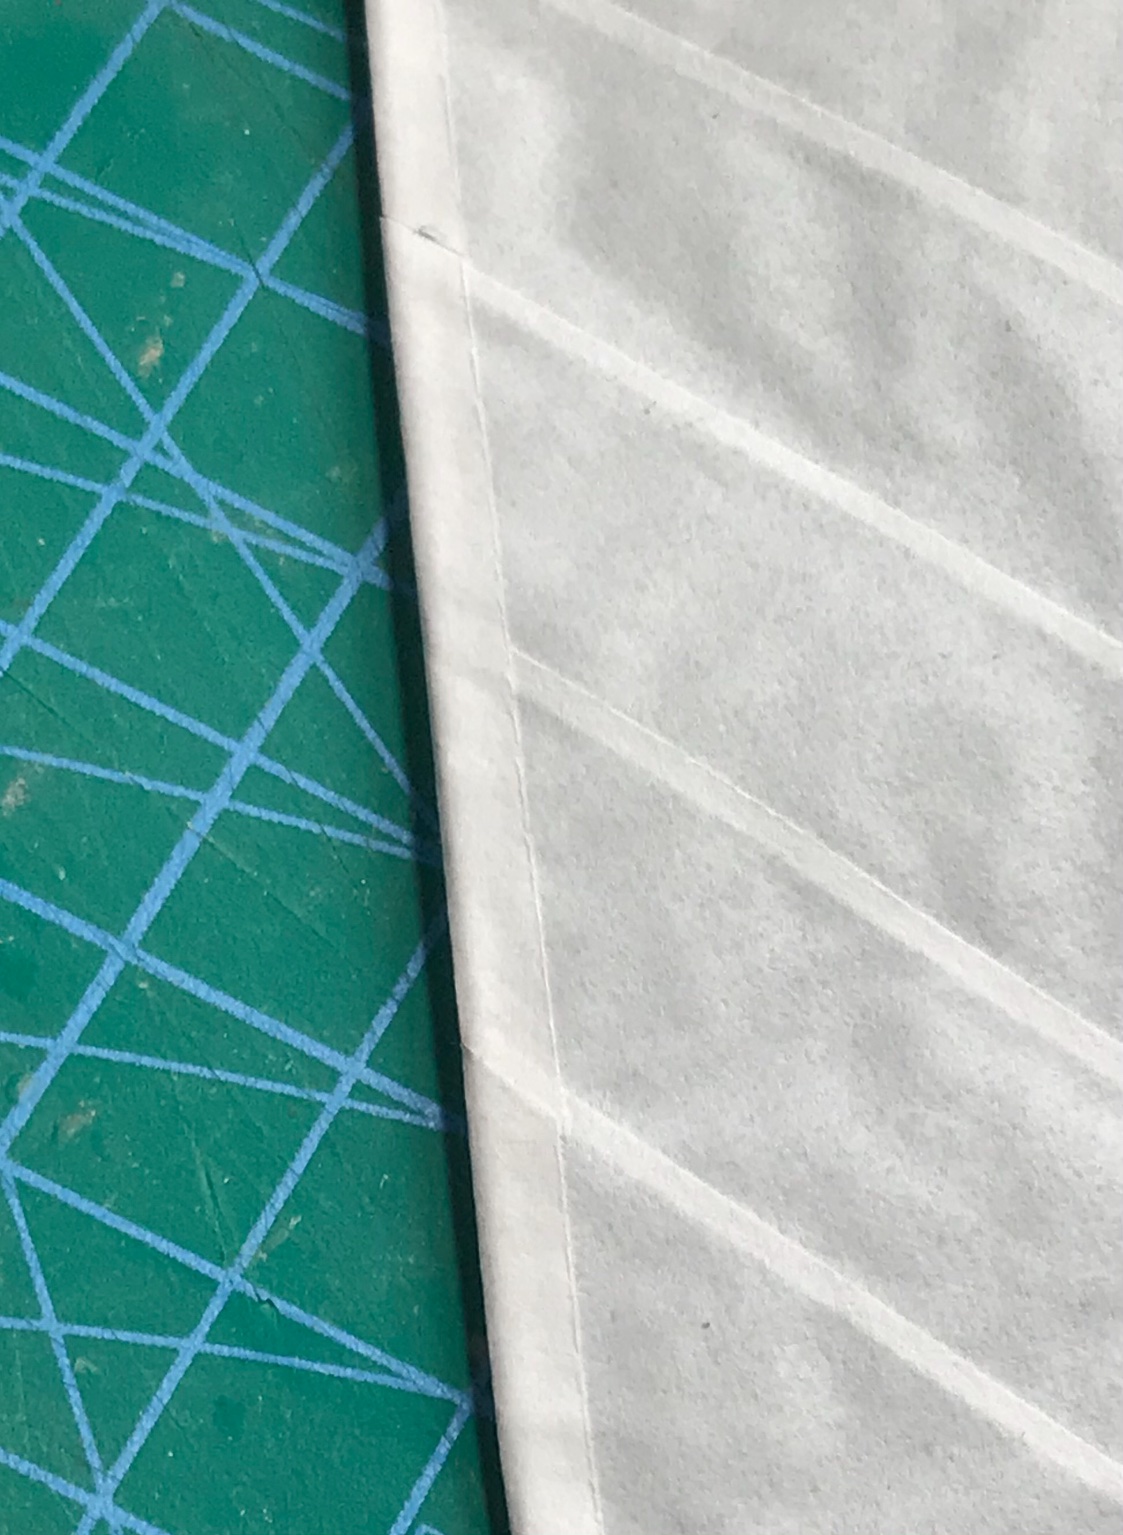
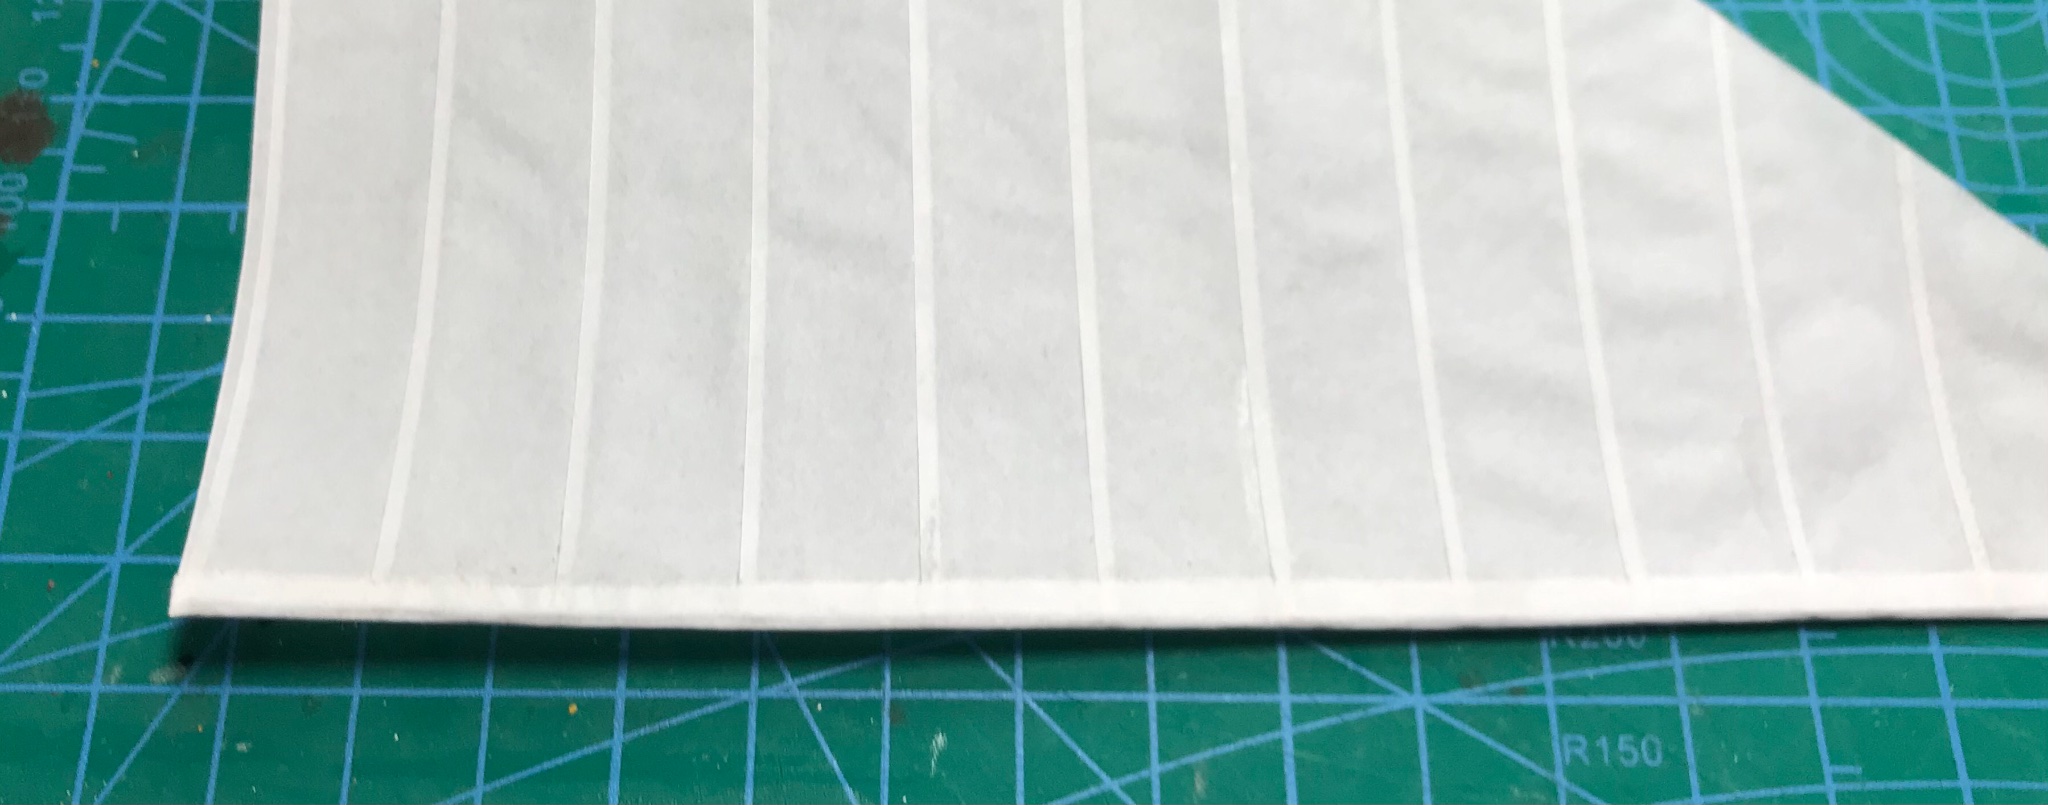
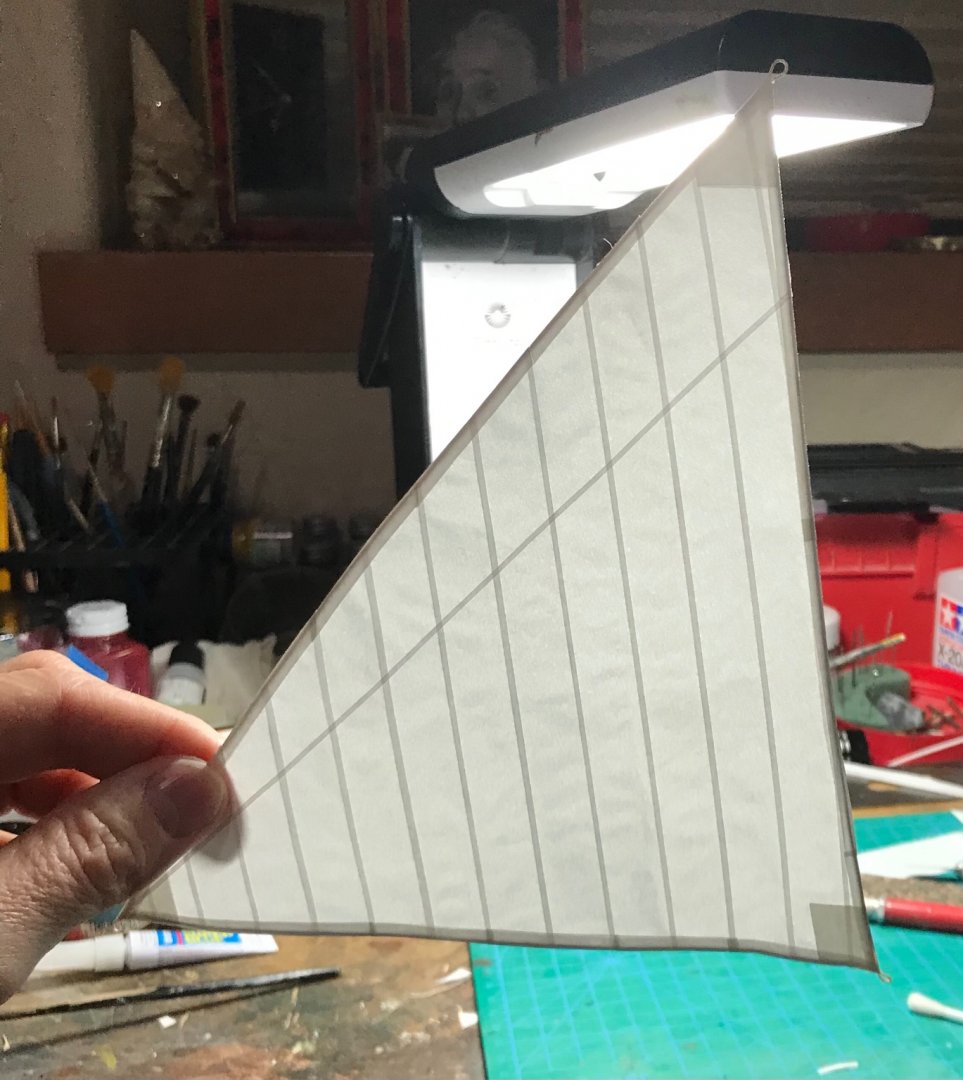
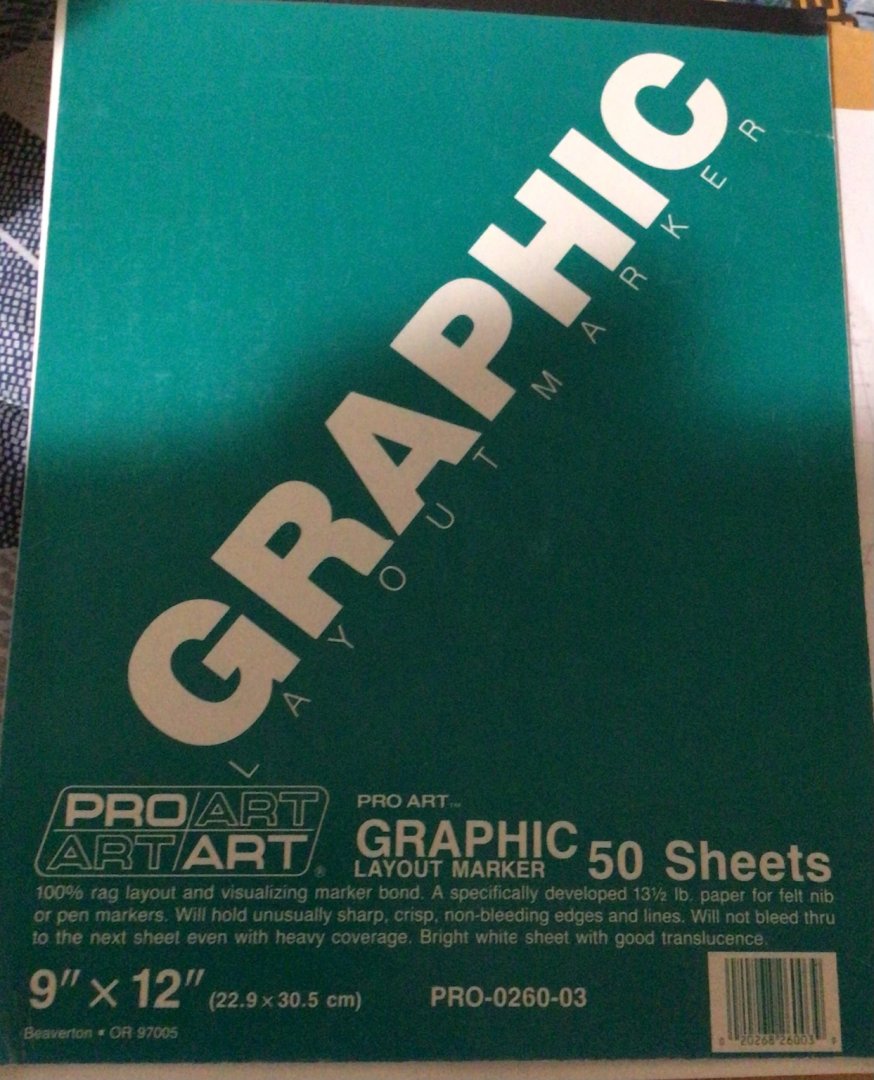
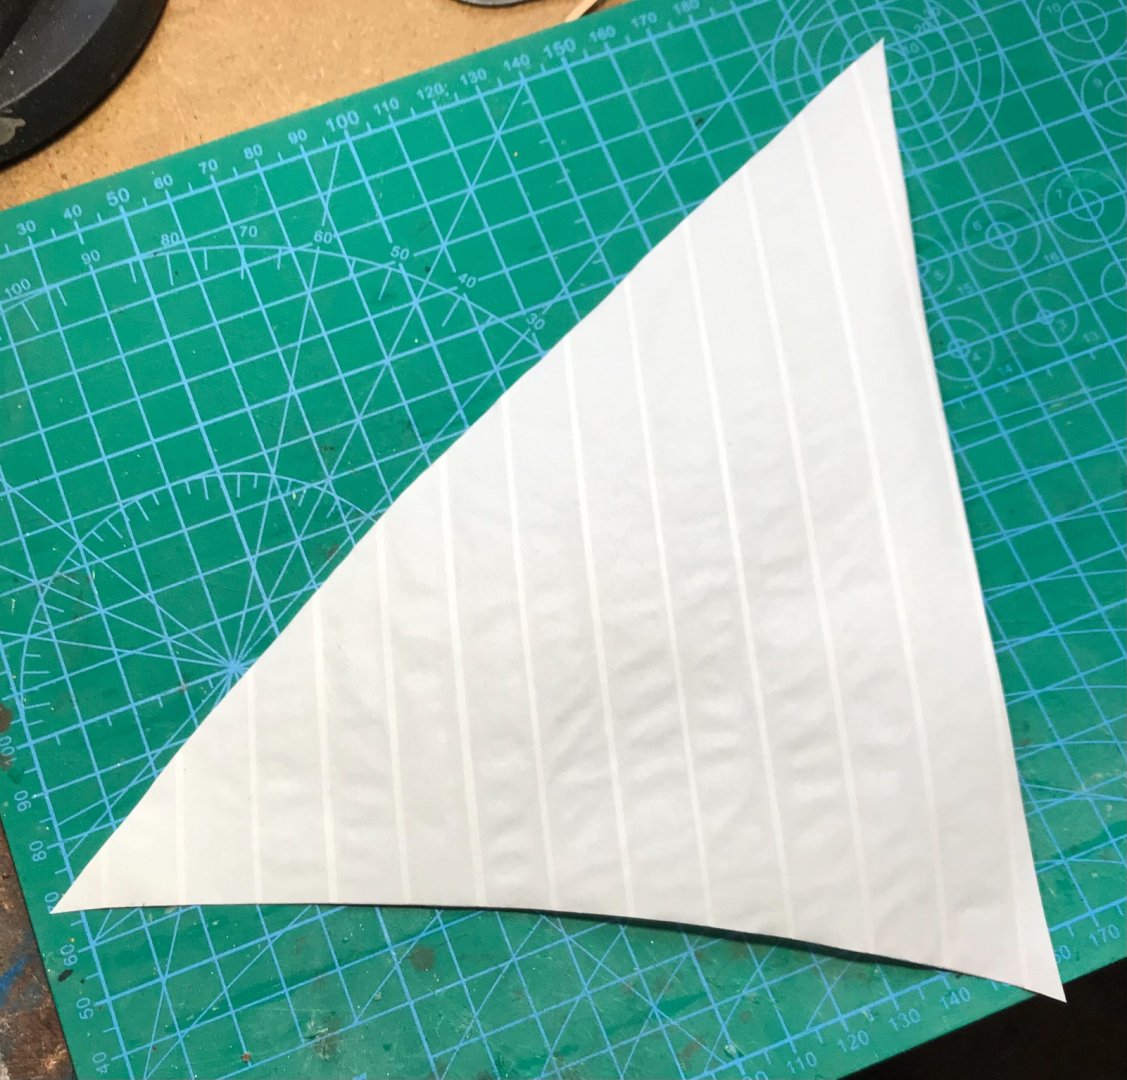
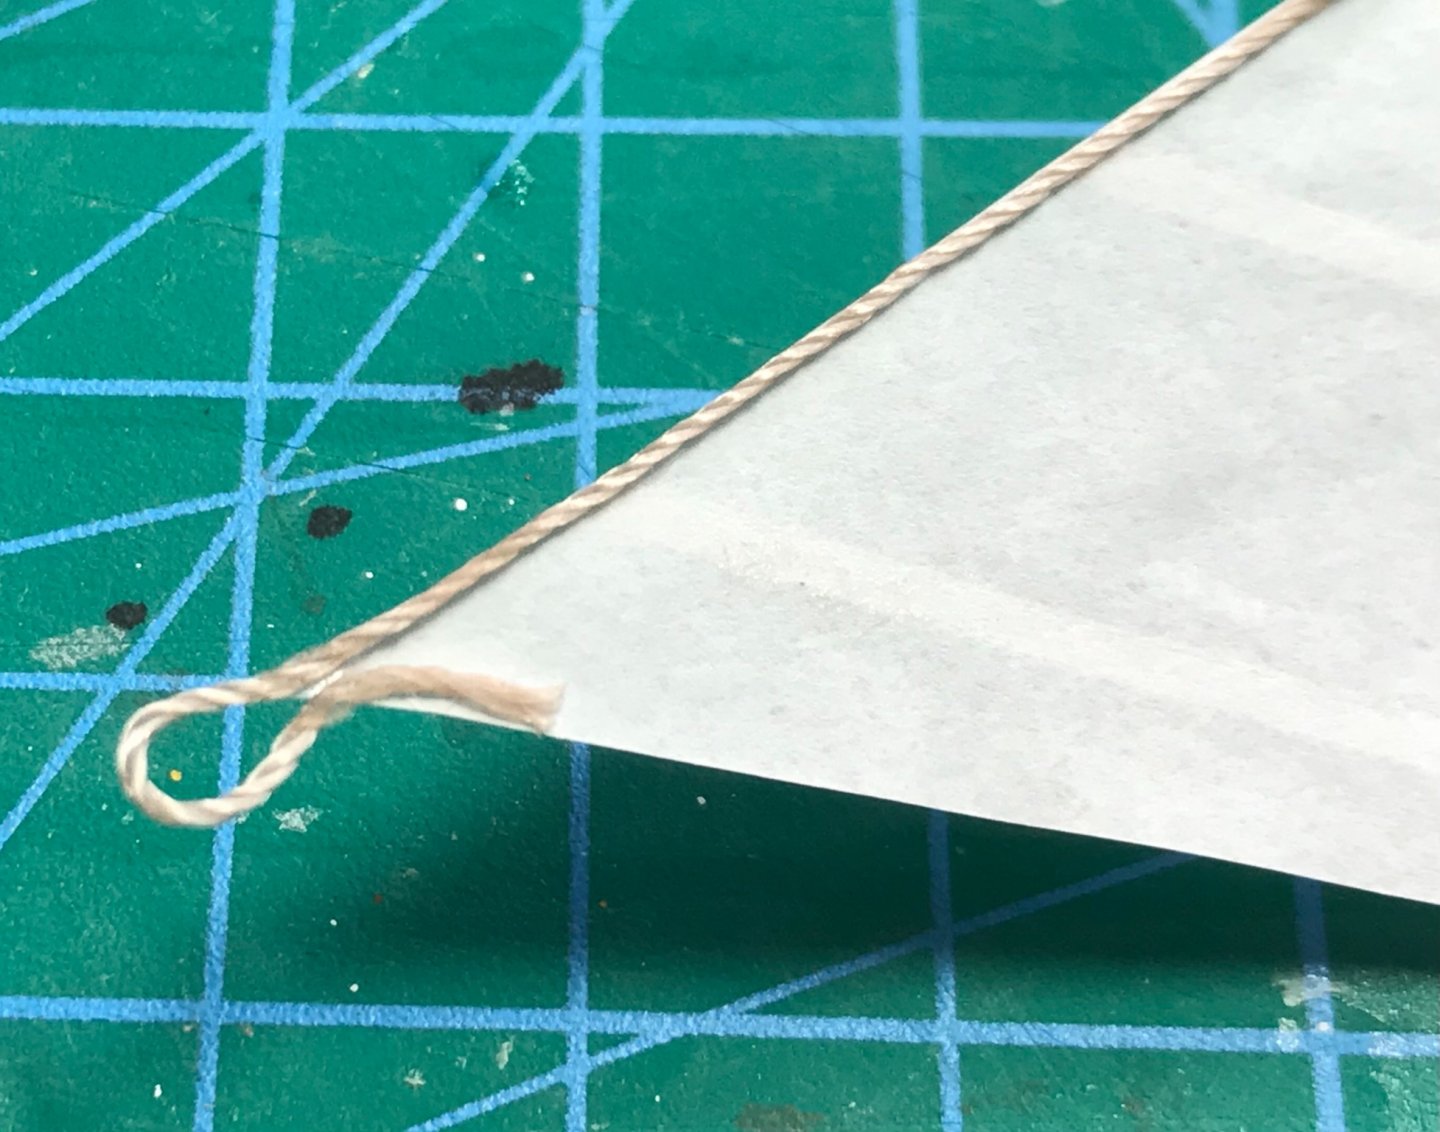
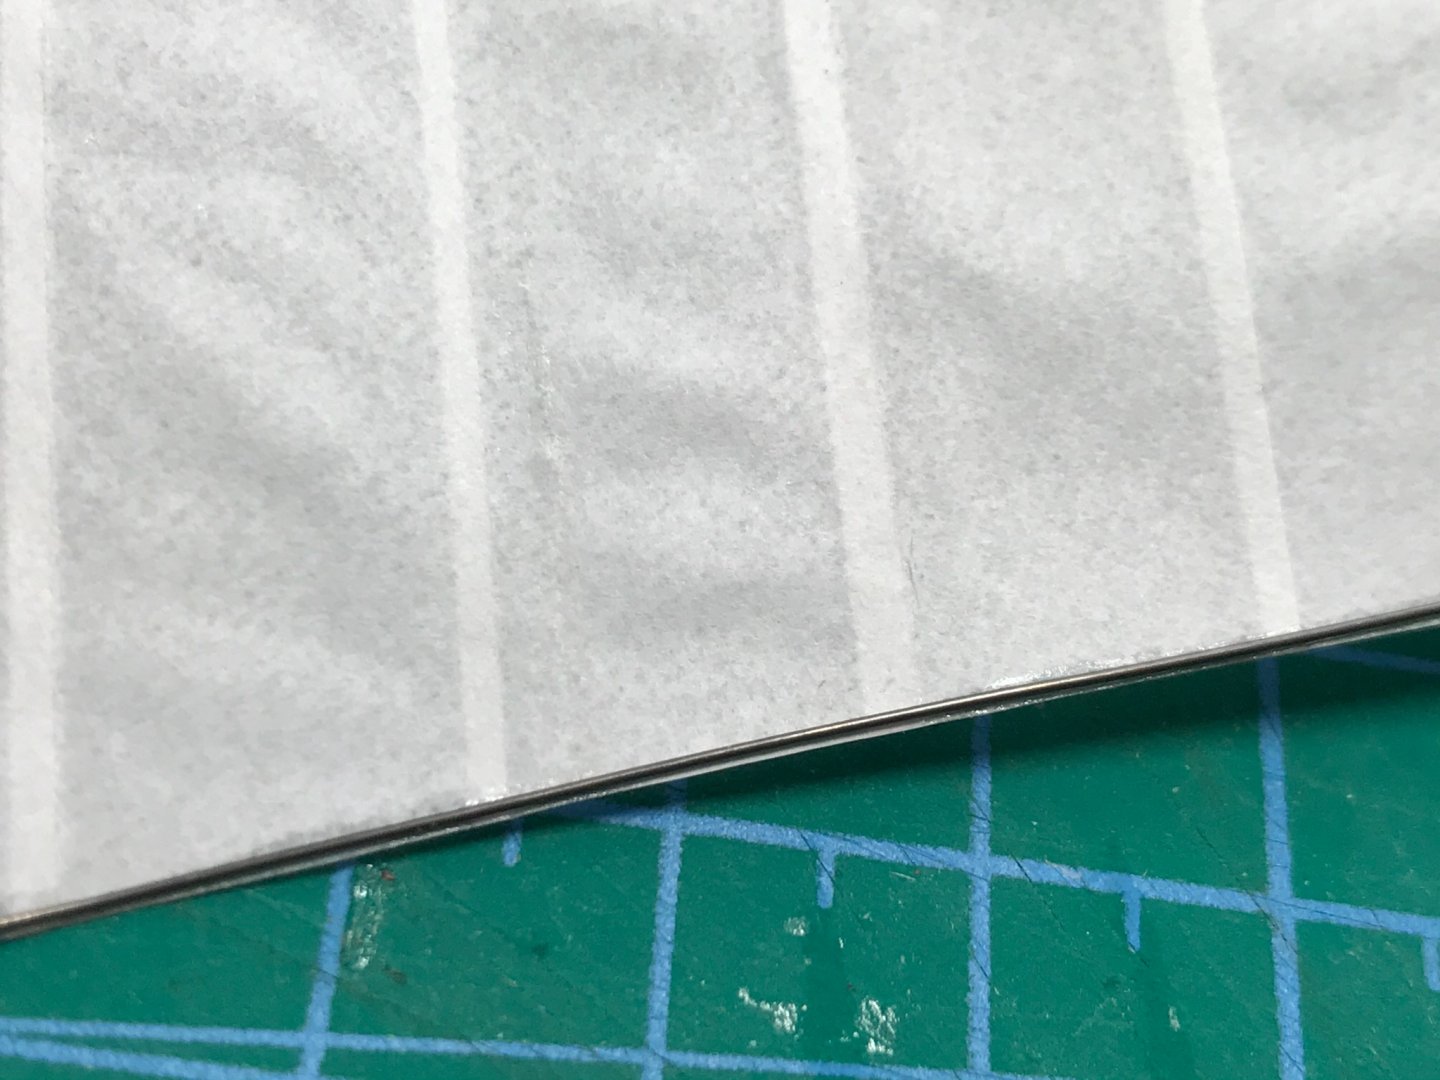
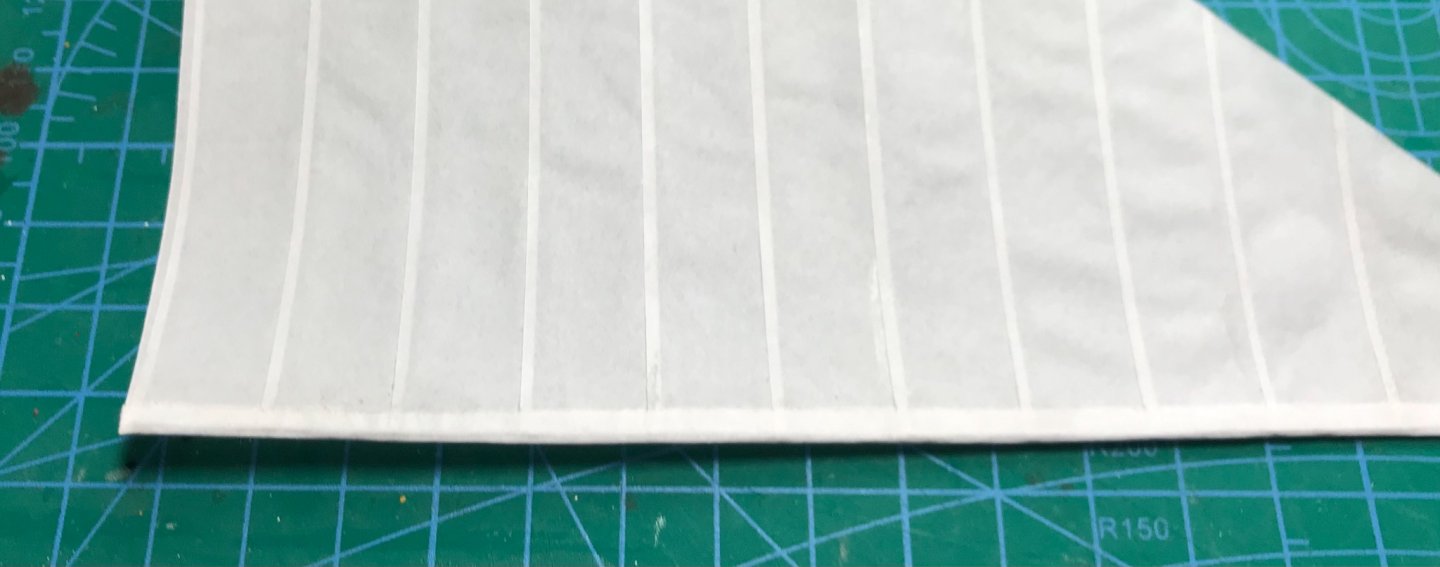
Okay, spent today building a paper sail. I am a student of Cathead, one of our members, and was really impressed with his paper sail tutorial in these forums ("A method for making panelled sails using paper", March 11, 2017)! I used his techniques on my last project (French fishing boat), but I did not like the heavy bonded resume paper Cathead used. Instead, I use something called "graphic marker paper." It is thin, opaque paper, with some sort of coating, almost like a high quality tracing paper. It is apparently made for artists who work with ink marker pens. That makes it great for modeling, since it doesn't "bleed," yet it absorbs glue well, accepts paint, and appears fairly tough. After my last build, I was struck with the idea of inserting wire along the edge of the sails, to facilitate shaping them to appear as if they were billowing in the wind. I'm trying out my ideas on this project... This is the paper I acquired some years ago for building ships in bottles... A sail ala Cathead... made of overlapping panels glued with white glue. The overlap here is about 1mm... I steam-iron the results between two paper towels. That creates the wonderful "bubbling" affect you see here... Lines for rigging the sails are glued to the edge... Trim pieces cover the lines... So...I tried 28 gauge annealed steel wire on two edges, instead of model ropes, and covered them with trim... Not done yet! Just testing the fit. I hope to get a billowing effect when the sails are finally set up. You can see the curve on the bottom. Wire is on the right side, and bottom of the sail... Anybody know if the sails should be clay impregnated "red" or just dirty white - for a Spanish boat? I think white...

- 72 replies
-
- 8
-
-
- fishing boat
- Barco Catalan
- (and 1 more)
-
Even more great info Wefalck! I had no idea so much was available. It really is mind-boggling!
- 72 replies
-
- 2
-
-
- fishing boat
- Barco Catalan
- (and 1 more)
-
Thanks Tony (tkay11). That was all good (and new) information for me! I will definitely look for opportunities to expand my library...
- 72 replies
-
- 2
-
-
- fishing boat
- Barco Catalan
- (and 1 more)
-
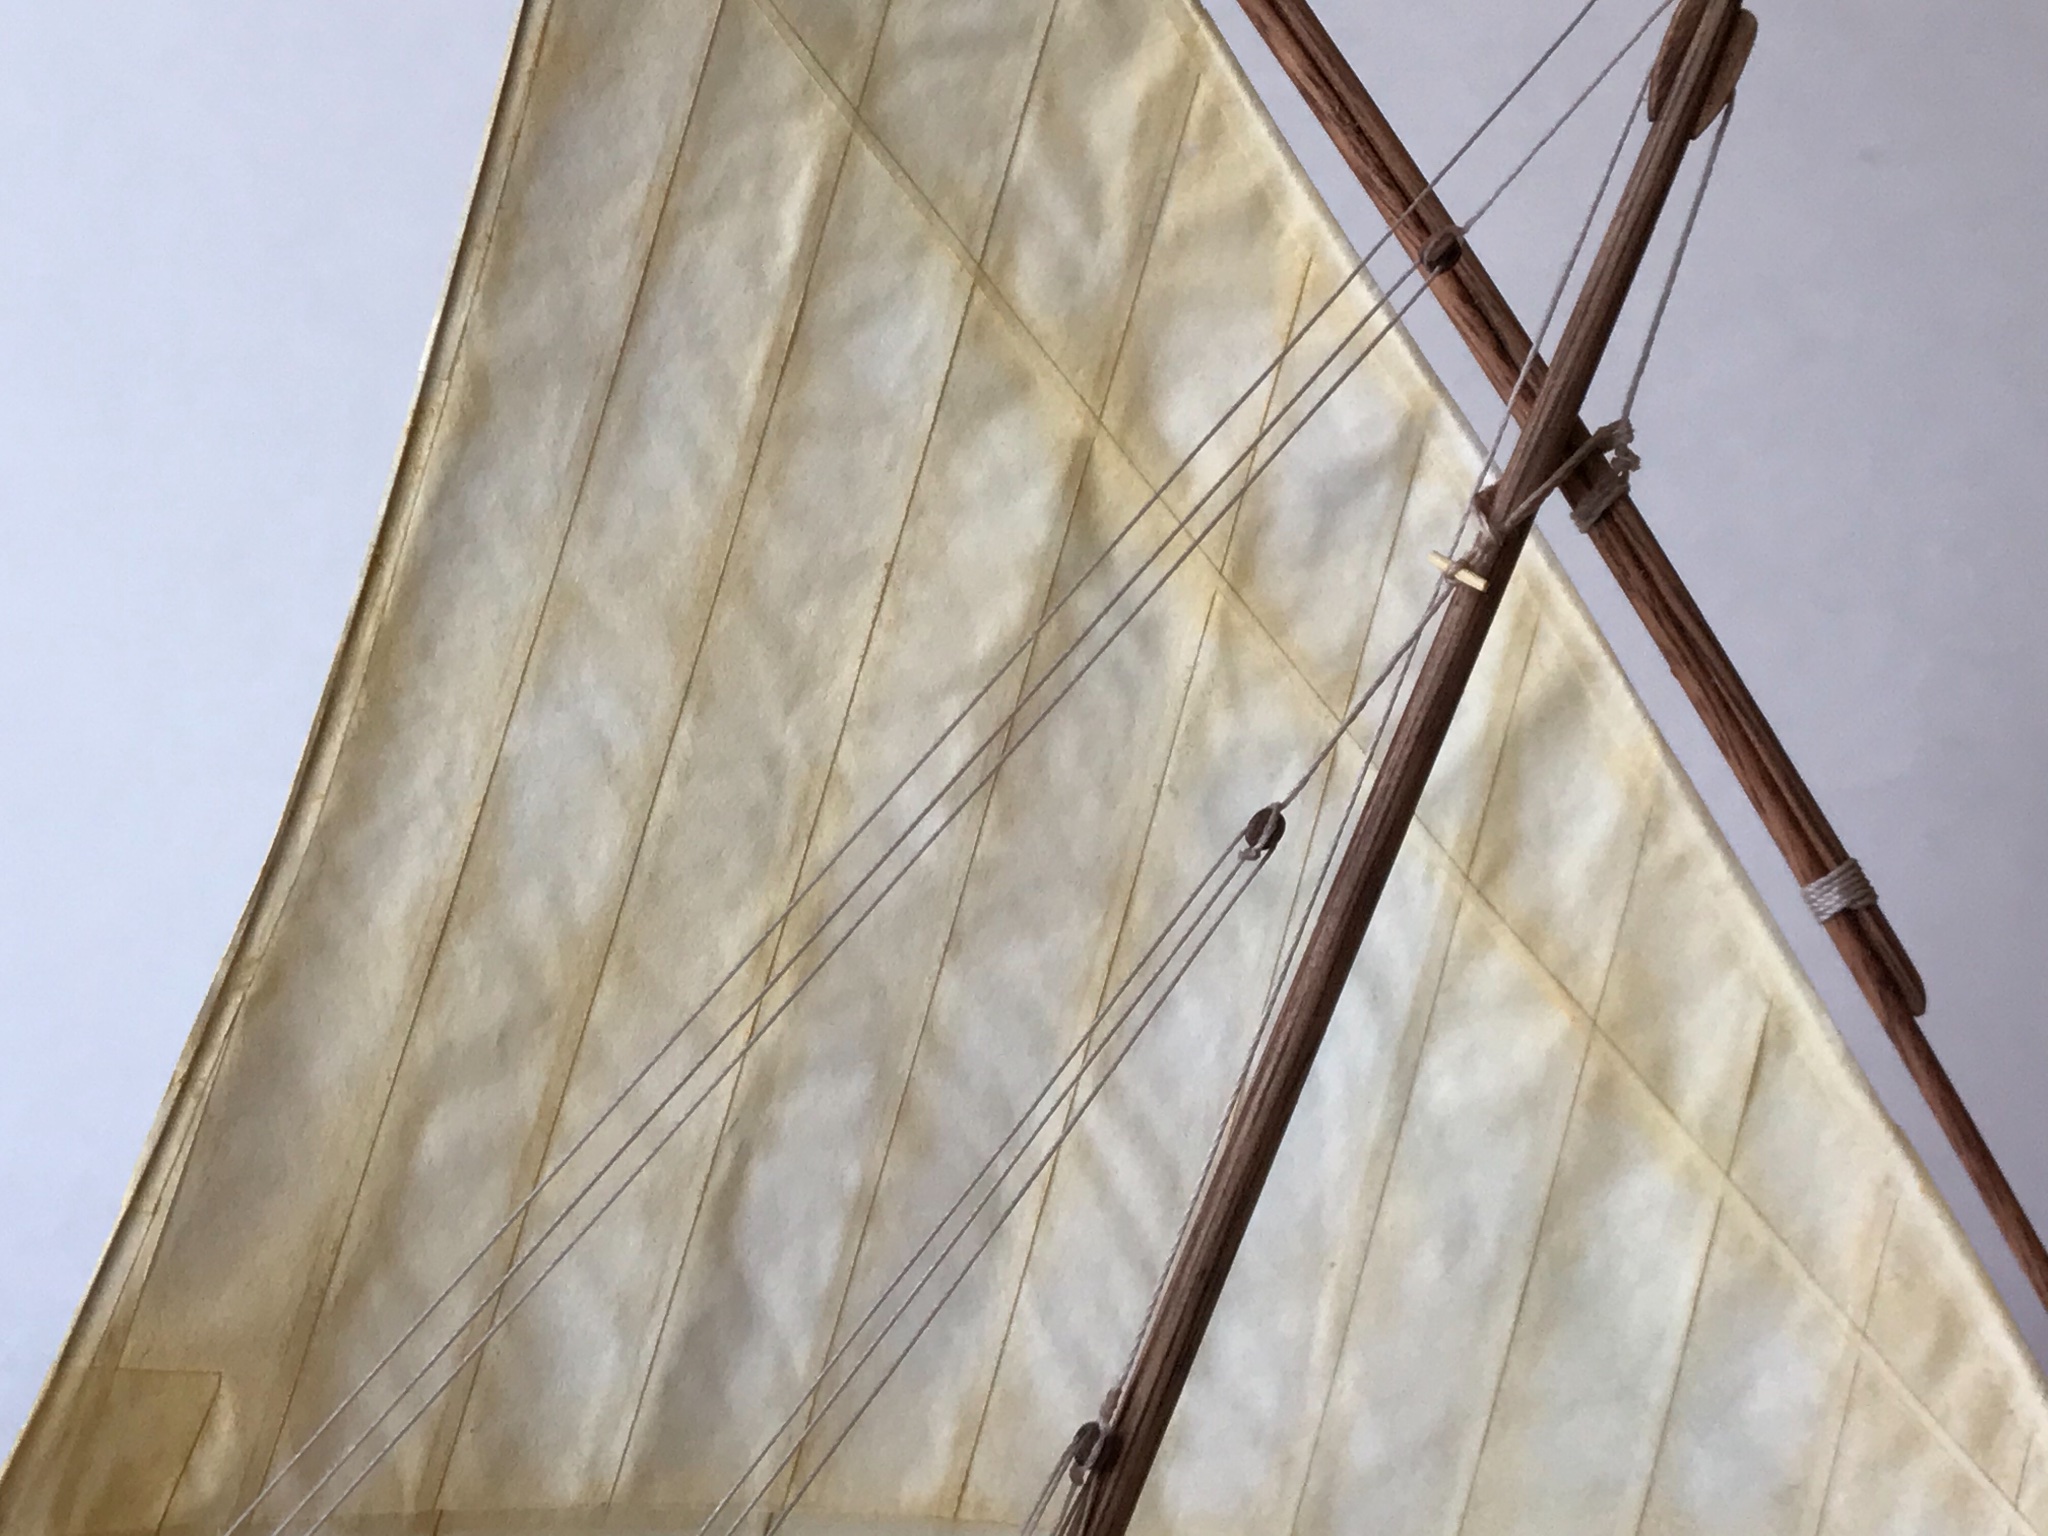
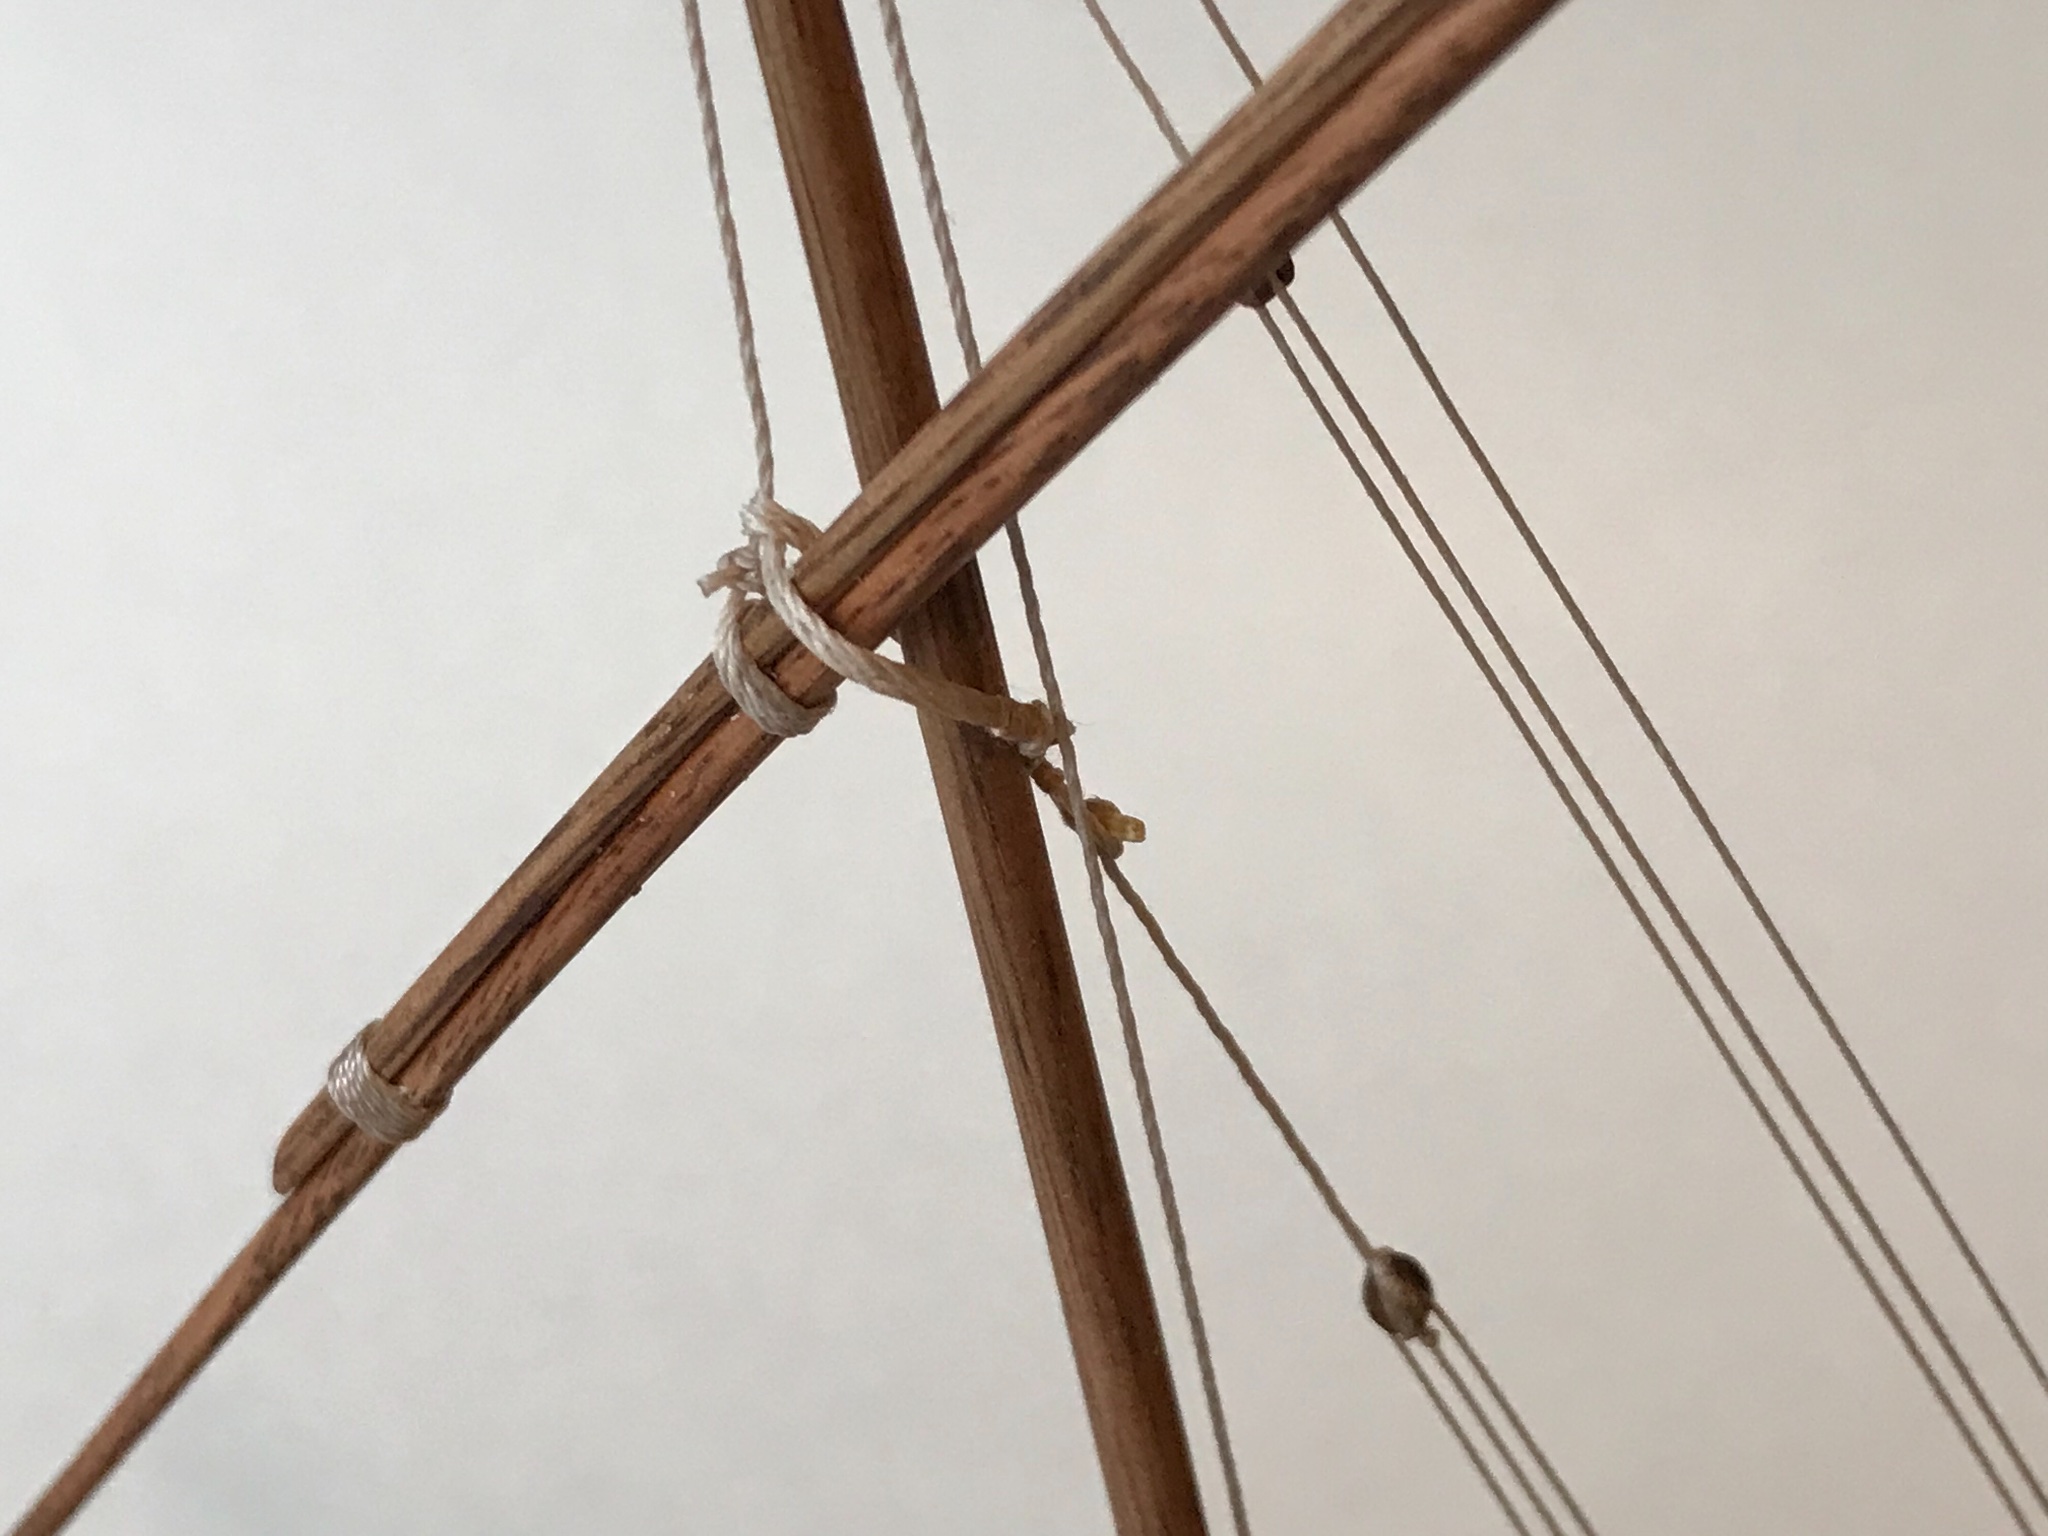
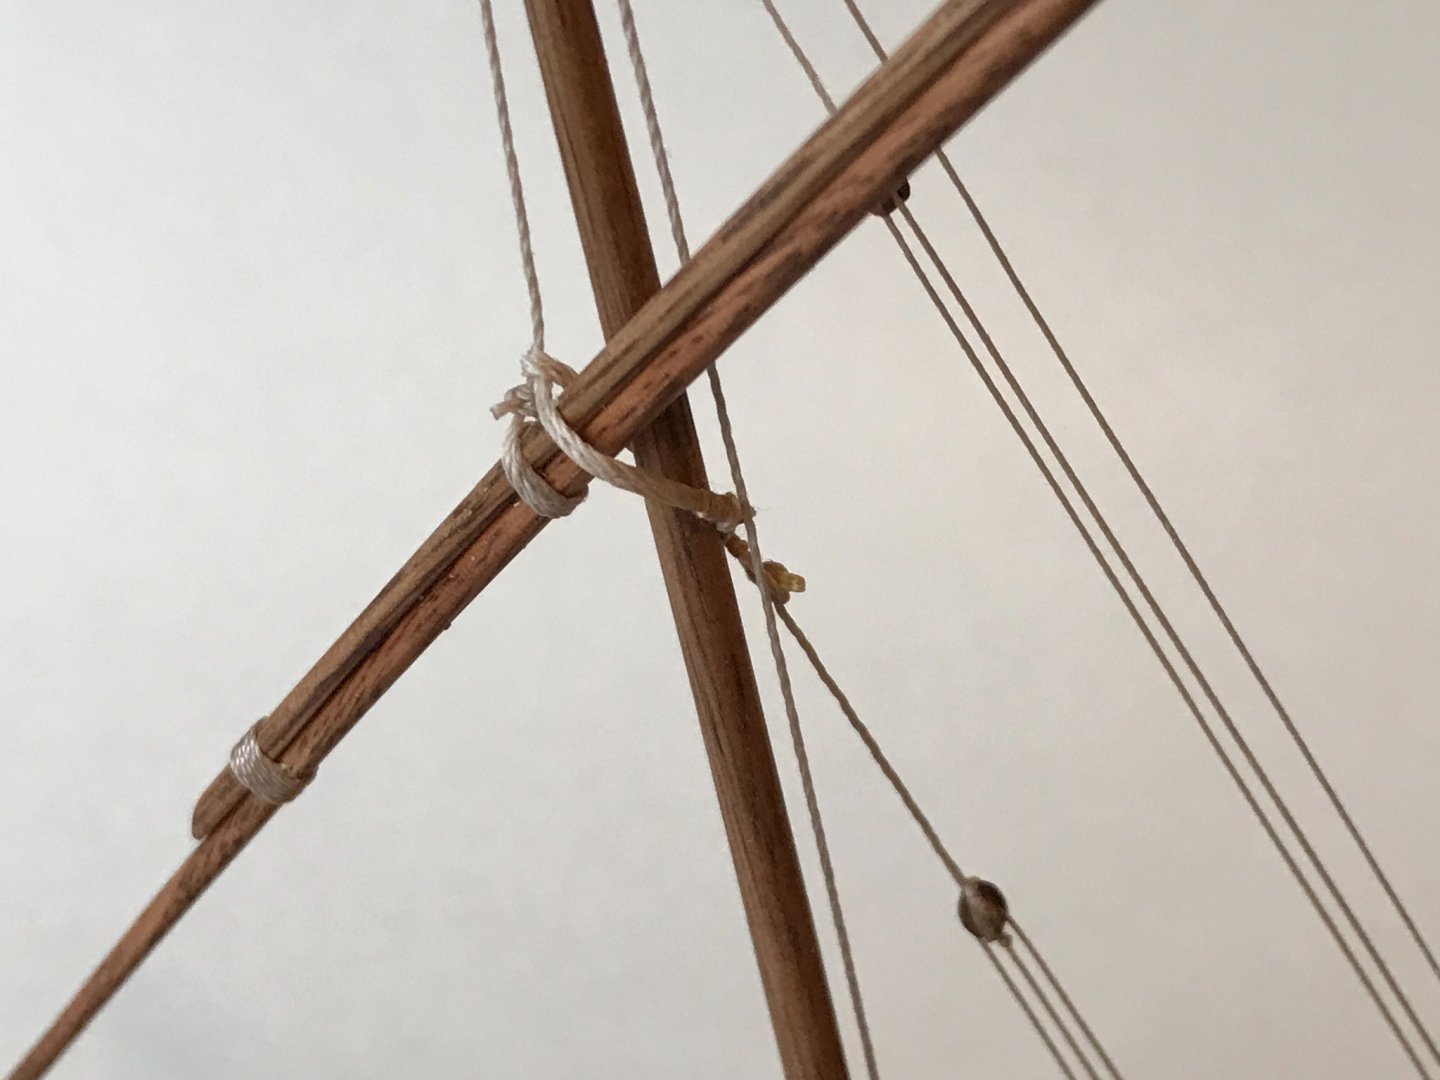
Rigging the rigging... It has been a slow process; trying to determine what is needed, figuring out how to best do it, and the the actual doing. Thanks to tkay11 and wefalck for information! I have been translating French from VENCE, J. (1897): Construction & manœuvre des bateaux & embarcations à voilure latine. It is full of info, but google translate does not understand maritime jargon too well...🤨
- 72 replies
-
- 10
-
-
- fishing boat
- Barco Catalan
- (and 1 more)
-
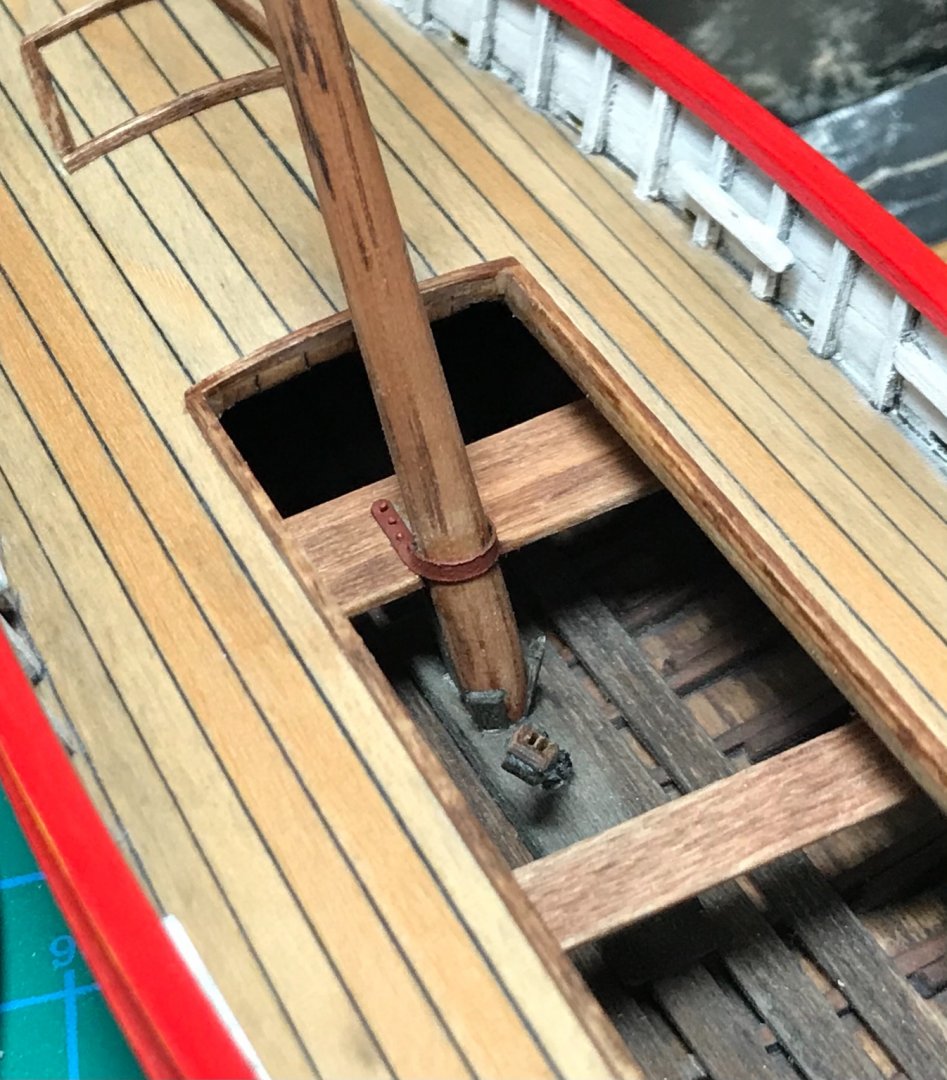
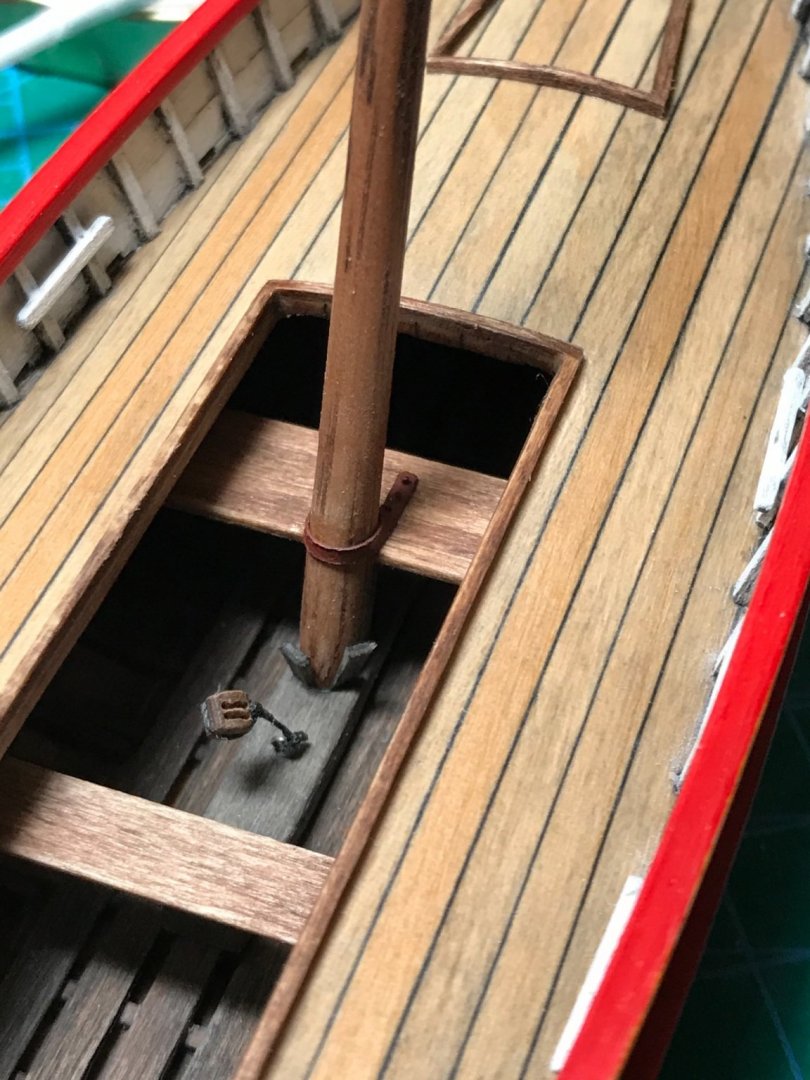
Set the mast today. Had to use wedges...😄. The rusty metal band on the bench is heavy construction paper with copper wire "rivets."
- 72 replies
-
- 9
-
-
- fishing boat
- Barco Catalan
- (and 1 more)
-
Wefalck, I really appreciate your insights and have a question about the acrylic washes you use for weathering. With the oil wash, I can basically "wipe off" almost everything I put on, even after the wash dries. That way, many mistakes or unsatisfactory areas can be easily altered. How do you apply the acrylic washes so you get the final results you like?
- 72 replies
-
- 1
-
-
- fishing boat
- Barco Catalan
- (and 1 more)
-
Thanks for comments and info Wefalck and tkay11! Currently, my main source for rigging information is looking at old and contemporary photos of boats on the internet.
- 72 replies
-
- 1
-
-
- fishing boat
- Barco Catalan
- (and 1 more)
-
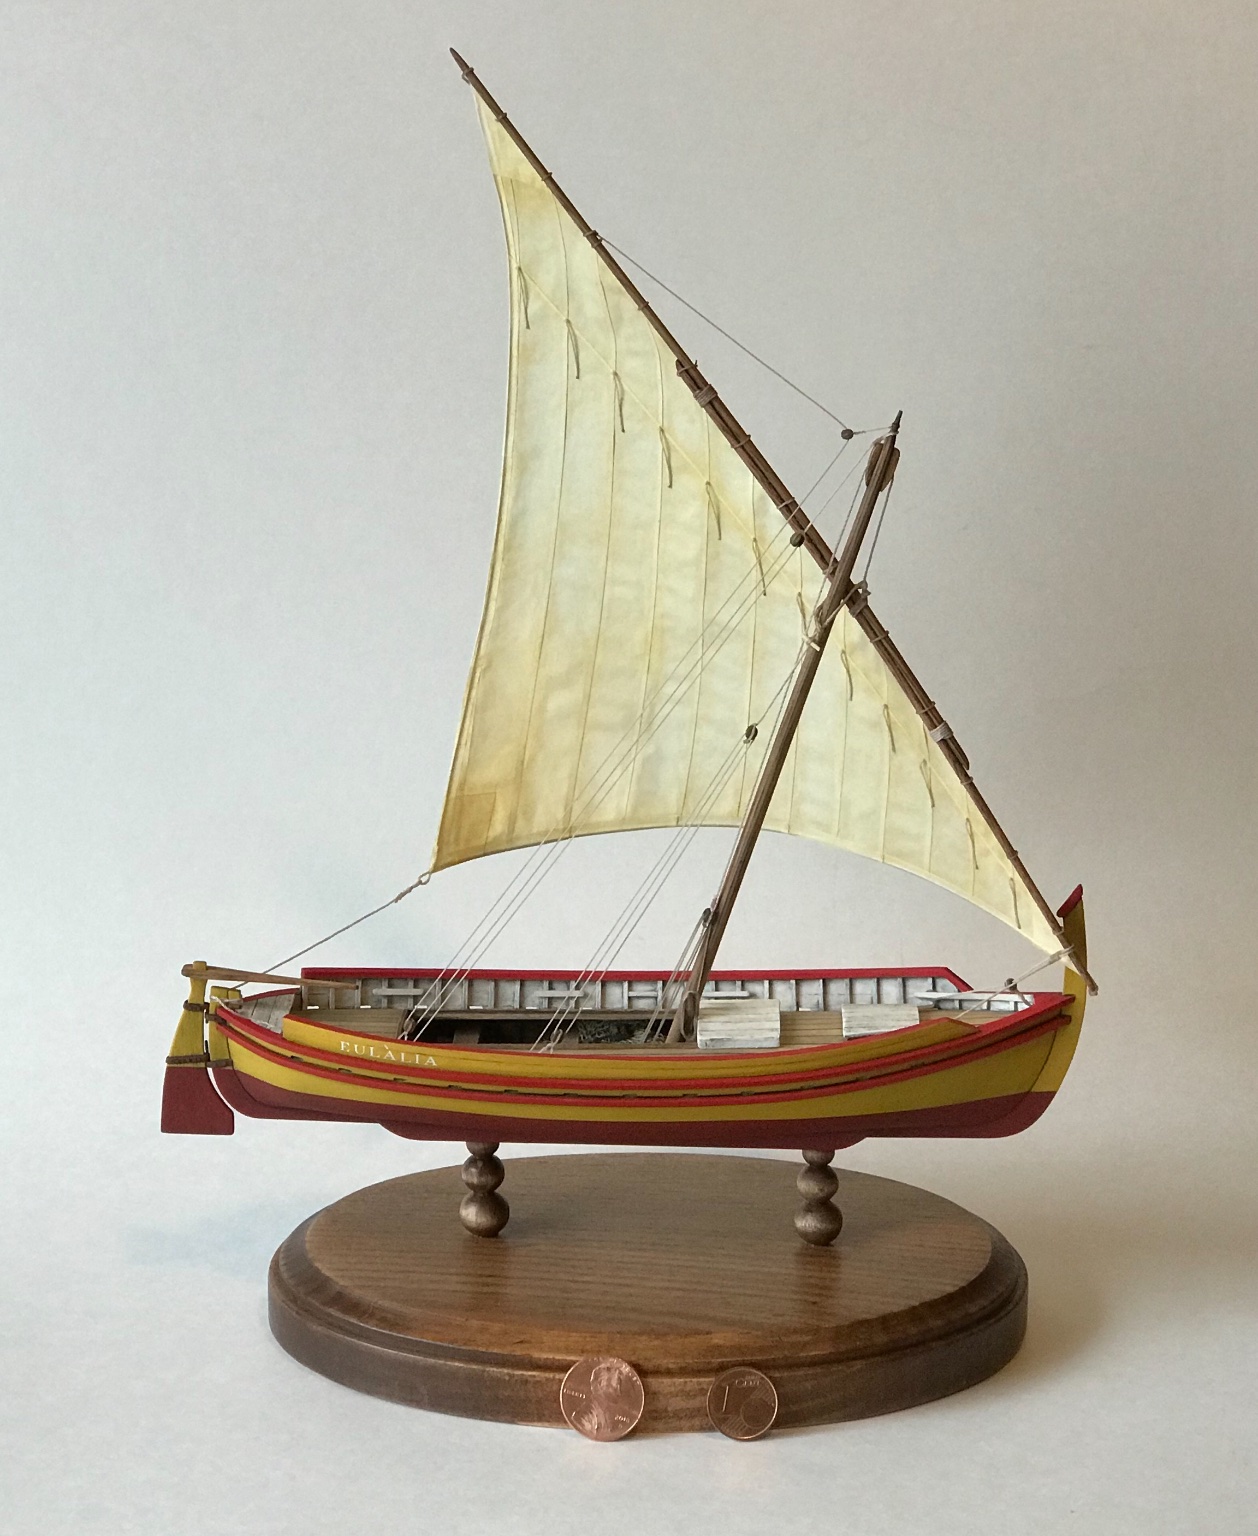
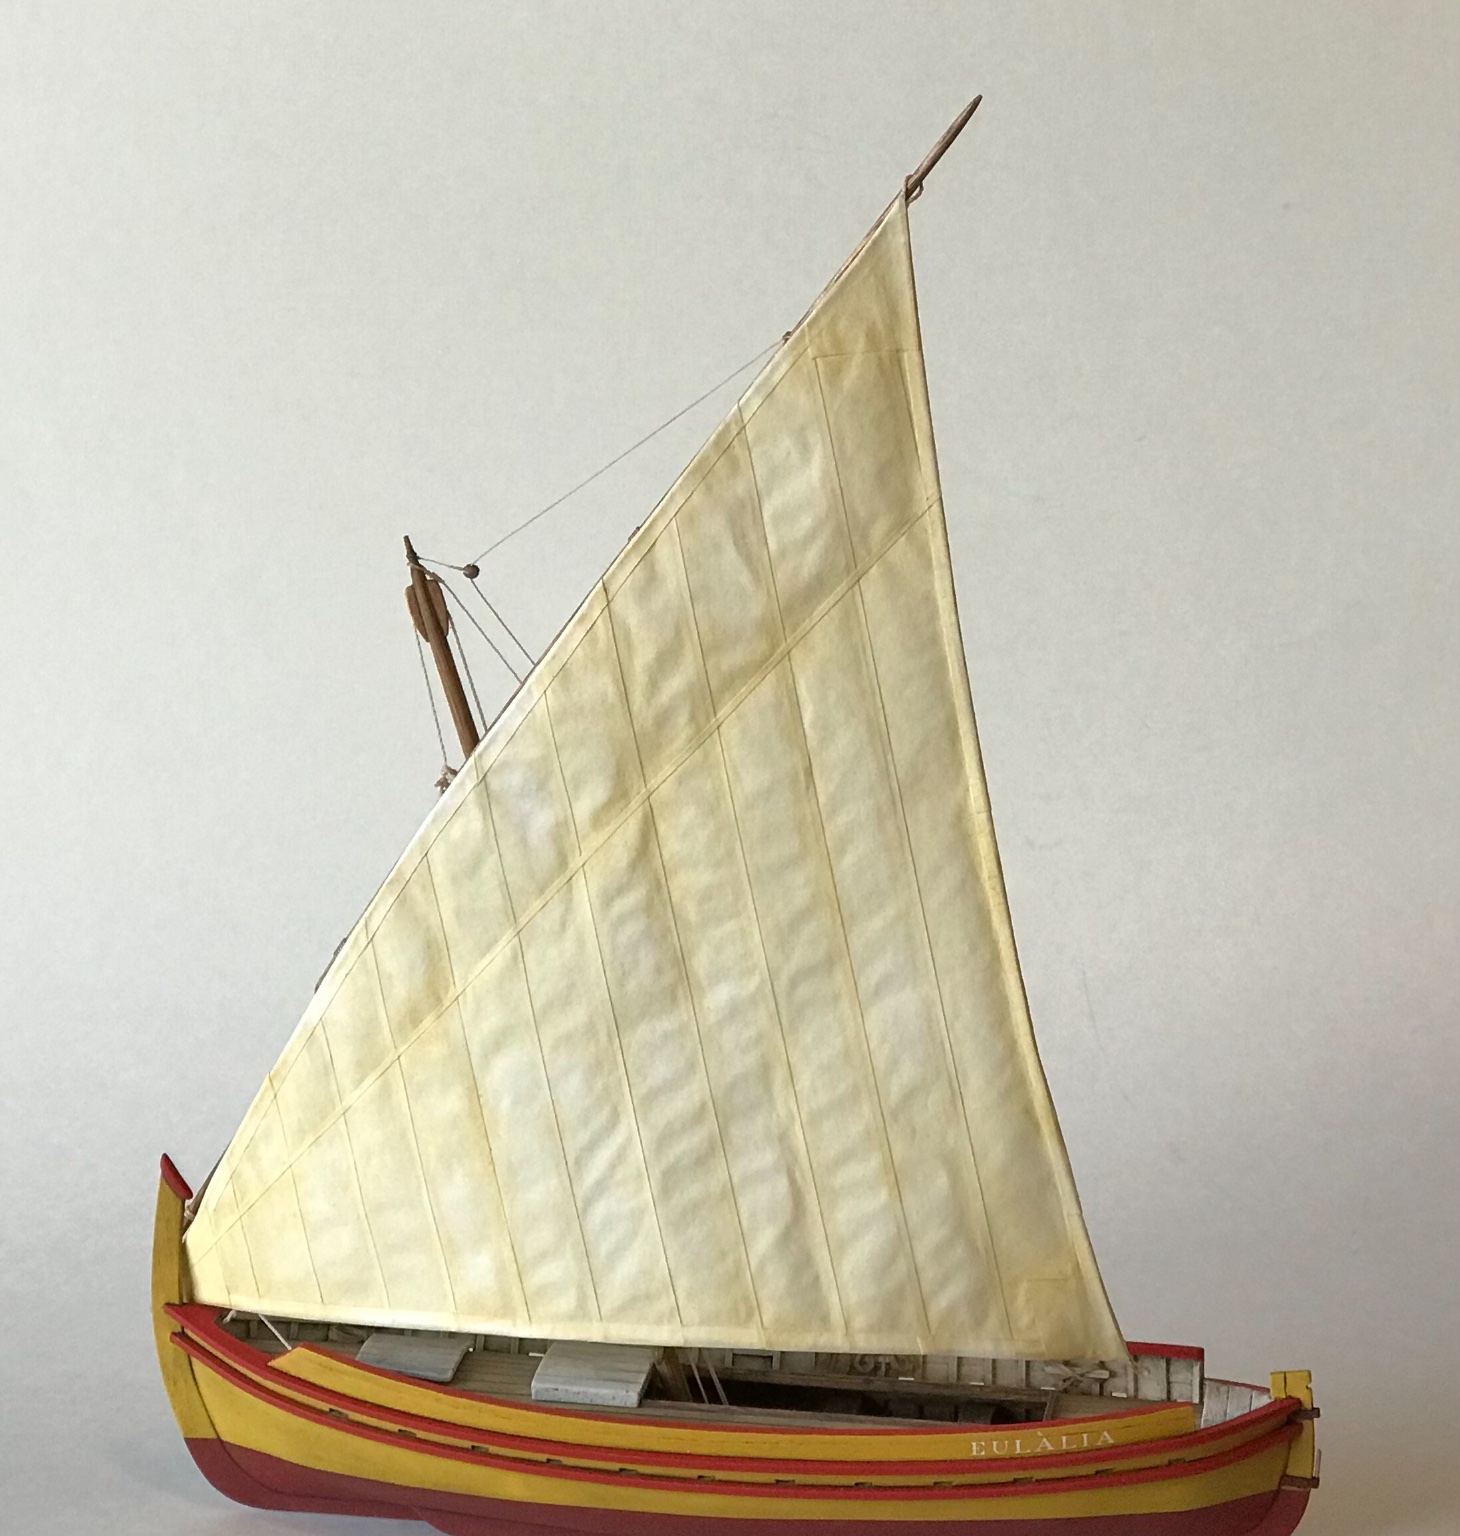
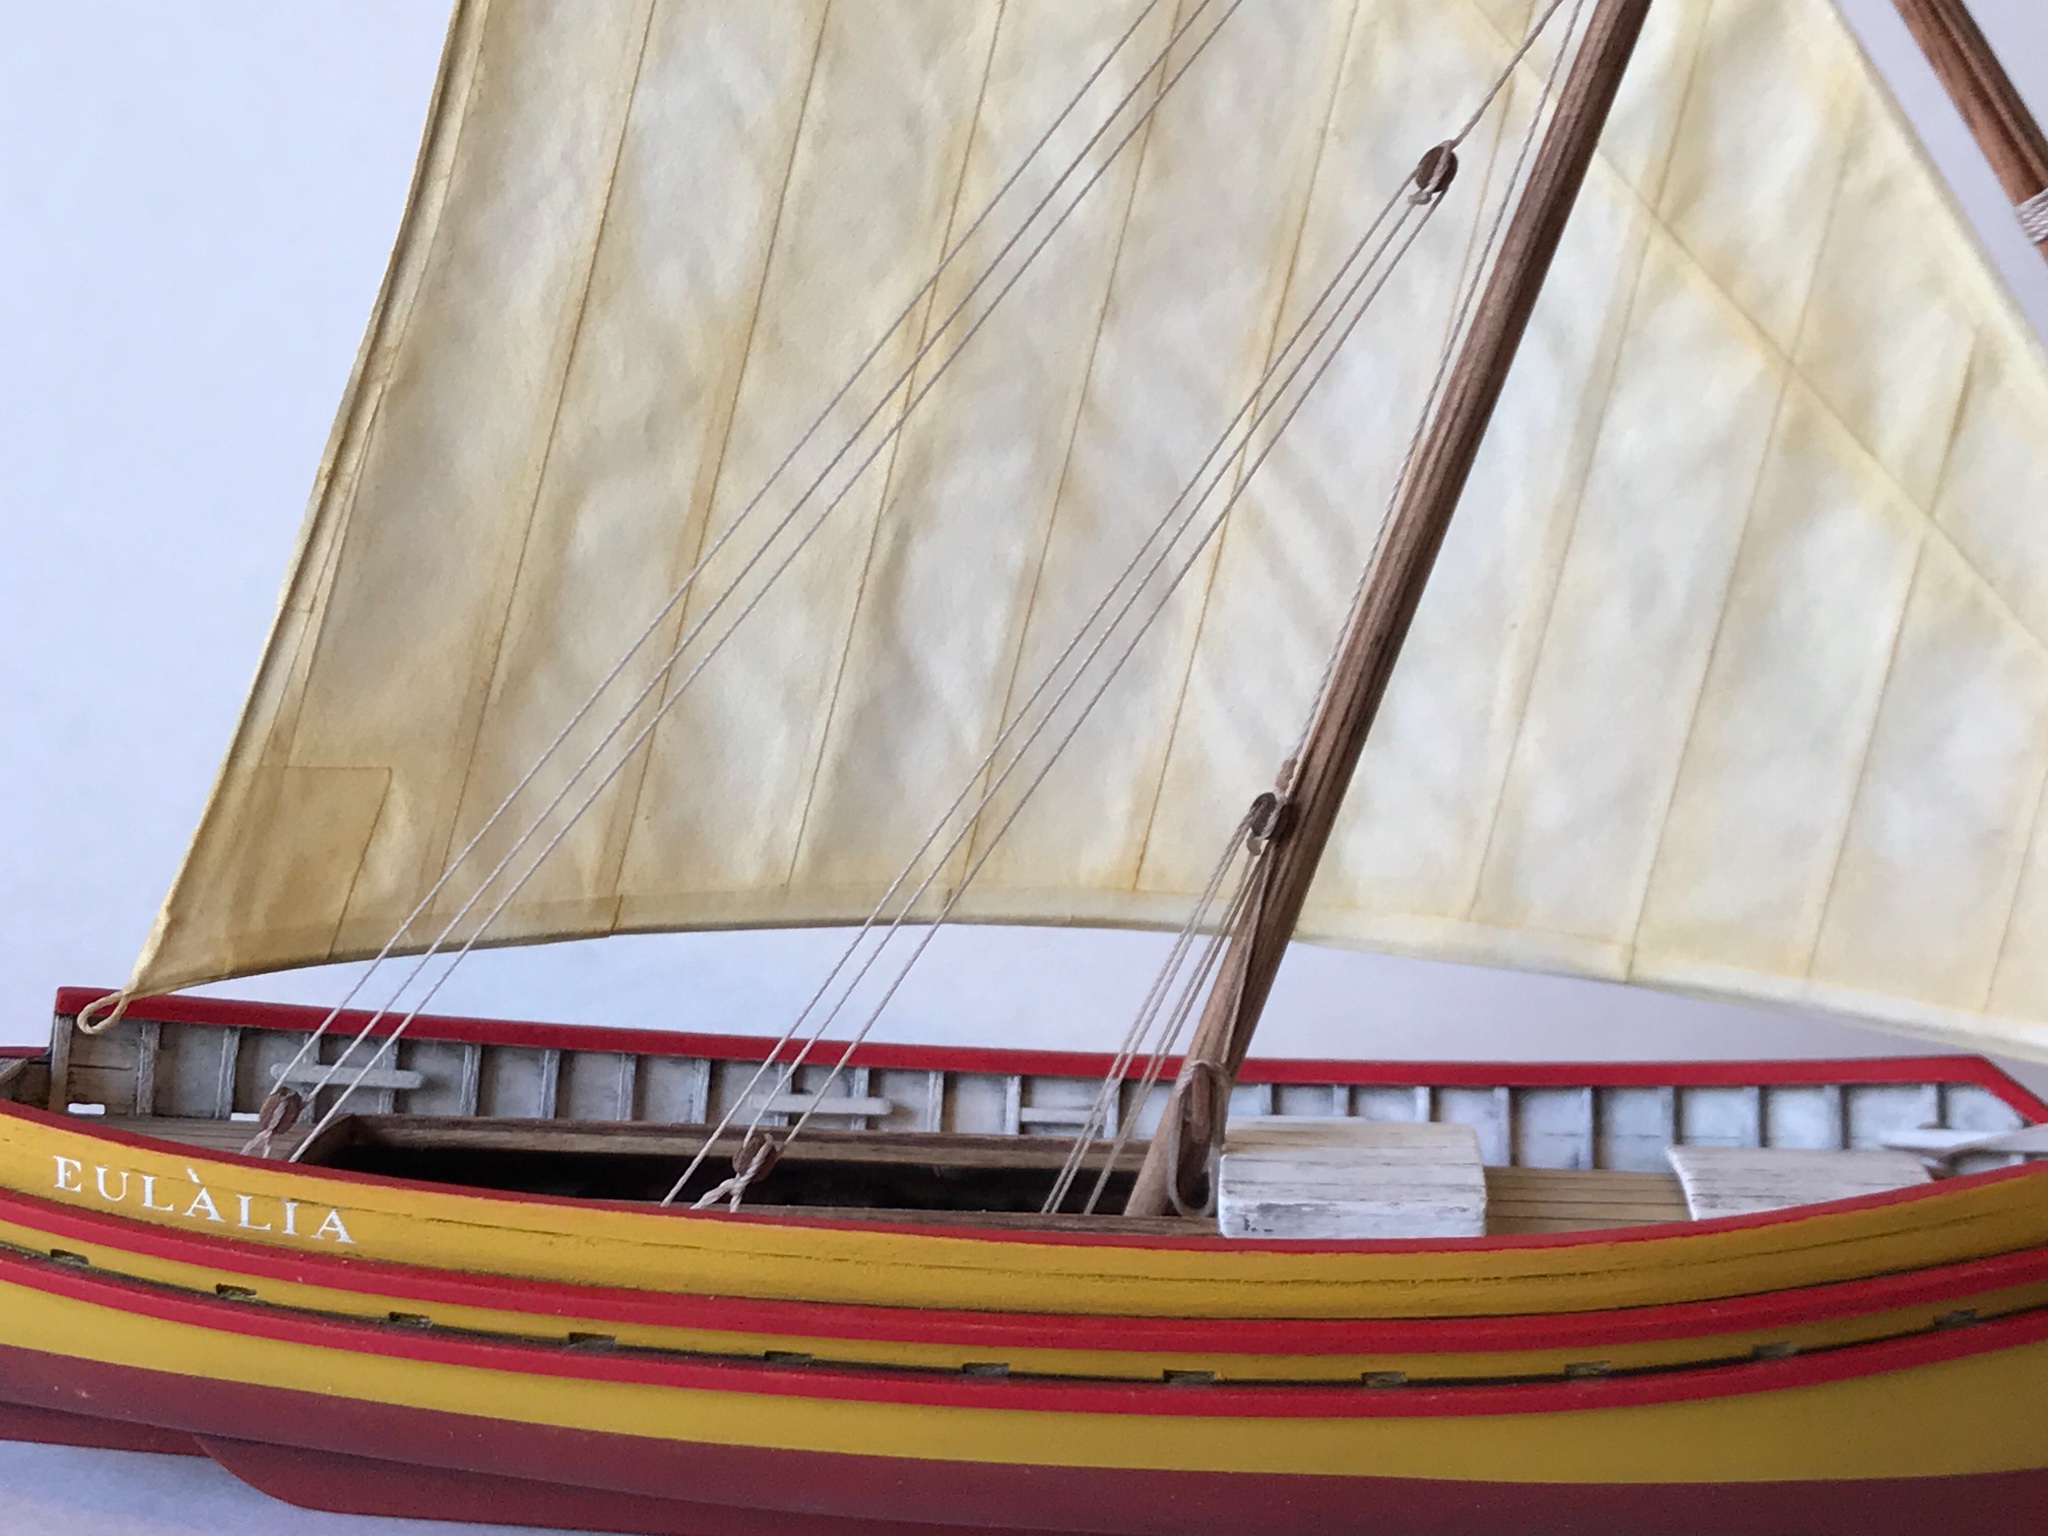
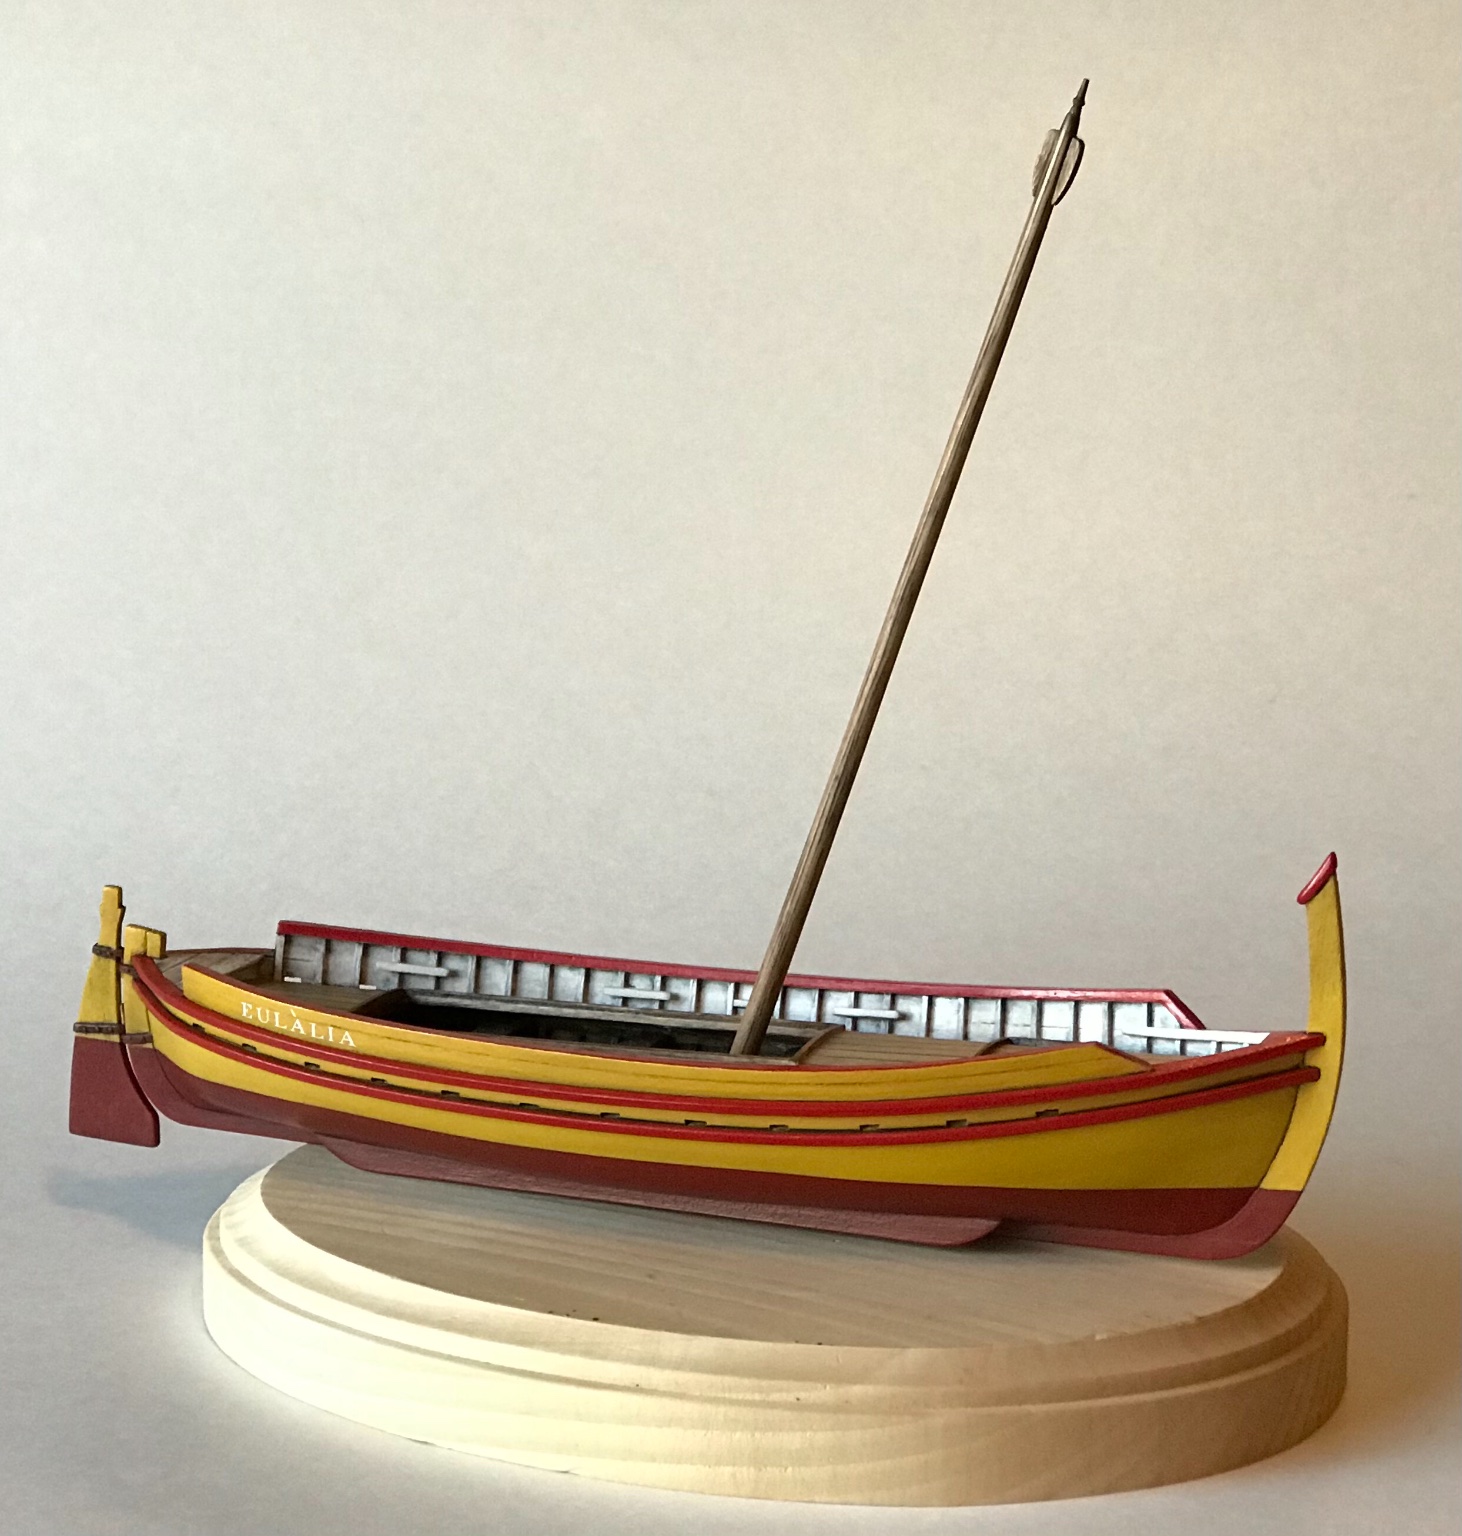
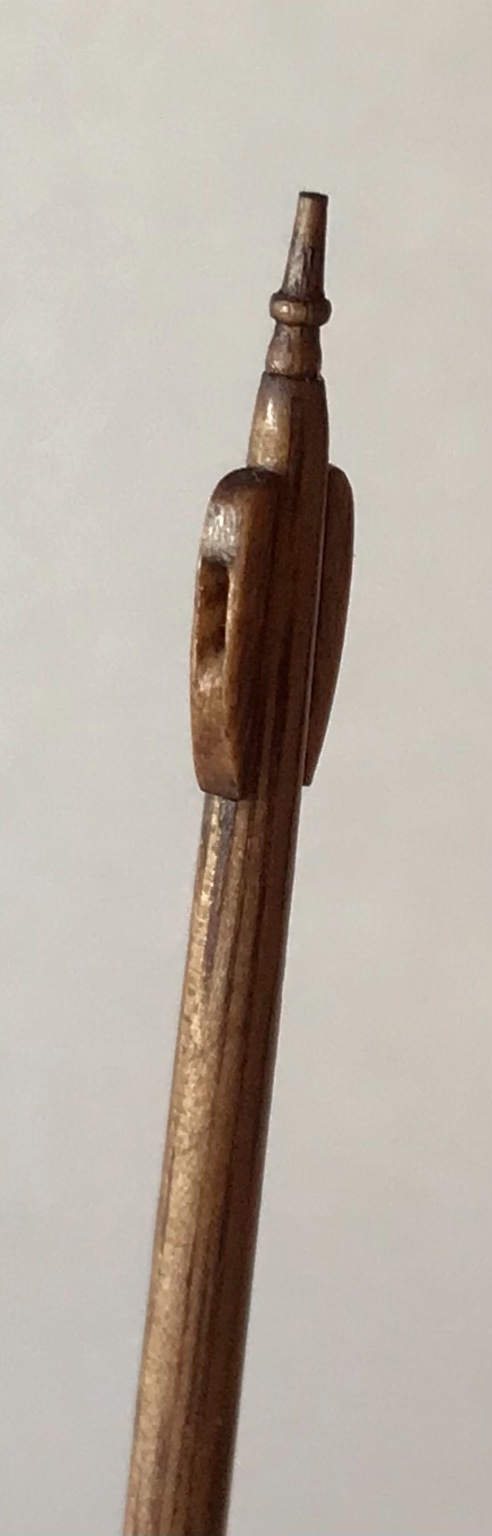
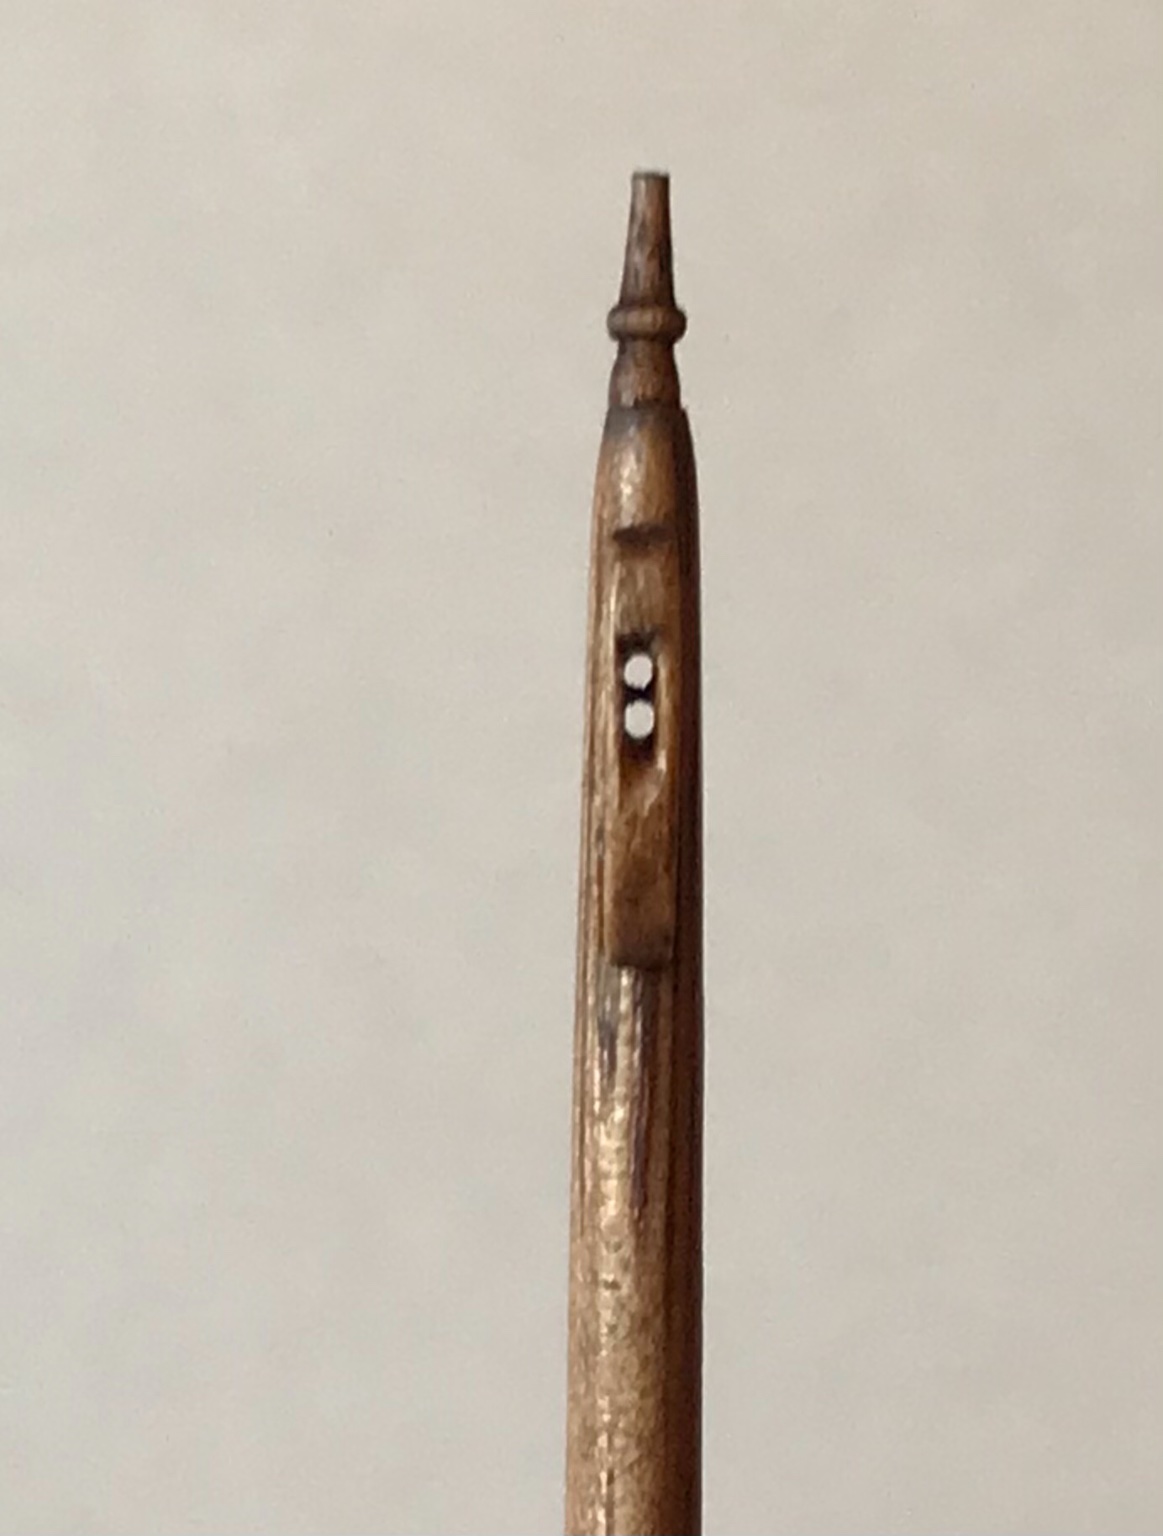
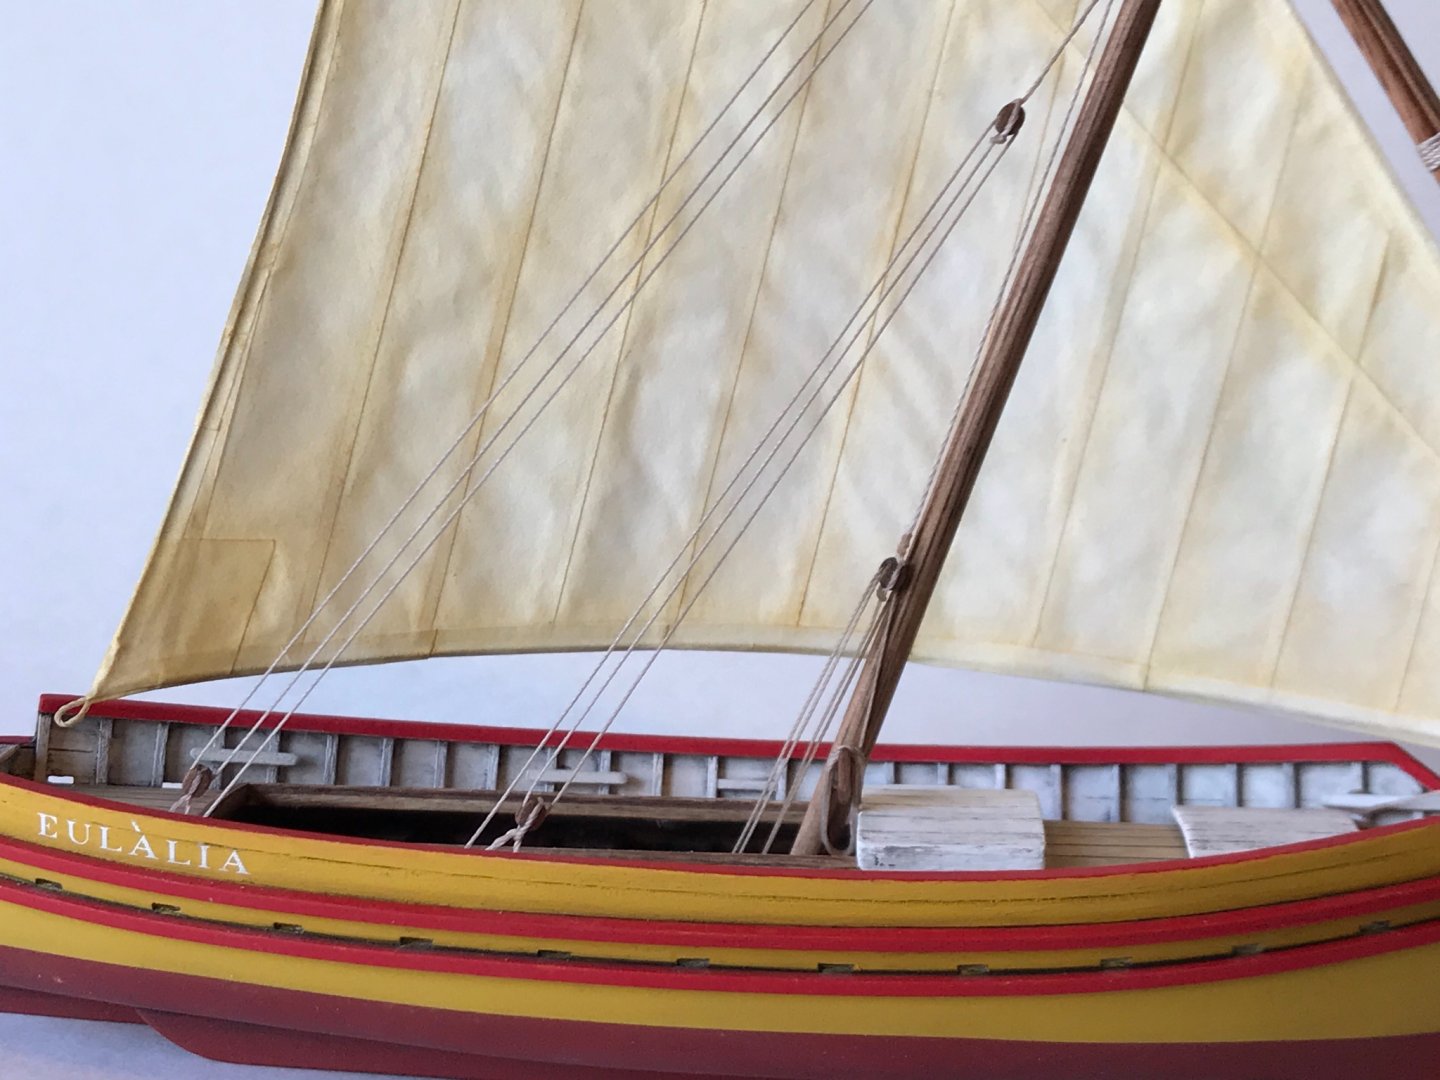
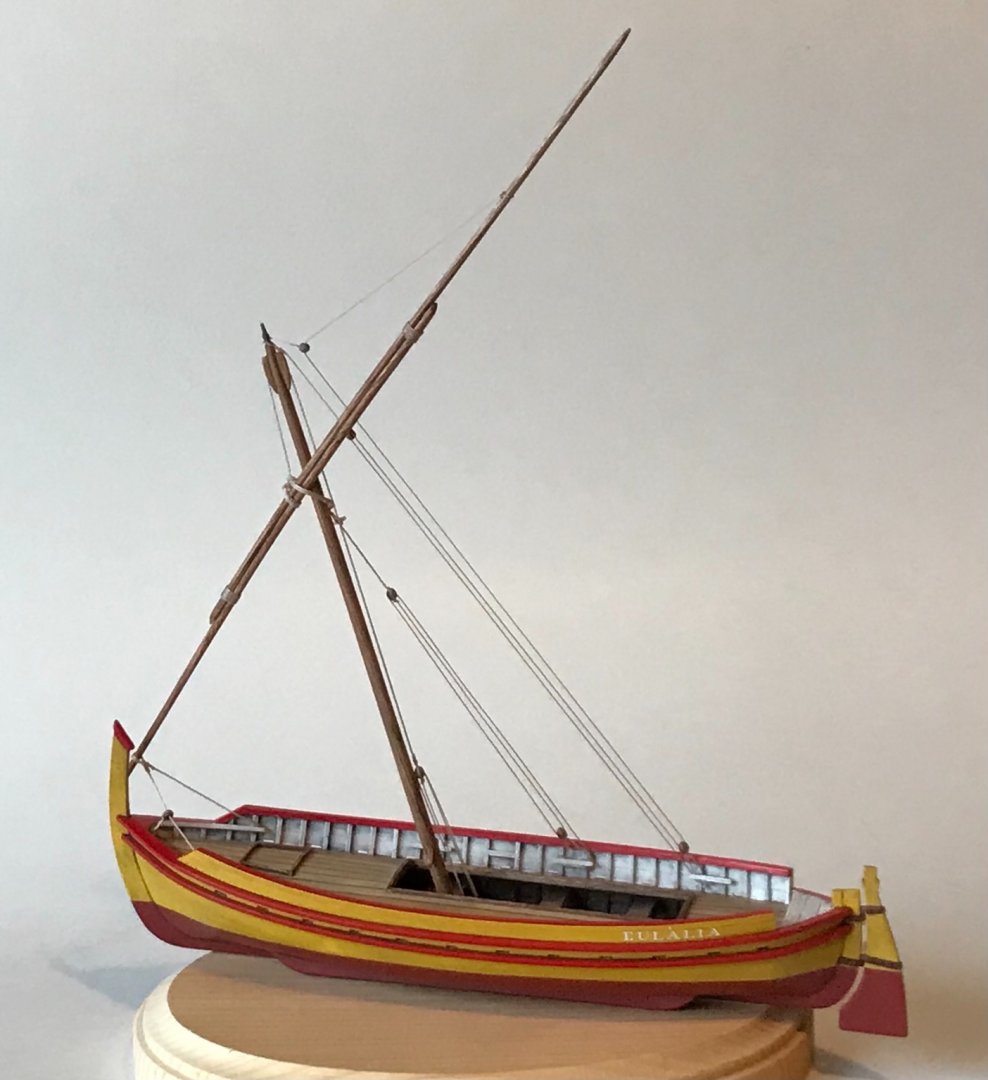
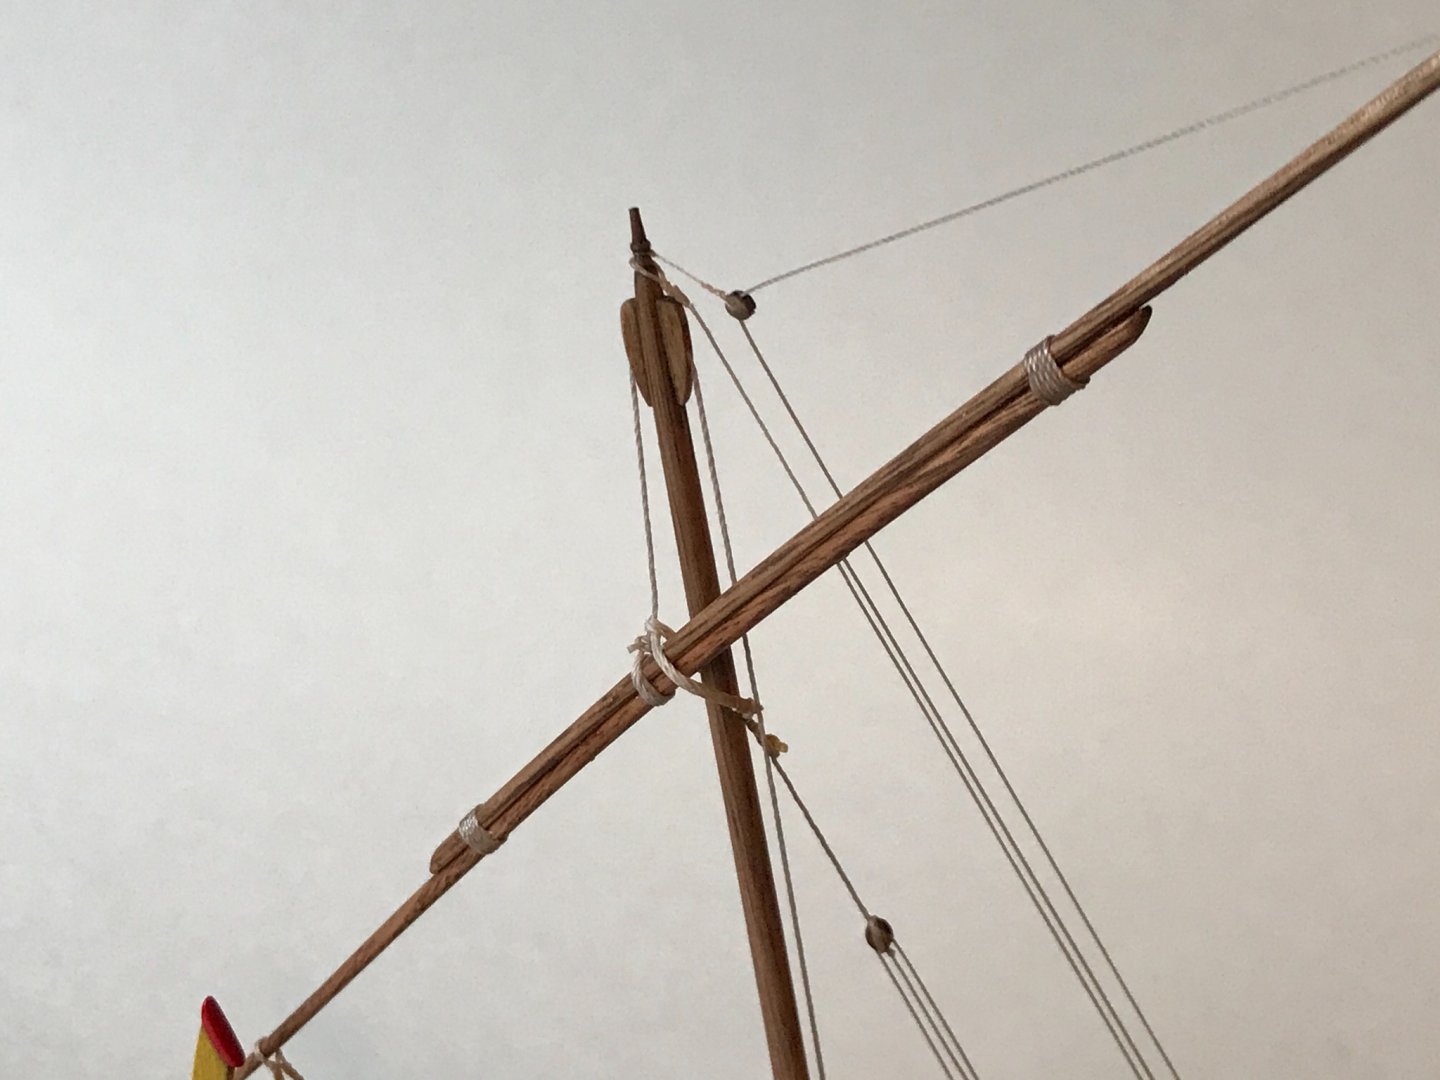
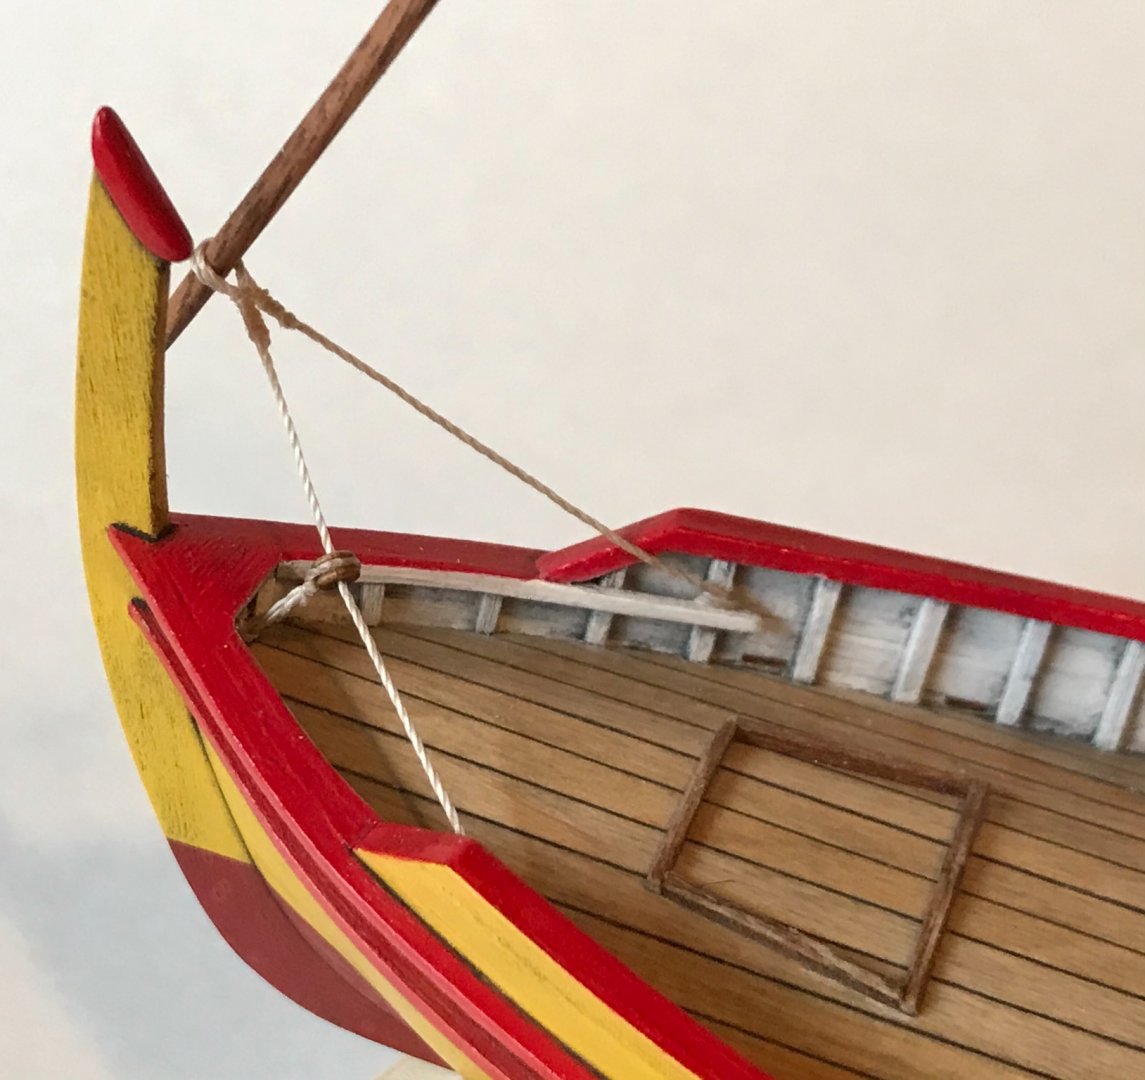
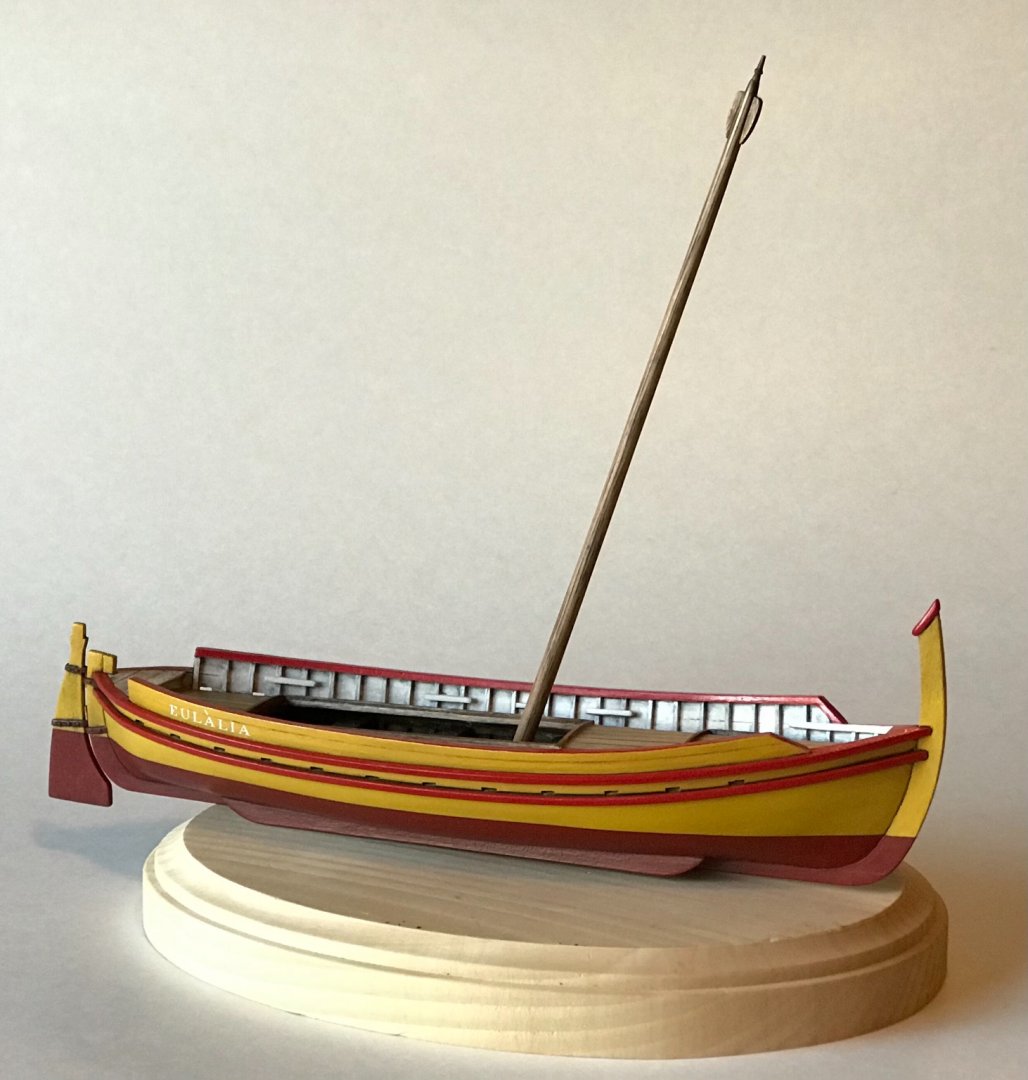
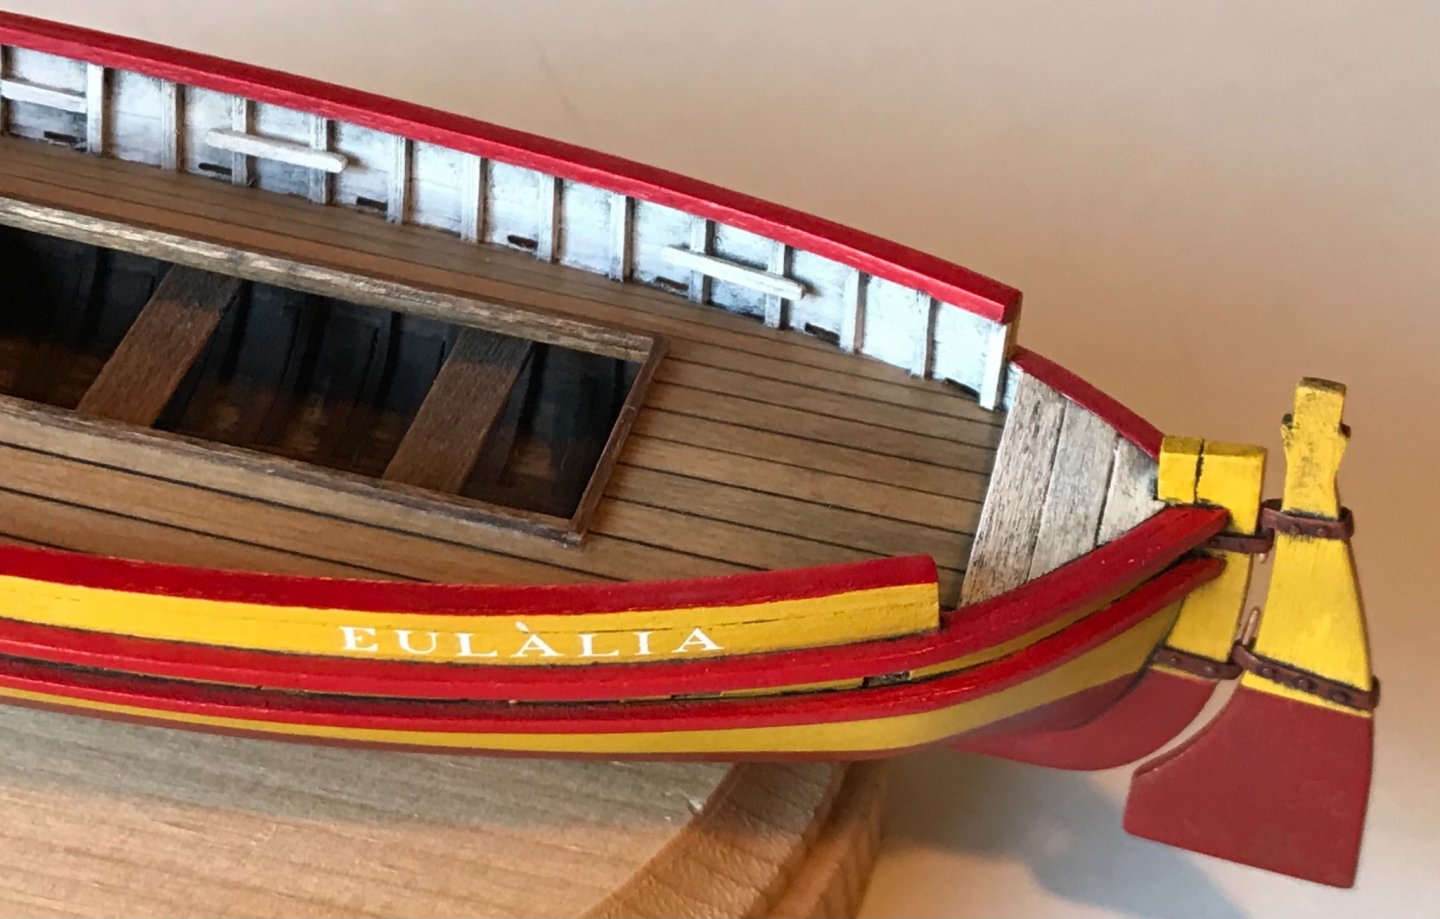
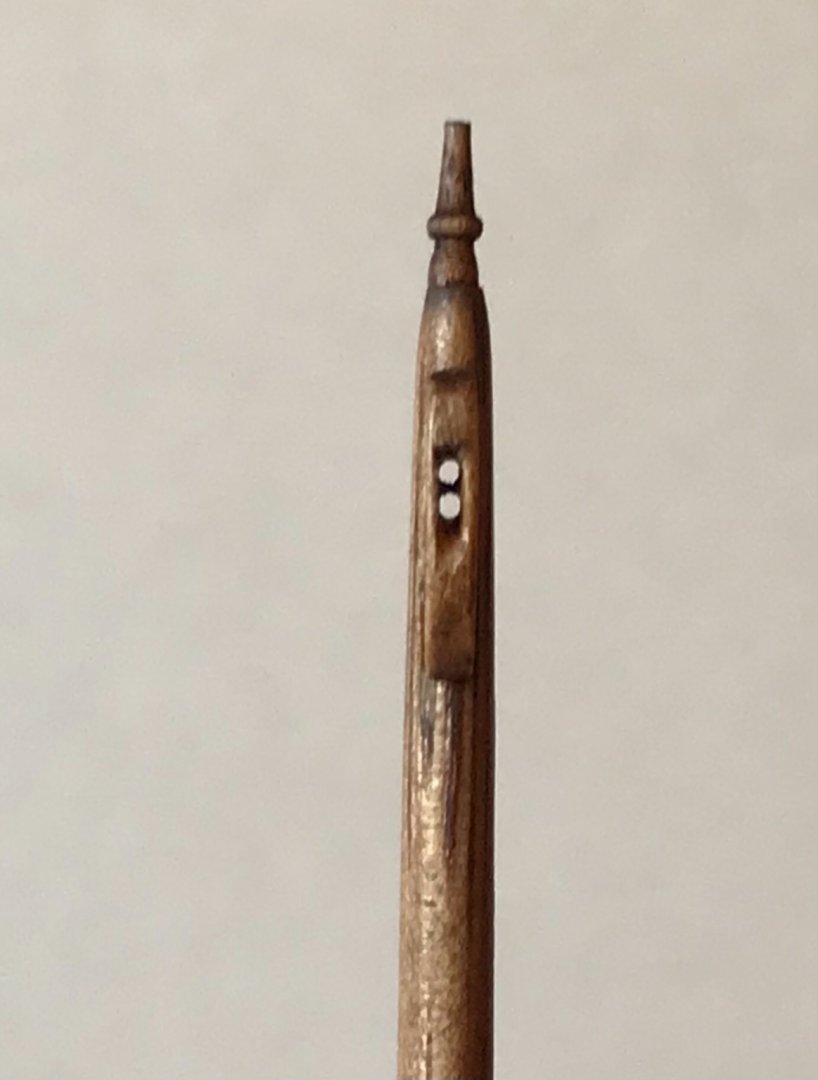
I wanted to weather the model slightly, because a sparkling-clean fishing boat did not seem right to me. The weathering process started with a black wash of artists' oil paint mixed with mineral spirits. The diluted solution was brushed all over the model. Since the model is painted with acrylics, the oil wash doesn't "attack" the acrylic base. However, it can stain the acrylic, especially where surfaces are rough. Therefore, I had first applied an acrylic gloss-coat all over the model. A lot of - but not all - the excess wash can be removed after it dries, using a cotton swab dampened with mineral spirts. I also use a clean cloth to wipe down the big areas. The idea is to get the wash in all the cracks and crevices, to give definition to the finer details. It also "dirties" the model with a grimy patina. I'm satisfied with the overall effect, but think I can do better. The interior (white) bulwarks didn't come out as well as I wanted. I think the gloss coat didn't cover the area well enough, and too much staining occurred. More experimentation is needed... Also added a name "Eulalia" (patron Saint of Barcelona) using individual letter decals, and got started on building the mast out of a dowel. The built-in pulley block at the top of the mast was fun to develop!


- 72 replies
-
- 8
-
-
- fishing boat
- Barco Catalan
- (and 1 more)