-
Posts
465 -
Joined
-
Last visited
Content Type
Profiles
Forums
Gallery
Events
Everything posted by Gbmodeler
-
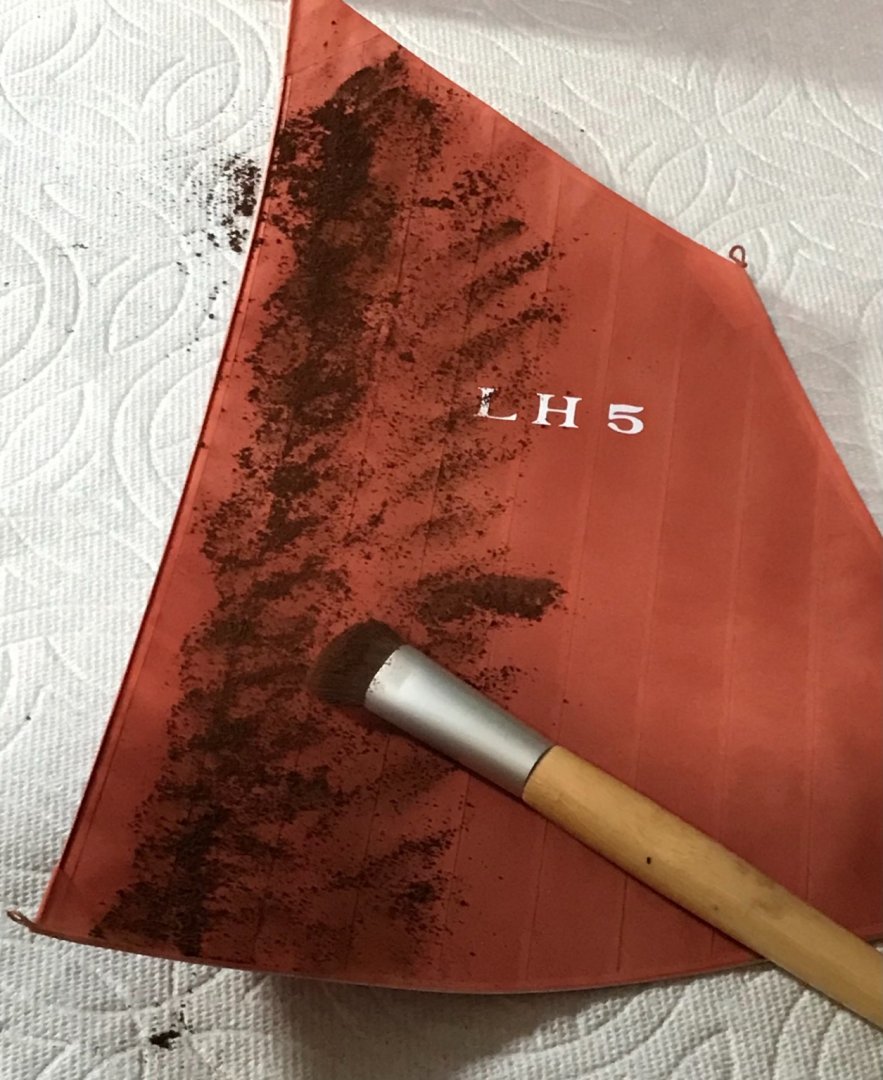
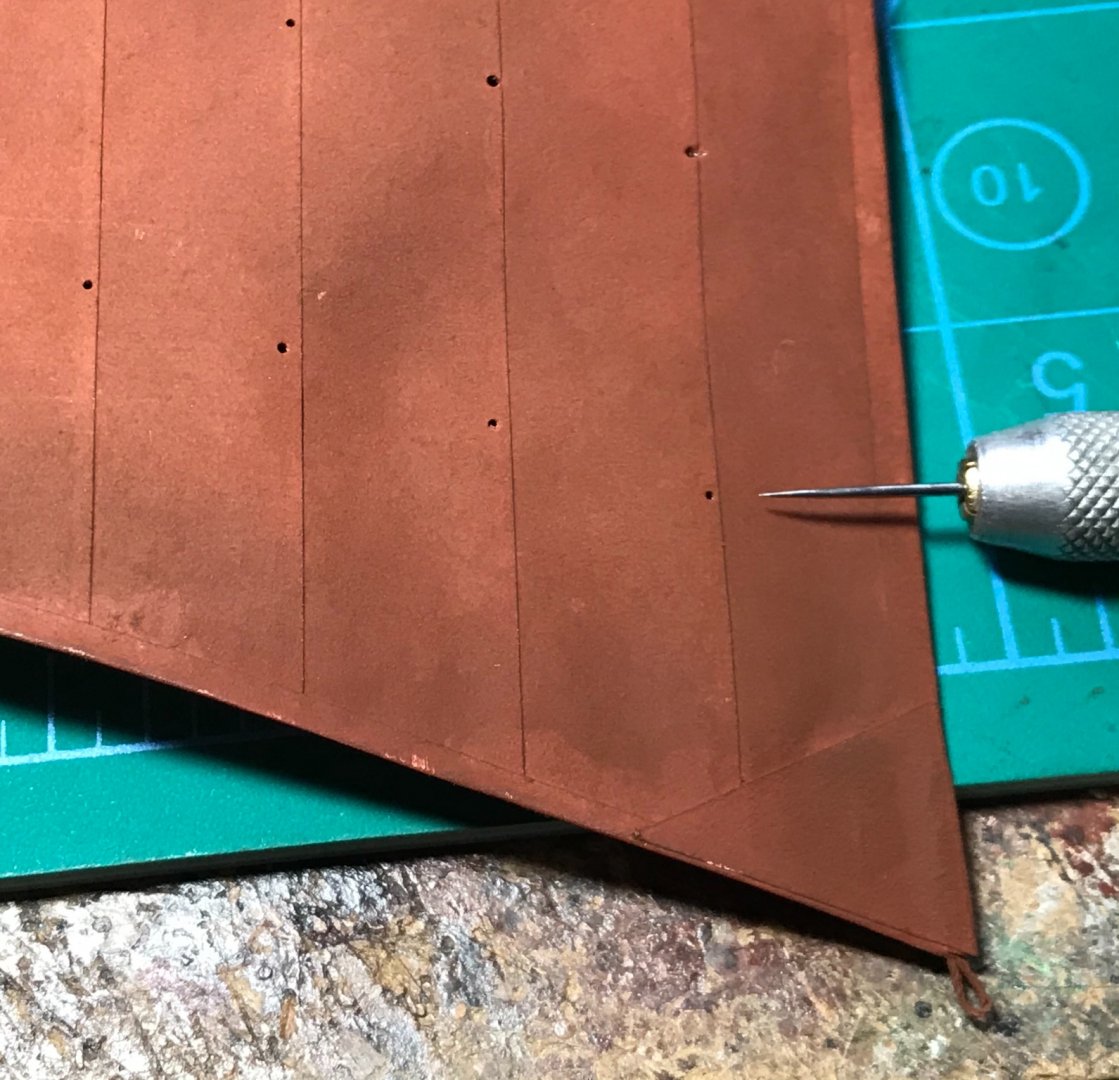
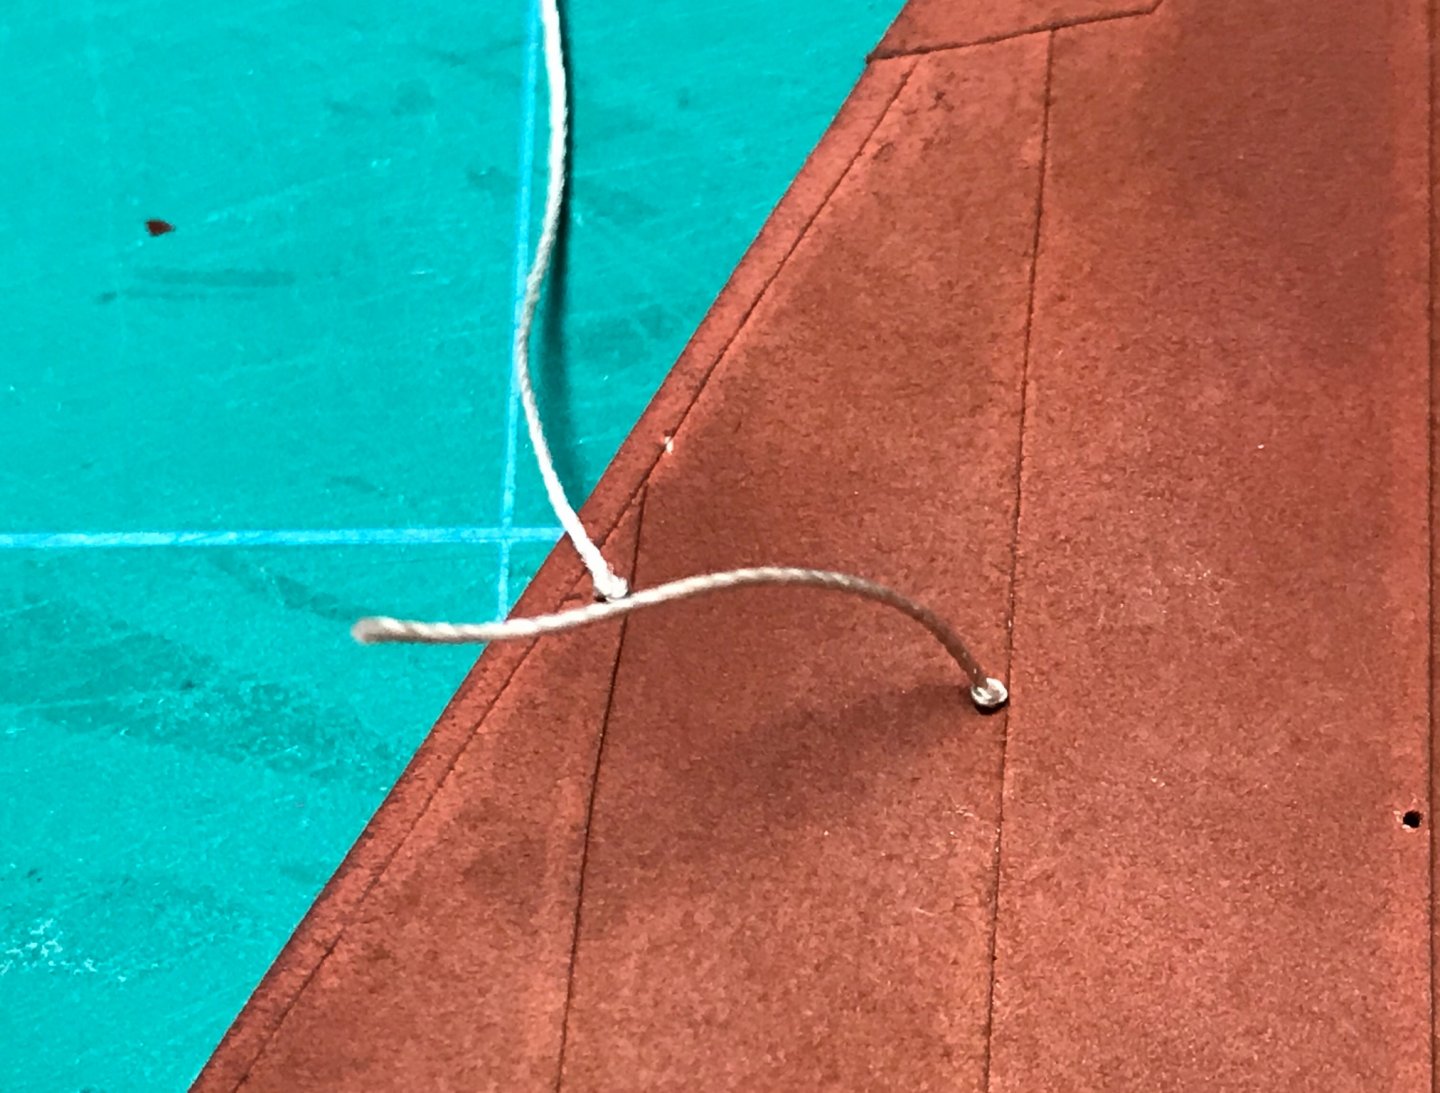
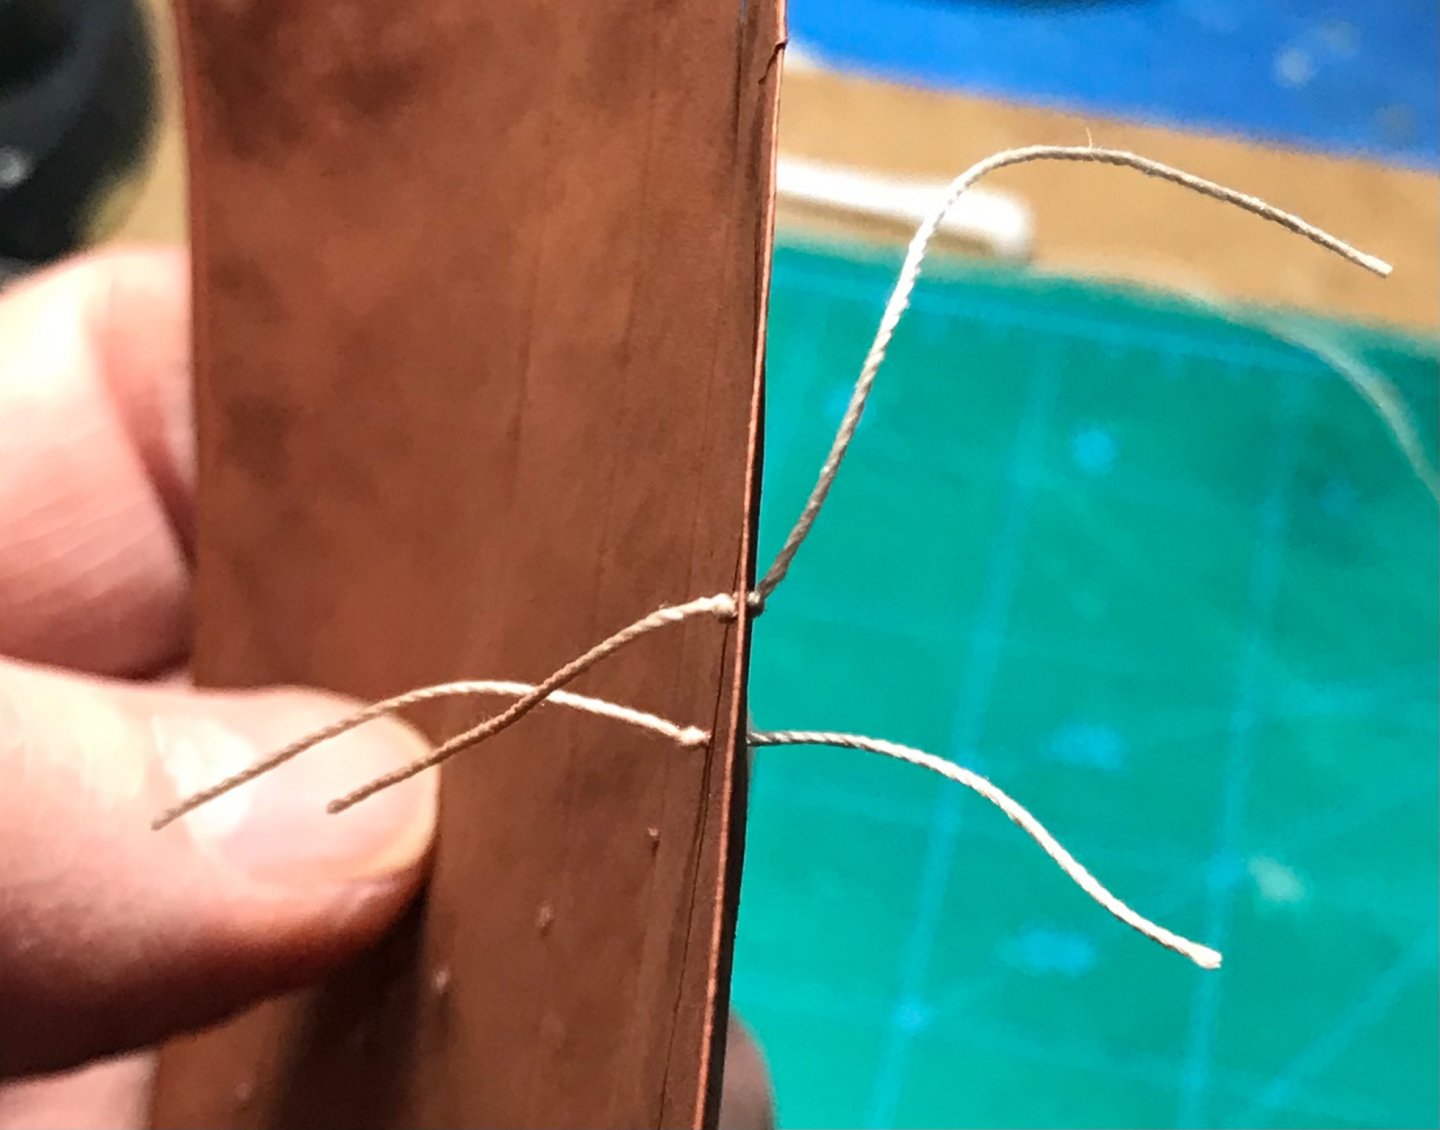
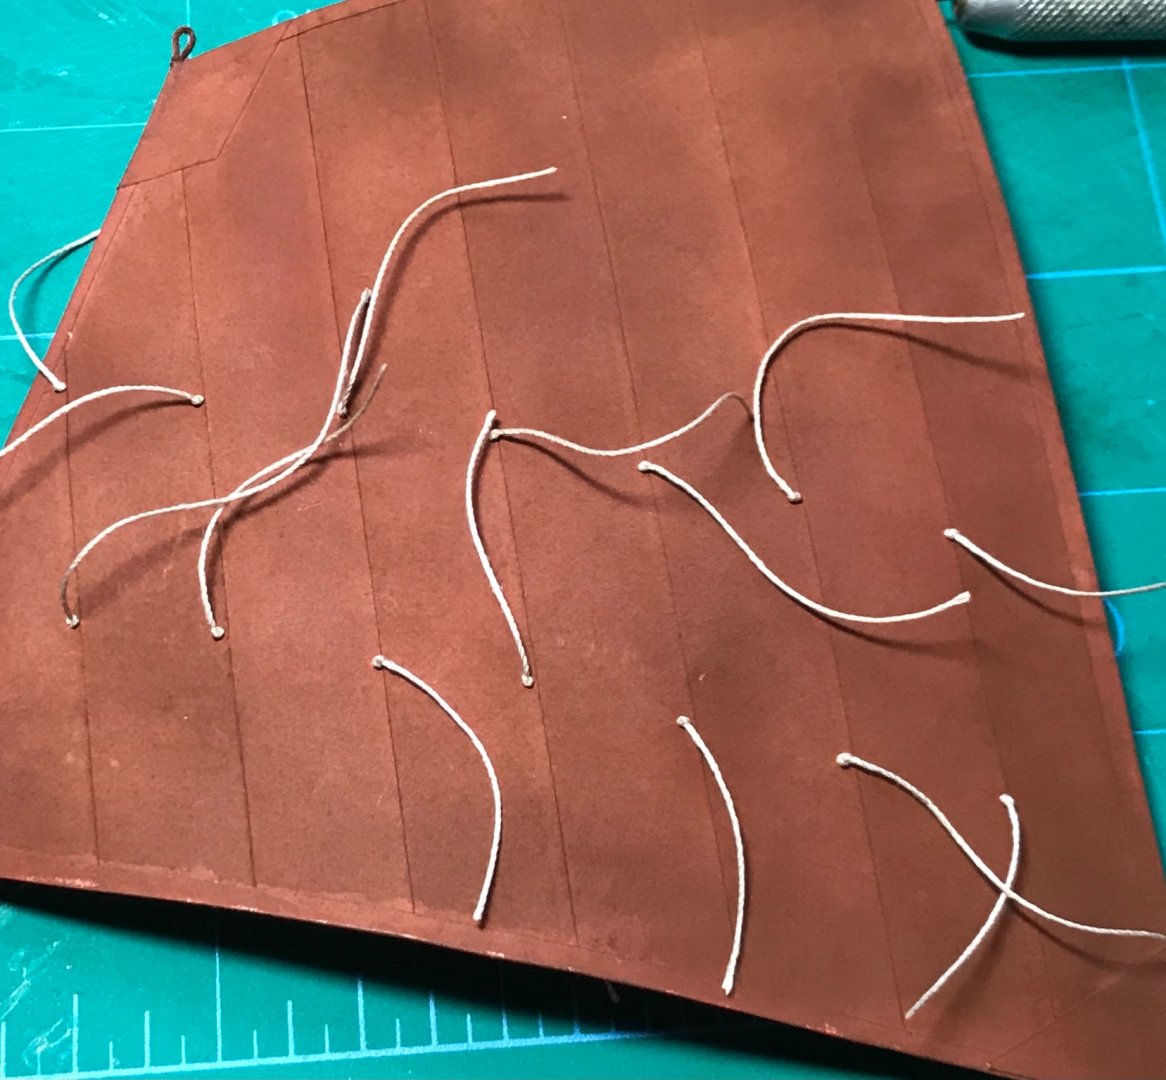
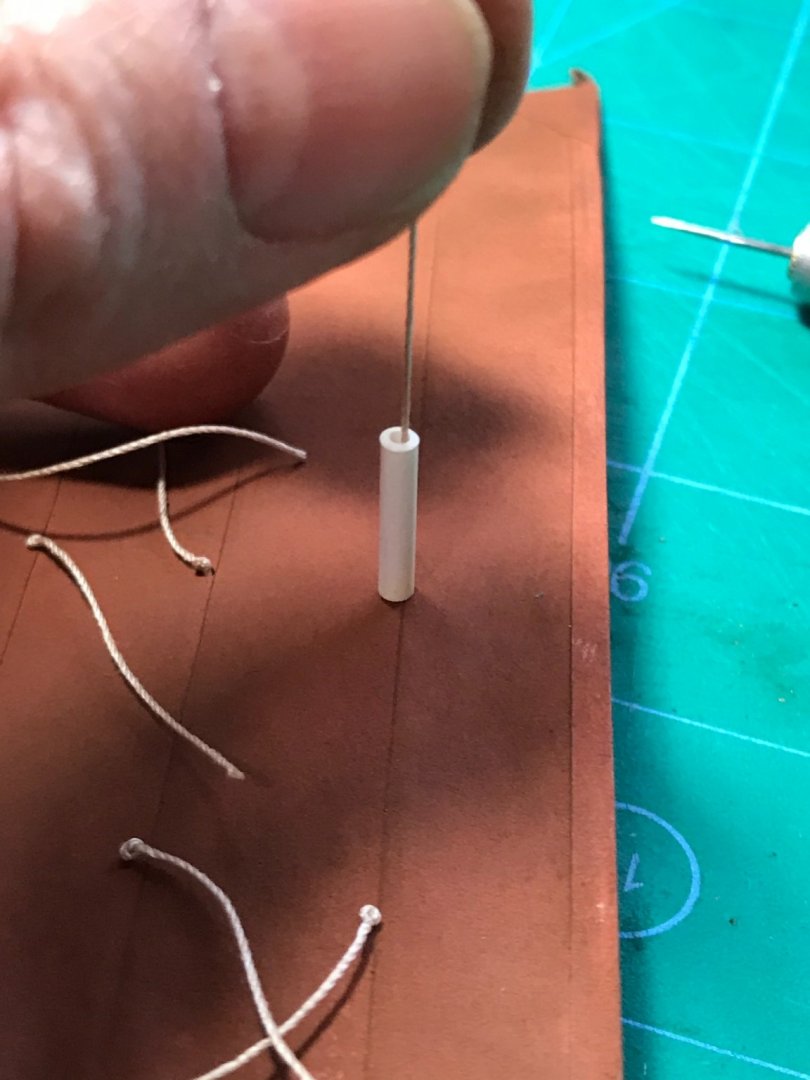
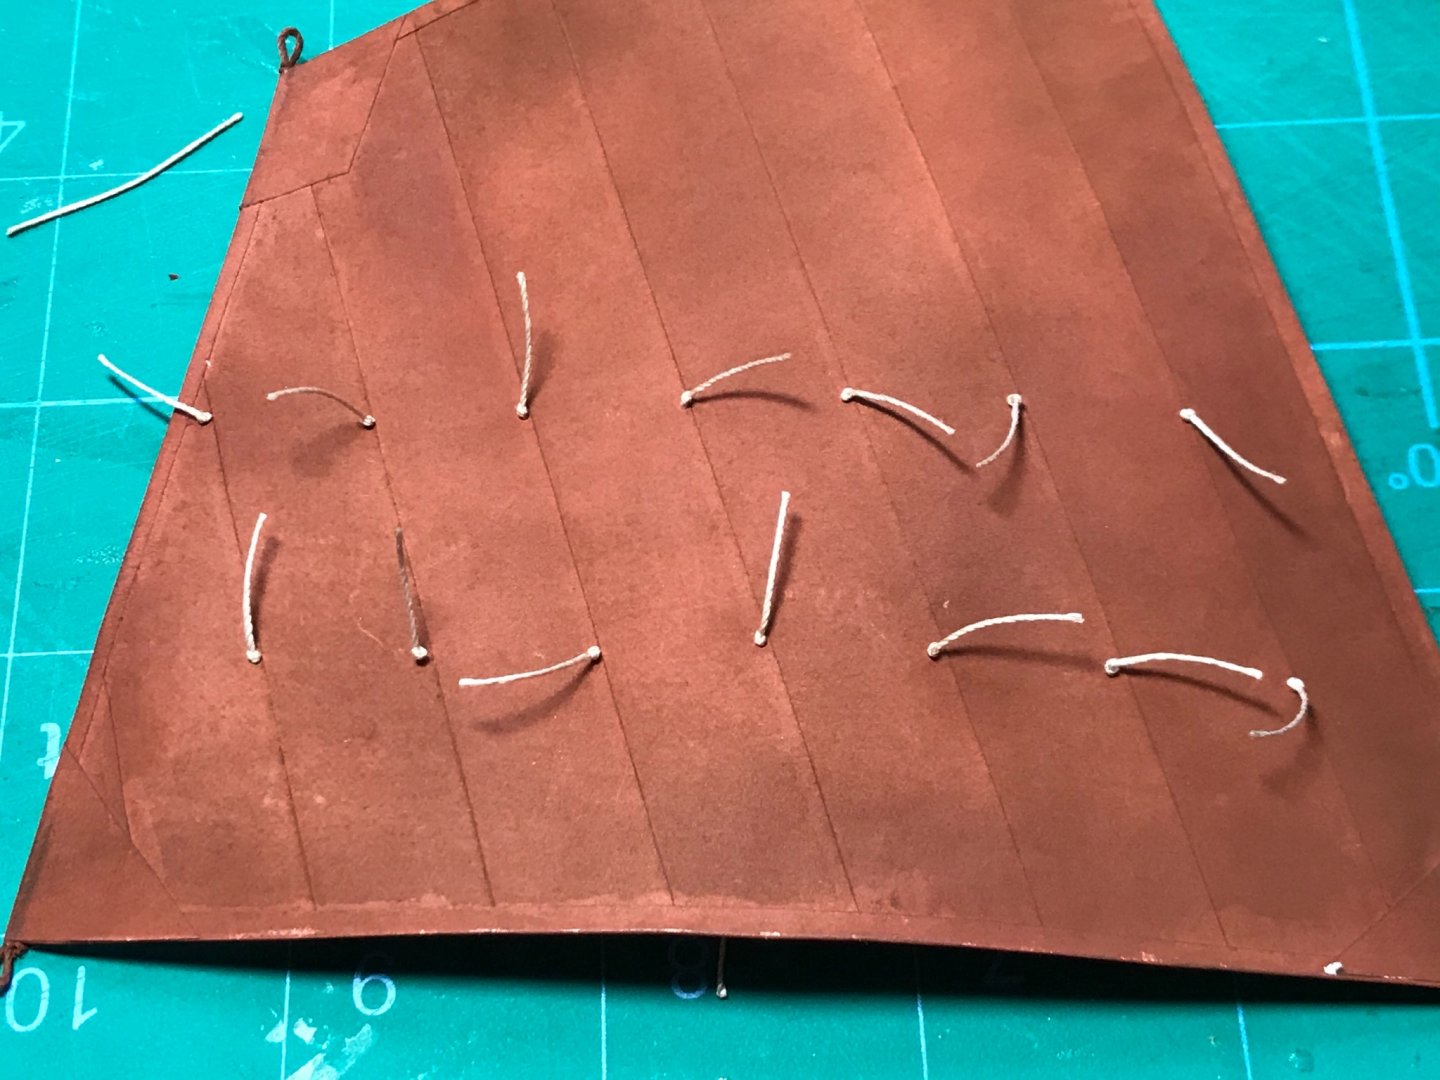
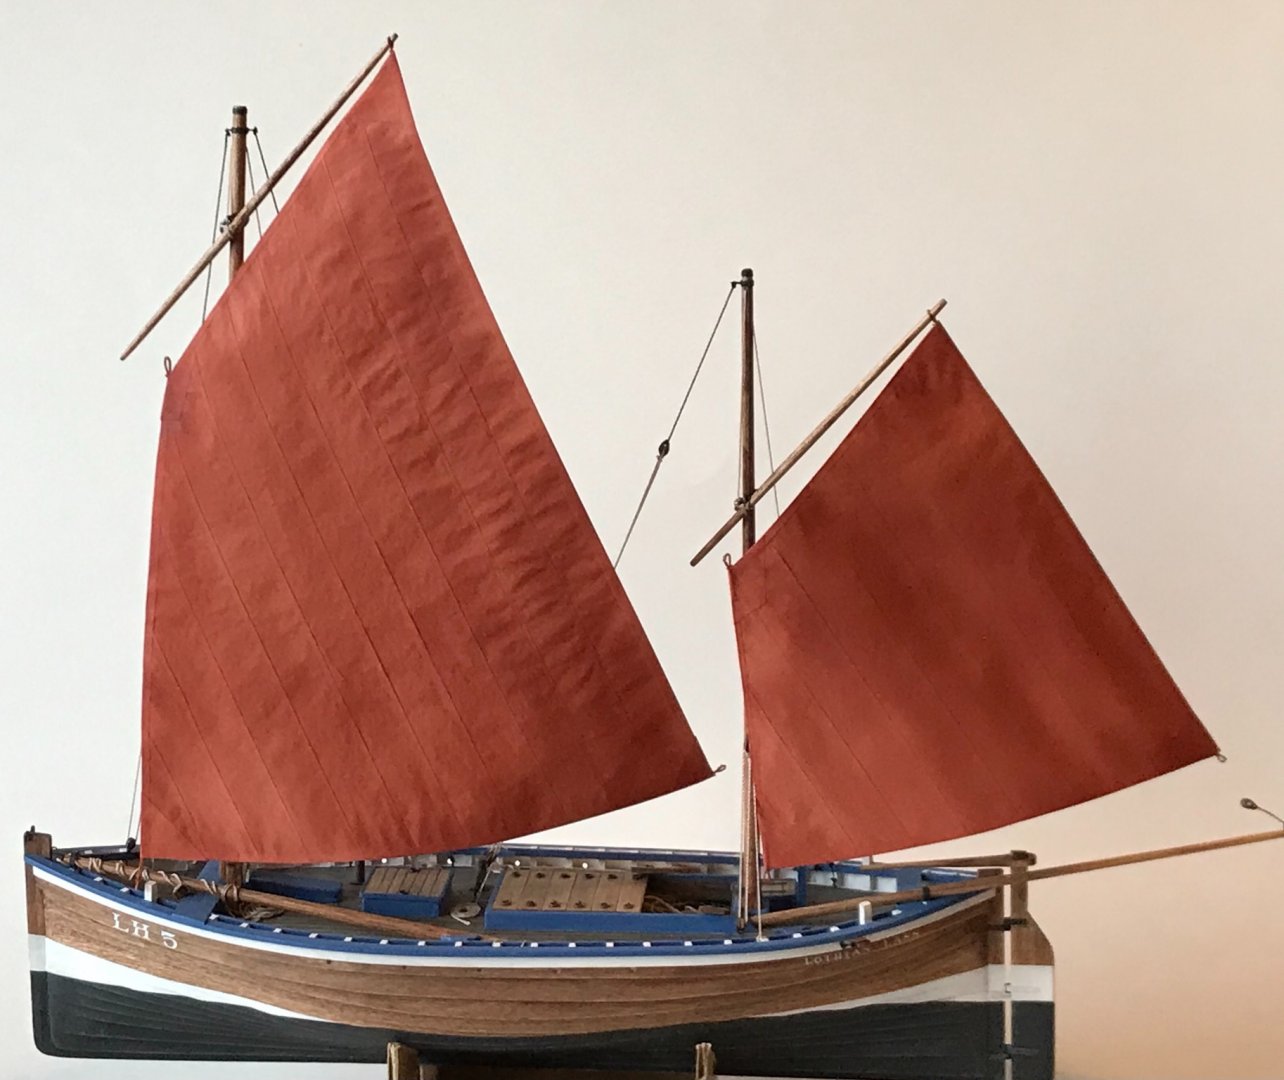
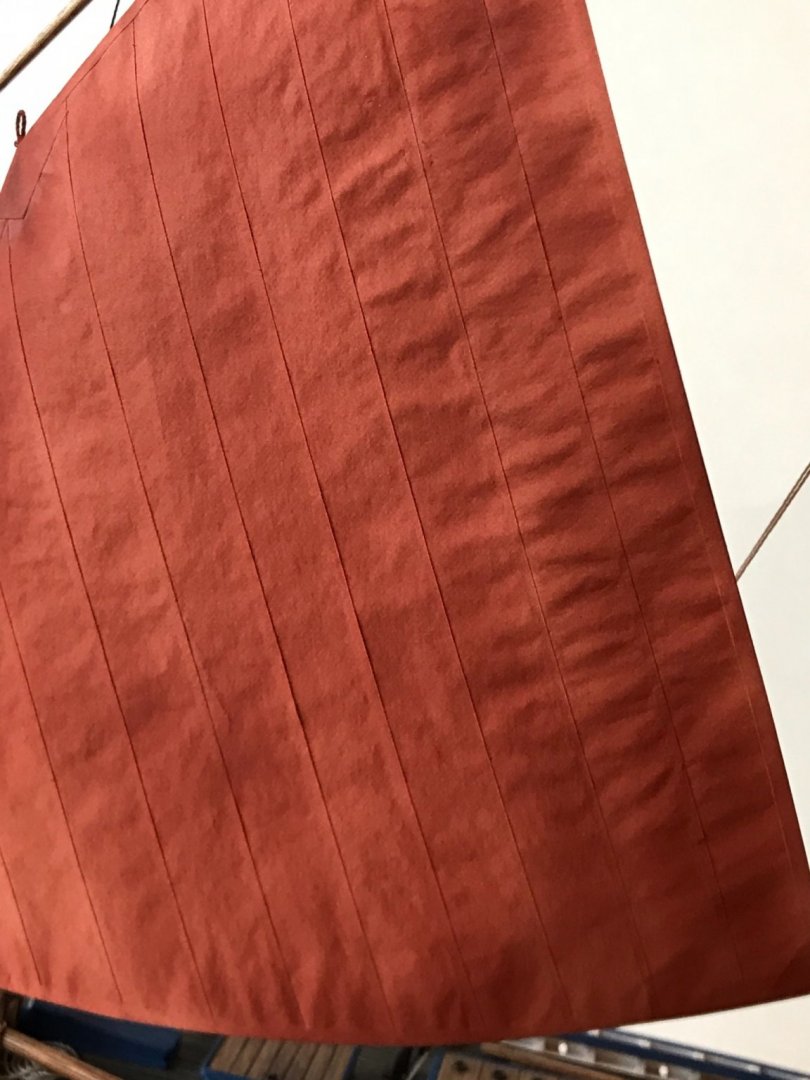
After painting the sails, boat registry numbers were applied with dry transfer rub-on lettering. Then, burnt umber powdered pigment was gently rubbed-in with a makeup brush. This darkened the color and enhanced the highlights and recesses. I poked holes at appropriate locations for installation of reef lines. I find installing the reef lines very tedious business, but necessary... A knot is tied and the line is threaded through the hole Another knot is tied on the opposite side. The reef lines formed on both sides are extra long, to accommodate trimming later... Trimming the lines to equal lengths by using scissors and a piece of plastic tube, as a guide... The lines will be glued down with diluted PA glue, in the direction of gravity.
-
I think you are right. It's hard to see the finer details in the historic photos I have, and what I installed are more like bolt ropes...
-
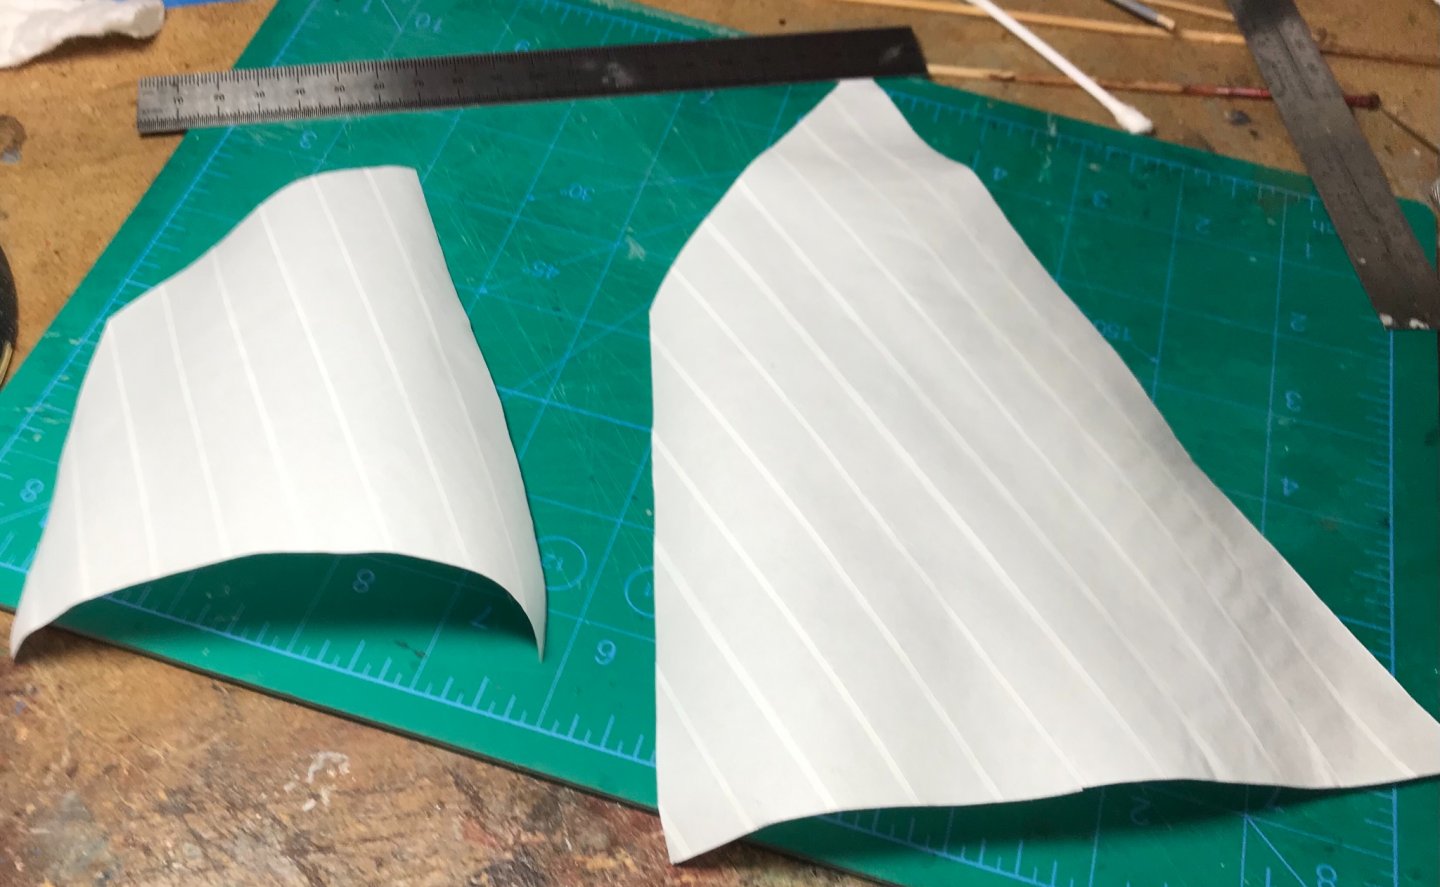
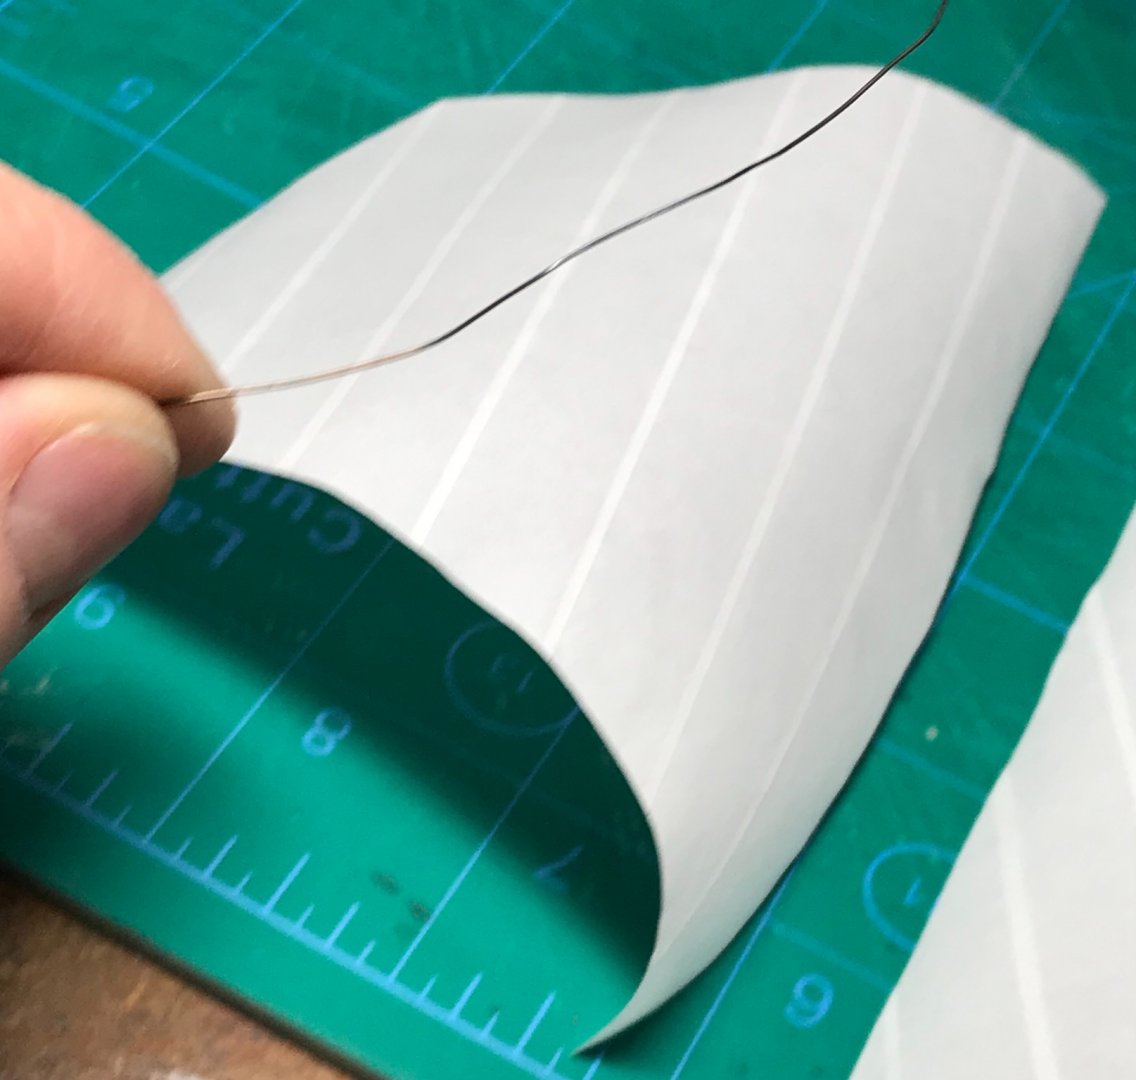
Sail making has begun. As I have shown on previous builds, it starts with cutting 15mm wide strips of graphic marker paper and gluing them together with diluted PA glue. The overlapping seams are 1mm wide. I embed wire under edge-trim pieces along the leech (sail's back edge) and the foot (sail bottom edge). The wire can be bent later, to make it appear the sails are filled with wind. I also embed loops of rope at the corners for clews. Here the fit is being tested... Next, the sails are colored, if needed. In this case a rusty mix of Tamiya acrylic model paint was airbrushed over the sails...
-
I see some folks make their own rope but I have not yet considered it. It does look better! Are there any tutorials anywhere???
-
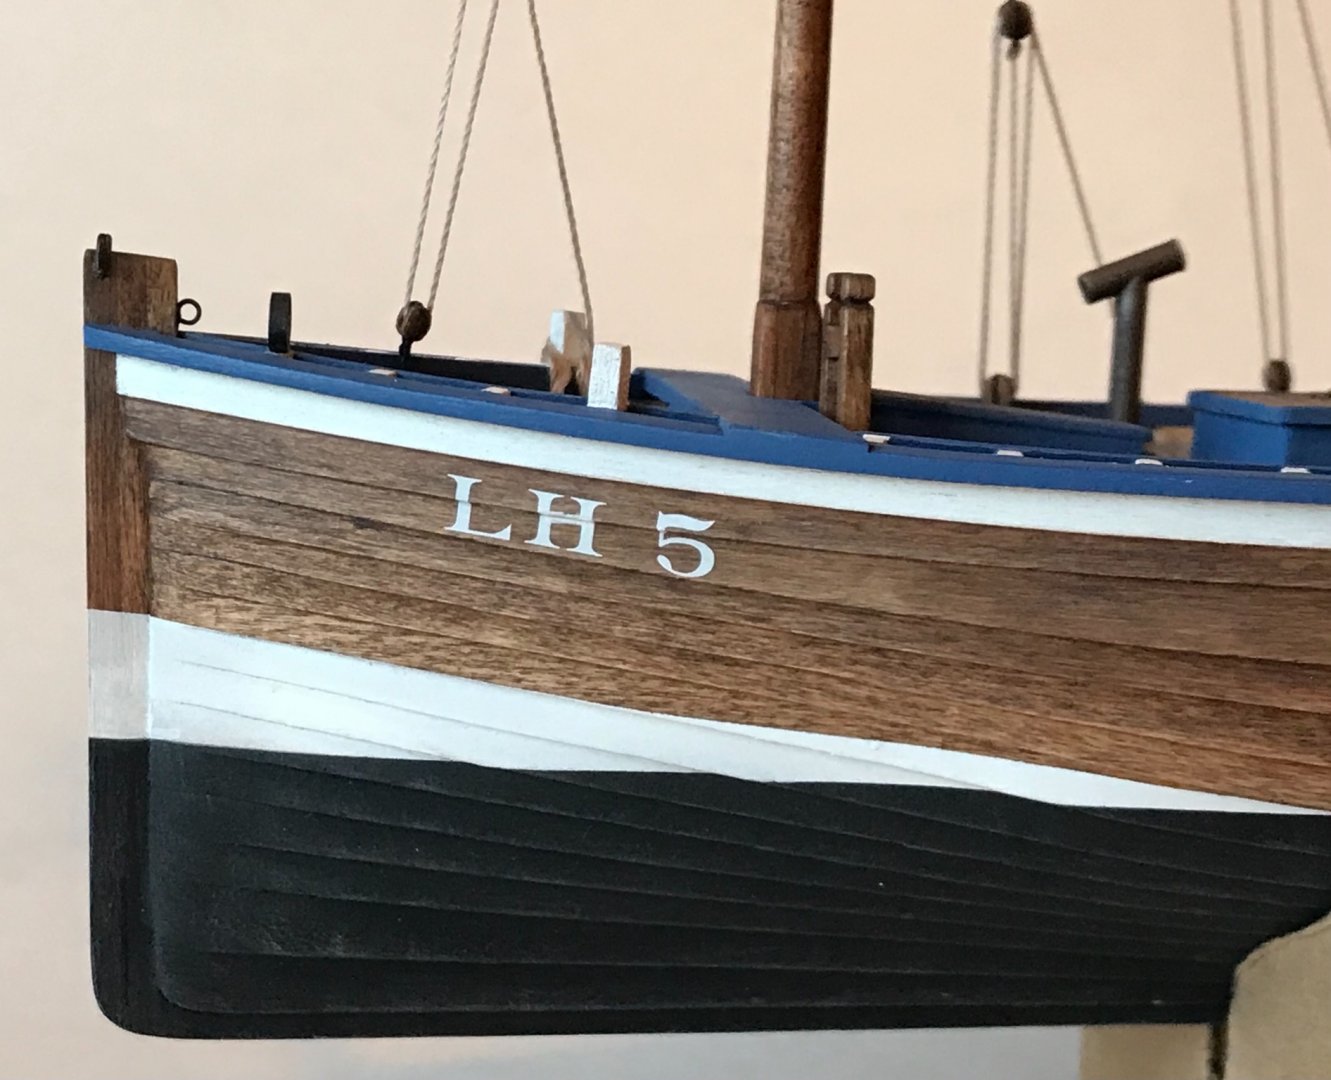
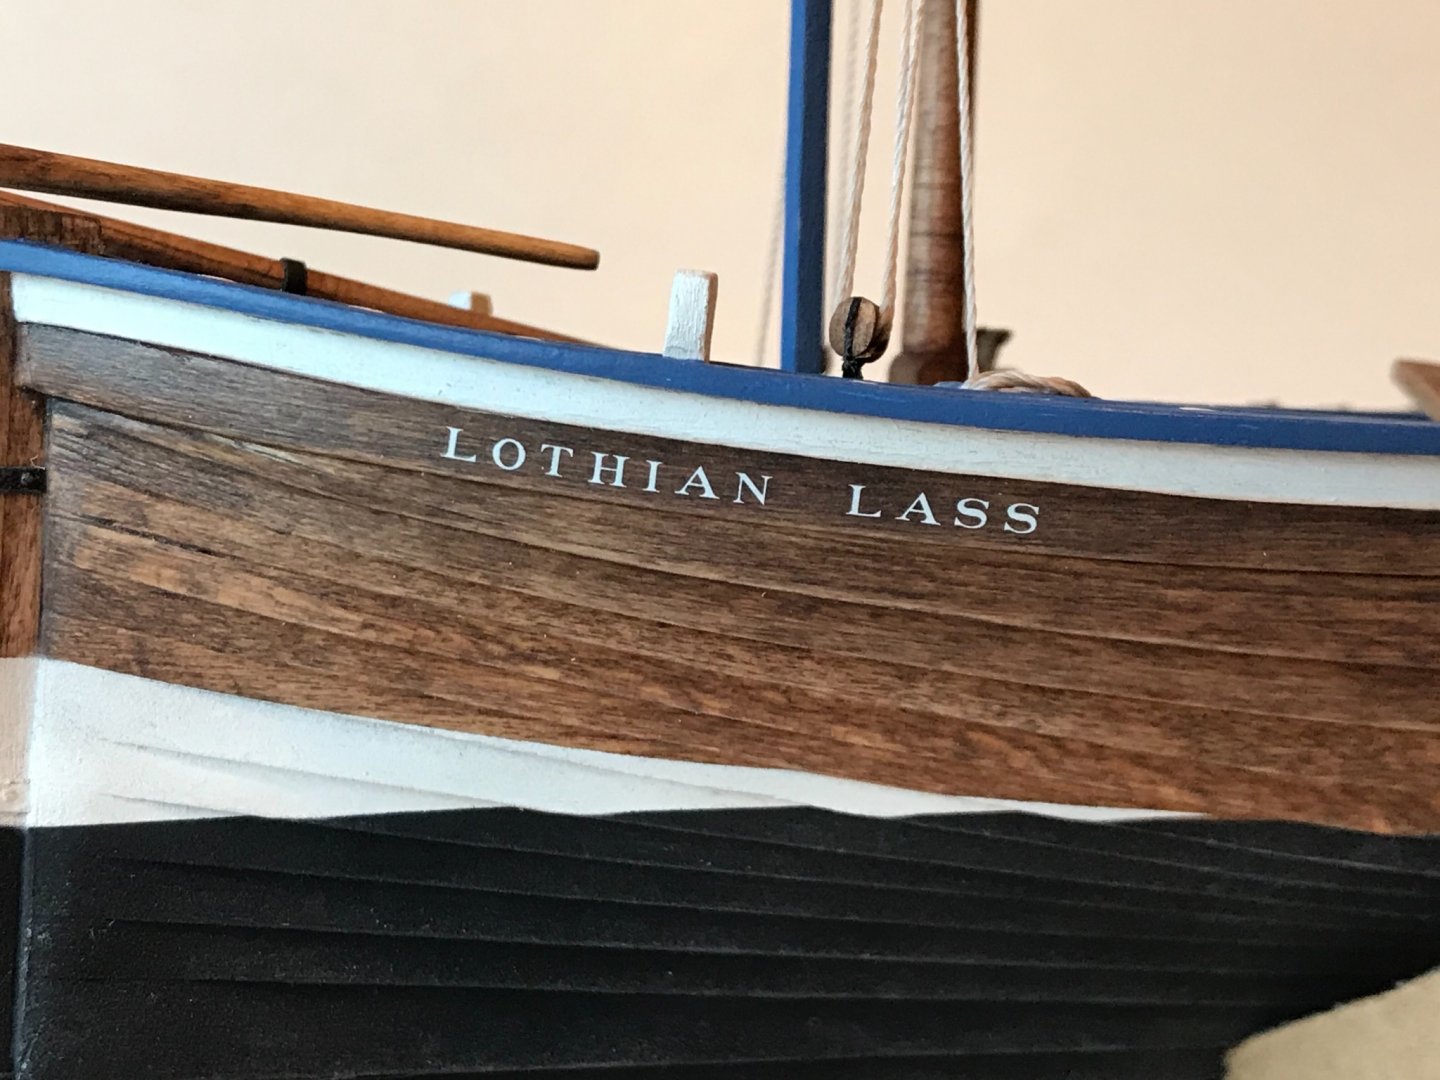
Thanks Bruce D! The lettering is made from water-slide decals from Microscale. They are individual letters and numbers made for model railroads, and come in various sizes, fonts, and colors.
-
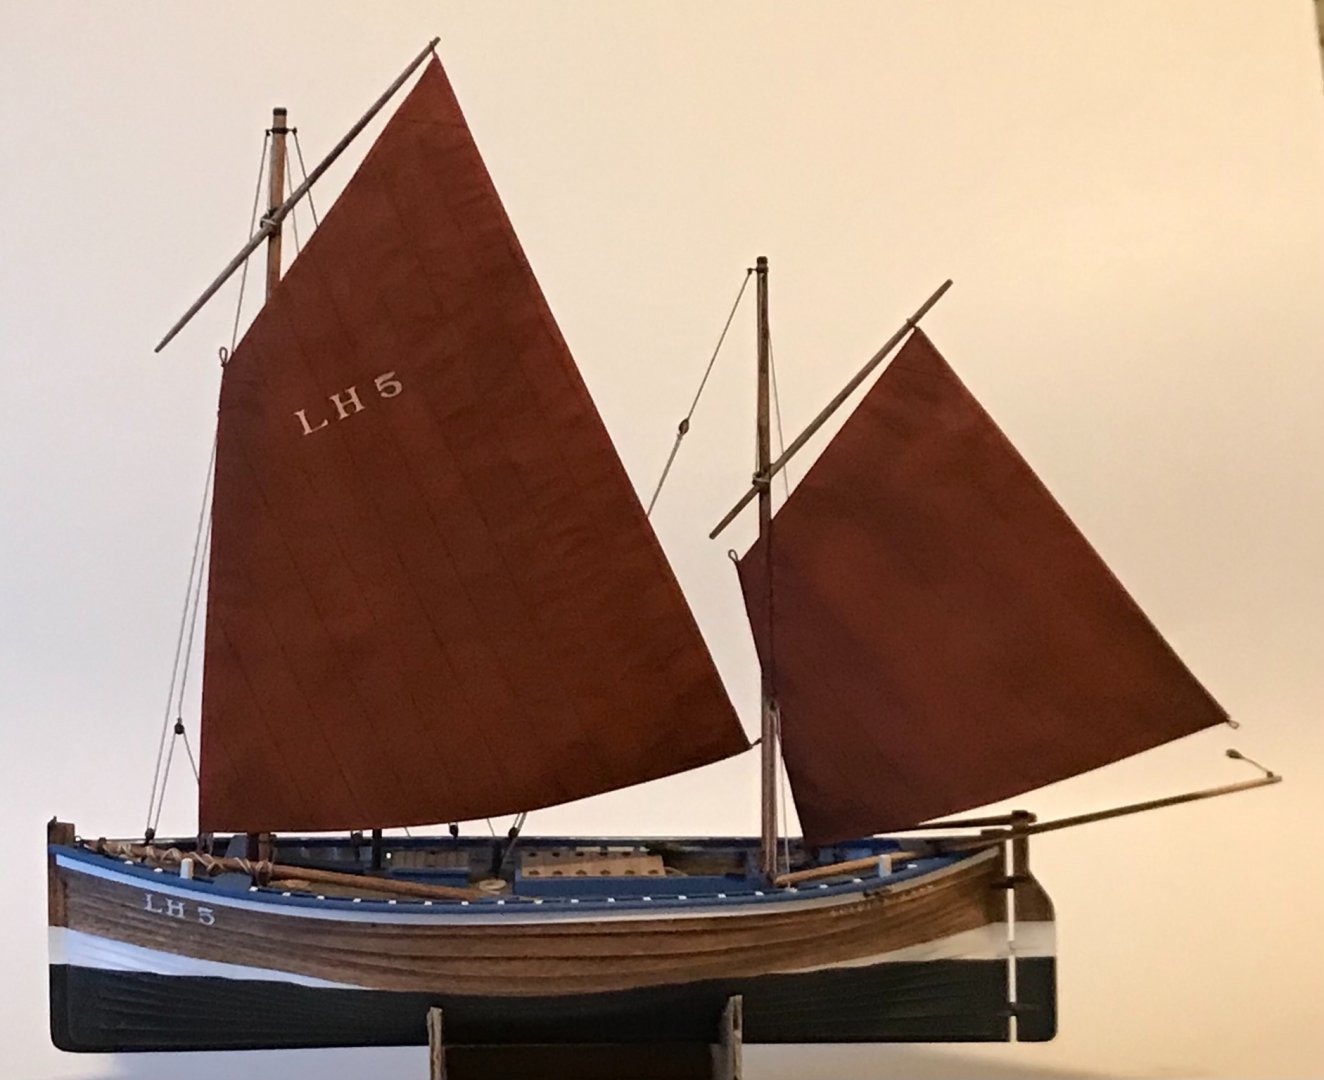
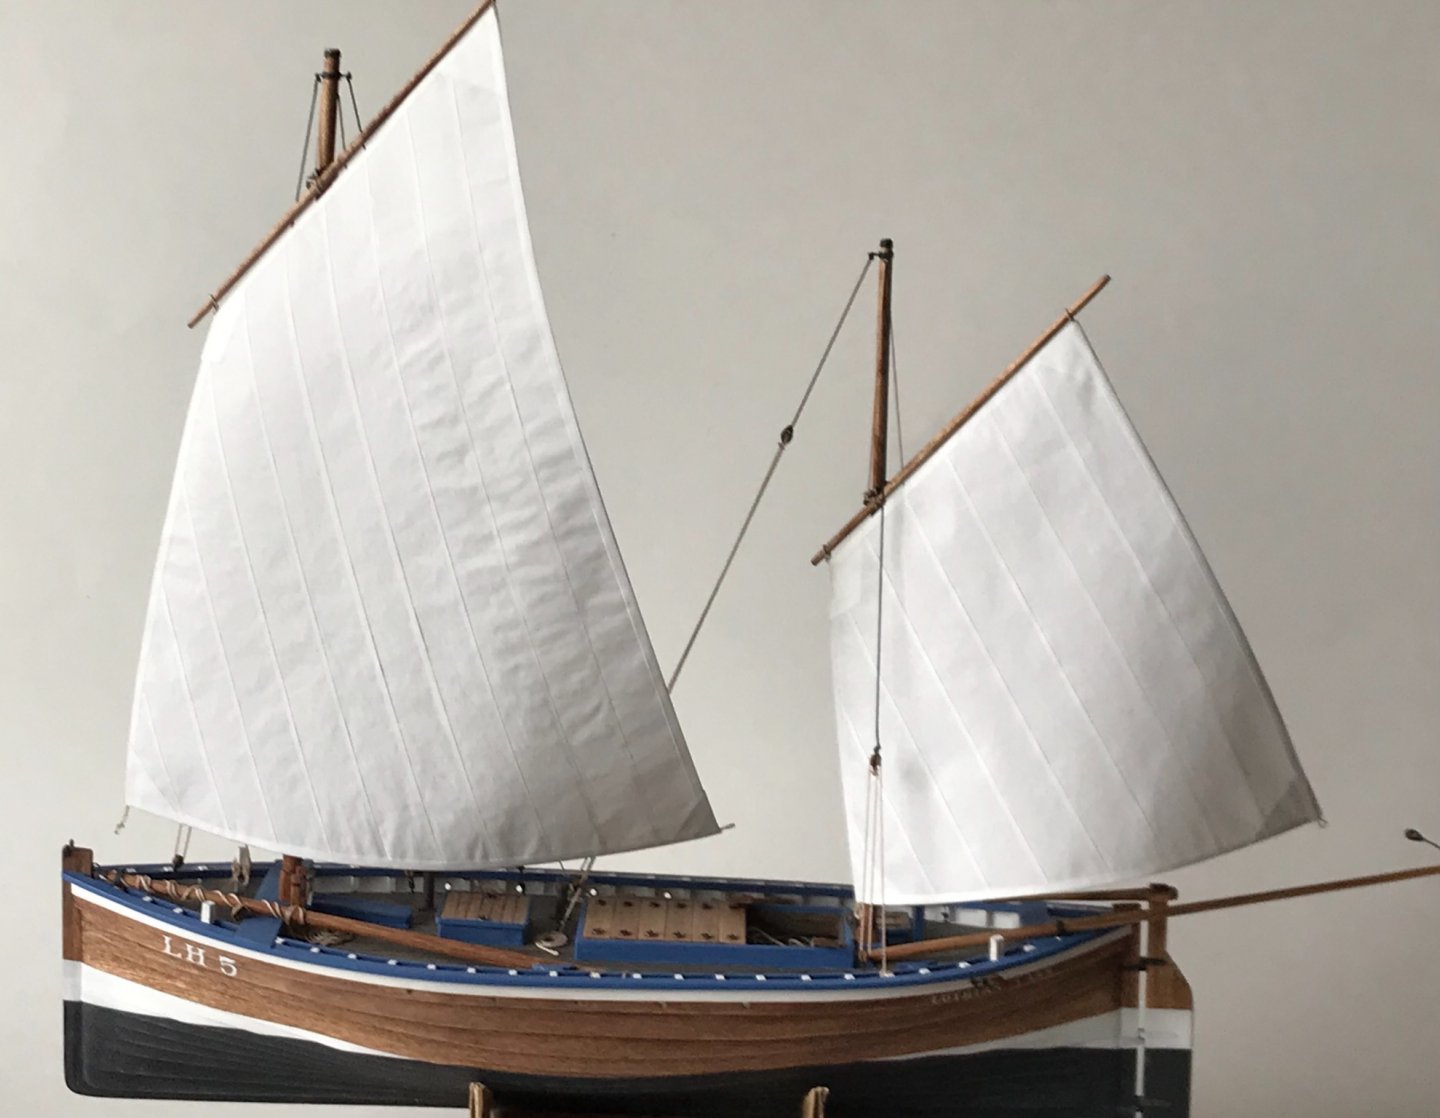
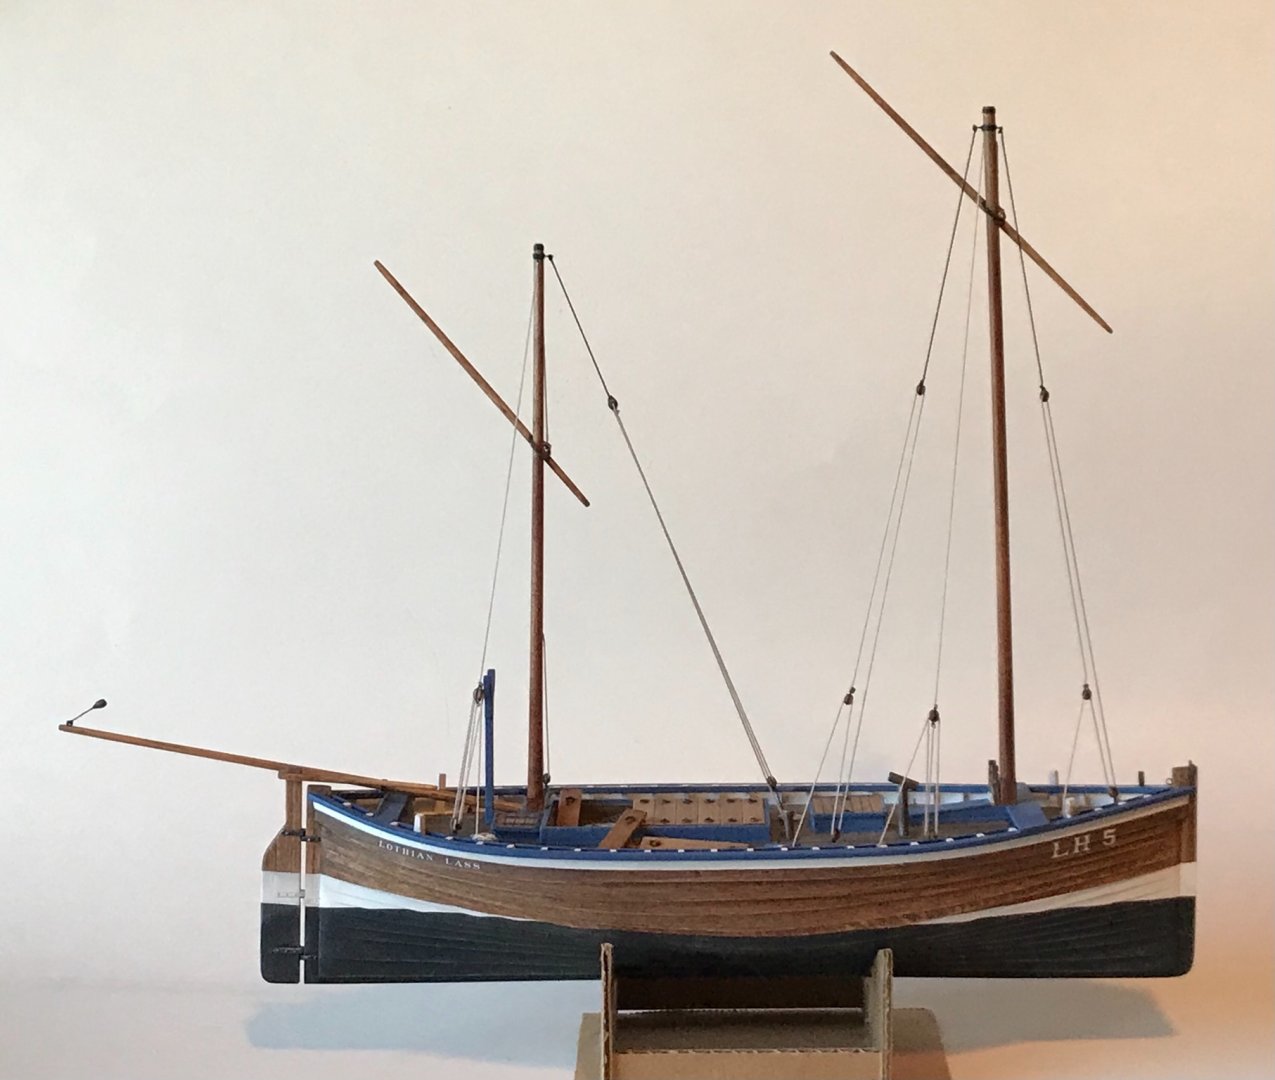
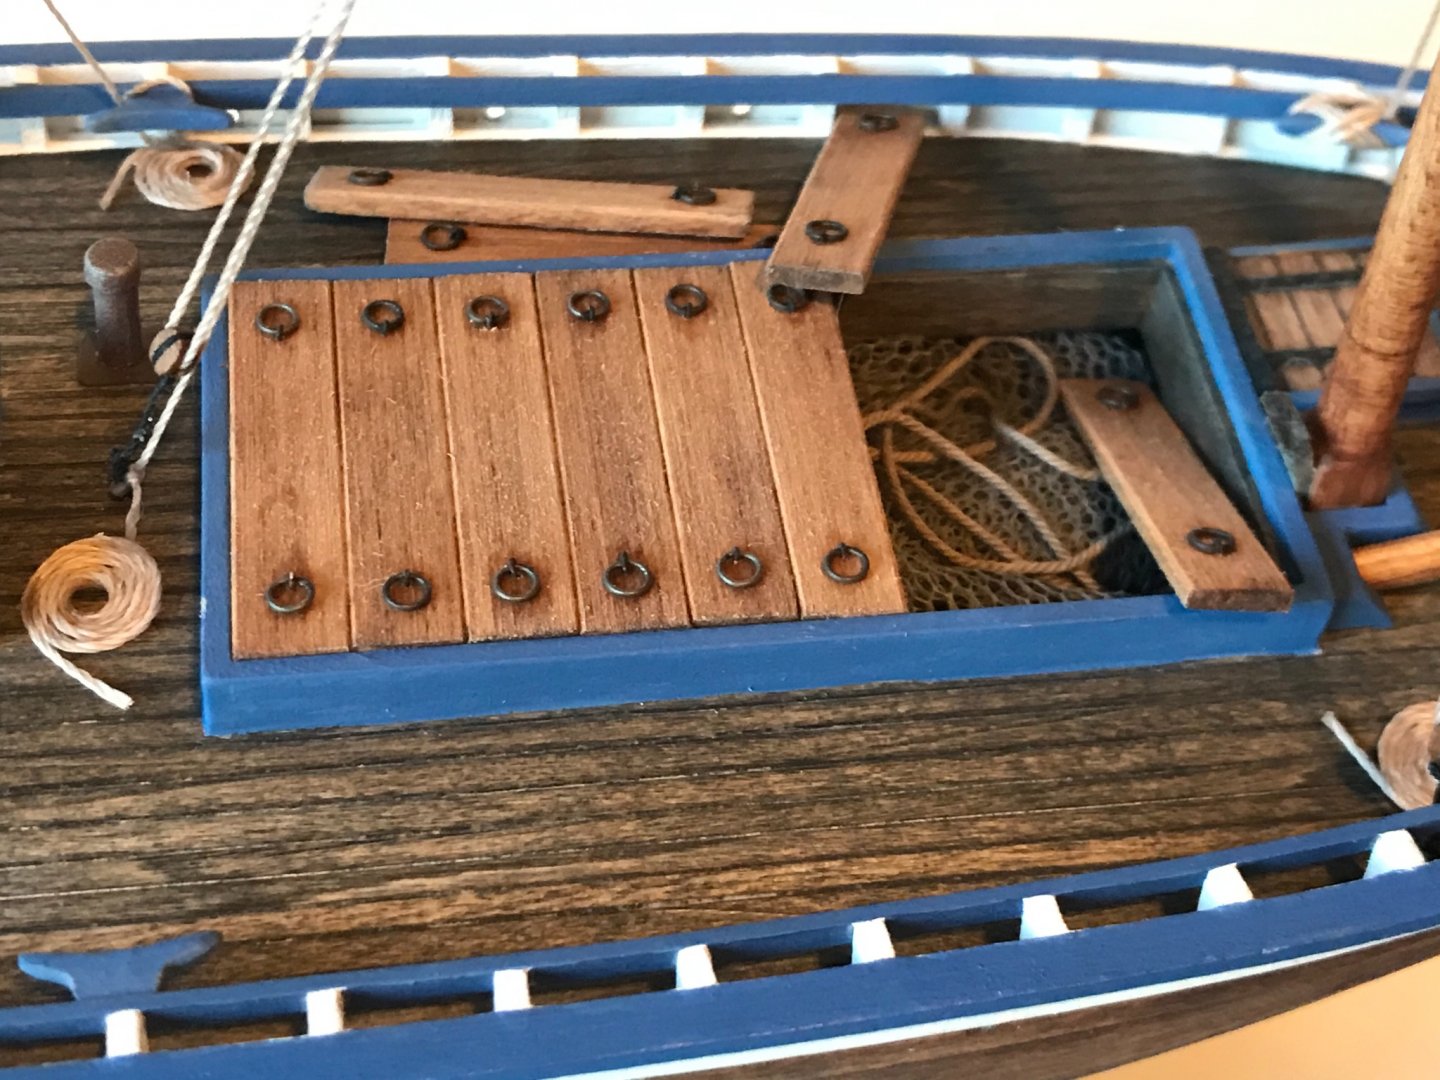
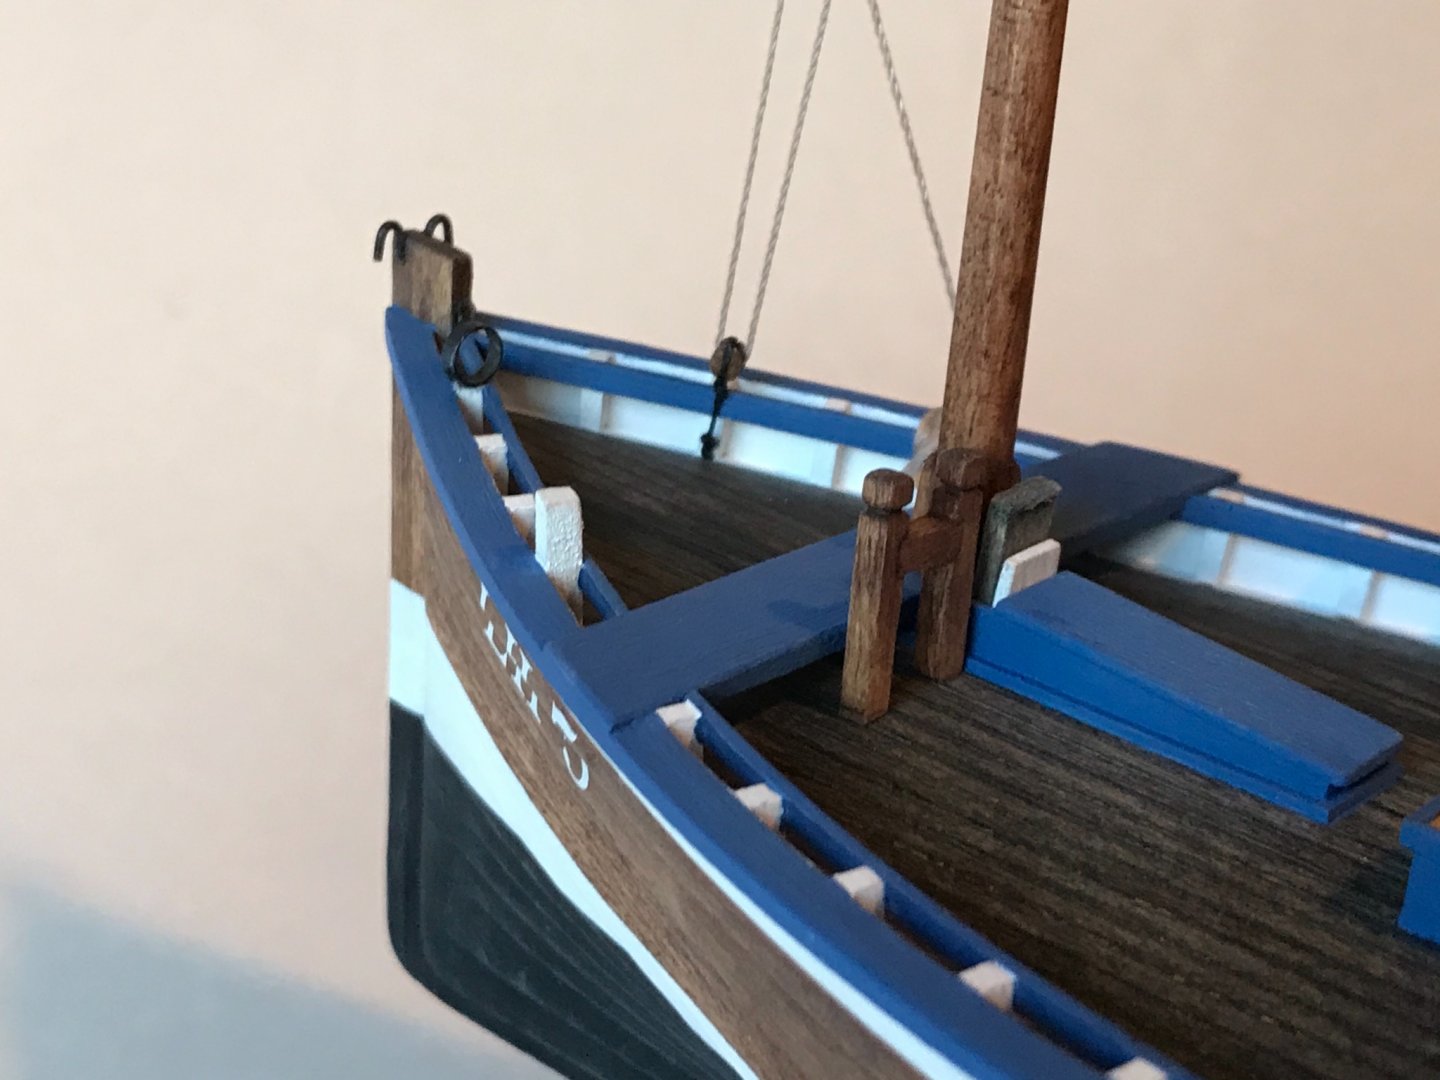
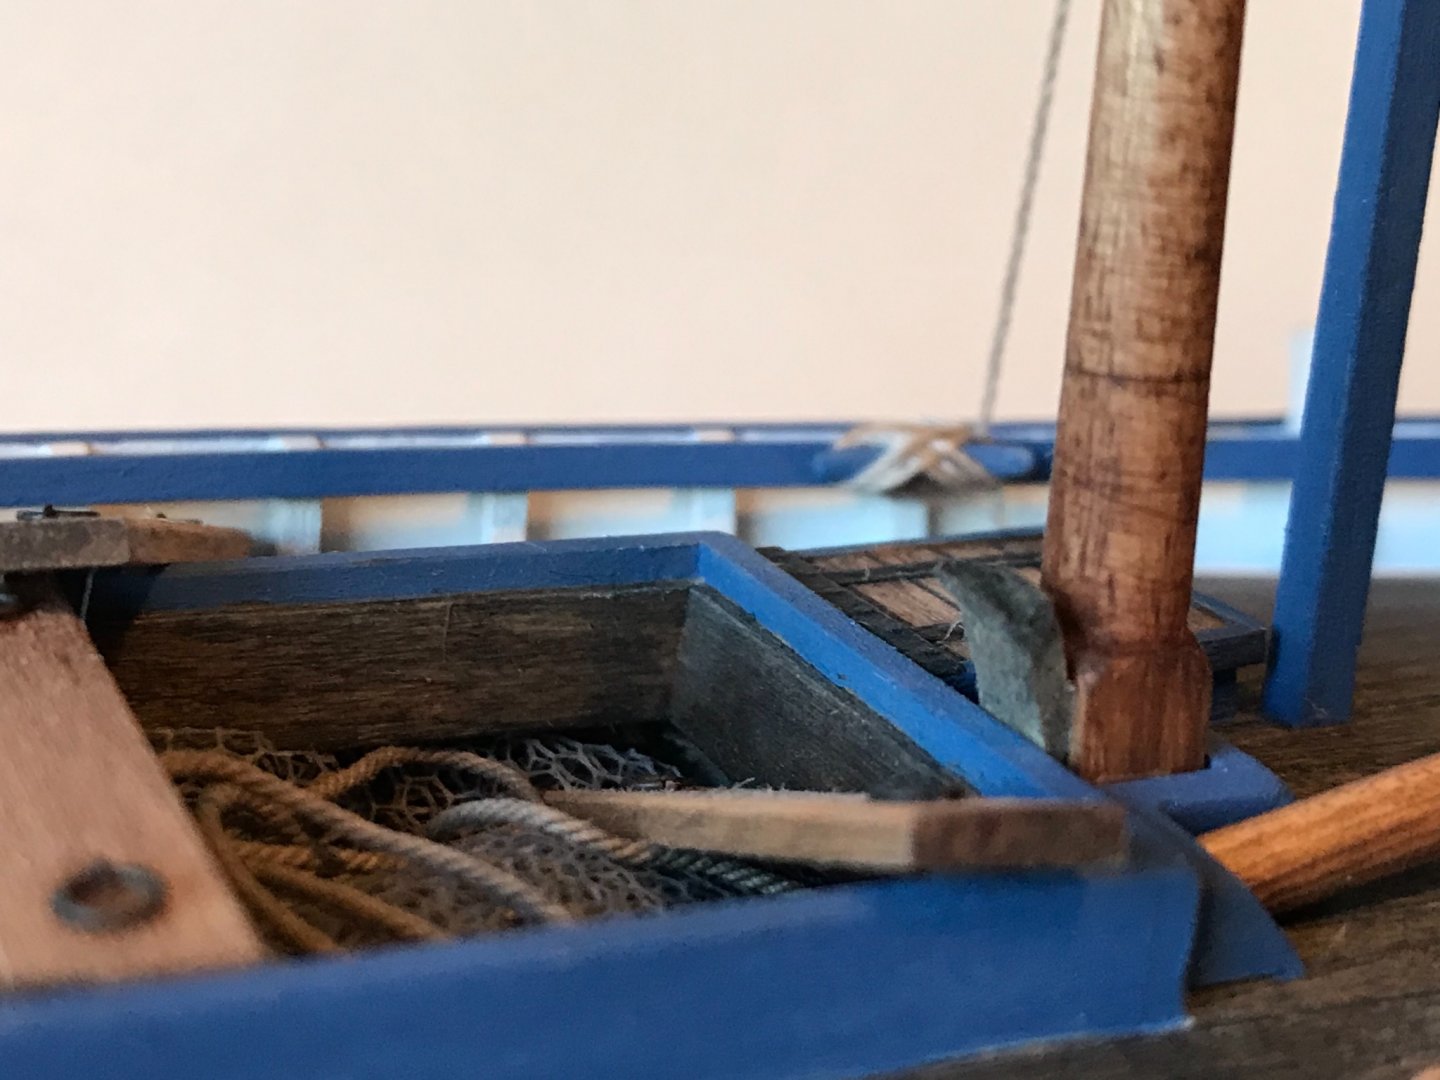
The masts are stepped and a lot of the rigging is done. Started adding details like mast wedges, rope coils, fish nets in the hold, and hatches askew. Also applied the registration number (LH 5) for Leith (Edinburgh), Scotland and dubbed her the "Lothian Lass." I have ancestors from that area, east of Edinburgh...
-
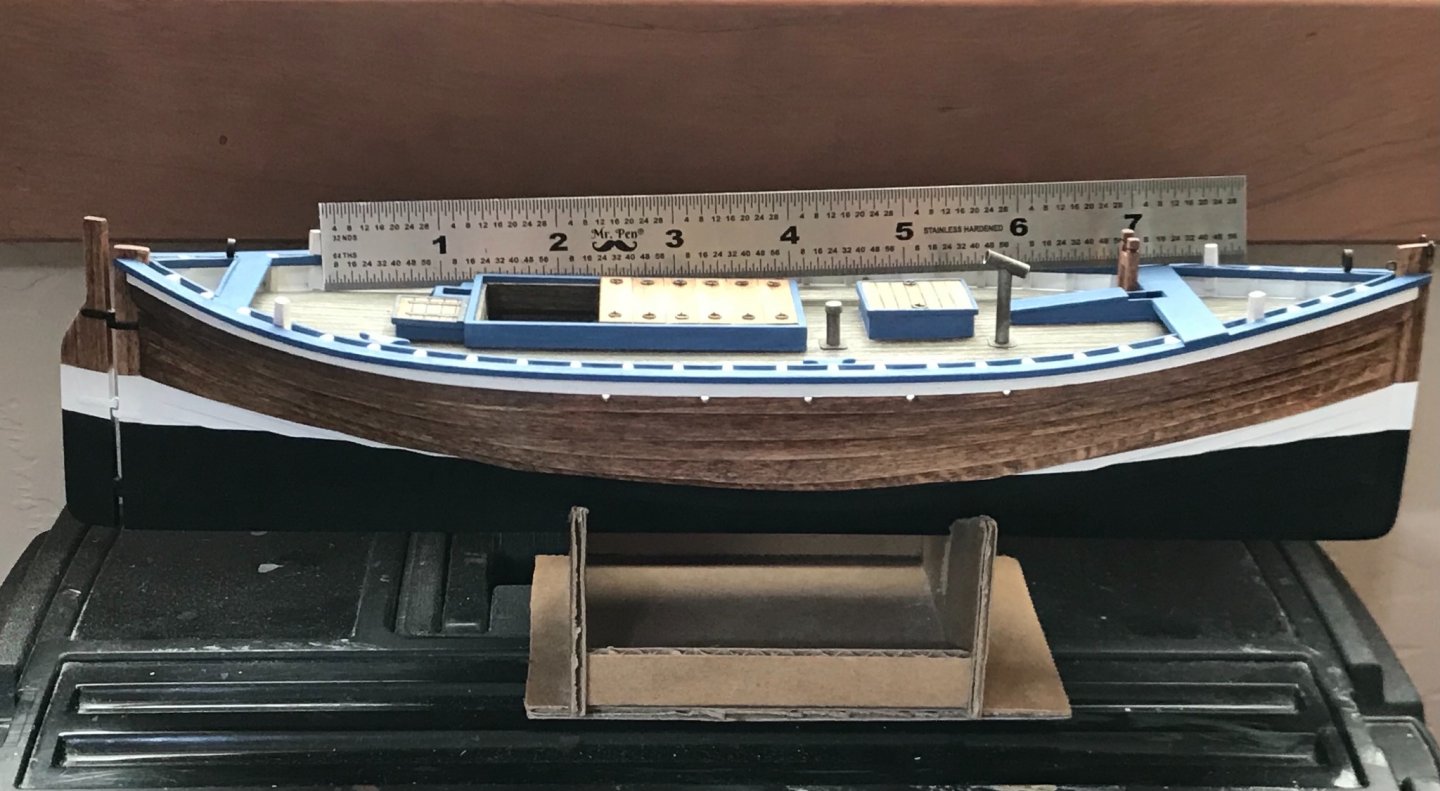
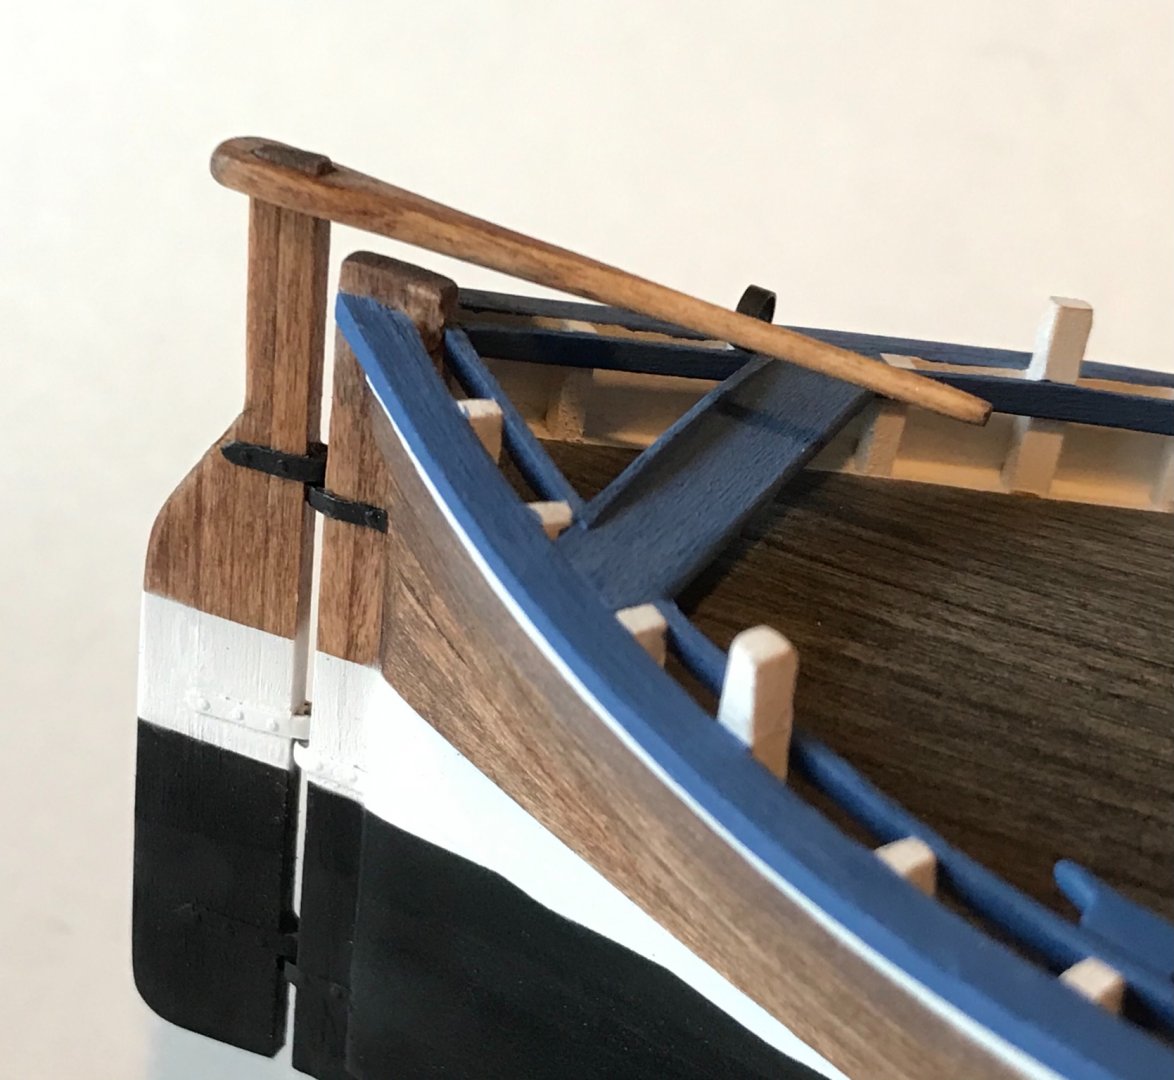
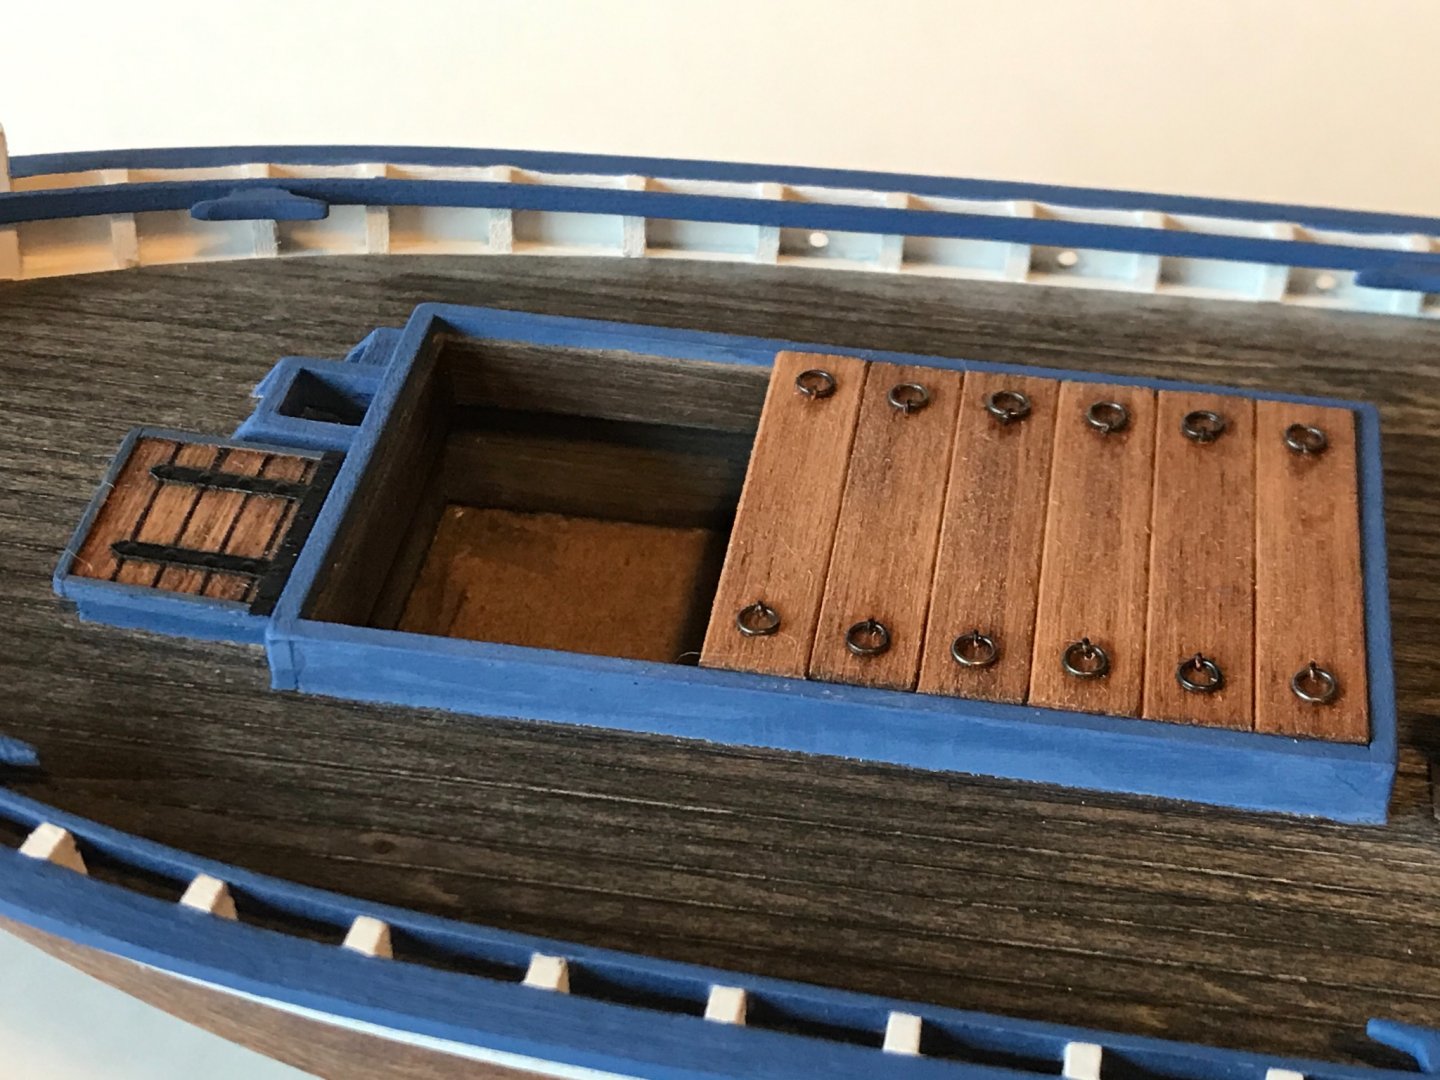
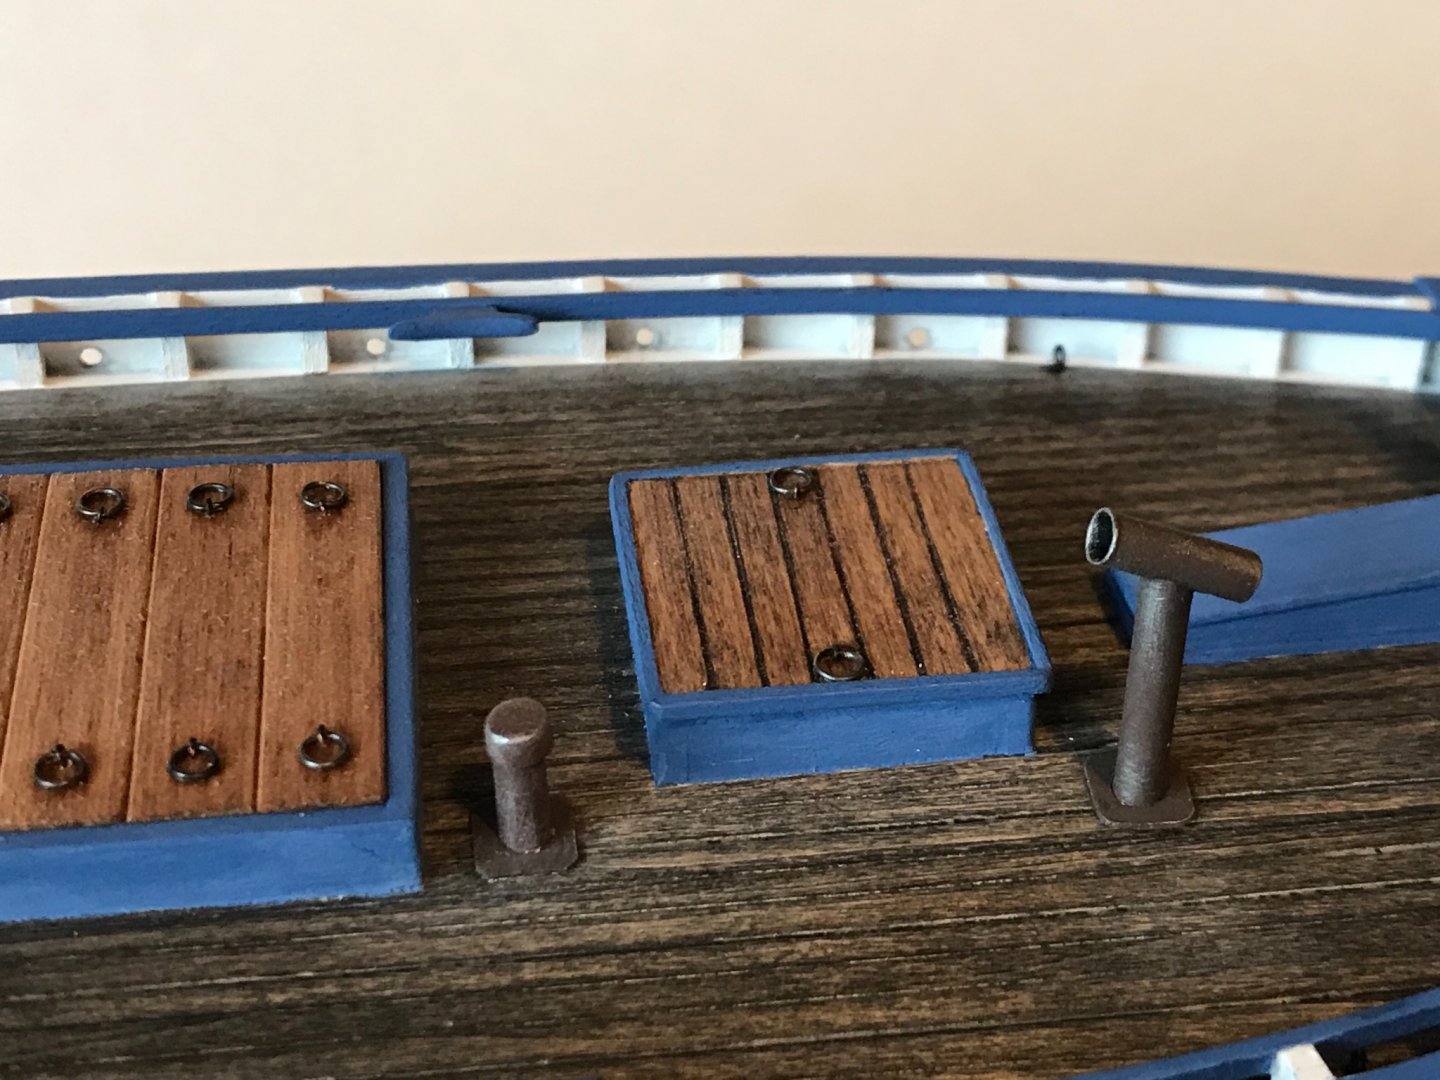
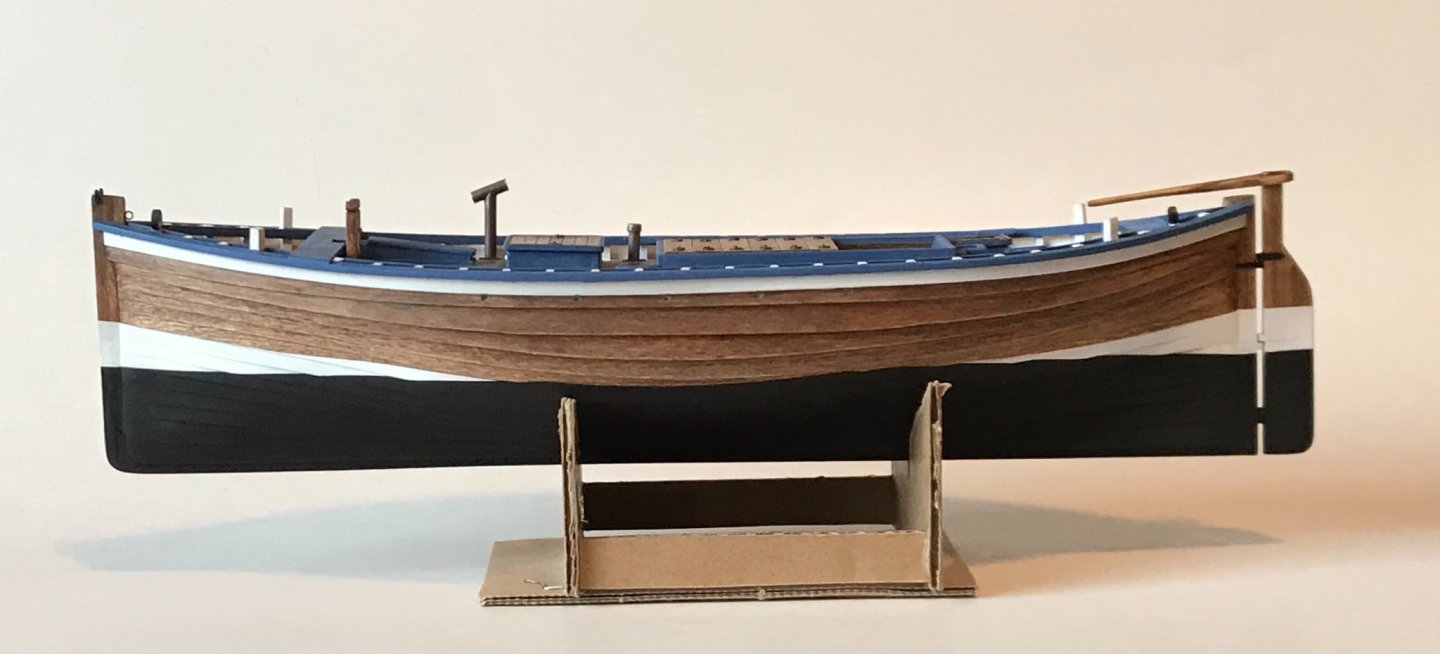
Over the last few days I have been able to work on a lot of little fiddley-bits (built the rudder and tiller, finished the hatch covers, installed rings, bitts and/or chocks for the bowsprit and jib, added a stove pipe to the fore room, and masked and painted the lower hull). I also have been doing further work on the masts an spars. Rigging should be starting soon! The rudder works, using brass tube and copper wire for gudgeons and pintles. The hinges are heavy paper with three-dimensional resin decals for rivets. Hatch handles are copper wire... Styrene plastic tube for the bilge pipe and smoke stack...
-
You're doing a fabulous job on this beautiful boat! So glad I found your log!
- 222 replies
-
- First Build
- Lady Isabella
-
(and 2 more)
Tagged with:
-
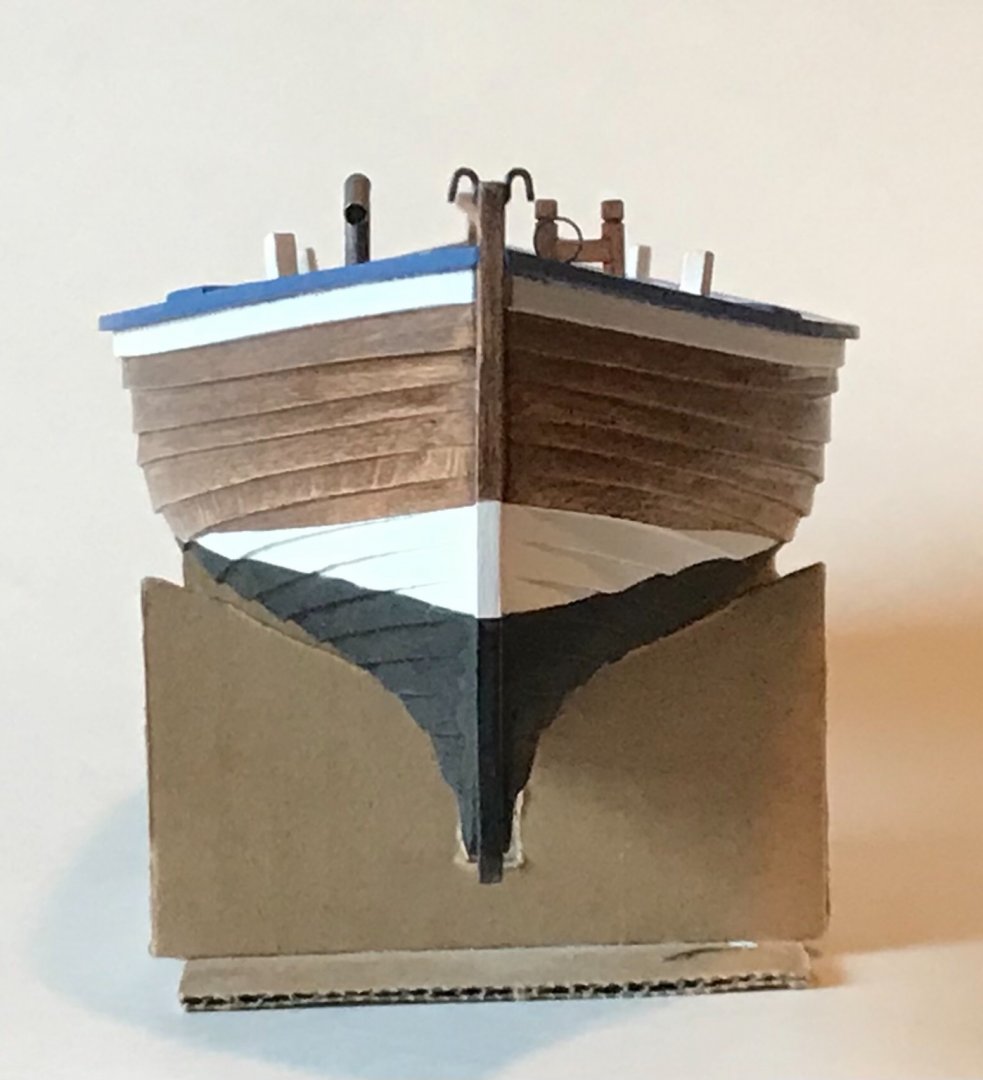
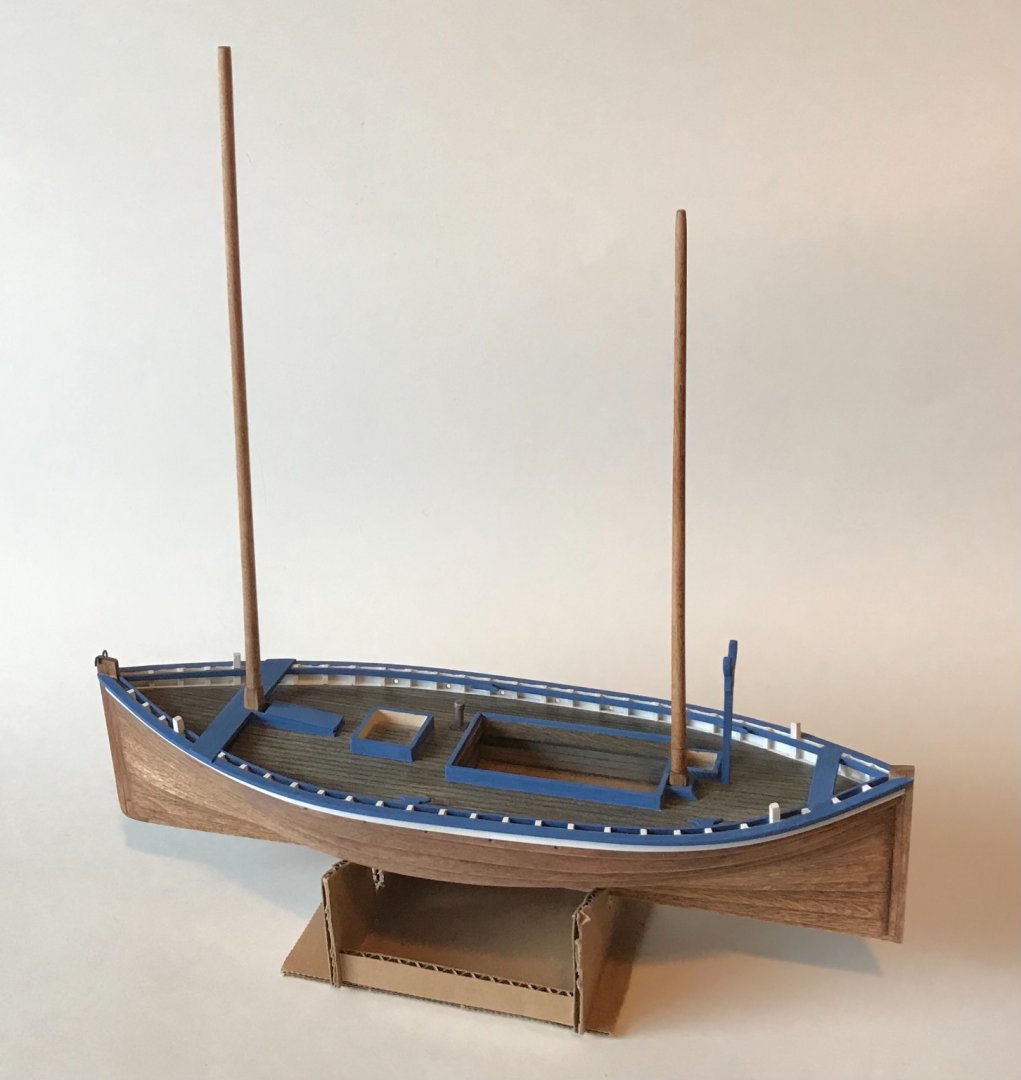
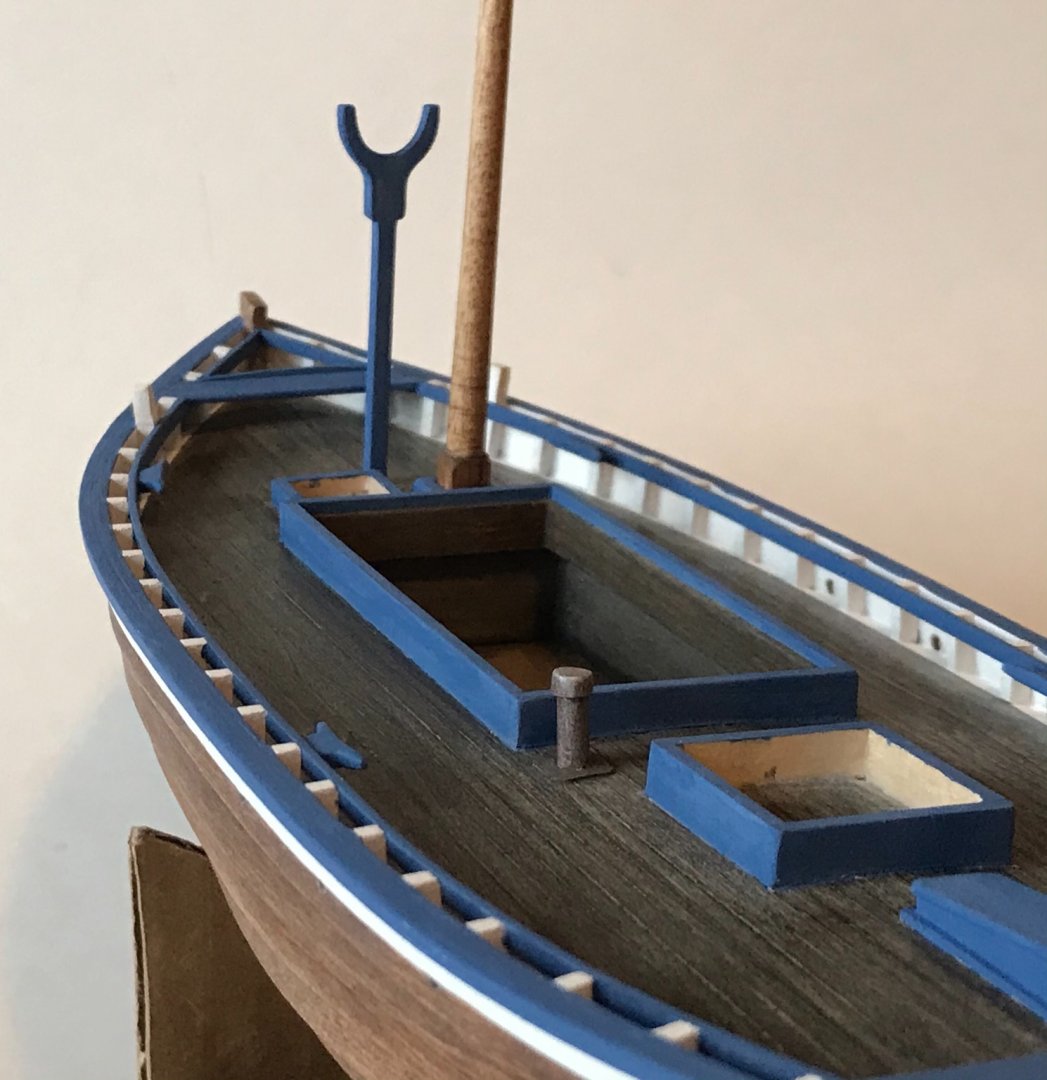
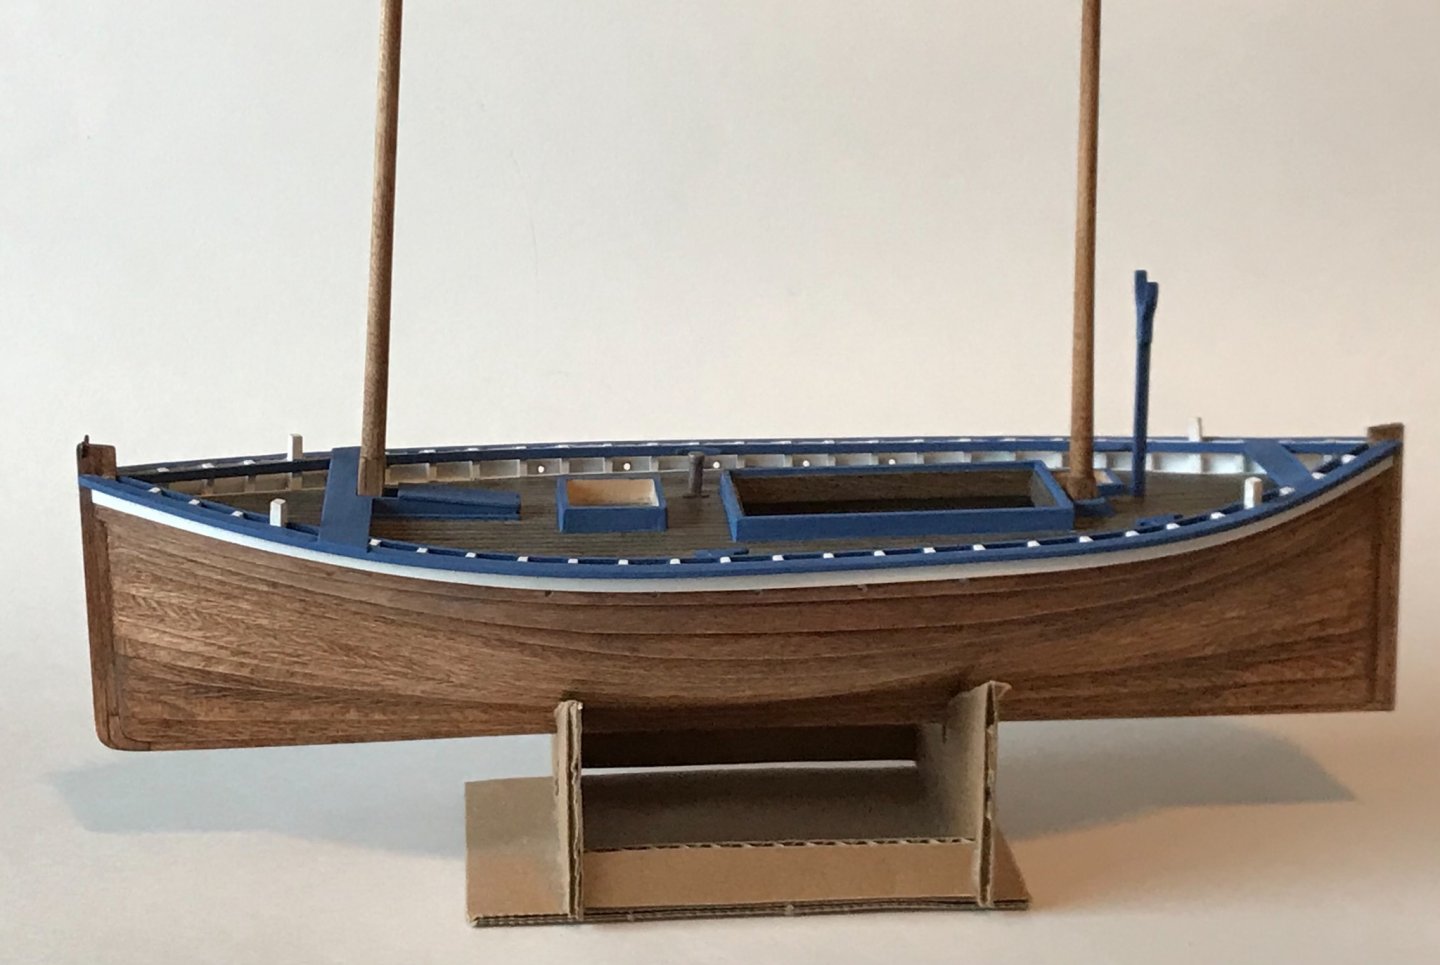
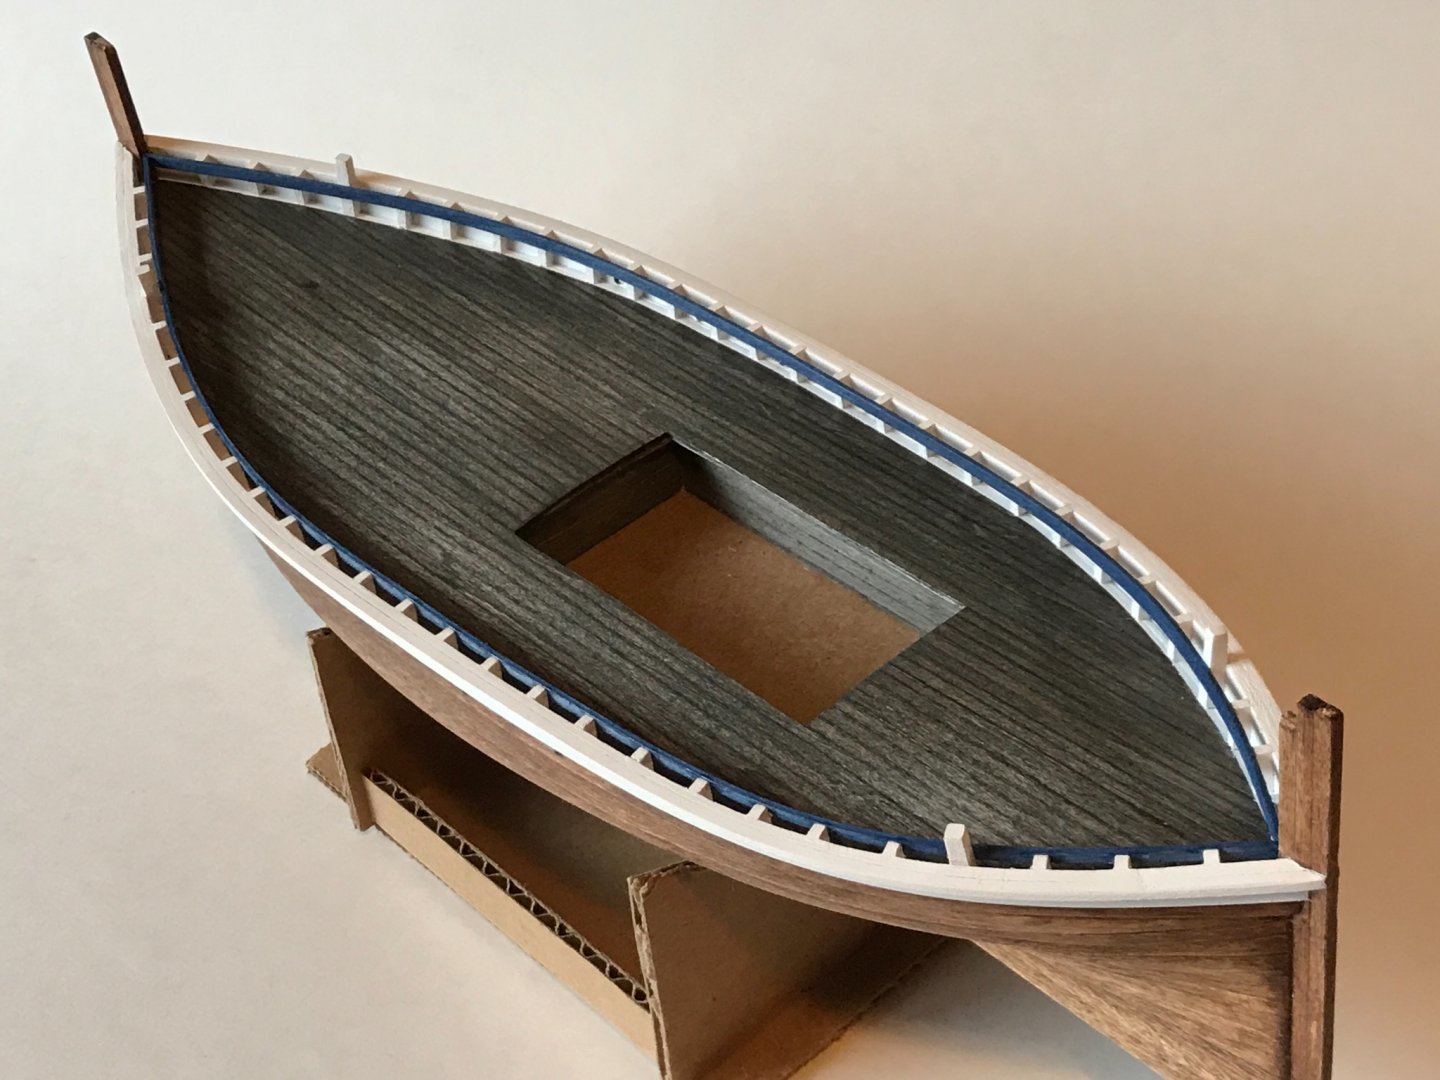
Thanks Wintergreen! The blue paint is an unmeasured mixture of Tamiya flat blue and flat white acrylic model paint. Trying to look like the colors in the Scottish flag (Cross of St. Andrew). What's wrong with the "highly-engineered" stand?😇
-
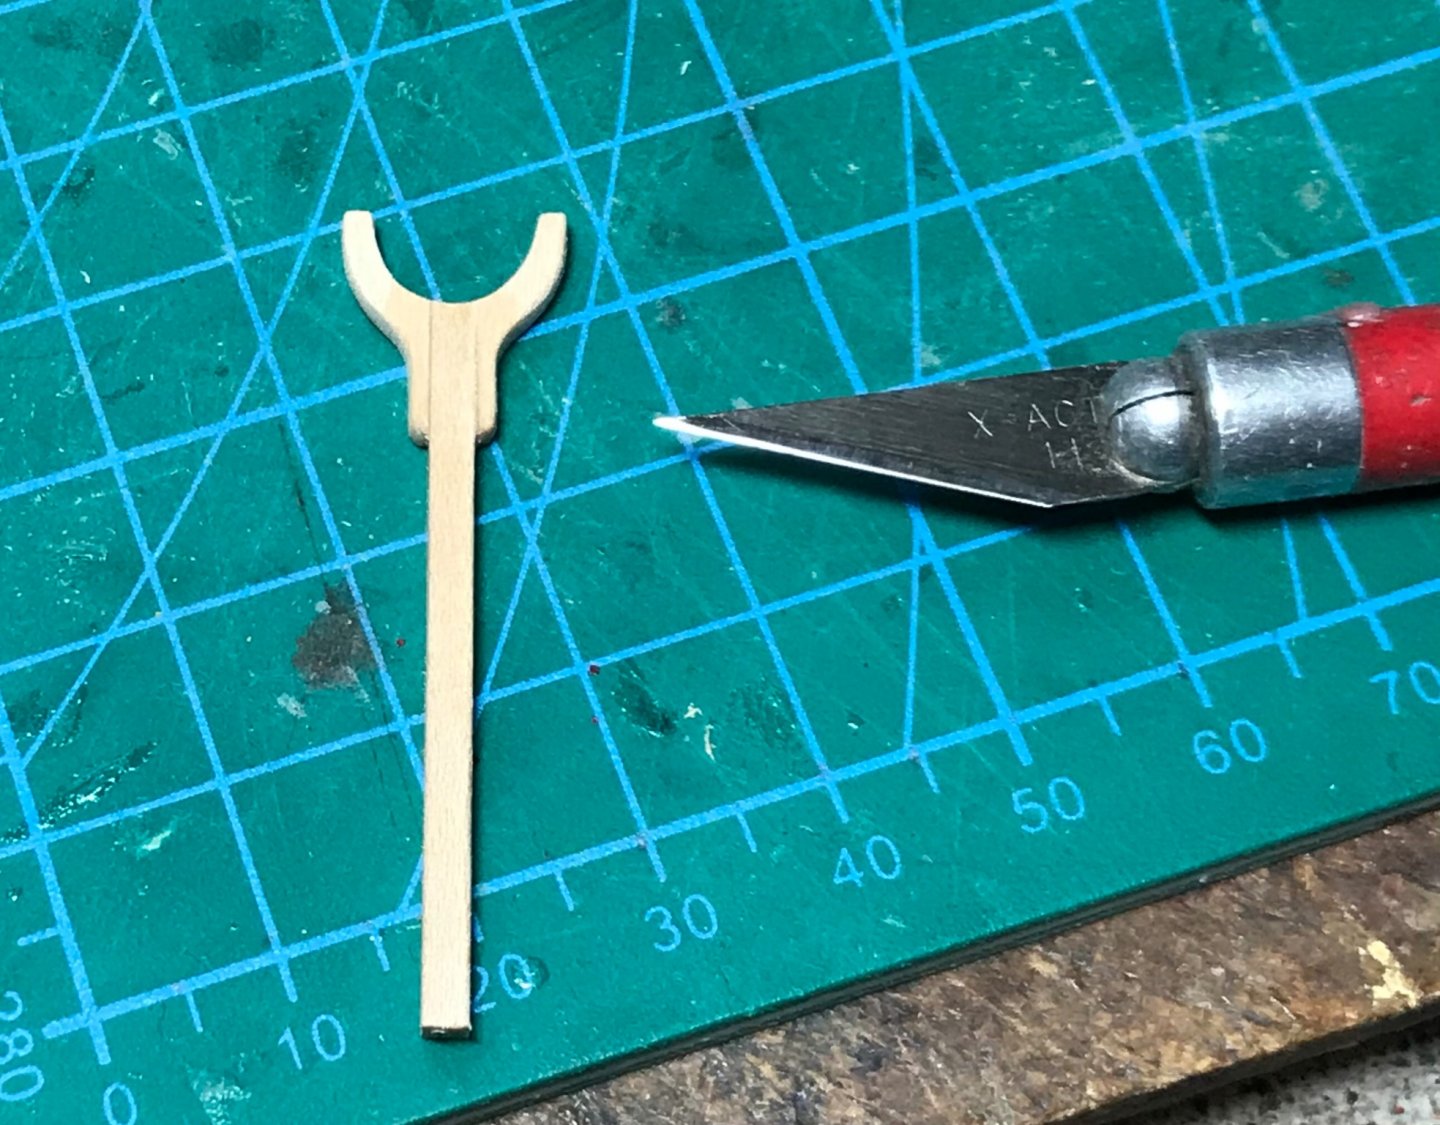
Today a "crutch" was carved and the masts were assembled (but not yet glued in place). The fore mast is lowered down into the crutch during drifting operations and, judging from historical photos, when the boats are in port. The masts are dowels. I tapered them by locking them in an electric drill and sanding as they spun. The masts needed square bases, so those were added after the masts were tapered. I glued strips of wood around the base of the masts with CA glue, and then sanded them square. Lastly, most Fifies had hooks on the stem post where the tack of the fore lug sail was attached.
-
Thanks Wefalck! From reading "Sailing Drifters" by Edgar March, the fore mast was stepped into a tabernacle under the deck mounted to the floors. It was kept upright by a heavy chock and wedges aft of the mast (which I have not yet built). Yes, the cleats are pinned with copper wire that runs through the bearer and into the frame.
-
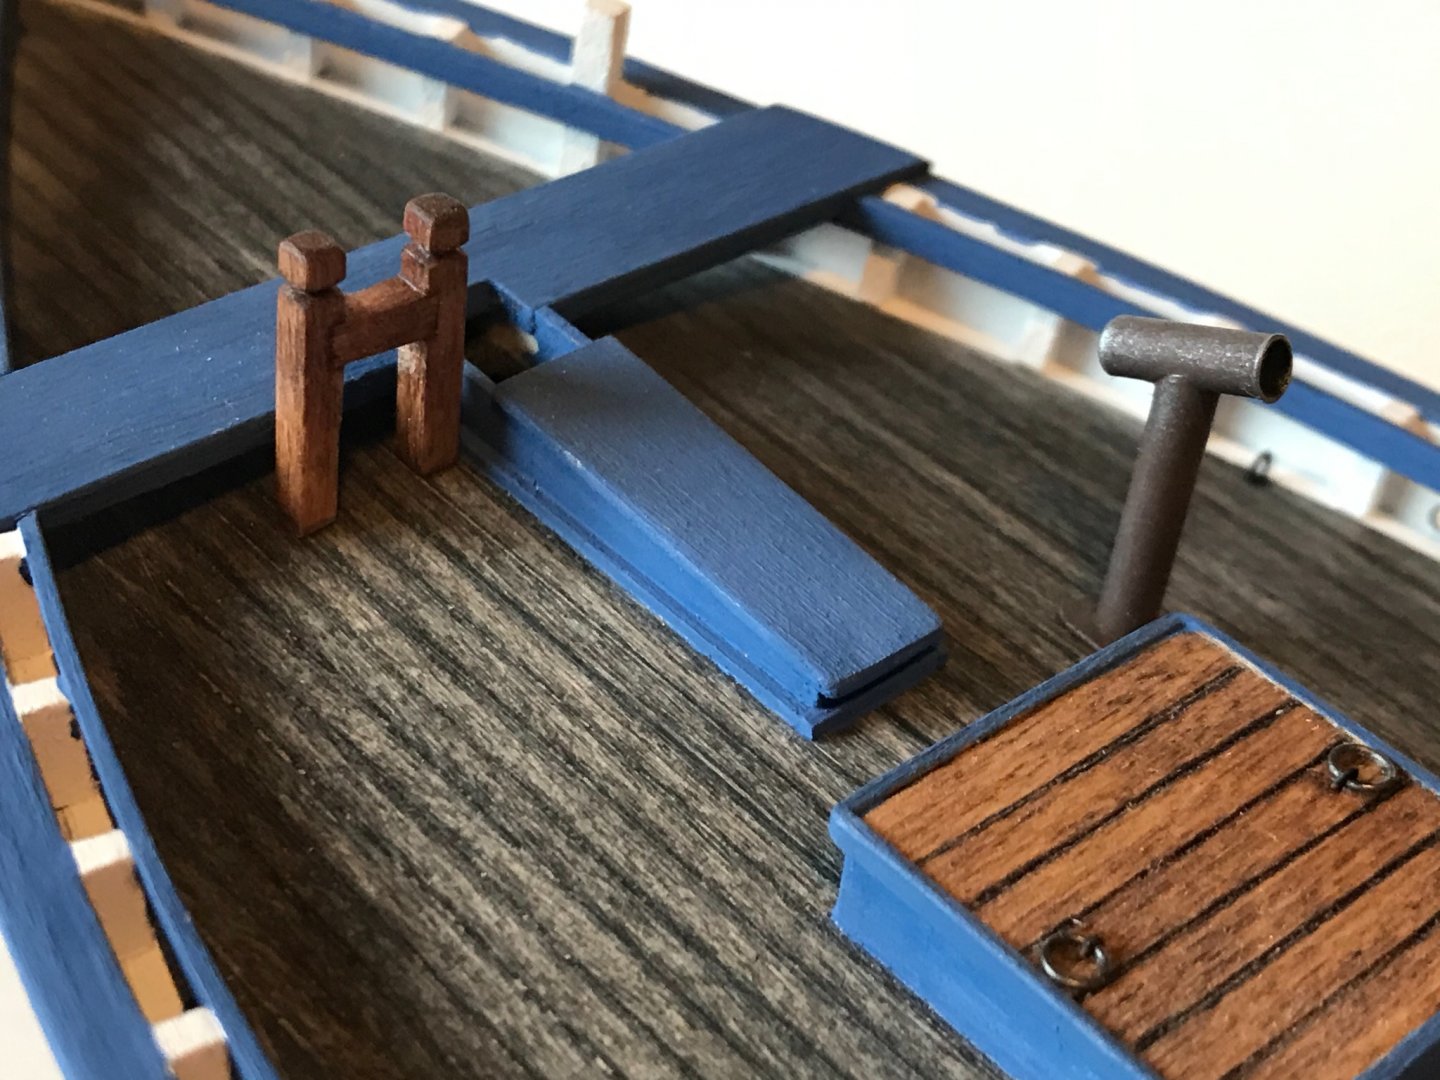
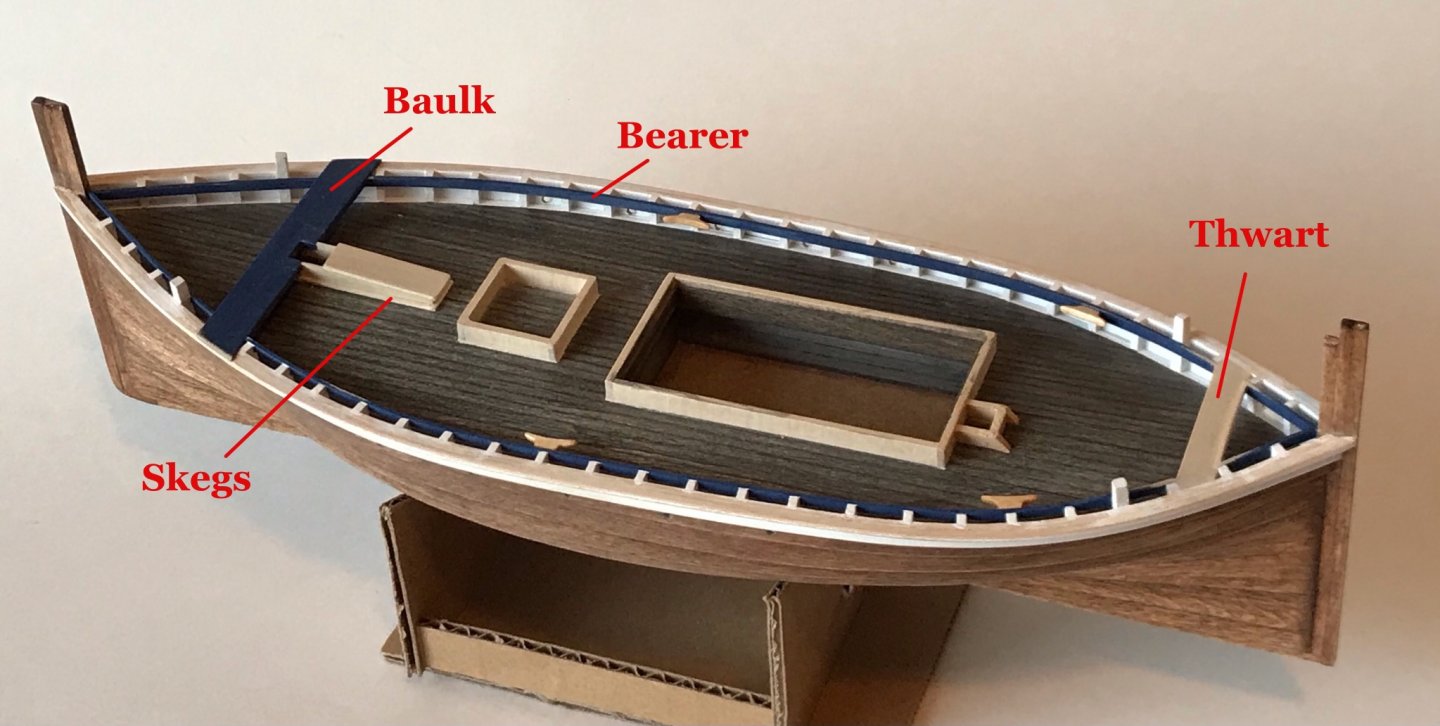
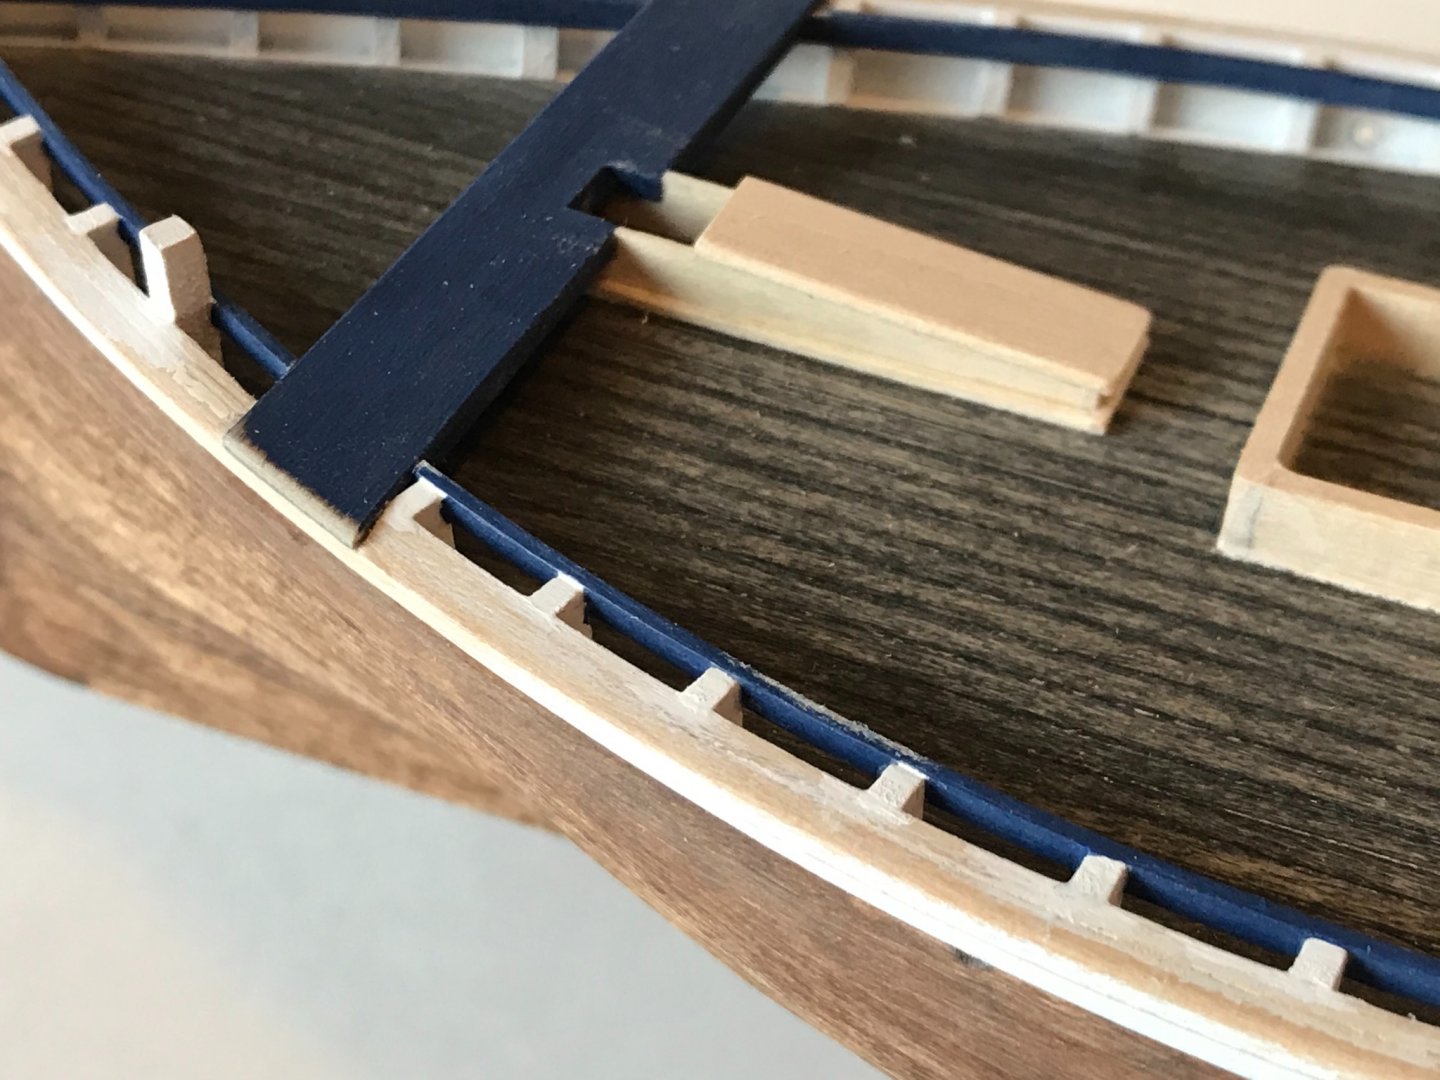
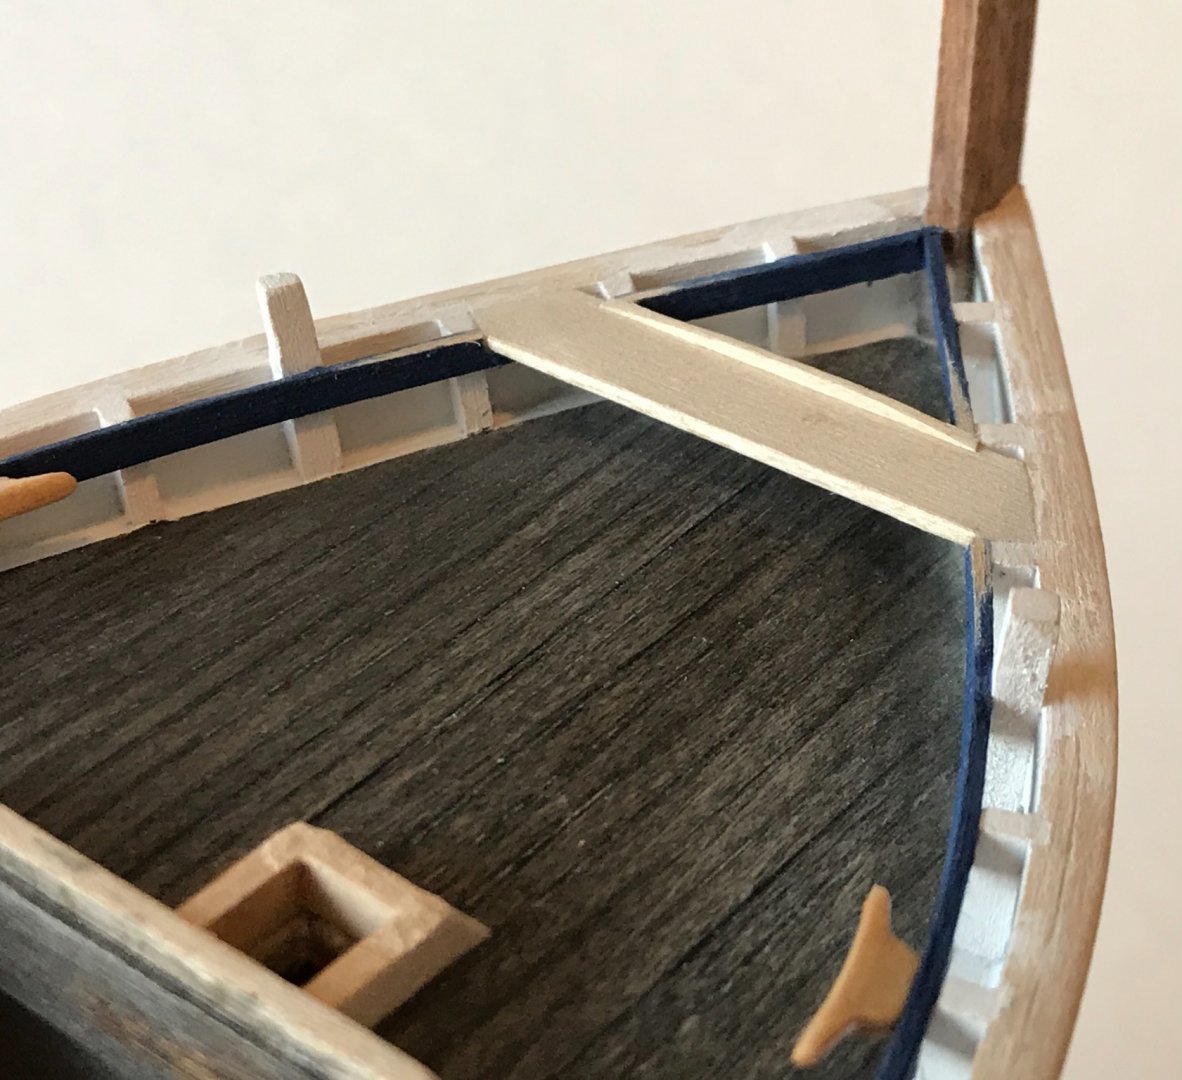
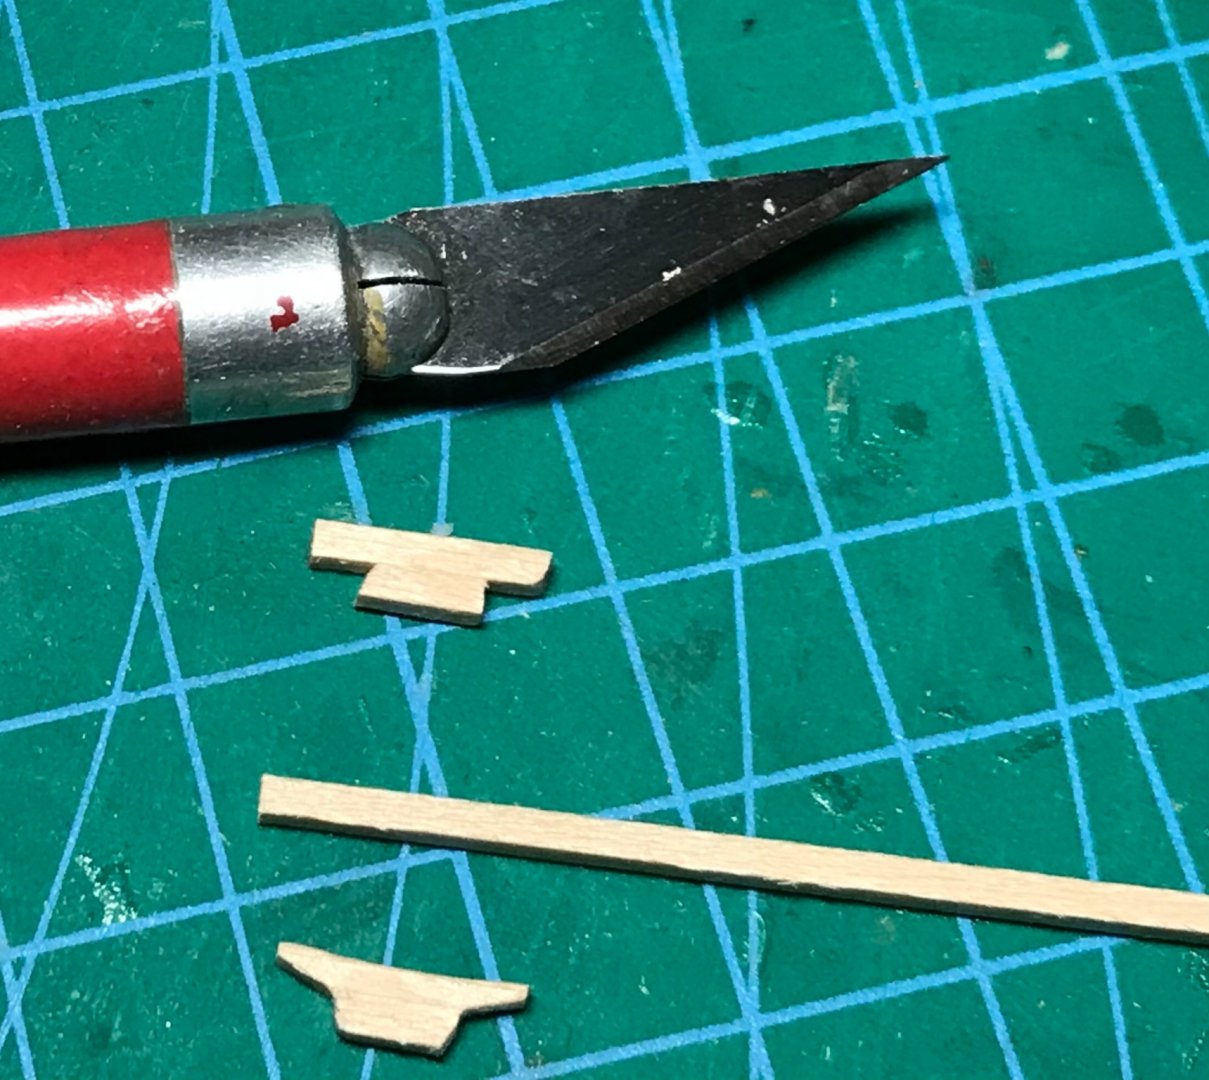
Work continues on the deck fittings. The first major item after the hatch coamings was the "baulk." On Fifies and other Scottish luggers, the baulk was a heavy transverse beam that helped support the fore mast. Just aft of the foremast was a slot in the deck called the "skegs." The foremast could be lowered backwards into the skegs (not to be confused with the term skeg, which is a projection on the keel). The fore mast was lowered after the nets were "shot" to minimize rolling as the boat (and nets) quietly drifted toward the wily herring 🤫. When lowered, the mast was often supported by a Y-shaped "crutch" (yet to be installed) mounted toward the stern of the boat. A "thwart" (traverse seat) was added aft. Cleats were made and affixed to the "bearer."
-
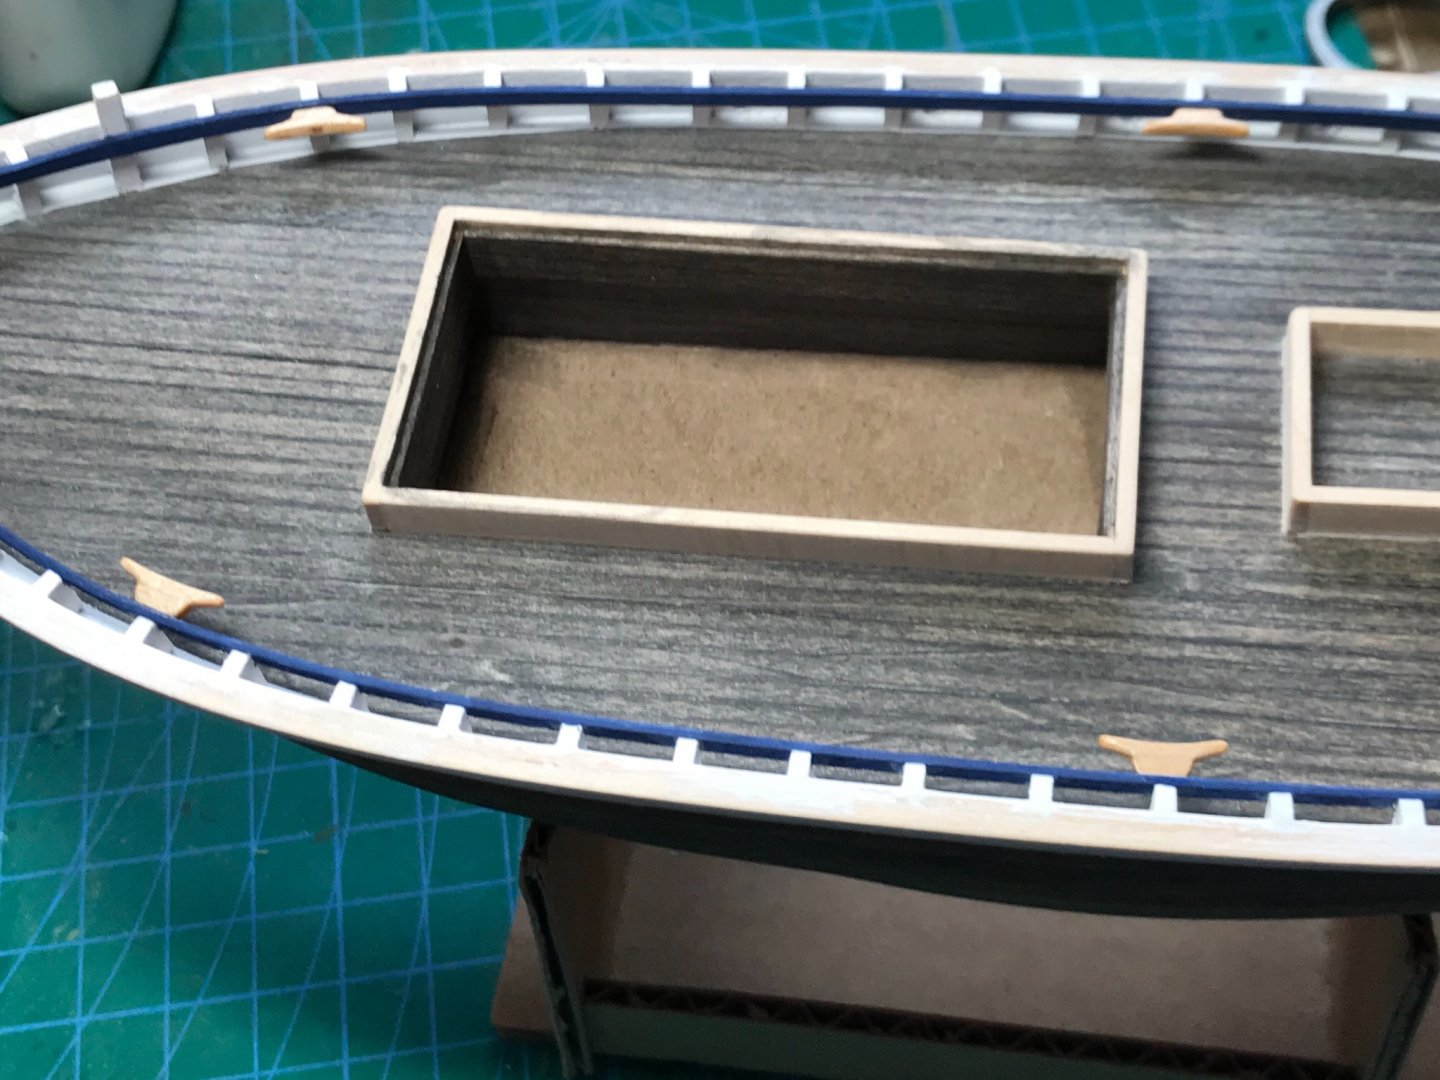
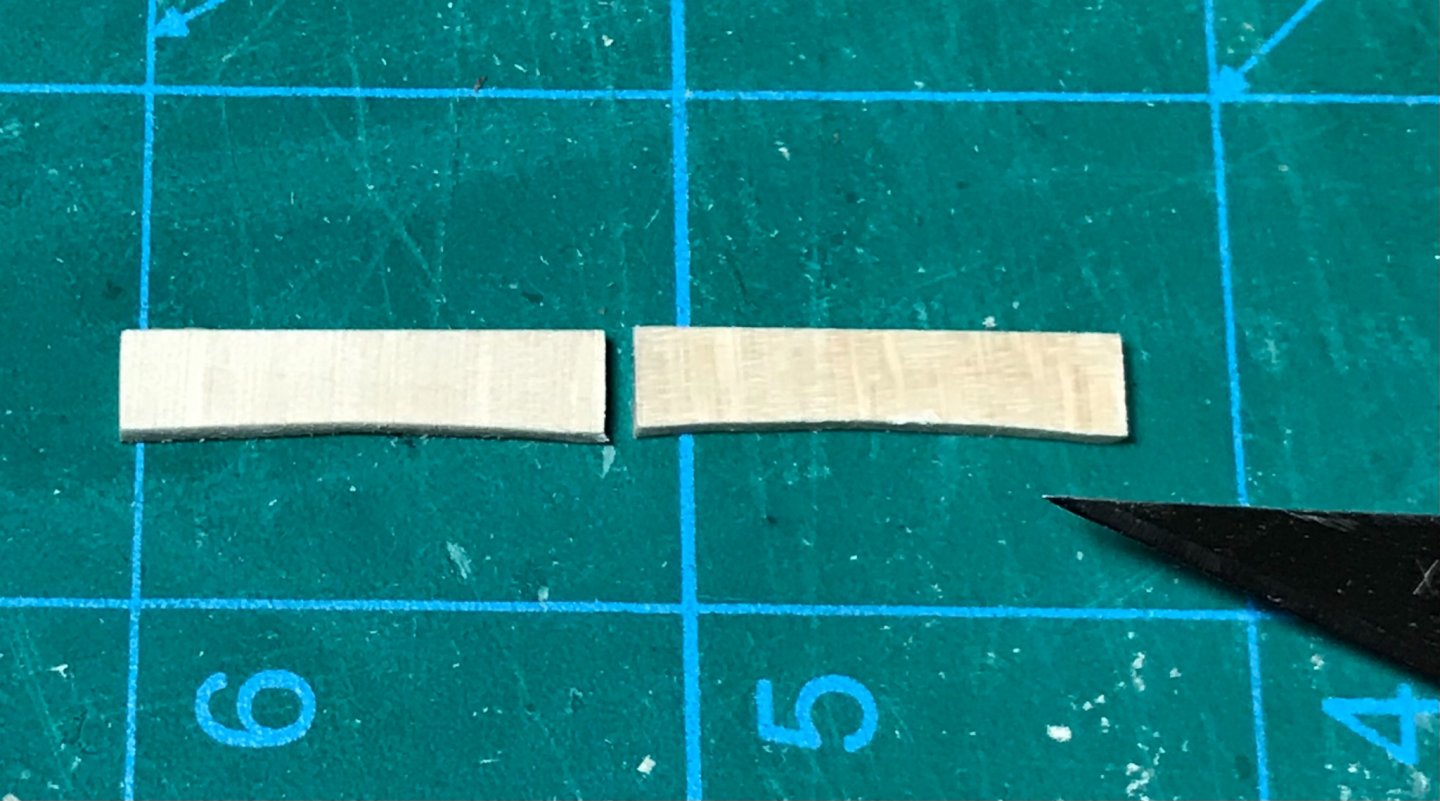
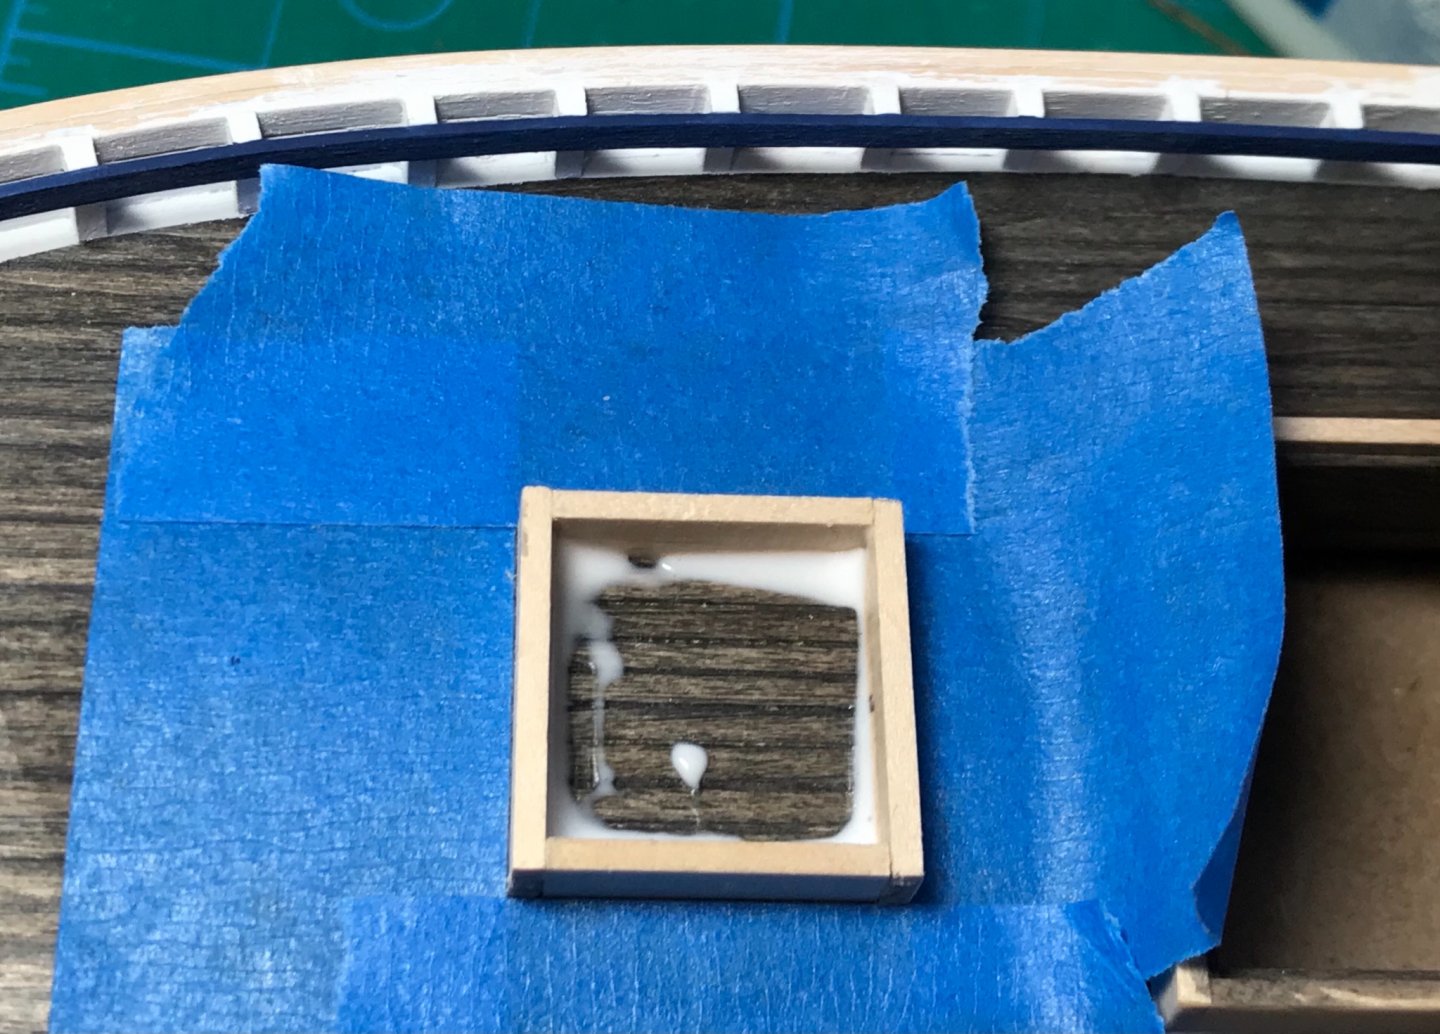
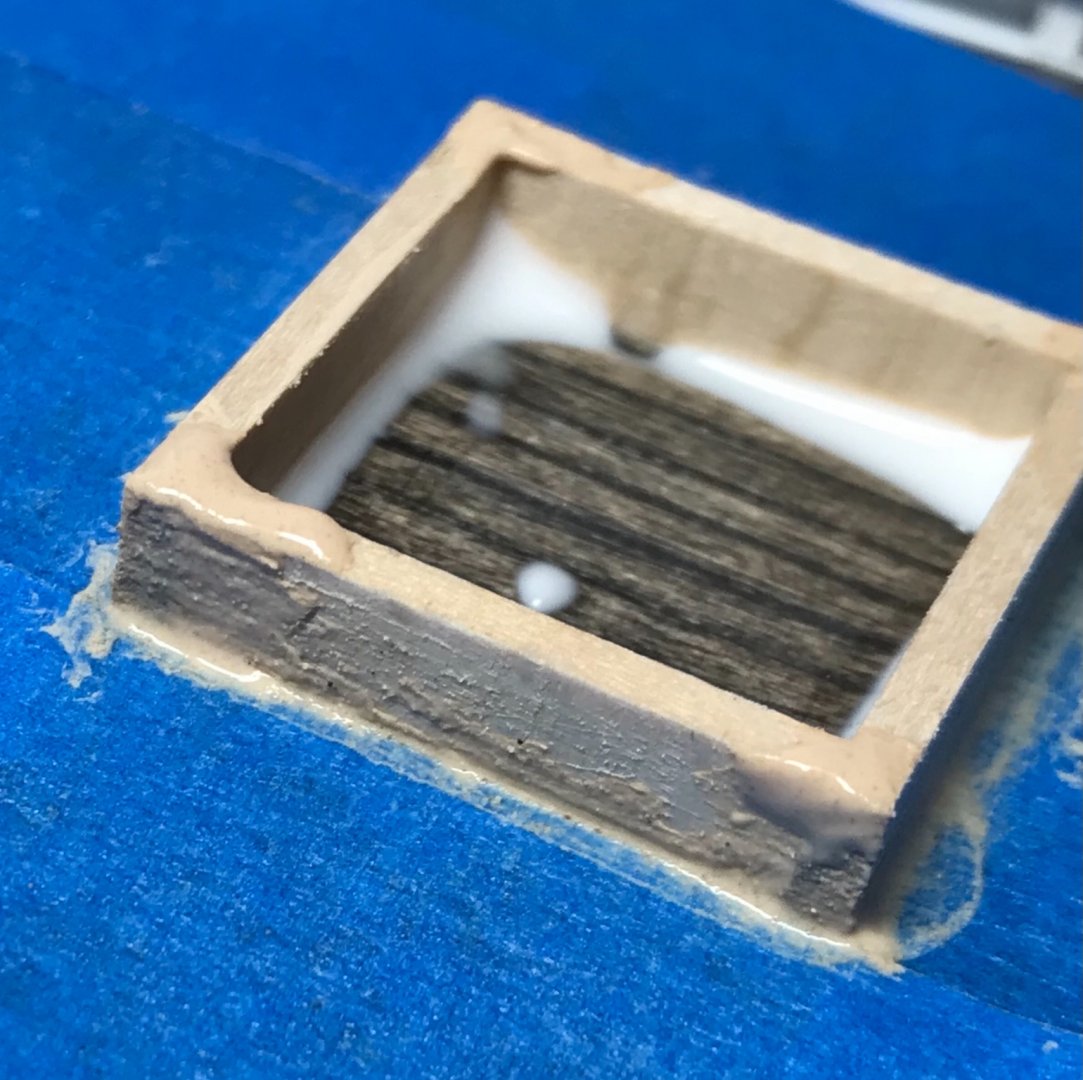
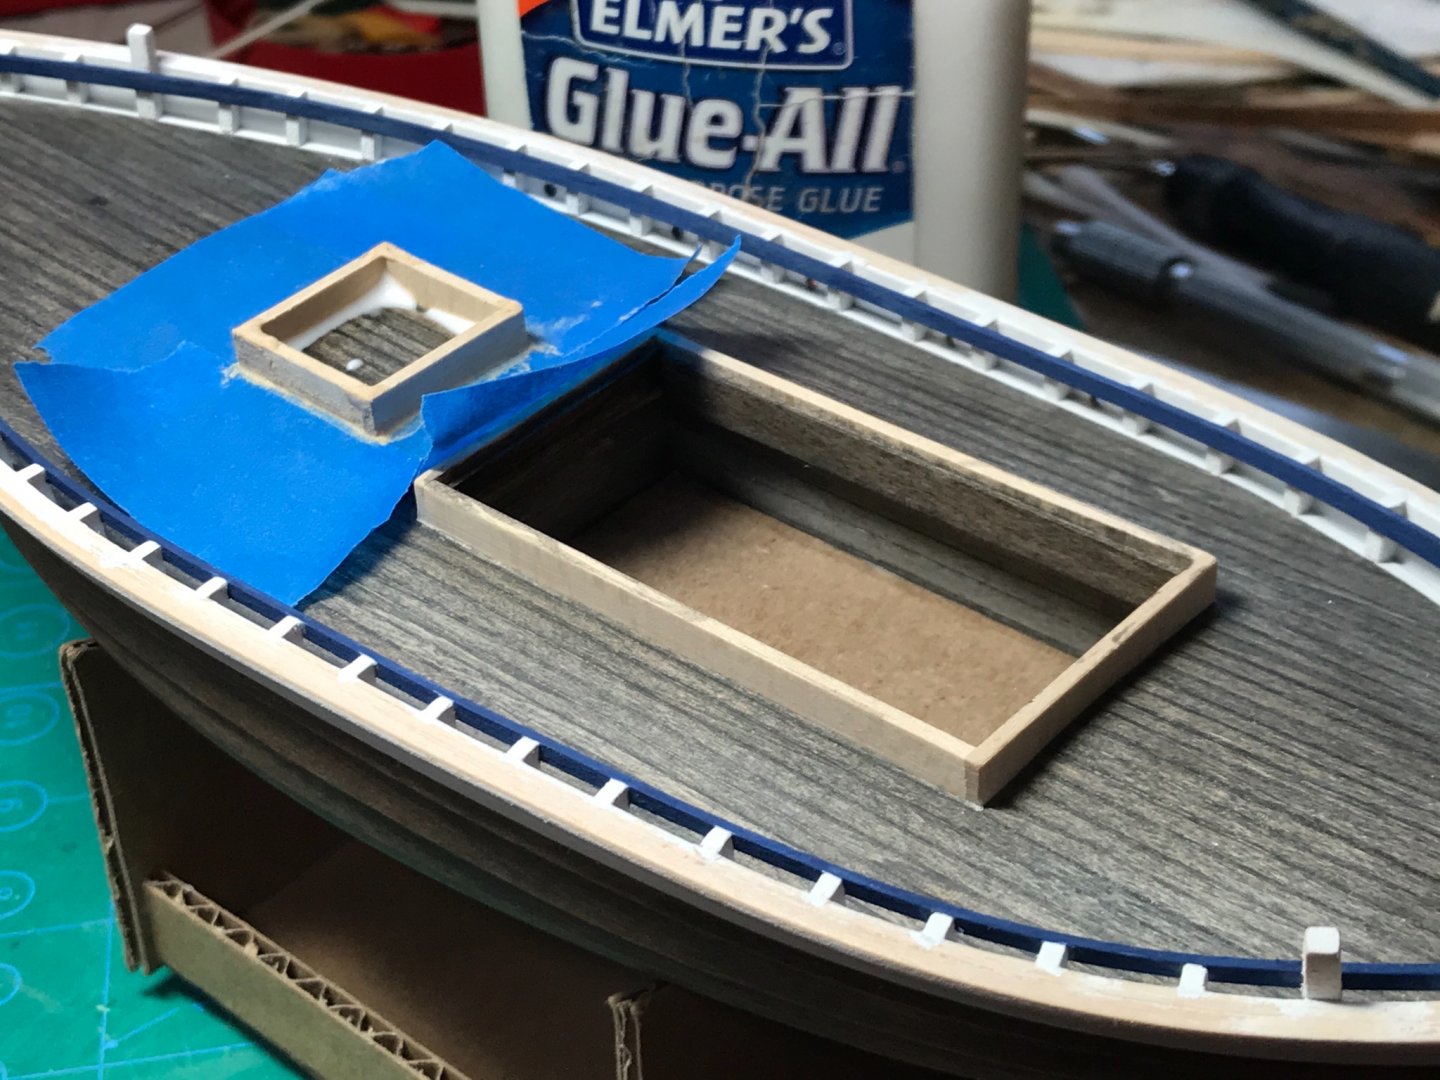
Today I worked on the hatch coamings. Basswood strips were used for the coamings and hatch covers will be built later. I plan to have the main hatch partially open, with nets visible and sowed. The smaller fore hatch will be closed. The sides of the coamings that go across the width of the deck need to be filed down to accommodate the camber in the deck. I use a half inch dowel with sandpaper glued to it and round files to help create the curve. The coamings are glued in placed with PA white glue. I also use a mixture of acrylic wood putty, PA glue, and a little water to make a sealant for the seams. The blue masking tape protects the surface of the deck when I sand everything smooth.
-
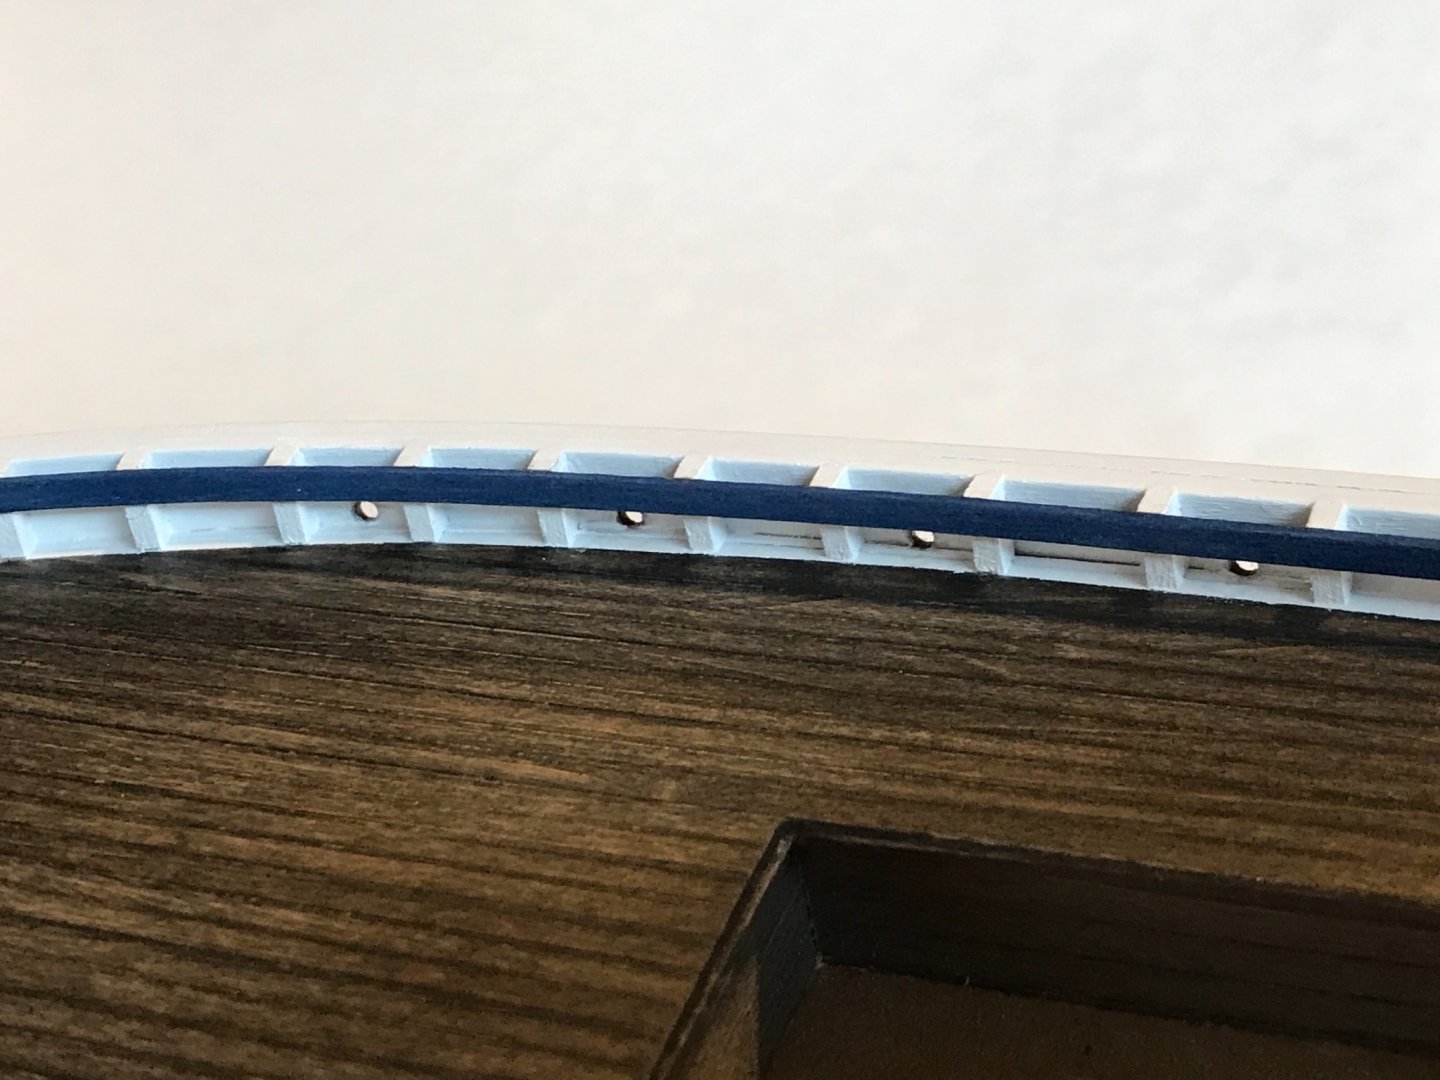
Added a plank along the top of the interior bulkhead to form a flat surface. This eliminated the "step" formed by clinker planking. Then the "false" frames (timberheads) were installed flat along the interior wall, including four taller/thicker timber-heads, presumably used as bollards. Finally, an outer gunwale strip and an inner "bearer" strip were added, and the scuppers were drilled out. After installing the frames and gunwale, some painting was necessary before the bearer was installed (because I wanted it a different color - blue). The gunwale will eventually be blue too, which should be a nice contrast with the (now) white bulkheads. Painting was done with an airbrush using Tamiya flat white acrylic model paint. The masking was done with both Tamiya and blue masking tap. It took a few hours to set-up the tape, but this seemed easier and promised better results (maybe) than brush painting. The blue paint was brushed on the bearers before they were glued to the timberheads.
-
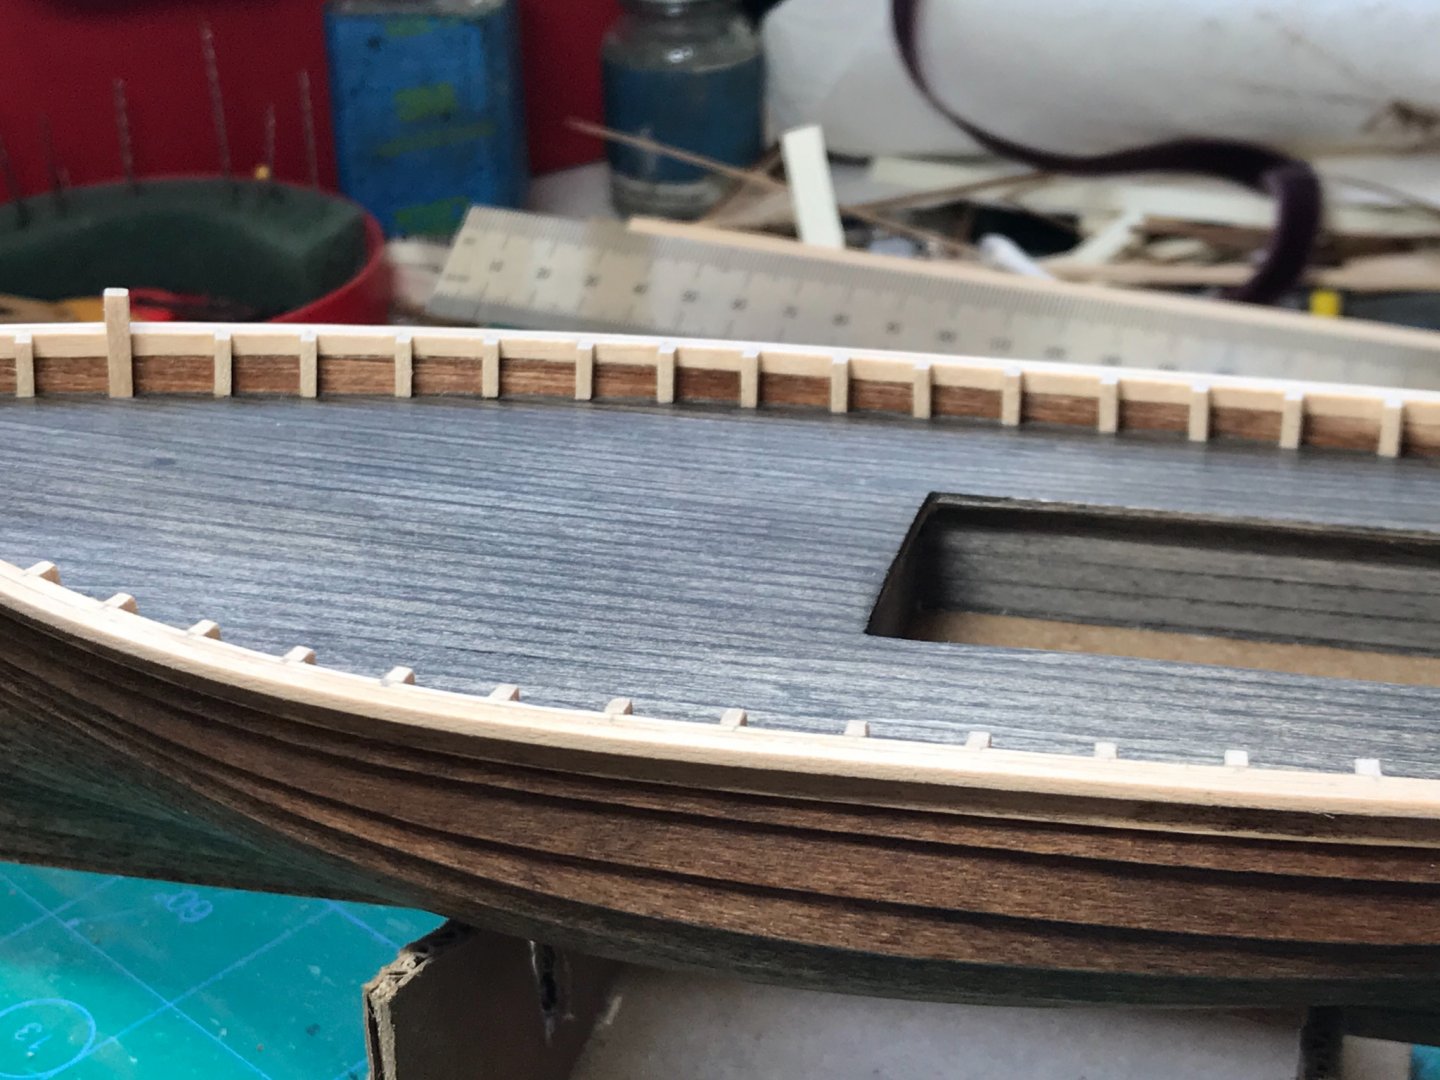
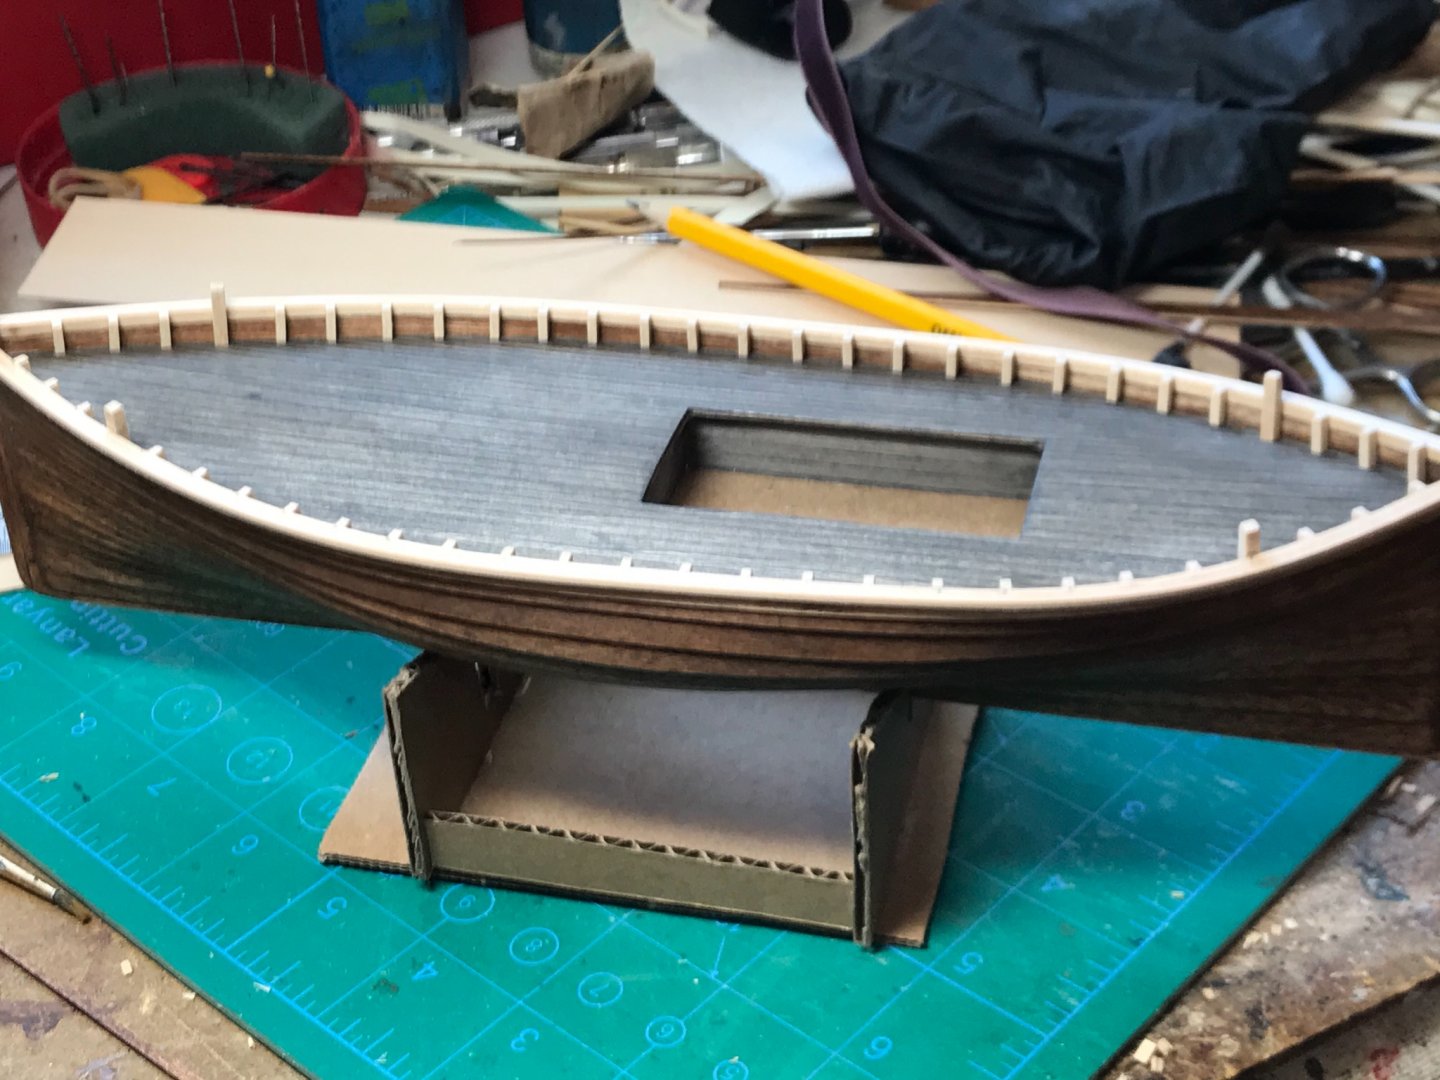
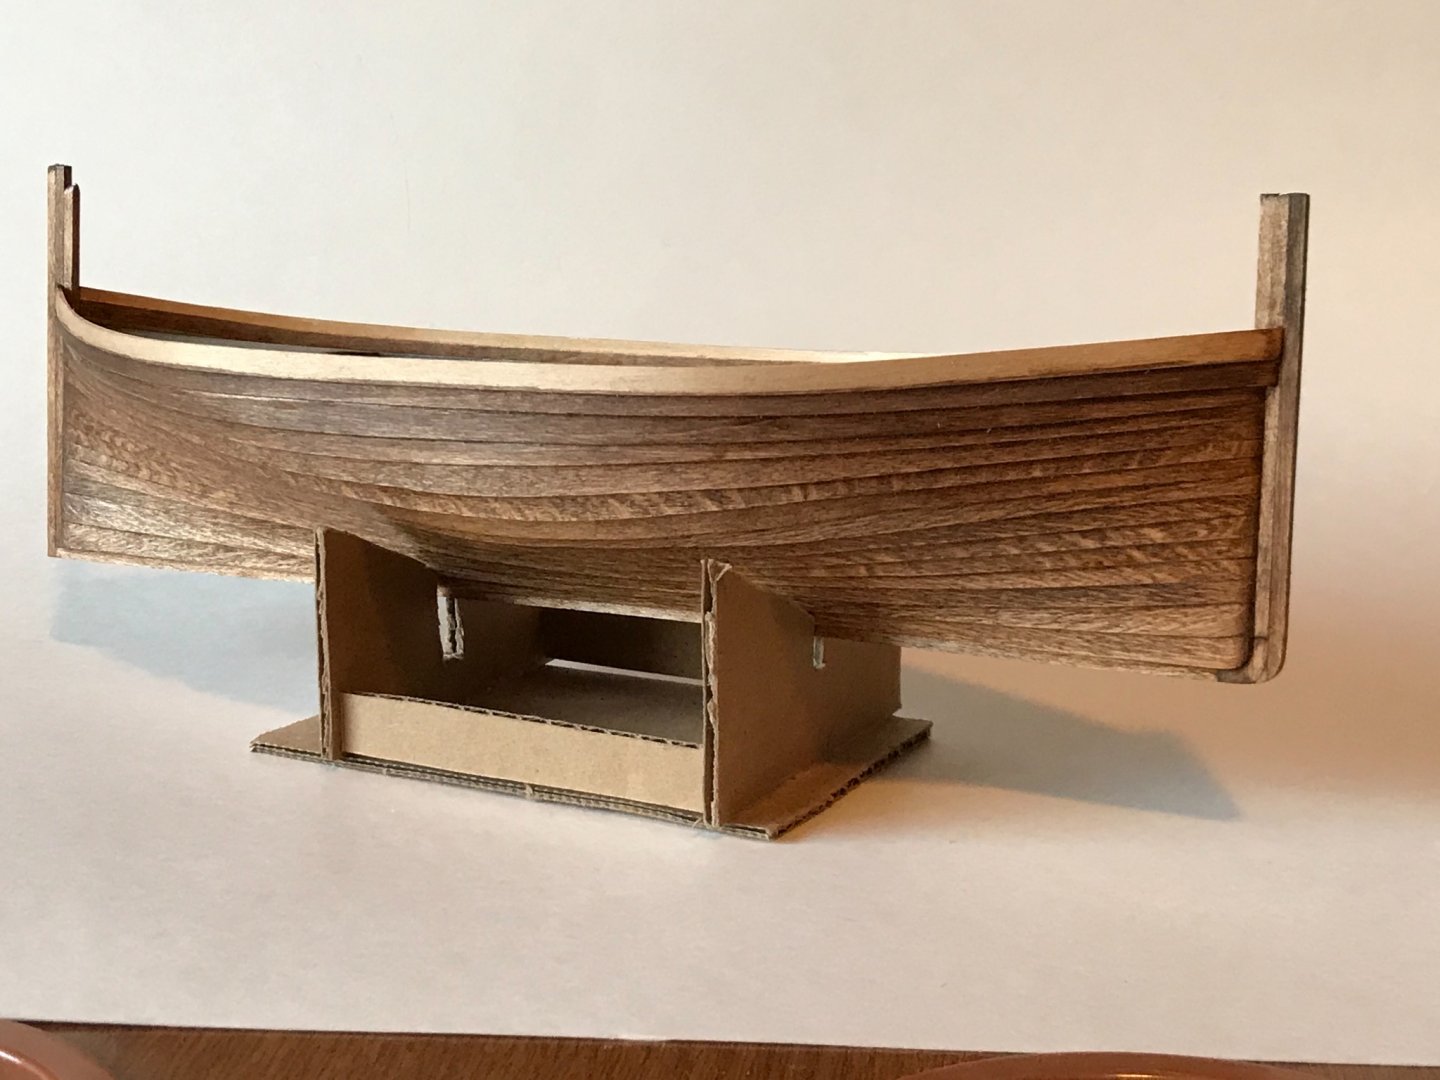
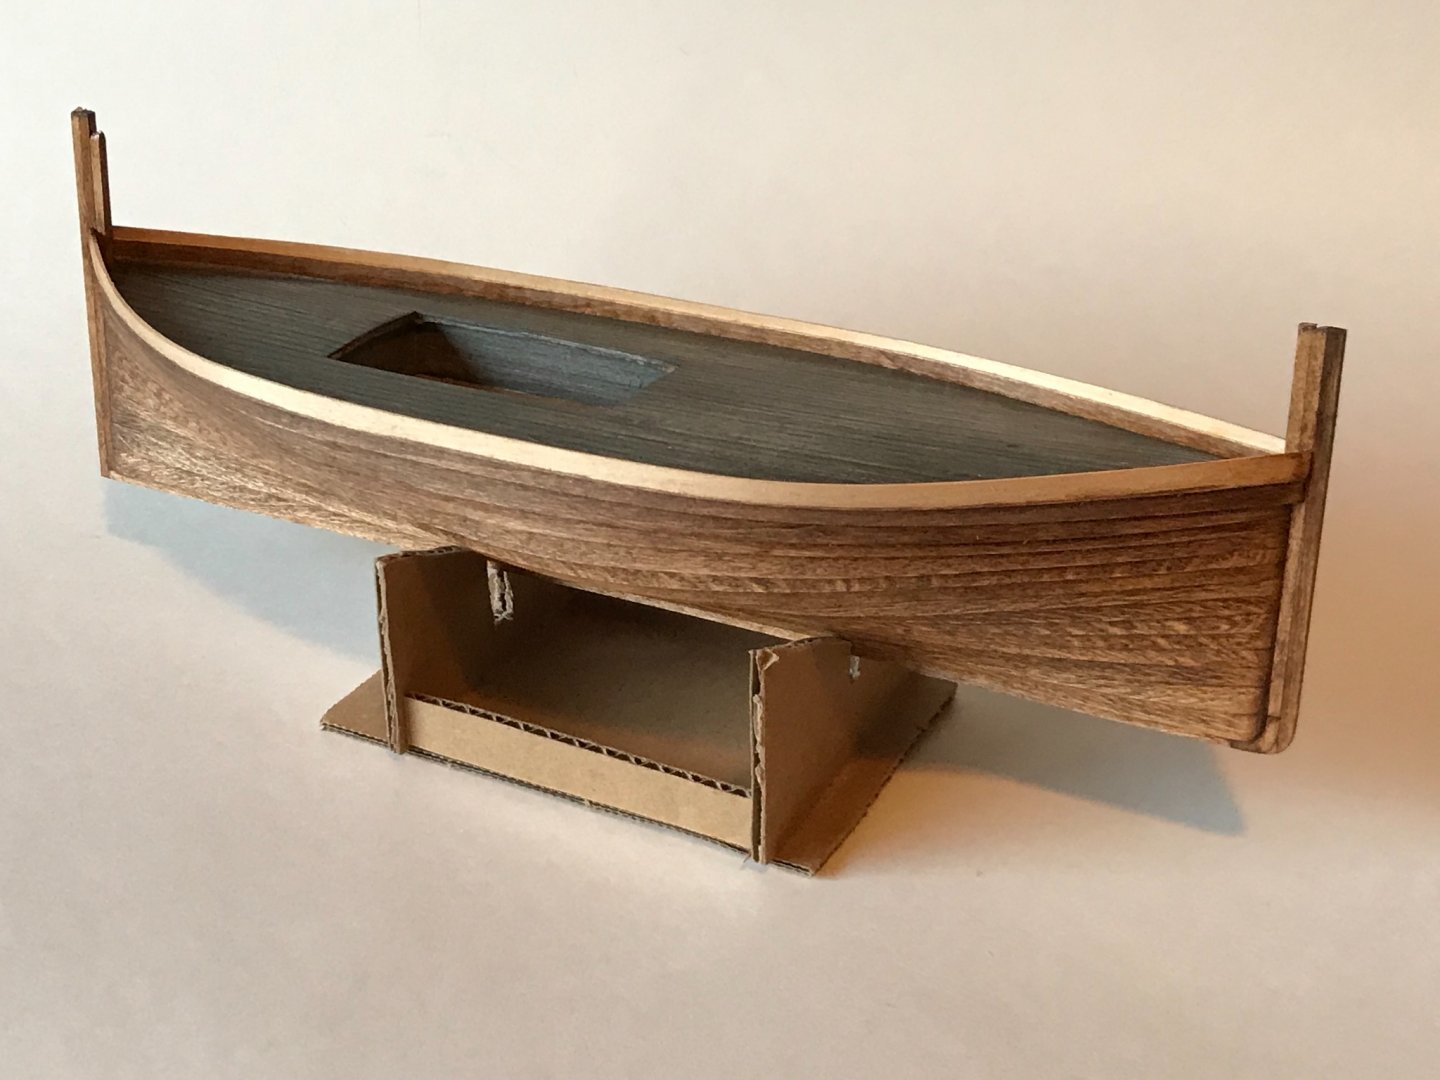
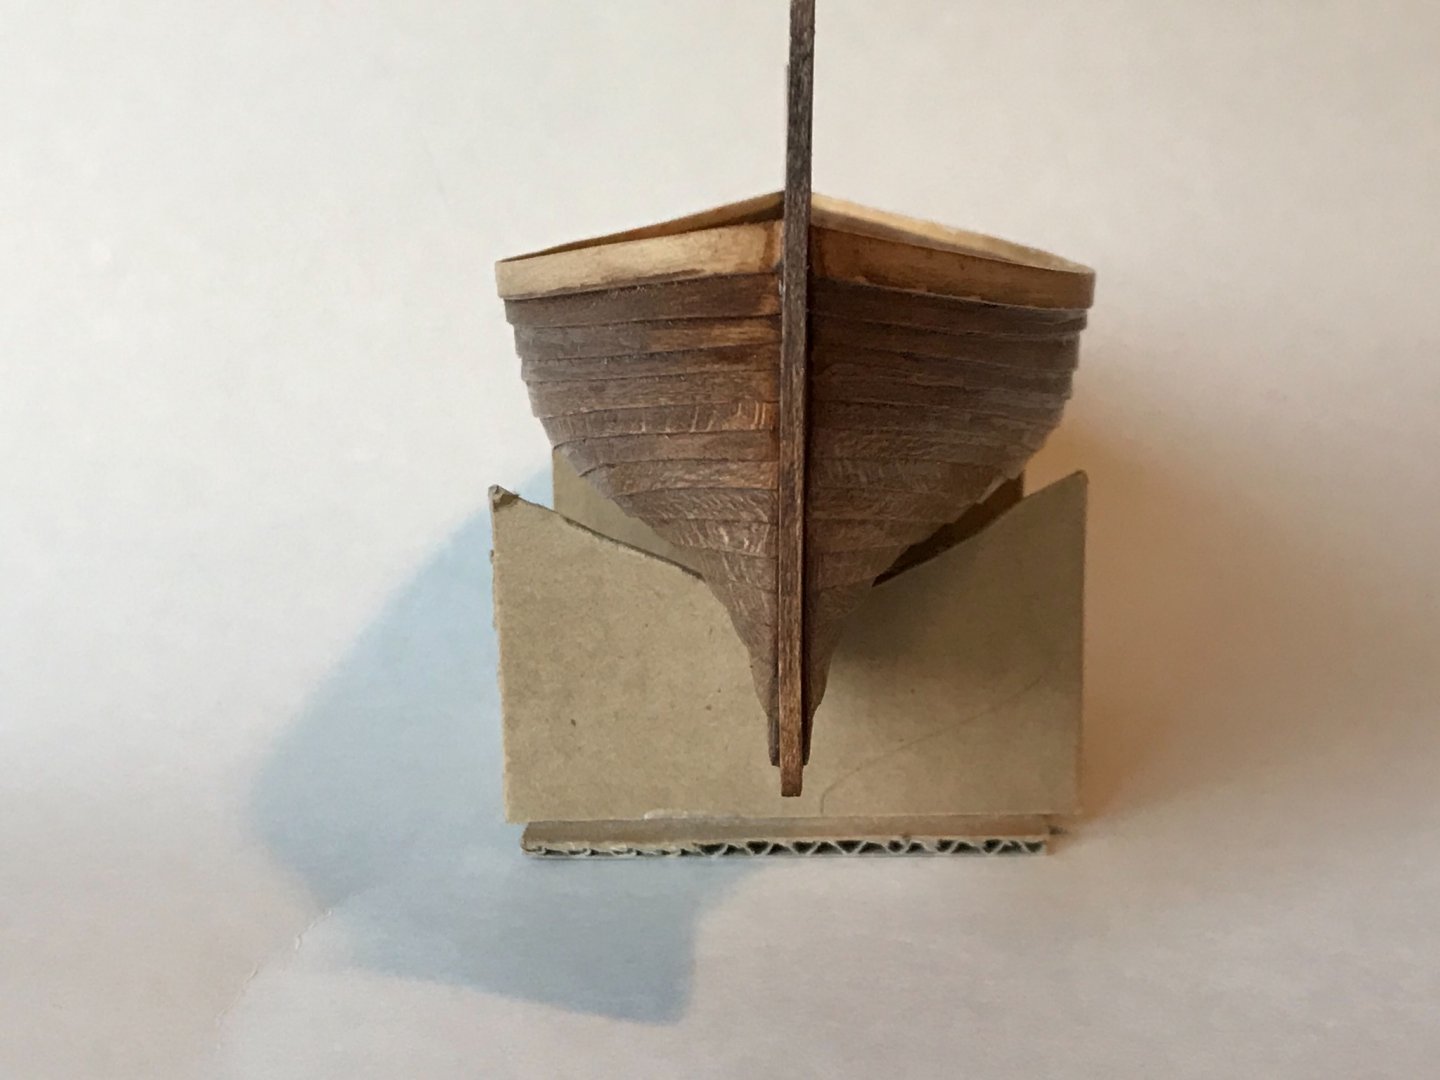
Finally got the planking done, except for a few trim pieces. The stem and stern posts shown here are longer than they need to be, and will be trimmed later.
About us
Modelshipworld - Advancing Ship Modeling through Research
SSL Secured
Your security is important for us so this Website is SSL-Secured
NRG Mailing Address
Nautical Research Guild
237 South Lincoln Street
Westmont IL, 60559-1917
Model Ship World ® and the MSW logo are Registered Trademarks, and belong to the Nautical Research Guild (United States Patent and Trademark Office: No. 6,929,264 & No. 6,929,274, registered Dec. 20, 2022)
Helpful Links
About the NRG
If you enjoy building ship models that are historically accurate as well as beautiful, then The Nautical Research Guild (NRG) is just right for you.
The Guild is a non-profit educational organization whose mission is to “Advance Ship Modeling Through Research”. We provide support to our members in their efforts to raise the quality of their model ships.
The Nautical Research Guild has published our world-renowned quarterly magazine, The Nautical Research Journal, since 1955. The pages of the Journal are full of articles by accomplished ship modelers who show you how they create those exquisite details on their models, and by maritime historians who show you the correct details to build. The Journal is available in both print and digital editions. Go to the NRG web site (www.thenrg.org) to download a complimentary digital copy of the Journal. The NRG also publishes plan sets, books and compilations of back issues of the Journal and the former Ships in Scale and Model Ship Builder magazines.

