CDW
-
Posts
7,755 -
Joined
-
Last visited
Content Type
Profiles
Forums
Gallery
Events
Everything posted by CDW
-
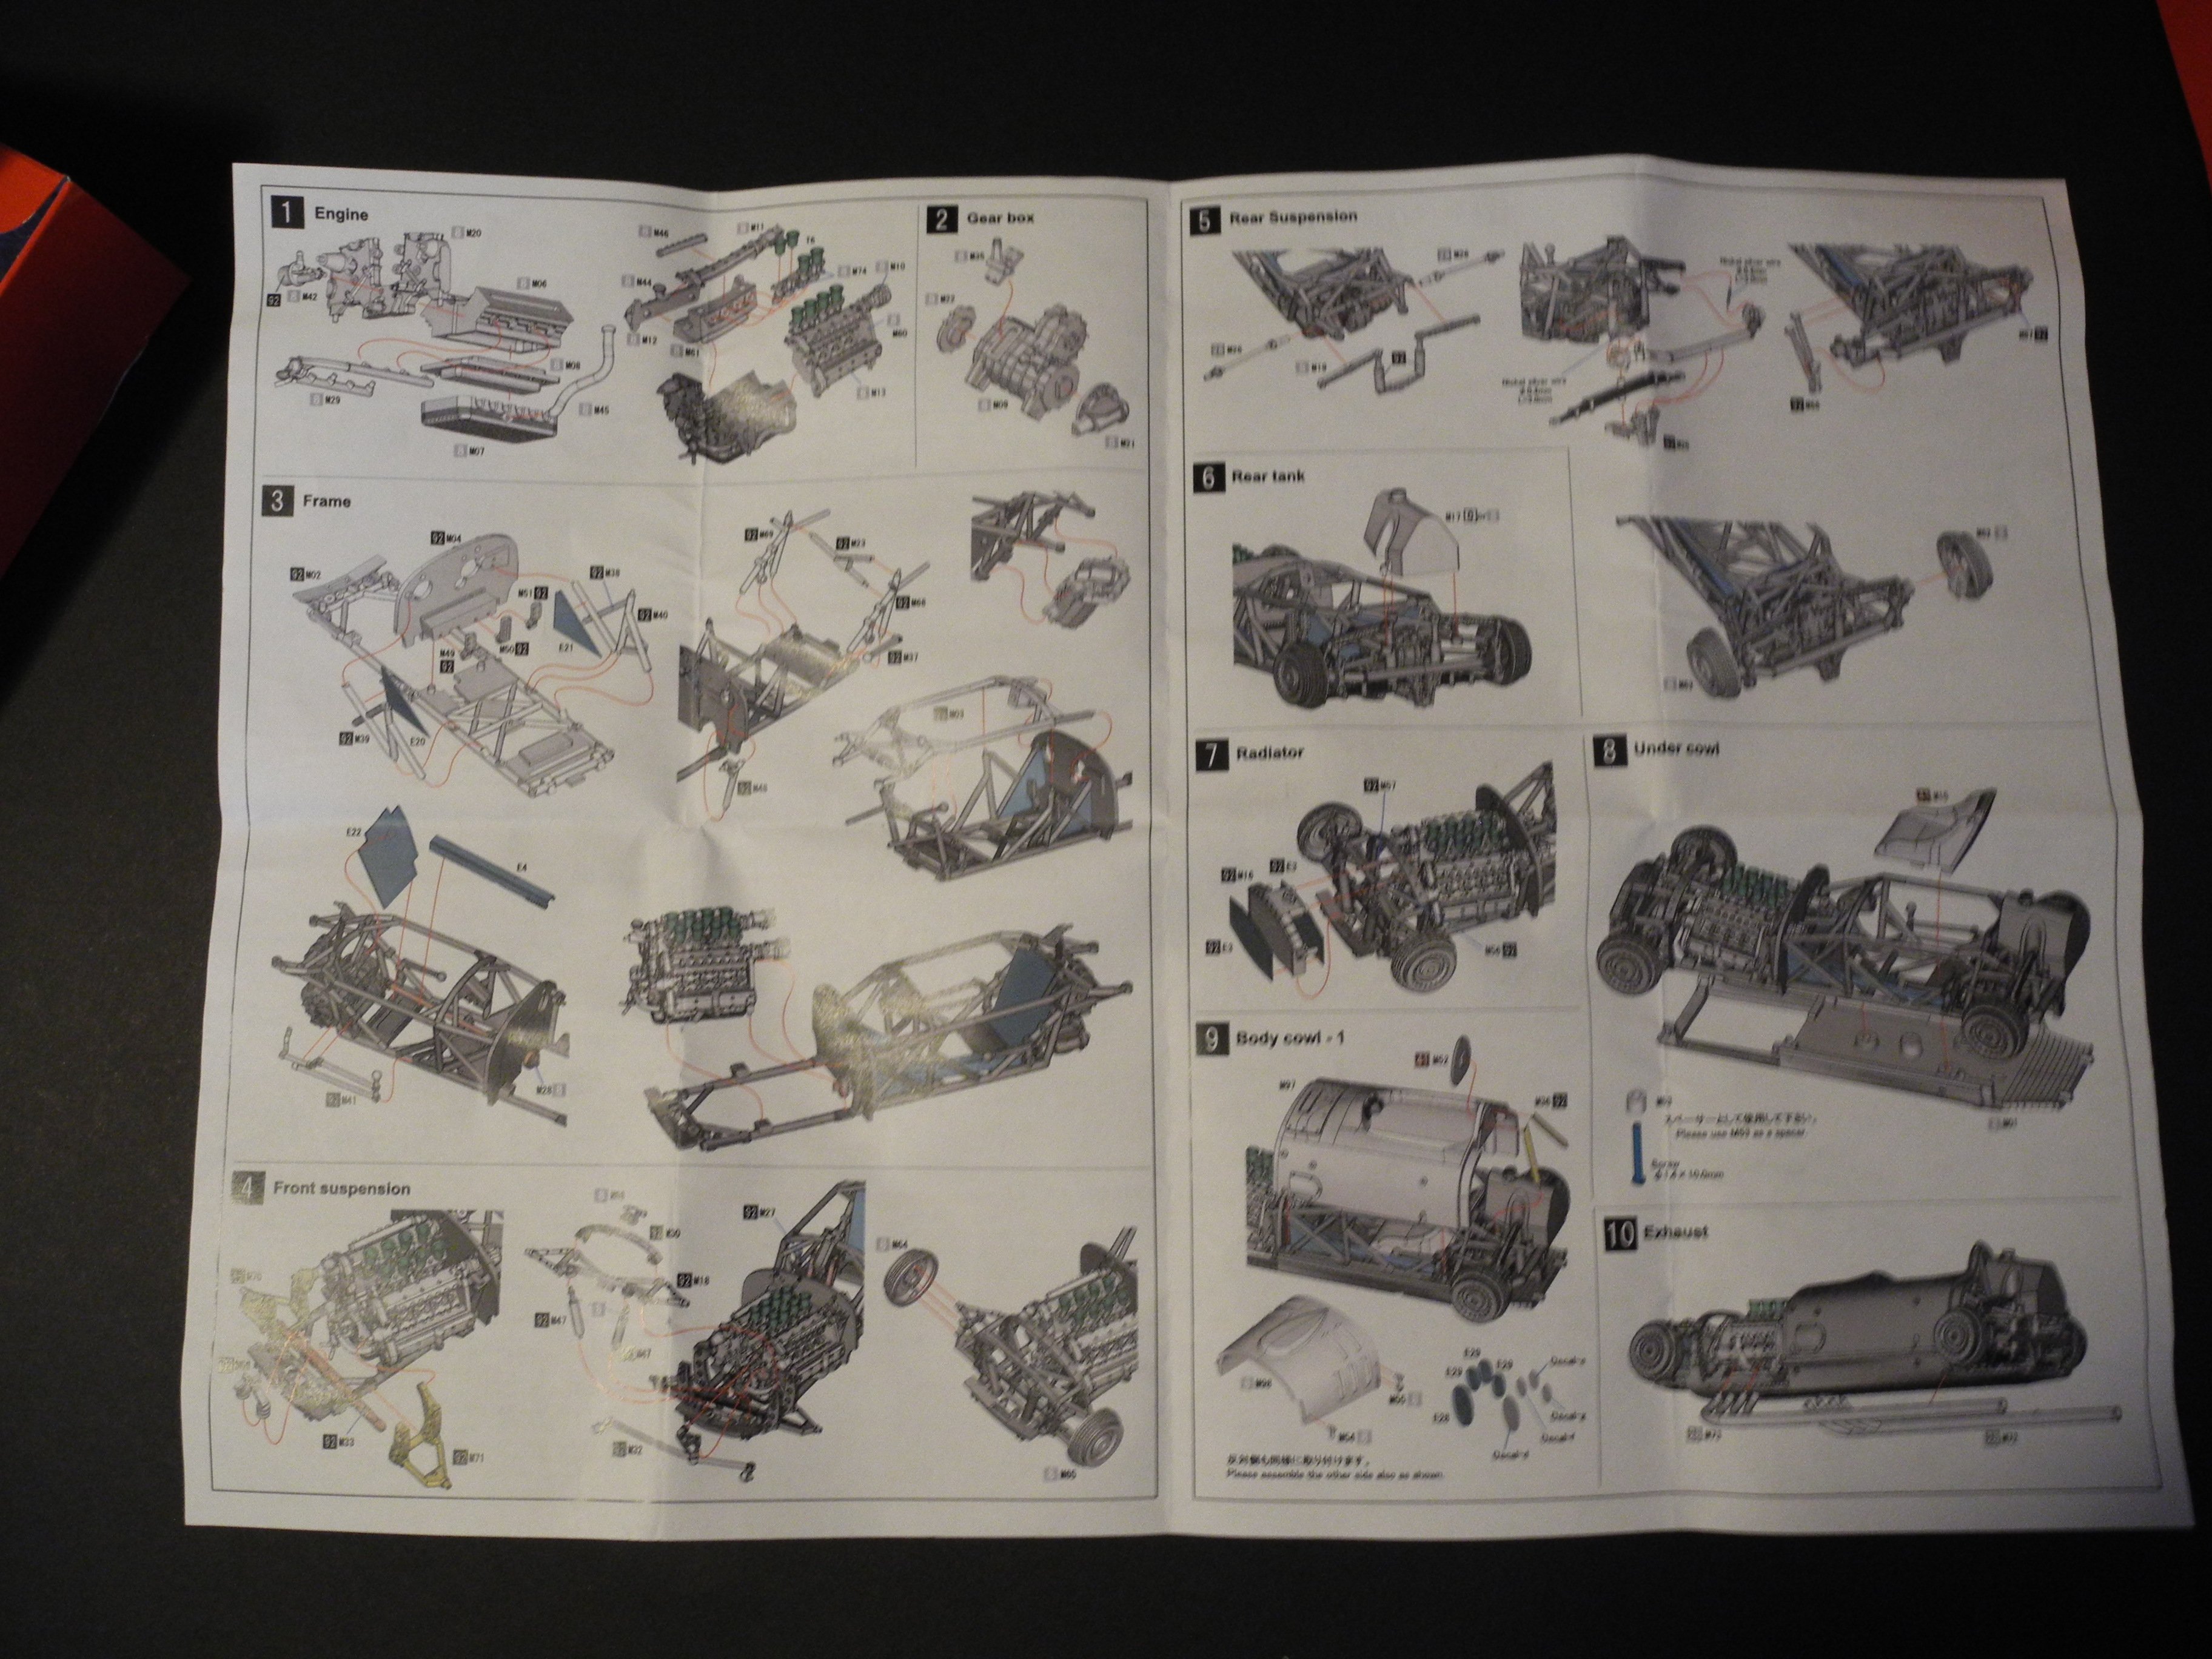
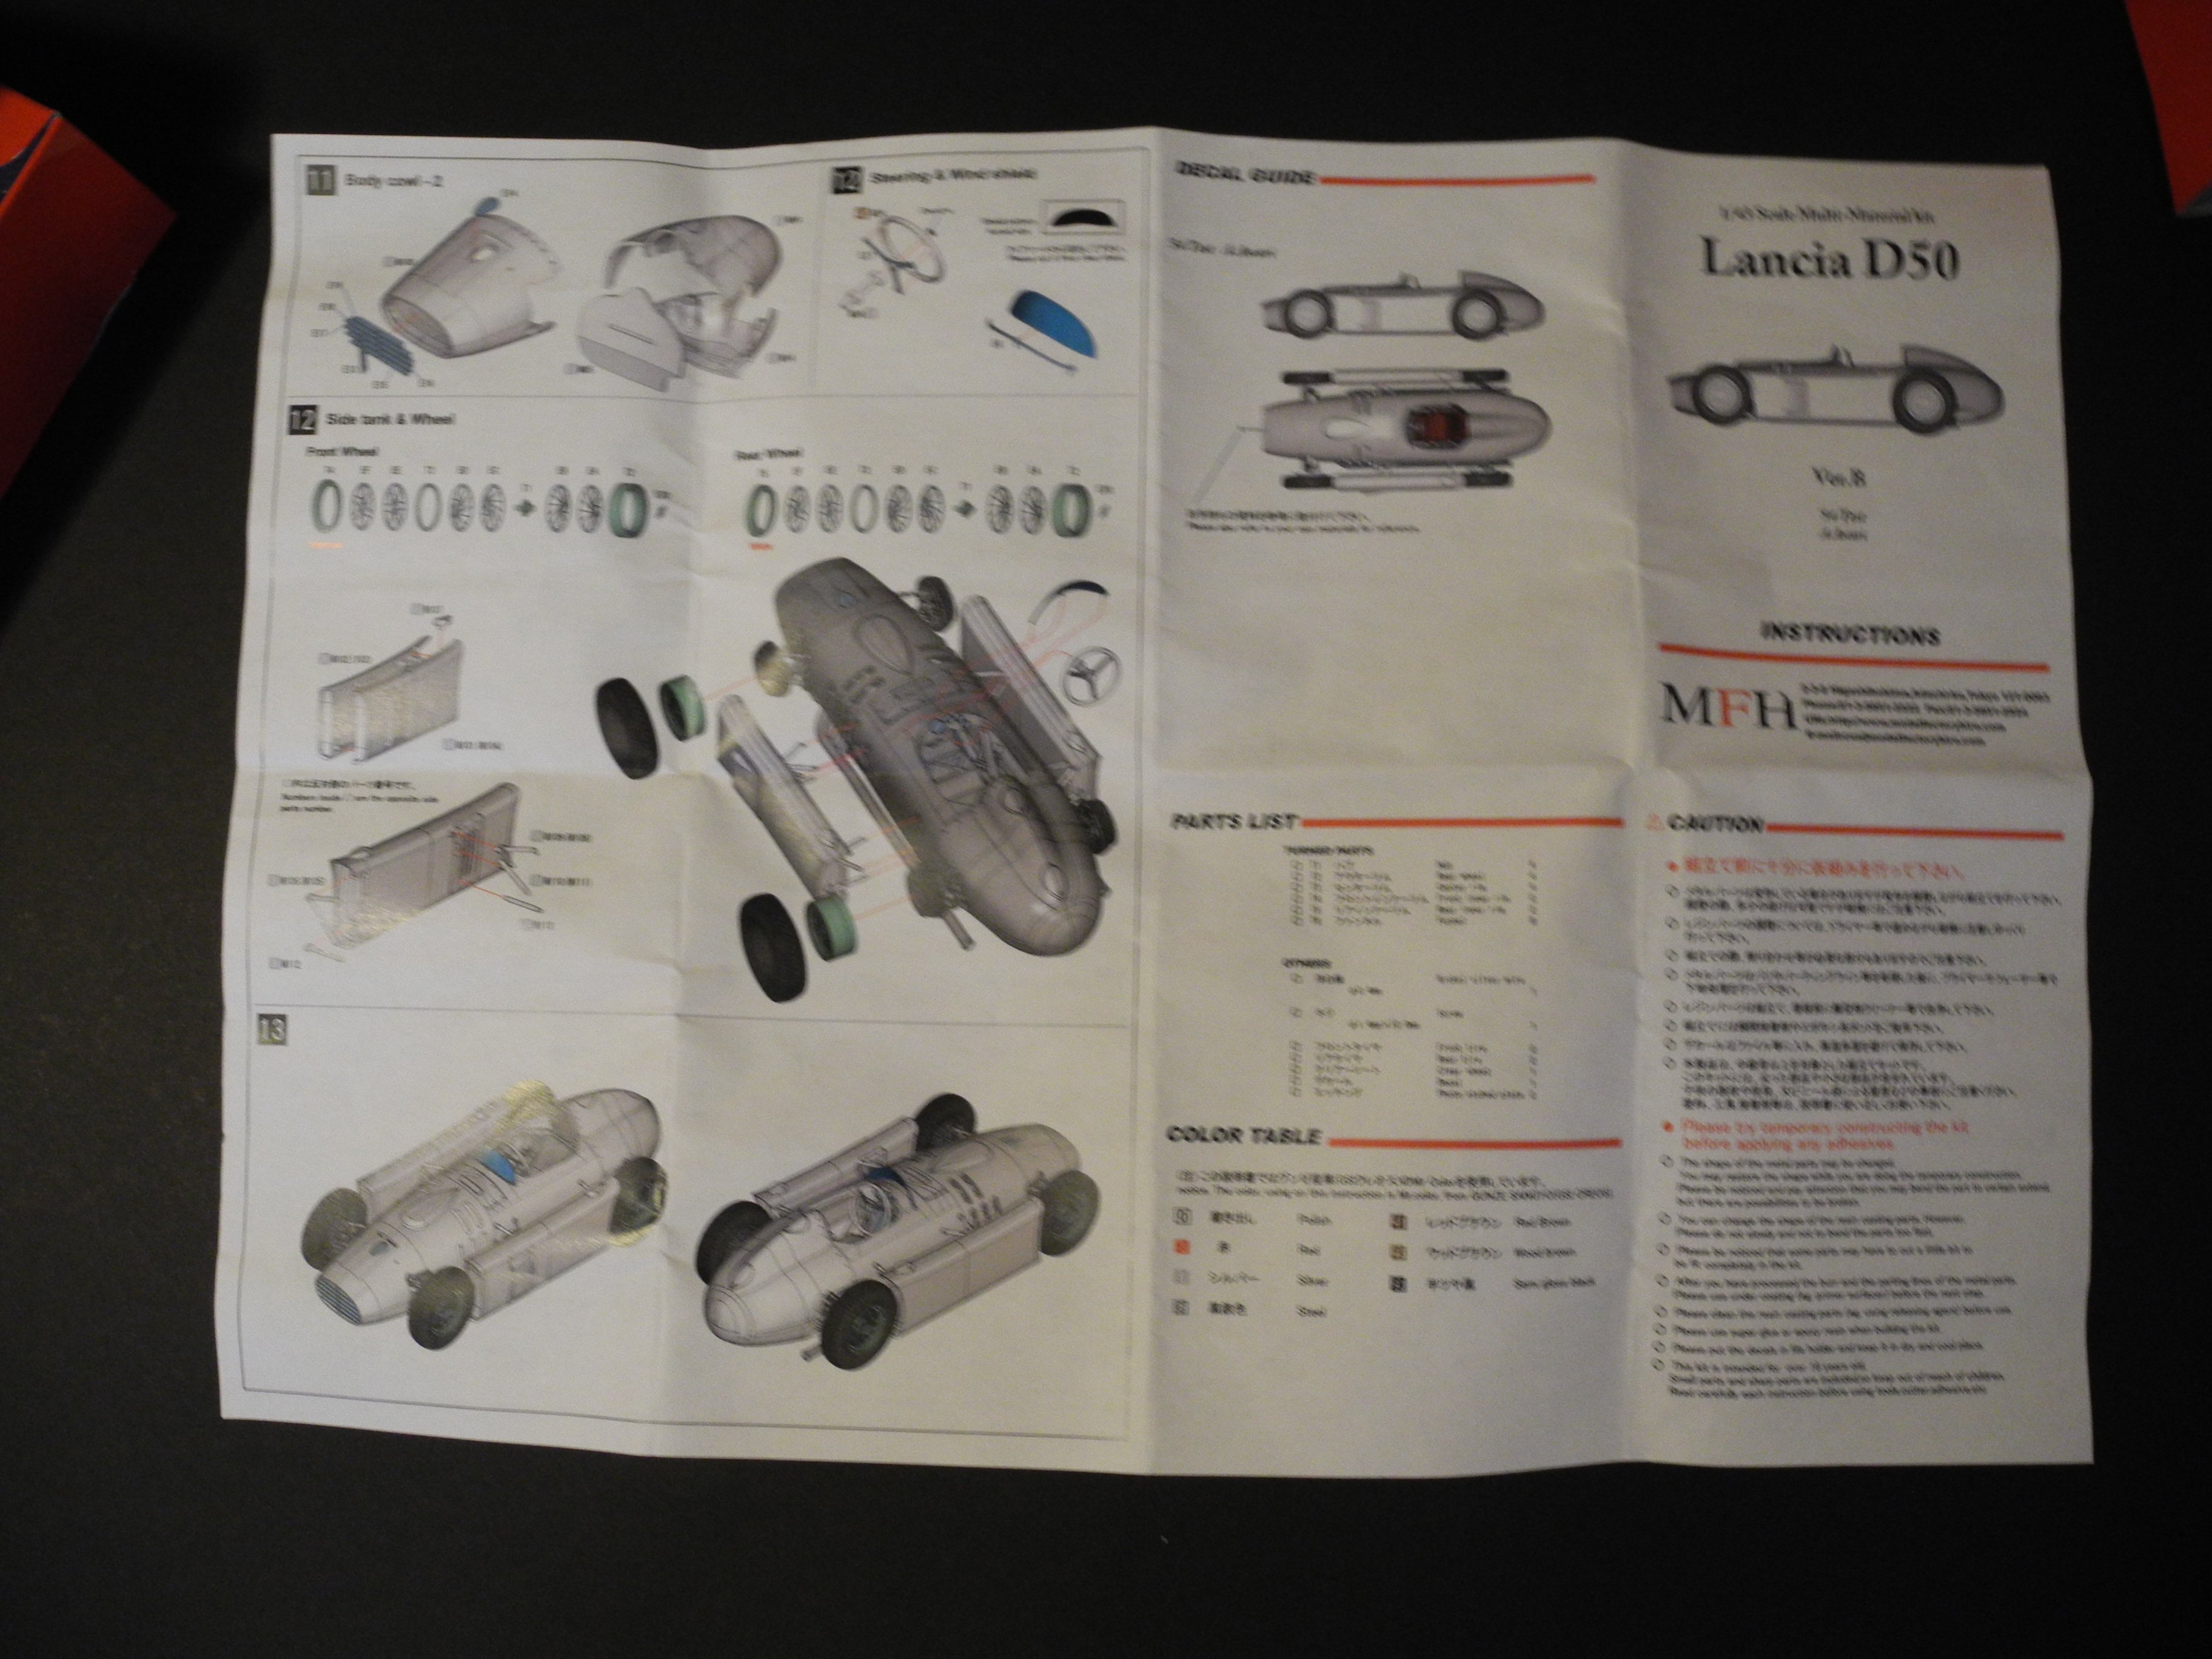
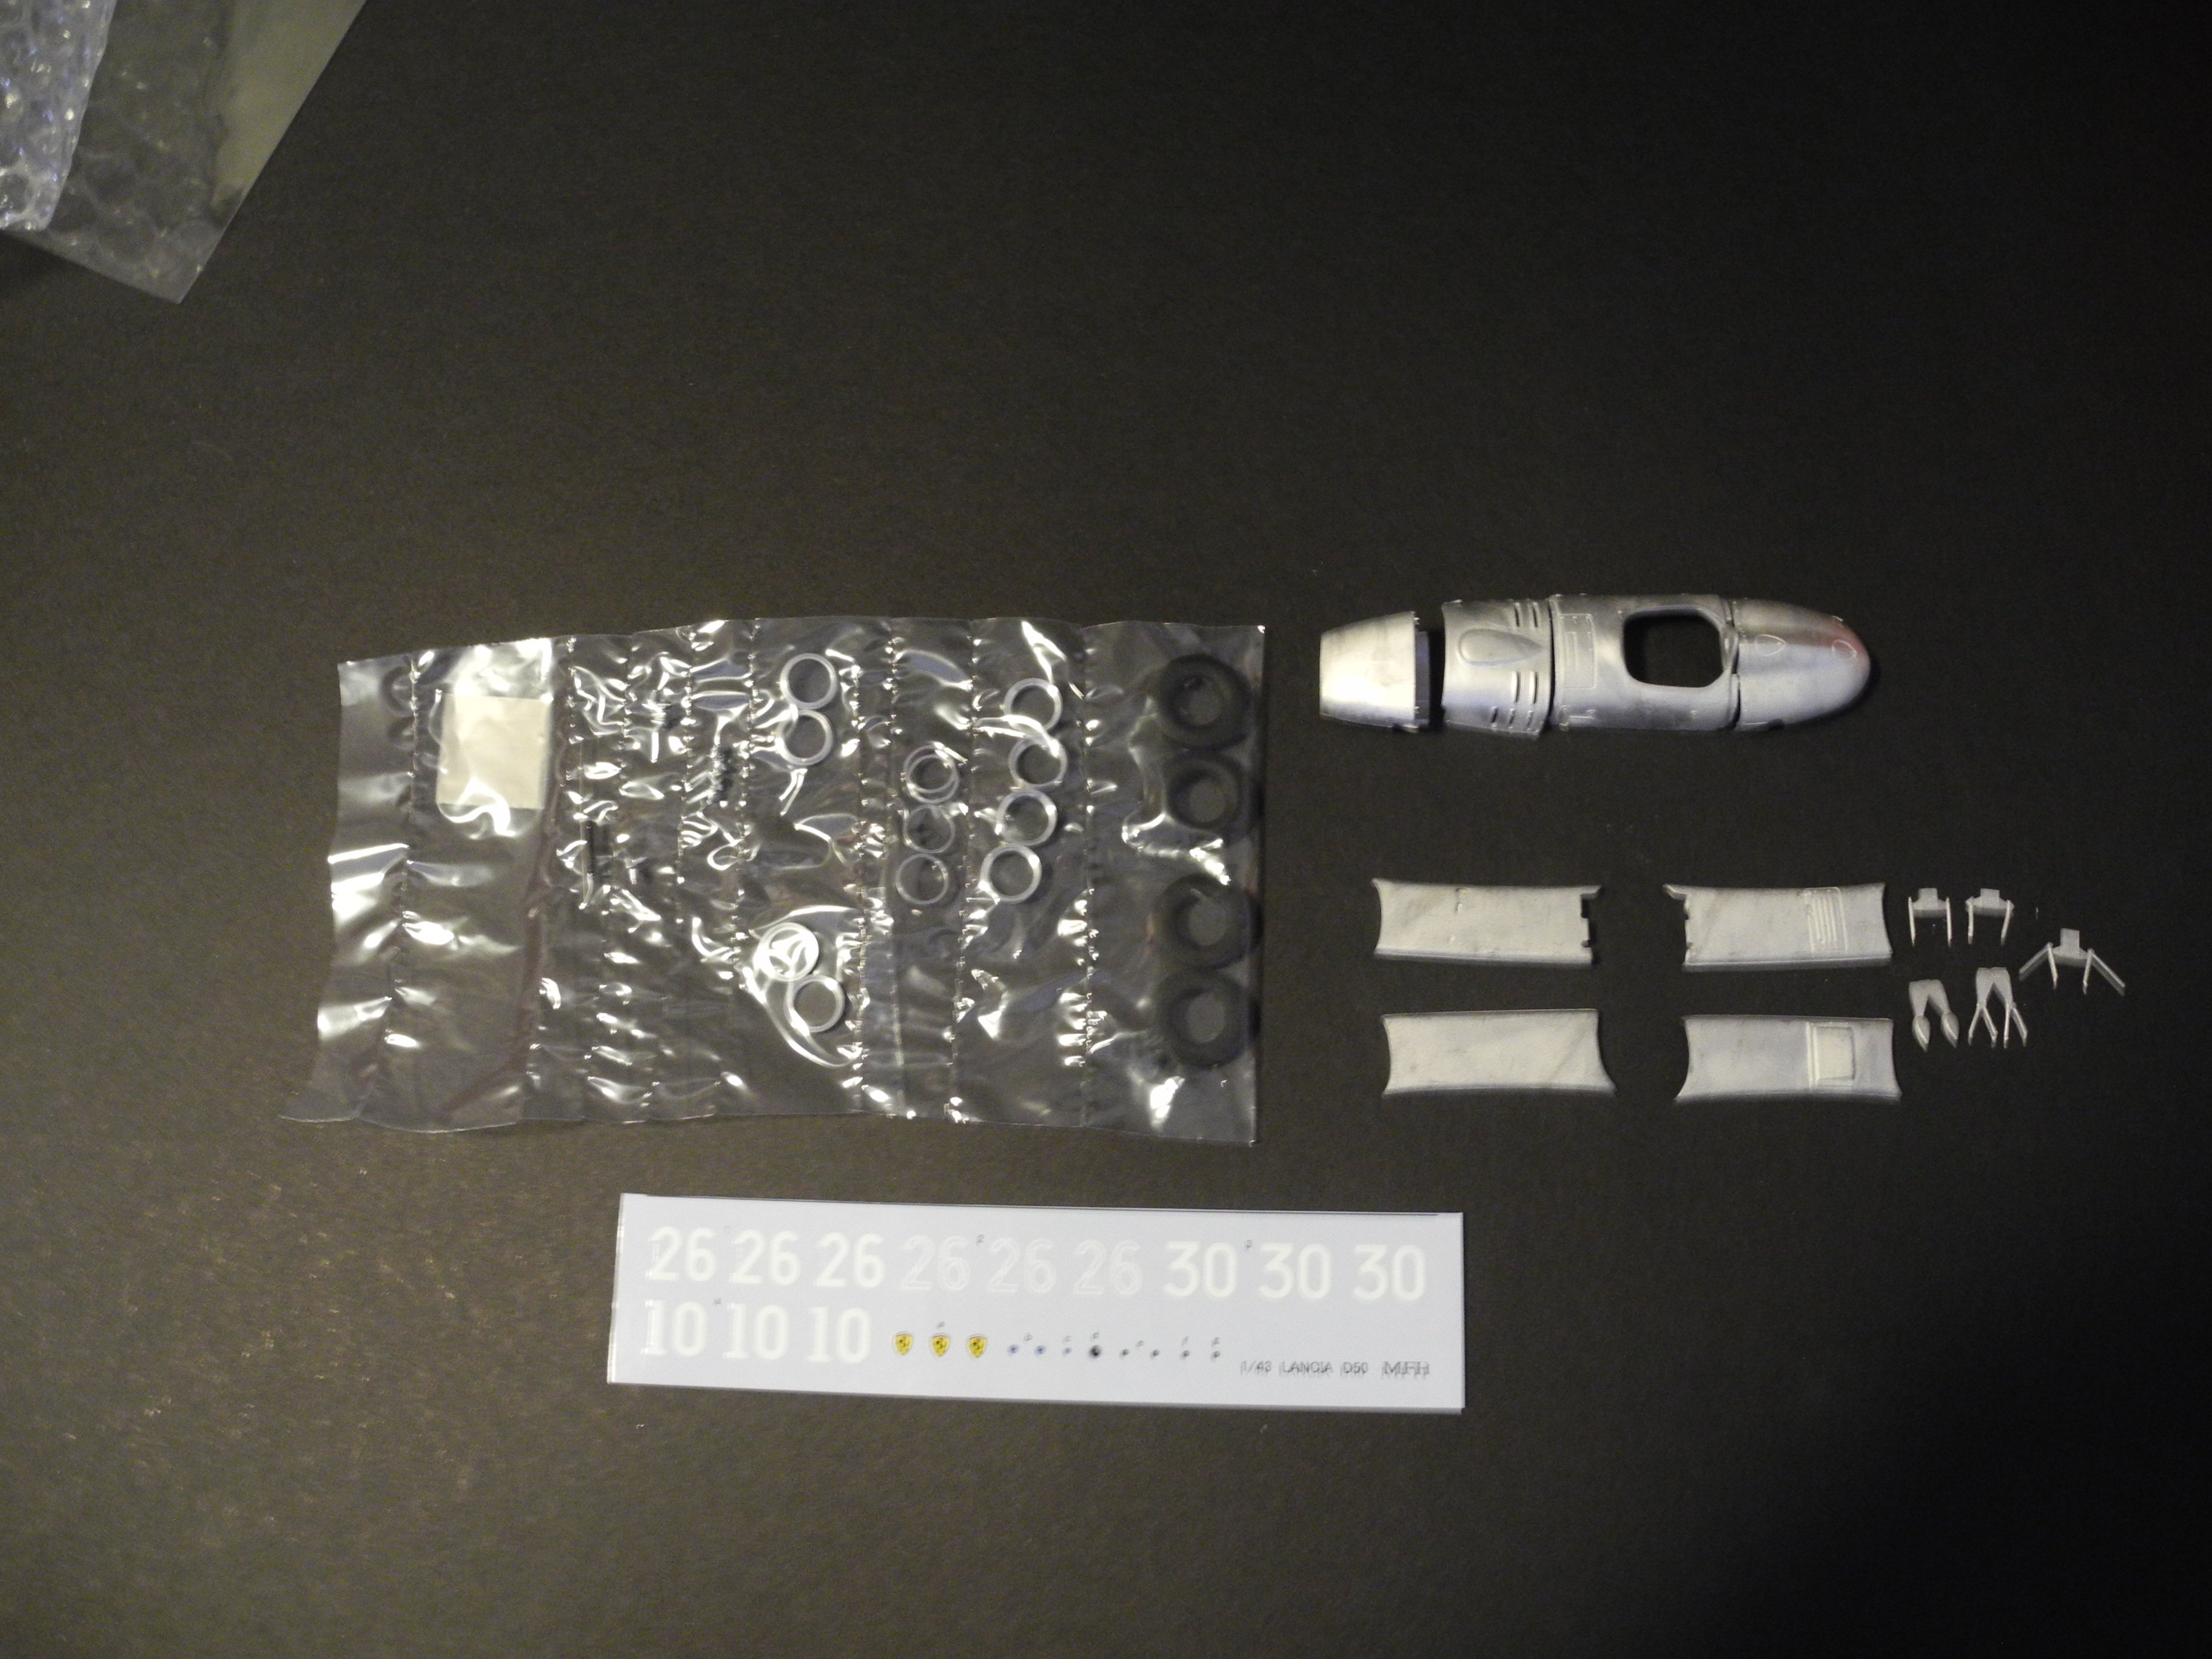
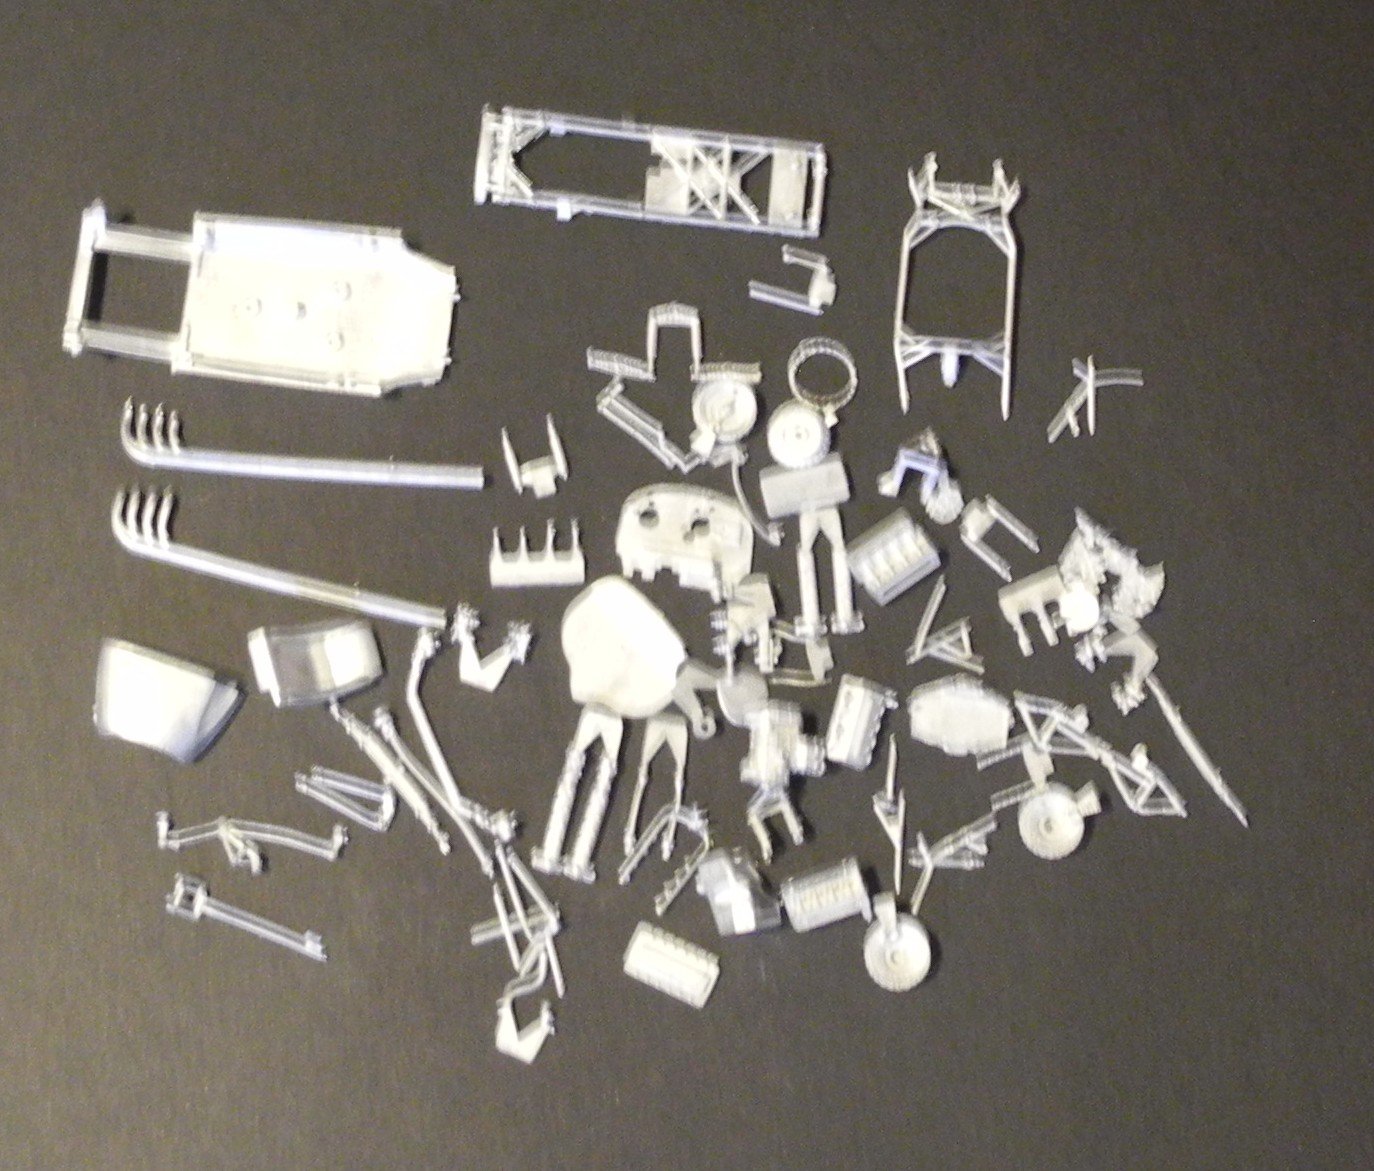
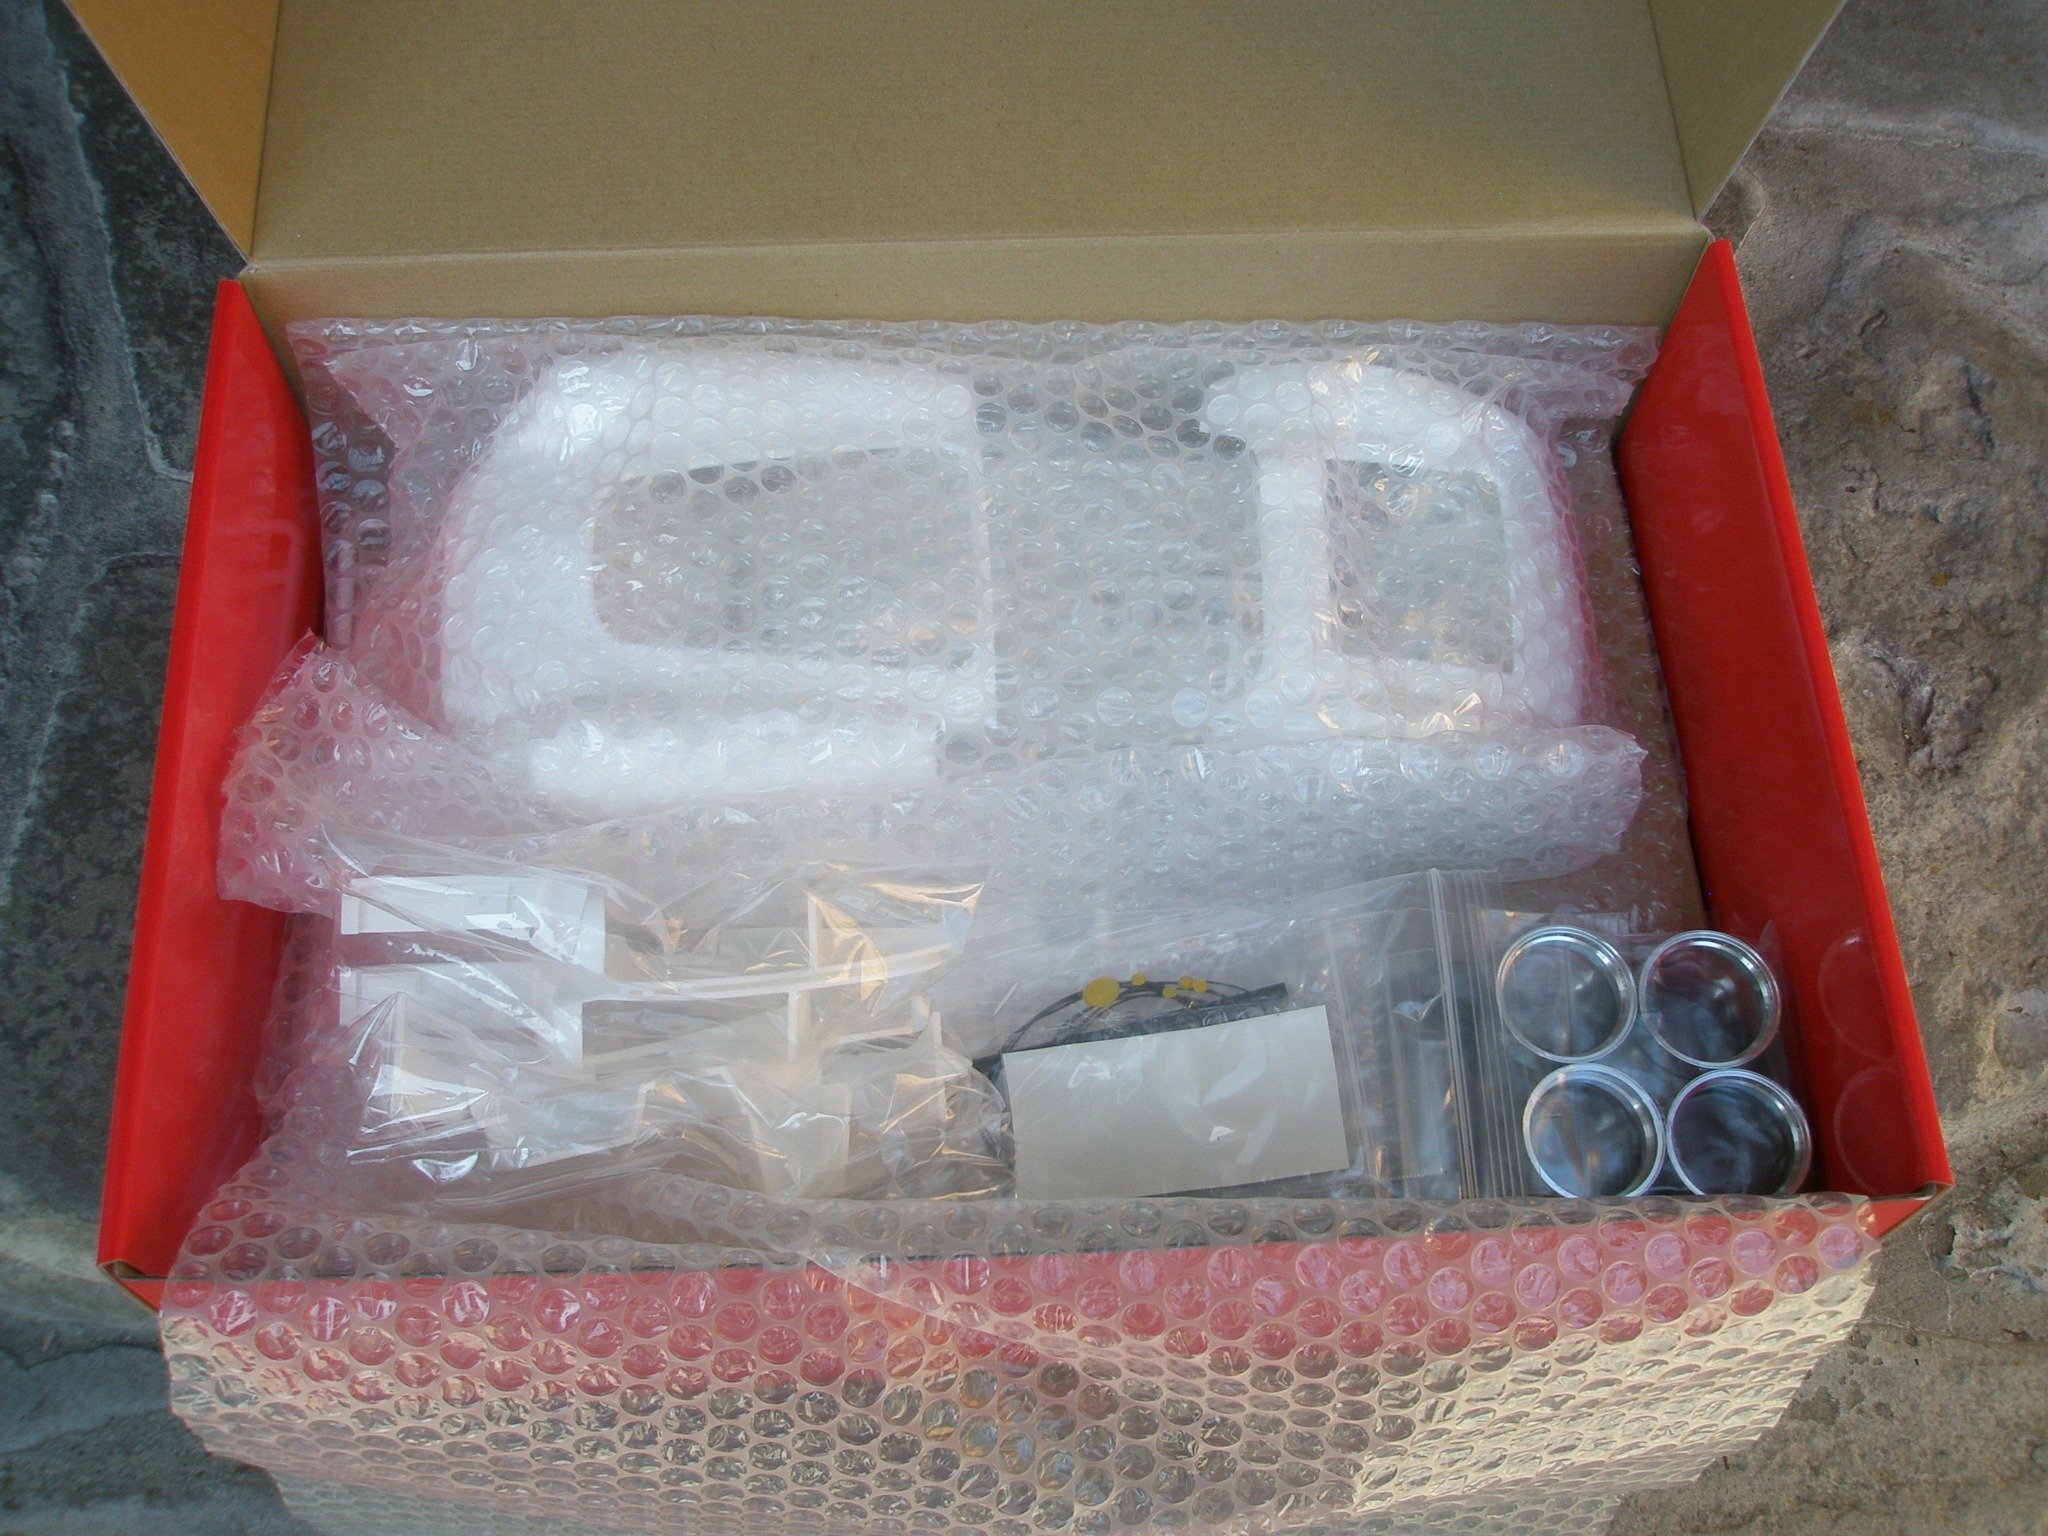
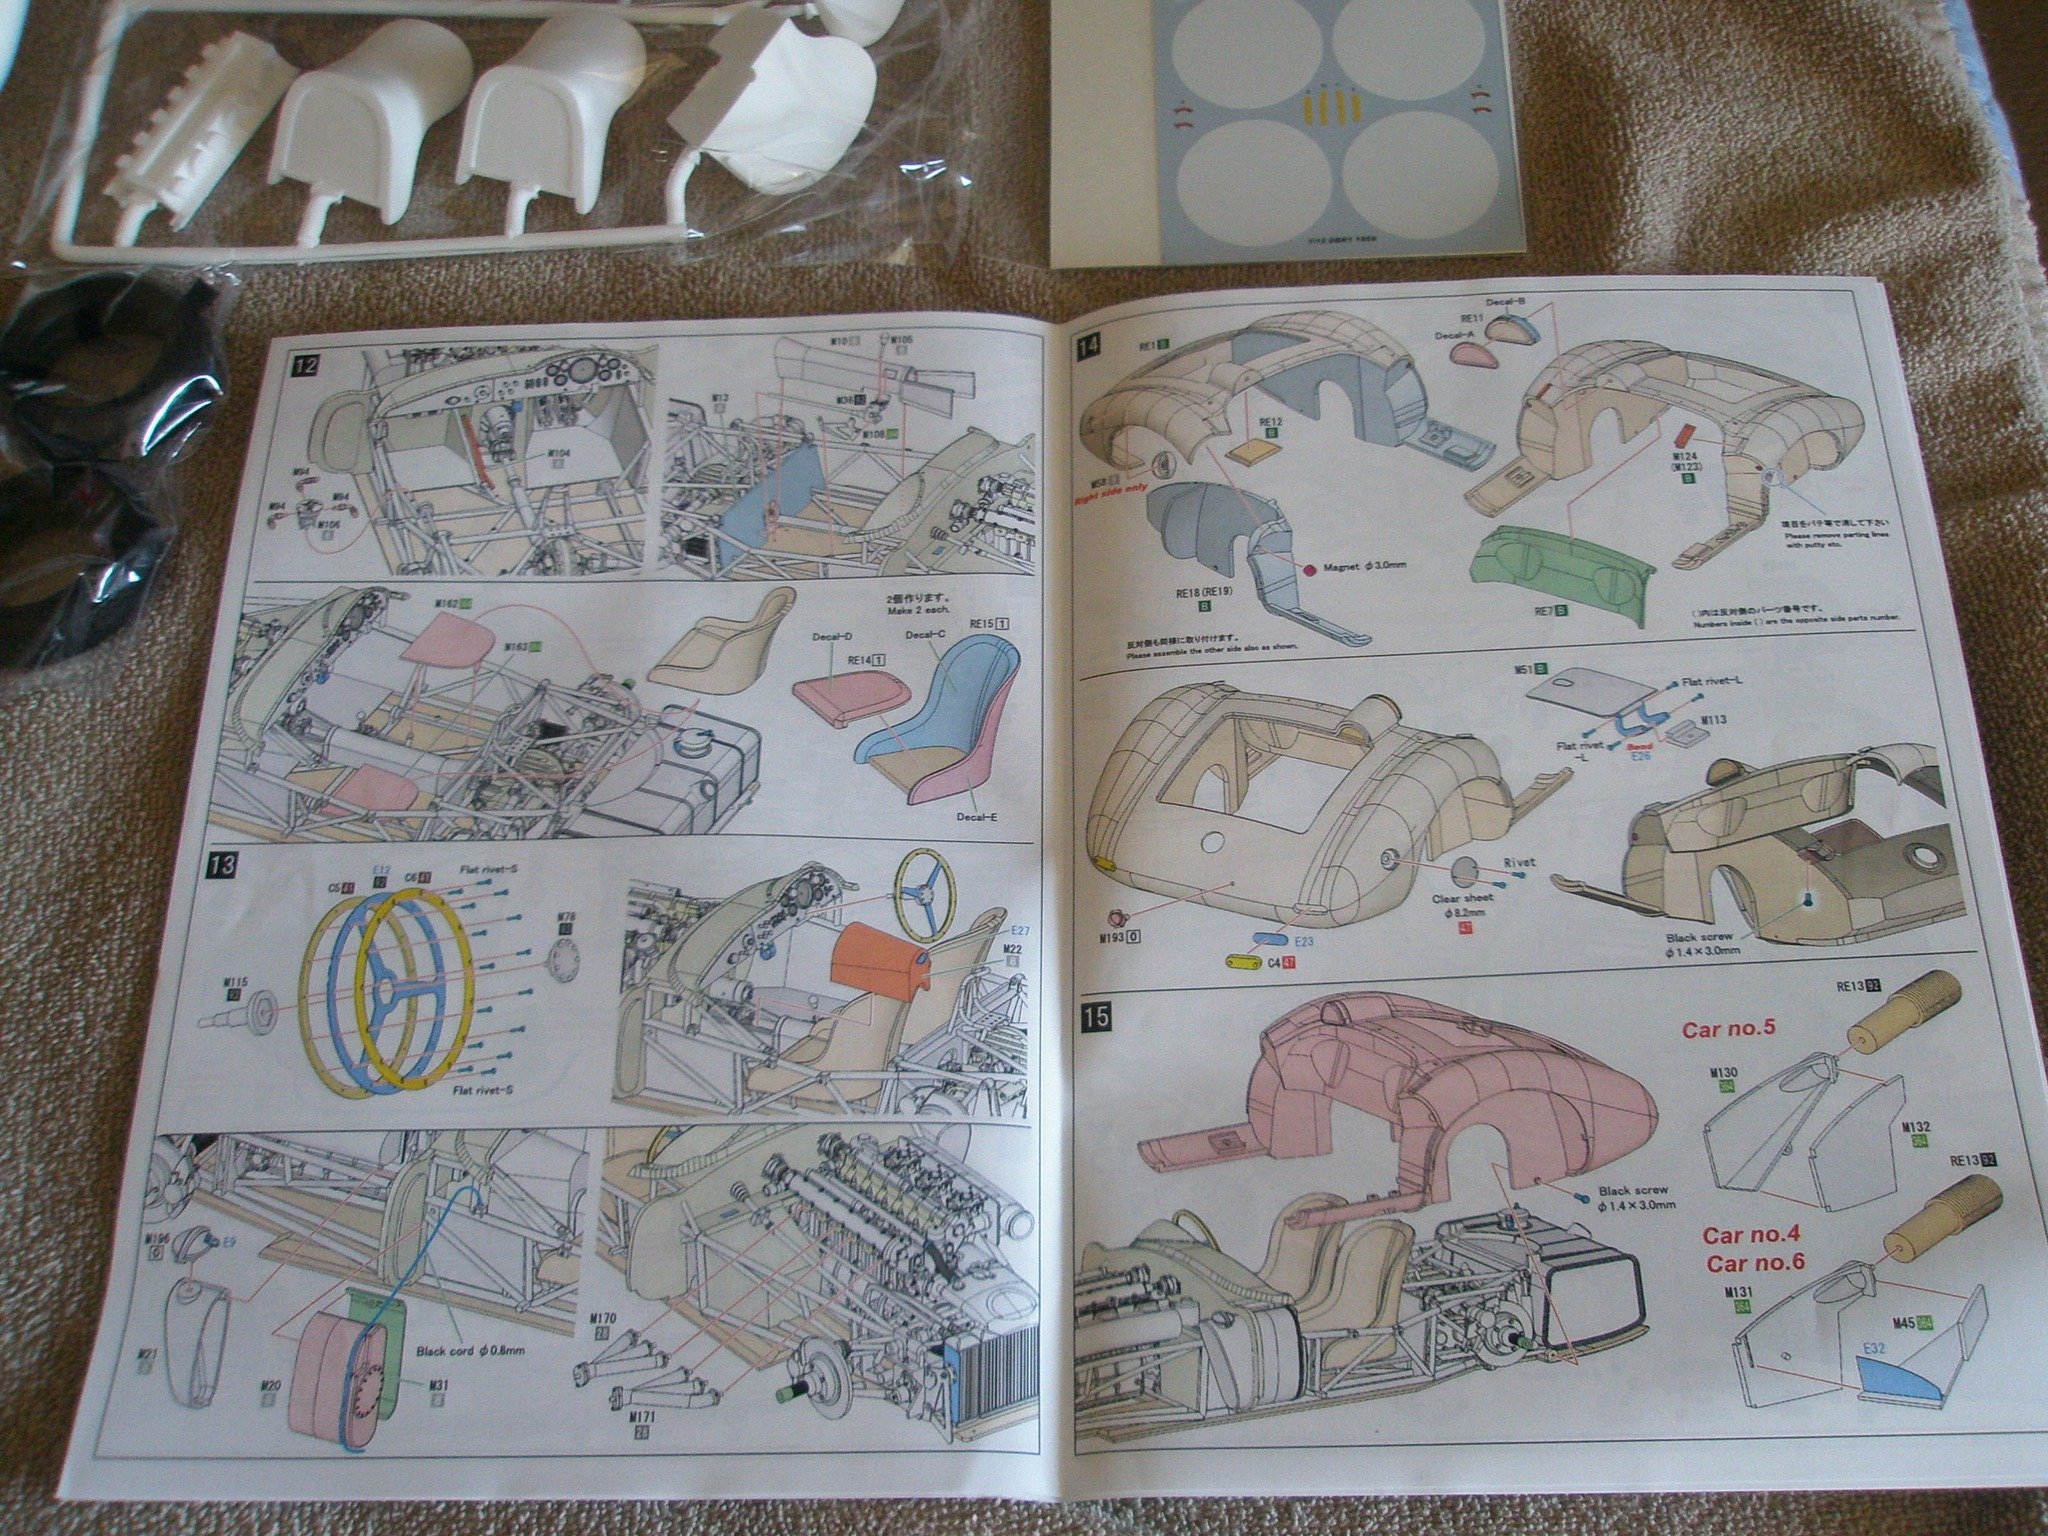
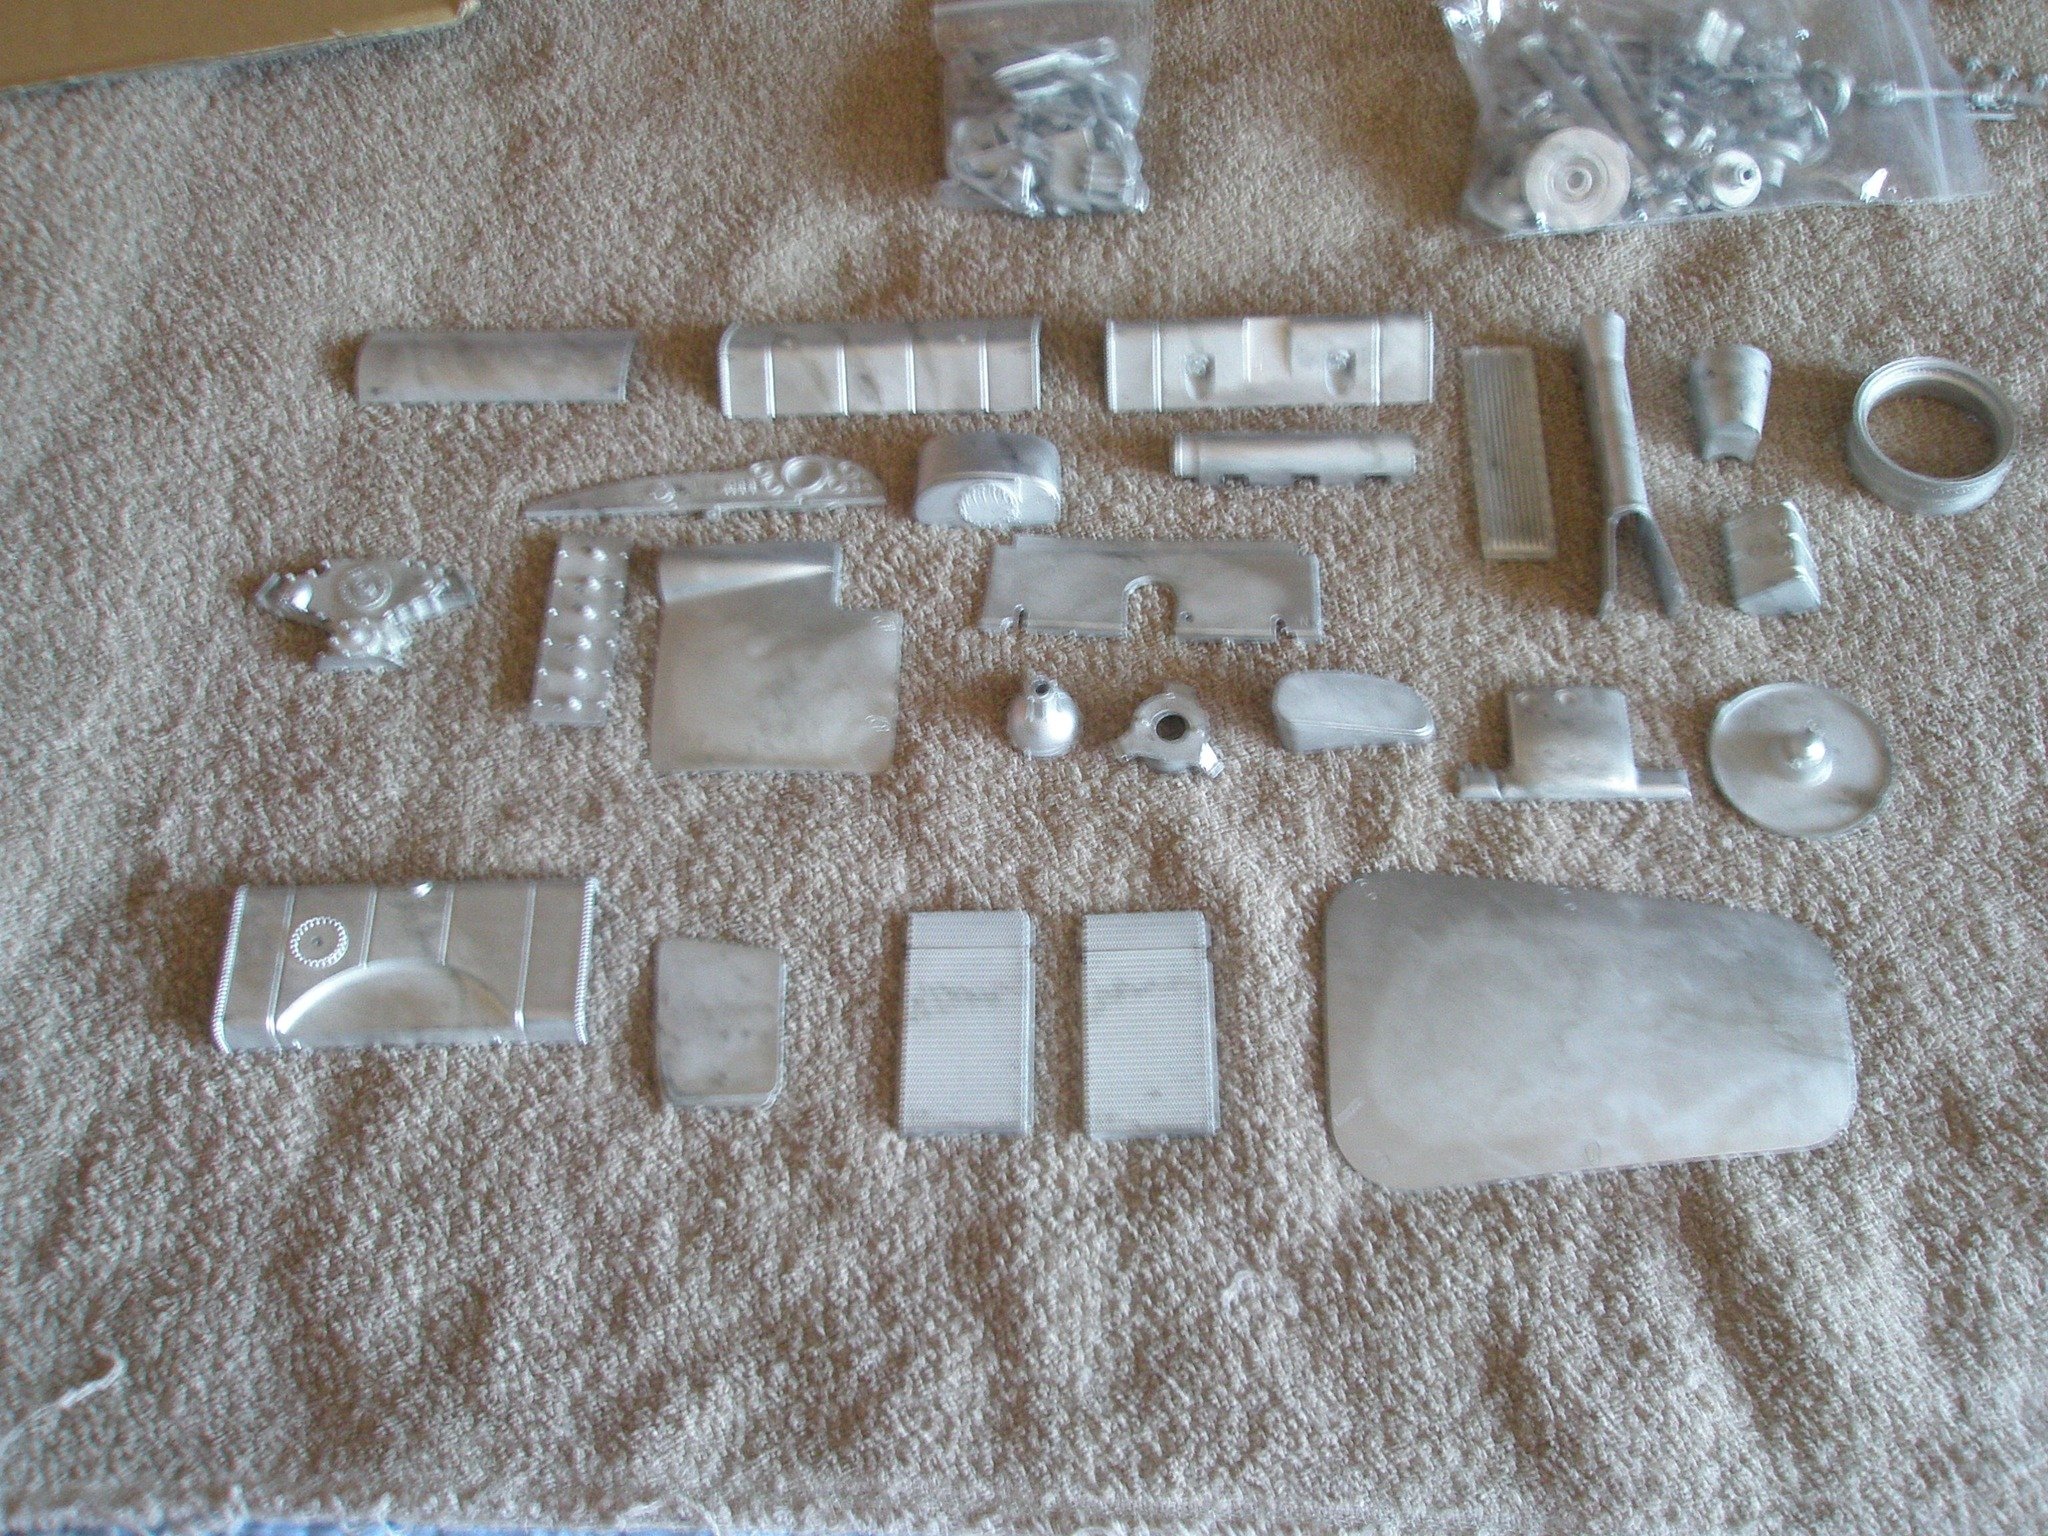
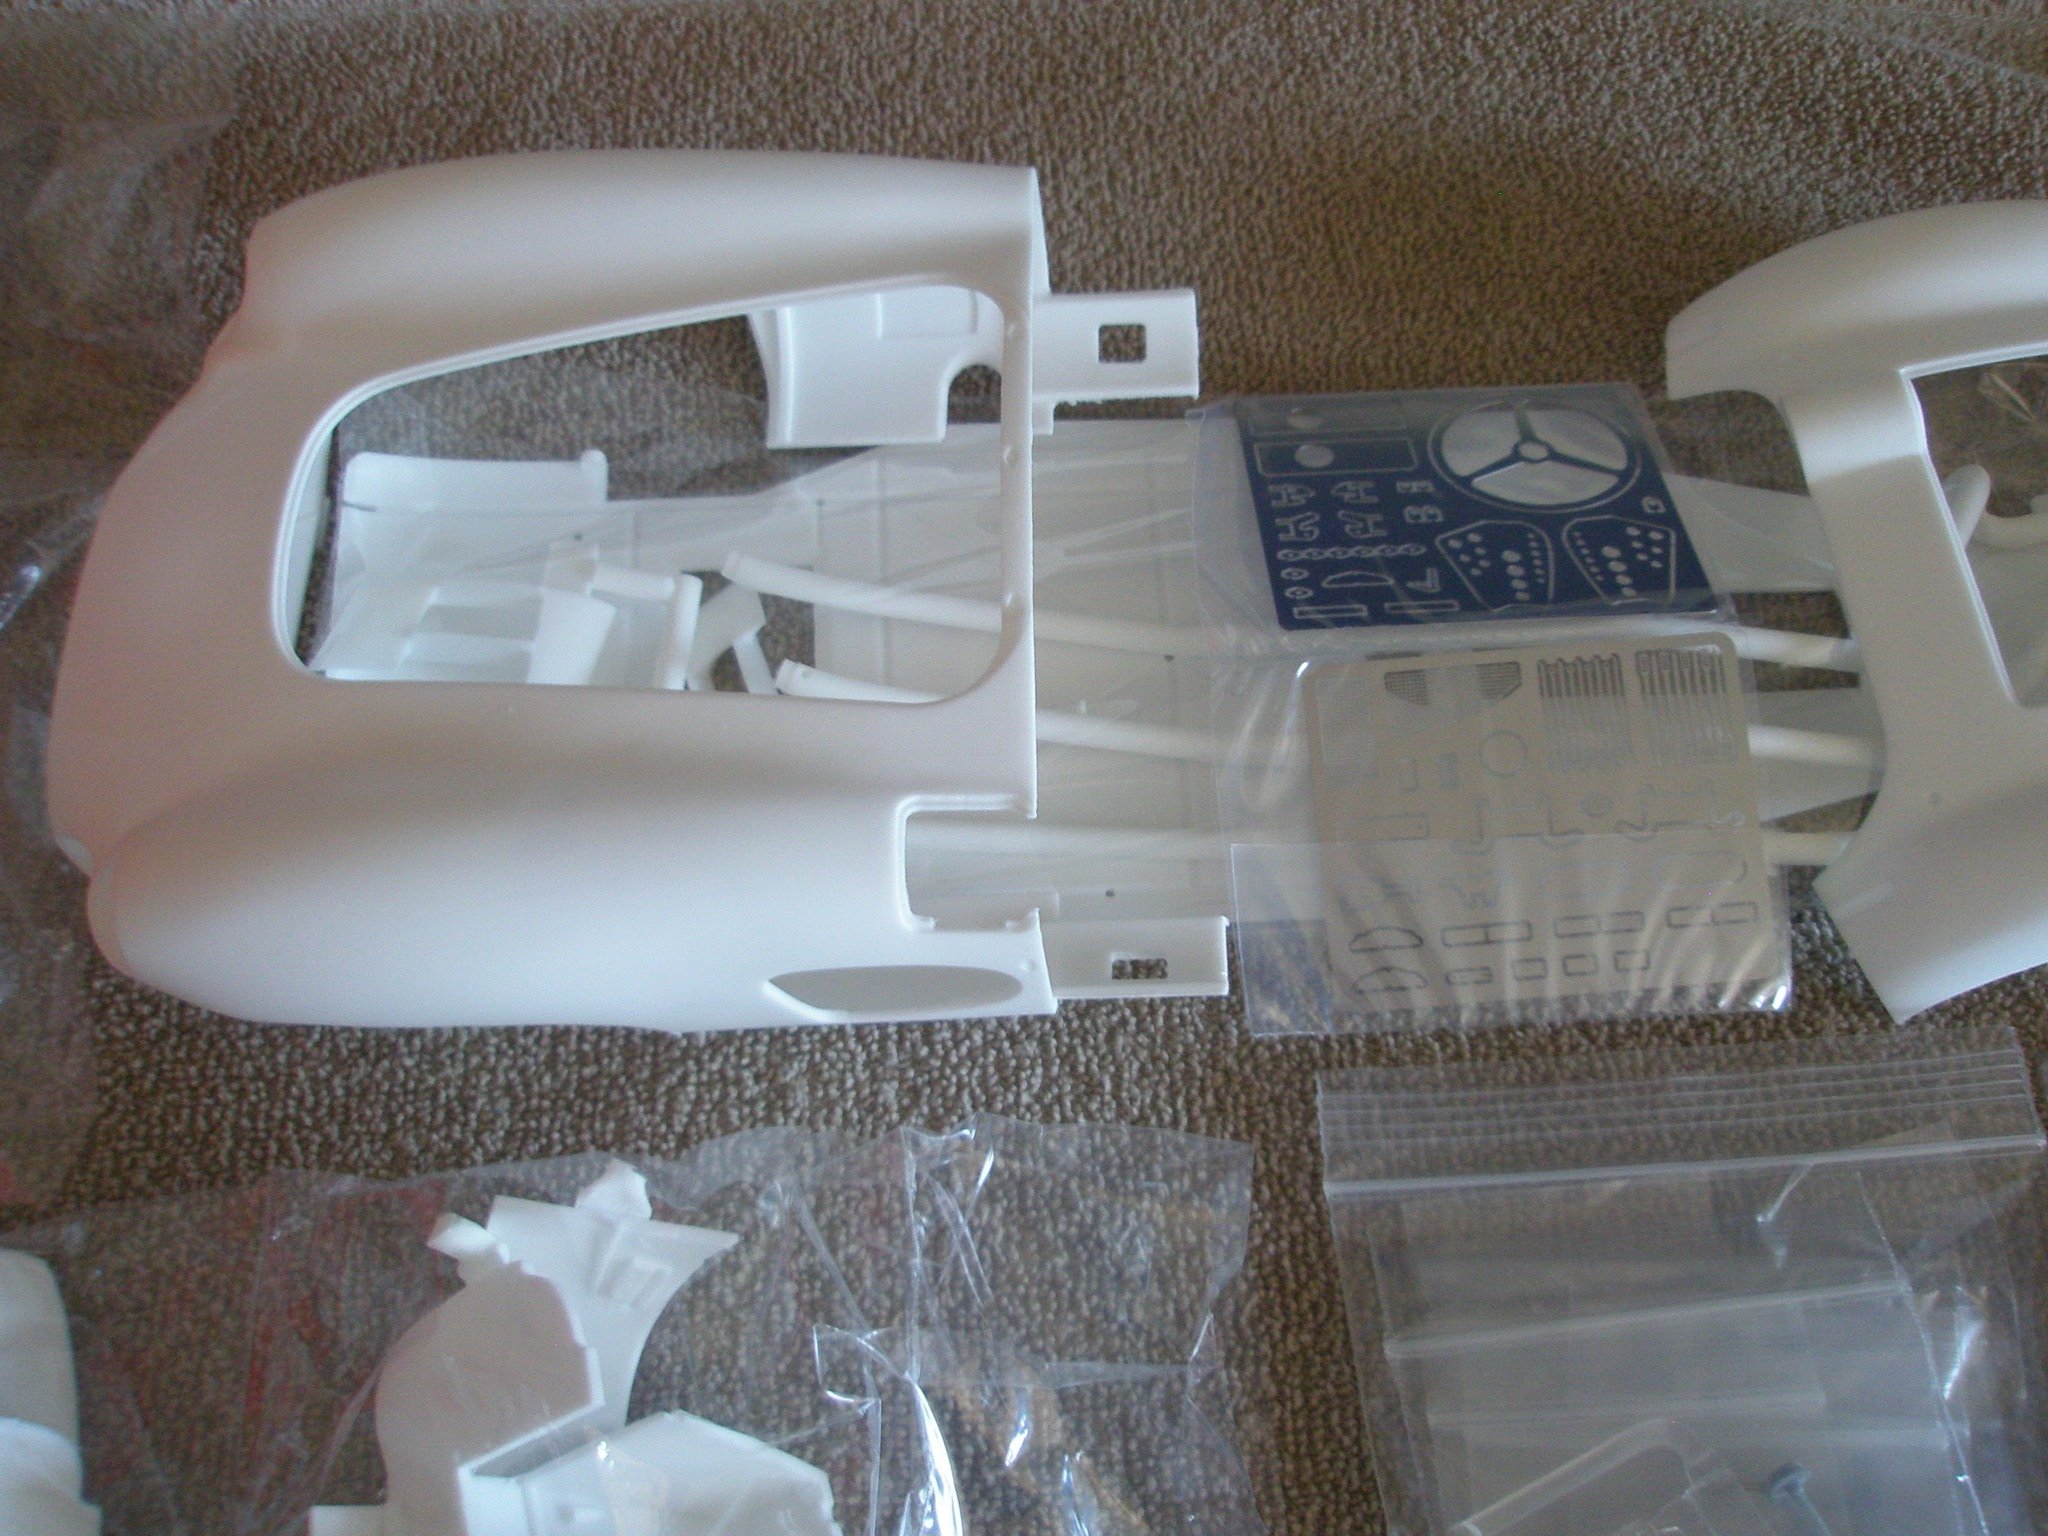
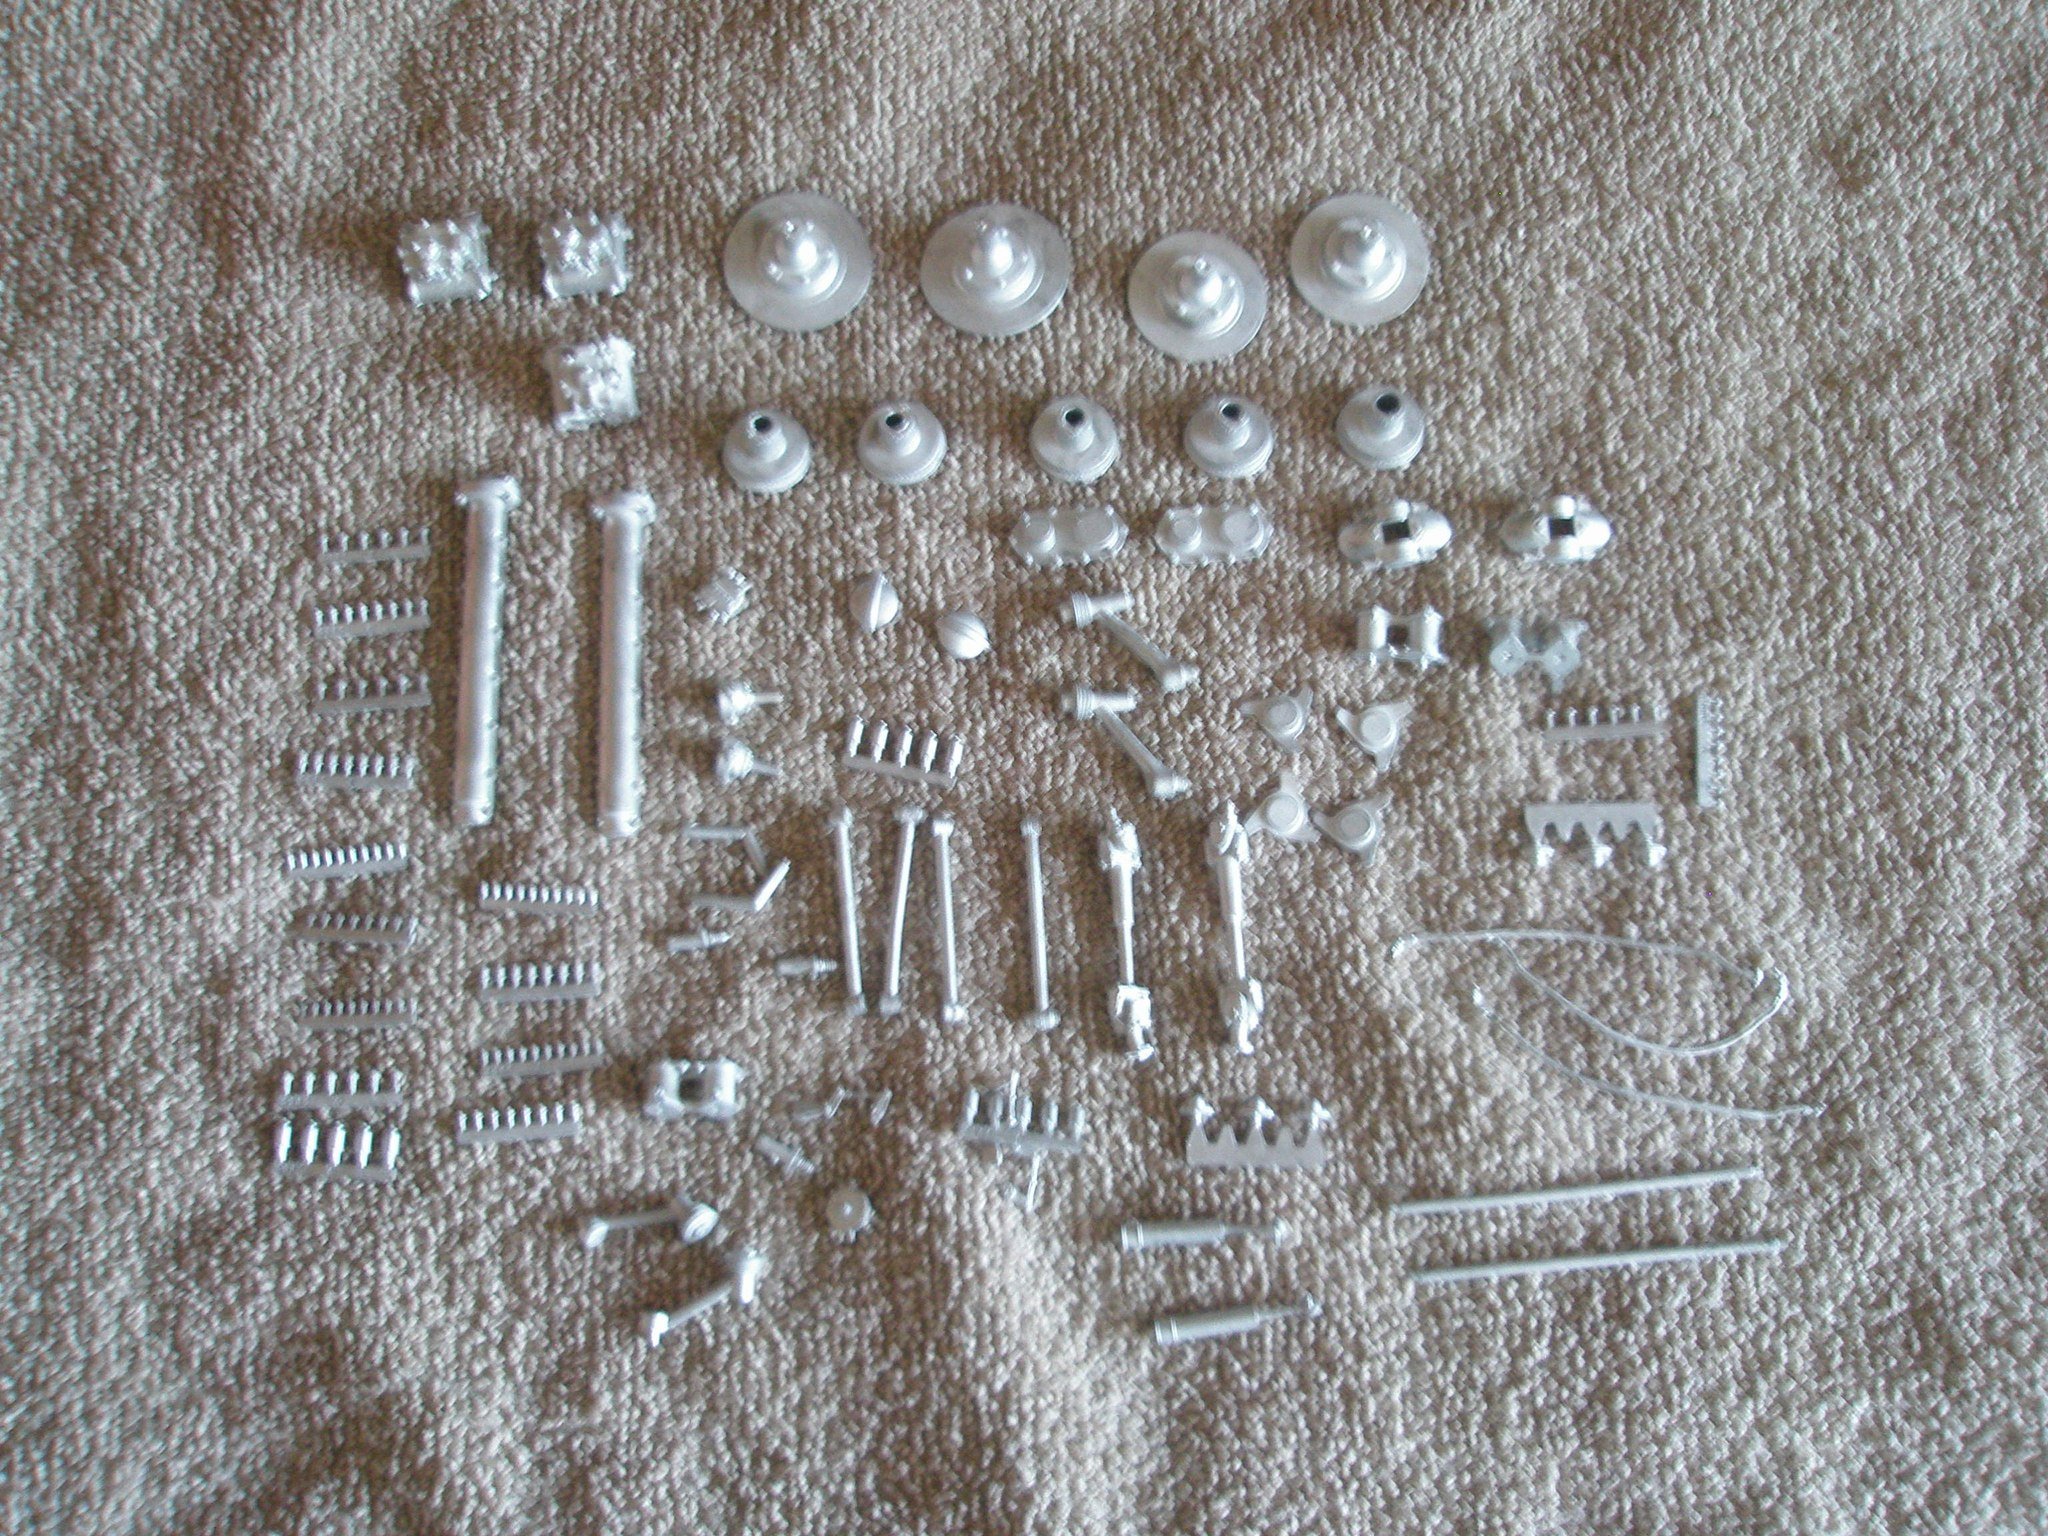
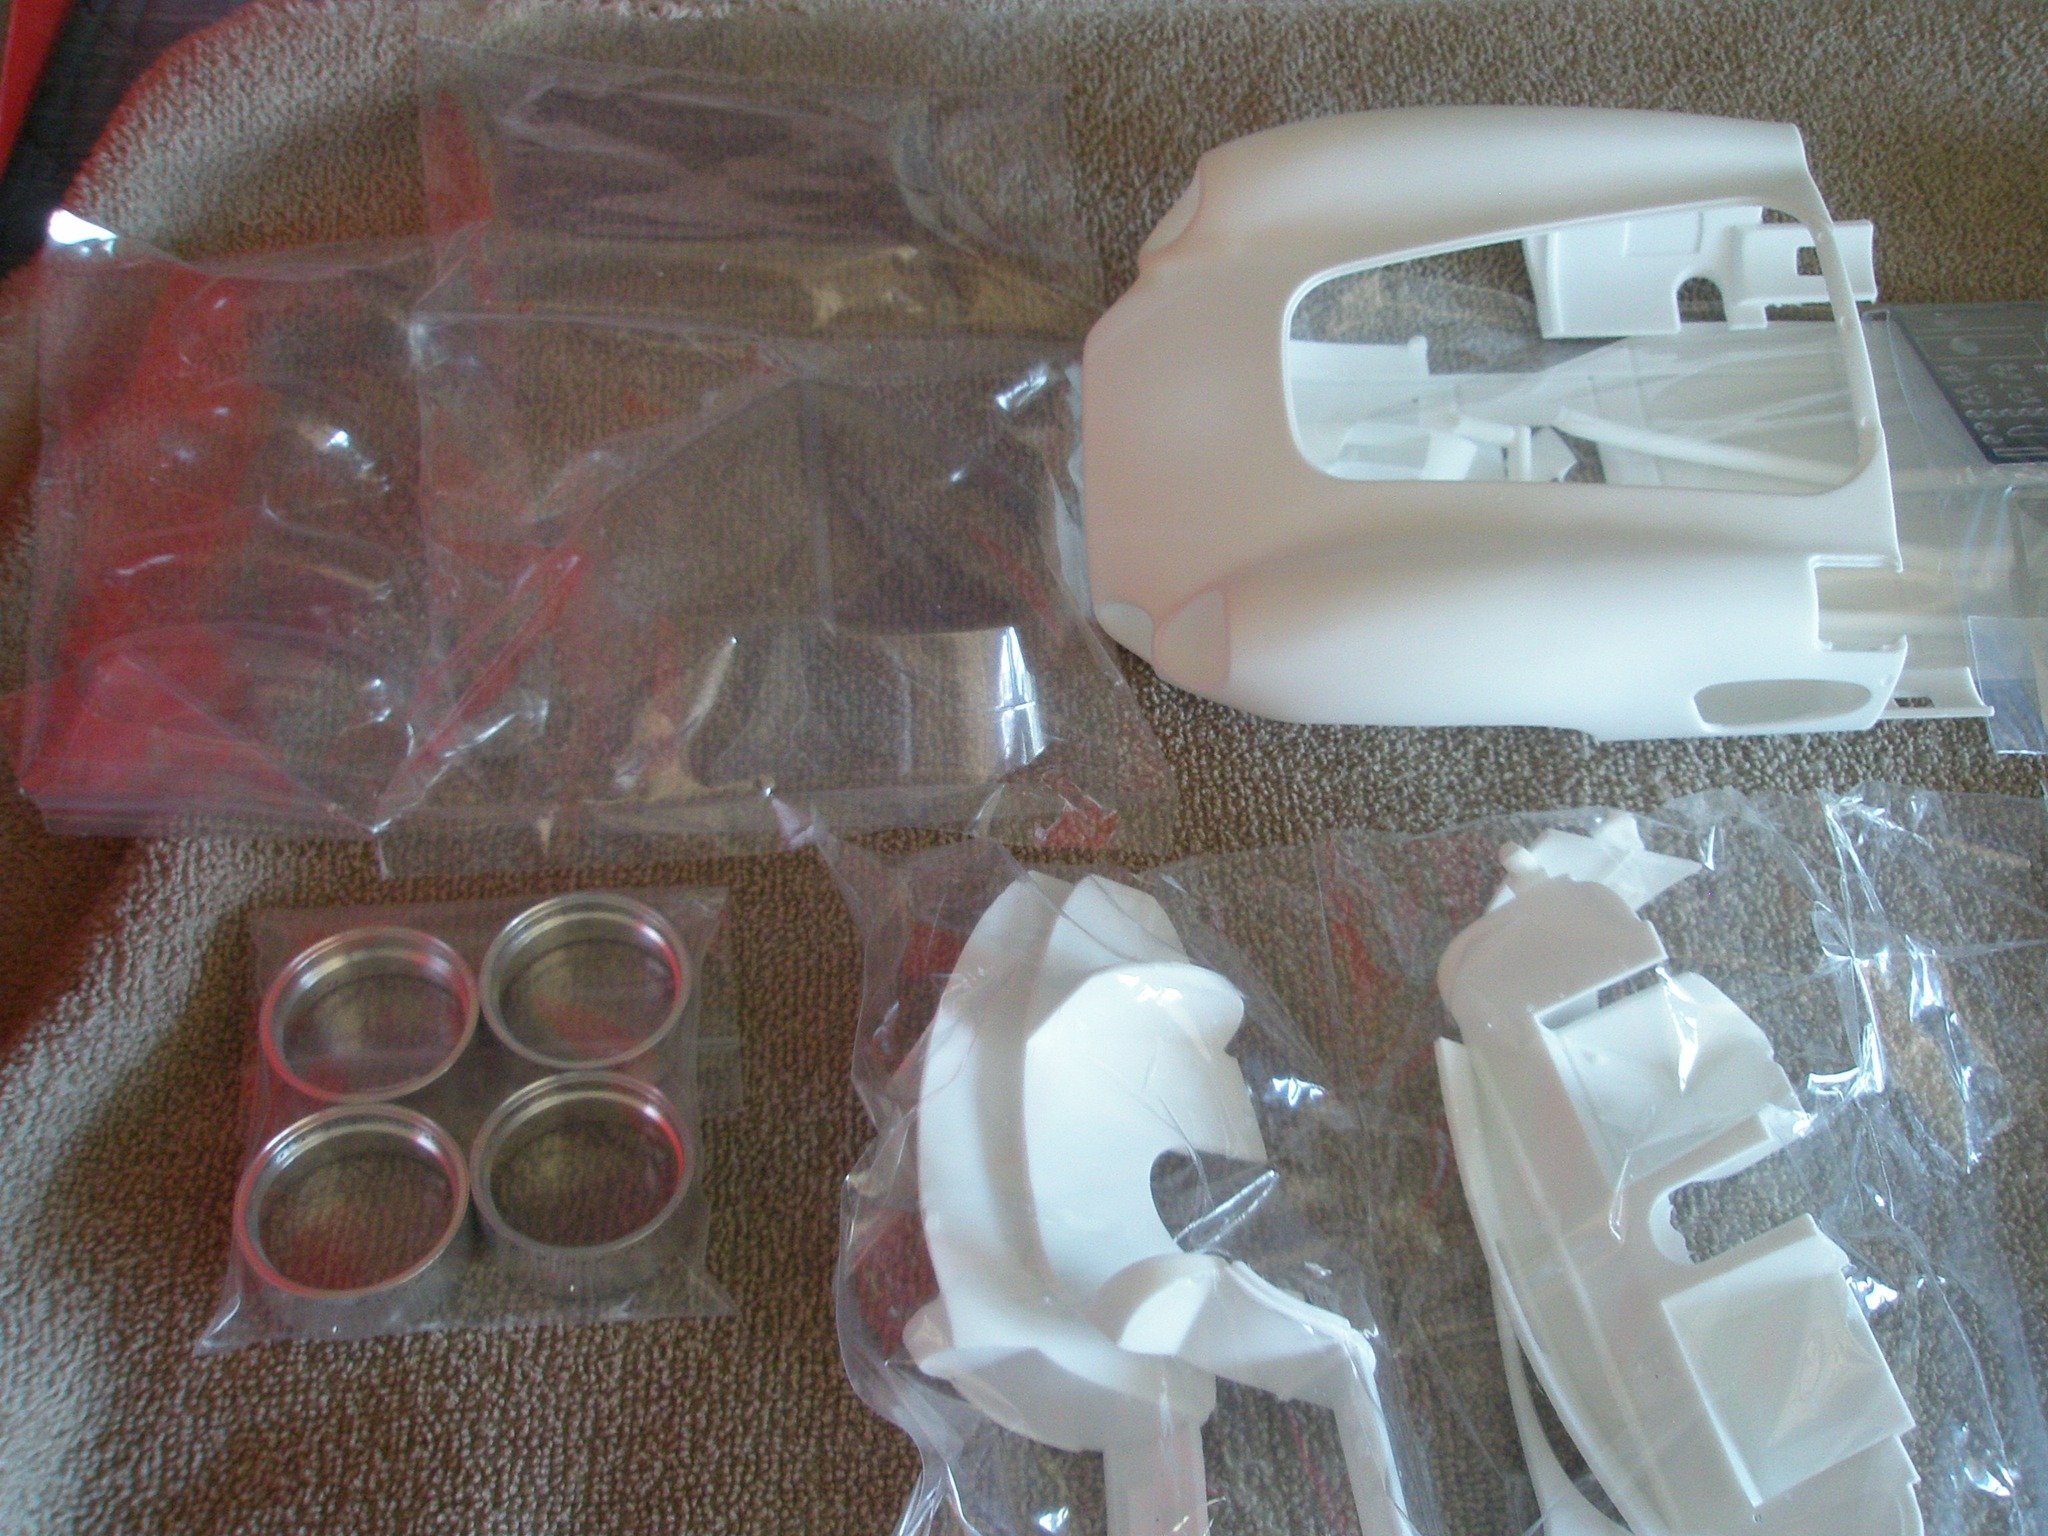
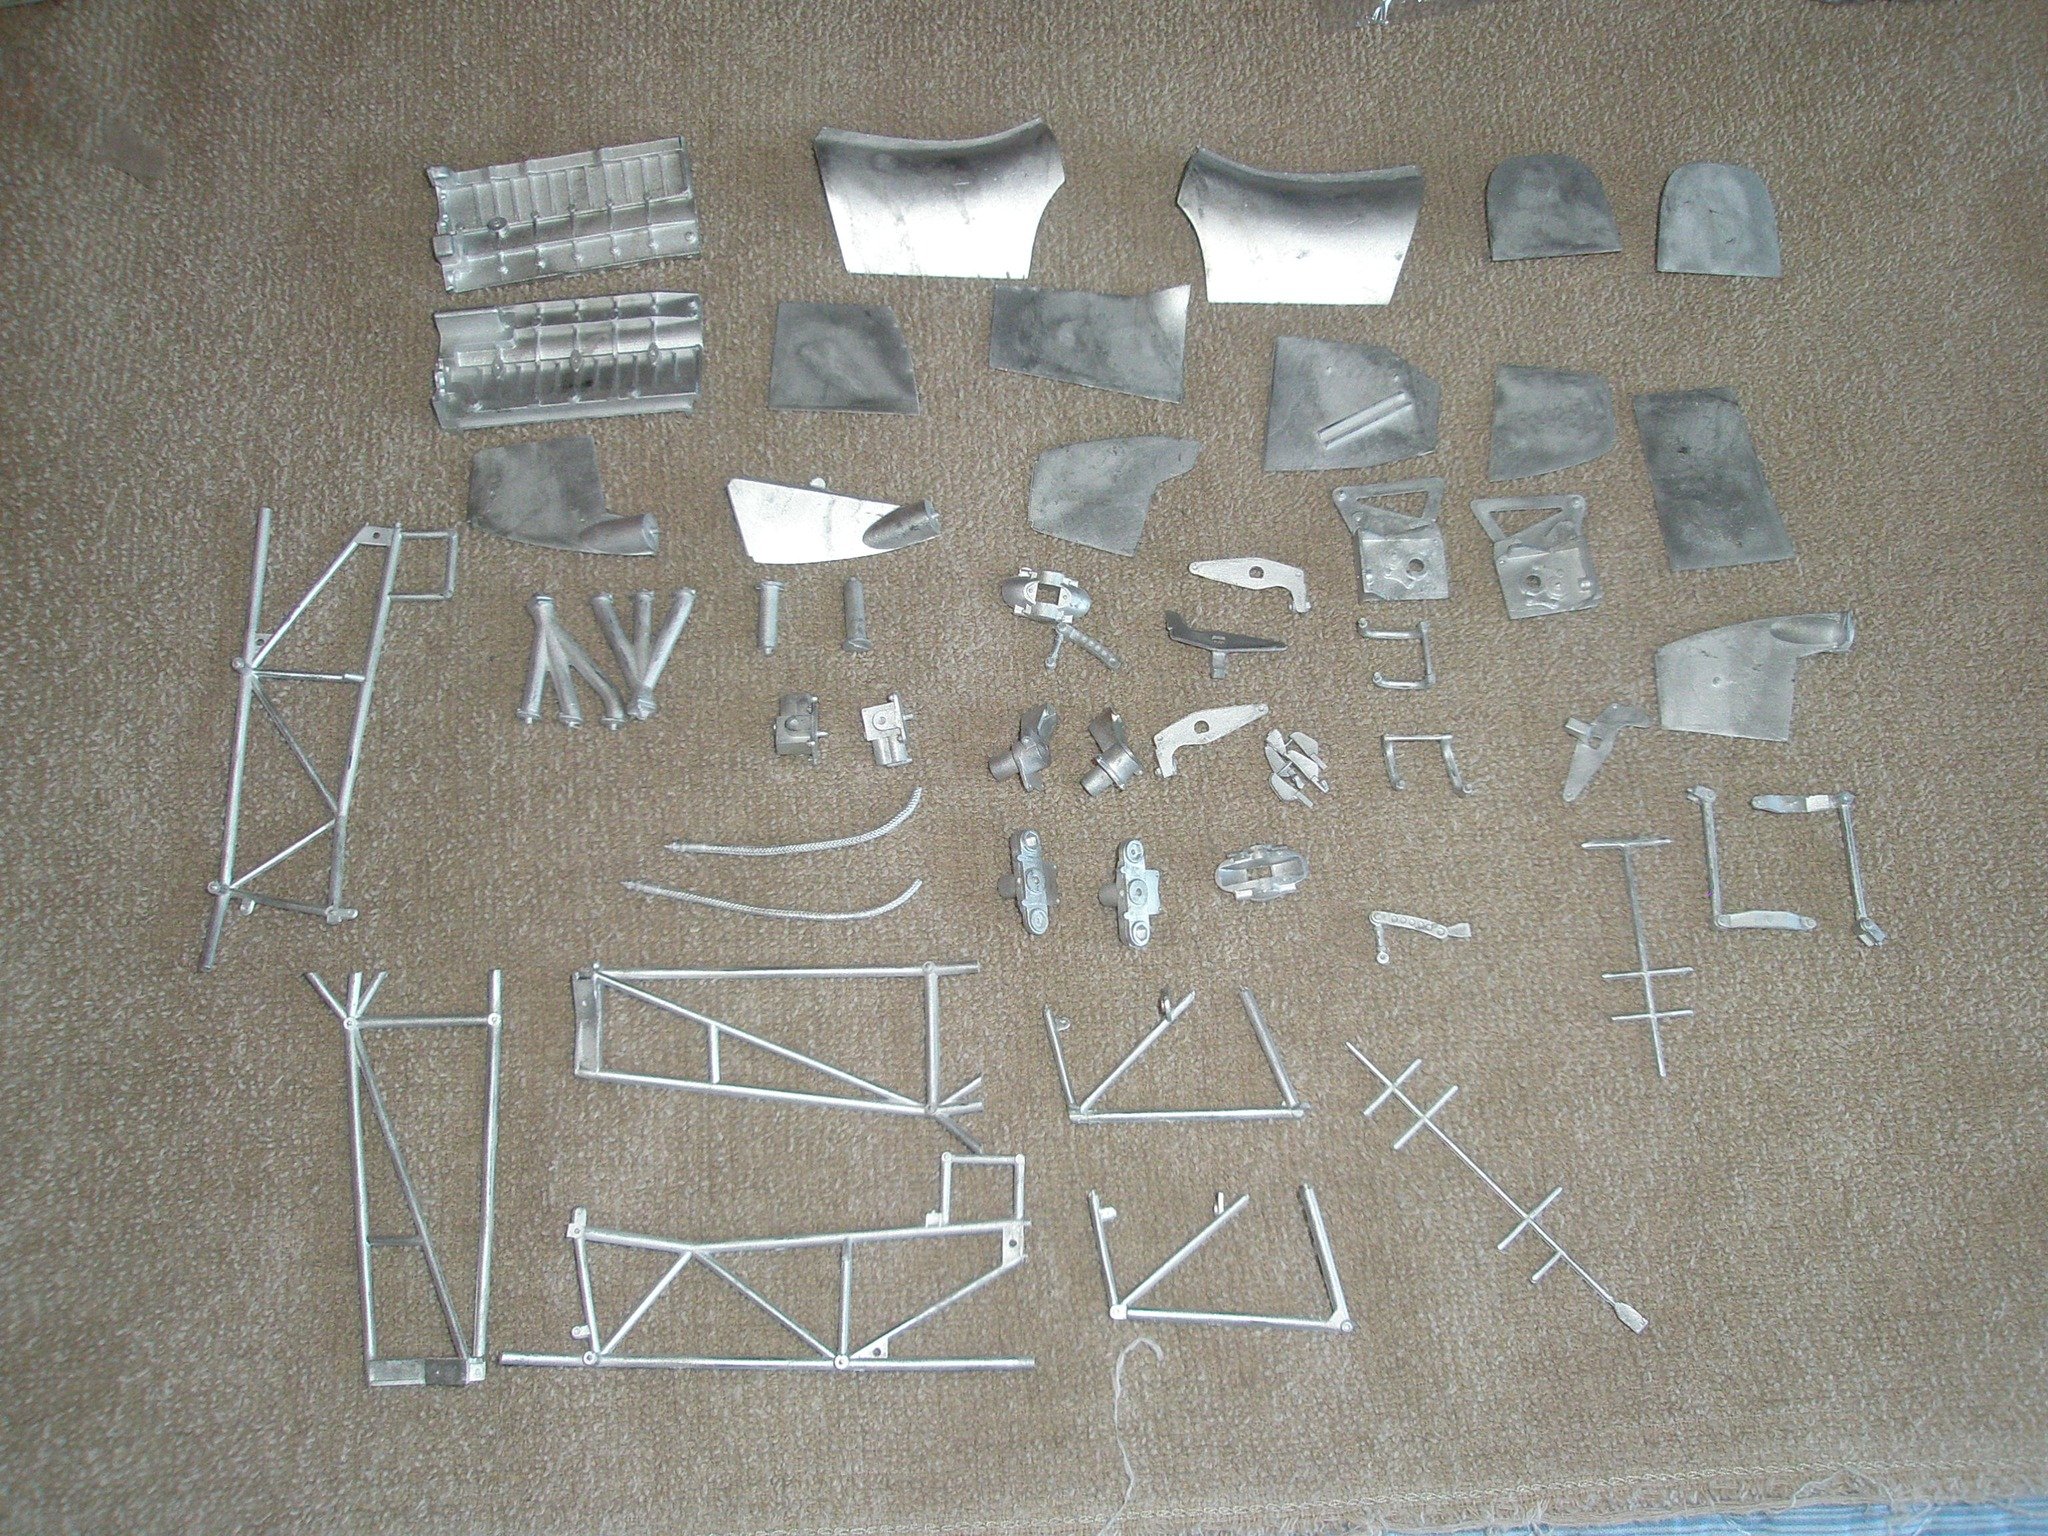
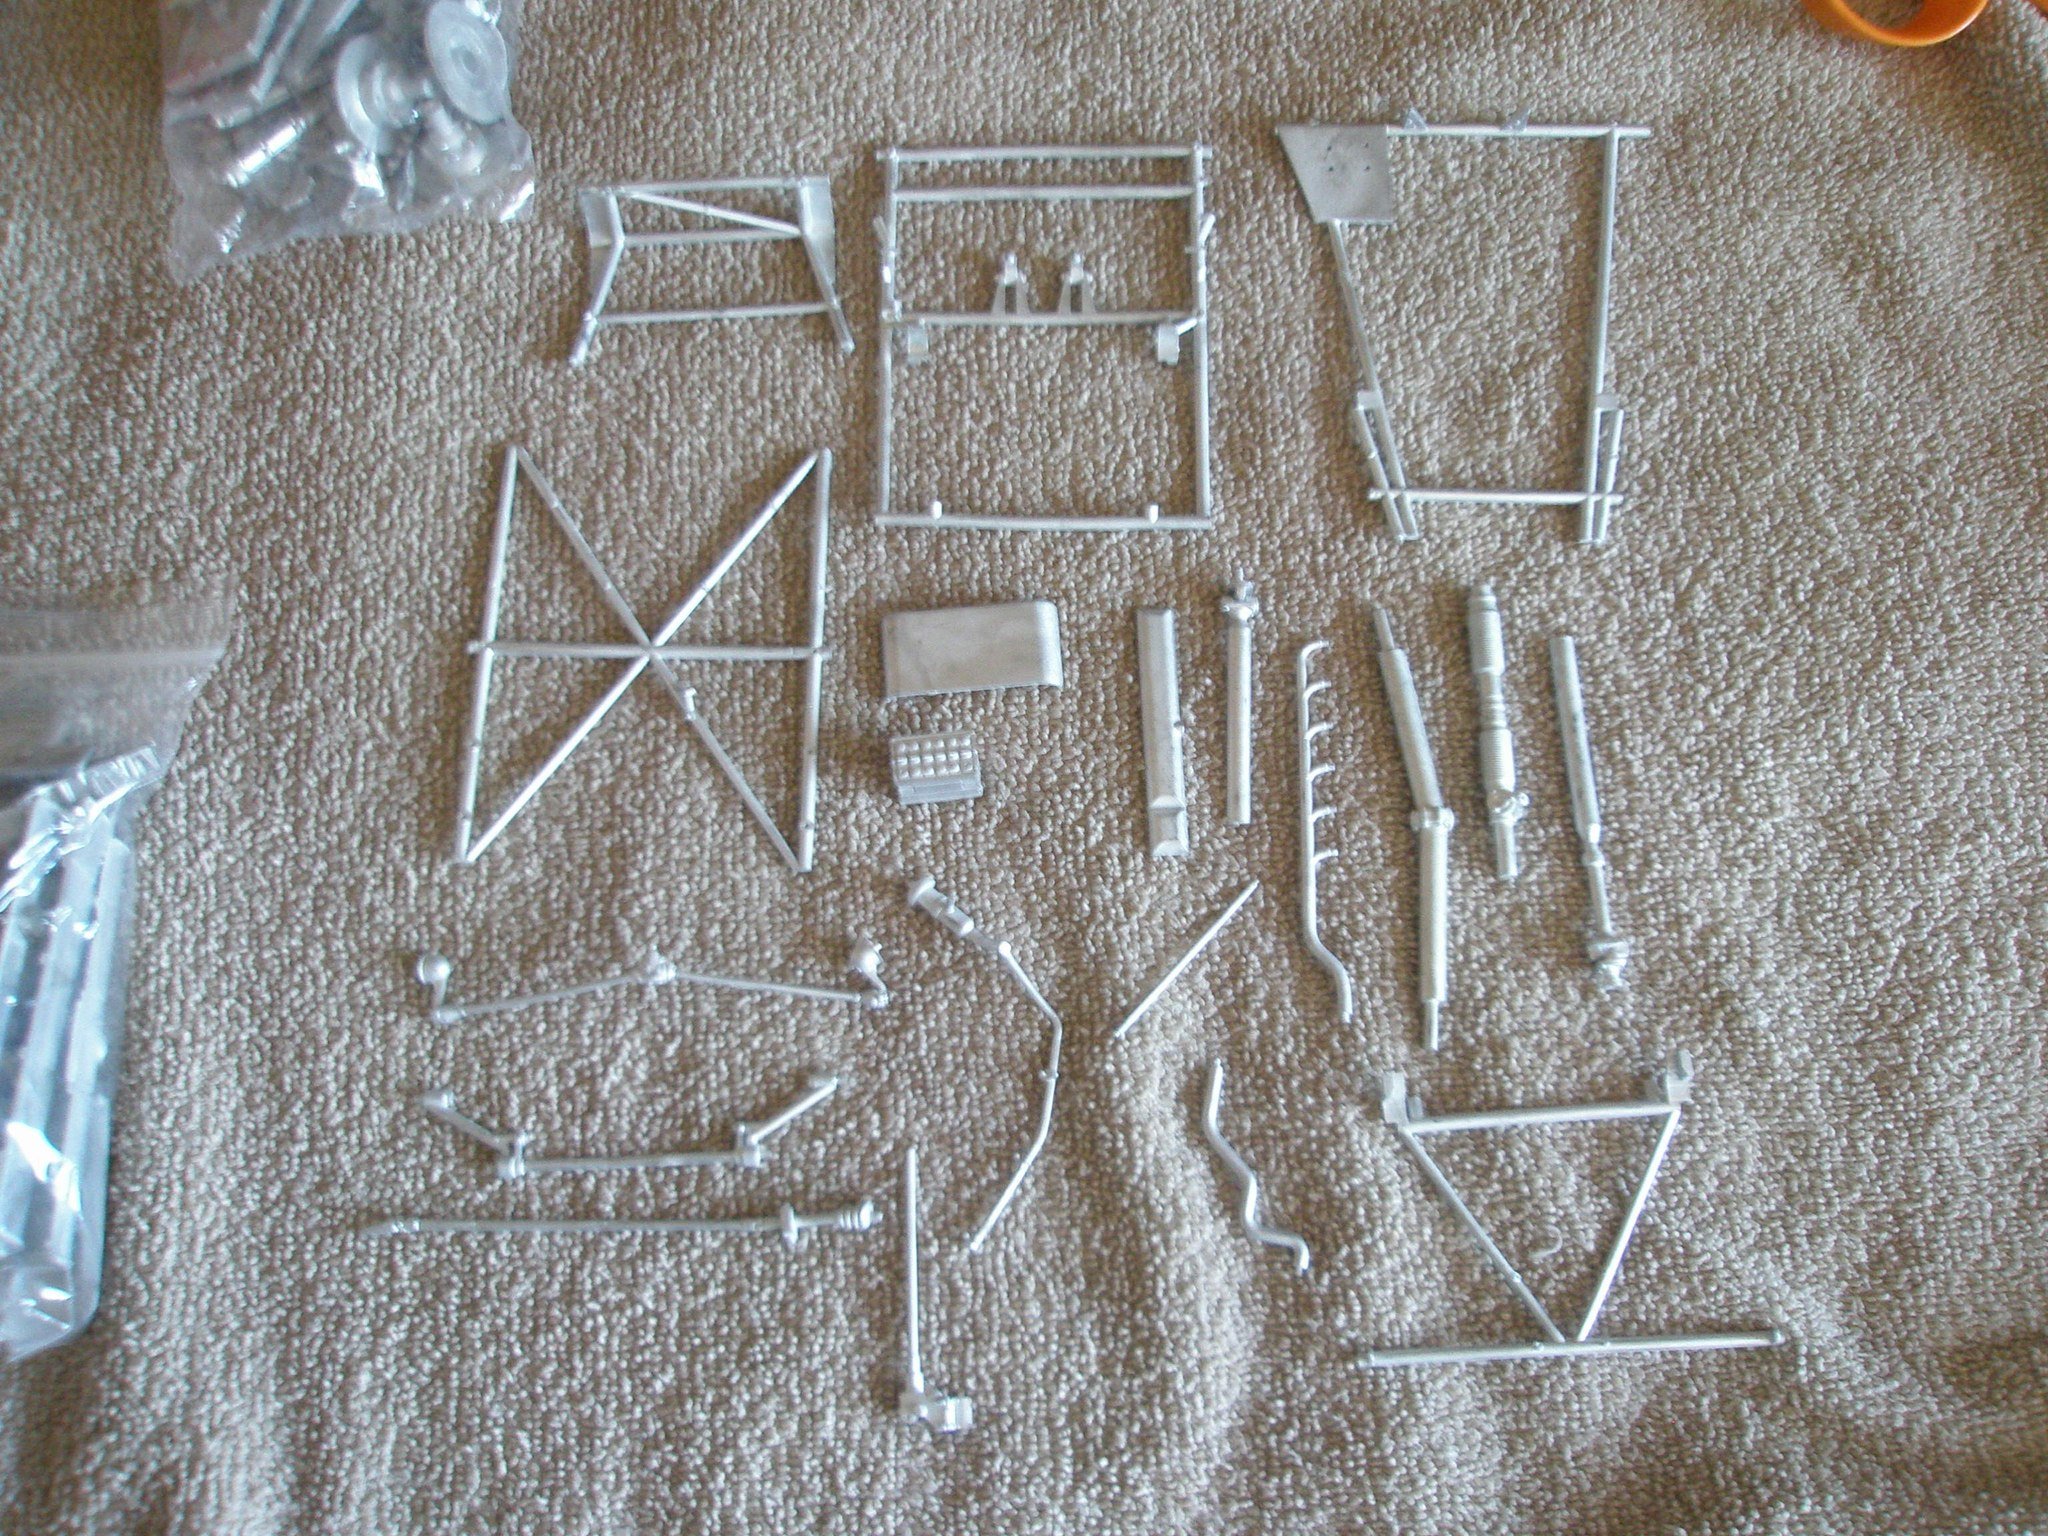
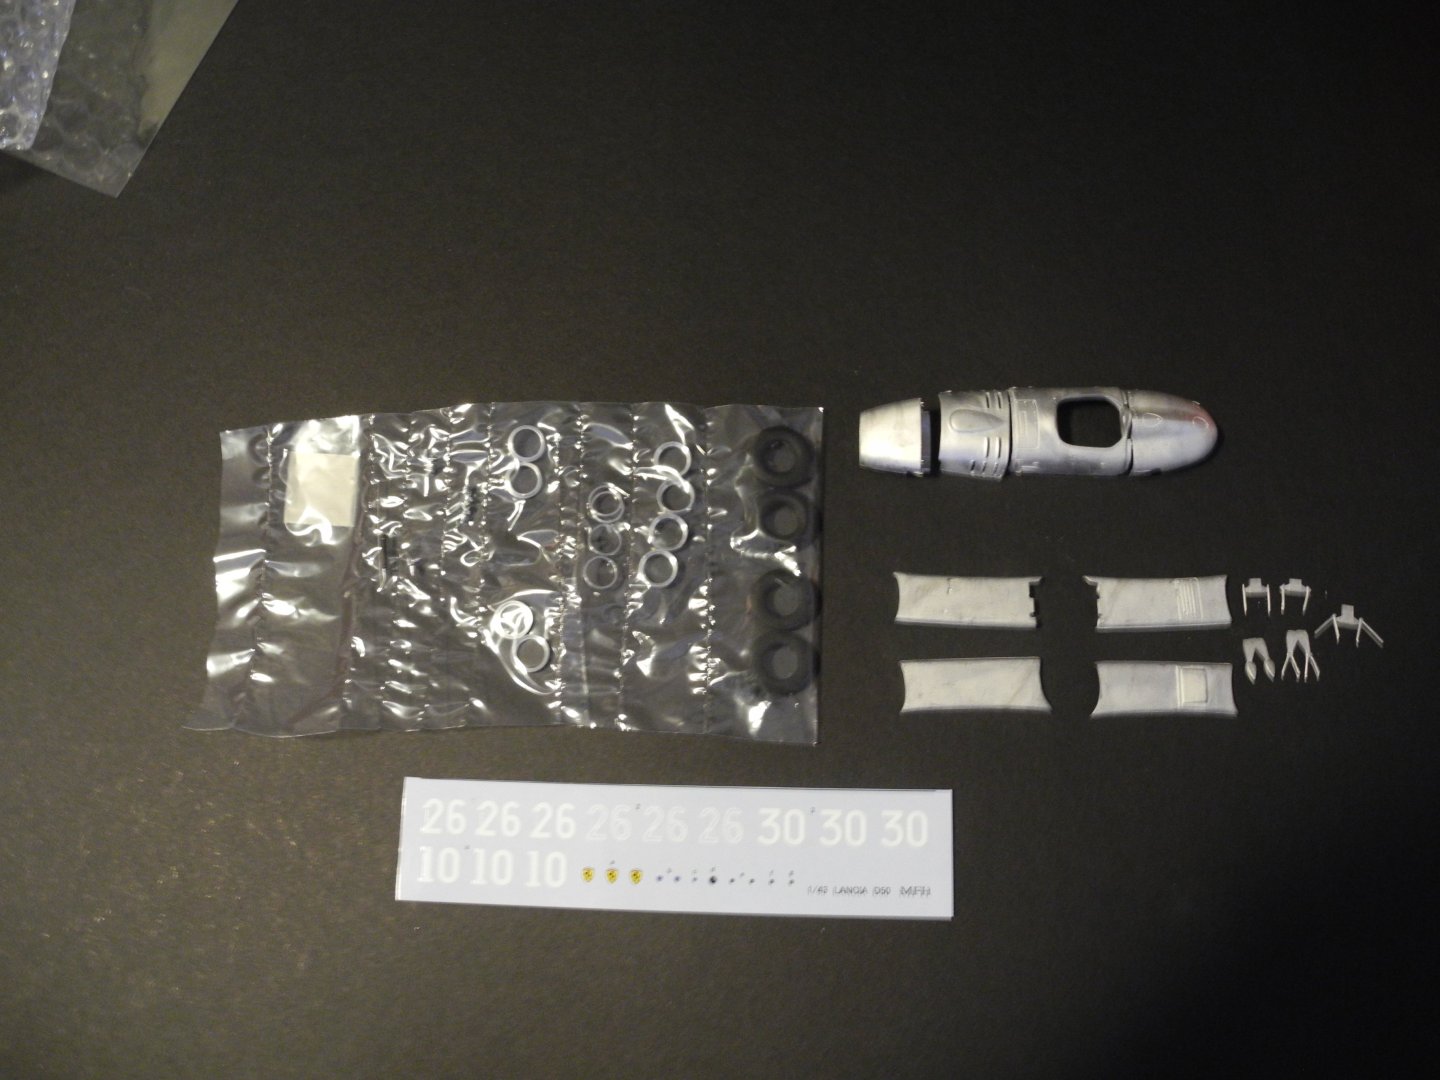
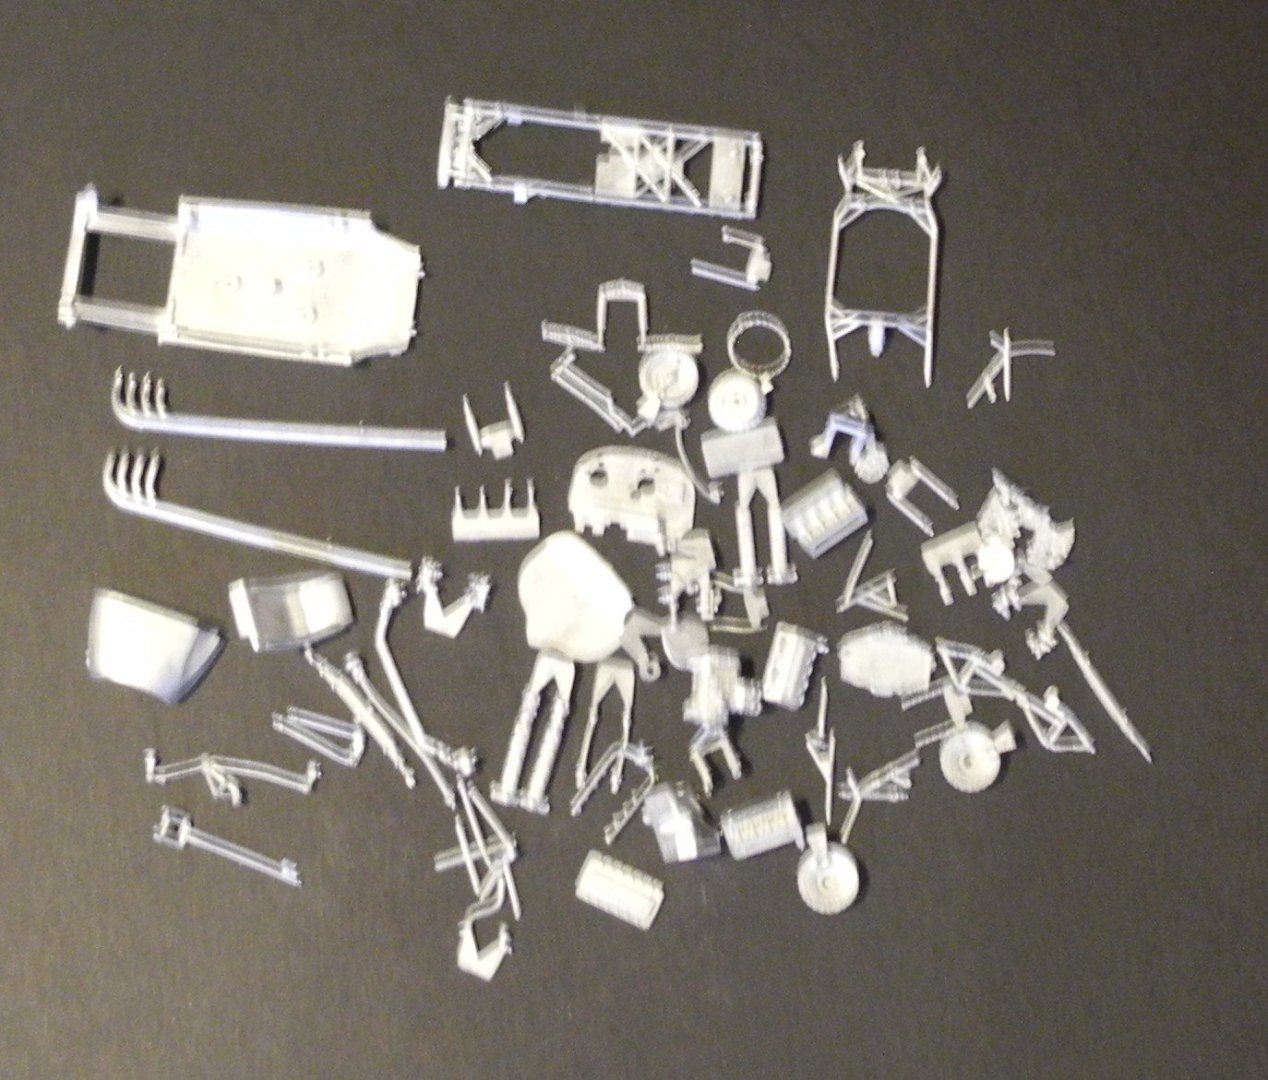
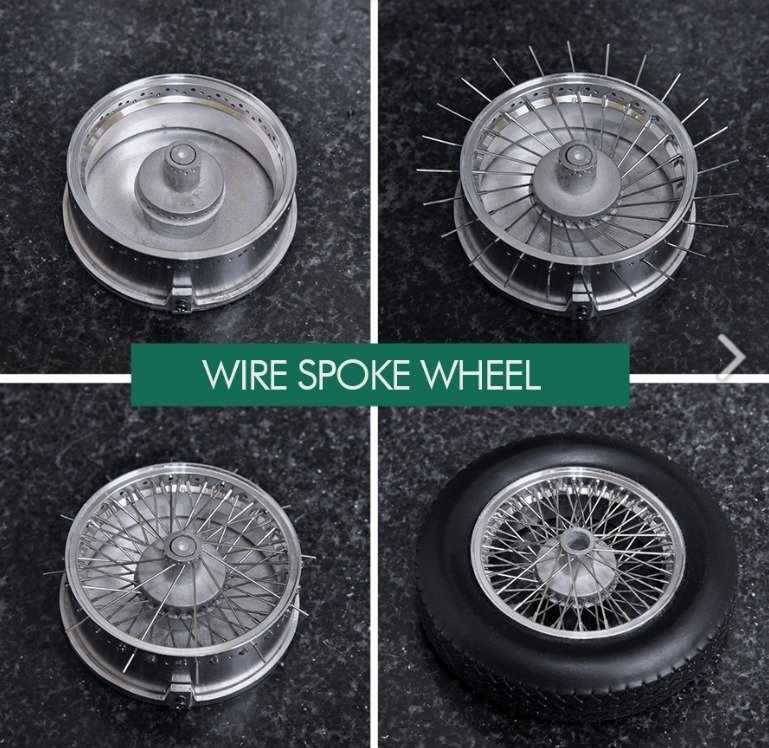
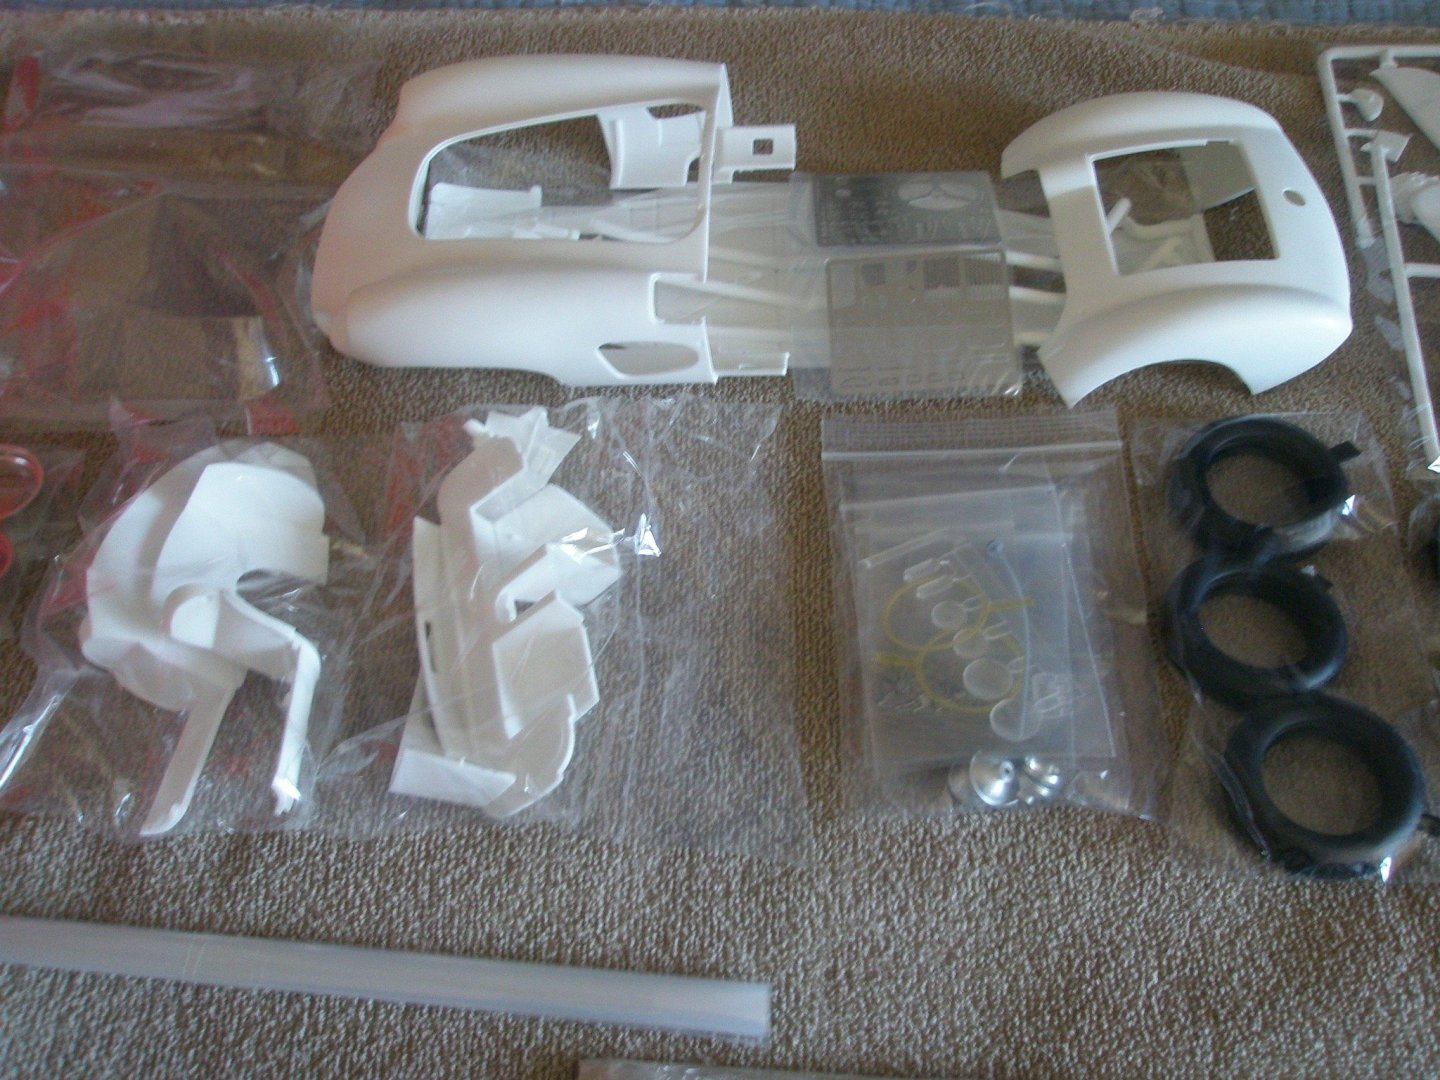
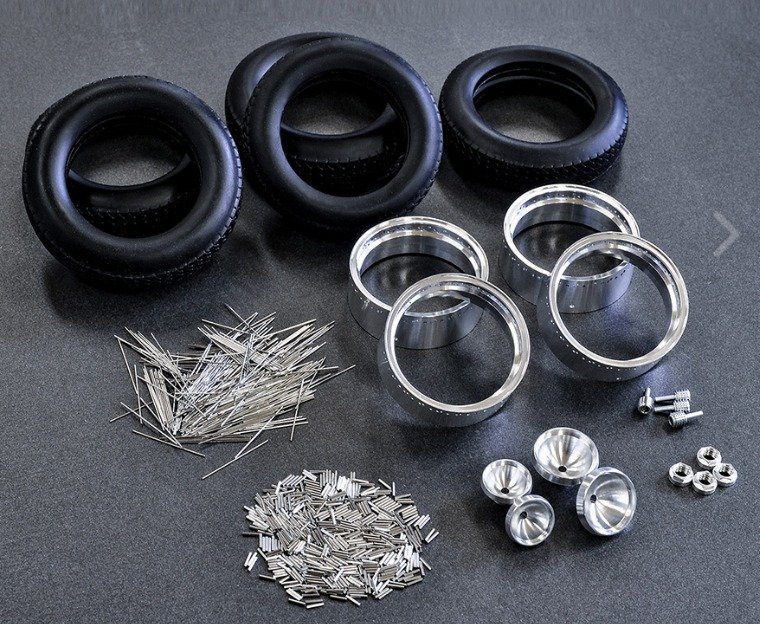
 Lancia D50 Grand Prix 1954 Test Car, driven by A. Ascari This will be my first attempt at building a Model Factory Hiro kit, in the tiny 1:43 scale. As is common with any MFH kit, the first order of business will be to check all parts content against the instructions for completeness and deformed/damaged parts (hopefully none). It's common for the fragile little white metal parts to be bent out of shape, but now and then a part may be "short shot". For a small model, there are a lot of parts and detail. As I sort and check the parts, I'll be organizing them into a plastic organizer box after the white metal parts have been run through the magnetic tumbler. More photos to follow after the parts have been accounted for, cleaned up, and sorted into logical assembly groups.
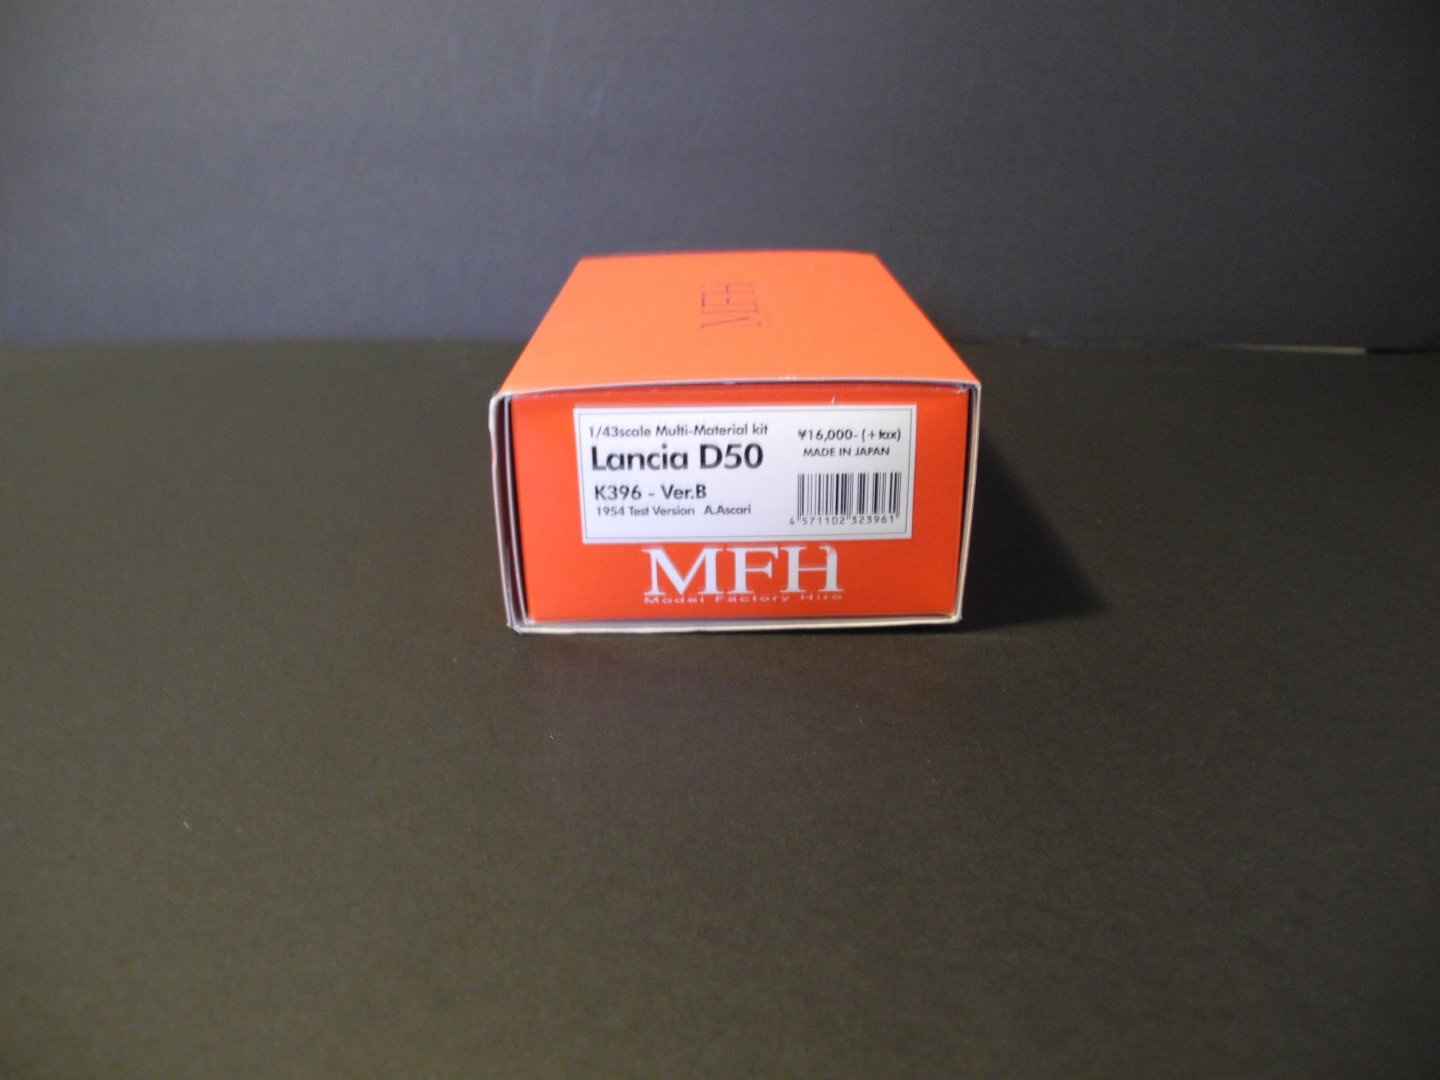


- 73 replies
-
- 13
-

-

-
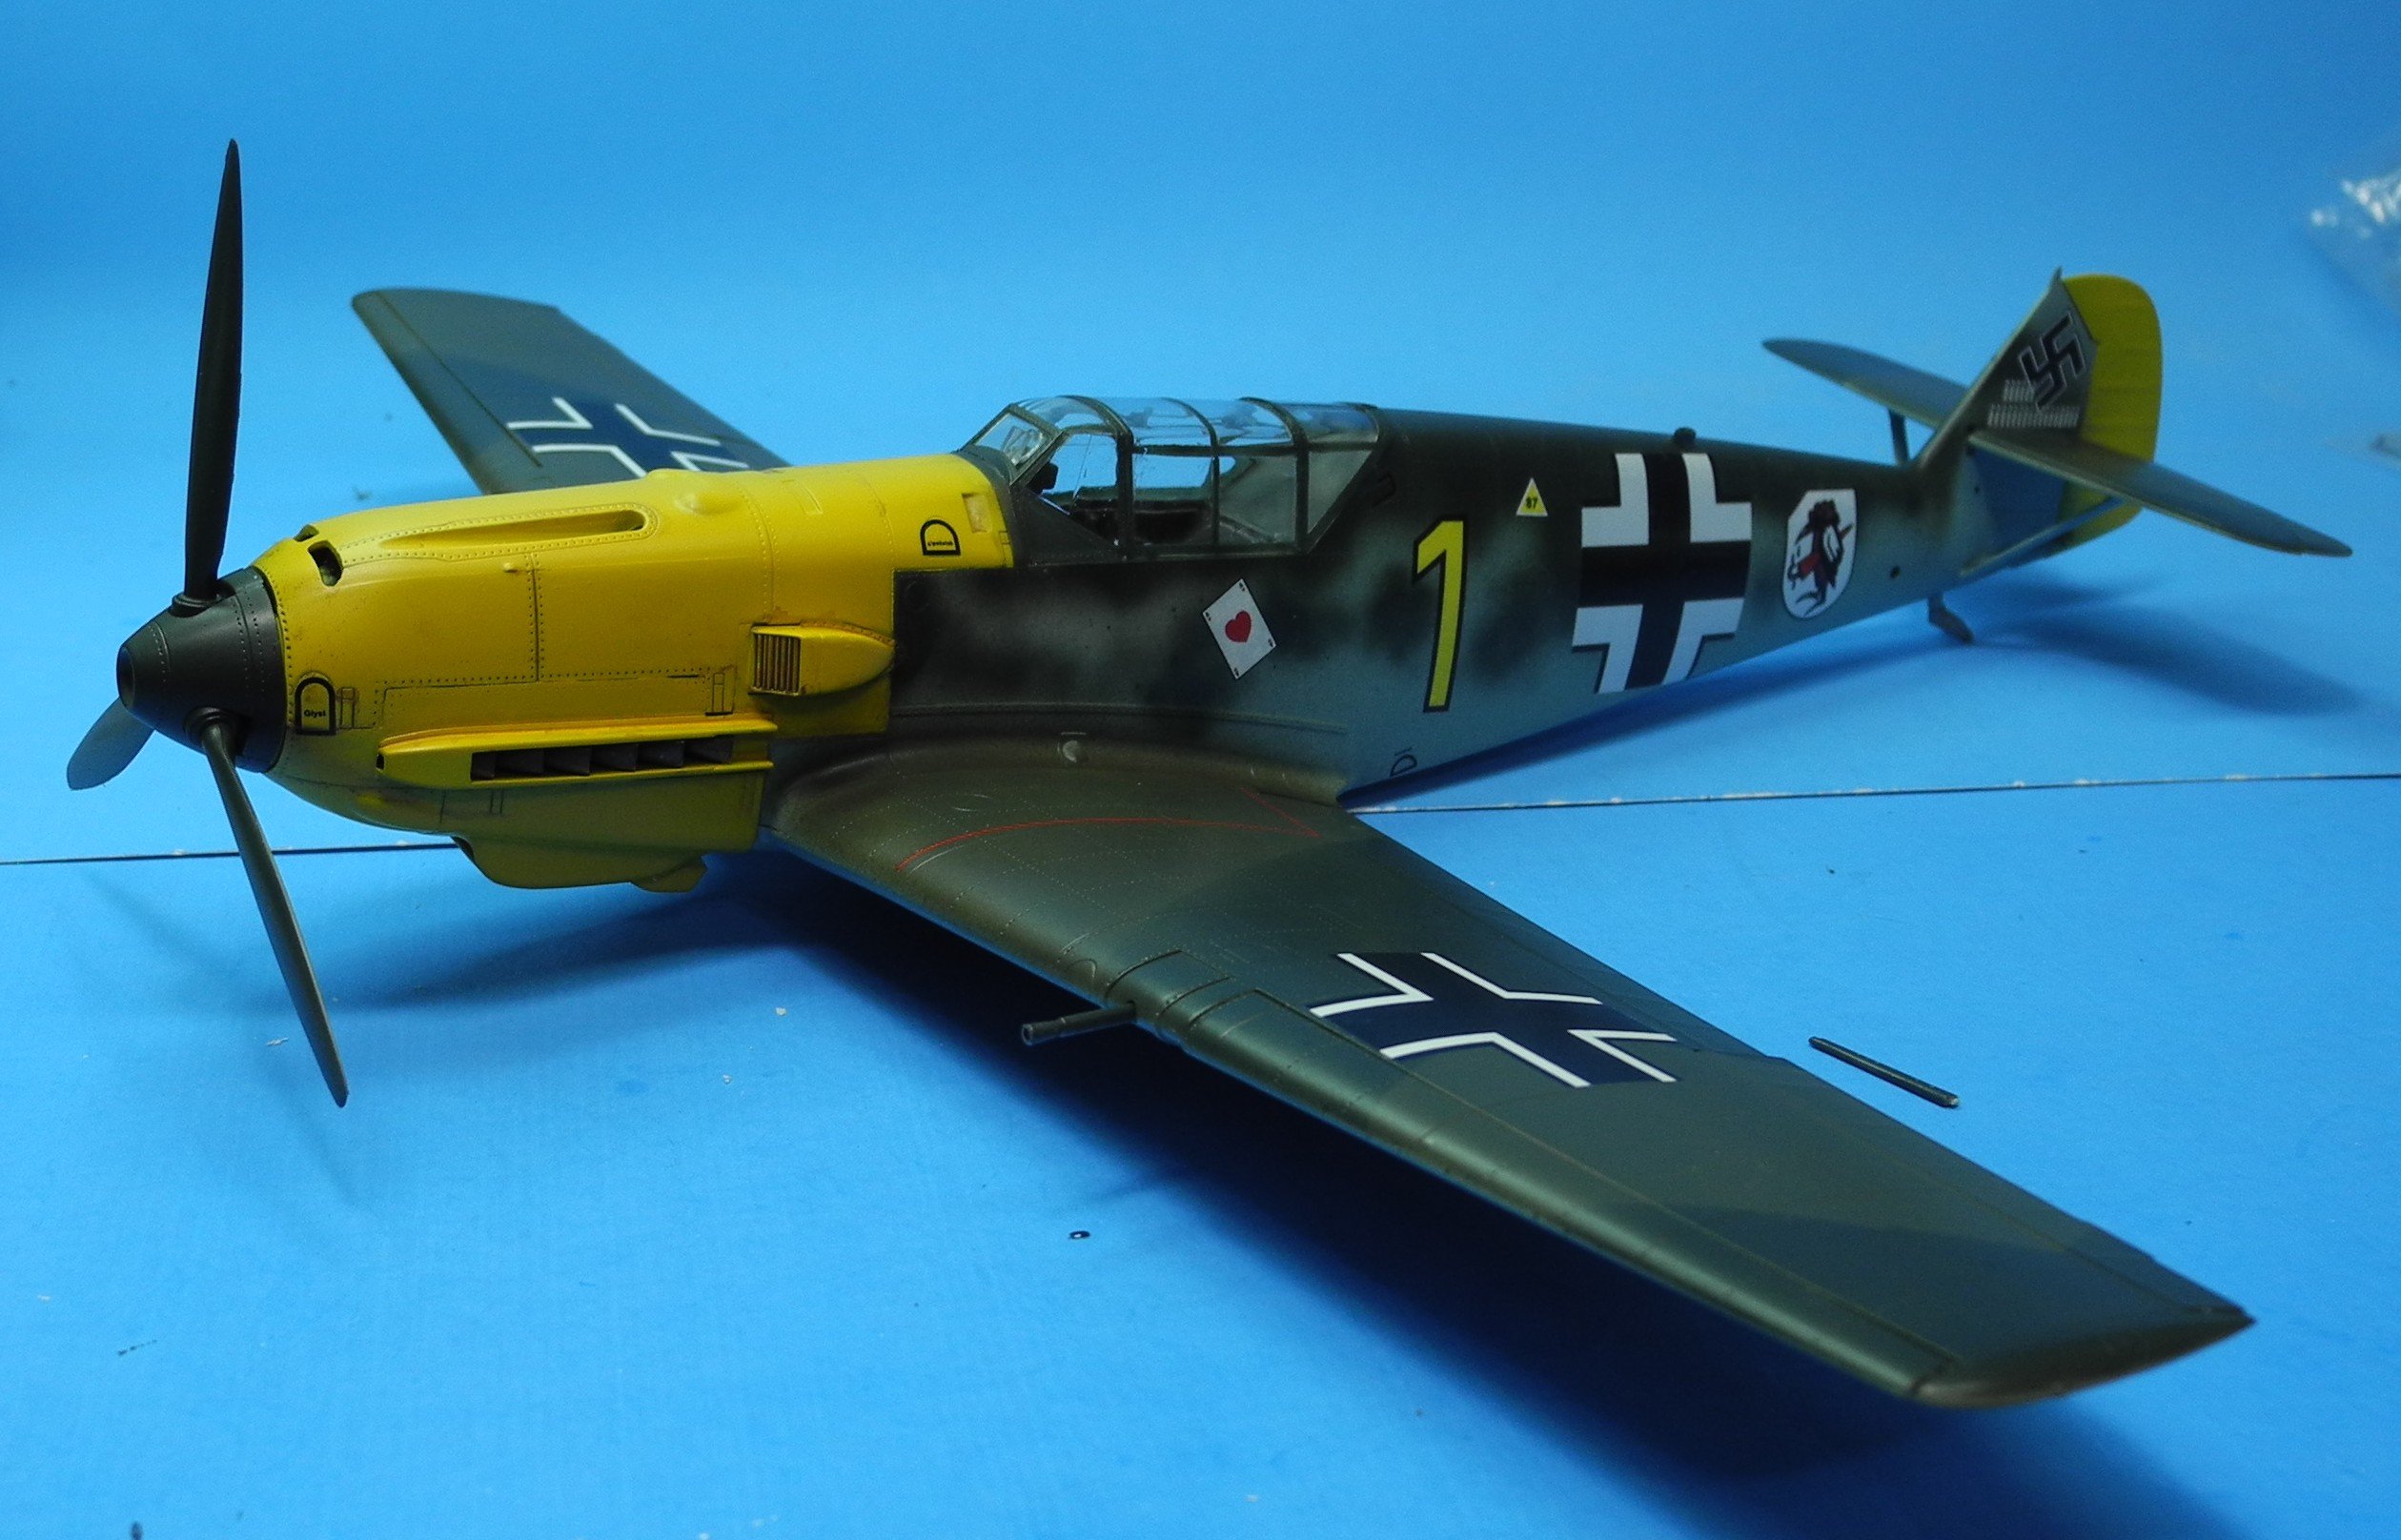
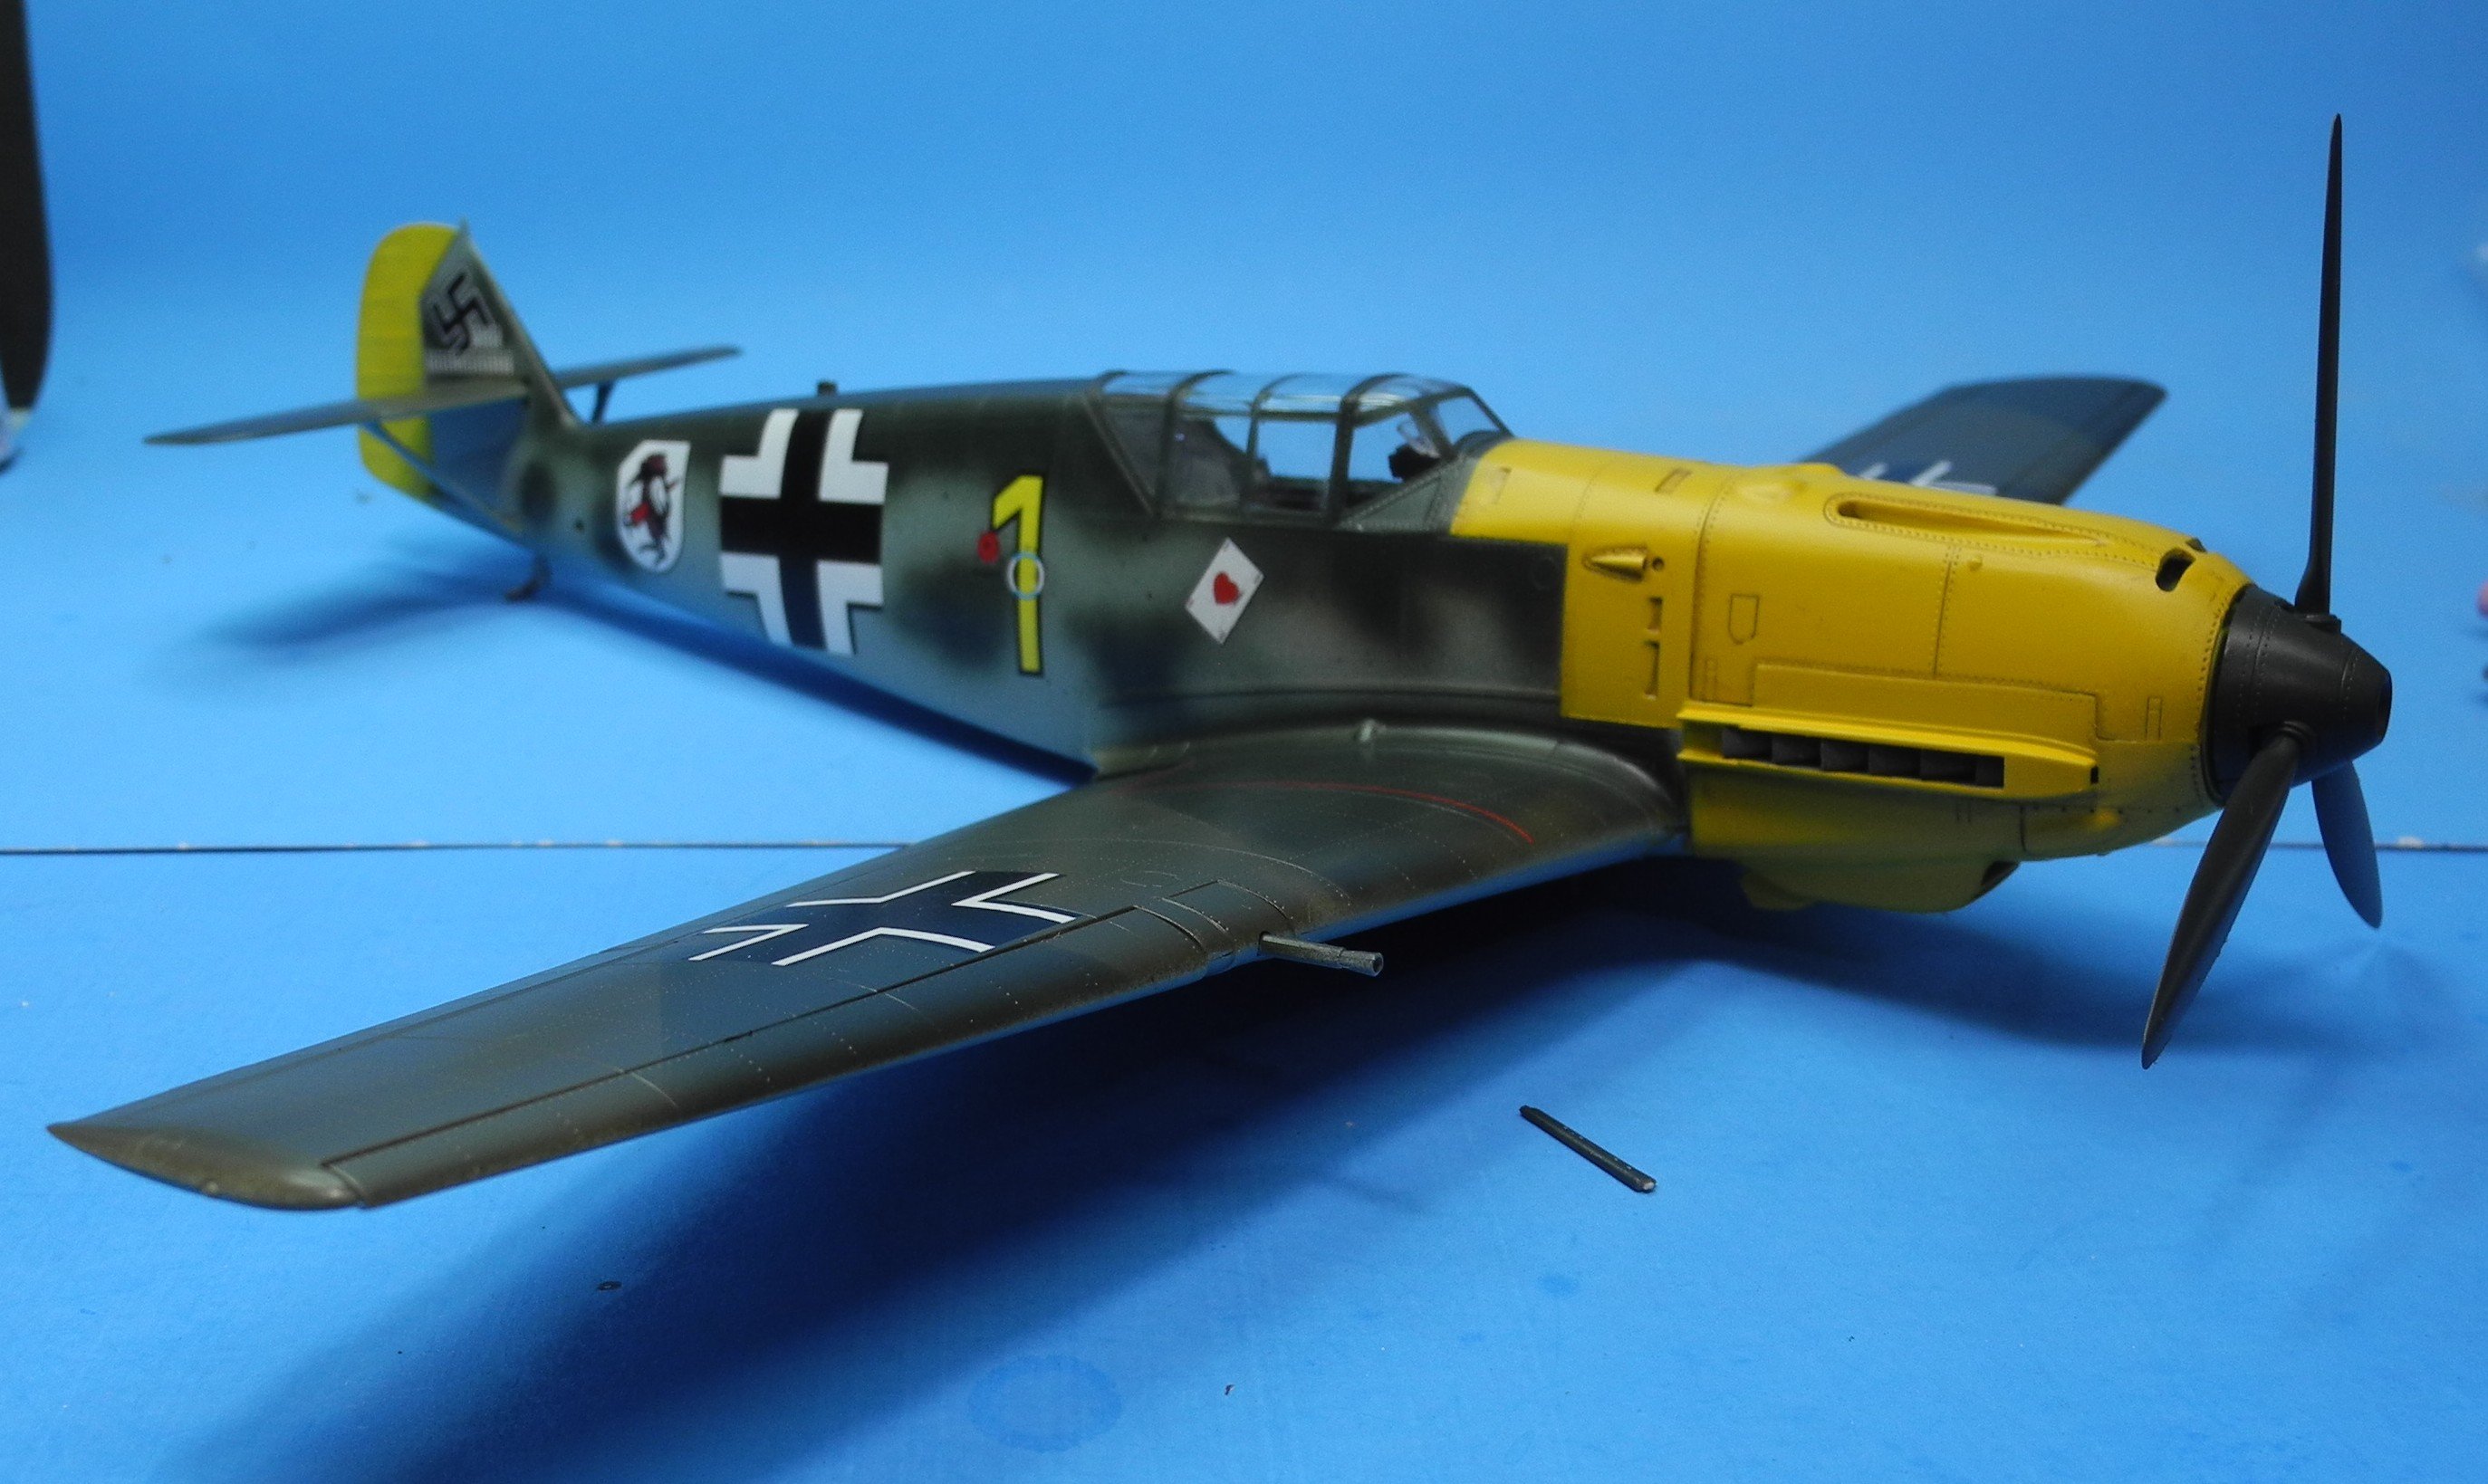
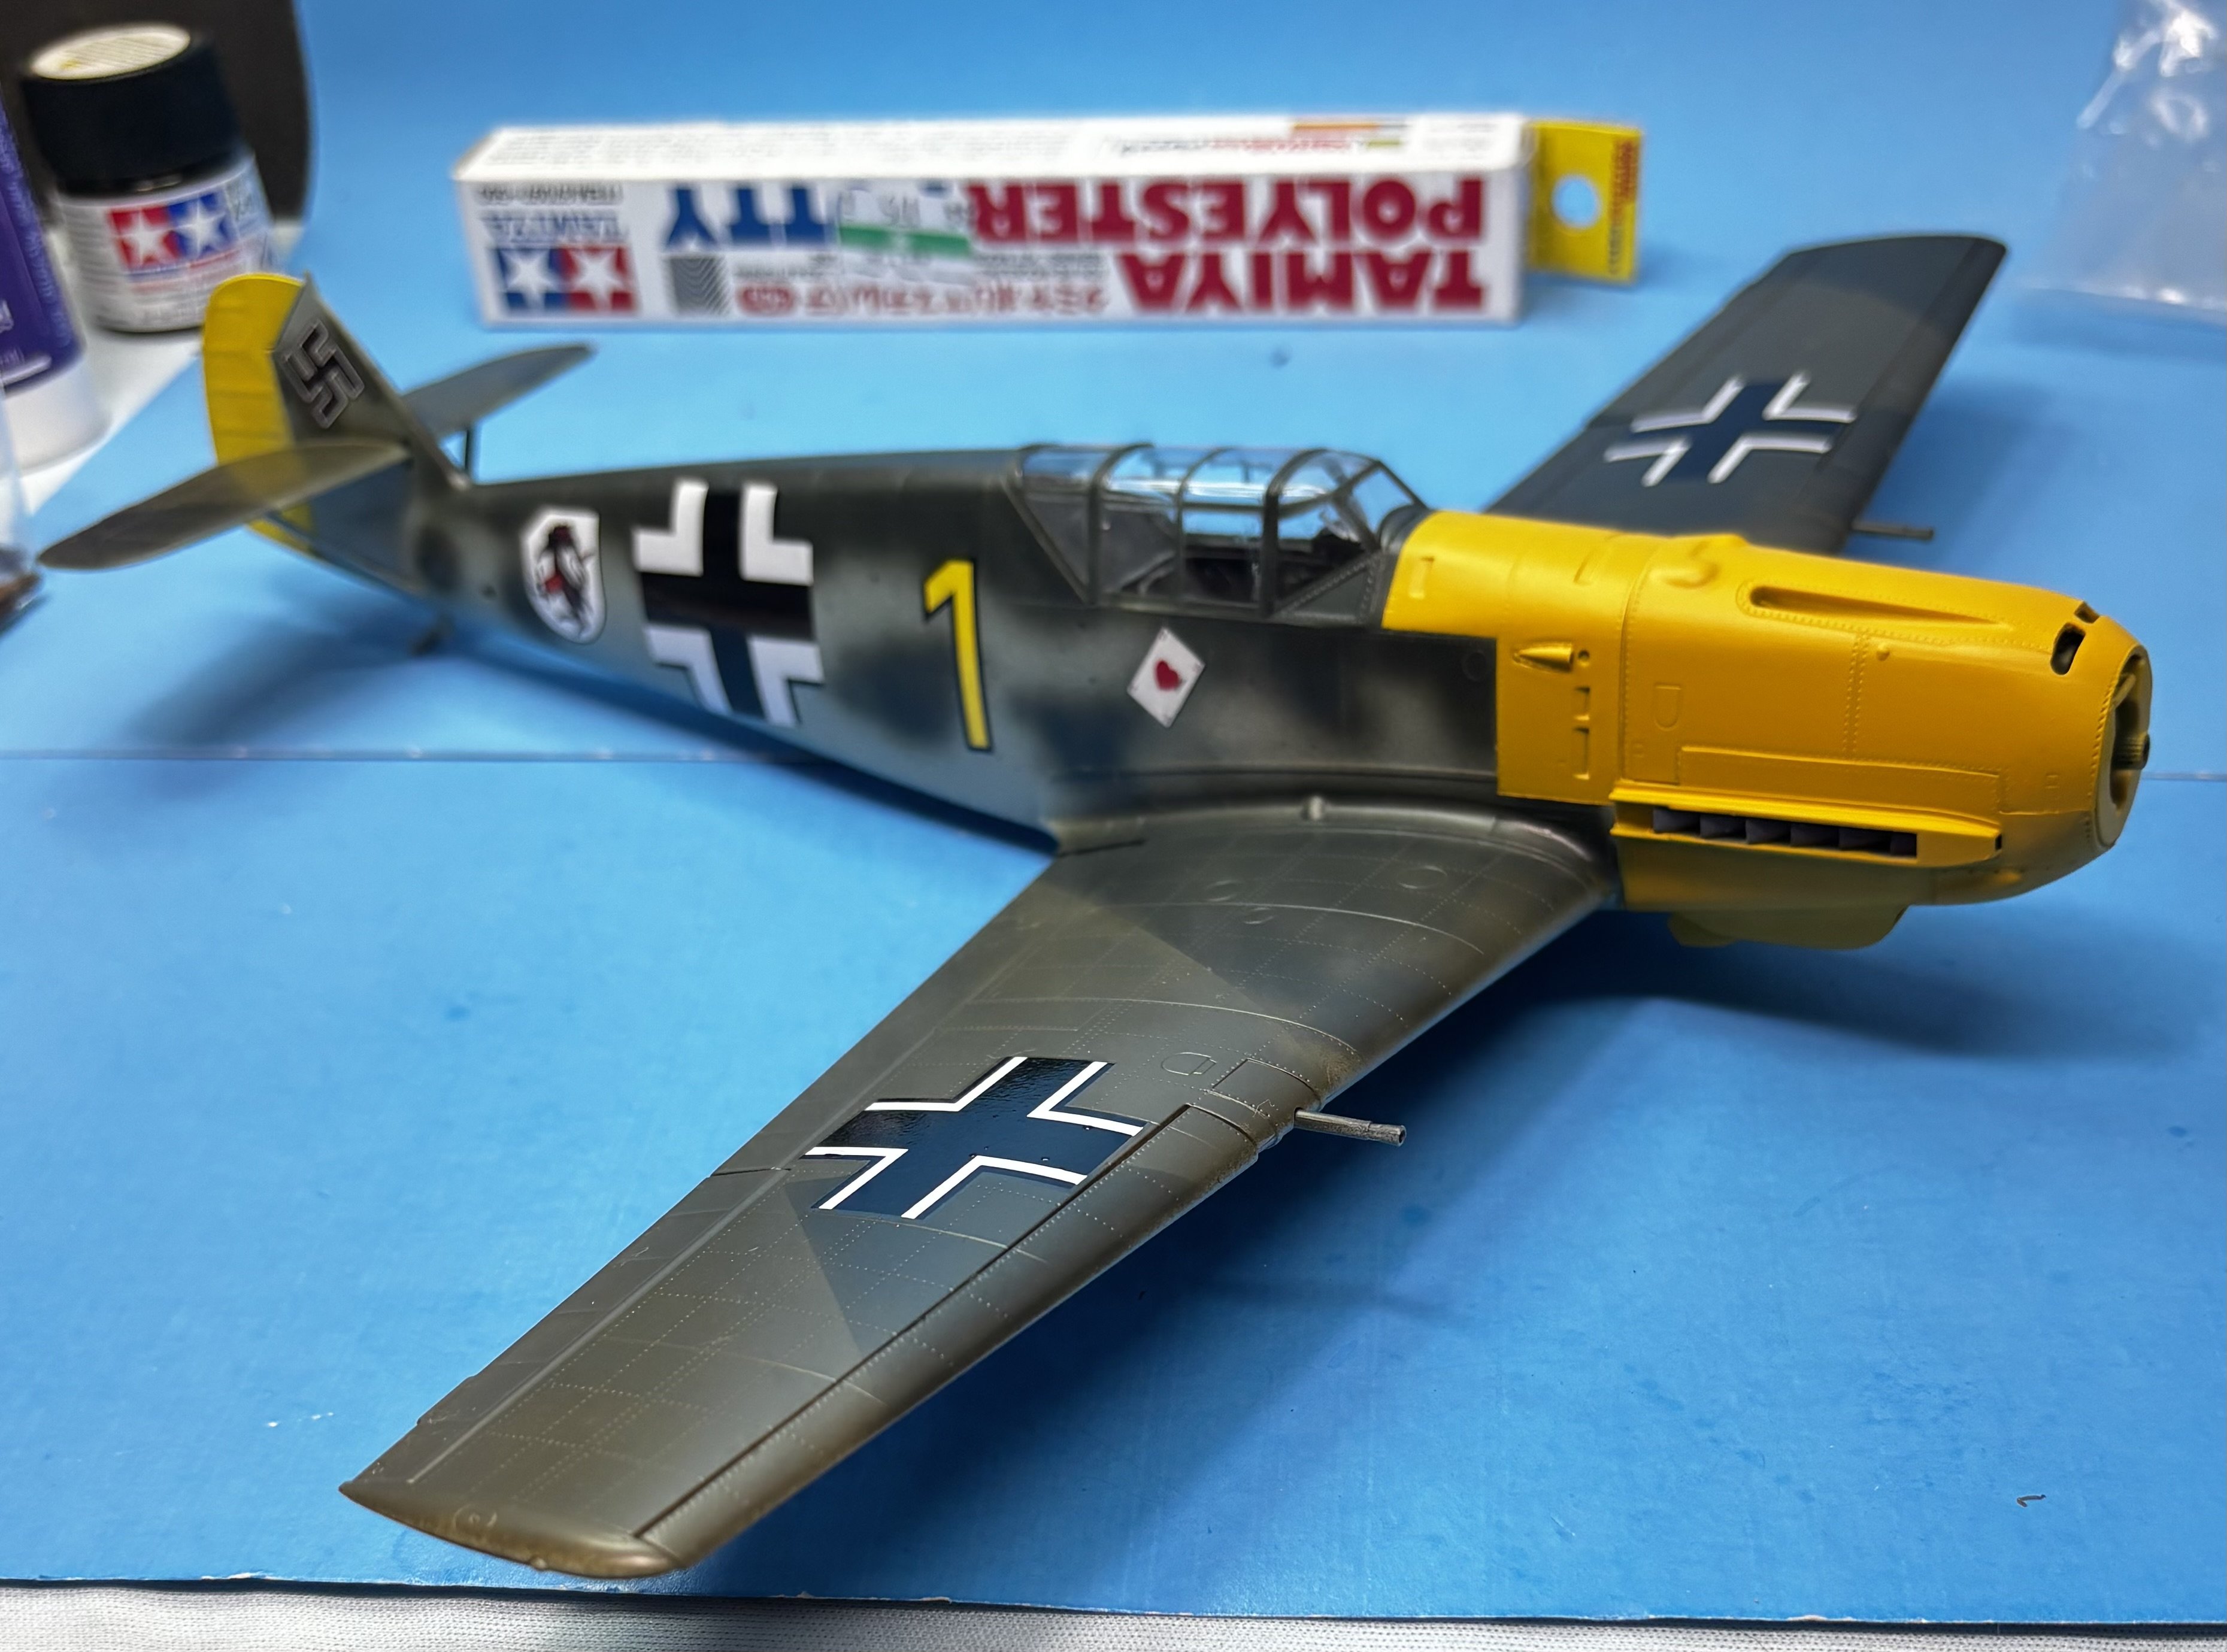
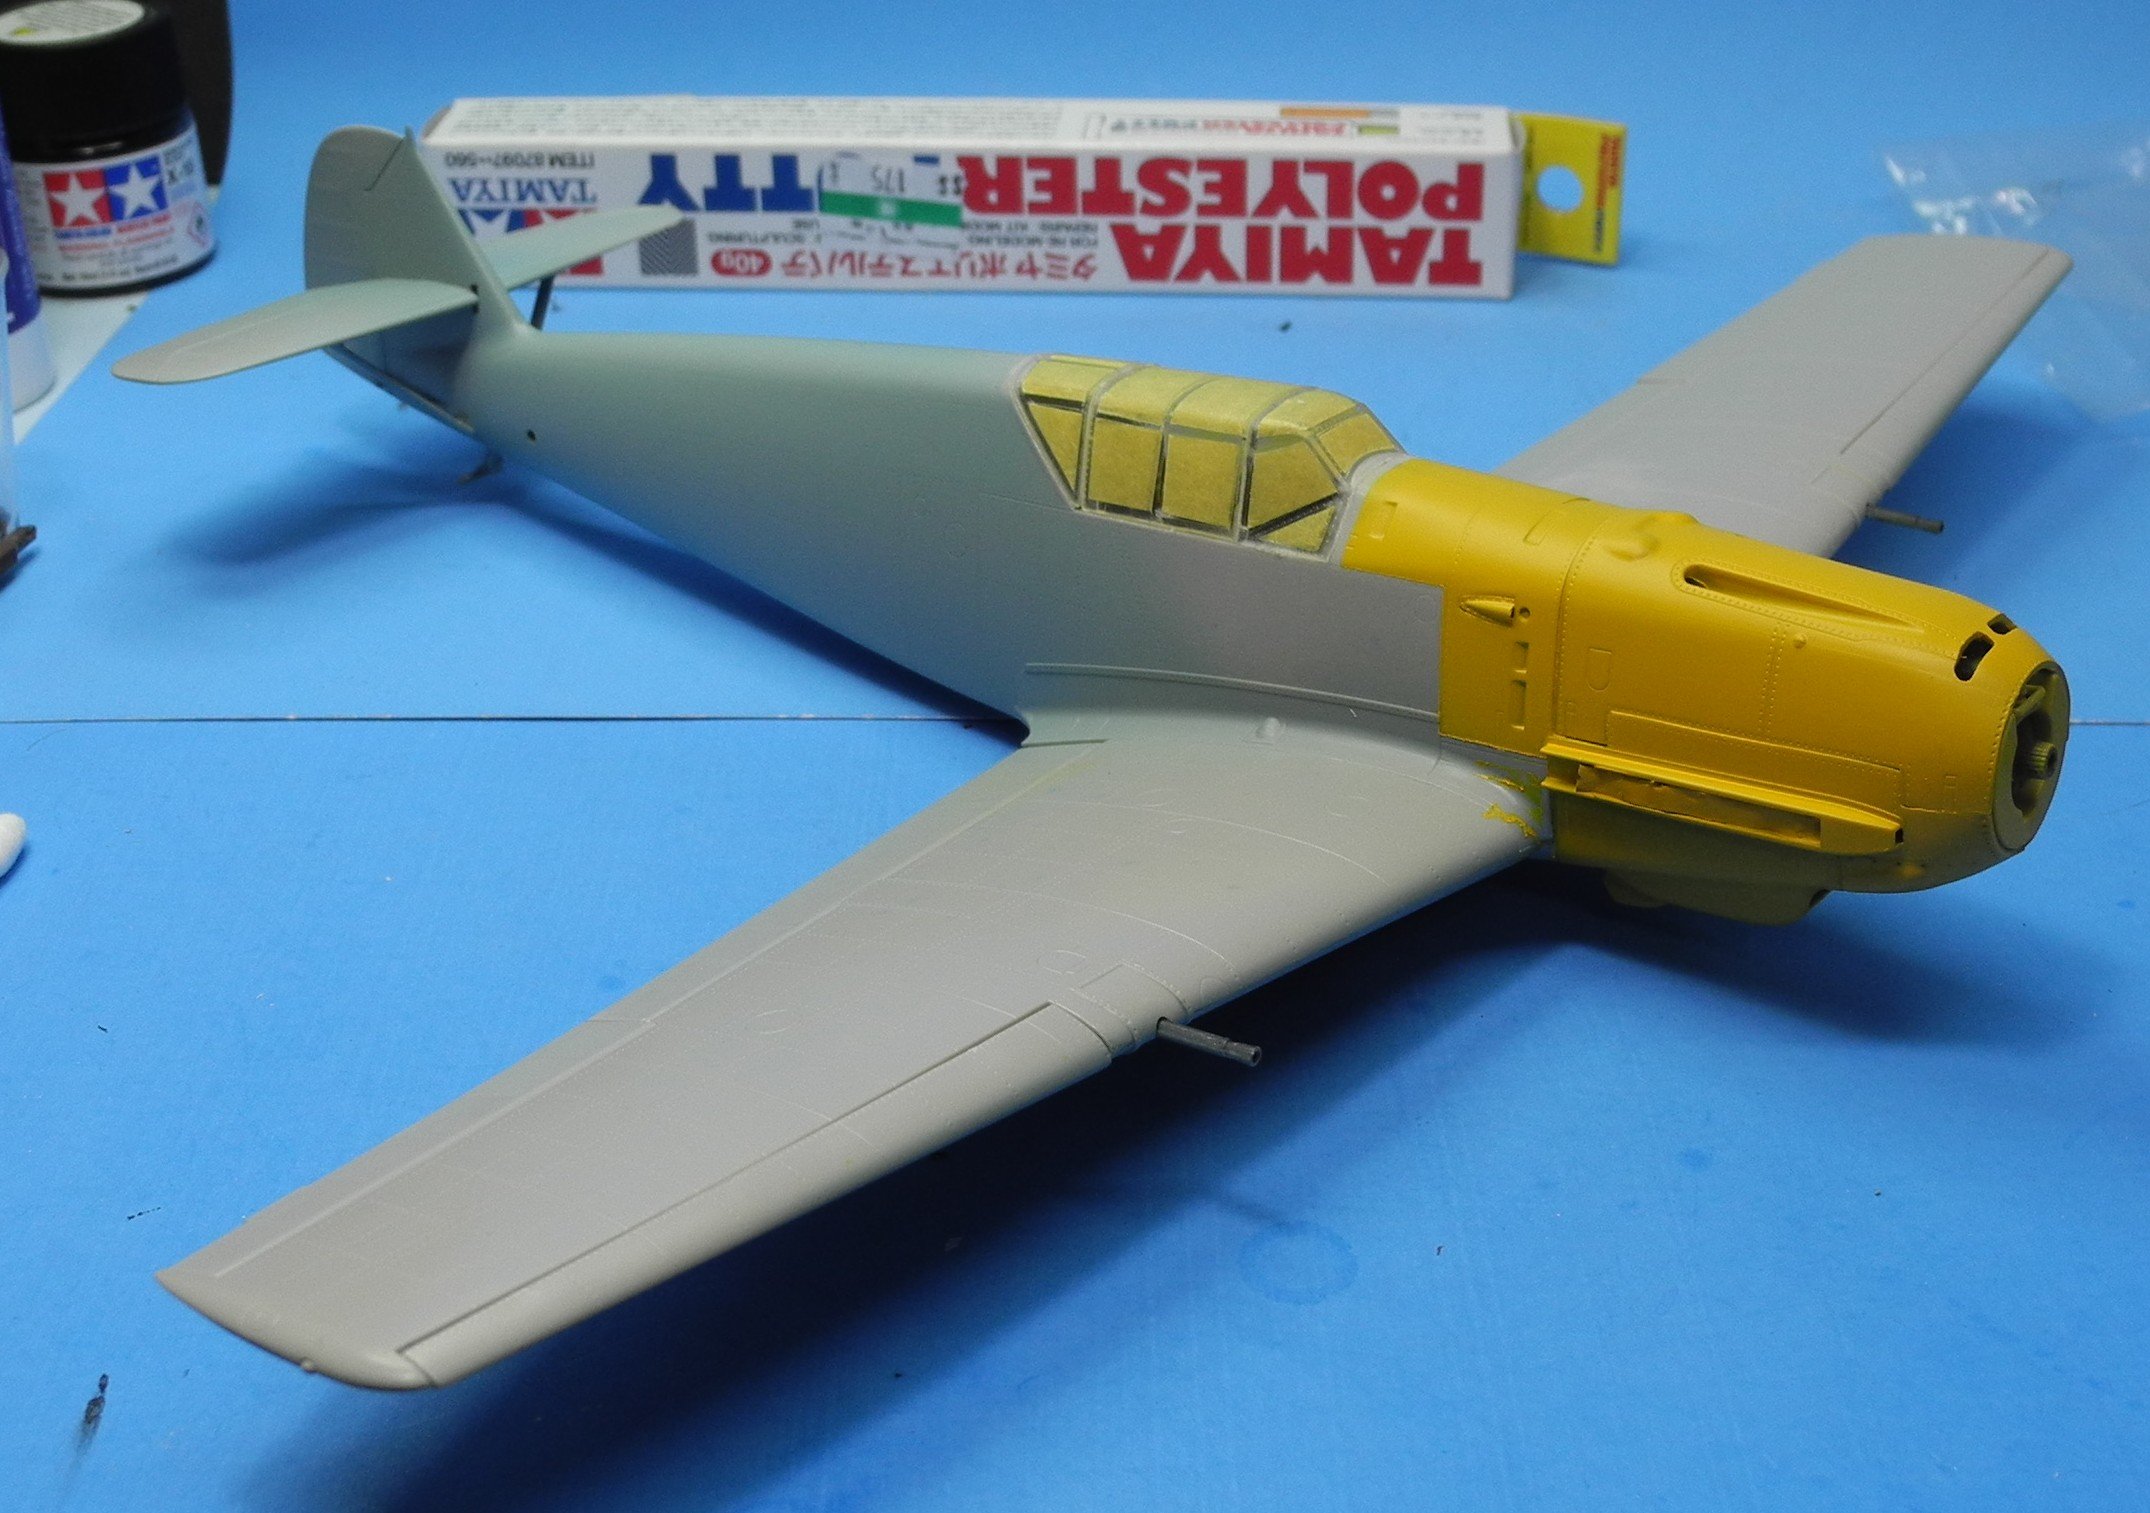
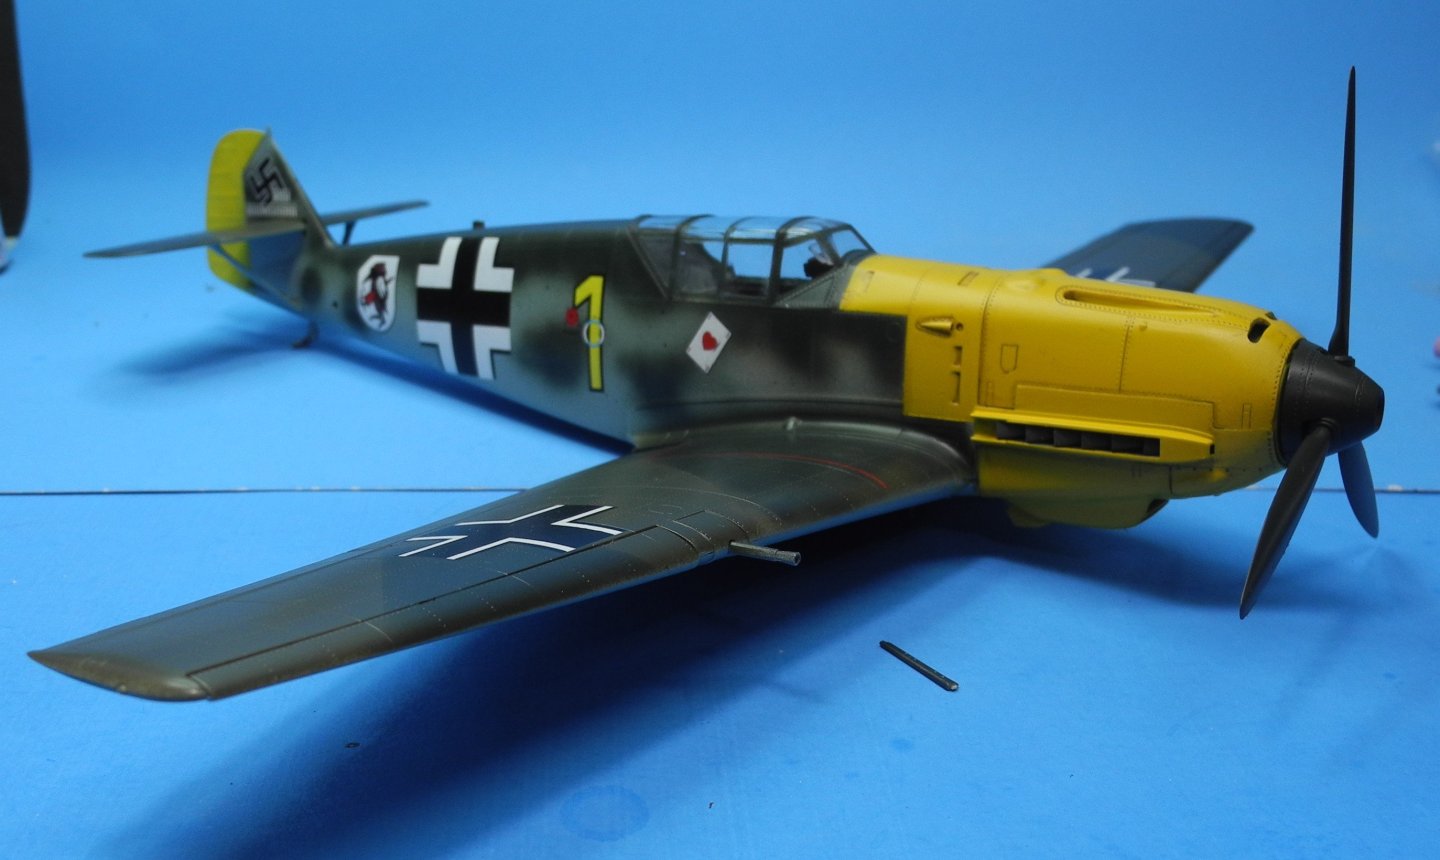
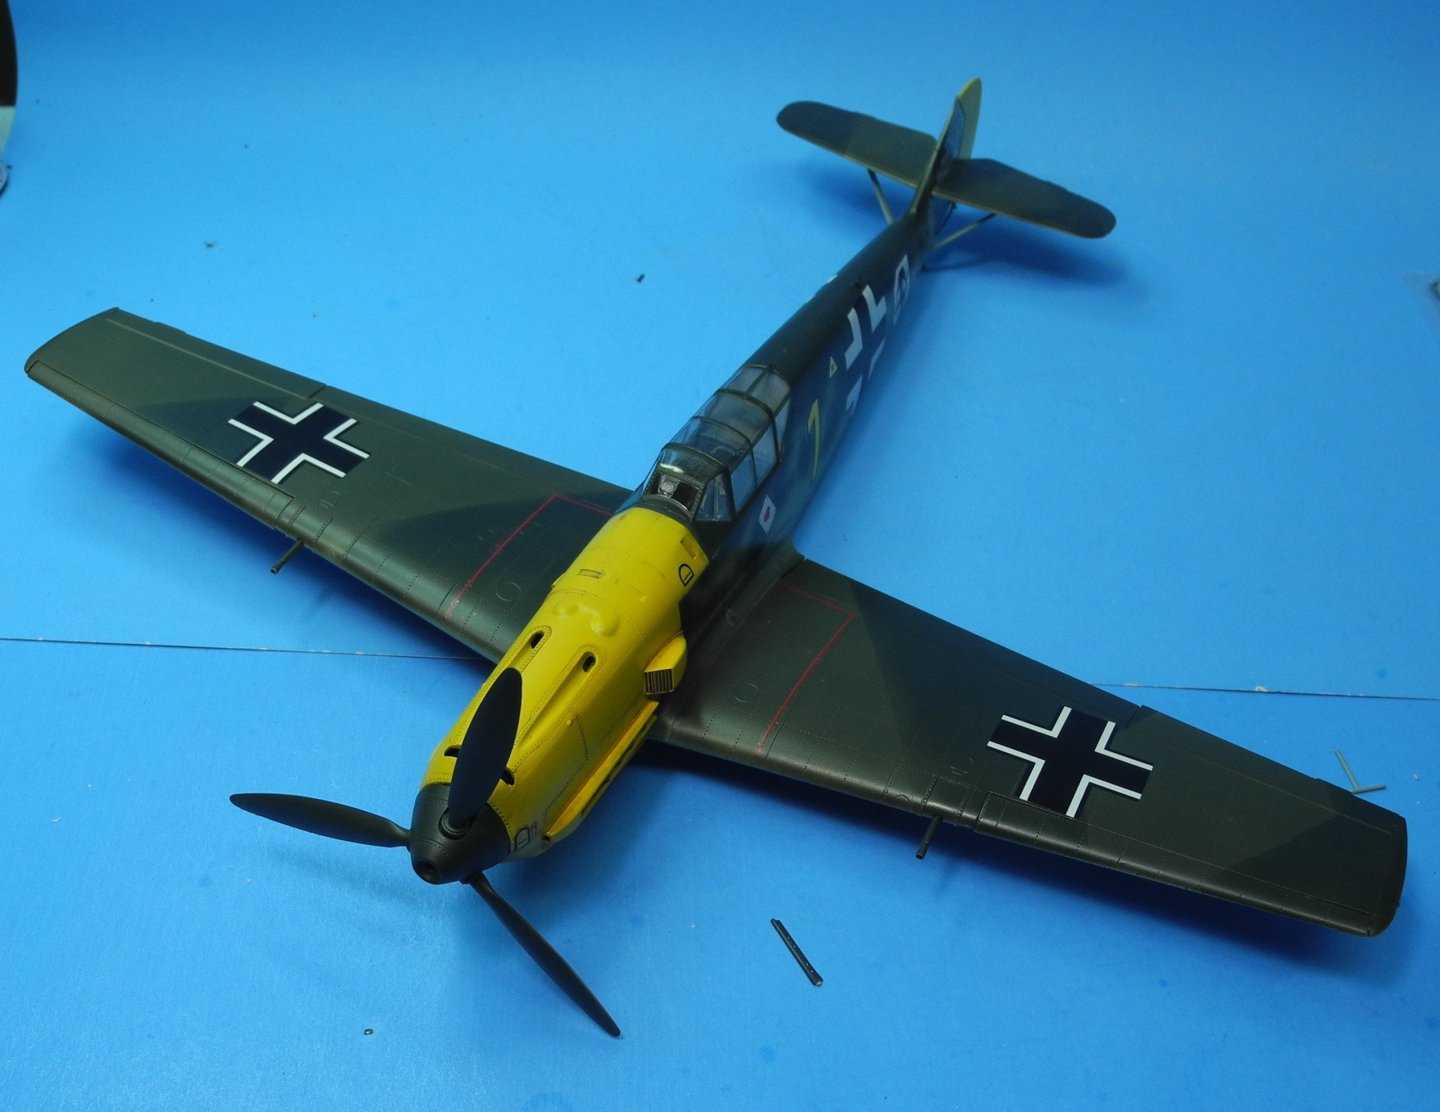
Joseph Priller - shot down 101 allied aircraft during WW2
-
Thanks Jack. All that remains to finish this Bf-109E3 is to place the landing gear in the raised or lowered position. Not sure which the client prefers. Will add the radio mast and antennae last.

-
Okay - attach photo option is missing? Has something changed unaware?
-
I distinctly recall going to the Ford dealership in late 1963 to look at new 1964 model Fords. In the showroom was a brand-new Cobra surrounded by stanchions and rope so that customers could not walk close enough to touch the car. I saw no reason my father shouldn't buy one as it looked so tempting. He just laughed at me and shook his head. I have no idea what it cost but even back then it was very expensive, thus the precautions the dealer took to keep roaming hands off the car.
-
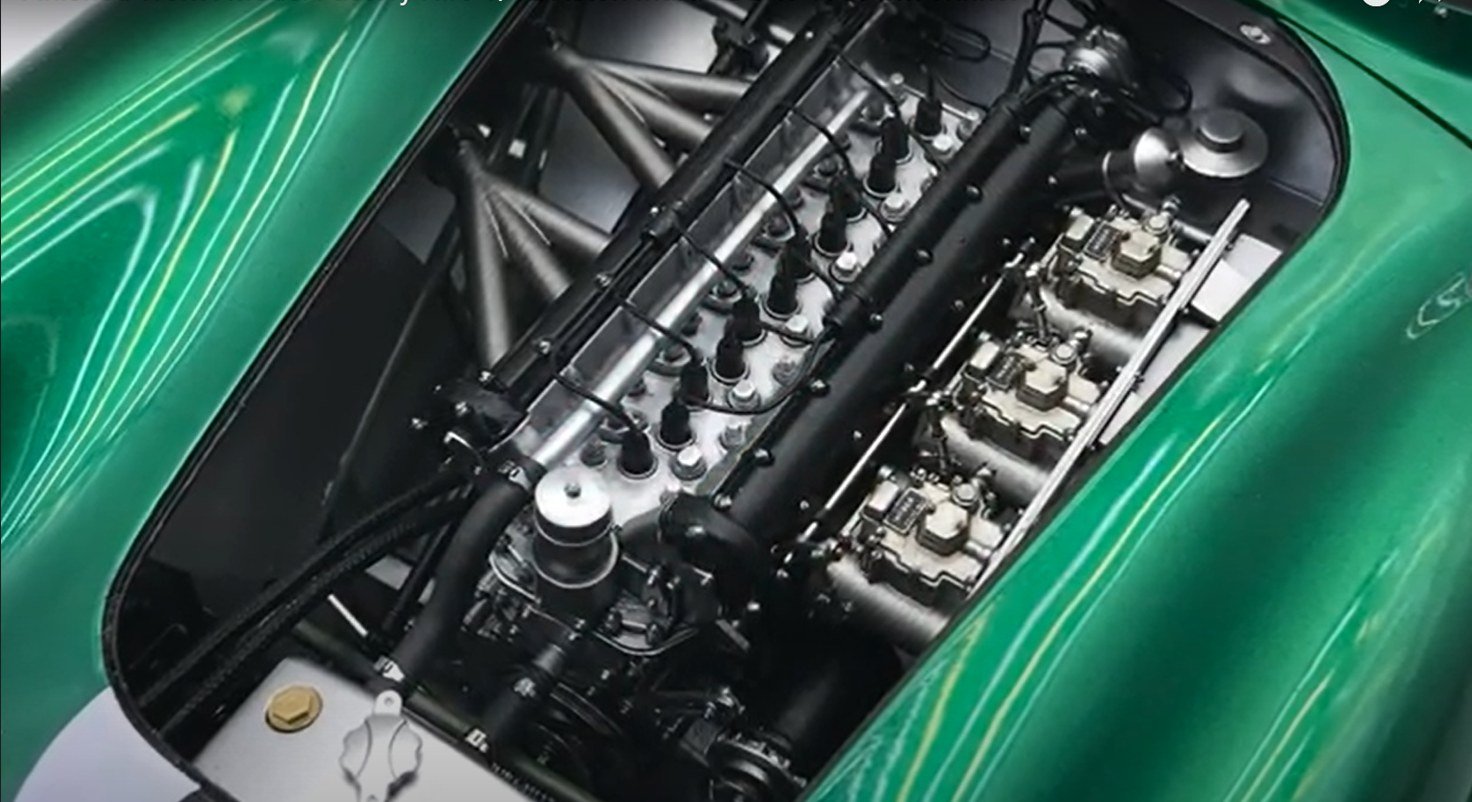
It's a beautiful model of an iconic race car, very well worth the time and effort you are putting into it. Where else could one turn to build a 1:12 scale model of this car? Only alternative might be from scratch and that would be a monumental task IMO.
-
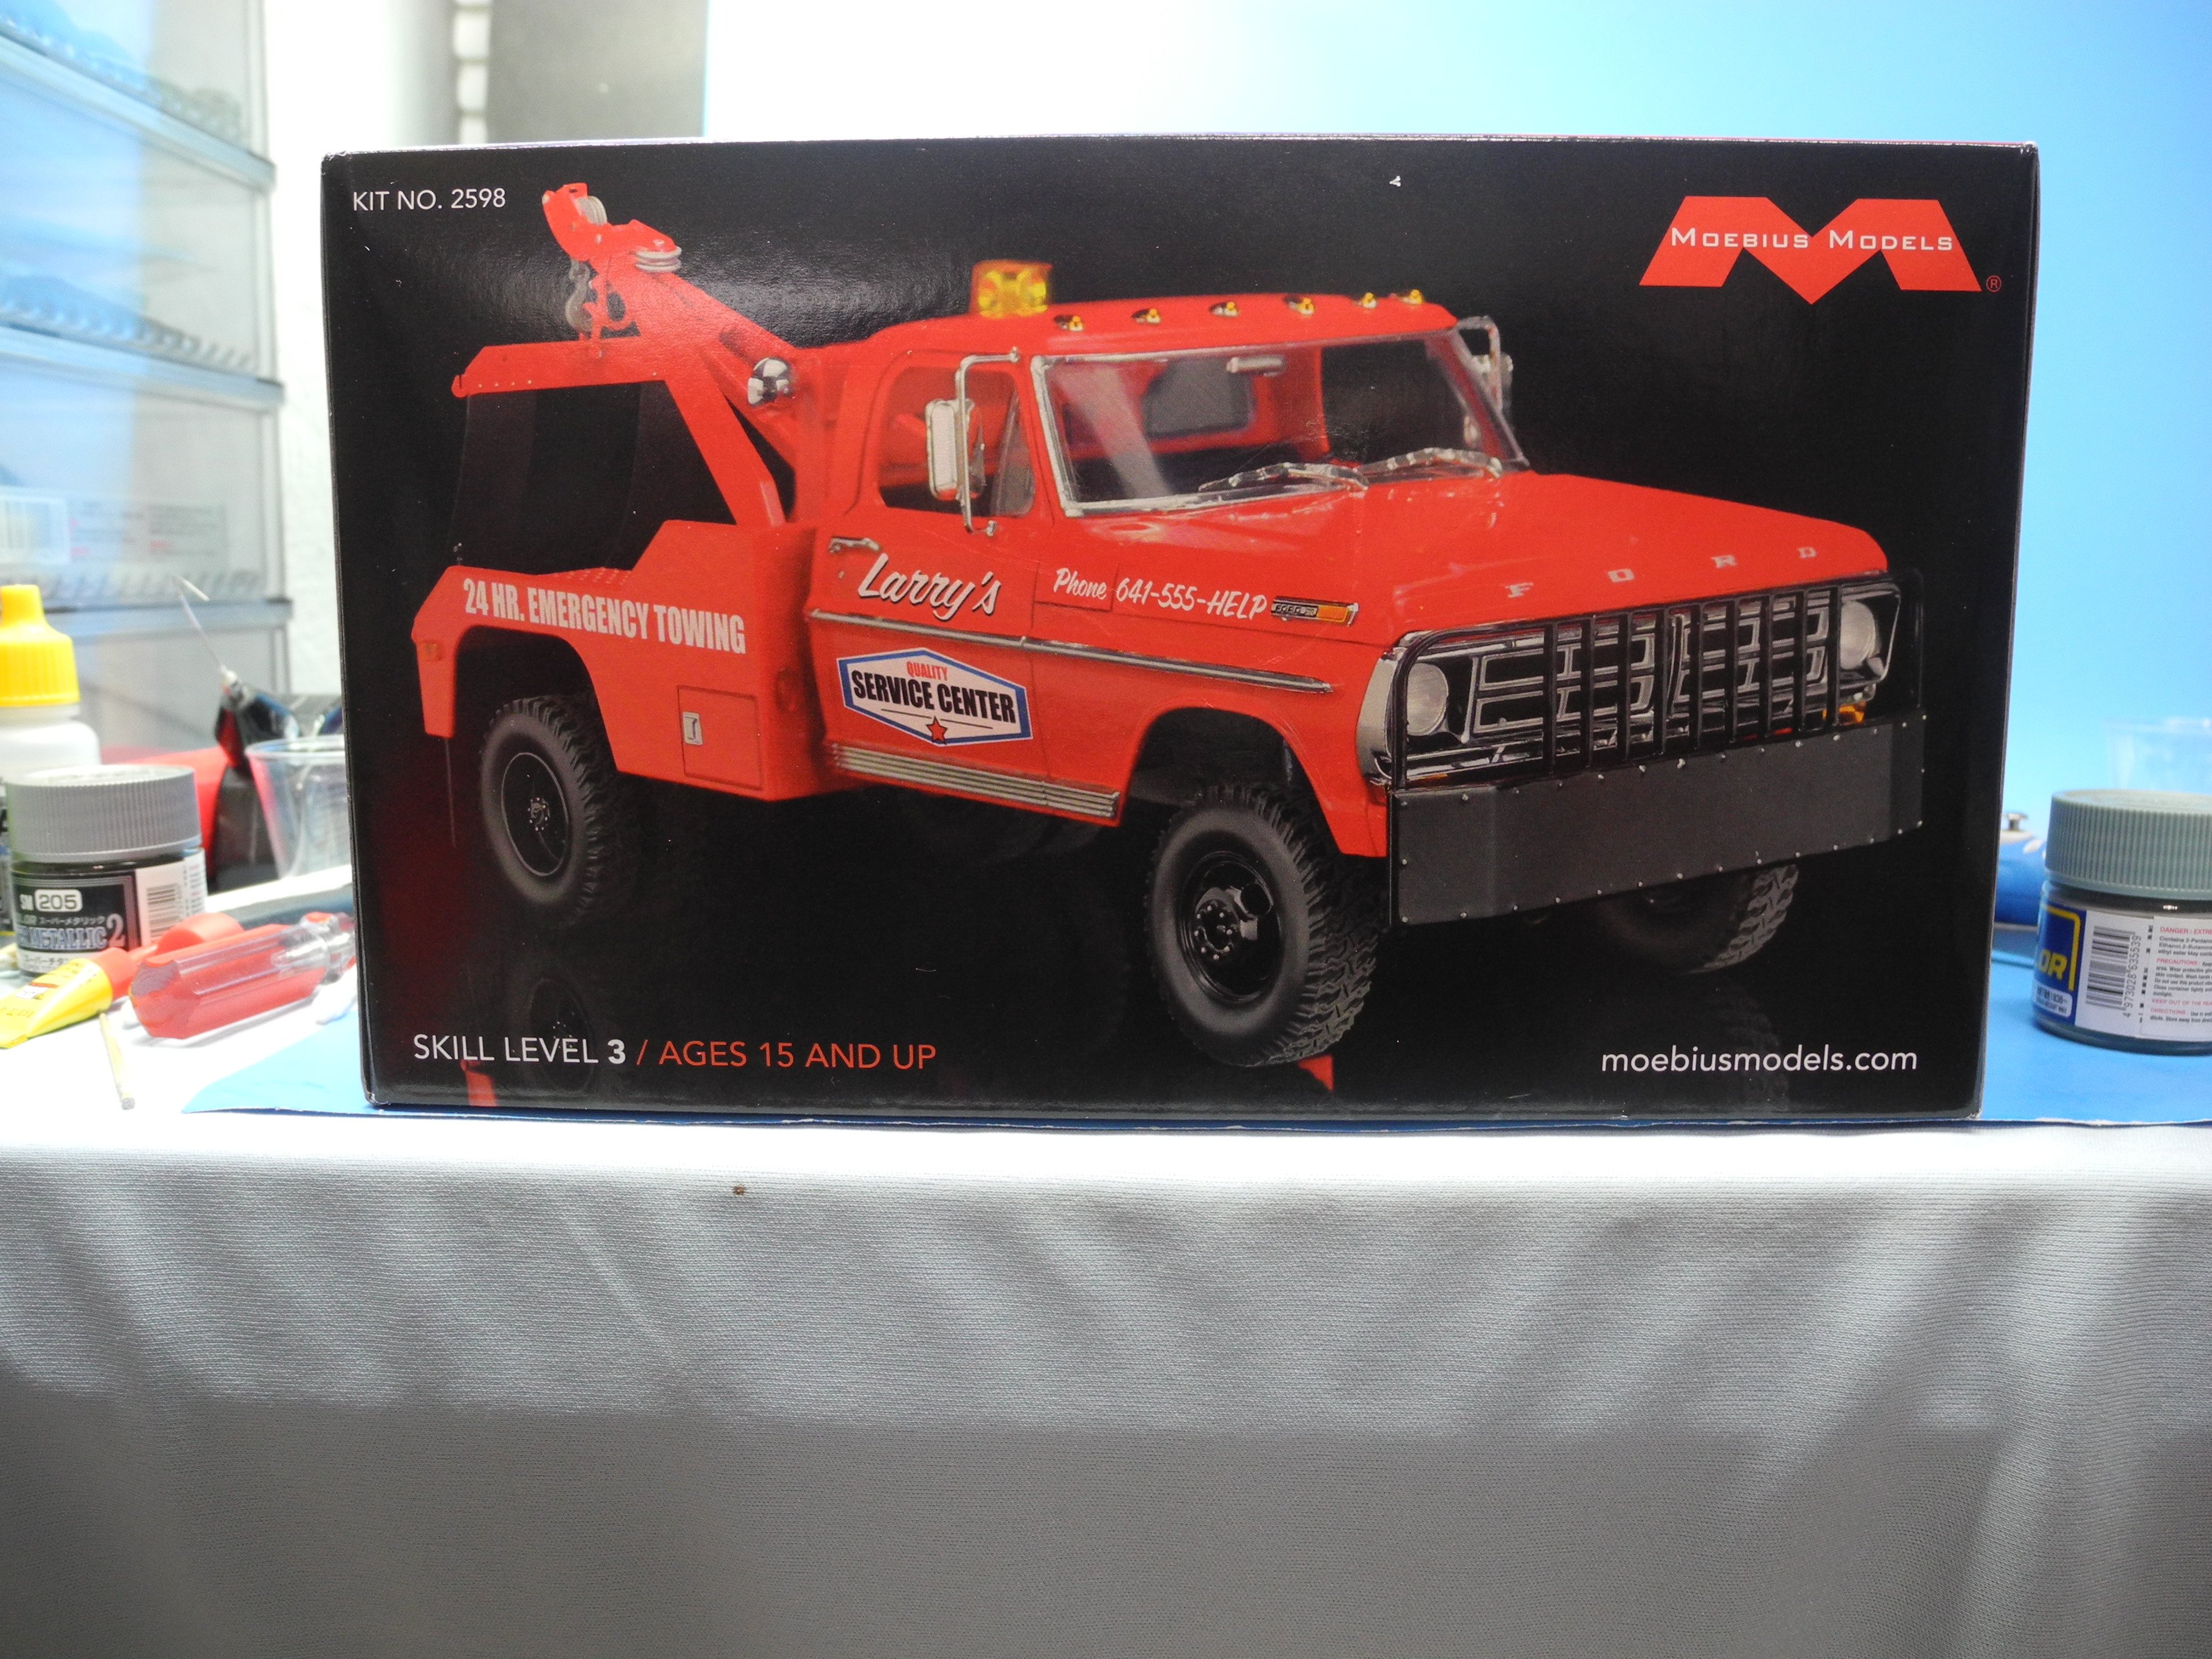
A guy could go hog wild weathering and detailing this tow truck.
-
Great subject material, will follow your build for sure. Regarding the scalefinishes paint, keep in mind it's an enamel and as such needs more curing time than acrylics or lacquers. Enamels cure from the top down so even when it might feel dry to the touch, fingerprints will happen if handled too soon. I use a dehydrator to help cure the enamel and speed up the process. I set my dehydrator for the lowest heat setting, around 107 degrees, and run it for a minimum of 24 hours once the model is painted. After that, wait an additional 6 days outside the dehydrator to make sure it's fully cured before handling. You should get a beautiful gloss finish that needs no clear coat whatsoever but once cured you can polish out any minor imperfection from a dust speck or such.
-
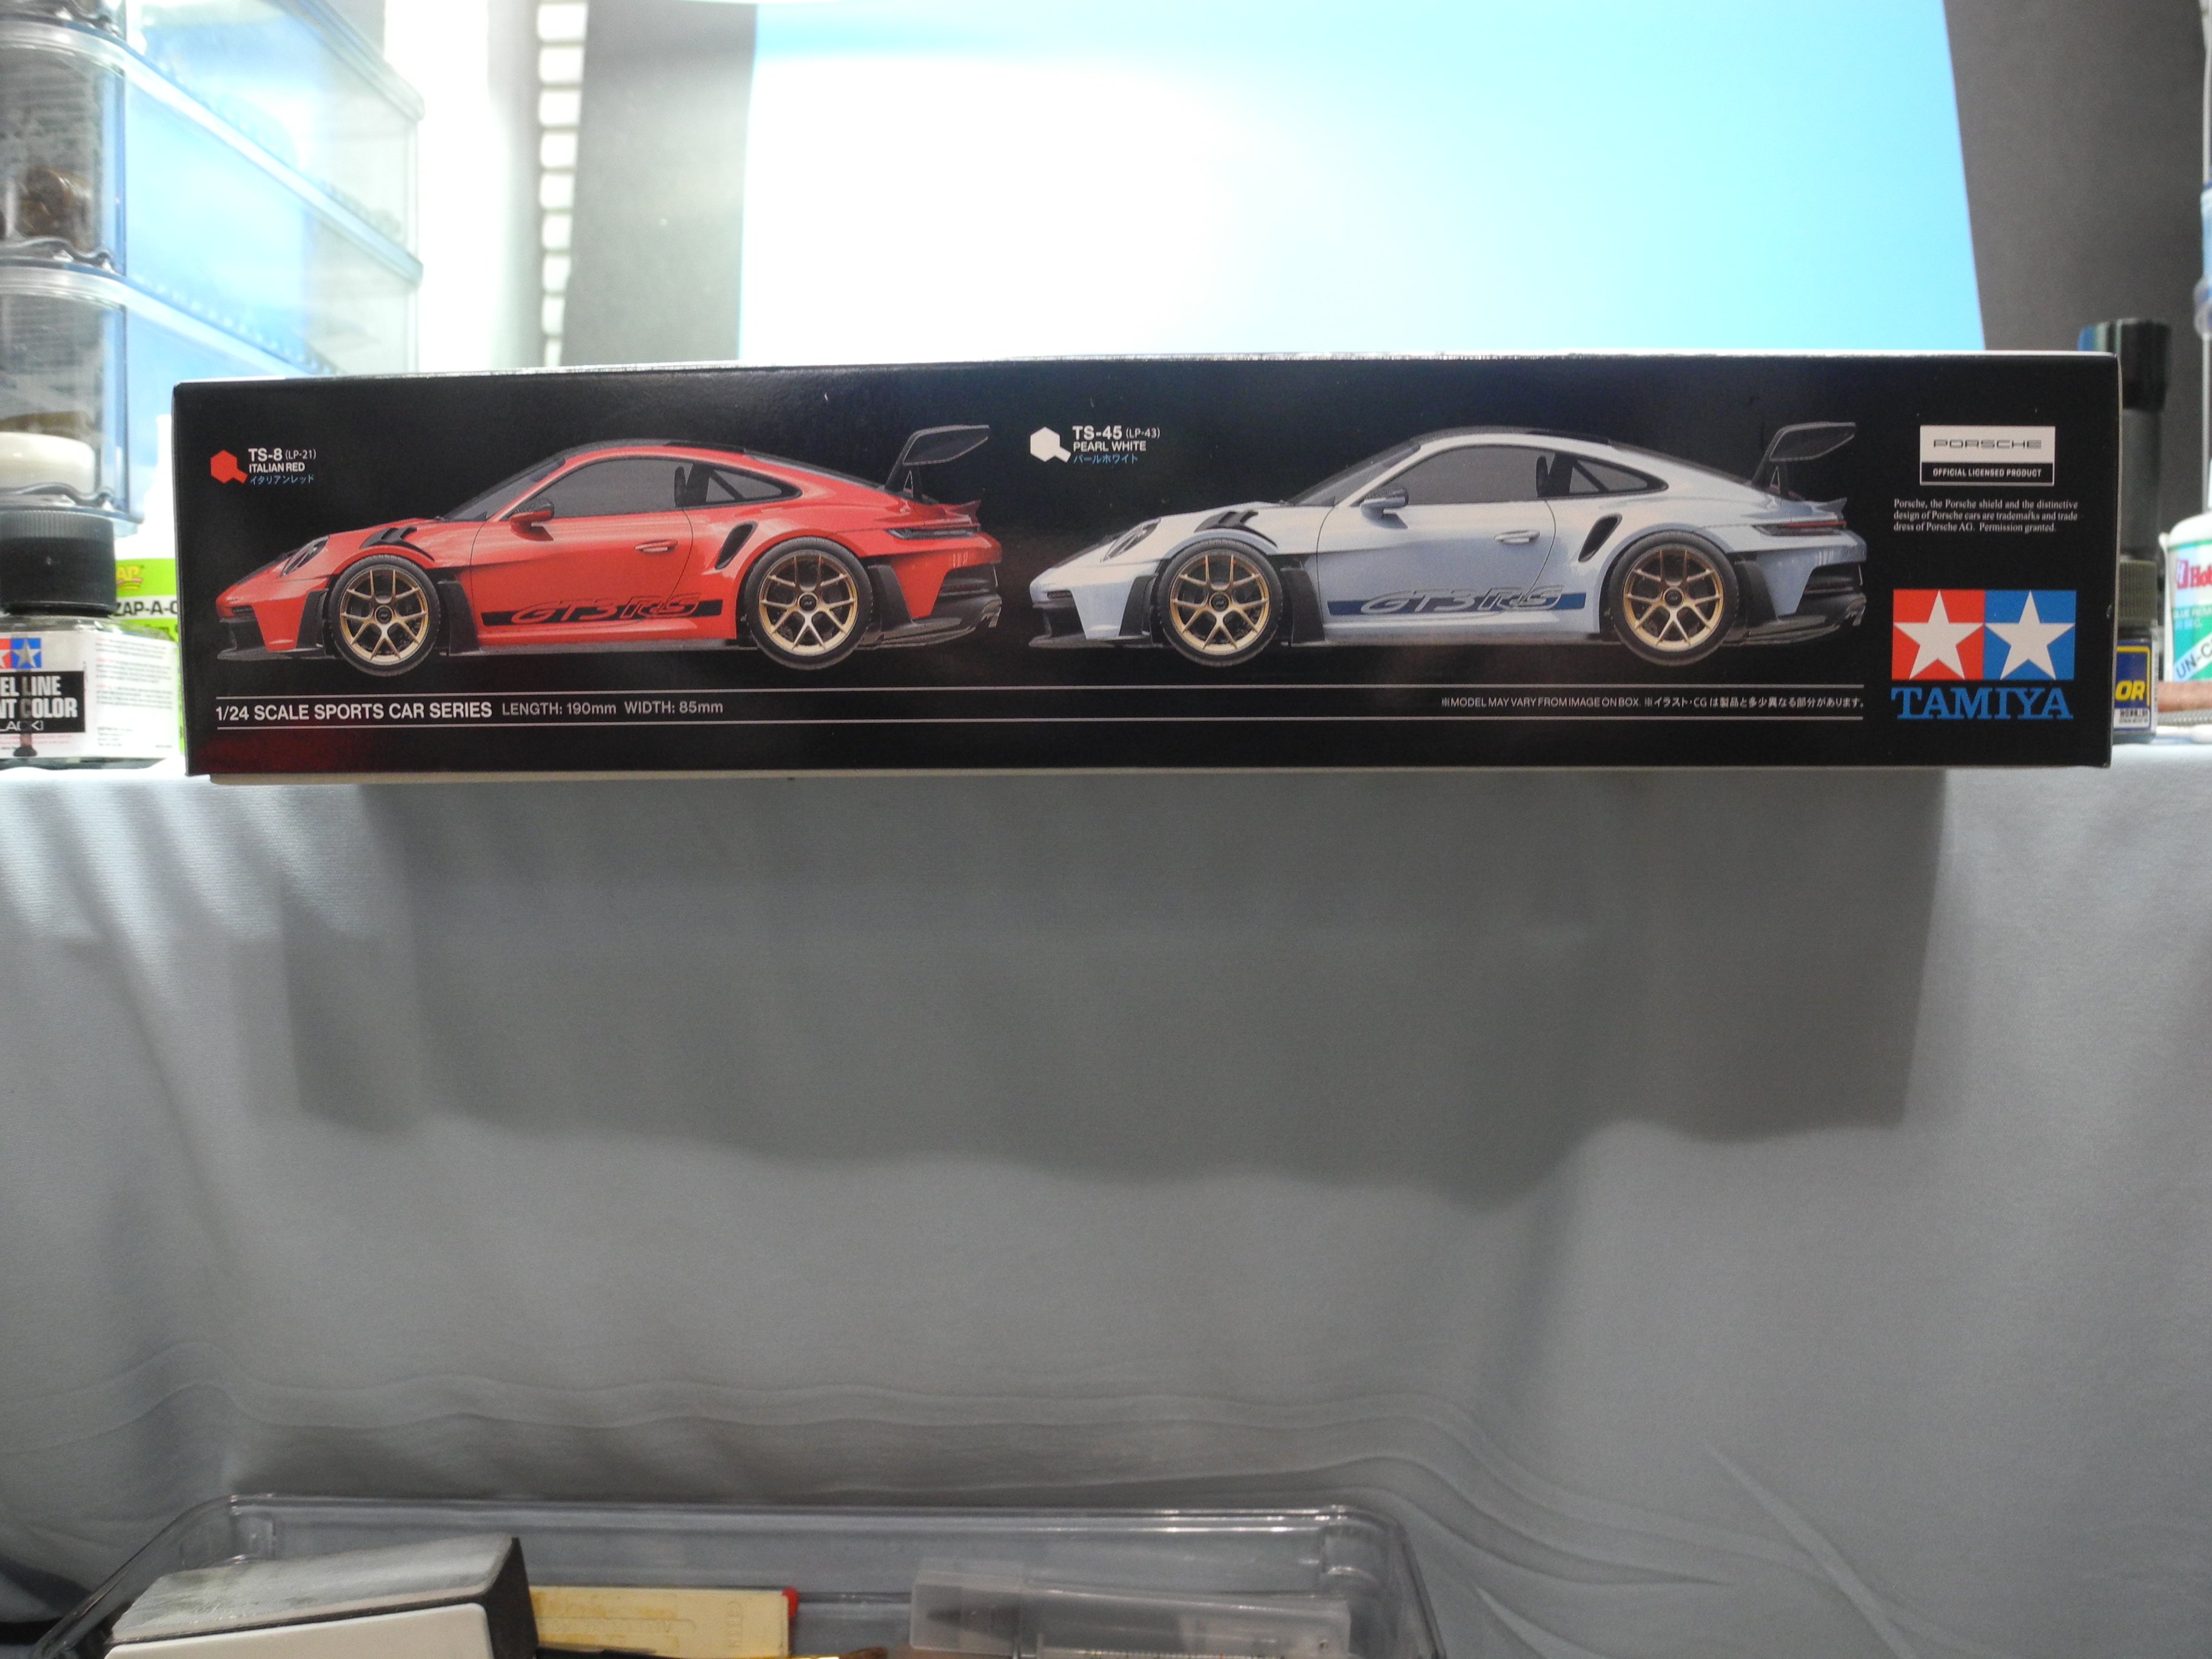
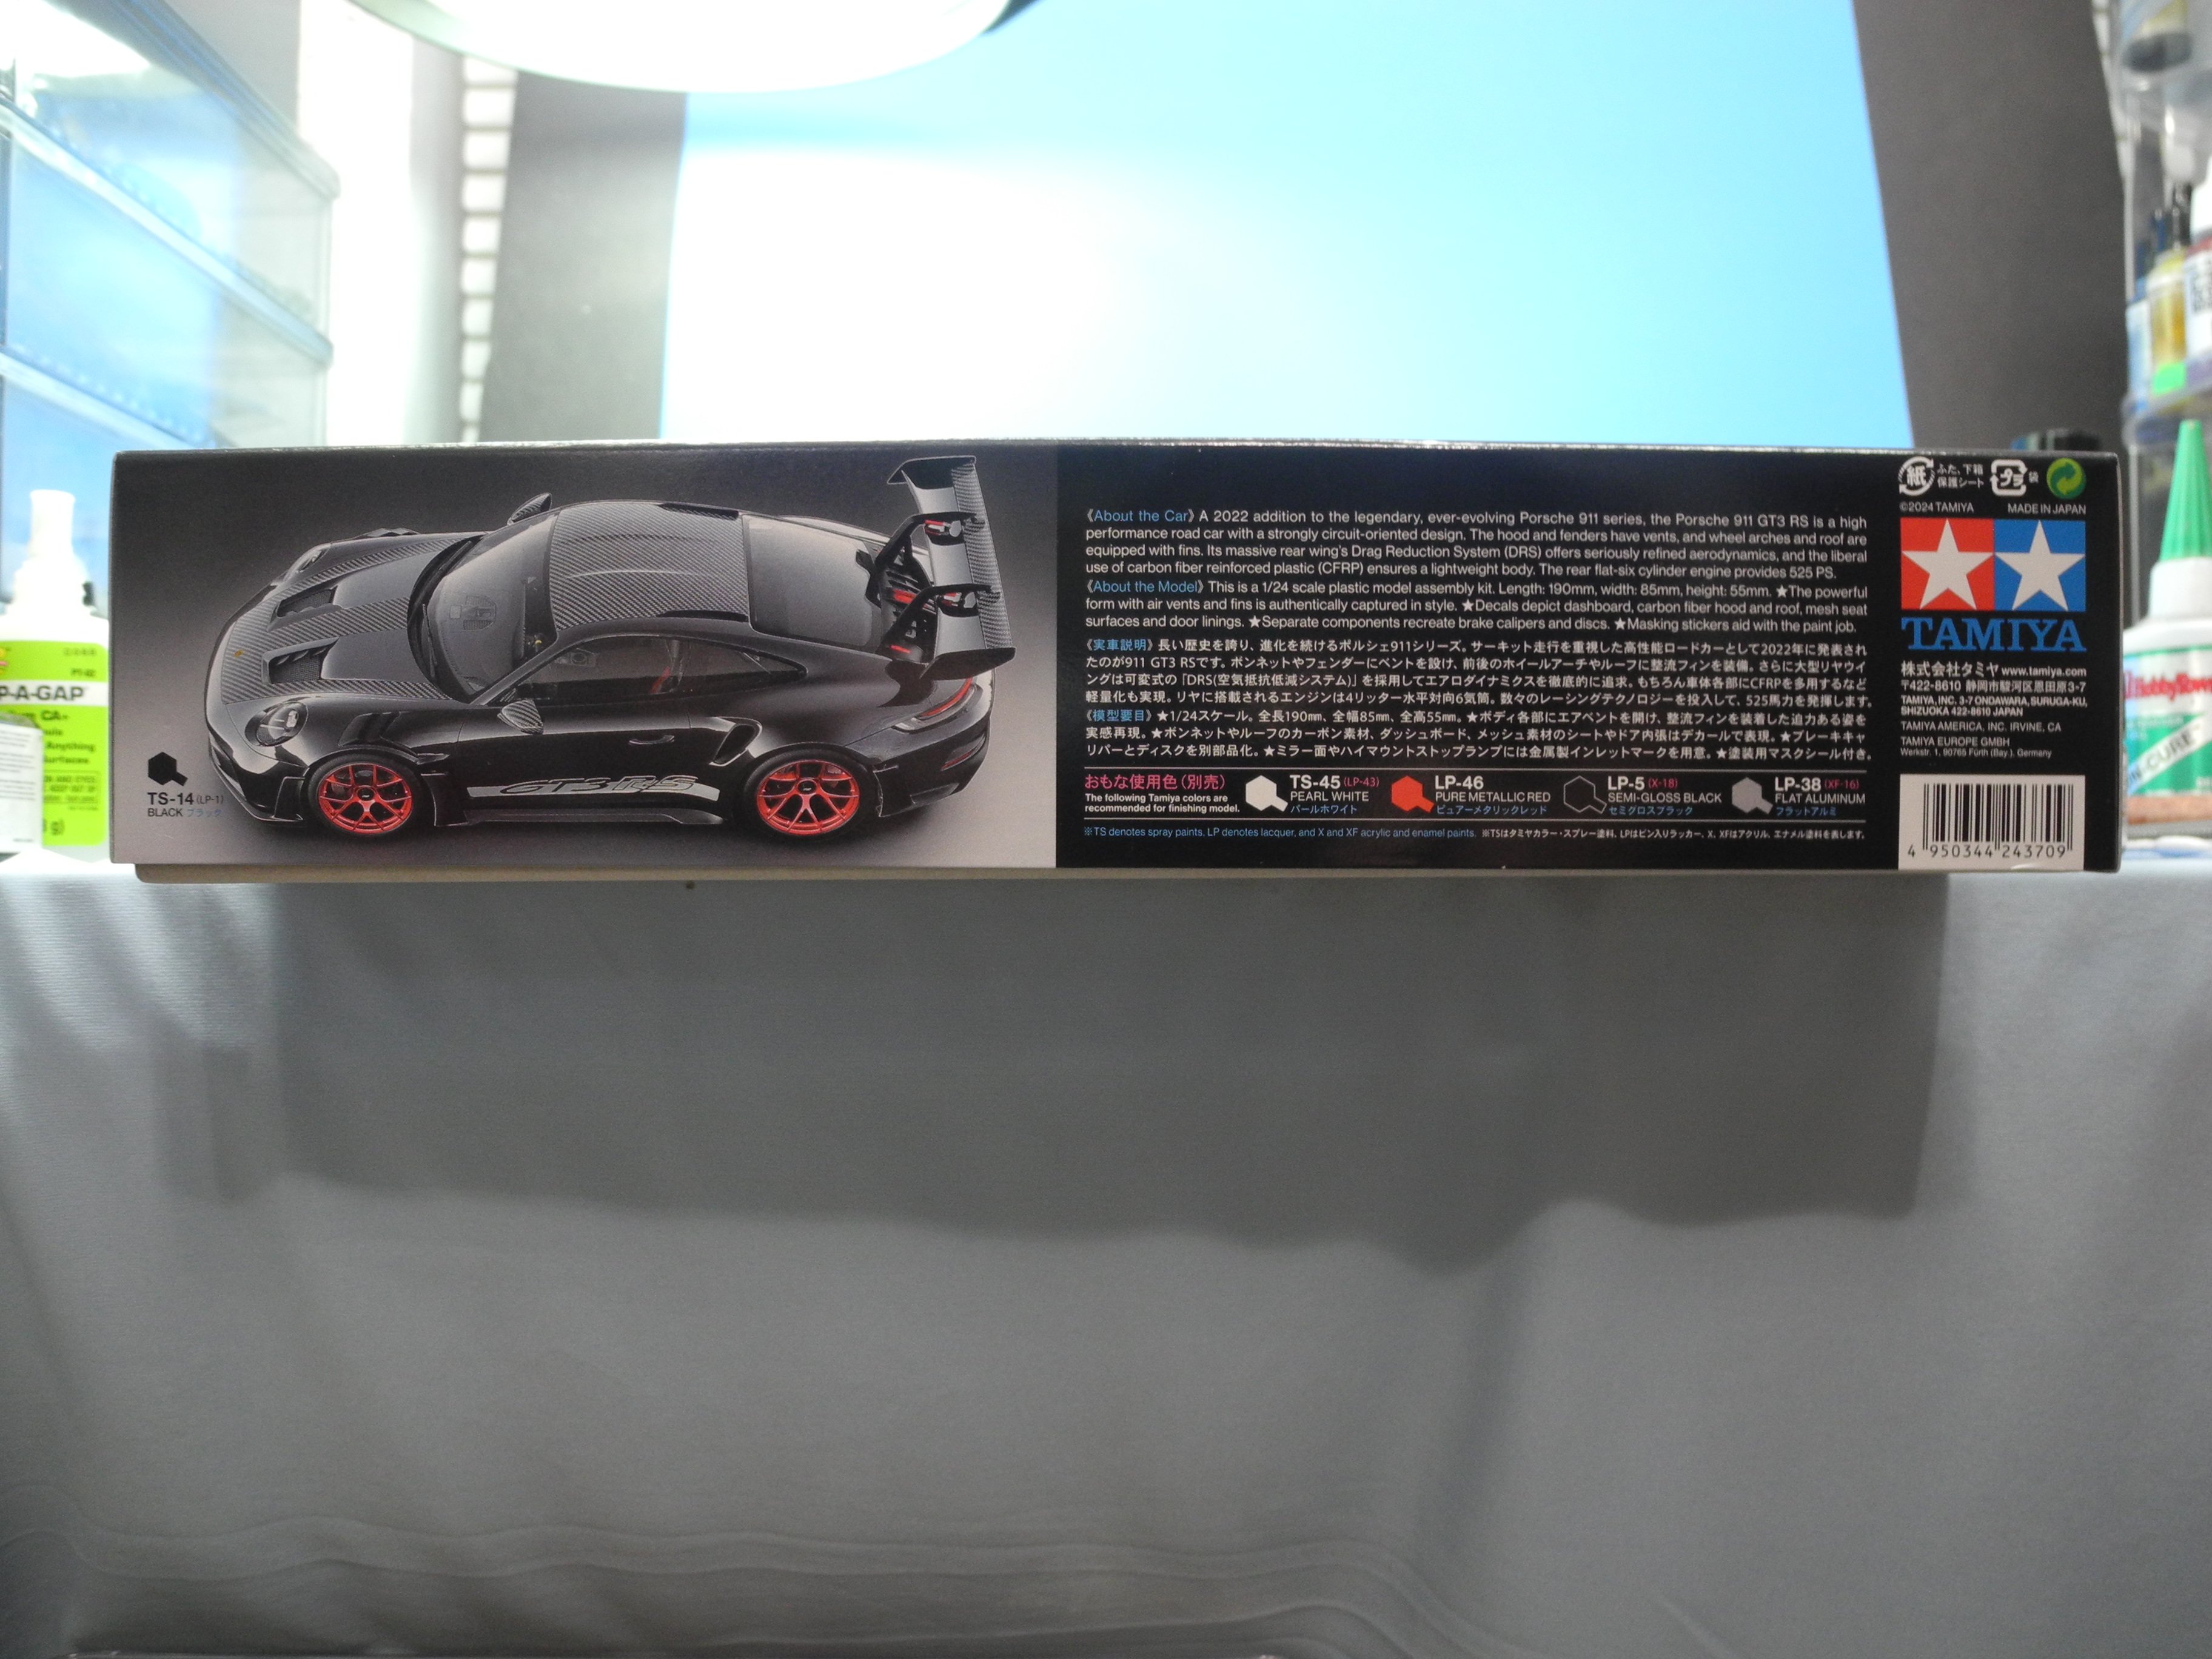
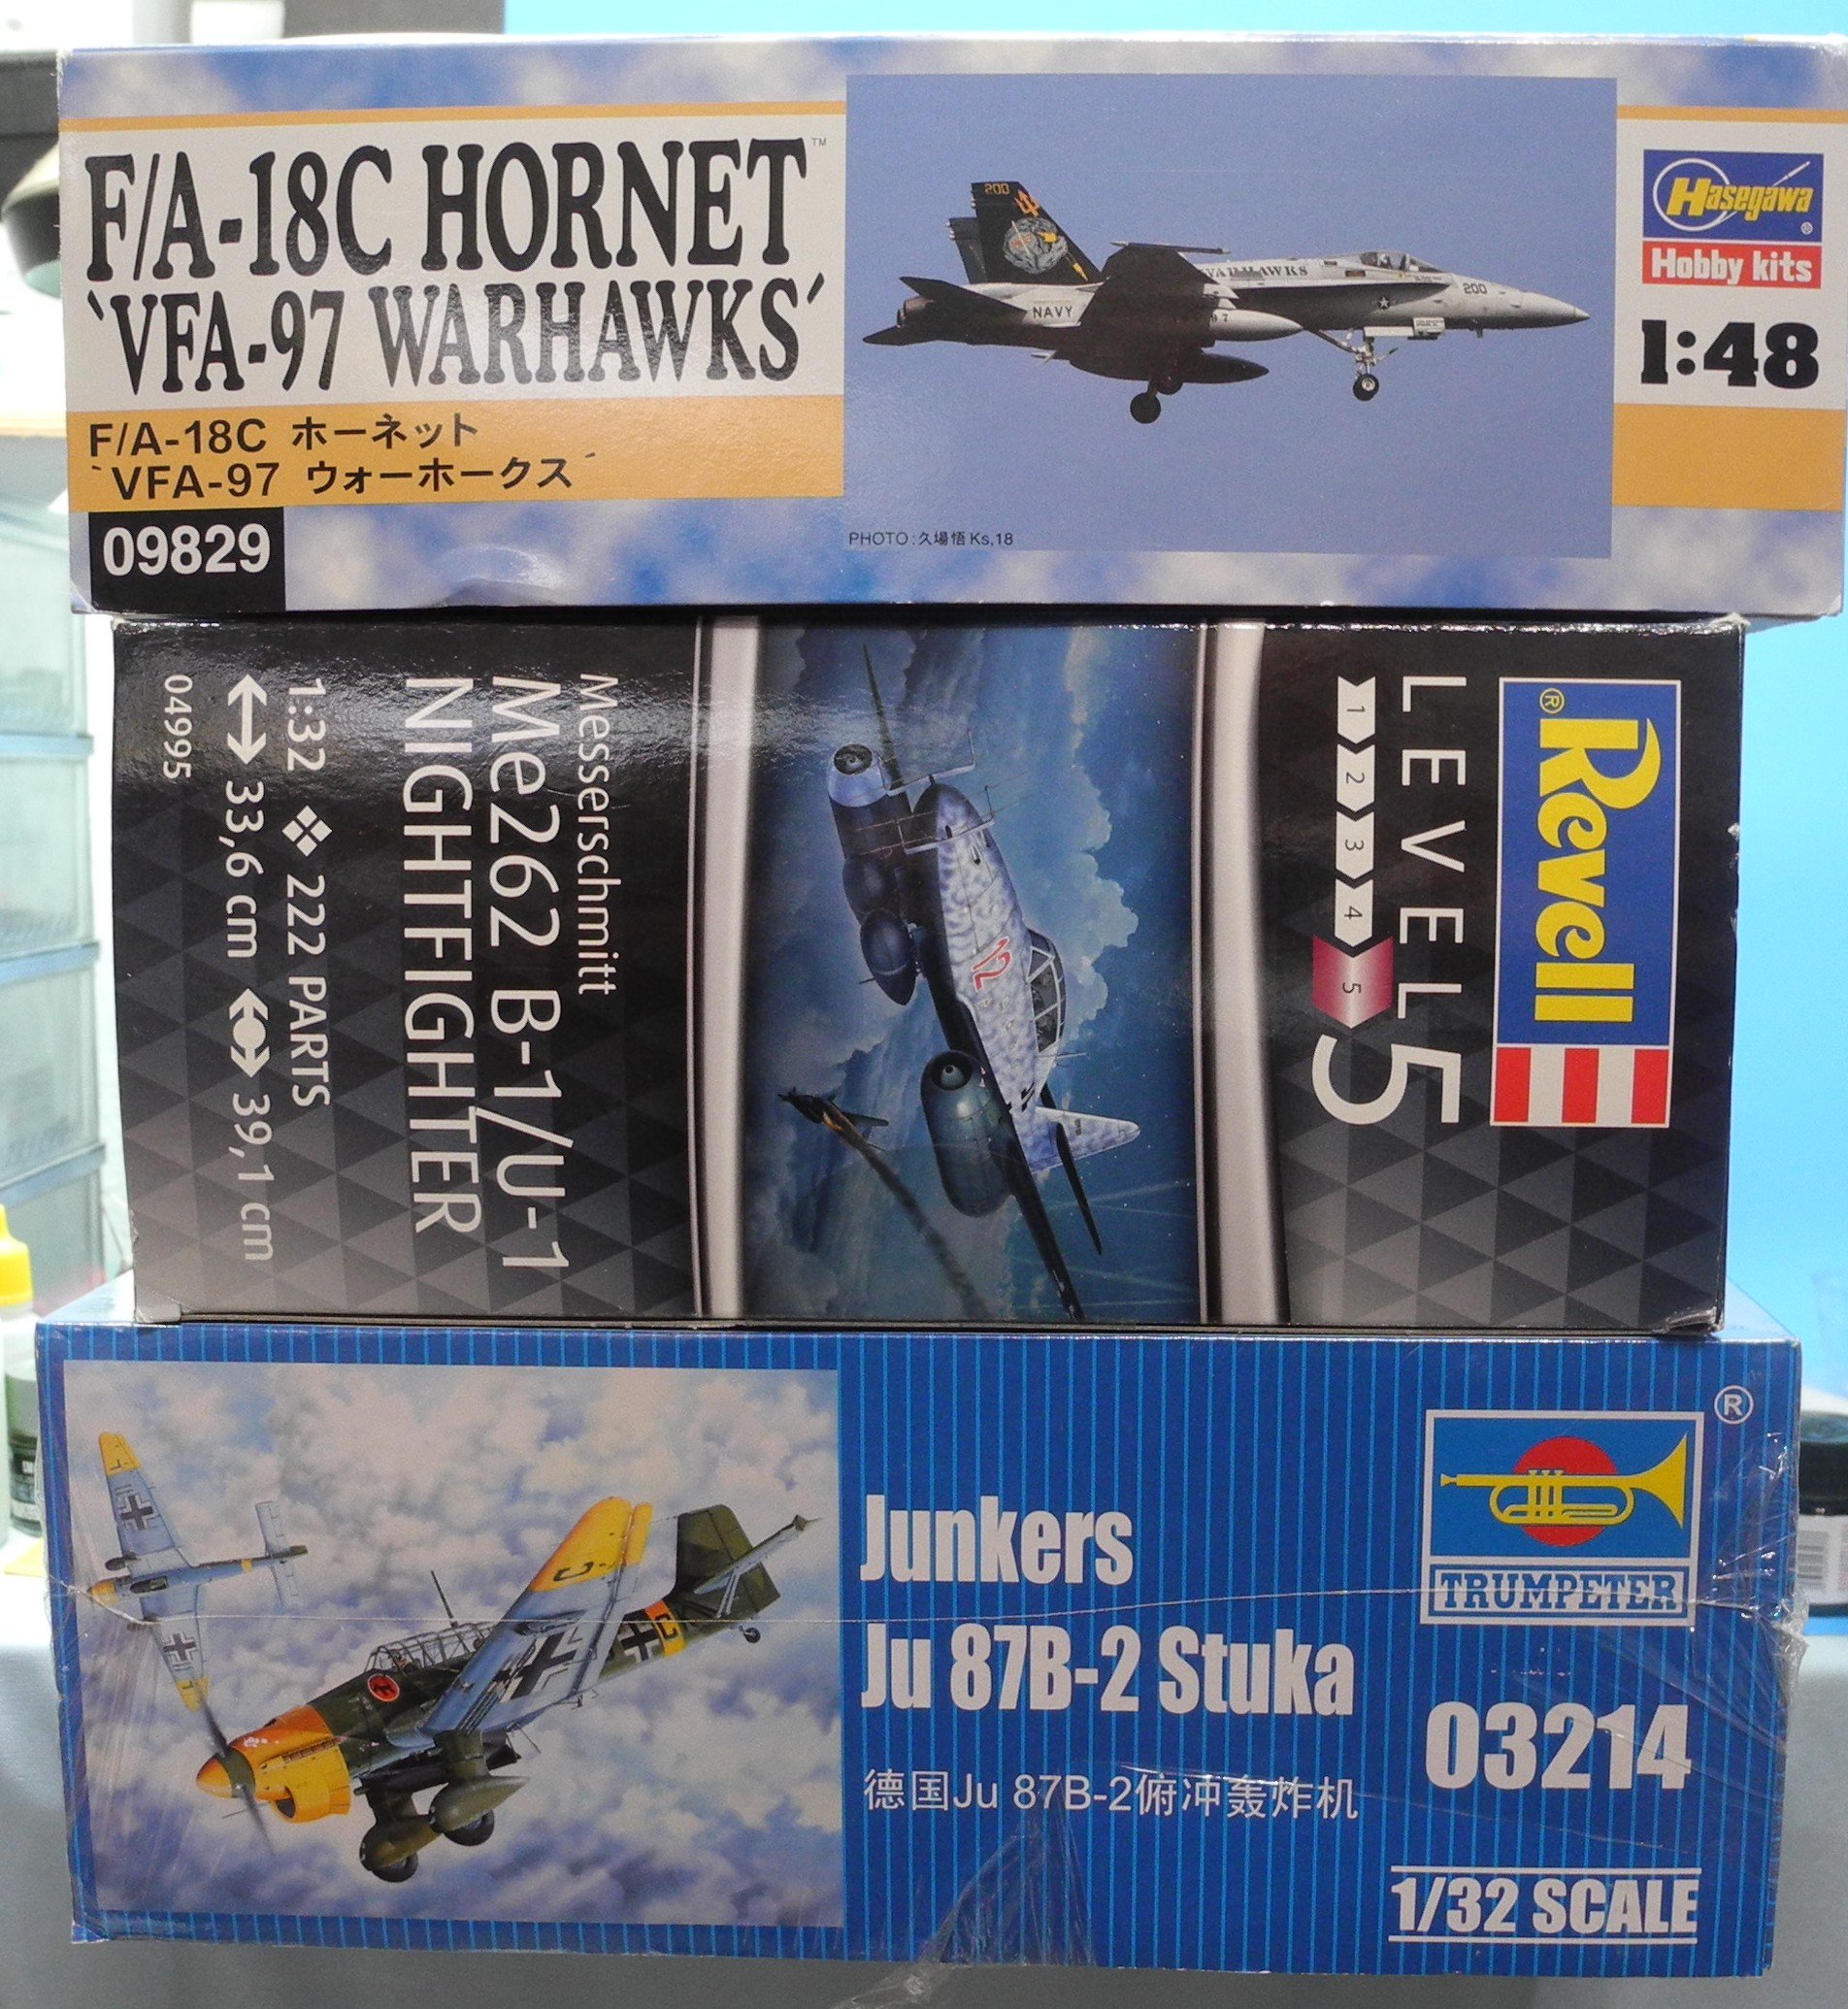
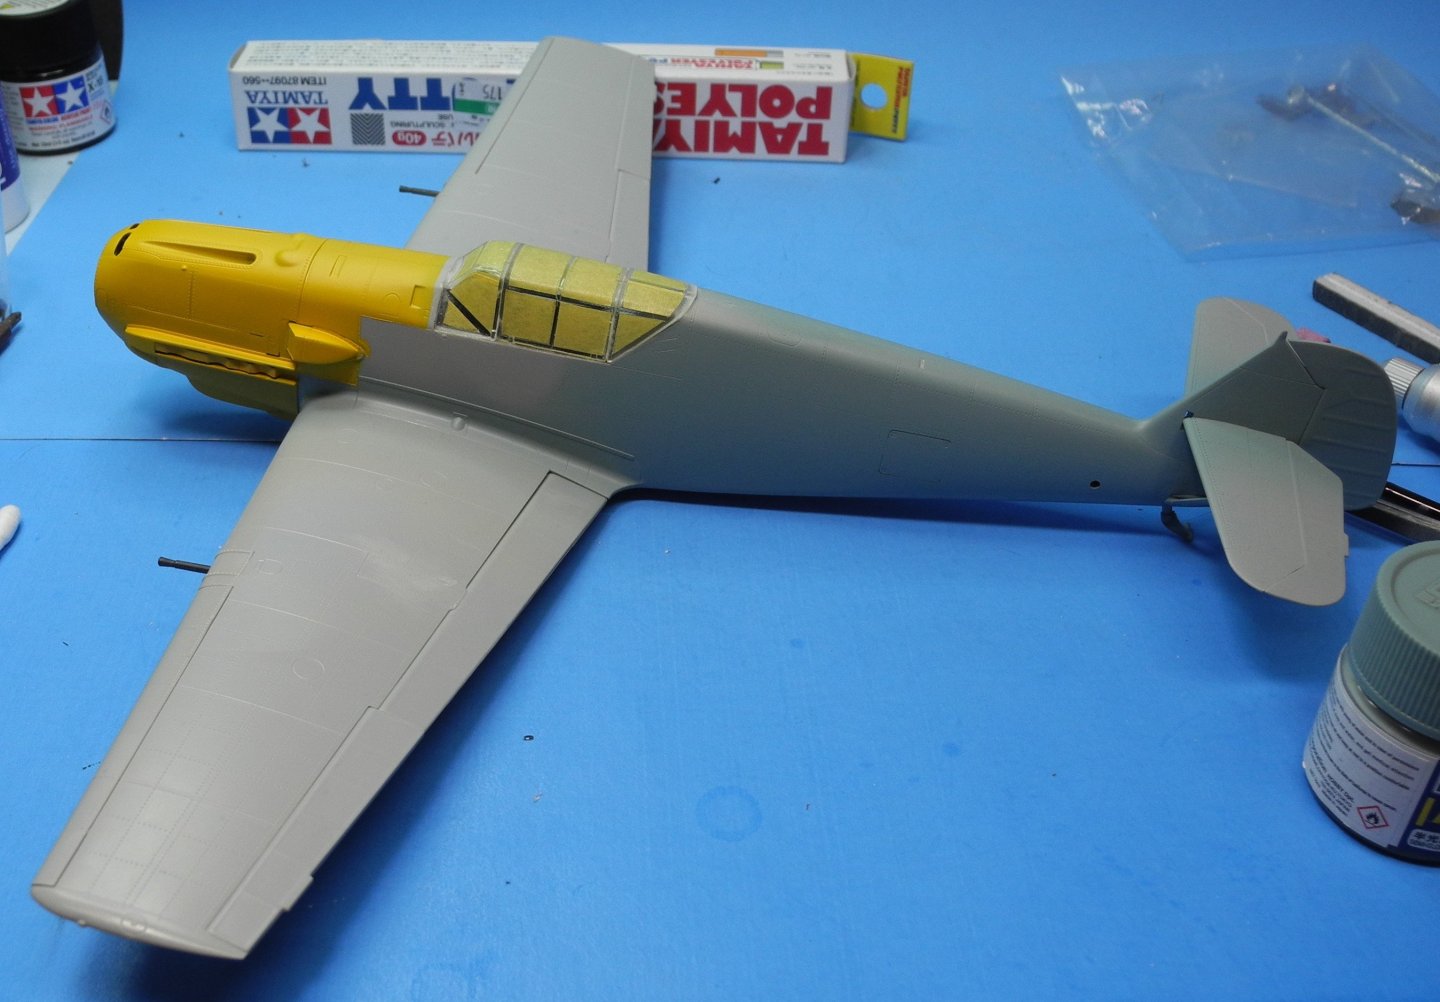
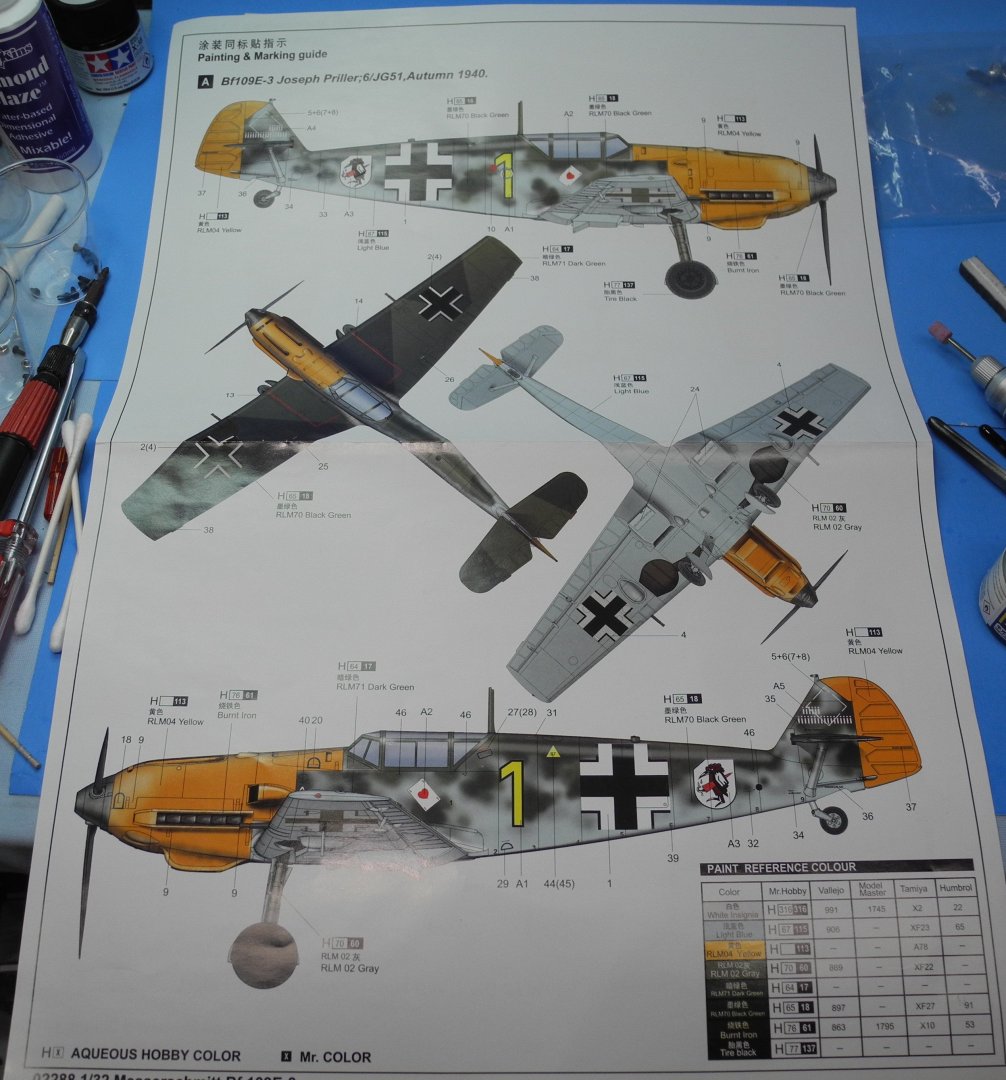
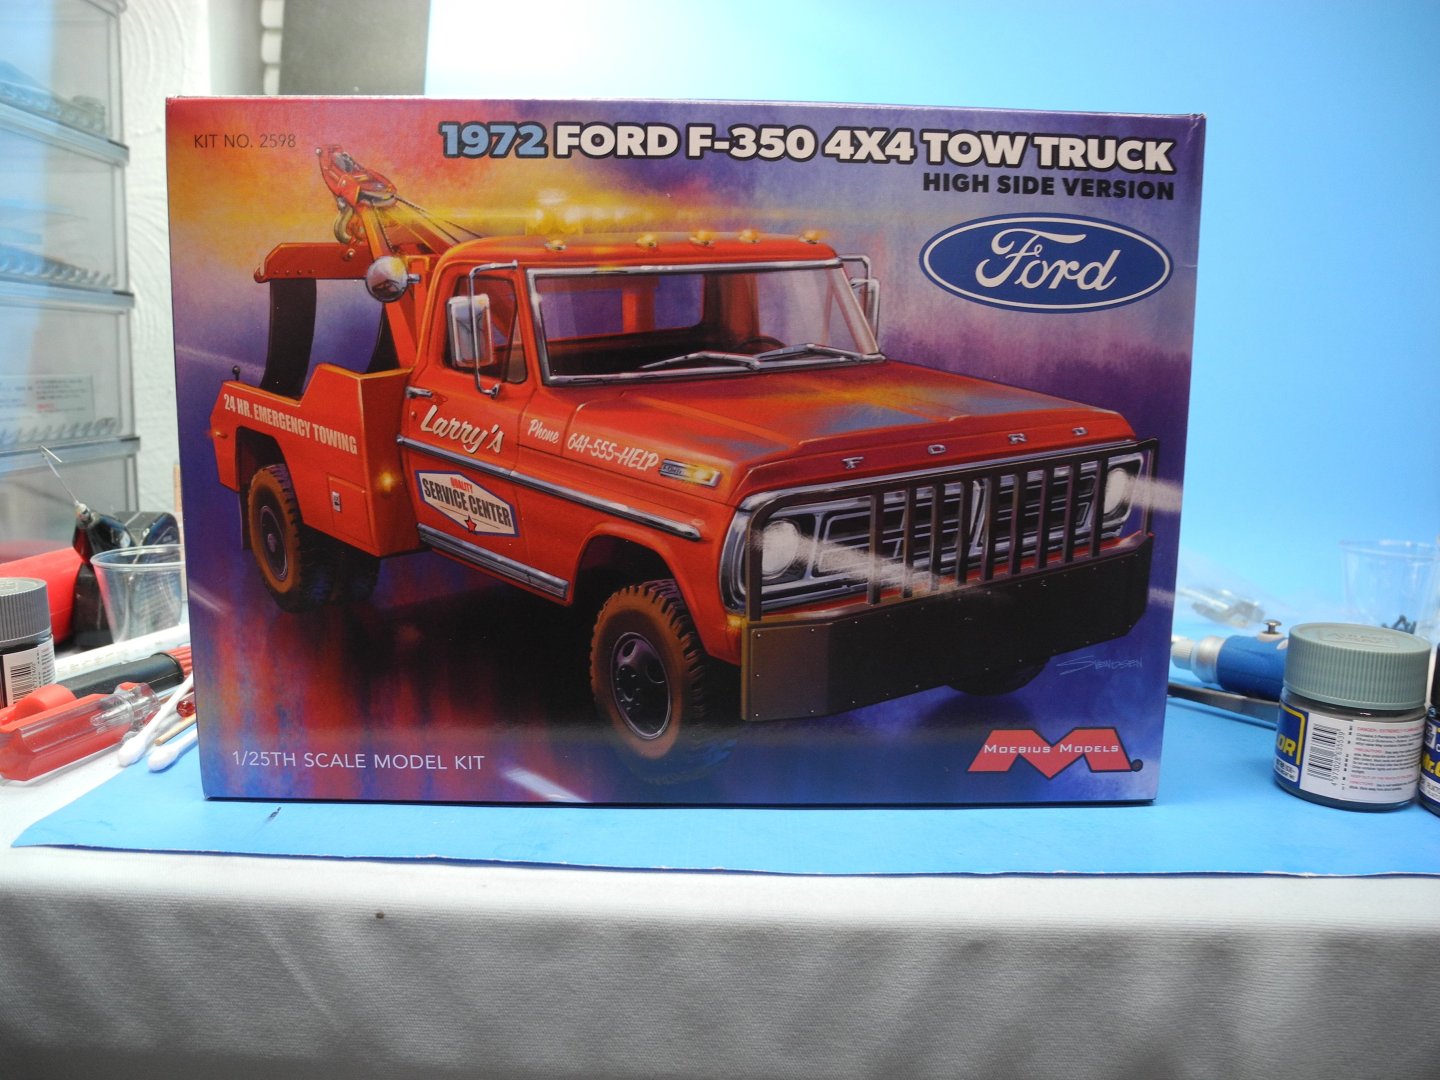
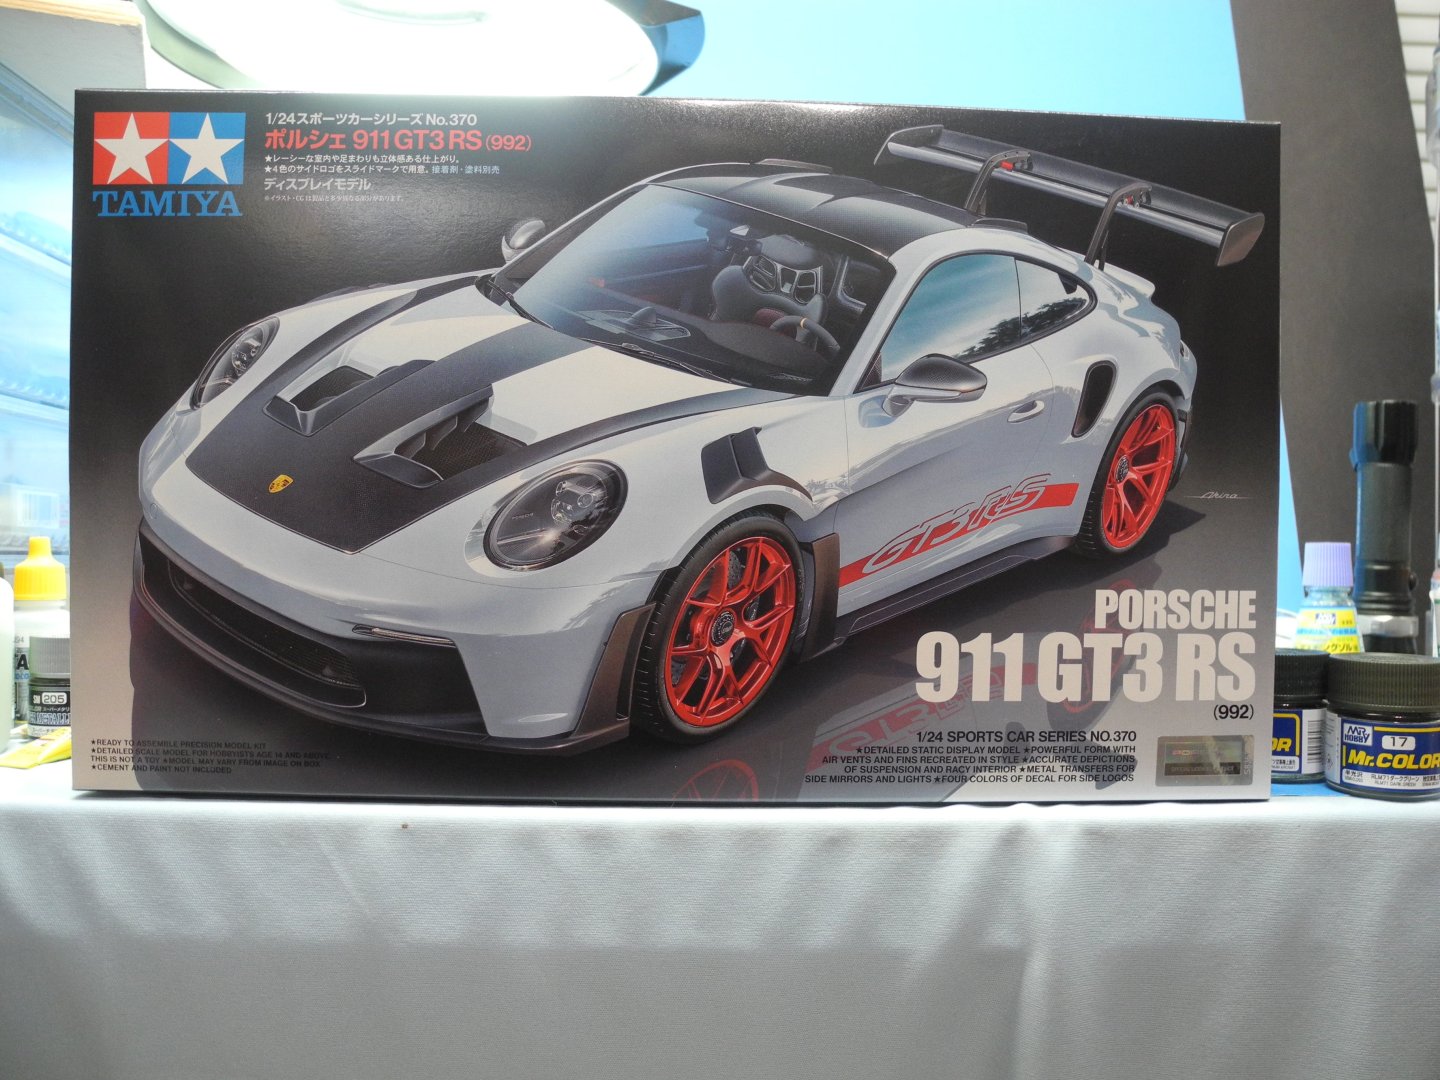
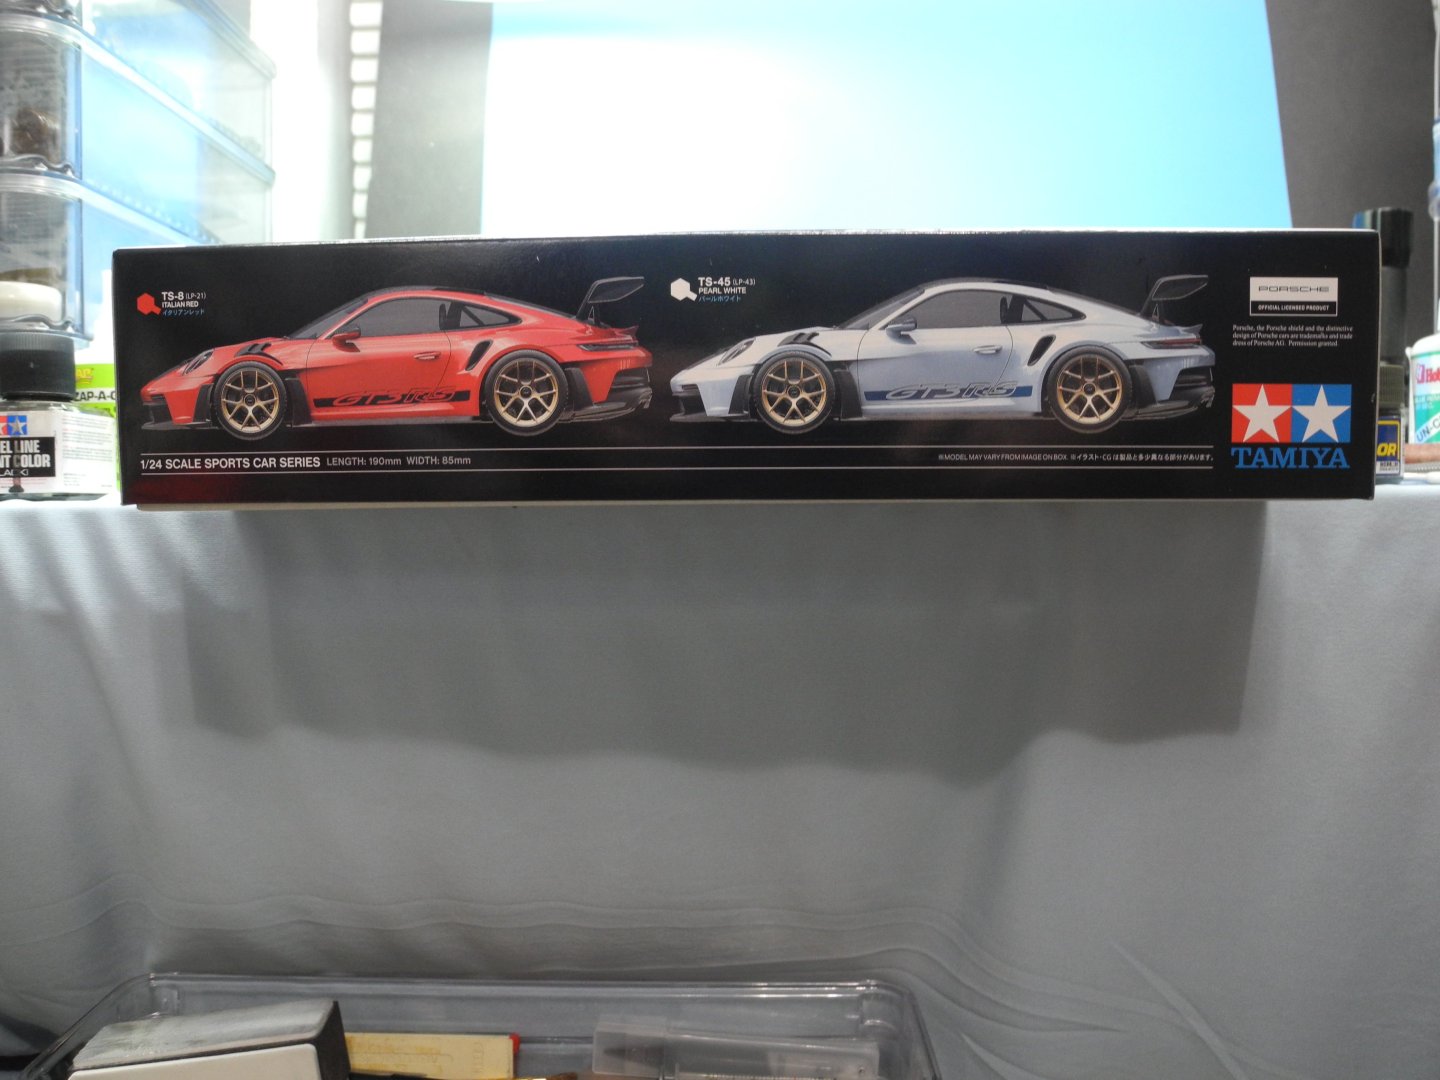
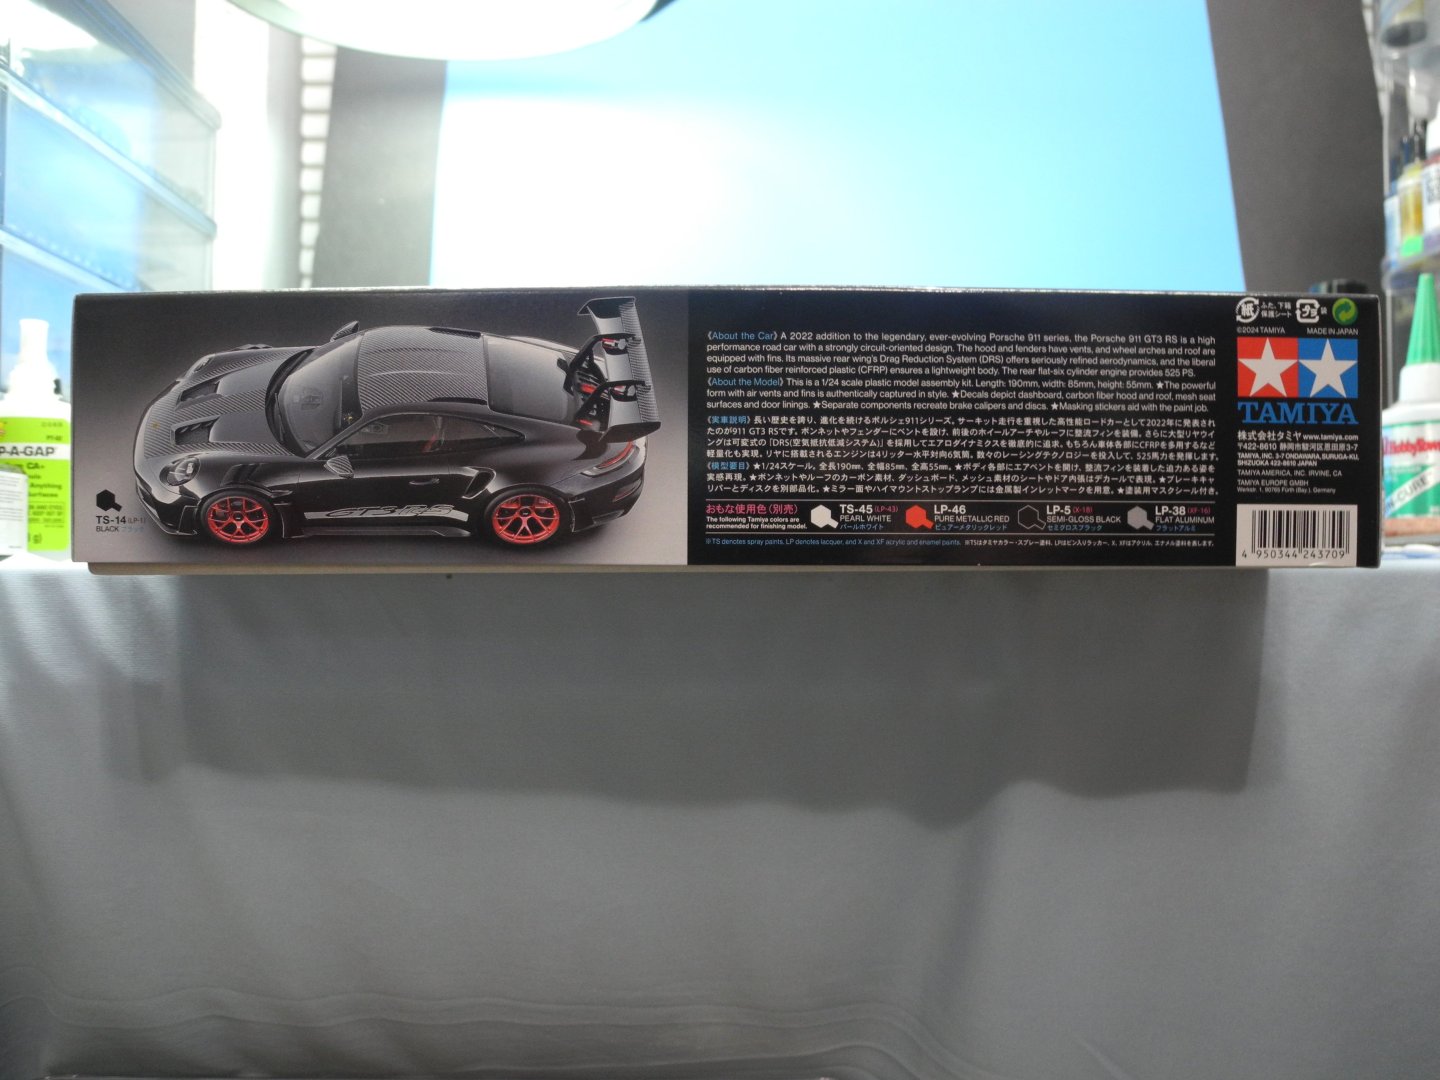
I find myself on another tangent. This time, building and finishing model aircraft kits for a collector/enthusiast who does not build himself. I am reluctant to take on commission work these days but decided to make an exception this time, due to the fact that this fellow has provided many years of entertainment for the people of my community as a professional athlete with a sports franchise here. The Bf-109E-3 was brought to me in a partially constructed and painted condition. This kit along with the three others will be built and finished box-stock. The Bf-109 finished as Joseph Prillers aircraft from 1940. When I received the model, the cockpit and engine had been assembled and painted. I stripped the paint and started over. I won't be doing a detailed build log on any of these kits but will take final photos and post them after all four models have been completed. Secondly, I took some photos of two kits that have been newly released over the past few days of December. The 1:24 scale Moebius 1972 Ford F-350 high side tow truck has been long awaited. Tow trucks are among the most under-represented model kits for some odd reason. Modelers across the country have been highly anticipating this kit and it does not disappoint. The big kit box is packed full of crisply molded, well detailed styrene. First examination of the kit is exciting to say the least. Then there is the brand-new Tamiya Porsche 911 GT3 RS. Again, very well reproduced model and promises to be a fine kit in the Tamiya tradition. Last, allow me to wish you all a very happy, and prosperous 2025 New Year! Its rather interesting to me that 2025 is the square of 45. Coincidentally, US president #45 will begin serving his 2nd (non-consecutive) term this year.


-
I think the idea of using magnets to help keep doors, bonnet, and hatch closed is right on. Experienced modelers I've been following who build MFH kits often temporarily fit and assemble the entire kit, then disassemble and permanently assemble it all back together again. These are truly kits for modelers only. Assemblers will need some schooling (in a good way). 🙂
-
A side benefit of using CA glue for model construction is the ease of disassembly and reassembly/repair if the need arises. Standard modeling cement damages plastic.
-
A beautiful McLaren, Rob. Looks excellent in every way from this angle!
-
The video link I shared has his comments about primer and resin. The kit he's working on is an Alpha Models kit. As far as I know, they are cast resin bodies and parts not 3D printed, but i have no further details about the specific resin used. It's interesting to note that he says Tamiya spray can primer works best on resin. No further technical explanation is offered, just his opinion based on the many resin models he has built and painted.
-
Particularly with the Zero paints, have learned a lot by watching this fellow's modeling channel, Scalemodeling Channel on YouTube. Also from him, I learned that our regular primers used for plastic models do not work with resin. This was important to know before starting my first MFH kits which are resin bodies, of course. Here is a random video from his channel that shows his technique for Zero paints on a resin bodied model car. I believe he might be sponsored by Zero paints or otherwise connected with them in some way.
-
Rob In the past, encountered a similar problem with Splash paints. Both Zero and Splash are very "hot" paints. They can activate the primer underneath when applied too heavy and must be done in very light coats to avoid that problem, allowing each coat sufficient time to flash before applying another. Some of the modelers who frequently use these products apply five, six, or more light color coats to achieve their finish before applying their clear coats. Glad to see you back at the bench on this project.
-
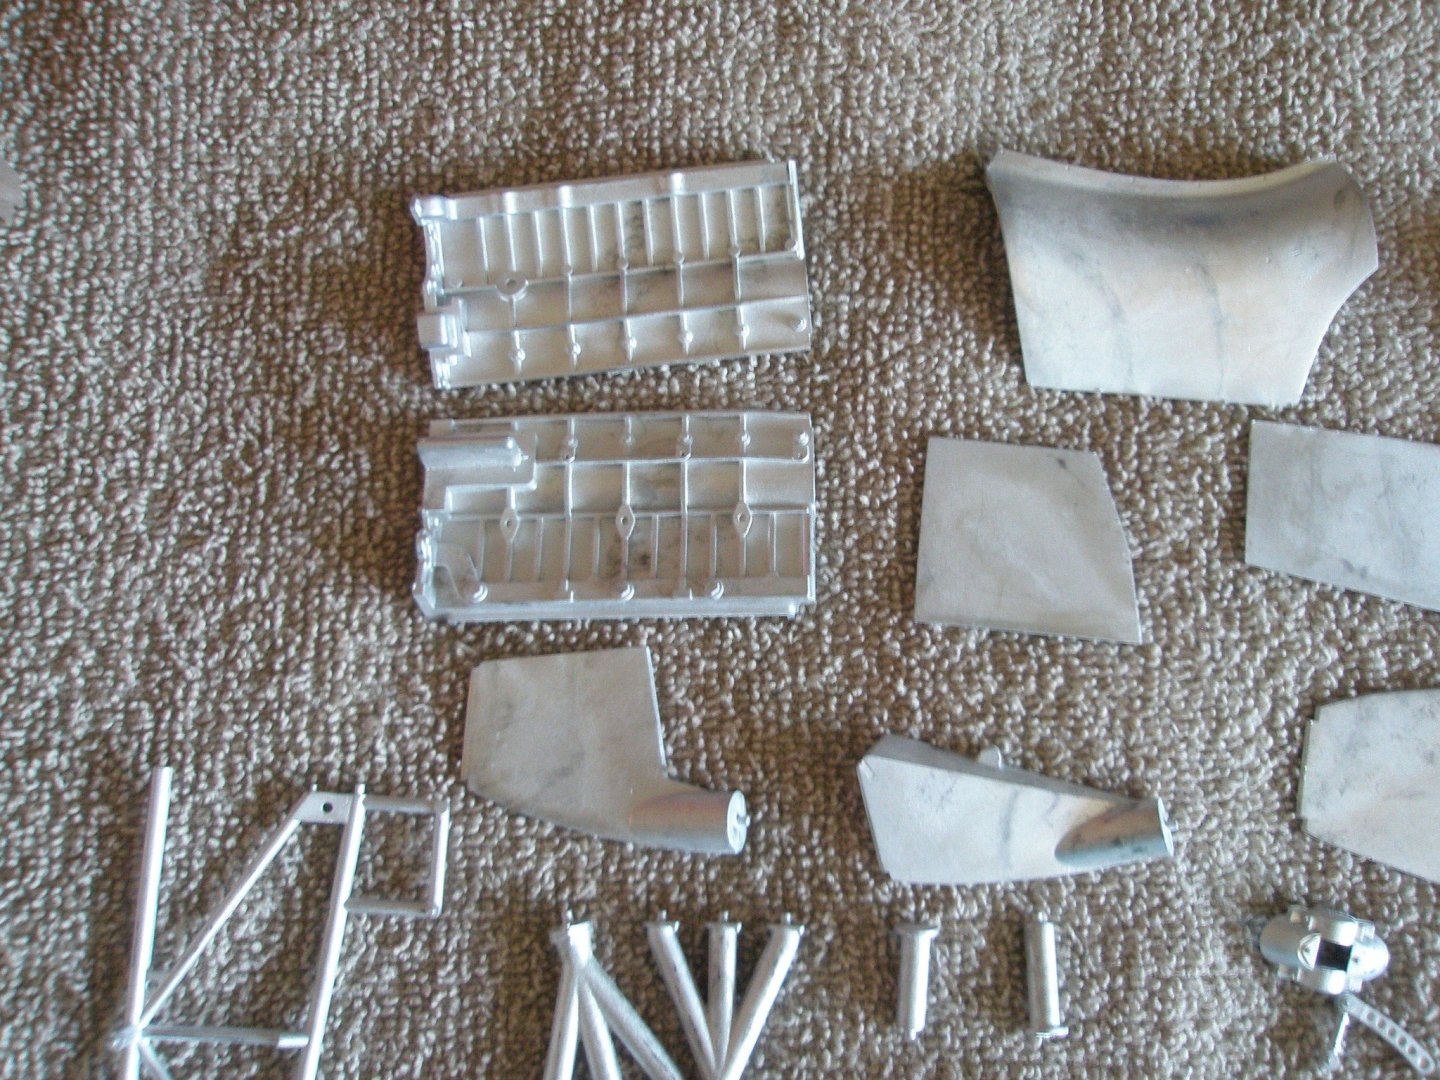
This small family owned and run business produces a very limited production run of each model, then reissues it one time only. These are models you have to get when they are available as the chances of a second opportunity are slim and none. In the only reissue of this particular kit, only two were produced. This is one of those two, there will not be any more.
-
Thanks Rob. I did not realize how hard the MFH kits can be to find. Their marketing scheme is very limited production. I am given to understand this particular kit production run was just two kits! There is no telling when additional kits will be produced, if ever. When you find something you like you have to get it then or do without.
-
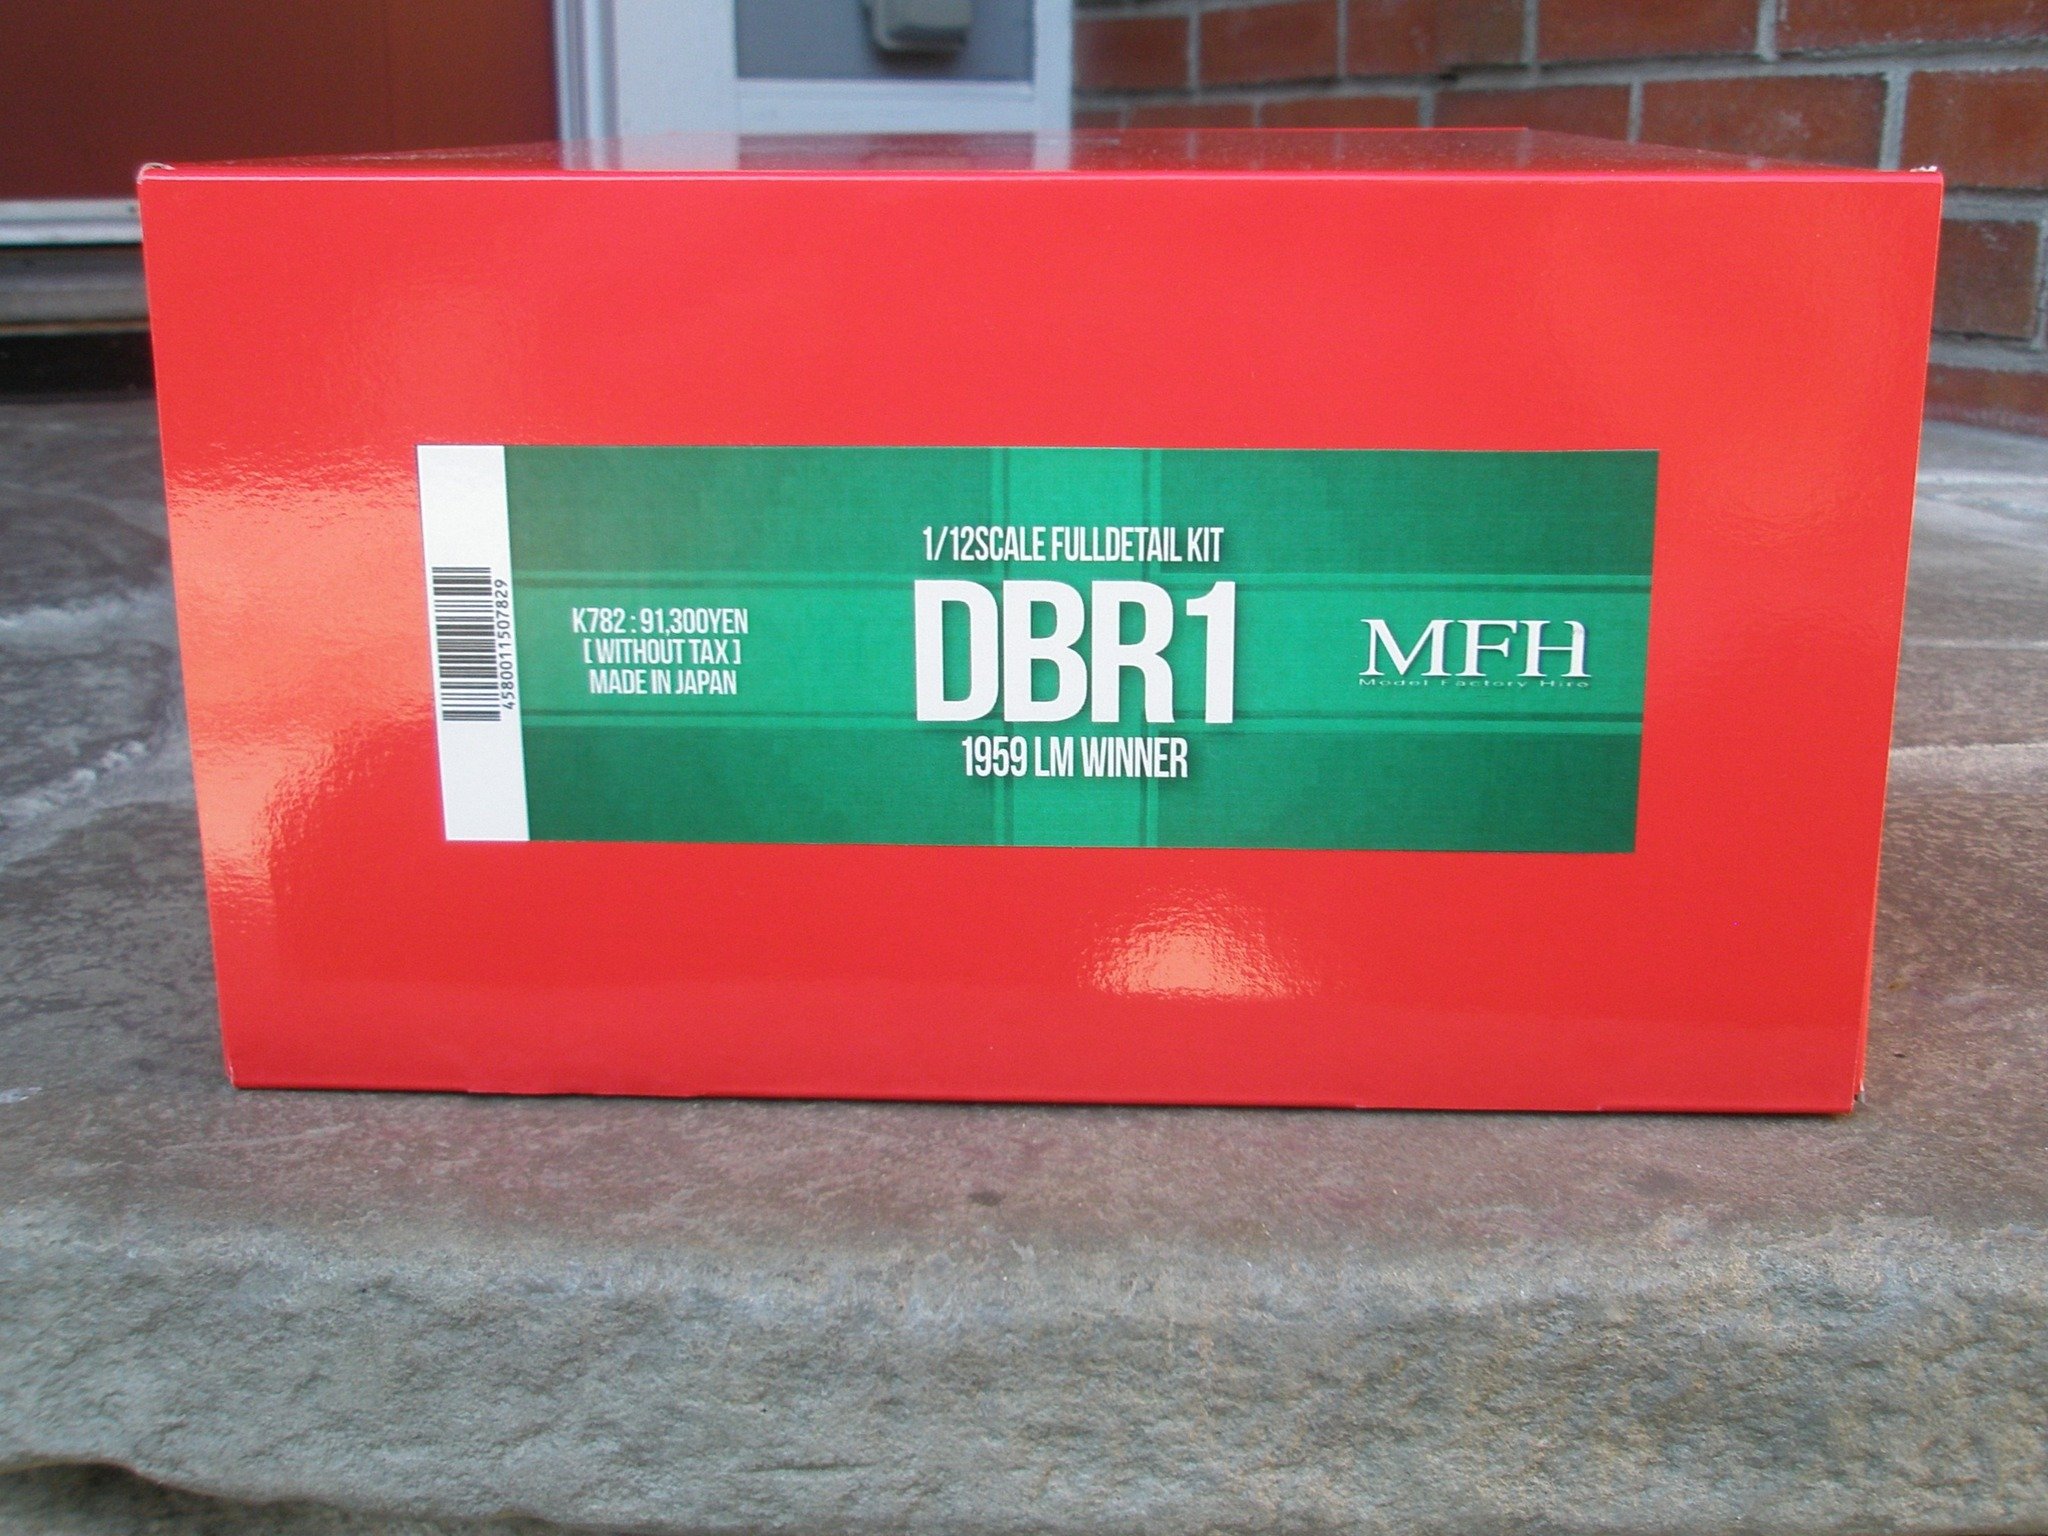
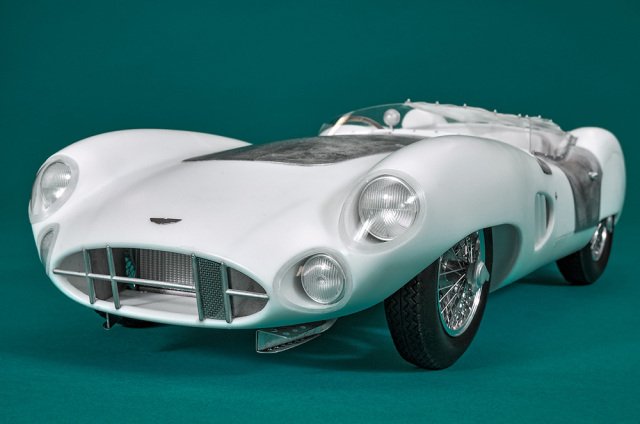
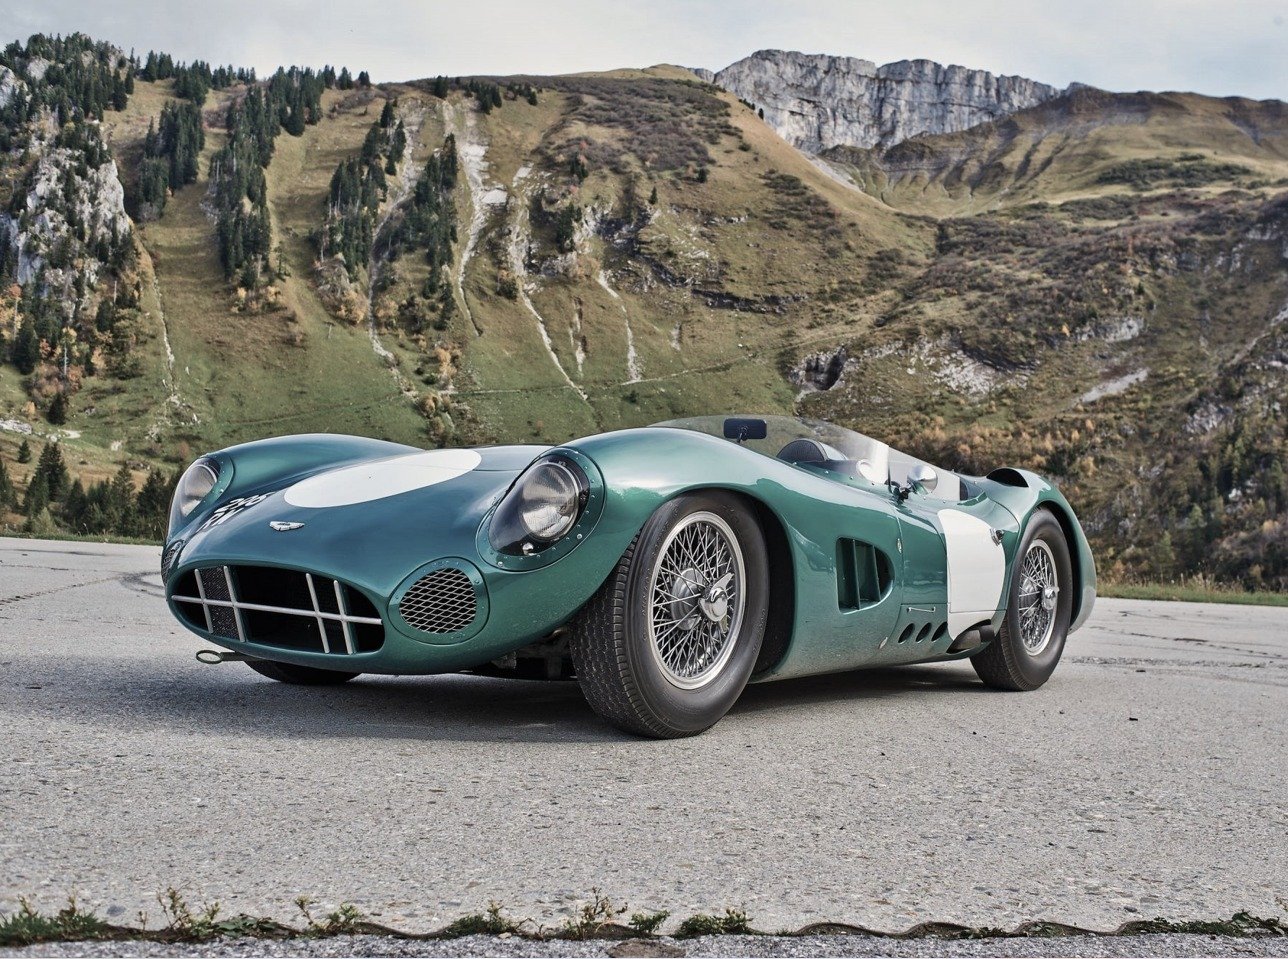
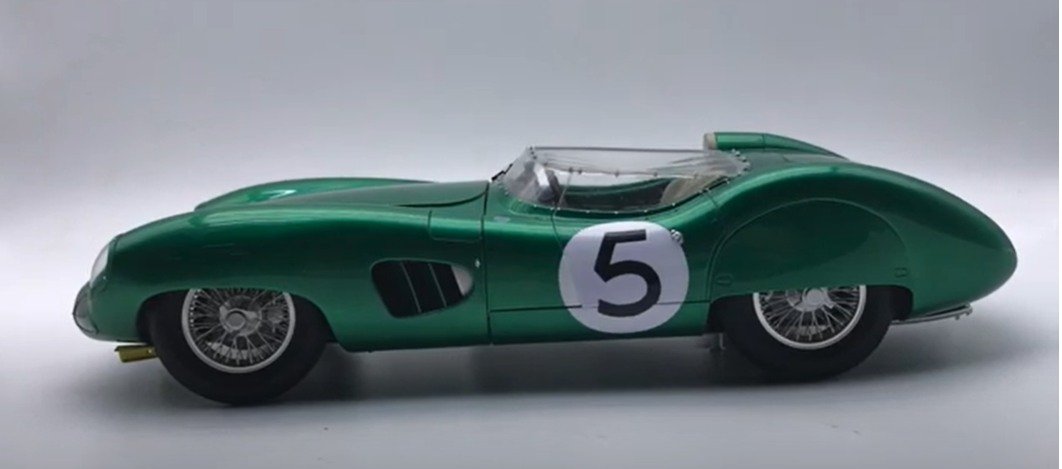
I agree. This was a LM winner from 1959!
-
Made a lucky find and scored this rare kit from Model Factory Hiro this week. It's the Aston Martin DBR1.


- 264 replies
-
- 15
-
-
-
Thanks Jack
-
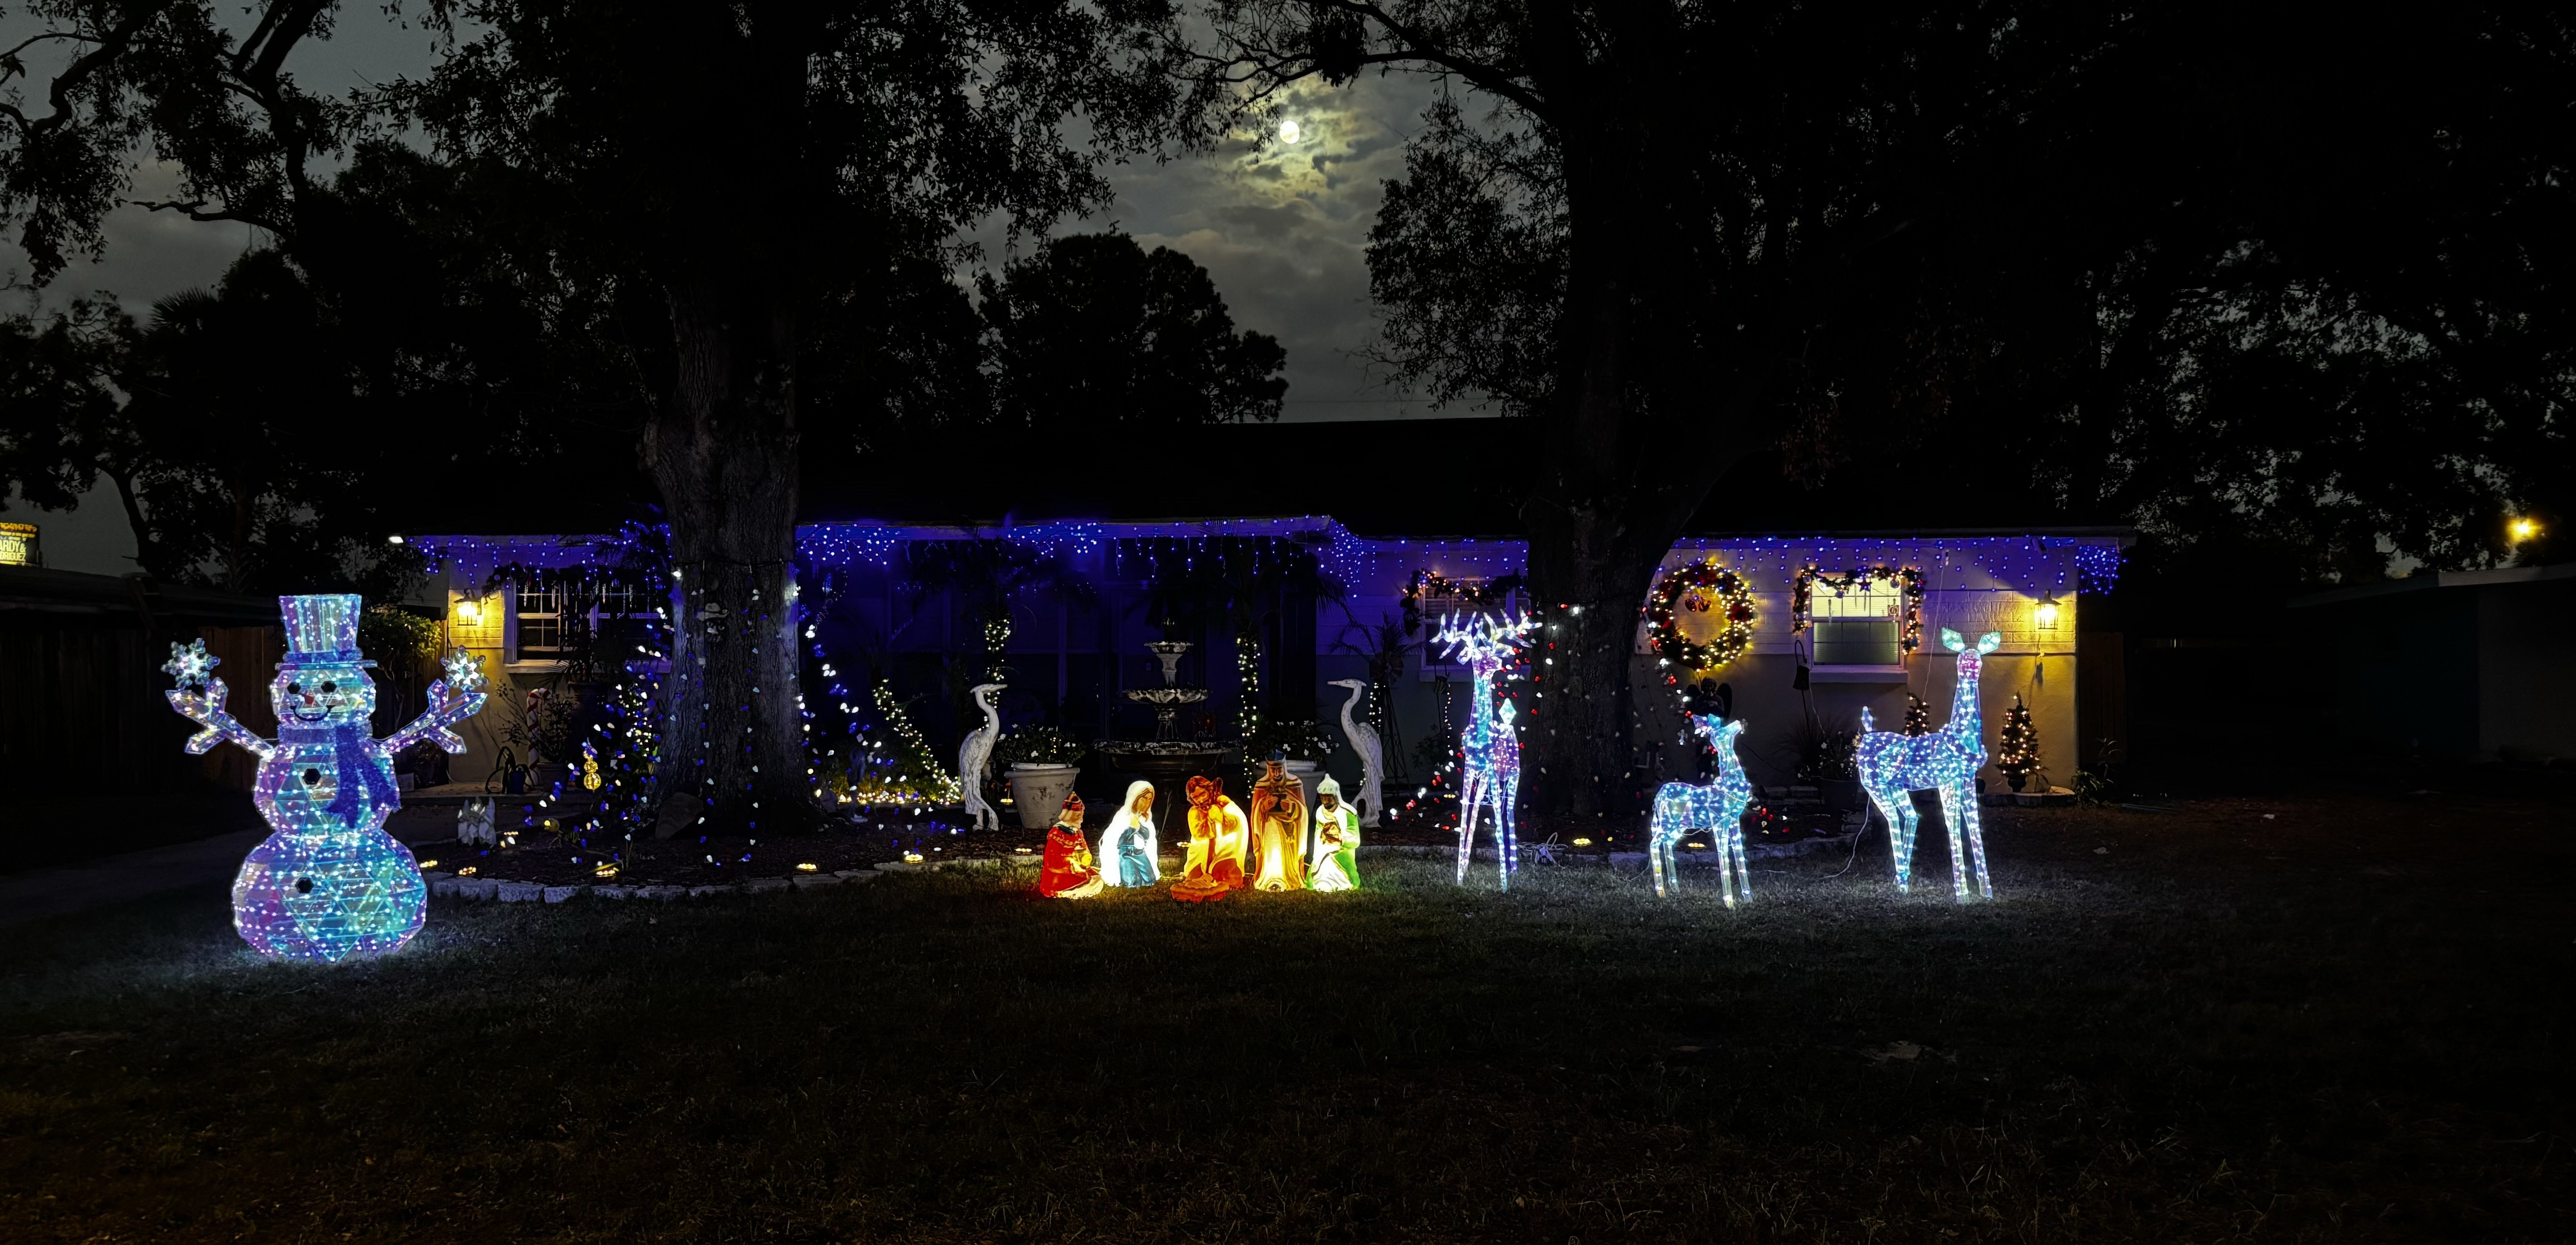
My wife worked hard to get all the decorations up this year as she always has. This year I had to buy some new ones.

-
There are varying points of view on clear coats over decals. Some of the top car modelers use no clear coats at all while others do. In judging at contests, it doesn’t seem to matter one way or the other. I prefer clear coat over decals when I can.
-
Thanks gentlemen. After the whole model is done and the paint has several weeks for all of it to cure, will polish it out and give it a coat of wax.