CDW
-
Posts
7,743 -
Joined
-
Last visited
Content Type
Profiles
Forums
Gallery
Events
Everything posted by CDW
-

Ferrari 250 GTO by CDW - Model Factory Hiro - 1:12 Scale
CDW replied to CDW's topic in Non-ship/categorised builds
When I bought this Ferrari kit from Europe, the transaction was made through PayPal. PayPal rules for sellers require that sellers send merchandise that exceeds a specific threshold amount via insured mail with signature required upon receipt of package by the buyer. Failure to do so can result in a buyer putting in a claim that says package was not received. It makes no difference that package may have been sent with delivery confirmation, it must be signature upon receipt. Secondly, the seller is only protected if the package was sent to the certified buyer address on file with PayPal. These two things are a Potential seller liability. Buyers often don’t like signature required because someone must be at home to sign for the package but it’s the only way the seller has to protect themselves. I have not checked in a while, but I believe the dollar threshold is $100 for a transaction. -
Ferrari 250 GTO by CDW - Model Factory Hiro - 1:12 Scale
CDW replied to CDW's topic in Non-ship/categorised builds
I certainly can't argue with this. Paypal is very good for buyers and sellers alike. However, there are certain specific things a seller needs to know when selling an item using Paypal. Failure to follow these guidelines can allow the seller to forfeit their sale income. There is little or no equivocation. I don't want to speak more specifically, just suffice it to say a seller is well advised to thoroughly read and follow the Paypal guidelines for sellers. Honest sellers have been ripped off by unscrupulous buyers who knew the rules better than the seller. -
Ferrari 250 GTO by CDW - Model Factory Hiro - 1:12 Scale
CDW replied to CDW's topic in Non-ship/categorised builds
Bad traders are few and far between. Most people are honest. I could count on one hand the number of bad trades out of hundreds upon hundreds of great trades down through the years. If you use Paypal, a payment method preferred by most, be sure to read the rules and guidelines for sellers. There are things you need to know and do to protect yourself from unscrupulous people. Paypal has a good policy to protect buyers from bad sellers but you don't want to allow a bad trader to leverage the system to cheat you out of your item and money. Stay away from money orders and personal checks unless it's someone you know. Scammers use both to cheat sellers. -
Ferrari 250 GTO by CDW - Model Factory Hiro - 1:12 Scale
CDW replied to CDW's topic in Non-ship/categorised builds
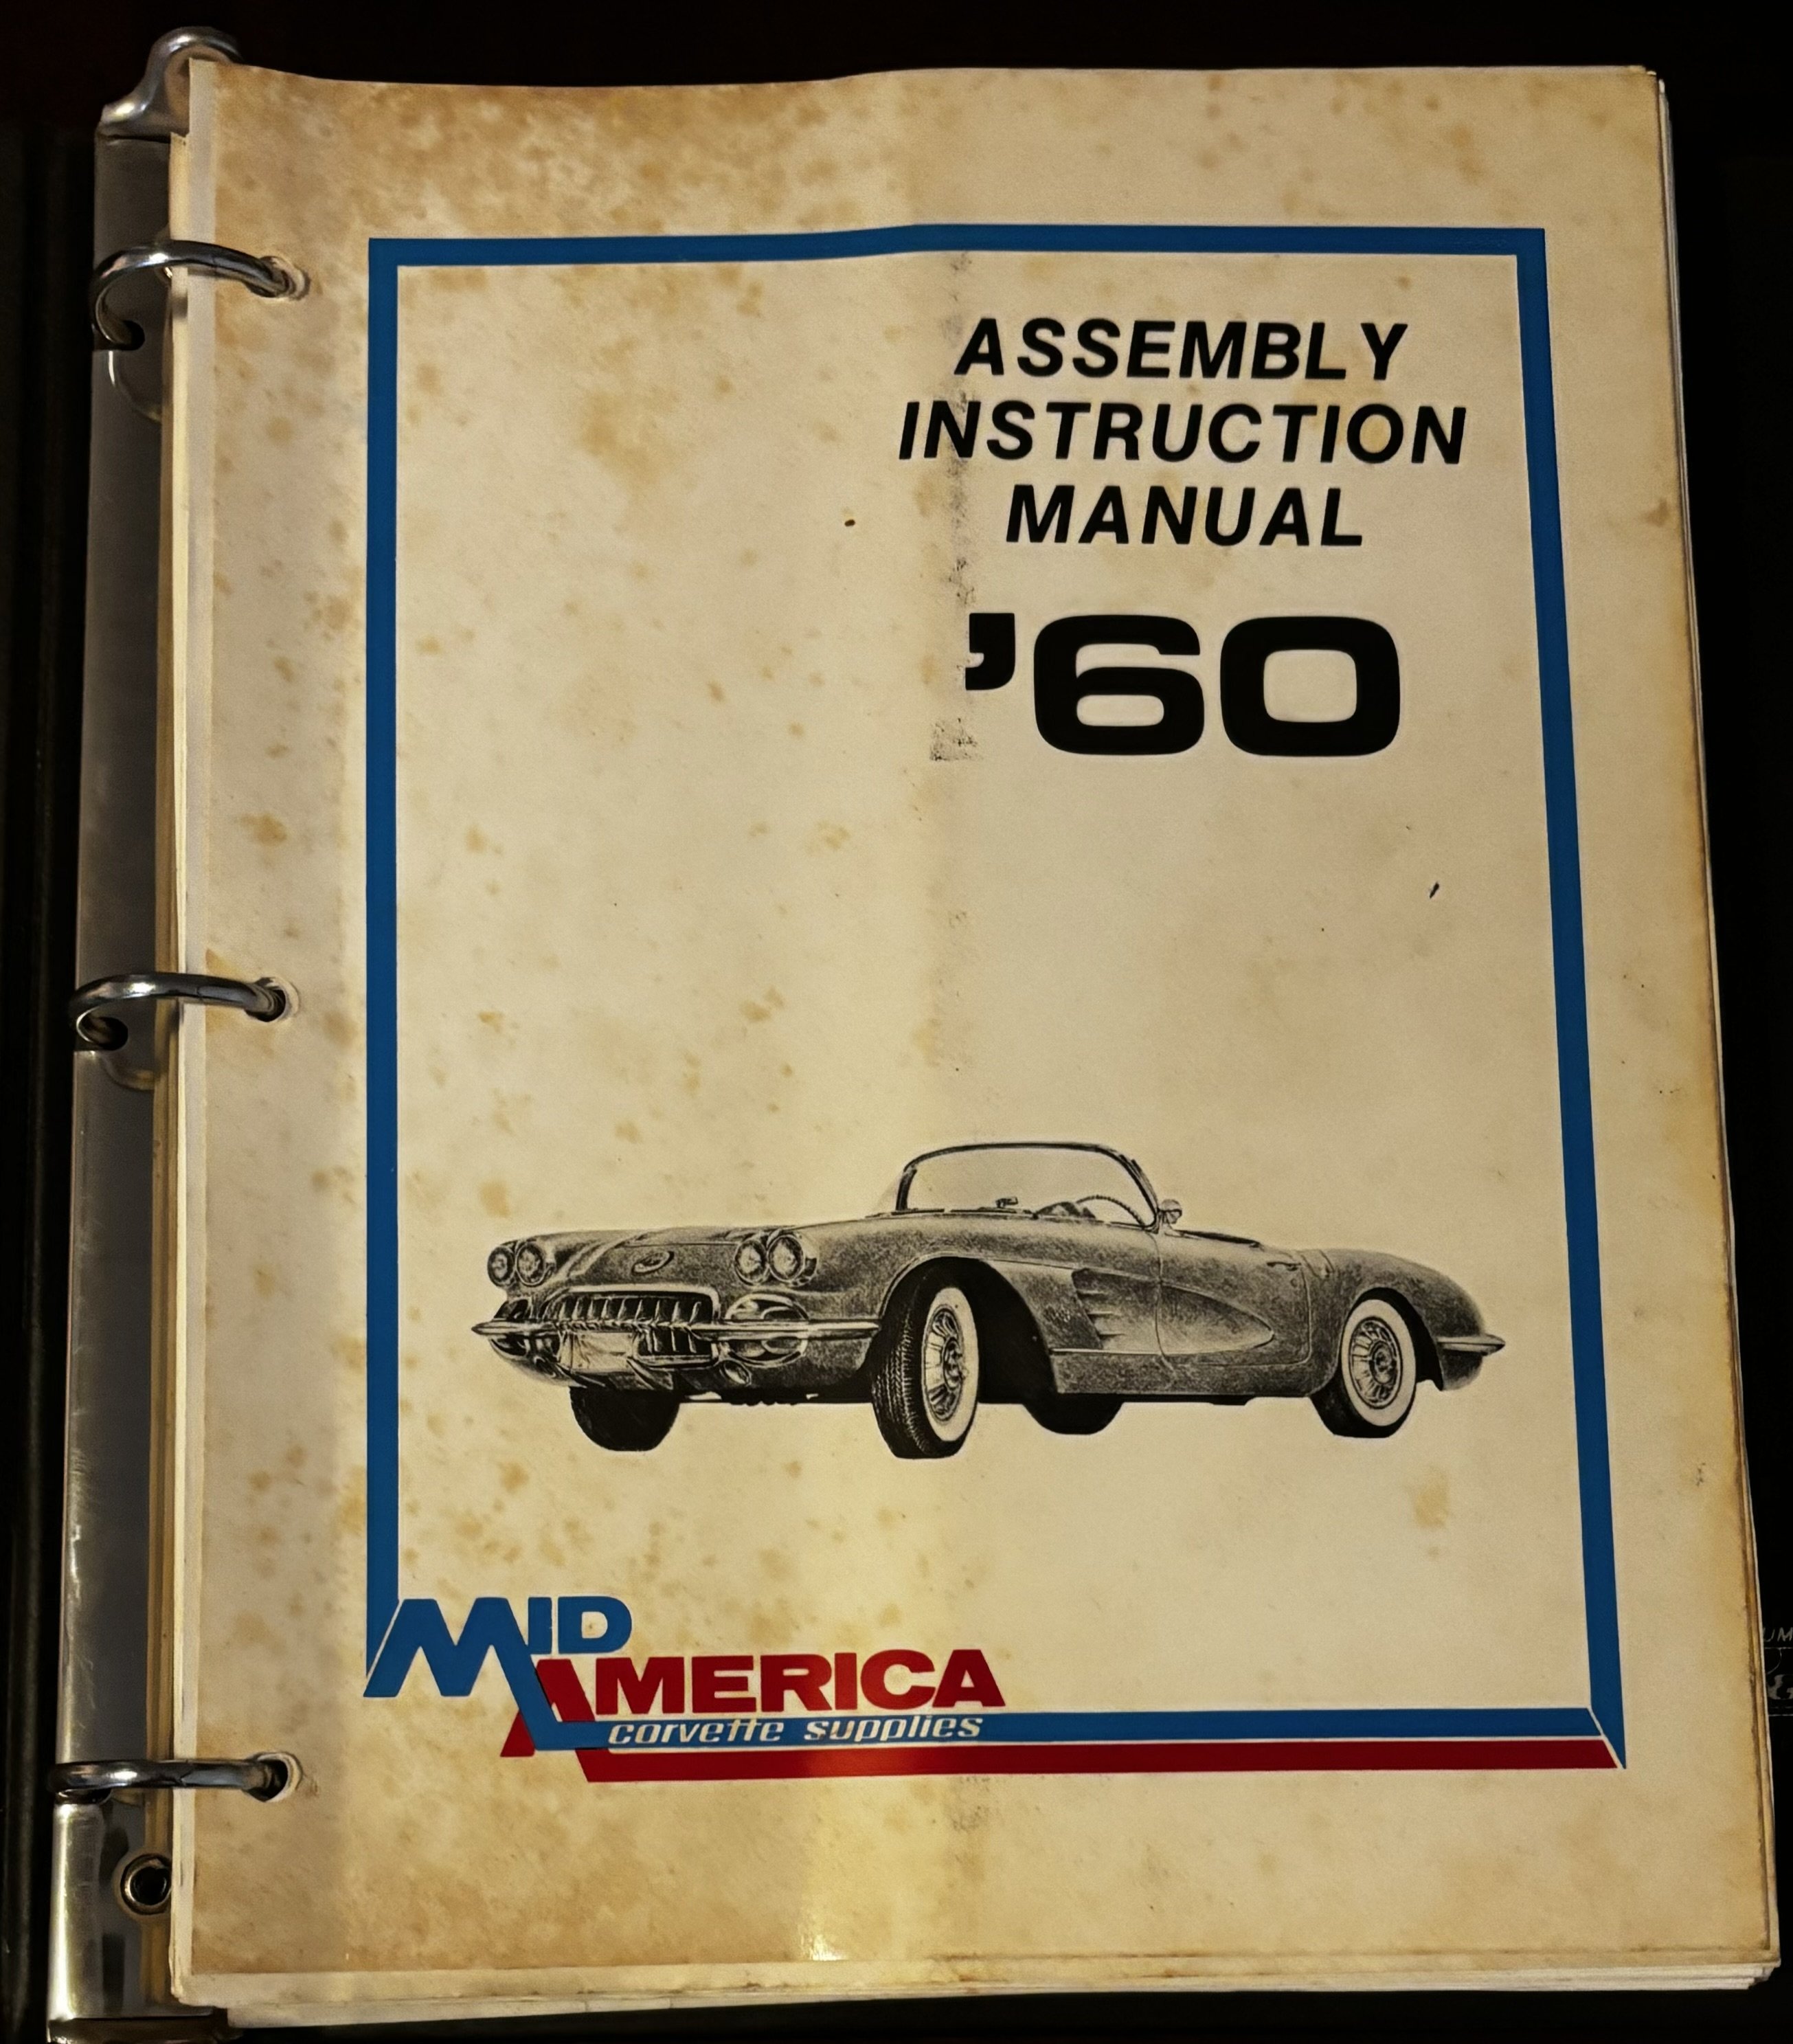
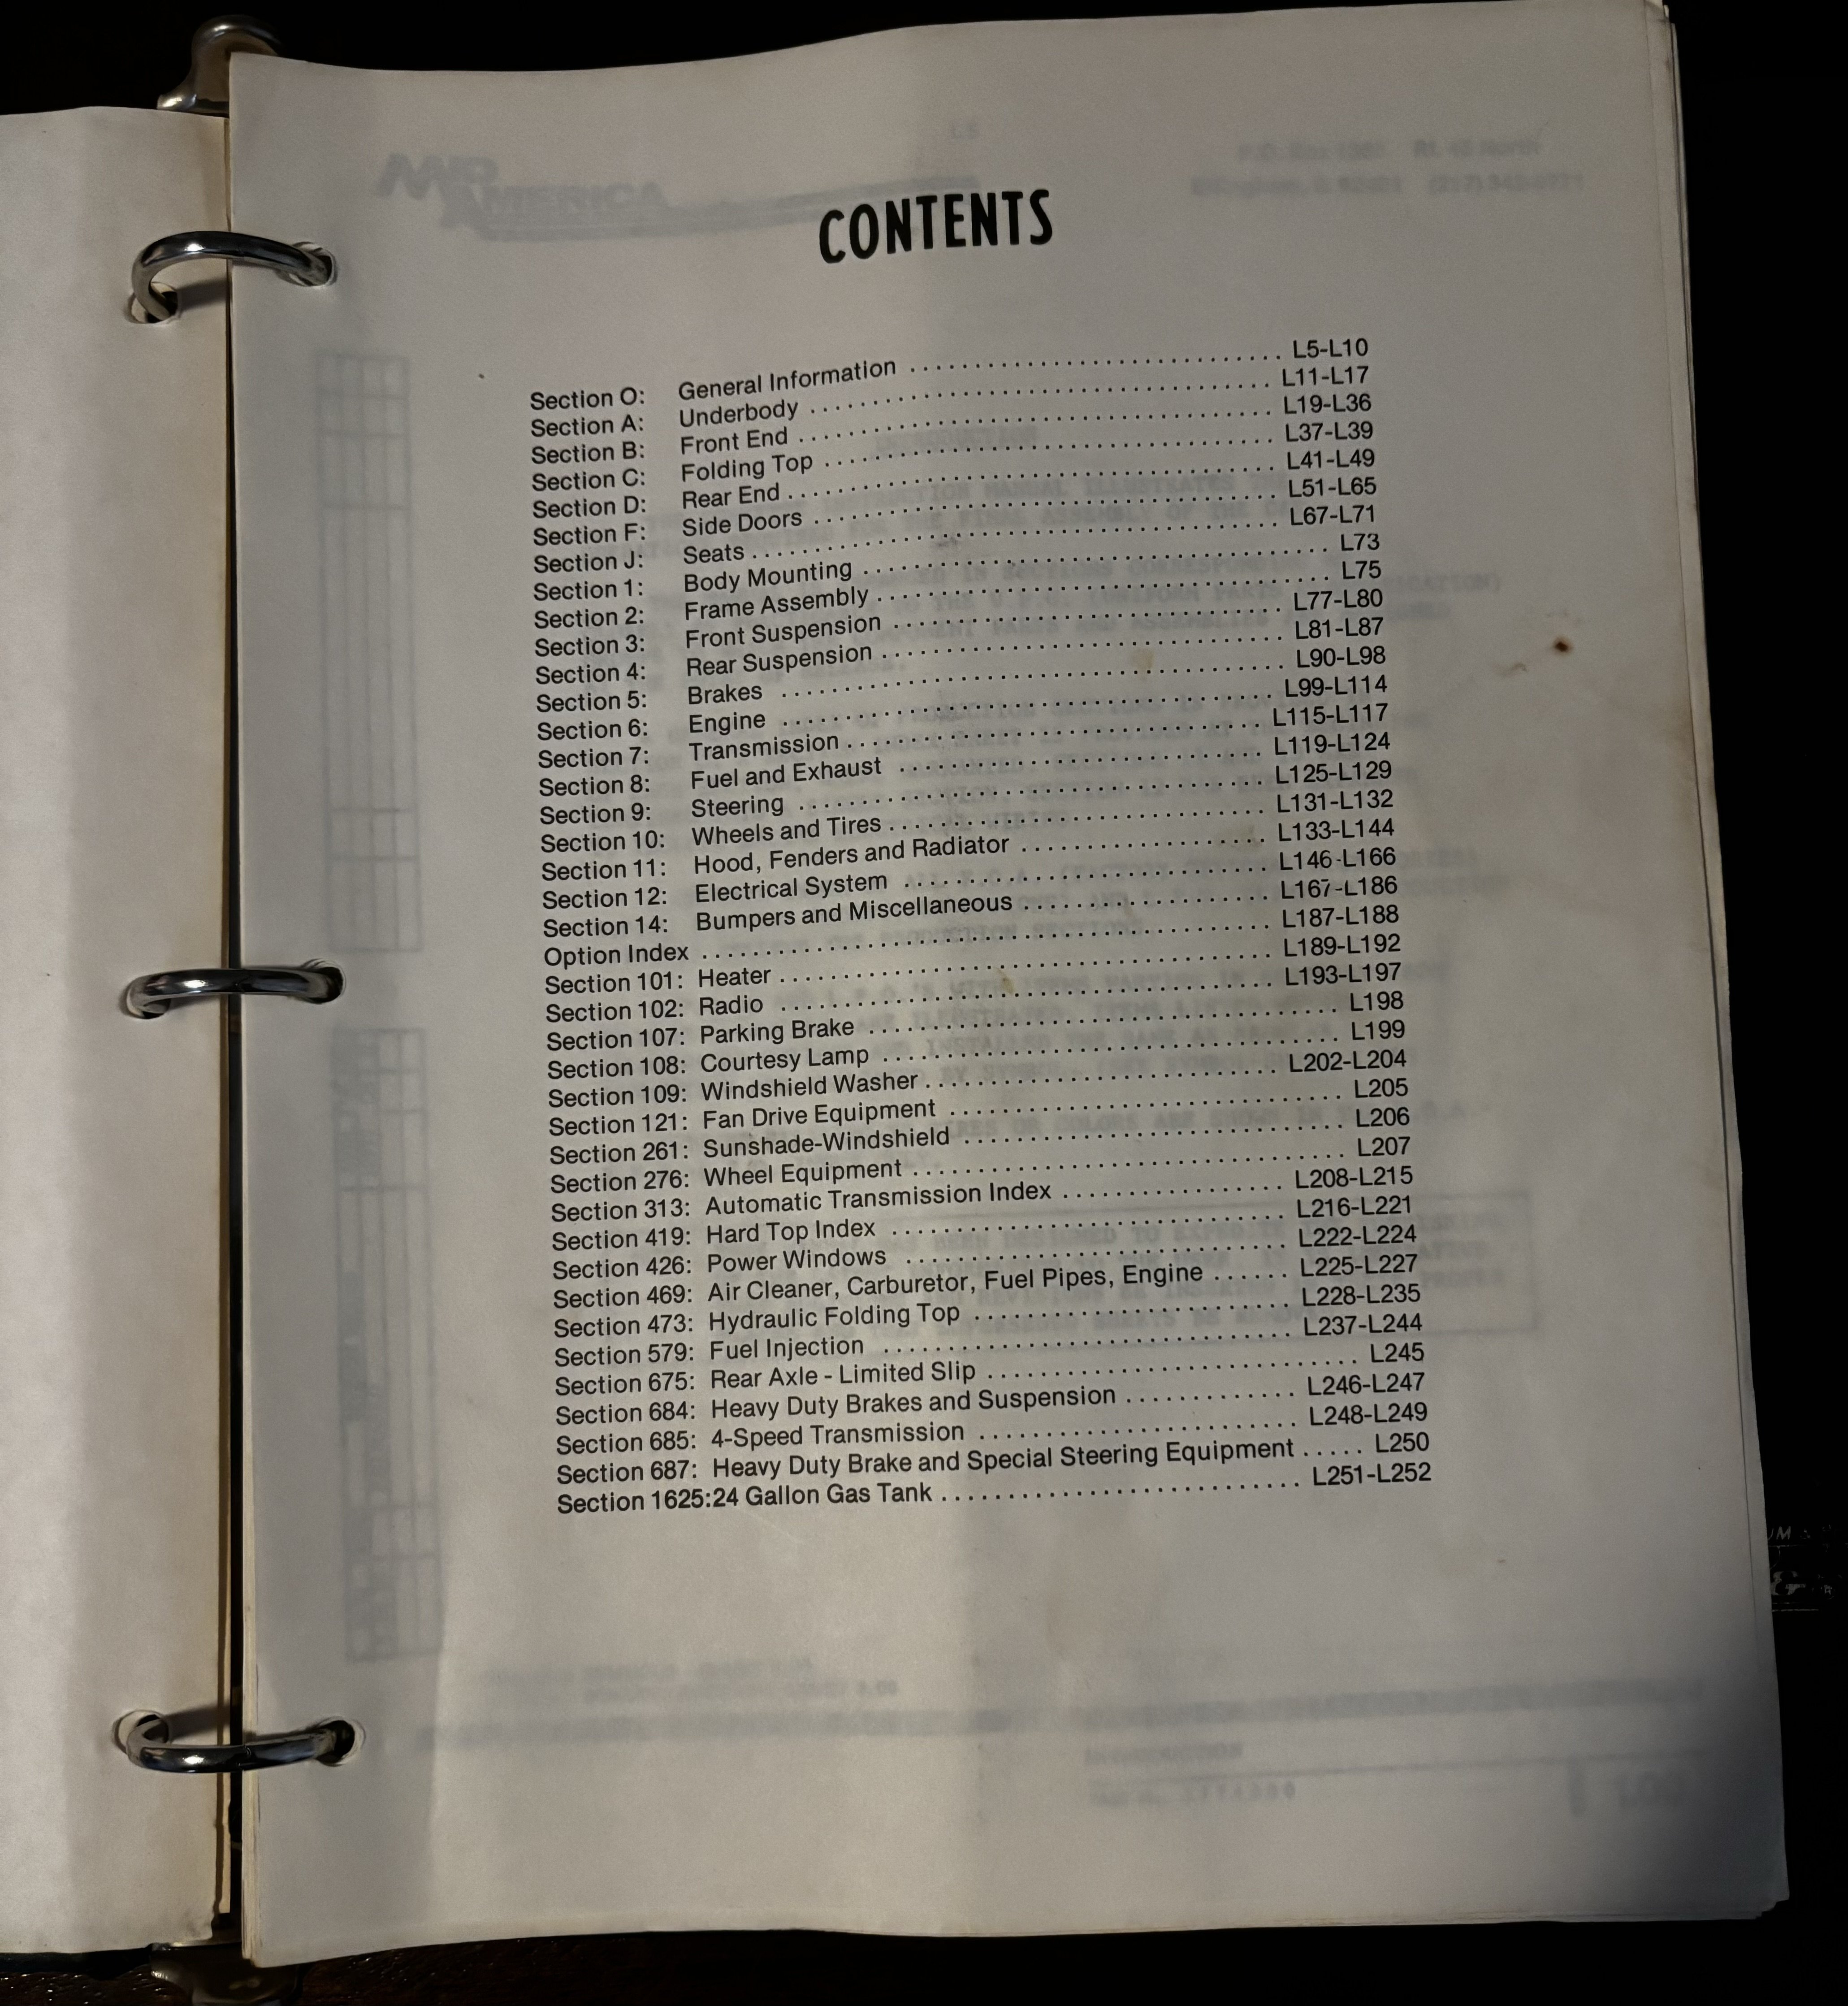
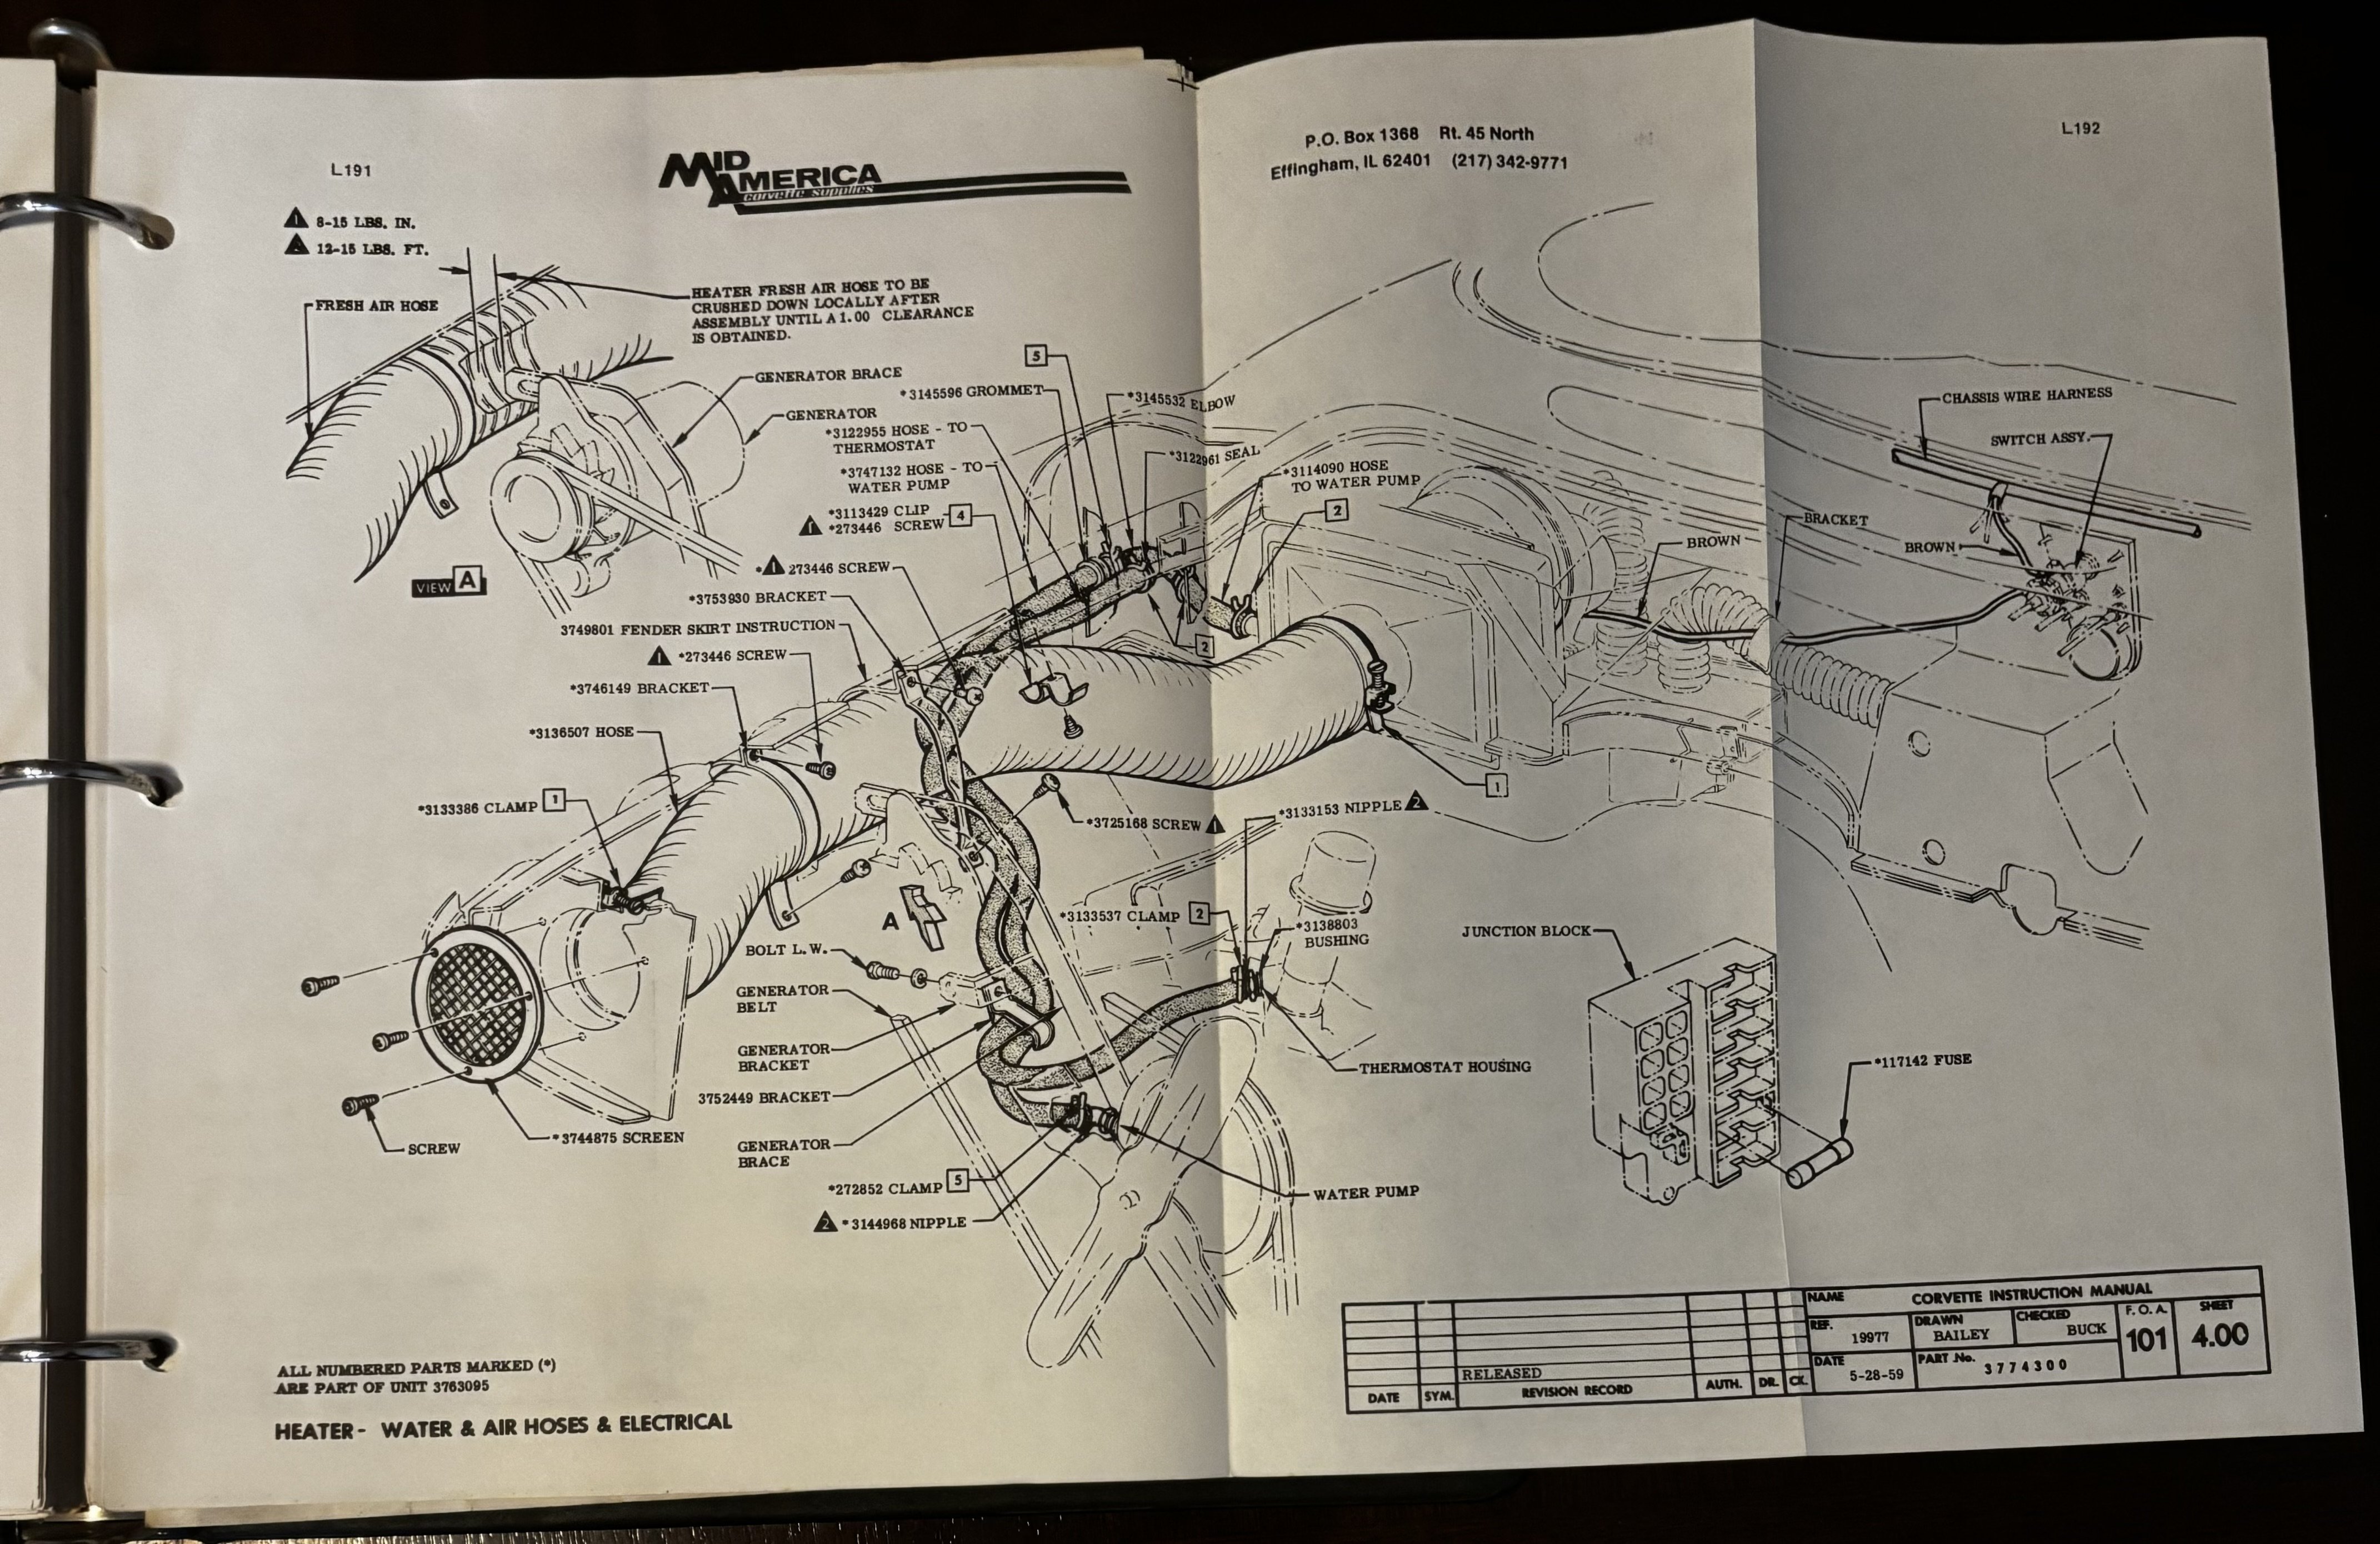
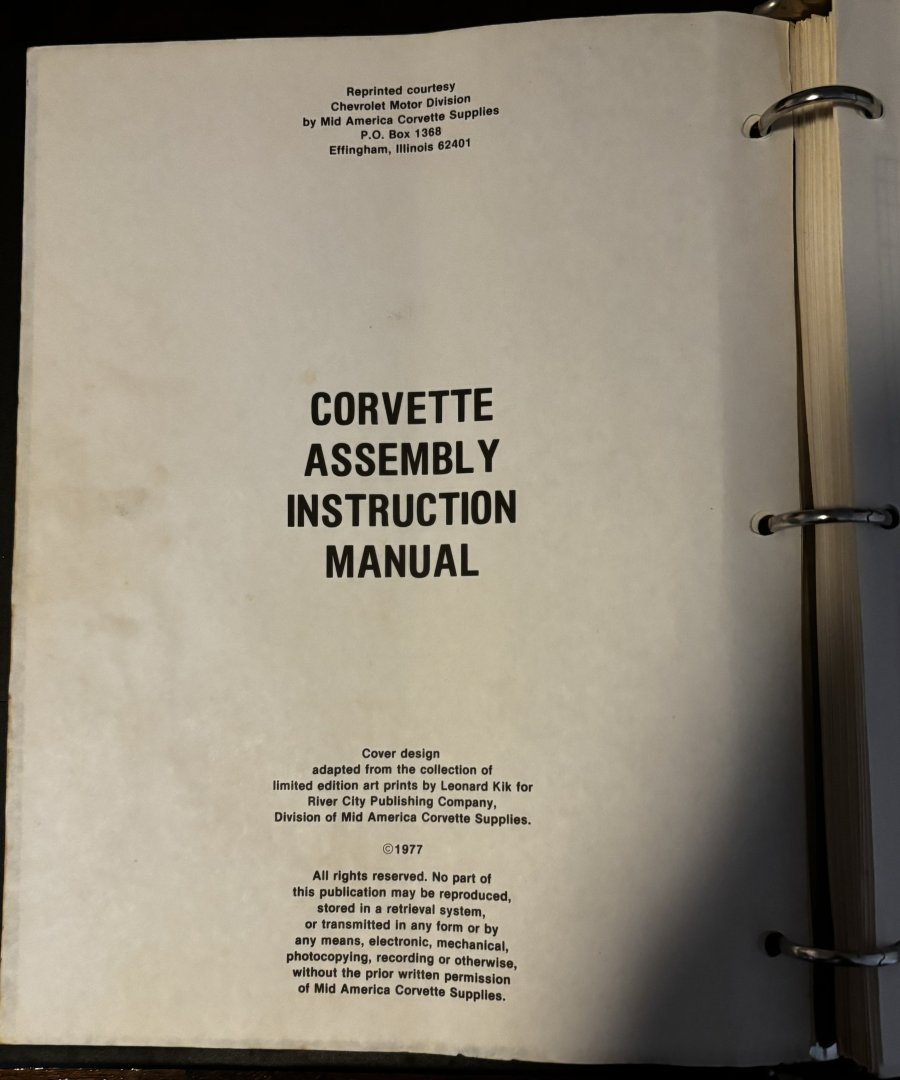
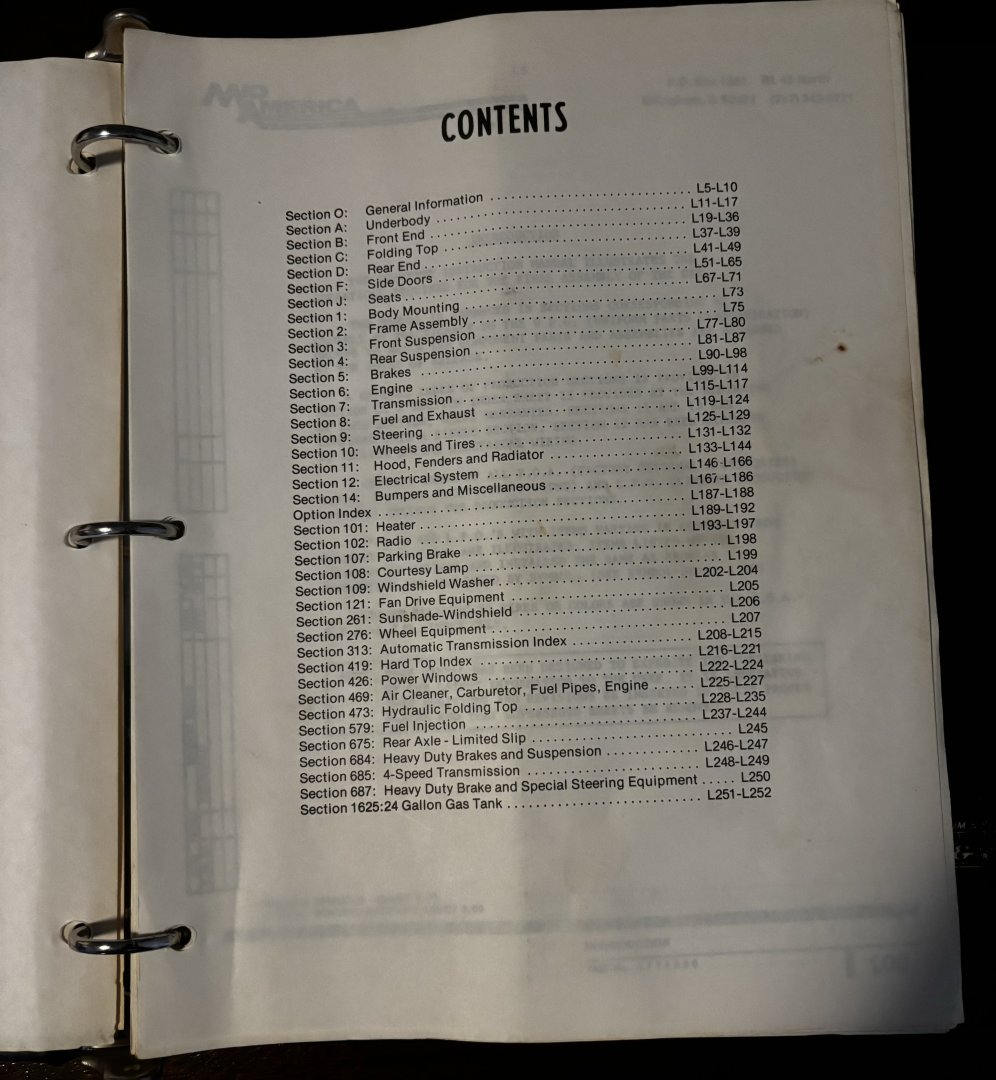
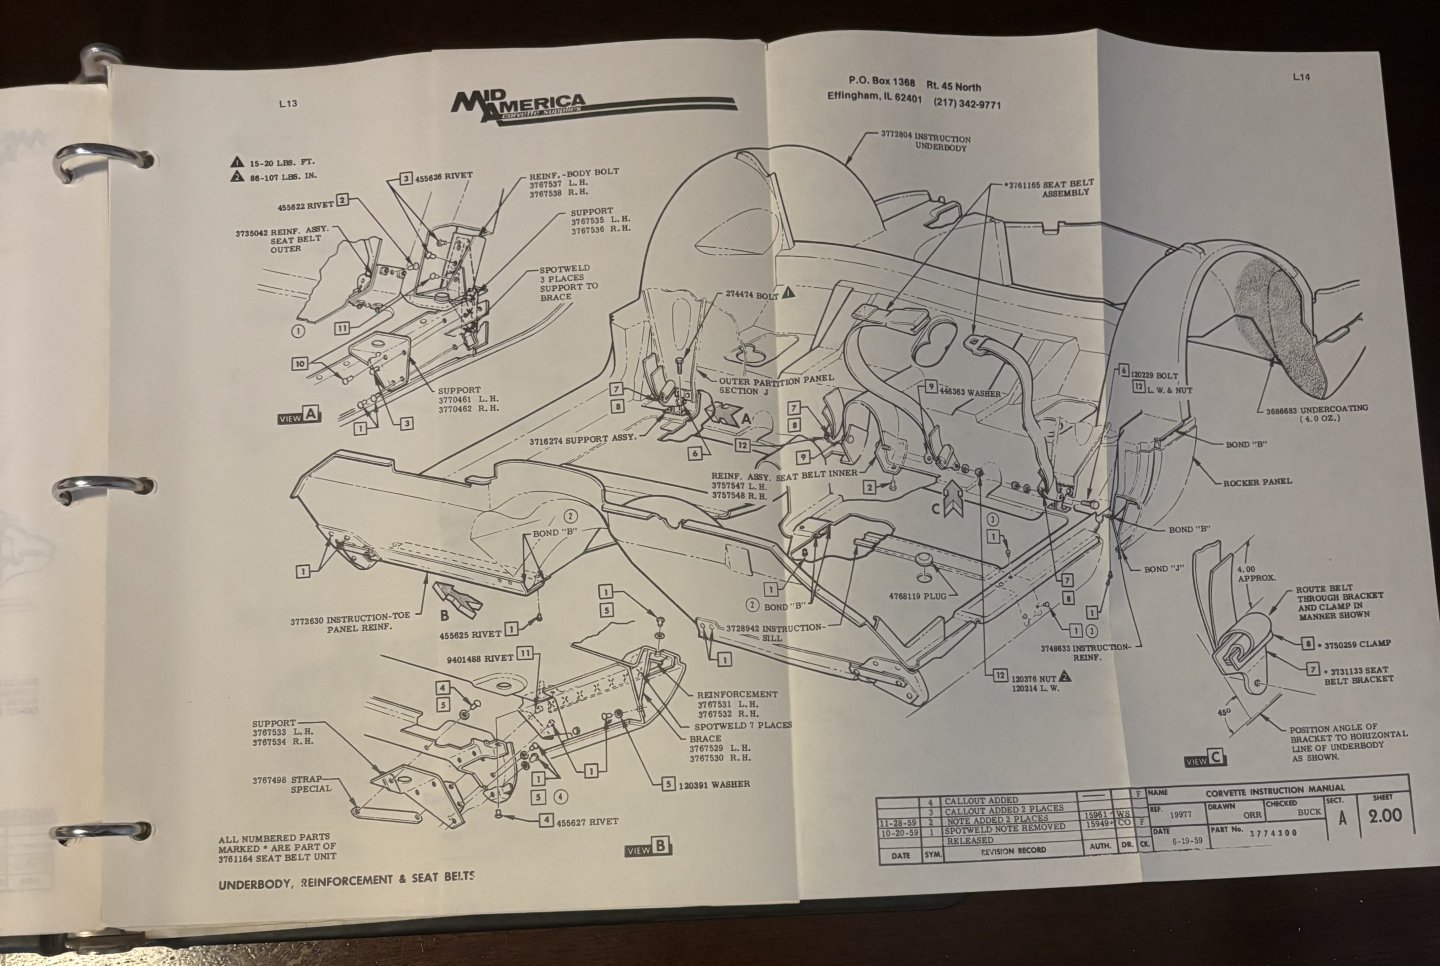
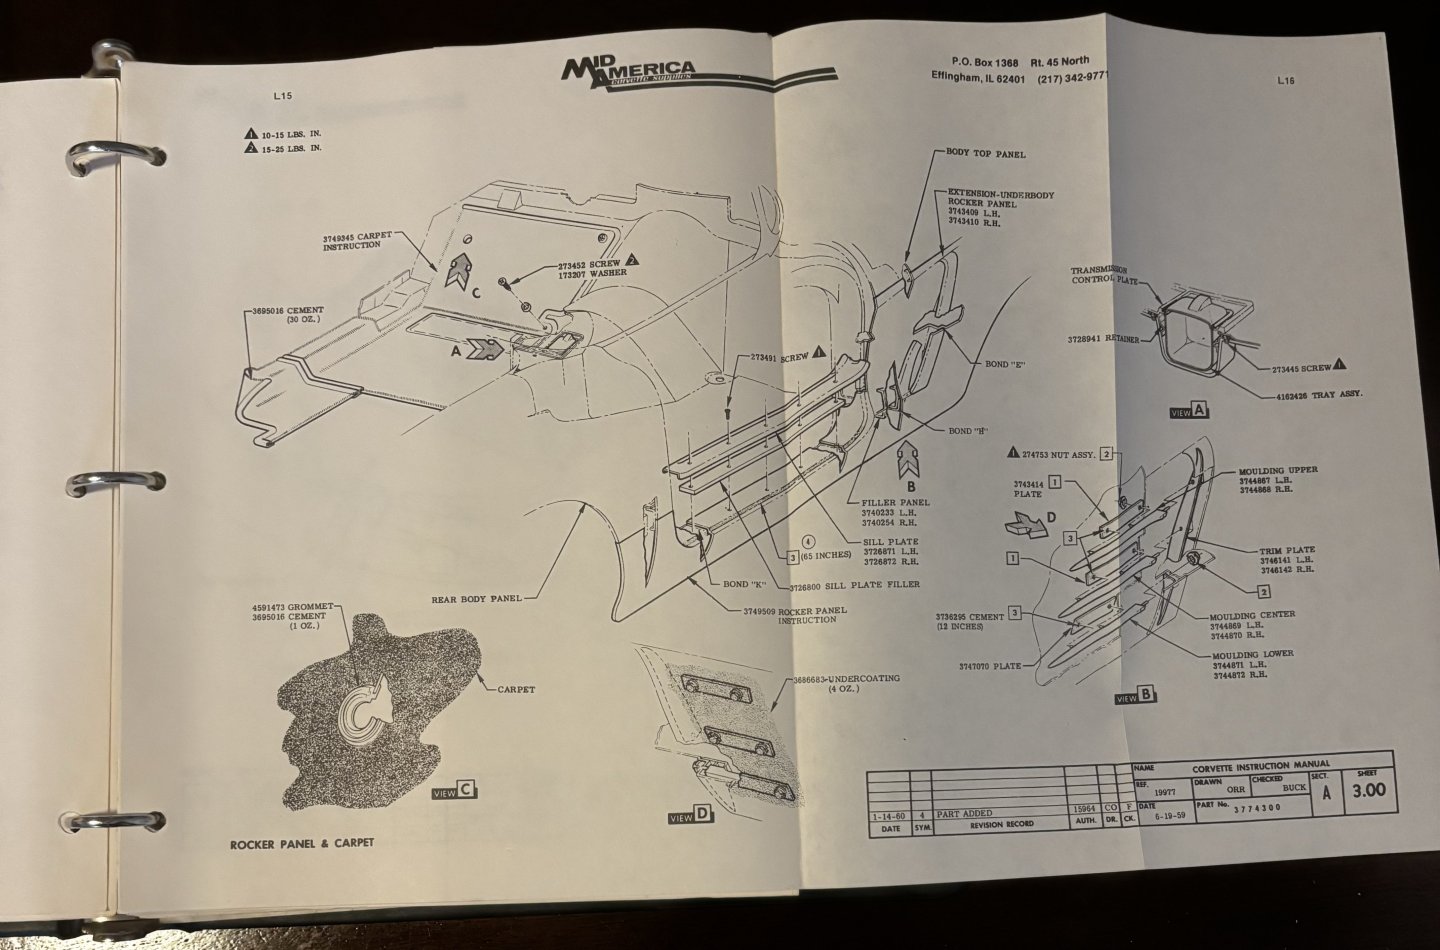
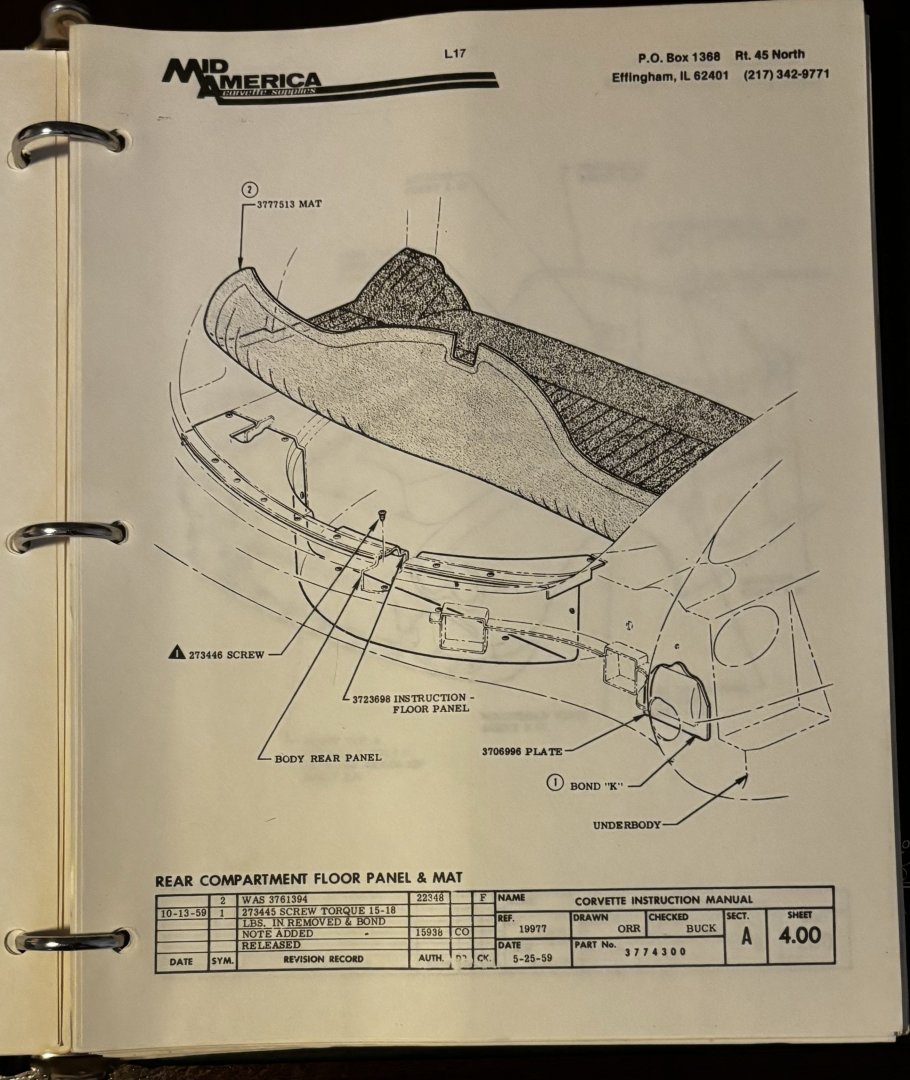
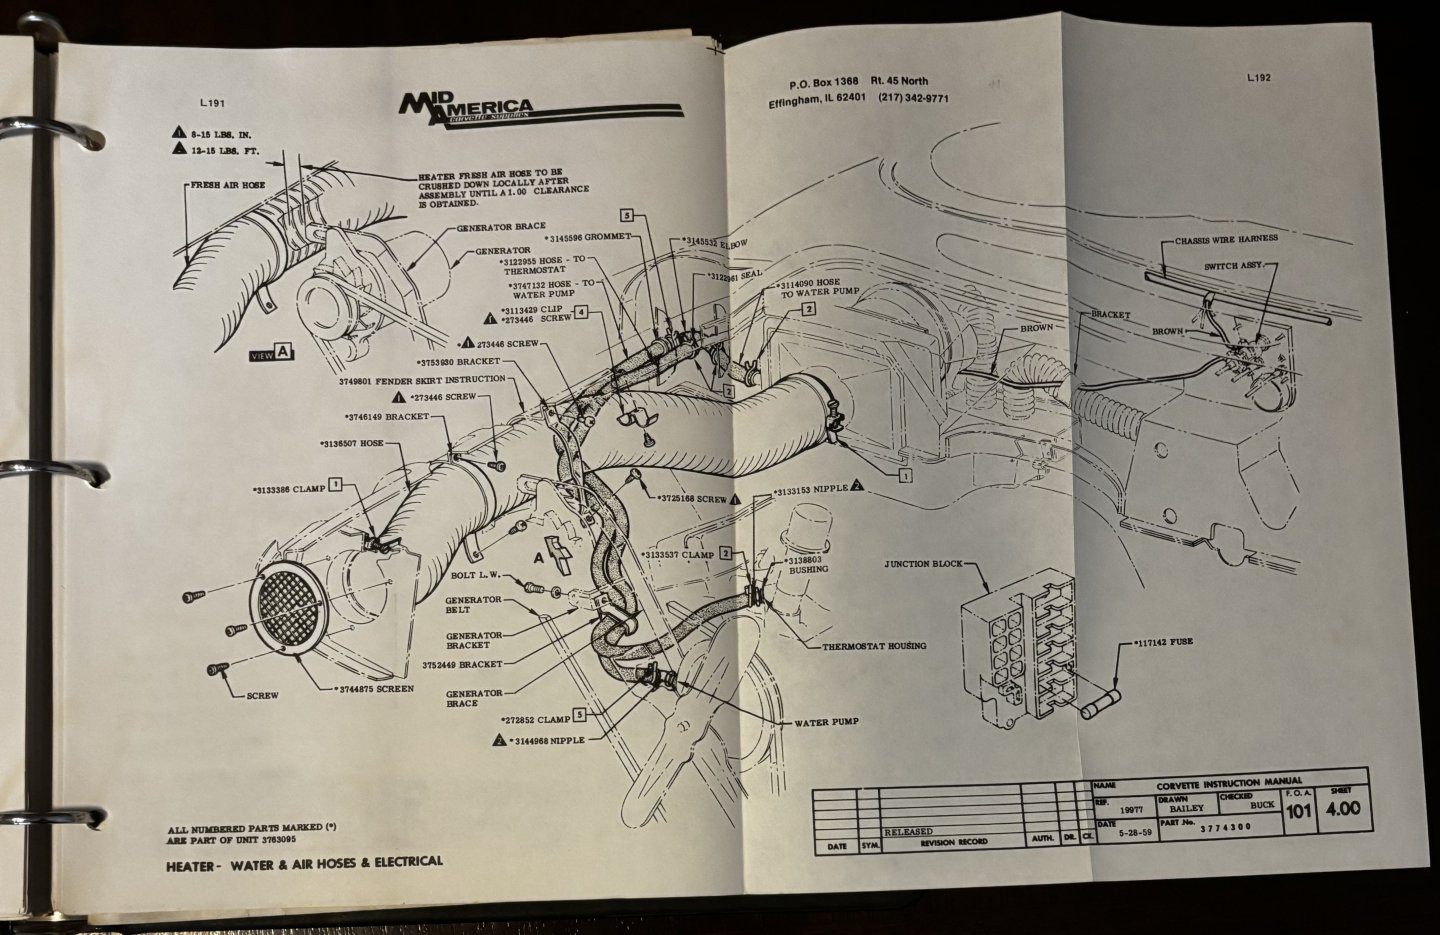
For my MFH 1960 Corvette, I found a genuine spiral bound Chevrolet factory worker assembly manual for the Vorvette. It shows the precise diagrams for each and every part of the Corvette.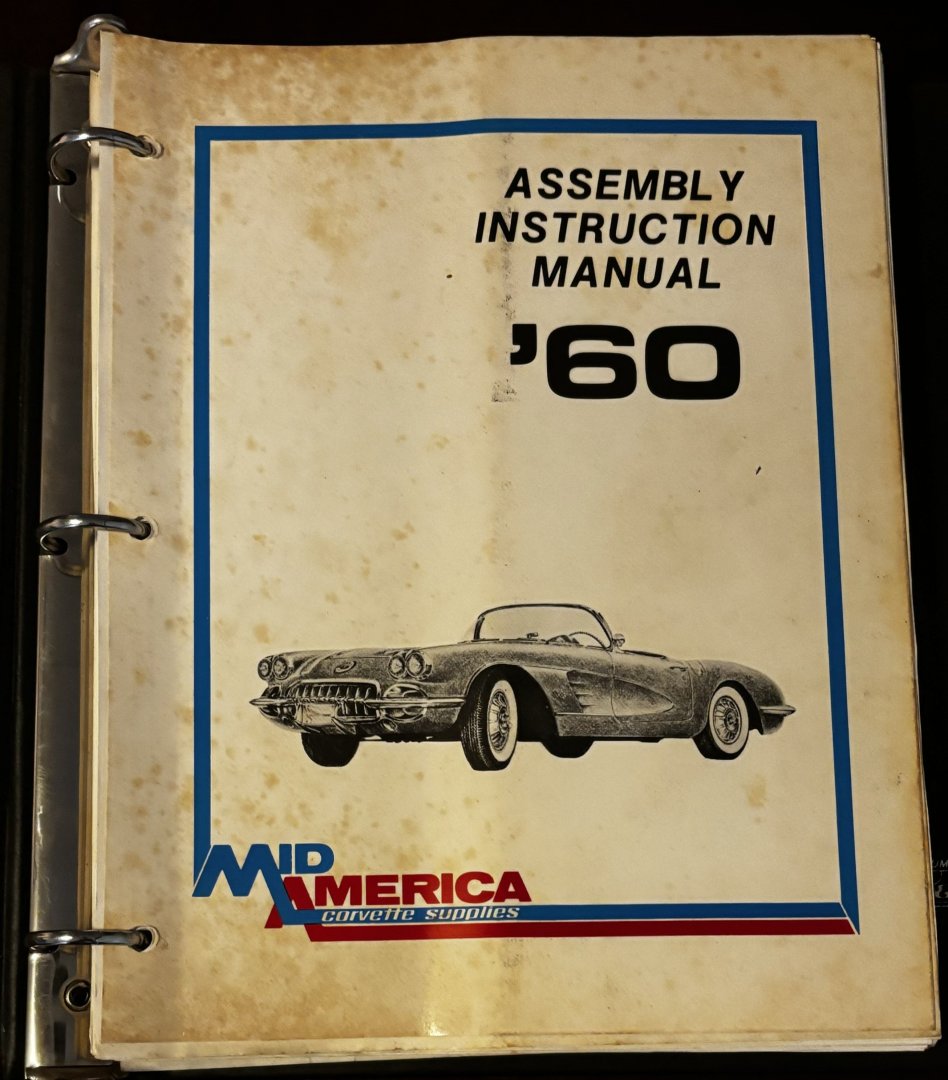
- 39 replies
-
- 11
-

-

-
Ferrari 250 GTO by CDW - Model Factory Hiro - 1:12 Scale
CDW replied to CDW's topic in Non-ship/categorised builds
I failed to suggest the trader section of Model Ship World. This is another great place to sell kits you want to liquidate. -
Ferrari 250 GTO by CDW - Model Factory Hiro - 1:12 Scale
CDW replied to CDW's topic in Non-ship/categorised builds
Thanks OC. I ordered another one from a bookshop in the UK, so a third test of Royal Mail is going down. The first two was through EBay where it goes Royal Mail to a shipping hub. Never reached the shipping hub. This third time is direct through Royal Mail. Hoping this is a charm. -
Ferrari 250 GTO by CDW - Model Factory Hiro - 1:12 Scale
CDW replied to CDW's topic in Non-ship/categorised builds
I searched high and low for a Haynes Manual for Ferrari 250 GTO. Crazy high prices here in the USA. Ordered one from a UK seller but Royal Mail lost it. This is the second item I ordered in a short period of time that has been lost by Royal Mail. Is there something going on with Royal Mail or just an unlucky streak on my part? I have bought many items from the UK in the past, shipped by Royal Mail with no issues ever until now. -
Ferrari 250 GTO by CDW - Model Factory Hiro - 1:12 Scale
CDW replied to CDW's topic in Non-ship/categorised builds
There was a day and time when Ebay was a great place to sell off surplus and collectible kits but nowadays the fees and hassle are a little overwhelming for sellers. If the fees on the sale of your items were not enough, you will also be charged fees on the shipping cost. And to tie a bow on top, you'll get a little tax document at the end of the year where you will be forced to prove you paid more for the items than you sold them for or face income tax on the sales amount. There is a forum called Hyperscale dot com where you can join and sell items in their sub forums. One sub forum there is called Plastic Trading. No fees are involved, but you will need to gain the trust of members who have been burned by bad traders. Sellers should also be wary of bad buyers. Bad traders are not just sellers, there are buyers who have been known to rip off sellers. Another good sales platform is Facebook. Search for various plastic modeling groups. Some are geared entirely for genre specific model types. Make sure to check the group rules to see if they allow sales of model kits. Some groups do not allow sales, but others exist solely for that purpose. Last, search IPMS then look at upcoming events. Local and state model shows and contests are great venues to sell off excess inventory. You'll have fun, meet new modeling friends, and maybe sometimes come home with as much new inventory than you sold. 😄 Ask me how I know. -
Your model displays a lot of character. It's not a run of the mill model. Excellent.
-
Ferrari 250 GTO by CDW - Model Factory Hiro - 1:12 Scale
CDW replied to CDW's topic in Non-ship/categorised builds
Is there a particular size that is dominant, such as .5 or .6? -
Ferrari 250 GTO by CDW - Model Factory Hiro - 1:12 Scale
CDW replied to CDW's topic in Non-ship/categorised builds
Guilty as charged. Including this Ferrari and the Corvette, now have four MFH kits in my stash. There are two formula one kits that have not yet been revealed. 😄 I have sold off other kits to acquire these. I had a glut of aircraft kits that lost my attention. As a matter of fact, I want to sell or trade off a lot of other kits to focus on fewer, more interest specific items. Indeed, they are hard to come by. I will take heed to your advice about the drill bits. What is your favorite source for the bits you use? Thanks guys. I am looking forward to doing this in the near future. -
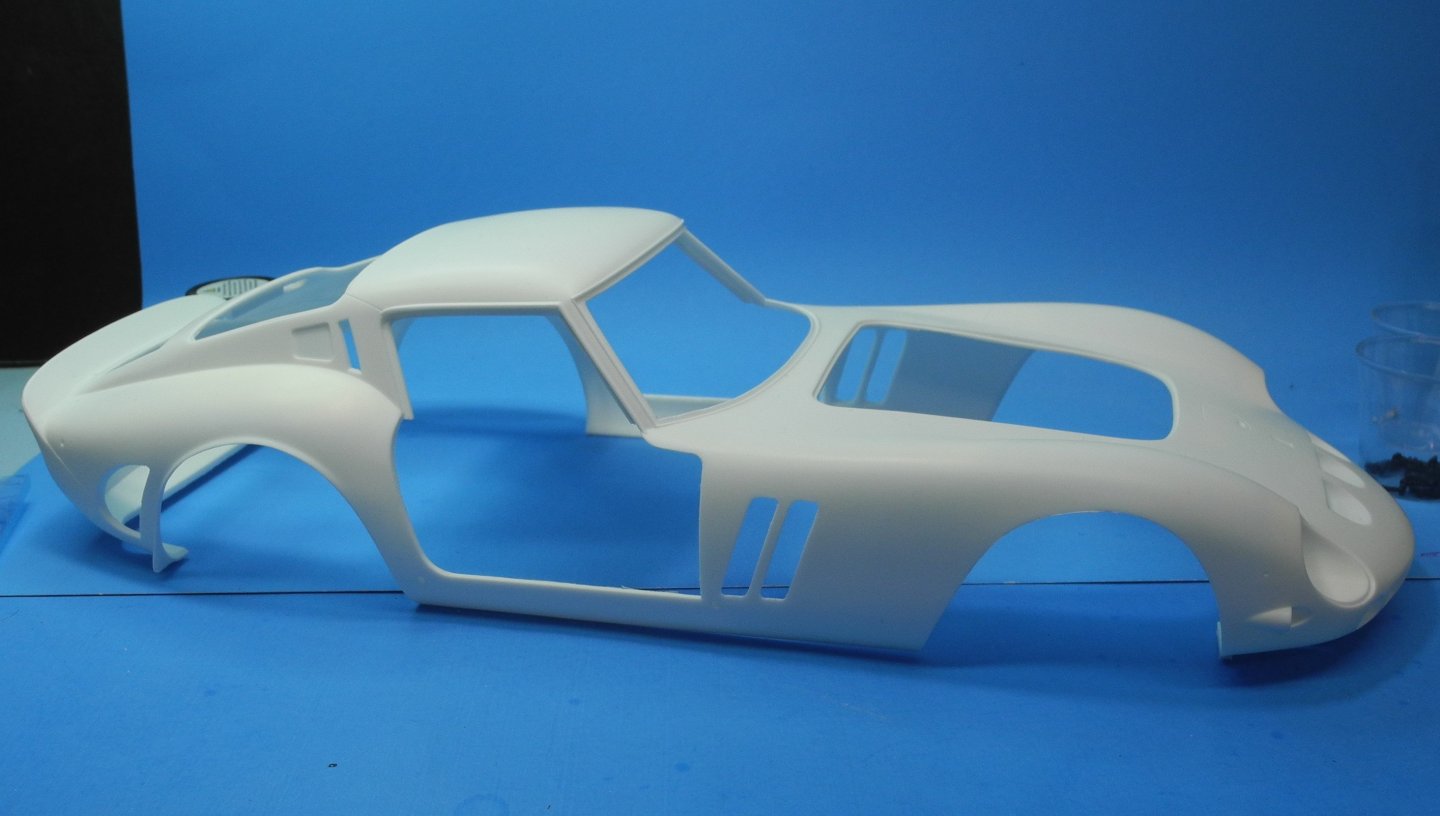
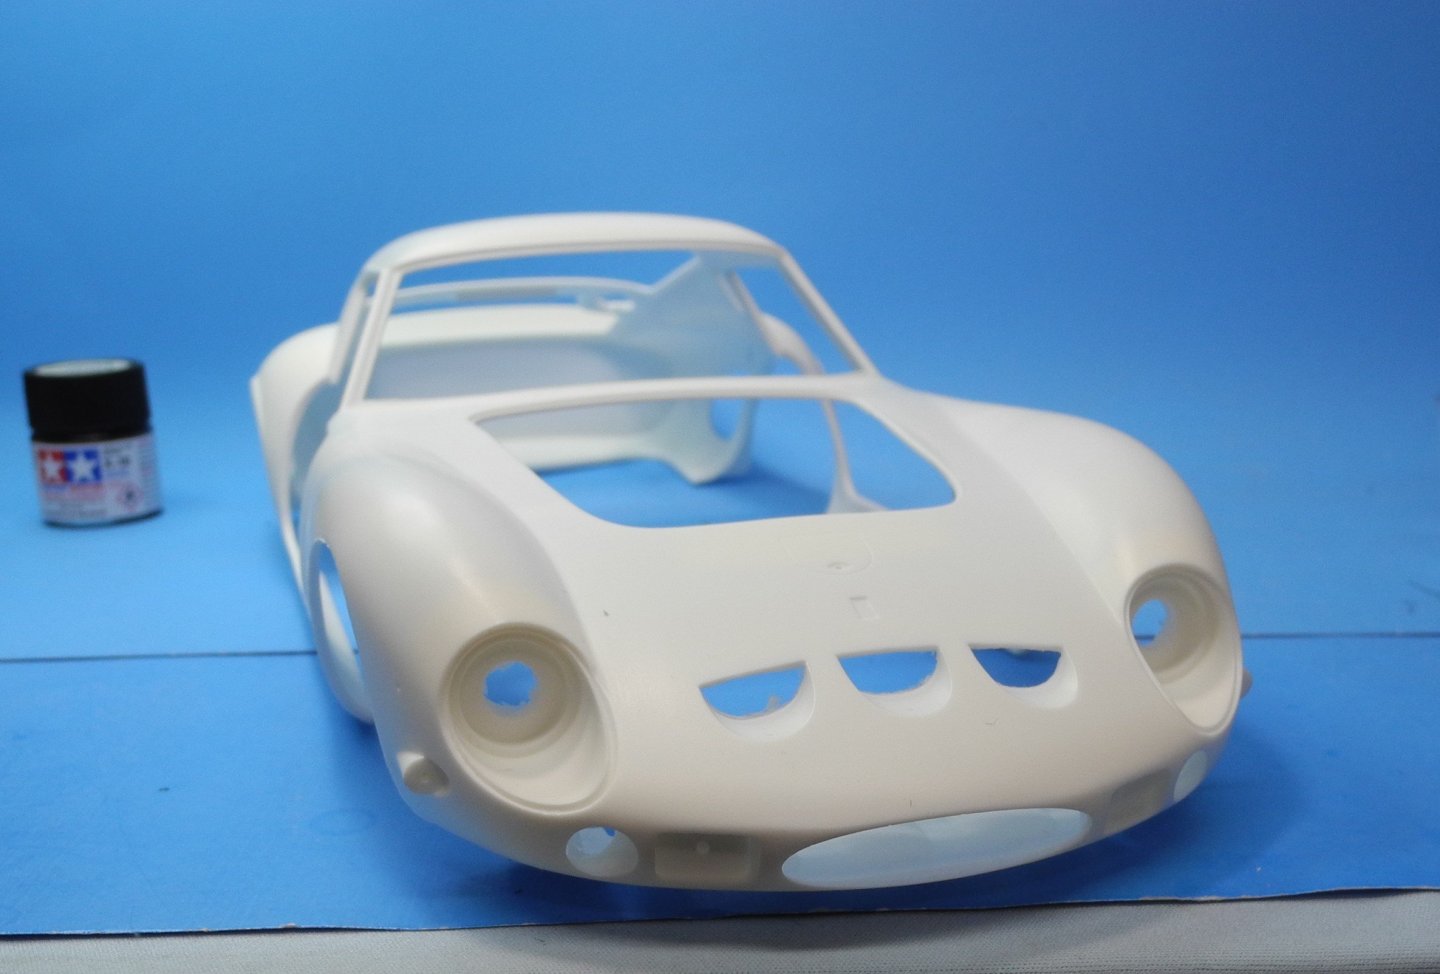
This is the 1:12 scale Model Factory Hiro Ferrari 250 GTO. It's going to be a huge, intimidating project for me being my first MFH kit. In preparation, I have been watching all the videos I can find that will be helpful for the task and acquiring the necessary tools, supplies, and reference materials. I found the kit at an online model shop in Europe after coming up empty handed anywhere and everywhere I looked in the USA. These MFH kits seem rather hard to come by anywhere, and when they do come up, grab one quick if you want one because they will be gone the next time you look. I am starting this thread more as a place holder for the moment. With another 1:12 scale Porsche project underway, I will finish that one before I start another build like this. Just as a teaser, I took some photos of the big resin body shell as soon as it was removed from the bubble wrap. Straight as an arrow, no warps or blemishes at first look.

- 39 replies
-
- 16
-
-
-
You are a man after my own heart.
-
mea culpa; my workshop is too cluttered. I must clean it out/clean it up. too many places for gremlins to hide.
-
I too lost one of my 1:32 P-51D LG doors somewhere in my shop. I have looked and looked but it hasn't turned up yet. When I least expect it or no longer need it, it will probably turn up.
-
SPAD XIII c1 by modeller_masa - Roden - 1/32 - PLASTIC
CDW replied to modeller_masa's topic in Completed non-ship models
The best thing I know to say about Roden: they produce kits that no one else produces. Thanks for your reply. Your description sounds par for the Roden course. -
SPAD XIII c1 by modeller_masa - Roden - 1/32 - PLASTIC
CDW replied to modeller_masa's topic in Completed non-ship models
I love it! Came out beautiful. What parts did you find most challenging? I have the same kit and would like to be prepared. -
My dear old dad taught us these priorities: First is family, even your cousins. Second was your church, then third your neighbors. He taught that care and support for these institutions was mandatory, not optional. Times like these emphasize the importance of these time proven principles.
-
I have not heard yet but lots of them were hit hard. Power is down and gasoline almost impossible to come by around here. It will not start getting here until Monday and it will be spotty for a while. My advice to my friends: where ever you are, be prepared to make it/survive on your own for at least a month. Longer if possible. If you assume it’s an automatic that the government or some random NGA is going to come to your aid, you may be sadly mistaken.
-
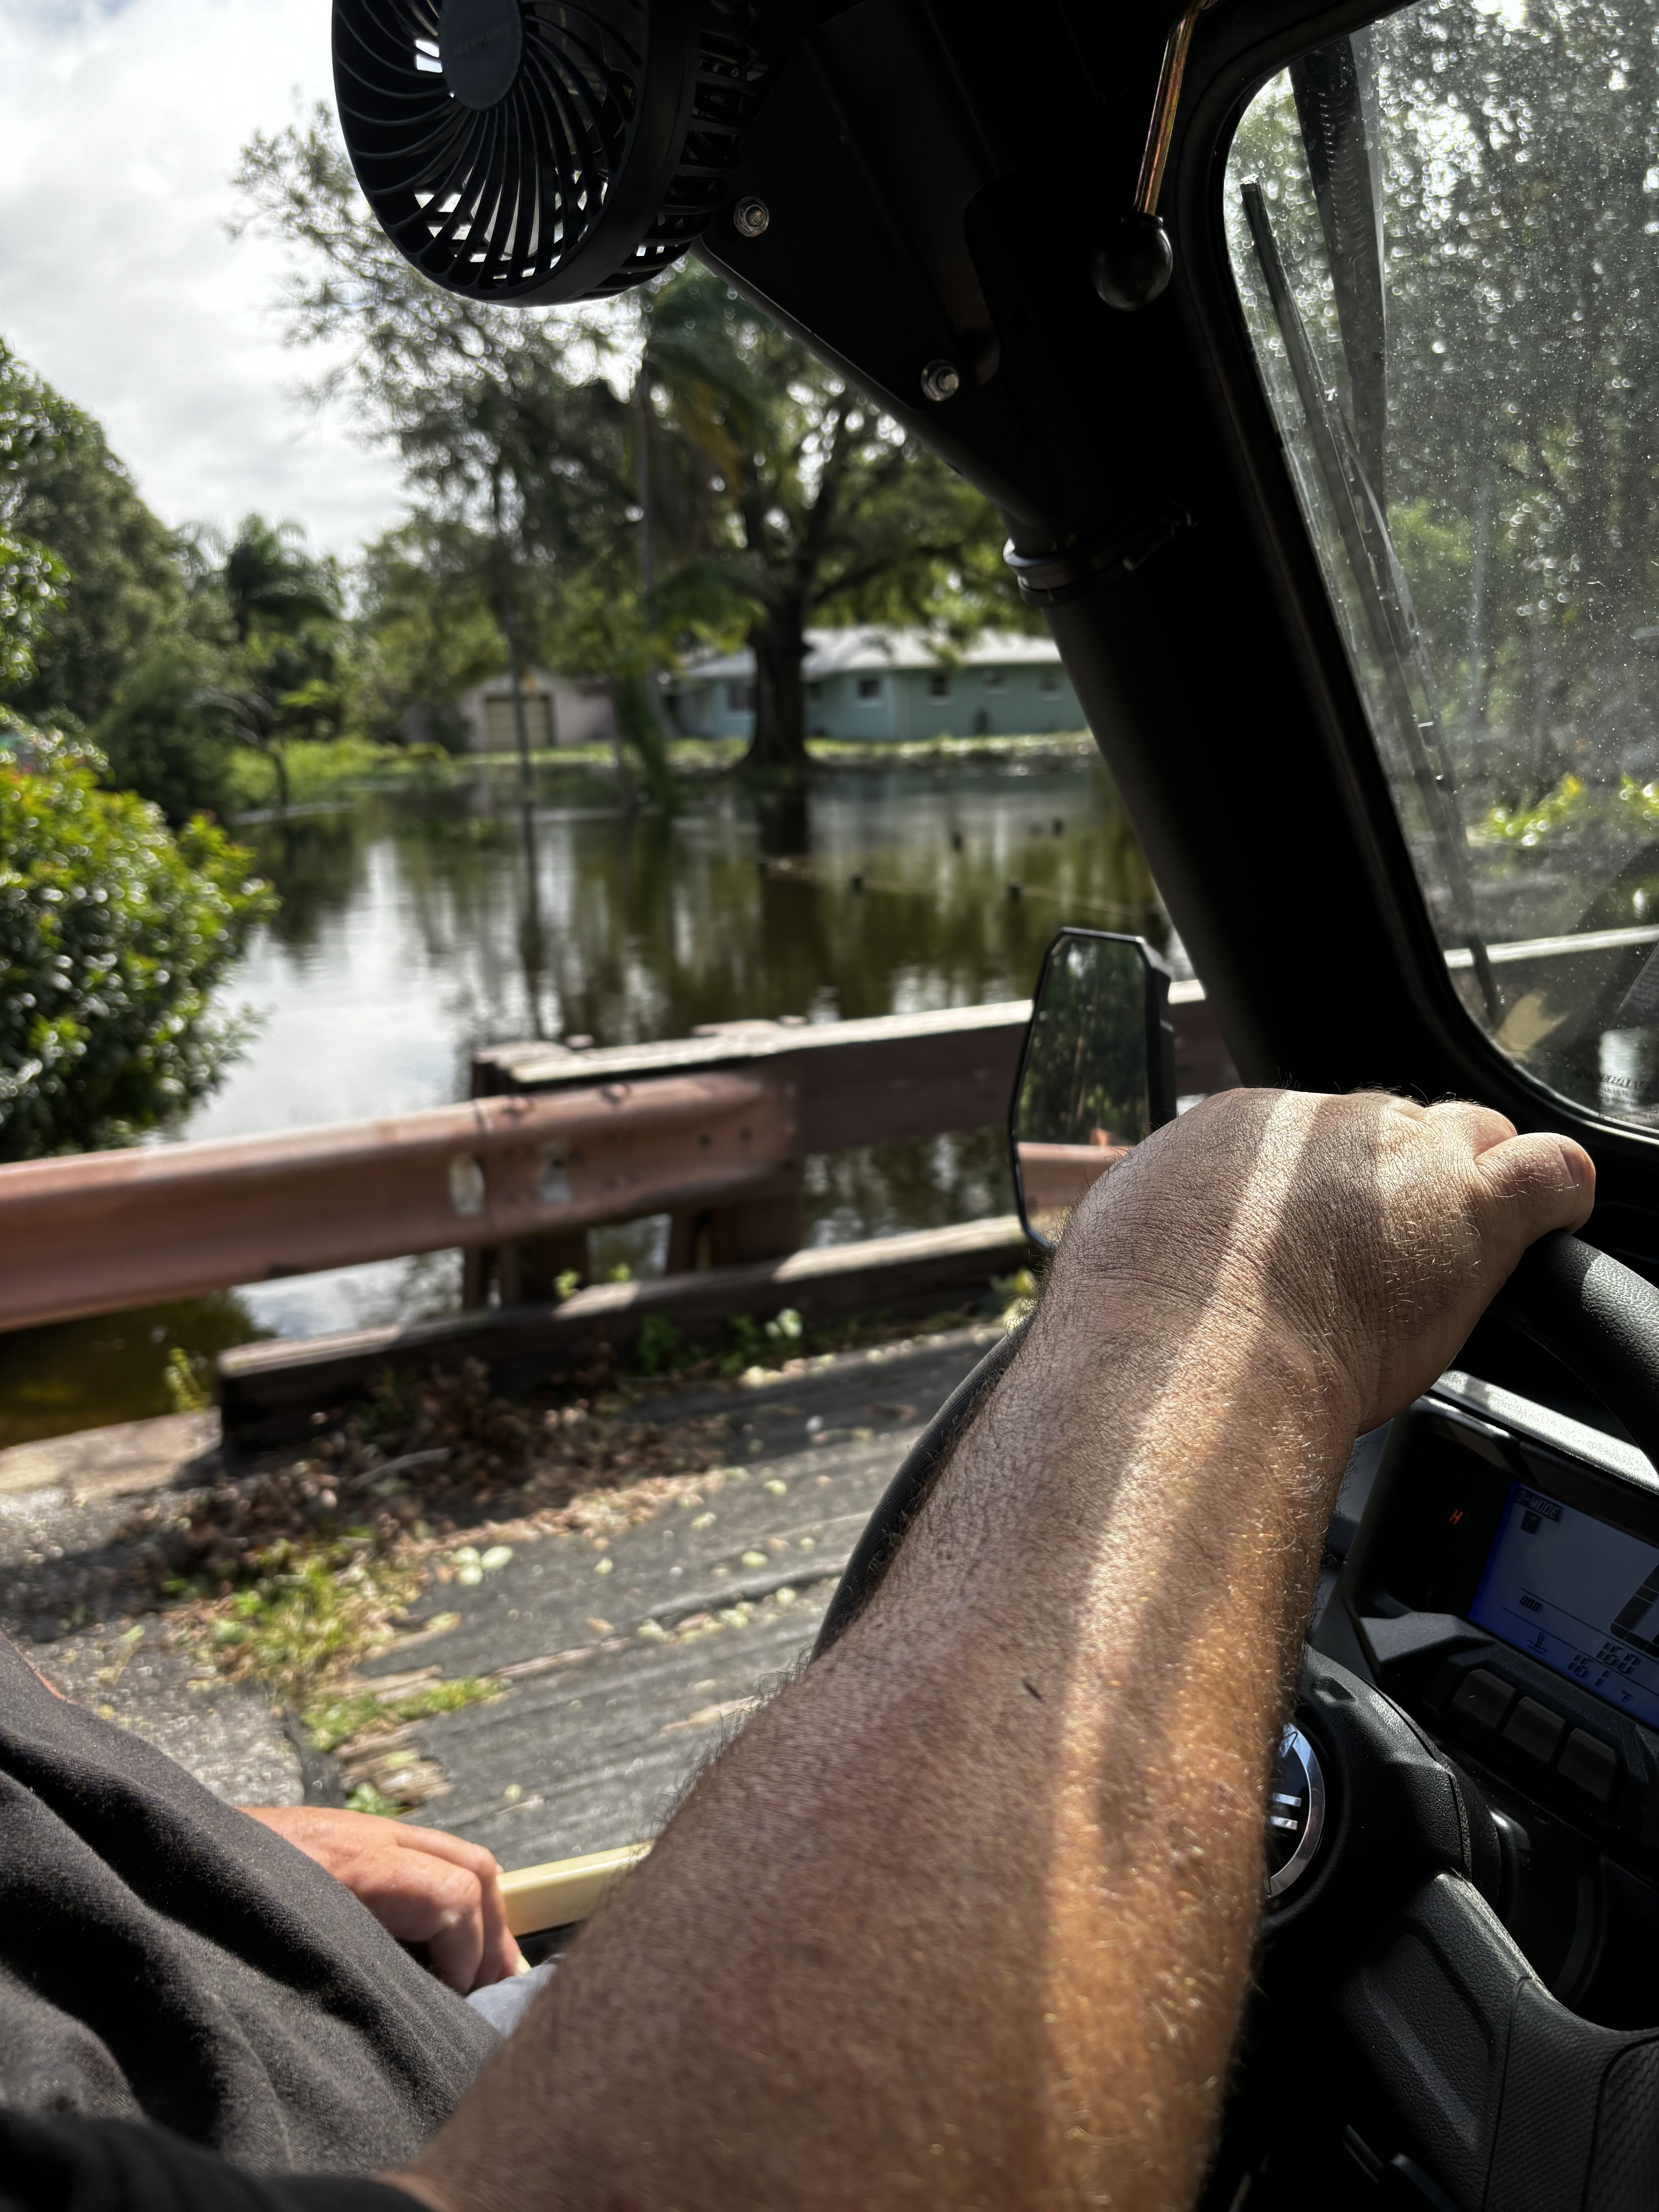
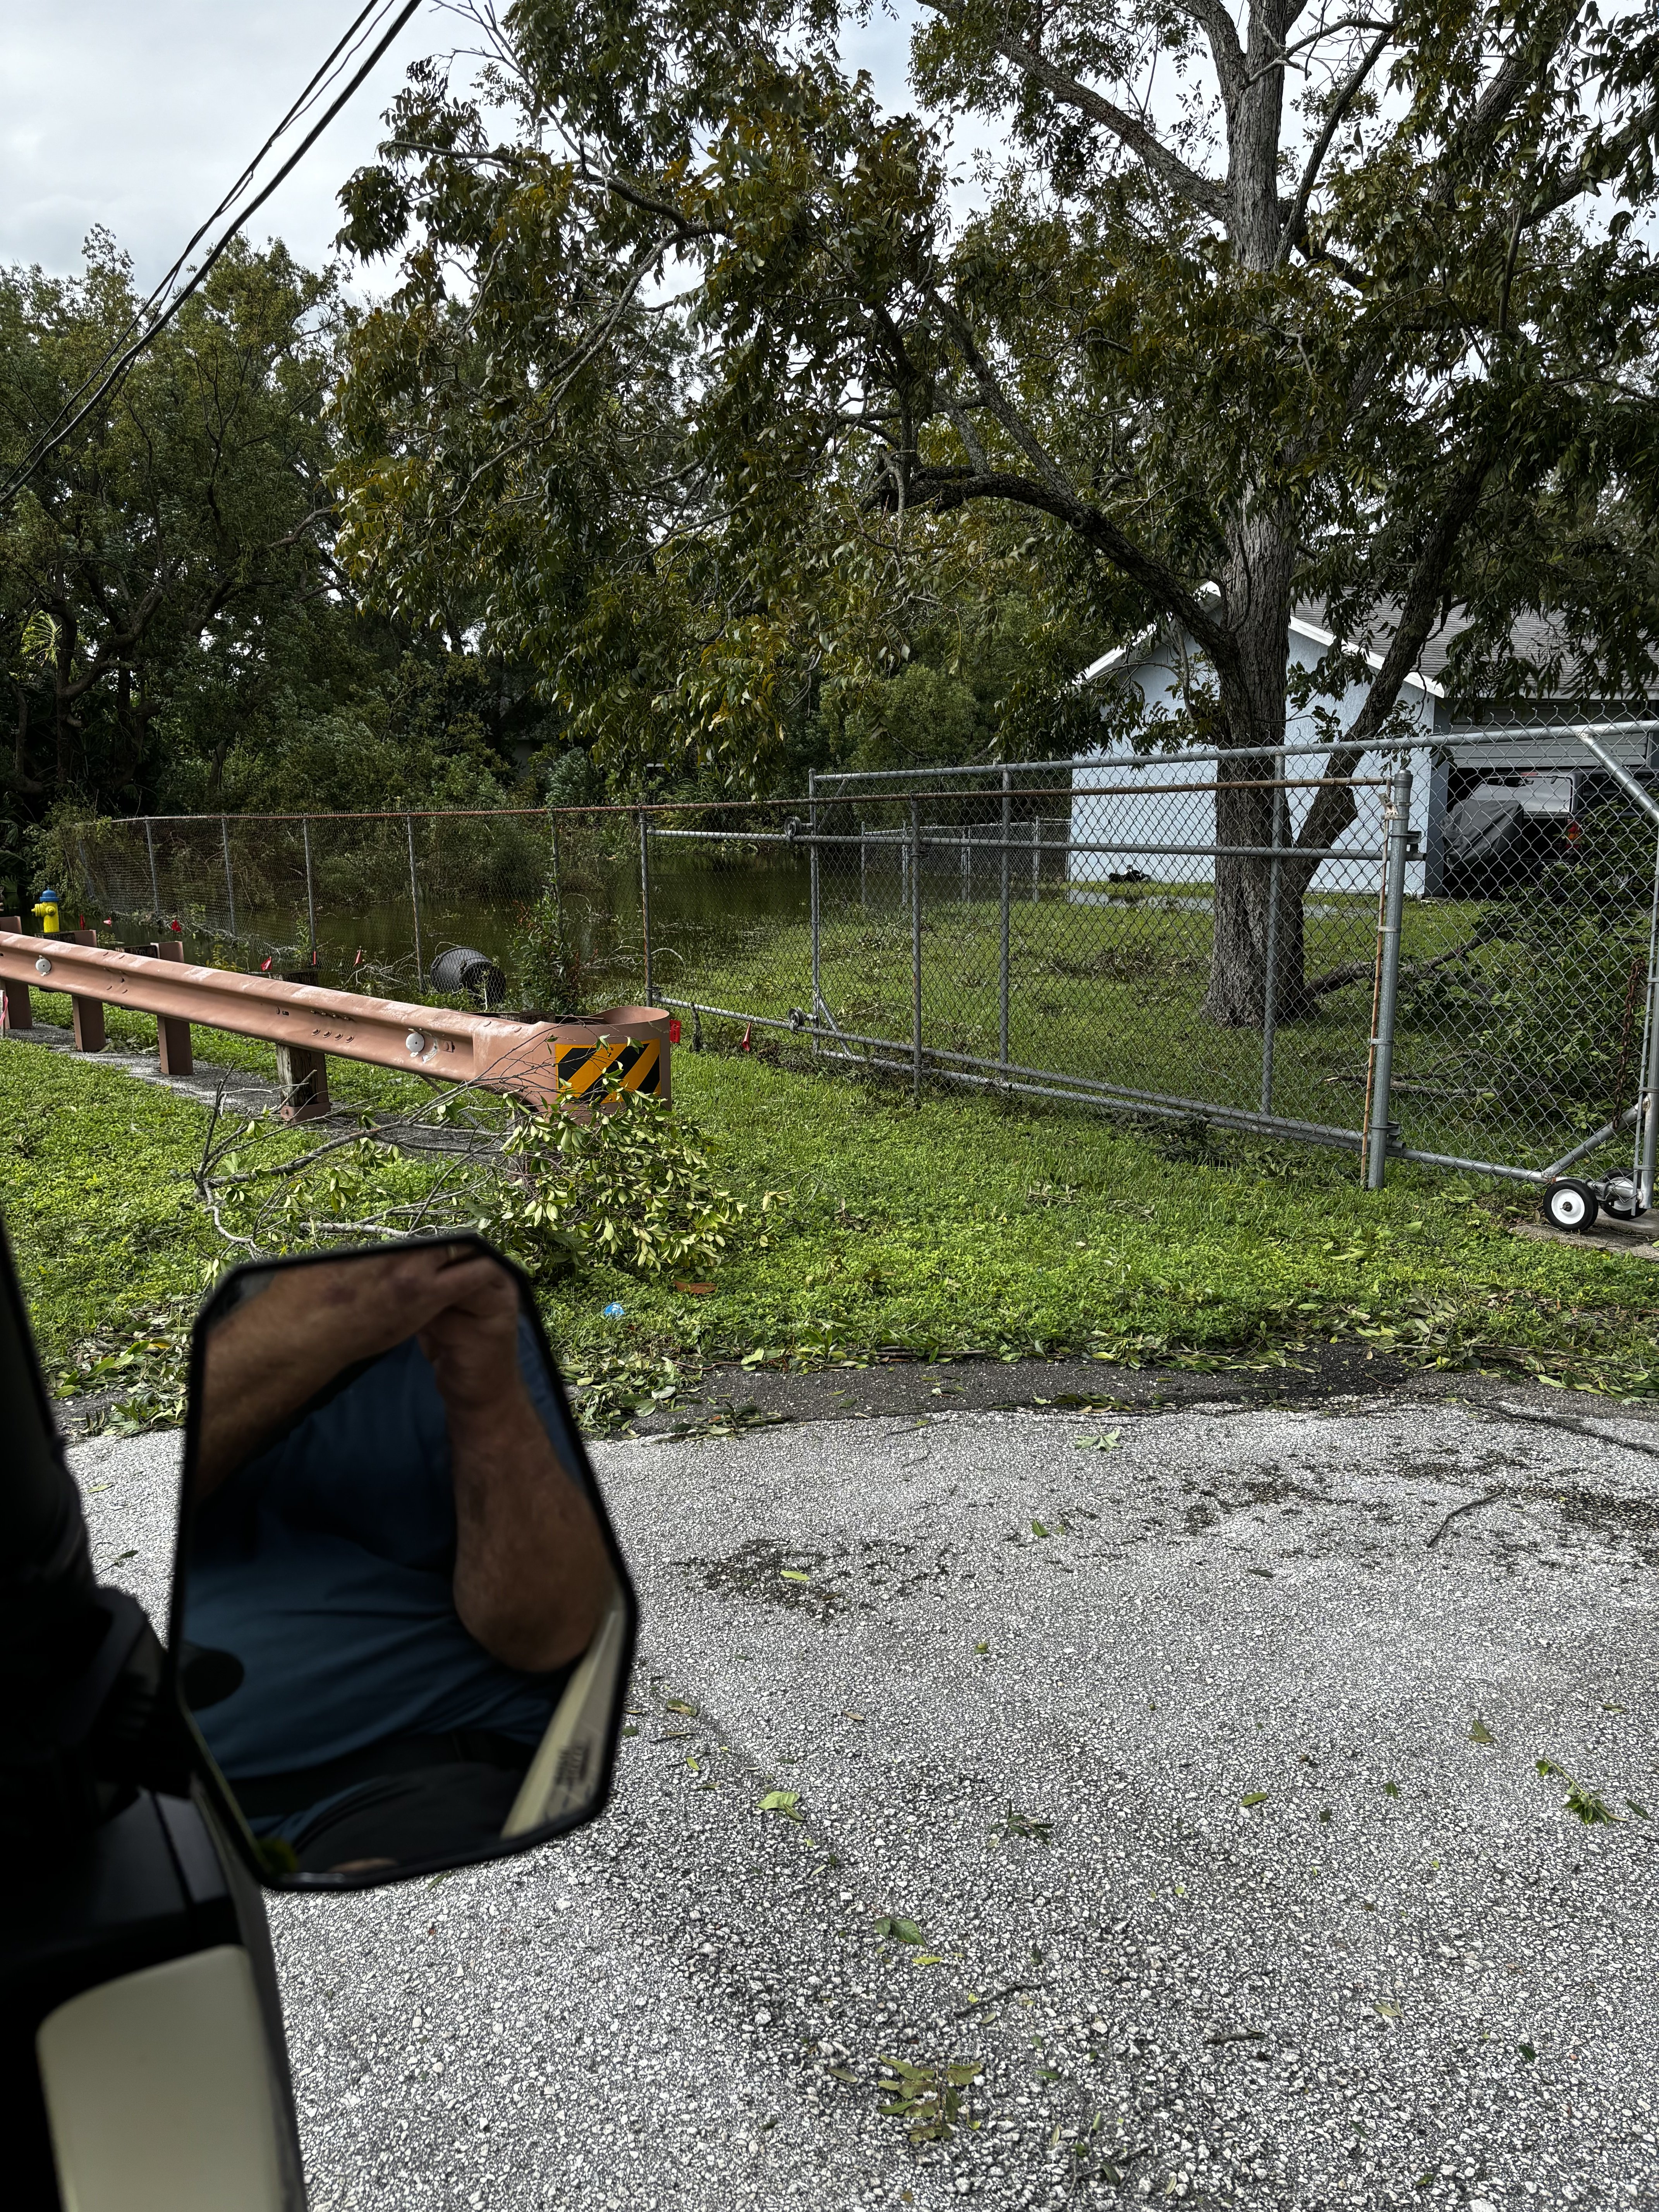
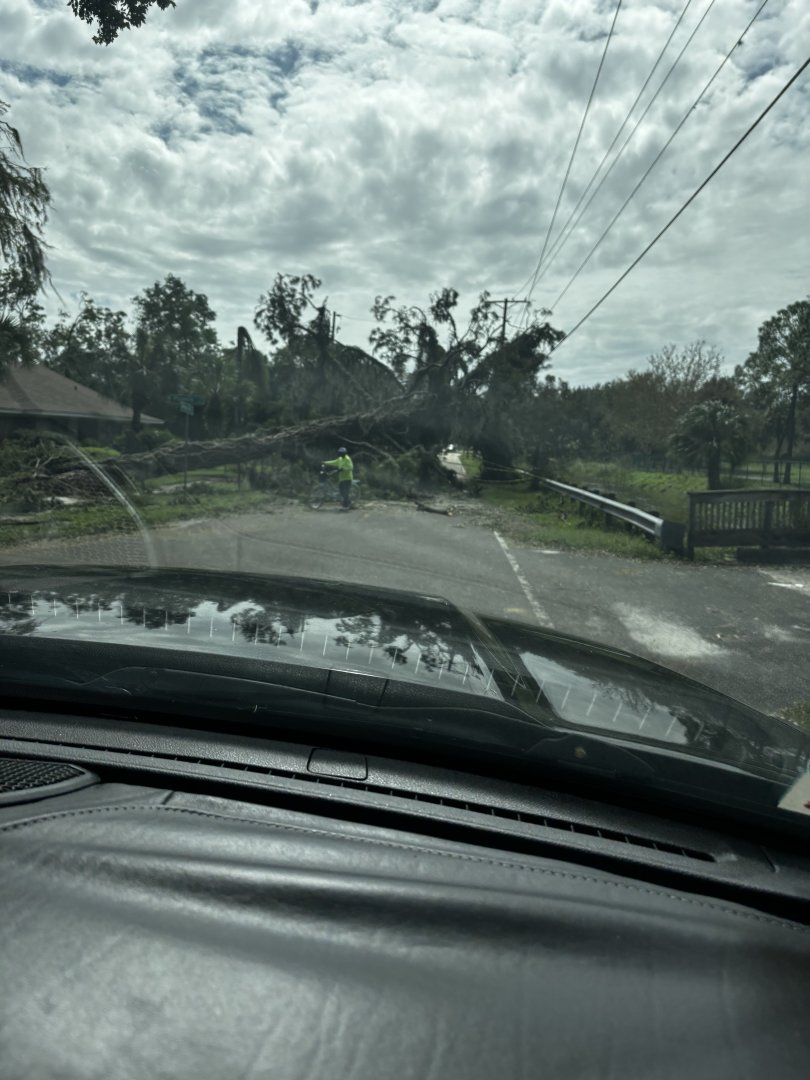
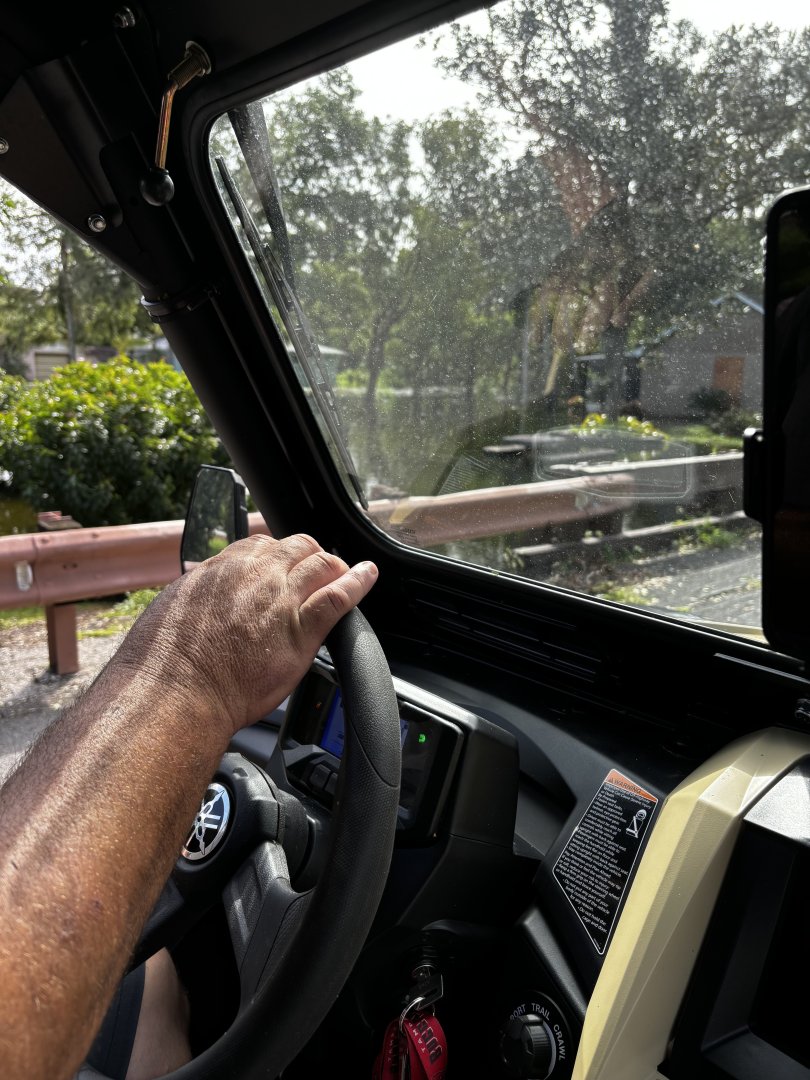
On my way home from buying fence materials
-
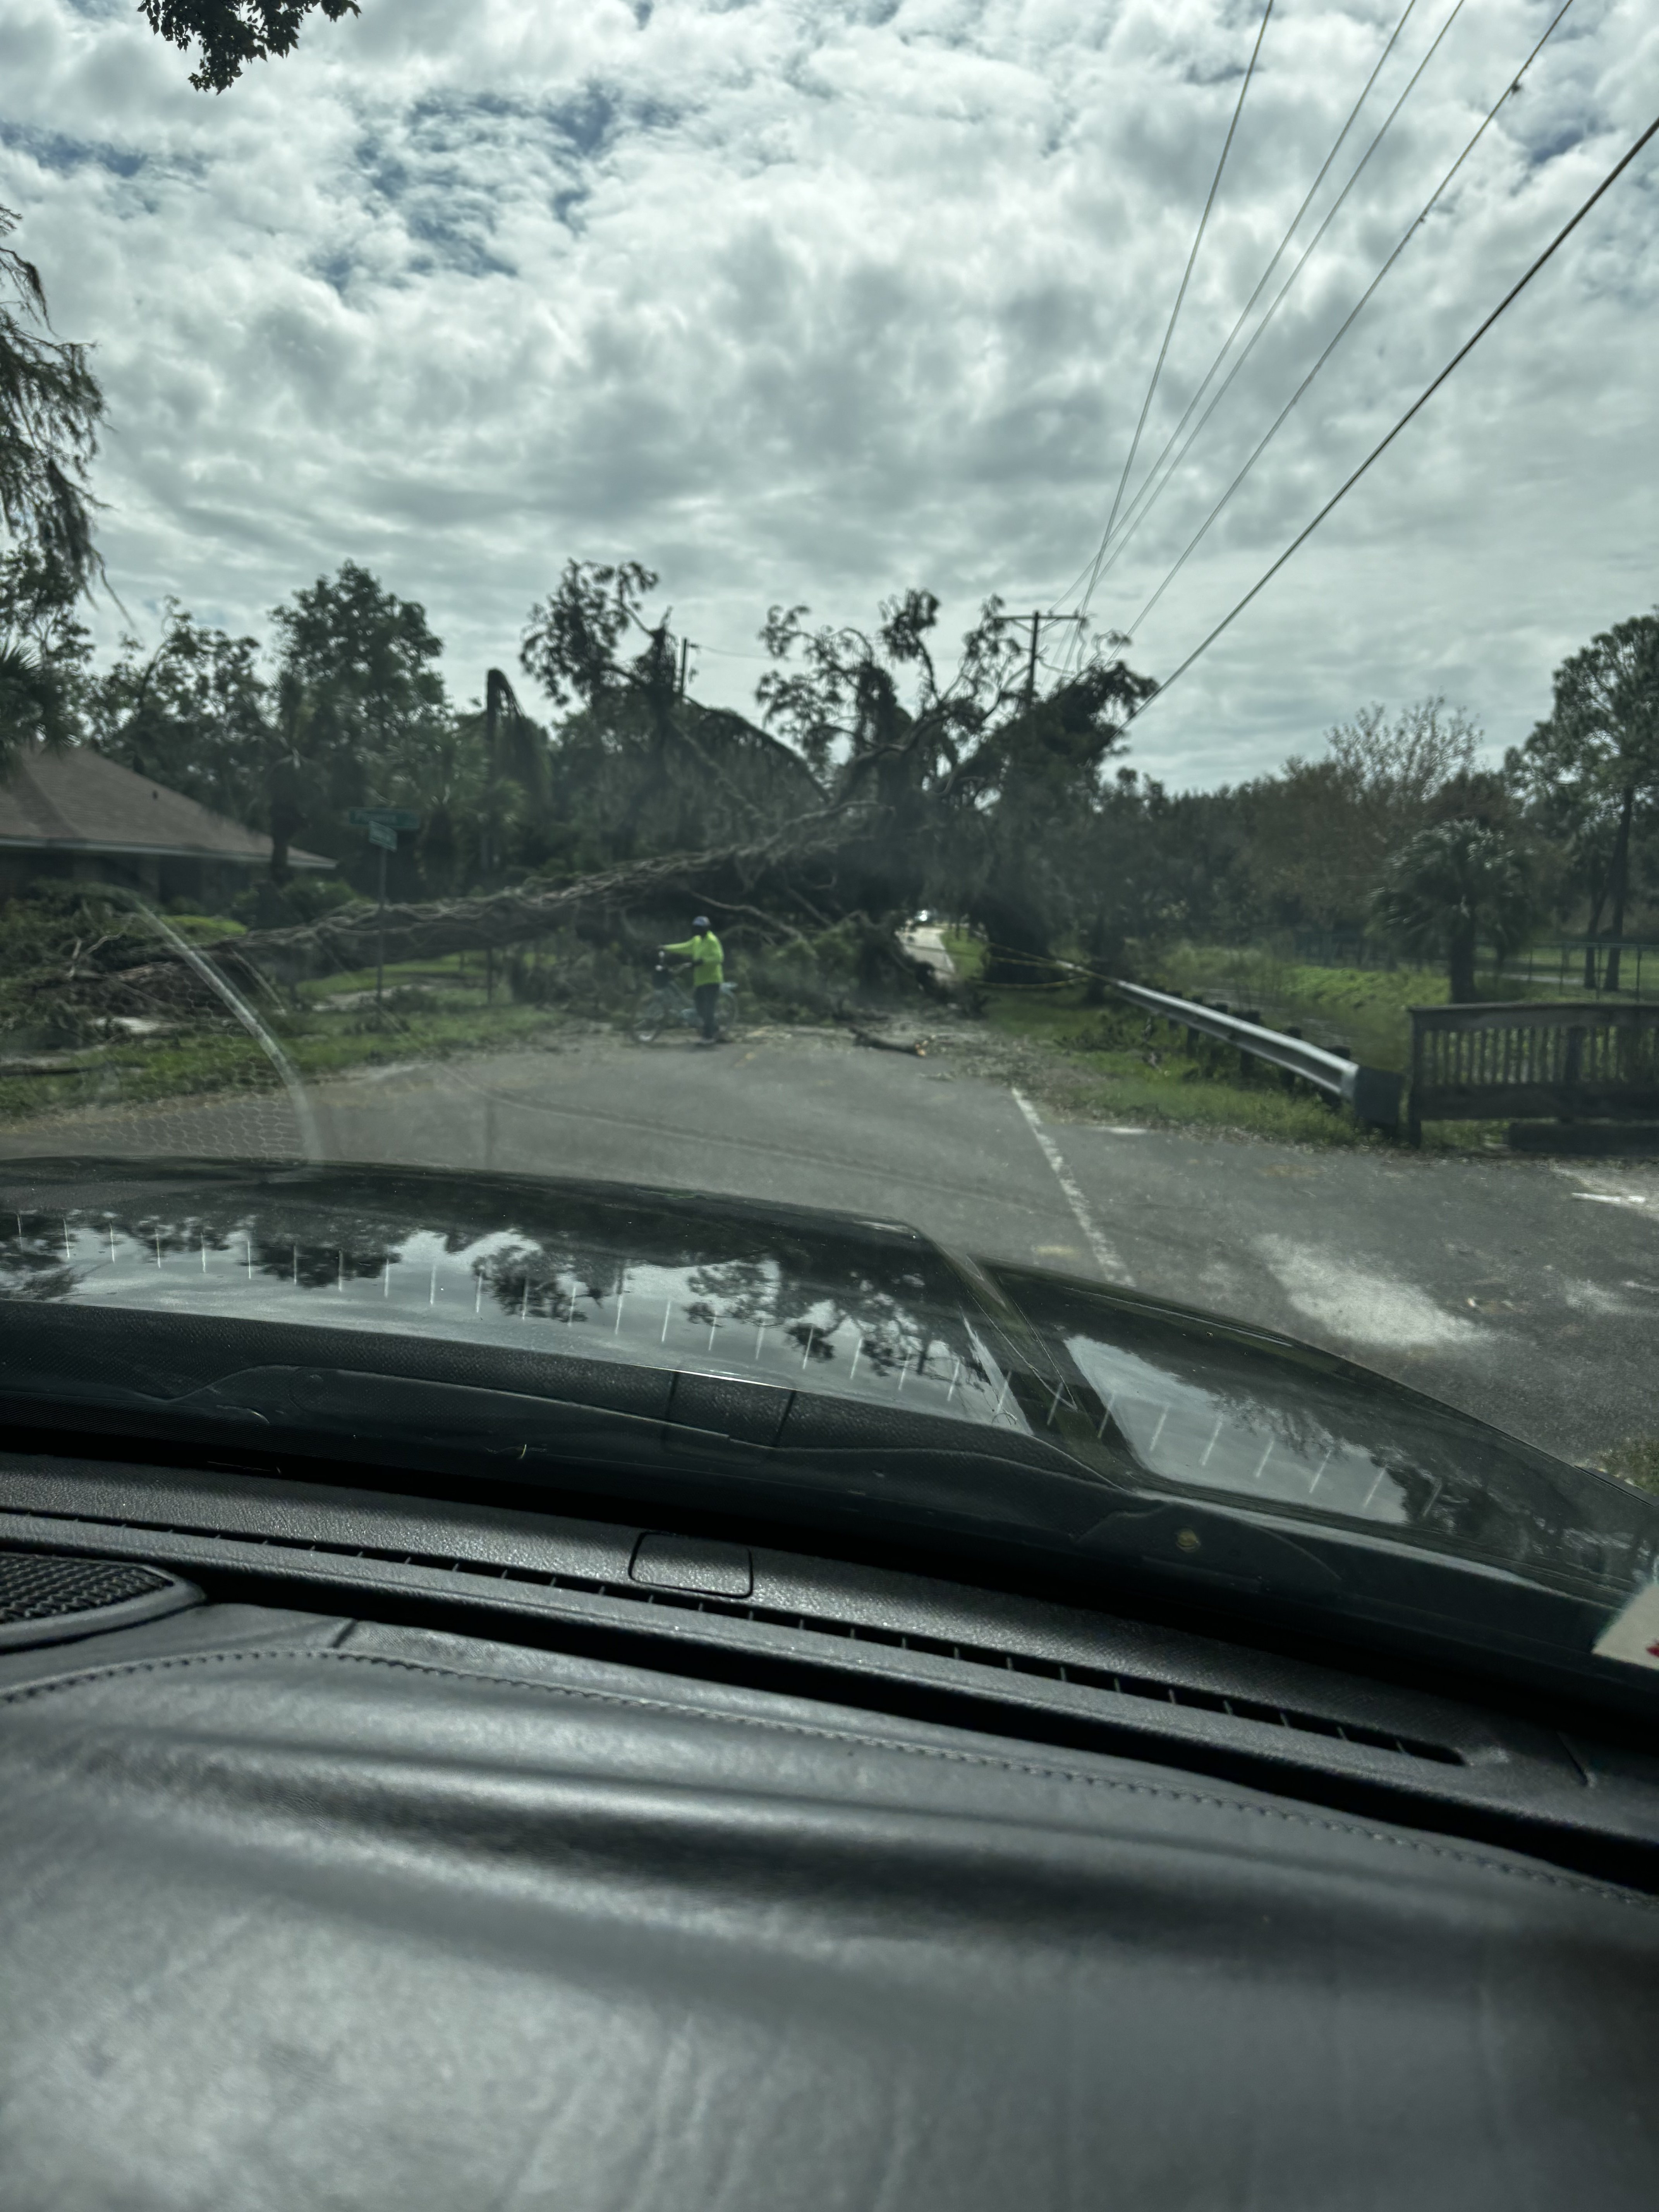
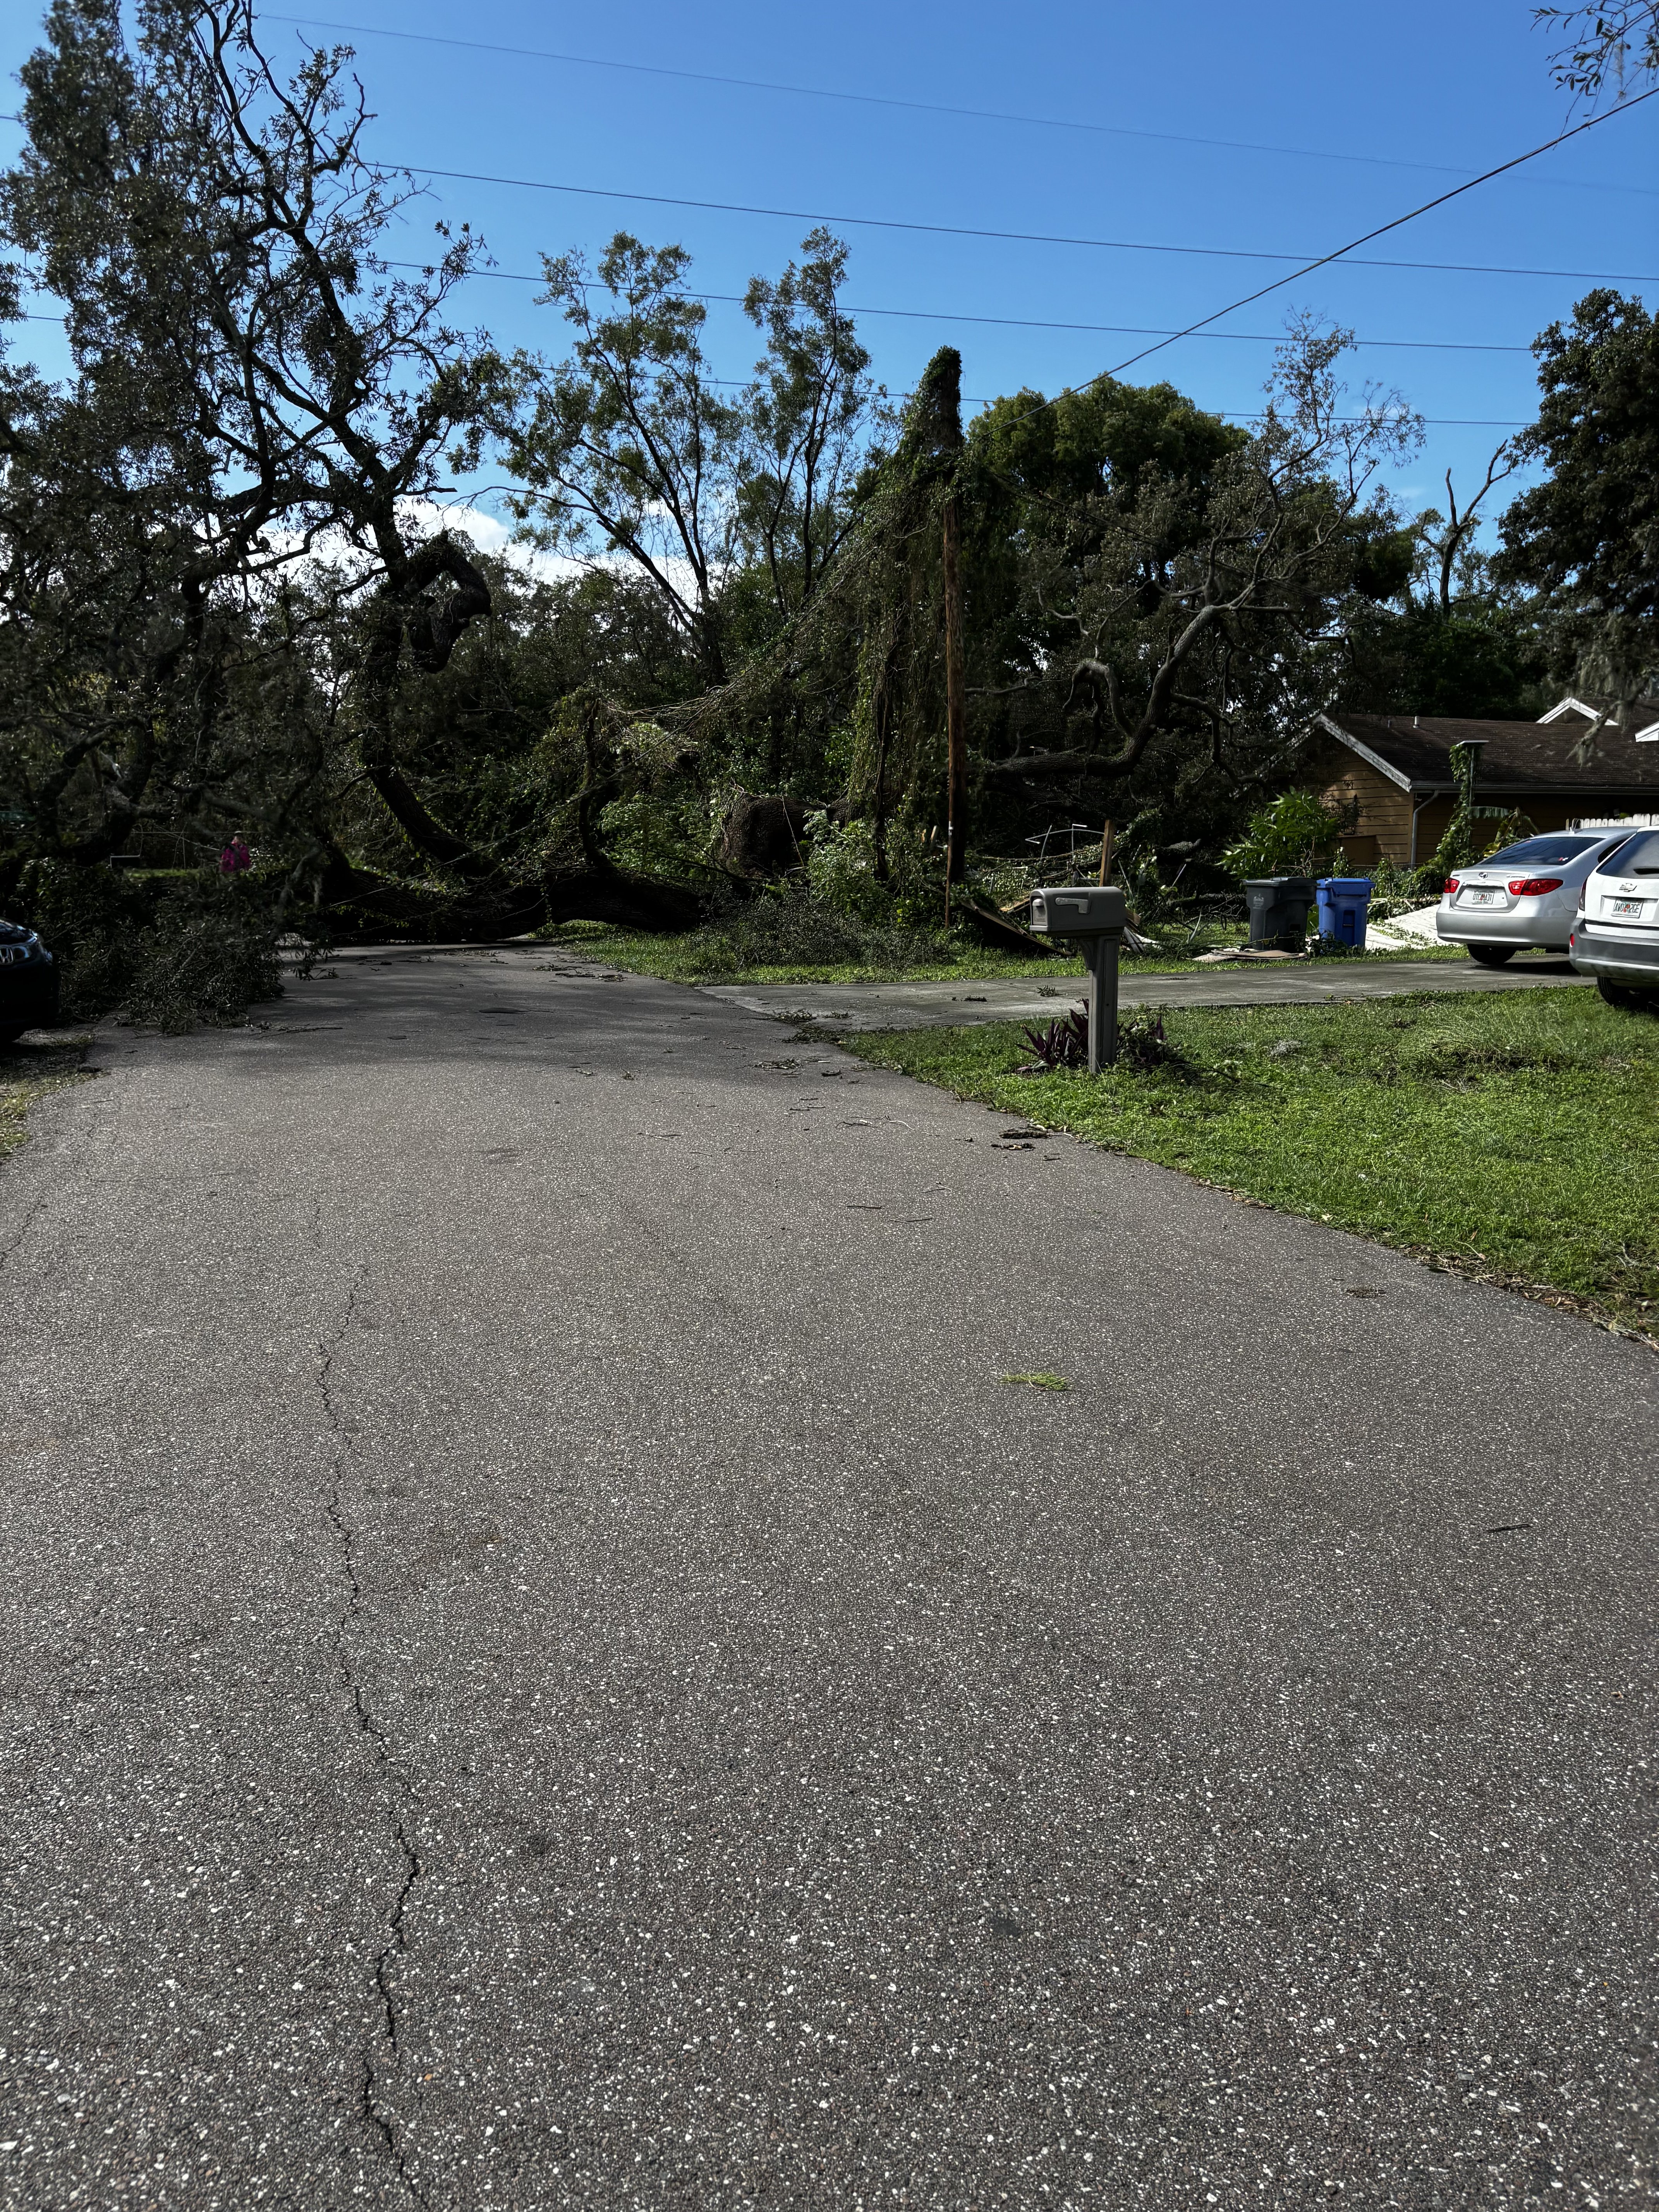
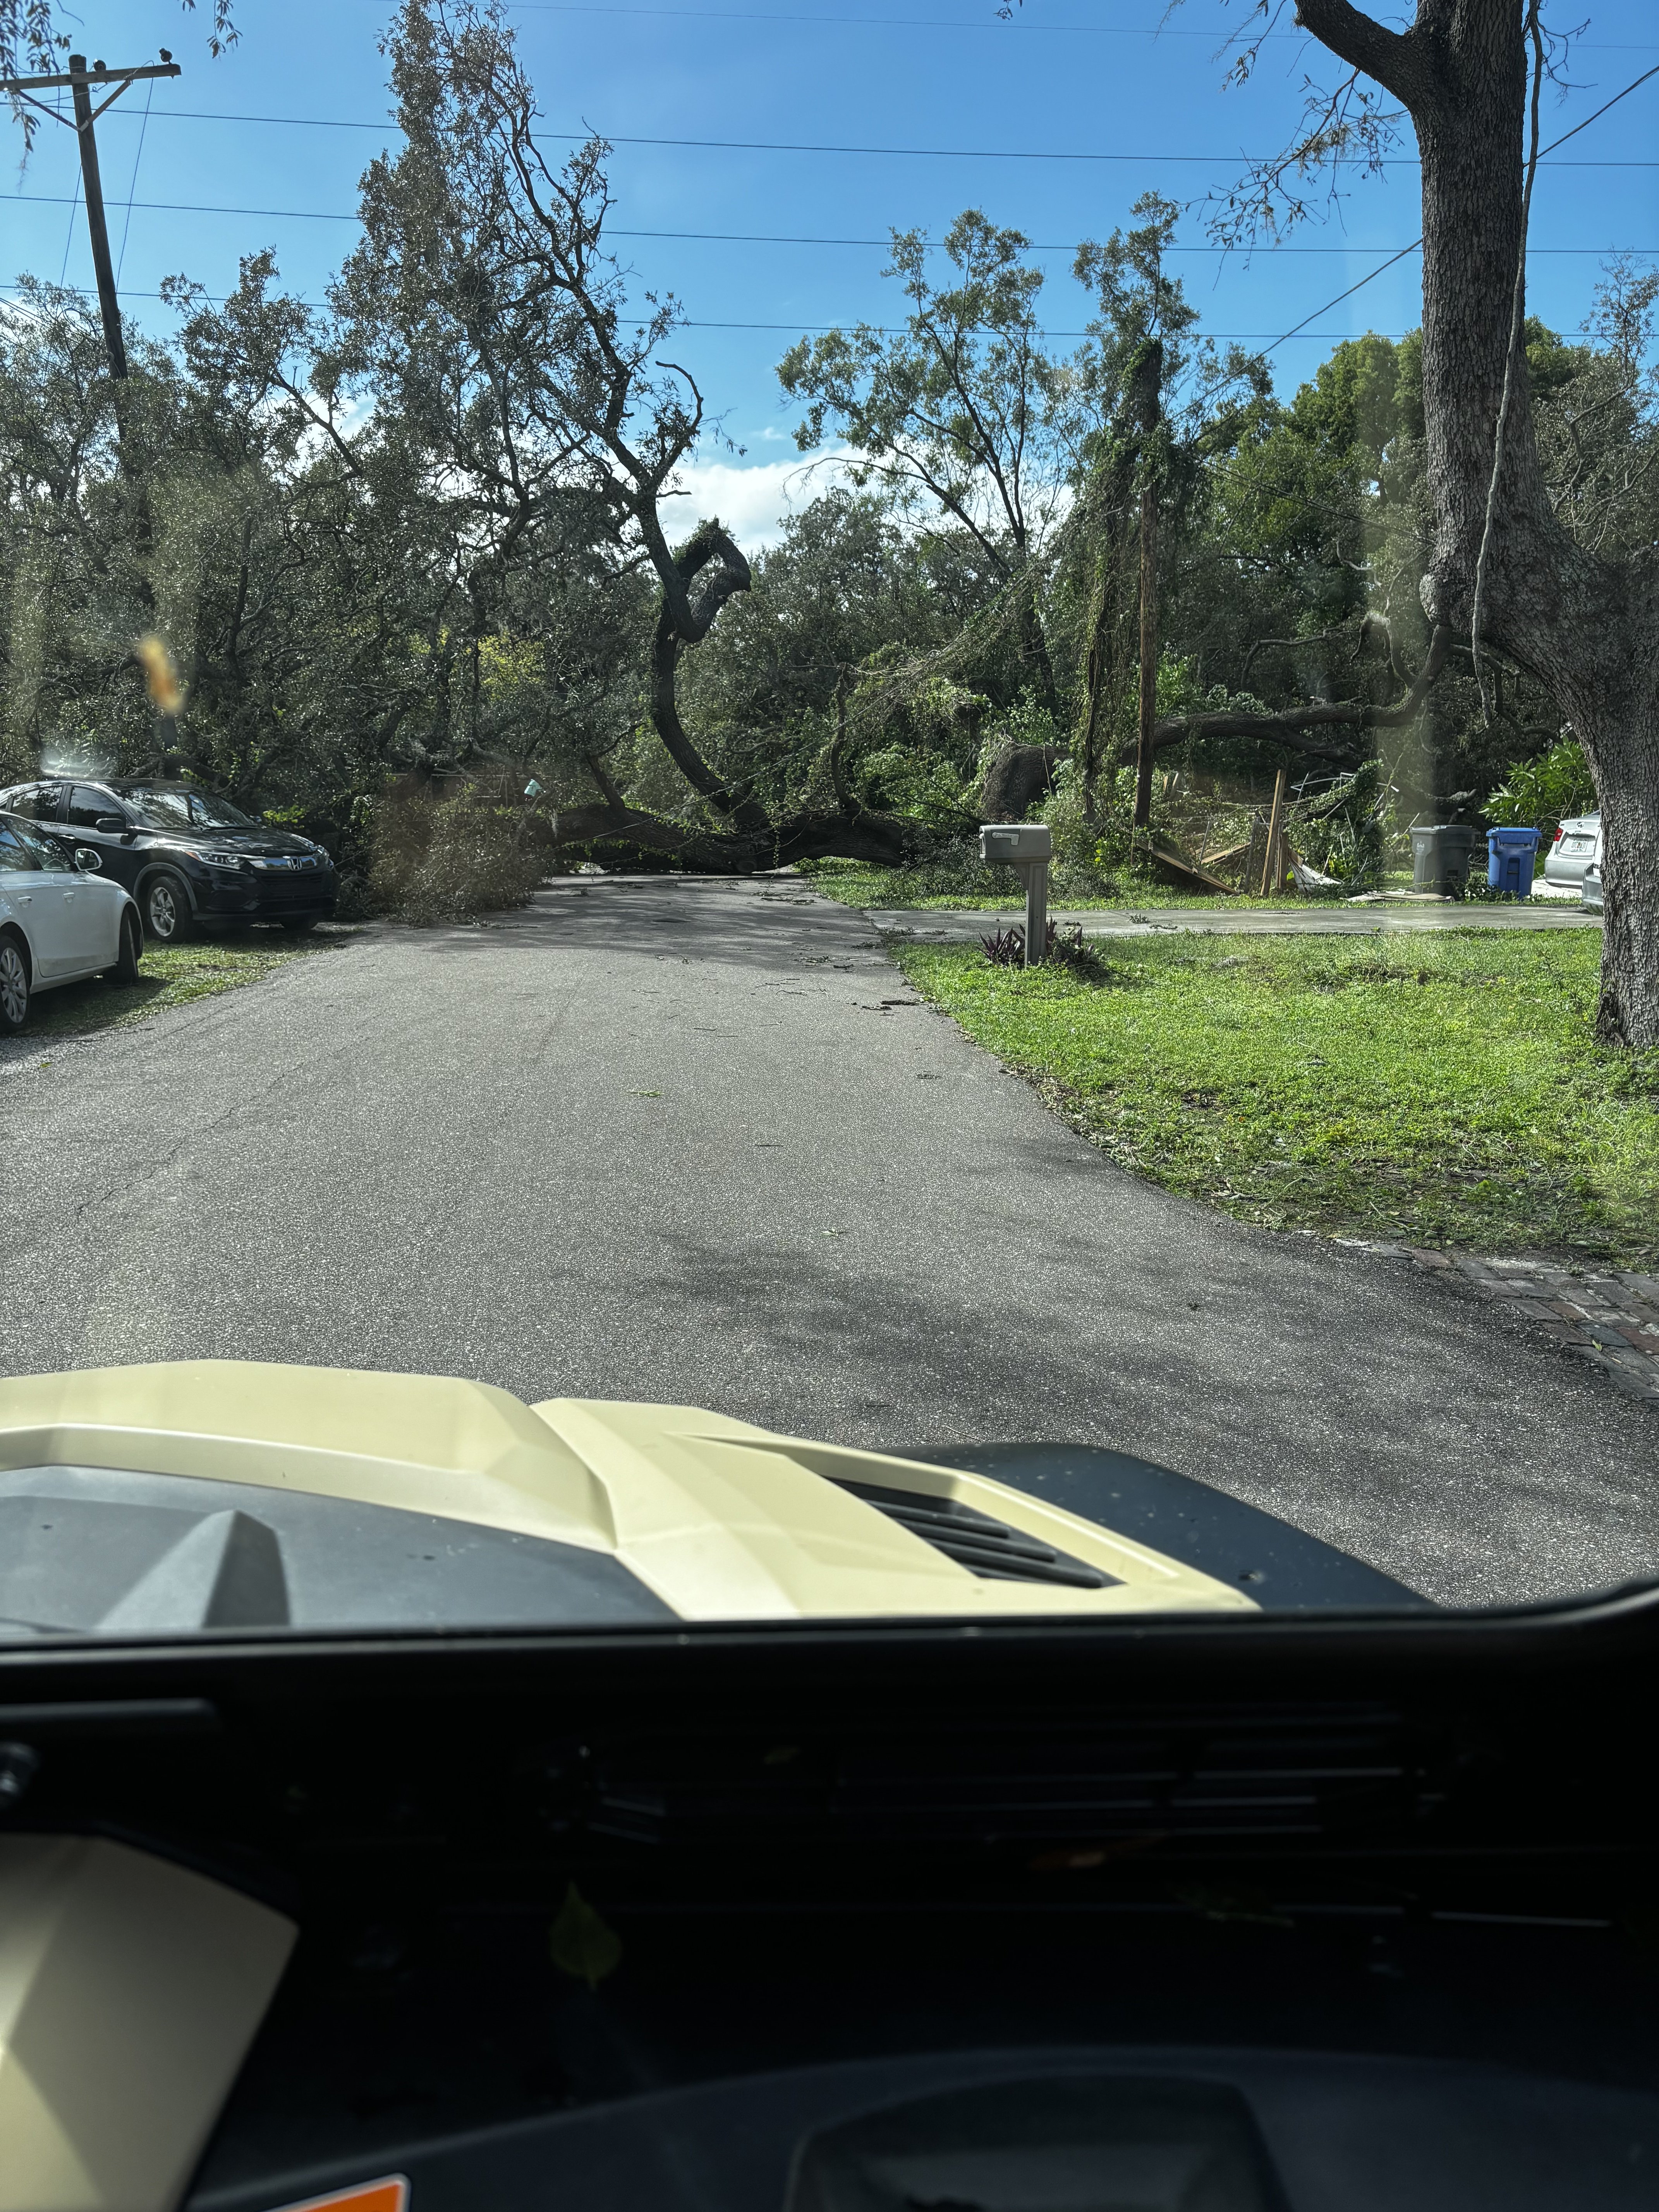
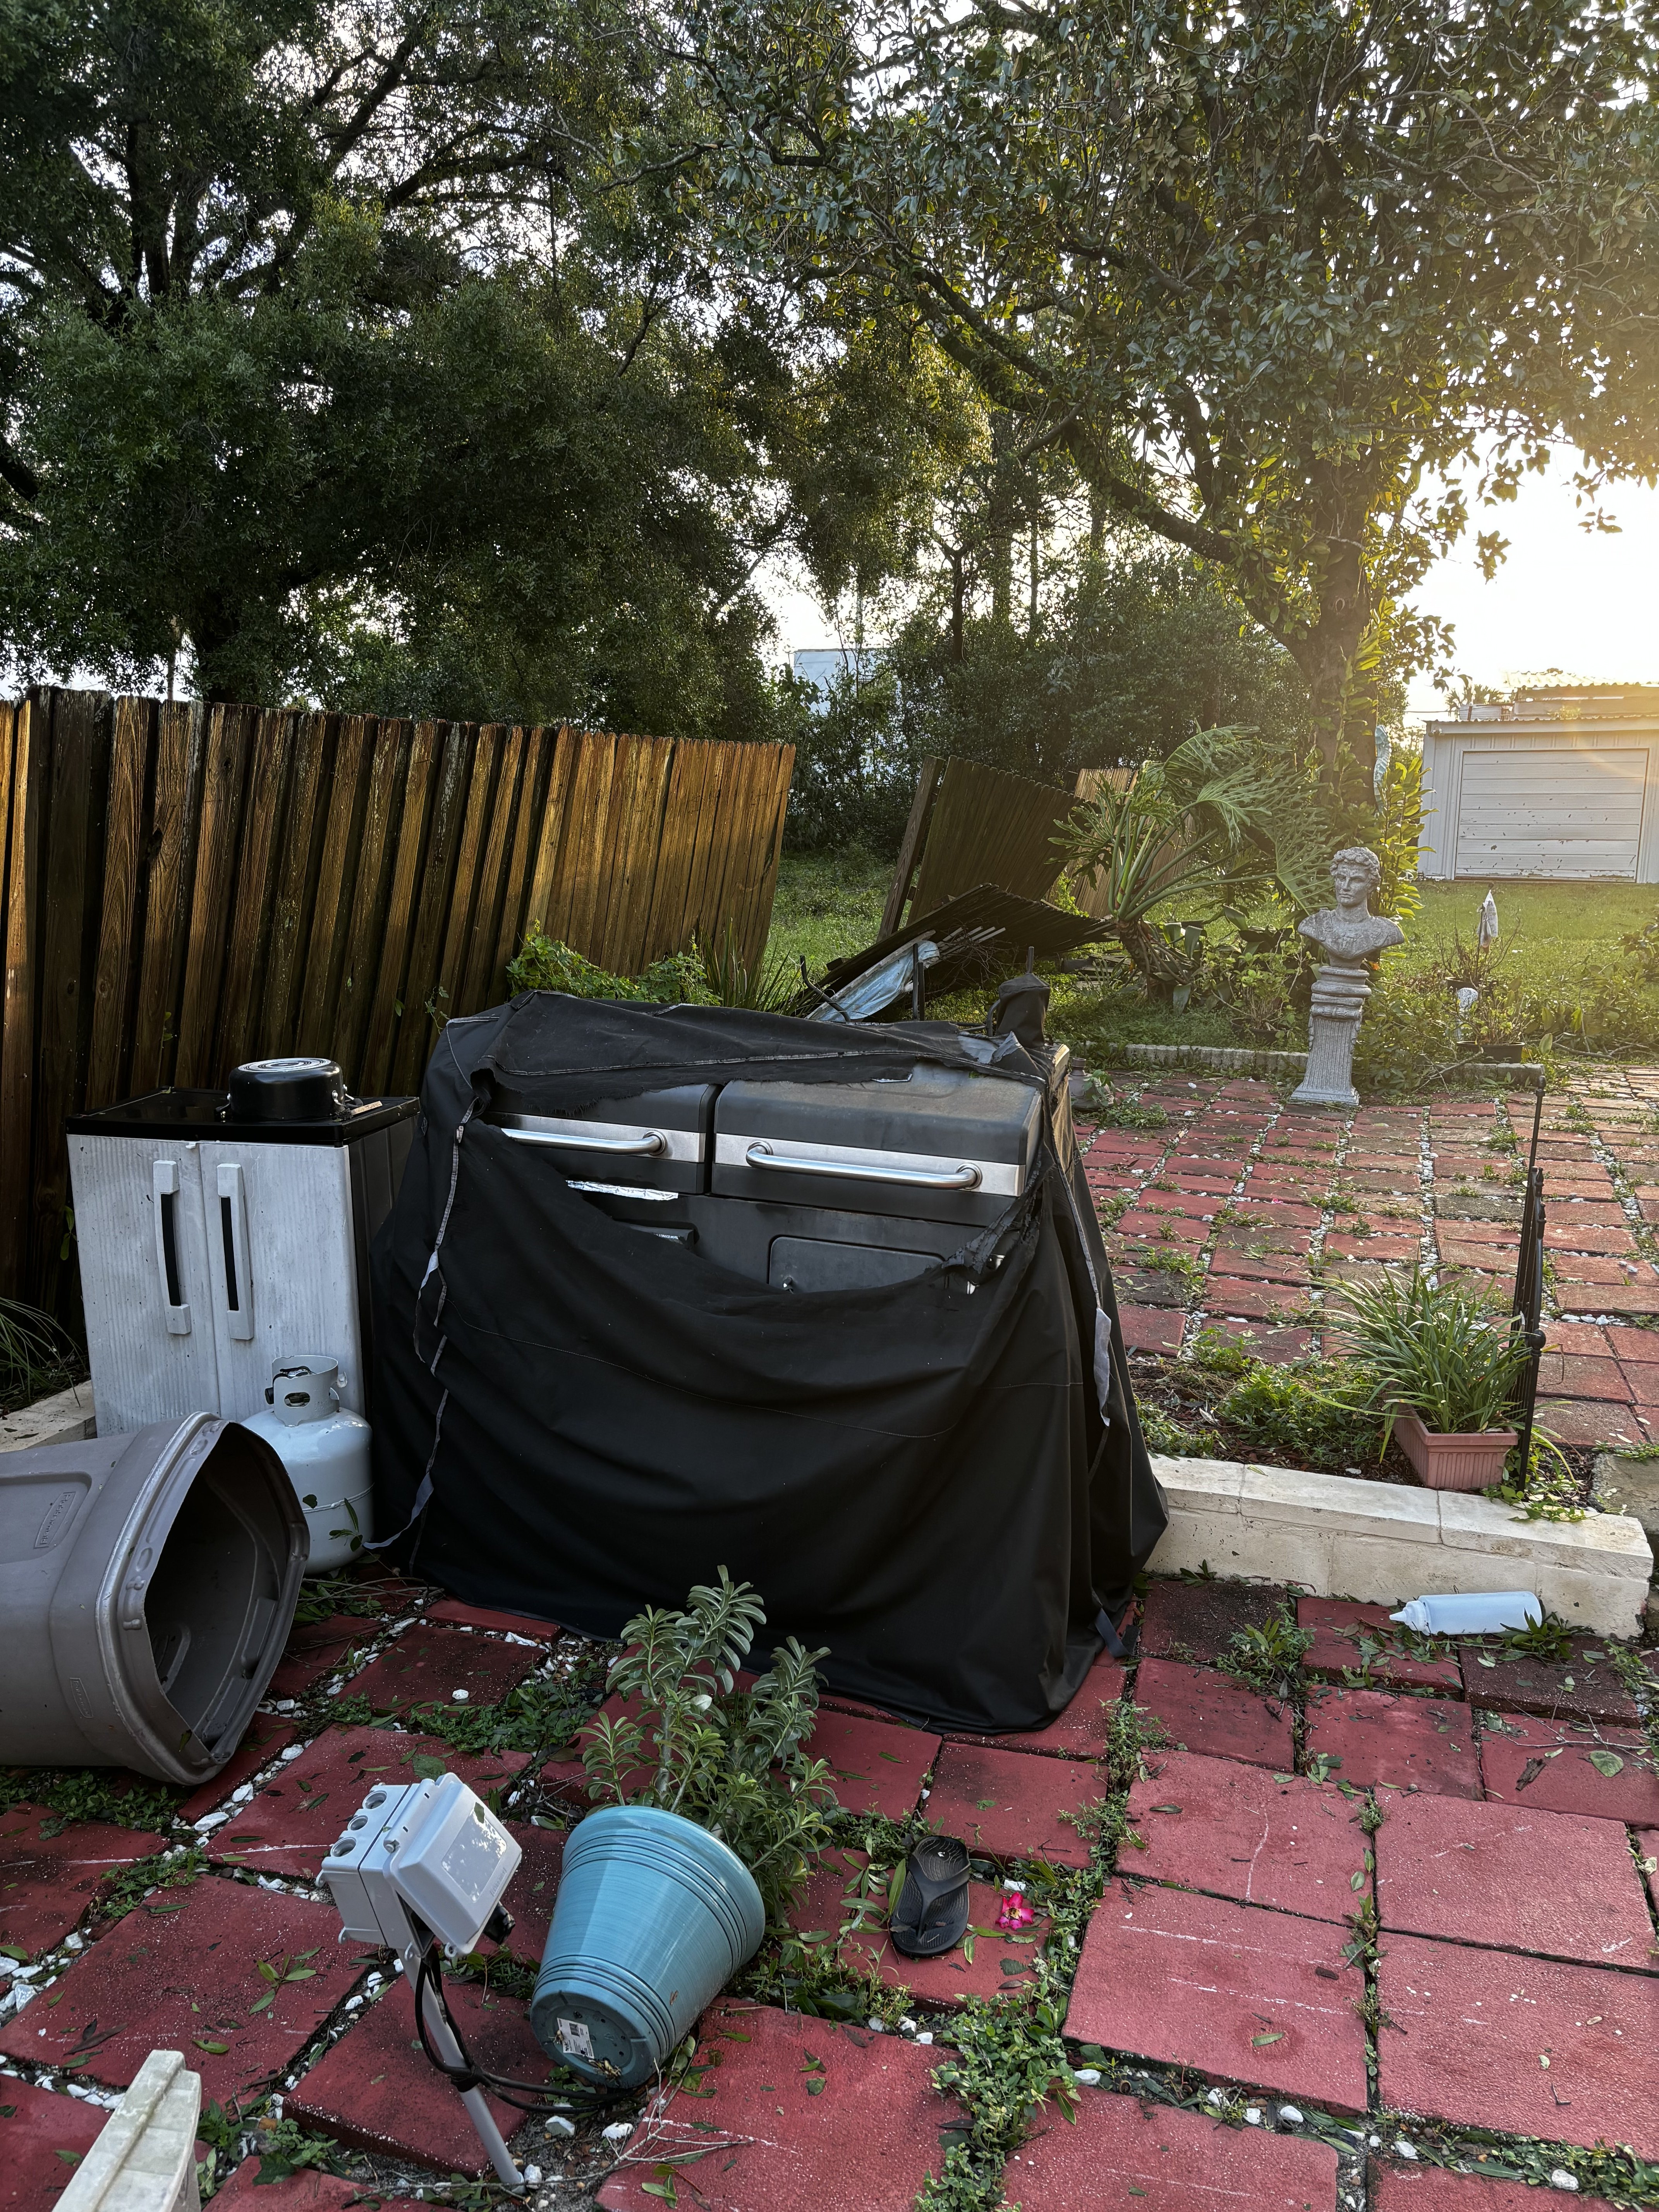
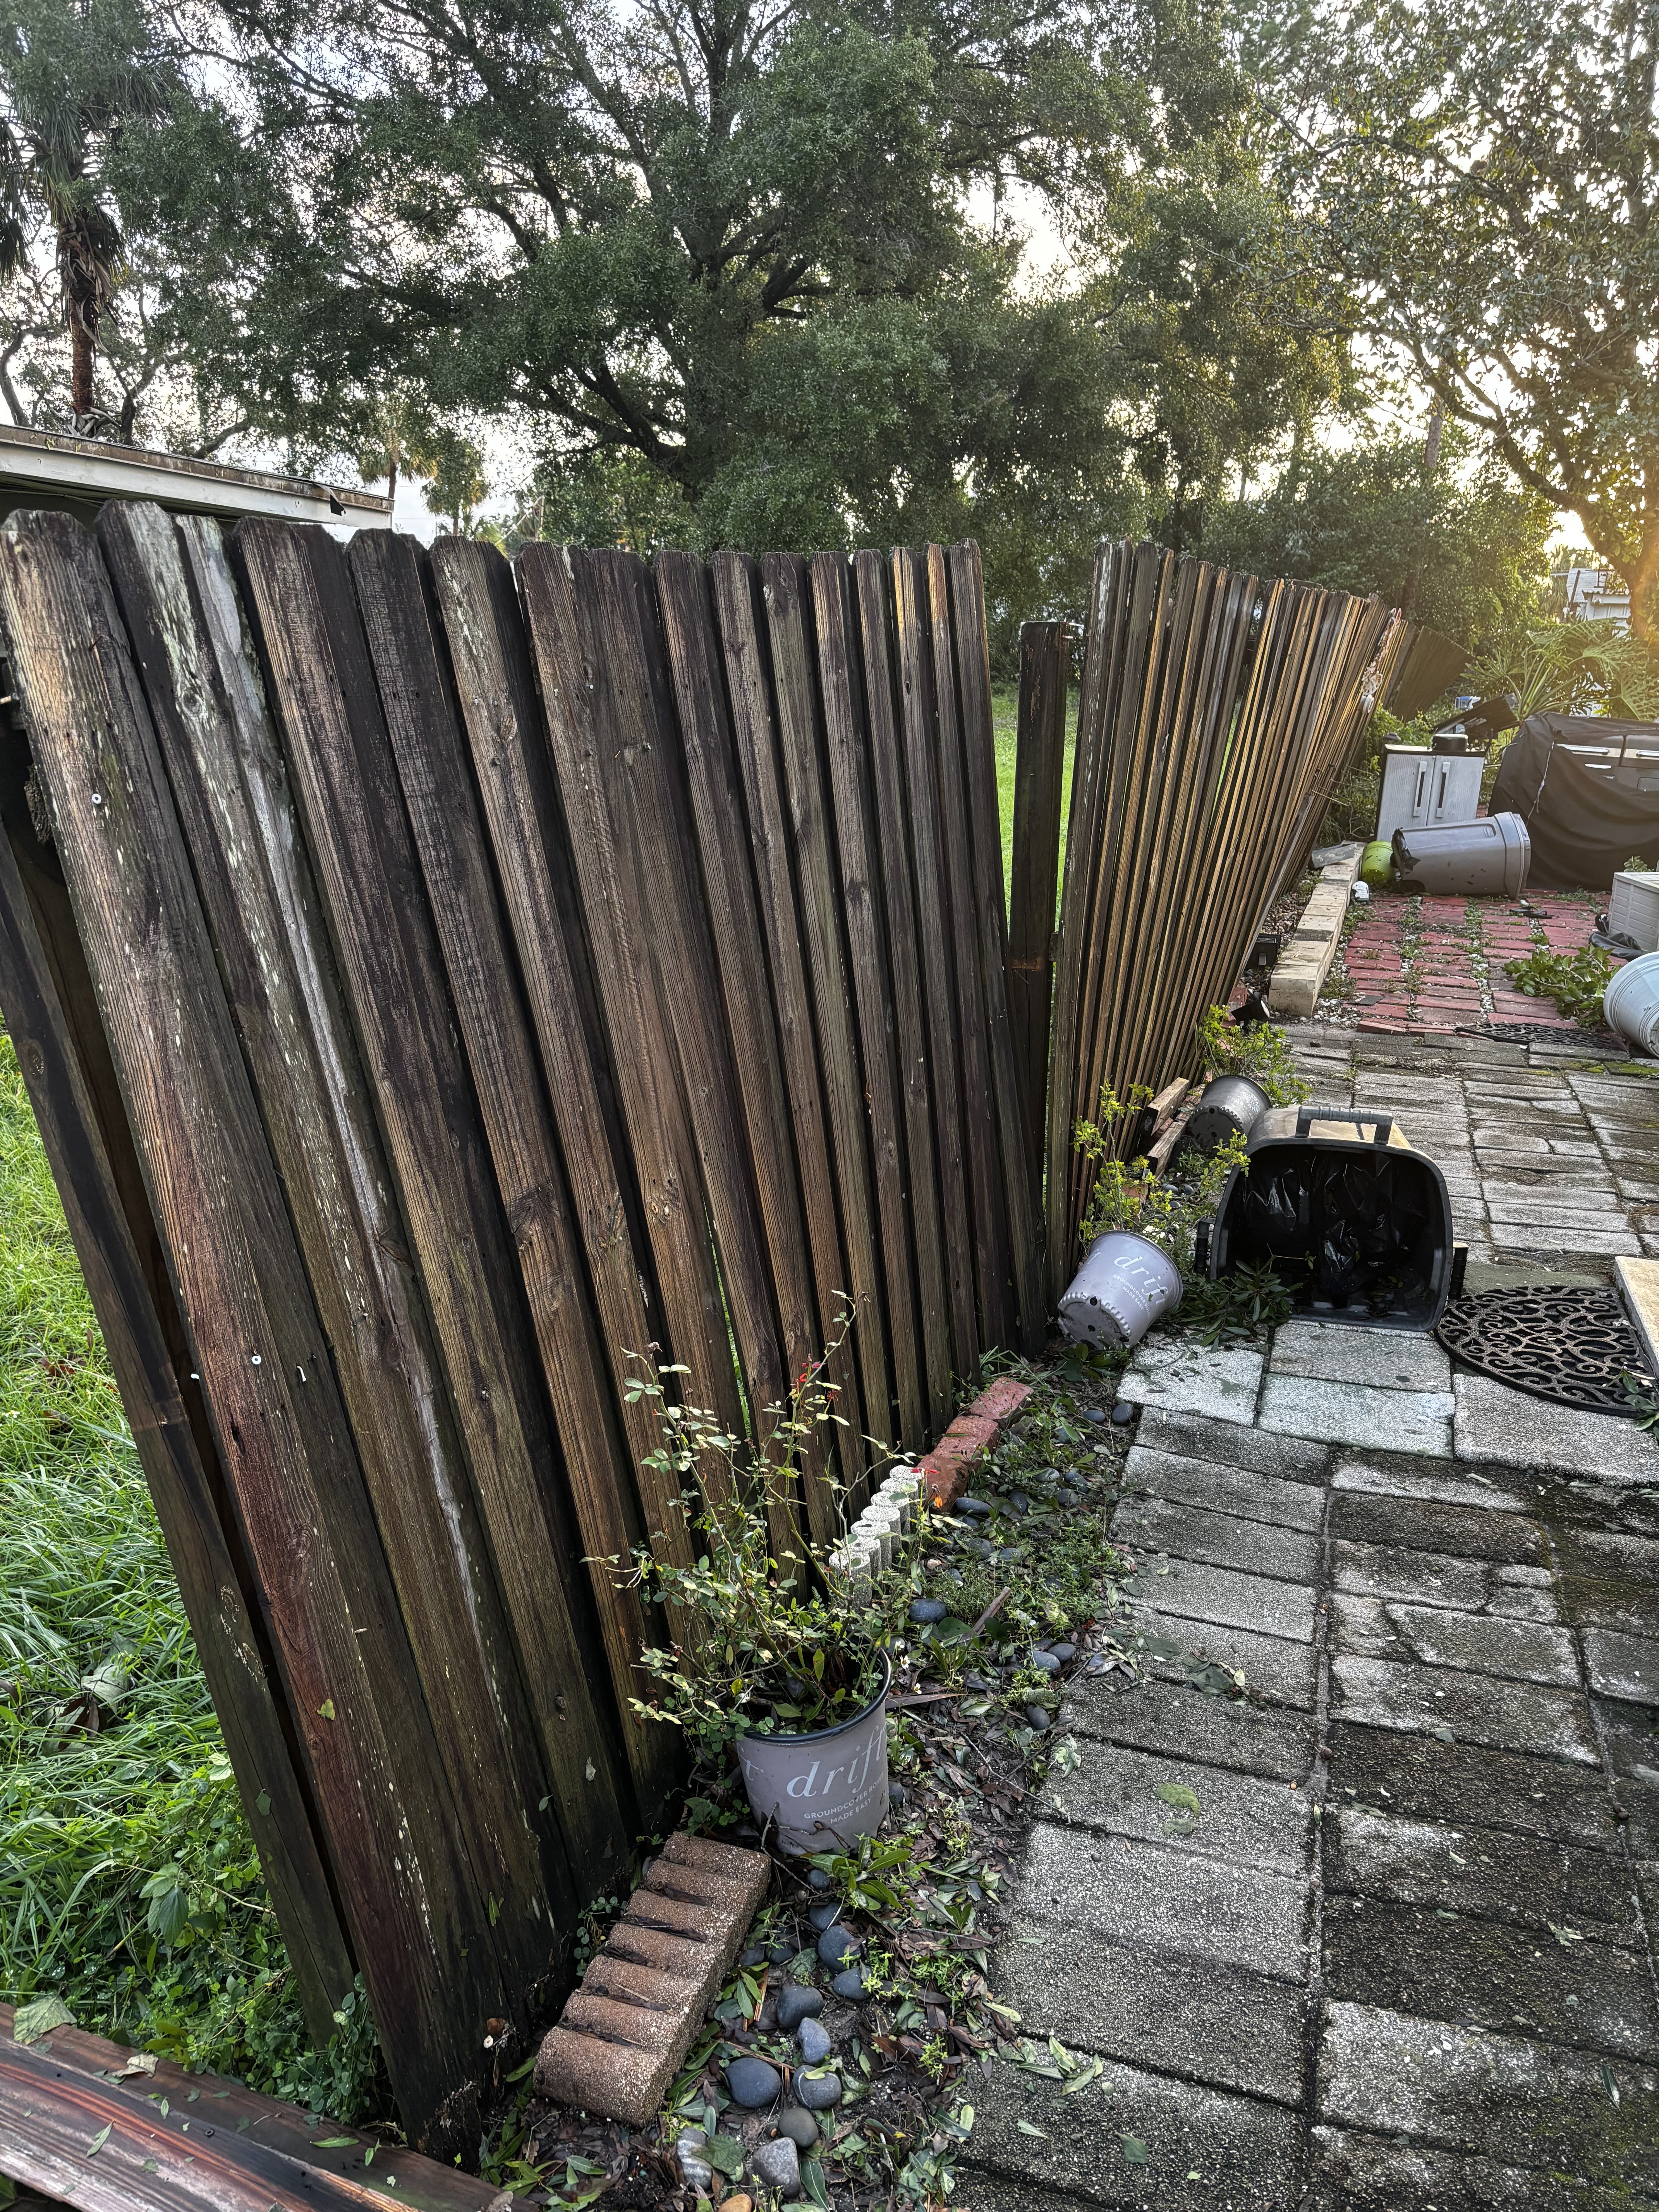
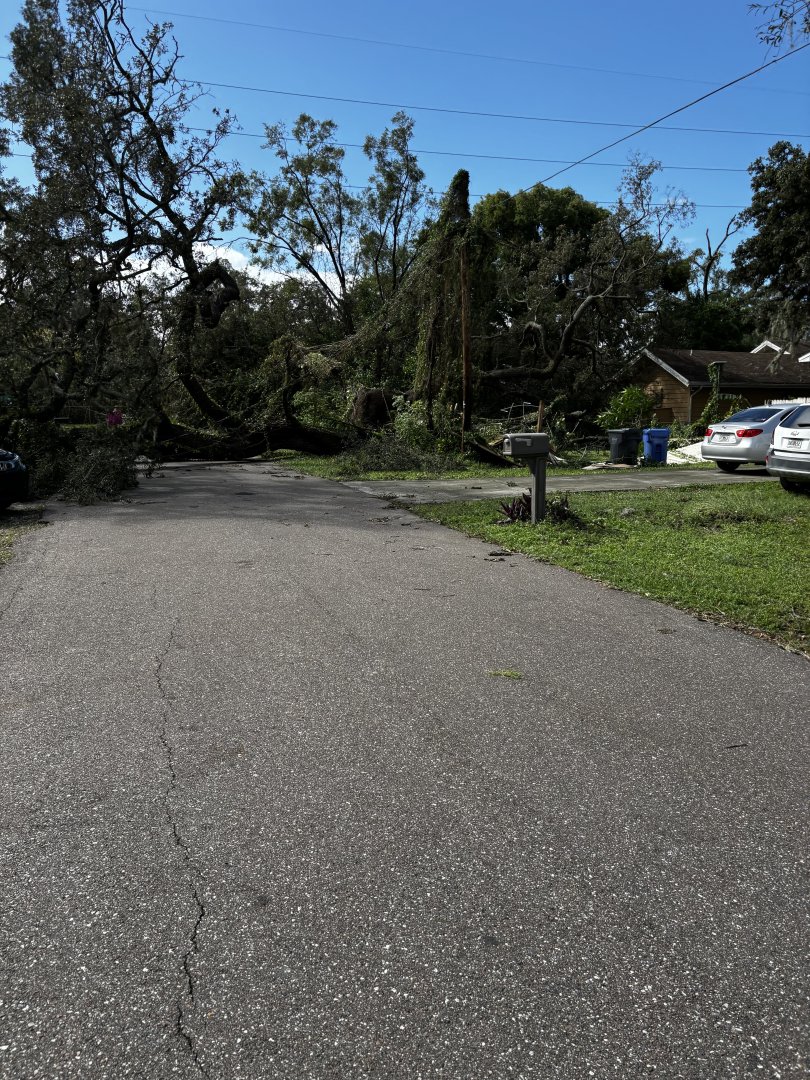
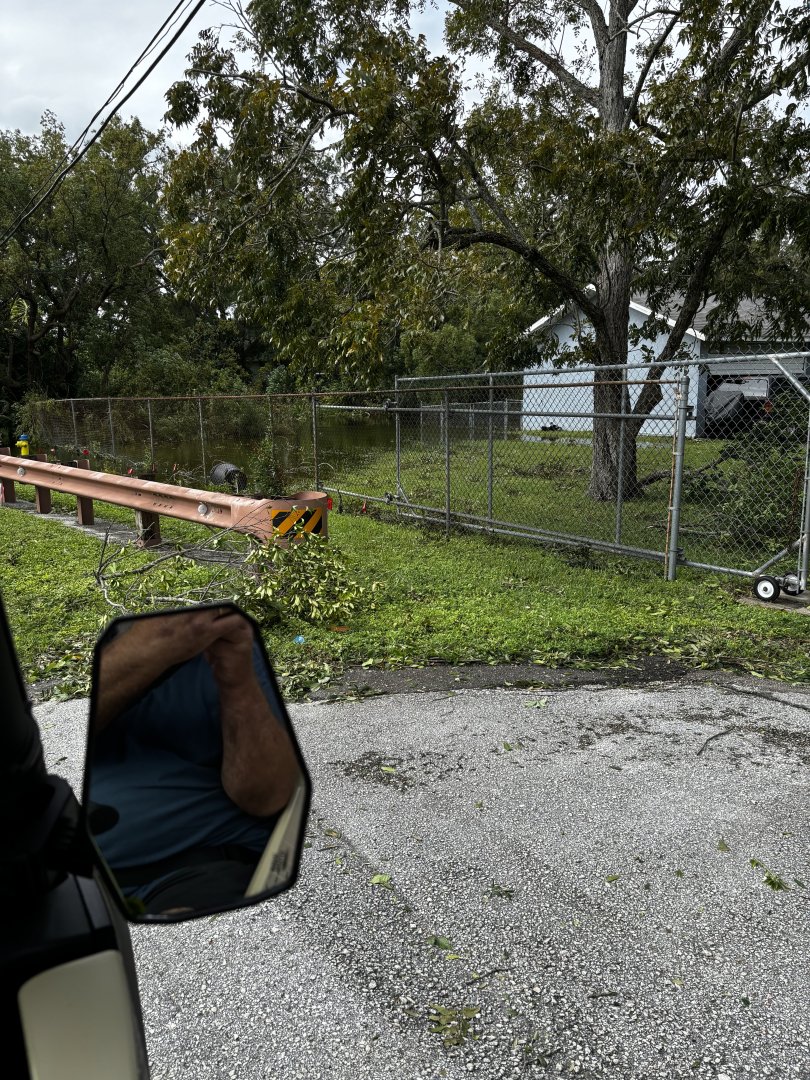
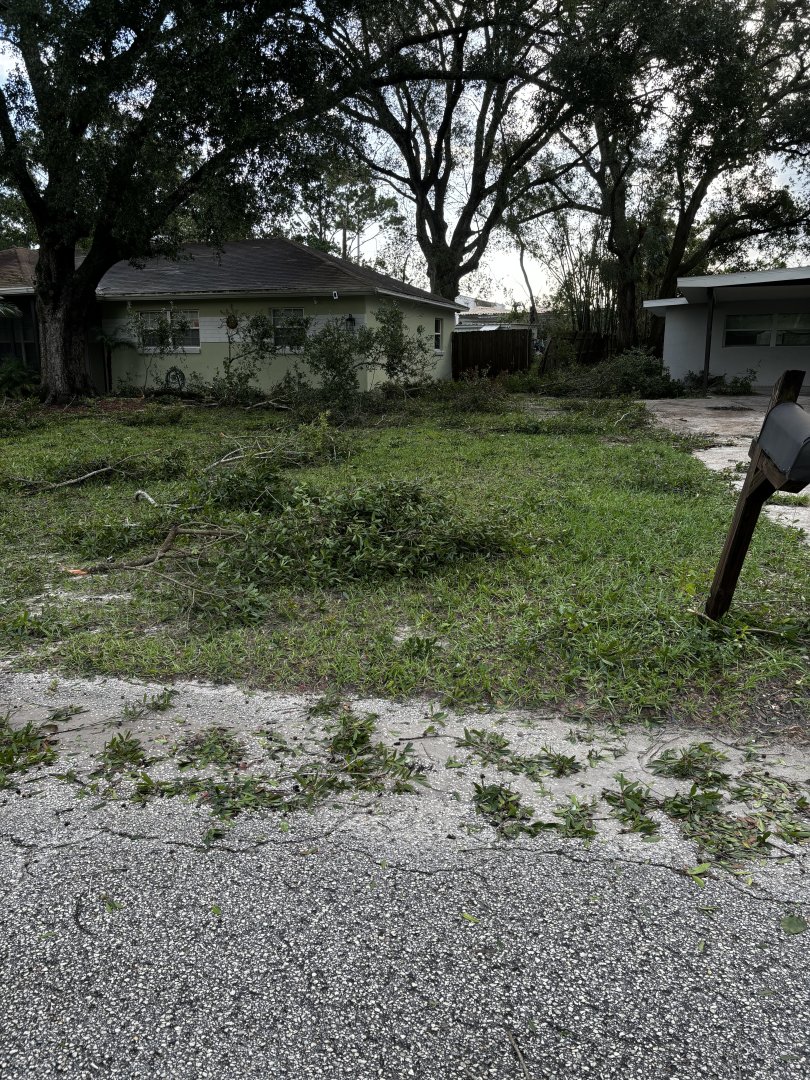
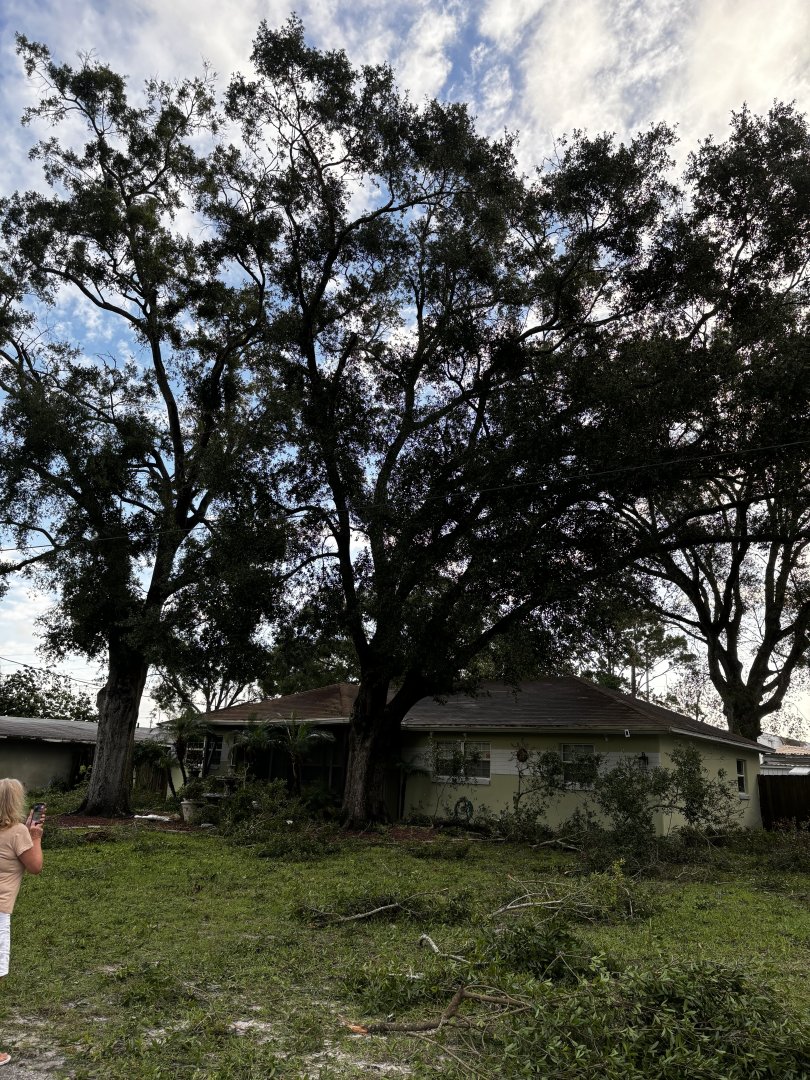
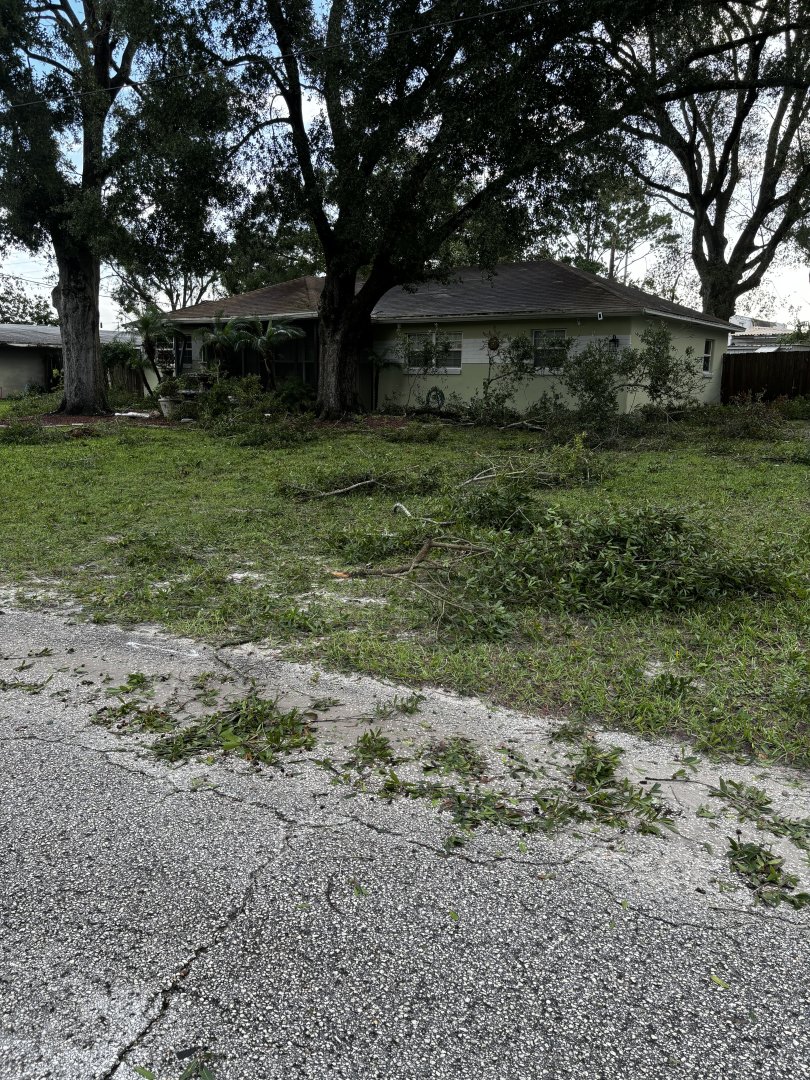
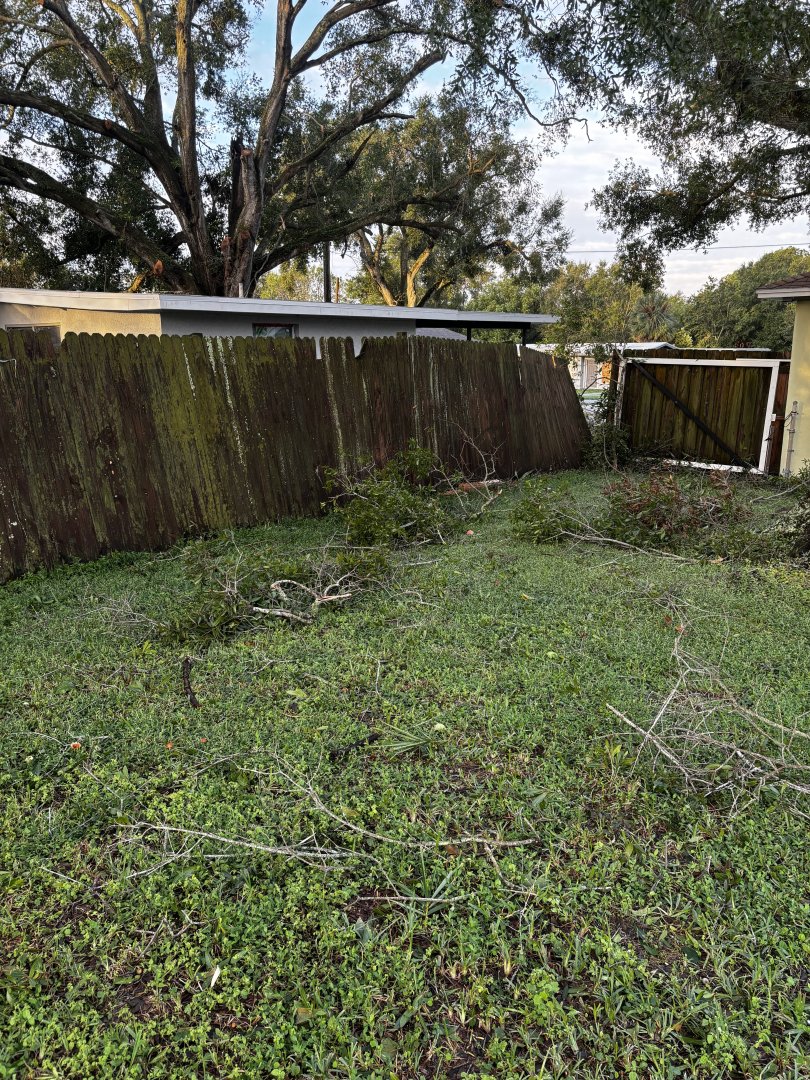
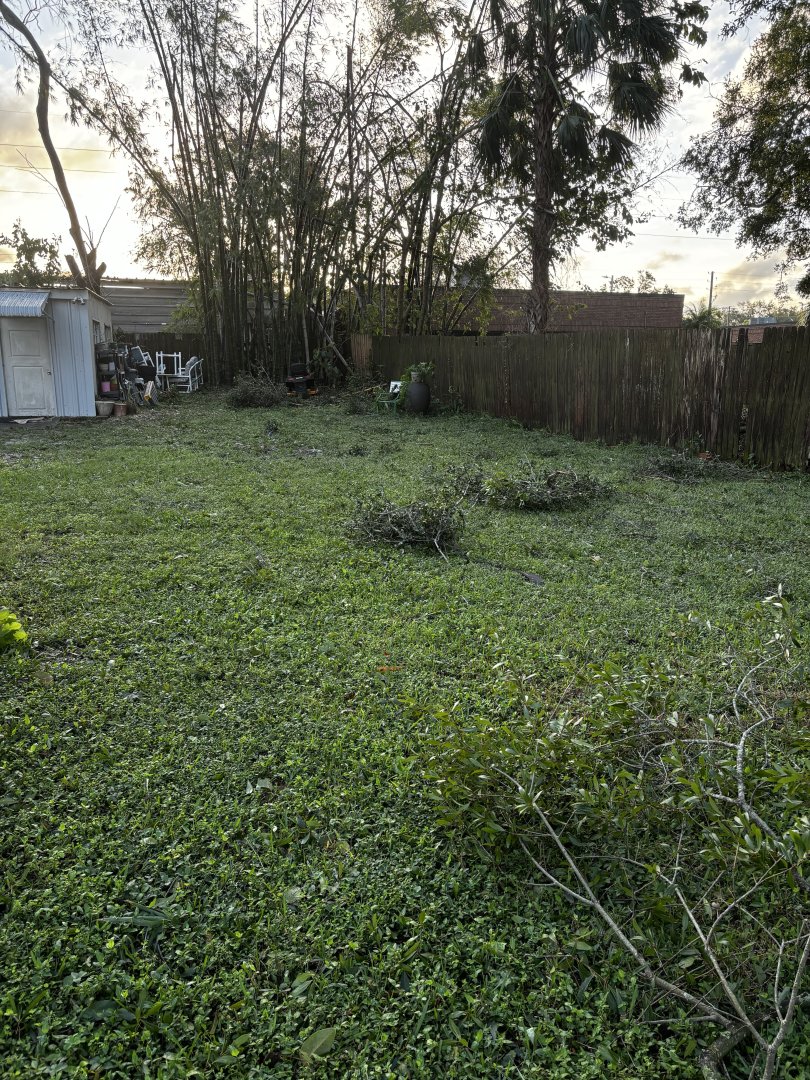
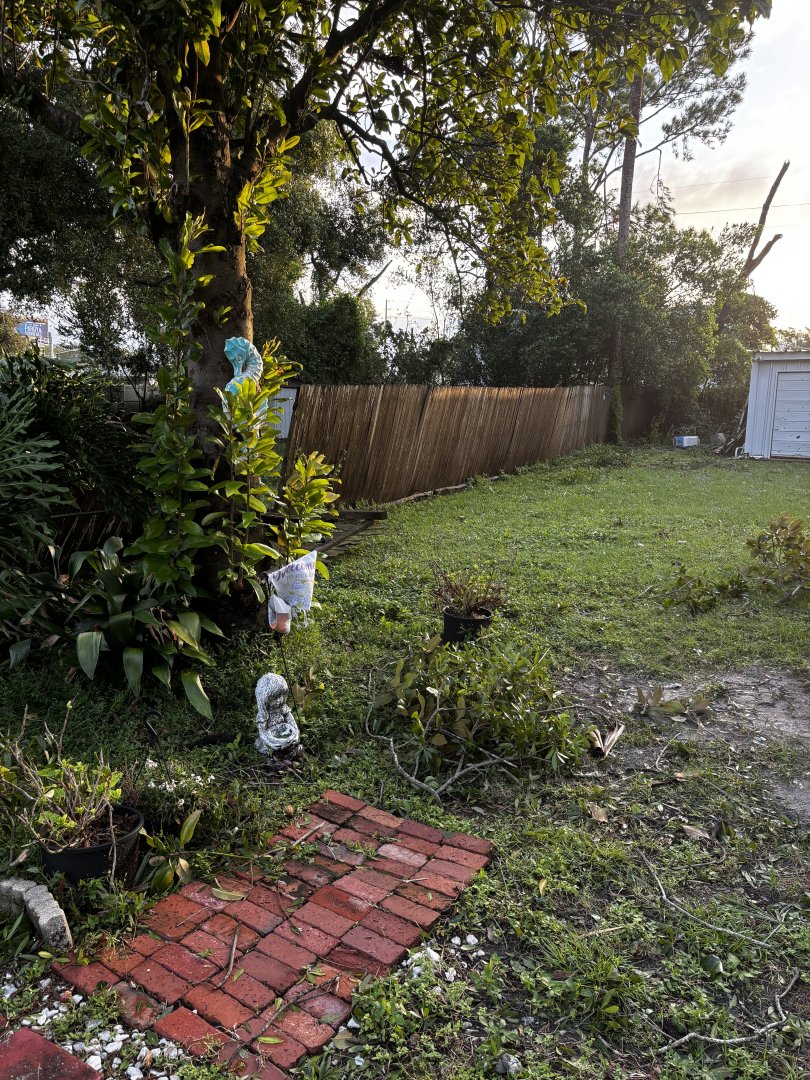
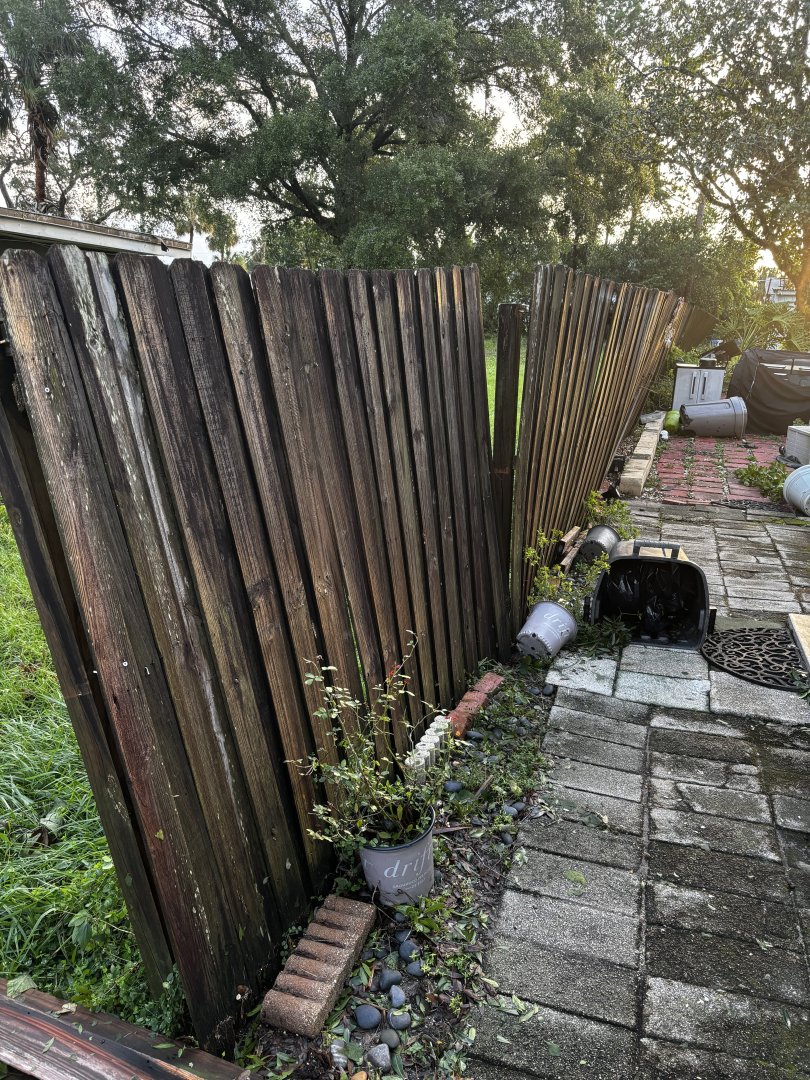
We made it through a long night safely. The wind was loud and constant for hours. Not sure of wind speeds but don’t doubt gusts exceeding 100 mph. My wife hated the noise of it. An unsettling whistle of sorts. First light revealed limbs down all over the place. Some shingles blown off the roof but no leaks. Privacy fence blown down, about 300 feet of it. Power is out. Running my generator. Chain sawed large limbs into smaller pieces drug it out to the roadside. Took a ride on the side by side around the neighborhood. Trees down all over the place. Localized flooding. Saw damaged homes everywhere. Lots of people out clearing their debris. Everyone is cleaning up already.


-
Big tornadoes popping off all over the place south of here. The worst weather is in the southern part of Florida thus far.
-
This is the storm report show I watch. It's live, real-time coverage.
-
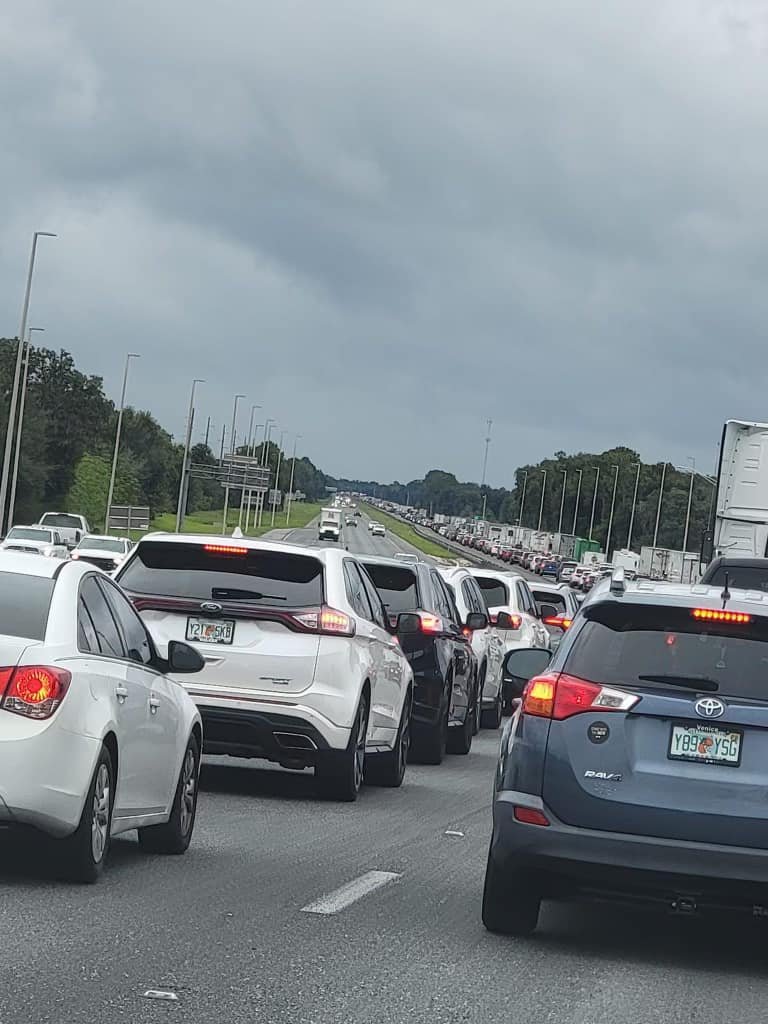
This is what it looked like yesterday on Interstate 75, 15 miles north of Tampa. All the people trying to evacuate. I didn't see any gas stations today who have gasoline in Tampa. I filled all my tanks up this past Saturday. No telling when gas stations might get fuel again, but it could be many days, depending on how much debris the hurricane causes.
-
Good website. I'll save that one. Thanks Jav.