CDW
-
Posts
7,755 -
Joined
-
Last visited
Content Type
Profiles
Forums
Gallery
Events
Everything posted by CDW
-
 Thanks for the nice comments guys. Yes, it's Ascot Brown. It's a custom Tamiya mix. 2 parts flat yellow, 1 part flat red, and 4 parts hull red. Last night I masked off the seats and steering wheel then finished the detailed painting of those. Maybe I will find the time over this long weekend to finish the interior and start painting the body panels. There are numerous panels, and I am concerned about getting all the panels to match shade. There's no practical way to paint it all assembled.
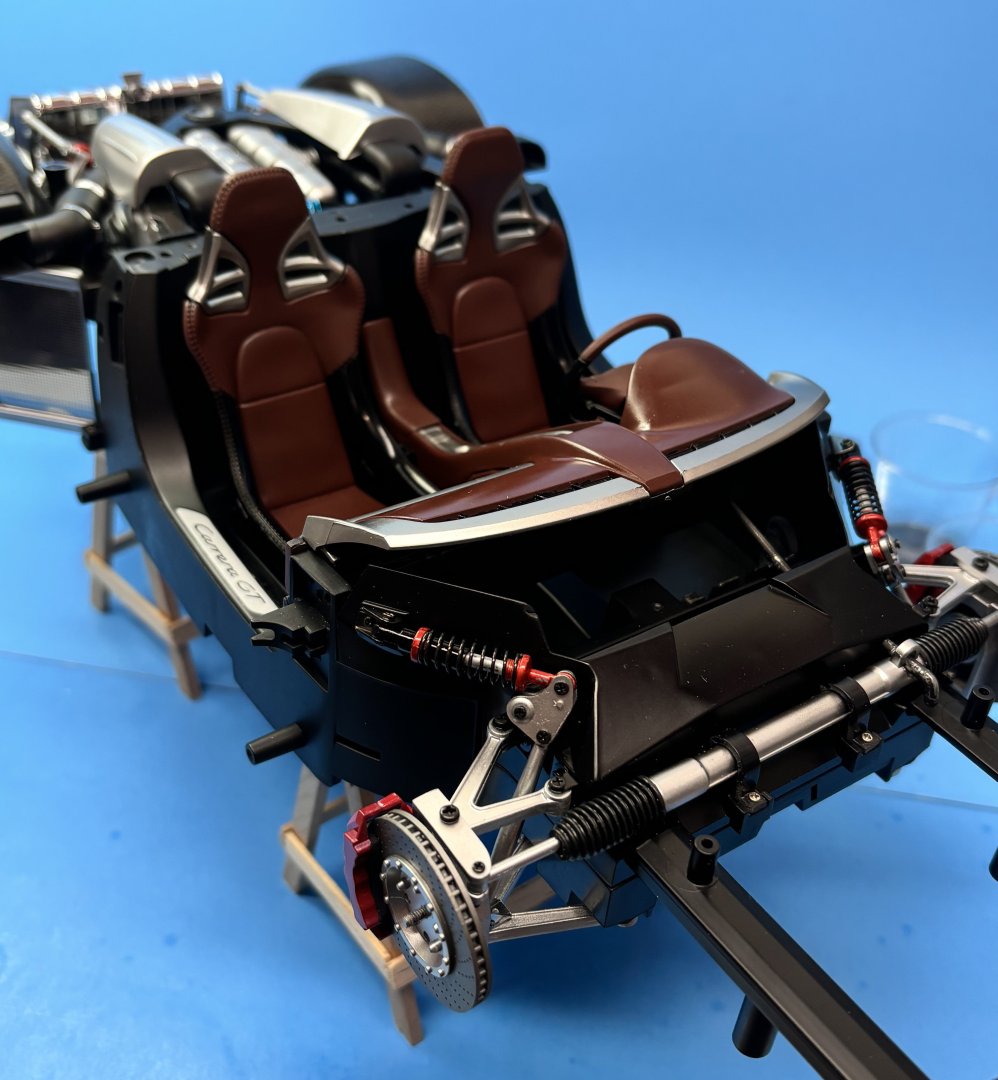

- 264 replies
-
- 13
-

-

-

-
Sadly, Spraygunner quit carrying/restocking the Mr Color line. He was my go-to up until then. He's just 10 miles or less from my house.
-
I order all my Mr Color paints from scalehobbyist.com His inventory and reliability are second to none.
-
That looks great! You are keeping Tamiya tape production workers in business, but it's by far the best tape for our scale model work, at least the best I have found. I'm always open to lower cost alternatives but not at a cut in quality.
-
Looks magnificently precise, just like the real thing.
-
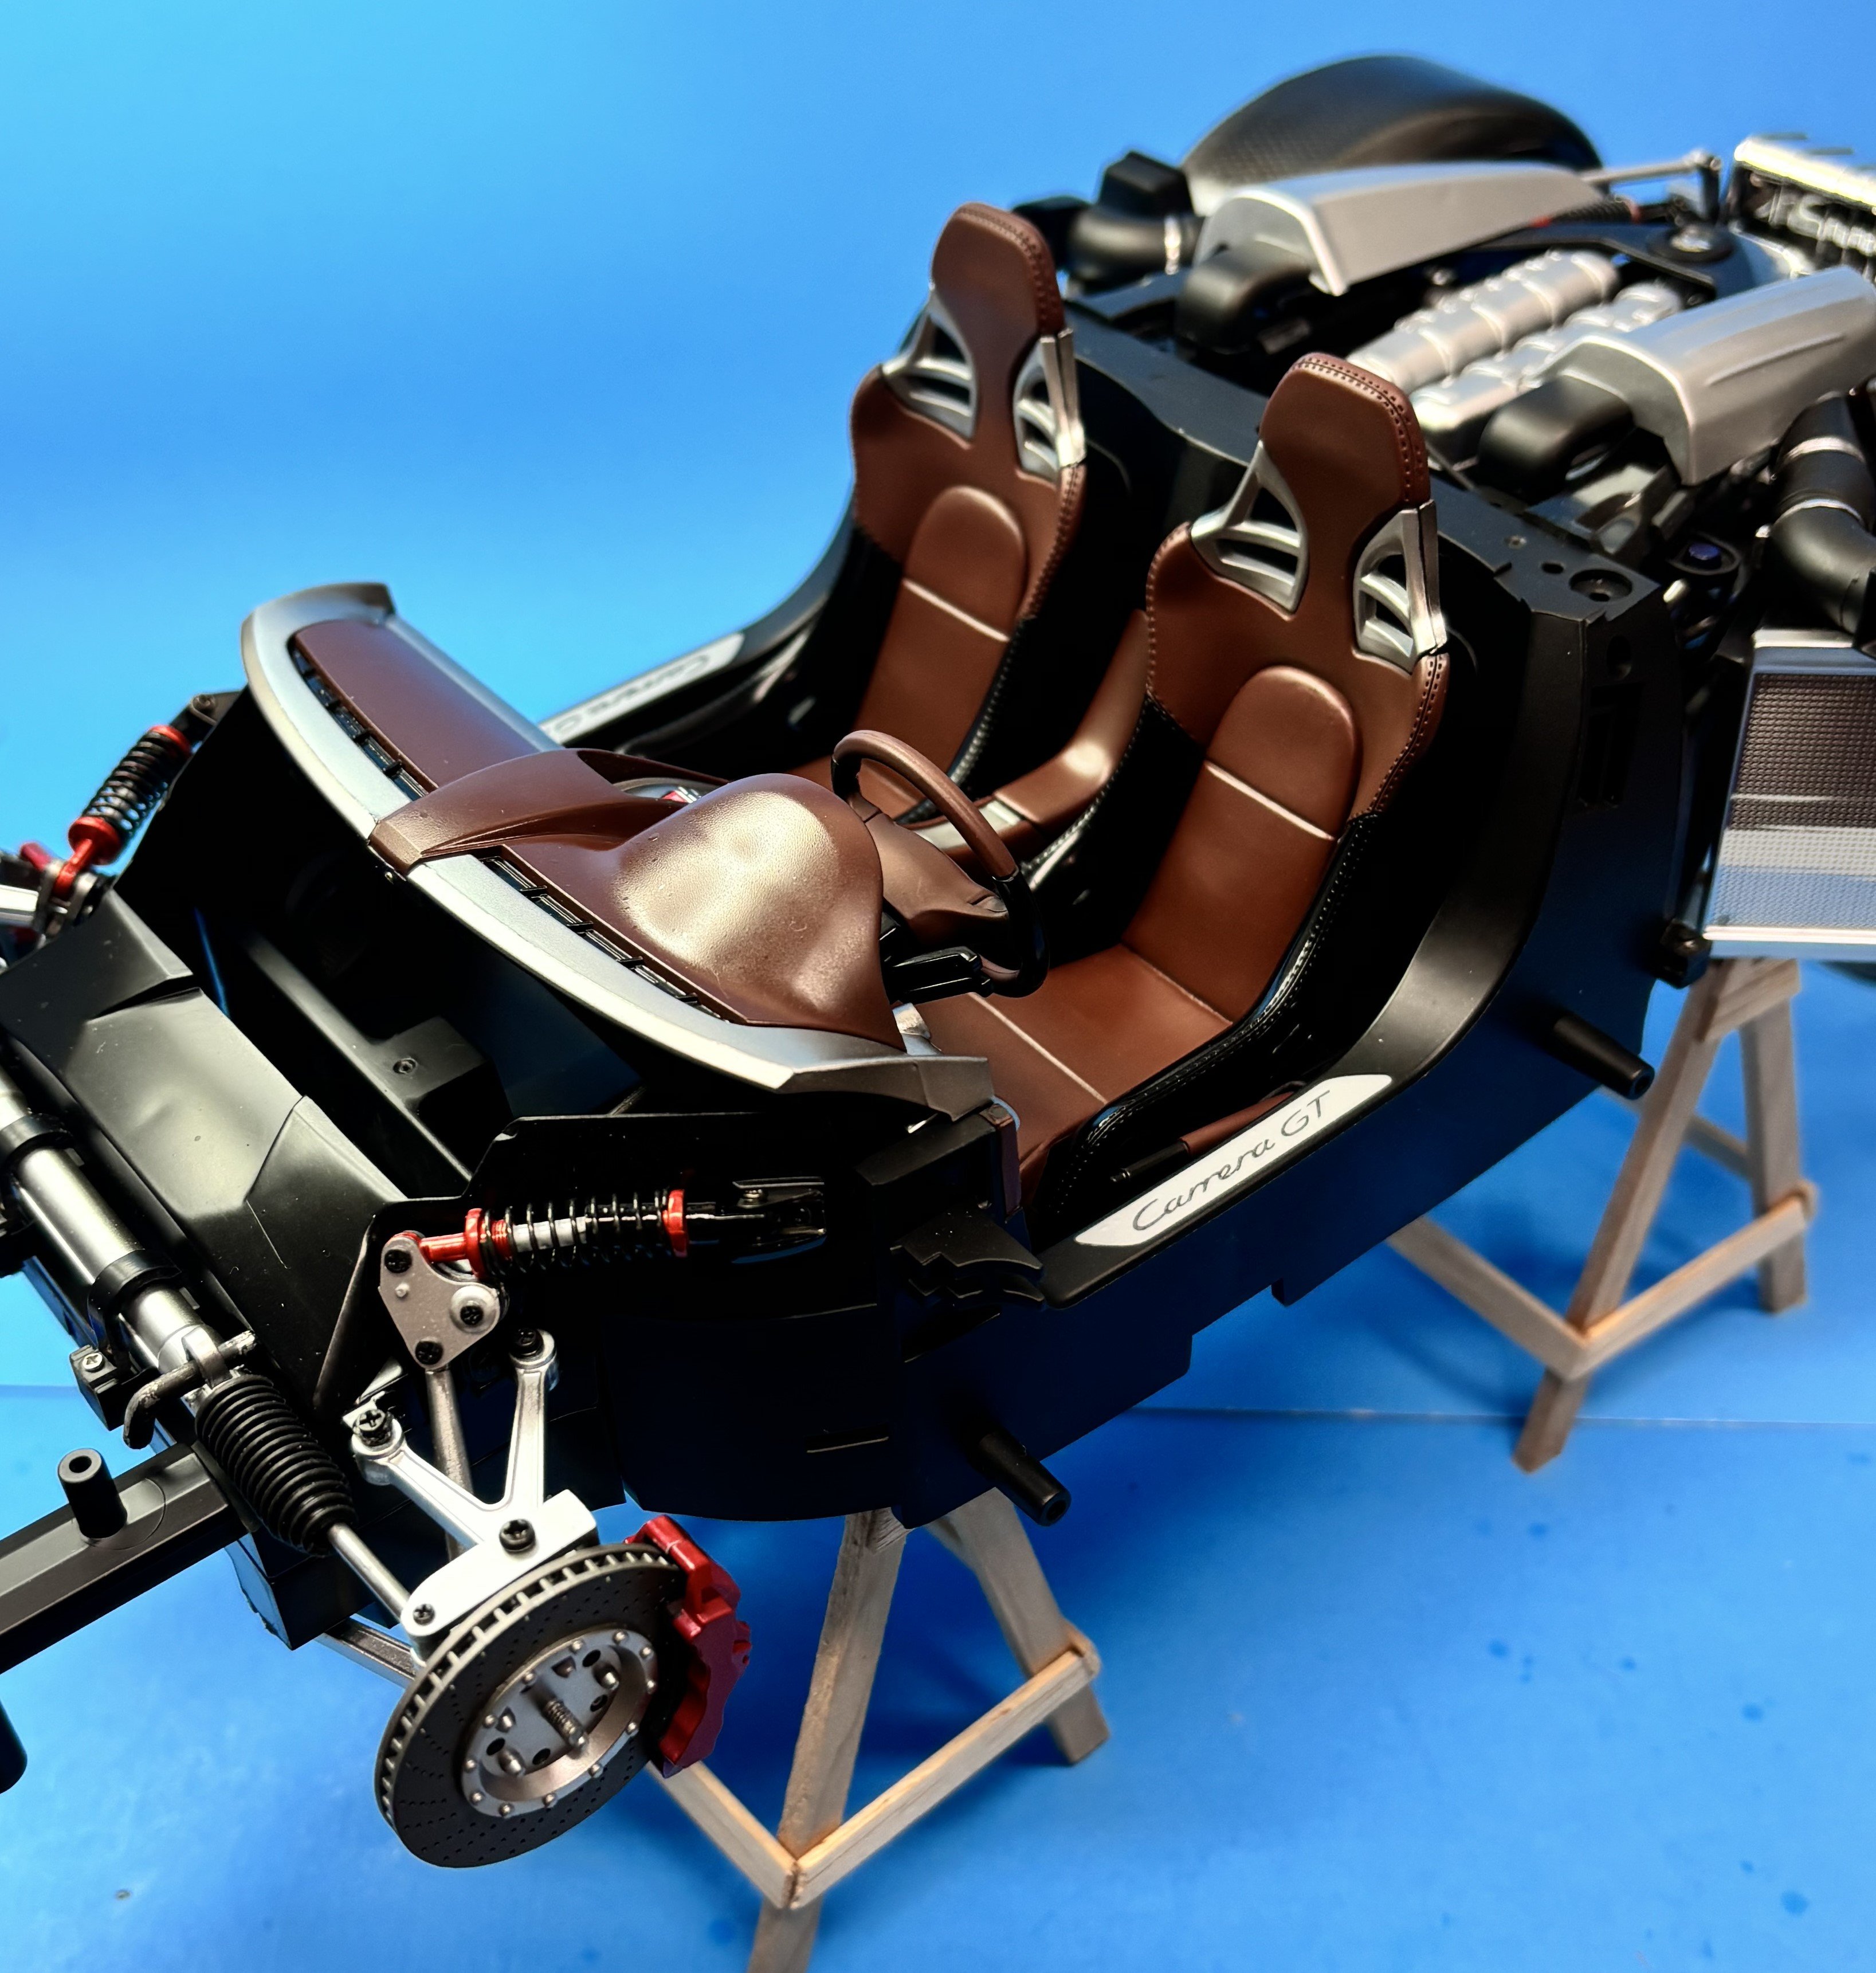
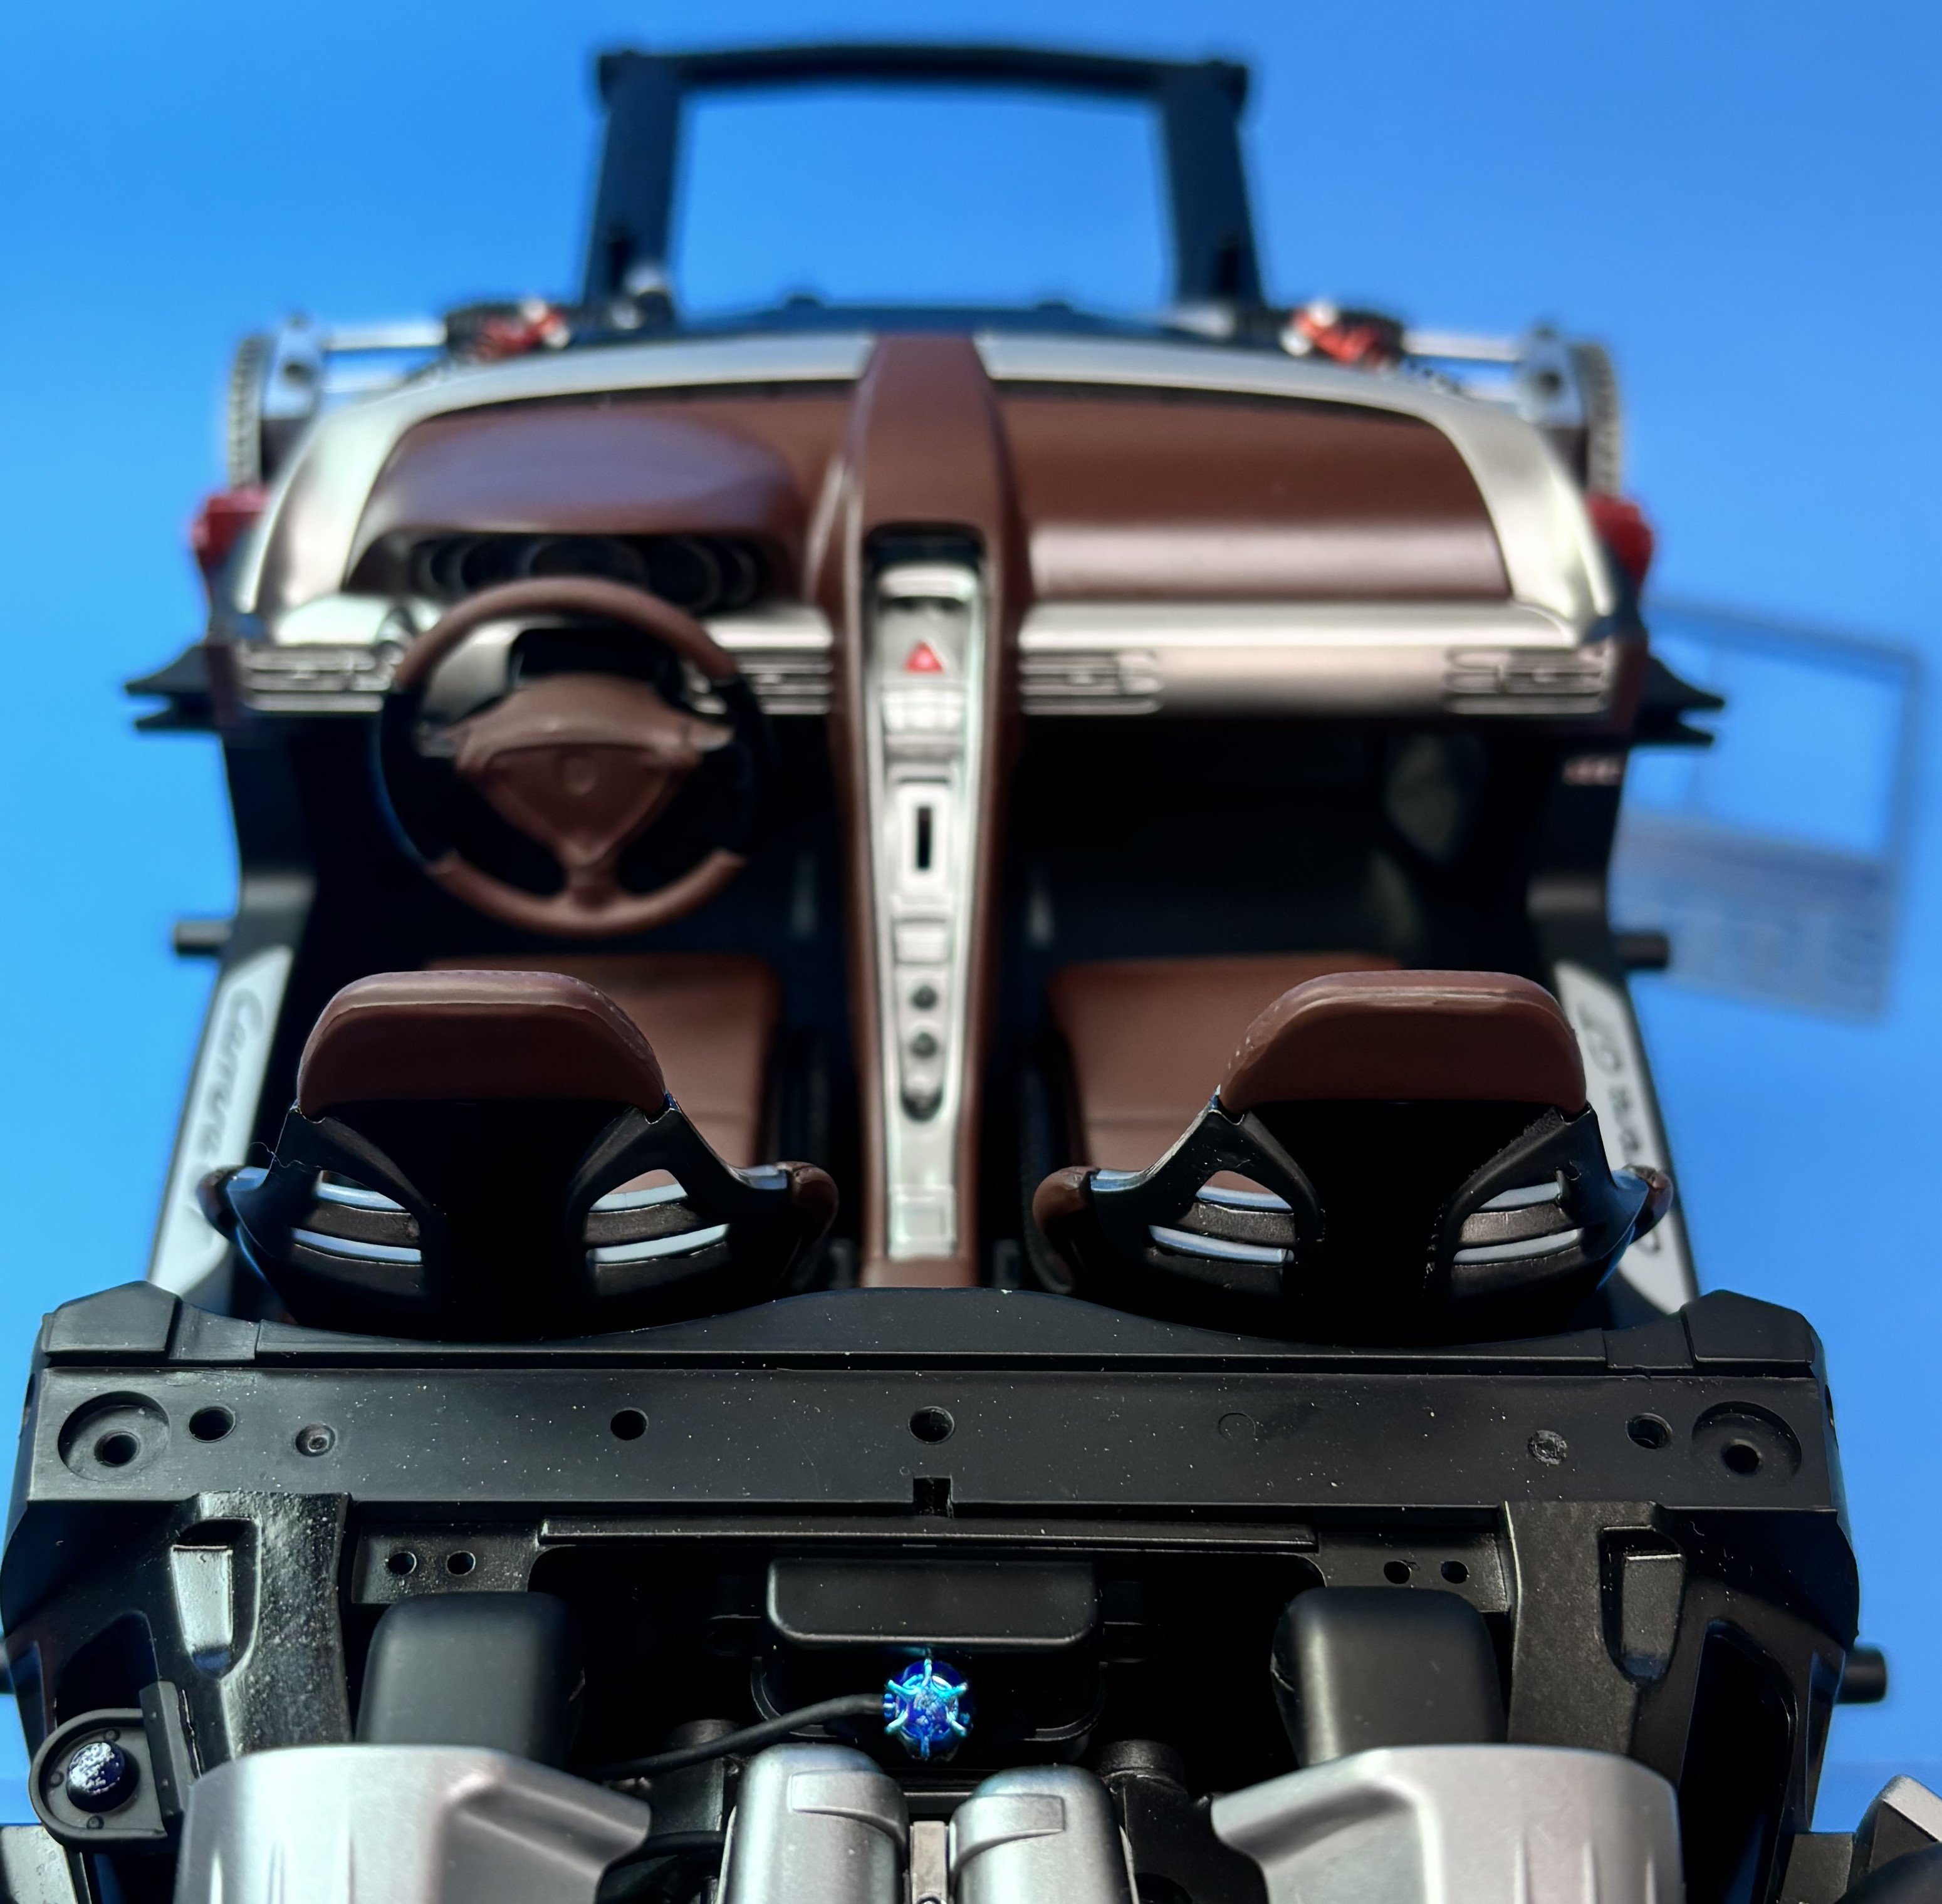
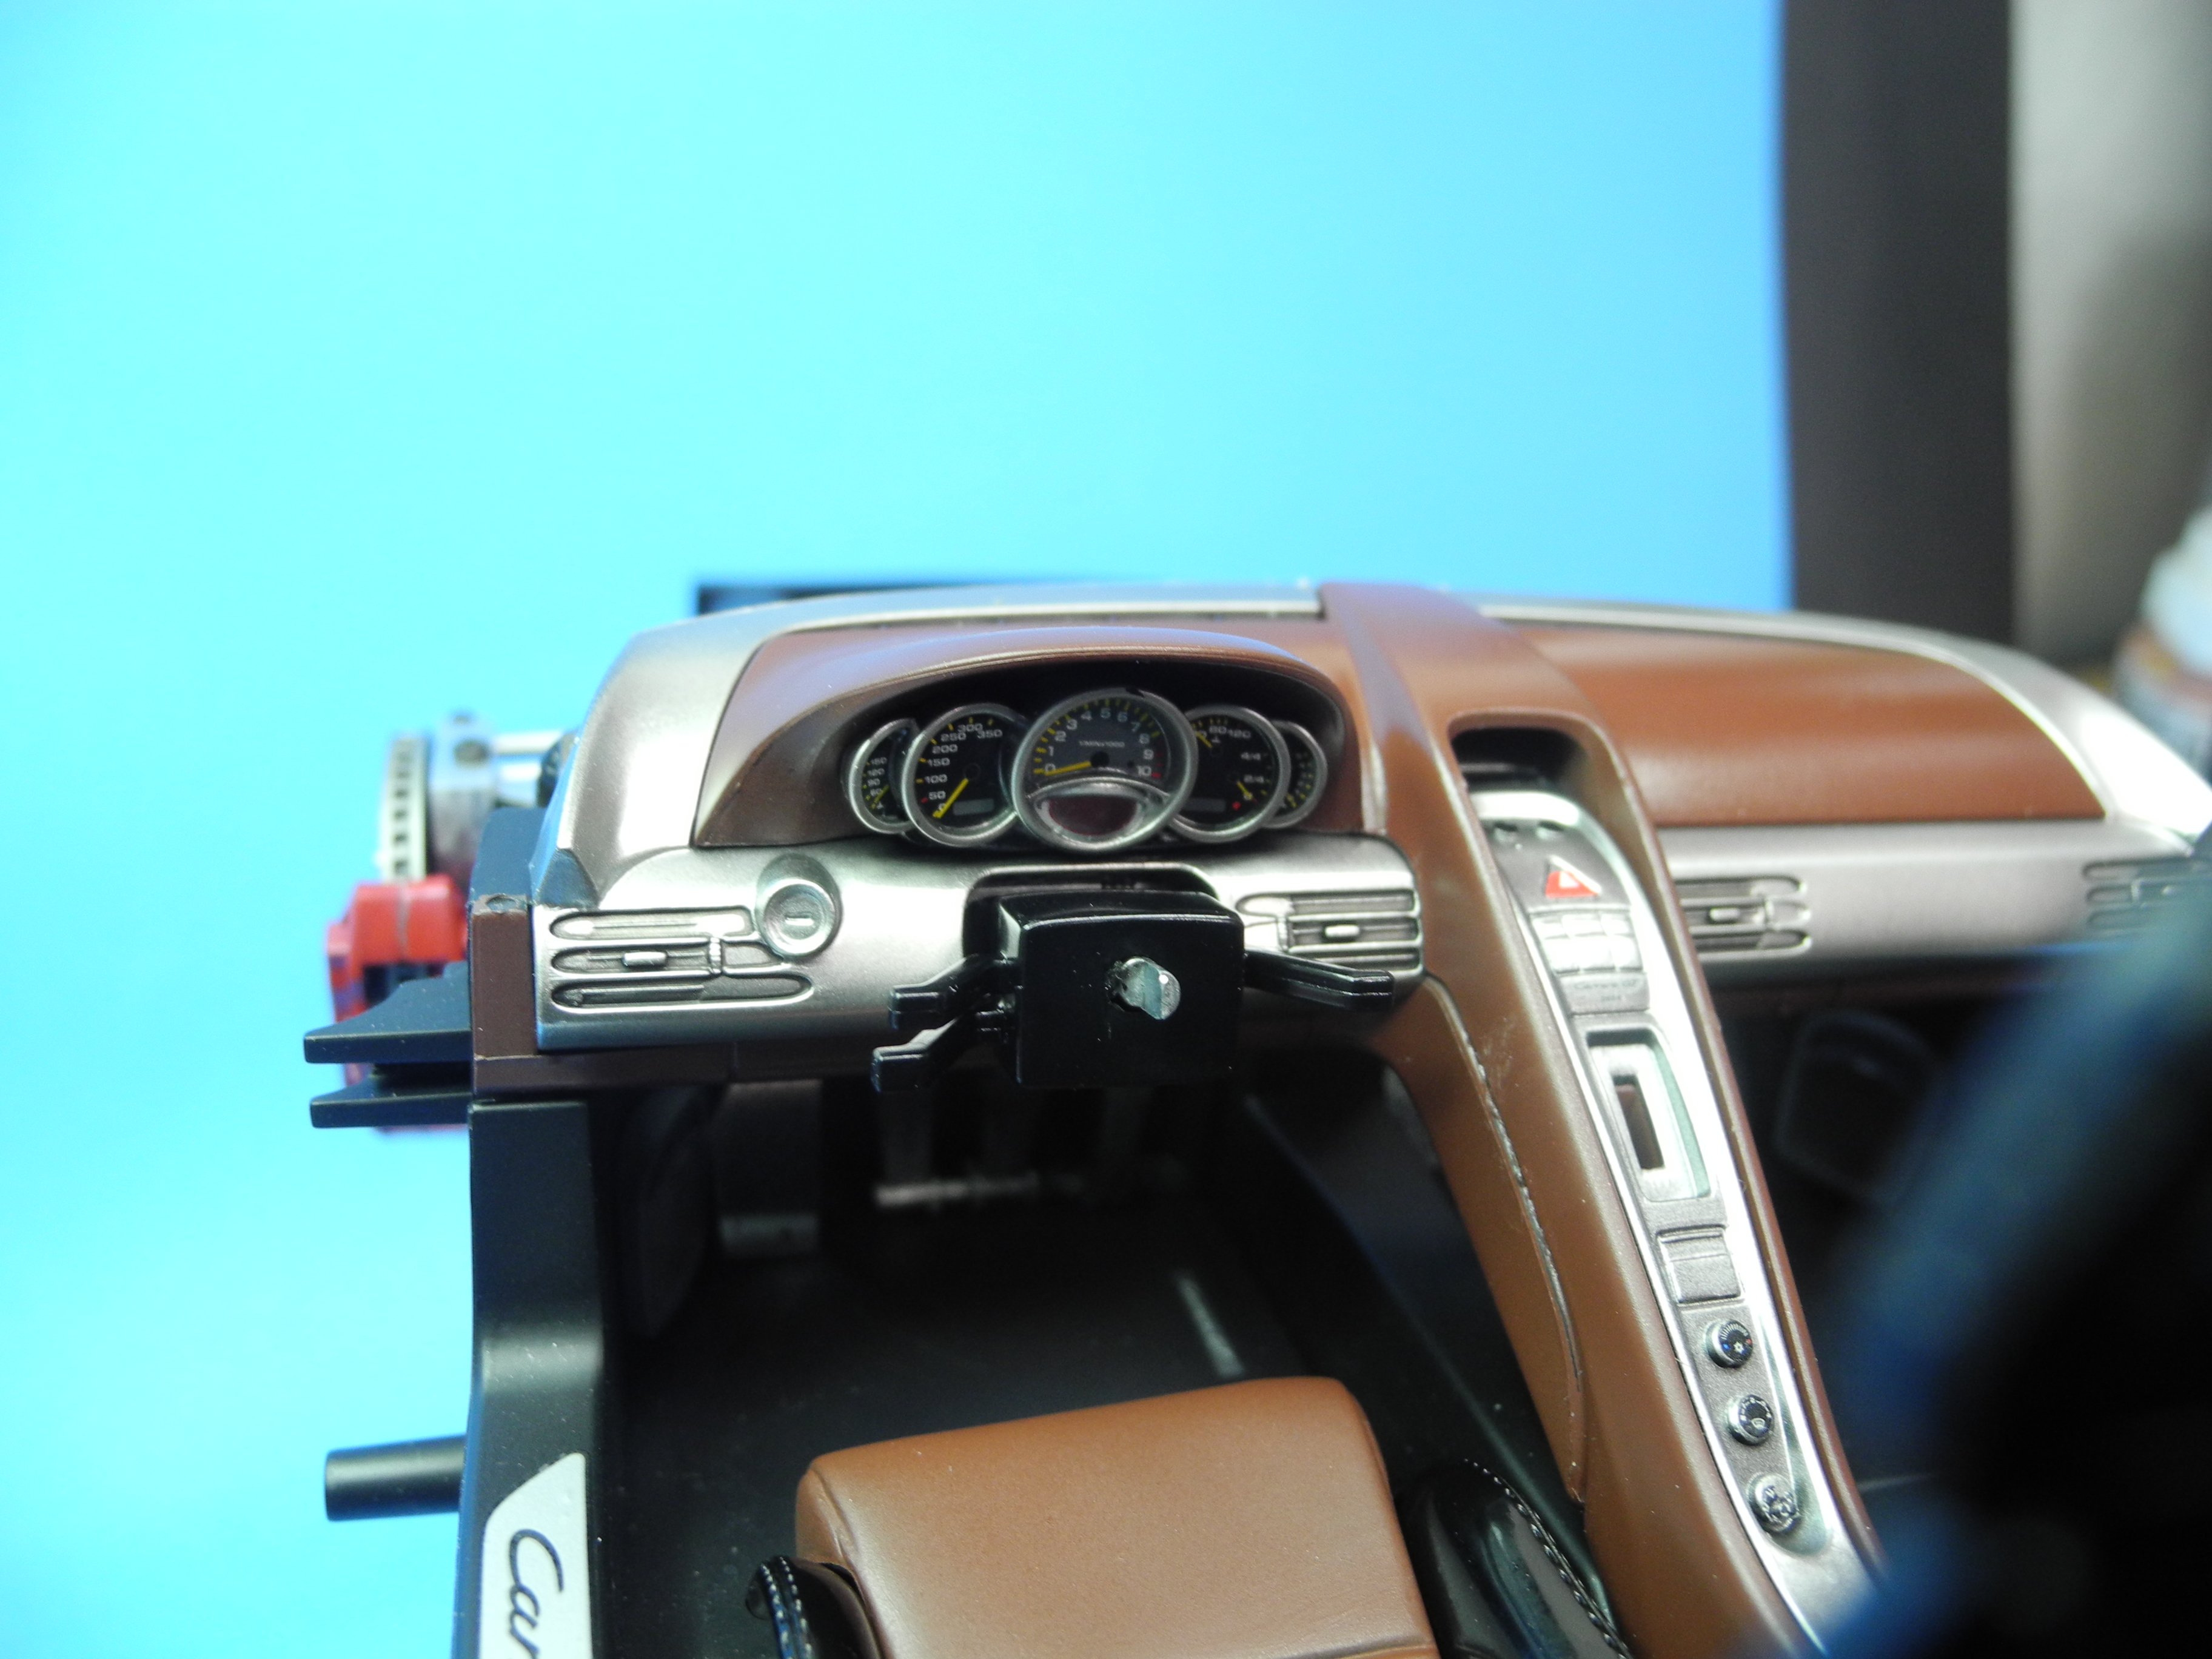
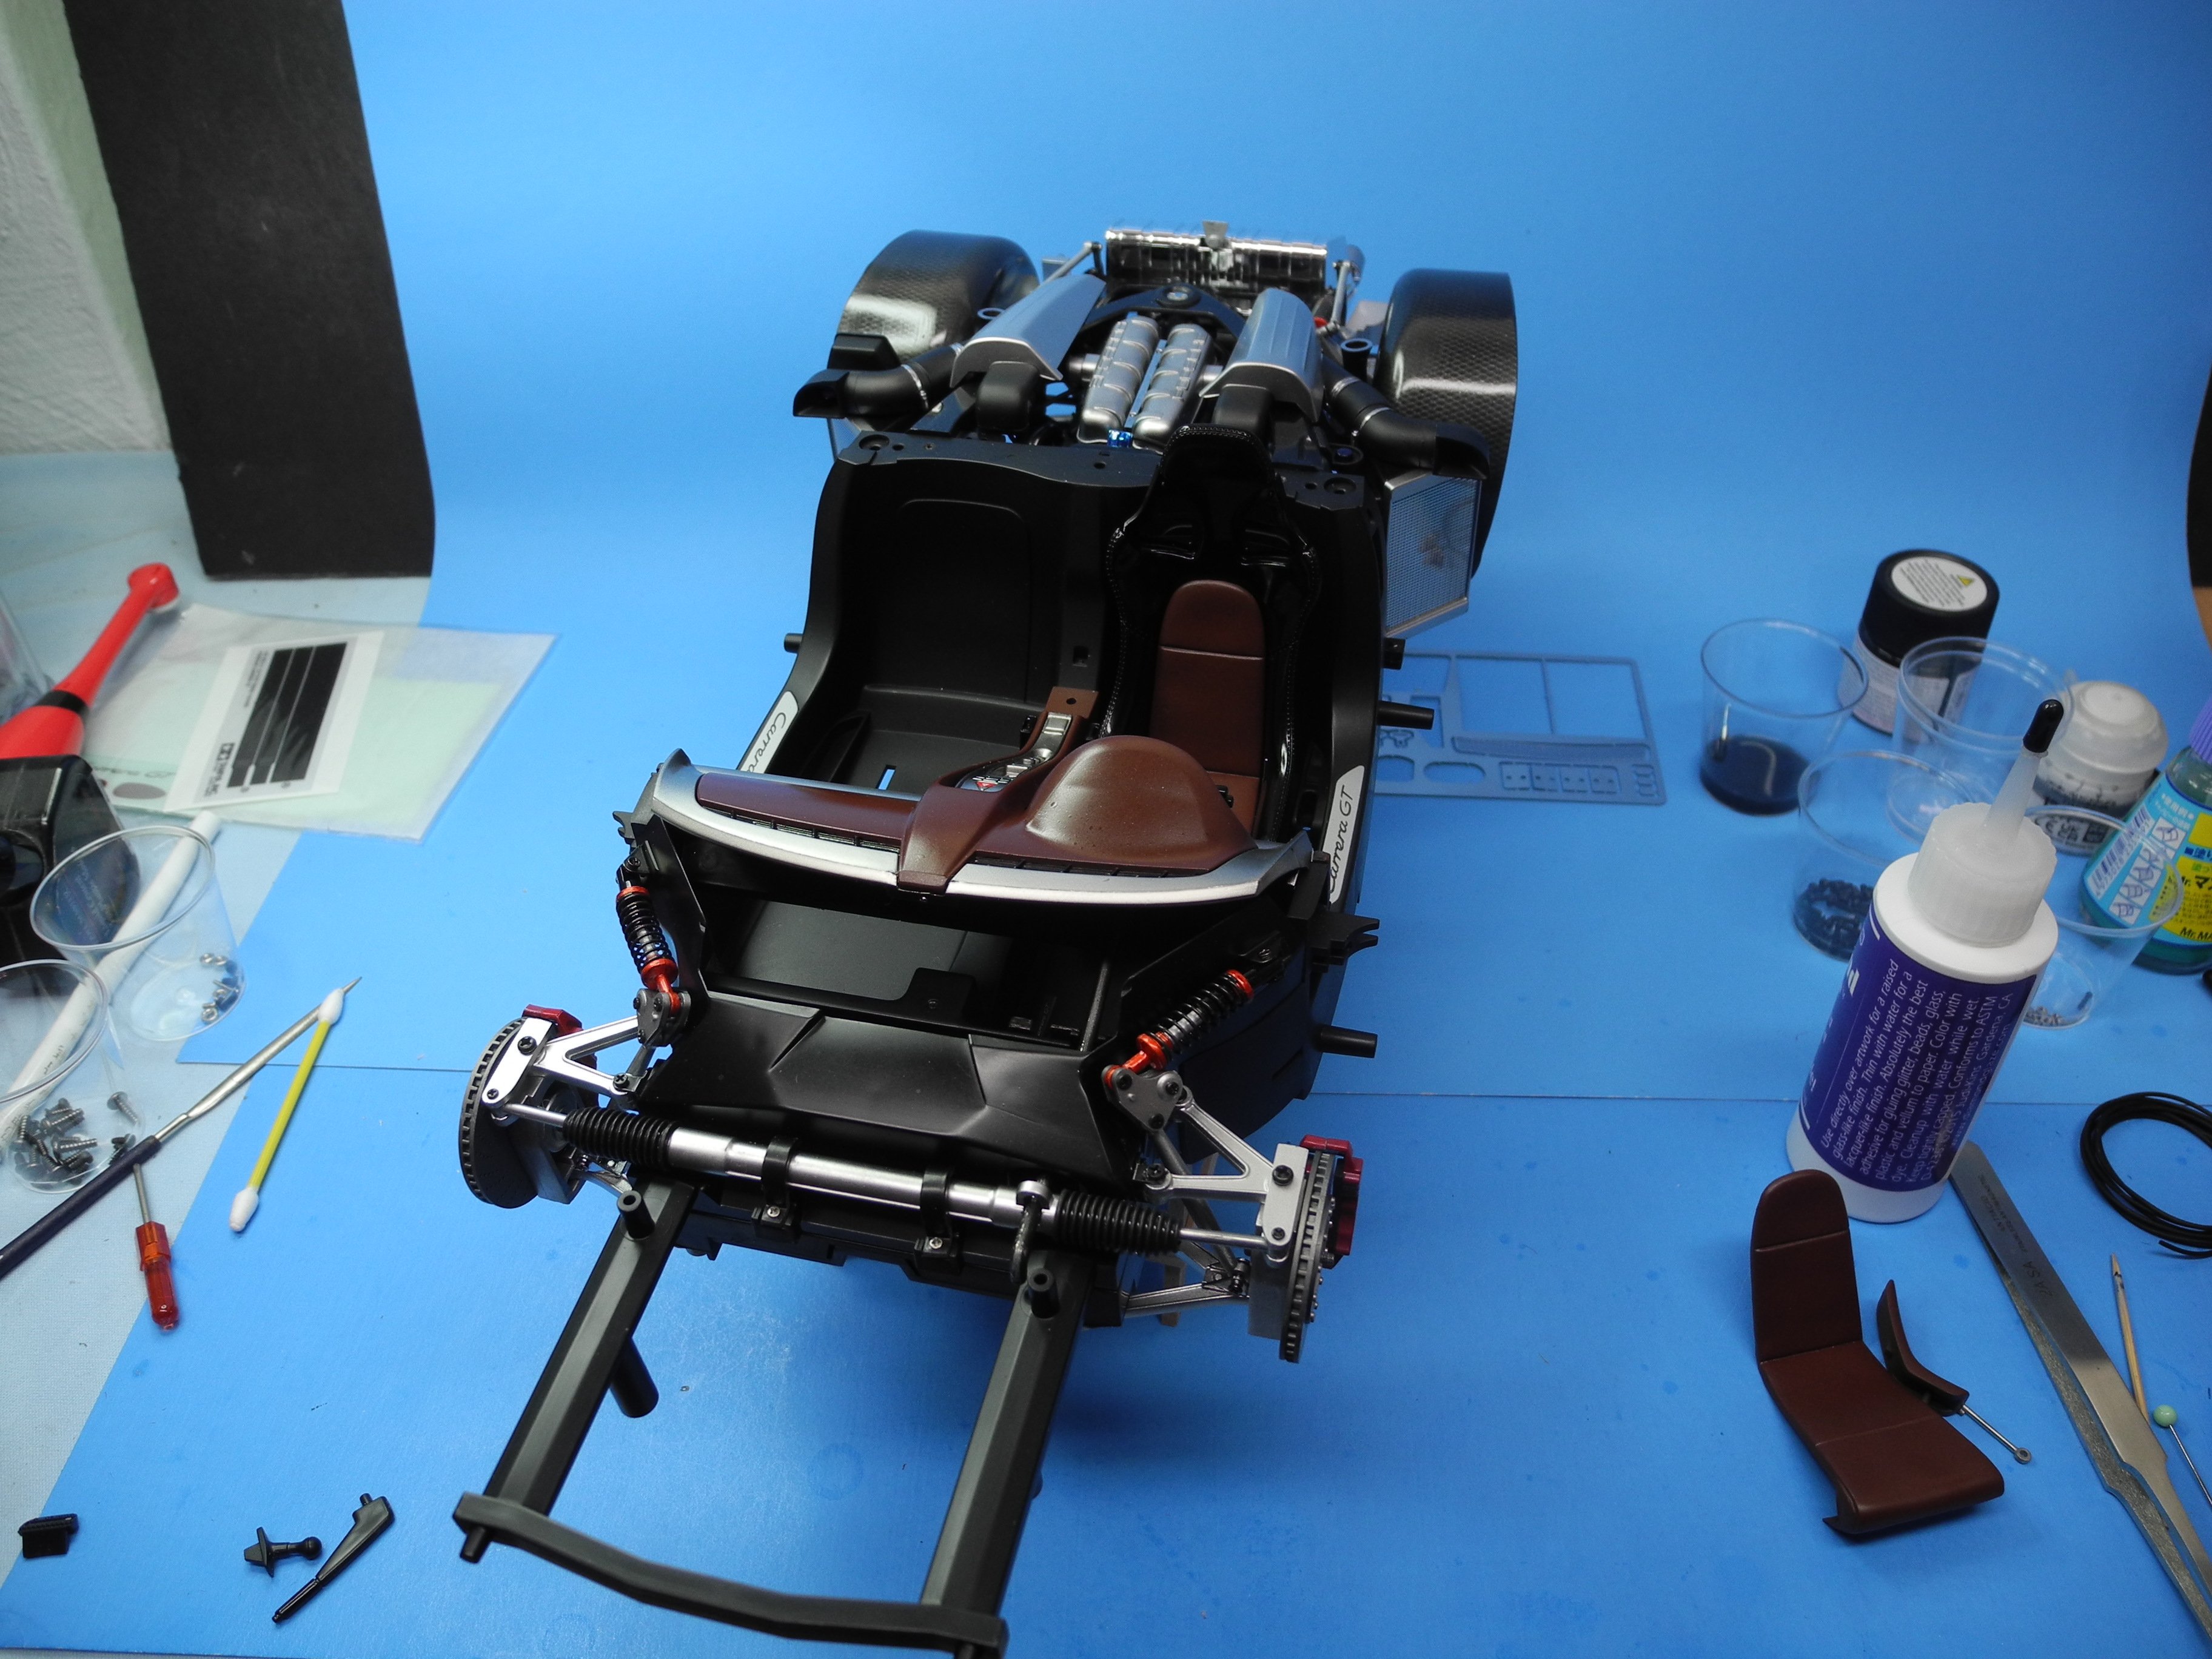
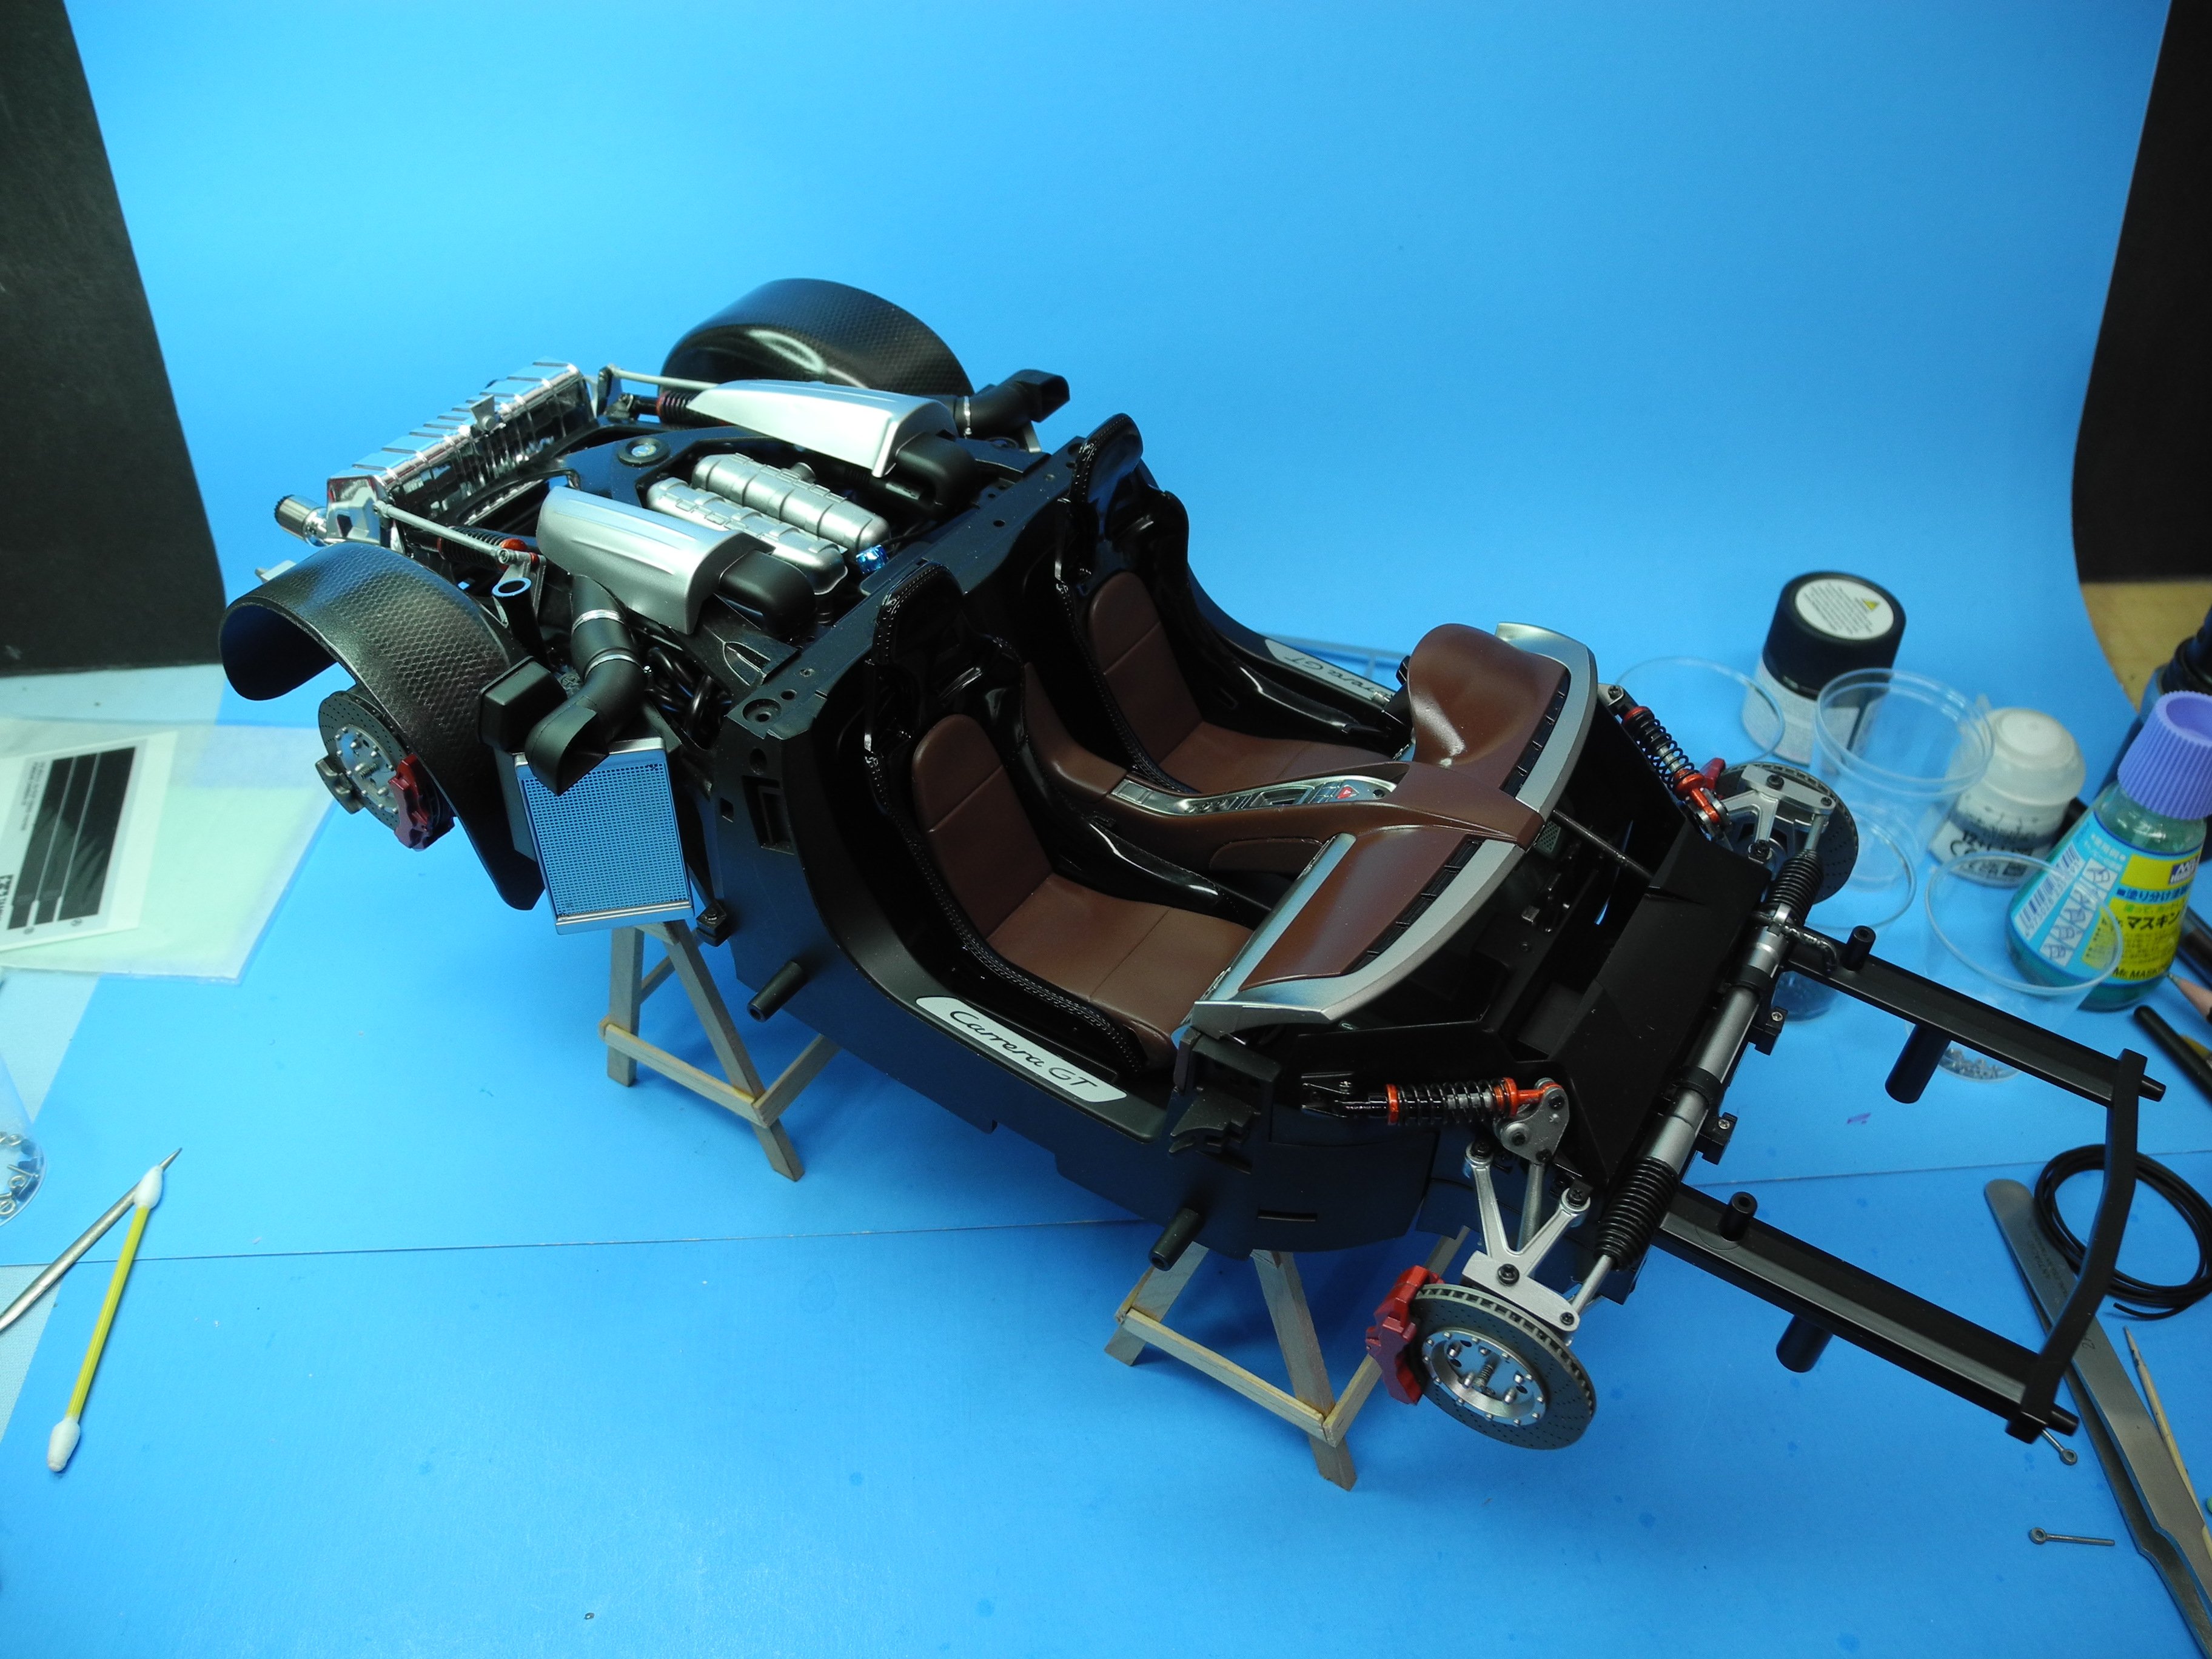
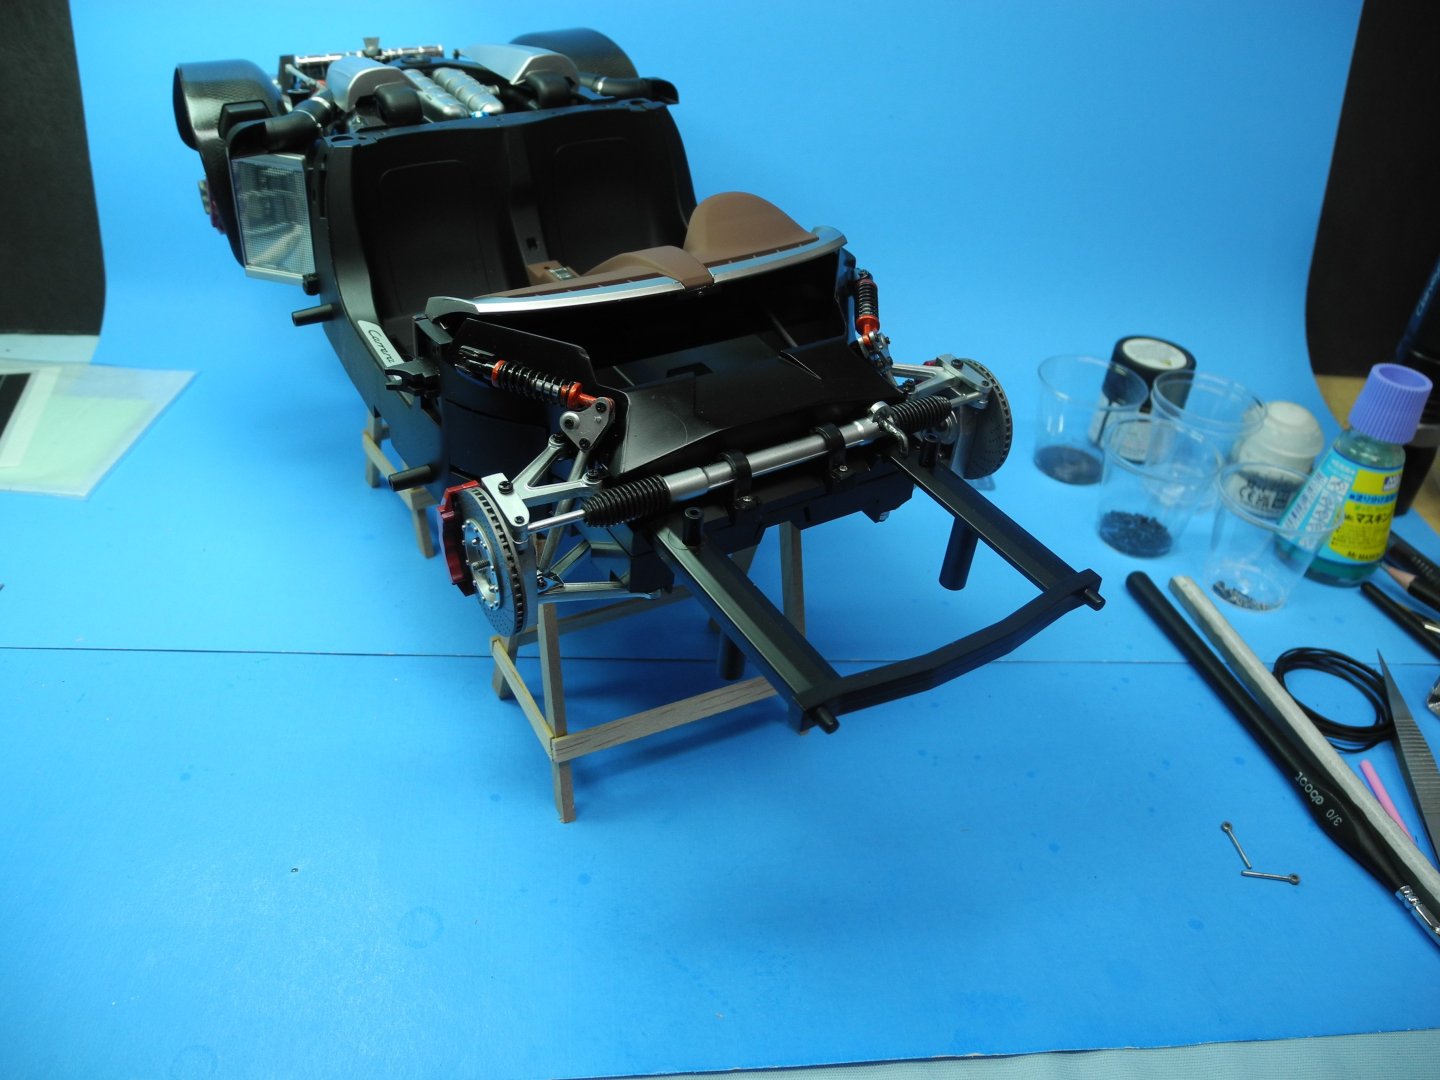
A dry fit mockup of the dash after laying down the initial colors. The seats will be similarly colored, a custom mix of Ascot Brown, titanium silver, and semi-gloss black. All that front suspension is about to be buried. A full metal (heavy) chassis pan will eventually extend from front to back before all is said and done, covering the detail from the bottom. Interior and cargo area will cover the top.

- 264 replies
-
- 10
-
-
Spitfire Mk.Ia by davec - FINISHED - Kotare - 1/32 - PLASTIC
CDW replied to davec's topic in Non-ship/categorised builds
What an outstandingly great job you've done on this model, Dave. It looks superb. Arguably the best-looking aircraft of WW2. Your work does it justice! -
Wow! Those photos are amazing.
-
I'll be sure to watch your video, it sounds very interesting to me. That's a great idea about servos to open and close doors, trunks, hoods, etc. There is micro-size linear servos used on ultra-small RC planes these days that would be perfect for that purpose.
-
Oh it’s a rabbit hole for sure. I wish I had known about those boards when I was building my fire engine pumper. It would have been a great addition having all the lights working.
-
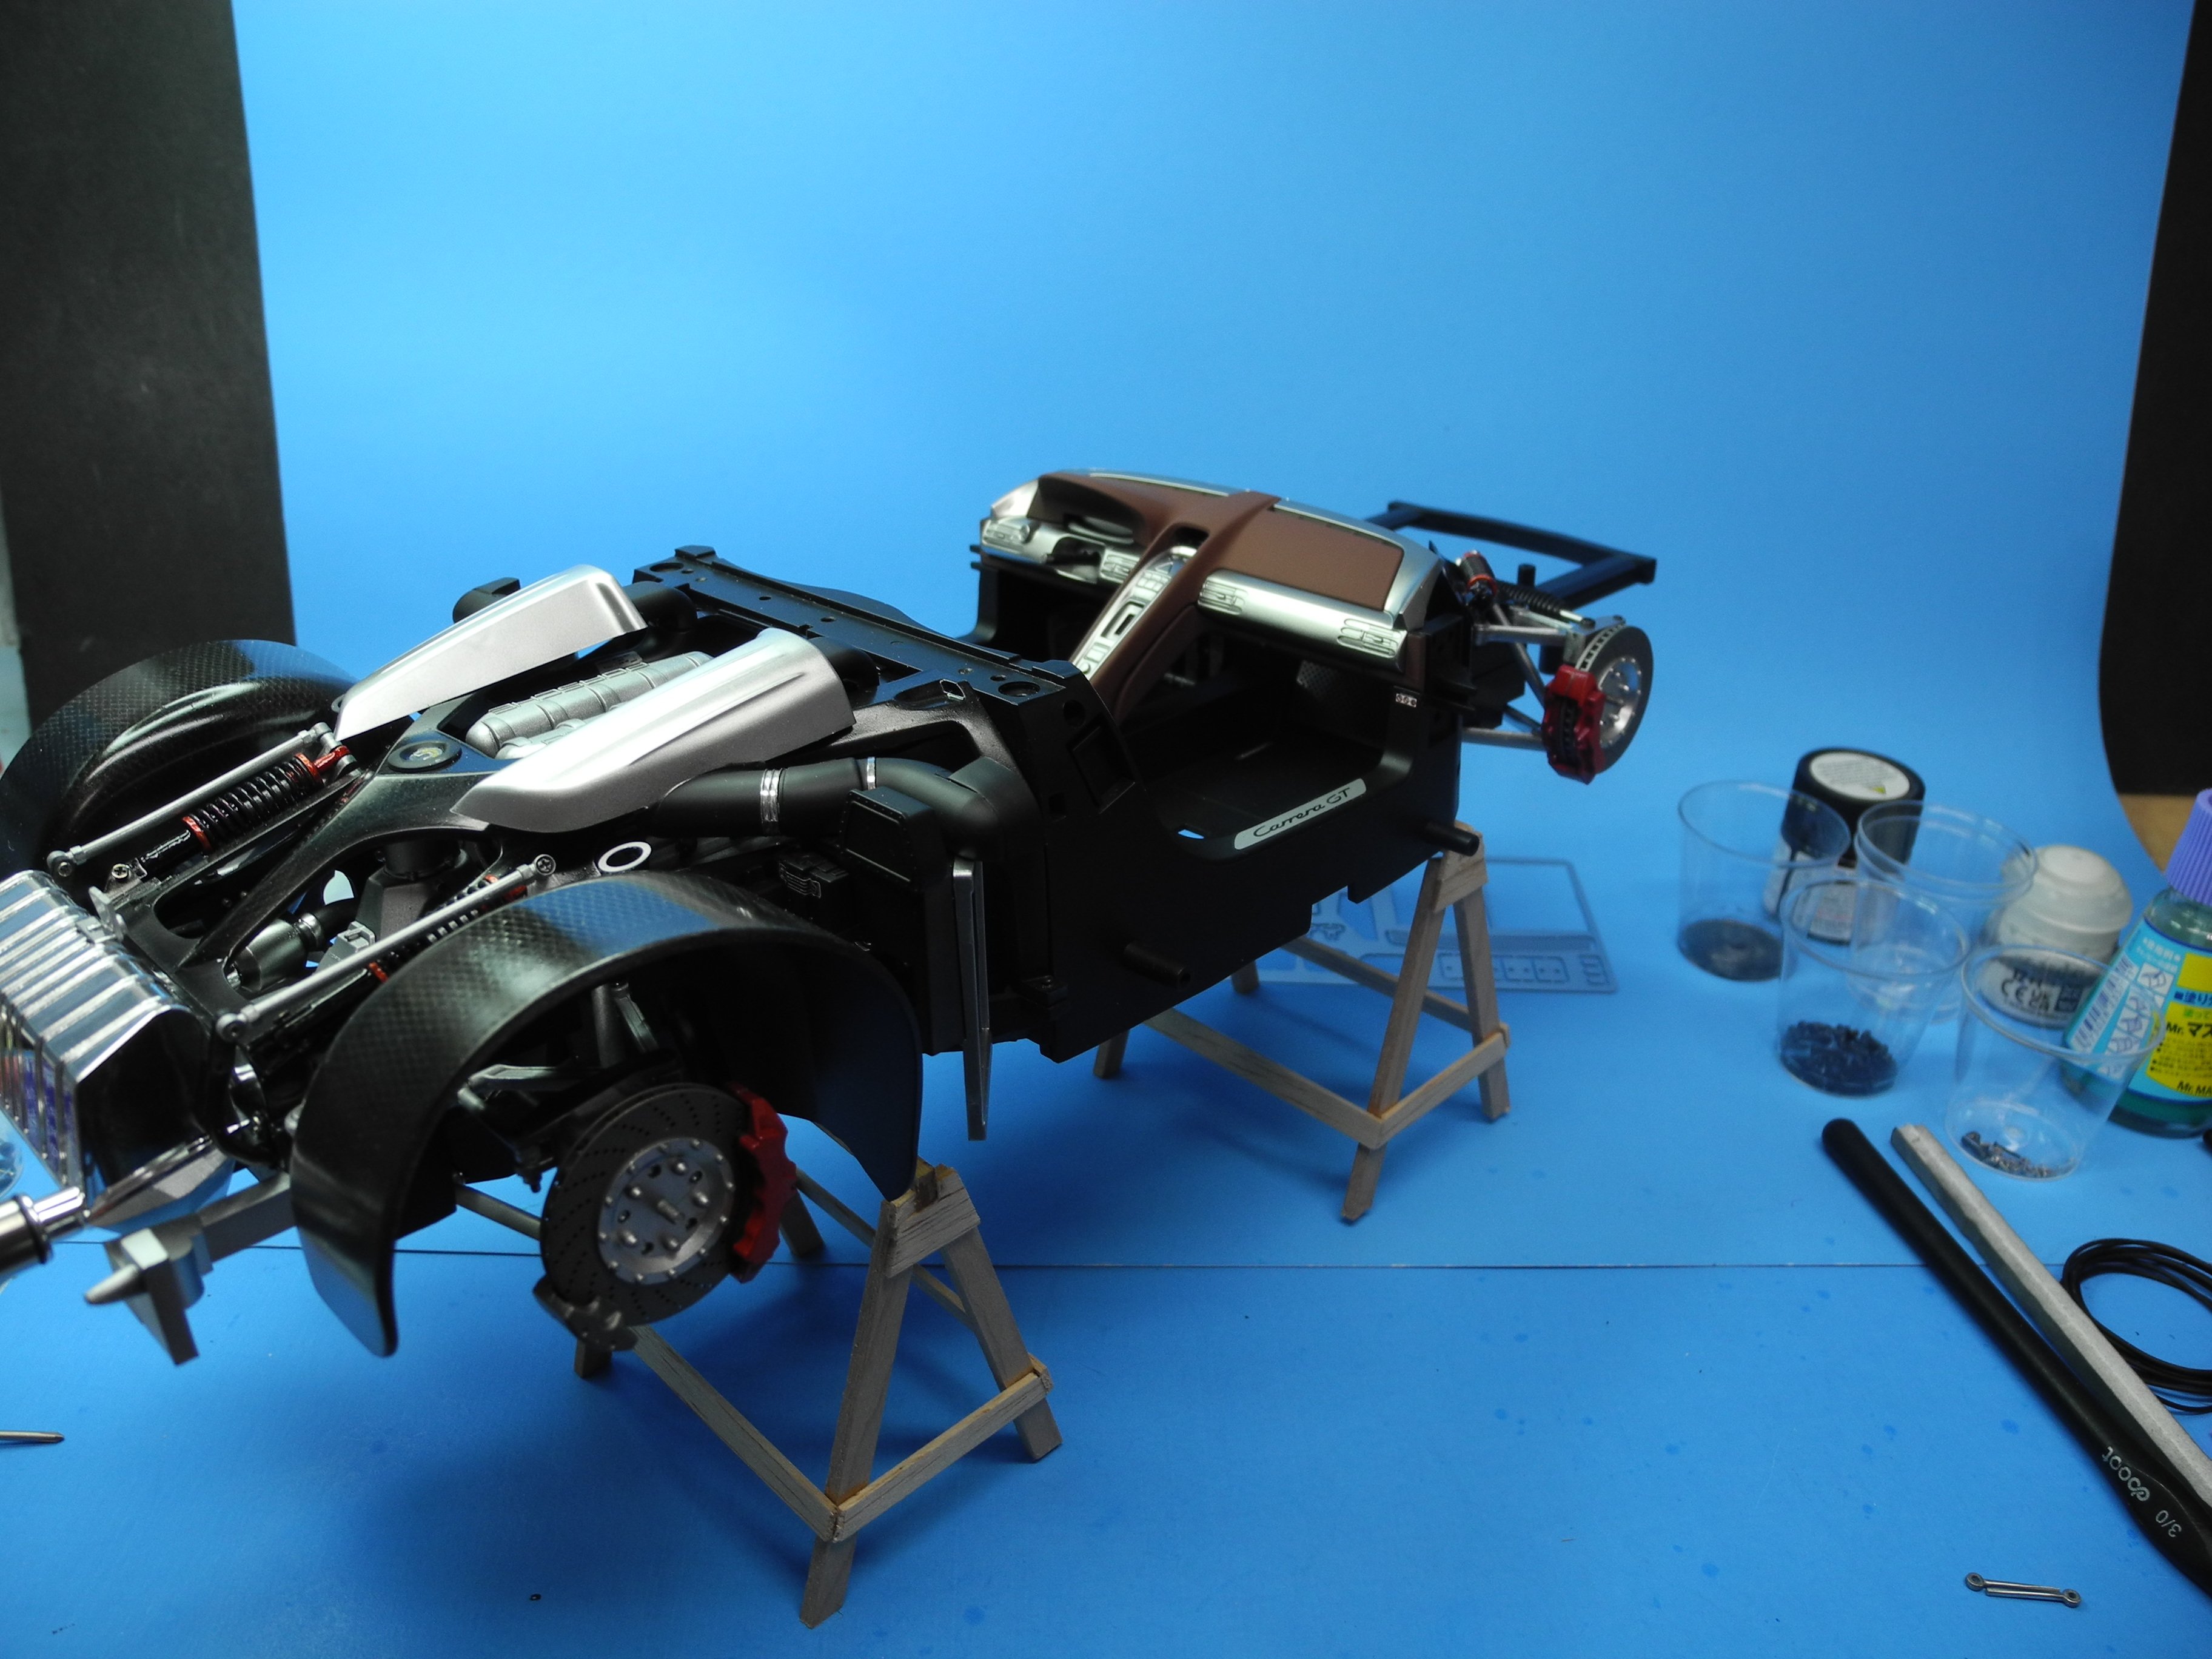
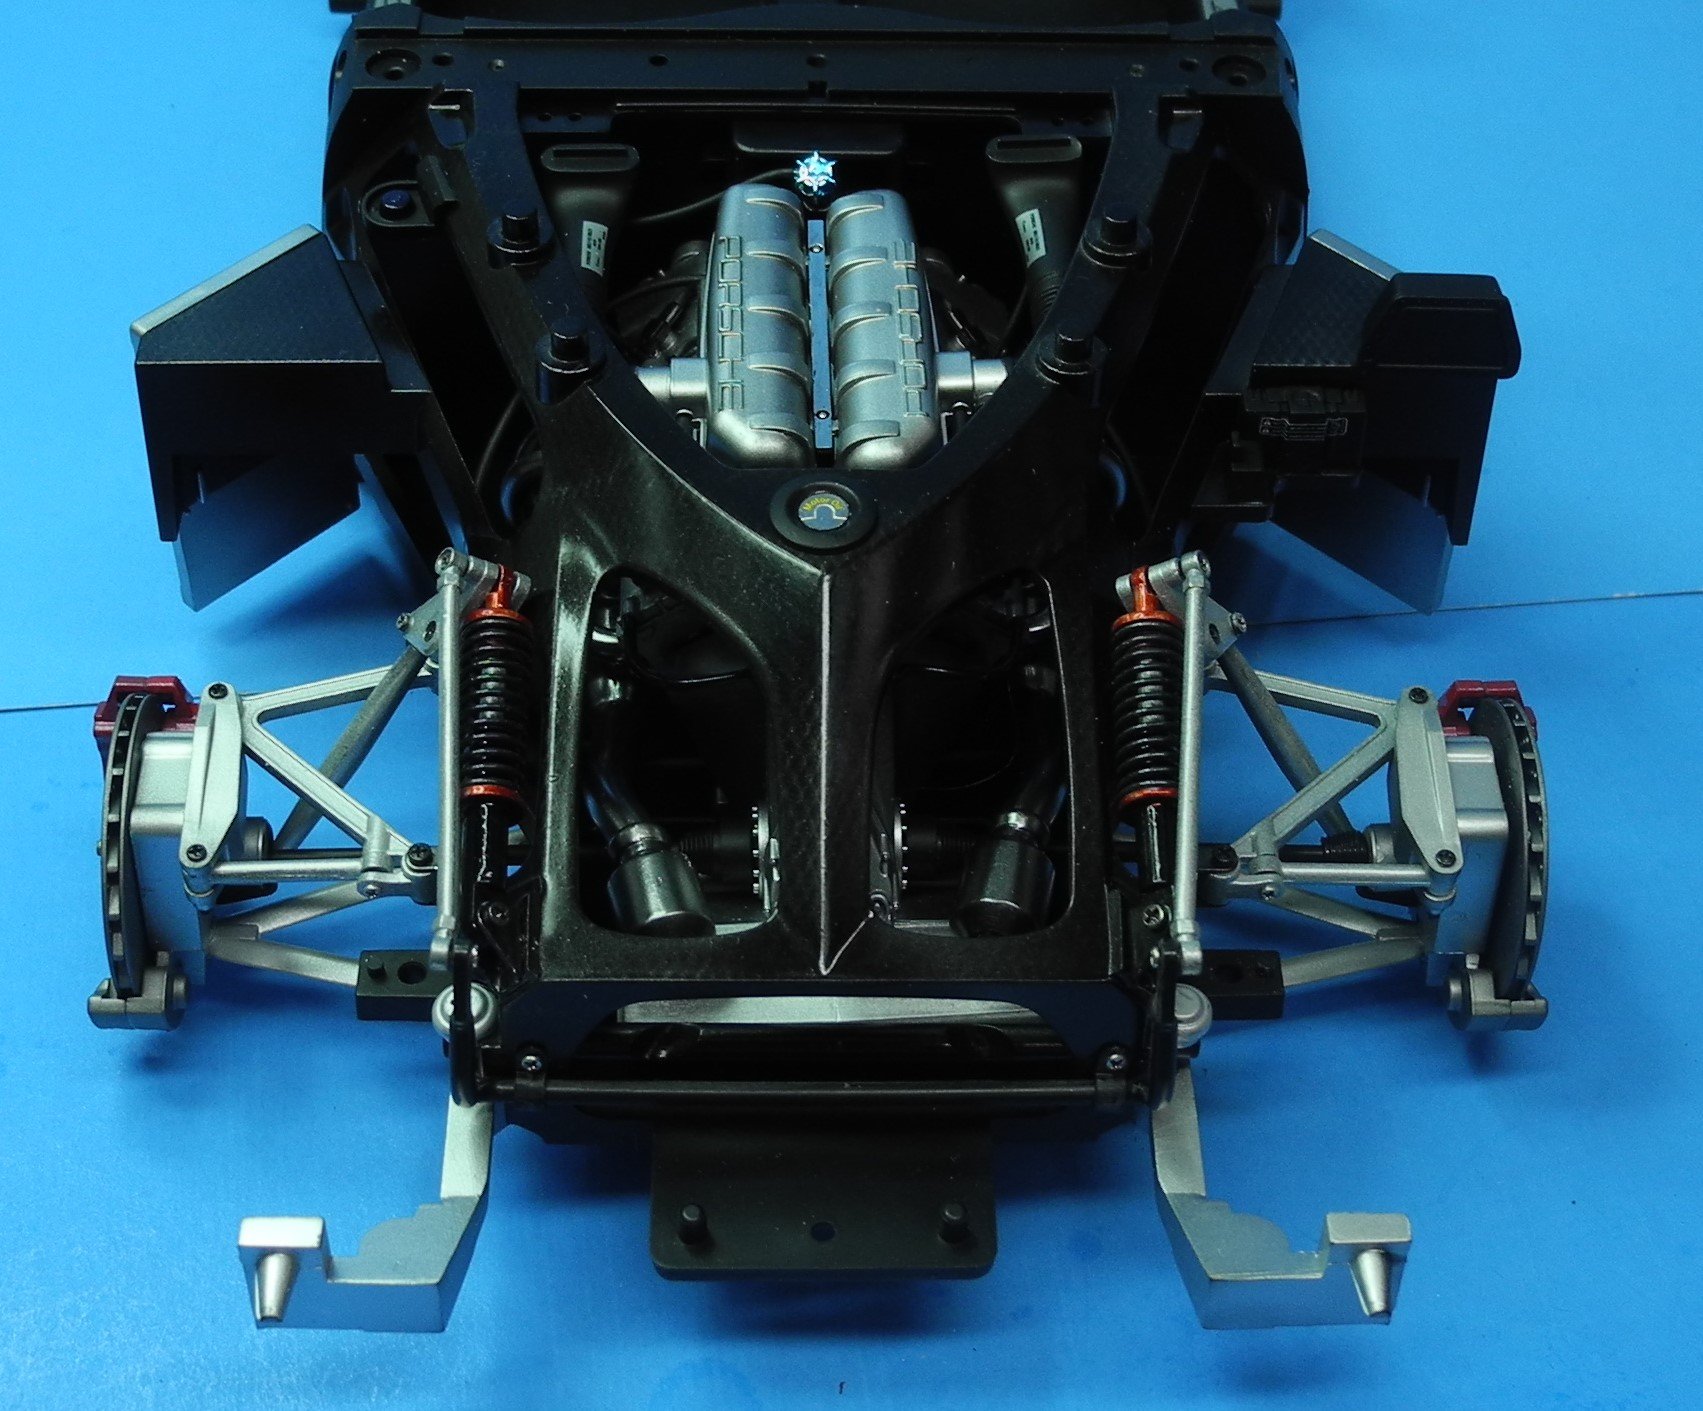
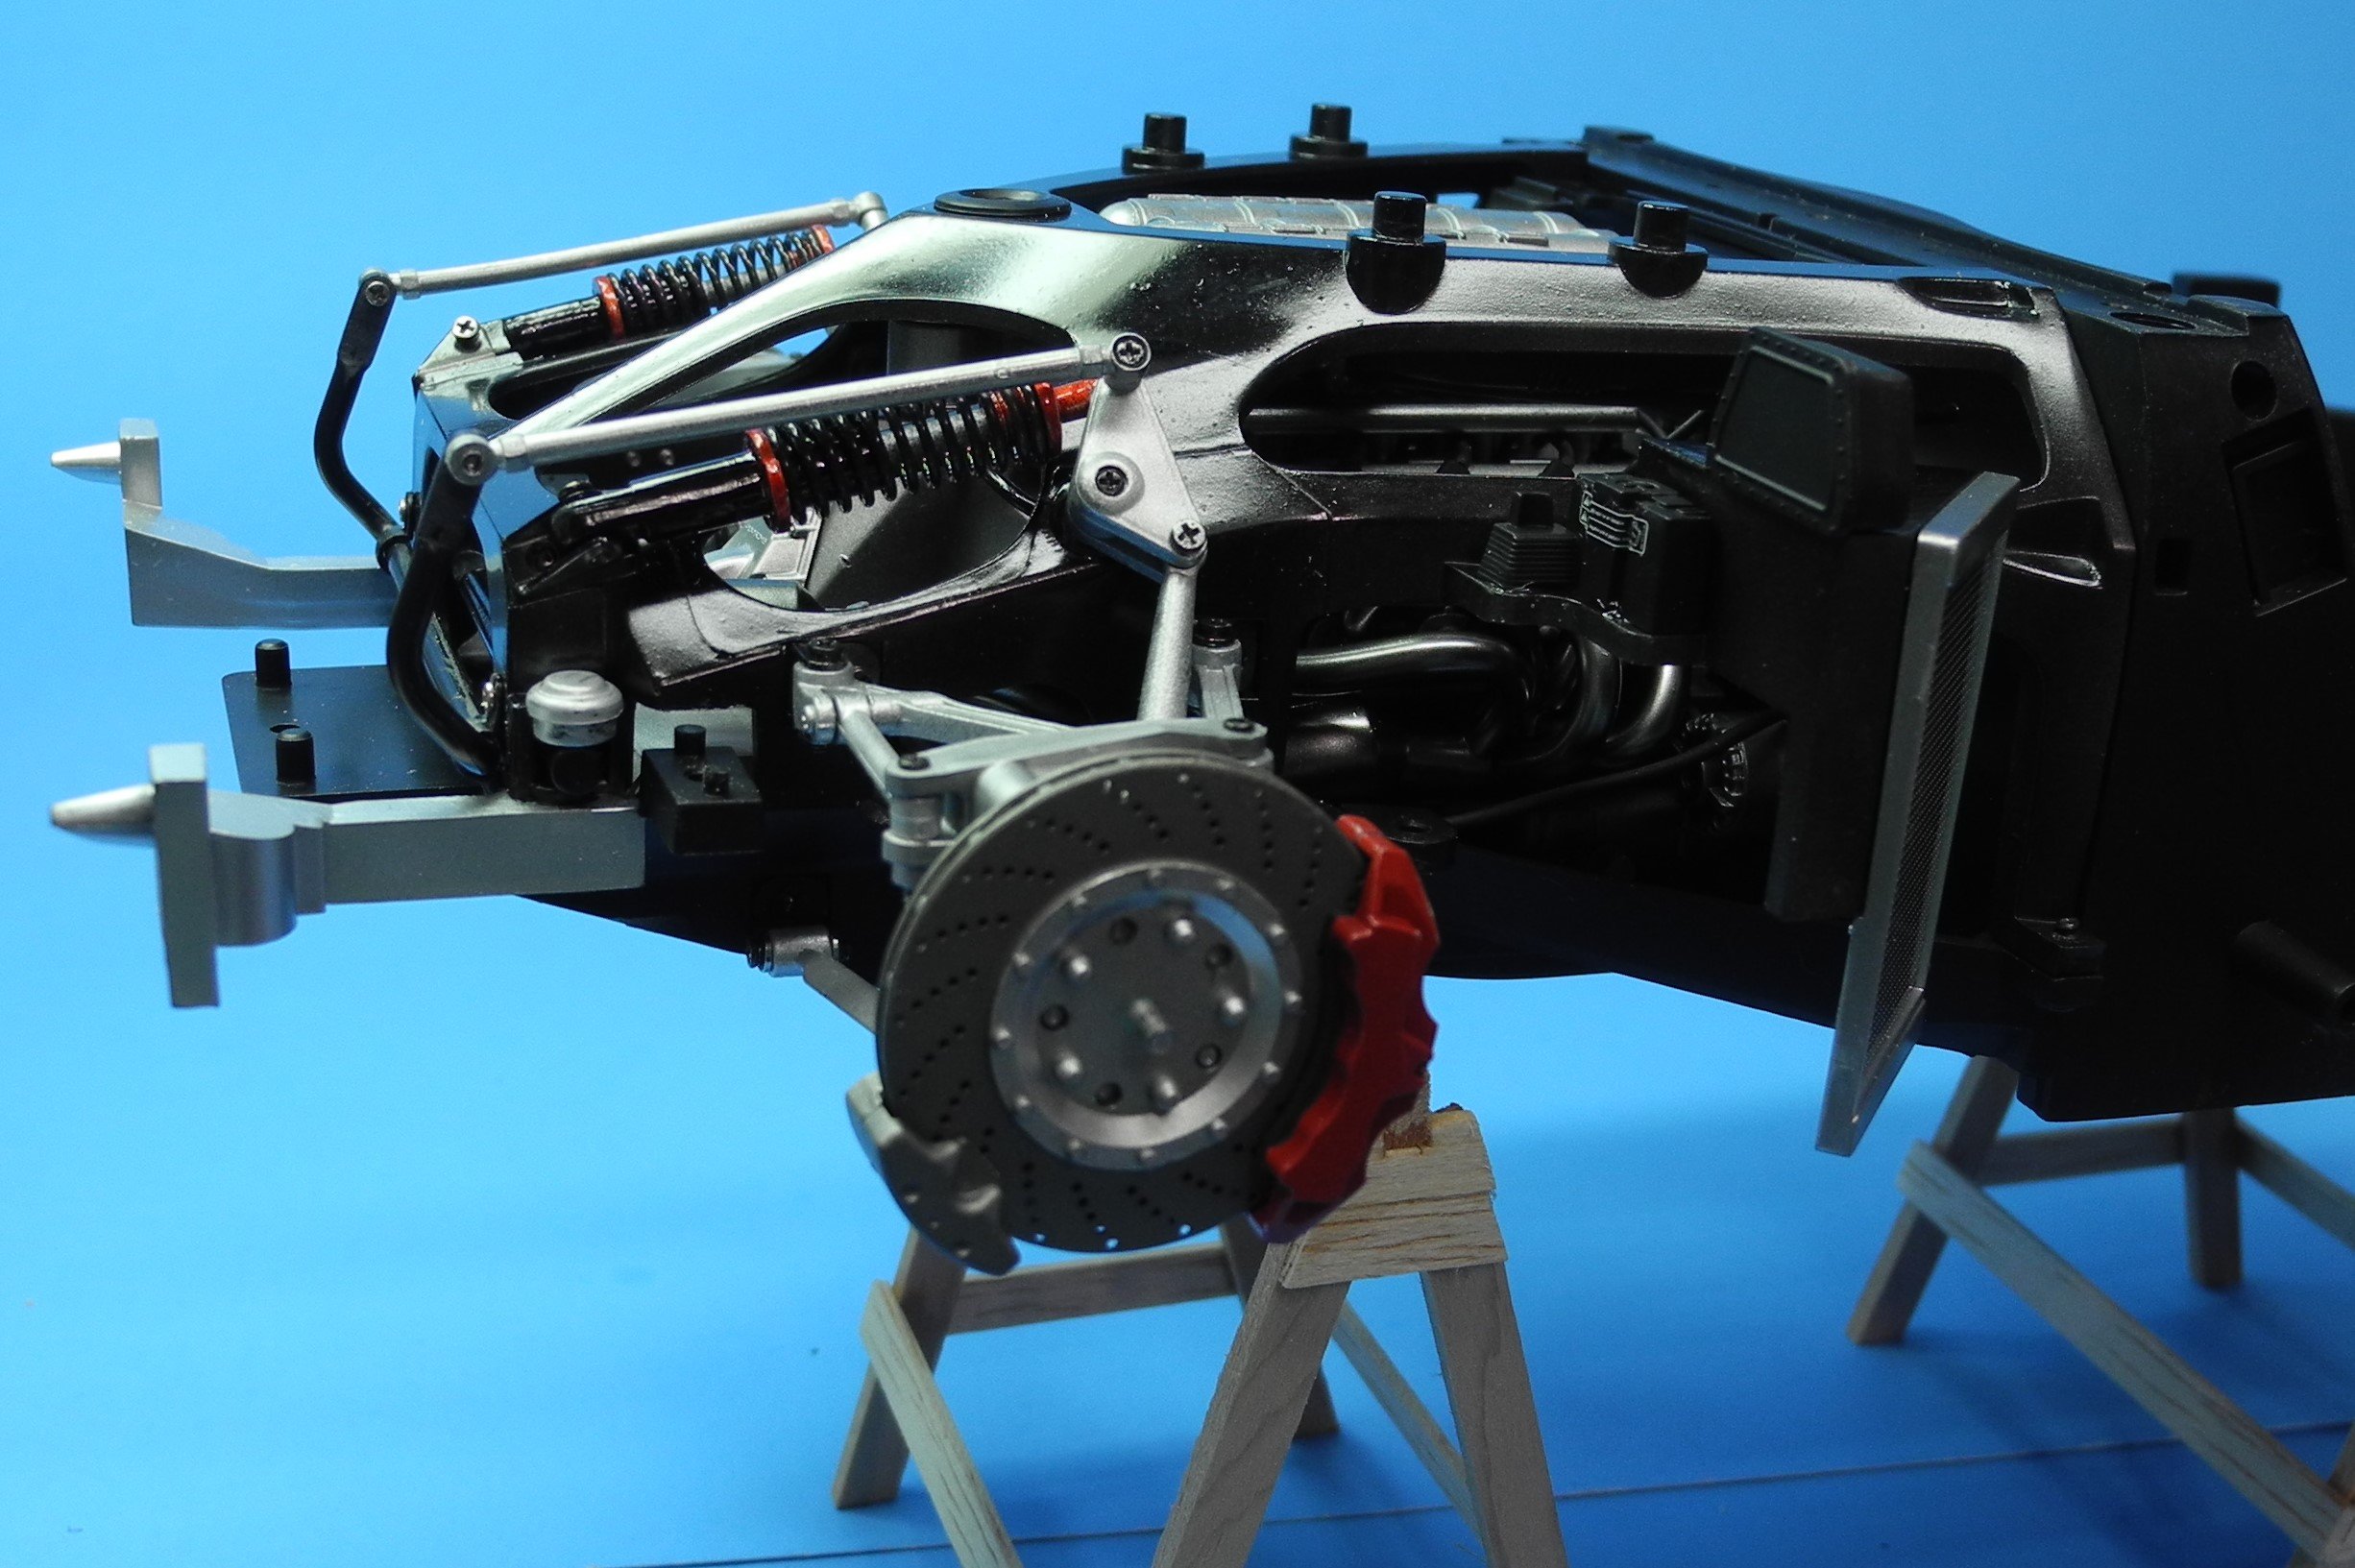
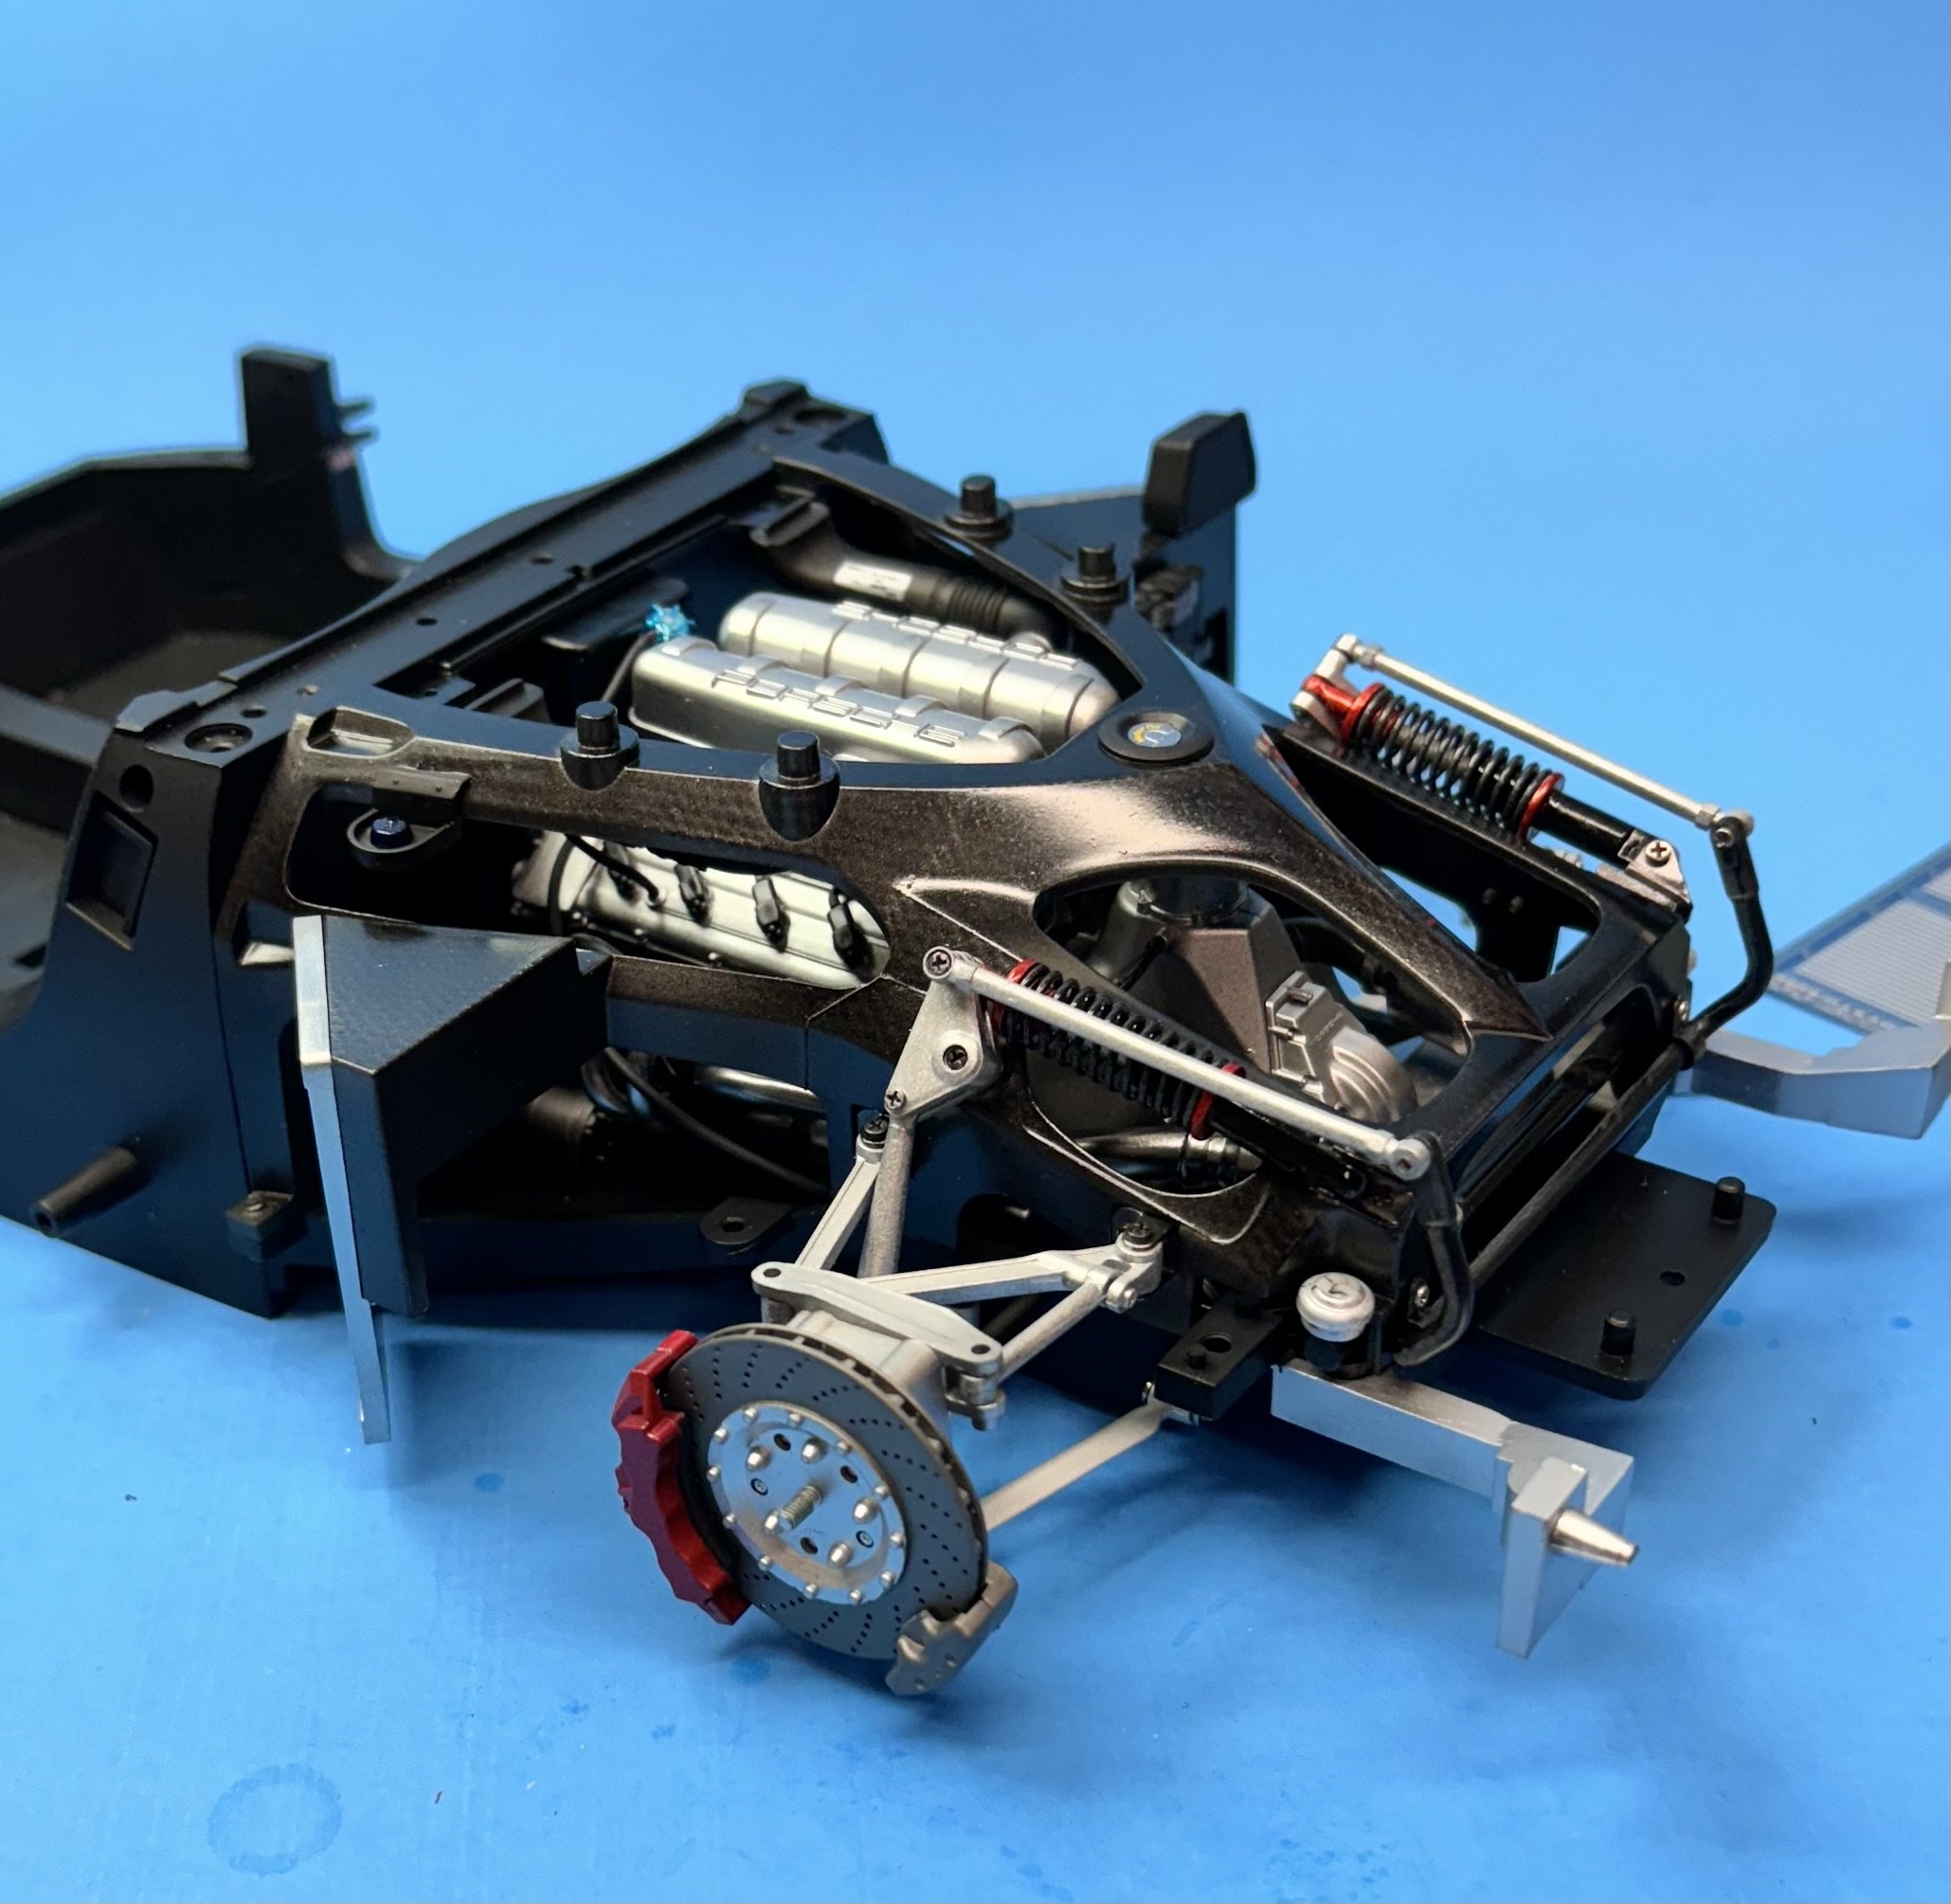
What you see here of the front suspension will mostly be hidden from view when the model is completed. Photos are for posterity. It will be hidden but not forgotten. A small amount will possibly be seen through the wheel spokes perhaps but that’s about all. I can see why one might invest in a tumbler/polisher. There is a lot of time and effort required to clean up the cast metal parts just to prepare them for painting. While the castings are Tamiya quality, there are still mold lines to contend with. Right now I am considering whether or not to install LED head and tail lamps. If I’m going to do that, now is the time to figure out the wire routing. I’ve been studying Arduino boards by watching videos and reading up on them. Ever heard of Arduino boards? You can do some very interesting light programming with these little marvels of modern technology.

- 264 replies
-
- 12
-
-
Thanks, Alan!
-
😅 My wife took the photos. He was staring at her. She had him hypnotized, I guess.
-
What a great looking B-17 you’re building. All the work you put into detailing the interior looks amazing. Considering it’s in 1:72 scale even more impressive. Very nice work Biggles. Looking forward to the remainder of your build!
-
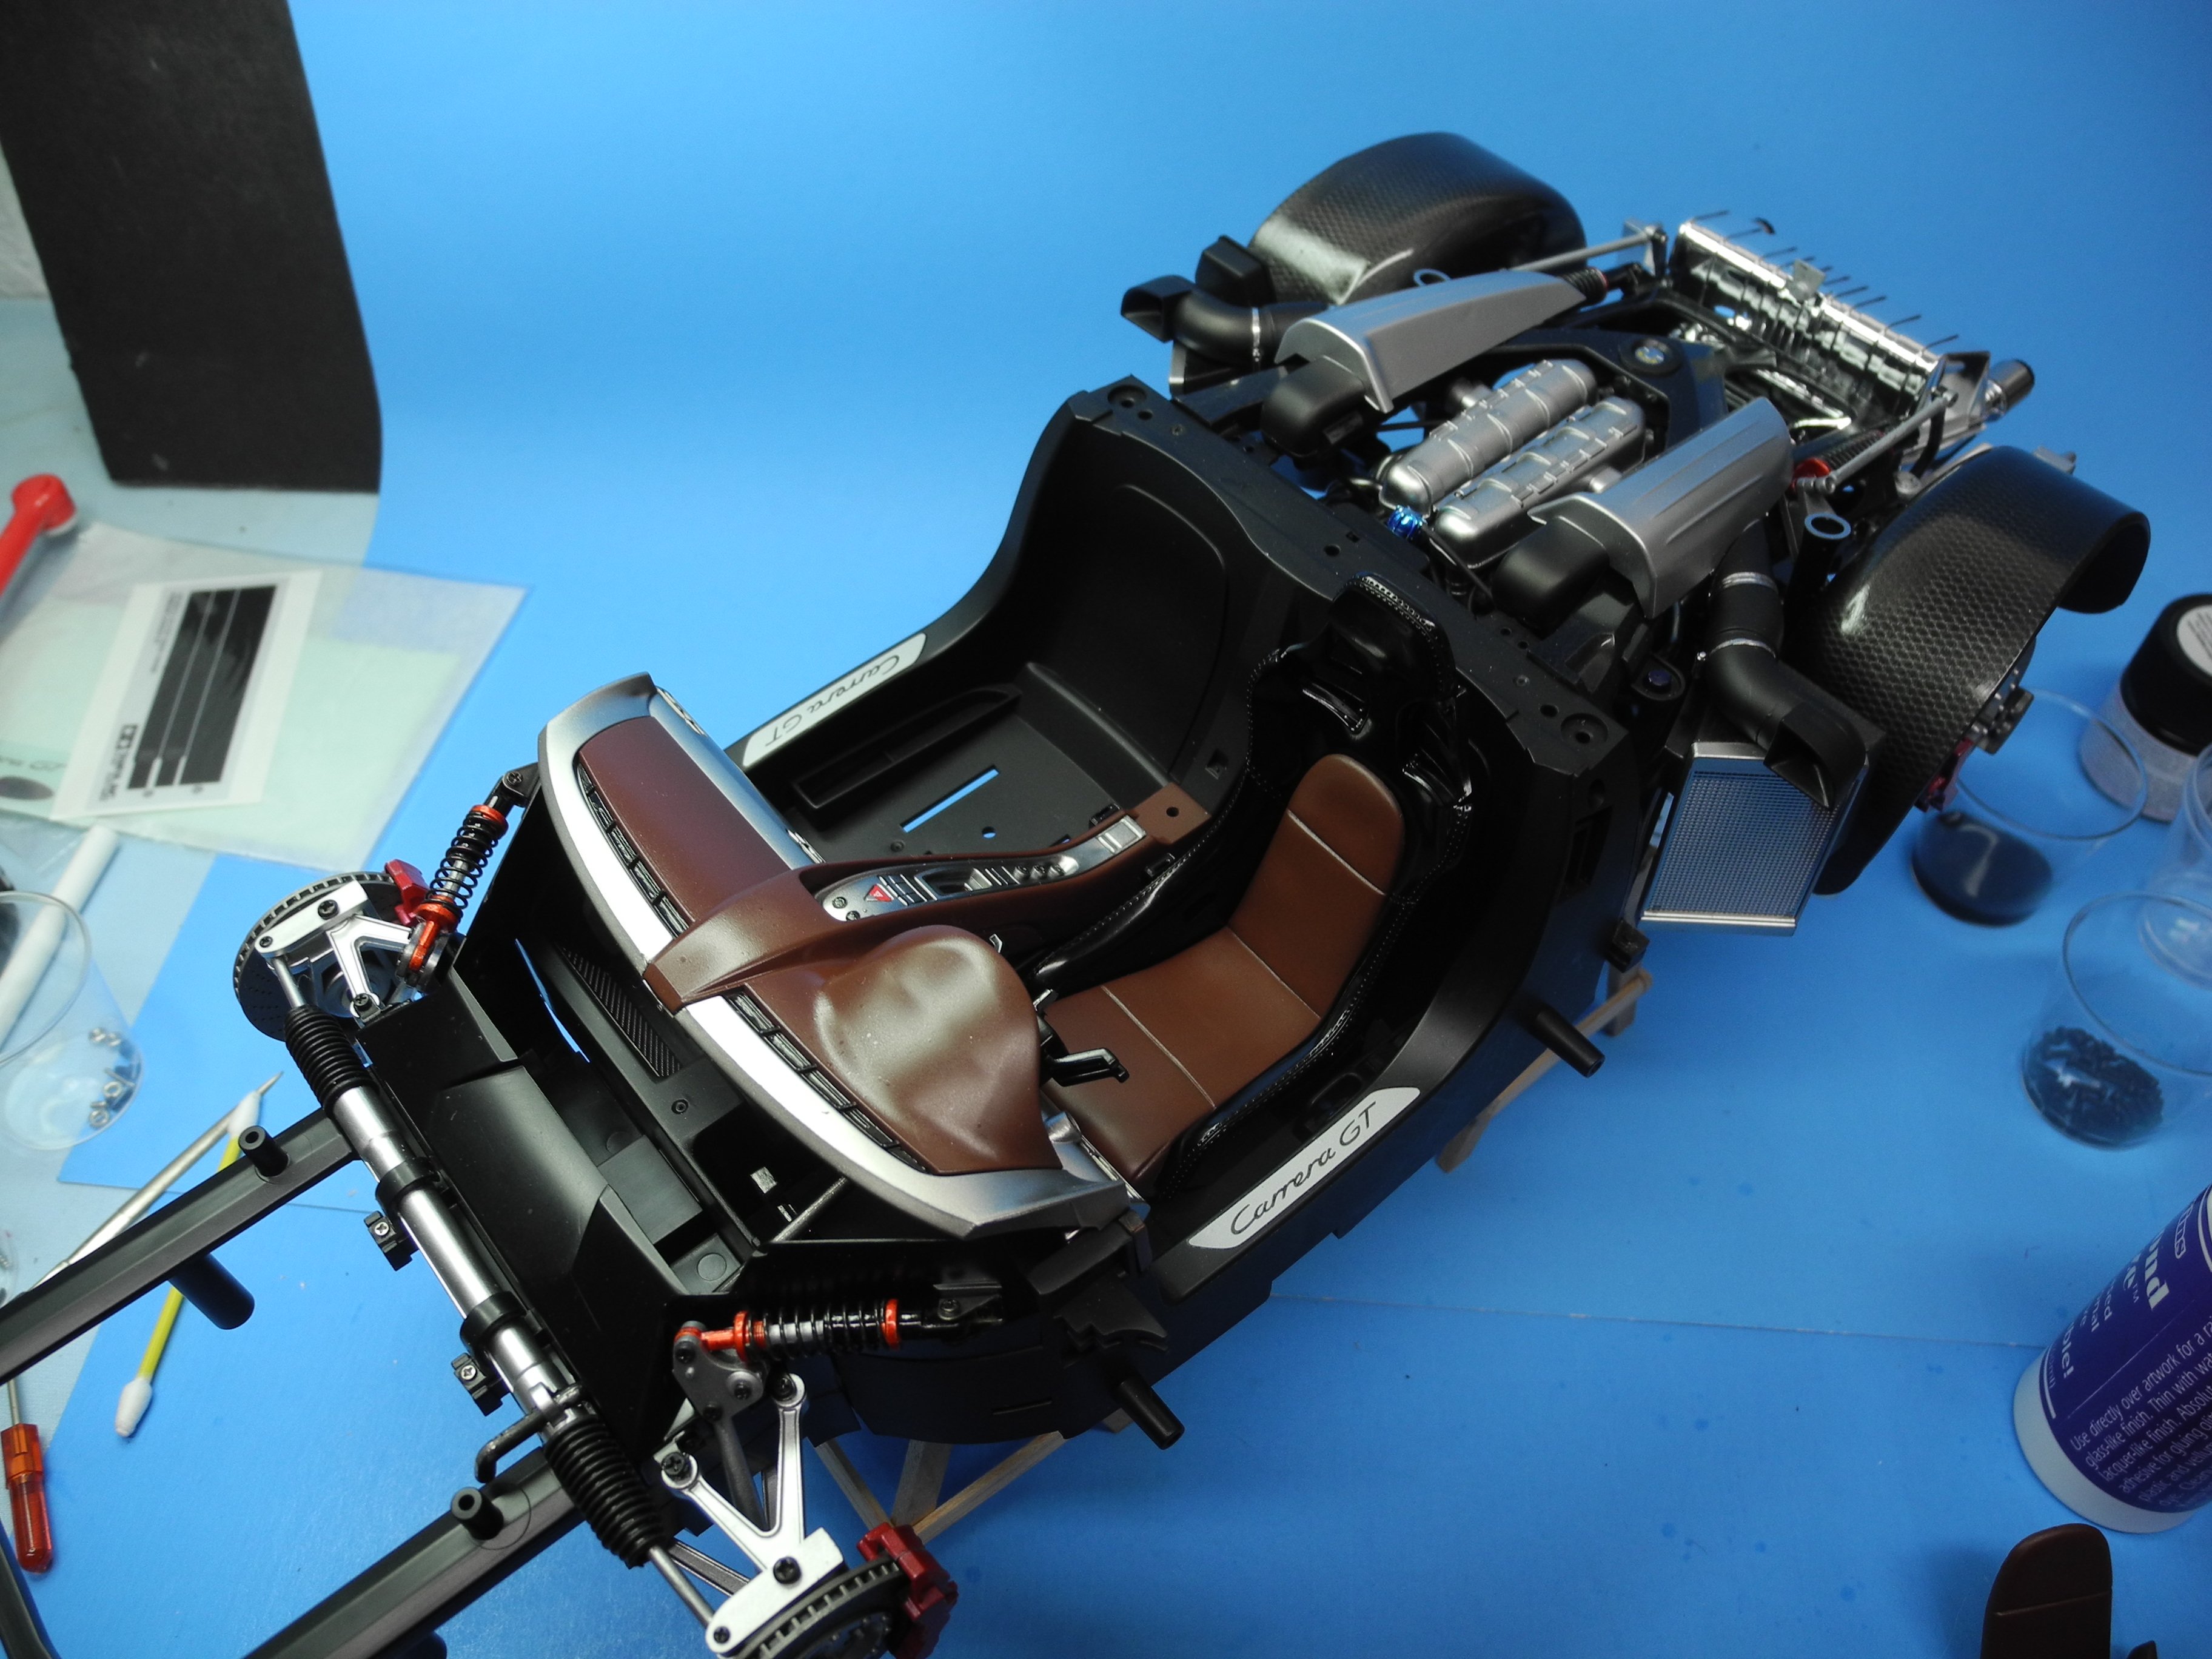
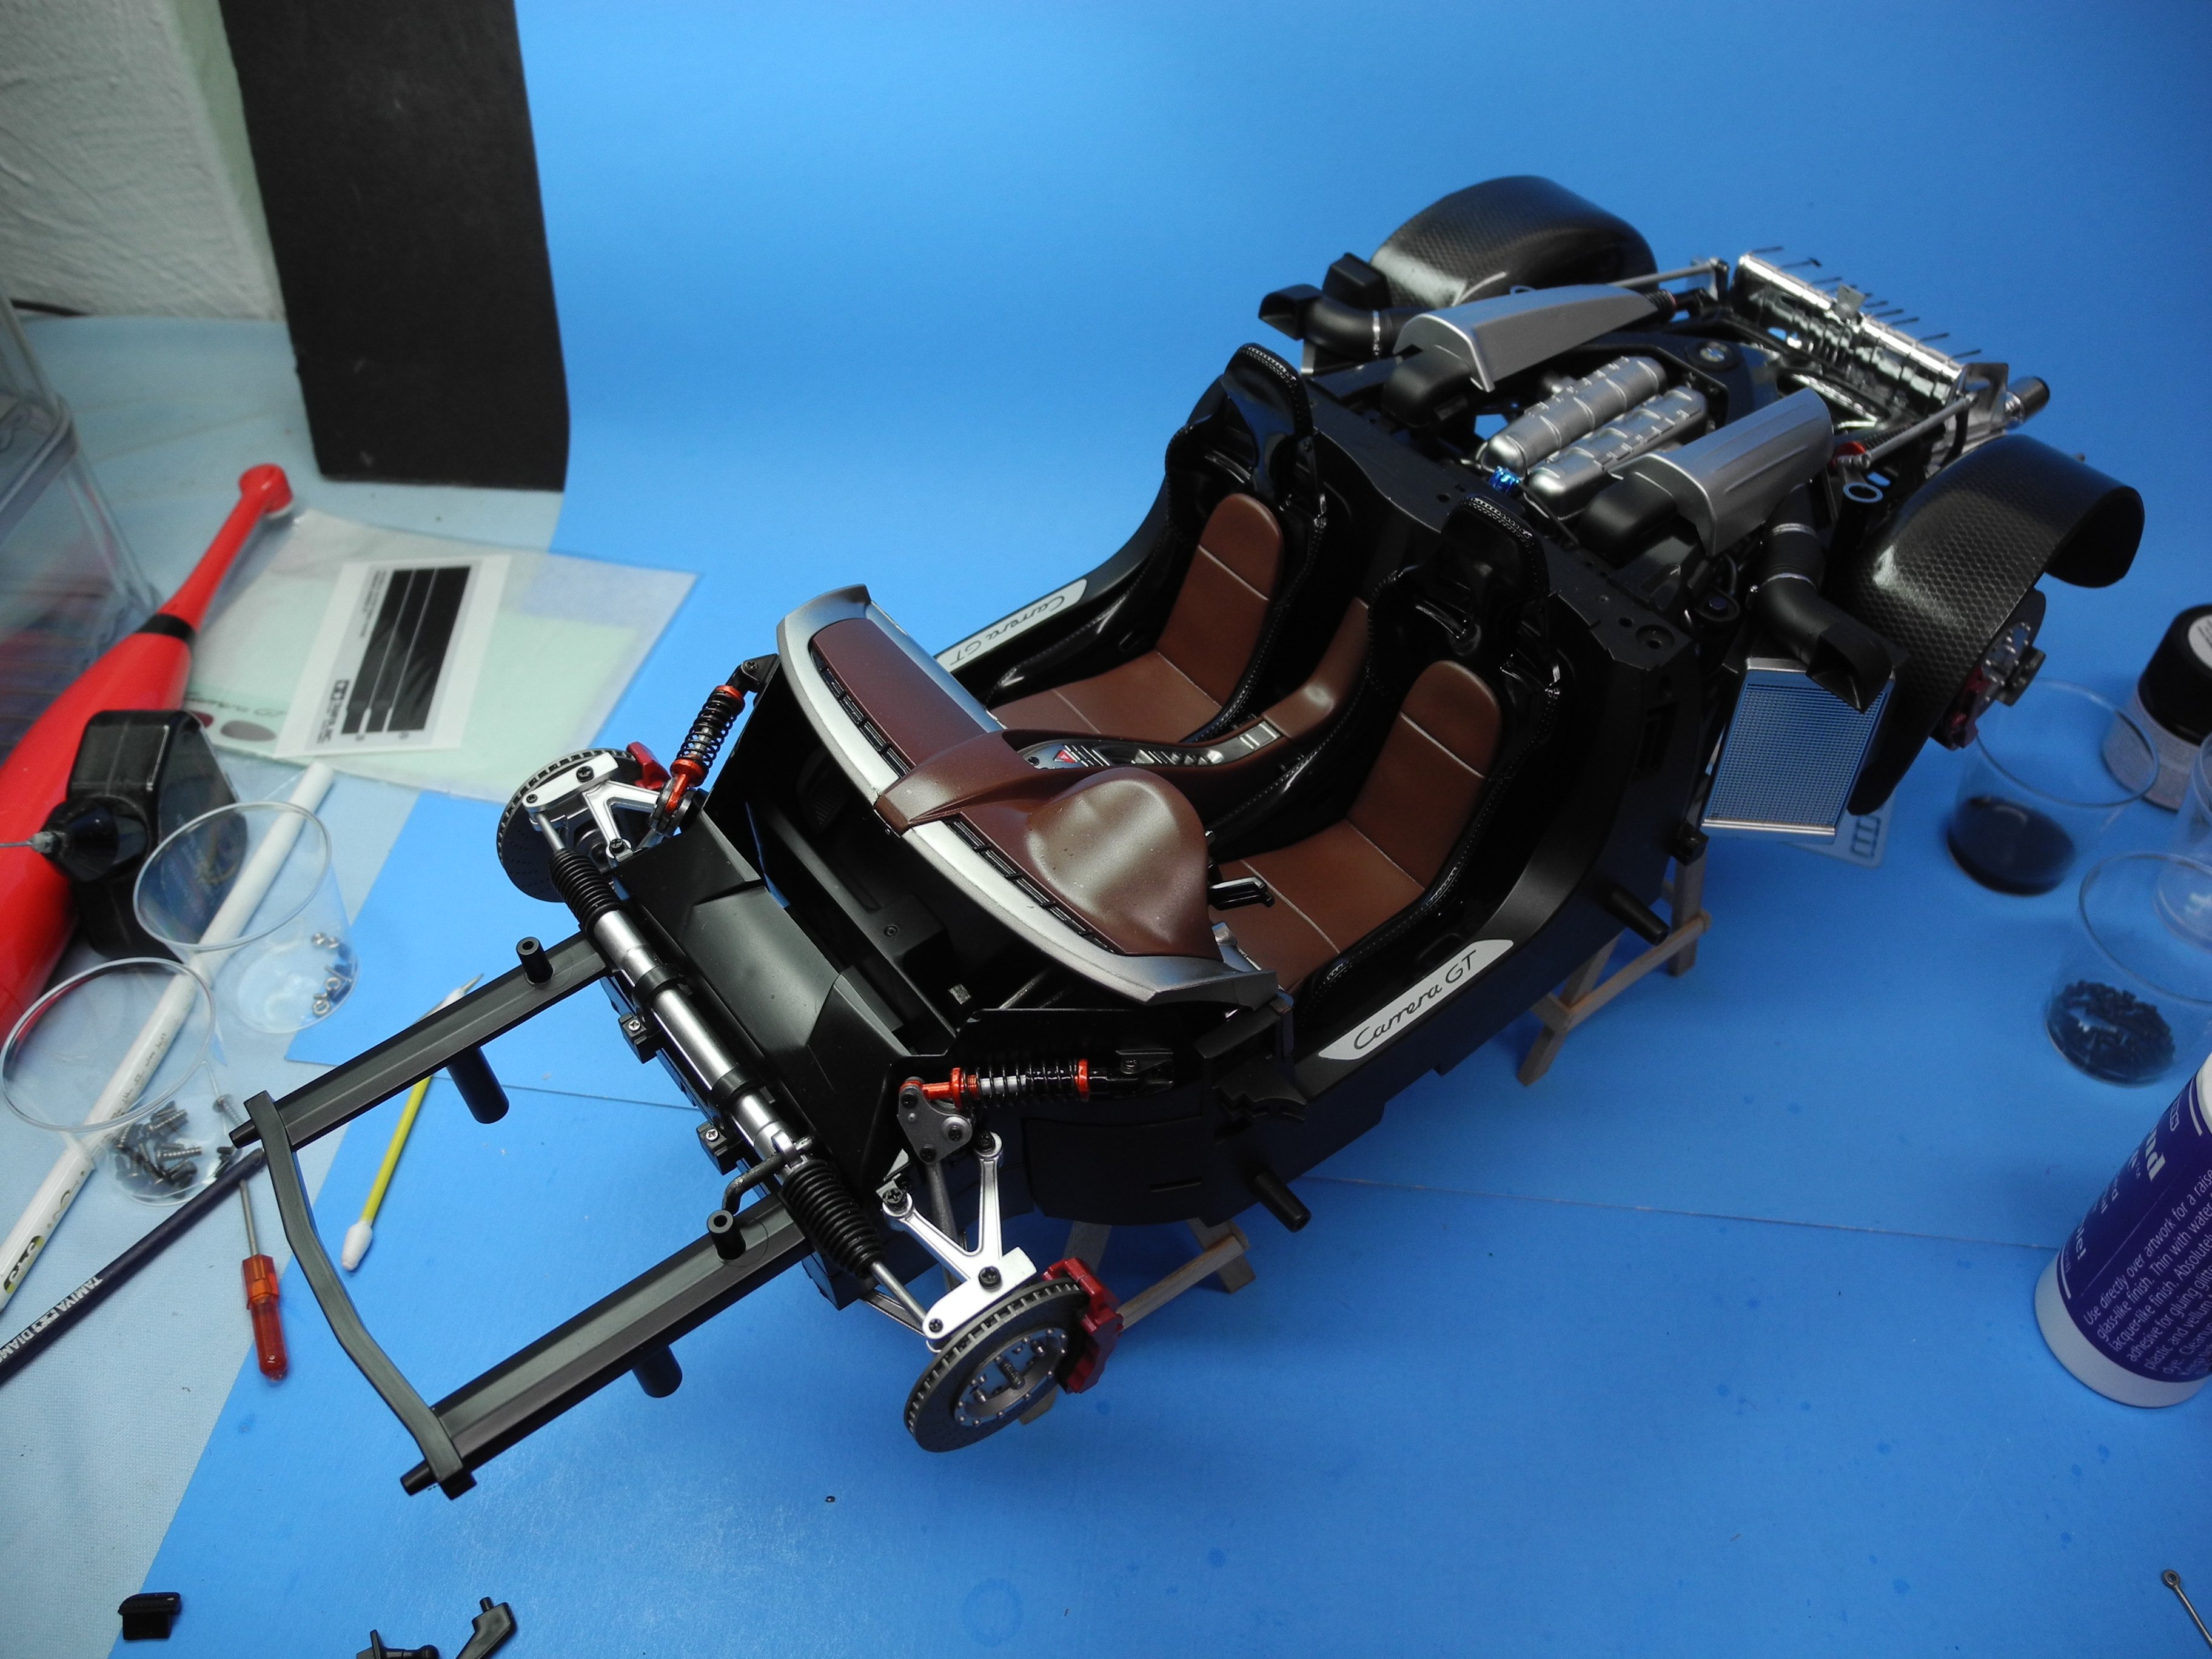
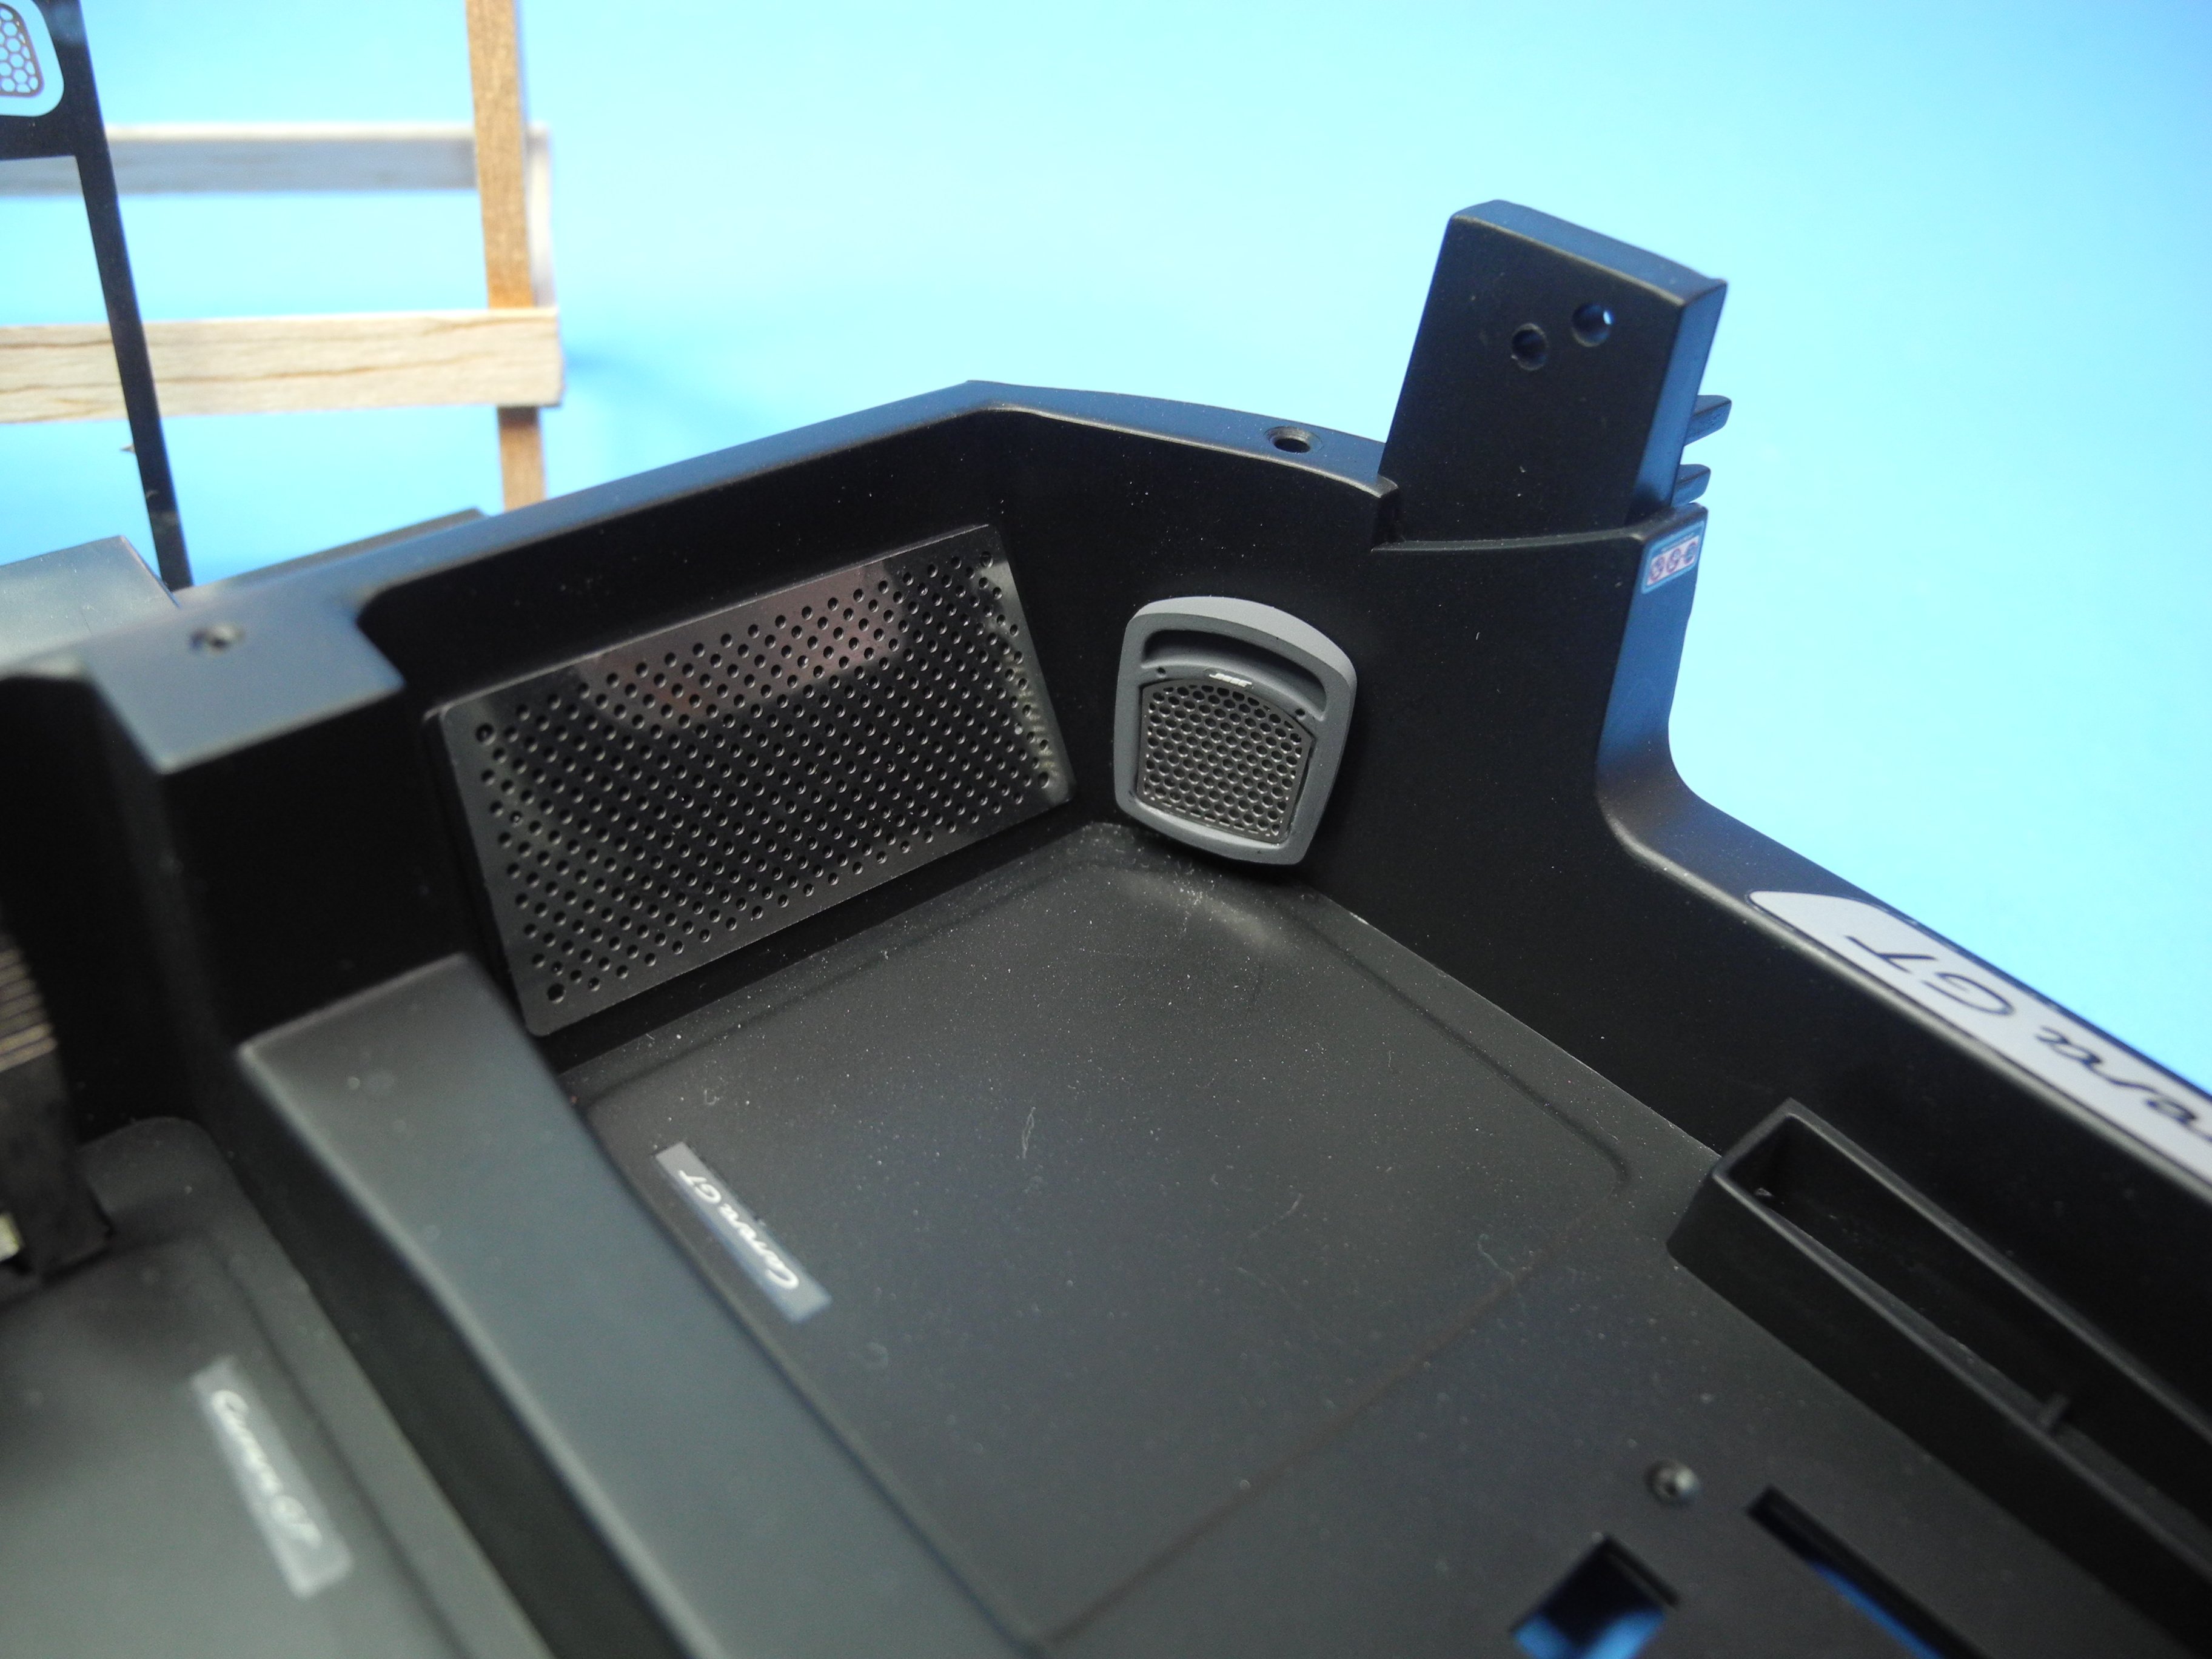
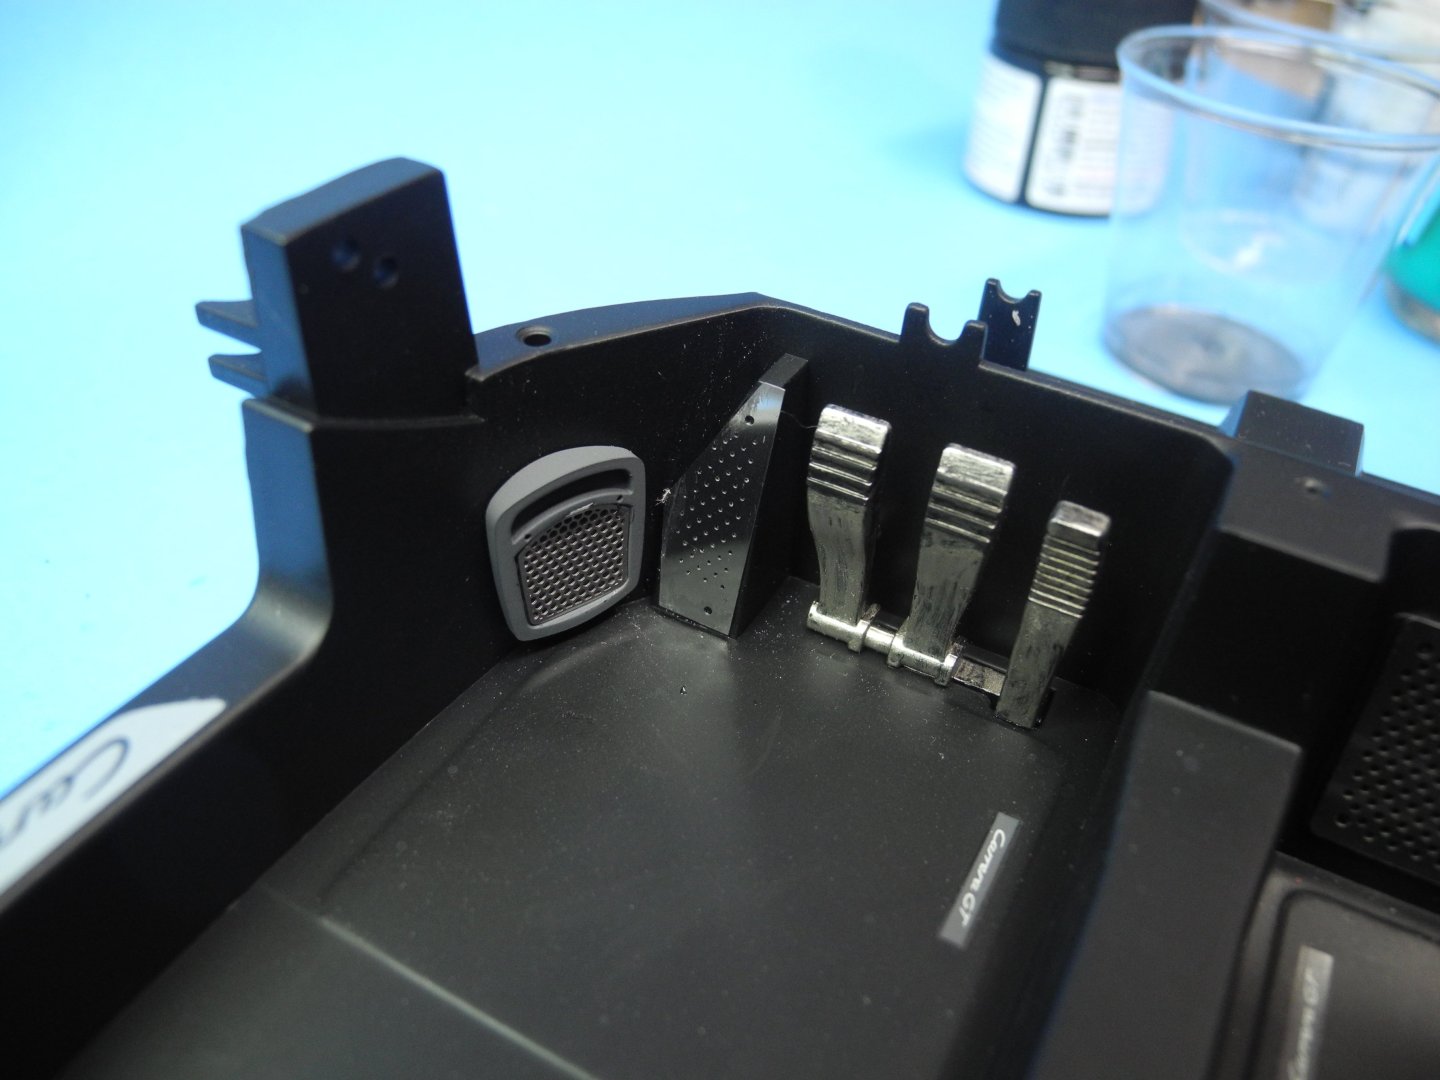
At this stage of the build, only a few parts are added to the interior: a pair of Bose speakers, brake, clutch, and accelerator pedals, and a couple of polished kick plates. At this scale, even "small details" are large enough to be noticed, i.e.: the Bose placard decals. From here, will move on to the front suspension build sequence.

- 264 replies
-
- 12
-
-
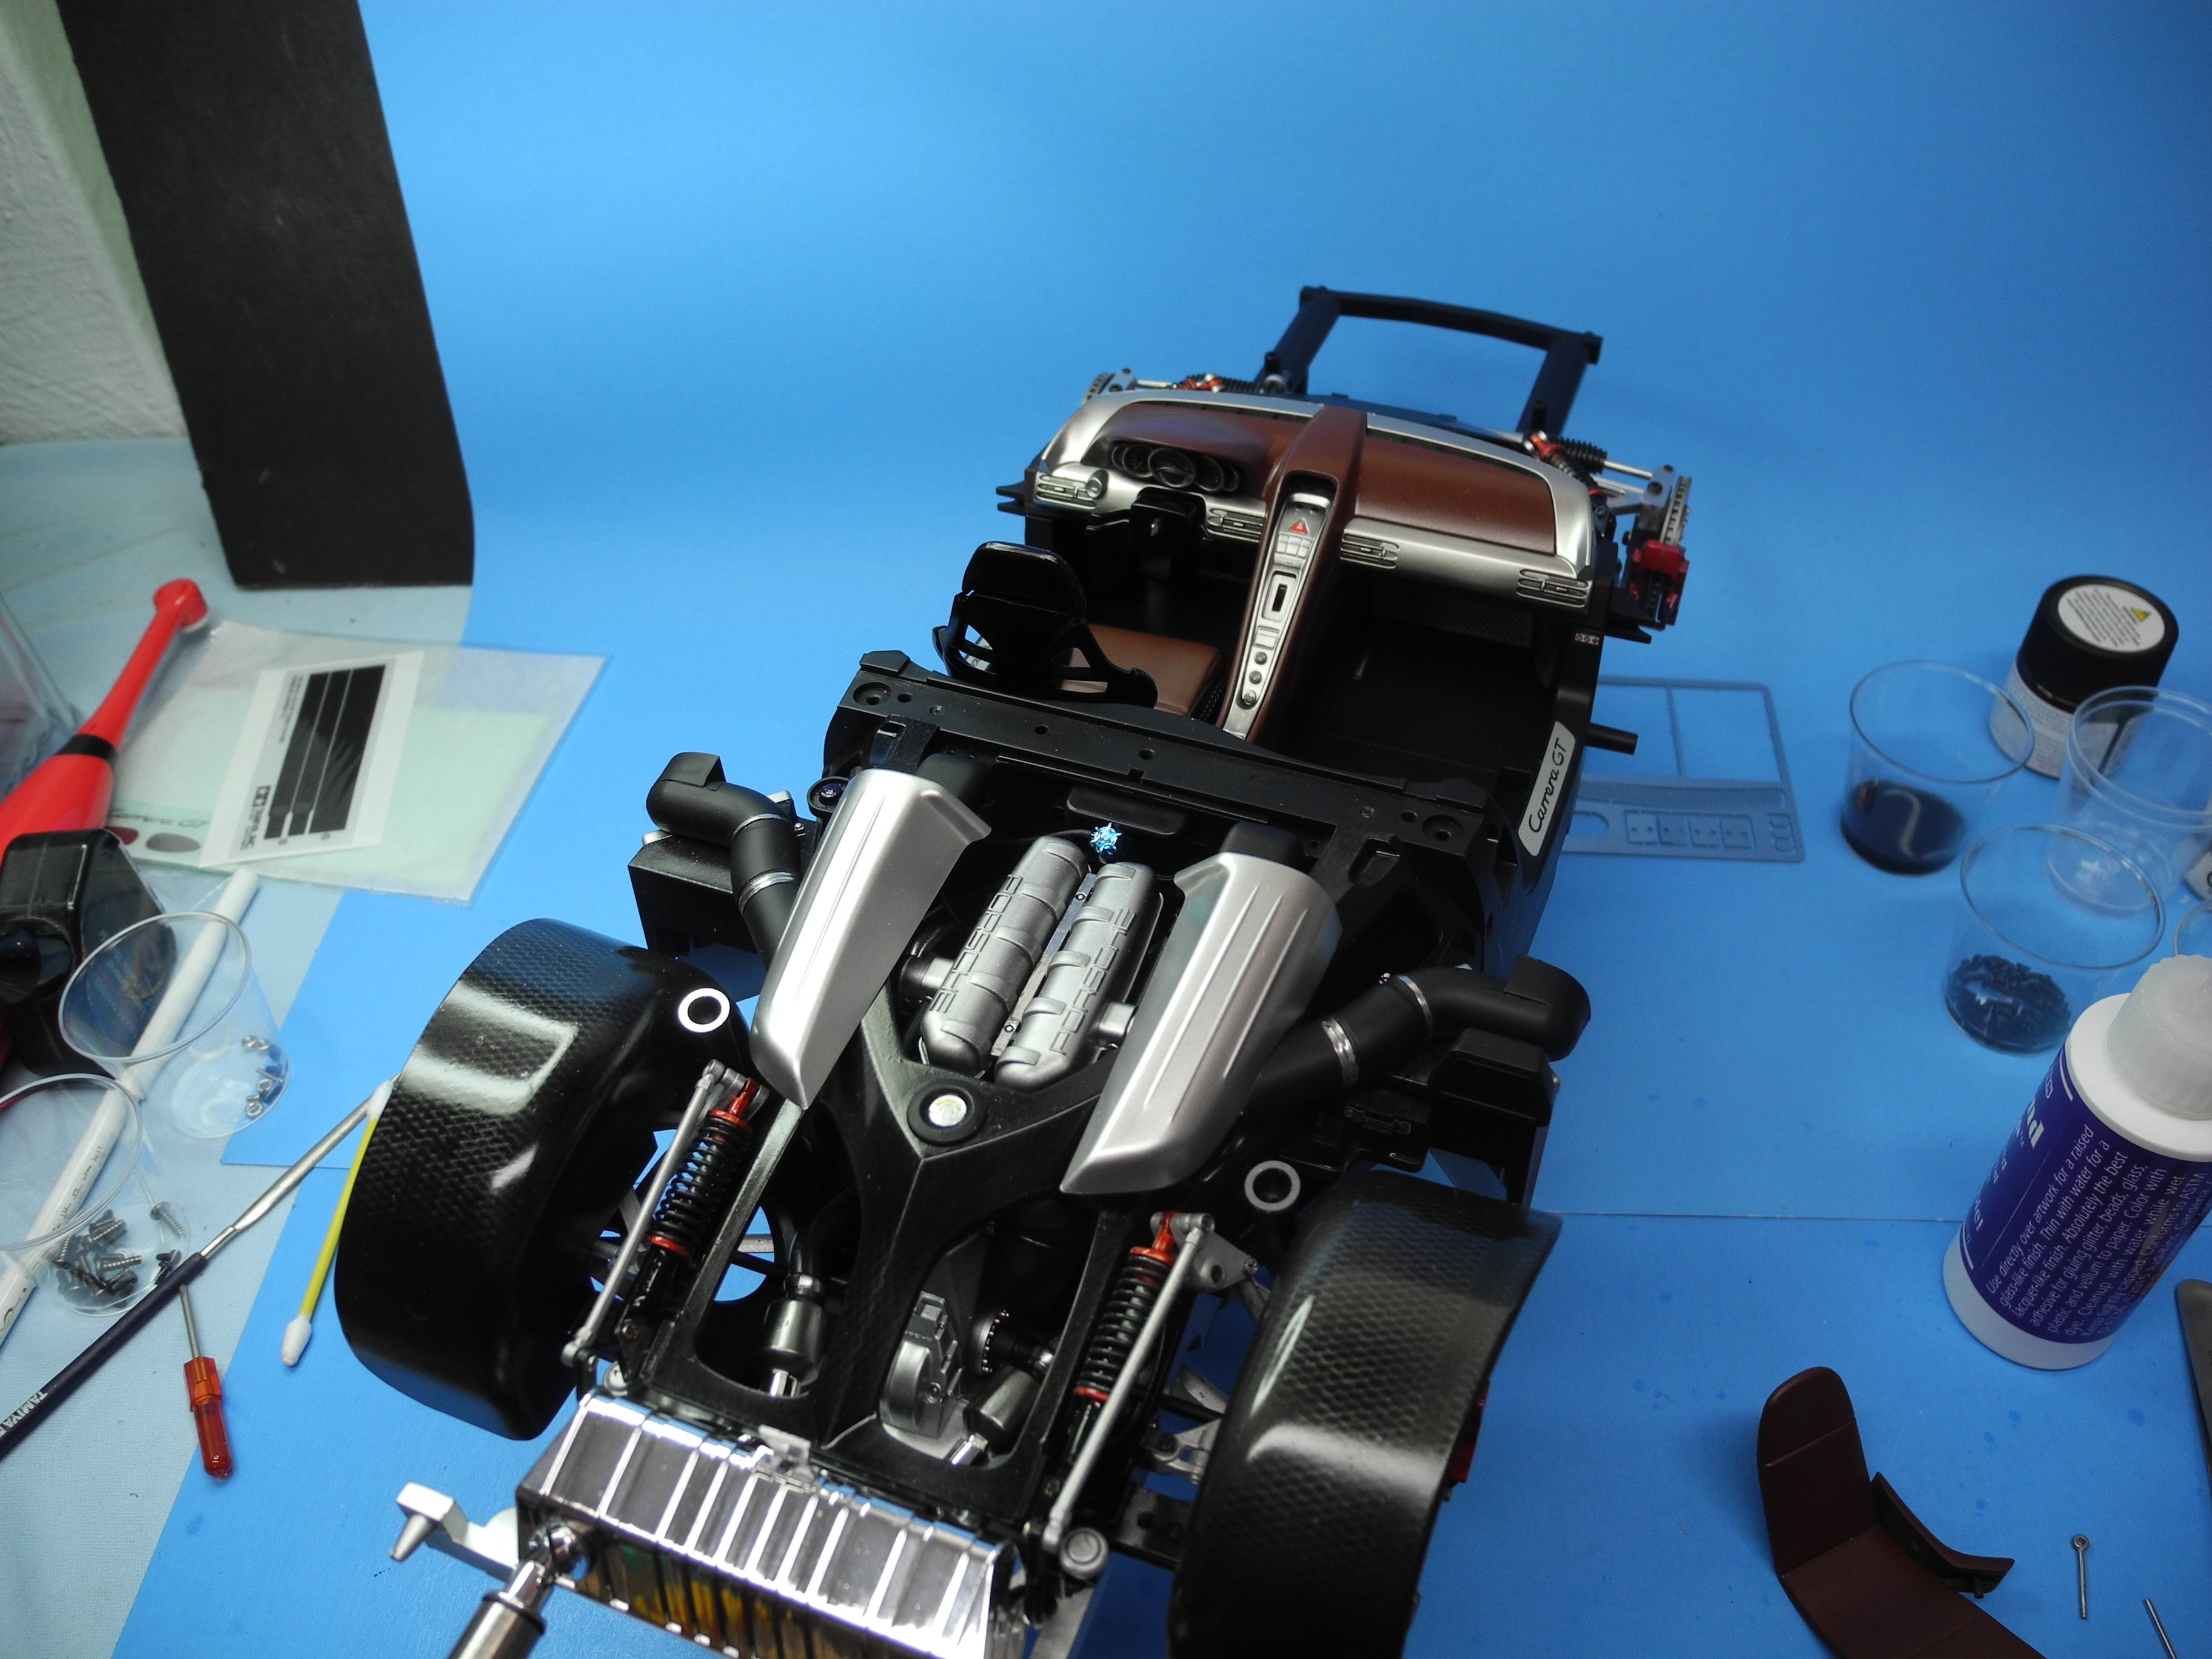
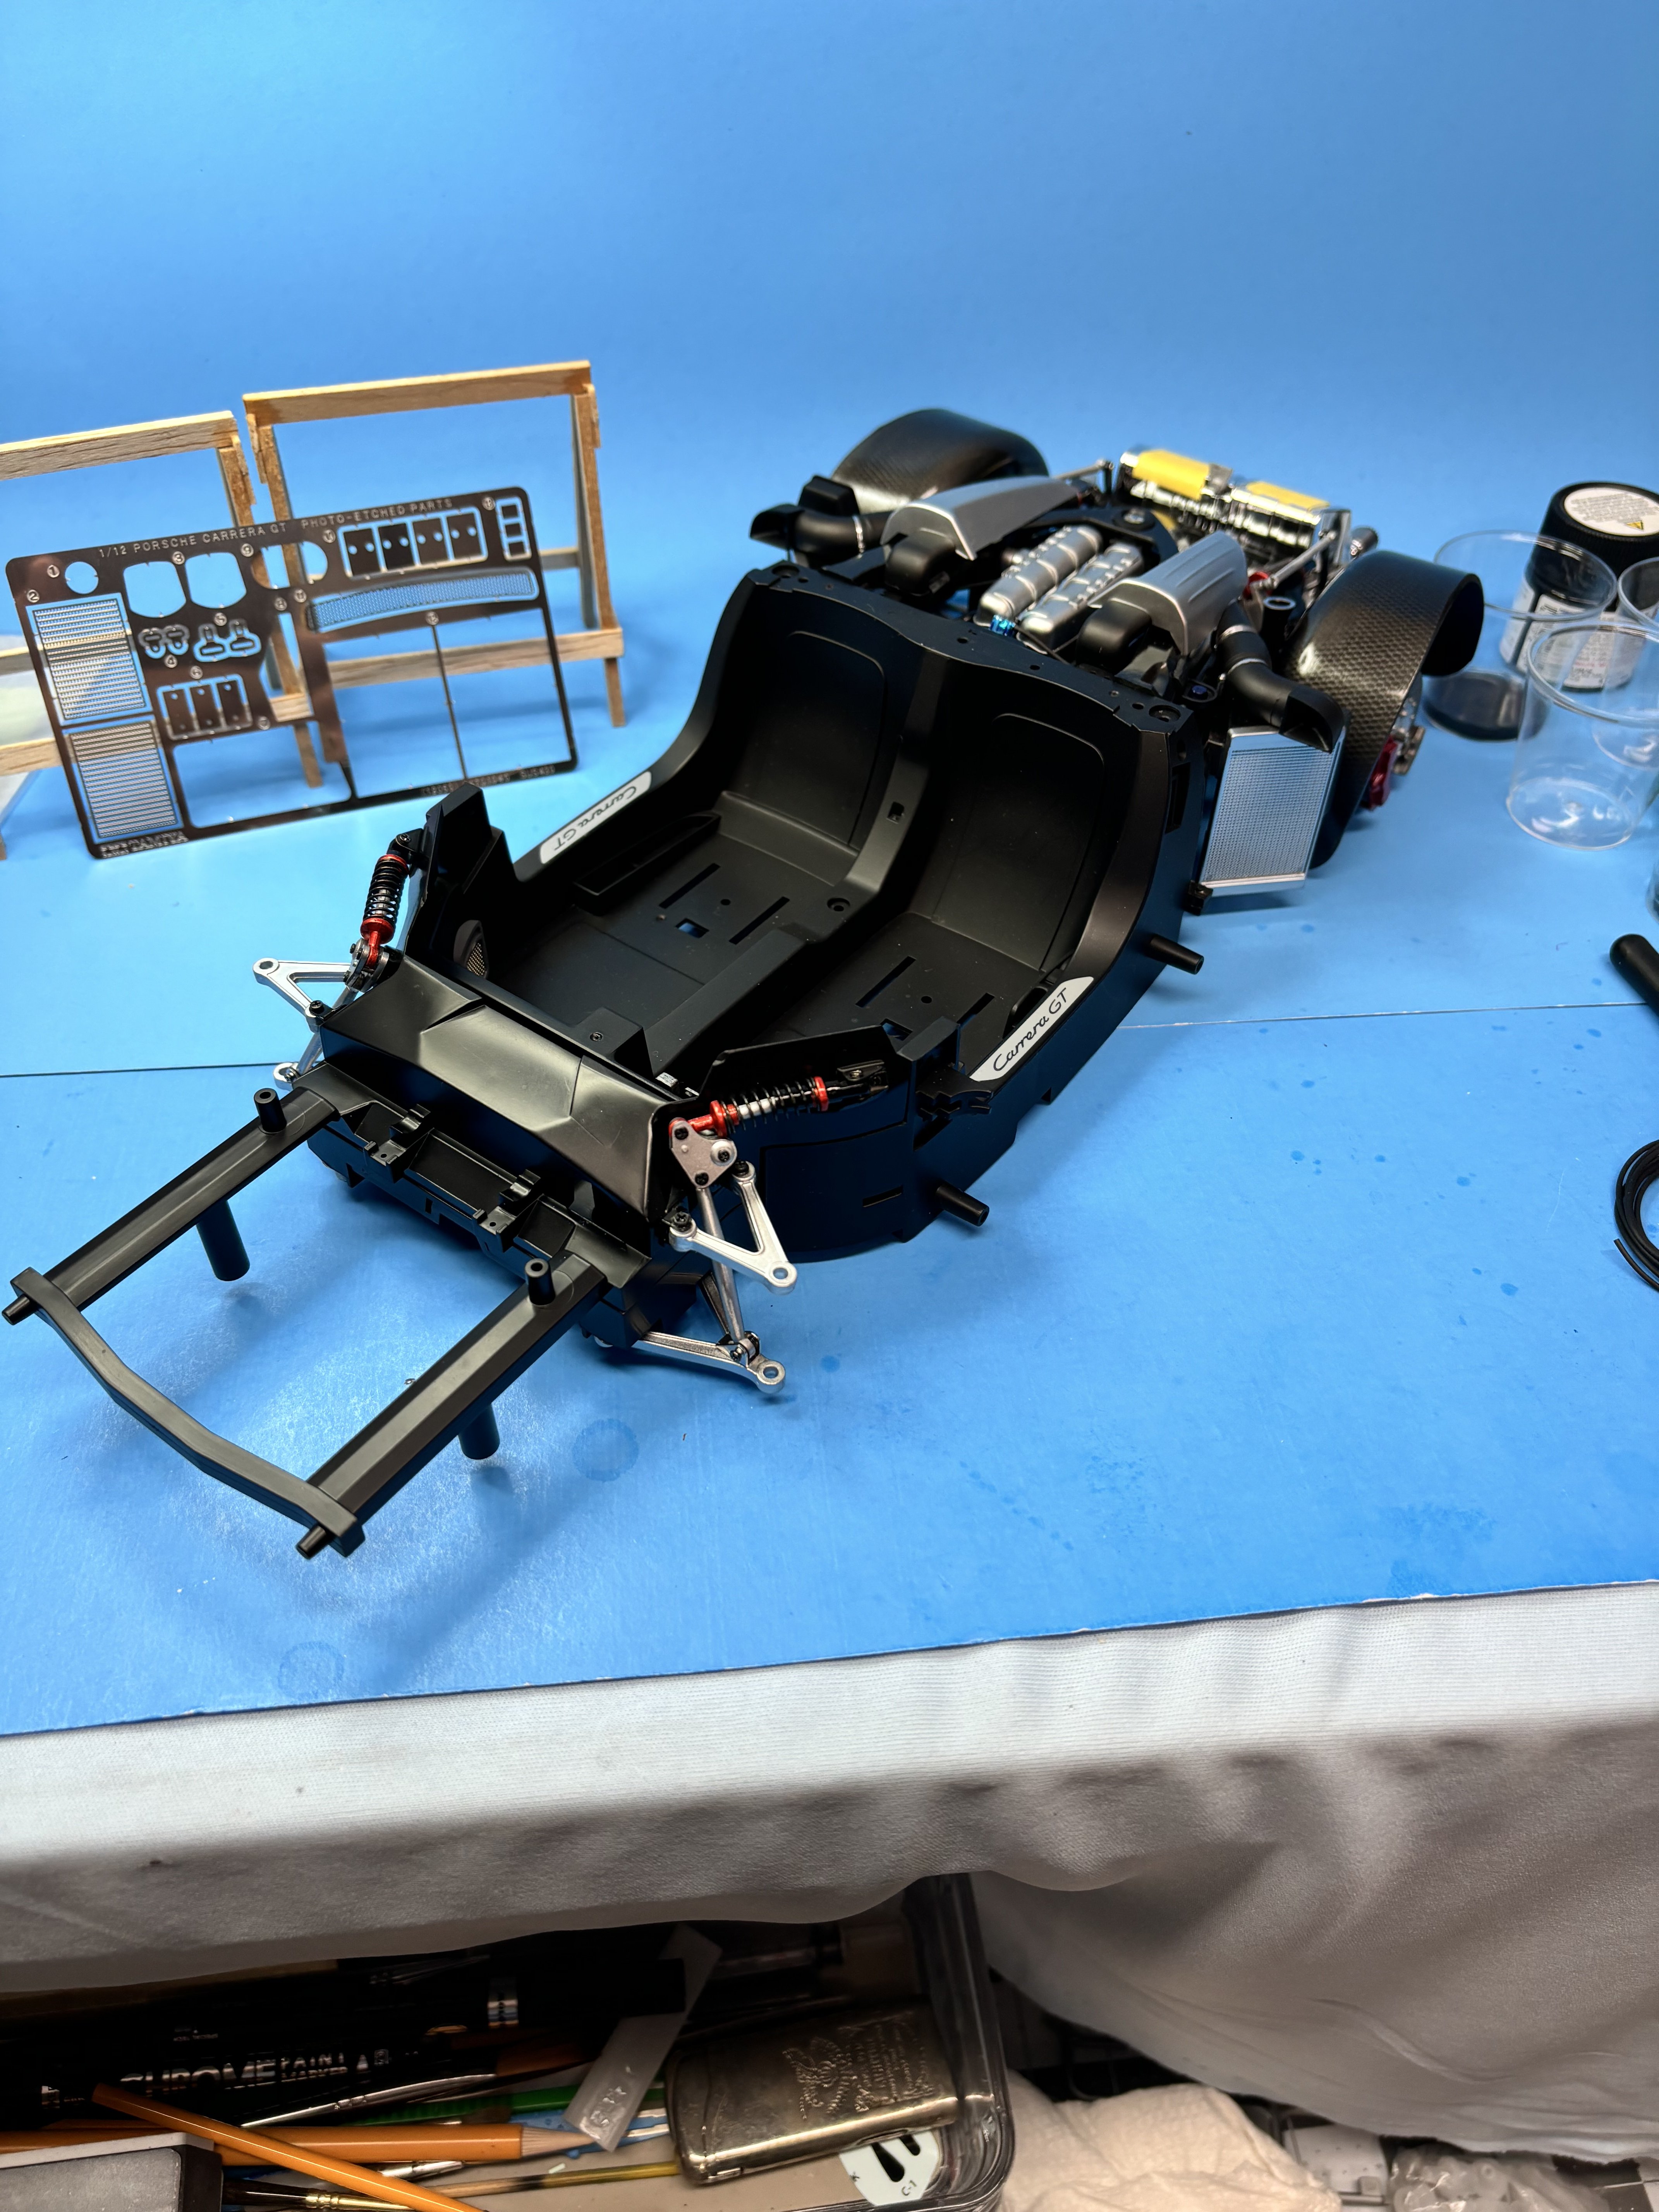
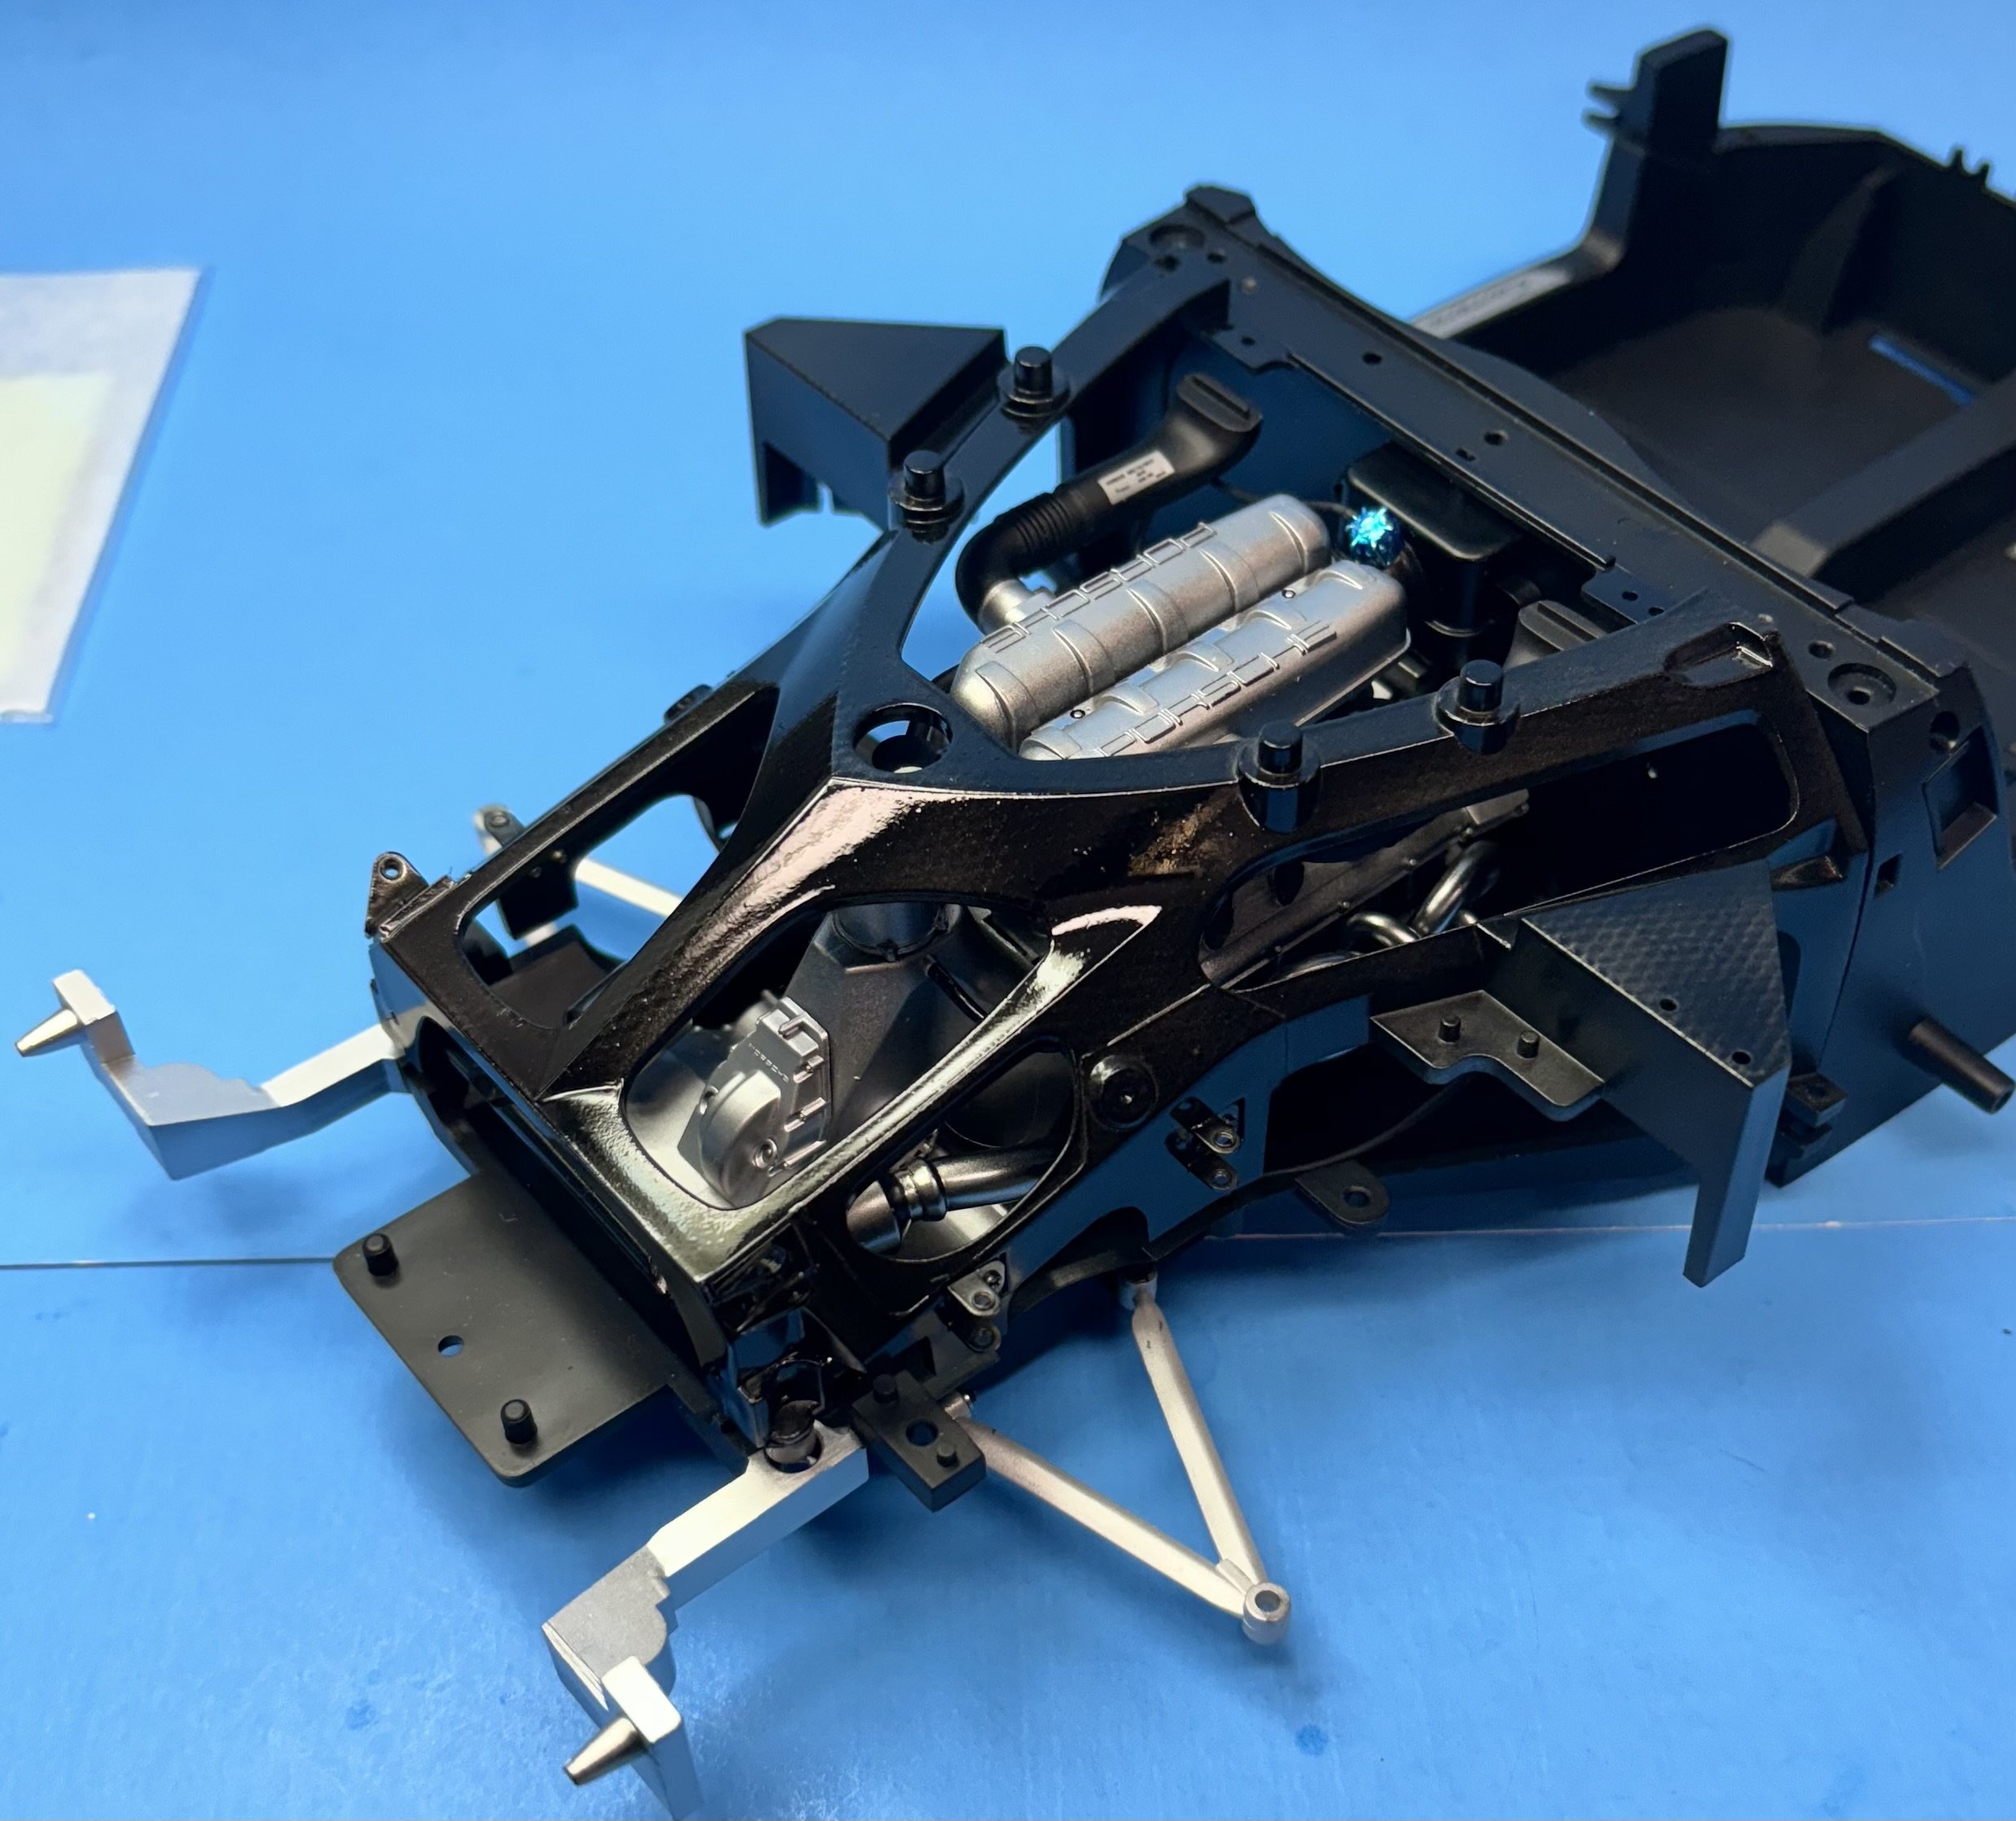
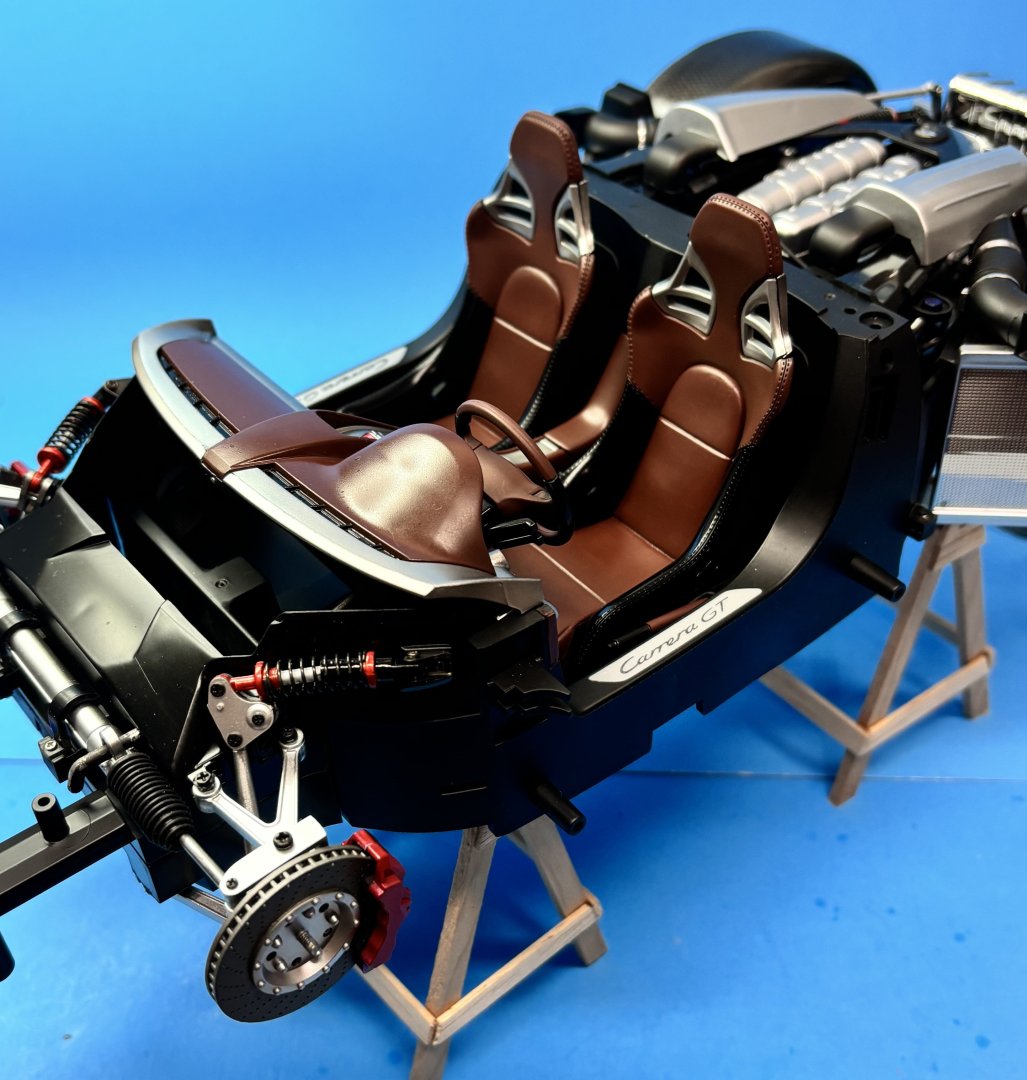
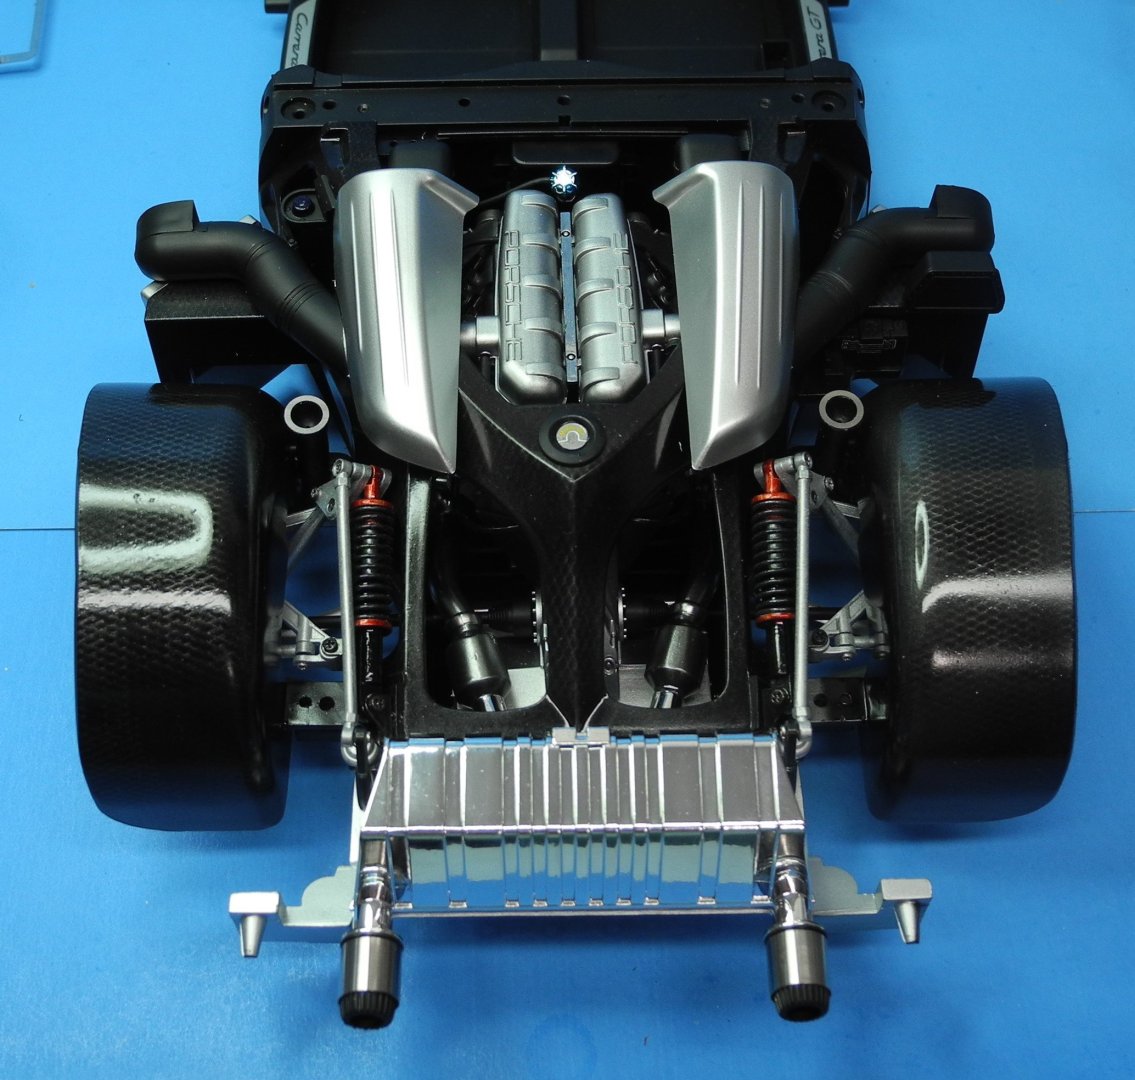
With just a few minor details left to add here, will move on next to the interior area of the Porsche Carrera GT. I am happy with the faux carbon fiber painted areas. Not perfect, but decals probably would not be perfect either. Not at least if placed by me.


- 264 replies
-
- 14
-
-
-
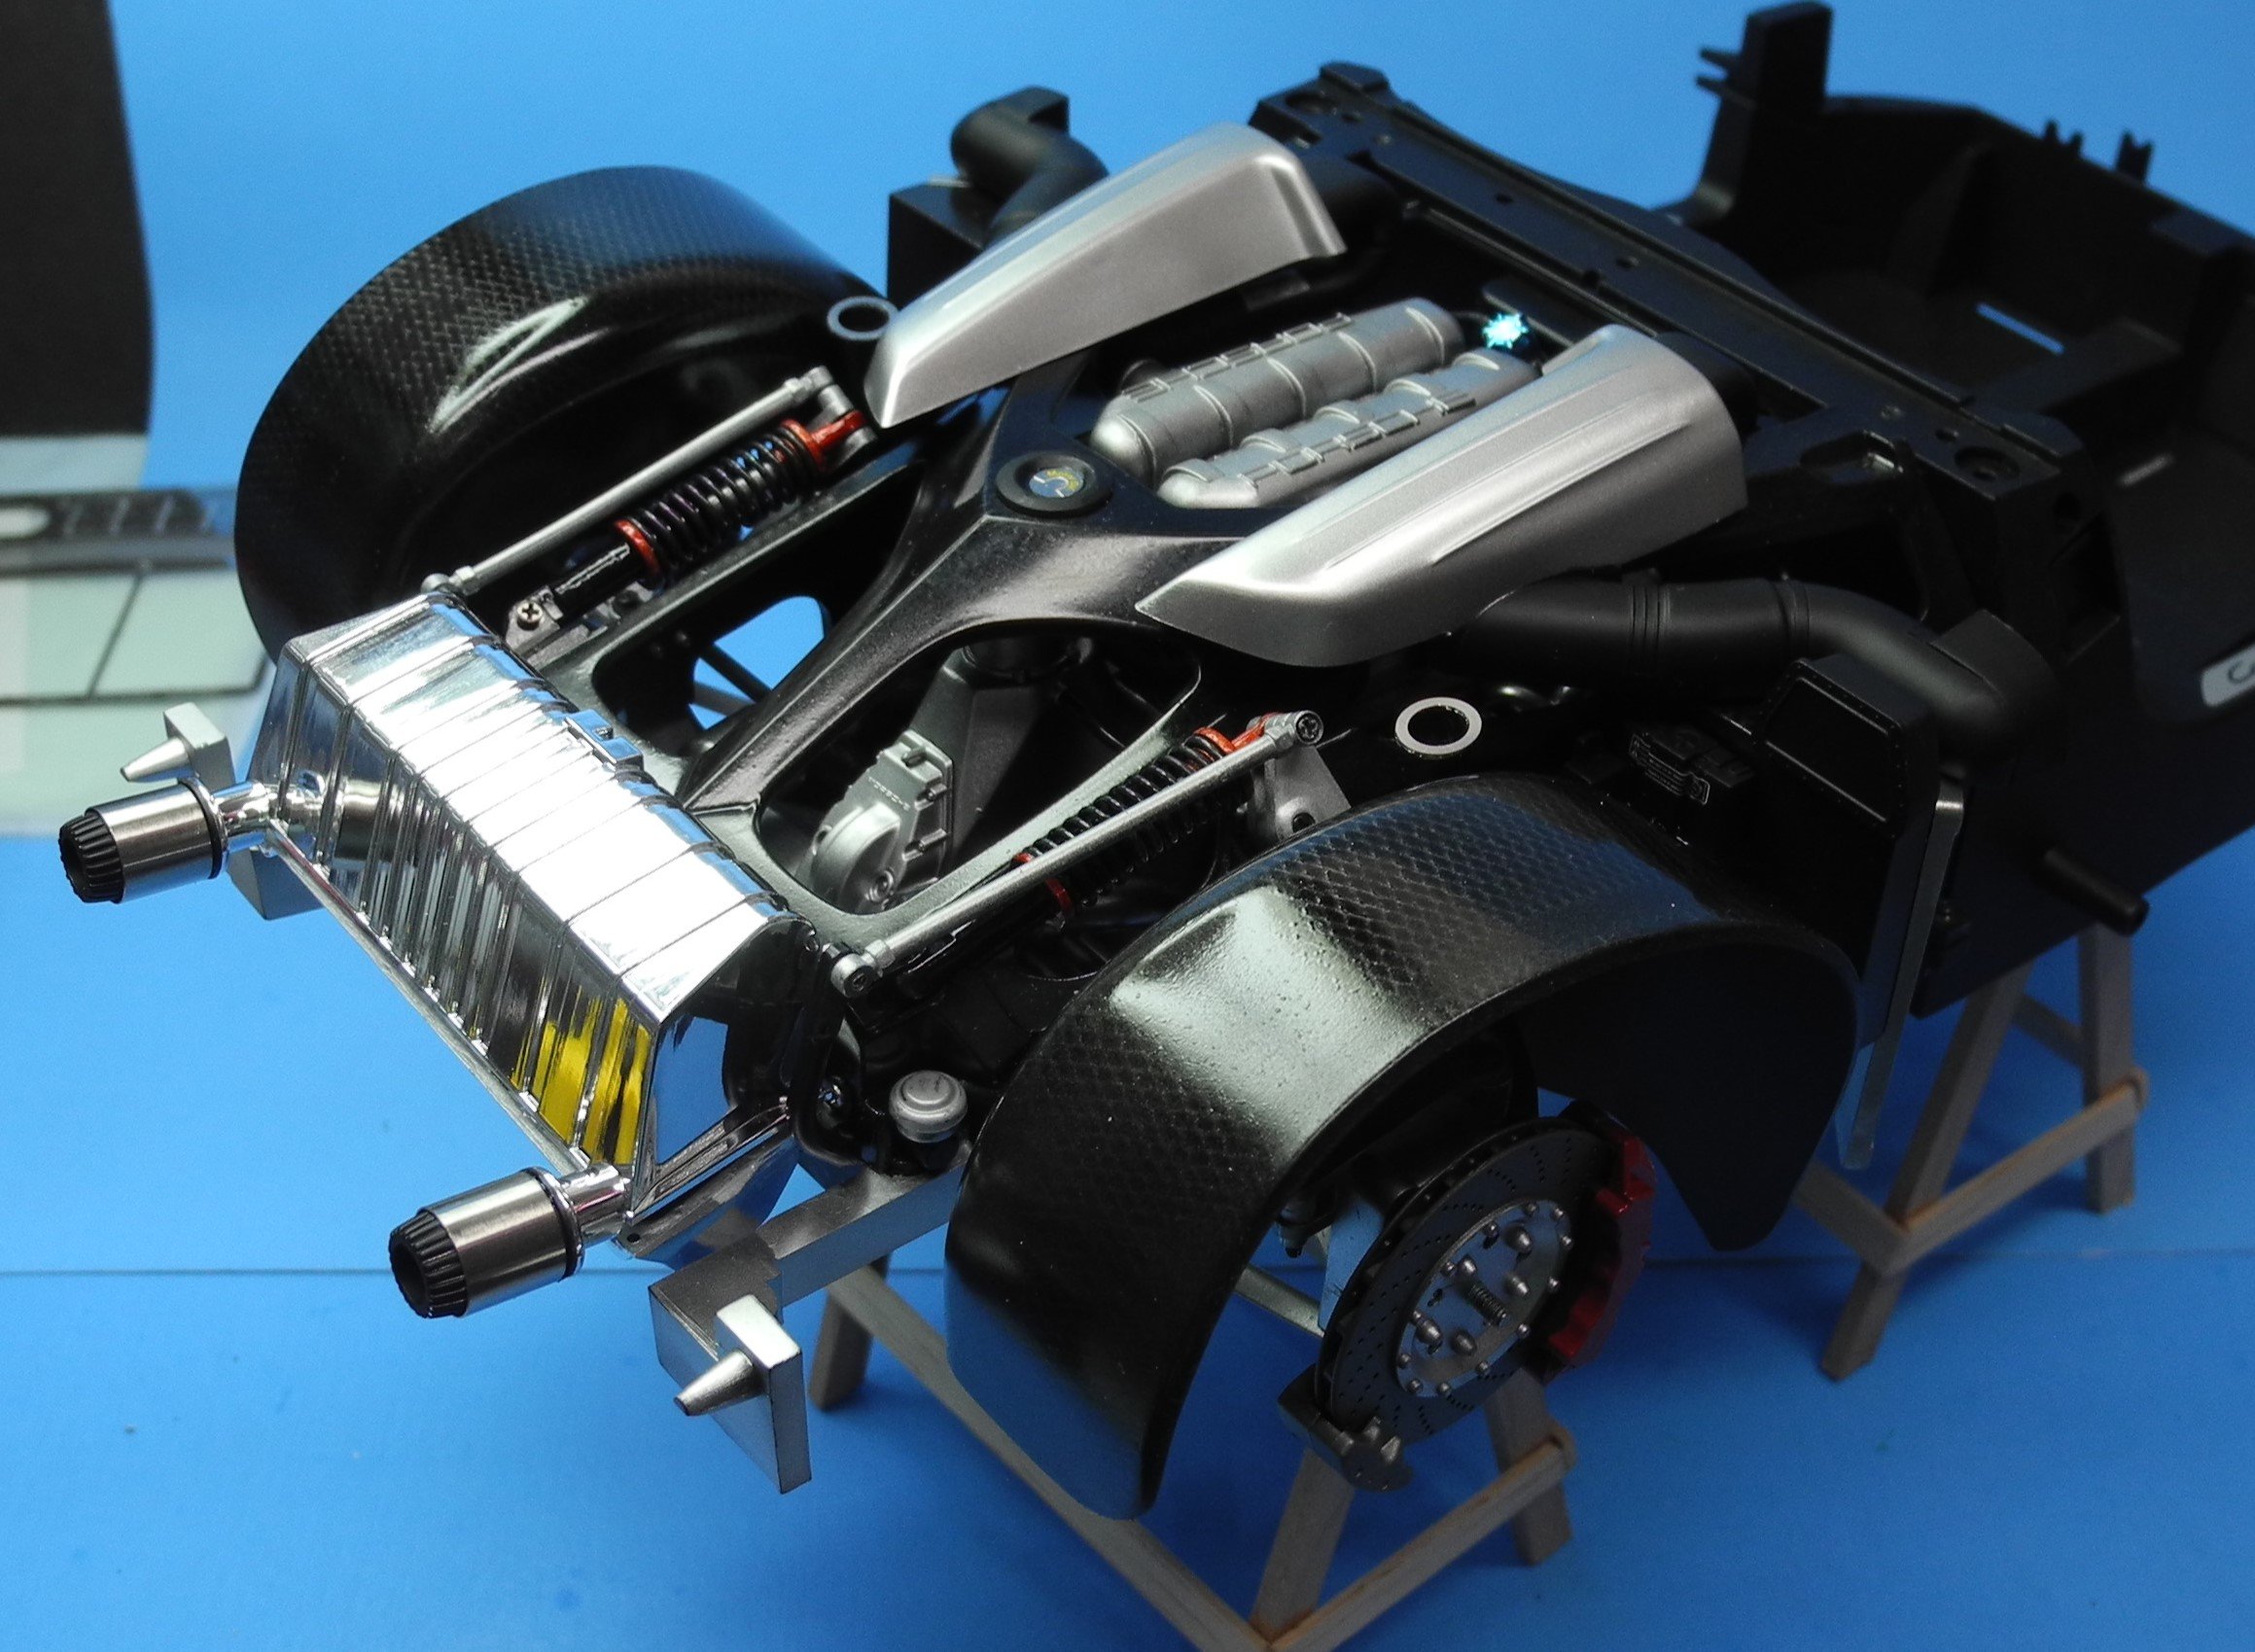
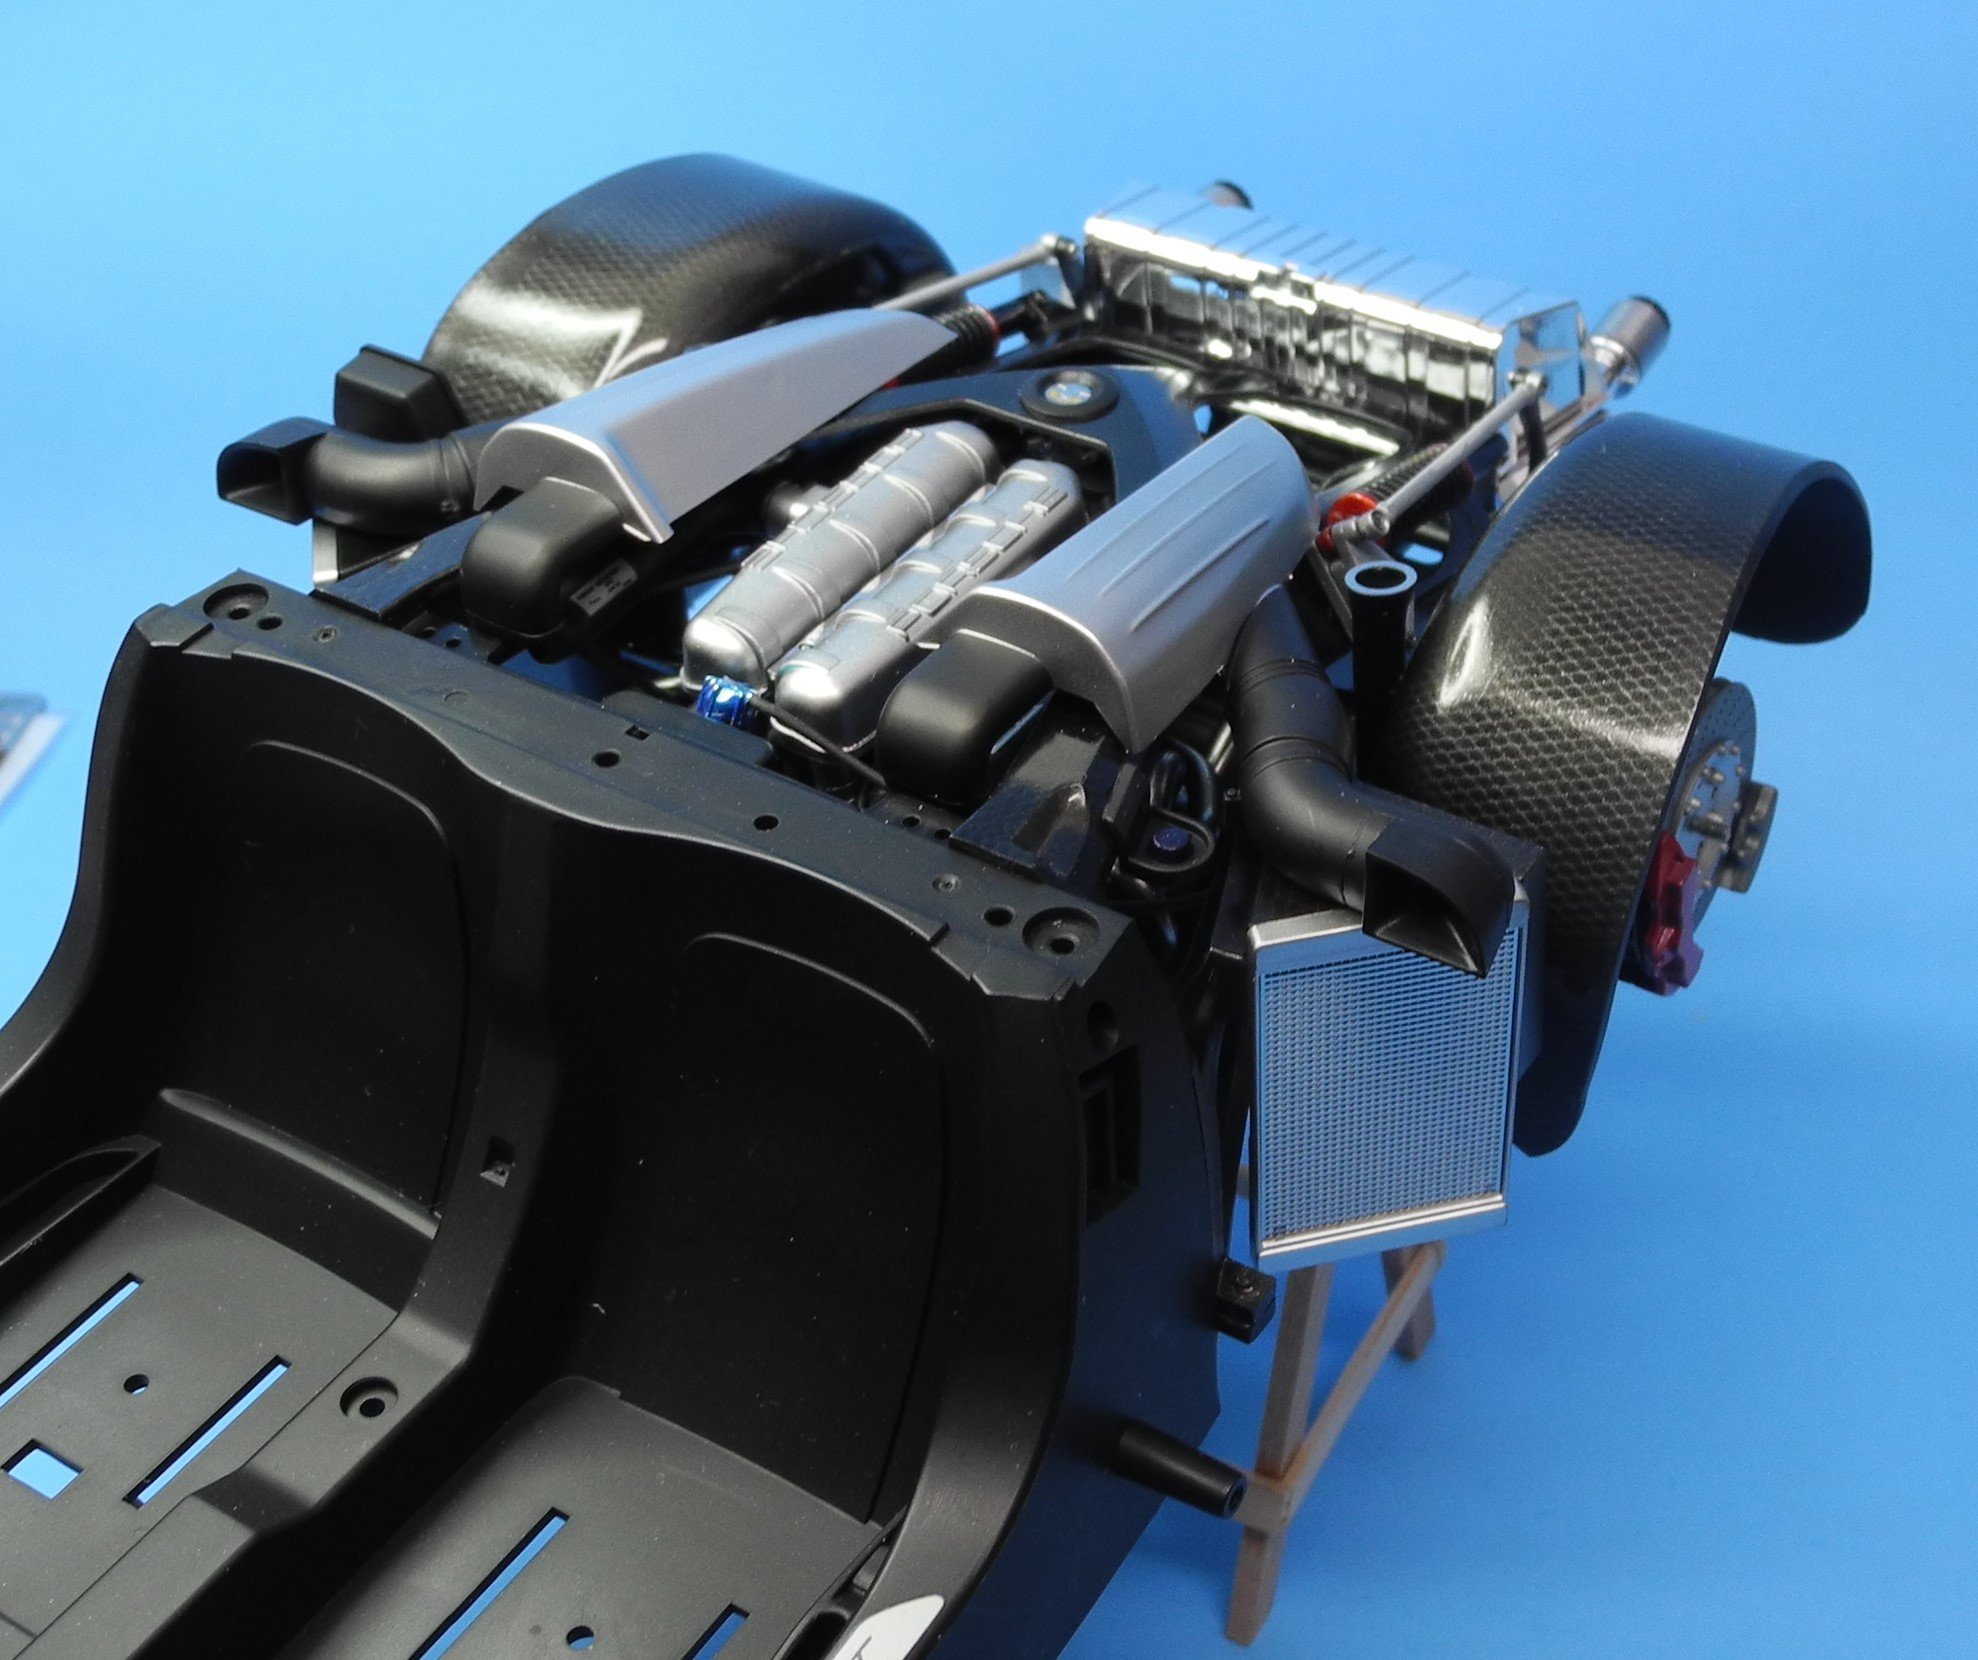
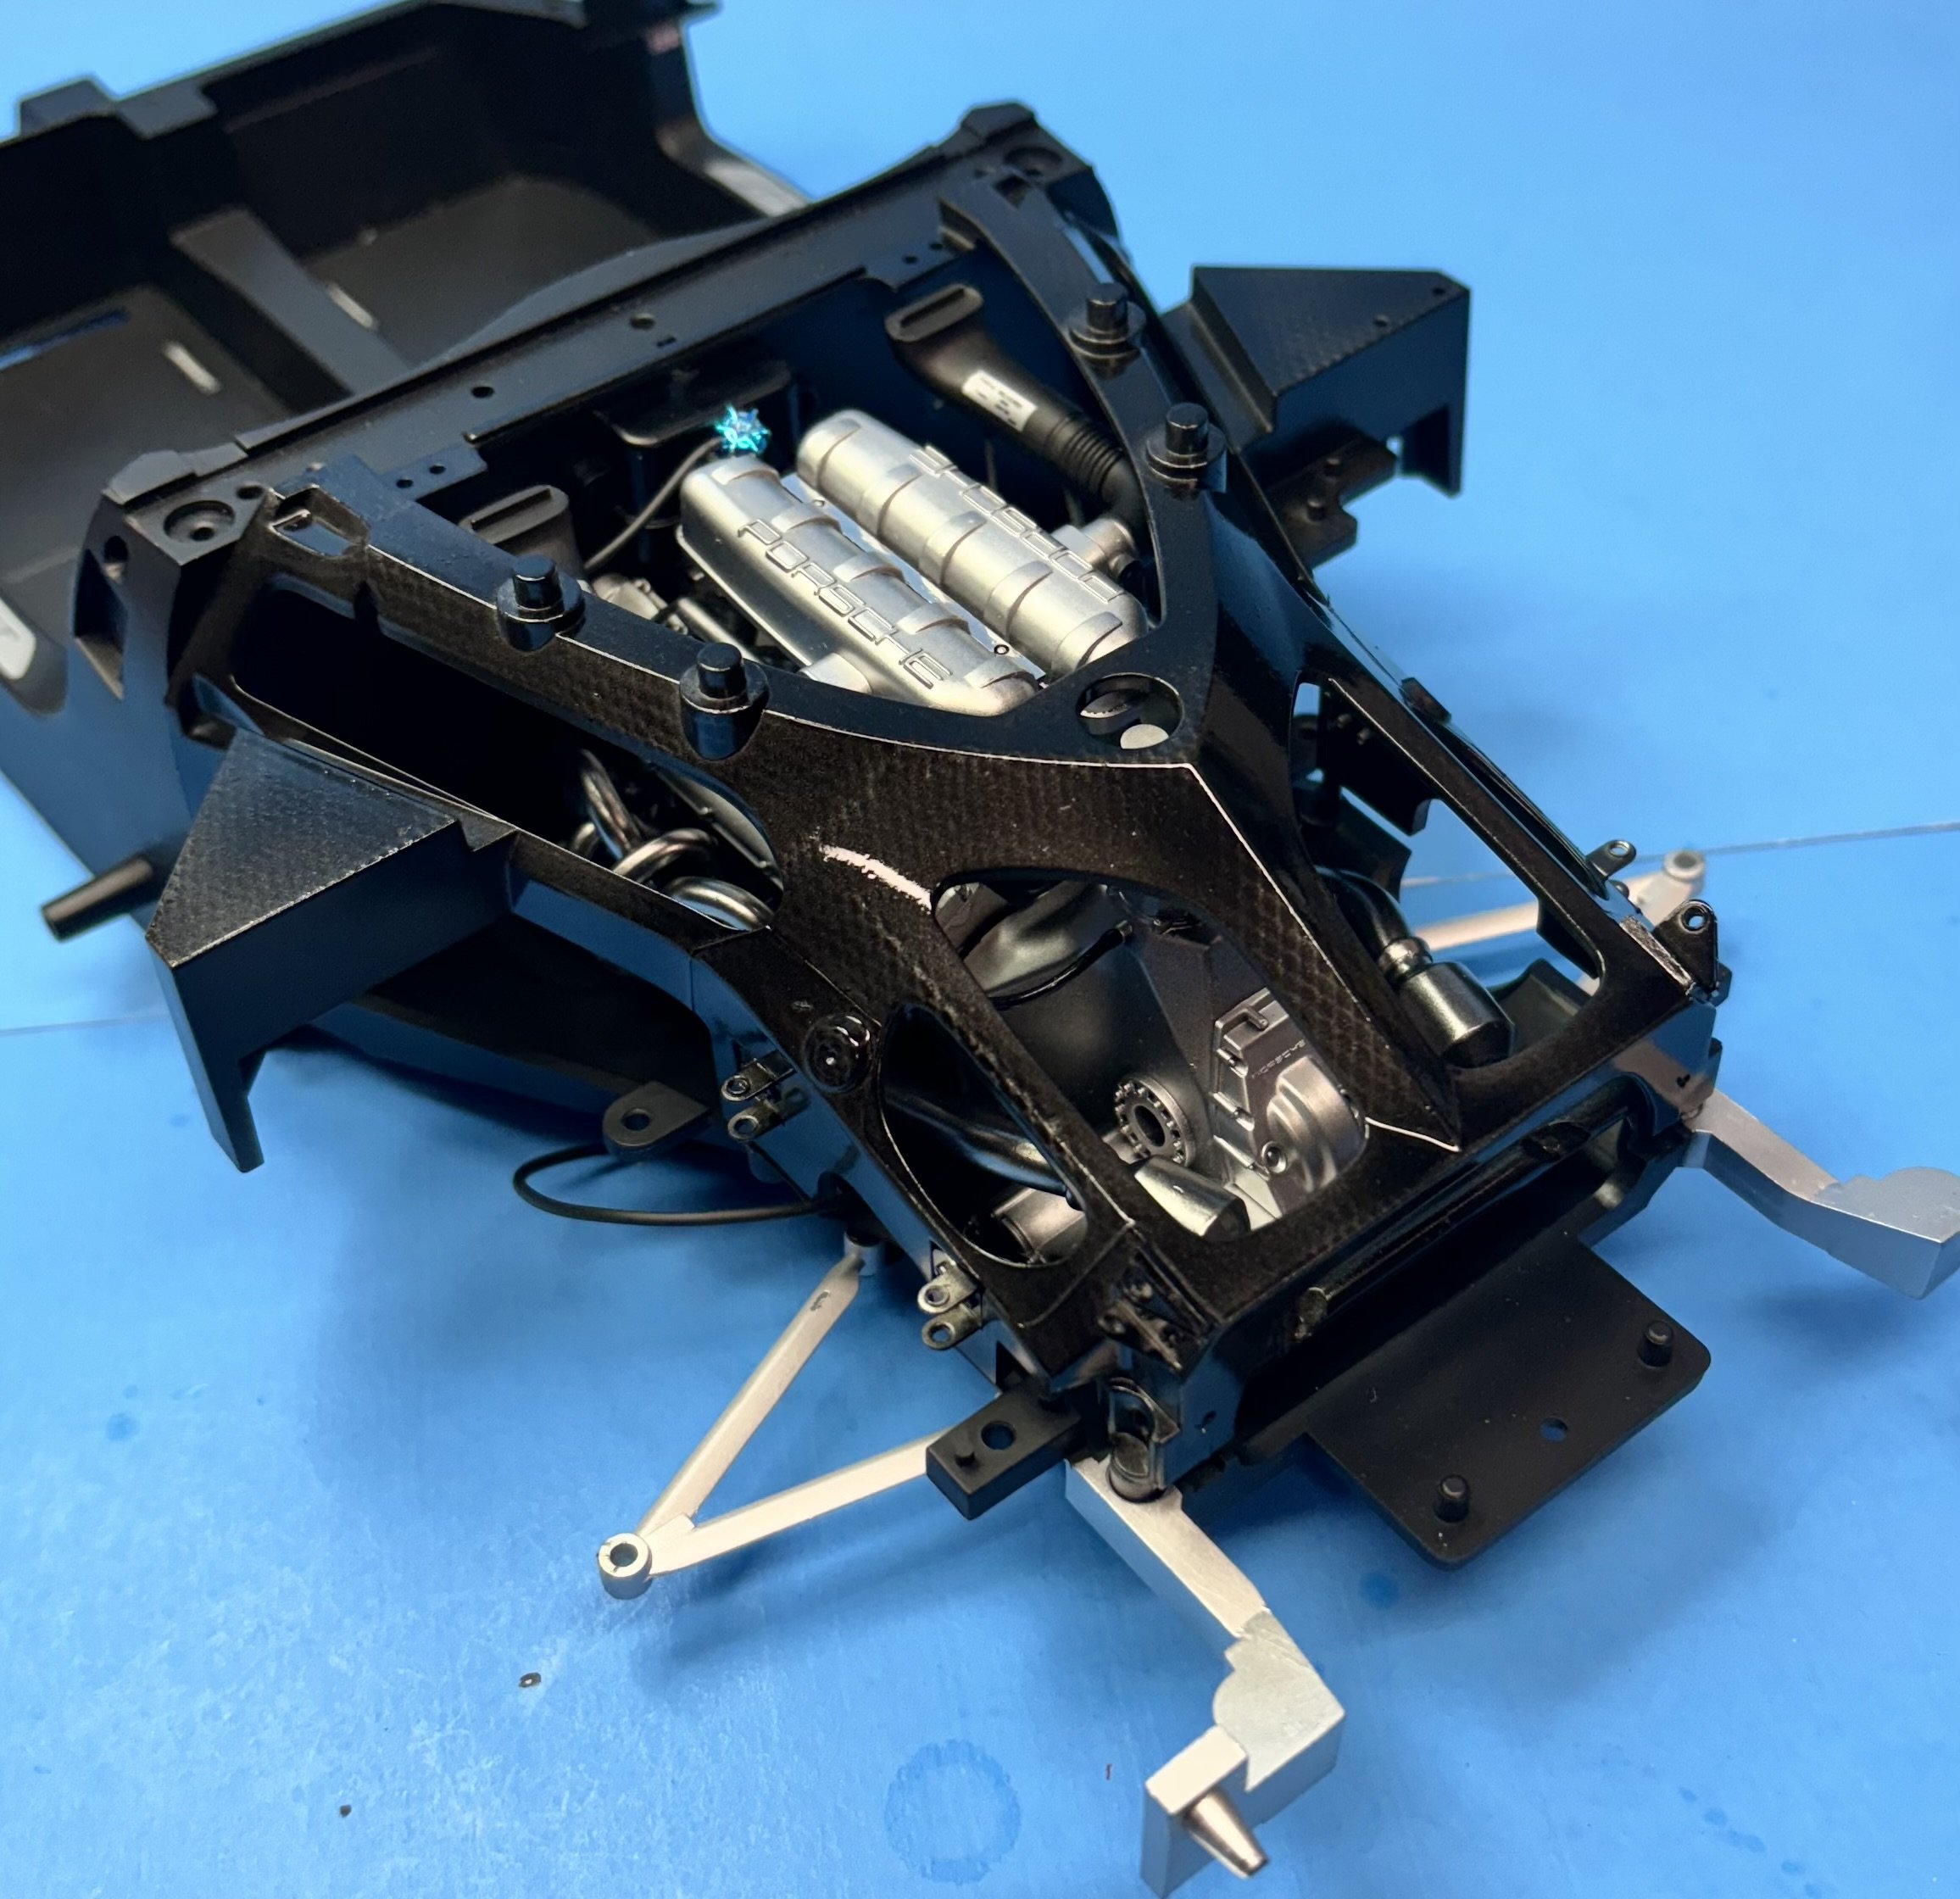
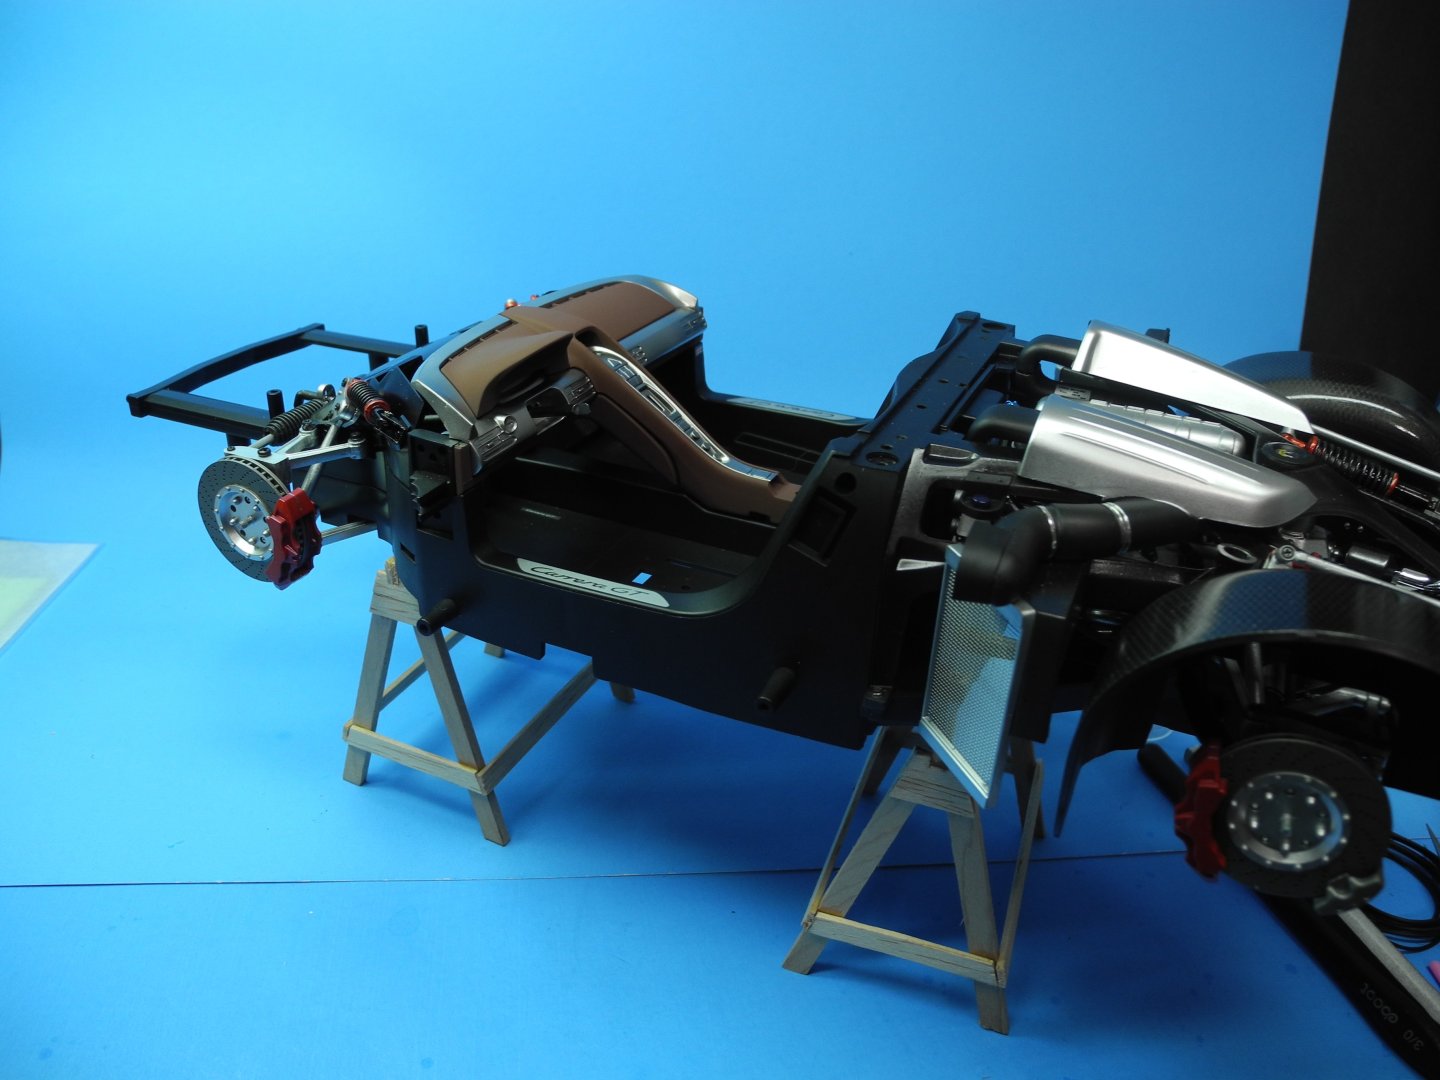
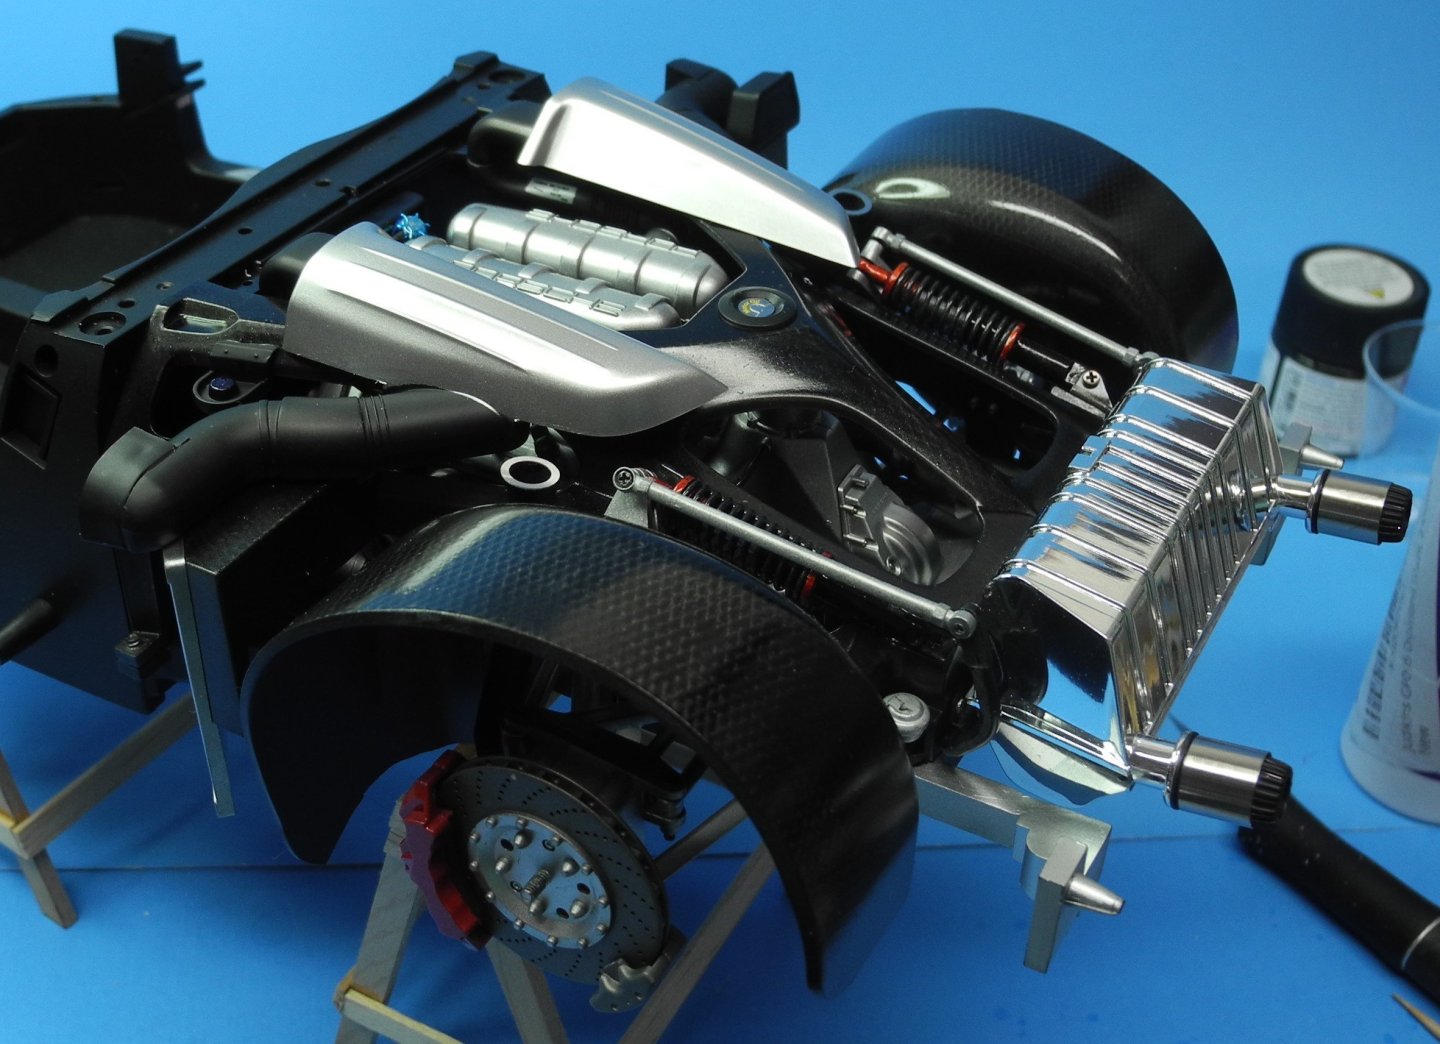
Yes, it is articulated. A bit on the stiff side, though. Probably the real one has a rather stiff ride as well, but things are designed and built for traction rather than a comfort ride. I presented those photos now because in the next steps, most of the rear suspension will be hidden by the carbon fiber fender well tubs.
-
A preliminary look at the fresh paint, as I just now stripped off the tulle mask. There is a faint look of CF but it should look better as the paint dries and settles, then a clear gloss coat is applied. Will come back to it tomorrow.


-
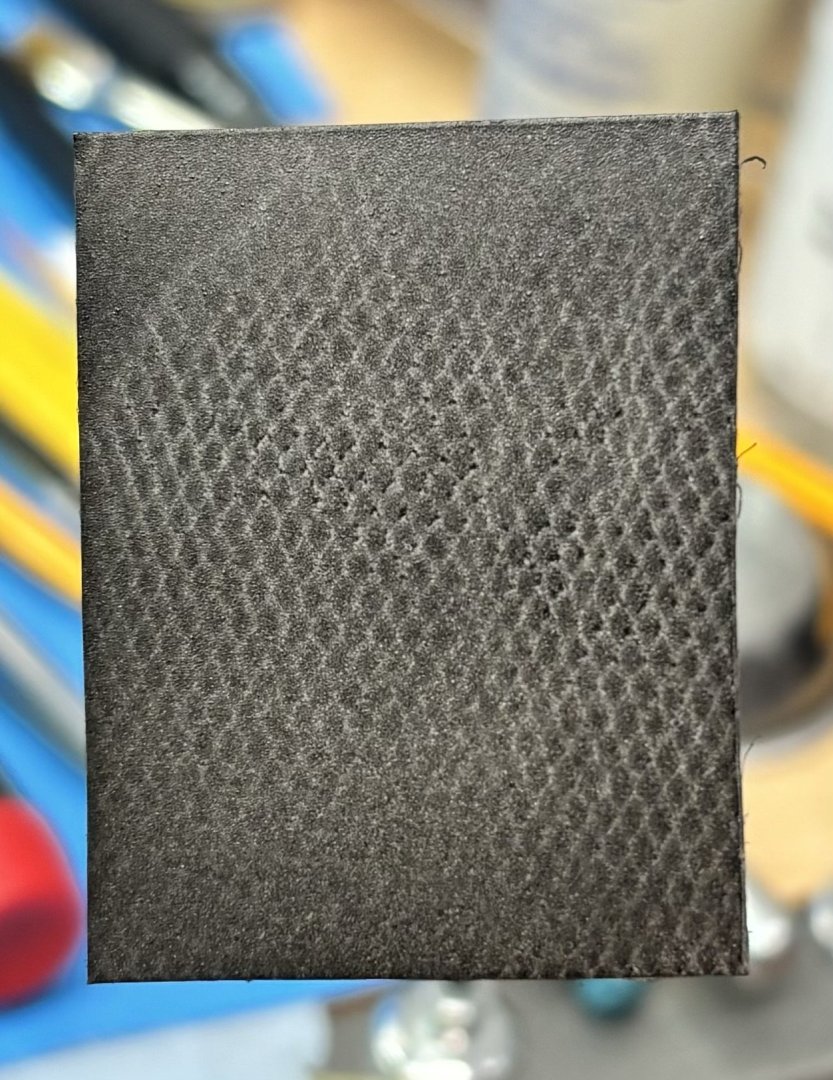
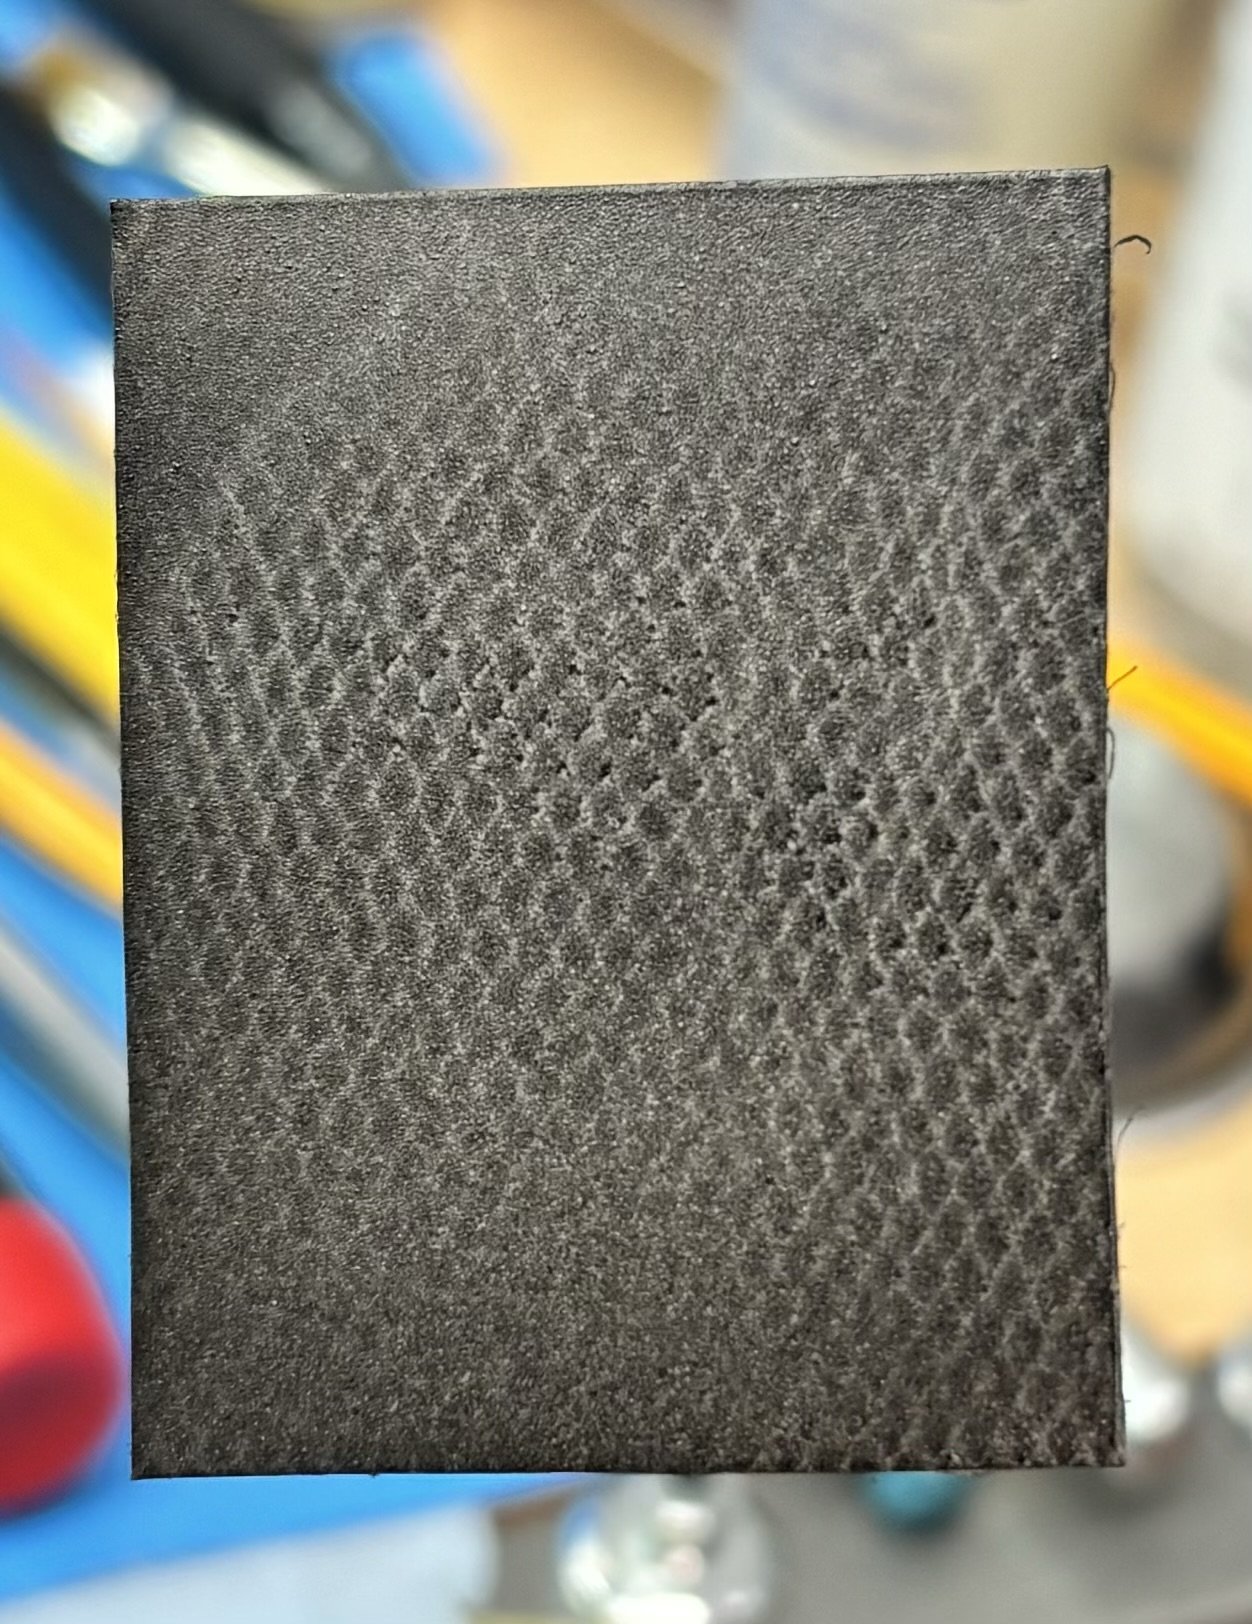
The scrap shown is only about 1 sq inch in size. I noticed that difference in CF as well but thought it was probably due to lighting.
-
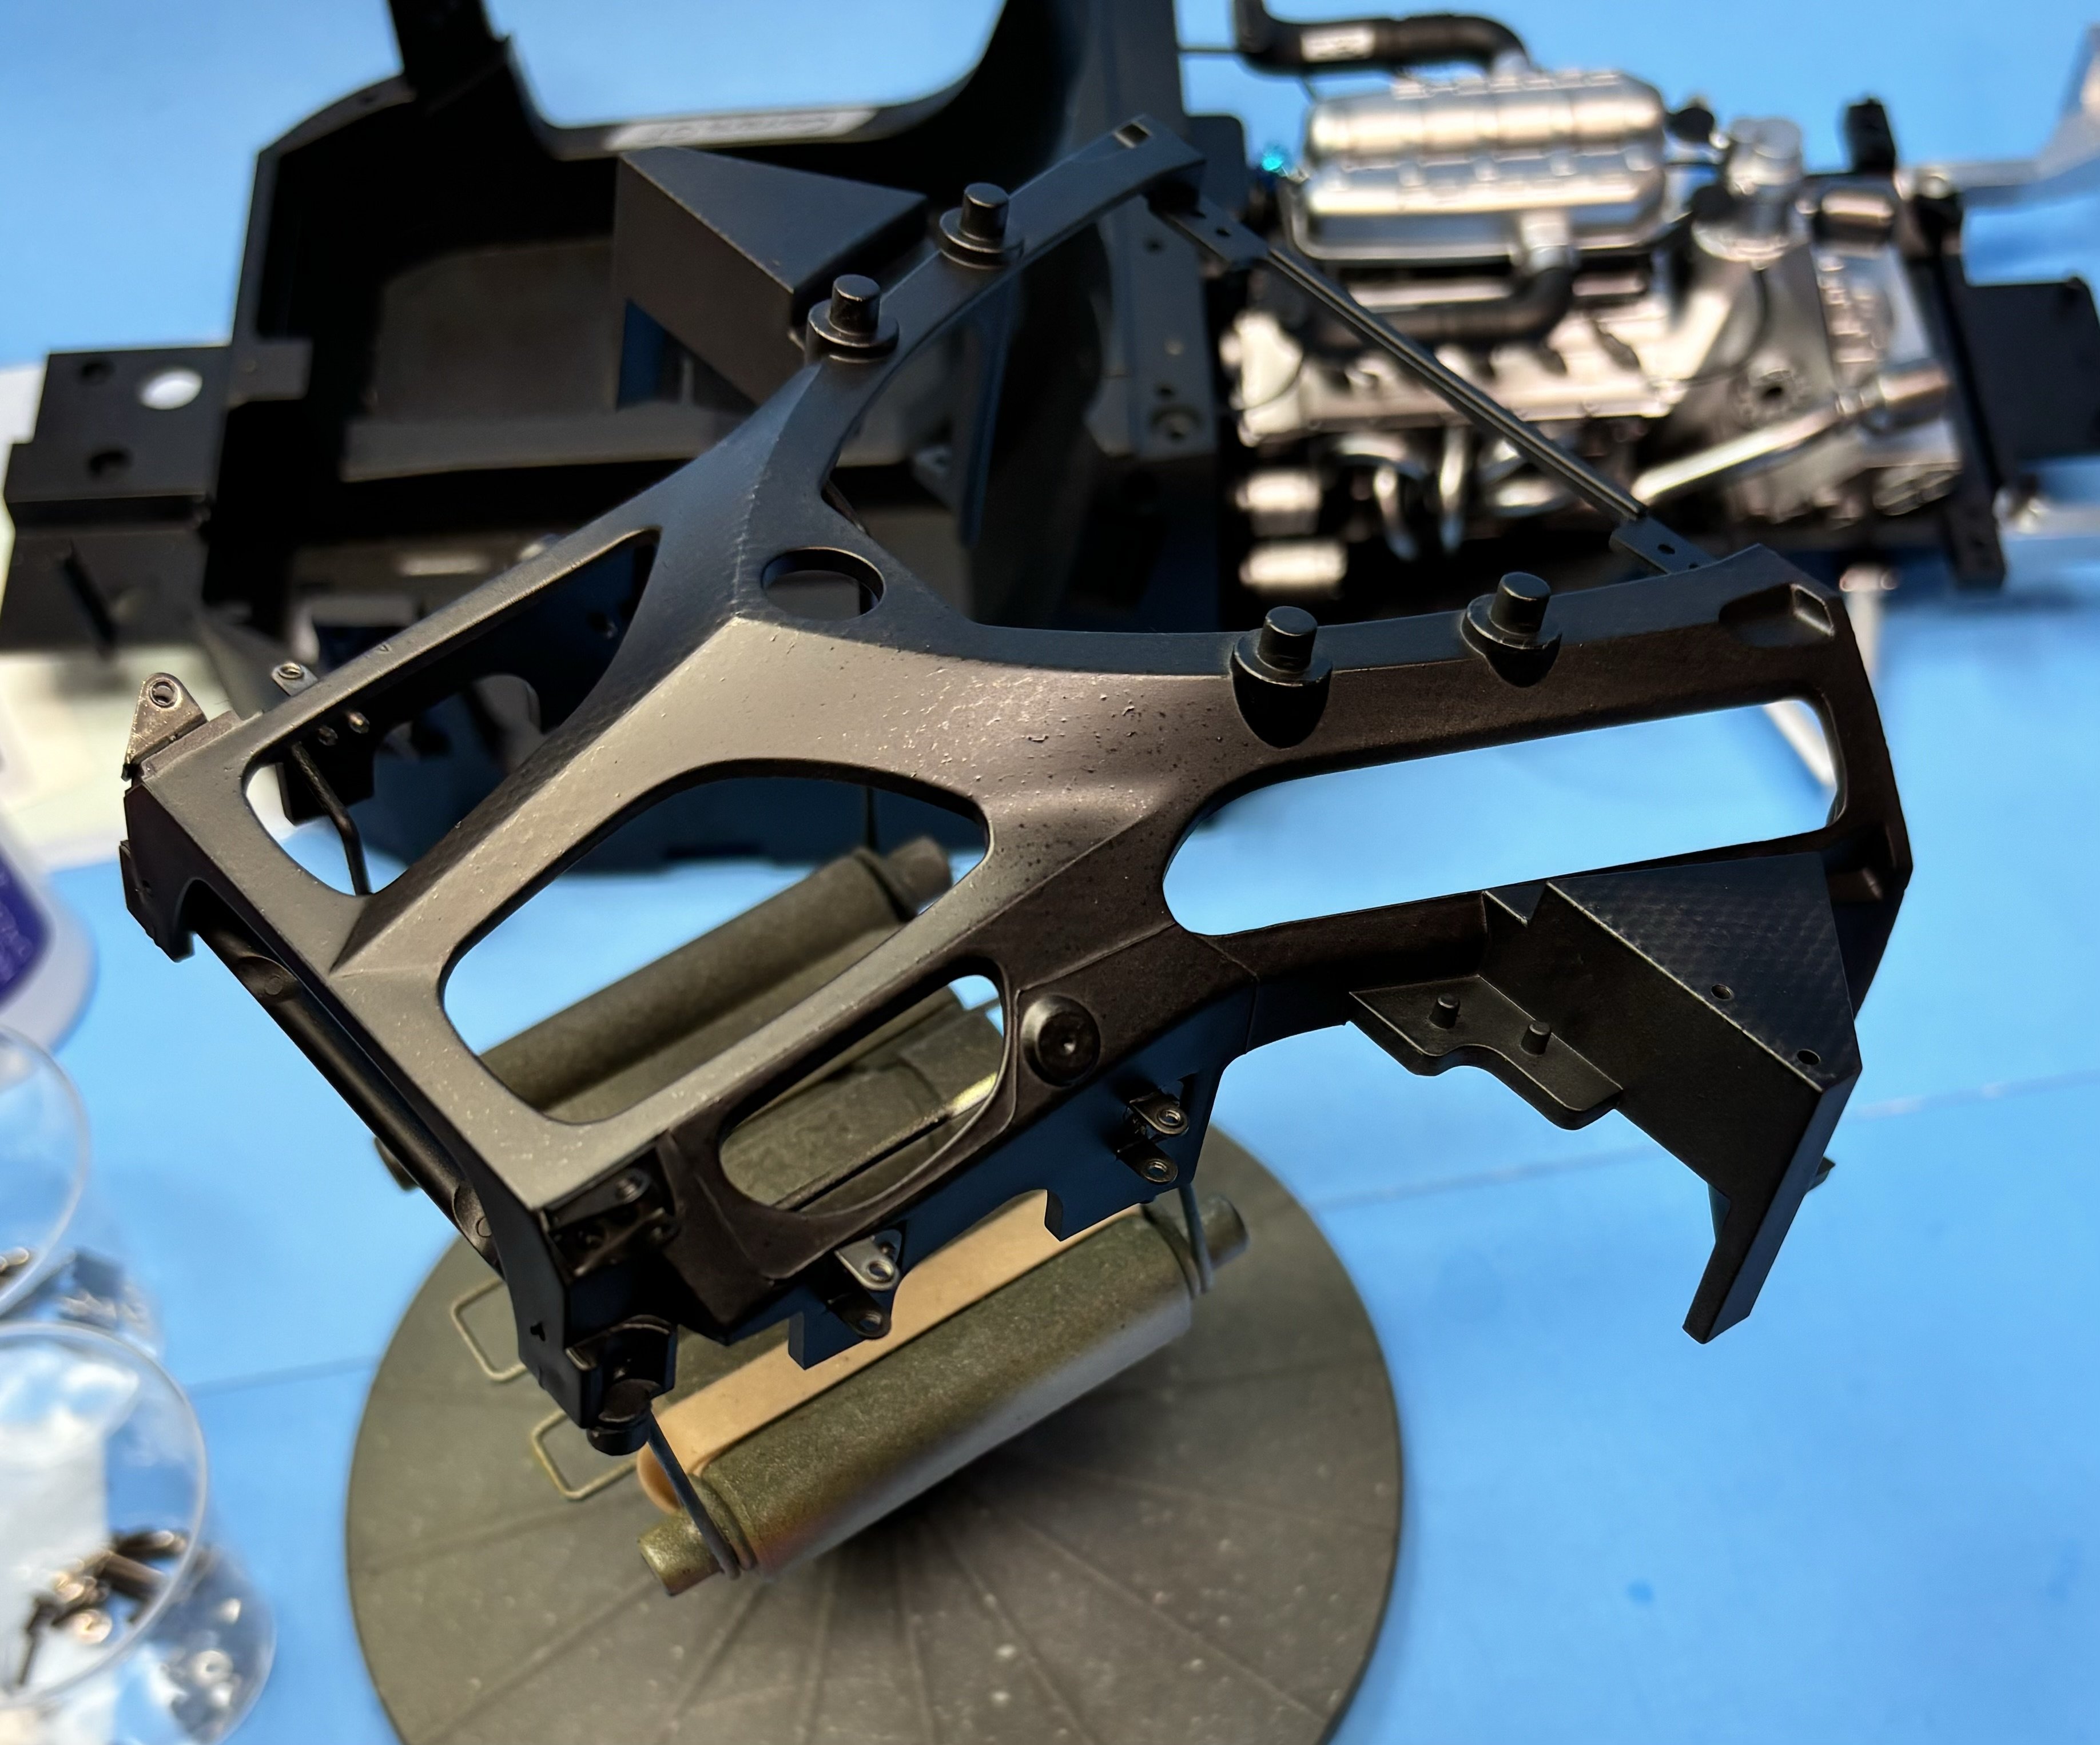
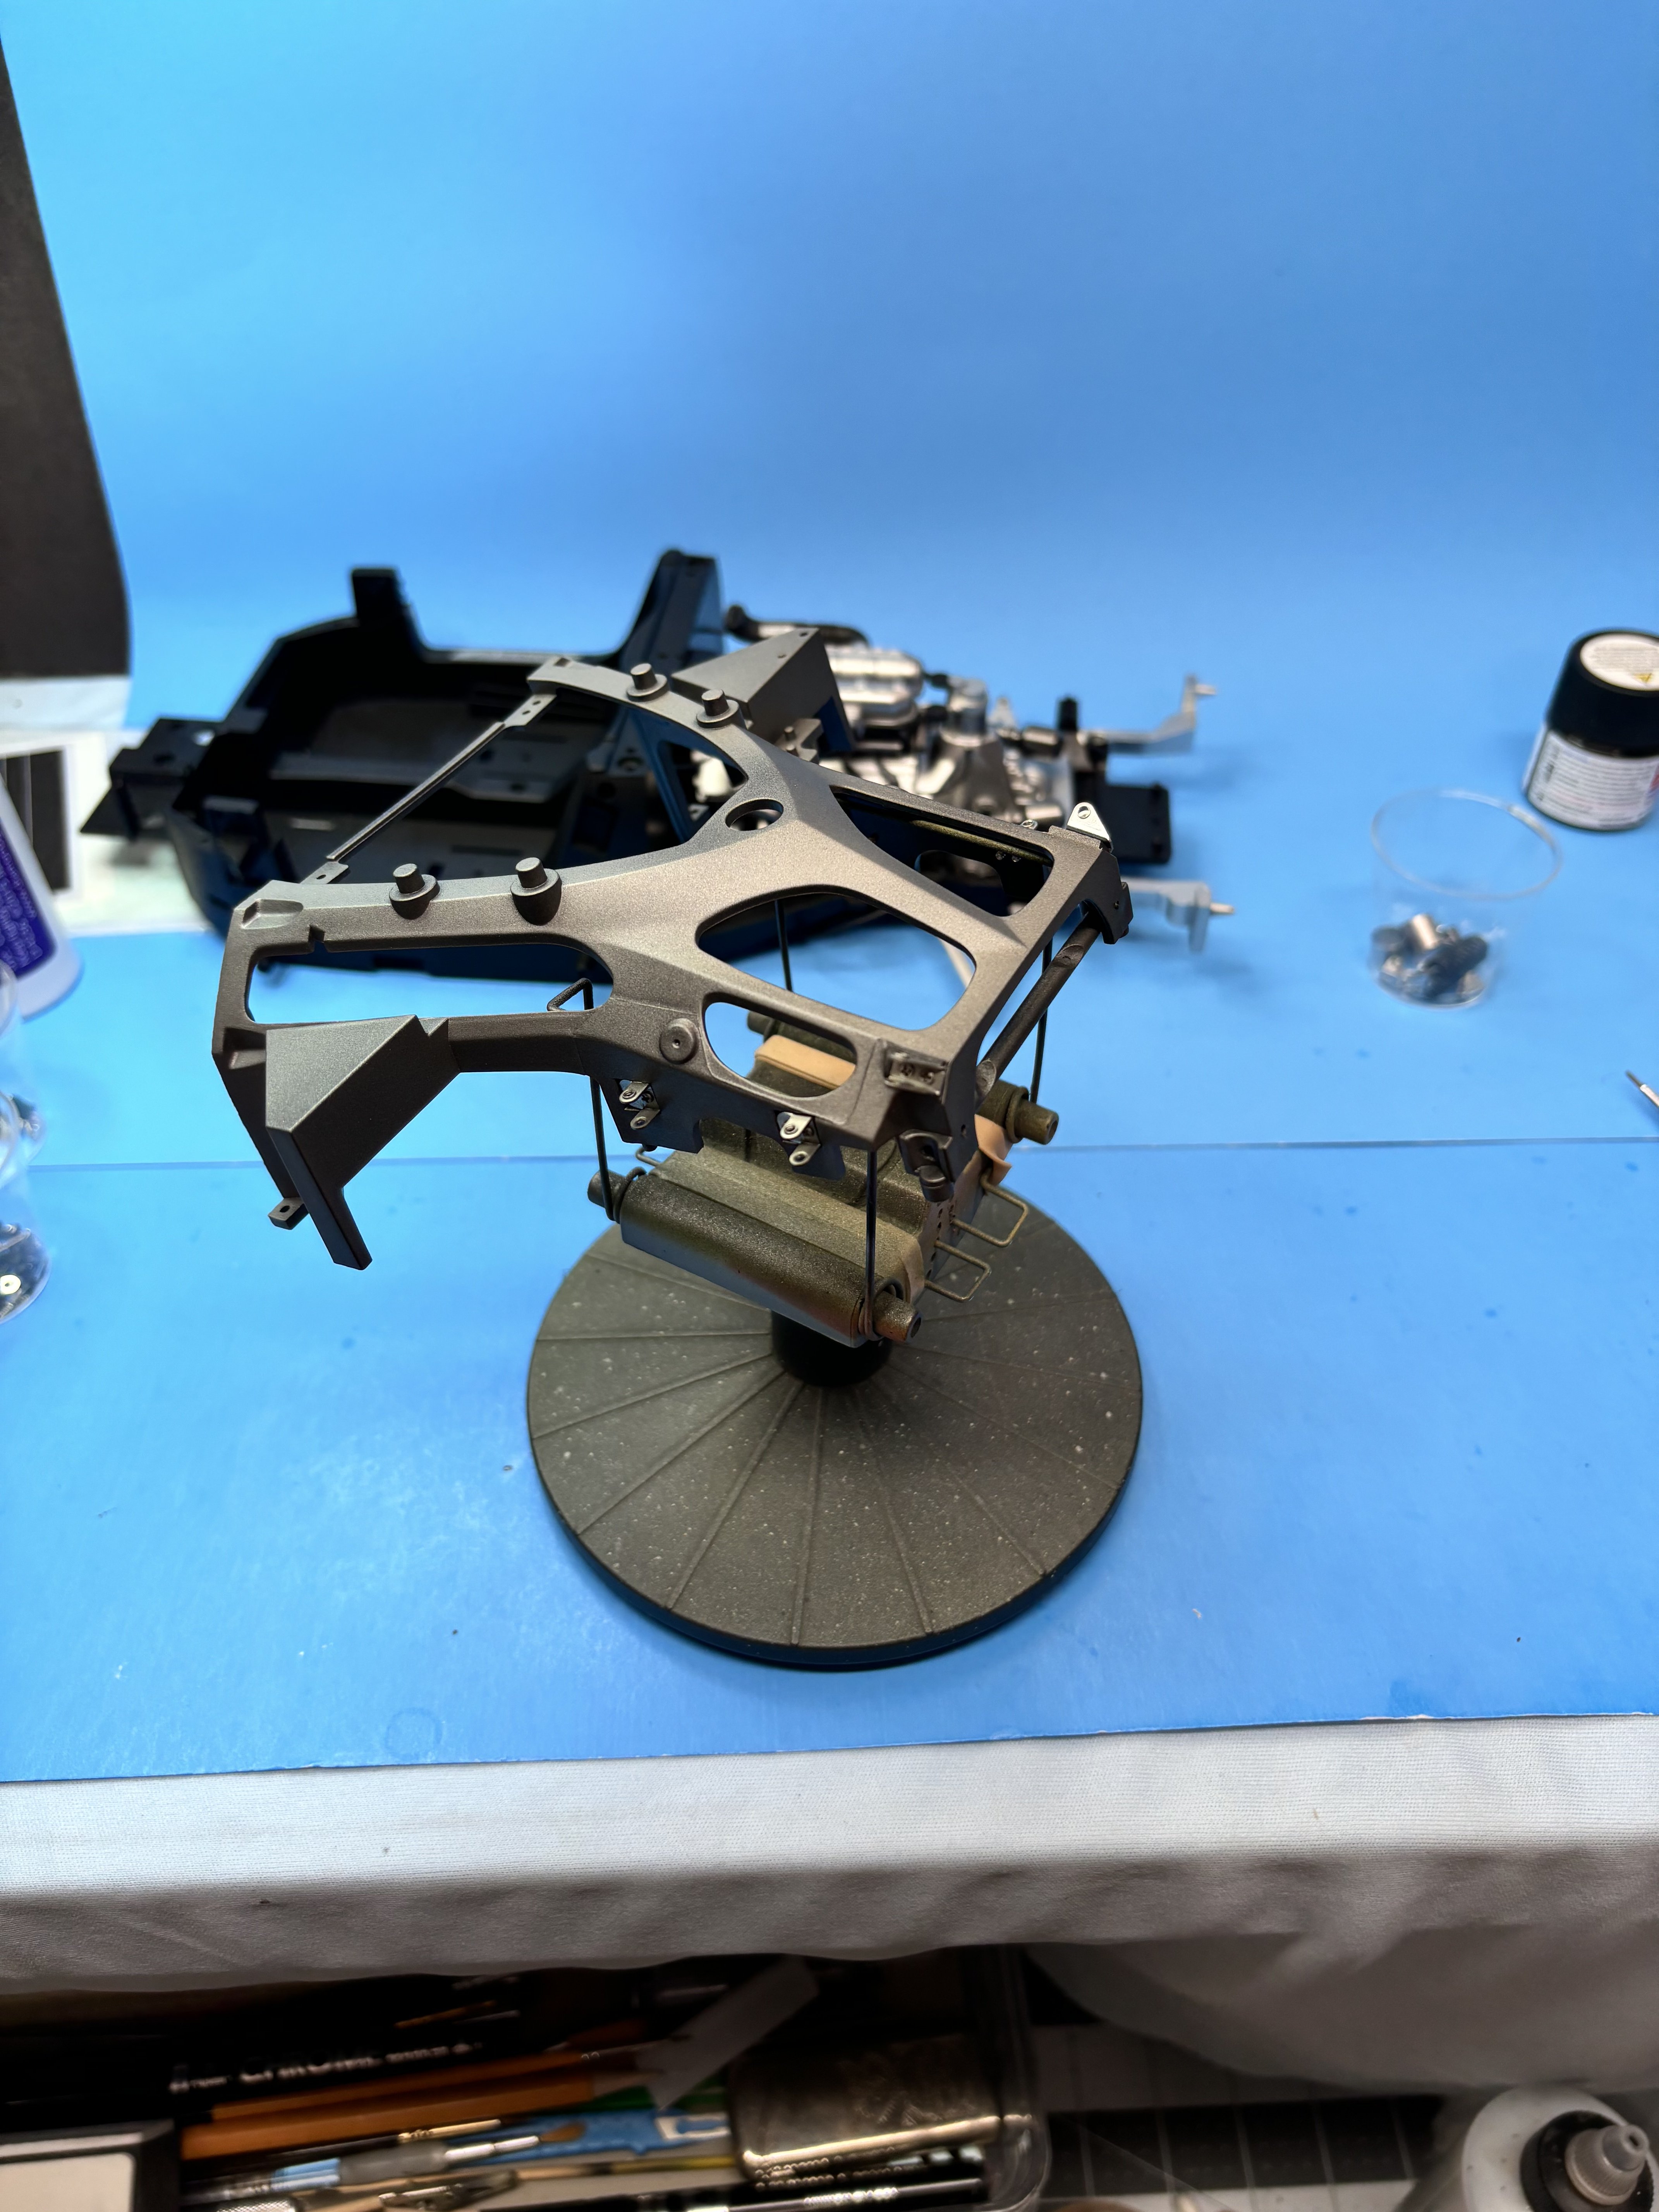
Rear monocoque chassis piece painted in metallic gray. Will give it some drying time before applying the tulle fabric then shooting it in black. After all is said and done, I don’t like it, I can always resort to decals instead.

-
I painted a piece of sheet styrene with metallic gray and let it dry. Then a piece of tulle fabric was sprayed with Pixie Spray, a positionable adhesive for stencils. The tulle fabric was applied on the painted surface, then painted with semi gloss black. After removing the fabric, this is the result. I think I can live with that instead of decals. After it’s dry, will apply a gloss clear to seal it all in and unify the colors. Any thoughts?