-
Posts
7,755 -
Joined
-
Last visited
Content Type
Profiles
Forums
Gallery
Events
Everything posted by CDW
-
Before I commit to CF decals, I'm going to experiment with spray painting a CF effect on scrap plastic. I've seen other modelers use tulle fabric as a mask to achieve a credible-looking CF finish. I think it's worth a try. I'll post the test results here so everyone can see. I have not found anyone who markets precut CF masks or decals, so either way, it's going to take a little time and experimentation to get it close to being right.
-
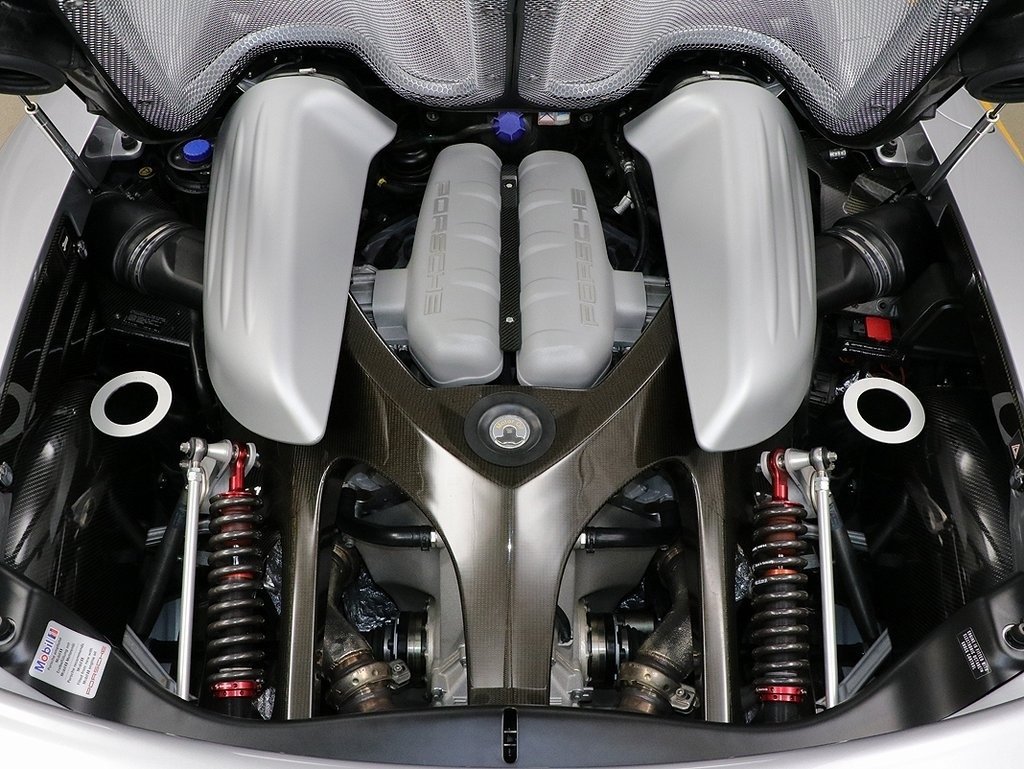
I am working to secure a custom mix of DuPont Axalta paint to replicate this "Signal Yellow" 2010 Carrera GT. This particular color was not one of the 5 colors offered by Porsche but was a special order from the factory, so this particular Porsche is a one-of-a-kind factory car because of the color.
-
It has been a pleasure watching your progress on this fabulous project. Well done is an understatement.
-
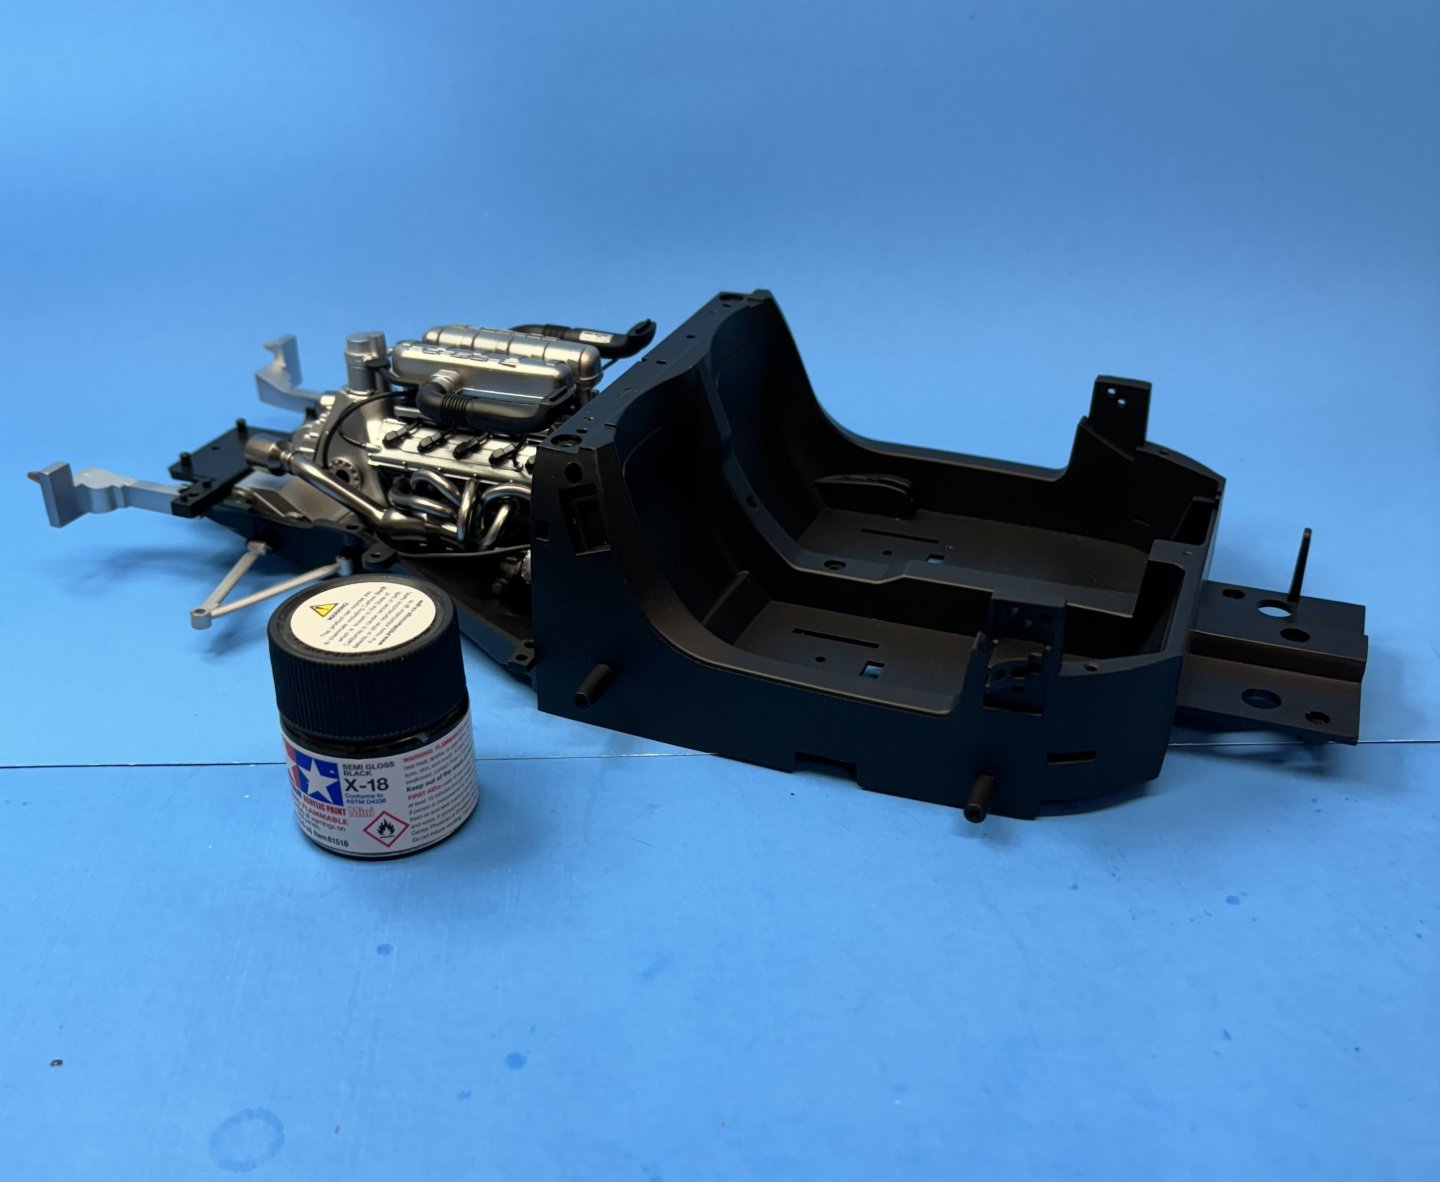
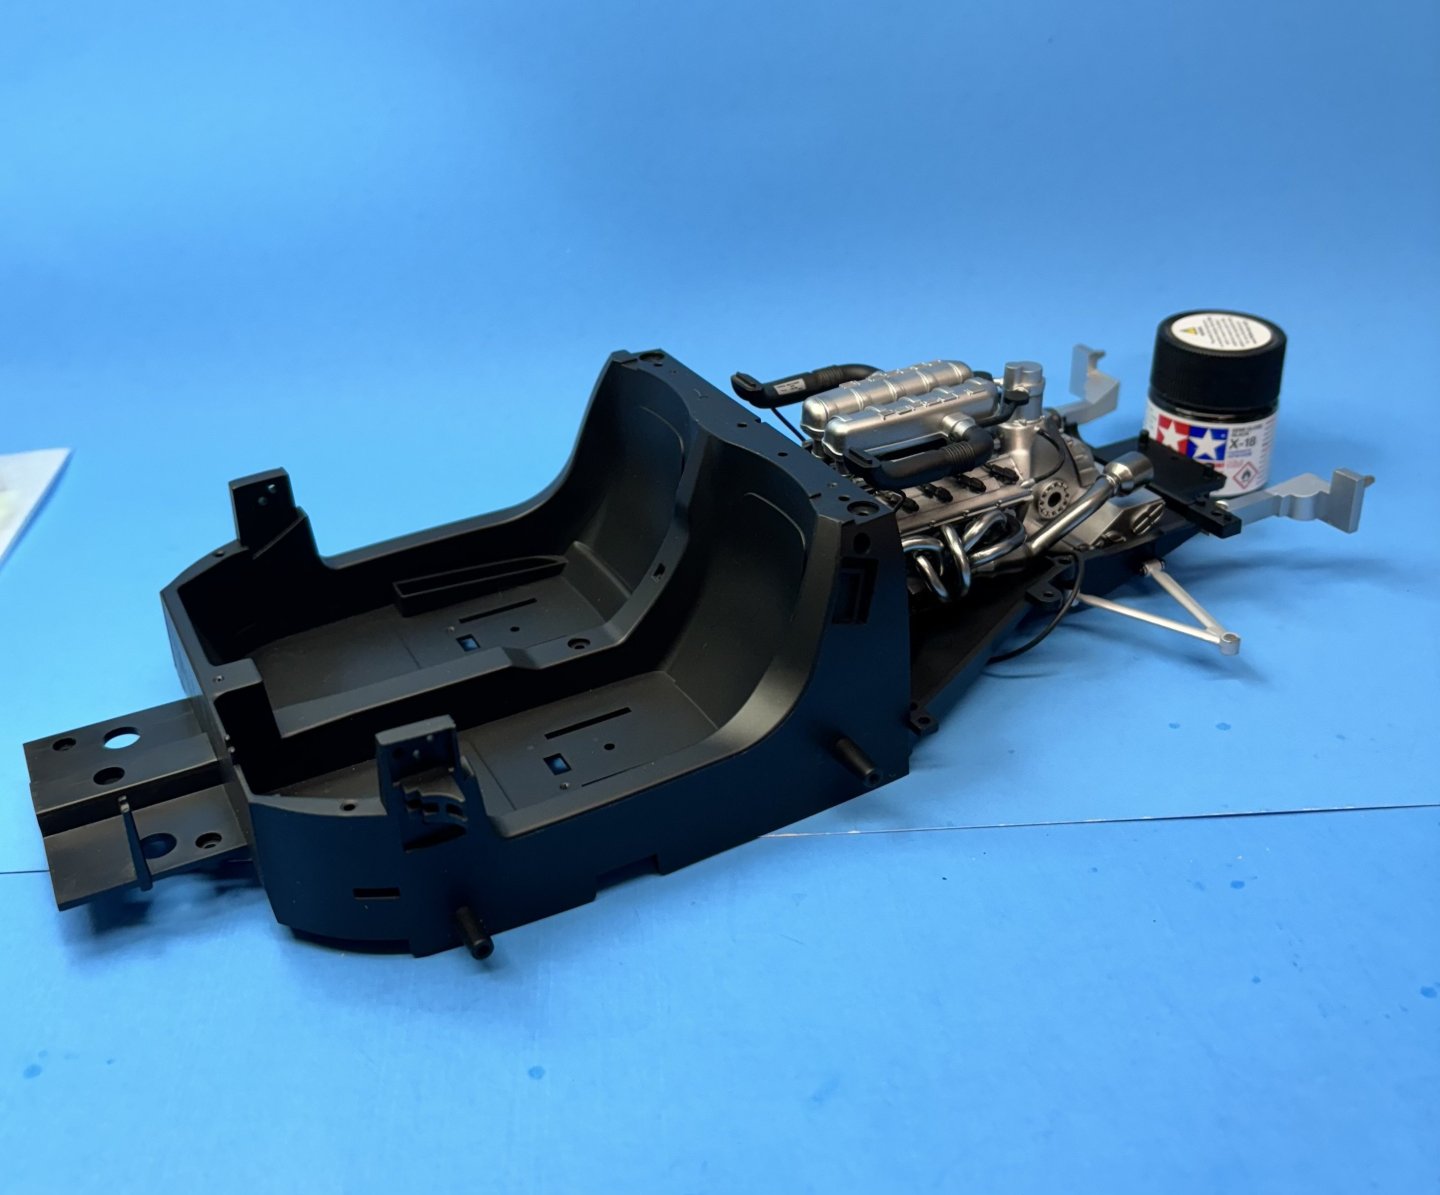
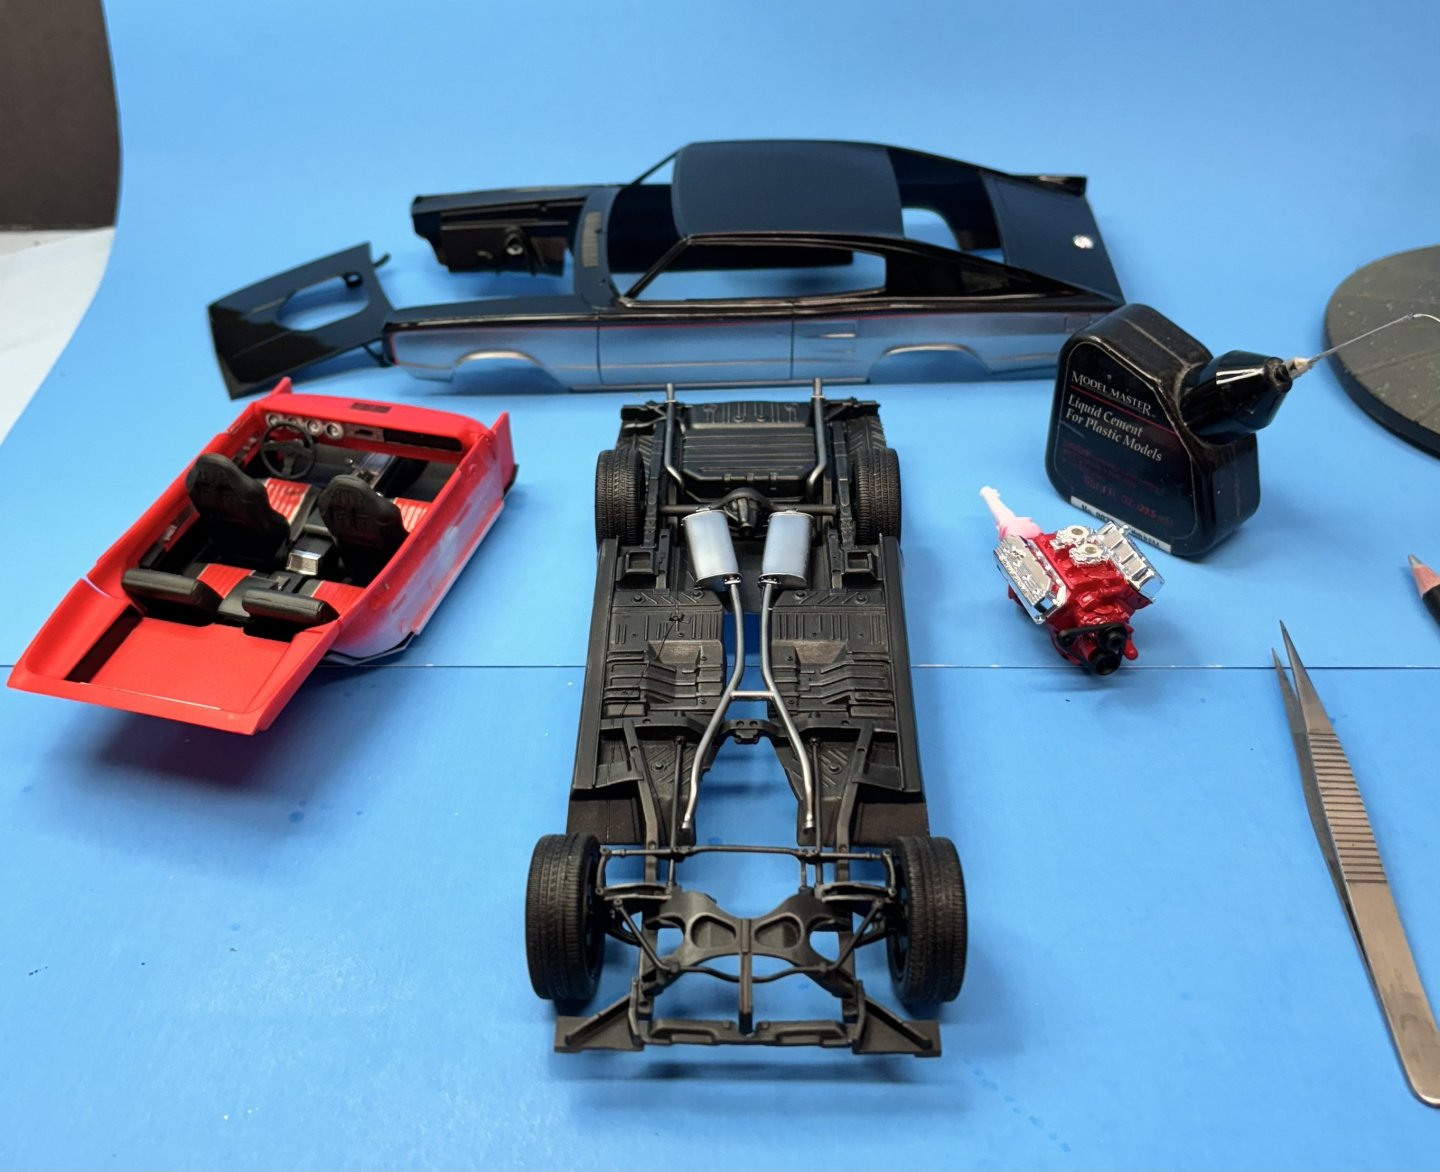
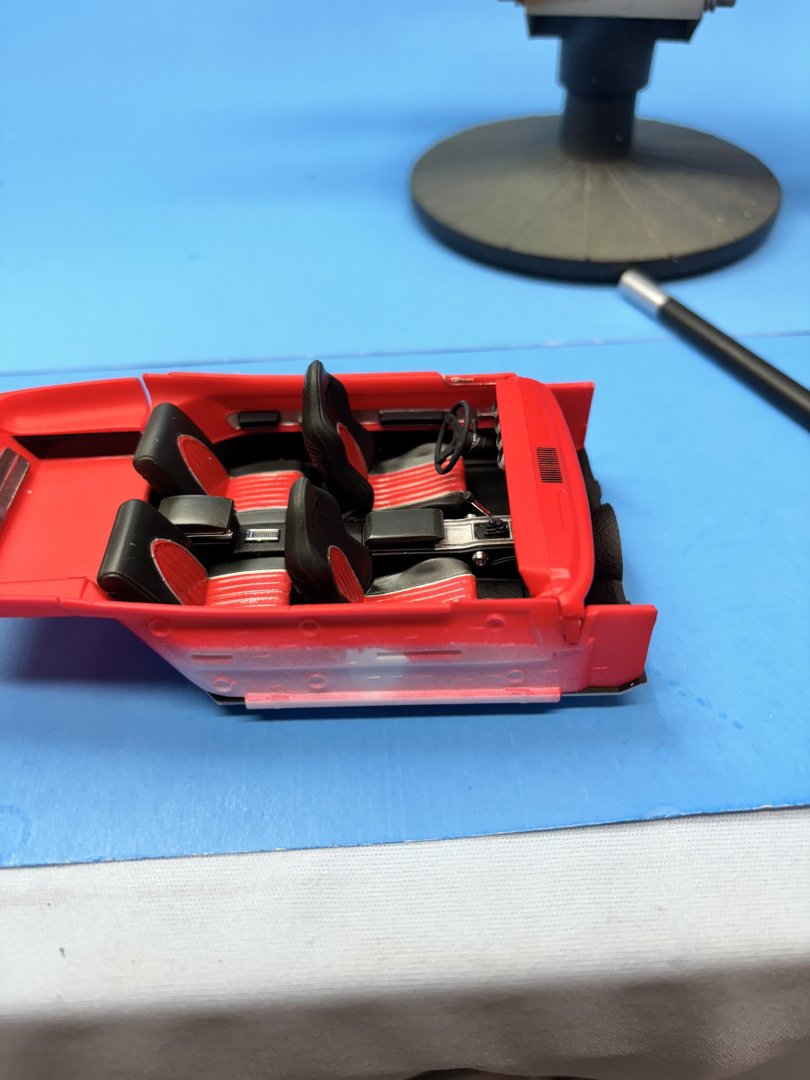
Detailing the interior then test fitting the body to chassis fit with the interior temporarily in place. Also checking the ride height as I cut and modified the suspension to lower the wheels and tires inside the wheel wells. It should all fit better/tighter once it's all permanently glued in place. Can't do that right yet. More details and the entire engine bay assembly to be done first.
-

Costa Passenger Coach by yvesvidal - FINISHED - OcCre - 1/32
CDW replied to yvesvidal's topic in Non-ship/categorised builds
Wow, great project, Yves. I love this subject at this scale. I’m in. -
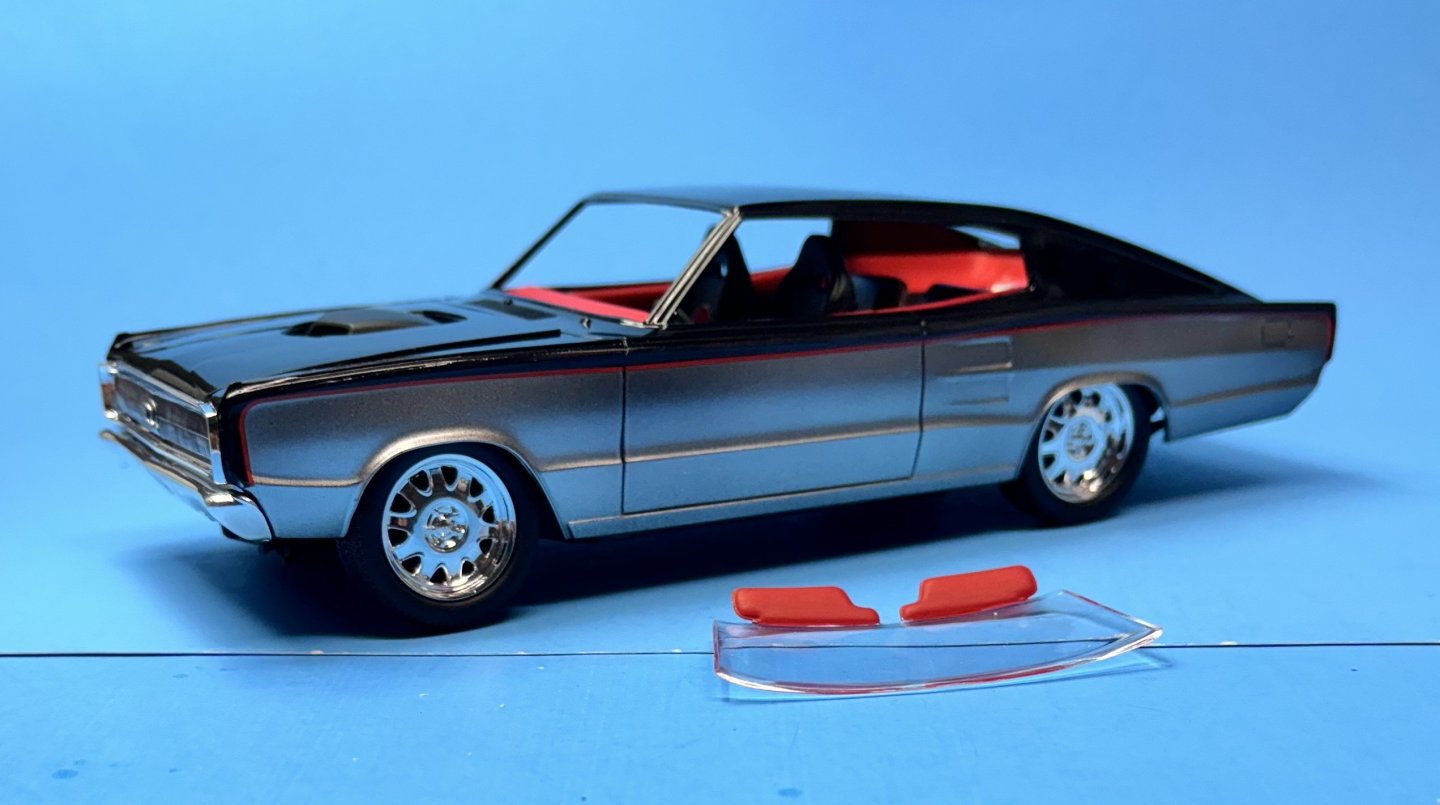
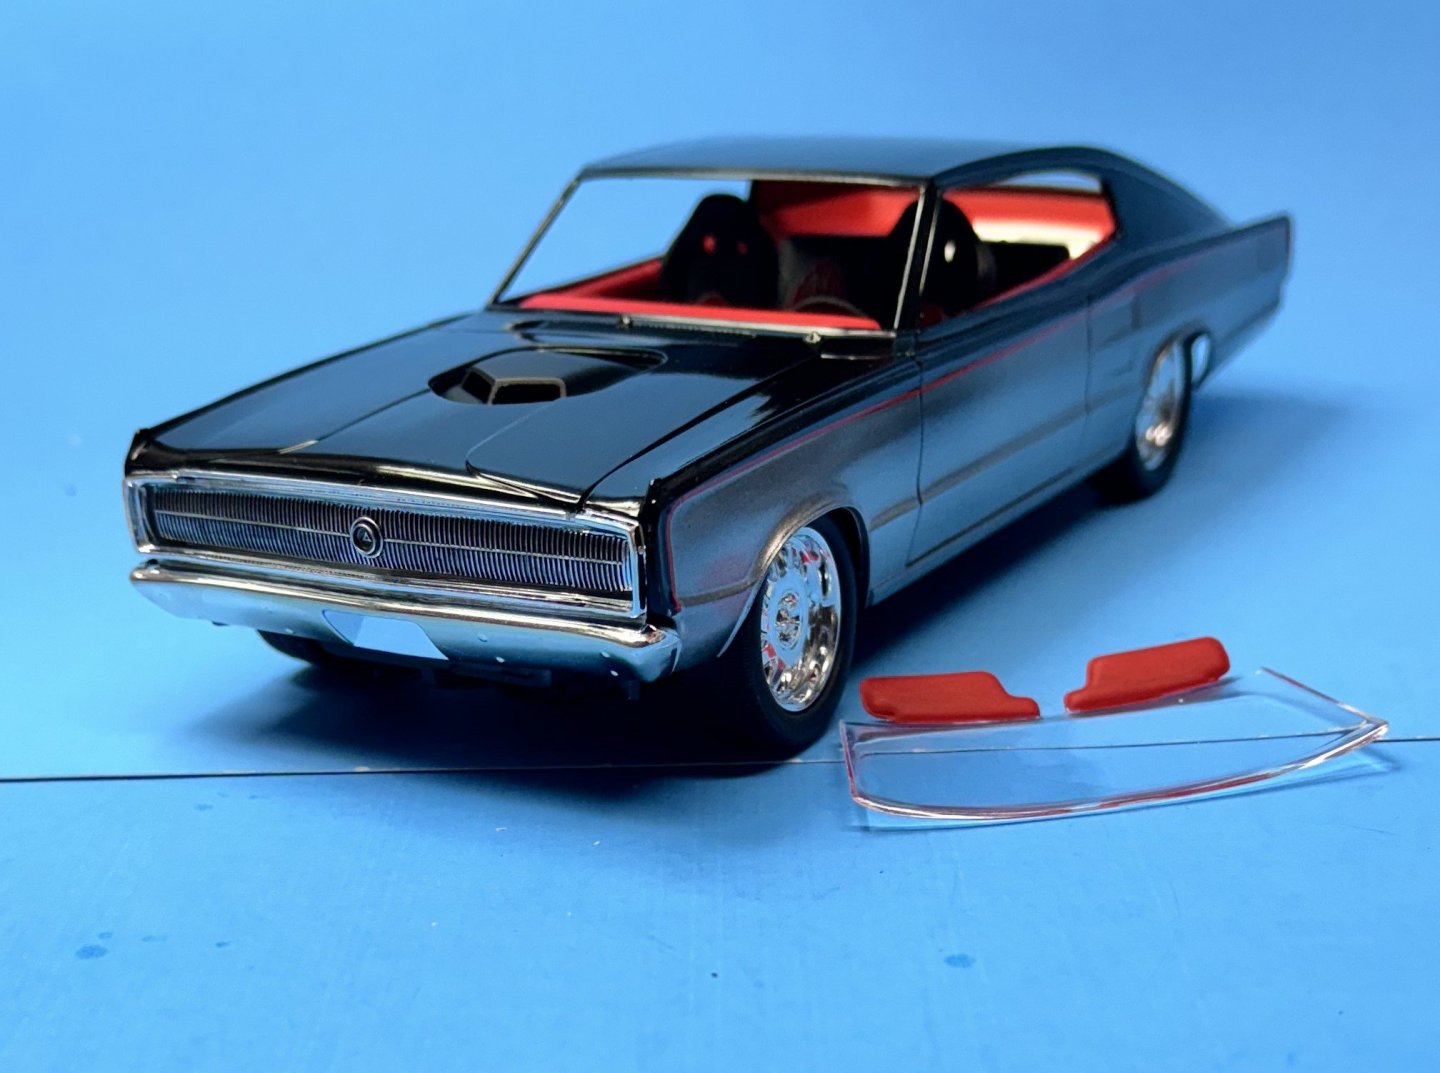
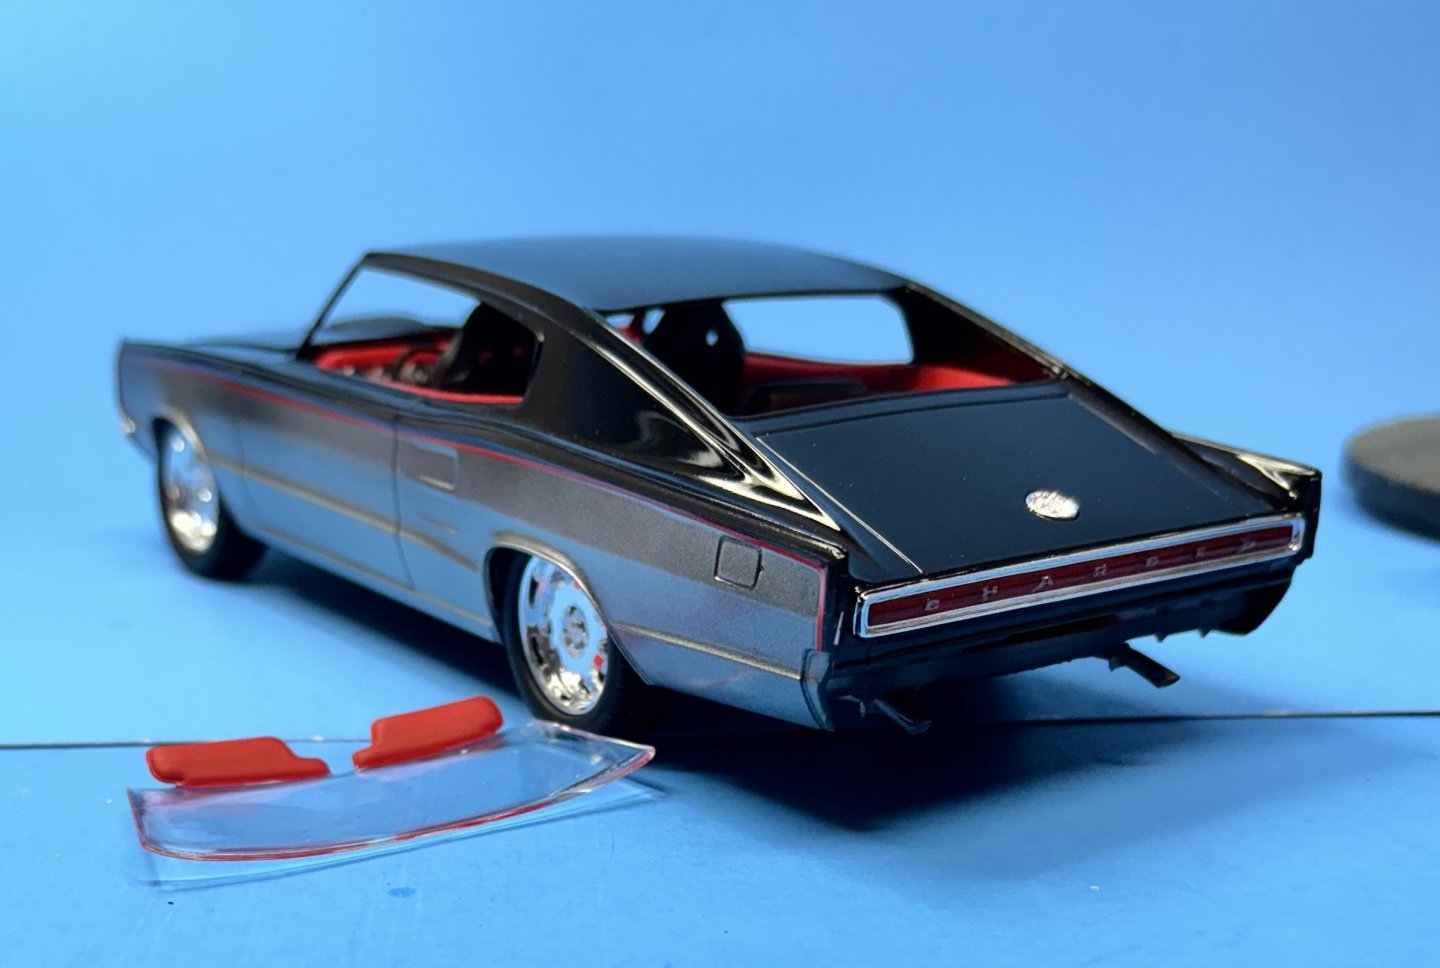
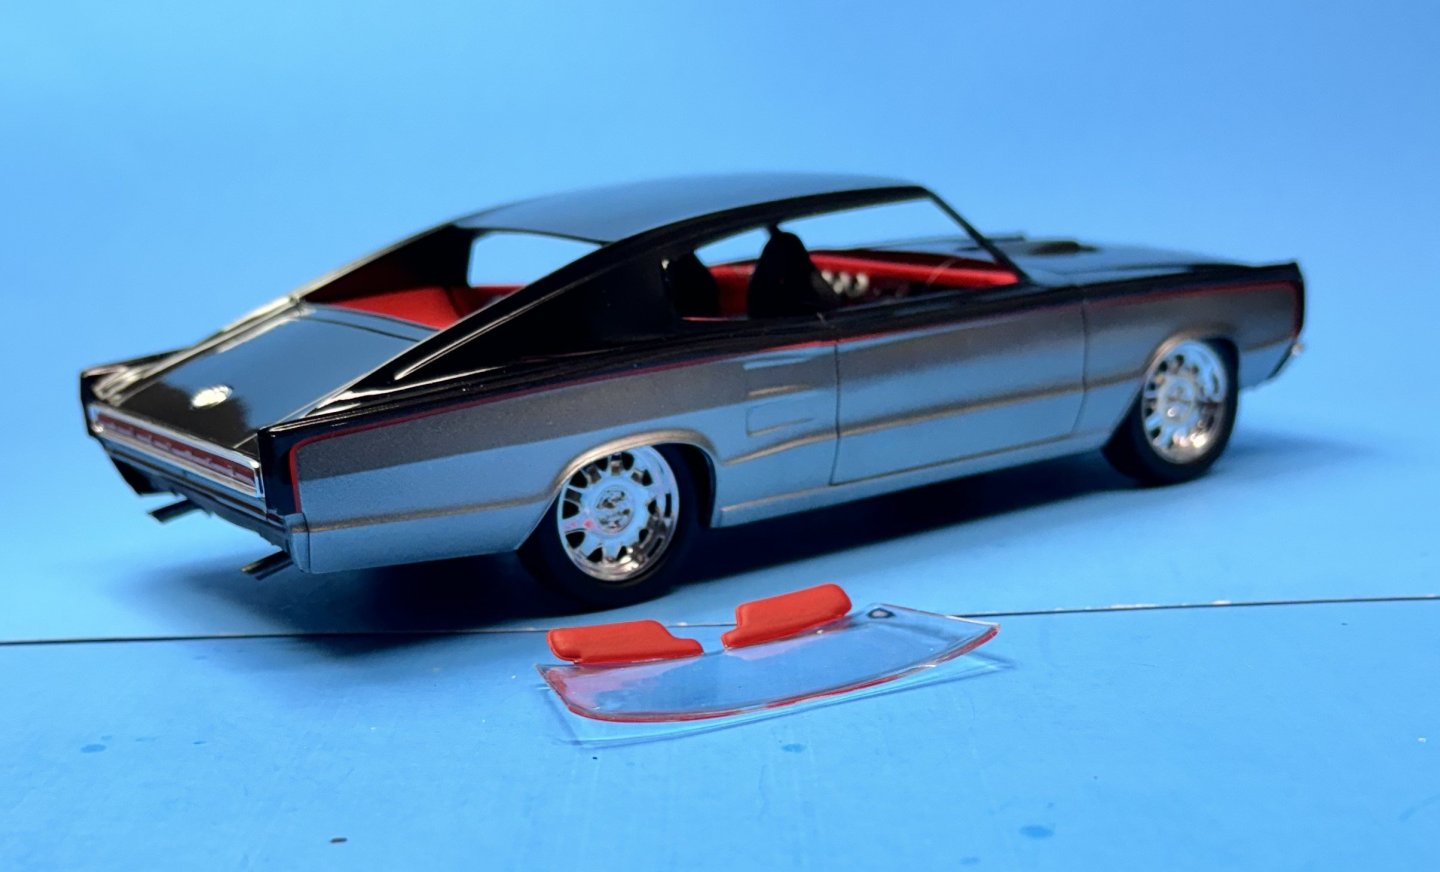
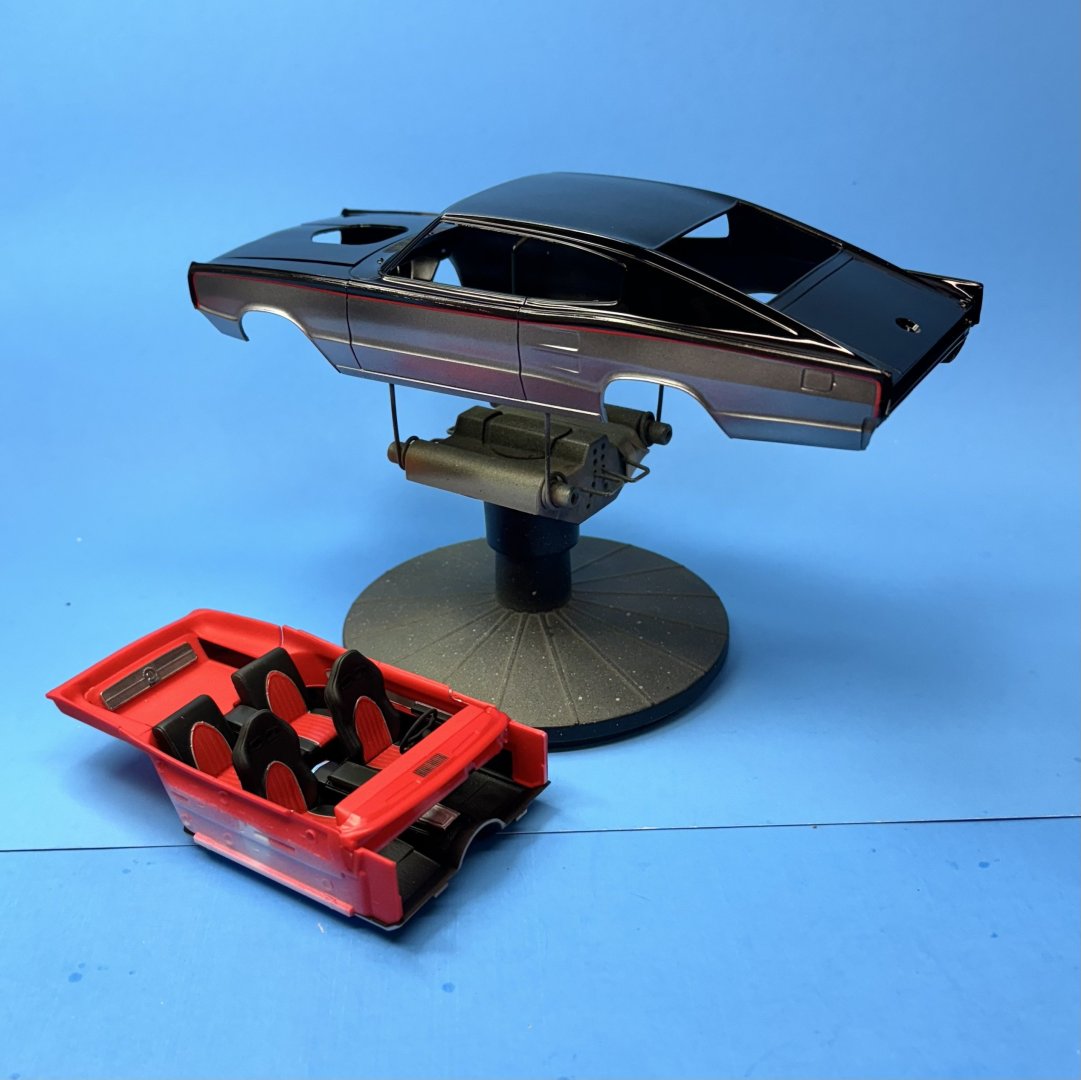
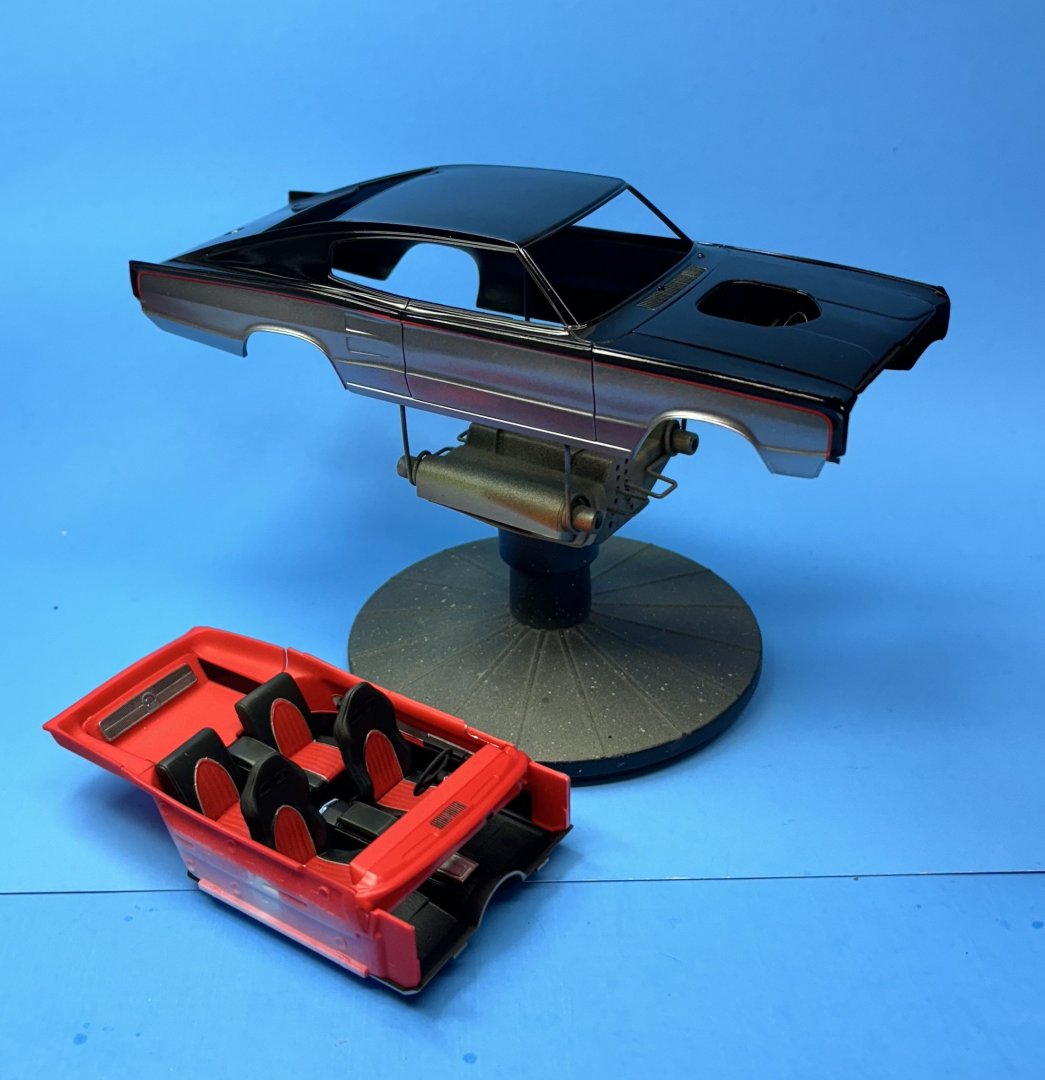
Printing a decal with the black and red clearly and perfectly defined is a lot more effective than trying to mask that effect and painting it. Photos don’t really show the shape of the body side panels very well. I would need a cross section drawing to show that, but it would be very difficult to use masking to get the effect achieved with the decal. The shape is complicated. In post 7, the first of the three photos show the body after the decal had been applied. The two photos following the first photo show the body before the decal. Expand or zoom in on those photos and you will see the rough line where I masked between the black and silver. The decal hides that and makes the red pinstripe look more perfect.
-
Imagine a thick black pinstripe and immediately below it is a thin red pinstripe. That on decal paper is what I applied to the black and silver body, along the line to demarcation. The black part of the decal overlaps the black paint while the red part of the decal covers the silver. I should have taken a photo while applying the decal then it would be crystal clear what I'm trying to put into words.
-
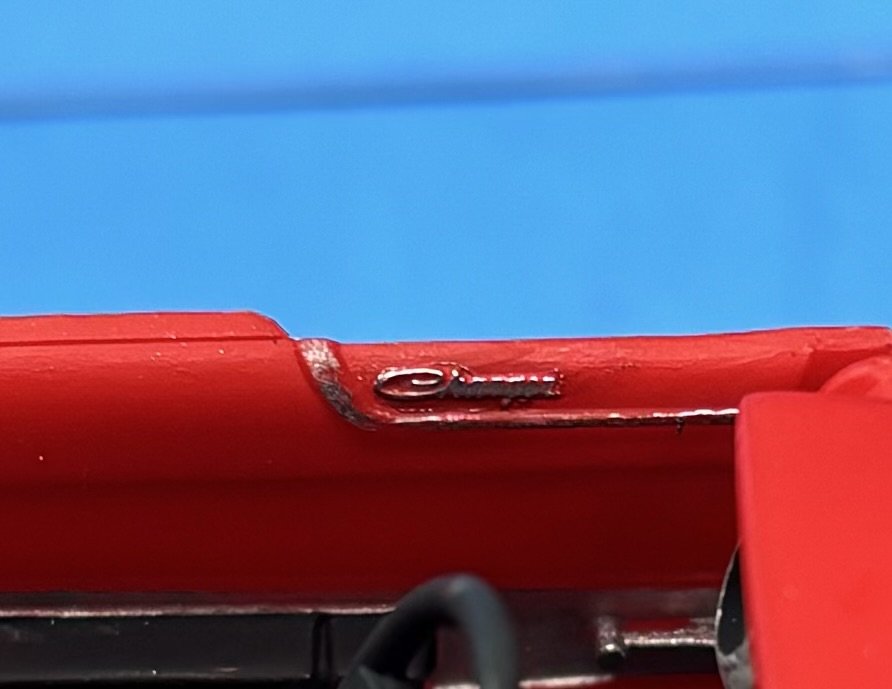
It's not a secret, EG. I just wanted to see if you or others could spot what it is. After I painted the black, then masked and painted the silver, used a decal that is black on top with the red pinstripe underneath. It blends right in with the black and is very hard to see. Once the decals cure, I will give the body several clear coats at which time the decal seams should become practically invisible. I took a couple of photos using the flash to try and put more light on the subject.
About us
Modelshipworld - Advancing Ship Modeling through Research
SSL Secured
Your security is important for us so this Website is SSL-Secured
NRG Mailing Address
Nautical Research Guild
237 South Lincoln Street
Westmont IL, 60559-1917
Model Ship World ® and the MSW logo are Registered Trademarks, and belong to the Nautical Research Guild (United States Patent and Trademark Office: No. 6,929,264 & No. 6,929,274, registered Dec. 20, 2022)
Helpful Links
About the NRG
If you enjoy building ship models that are historically accurate as well as beautiful, then The Nautical Research Guild (NRG) is just right for you.
The Guild is a non-profit educational organization whose mission is to “Advance Ship Modeling Through Research”. We provide support to our members in their efforts to raise the quality of their model ships.
The Nautical Research Guild has published our world-renowned quarterly magazine, The Nautical Research Journal, since 1955. The pages of the Journal are full of articles by accomplished ship modelers who show you how they create those exquisite details on their models, and by maritime historians who show you the correct details to build. The Journal is available in both print and digital editions. Go to the NRG web site (www.thenrg.org) to download a complimentary digital copy of the Journal. The NRG also publishes plan sets, books and compilations of back issues of the Journal and the former Ships in Scale and Model Ship Builder magazines.

.jpg.7e80607770d9078b2f0b470e8c9c33ac.jpg)
