CDW
-
Posts
7,755 -
Joined
-
Last visited
Content Type
Profiles
Forums
Gallery
Events
Everything posted by CDW
-
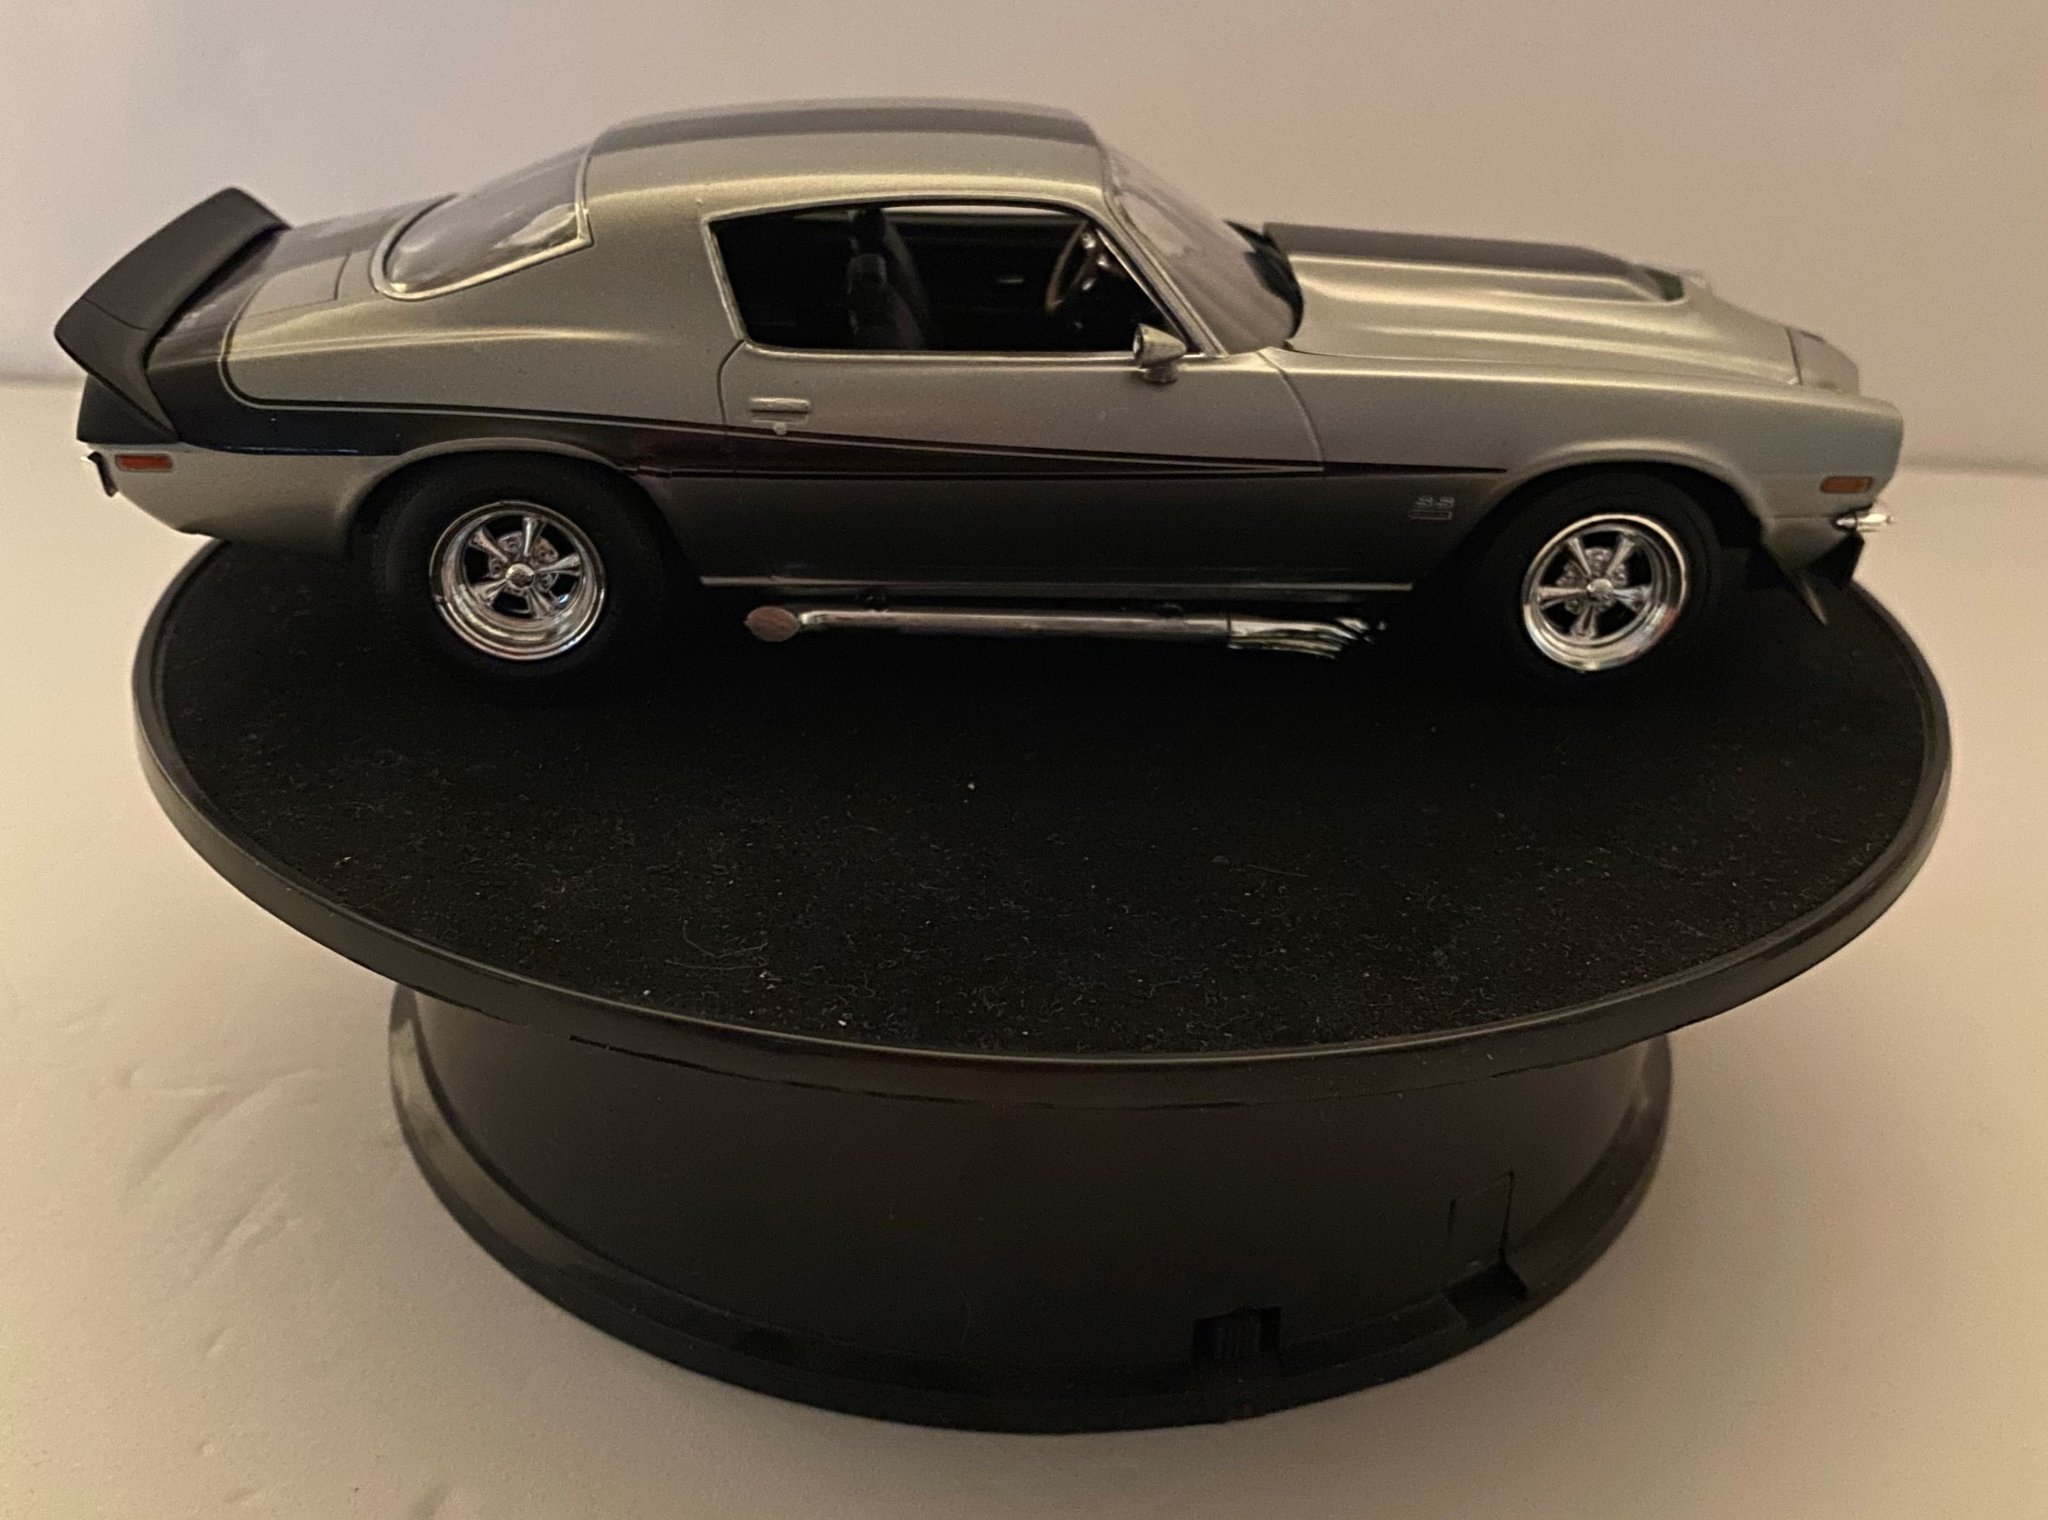
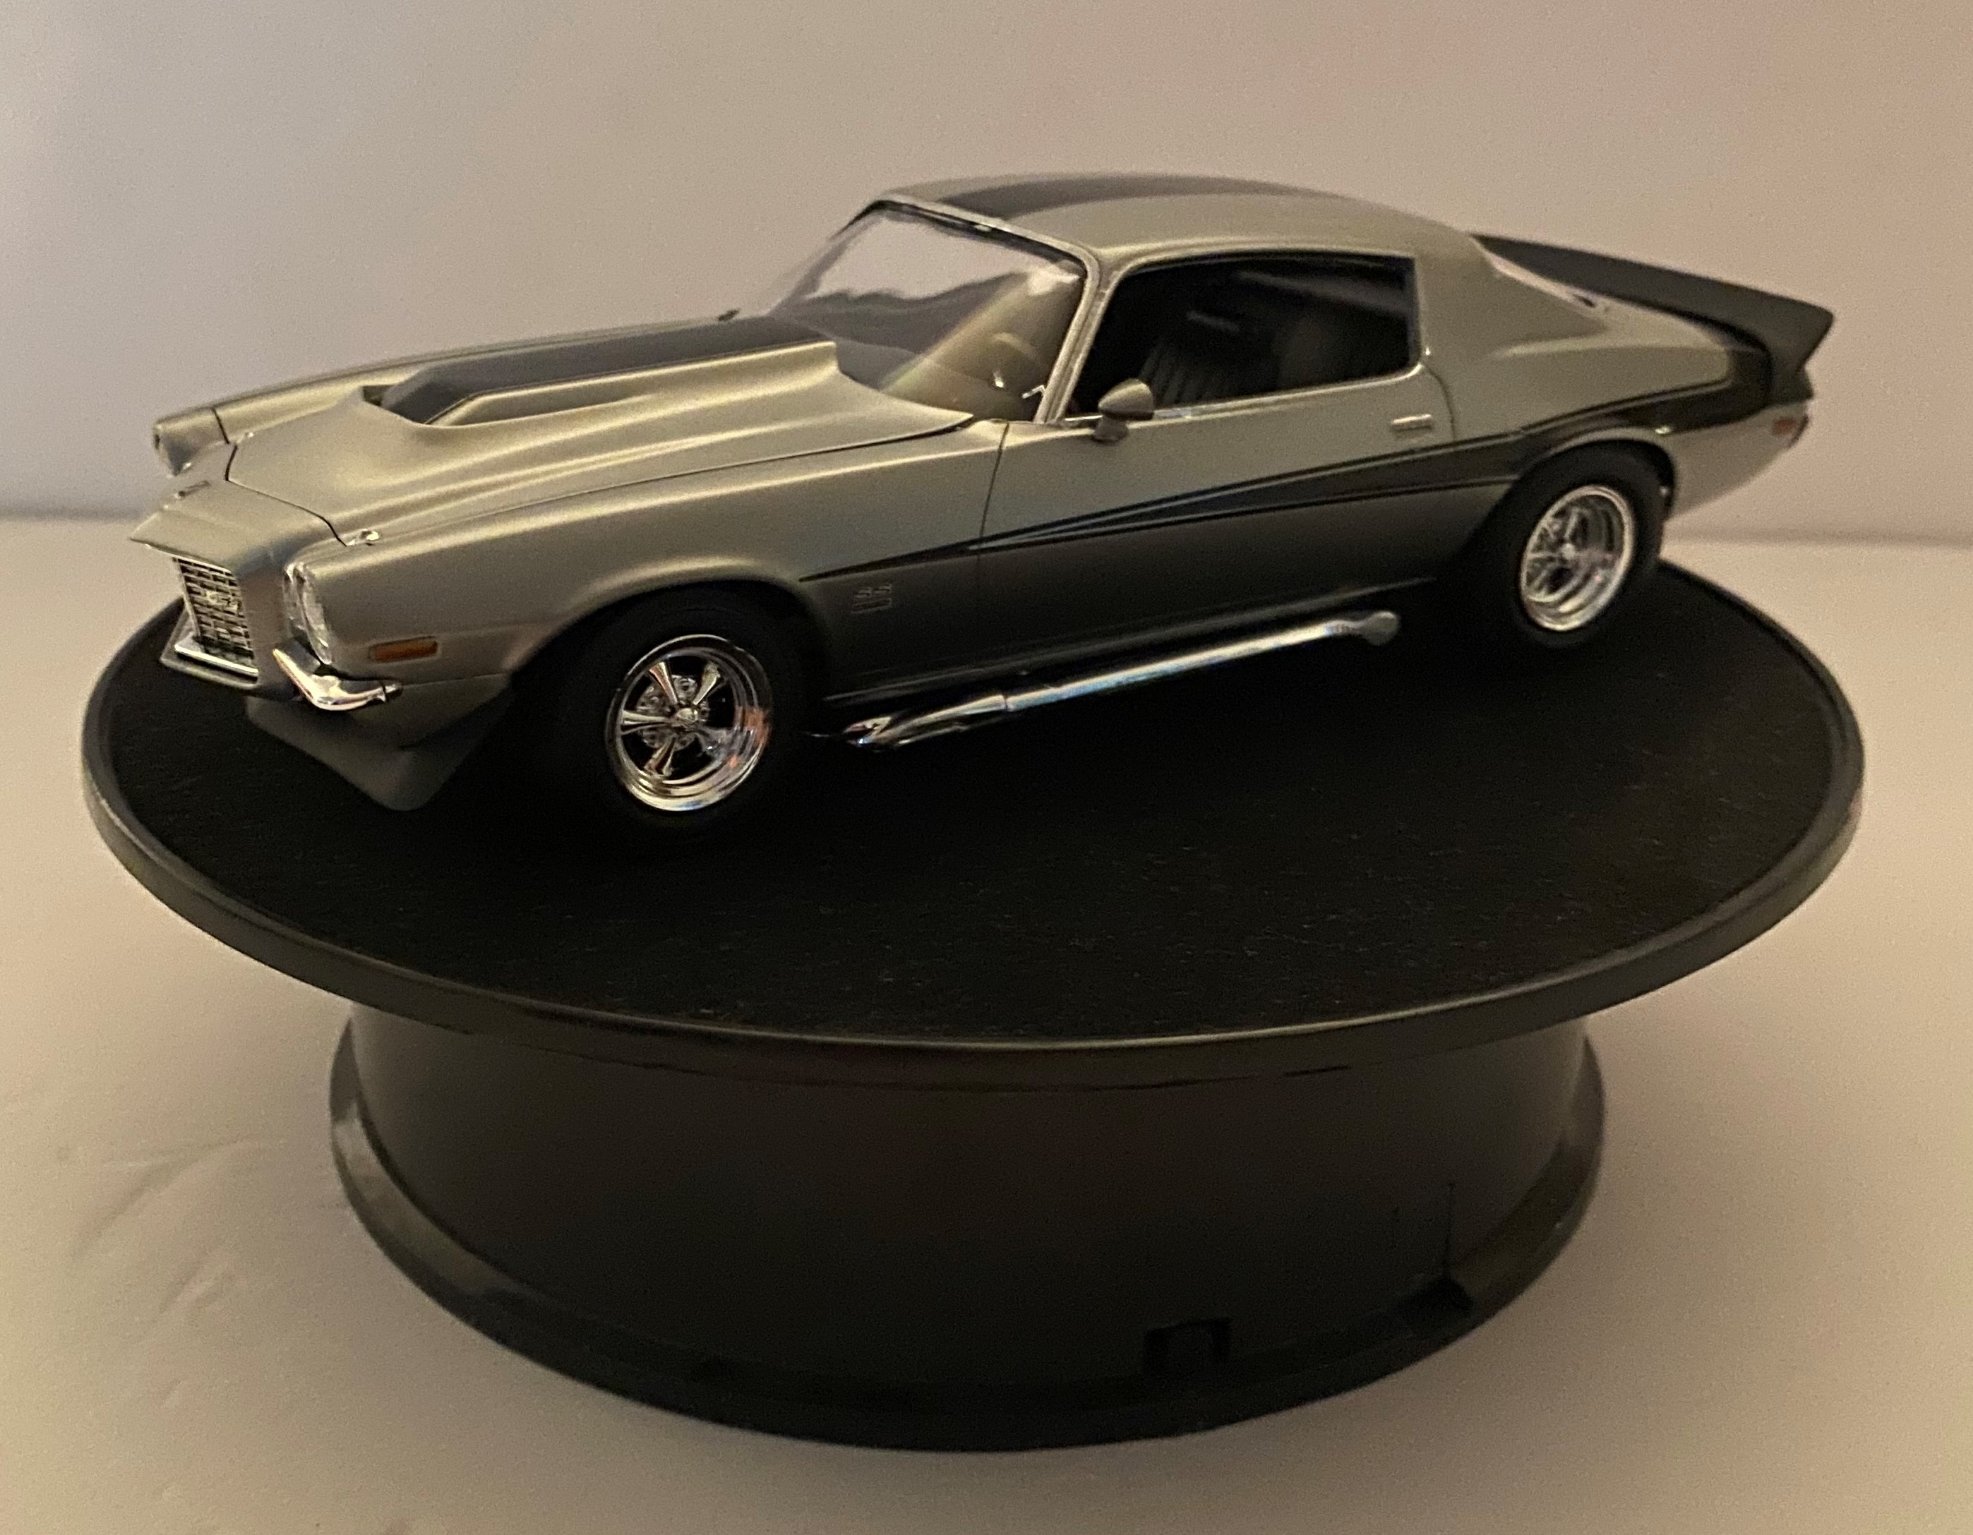
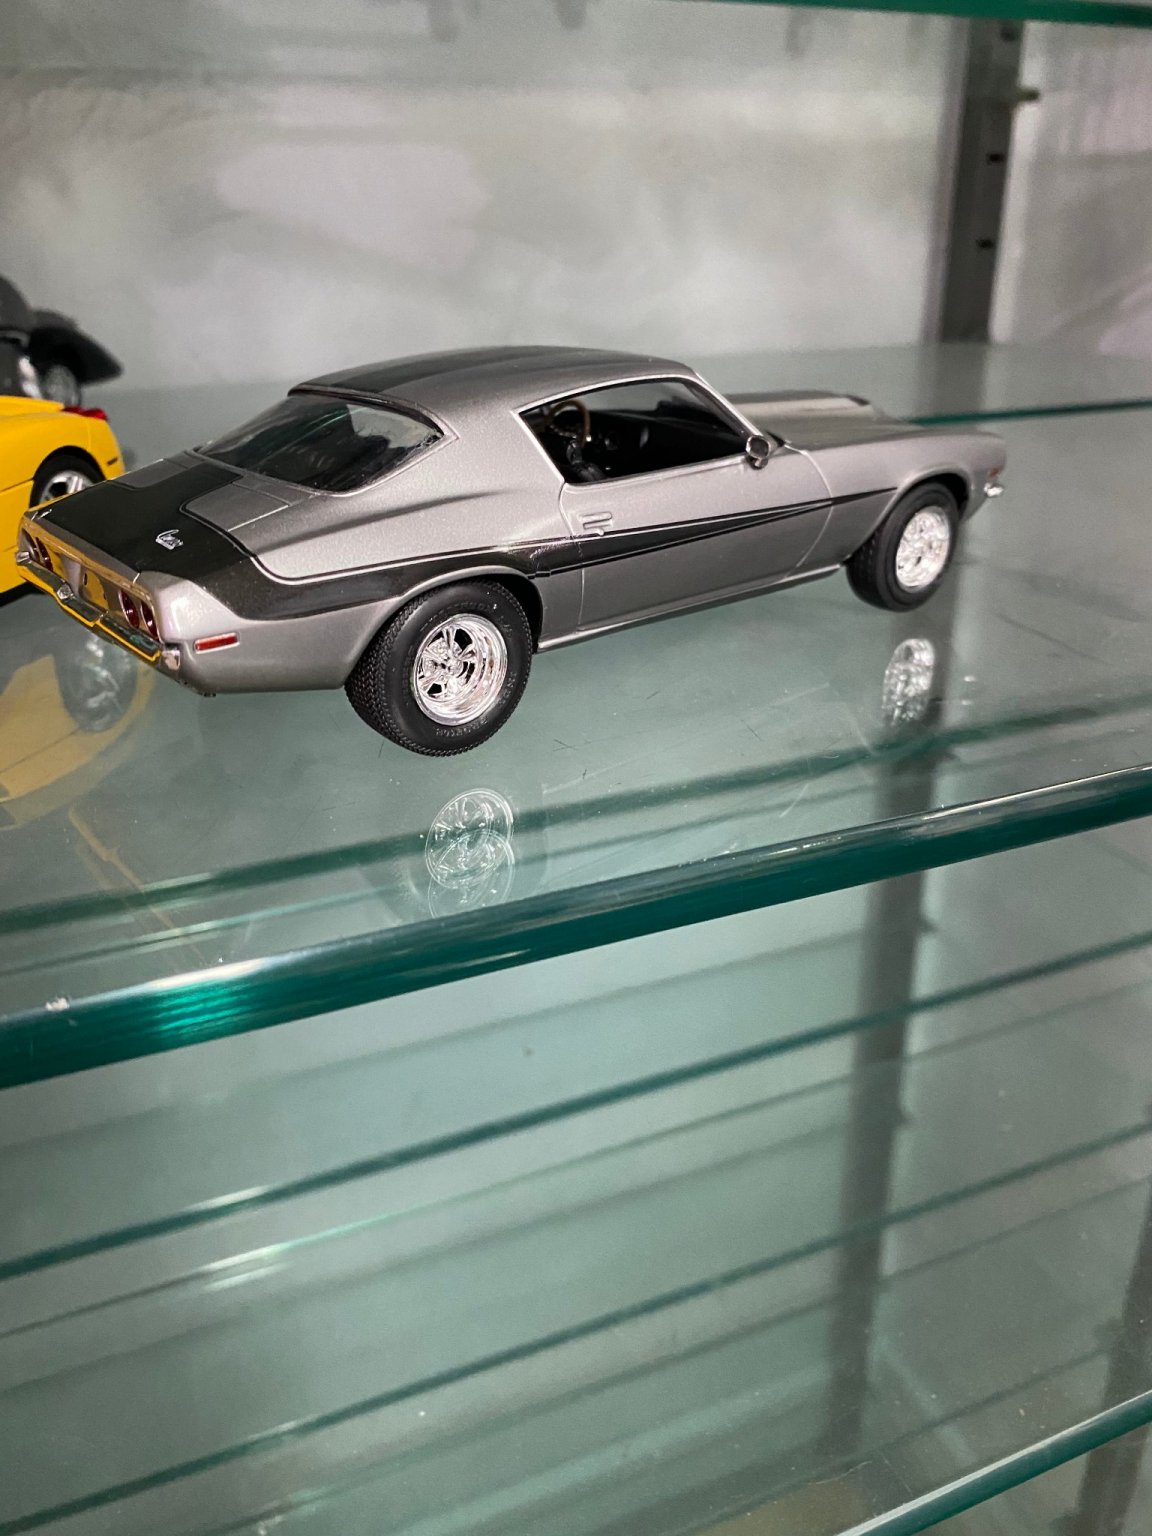
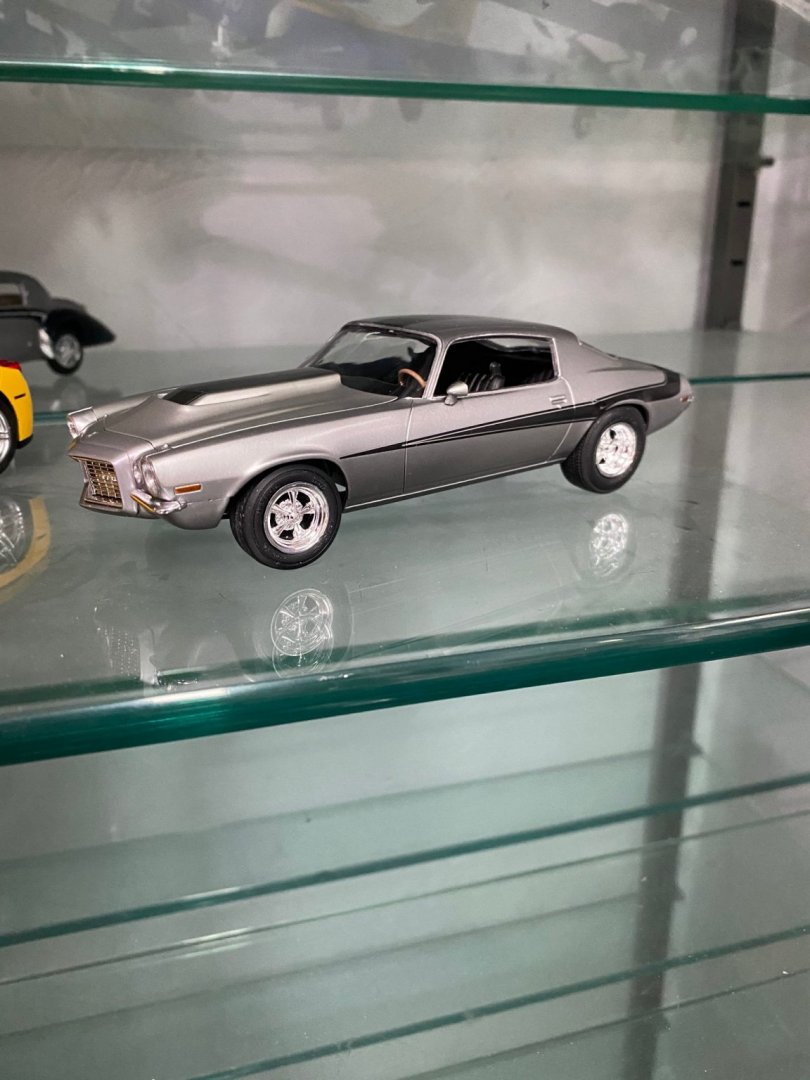
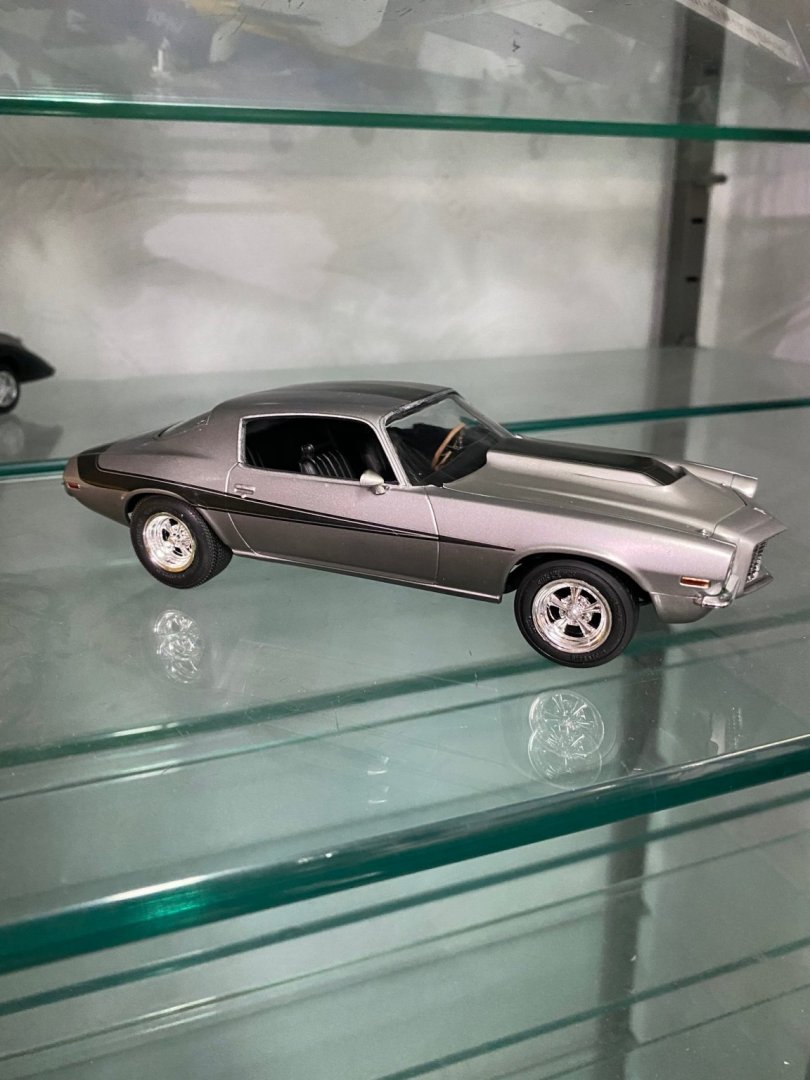
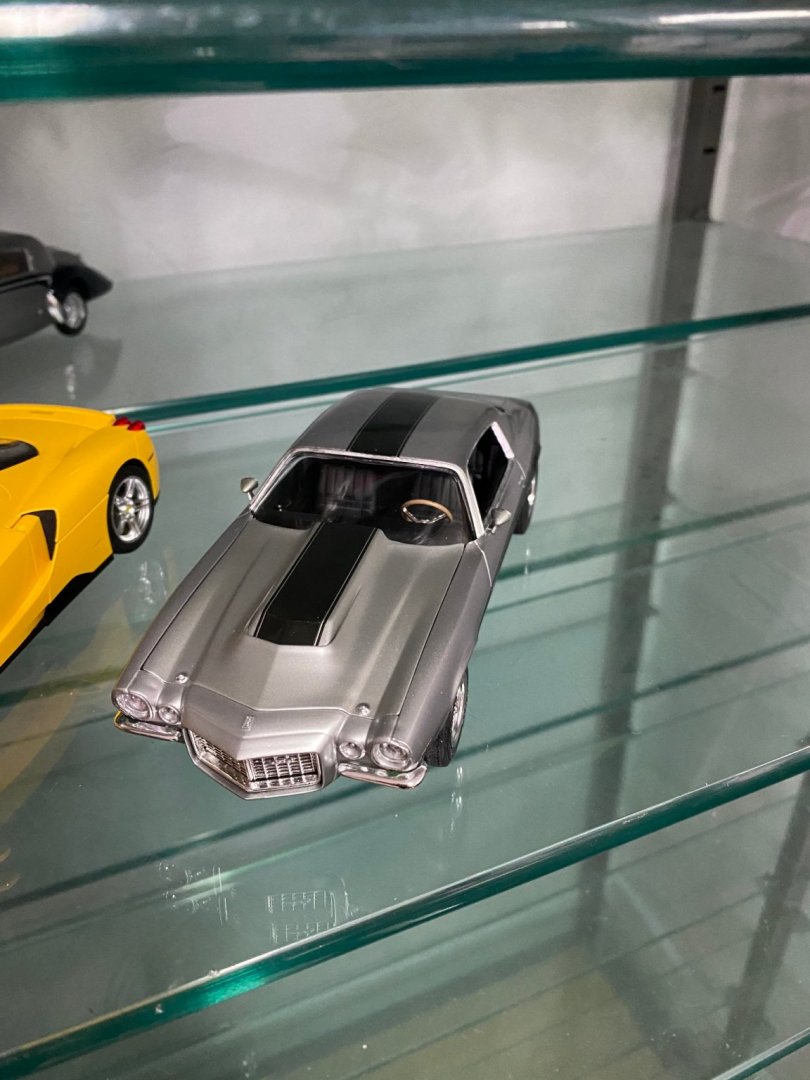
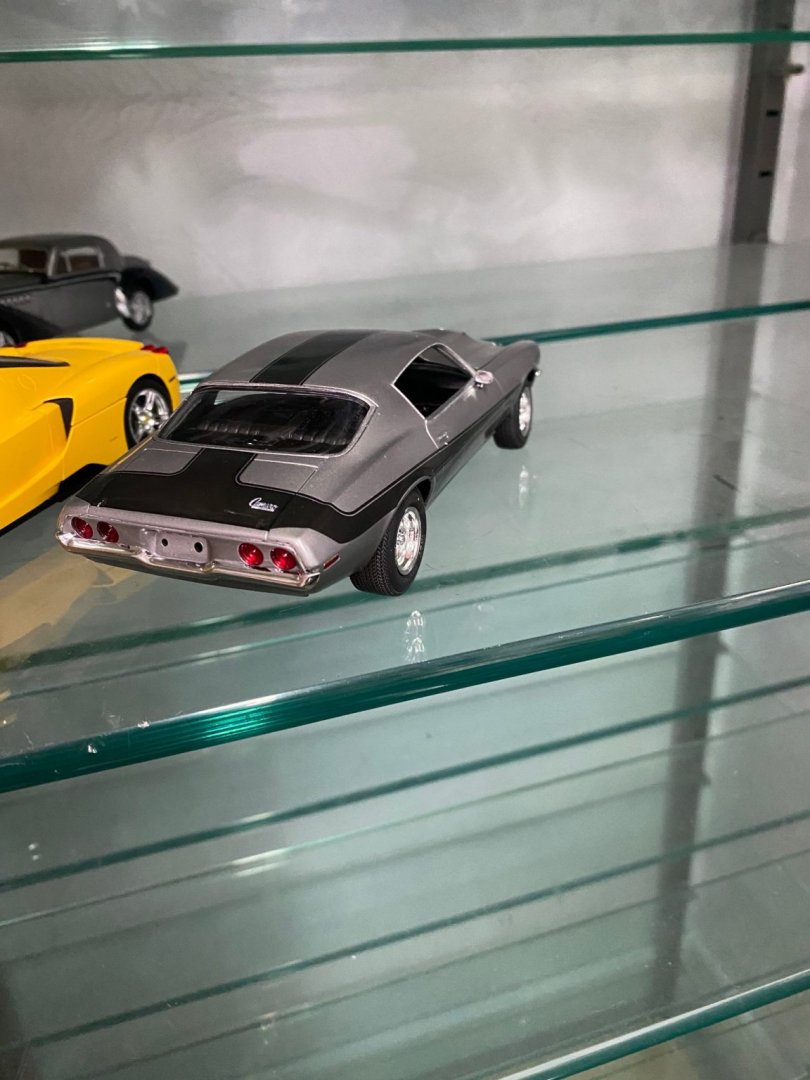
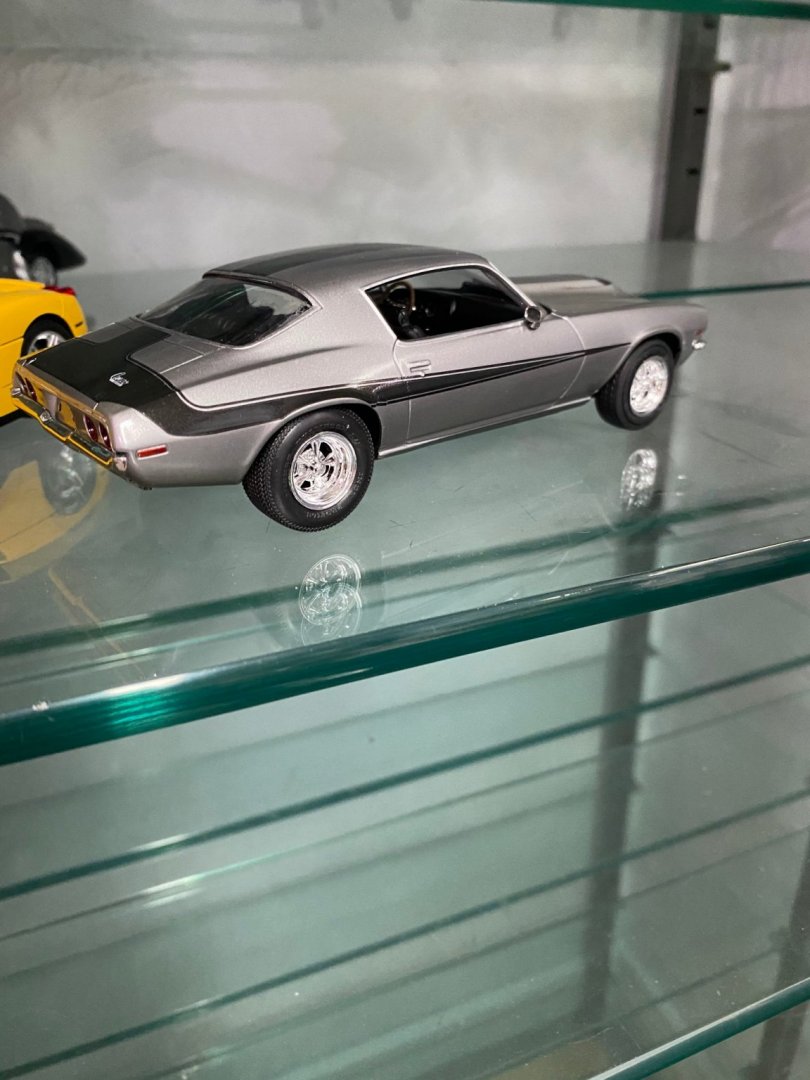
 Thanks Mike. Maybe the lines are enhanced by my use of black primer under the silver paint, but I didn't do anything special.
 -
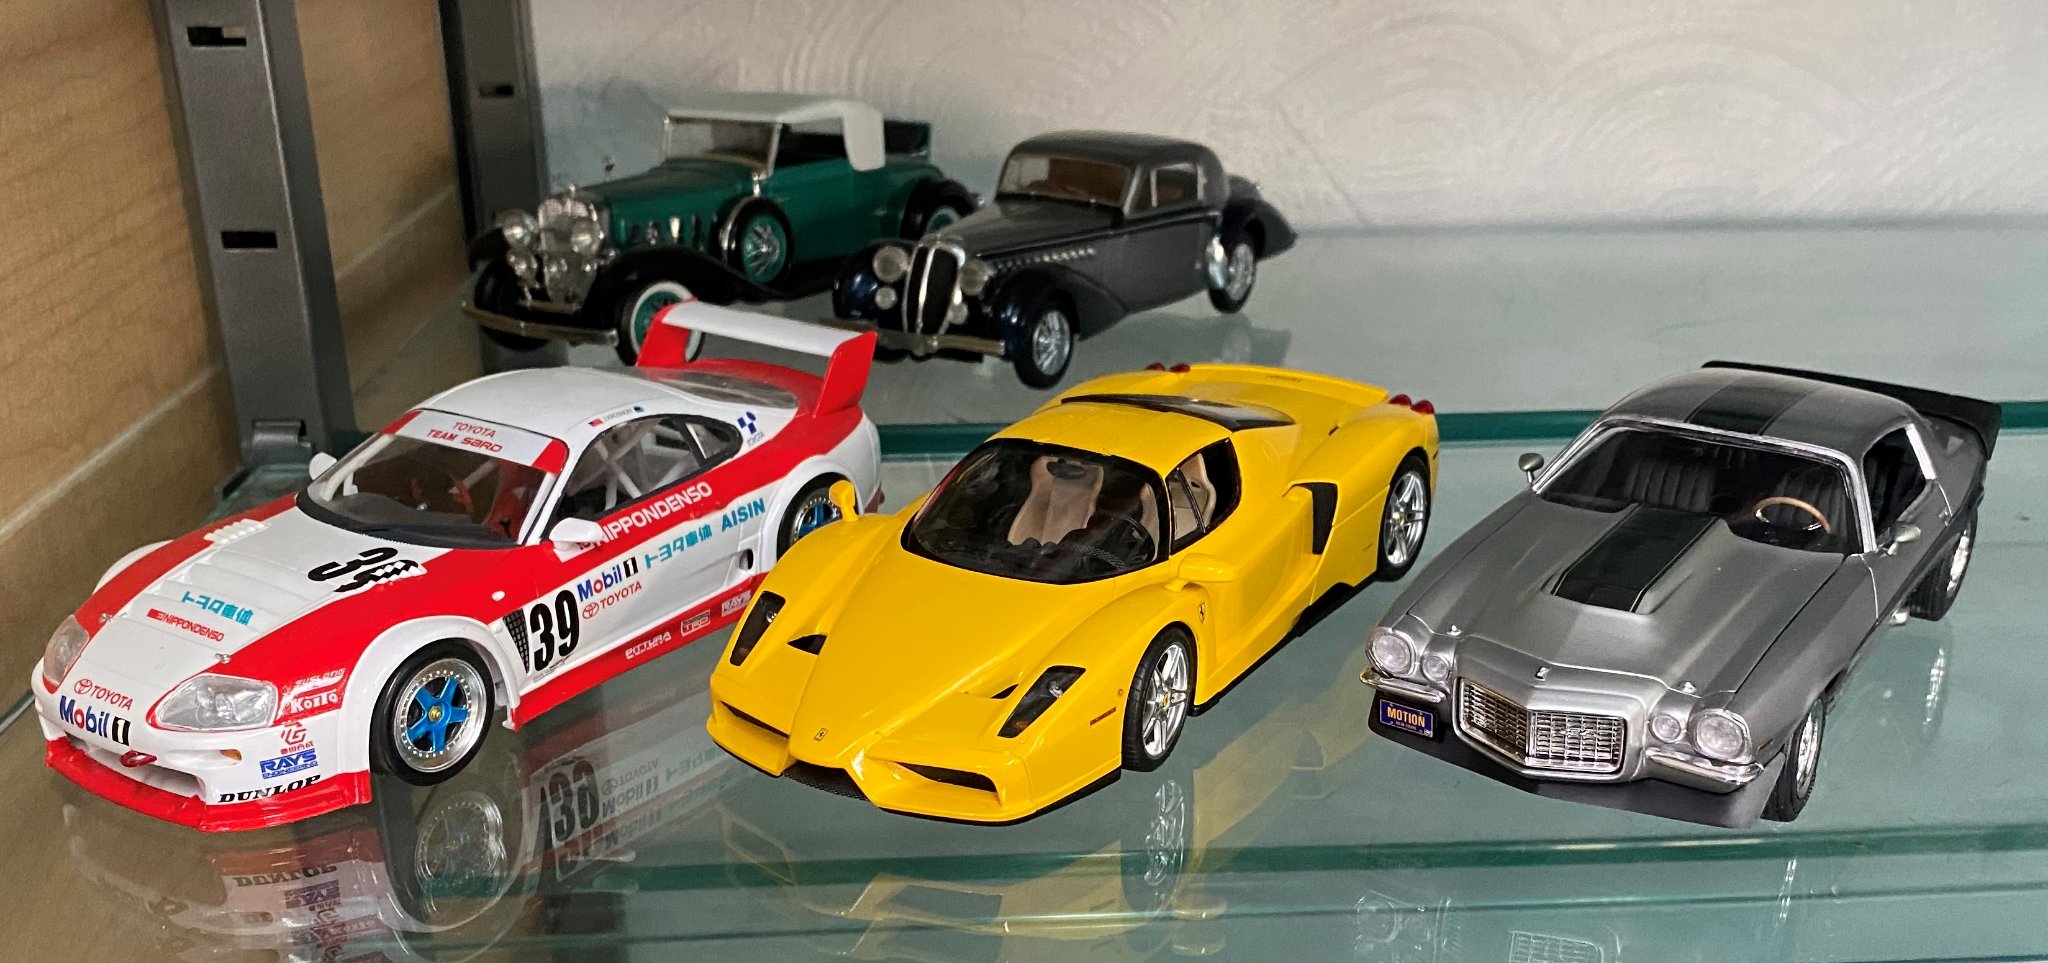
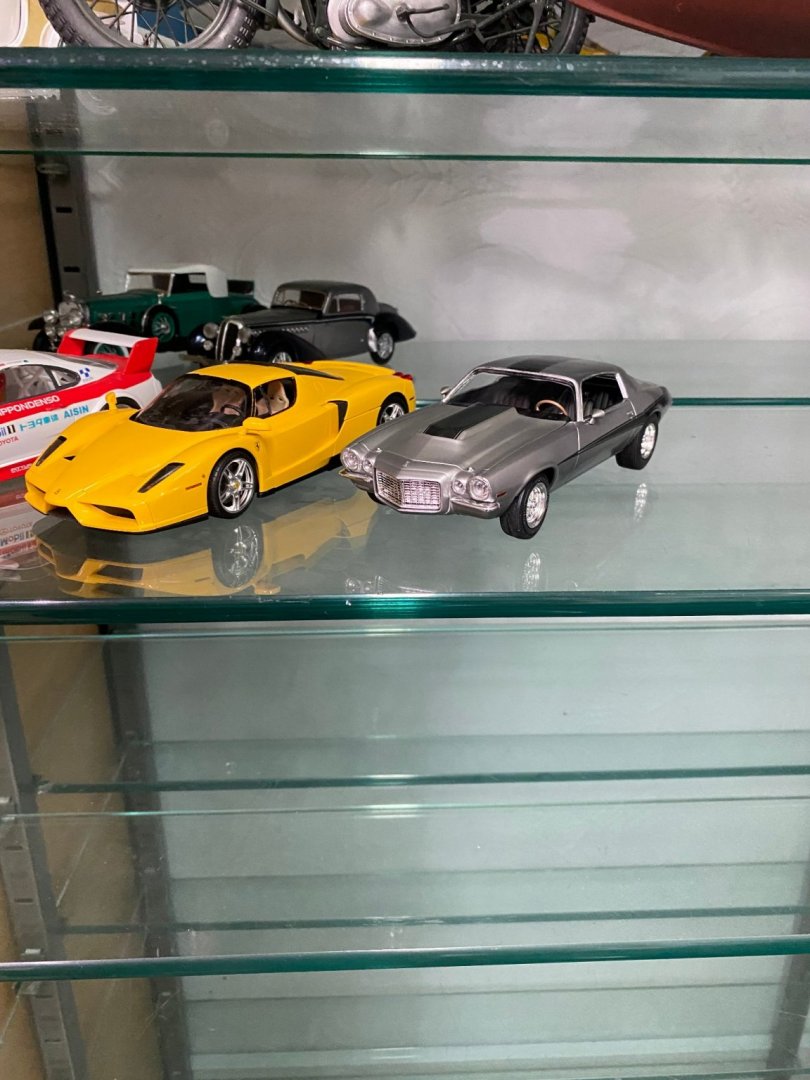
Yes, I noticed the difference as well. The Ferrari and the Toyota are both larger than the Camaro. It's not an optical illusion. 1:24 vs: 1:25 scale is not that much when comparing side by side.
-
Yes! That was it! I distinctly recall that Pearson ran 2nd place for almost the entire race and pulled it out at the very end. Greatest race I ever witnessed.
-
Since Ryland mentioned the Woods Brothers, I wanted to mention my favorite race of all time was one where David Pearson ran 2nd place in the Woods Brothers Mercury behind a Mopar, can't recall now if it was Richard Petty or someone else. On the final lap of the 400 mile race, Pearson slingshot past the lead car in the 2nd turn to win. It was just incredibly exciting and skillful driving by Pearson. As the cars blazed down the straightaway in front of the grandstands, the high pitch scream of the engines could be heard, Chevrolet (GM), Mopar being high pitched. But the Ford engines were long strokers who had a very distinctive sound. Lower pitched, lower RPM's and much more throaty sounding. Loved it! David Pearson was one of my all time favorite drivers, but Richard Petty was awesome as well.
-
The Firecracker 400 races always required lots of drinking water to keep from dehydrating in the July sun, and lots of suntan lotion. Back then, it was no problem to bring in coolers with your own drinks. NASCAR races were awesome! My Dad took me to lots of local races as well, asphalt tracks and dirt tracks. Interestingly, that led to to love drag racing as well, but my Dad was never a fan of that. Back around the same '60's era, my Dad and older brothers bought a racing go kart that we campaigned locally until my Mom realized how dangerous it was and cut our water off. That little twin engine go kart (Dart Kart) would do well over 100 mph in a straightaway. Twin Westbend racing engines. Light as a feather.
-
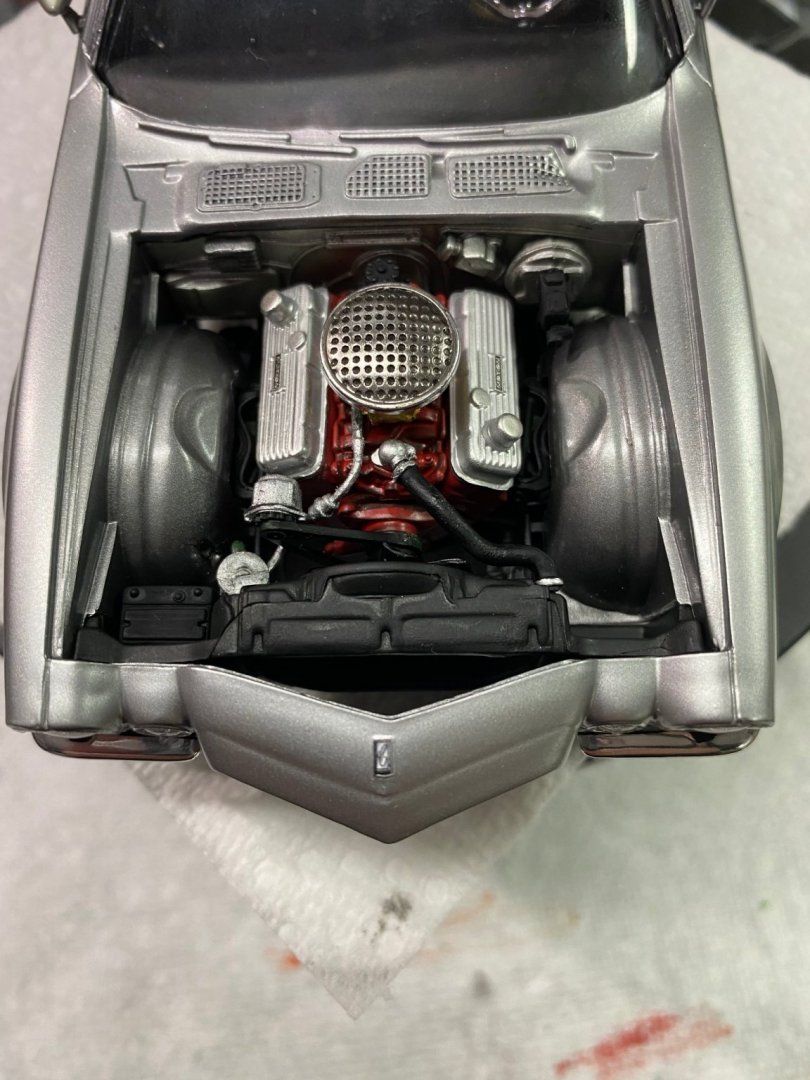
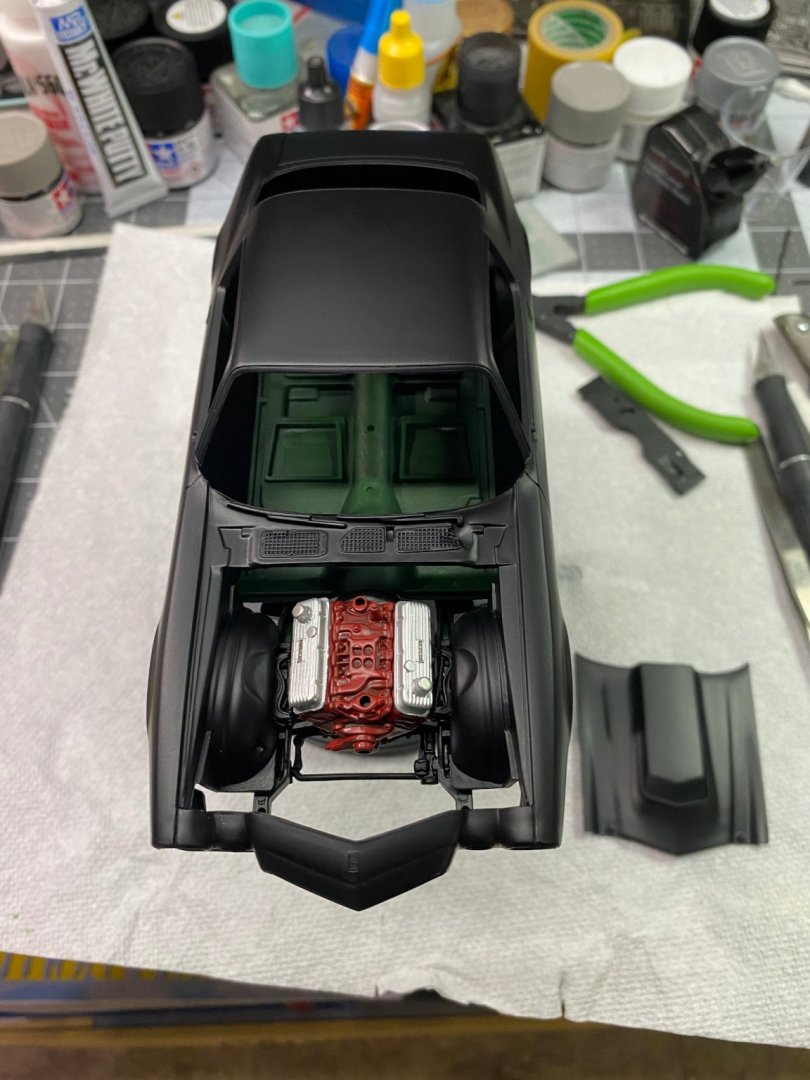
Thanks for the kind words gentlemen. I forgot to take a photo of the engine compartment. In a future build, I will spend the time to super detail a few engine compartments but didn't feel motivated to do it with this one.
- 56 replies
-
- 12
-

-
My preference for circle/oval track racing over the twisting, winding road courses is strictly from an observer's/fan's point of view. I could see the entire track from the grandstands, but at Sebring, could only see what was directly in front of me. Not nearly as entertaining.
-
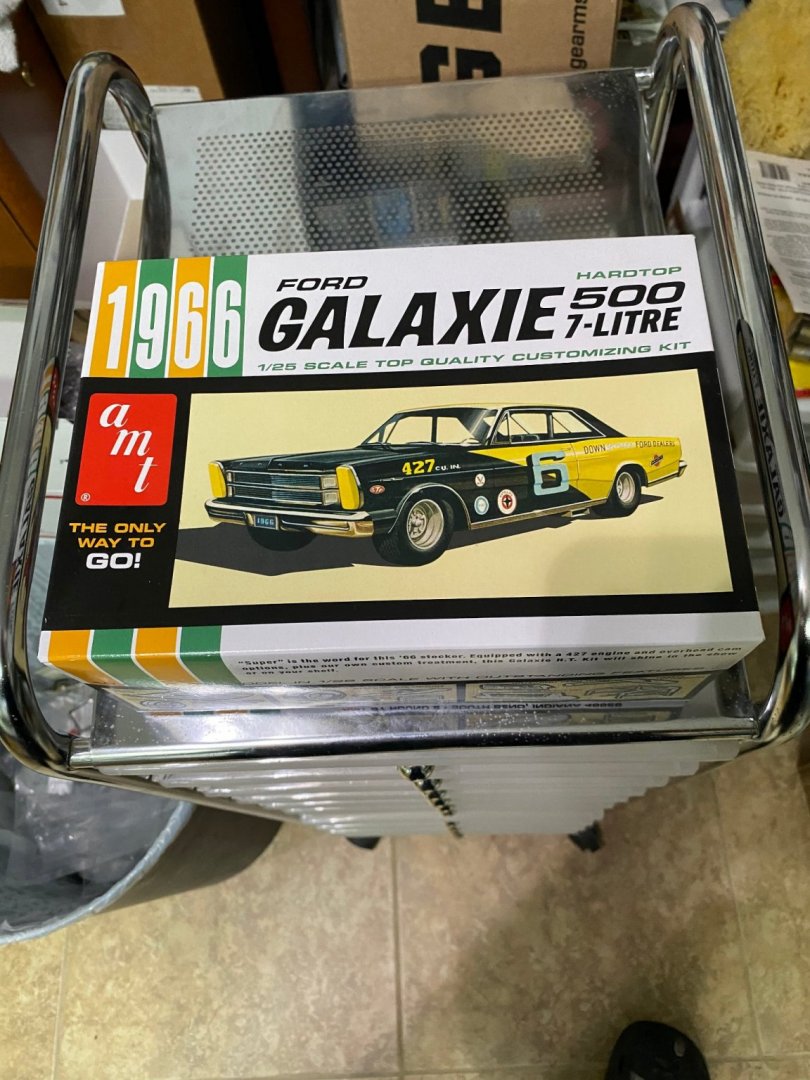
Some of the favorite memories of my youth was attending the annual Daytona Firecracker 400 races with my parents, family, and friends each July 4th at the super speedway at Daytona Beach, Florida. The whole sight, sounds, smells, and feeling deep in the pit of your stomach as the powerful engines roared past the grandstands was exciting beyond belief. Watching these similar races today on television does not do justice to replacing the experience of being there in person. Even though 1966 was almost 55 years ago, these cars were incredibly fast back then, easily topping speeds of well over 200 MPH as they charged down the long straightaways. Those images will always be in my mind. This particular model is very similar to the ones campaigned by some very famous drivers, but the decals that come with the kit are generic in nature, not actual. Tiny Lund raced in car number 24 in 1966 to an 8th place finish. I may order the decals for this car but have not decided for sure yet.
- 101 replies
-
- 12
-
-
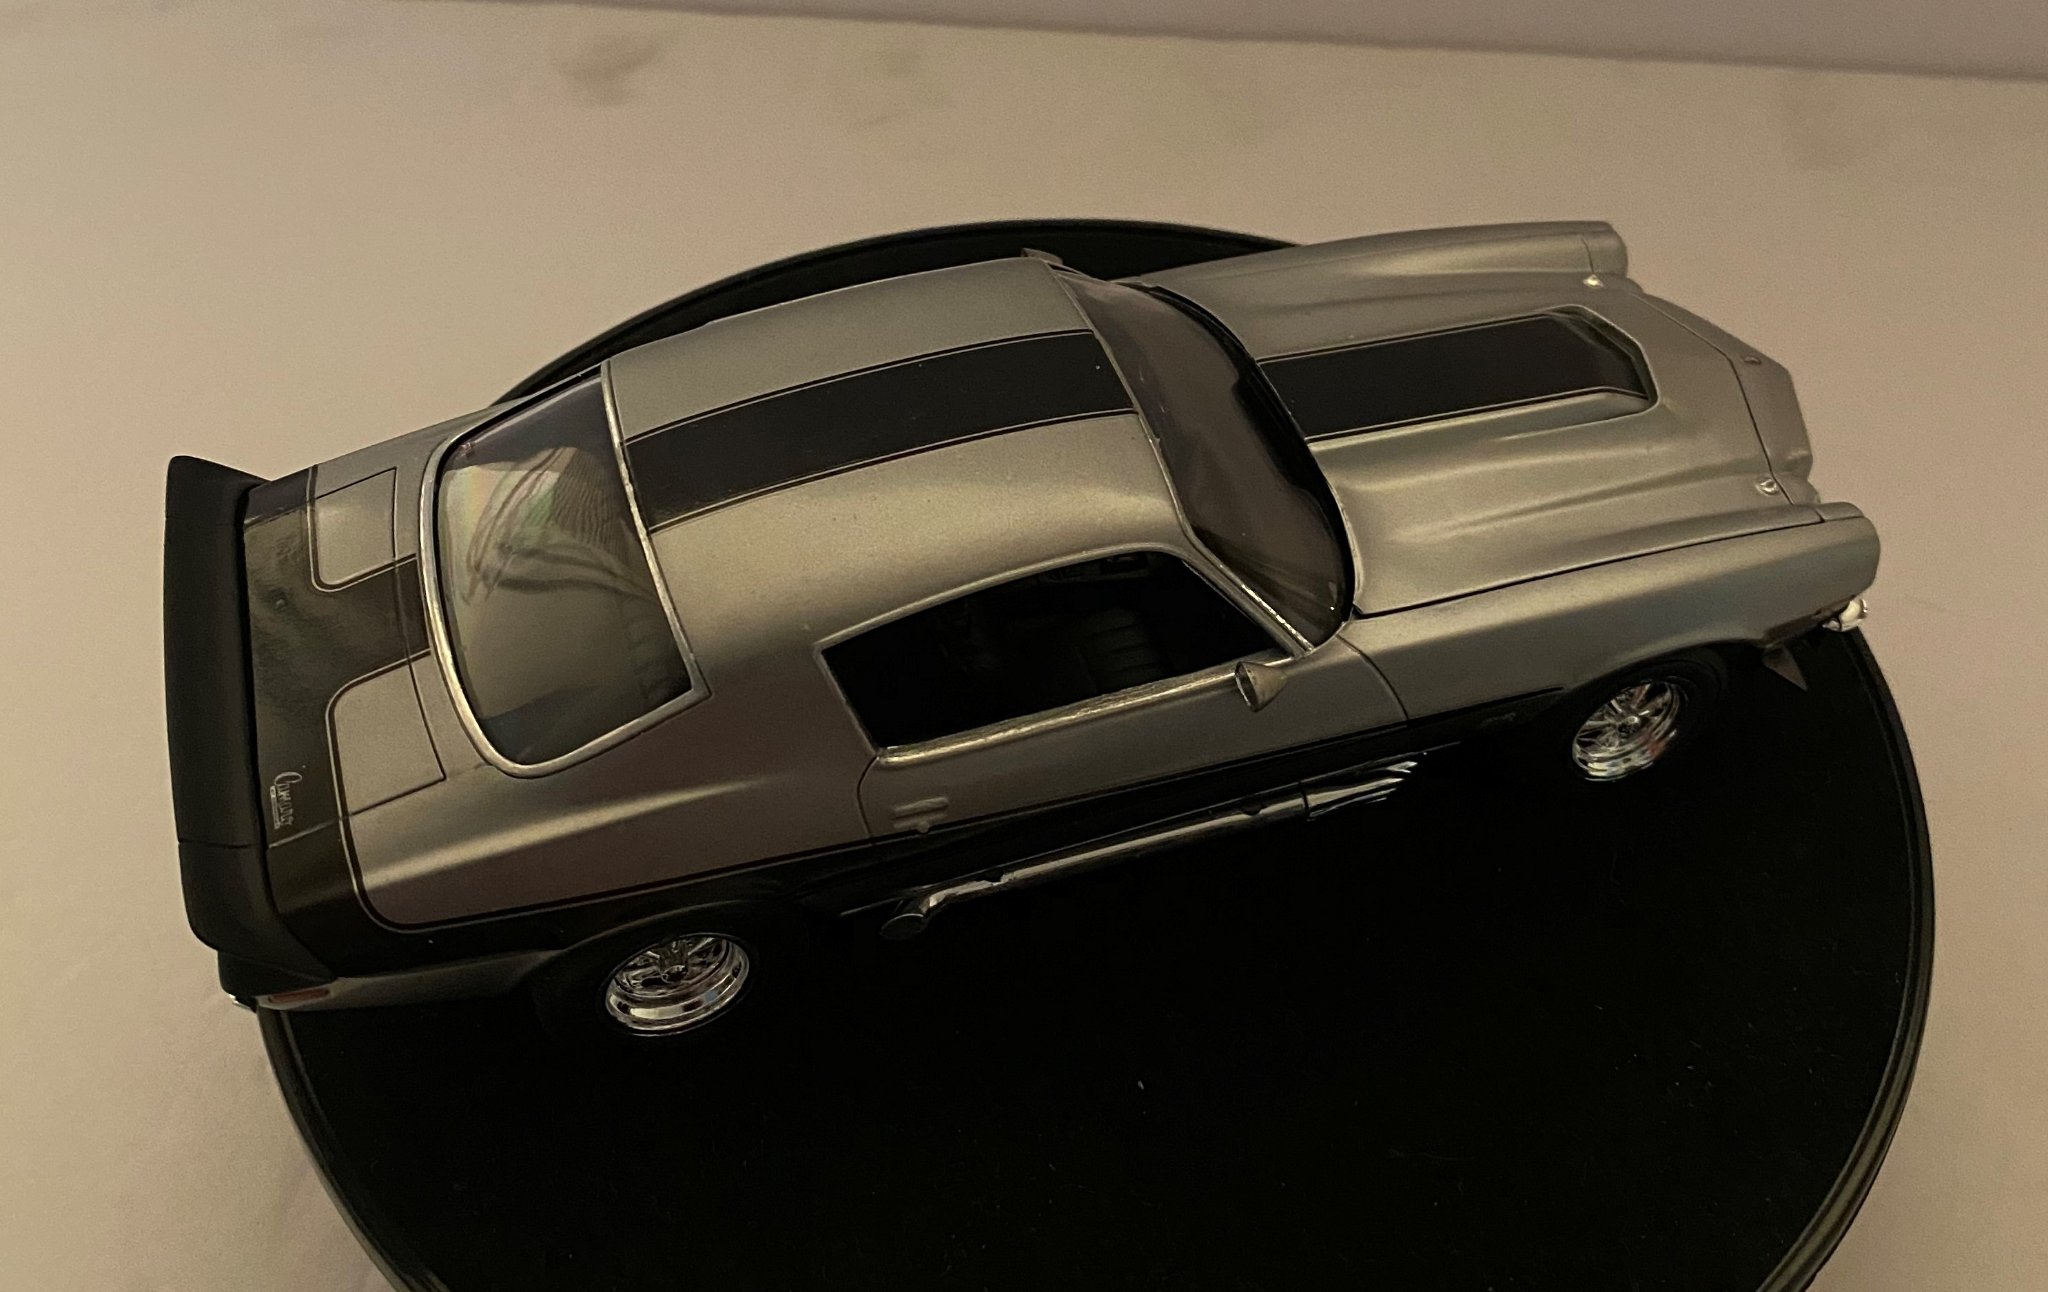
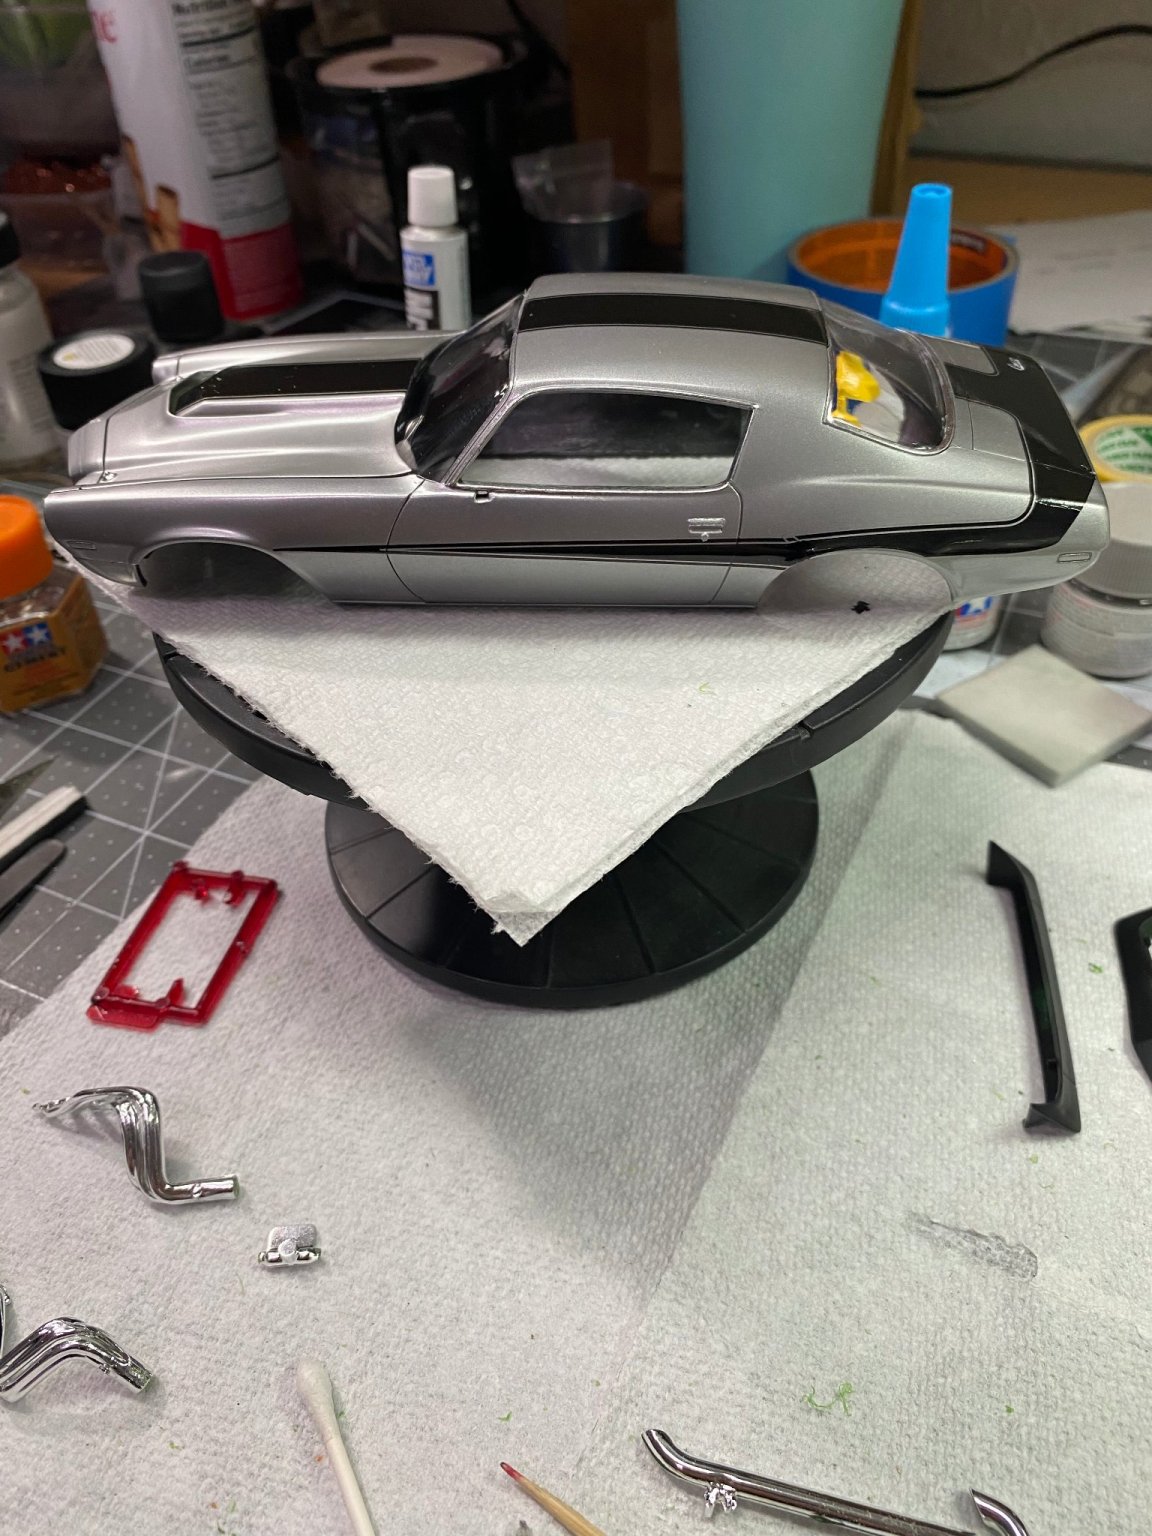
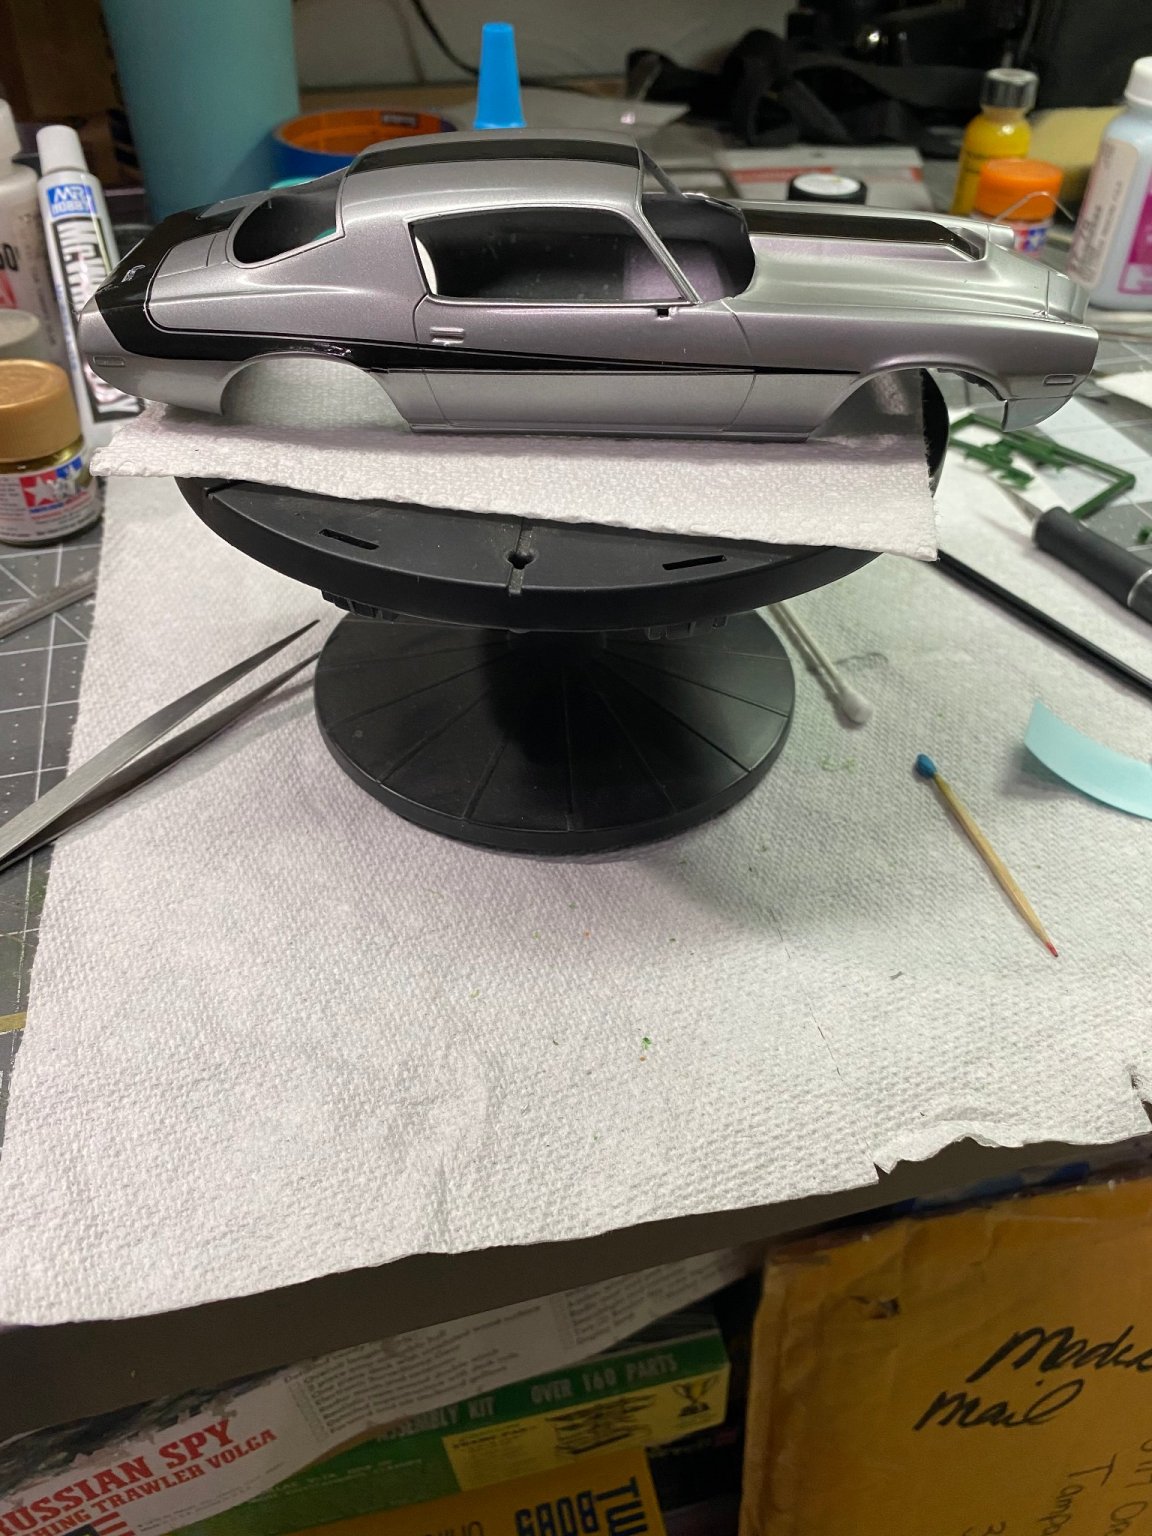
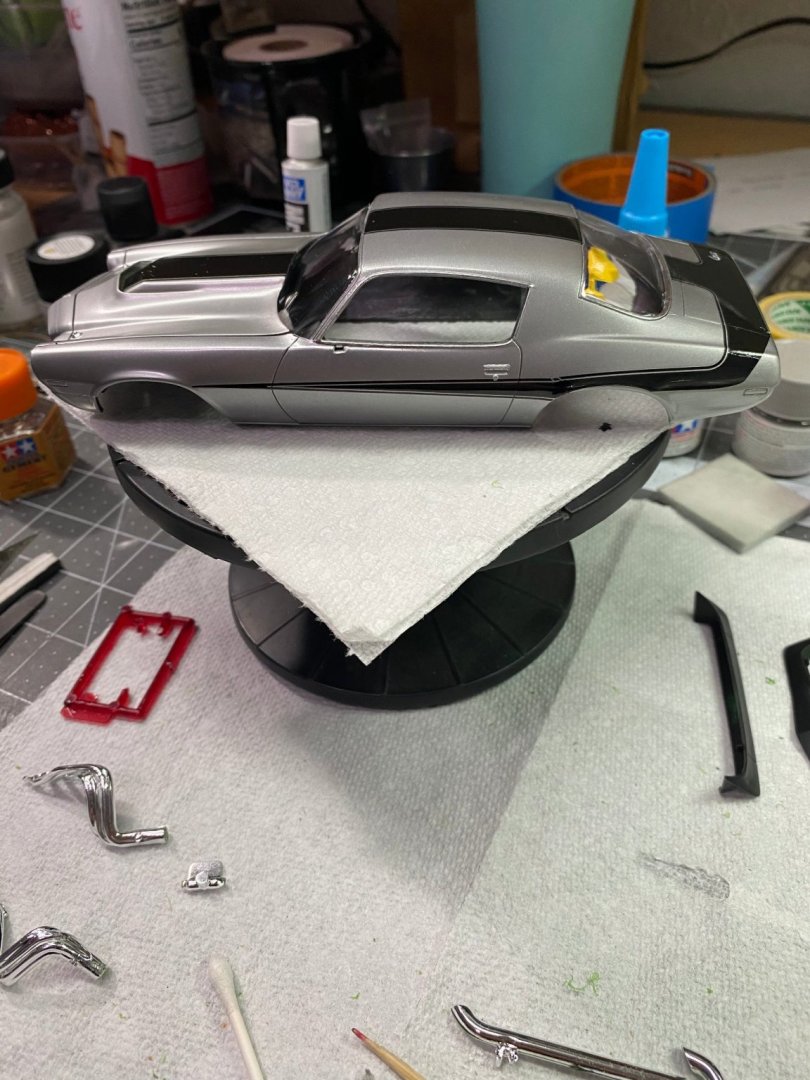
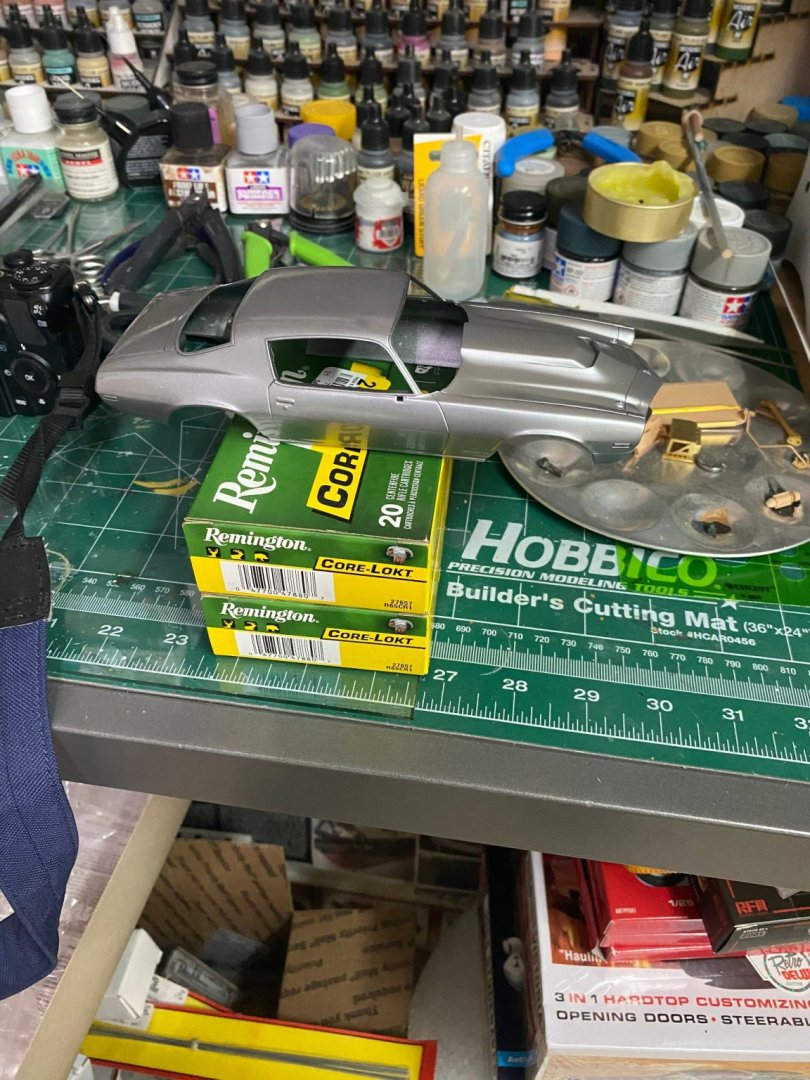
I need another day, more or less, to finish this project. It's getting real close to finished now. Needs the rear and front spoilers added, various engine compartment details, side exhaust pipes and headers, various water-slide emblems and badges that go on the body and under the hood. I have a set of traction bars that came with the kit, but am going to leave those off, saving them for another, future Camaro project to help replicate Grumpy Bill Jenkin's 1970 Pro Stock Camaro drag car. Whereas this is a split front bumper model, Bill Jenkin's 1970 Camaro was a full bumper version.

- 56 replies
-
- 13
-
-
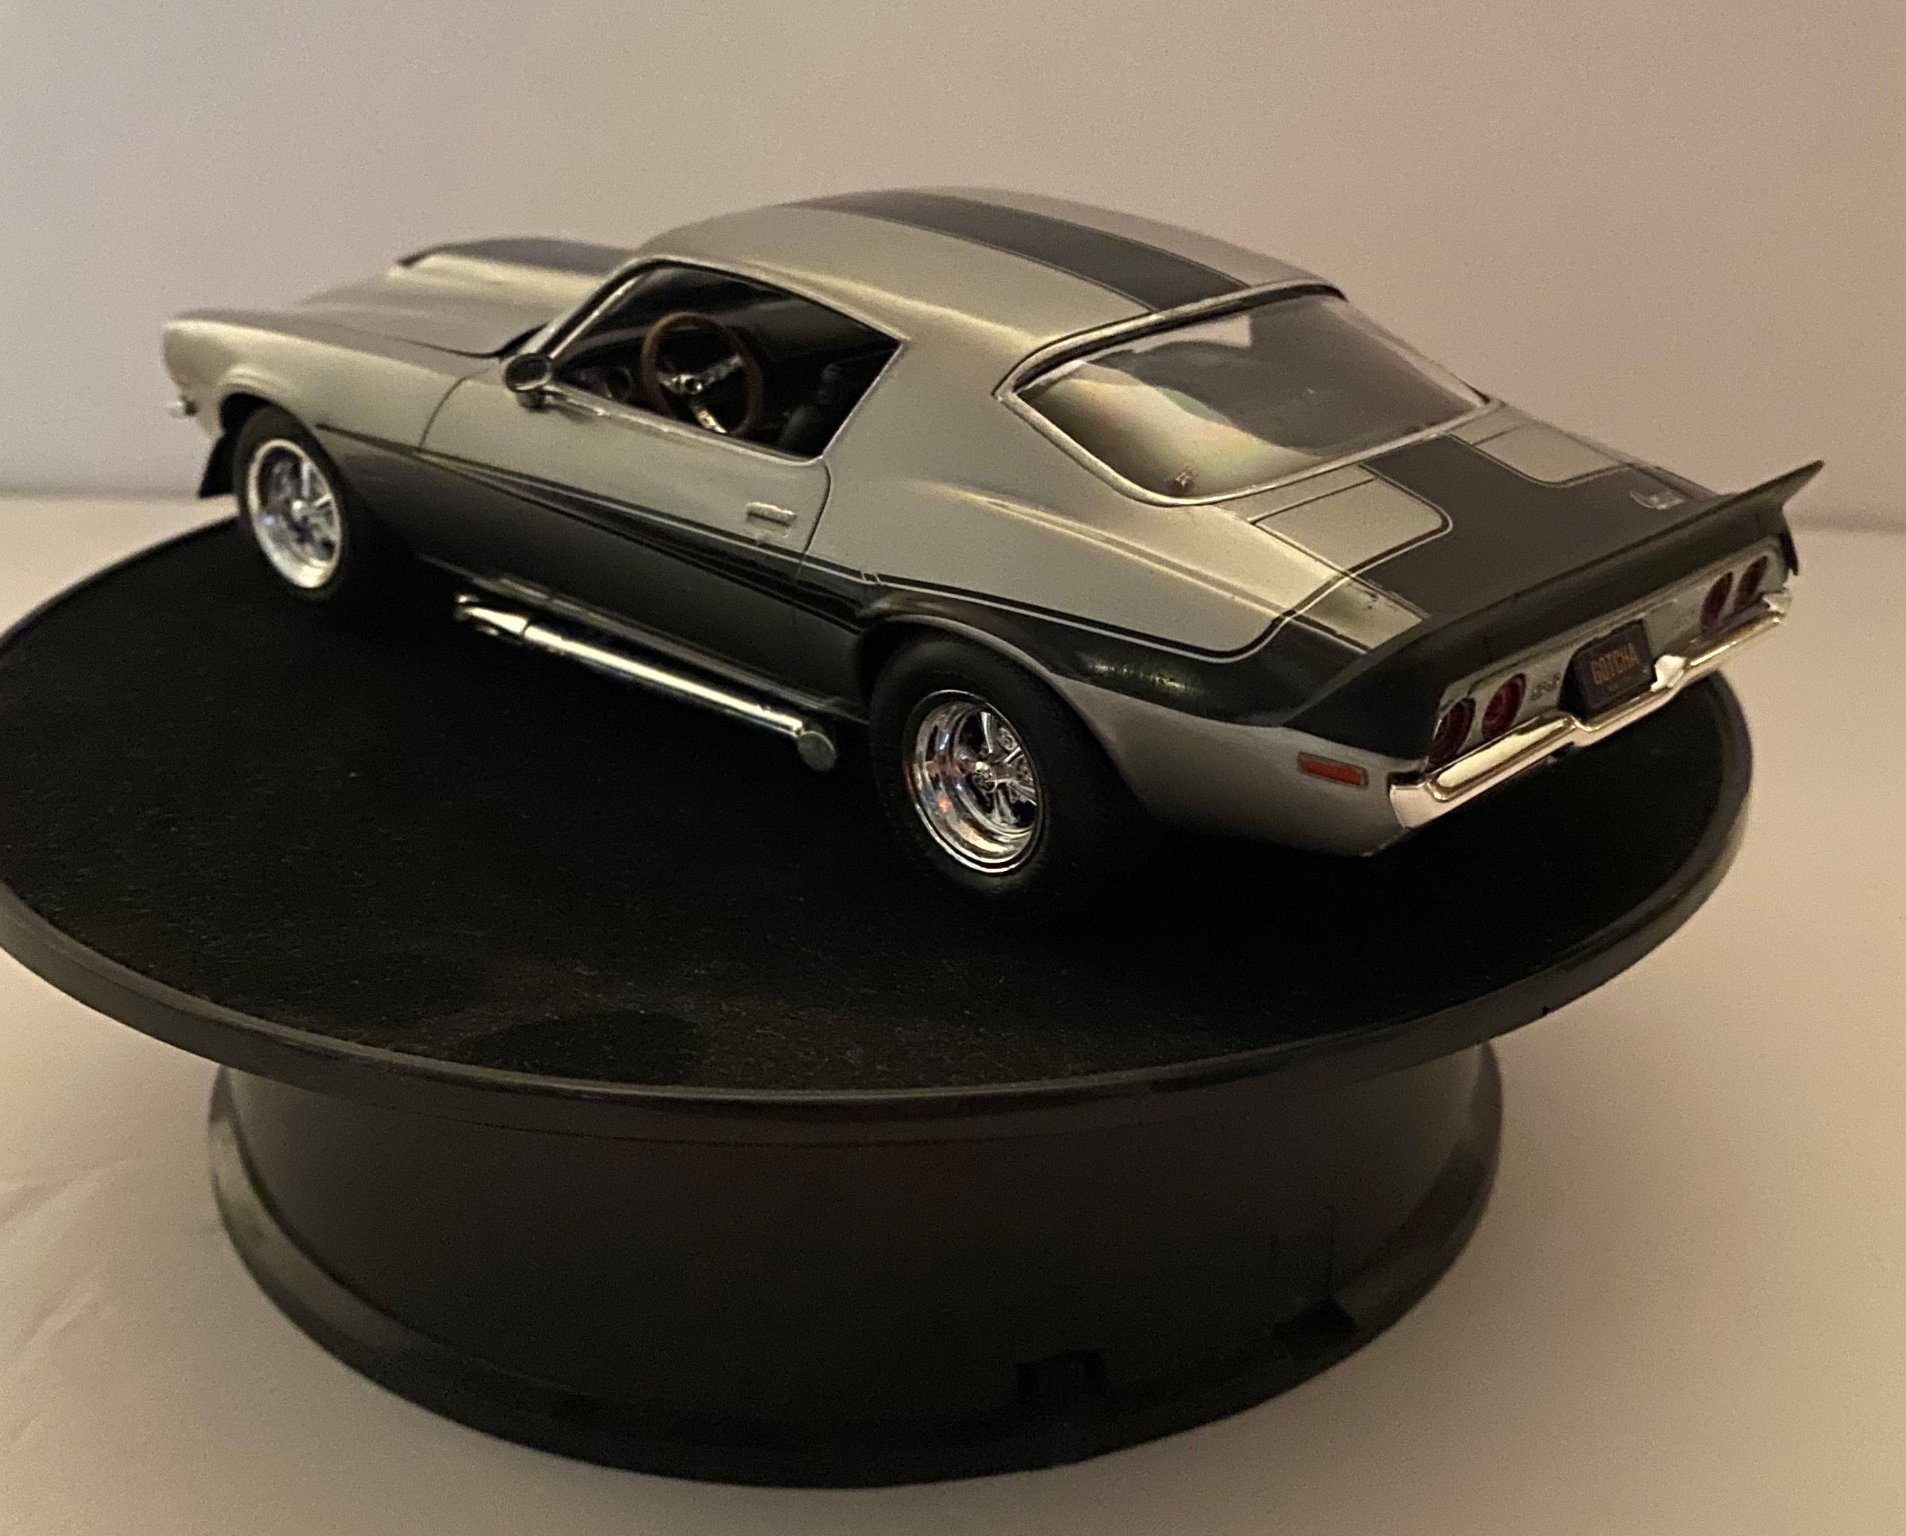
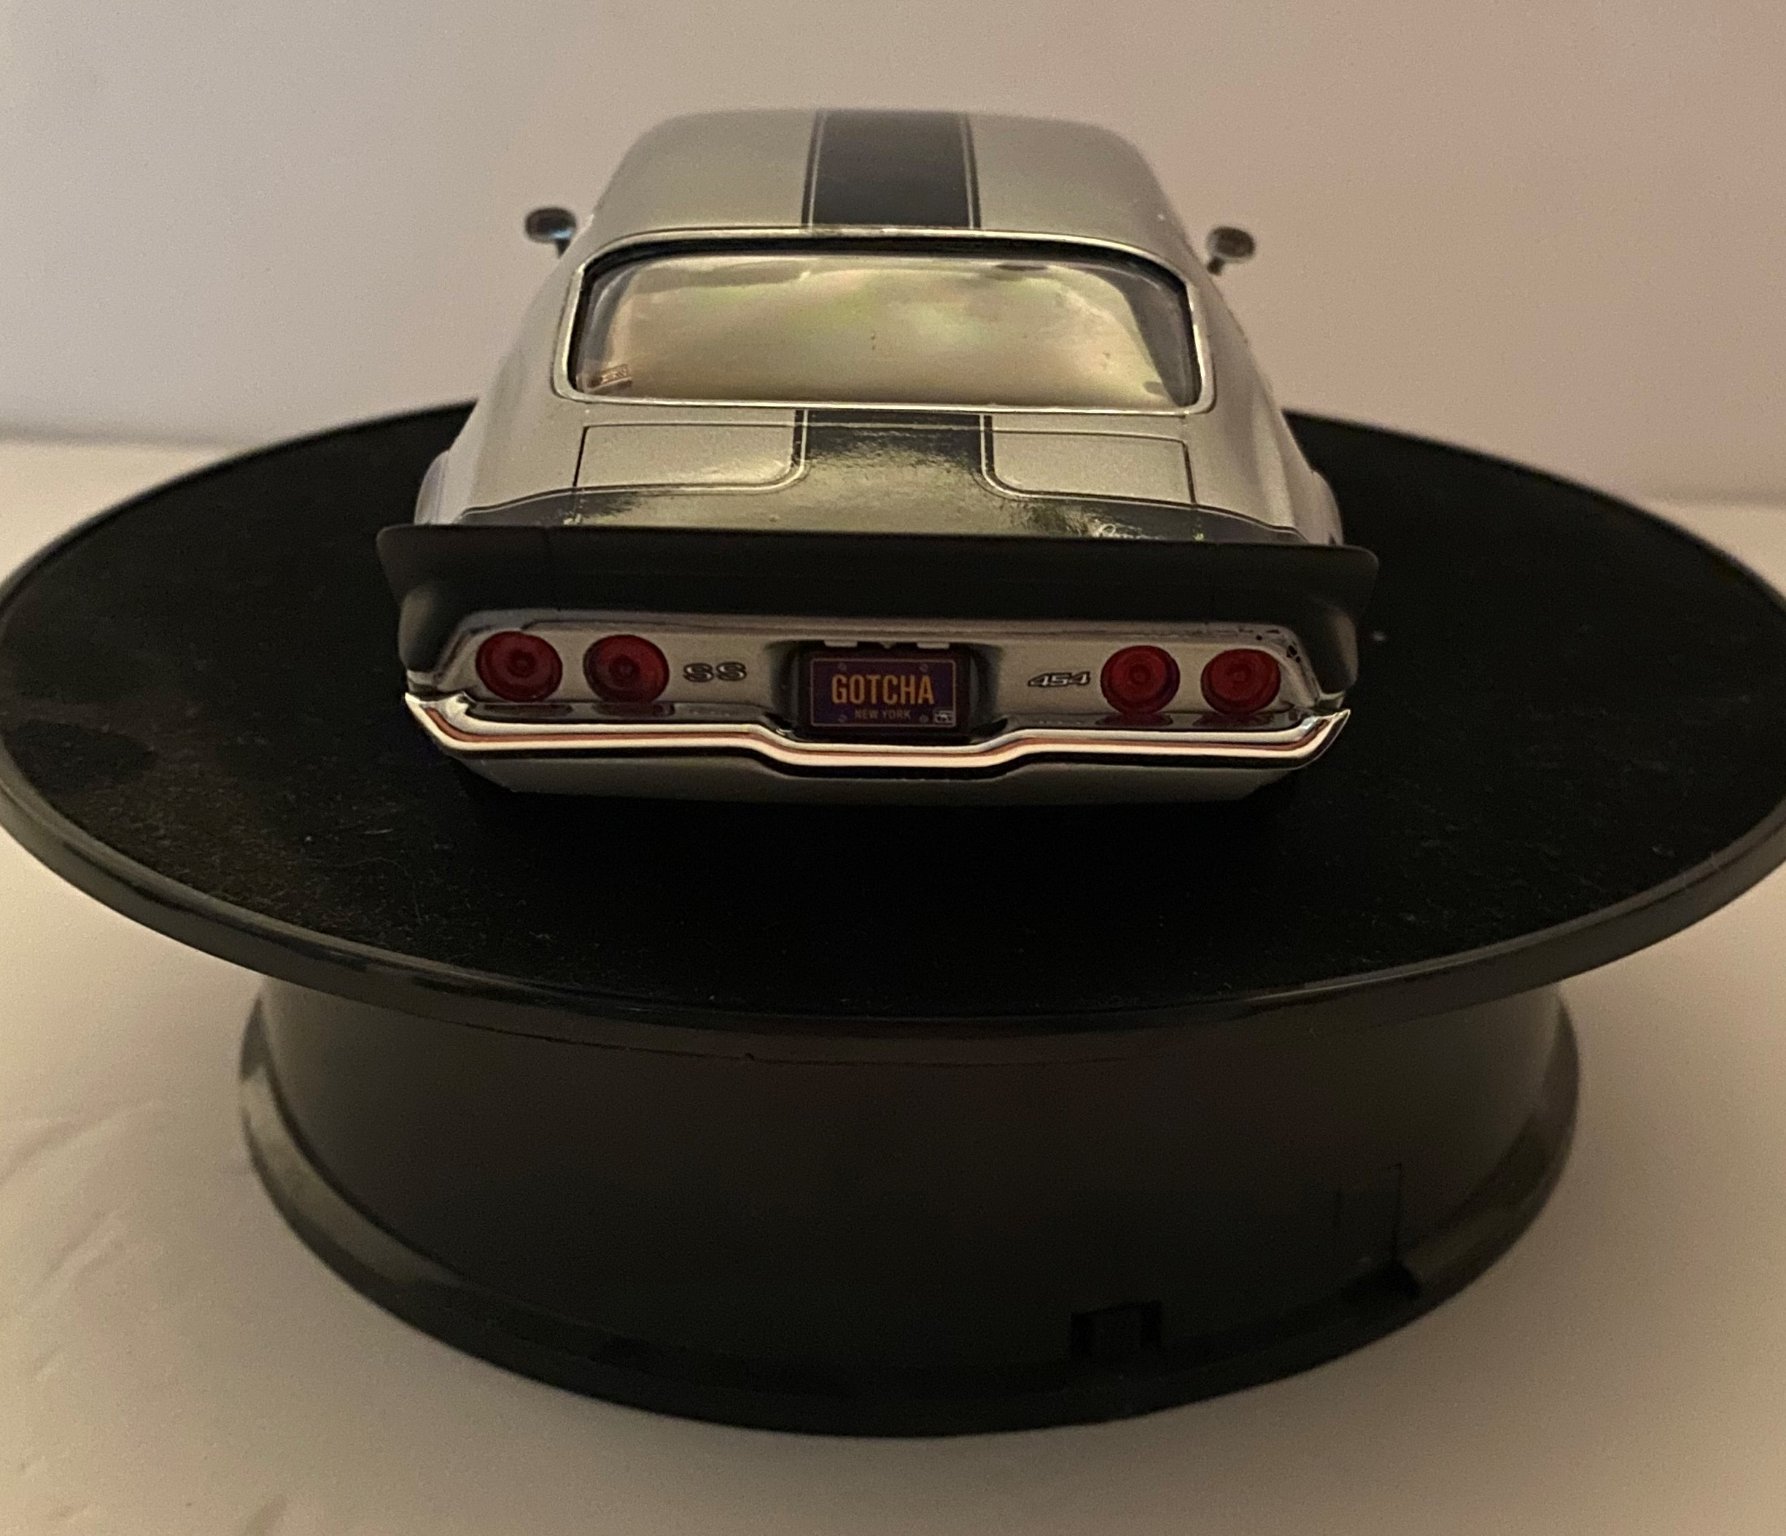
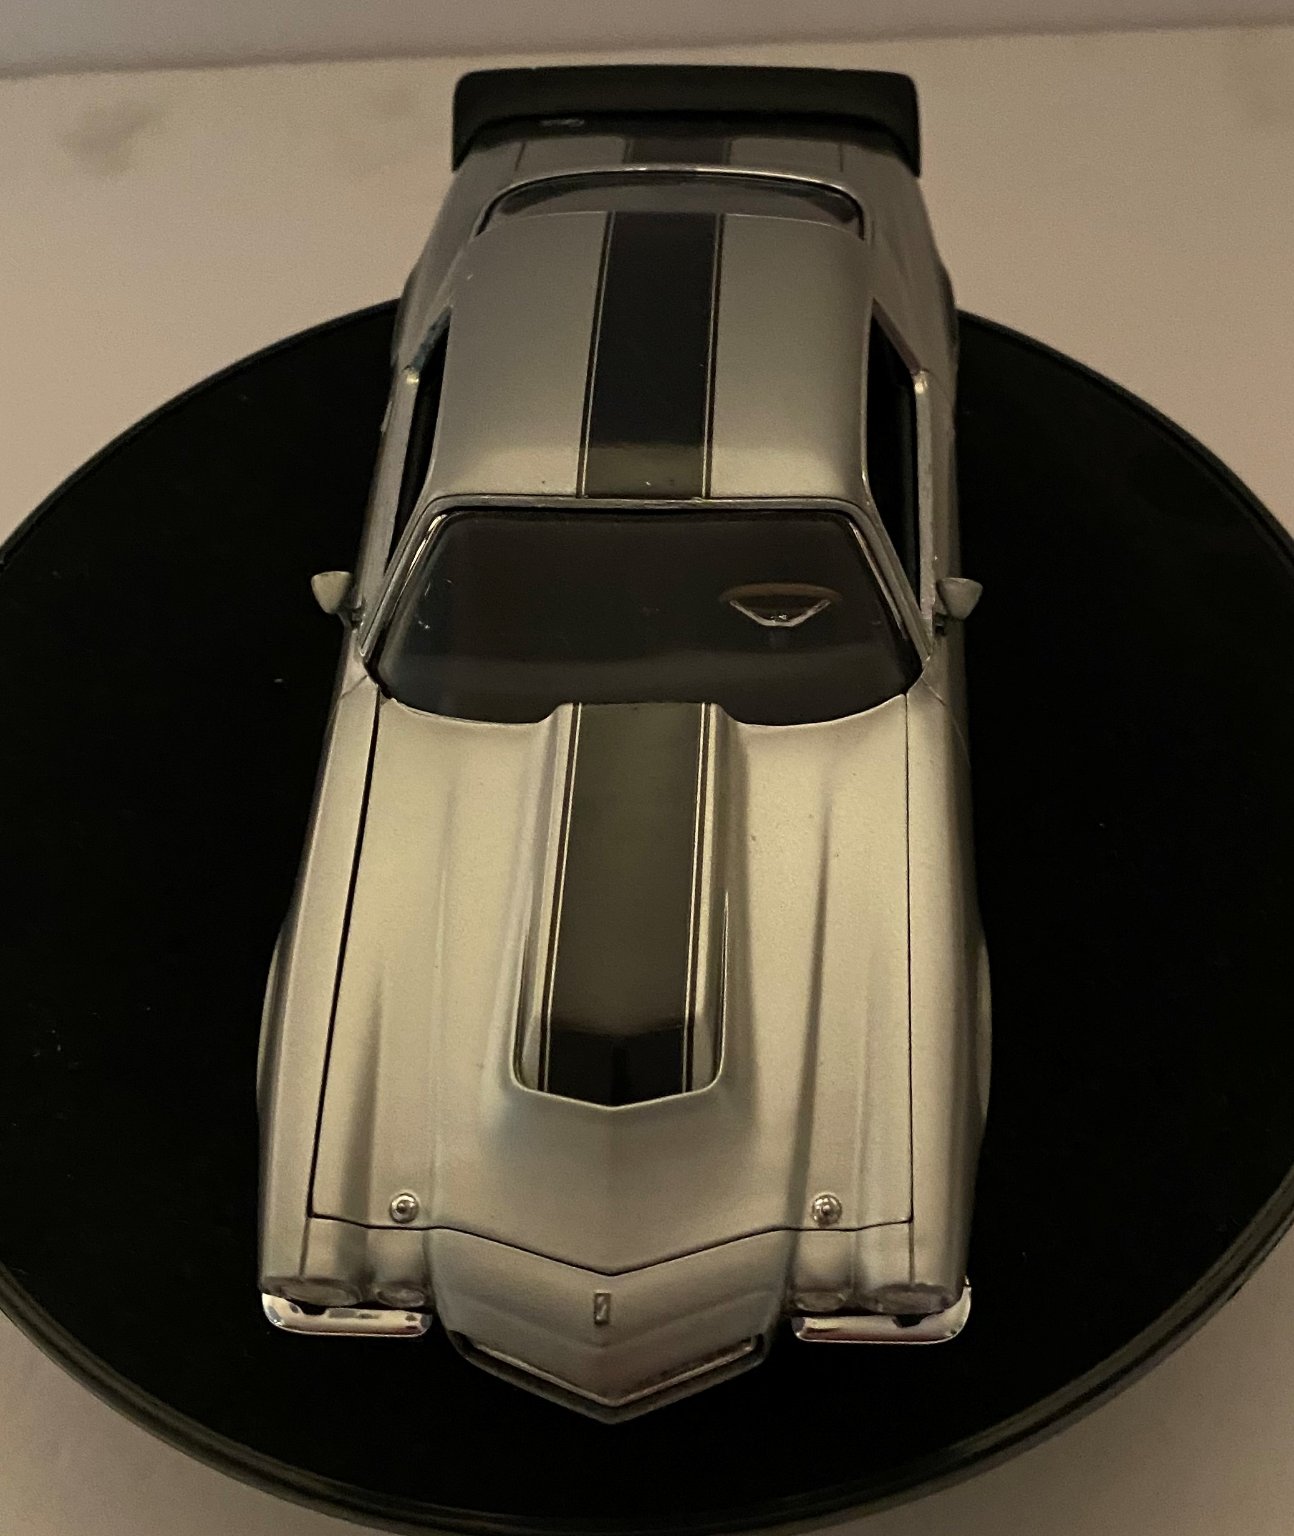
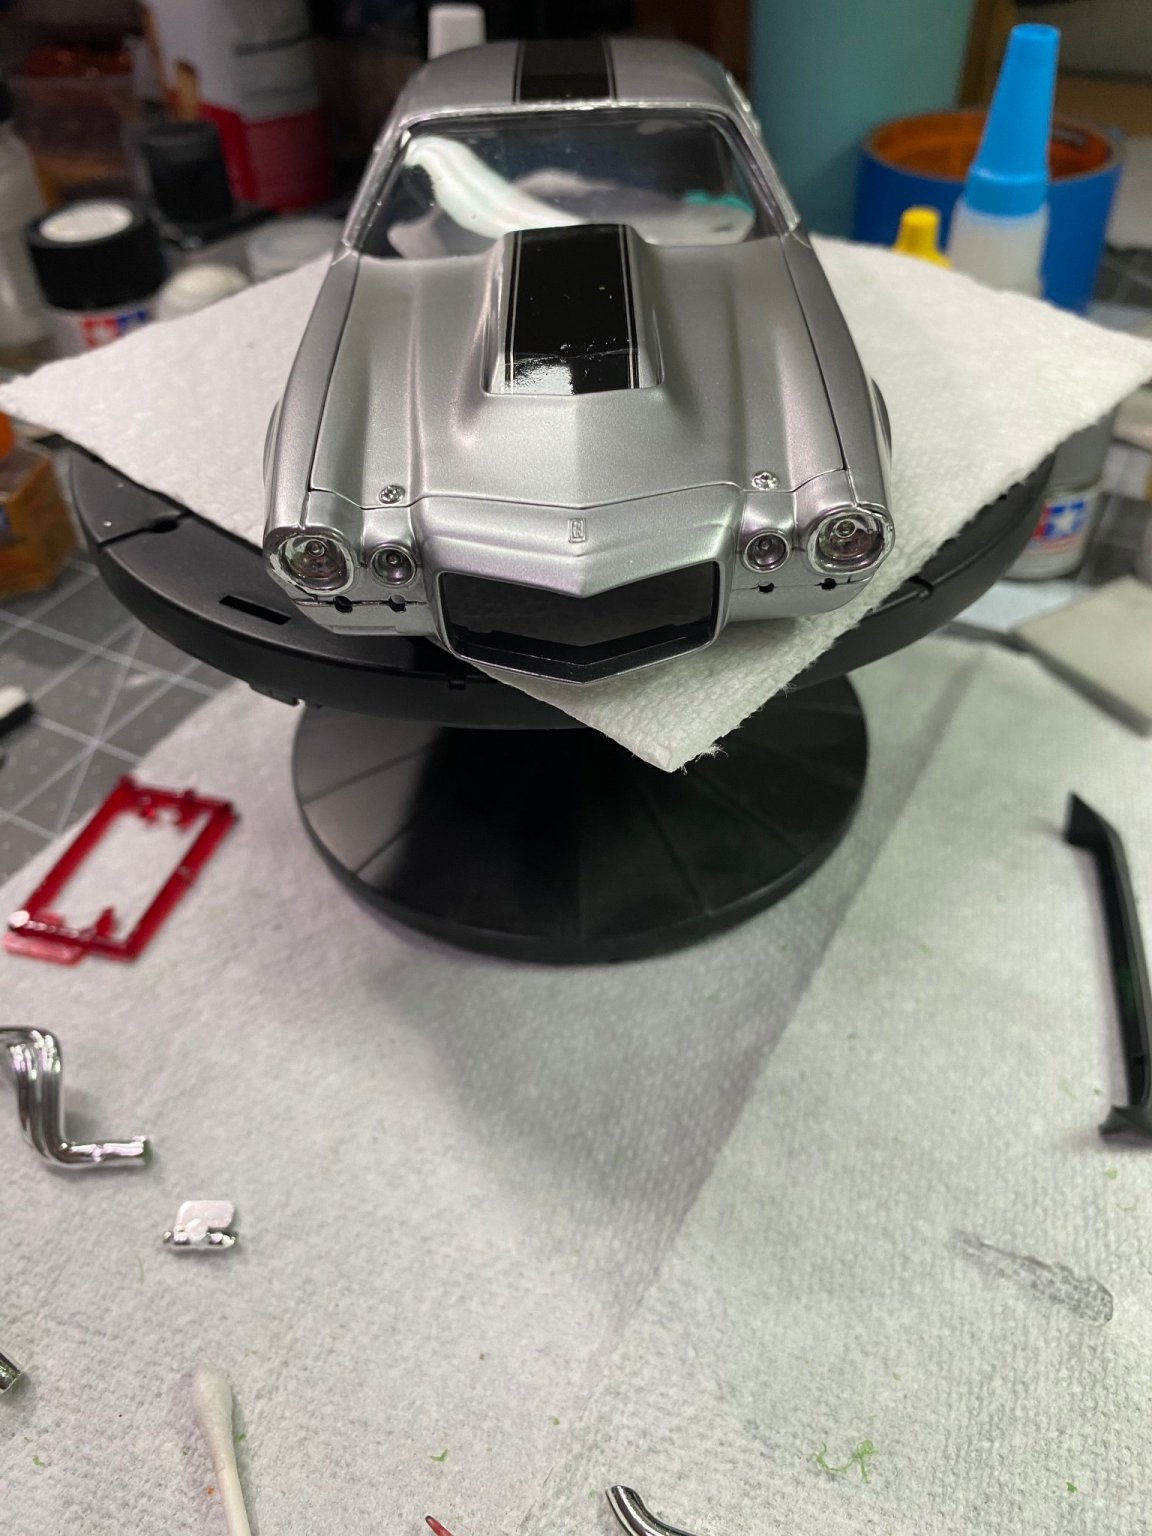
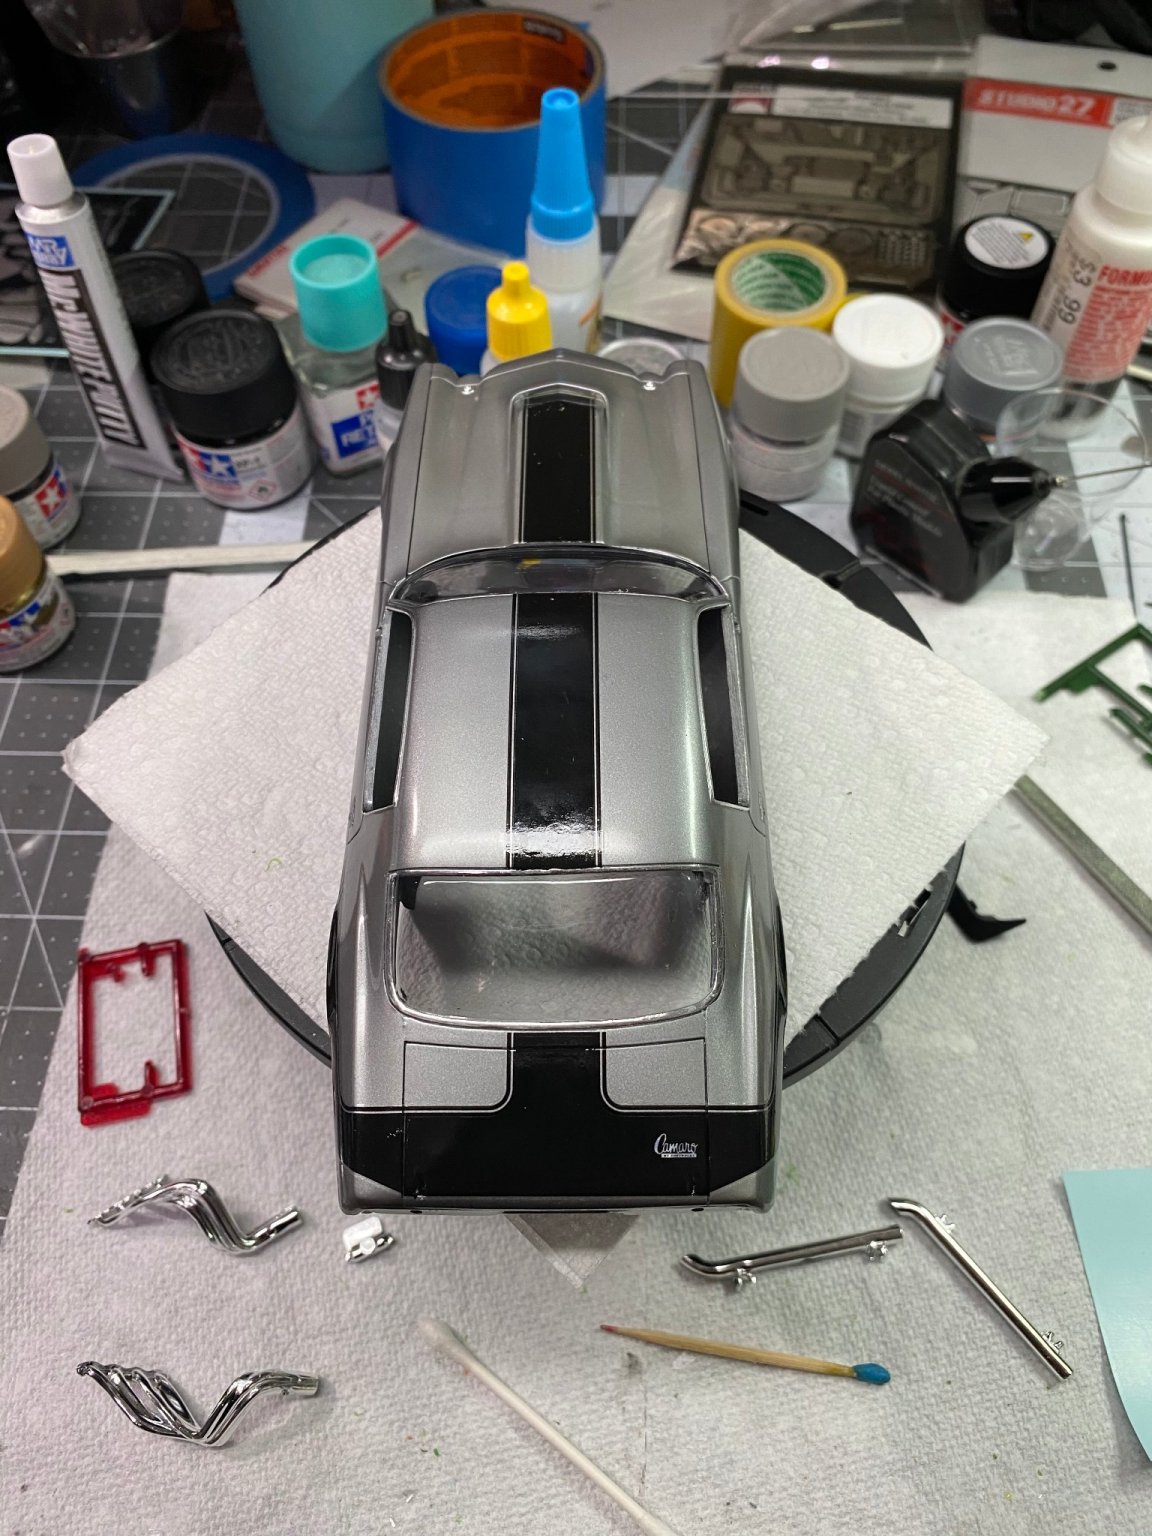
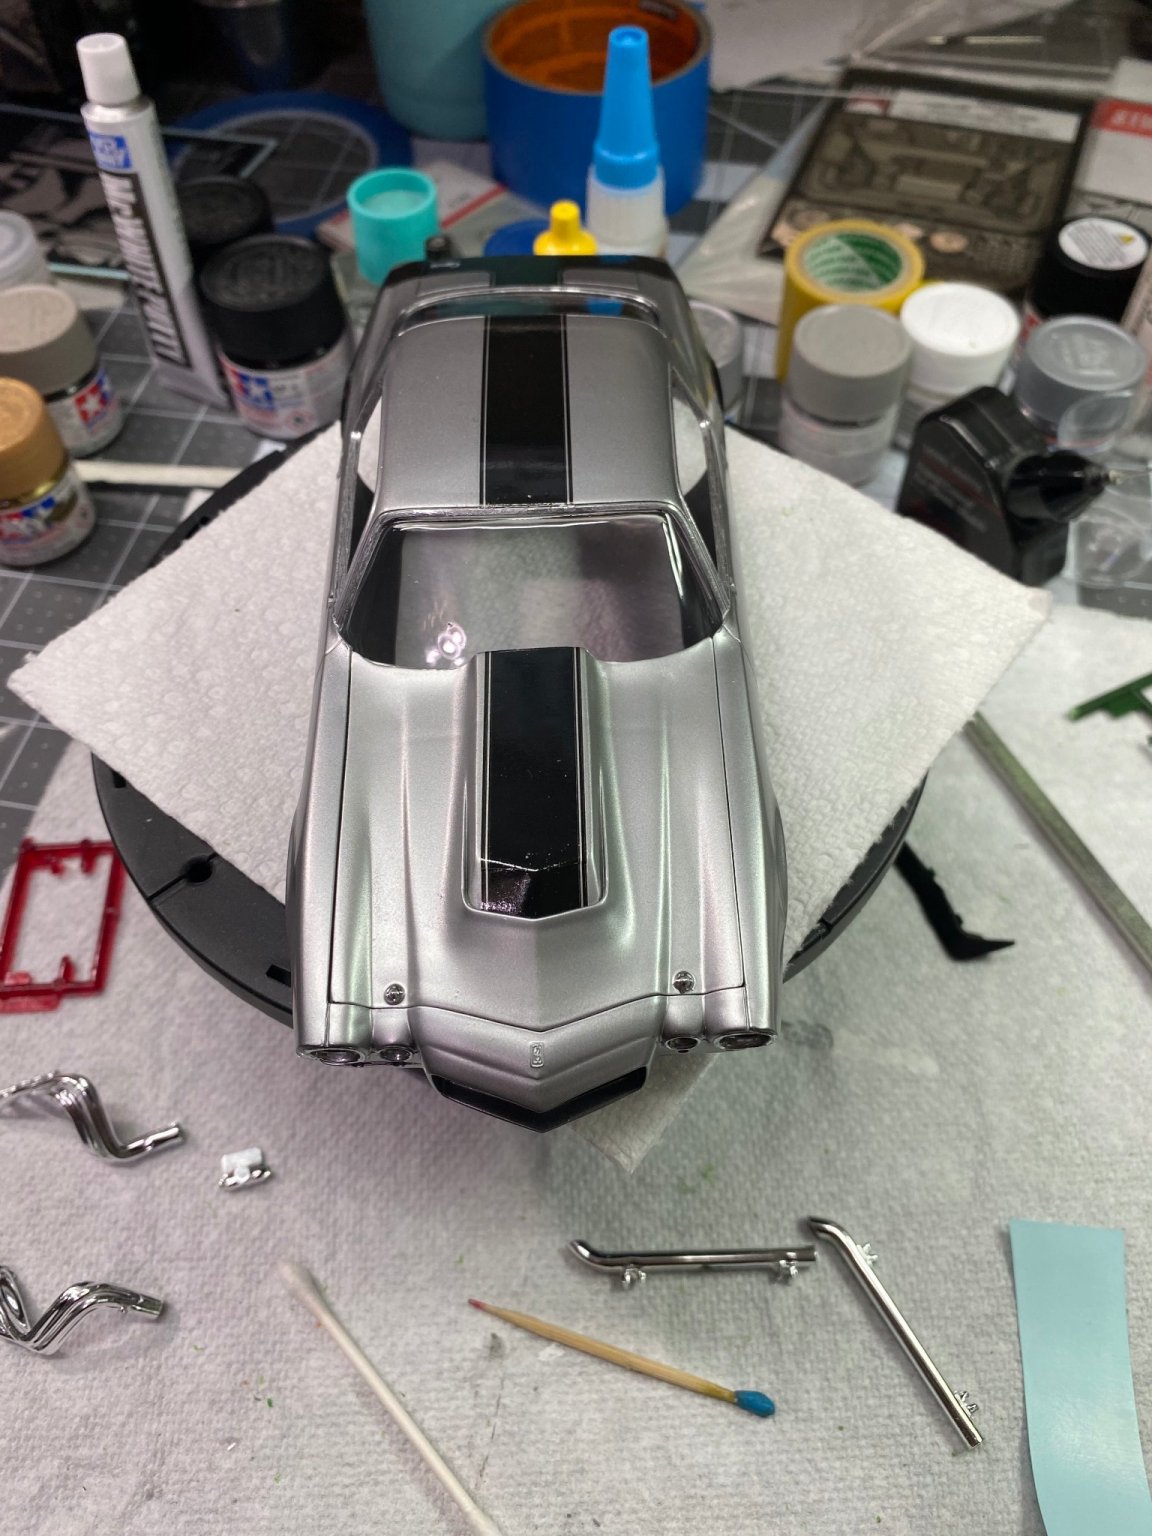
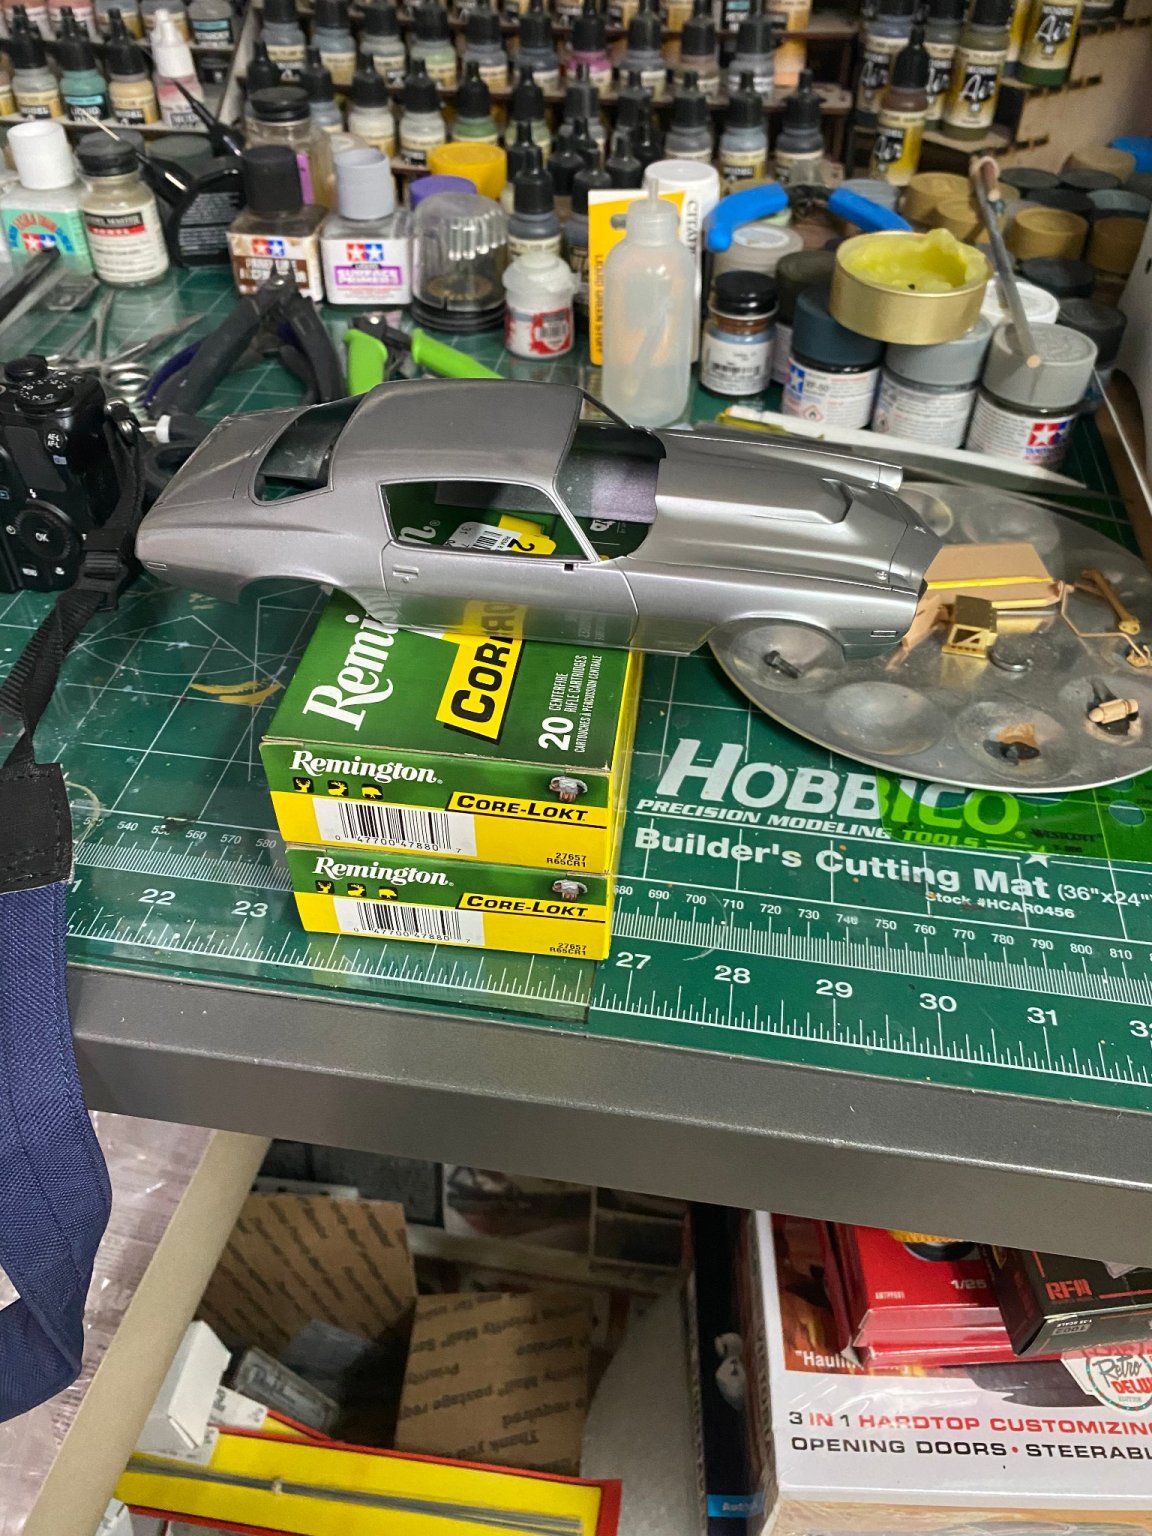
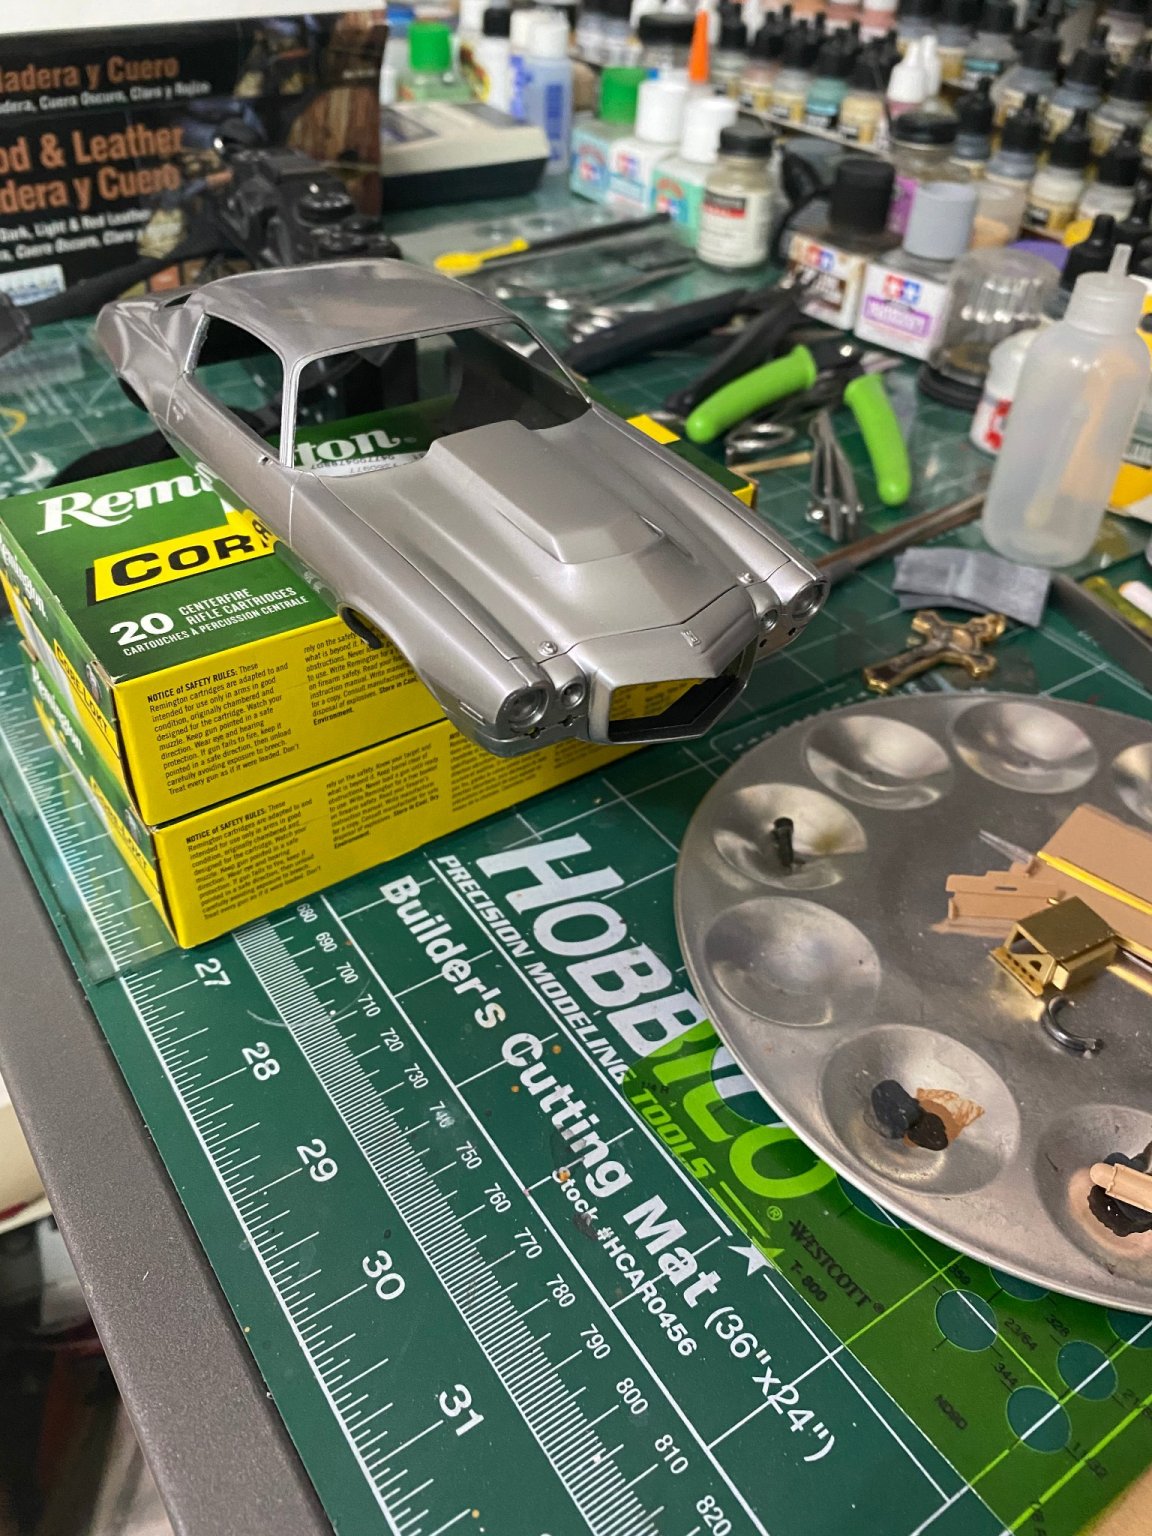
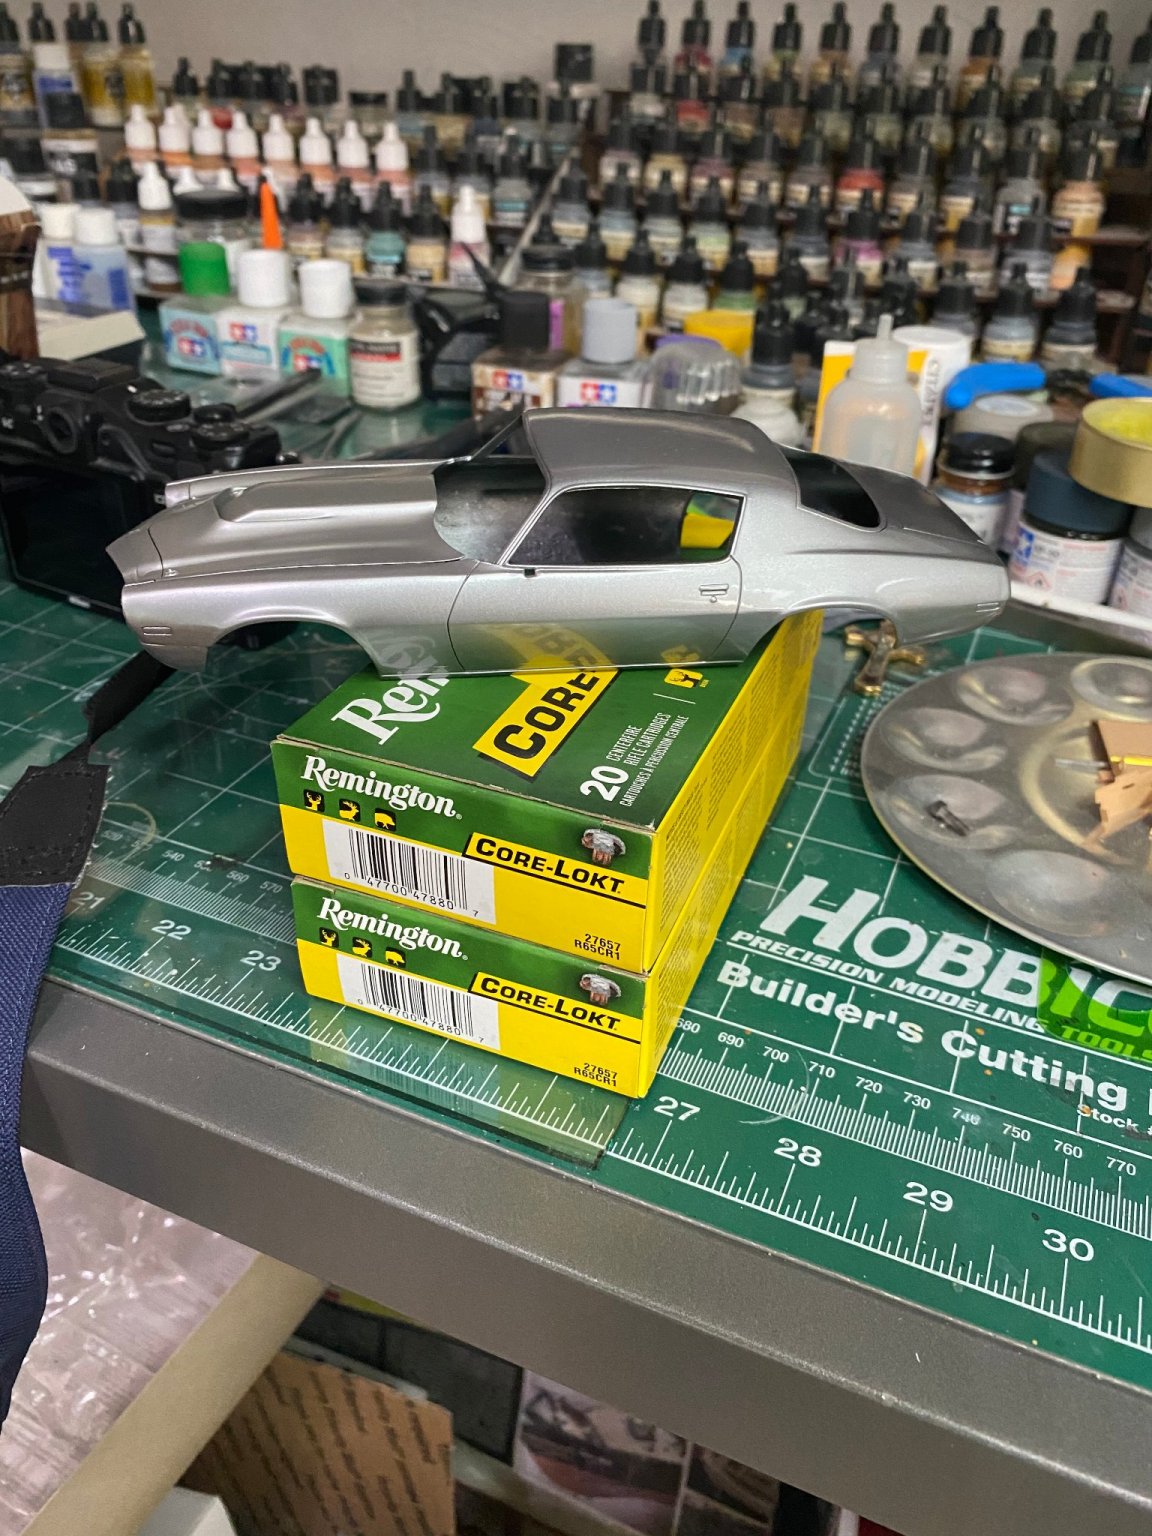
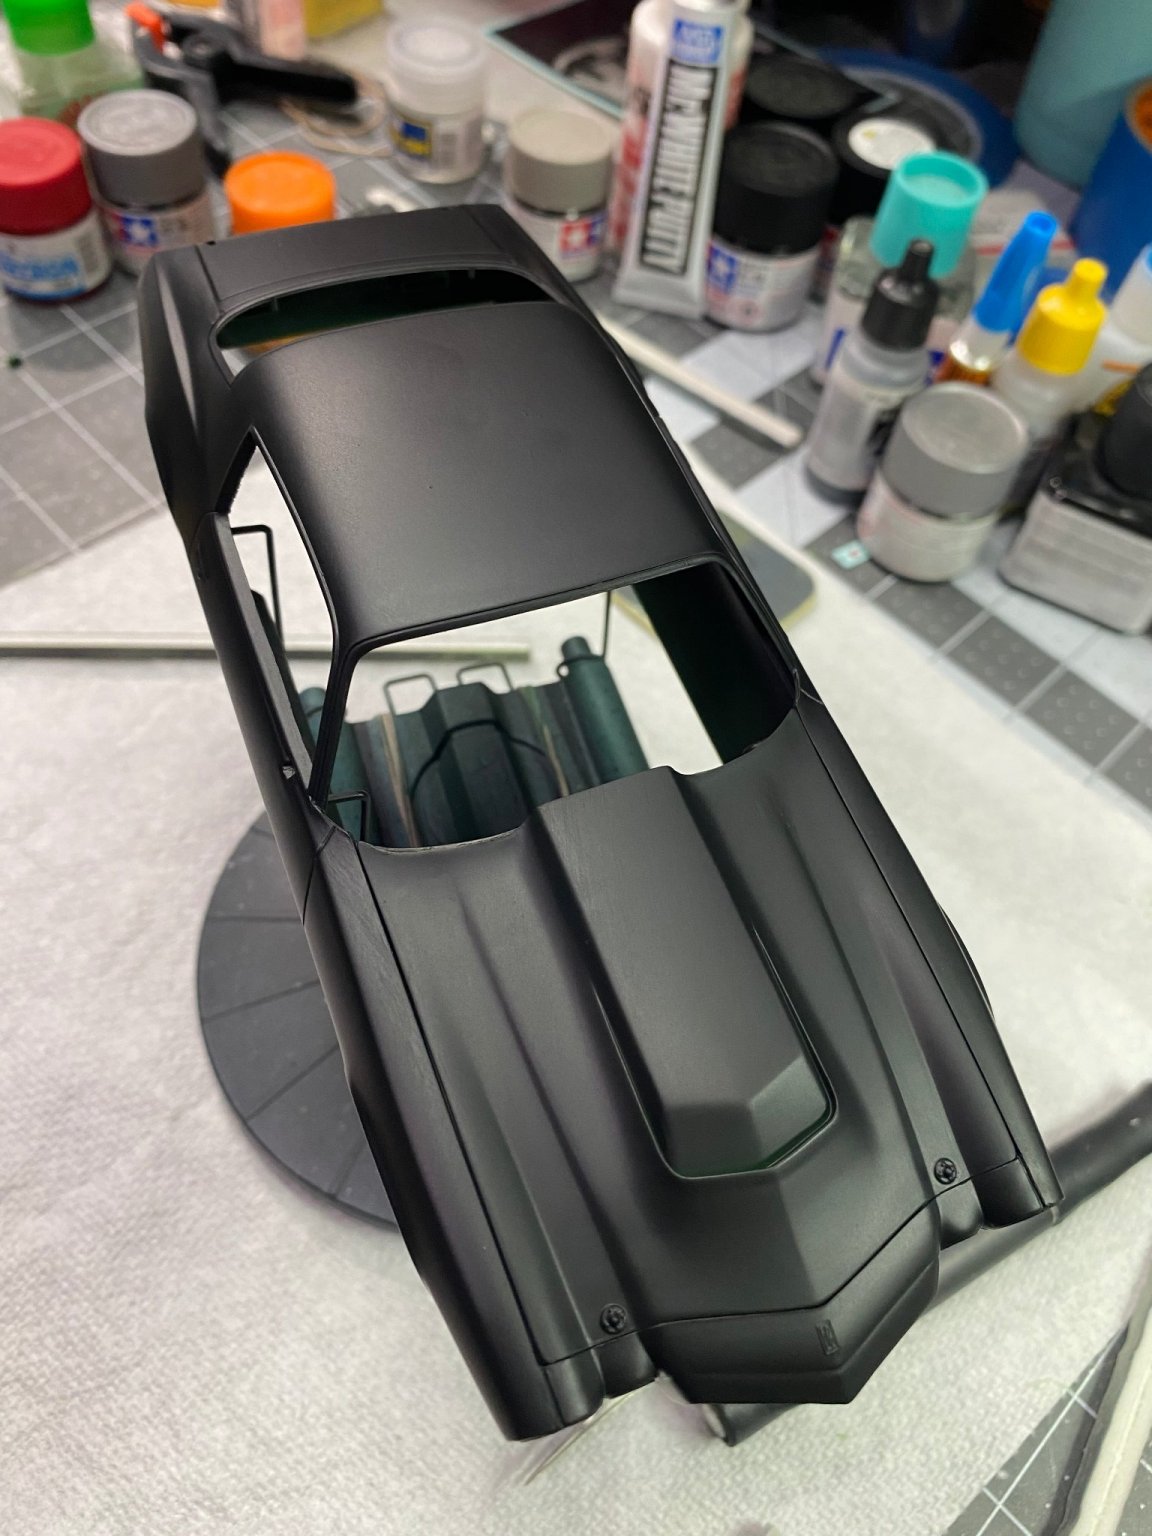
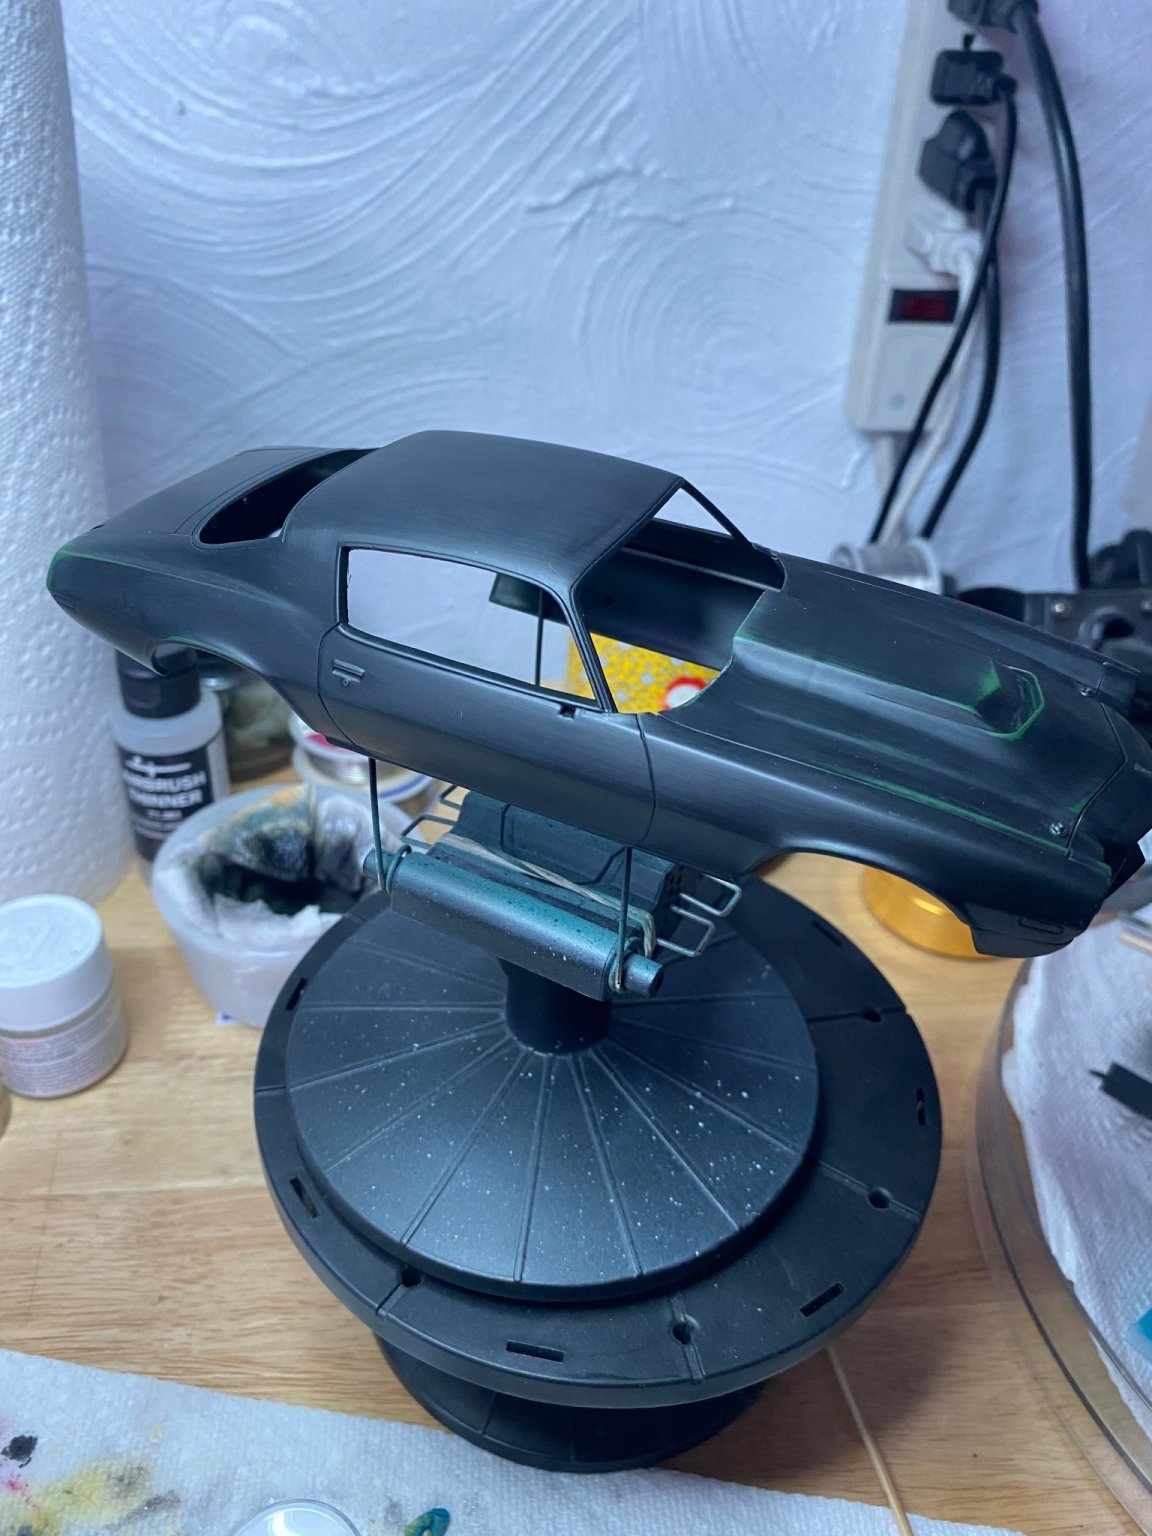
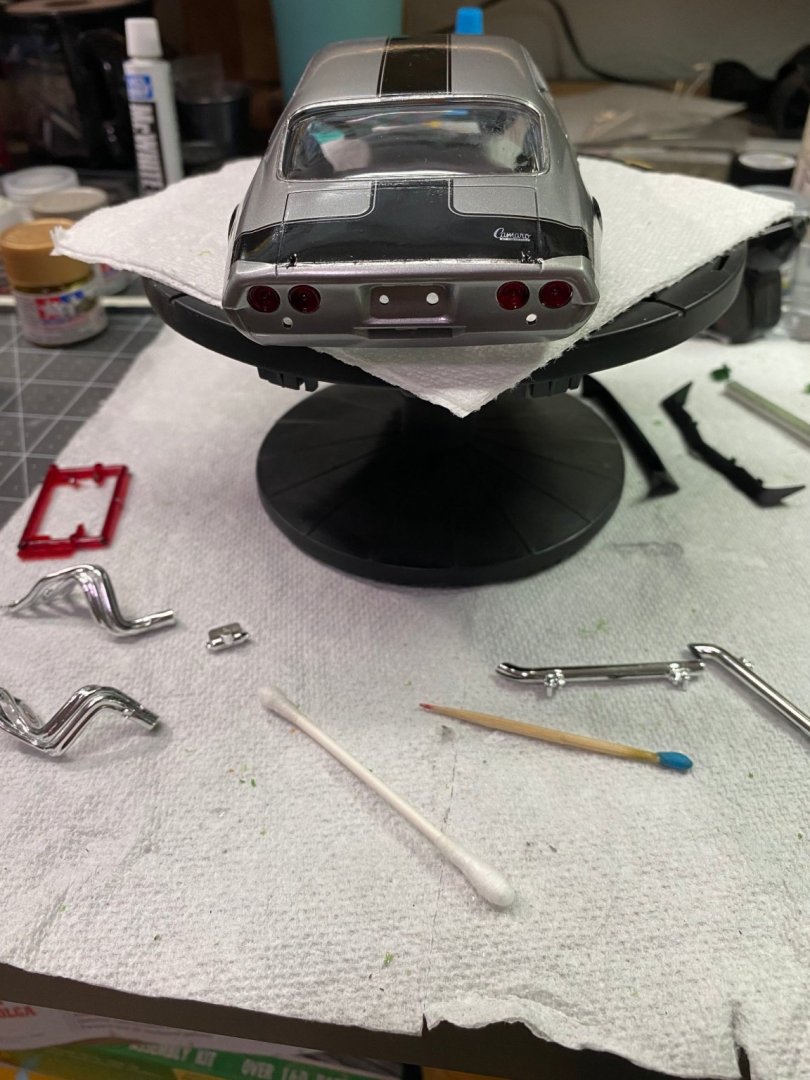
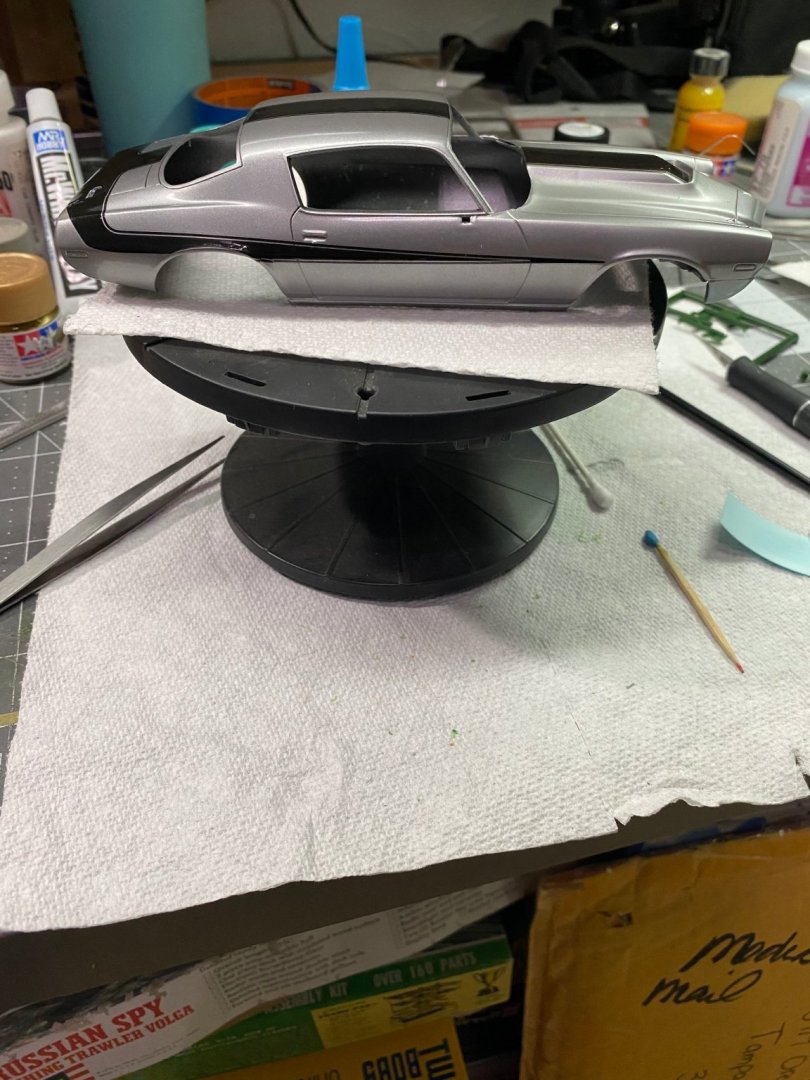
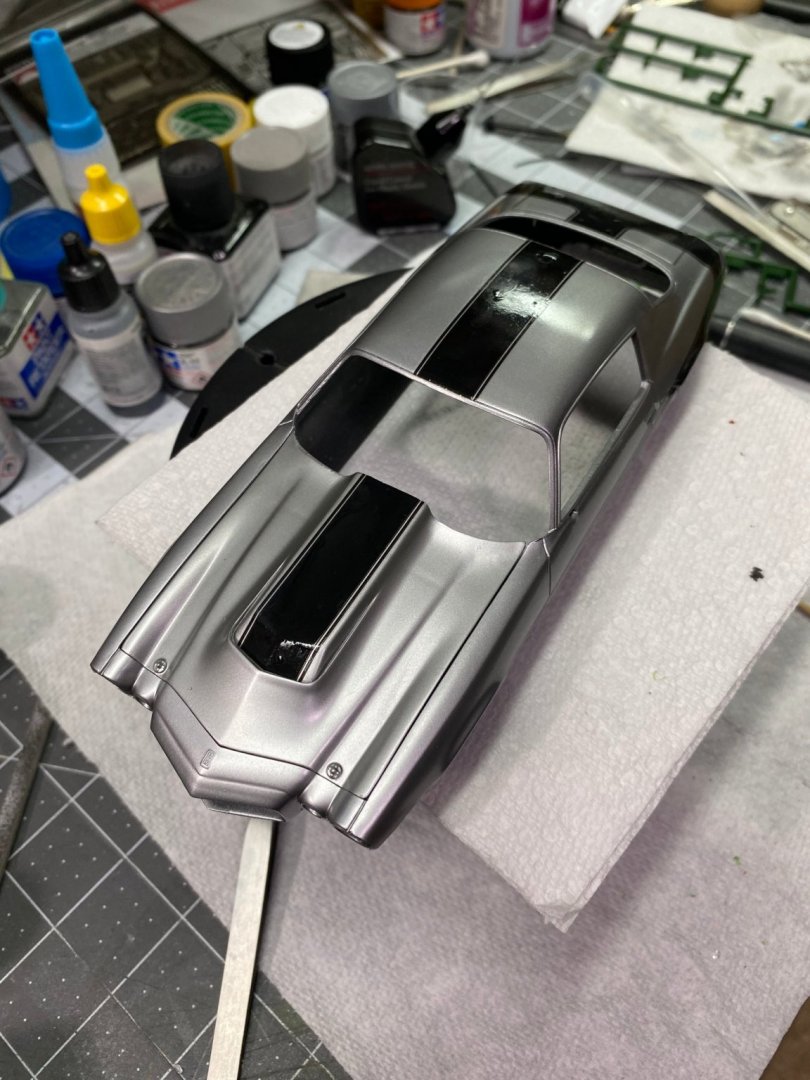
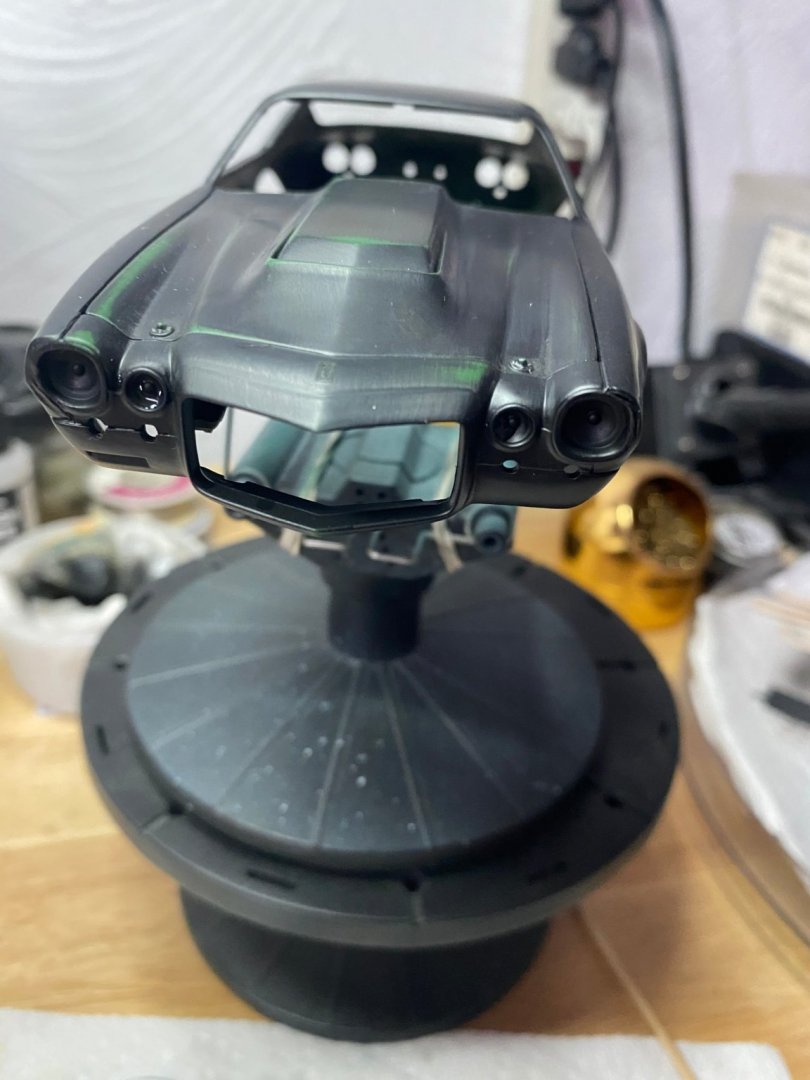
Added front and rear windscreens, tail lights, chrome trim and headlight buckets with a Molotow pen.


- 56 replies
-
- 11
-
-
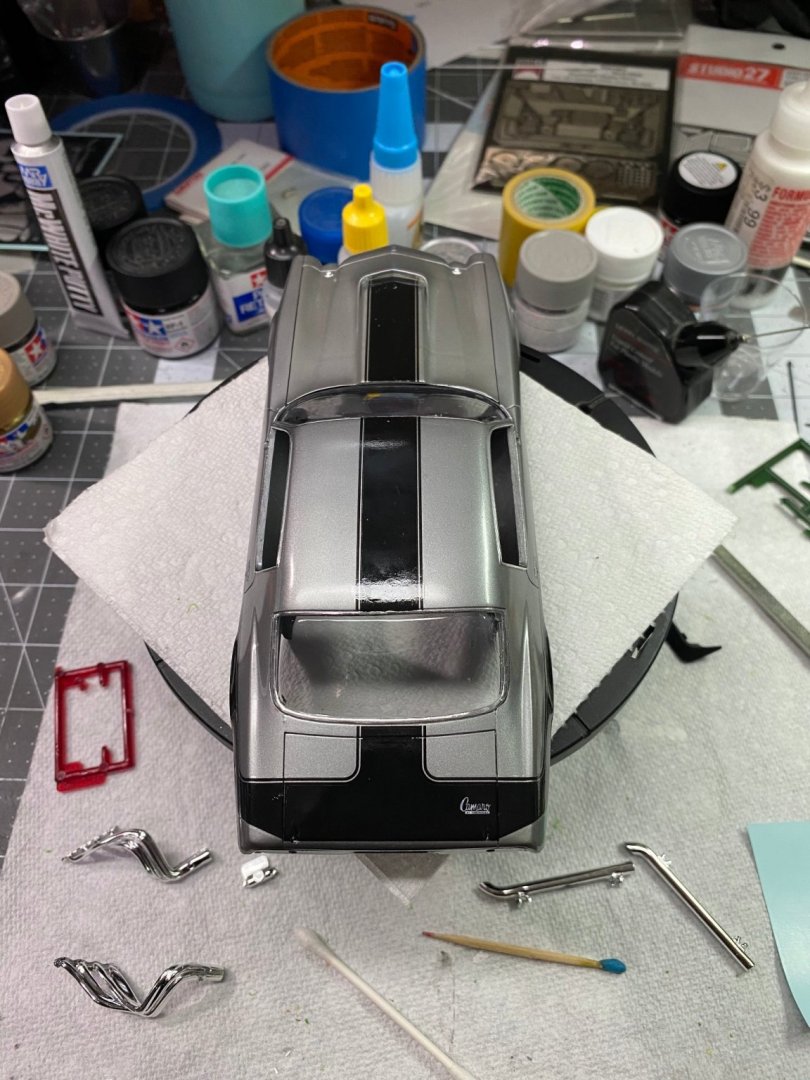
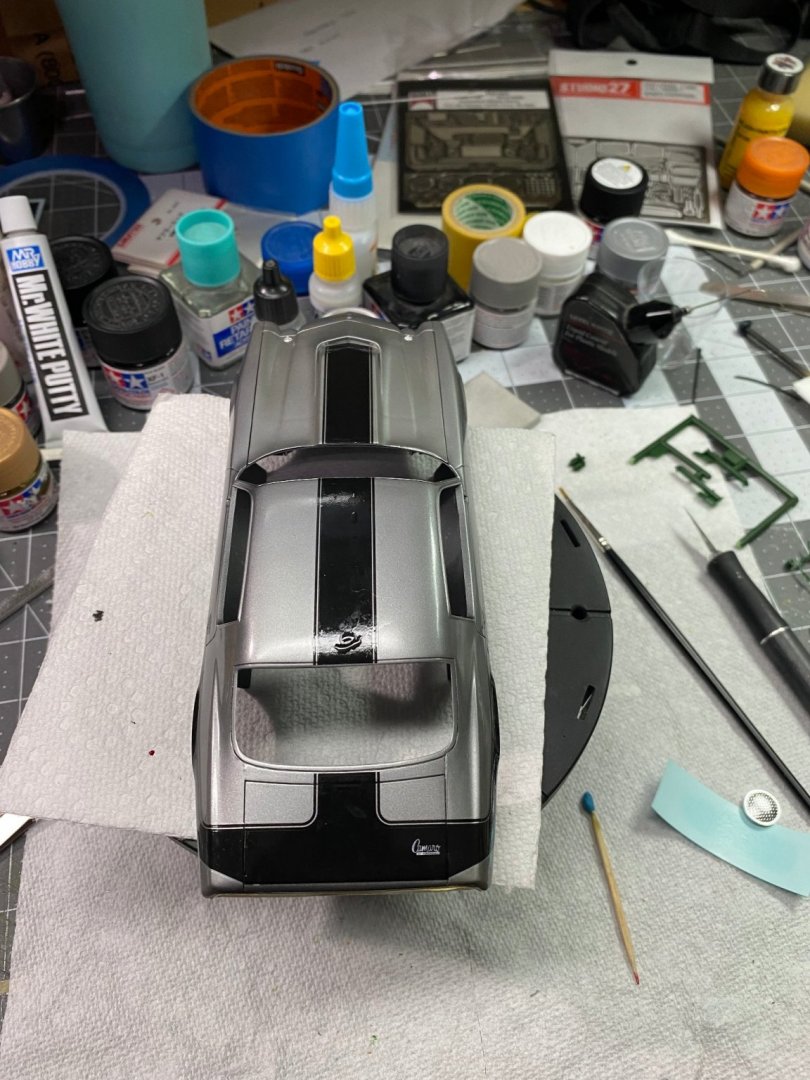
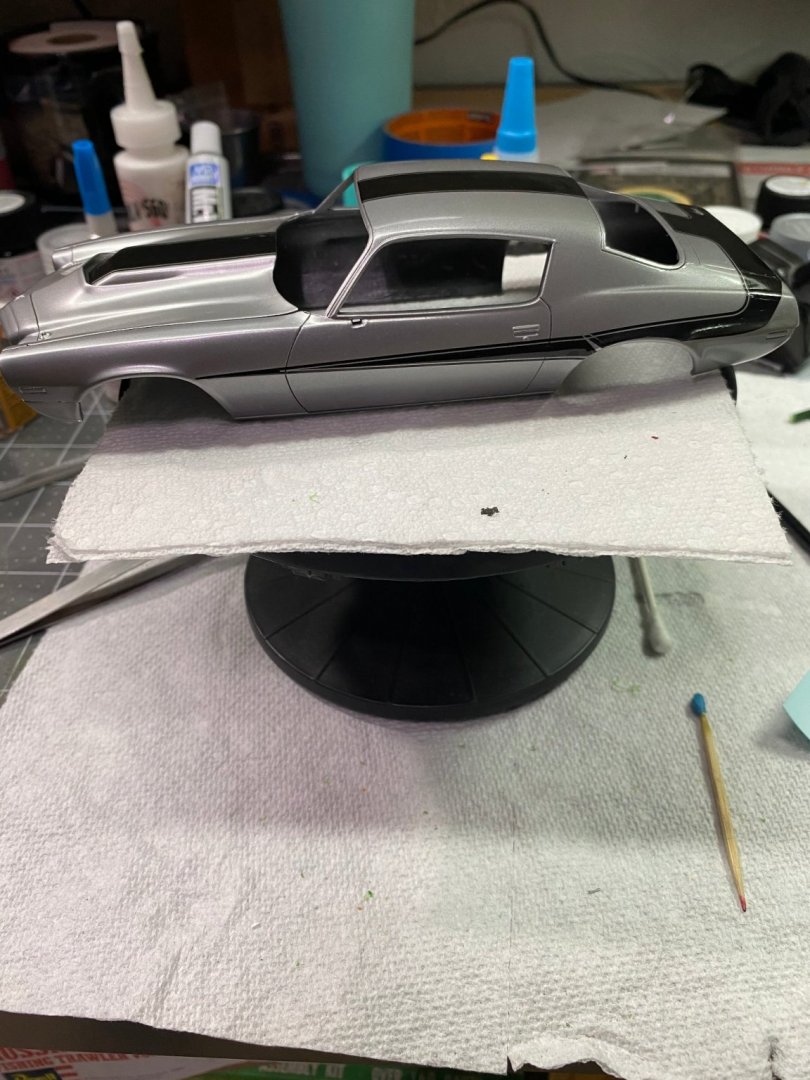
Waiting for the decal solvent to do it's thing. The decal sheet comes with the various placards and emblems to add a nice touch. Decals are not up to Tamiya quality, but for the small cost of kits like this, they are not too bad. Although the long accent stripes down both sides of the car split in multiple pieces before I even tried to slide them from the backing paper. Will have to touch up a few places with black paint but that won't be hard to do.
- 56 replies
-
- 12
-
-
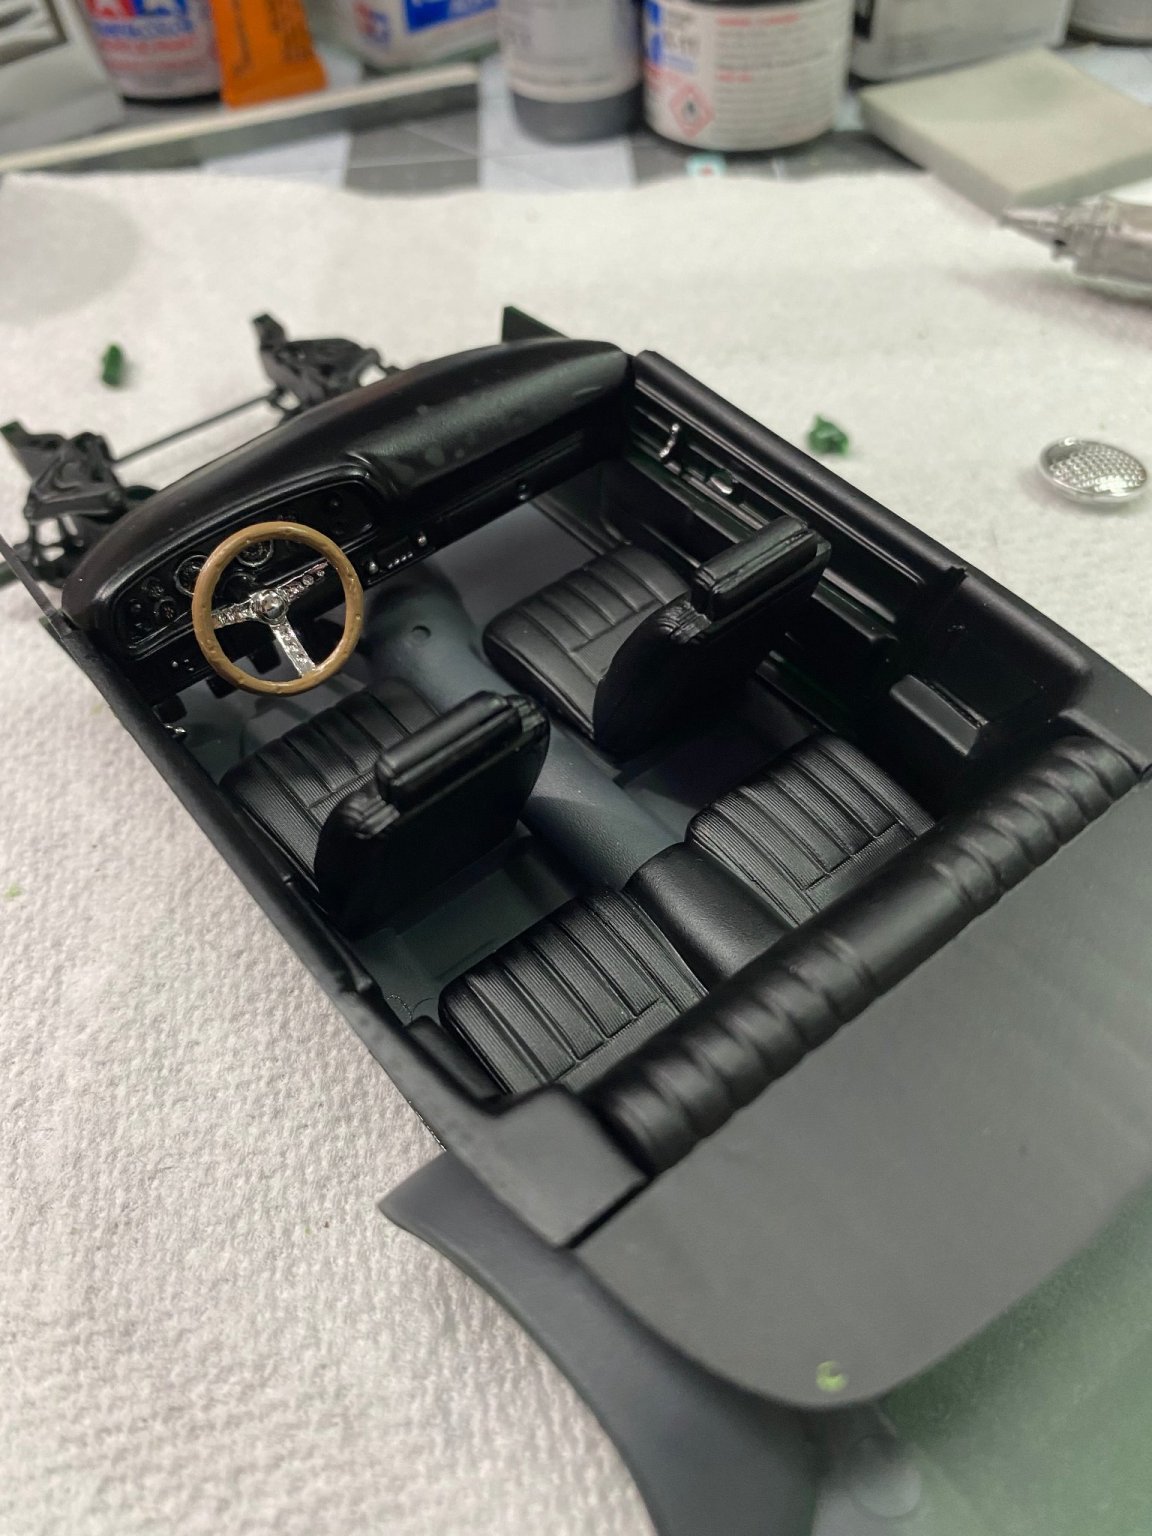
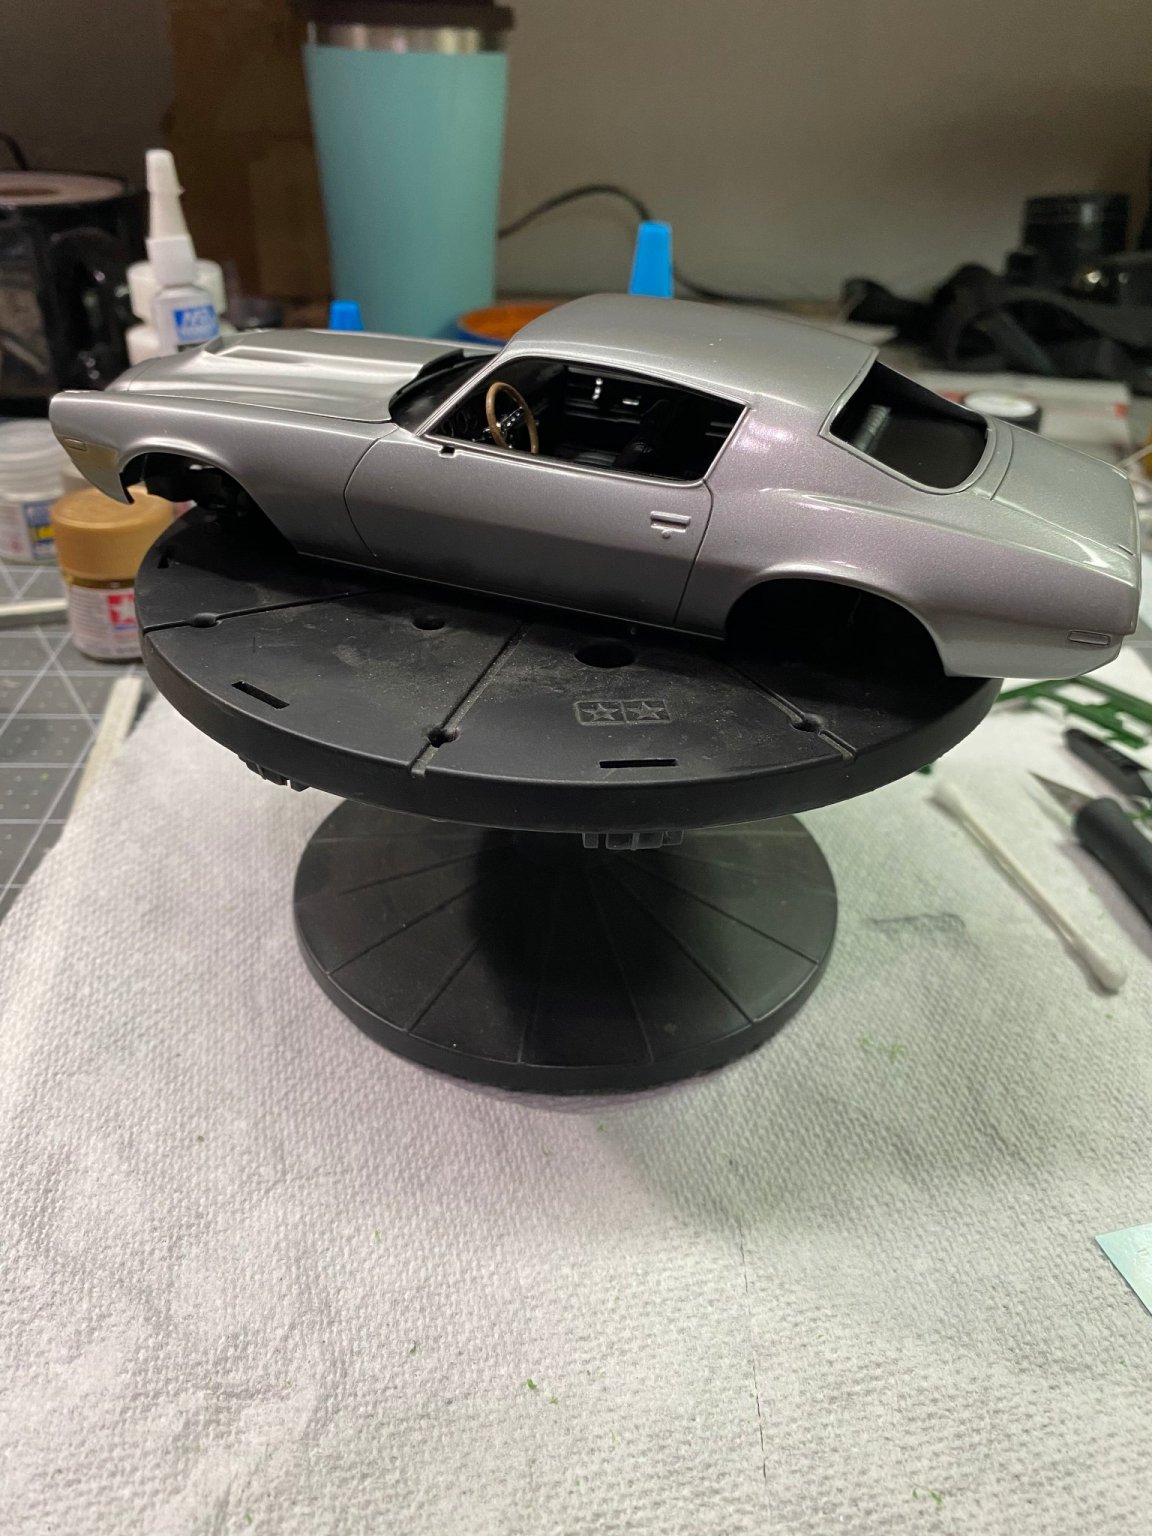
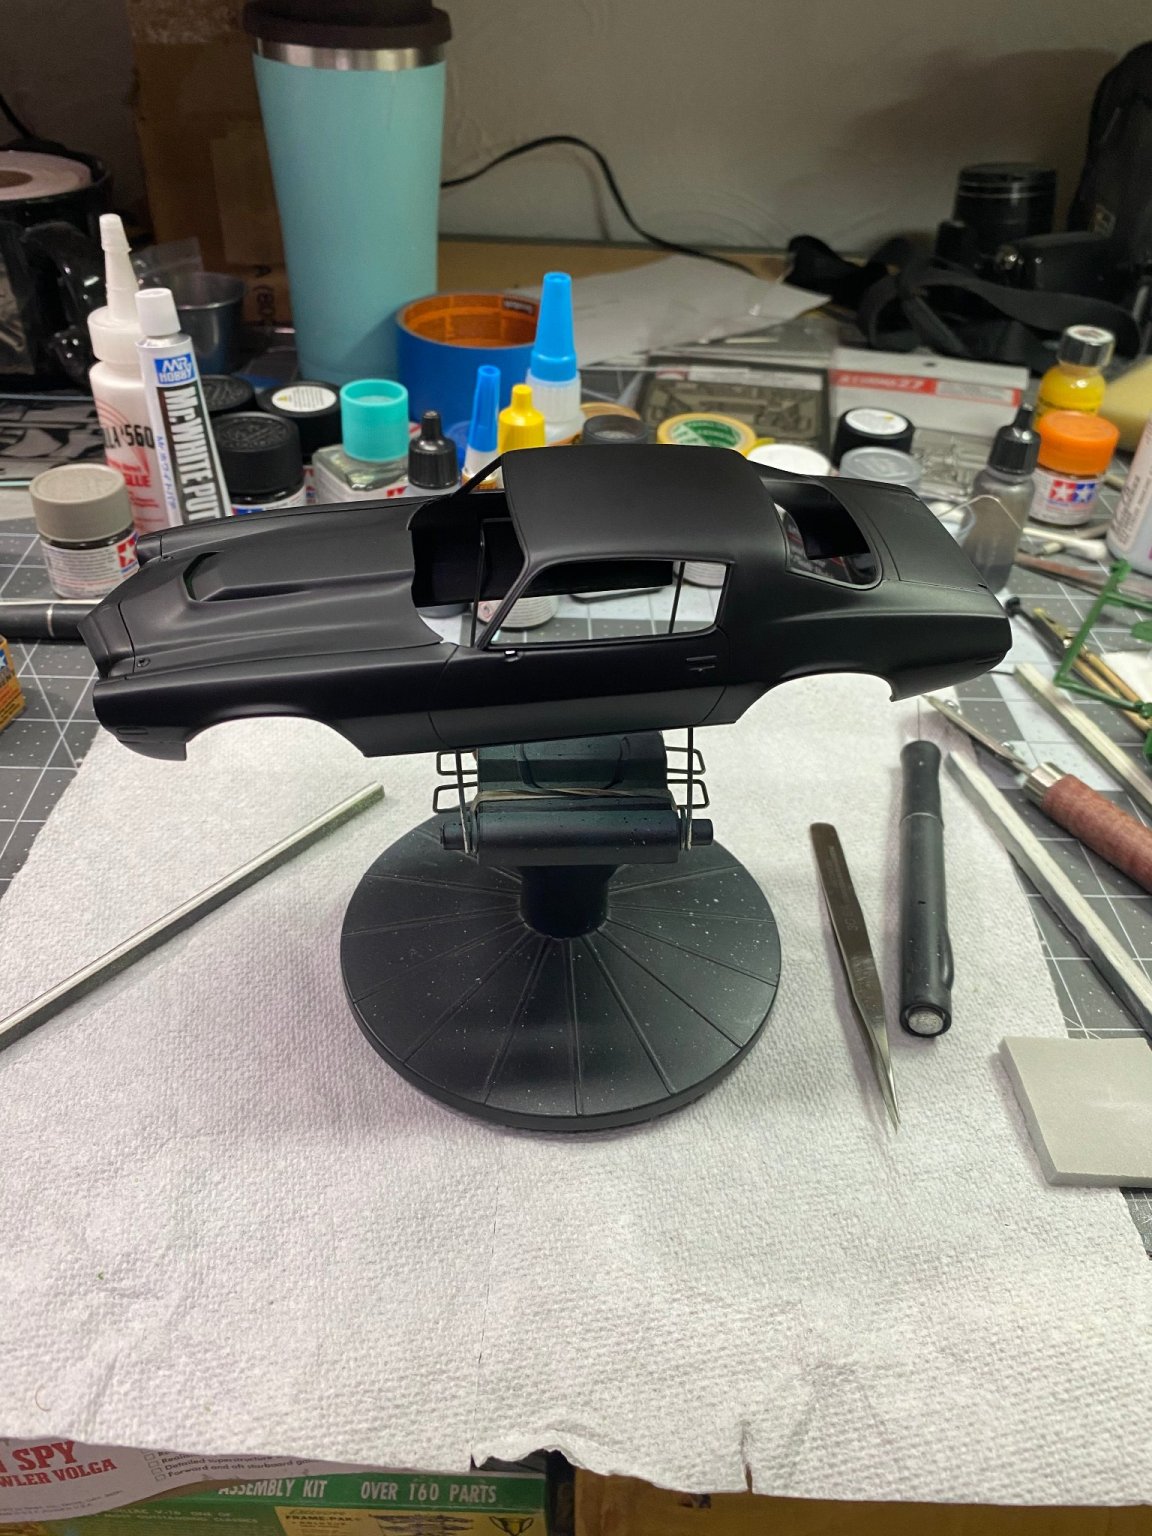
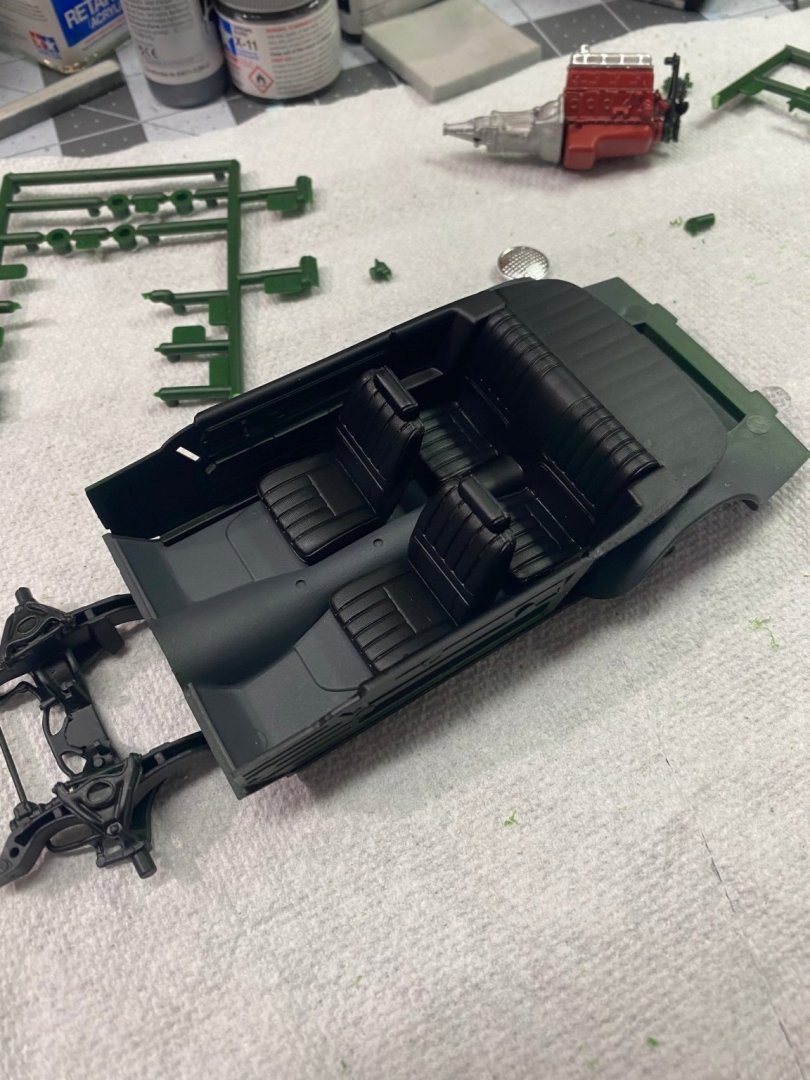
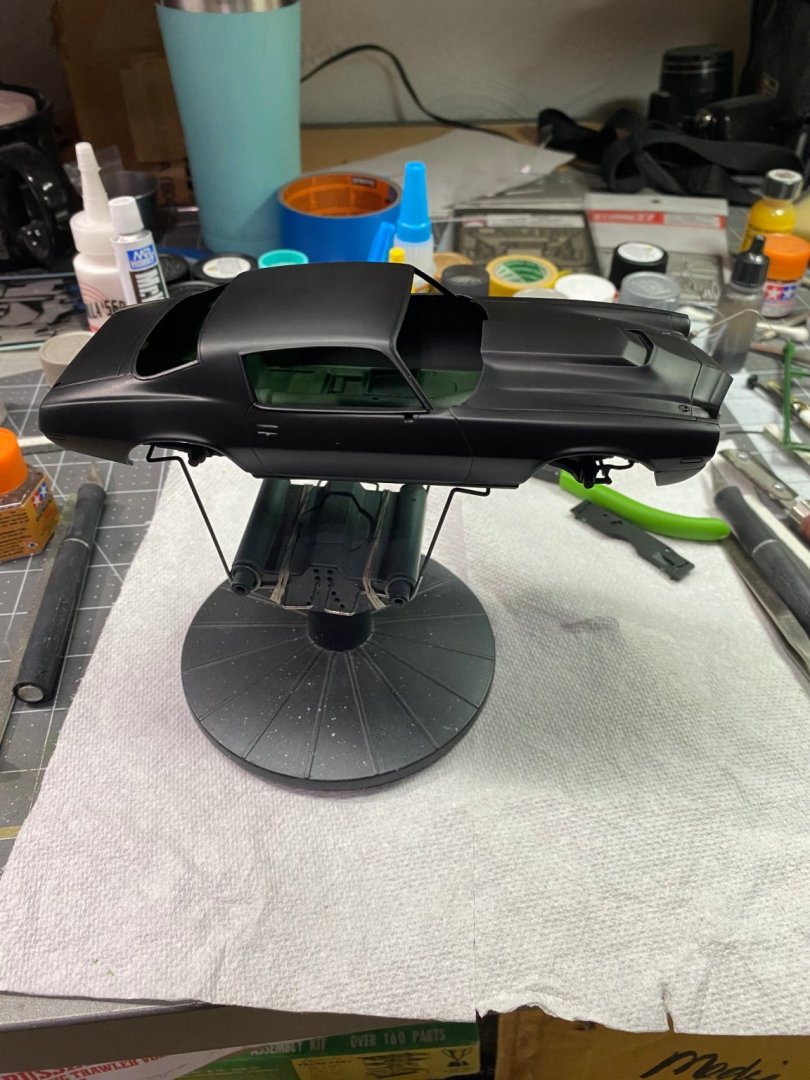
Clear coats have been applied over the silver. Black accents to be applied next. Got started on the interior tub. More to come.


- 56 replies
-
- 10
-
-
😀 The frying pan is the definitive NO.
-
I wish that was always true, but thank you for the kind thoughts.
-
Enzo Ferrari by CDW - FINISHED - Tamiya 1:24 Scale
CDW replied to CDW's topic in Non-ship/categorised builds
I am very familiar with hurricanes, gators, and sinkholes. Learned to live with that from five generations of grandparents who came before me. Earthquakes, wild fires, and landslides, not so much. 🙂 -
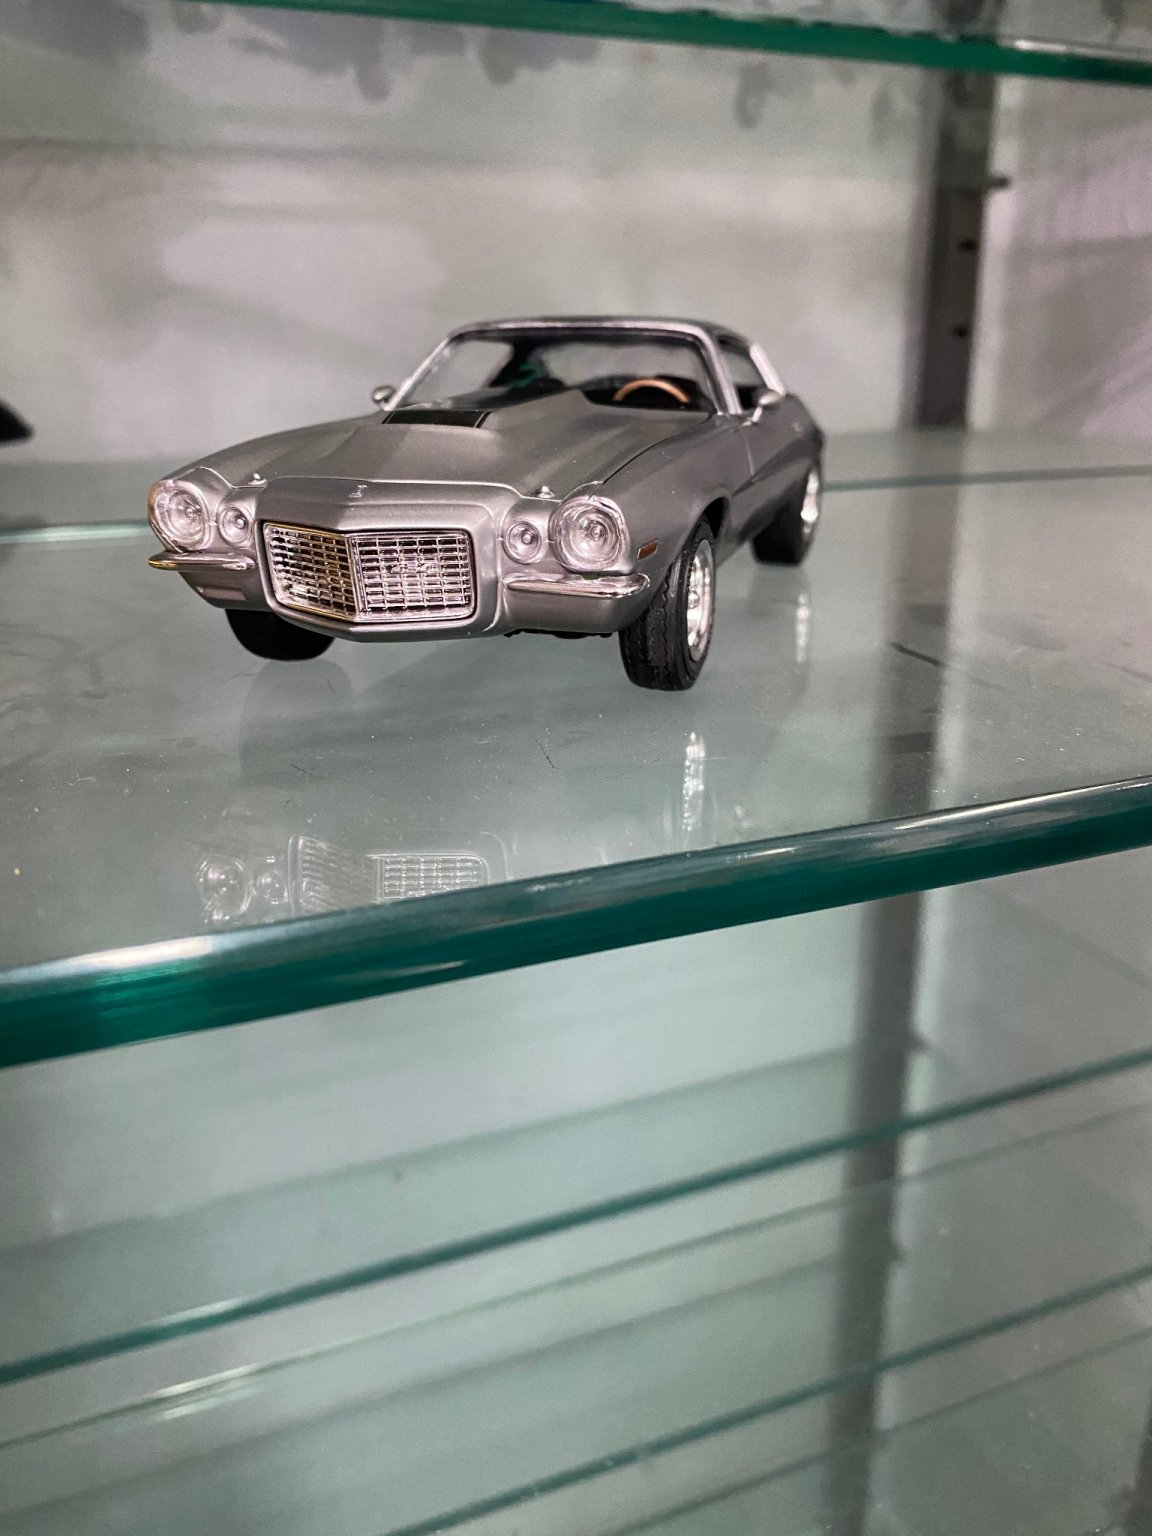
I owned a '69 Chevelle that was painted in the same shade of silver.
-
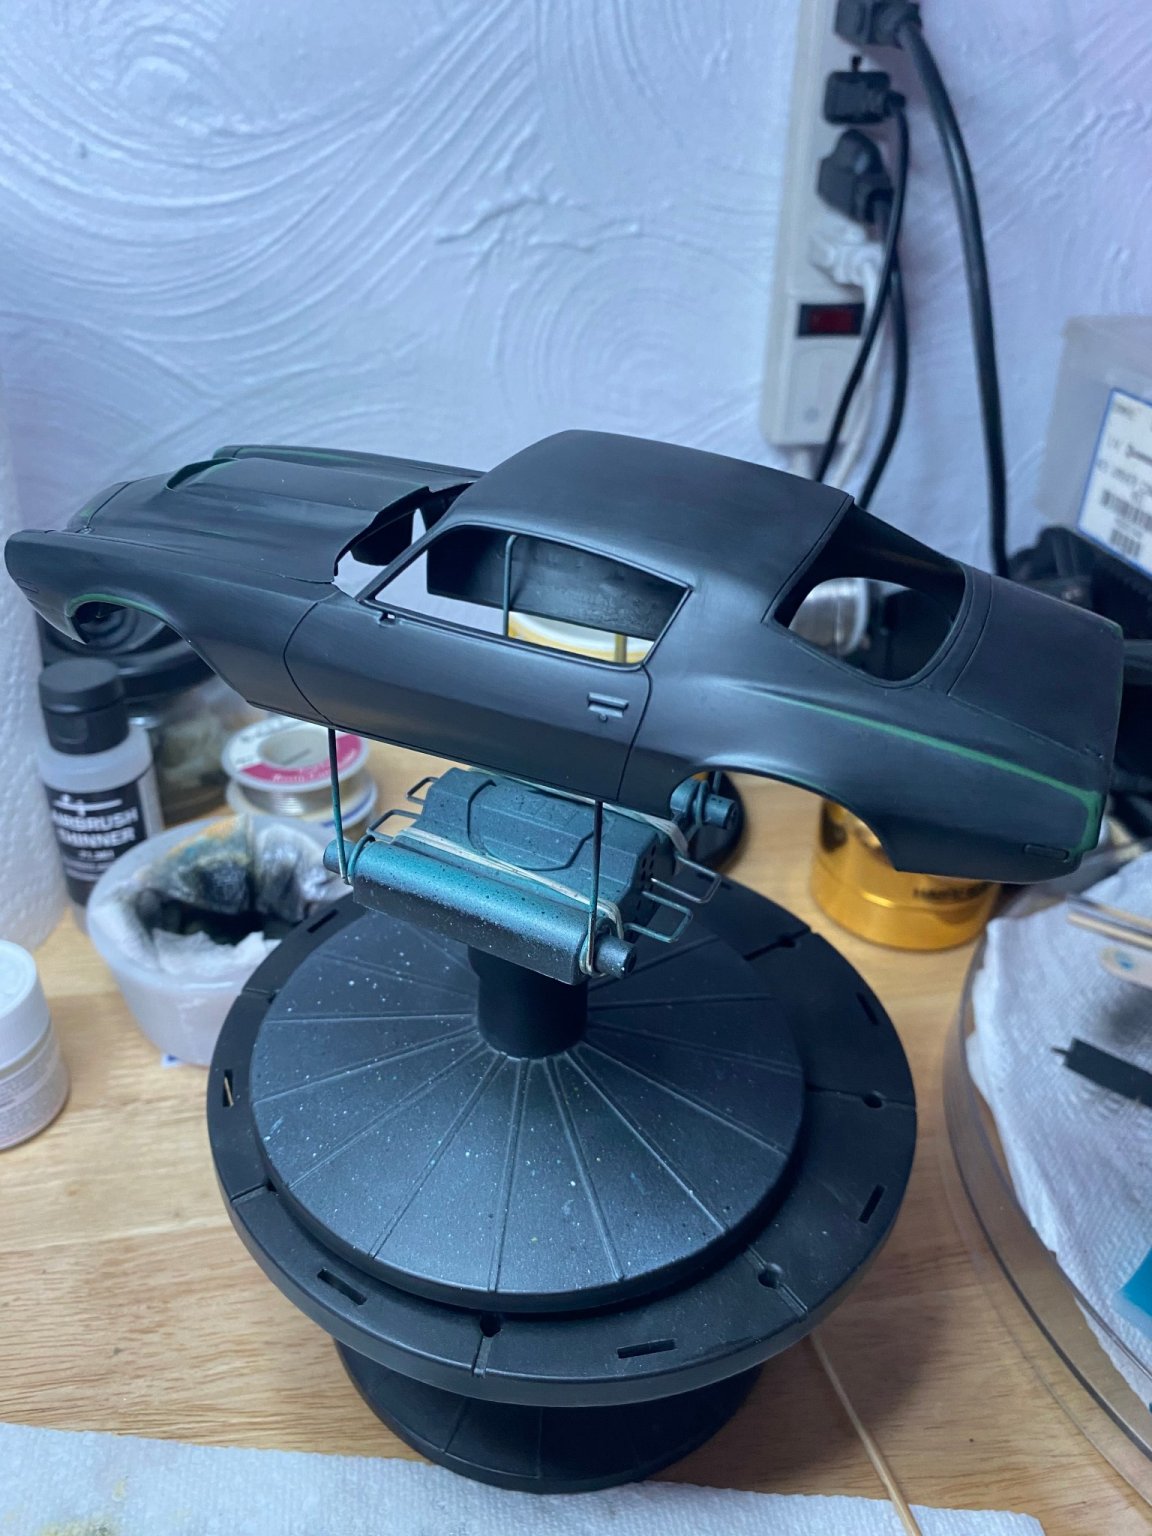
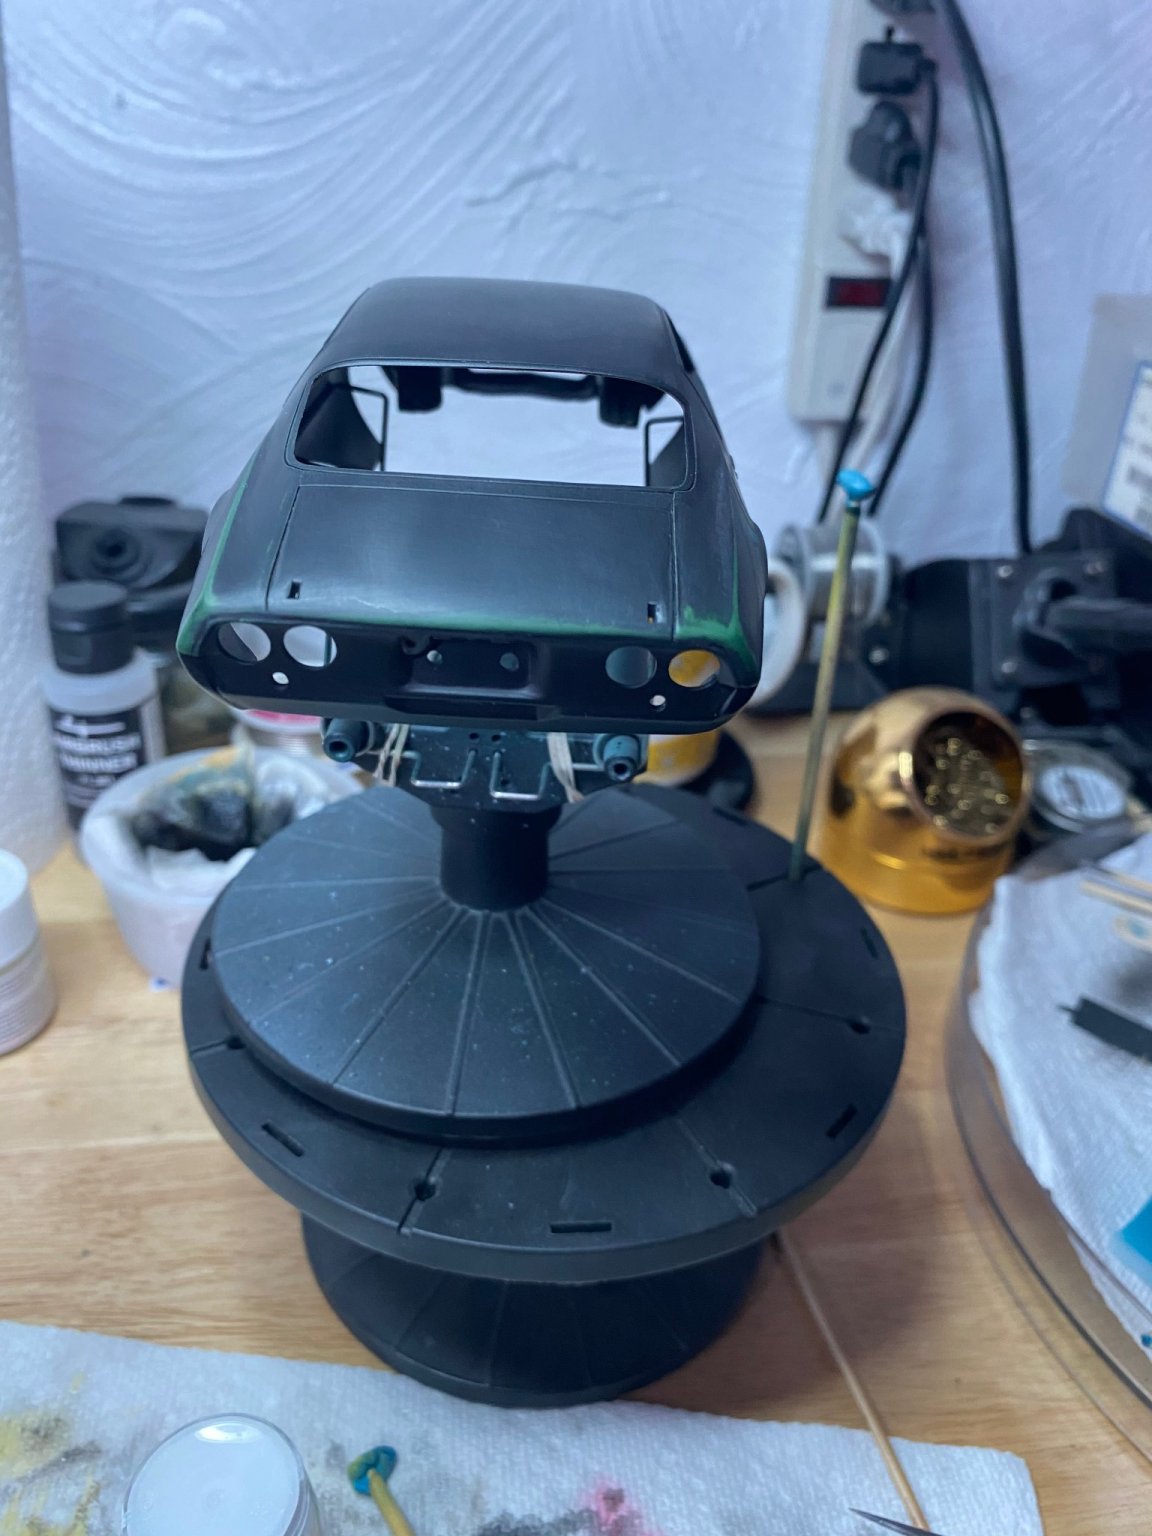
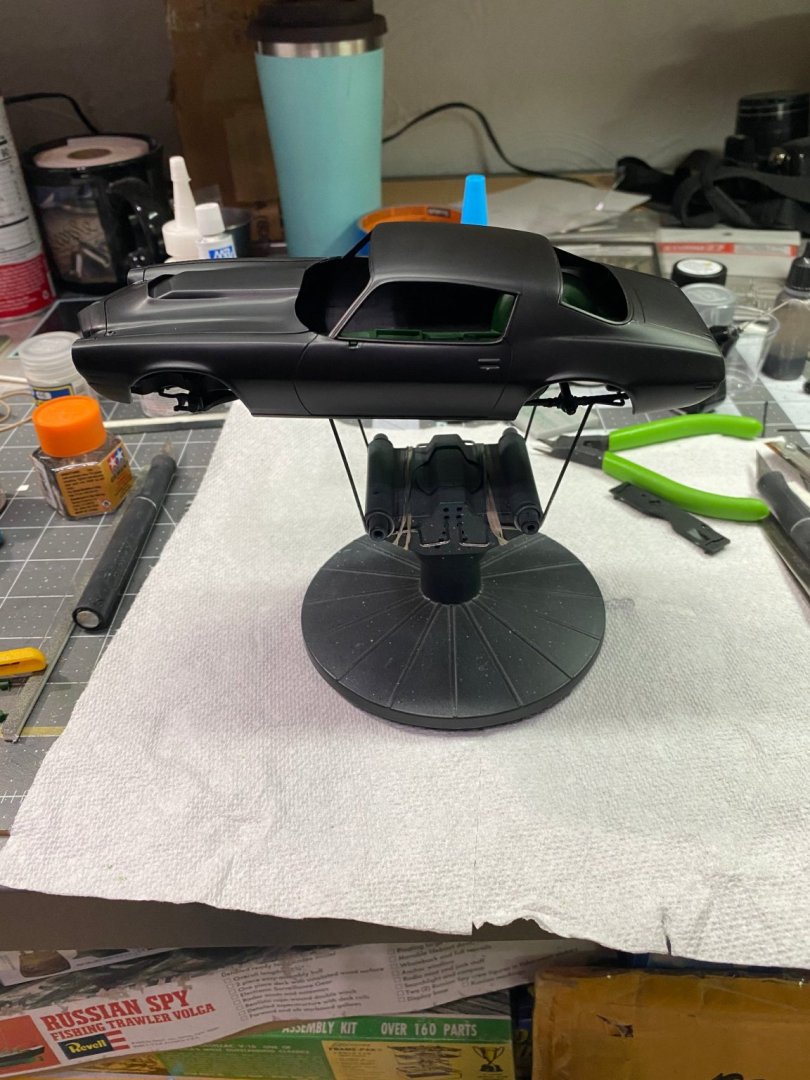
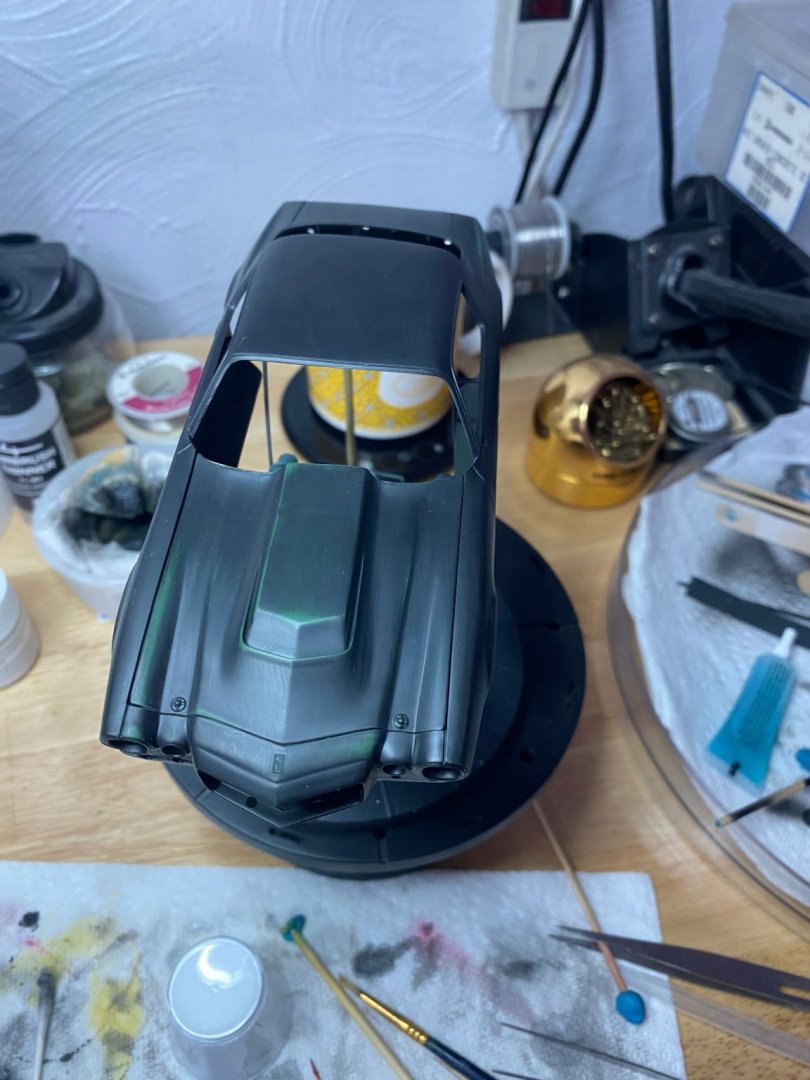
Now you know why I primered it in black, but I thought you would have picked that up earlier. Black is the correct primer for any silver finish. The plastic looked horrible before paint. Green plastic could not hide the ugly of the imperfections in the plastic. Green plastic only makes it more difficult to cover it with primer unless you do it it black primer. That dark green plastic would have required a lot of primer to do it in white. I am not a big fan of colored plastic for that reason.
-
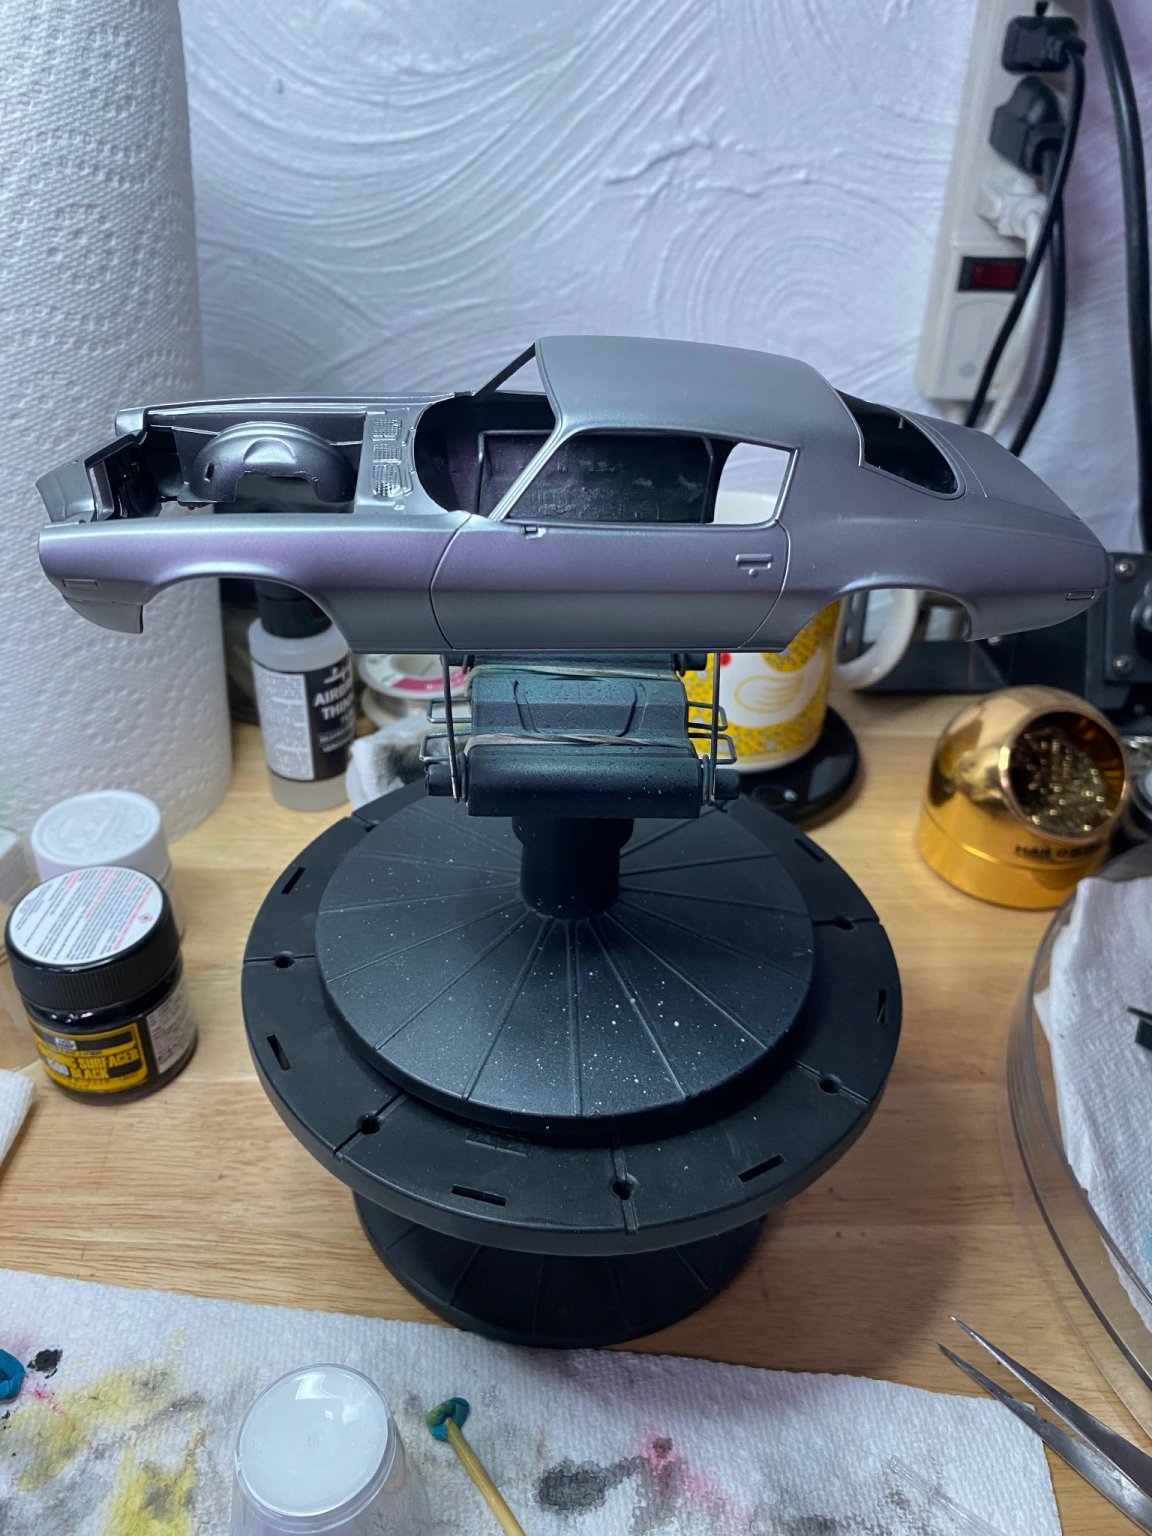
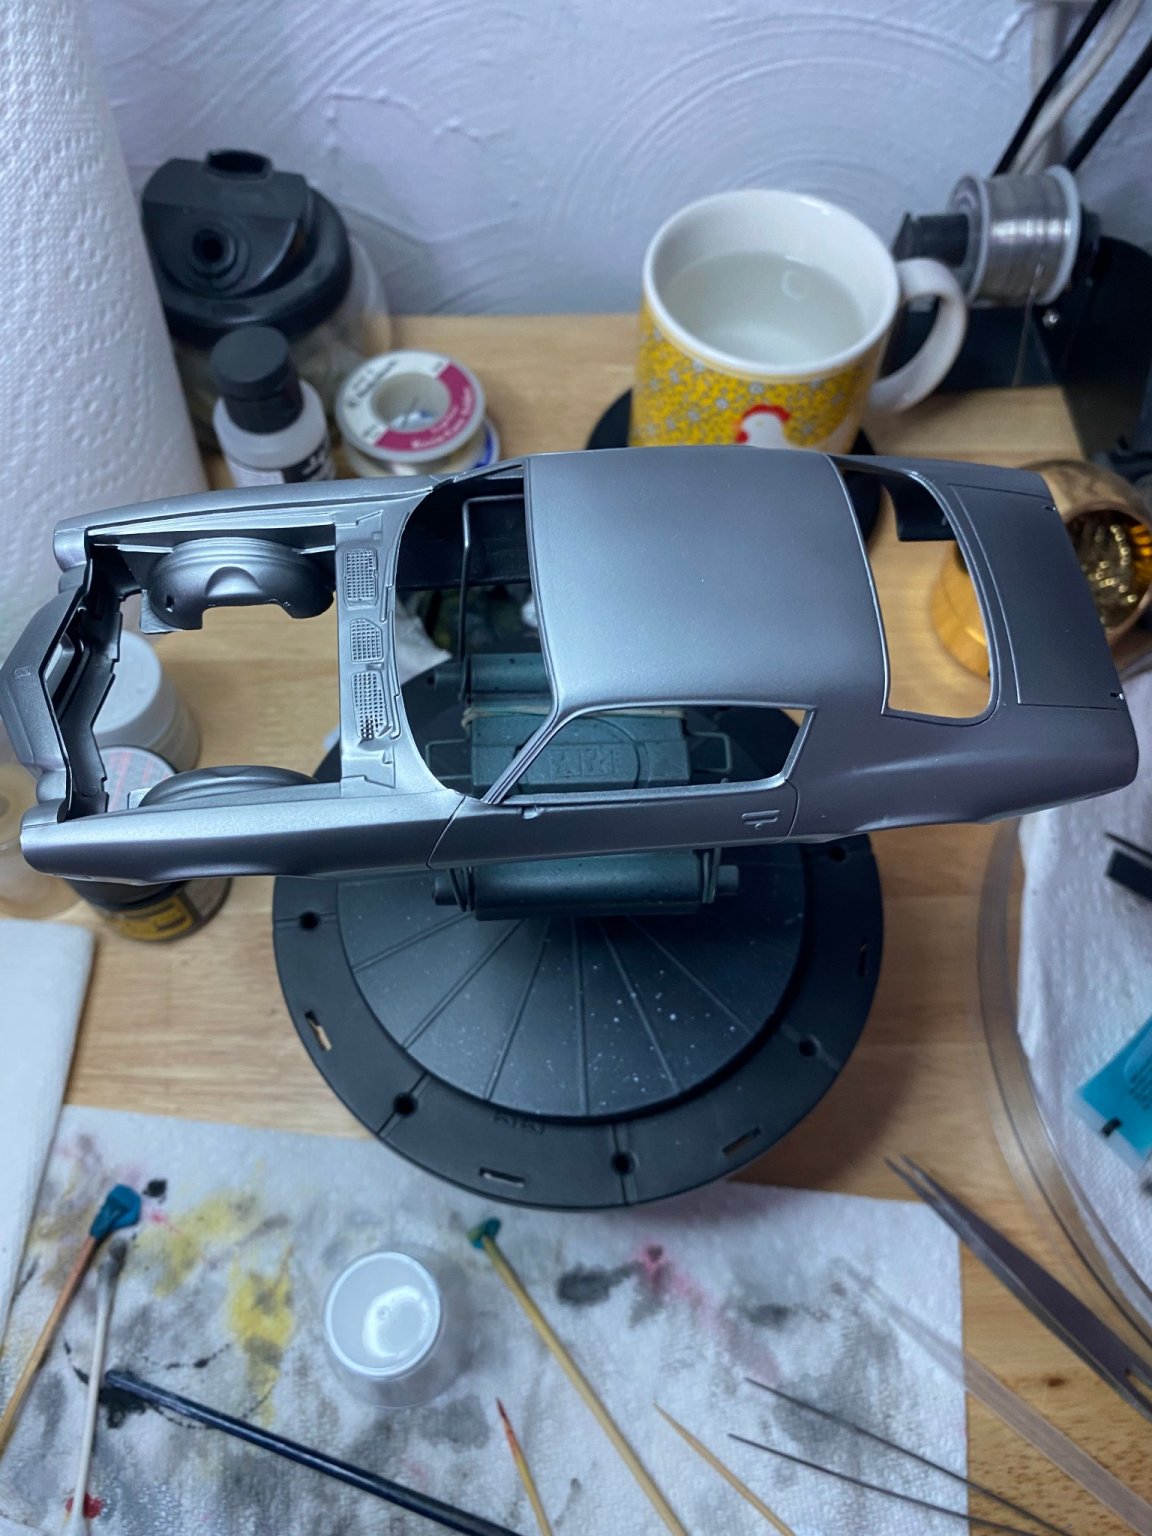
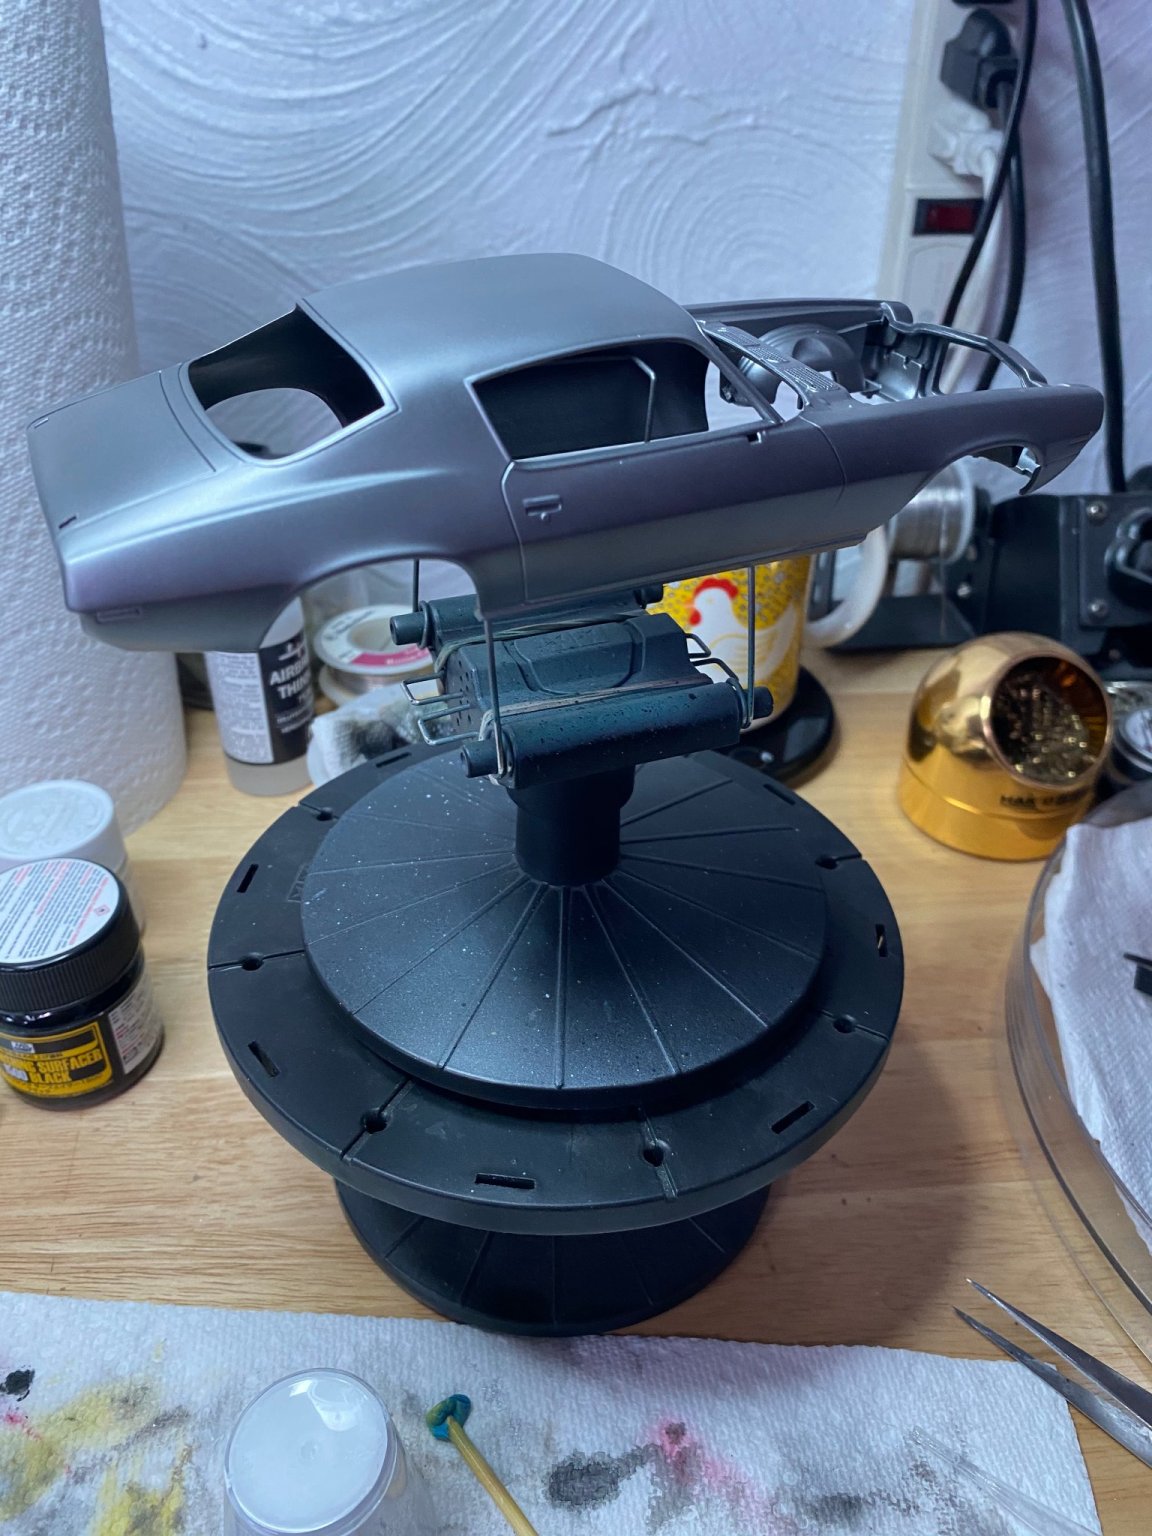
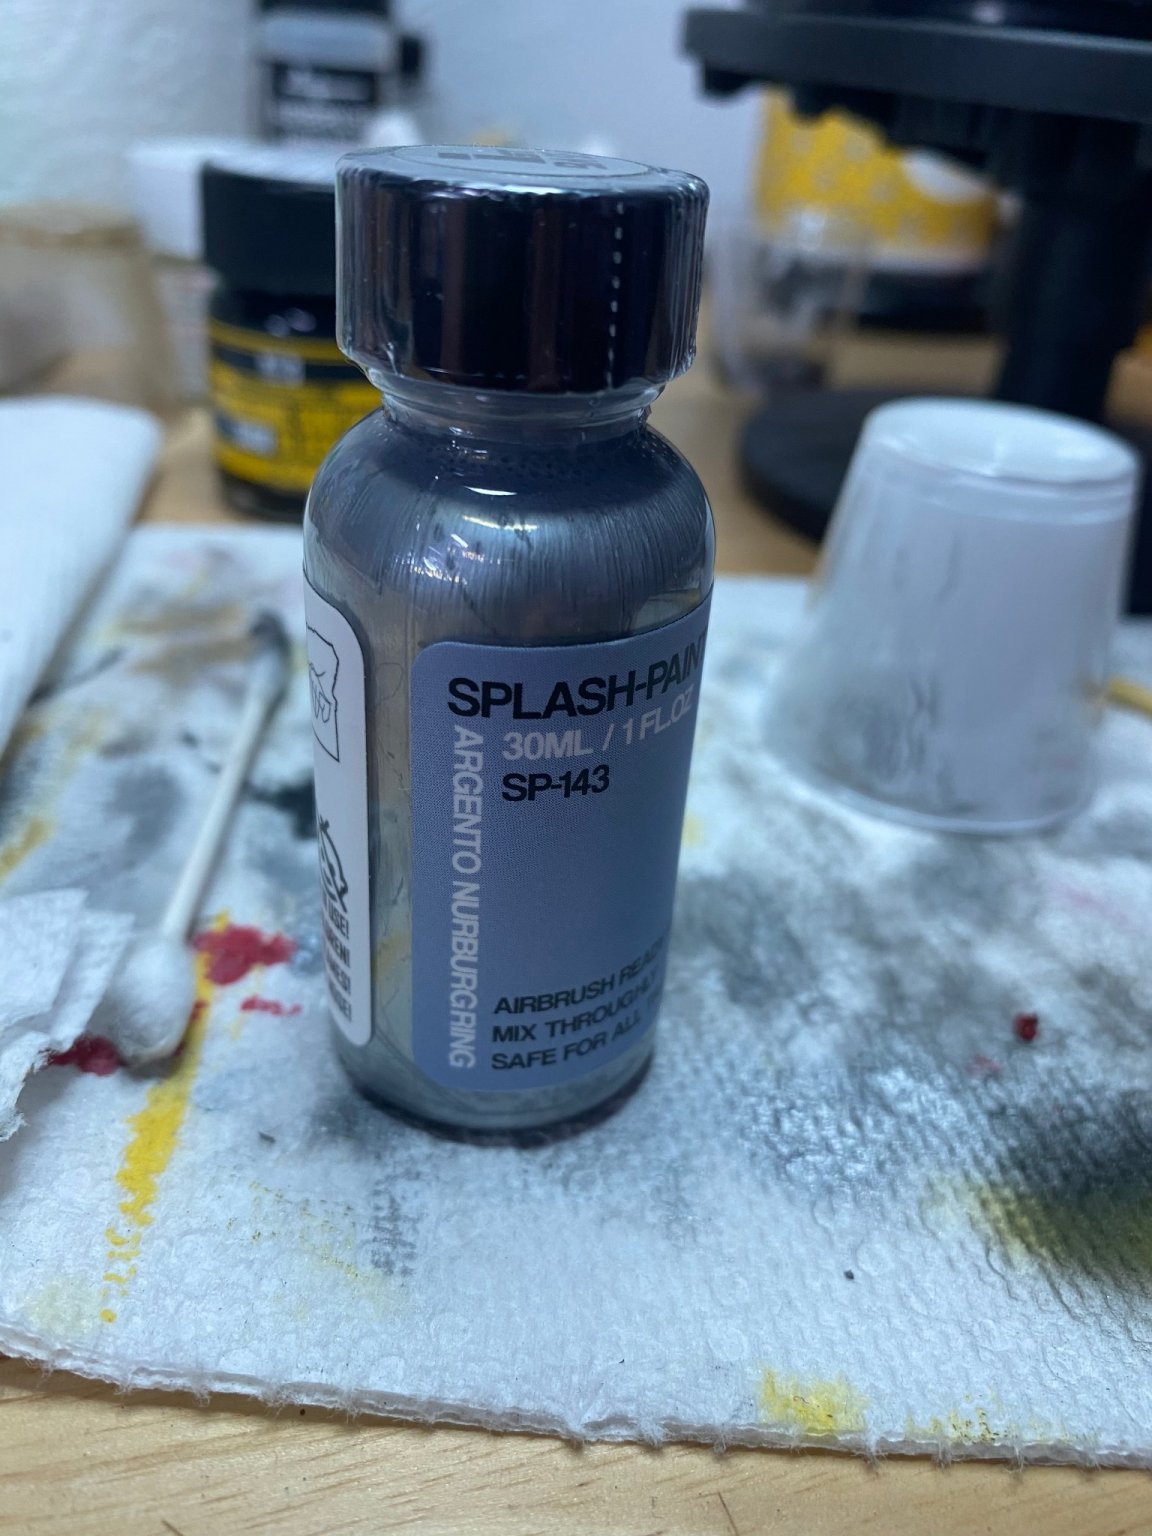
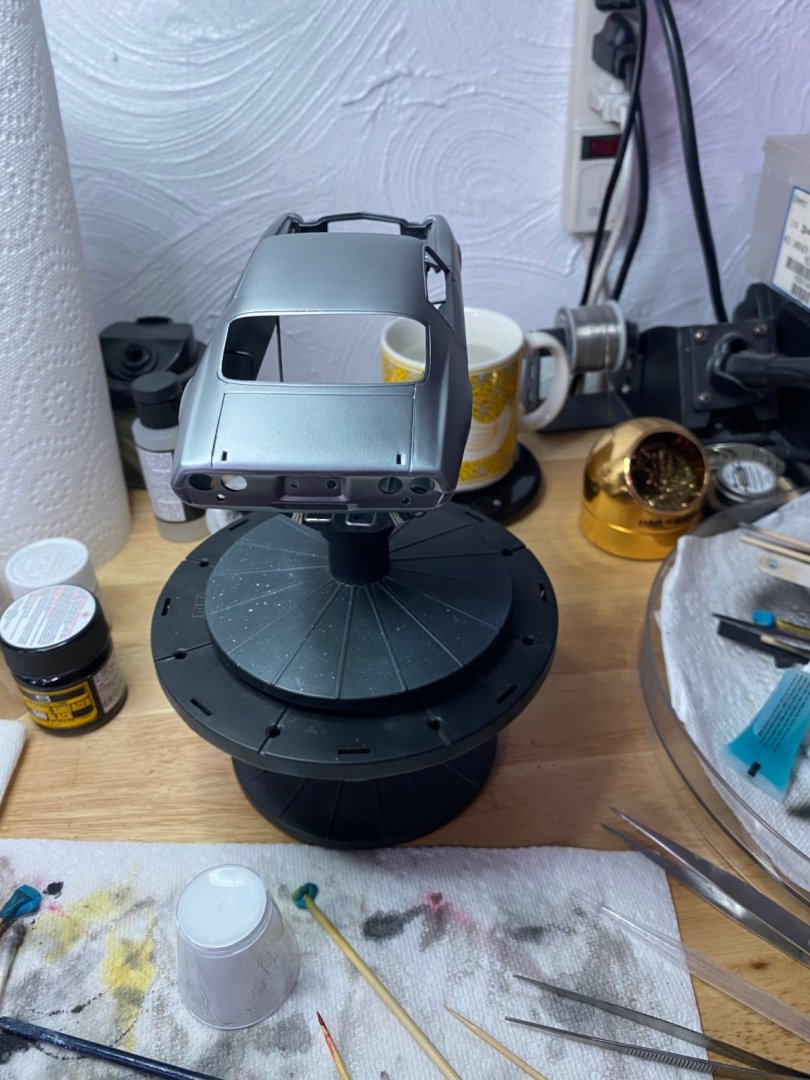
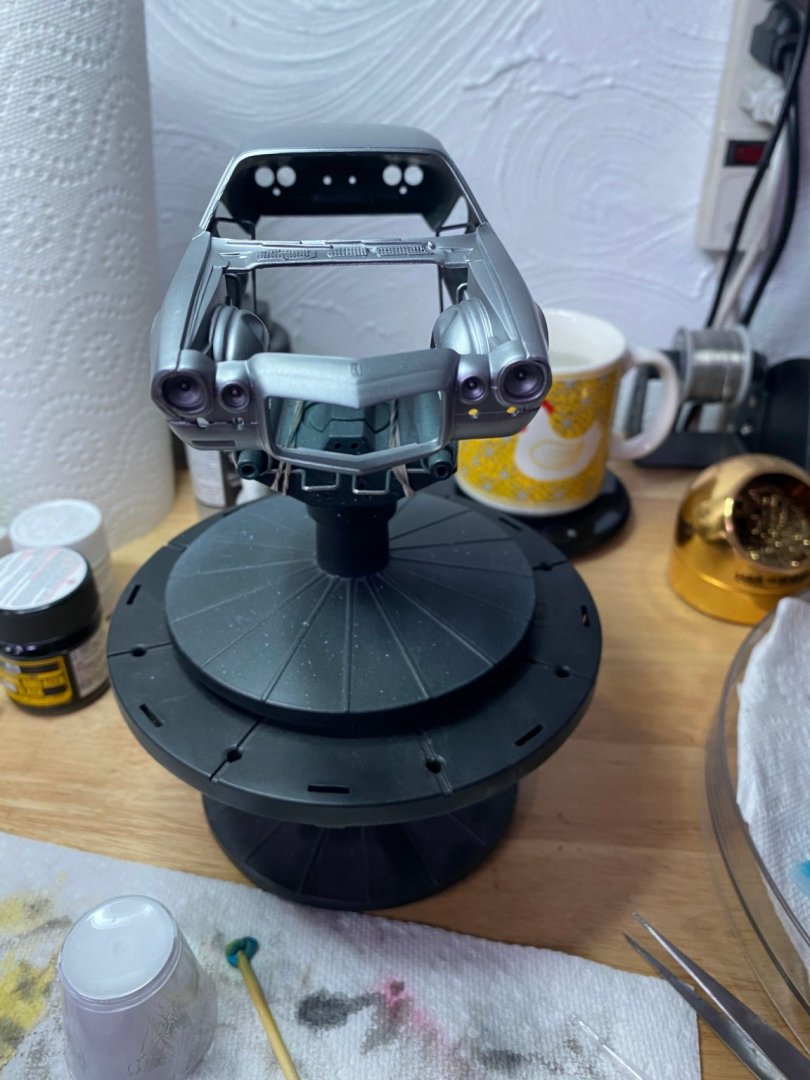
Here is the Argento Nuburgring sprayed over the black primer. It will get a clear coat.


-
This is my main body color. Paint job will be two-tone, using black as the second color.

-
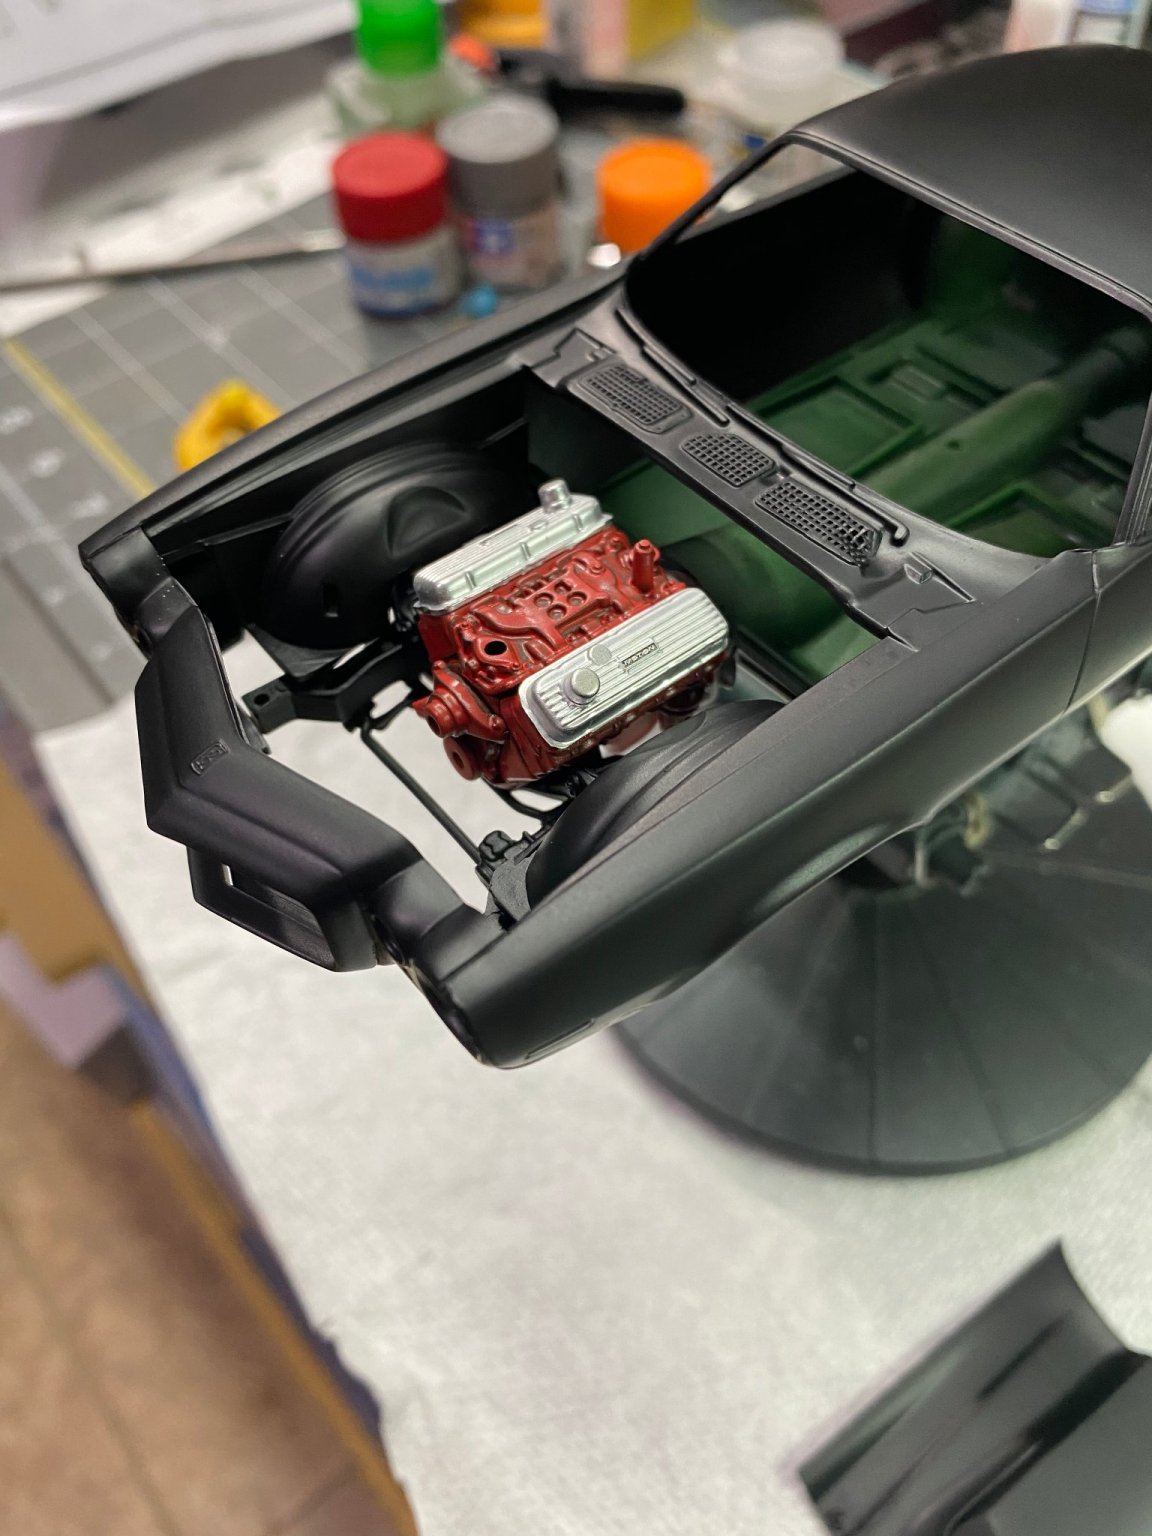
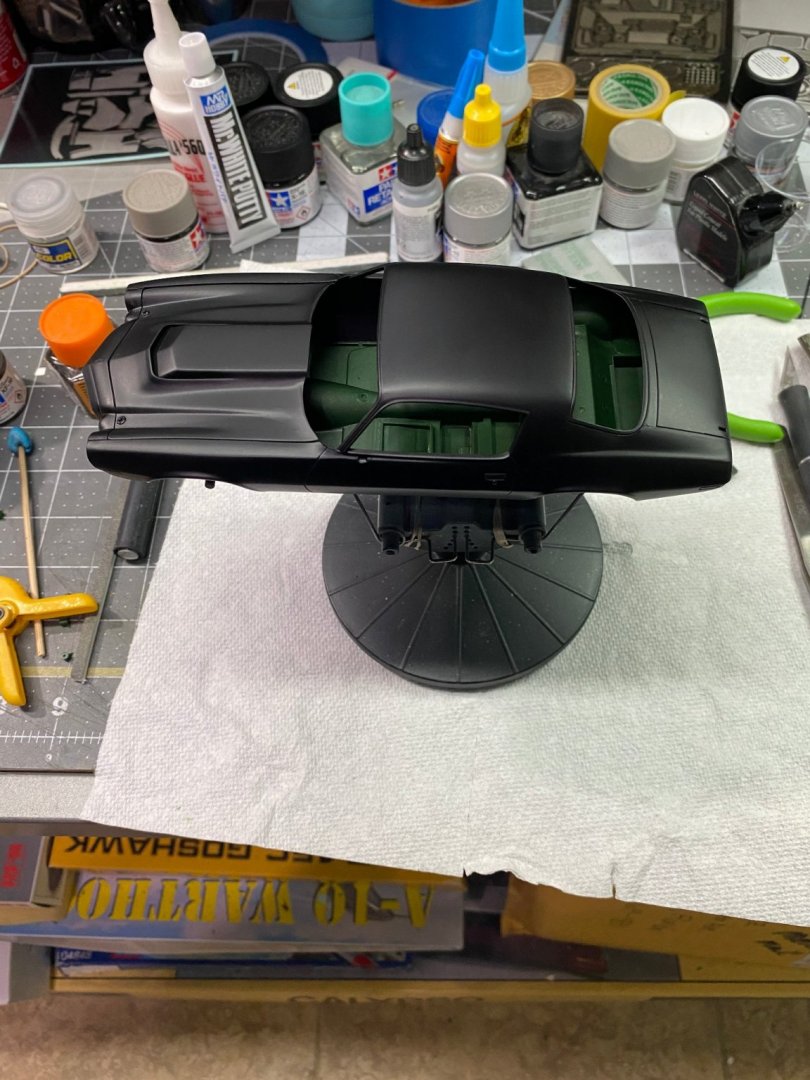
This is the 2nd coat of primer and a dry fit of the chassis/engine.


-
In the 2nd to last photo above, you can see the mold defect for the headlight. I'm not going to lose sleep over it, nor am I going to spend a lot of time trying to fix it.
-
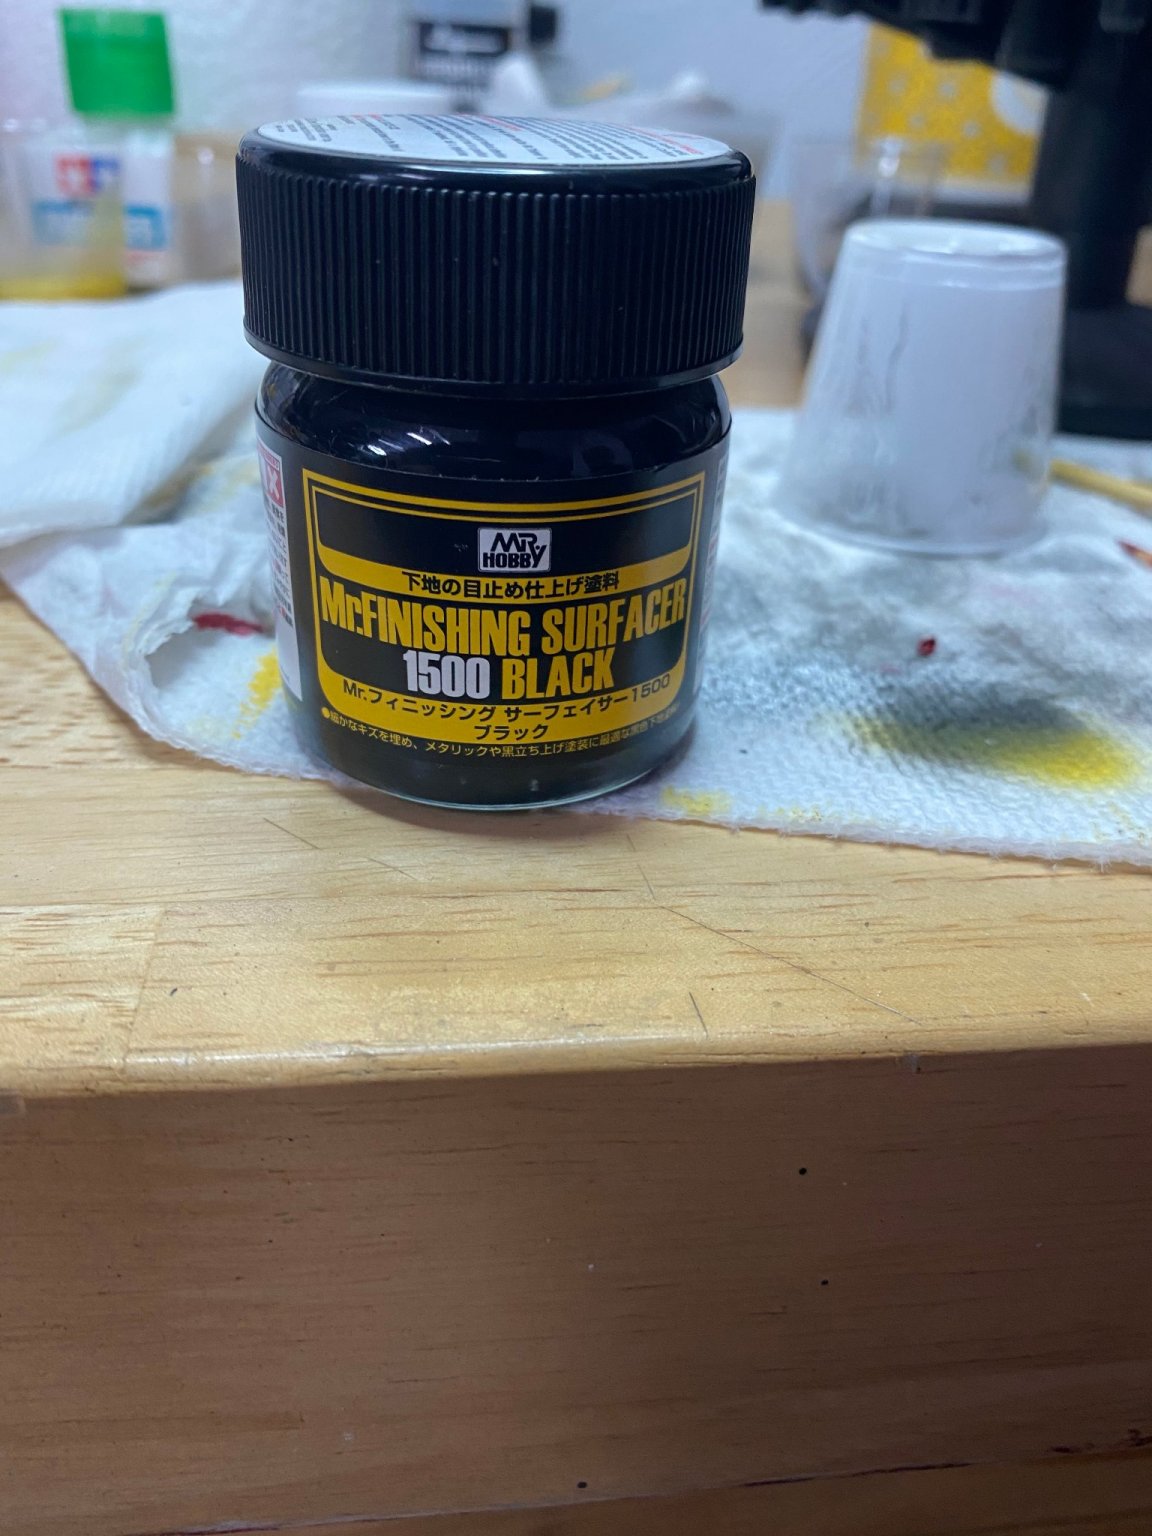
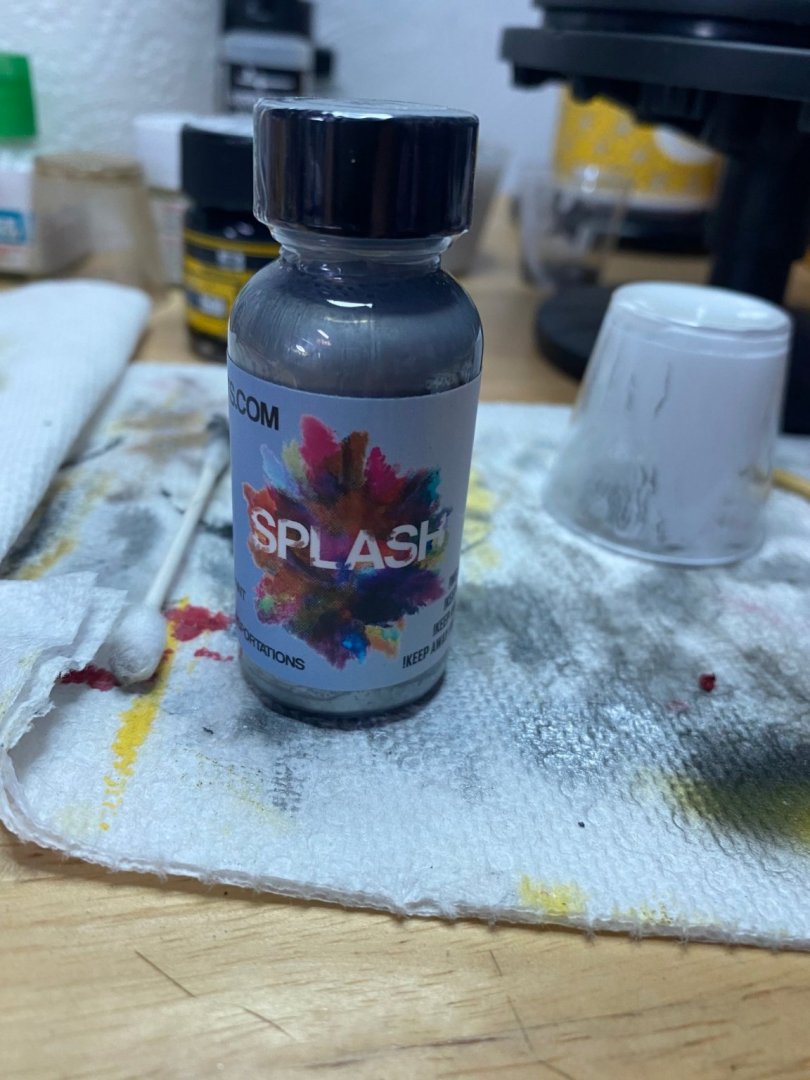
This is the primer/surfacer I'm using for this model. I mix it in a ratio of 3 parts paint : 7 parts reducer. Here is the first coat of primer. Here is the first coat after wet sanding. 2nd Coat of primer comes next.


- 56 replies
-
- 10
-