CDW
-
Posts
7,755 -
Joined
-
Last visited
Content Type
Profiles
Forums
Gallery
Events
Everything posted by CDW
-
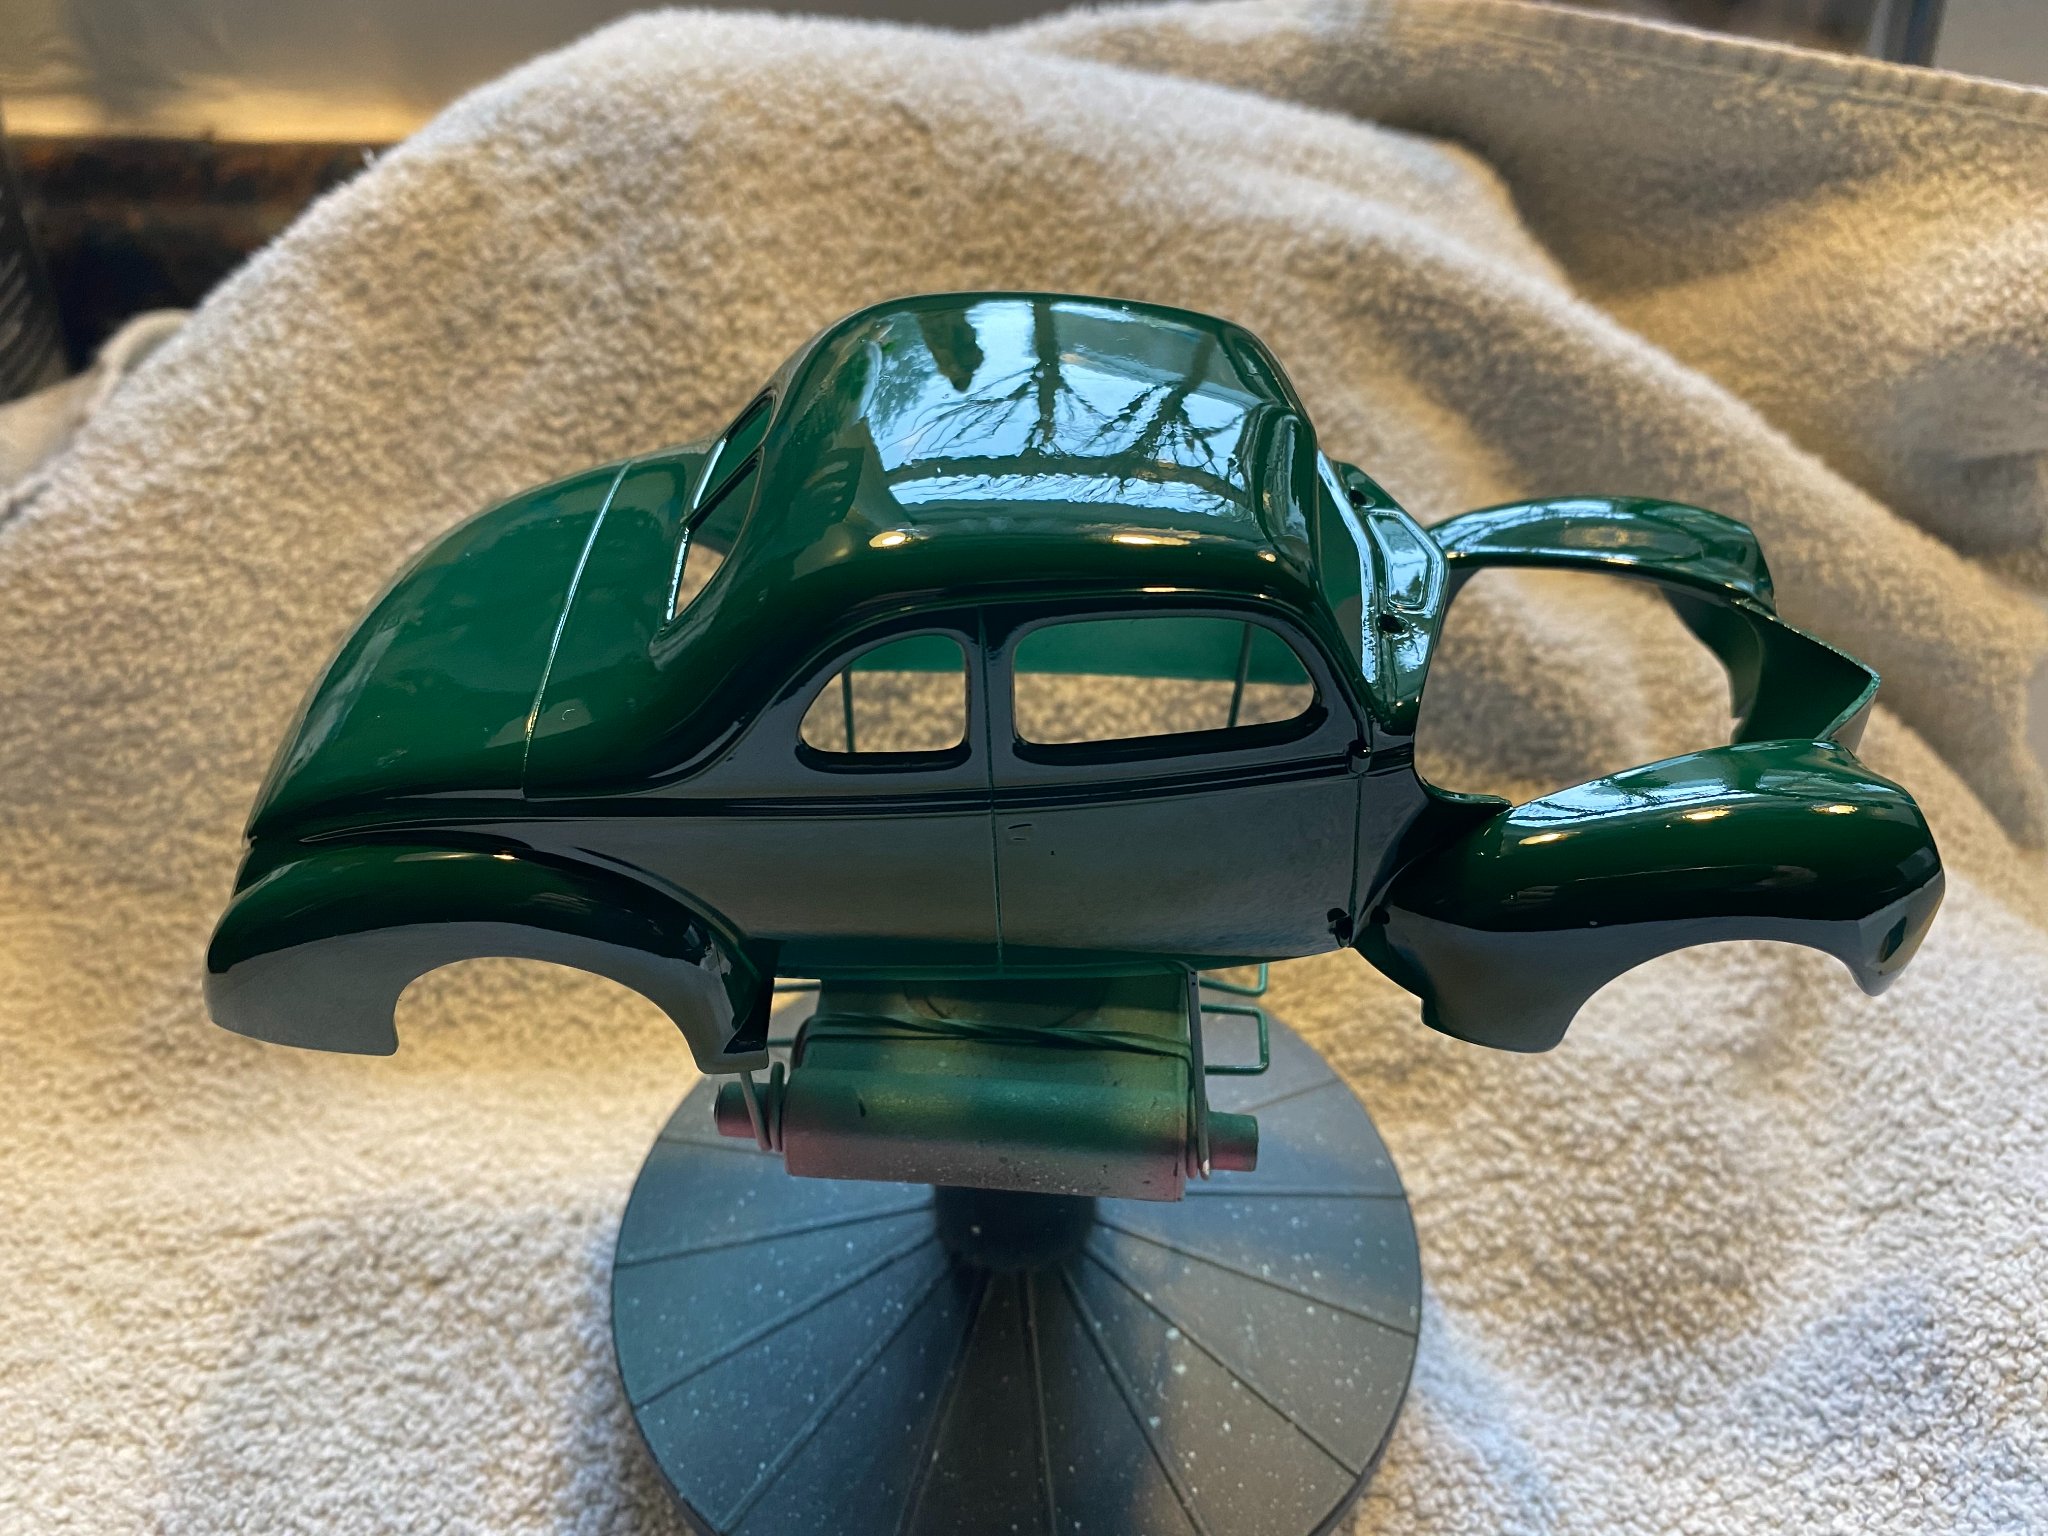
 2K clear coat is a generic term that means a clear with an activating agent. I use an automotive grade clear coat system. I will take a photo of the cans to show you. The green is just Tamiya gloss green.
 -
Play that horn, baby. (411) Candy Dulfer Band - "Lily Was Here [Dave Stewart] "- At Leverkusener Jazztage 2013 [Full HD] - YouTube
-
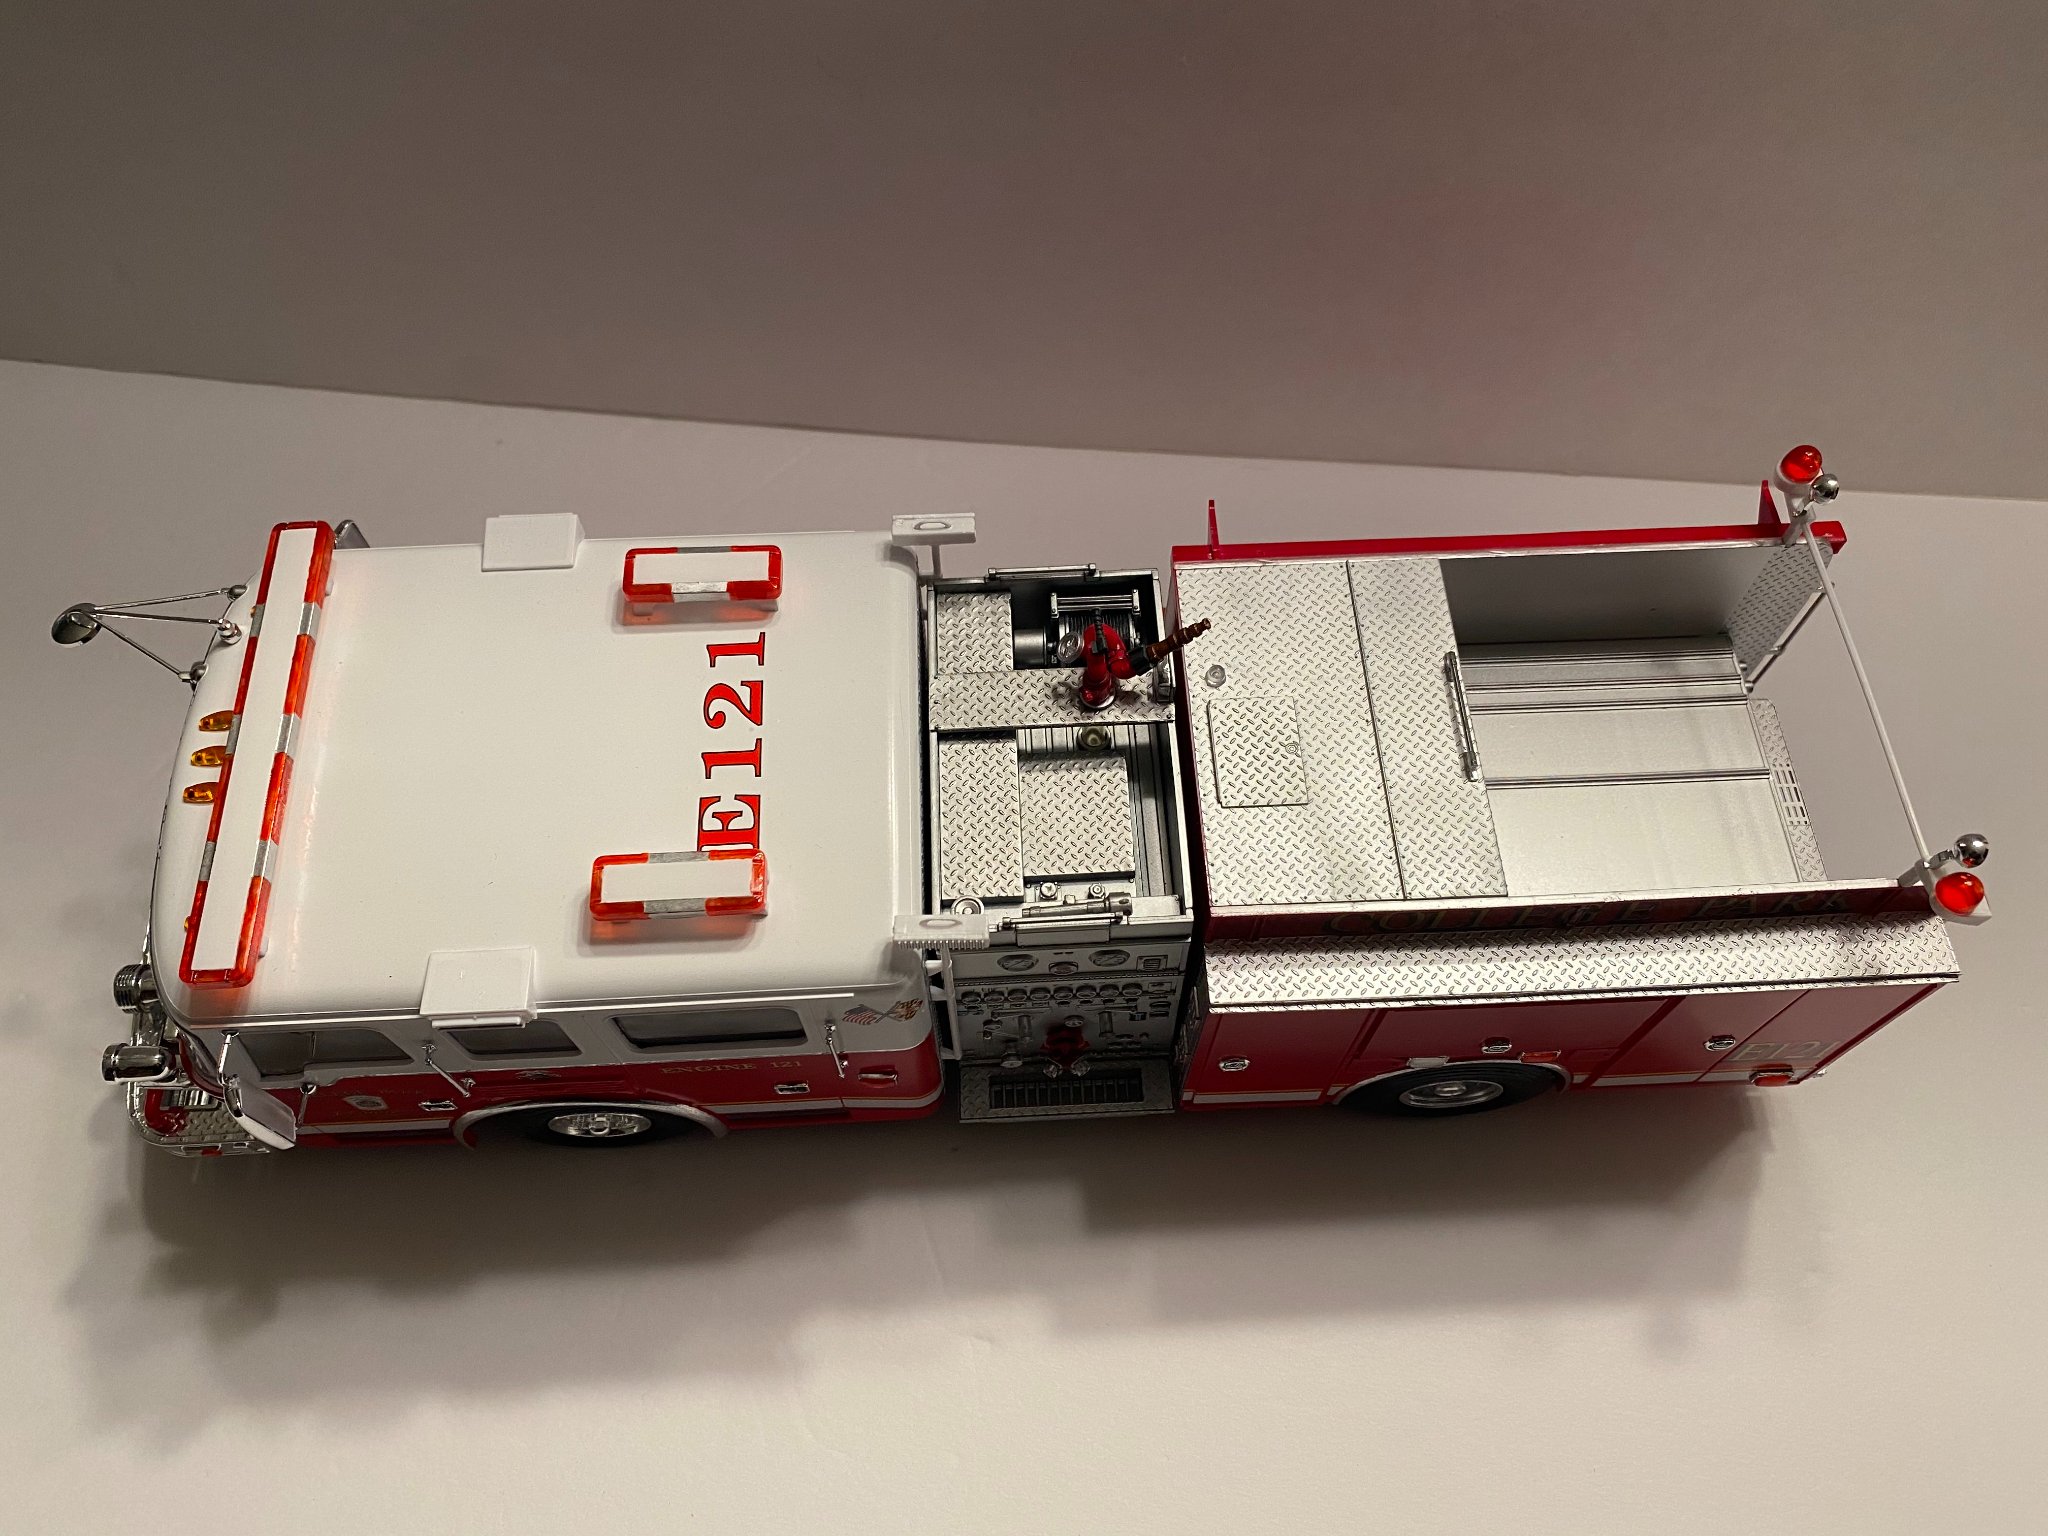
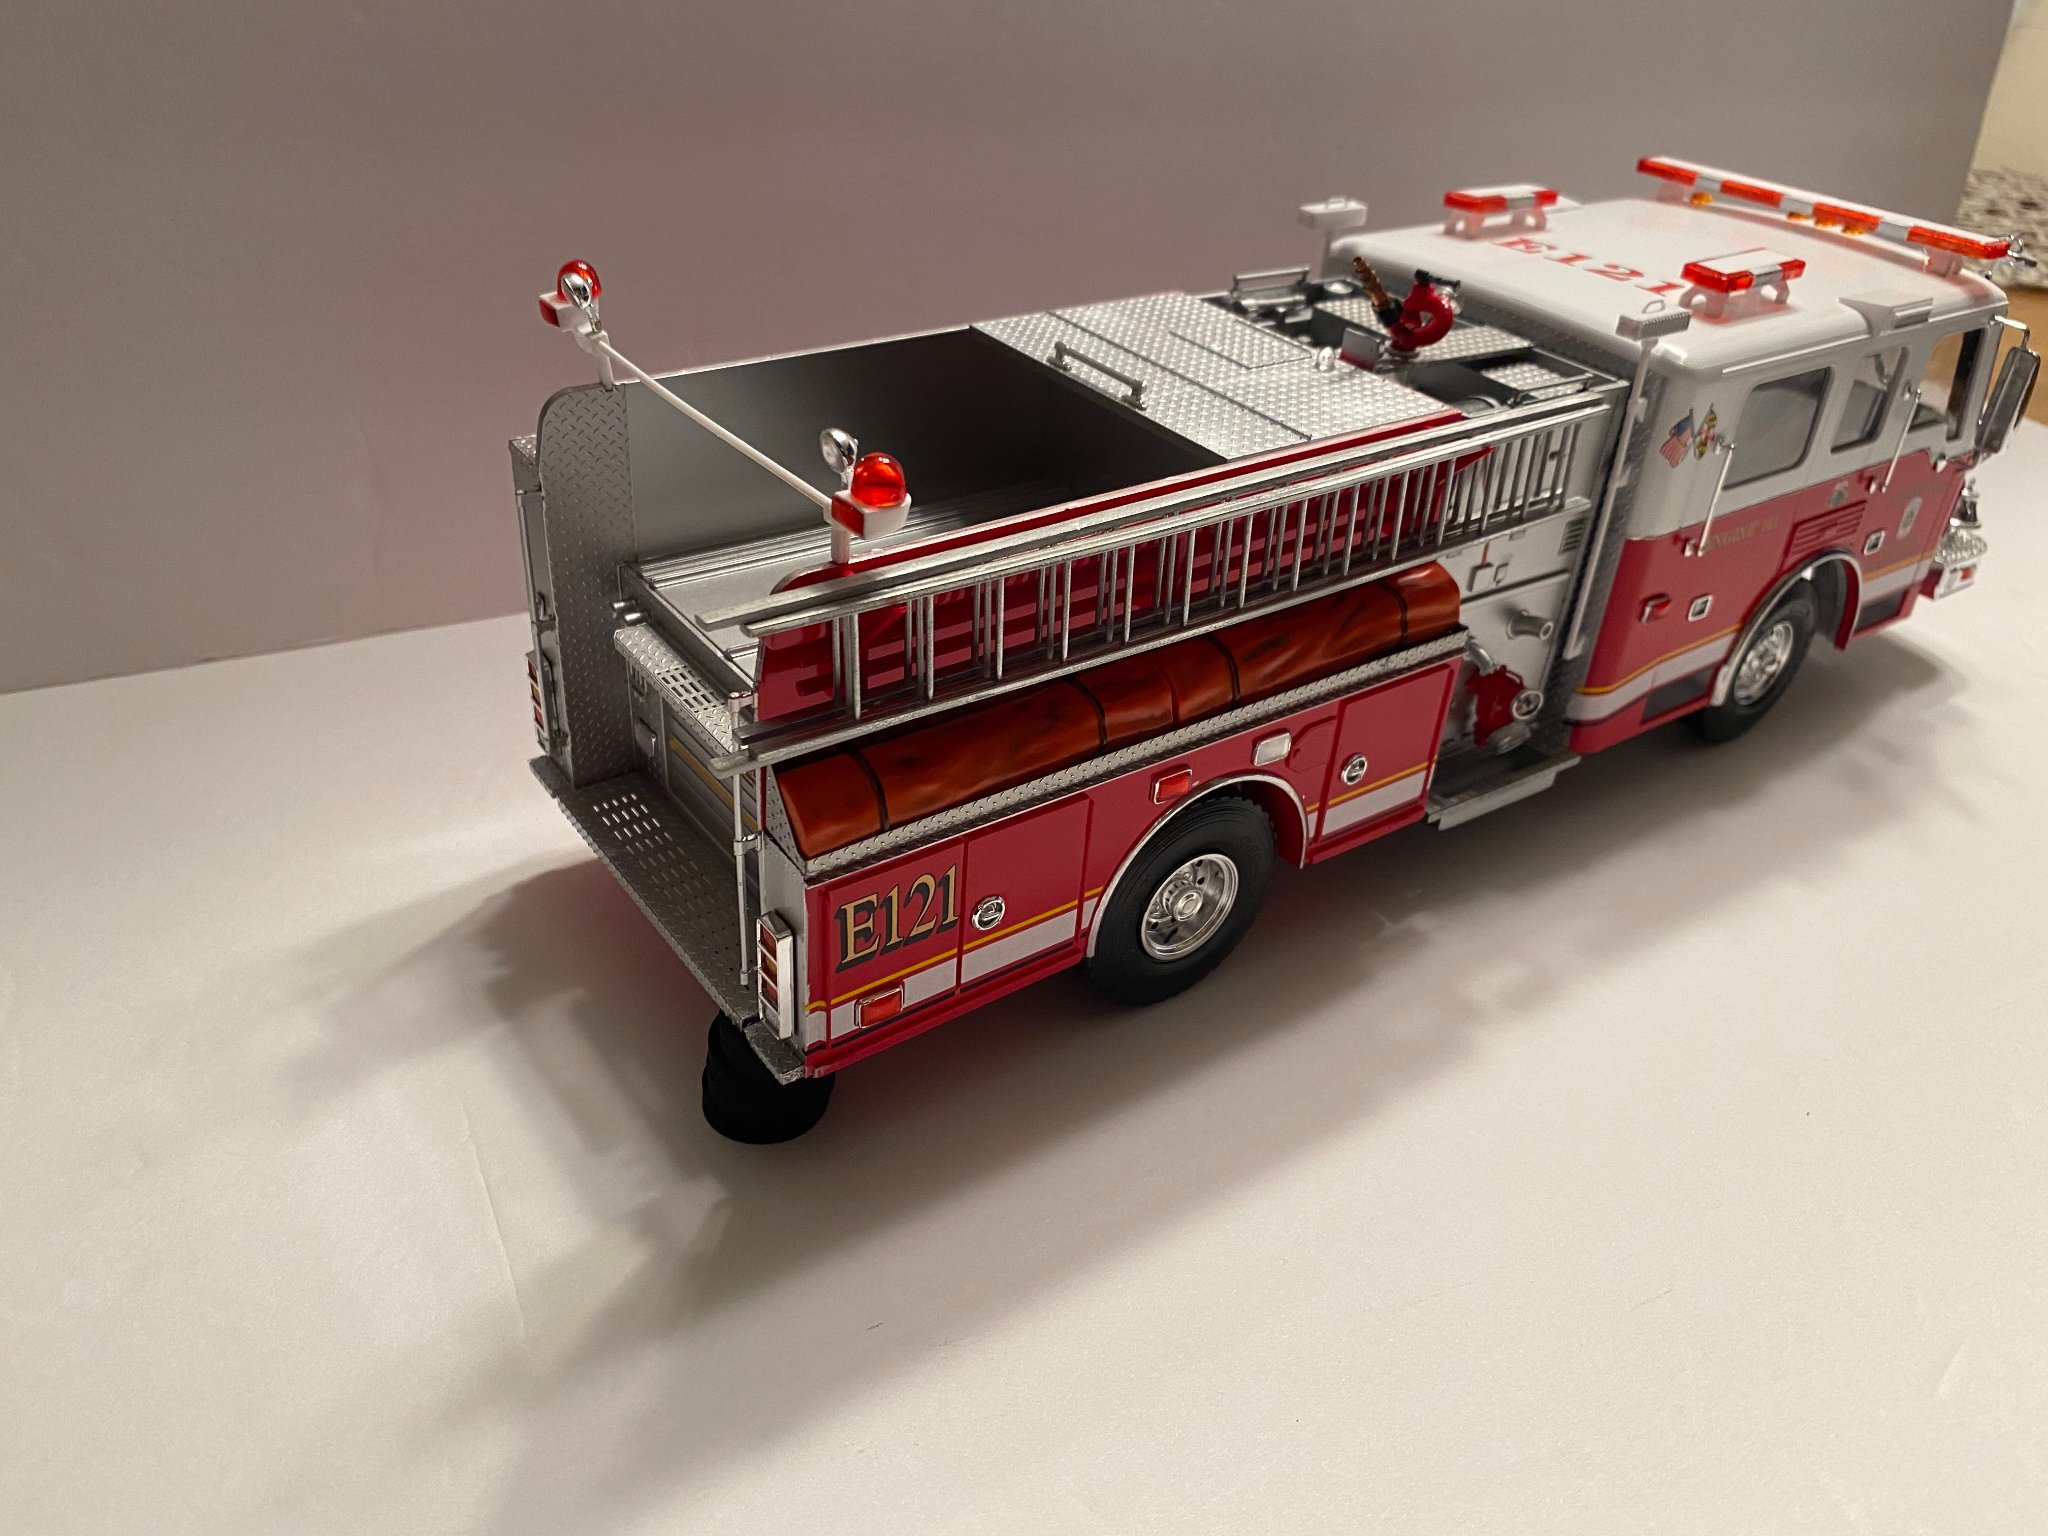
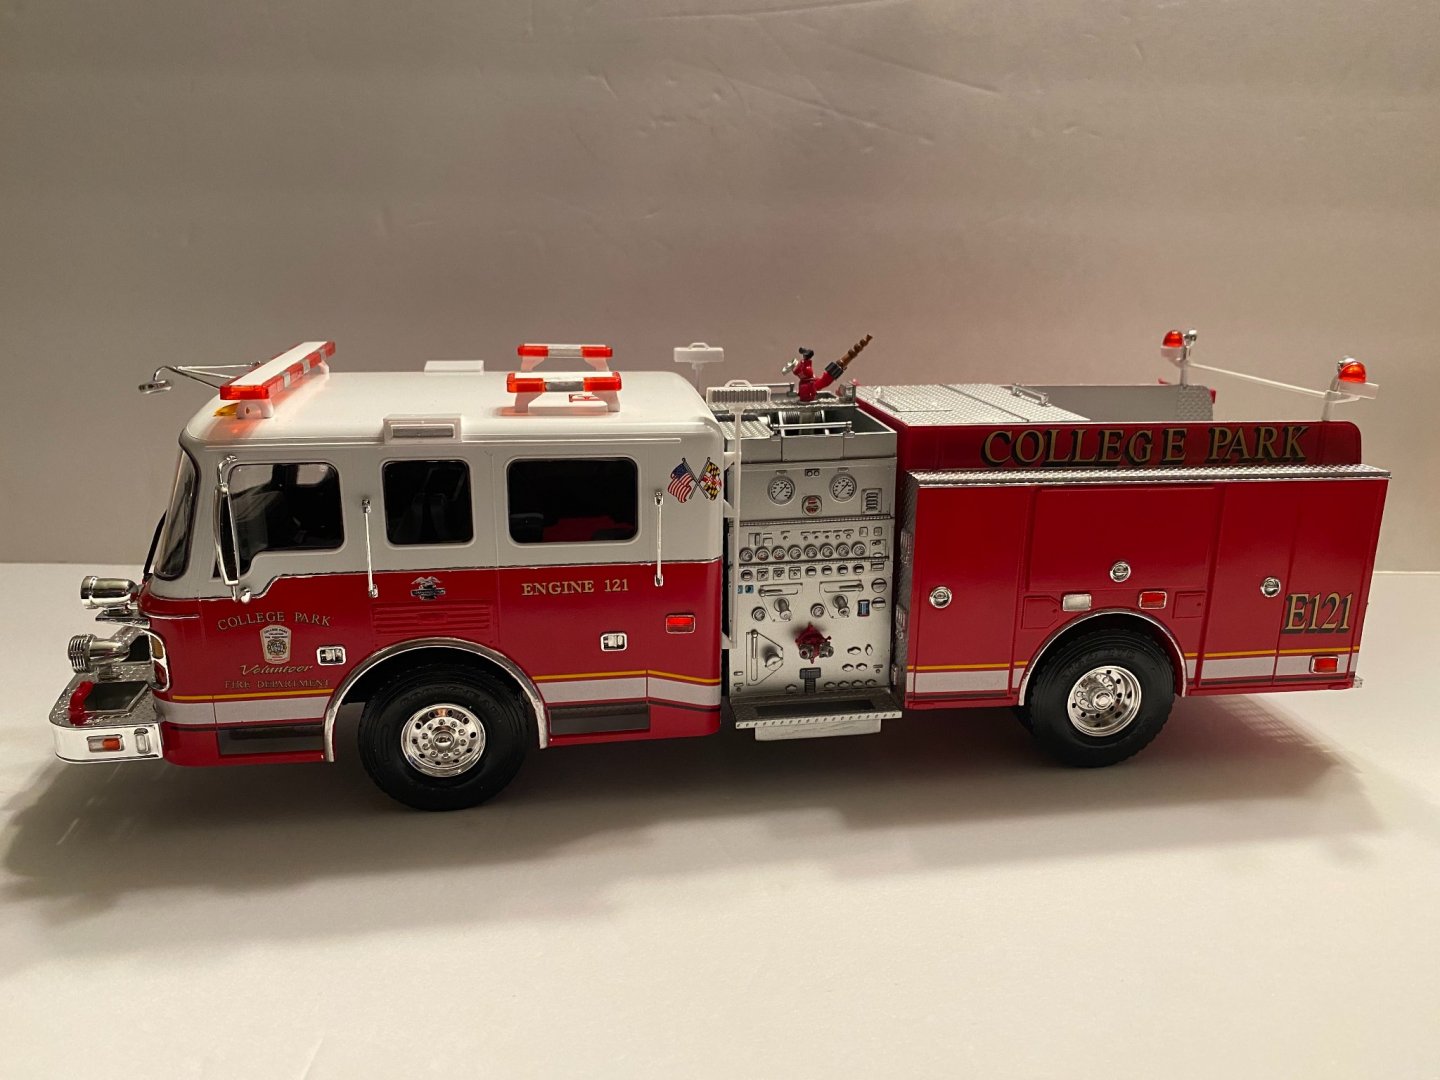
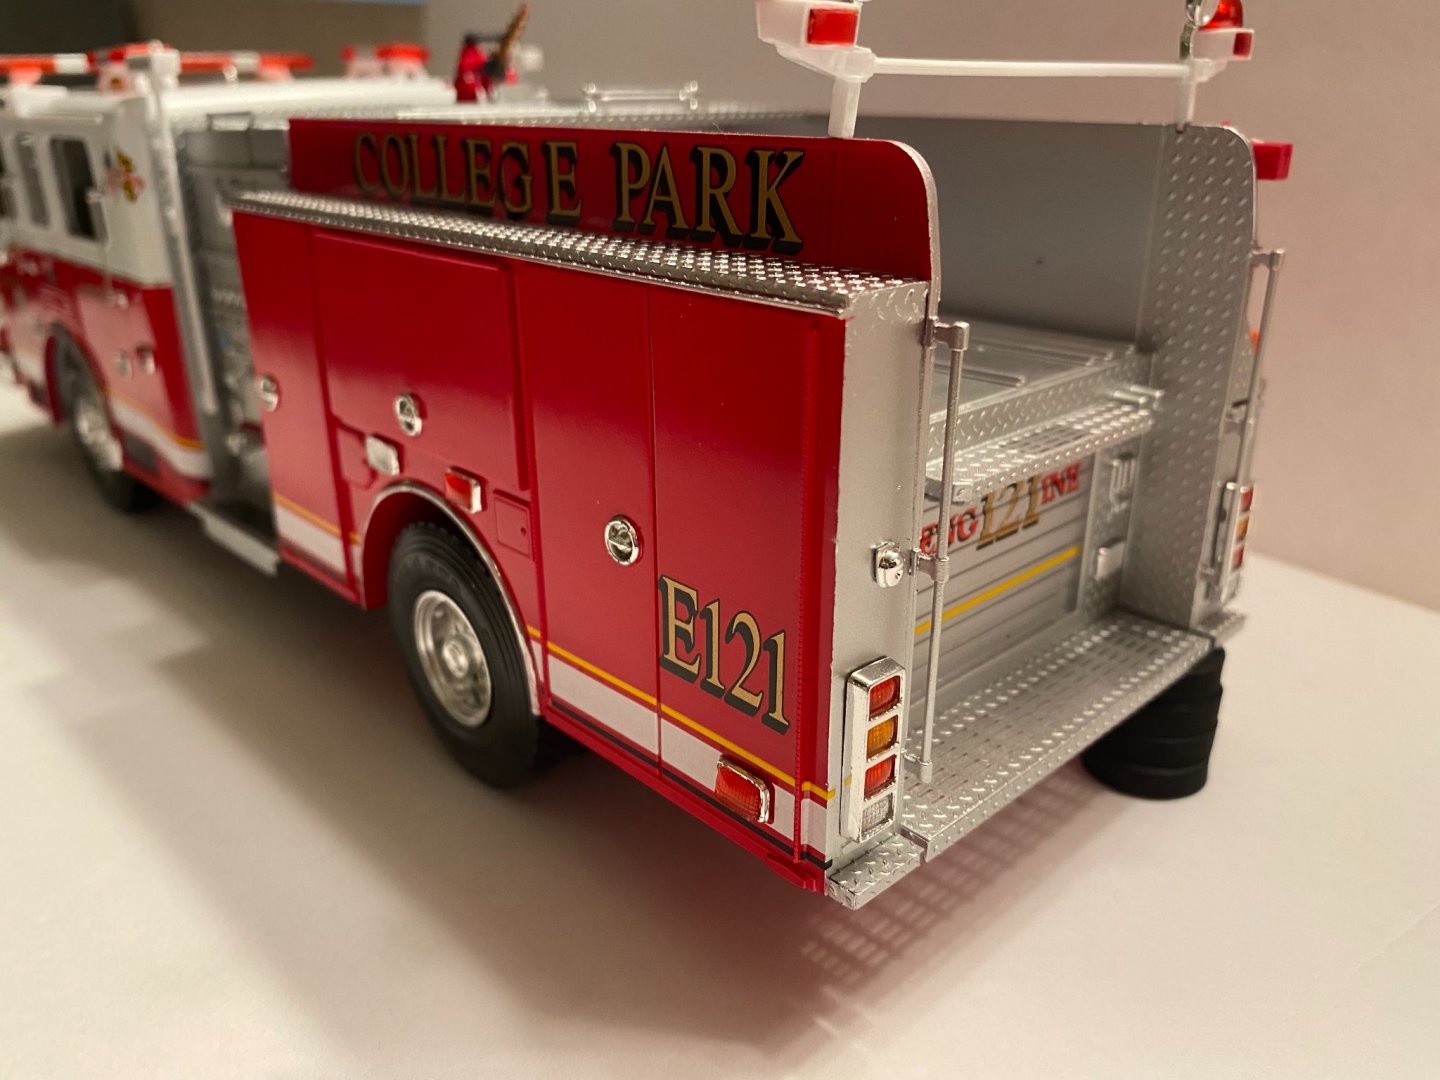
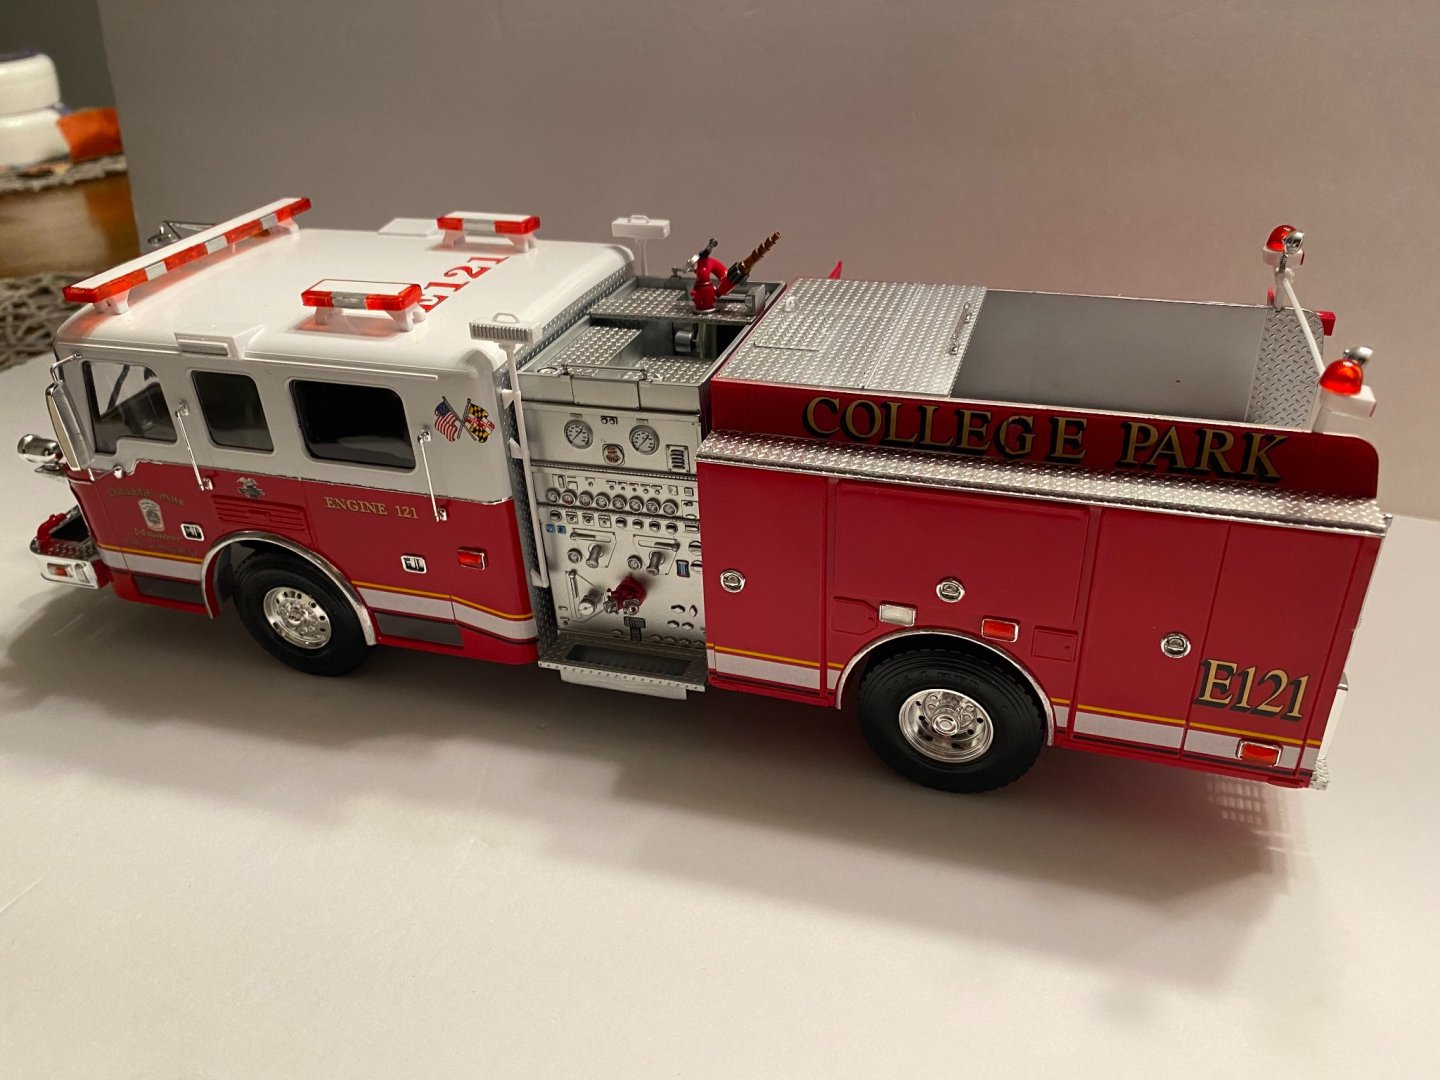
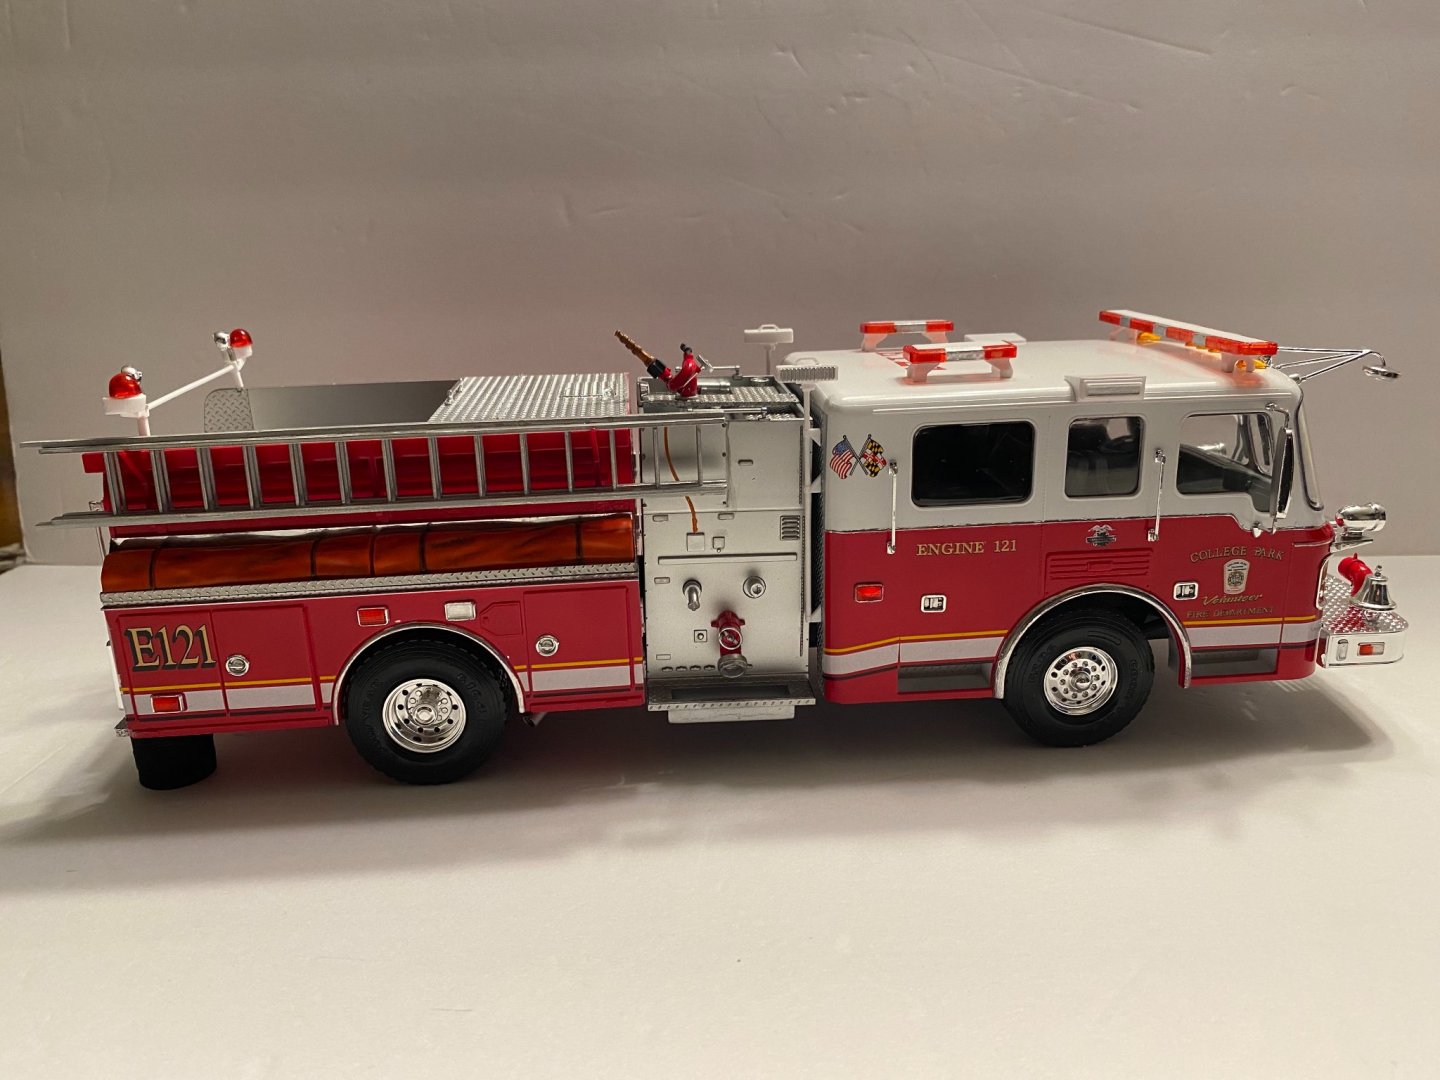
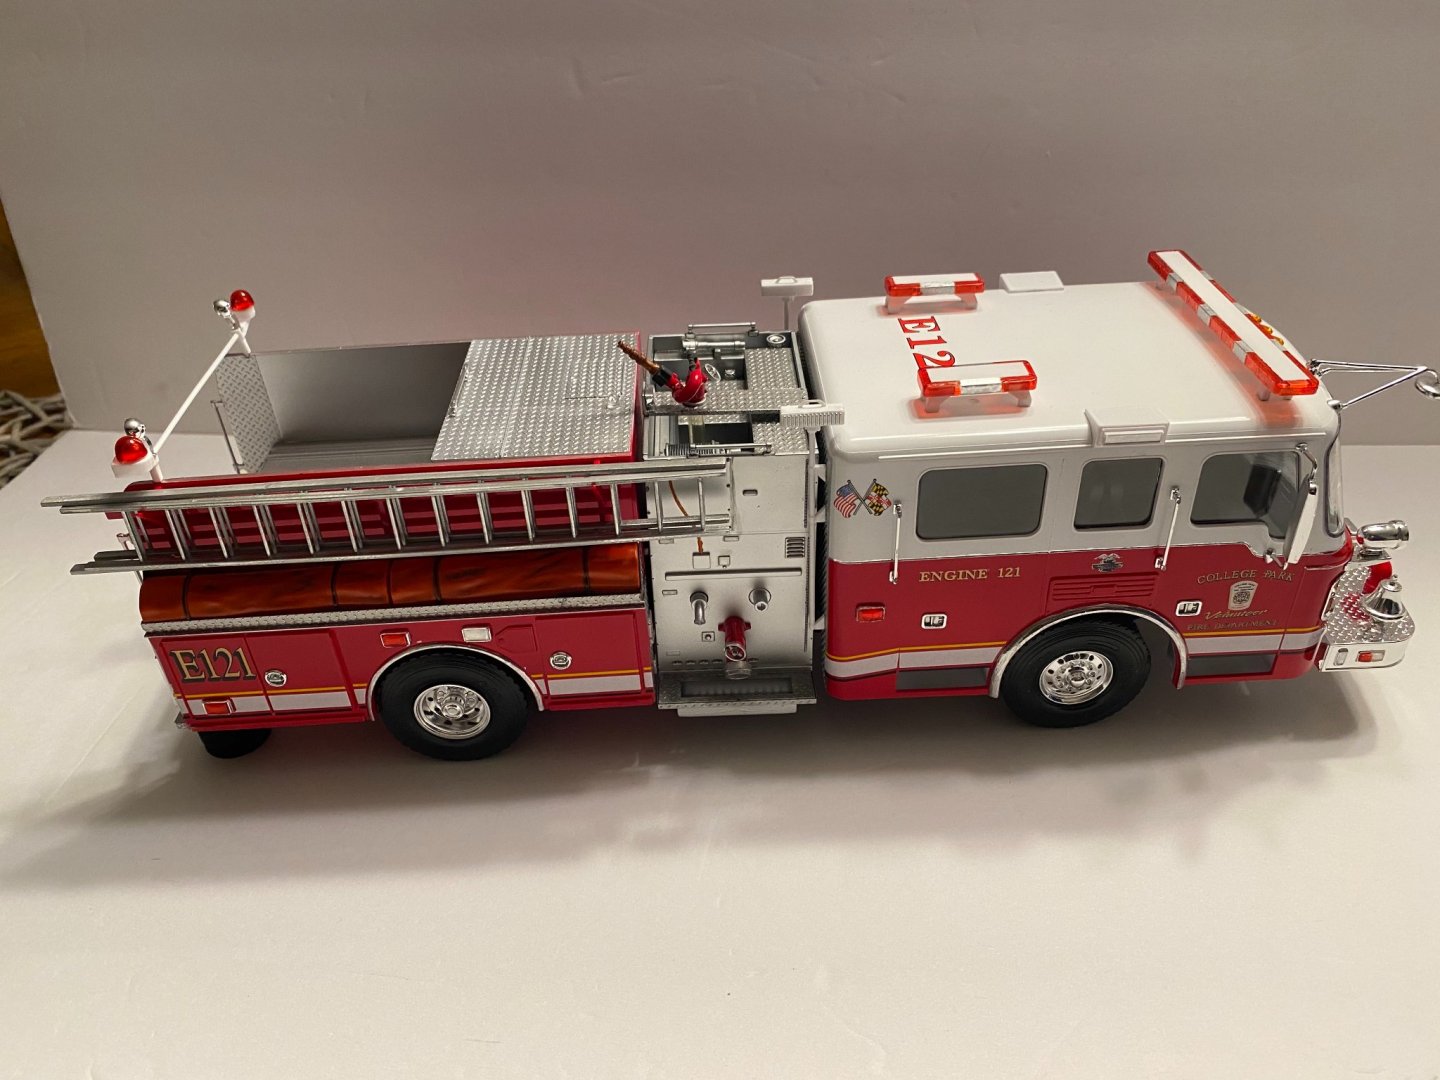
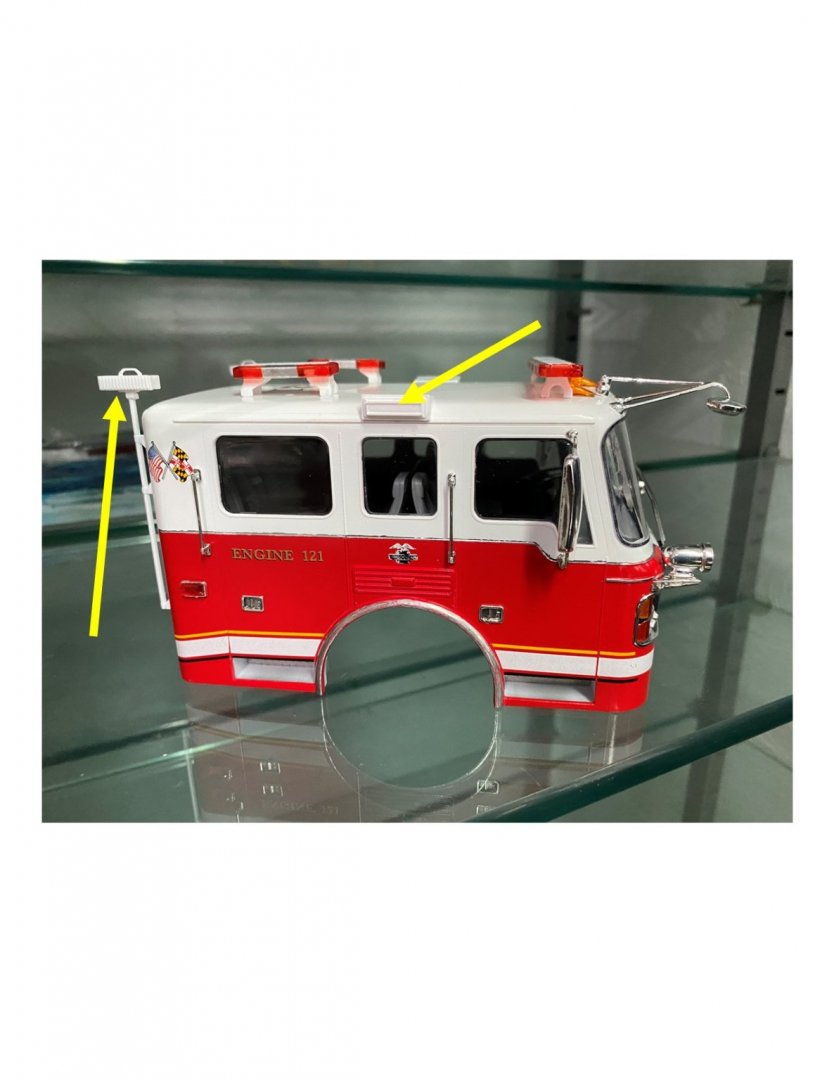
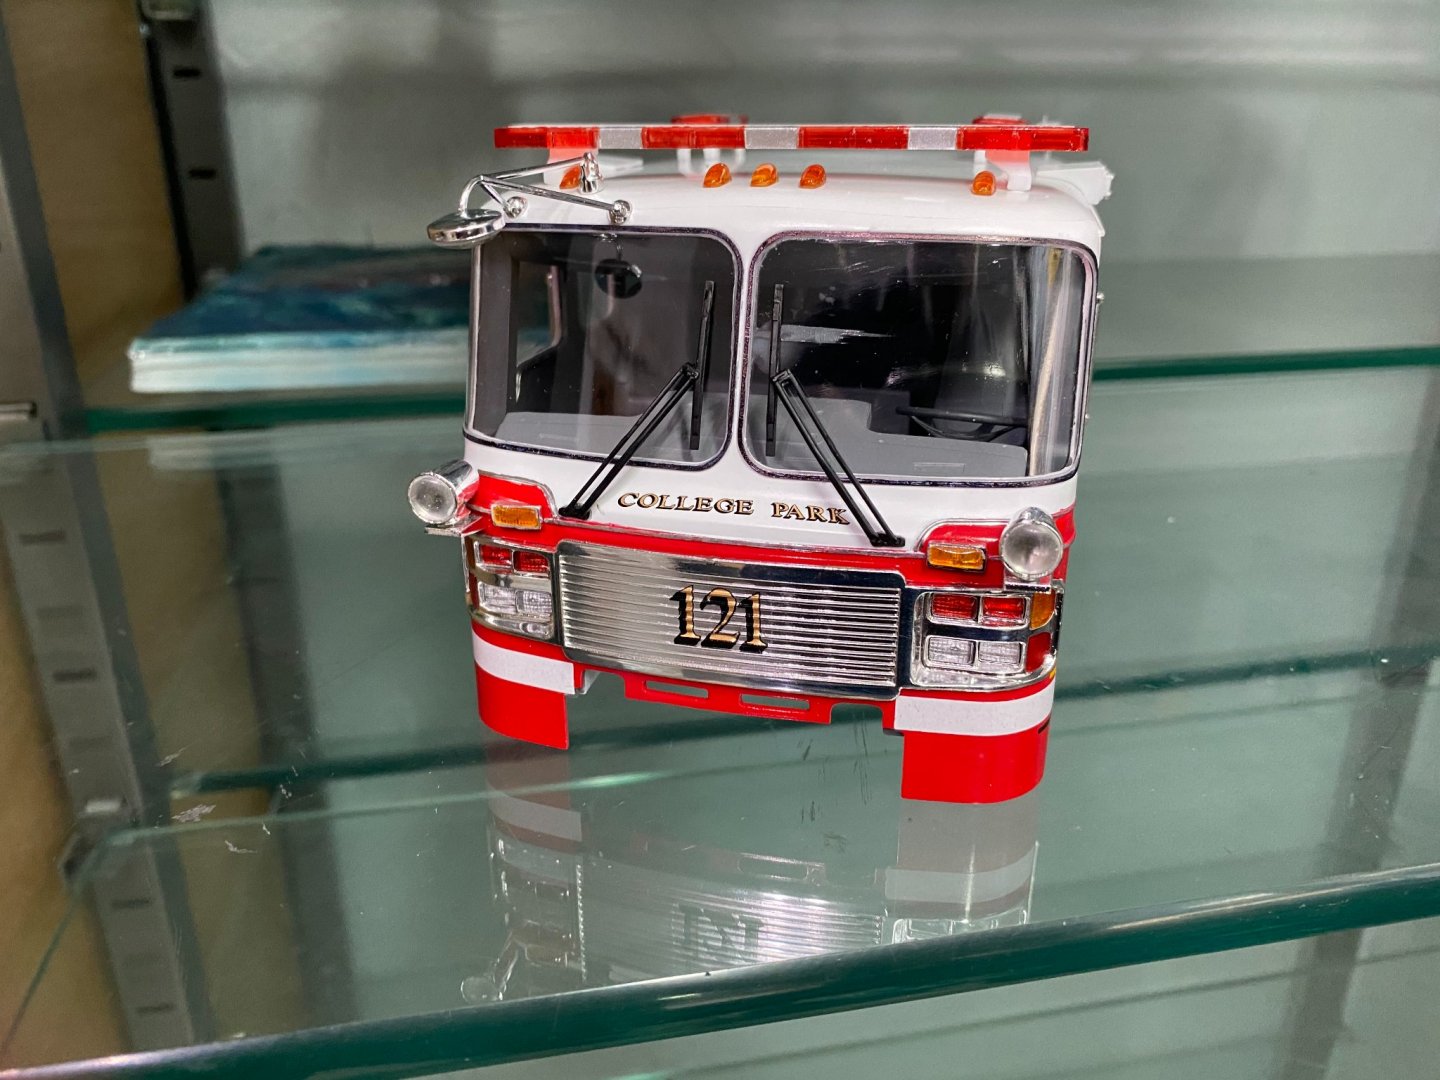
These will be my semi-final photos for this build. After I sort out the hoses for the rear, will snap a few more photos with the hoses in place then call it finished.


- 131 replies
-
- 13
-

-
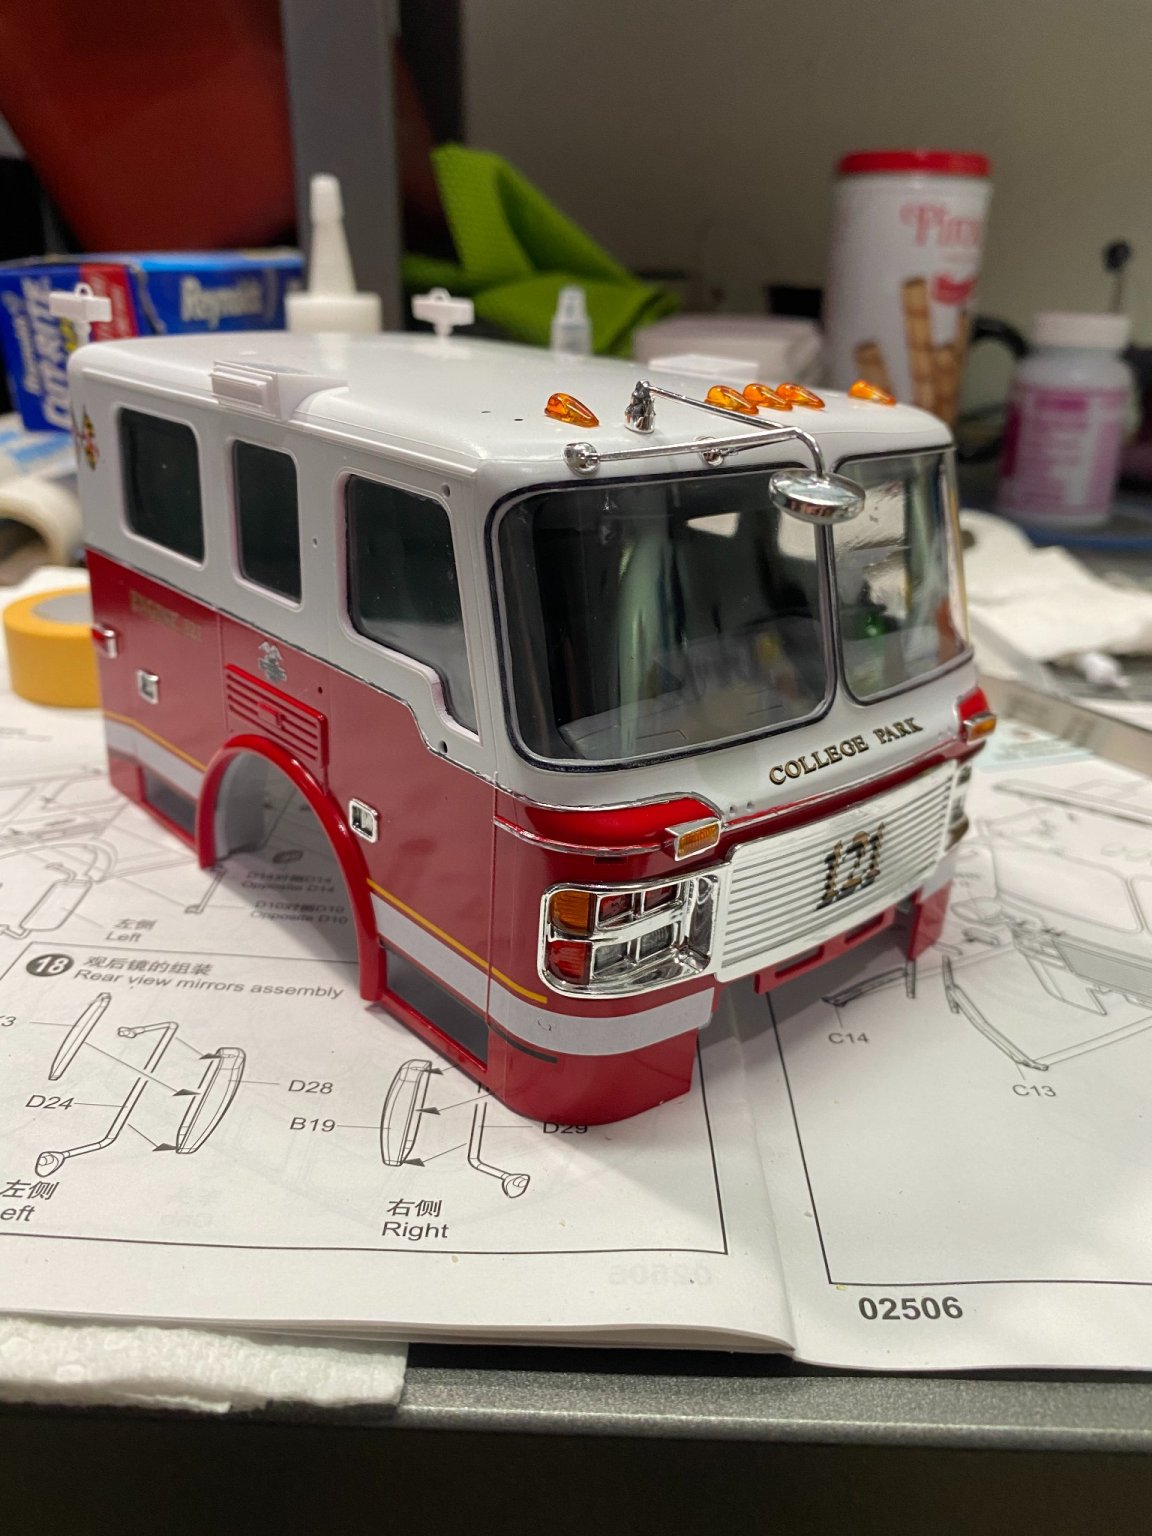
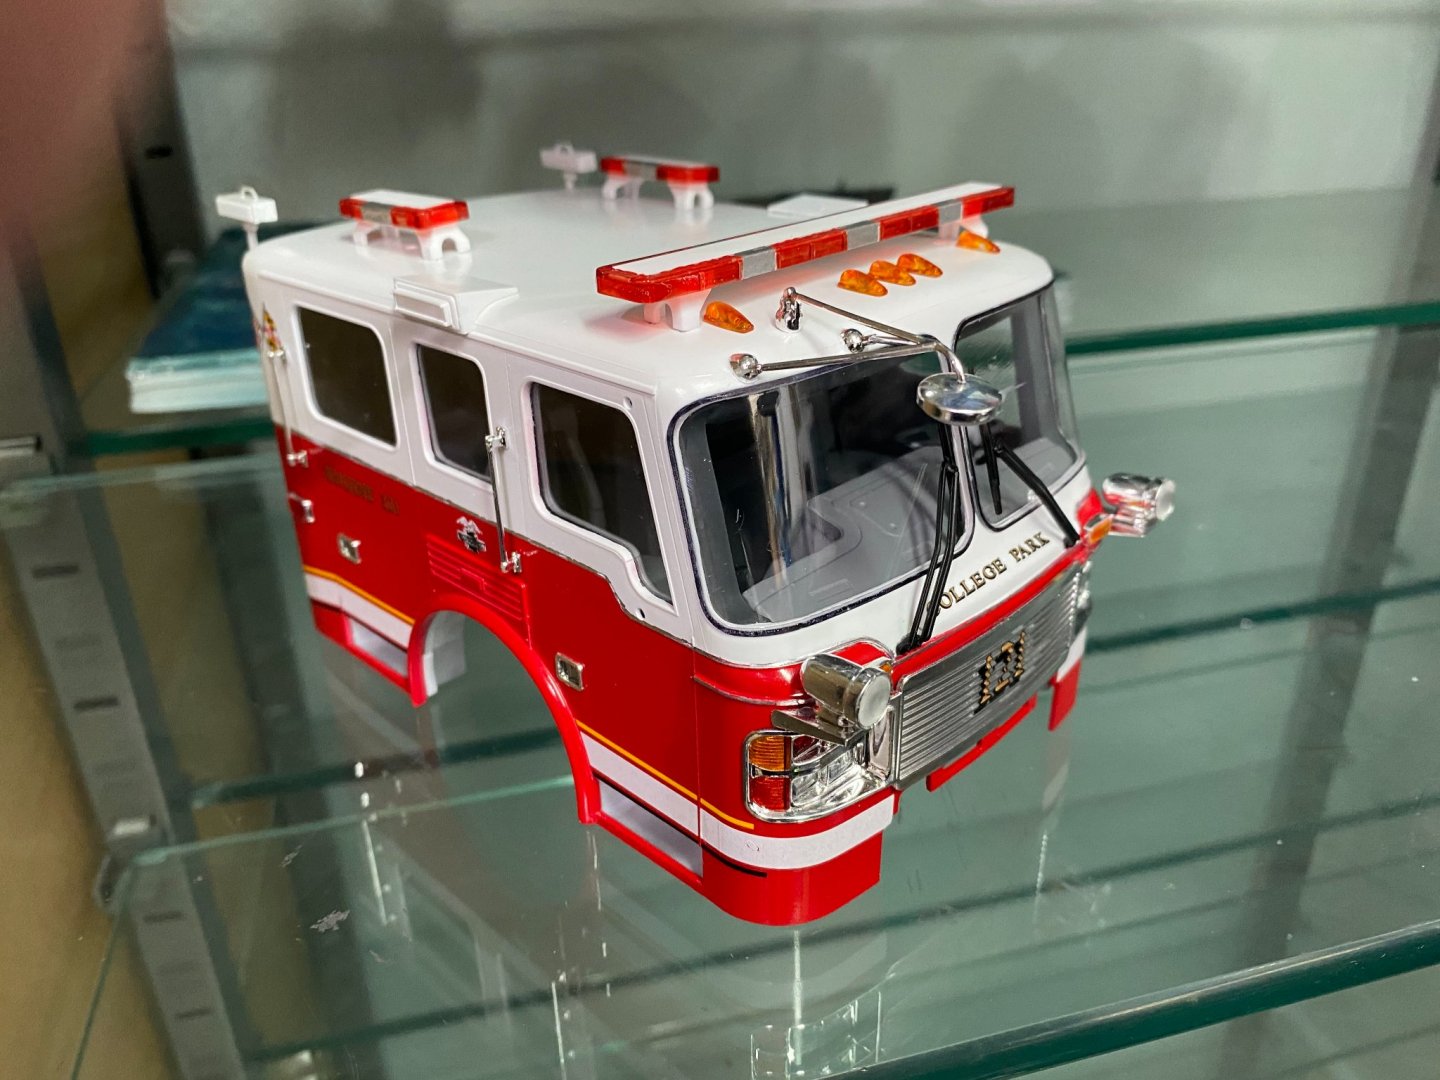
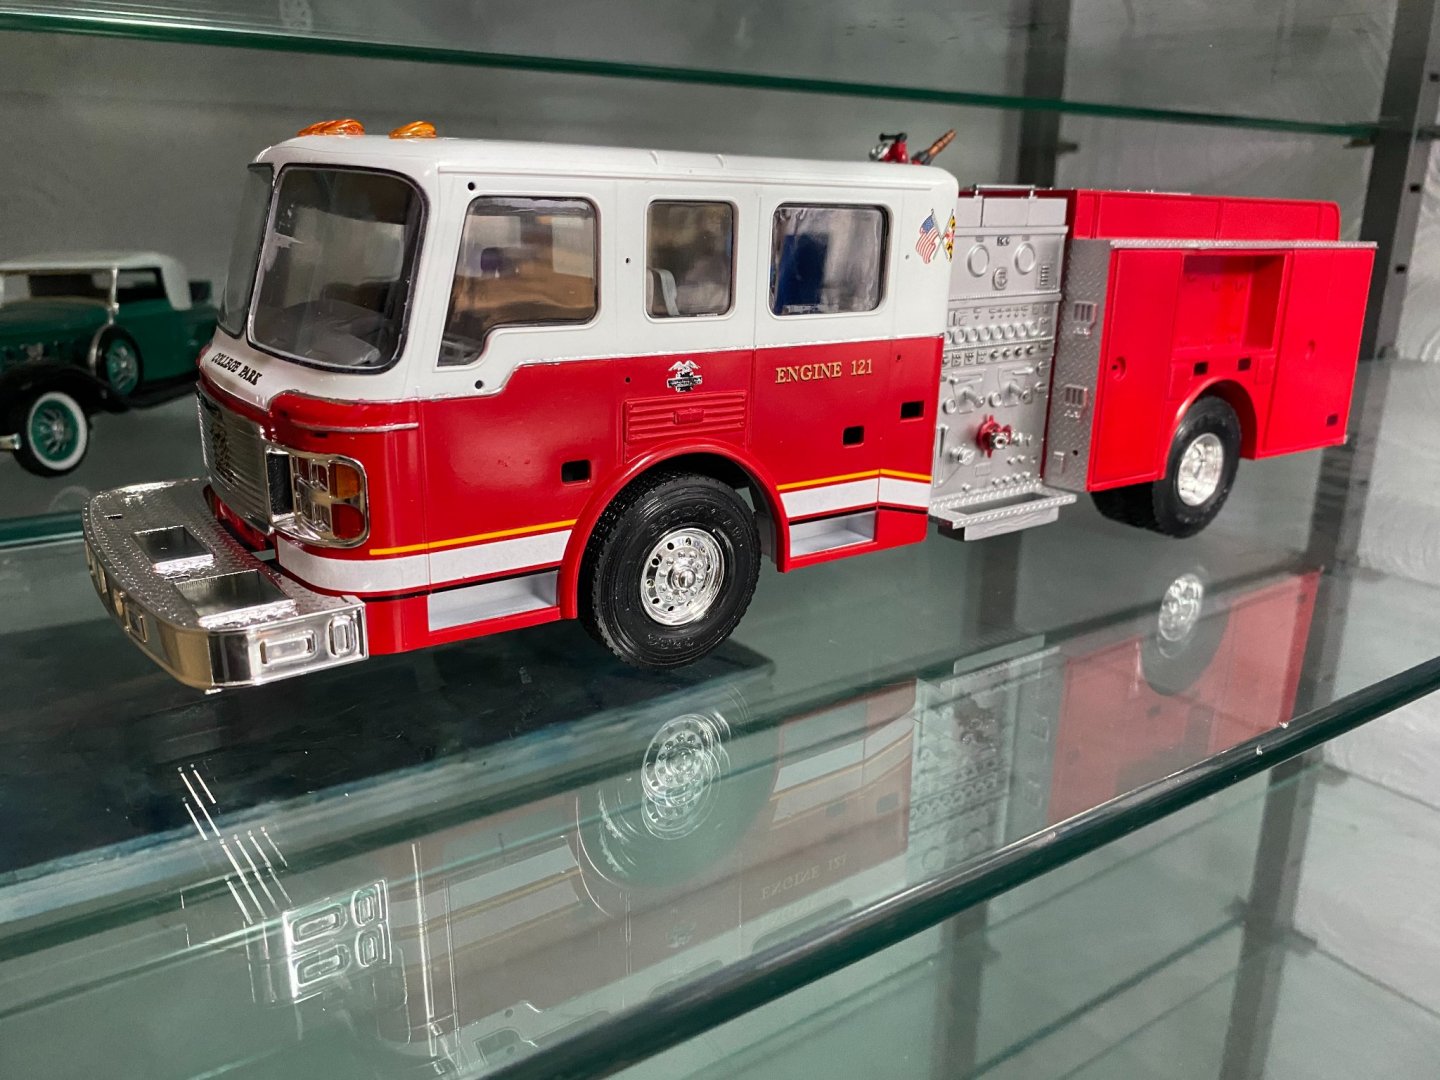
Thanks gents. Kurt: what are the items highlighted by the arrows? The pair of items at the rear of the cab look like push brooms, but the painting guide shows the "broom" part being silver. No idea what the items are located mid cab unless maybe they are fresh air intakes, or lights, or ??
-
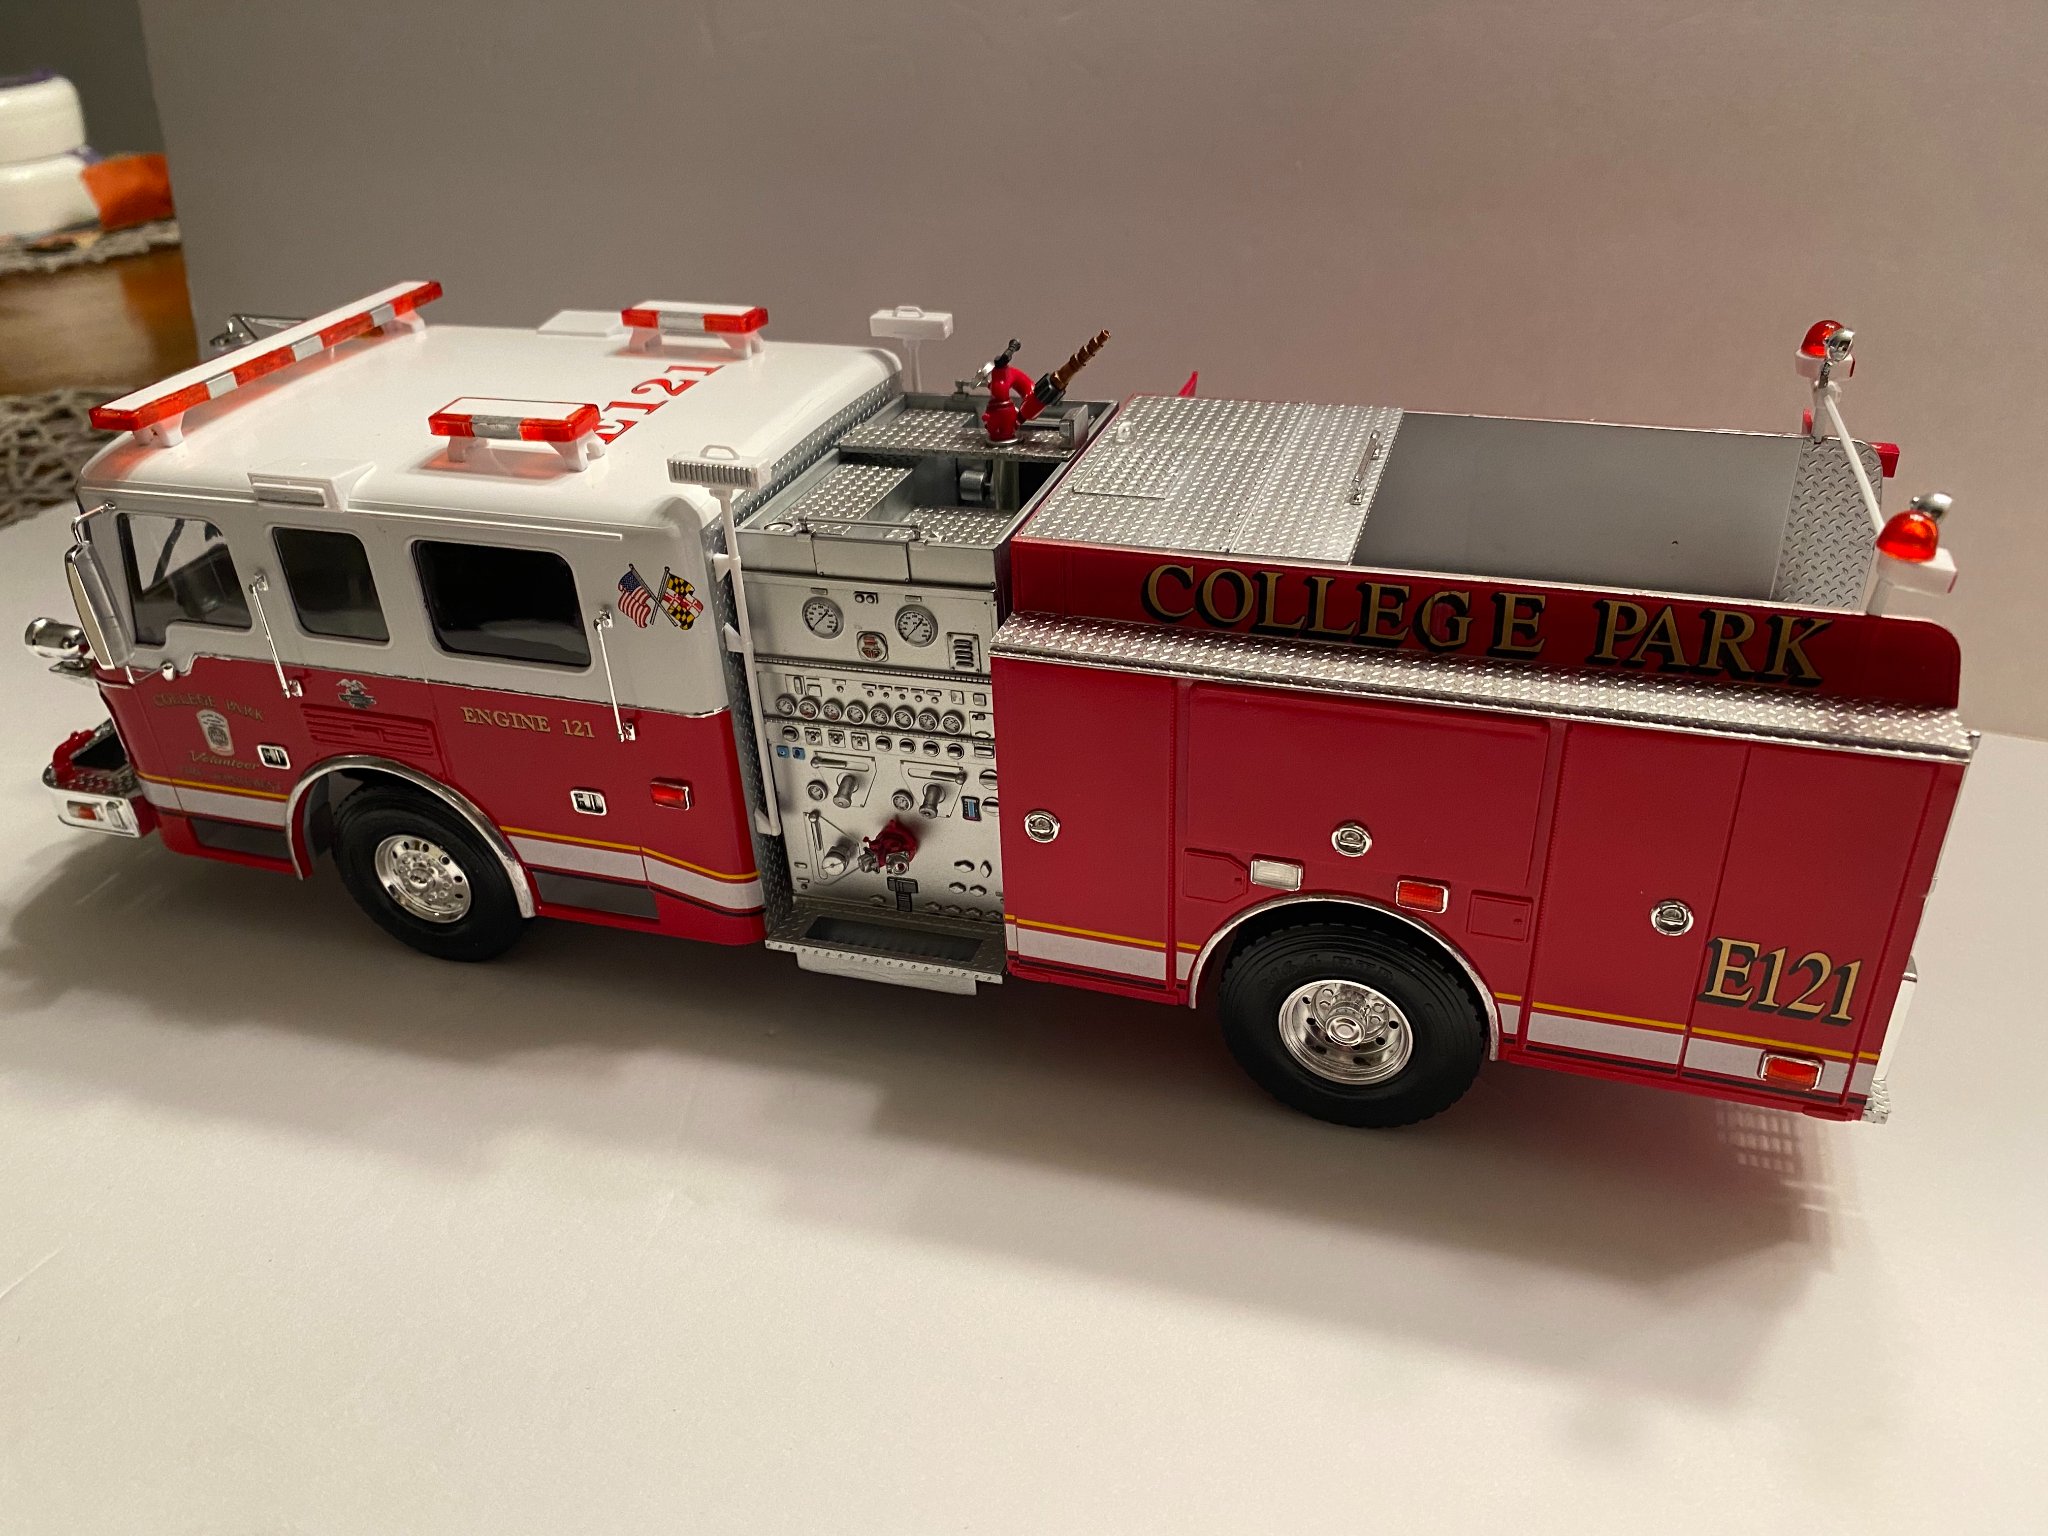
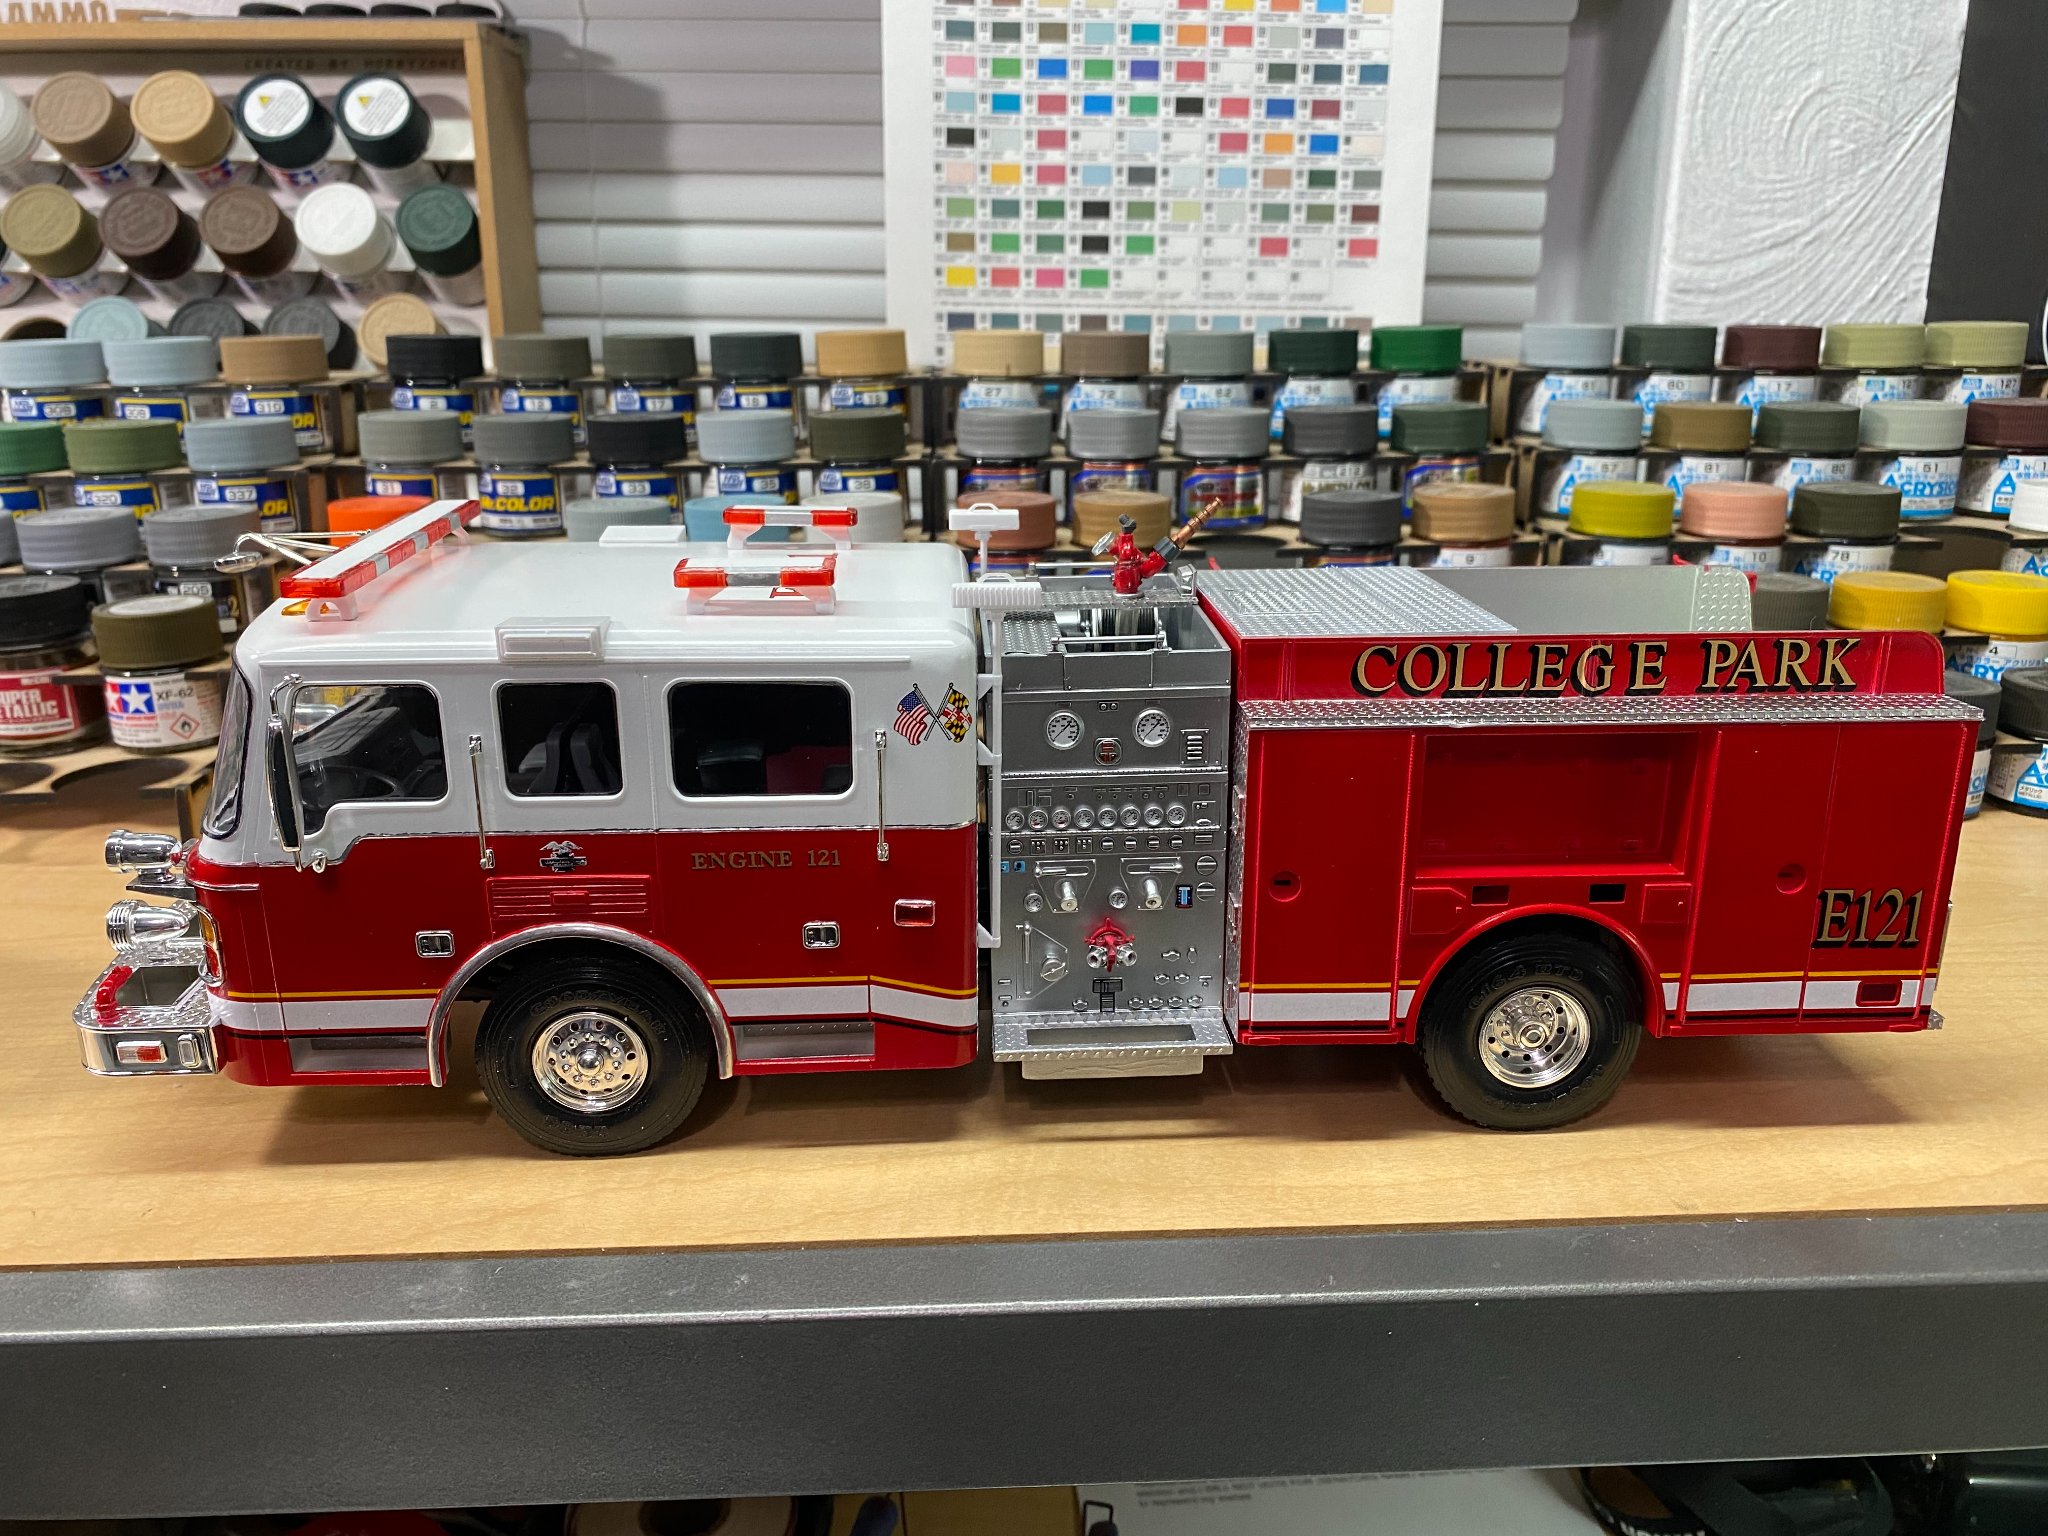
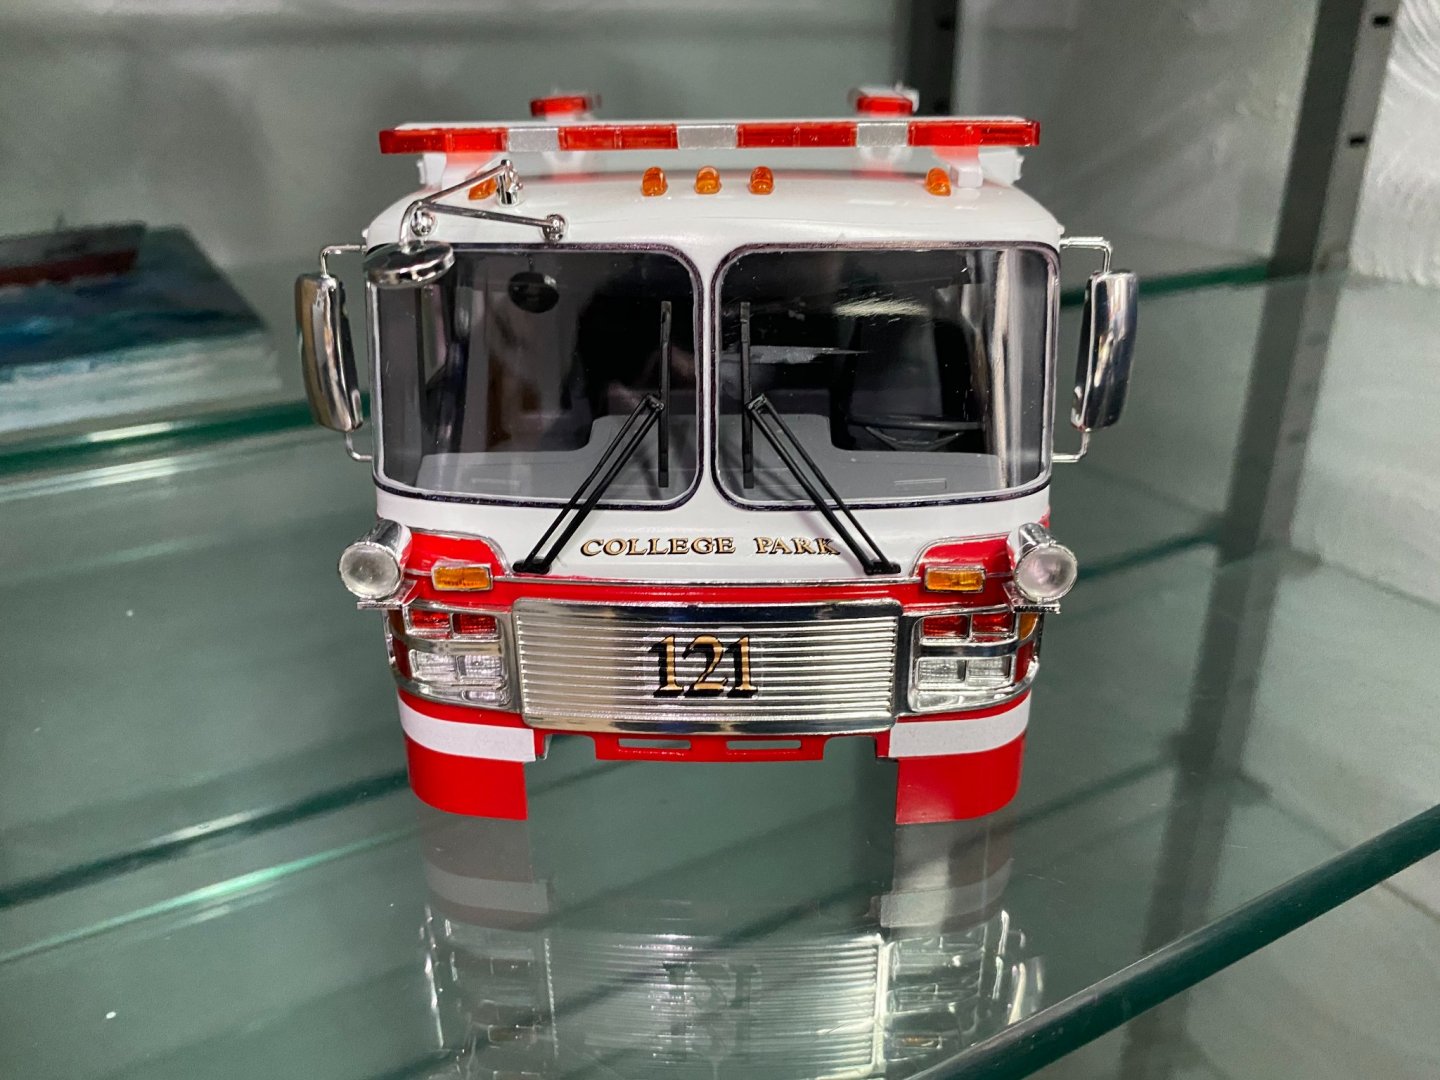
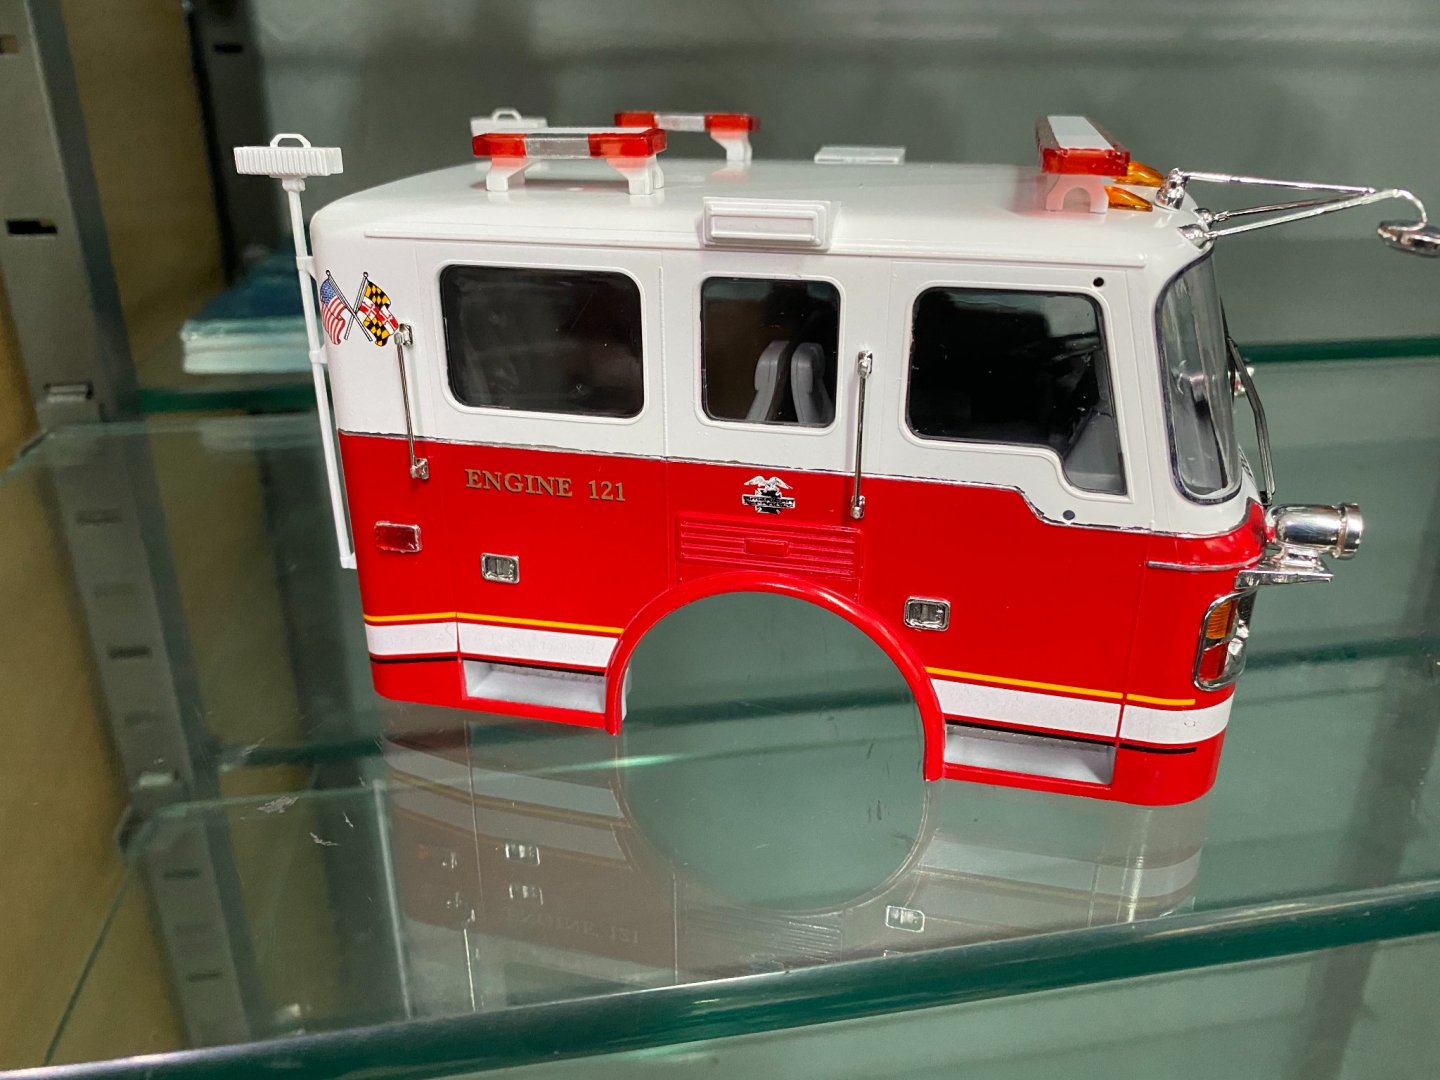
Dry Fit Getting closer to the finish. Decal work is 99% complete. Maybe another 10 hours and it will be a wrap, depending on how much hassle I have sourcing and creating the fire hose/tarp.


- 131 replies
-
- 11
-
-
Thanks OC
-
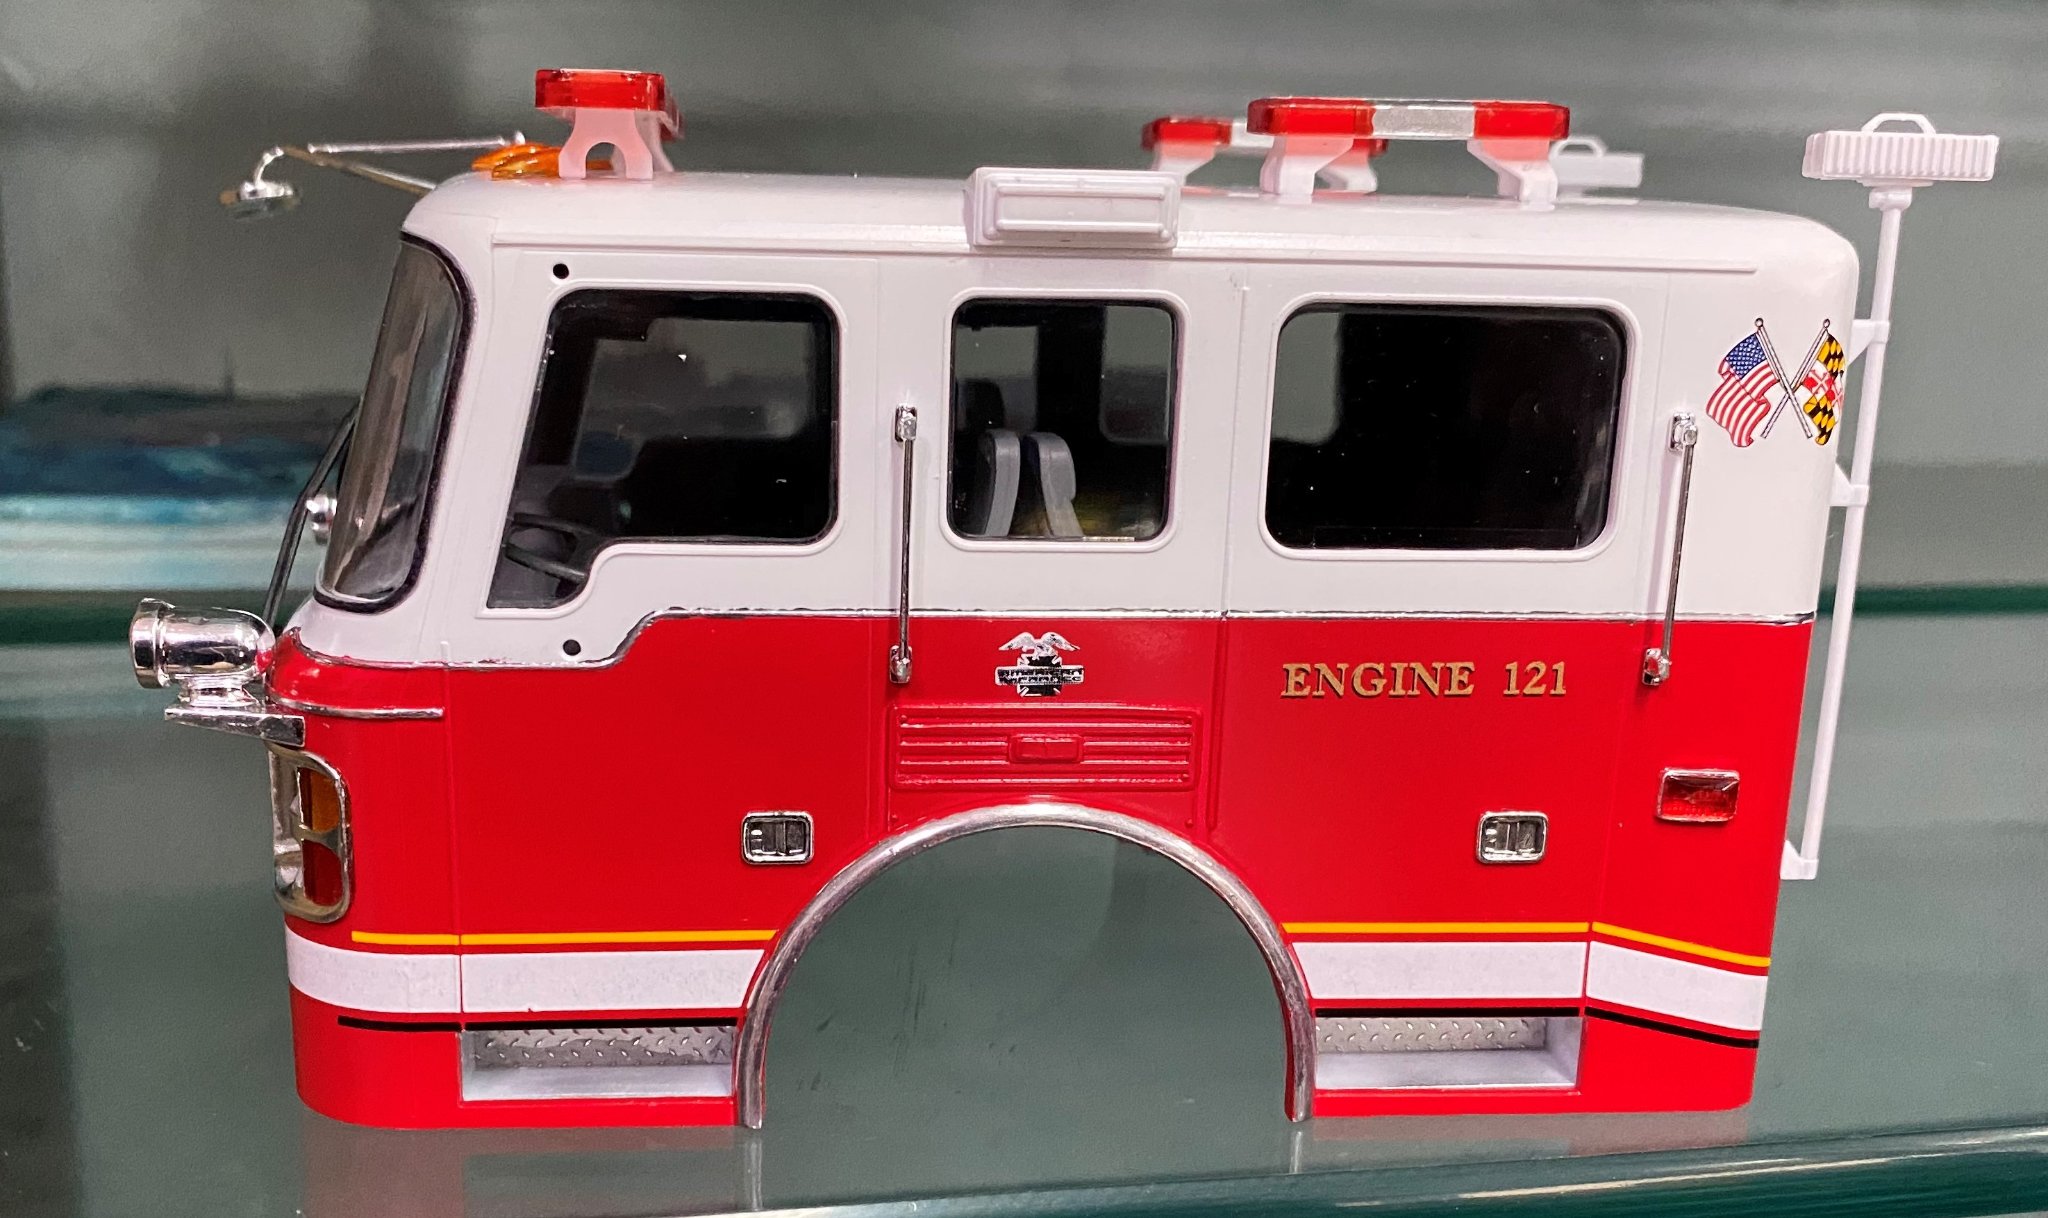
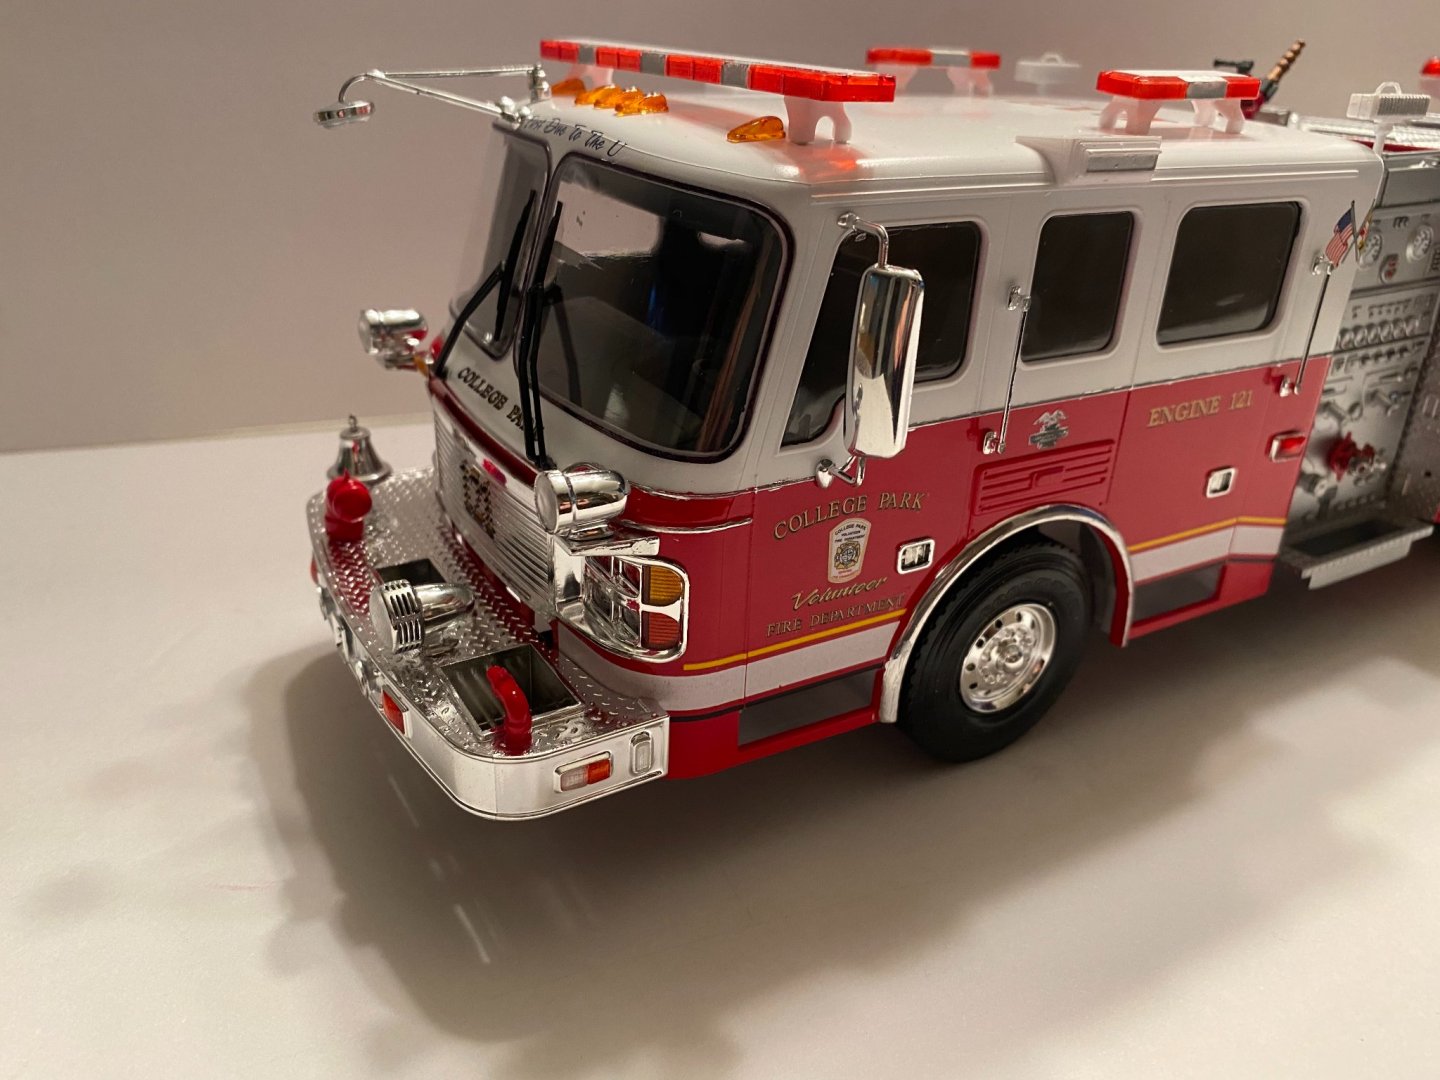
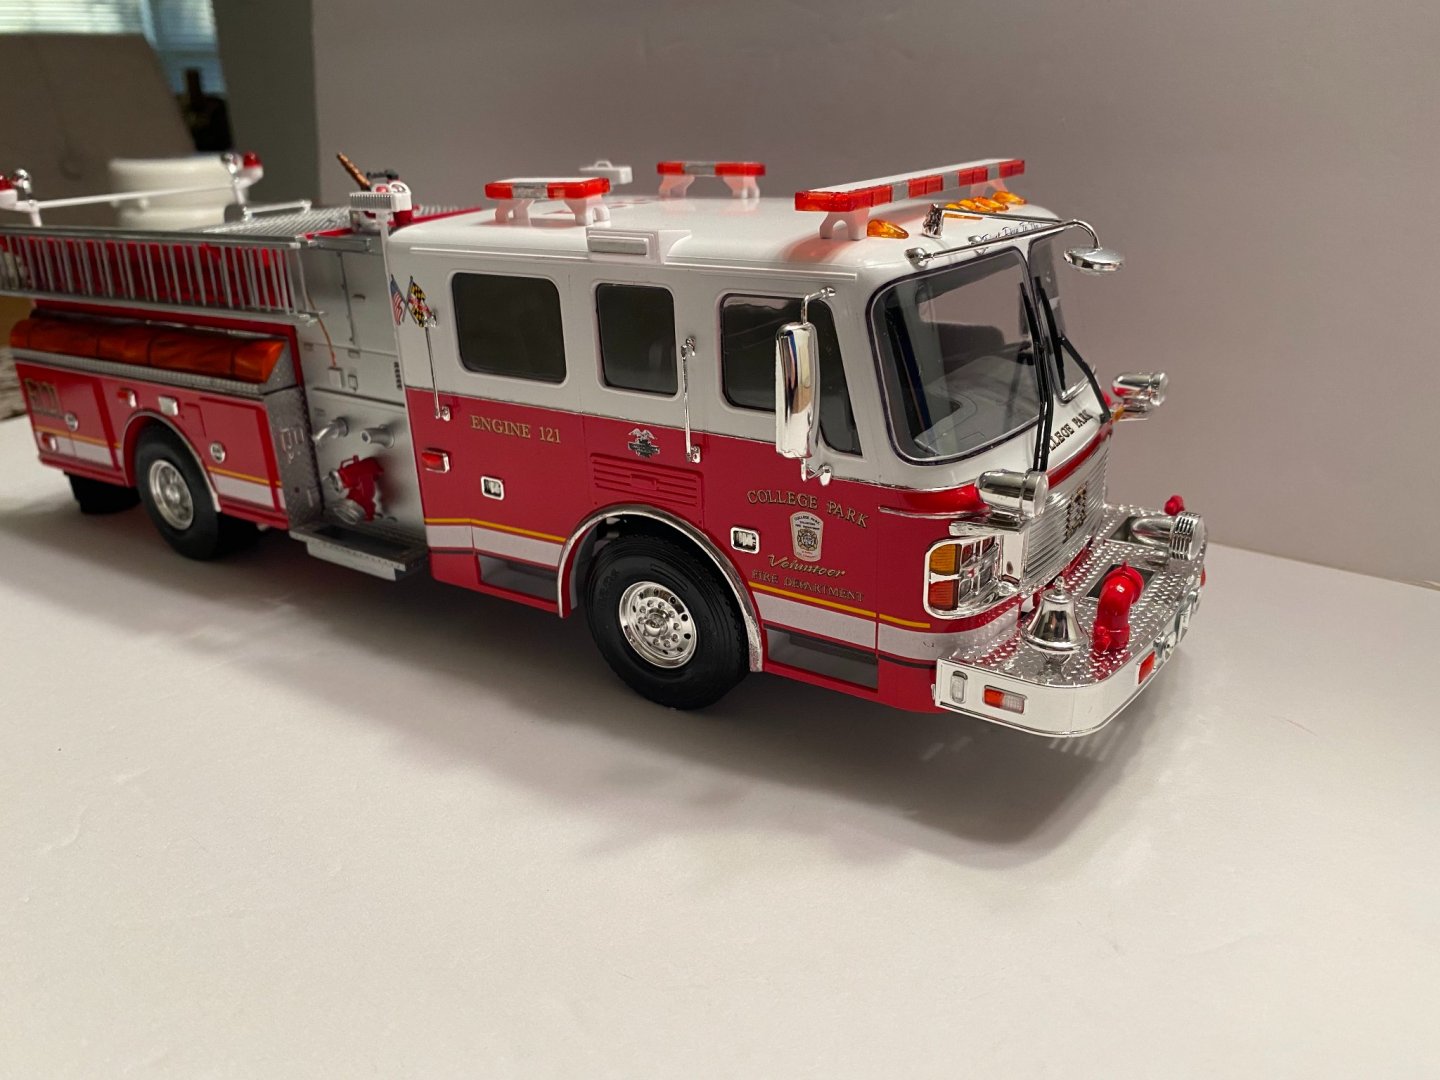
My front windscreens were warped. I had to bind them to the cab with rubber bands while the cement dried to hold them on. When I applied the Tamiya liquid cement, some cement found it's way to a rubber band and wicked itself onto the windscreen leaving it marred. I sanded the windscreen then applied three grades of Tamiya compound, trying to polish out the imperfection. After that, I applied one coat of Future floor polish with a brush. Unfortunately, I was unable to remove the entire imperfection as it was too deep, but the remainder of the windscreen polished up very well.
-
Thanks Lou. I have not yet decided what I will do for hose. Will get to that part later on after the rest of the model is finished. Still quite a lot to do on her. I had intended to show a photo with the side mirrors attached but forgot to post it in the last update.
- 131 replies
-
- 12
-
-
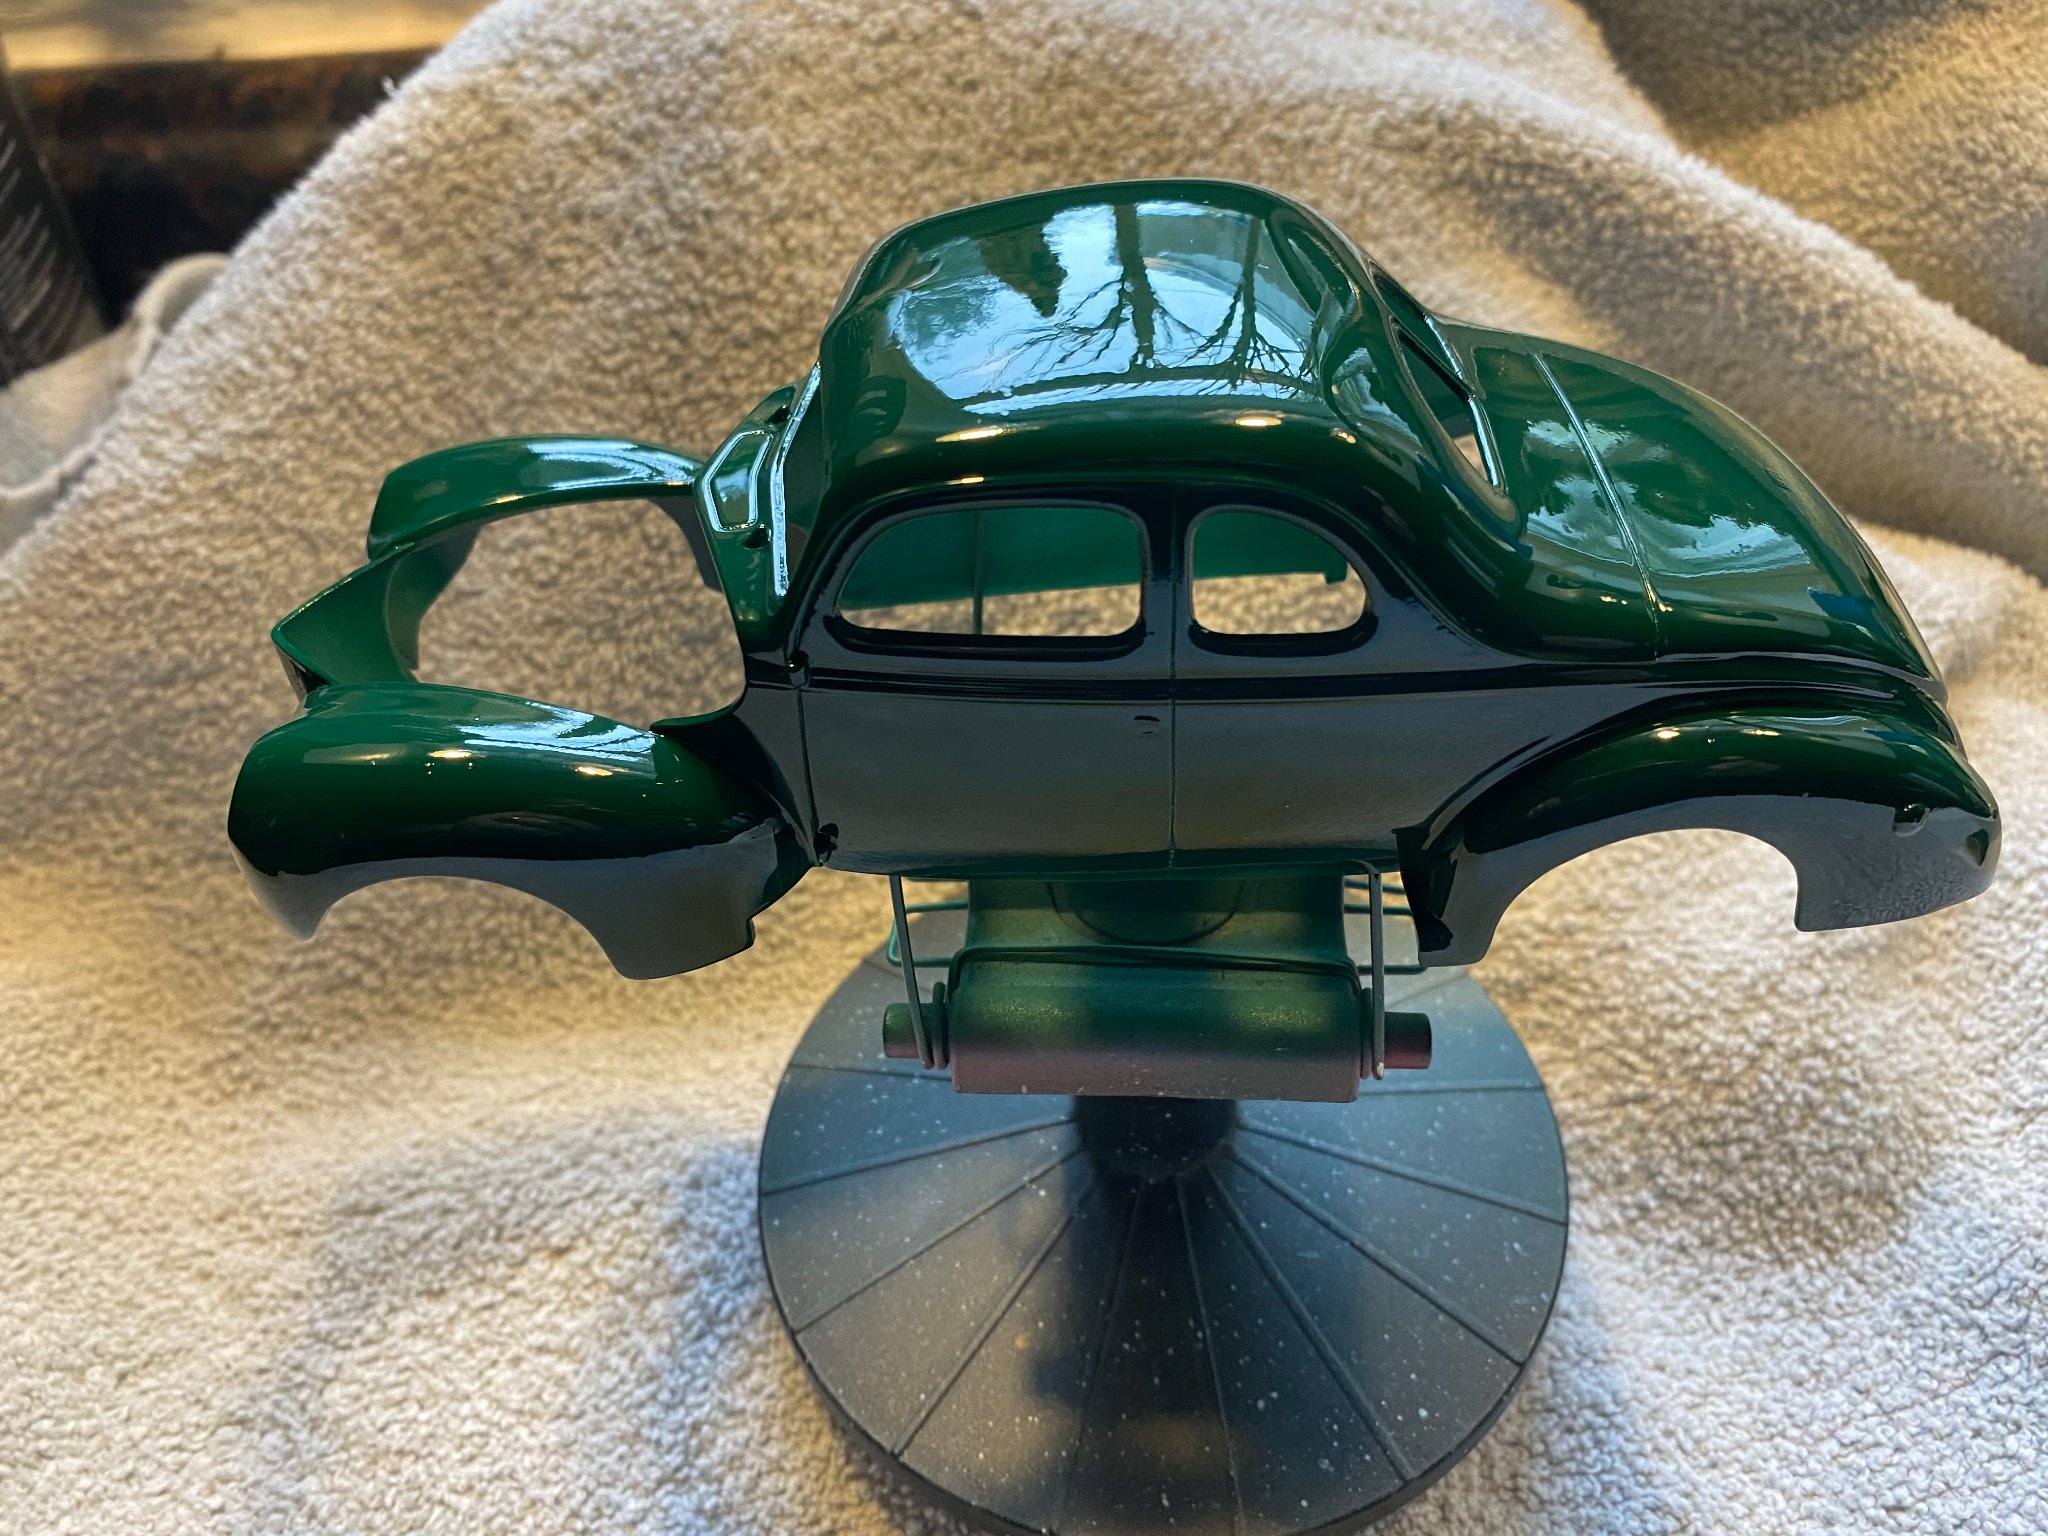
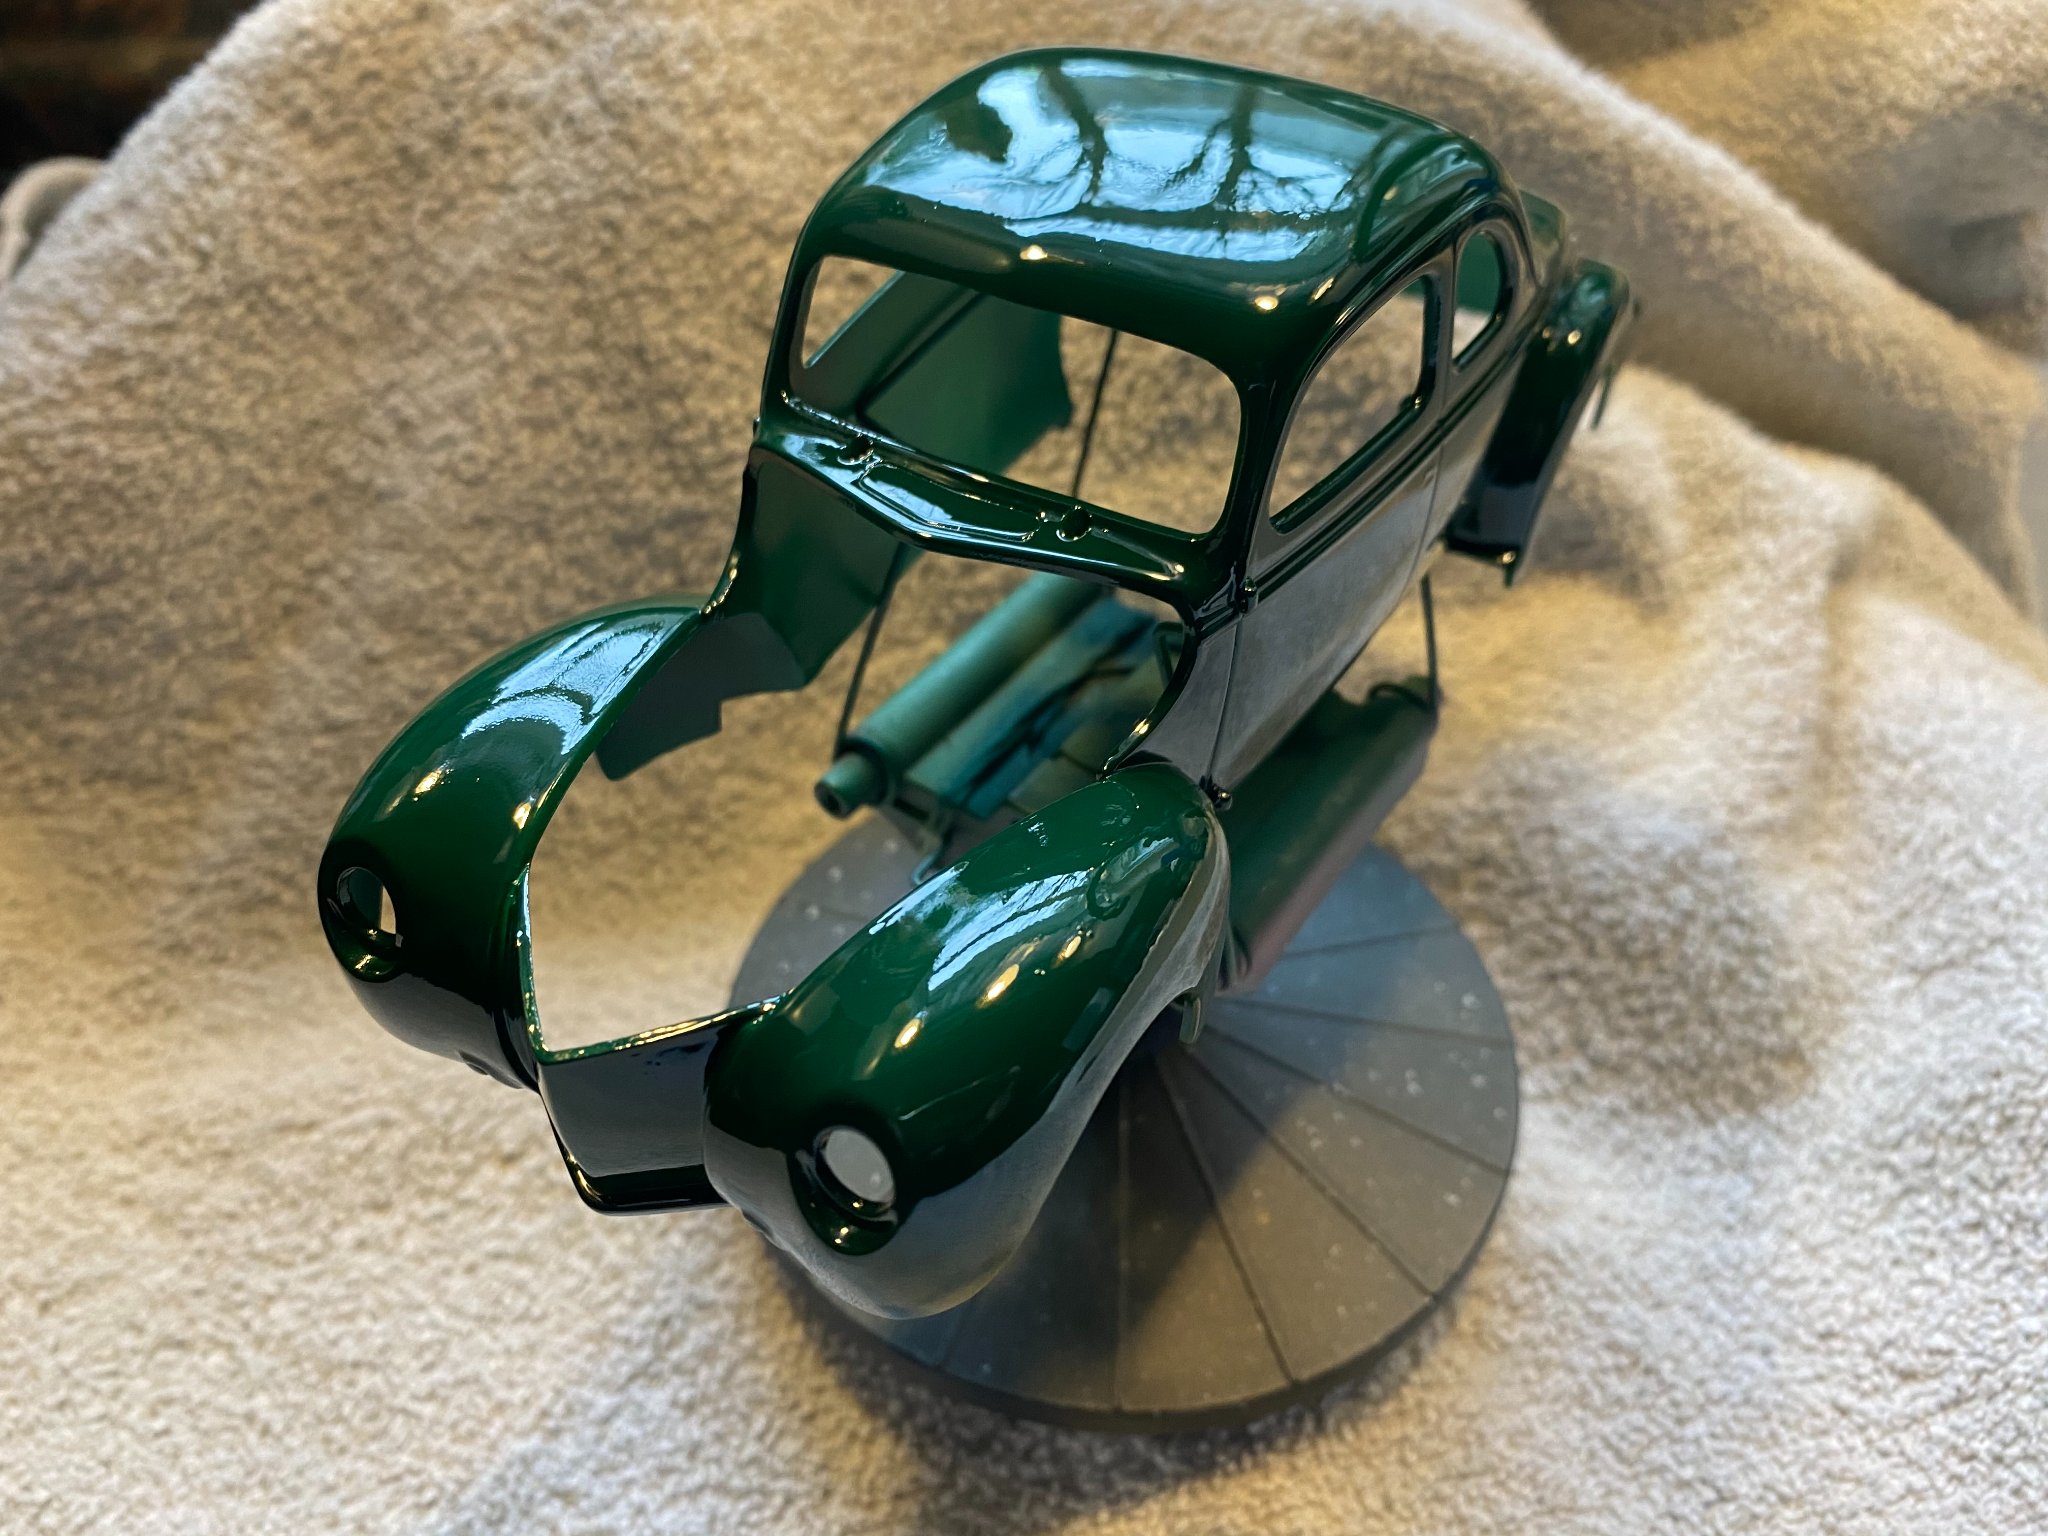
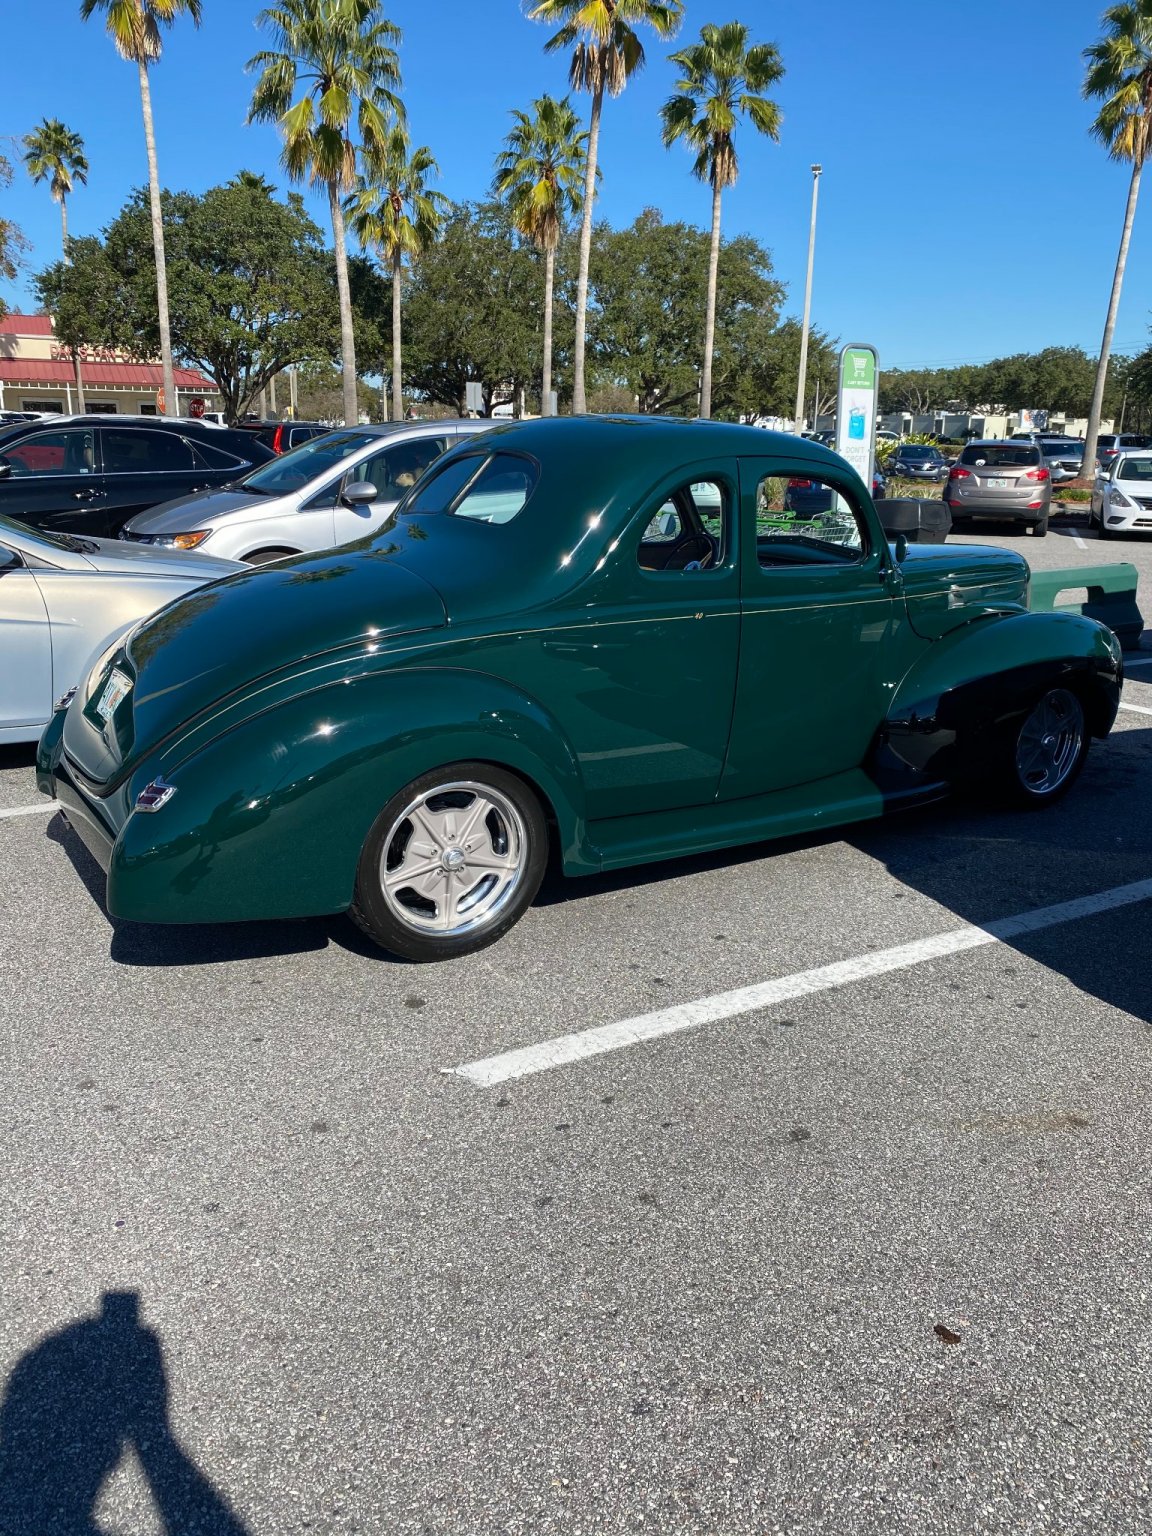
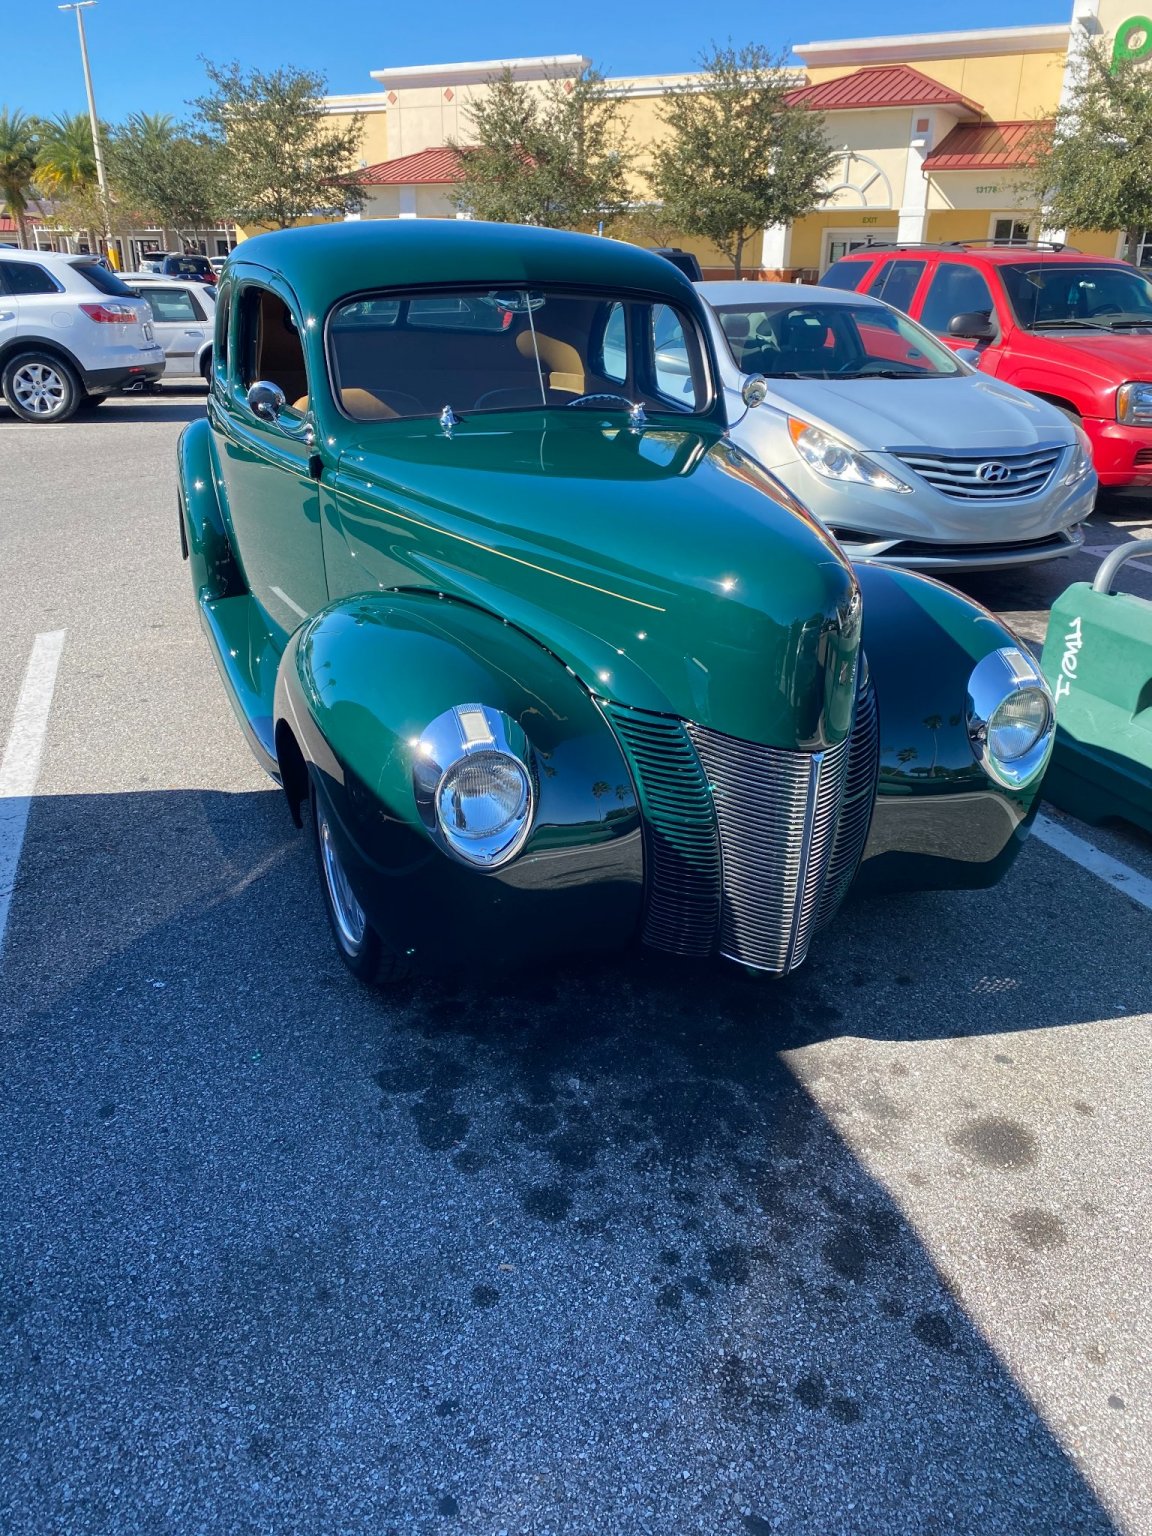
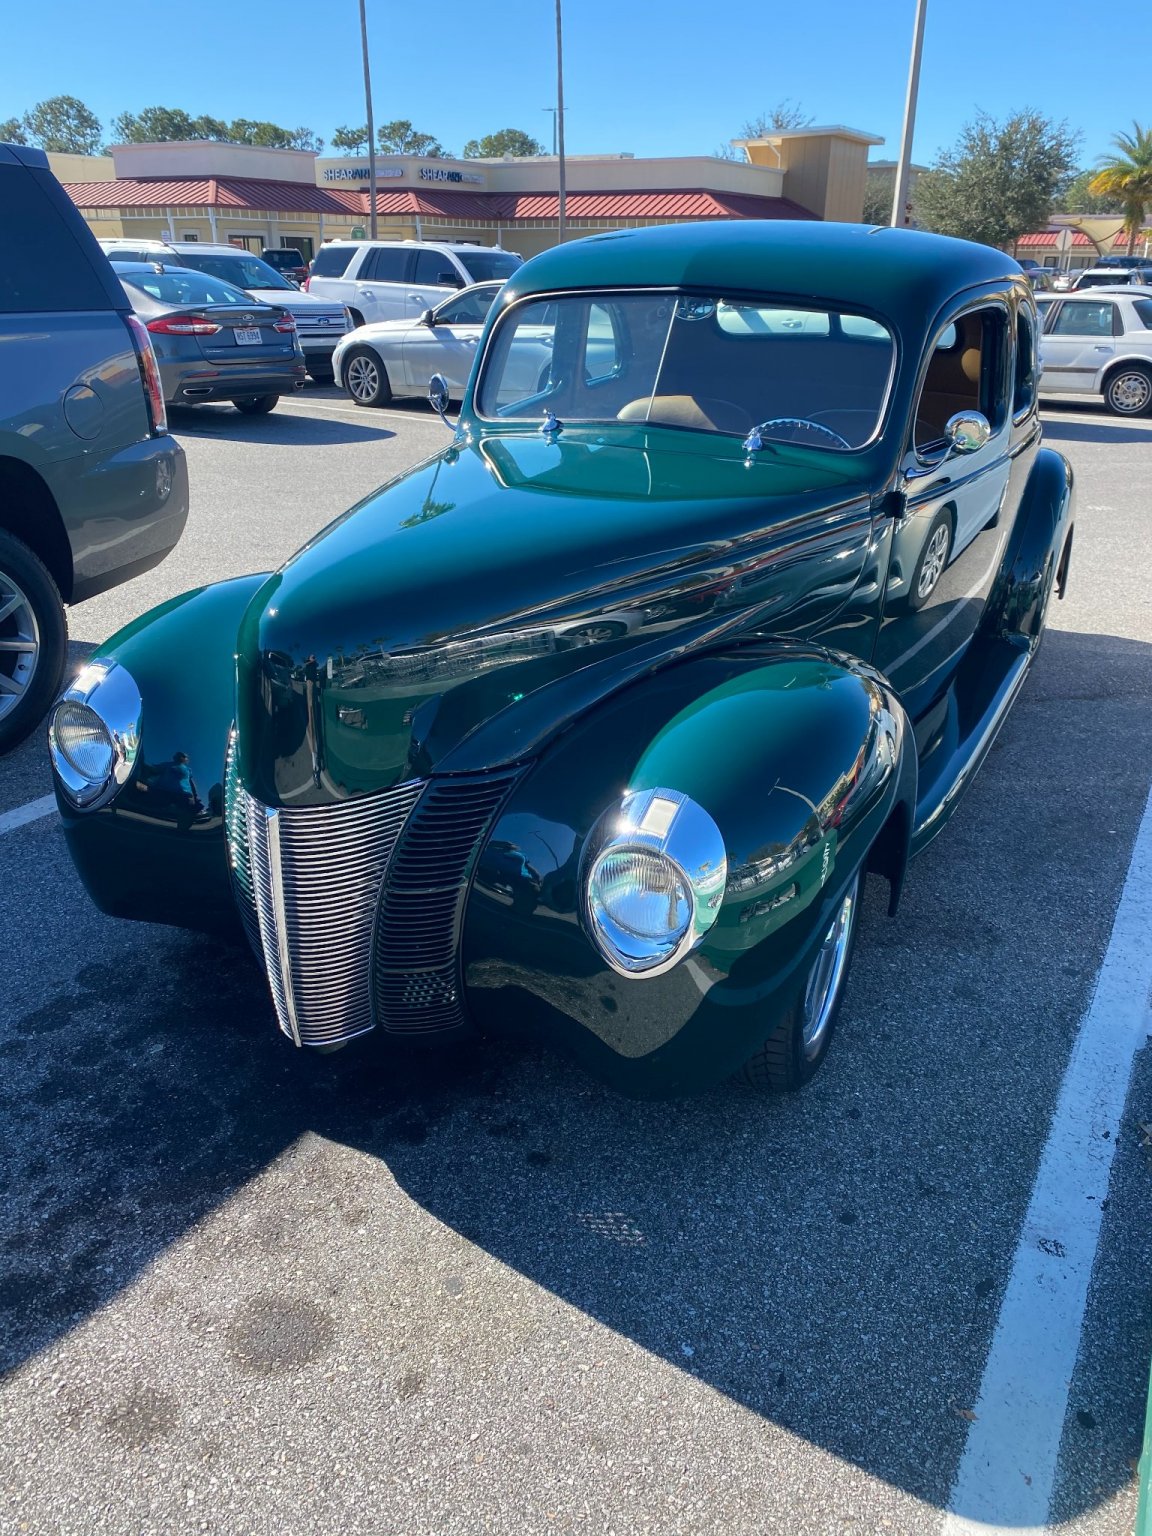
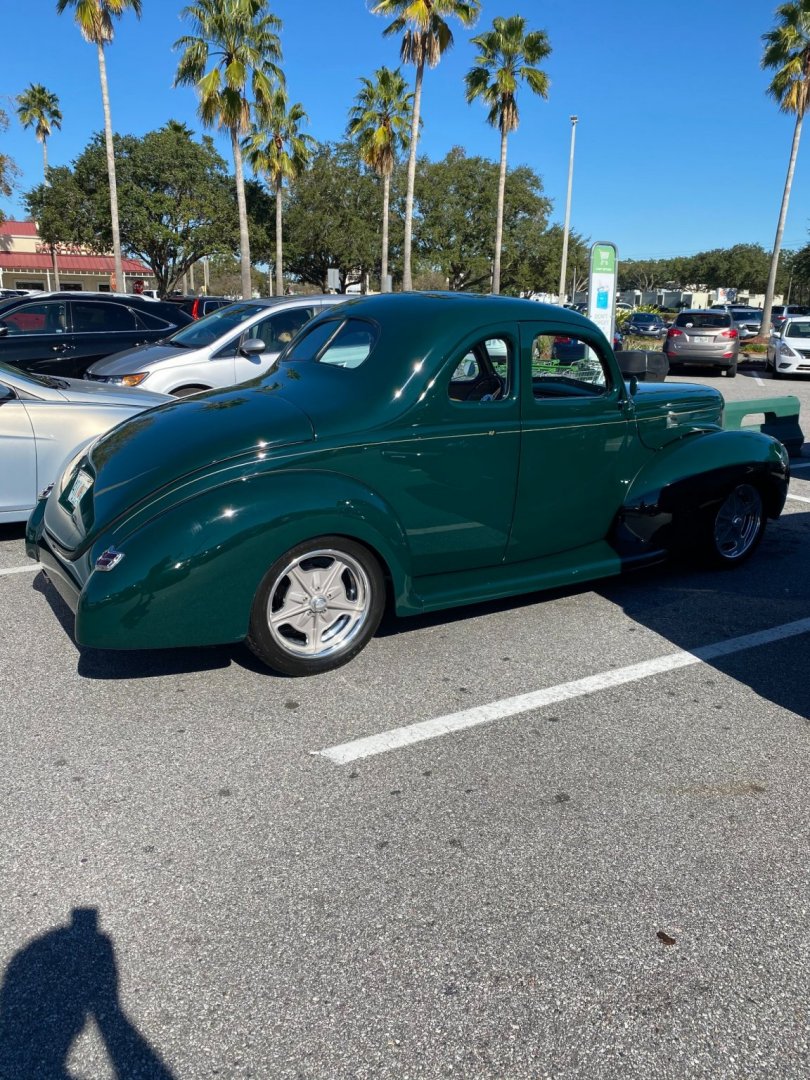
Personalized license plate fee is $5 extra here in Florida where I live. The cost of the actual plate can vary, but is a small cost. The driver/owner of the '40 Ford in my photo does not drive it in the rain...it had no windshield wipers in this photo. I was shocked he left the windows rolled down. 😮
-
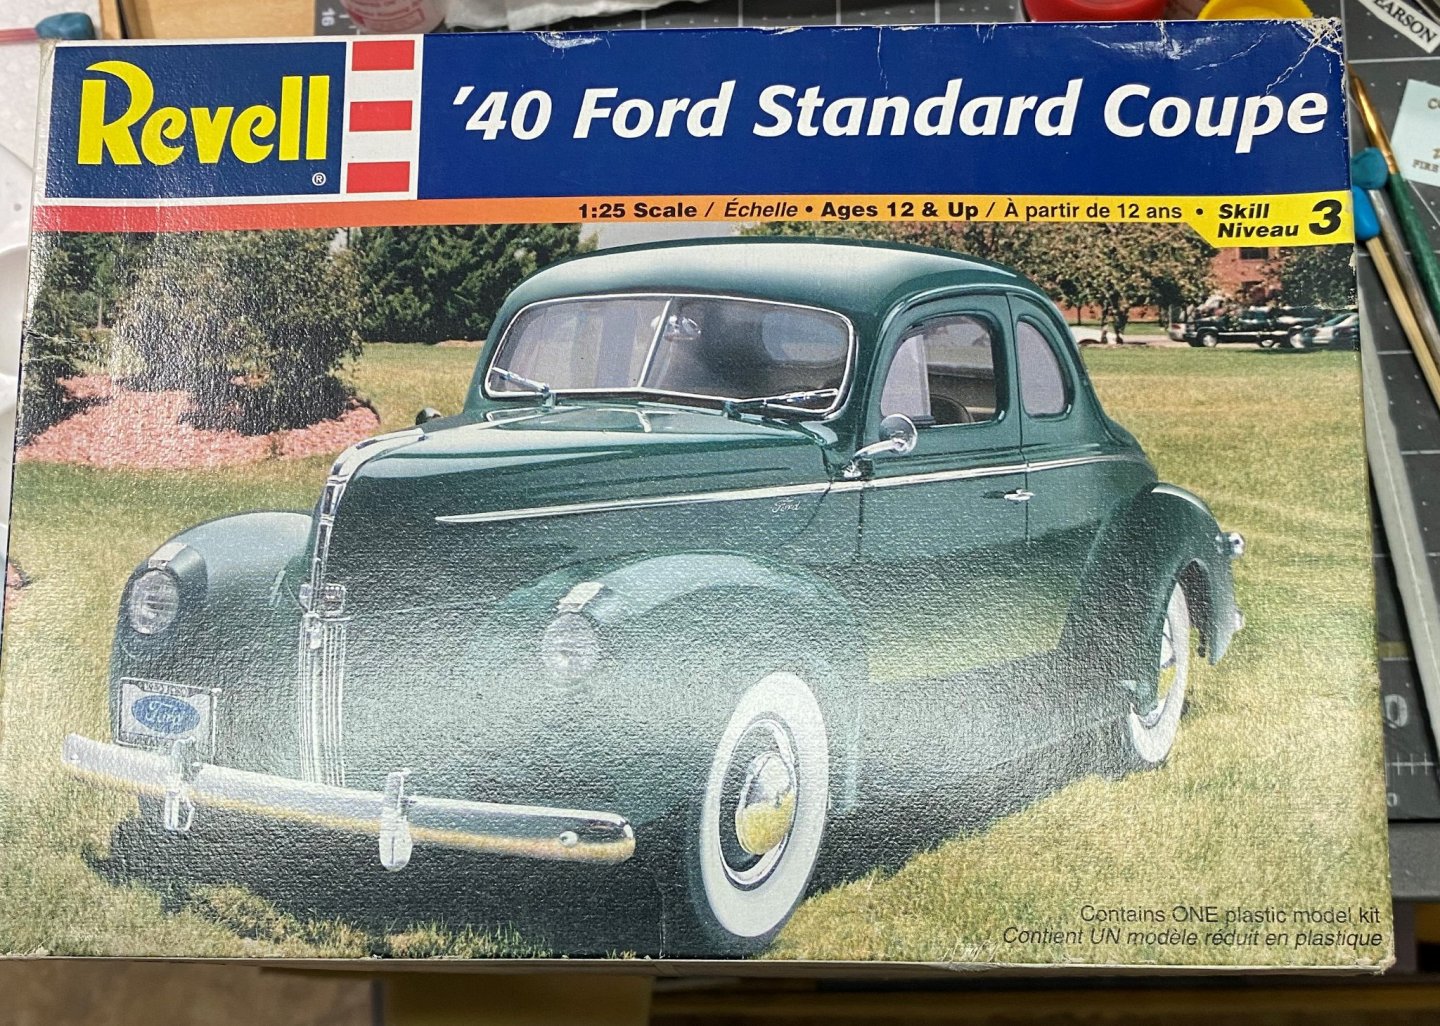
While the wife and I shopped at our local grocery store, I saw this beautiful 1940 Ford Coupe in the parking lot. A brave man to drive this thing and leave it parked in a crowded parking lot. She was a beauty and serves as the inspiration to build this 1:25 scale Revell kit of the very same car as my next project. Will keep mine completely stock for this project, whereas the 1:1 car is a mild custom. It had a real cool license plate that read: "4TY FORD"


- 63 replies
-
- 16
-
-
Had hoped I would finish the cab today, but I still have the side mirrors and some chrome trim using bare metal foil to complete it.


- 131 replies
-
- 14
-
-
I missed that movie. 😄
-
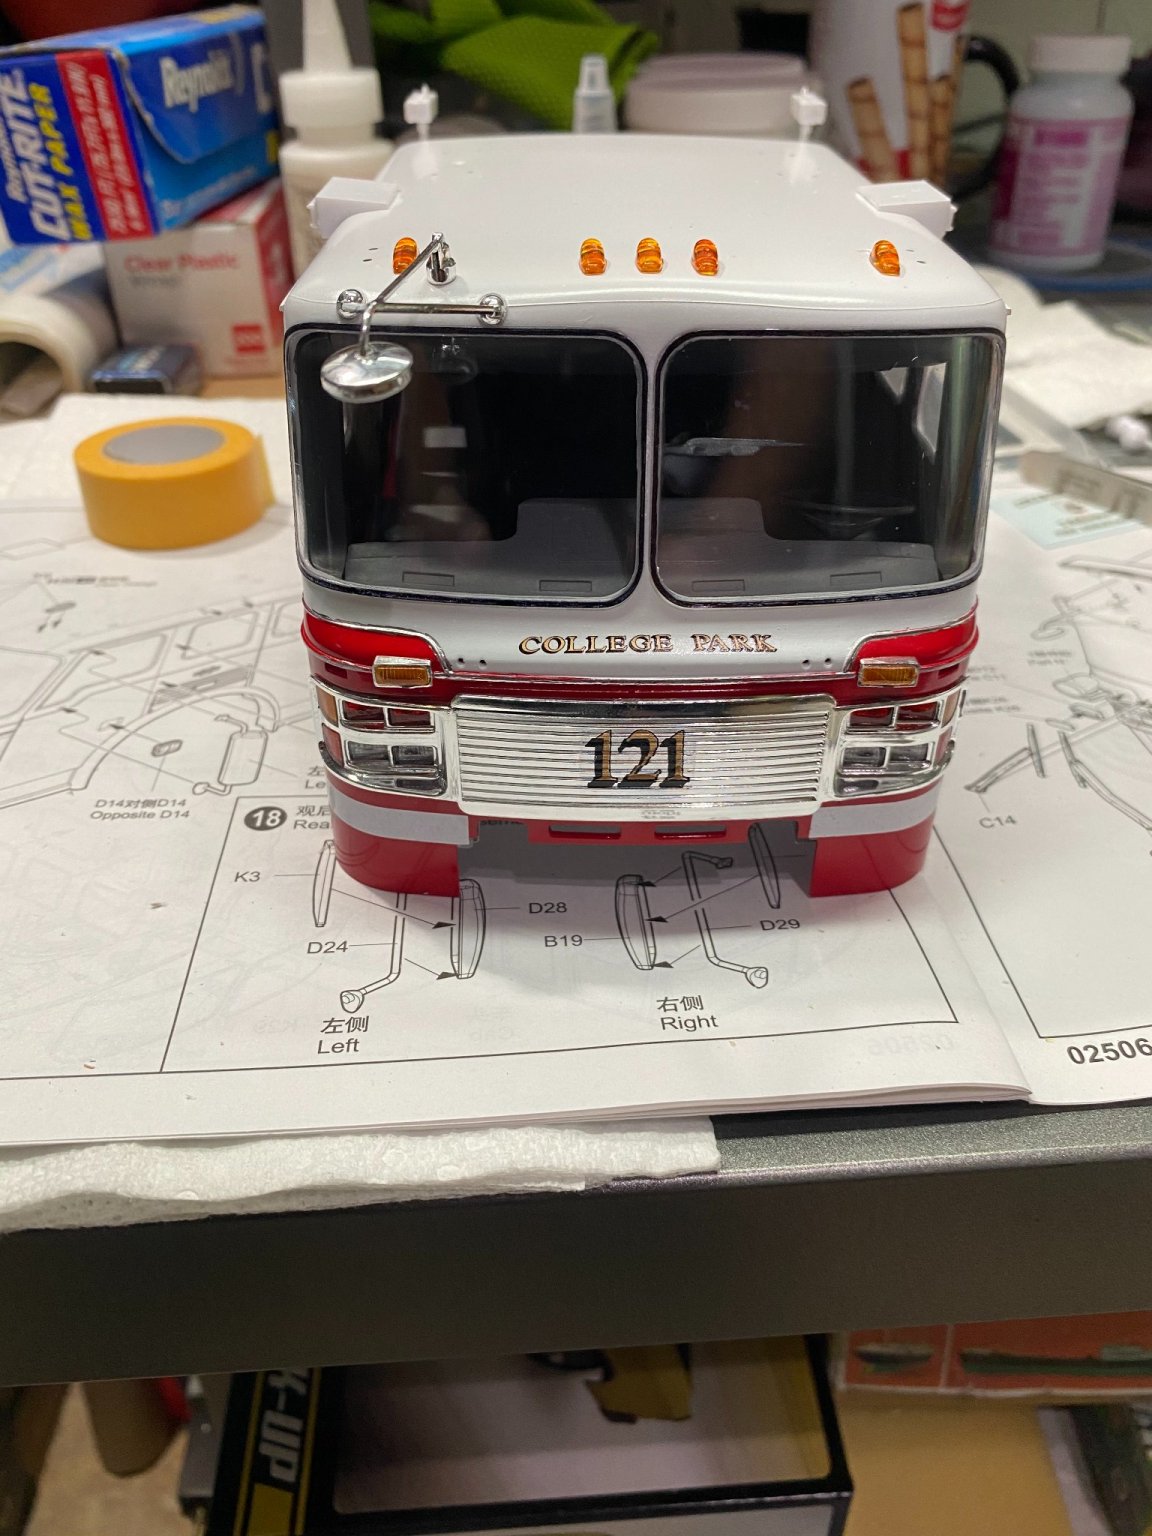
Yes, that front bumper protrudes way out beyond the face of the cab. And I have also seen those mirrors on city transit buses. i just wasn't sure whether there might be other reasons such as controls. Thanks for the input Kurt.
-
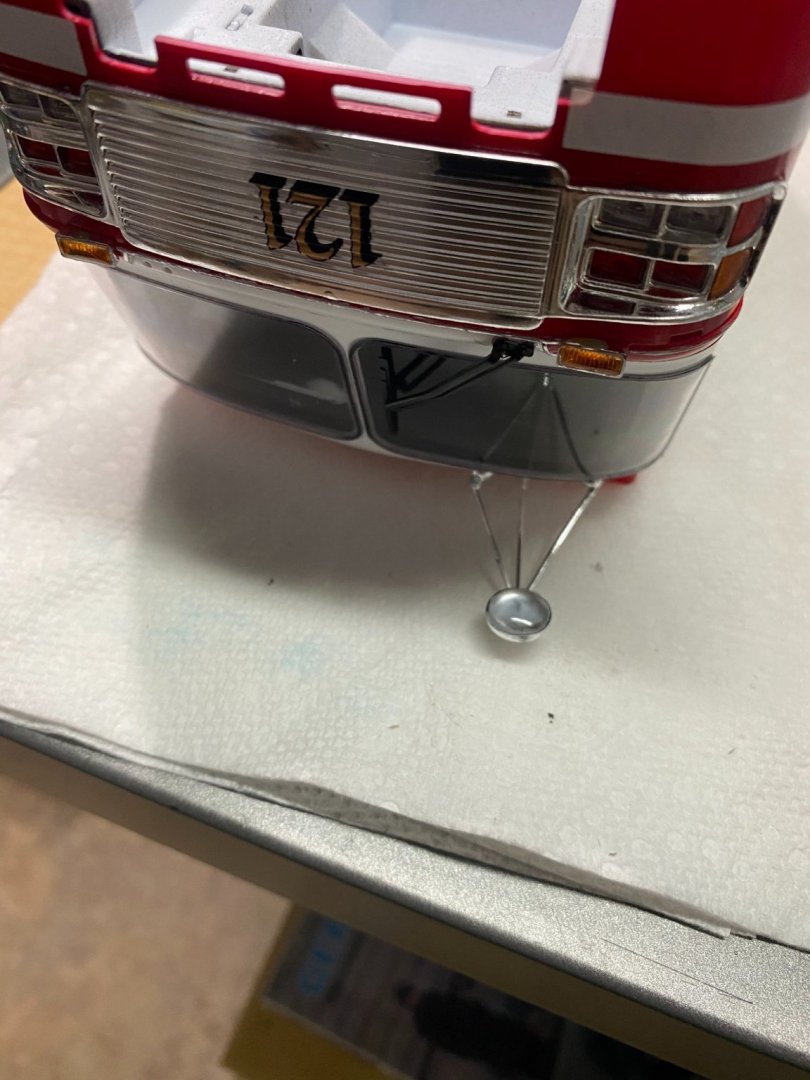
This is another view of the gizmo mirror, from the bottom.
-
It's a mirror. I presume there are controls inside the cab that require the mirror in order to see the gizmo's mounted to the big bumper. Hopefully Kurt will chime in and let us know the full story on that.
-
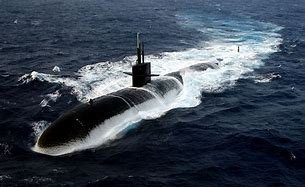
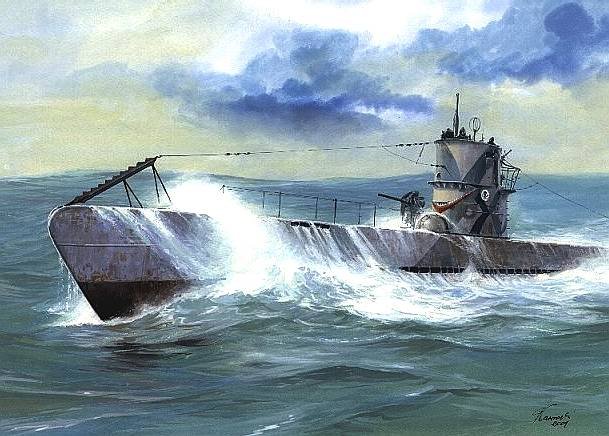
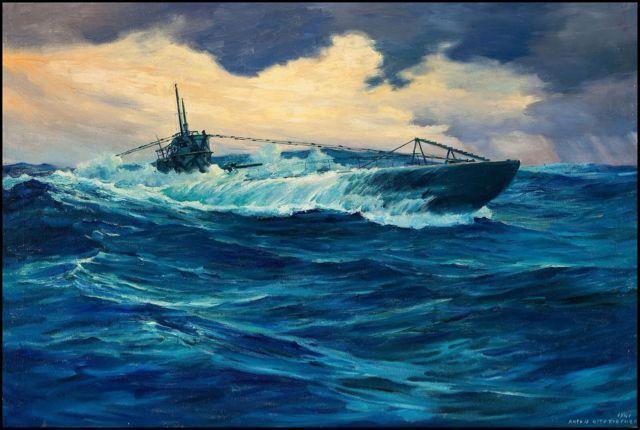
For me, this was an experiment on creating an ocean-diorama type base. First time trying to do it. My focus was on the water, not the ship position in the water. To do what I envisioned doing, I would have needed either a deeper base, more than the 4 ply's of Dollar Tree foam board I used, or to have literally cut off half the ship from mid ship back to the stern. I wanted to give the appearance of a surfacing sub in rough water similar to this:
-
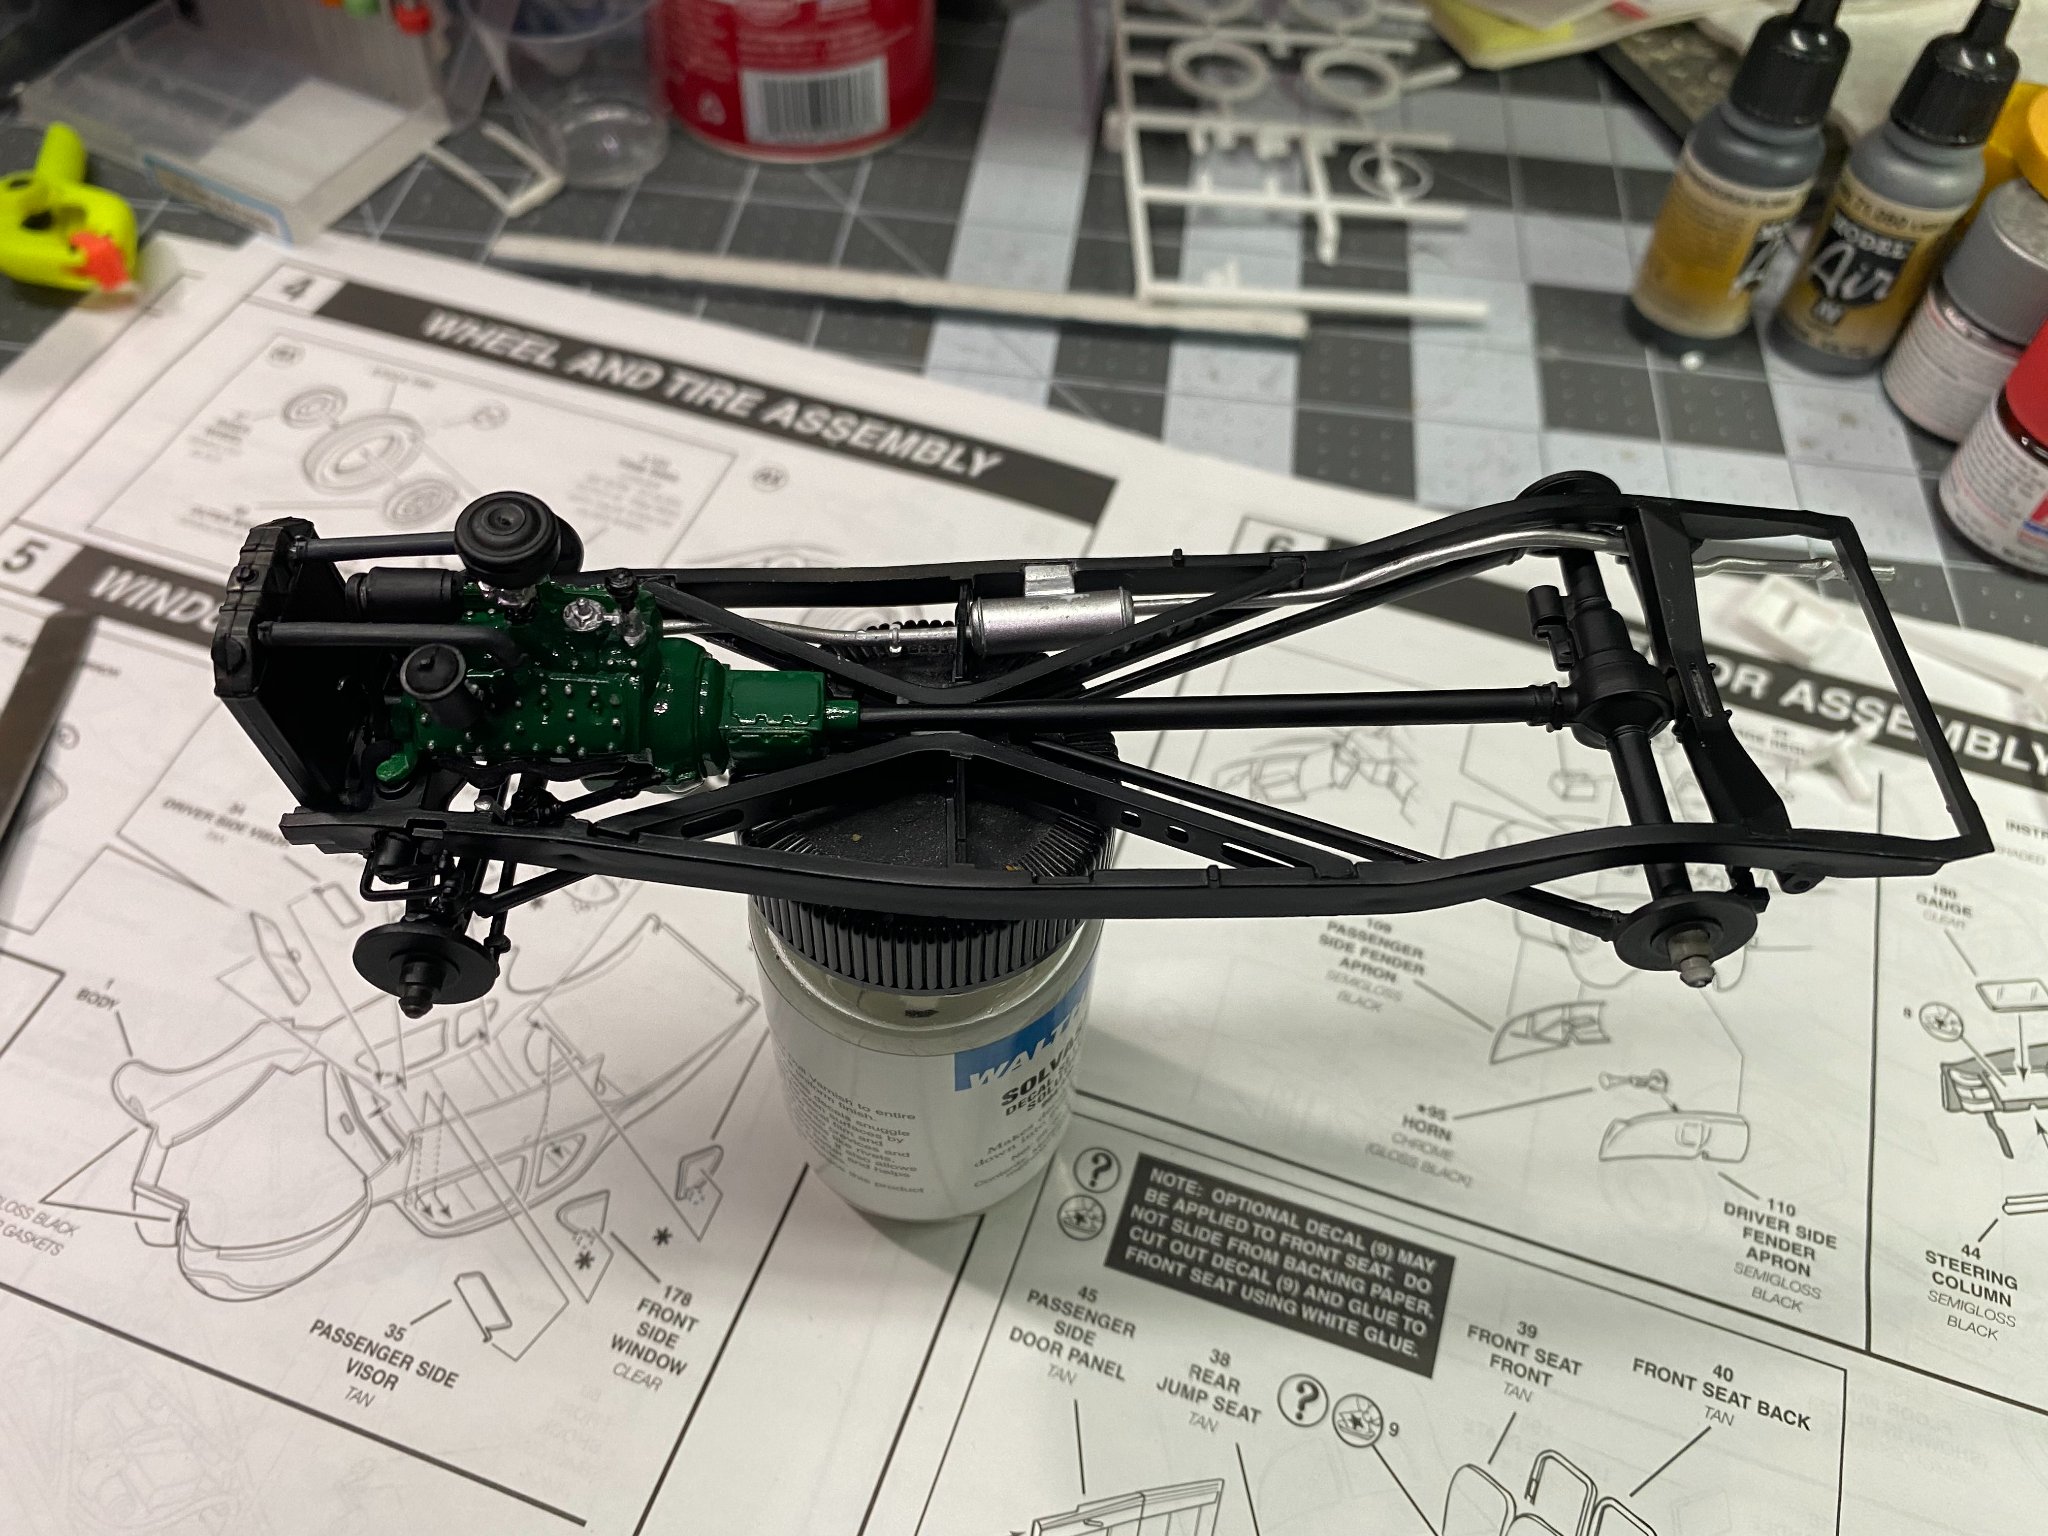
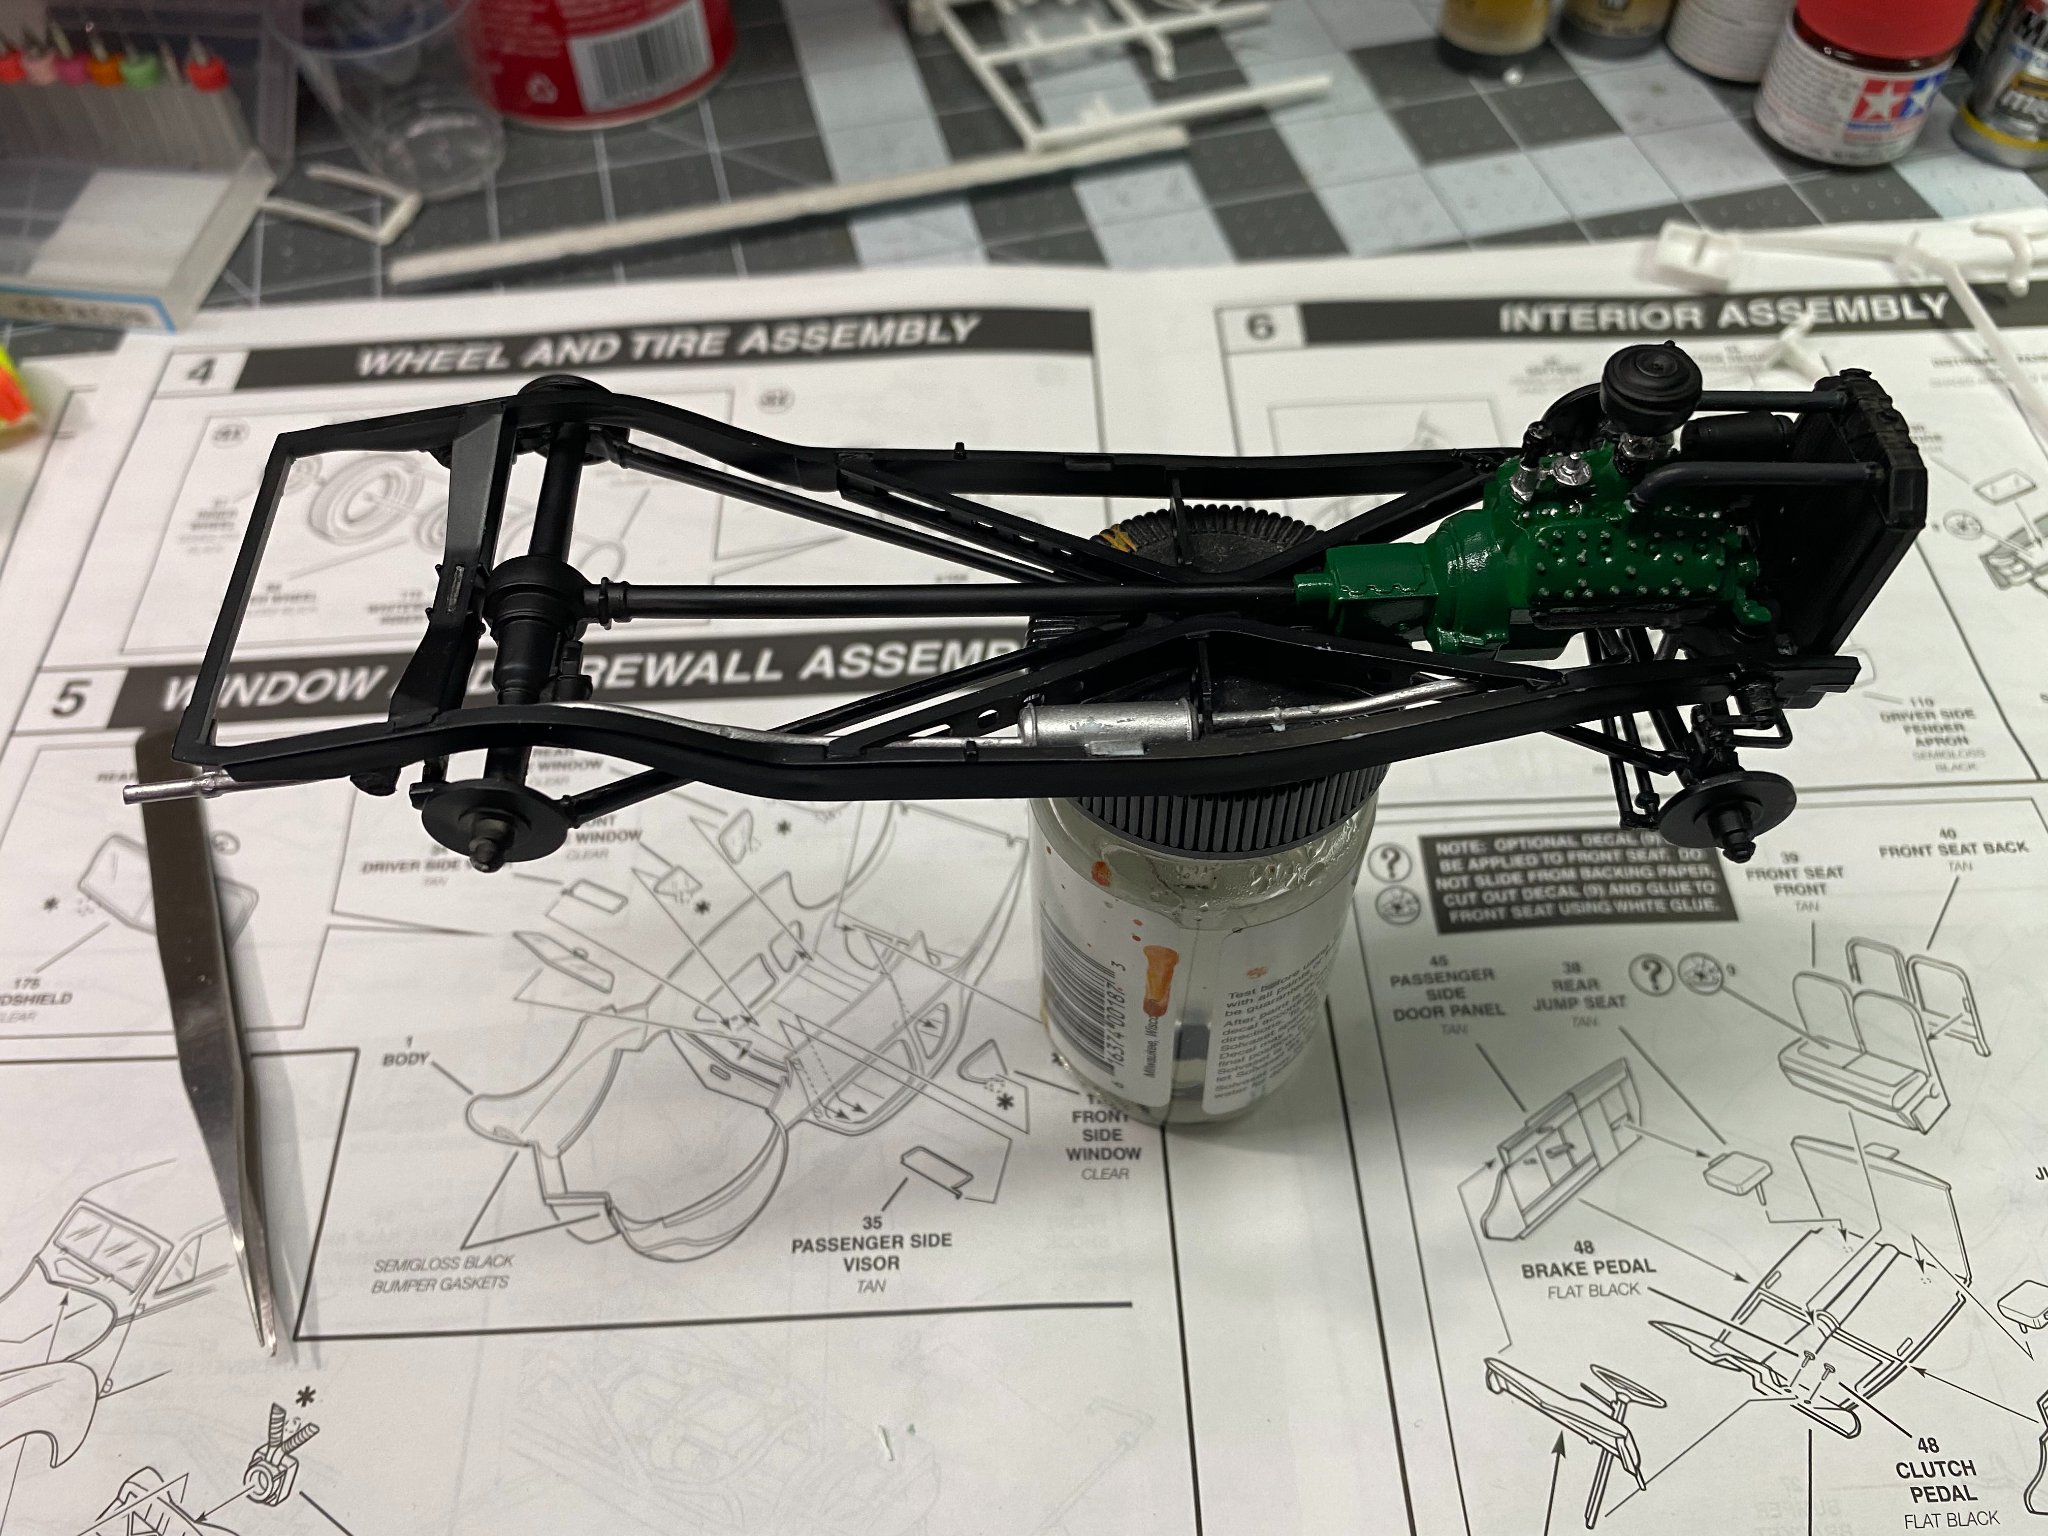
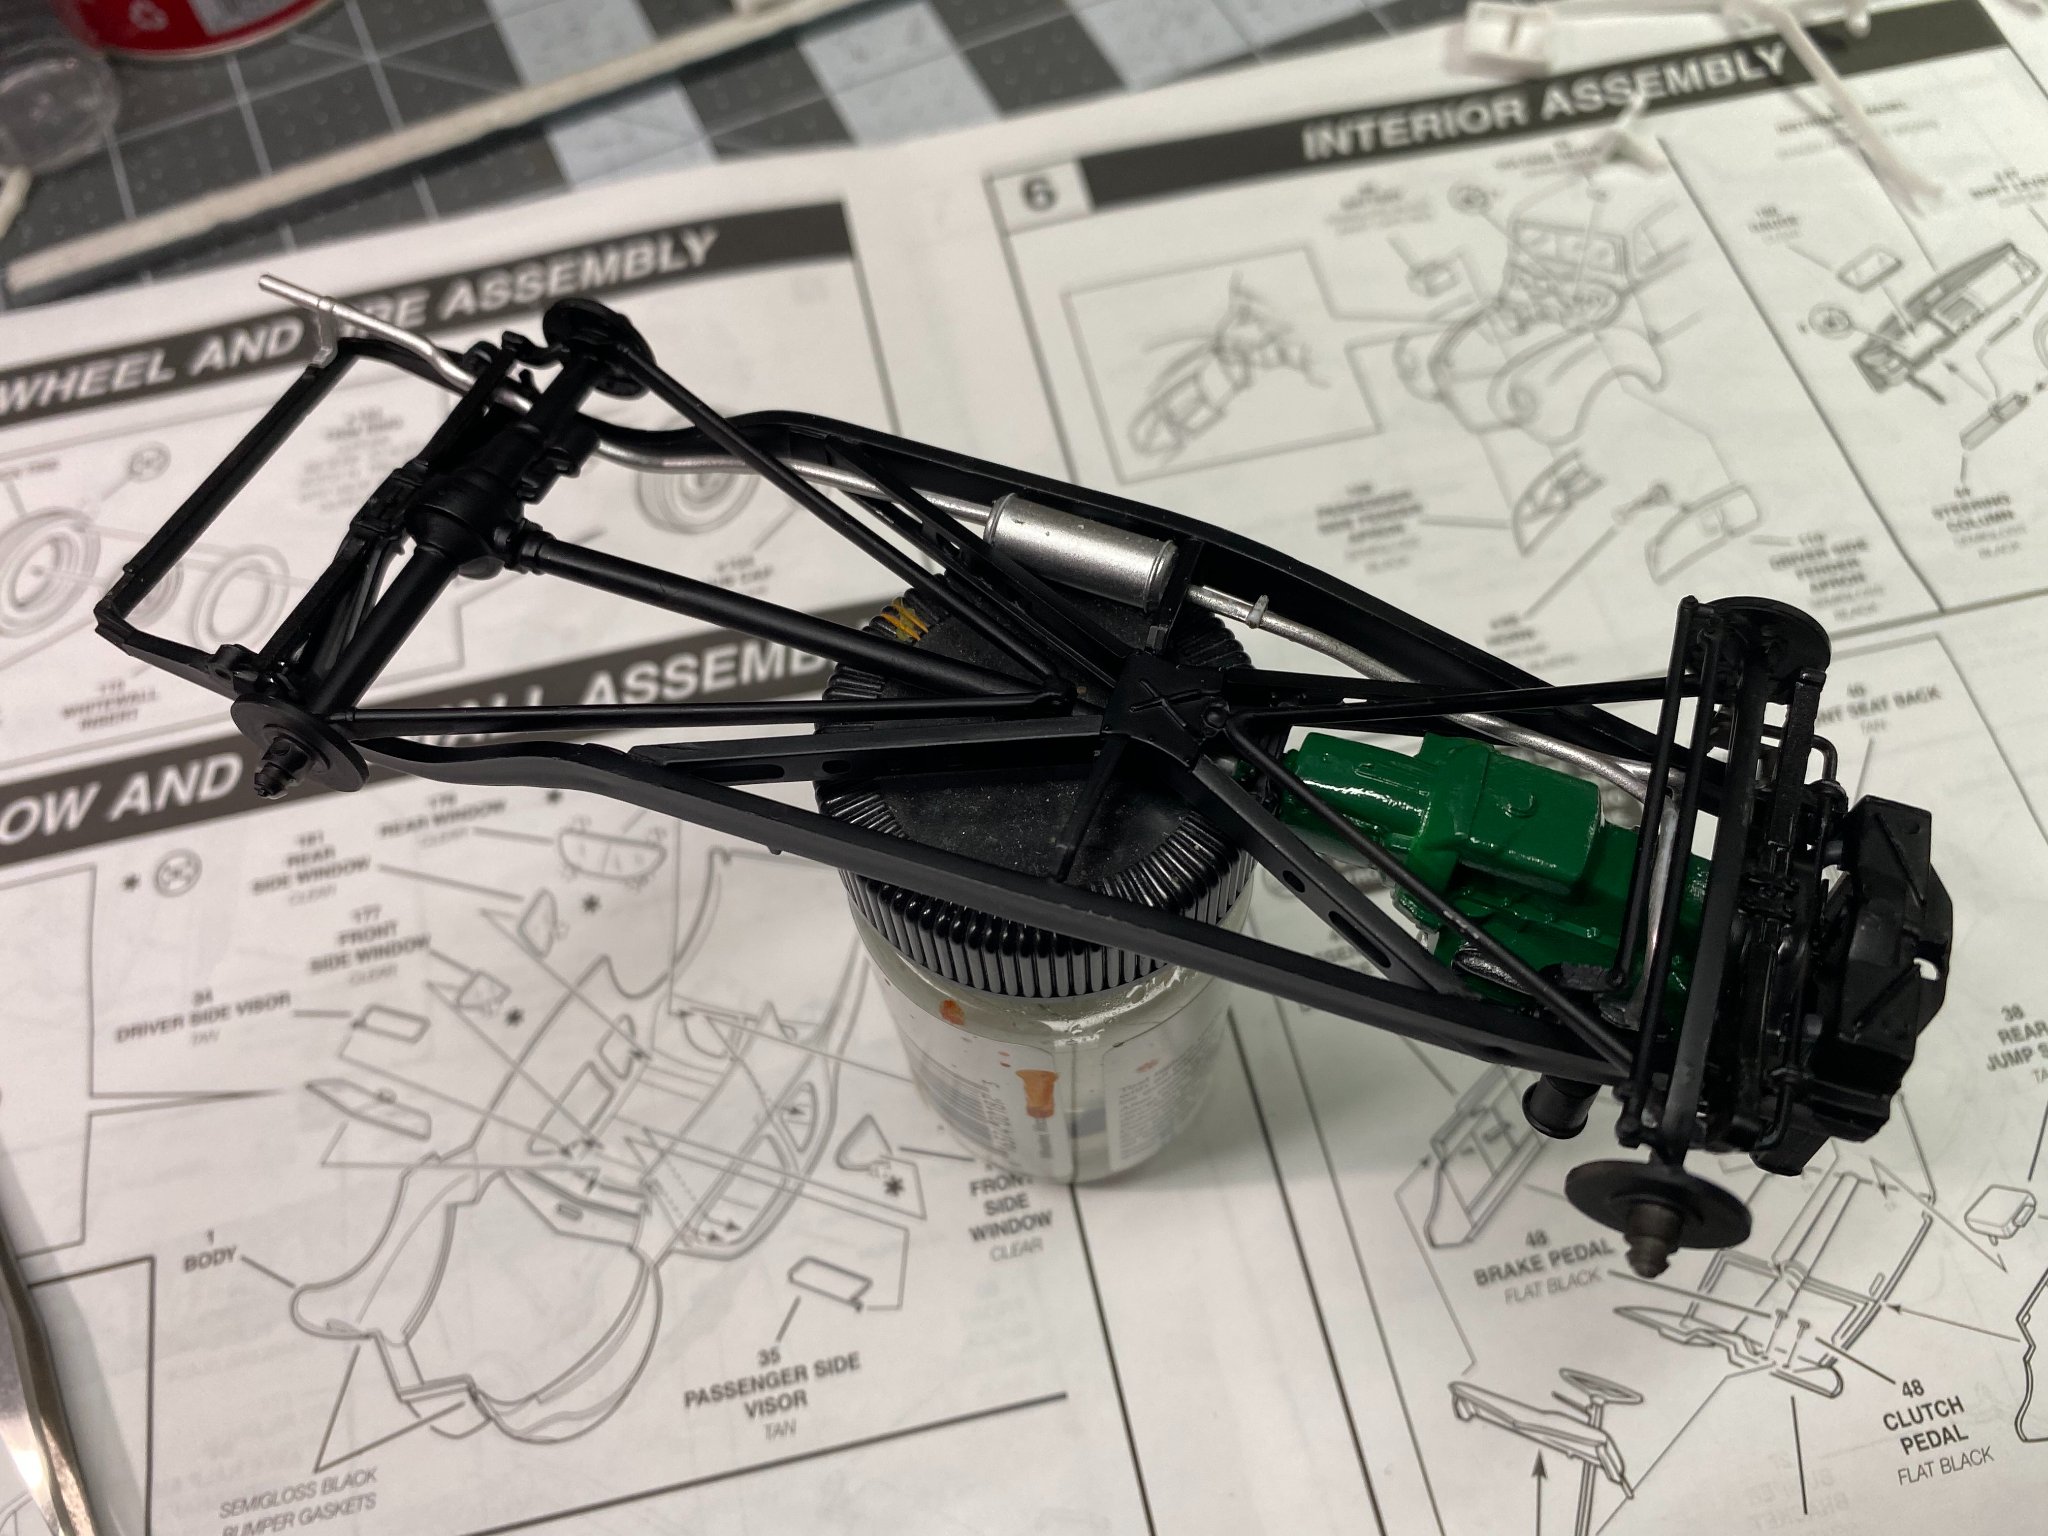
Working to lay down the decals then will work on all the small details that cover the engine.

- 131 replies
-
- 13
-
-
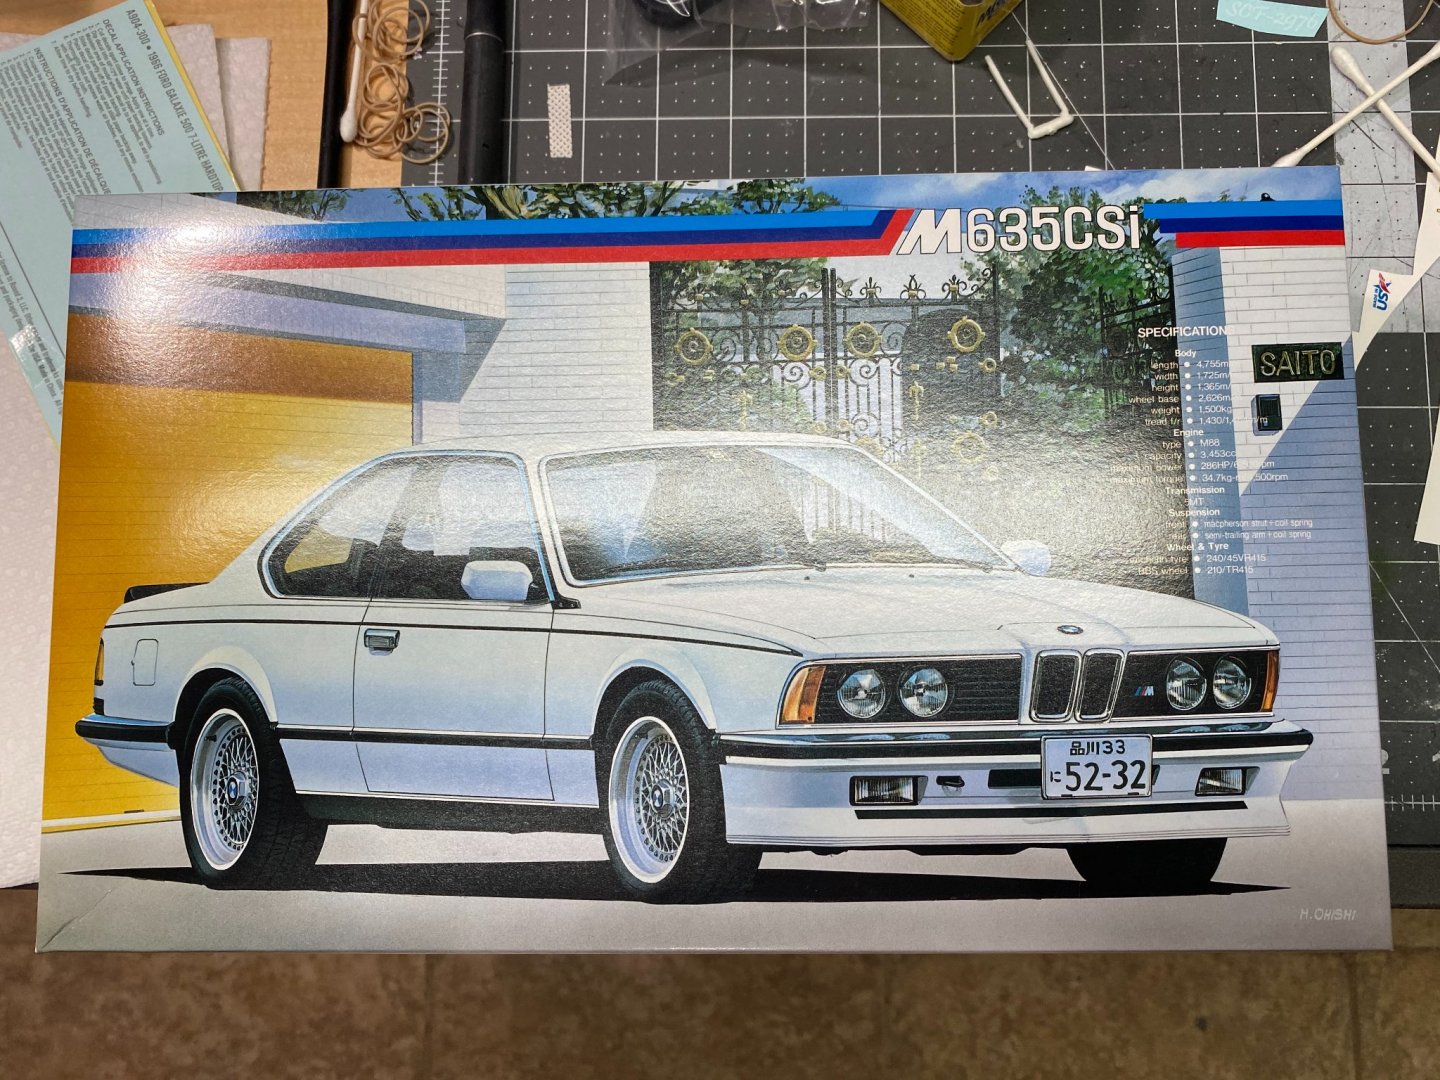
The Fujimi BMW is one of the Enthusiast lineup of kits and has been around quite a few years, decades really. Still, it is of high quality and advanced design. I also have a number of Porsche, and Ferrari kits from the Enthusiast line. The other two are from more recent times and are very well designed and detailed.
-
Some future projects eye candy.


-
I'll never tell! 😄