CDW
-
Posts
7,755 -
Joined
-
Last visited
Content Type
Profiles
Forums
Gallery
Events
Everything posted by CDW
-
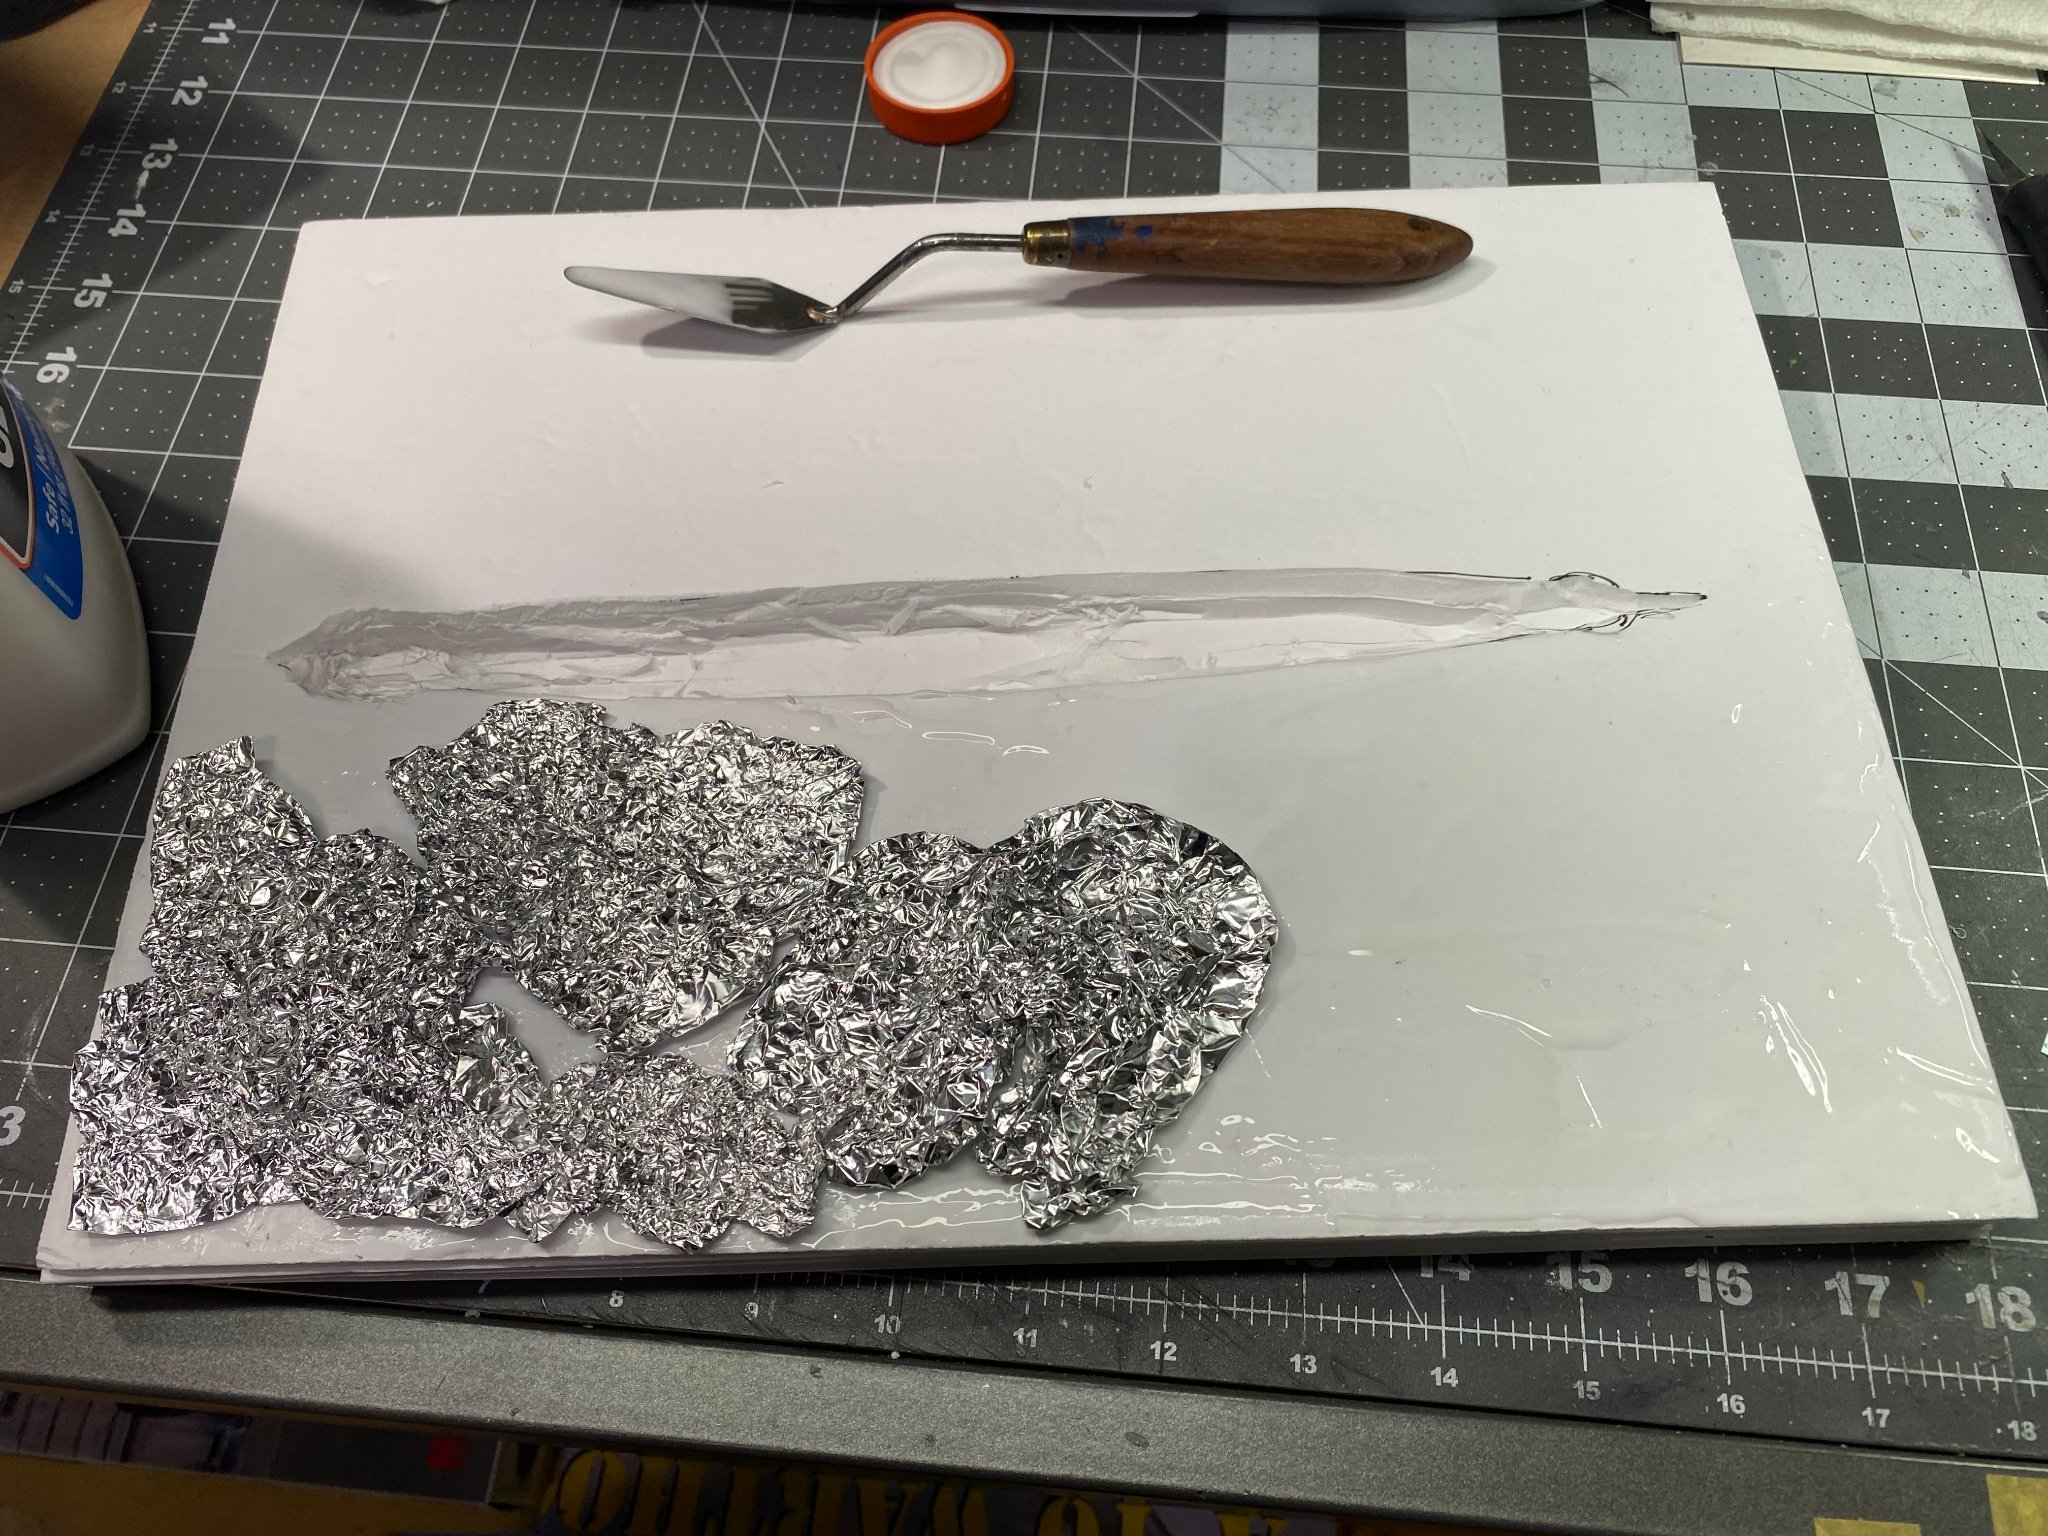
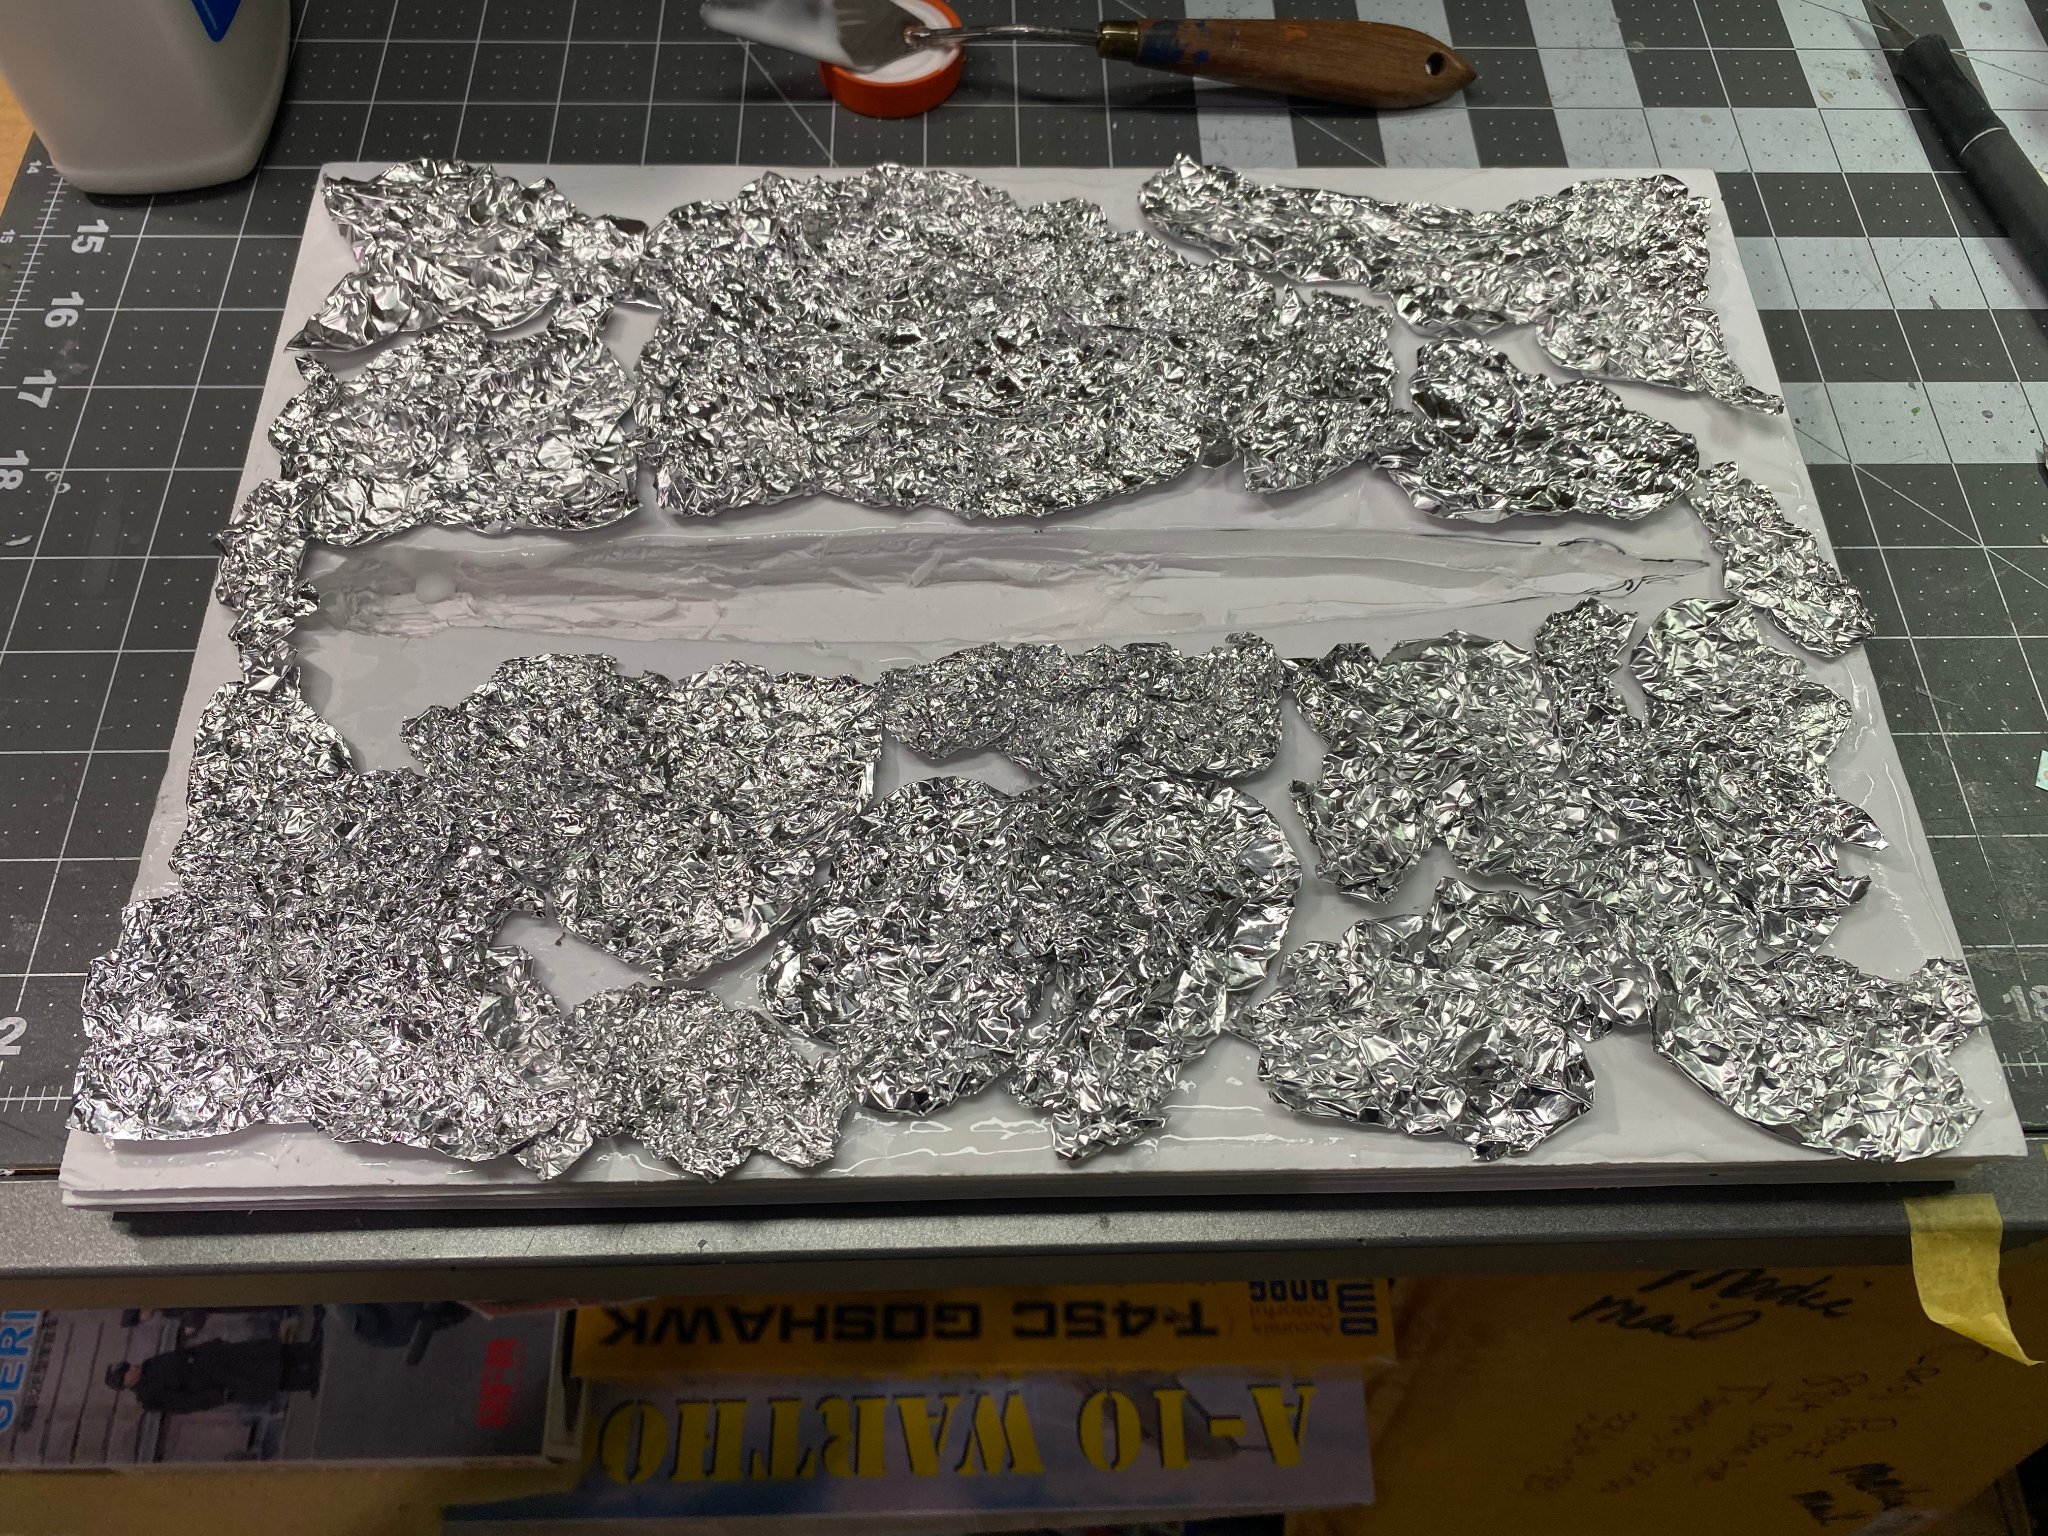
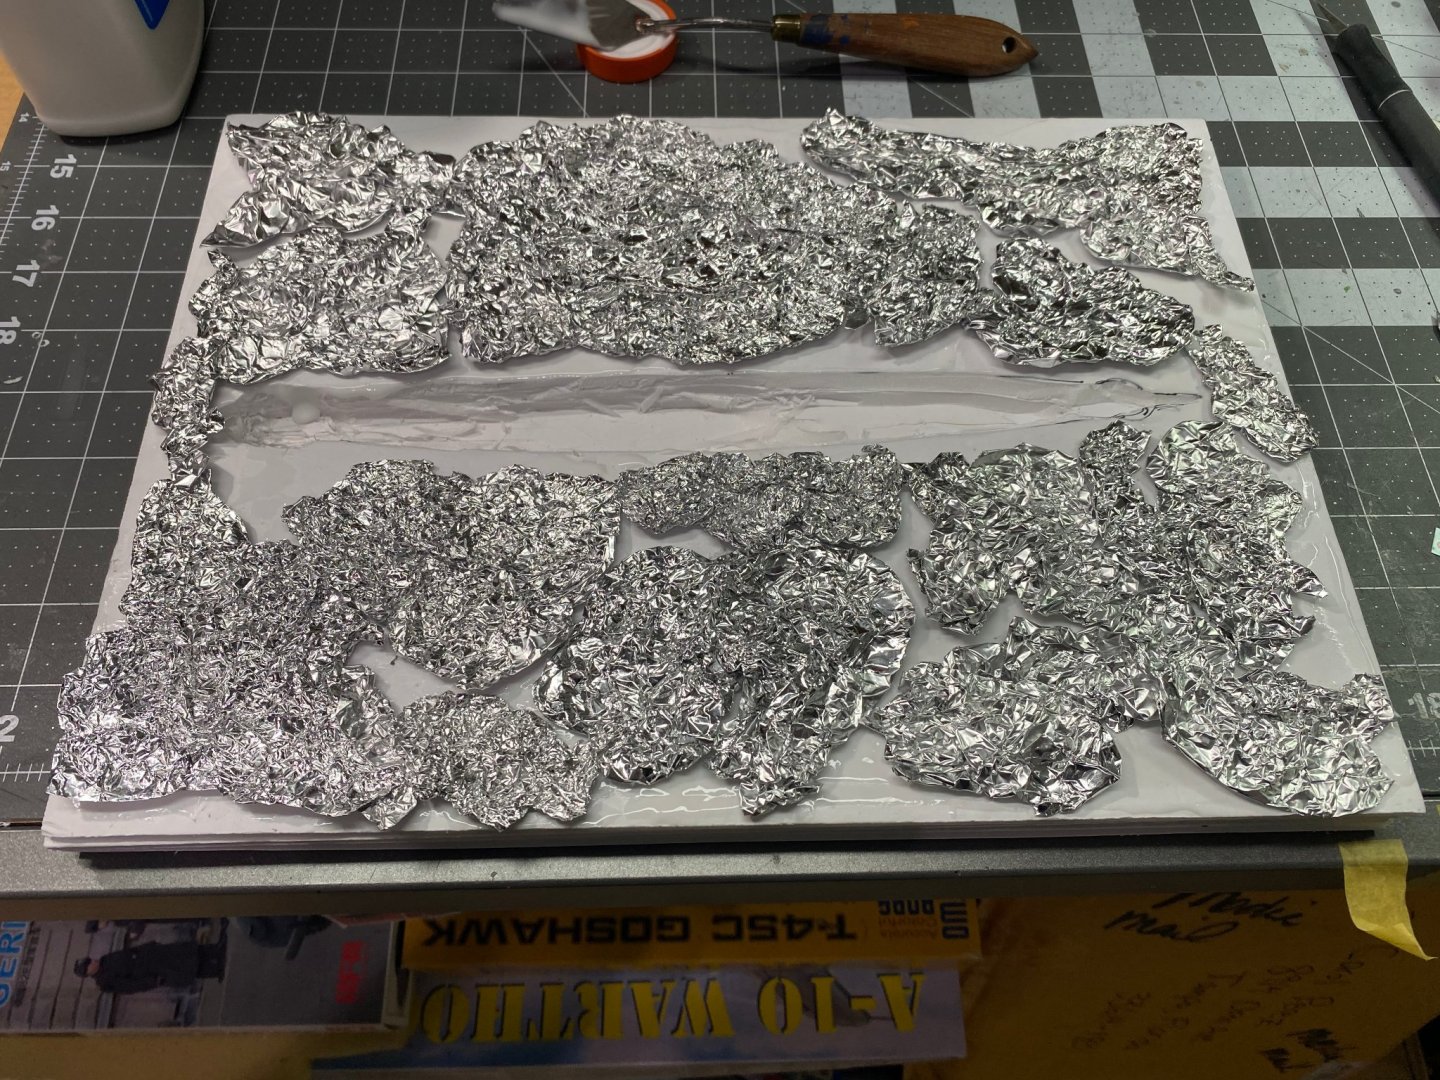
 I used scraps of aluminum foil that were randomly wrinkled, then glued to the foam board with white glue. Once the board was covered with these pieces of foil, it was set aside to dry.
- 45 replies
-
- 12
-

-
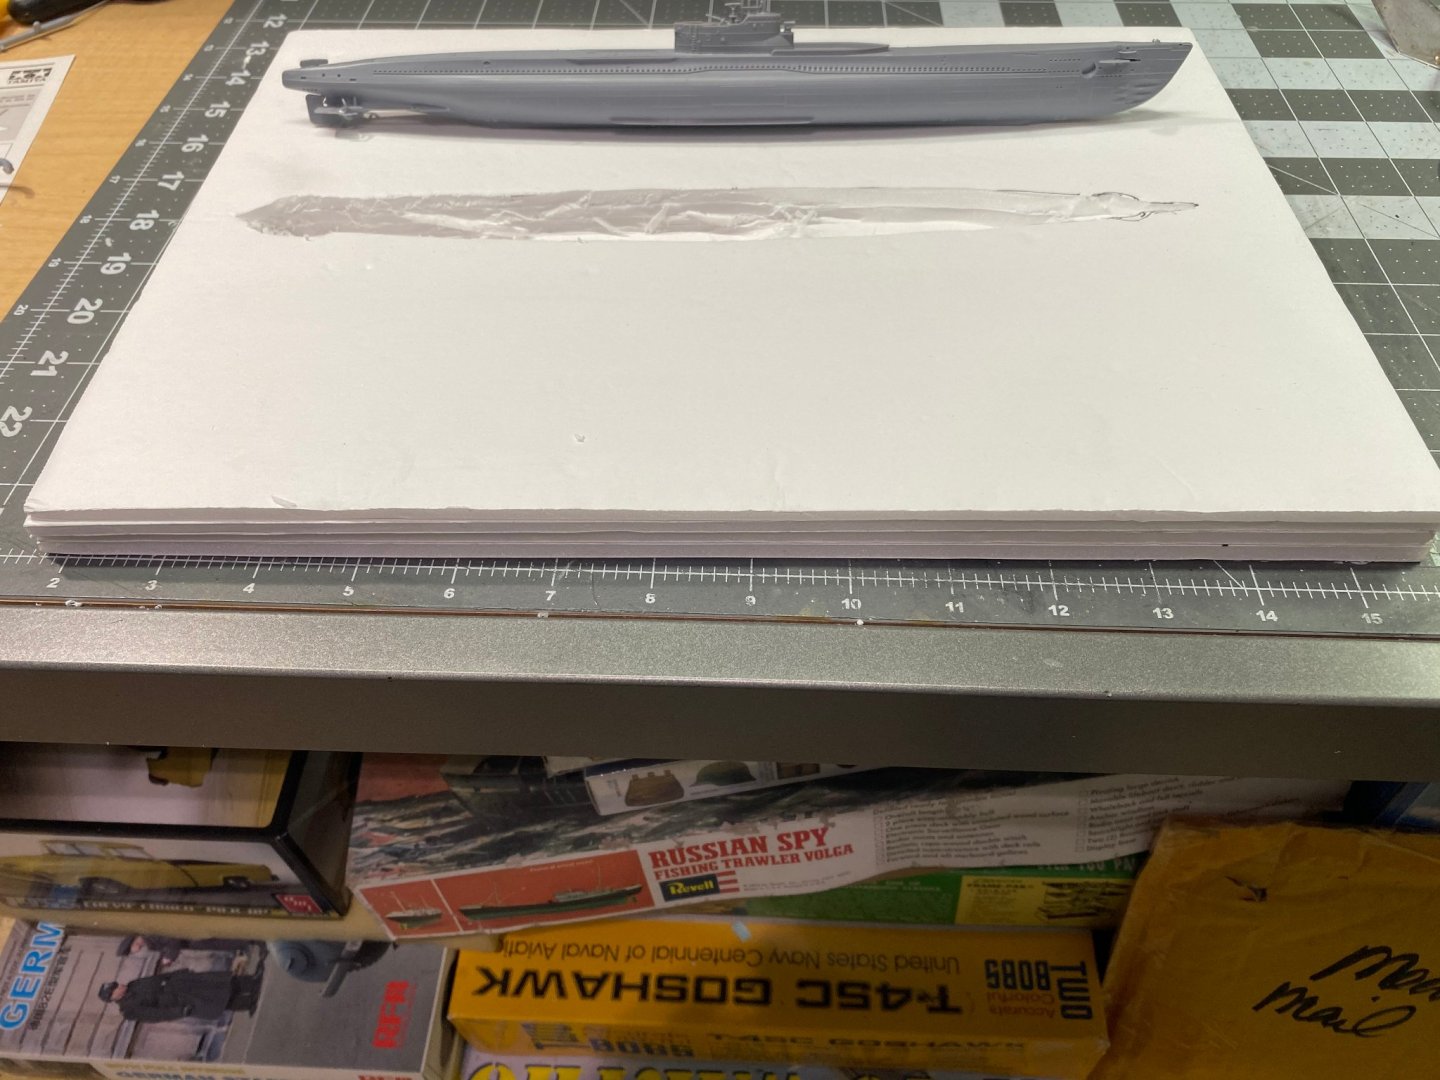
To begin the creation of my open water scene, I cut 4 pieces of Dollar Tree foam board to a dimension of 10" x 14" and sandwiched the pieces together using white glue. I used the submarine model to draw an outline of the hull onto the foam board, then hogged out the foam with a scalpel, keeping the stern area a deeper cut and the bow a shallow cut as I wanted the model to sit with the stern under water and the bow raising out of the water as if the sub was surfacing from below the depths.
-
I read either the same article or a very similar one that told about the Avengers, the sonobouys, and how they sunk her. My goodness, the wreck is over three miles deep! No wonder no one has recovered the gold. Is a recovery from a depth like that even possible with today's modern equipment? It's a fascinating story for sure.
-
That's years and years of Marine Corps marksman training right there Ken. 🙂
-
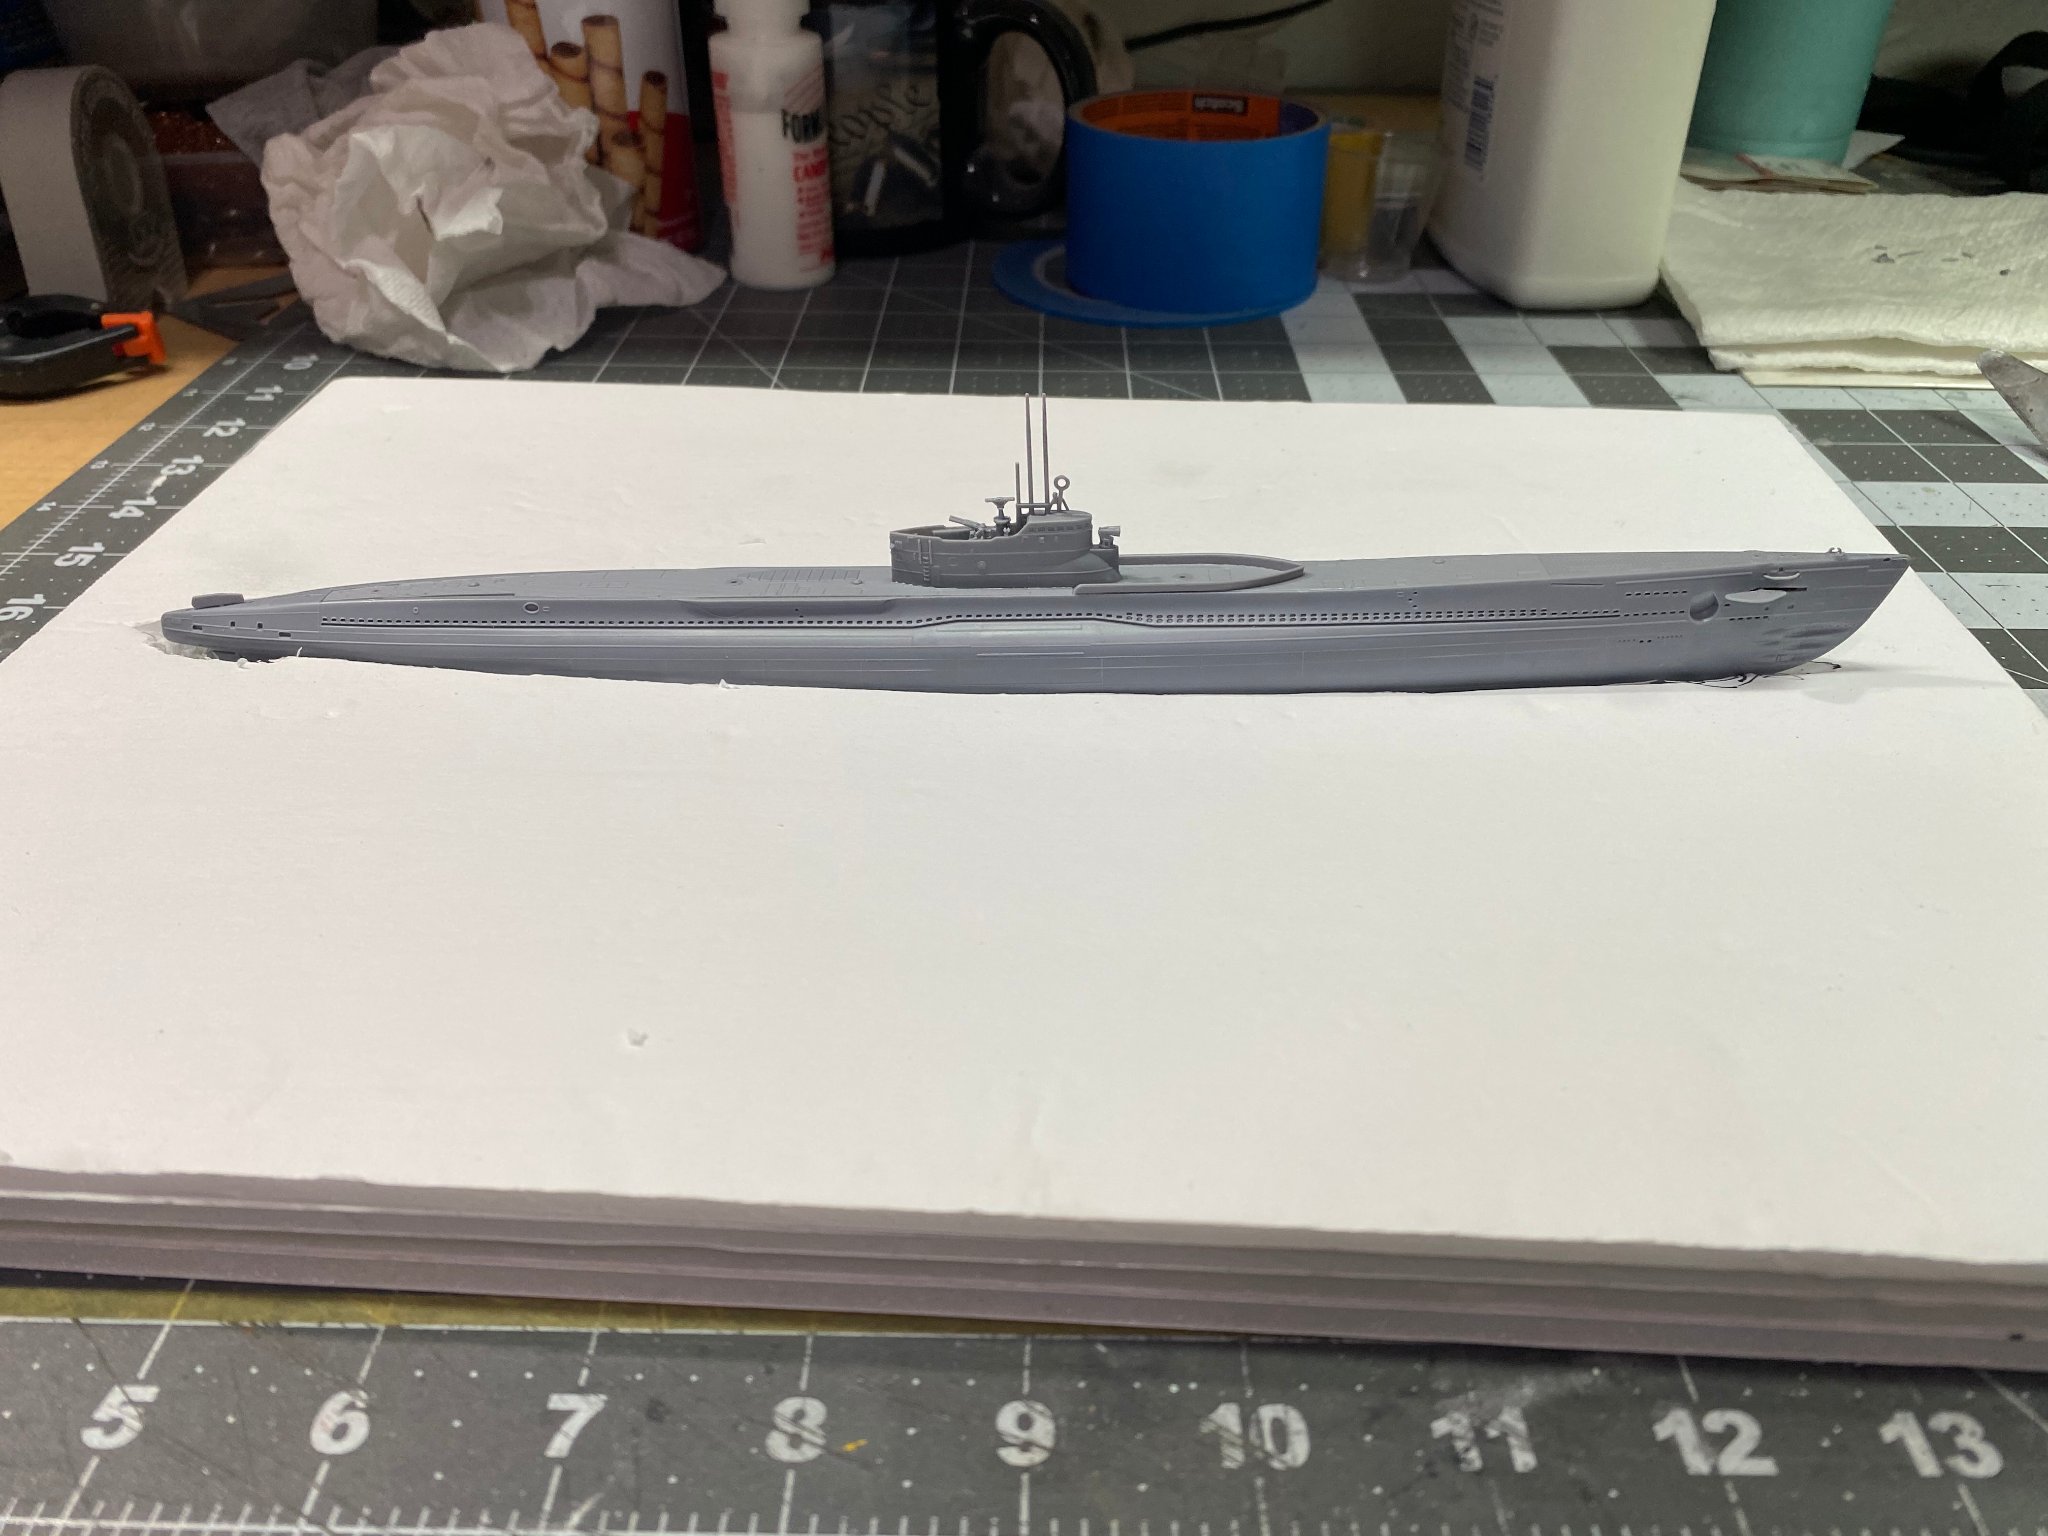
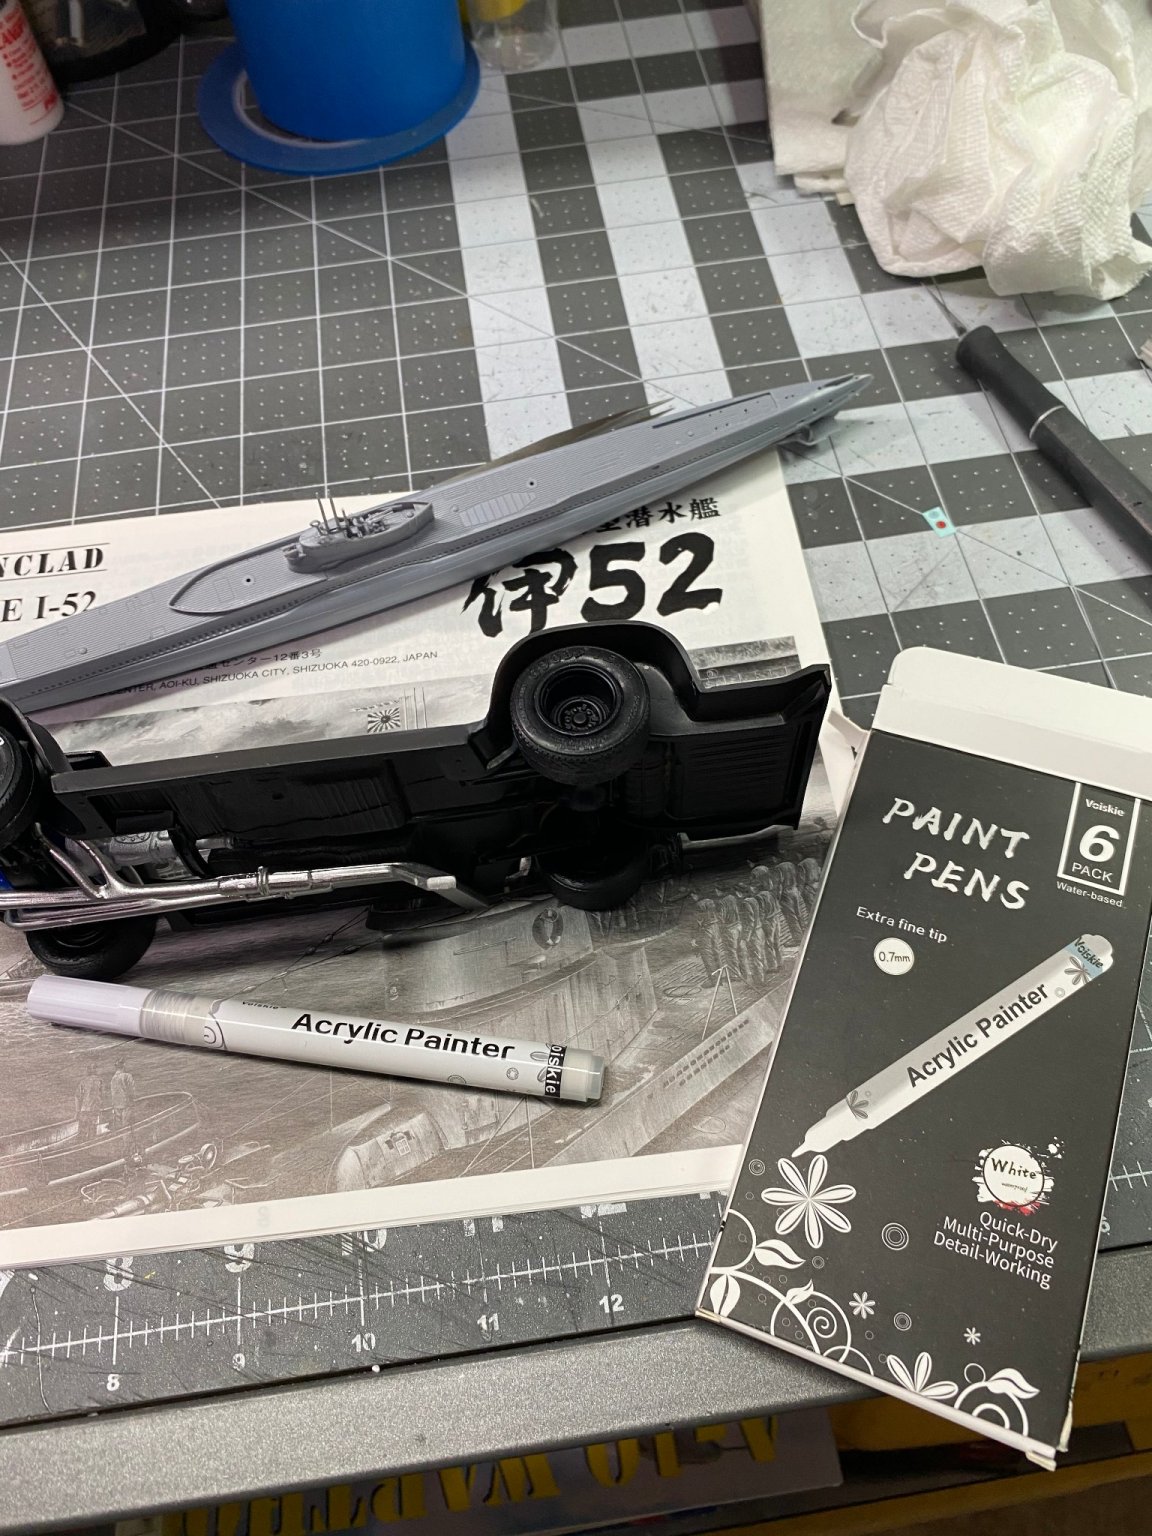
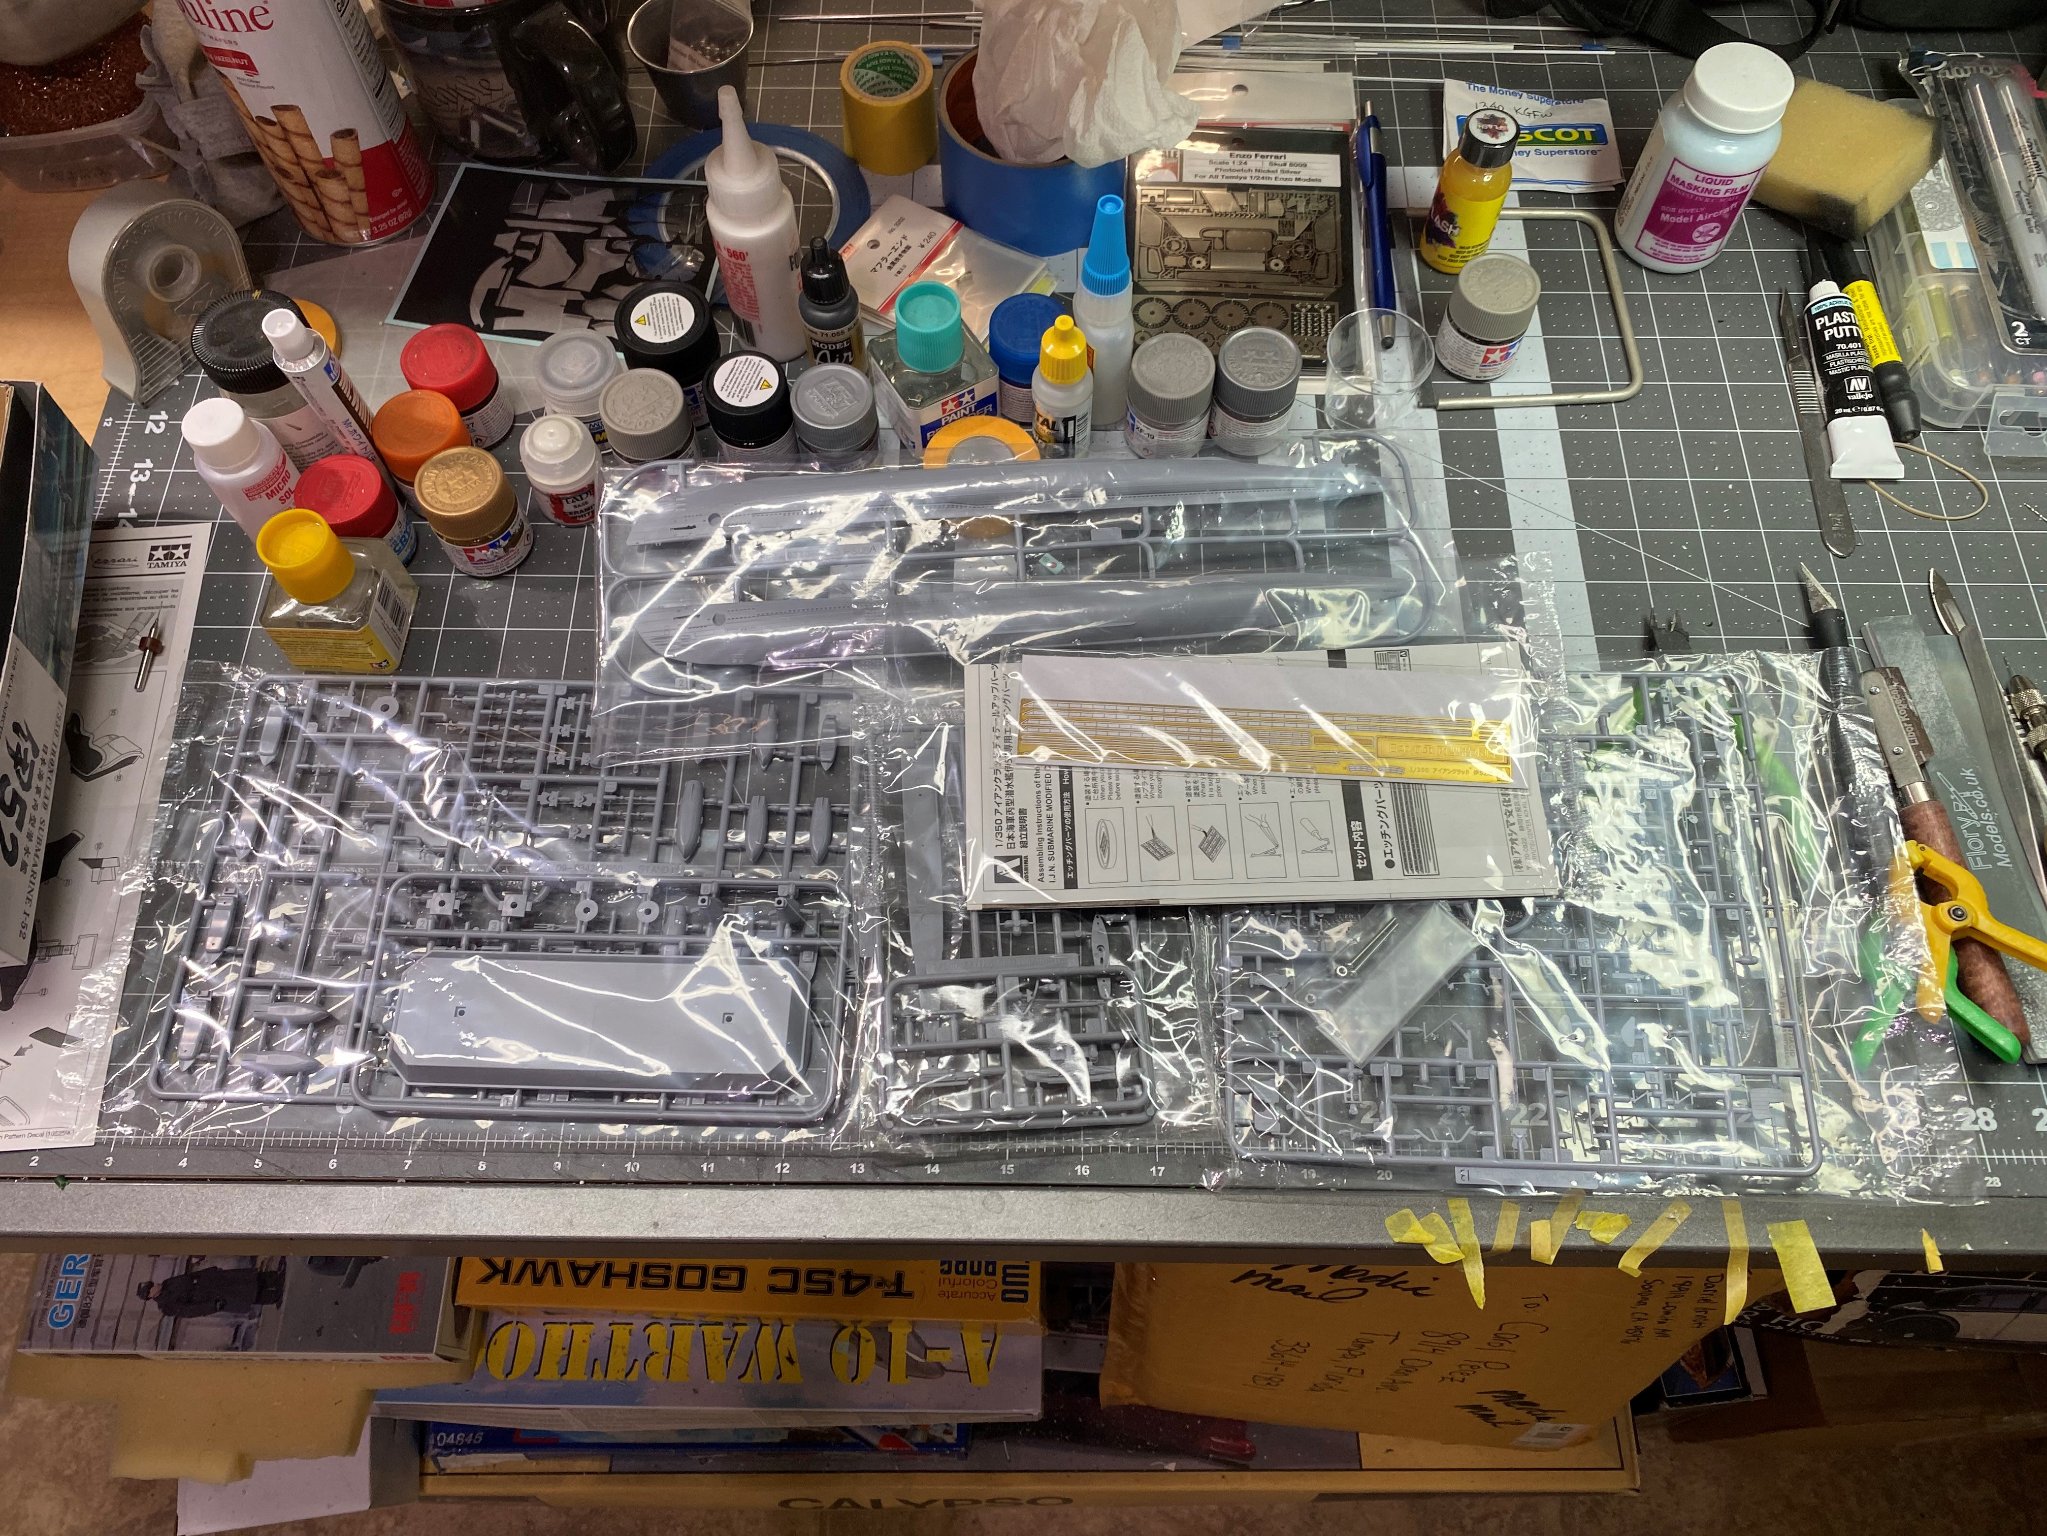
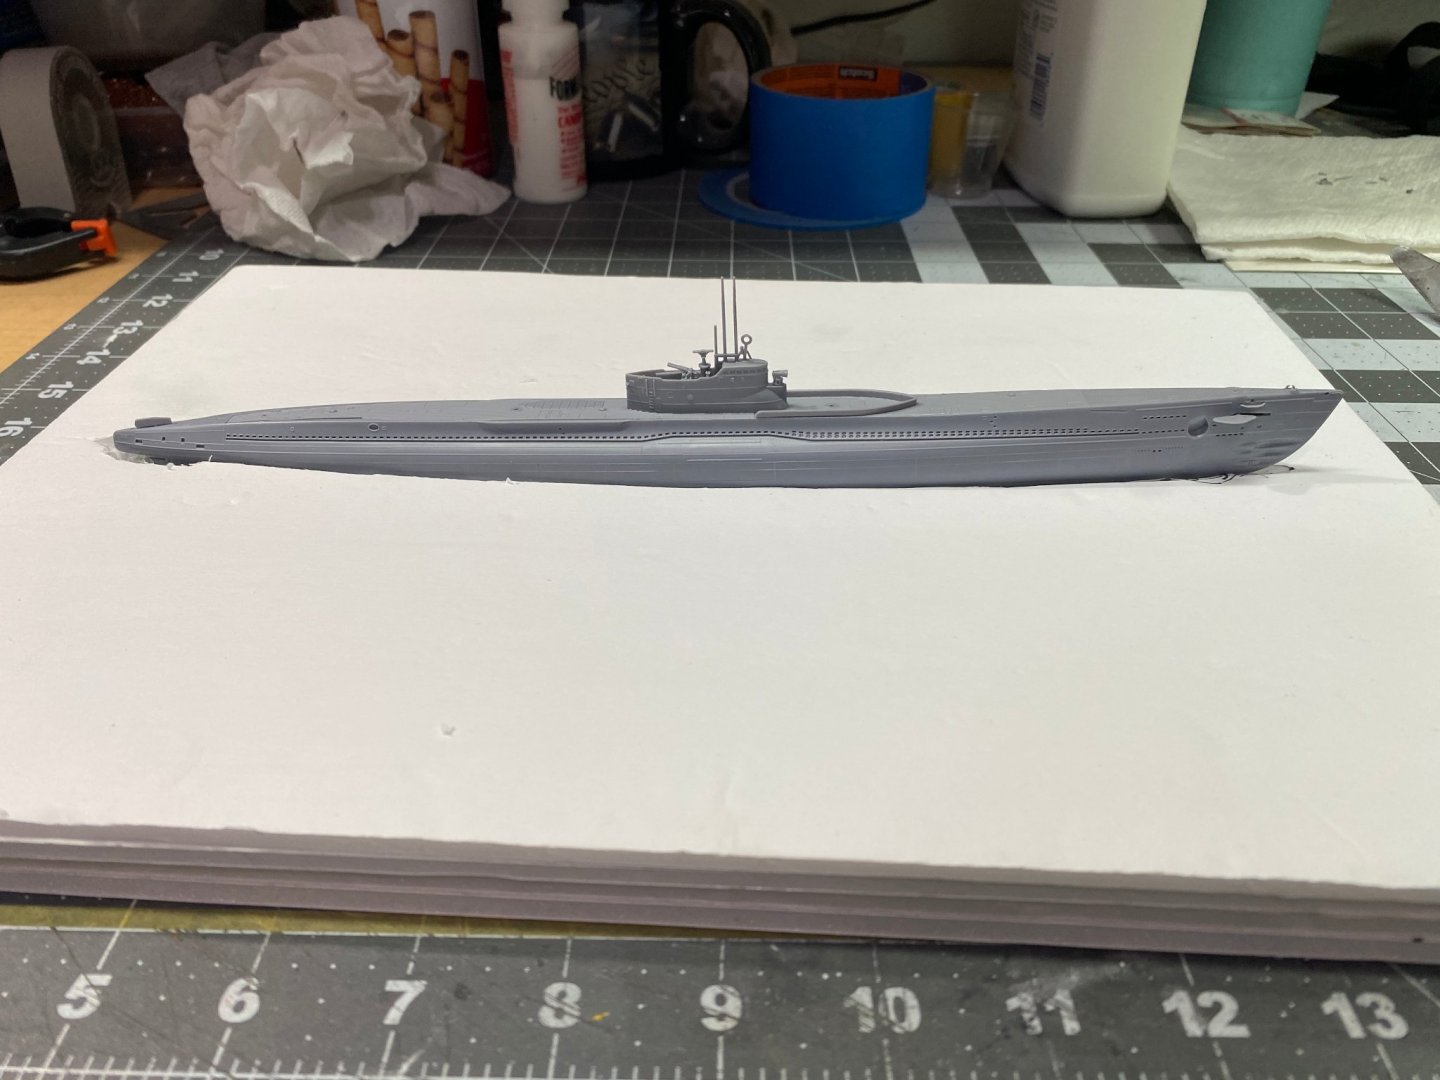
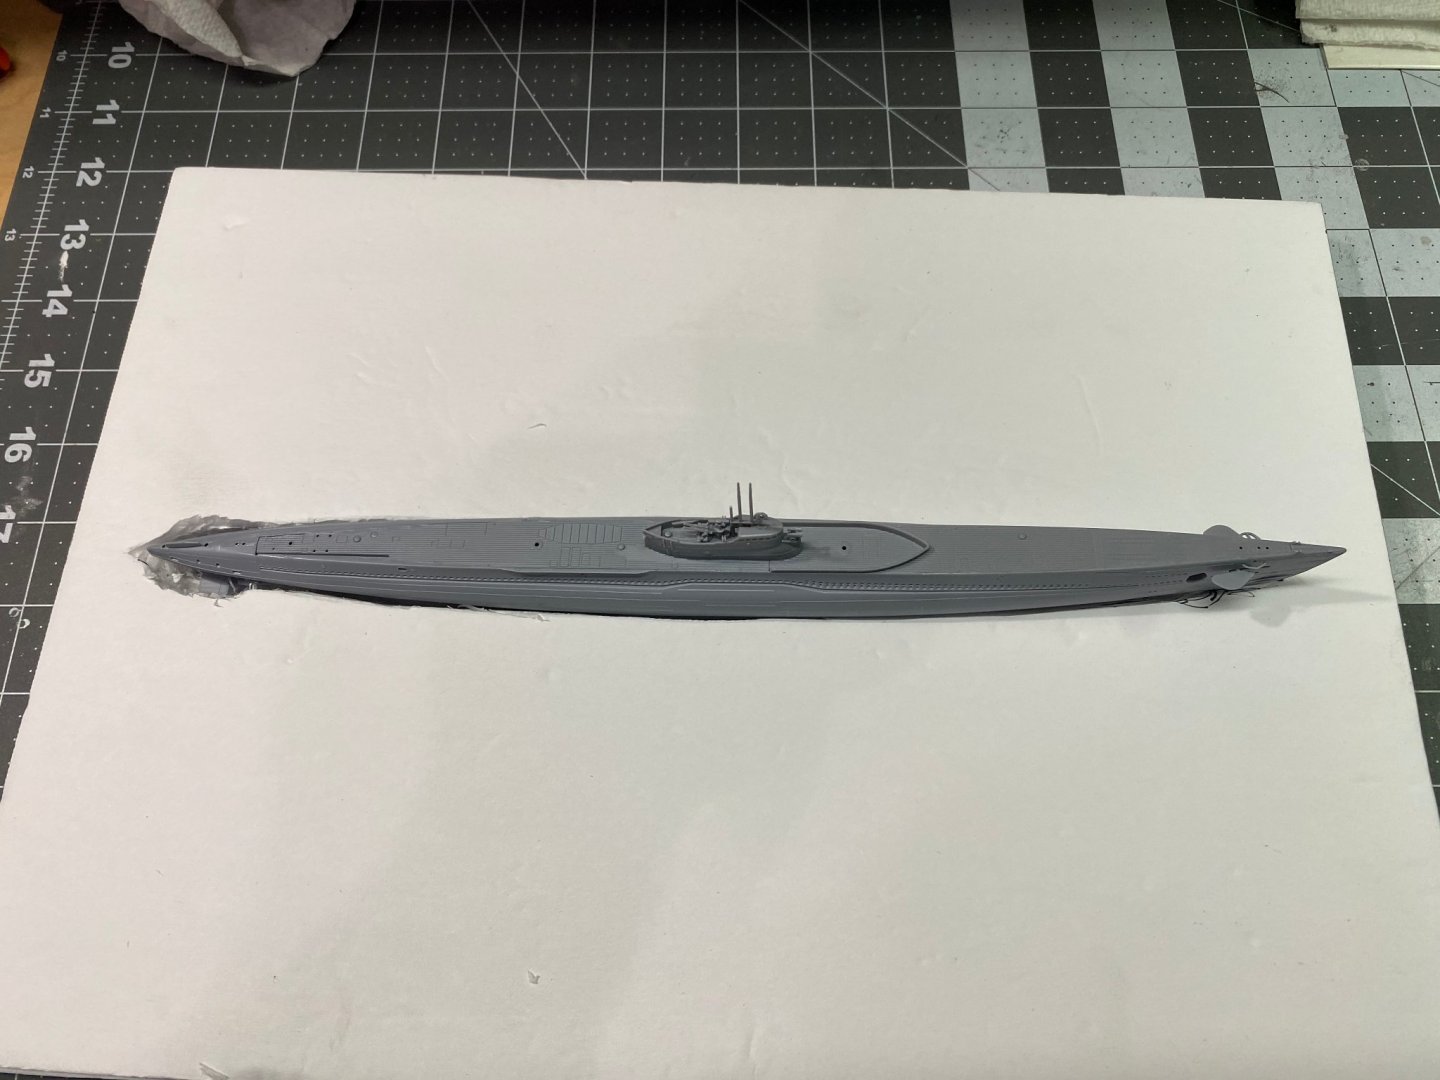
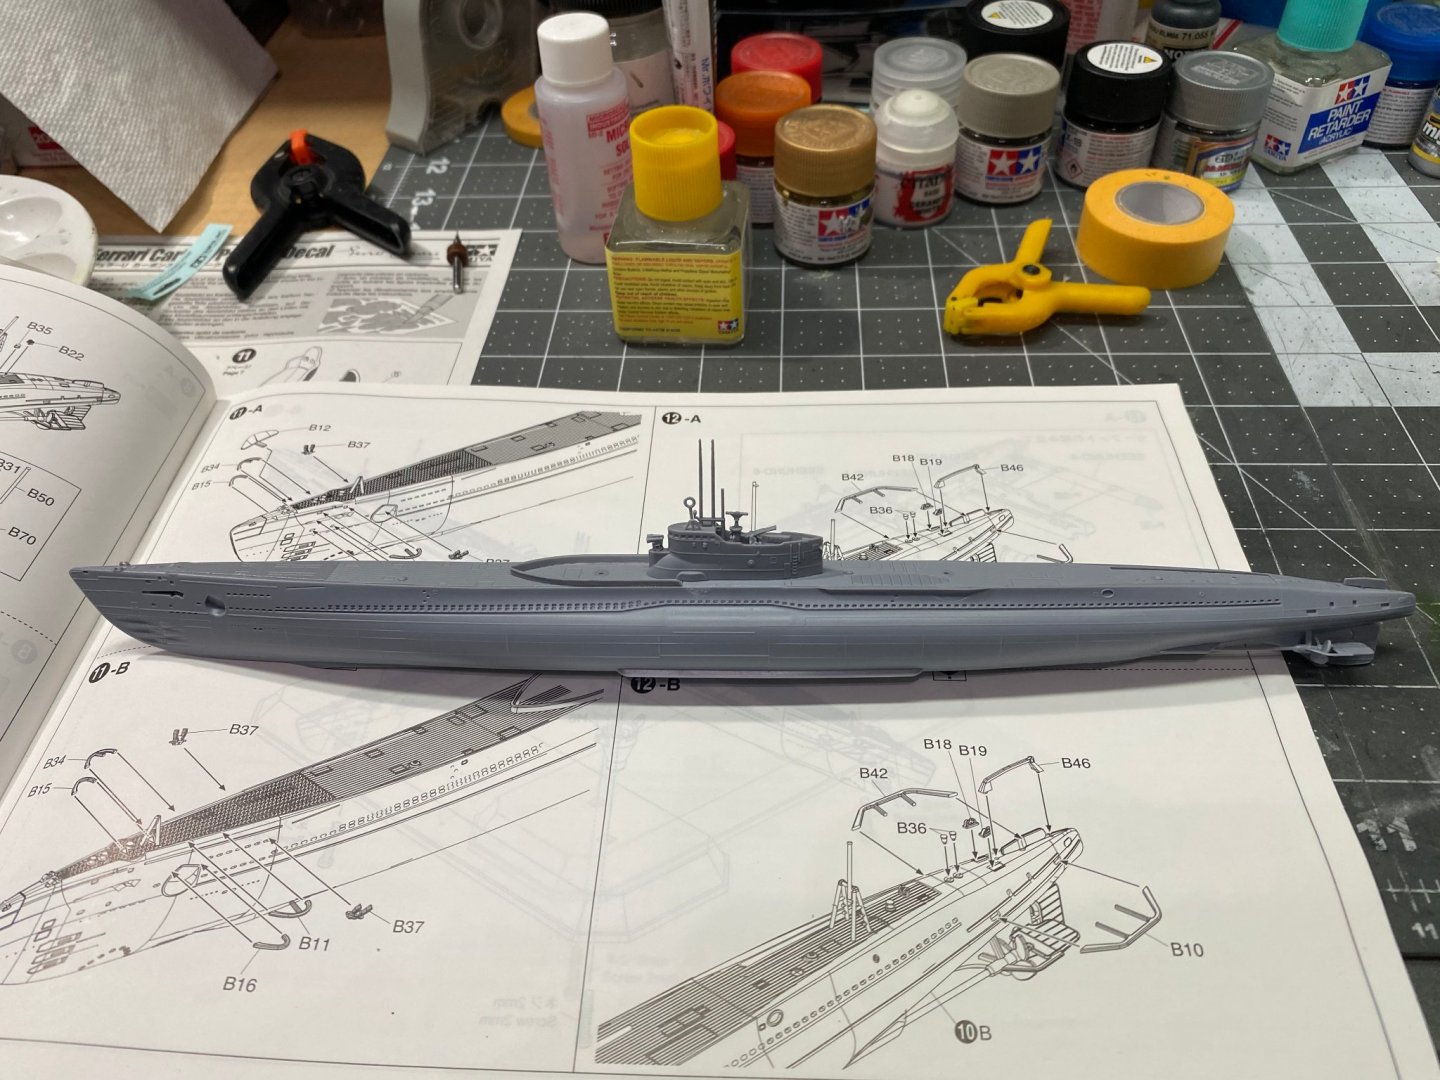
I'm not going to bore you with the construction/assembly of the submarine as it's not very interesting, but will rather try to chronicle my effort to create the open water base where the sub will be displayed. There are more details to be added to the sub before it's finished and I start painting and weathering it.
- 45 replies
-
- 12
-
-
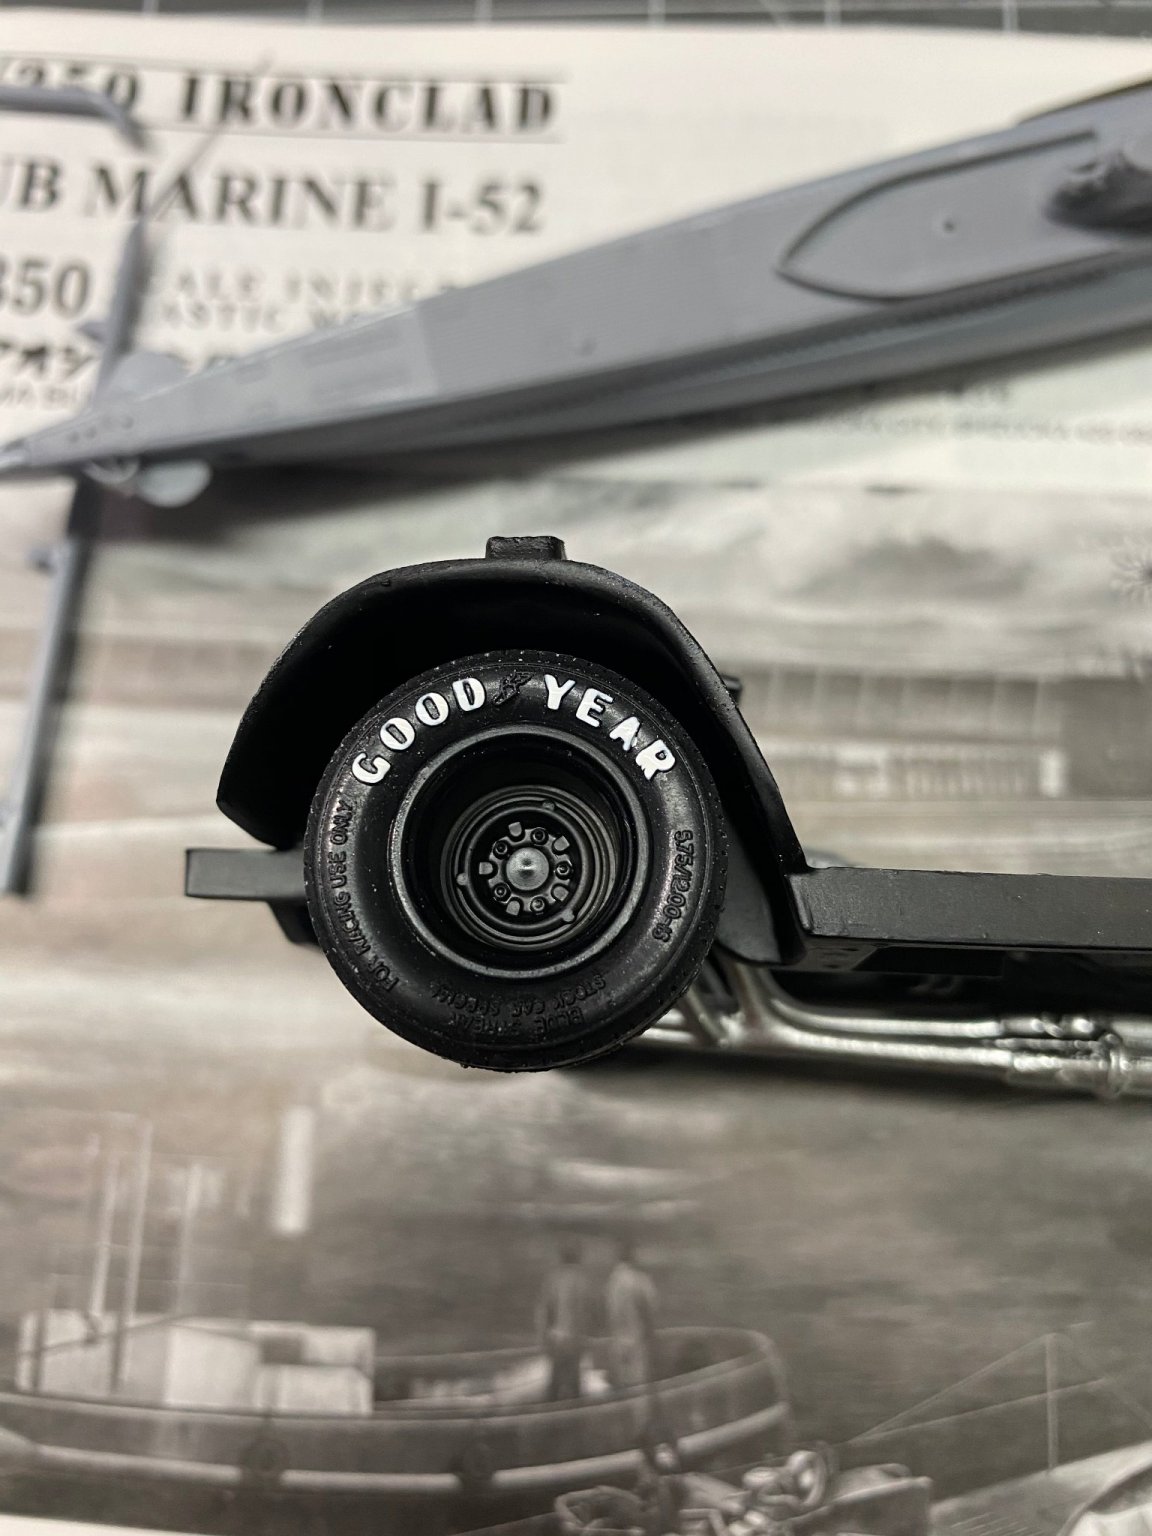
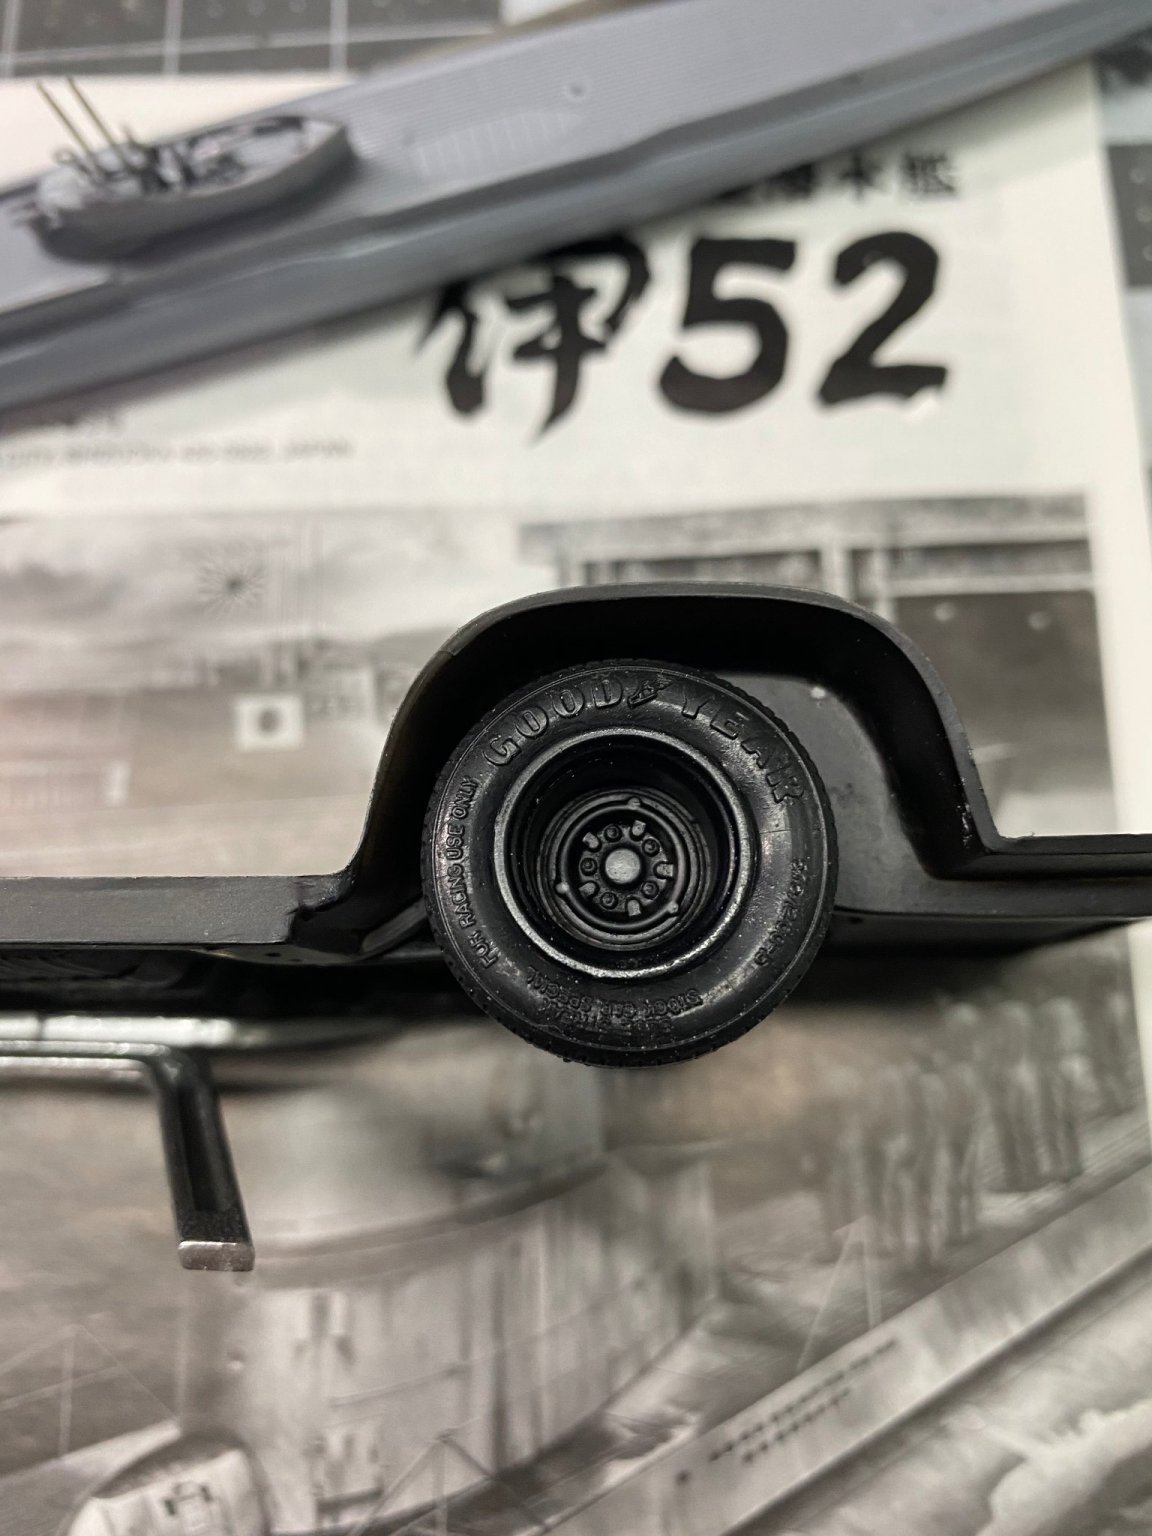
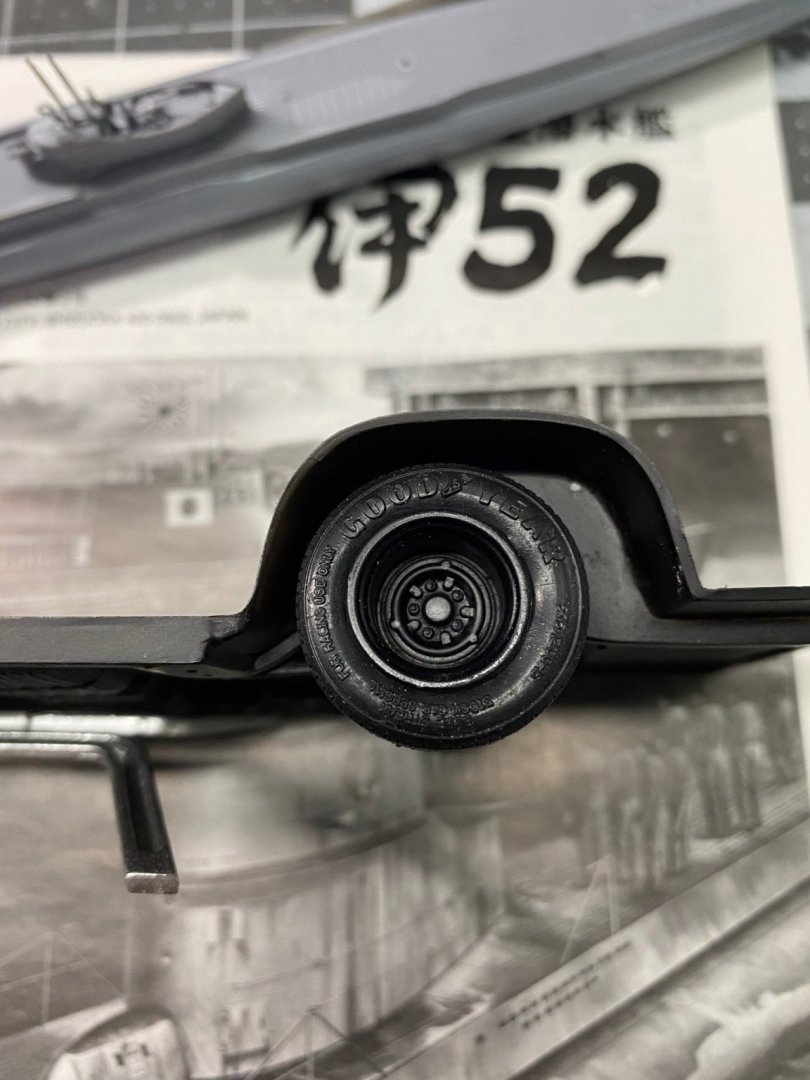
The new re-released AMT kits come with pad printed tire sidewalls, but the racing tires for the Galaxie were not printed. In the past, I have used a small paint brush to paint the raised white letters, but this time I ordered some white markers with .7 mm tips from Amazon to try them out on the racing tires. It's a lot easier to do with the white marking pens than it is with a paint brush.


- 101 replies
-
- 12
-
-

-
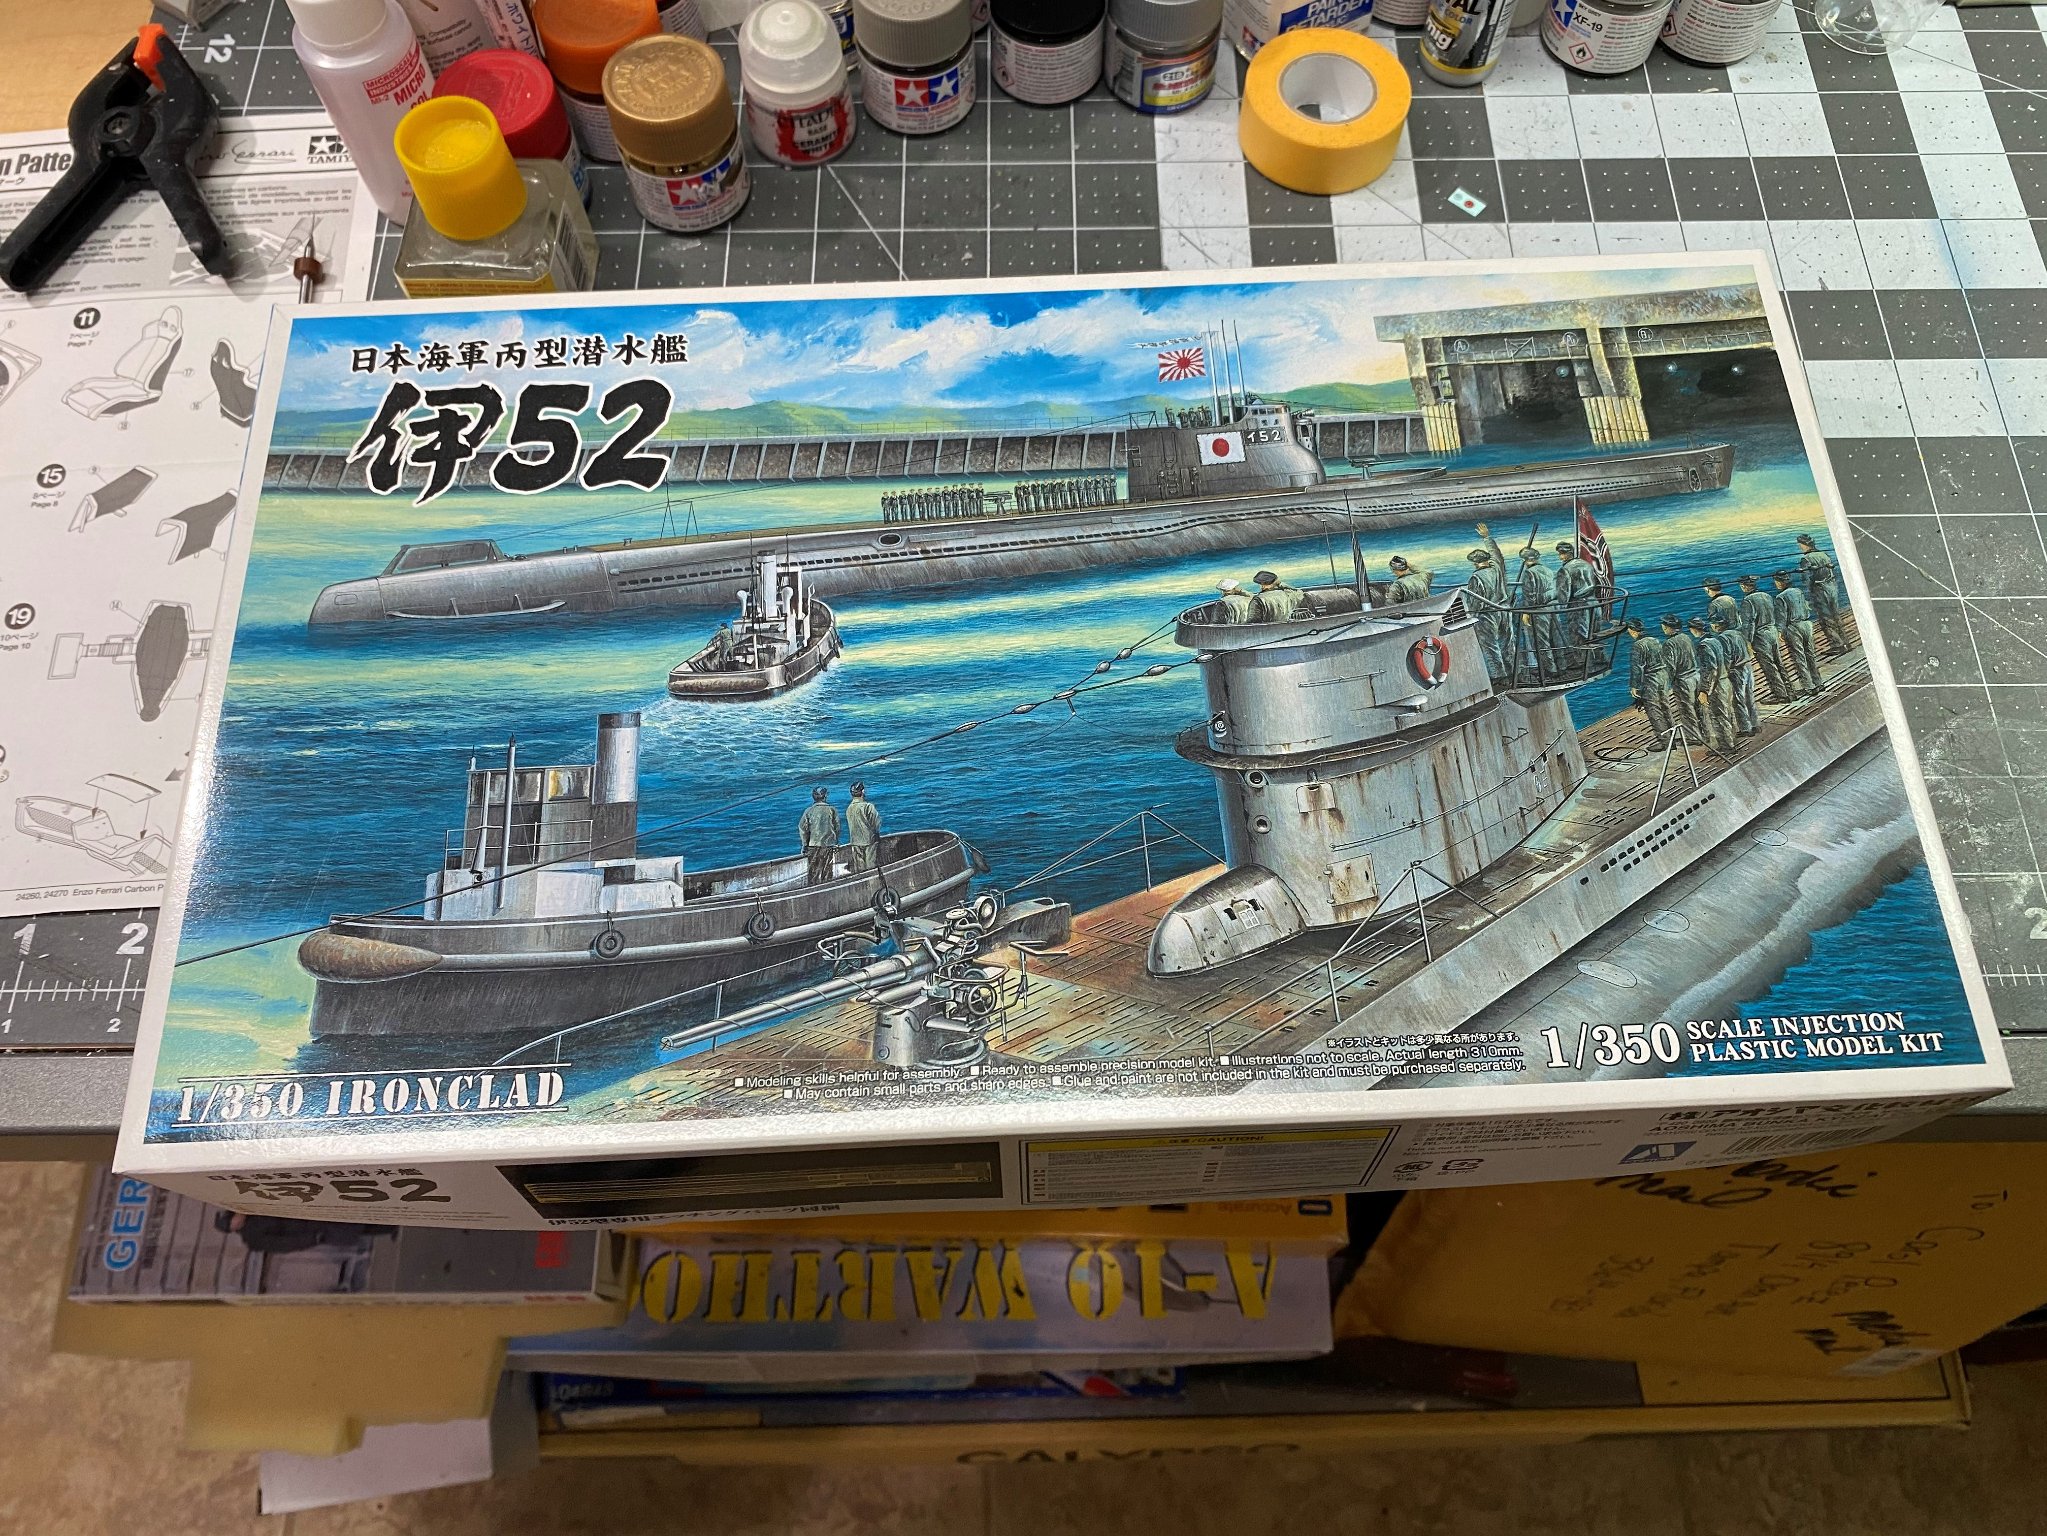
You know the old saying...you begin with the end in mind. The box top illustrates the plan, not the outcome. 🙂 Haven't fully researched it yet, but I wonder if anyone has tried to retrieve the gold yet? It's hard to believe no one has, unless it's too deep to recoup the cost to retrieve it. 20 metric tons of gold is quite a large sum of money. More than 1.25 billion dollars.
-
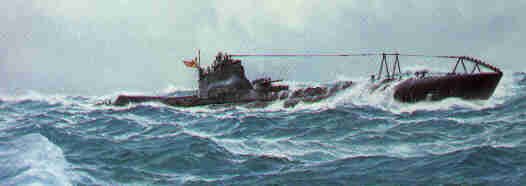
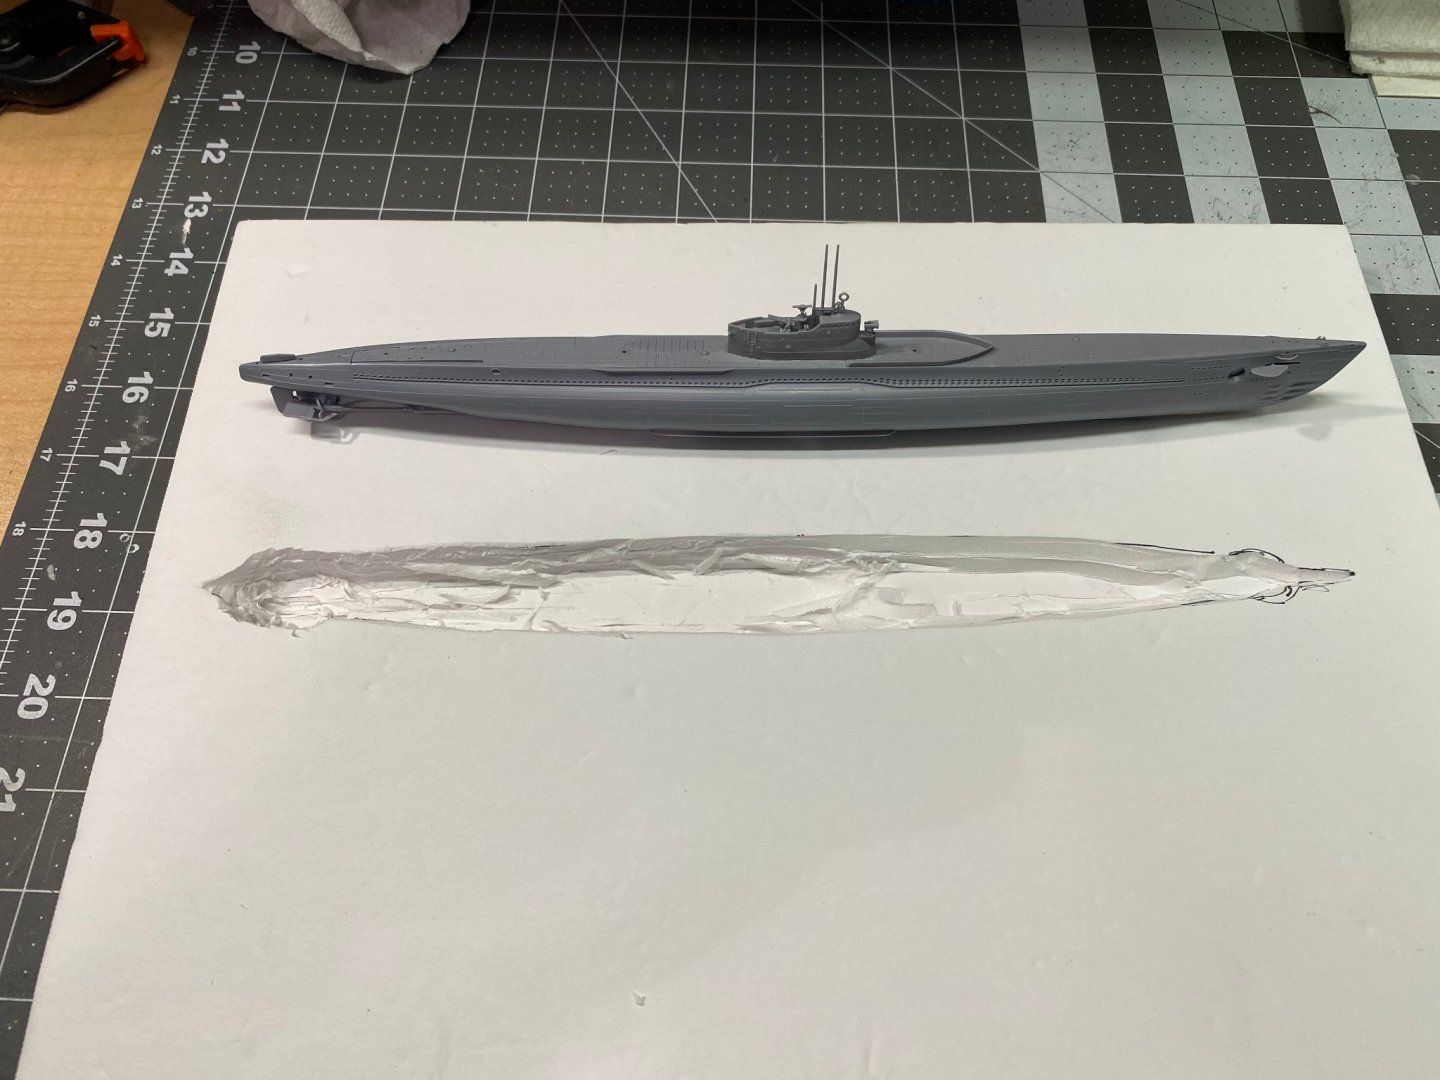
Will use the 1:350 Ashima I-52 Transport Submarine to jump back into ship modeling. For a long time, have wanted to try my hand at creating an open water ocean scene diorama and have decided to use this sub as the featured vessel for the diorama. In June of 1944, the I-52 was enroute from it's home in Japan to German occupied France, loaded with some 290 metric tons of strategic materials including tin, tungsten, rubber, and 2 metric tons of gold ingots. They planned a trade with Germany for technology. The allies learned of this plan by breaking the Japanese code. They hunted down and sunk the I-52 in the Bay of Biscay.


- 45 replies
-
- 11
-
-
I believe I've got that Tommy Ivo kit in my stash somewhere. I built it one time when I was young and remember it being difficult to build it right. That car had the old Buick nailhead engines. Another difficult one to build from that same era was Mickey Thompson's 4 engine Challenger, the land speed record car. I think I have both of his speed record cars. The other one is a four cylinder blown Pontiac powered job.
-
Give me some of that Buick 455 love...
-
Locally, this man and his family were my circle track racing hero. Buzzie Reutimann. All the family boys were outstanding builders and drivers in every sense of the word. https://www.google.com/search?q=Buzzie+Reutimann&client=opera&hs=Puq&sxsrf=ALeKk03I4ZRb9KdVtabMvHZ1htCE_2G8DQ:1607871032729&tbm=isch&source=iu&ictx=1&fir=qV2siG4Q2zKx9M%2CAIGKM_pQX0IuoM%2C%2Fm%2F04_0_hj&vet=1&usg=AI4_-kQLFZNWjcj5tuT2vQJyMTeSrkSb3w&sa=X&ved=2ahUKEwjG9_-tmsvtAhVEmVkKHYhEA7oQ_B16BAgaEAE#imgrc=qV2siG4Q2zKx9M
-
I always remember a quote from Smokey Yunnick that went something like this: "the only thing that beats cubic inches for making horsepower are rectangular dollar bills" 😄
-
Just like the model, the massive 427 SOHC Ford engine completely filled the engine compartments of the cars equipped with it. https://www.macsmotorcitygarage.com/cammer-the-real-story-of-the-legendary-ford-427-sohc-v8/ Reminds me of a time when I was 16 and found a big Chrysler Hemi engine in a scrap pile. Could have had the engine and transmission for free, but it was so big and heavy, I had to way to load or move it and gave up on that idea. Would have probably cost more to restore than I could ever afford at that time. Small block Chevy's have always been the most economical V-8's to restore or hot rod. The Ford parts cost more and Mopar was out of this world. So were Buick, Olds, and Pontiac parts when compared to Chevy's.
-
My brother and I restored an old English Ford one time. Came out great and was lots of fun to drive. it was a much earlier model than the ones in your photos. If I remember correctly, an early 60's model, like a '62 or maybe earlier, I don't recall. It had a small, but common 4 cylinder inline engine that was found in many English cars in that day. Might have been a Ford engine in fact, license built.
-
Oh man, it was more fun than a barrel of monkeys. The exotic car crowd would get pissed when I would blow their doors off with this thing. A lot of people didn't know how good those Buick 455's were. A much different engine than the Oldsmobile 455's and different than the Chevy 454's, too. A better bore-stroke combination in my opinion. Over 400 HP and gobs of torque. The other car I had lots of fun with was a '66 4 door Biscayne that ran a real hot 400 cubic inch small block Chevy engine a friend built for me. Wasn't quite as fast as the Chevelle, but caught a lot more people by surprise. It was a real runner.
-
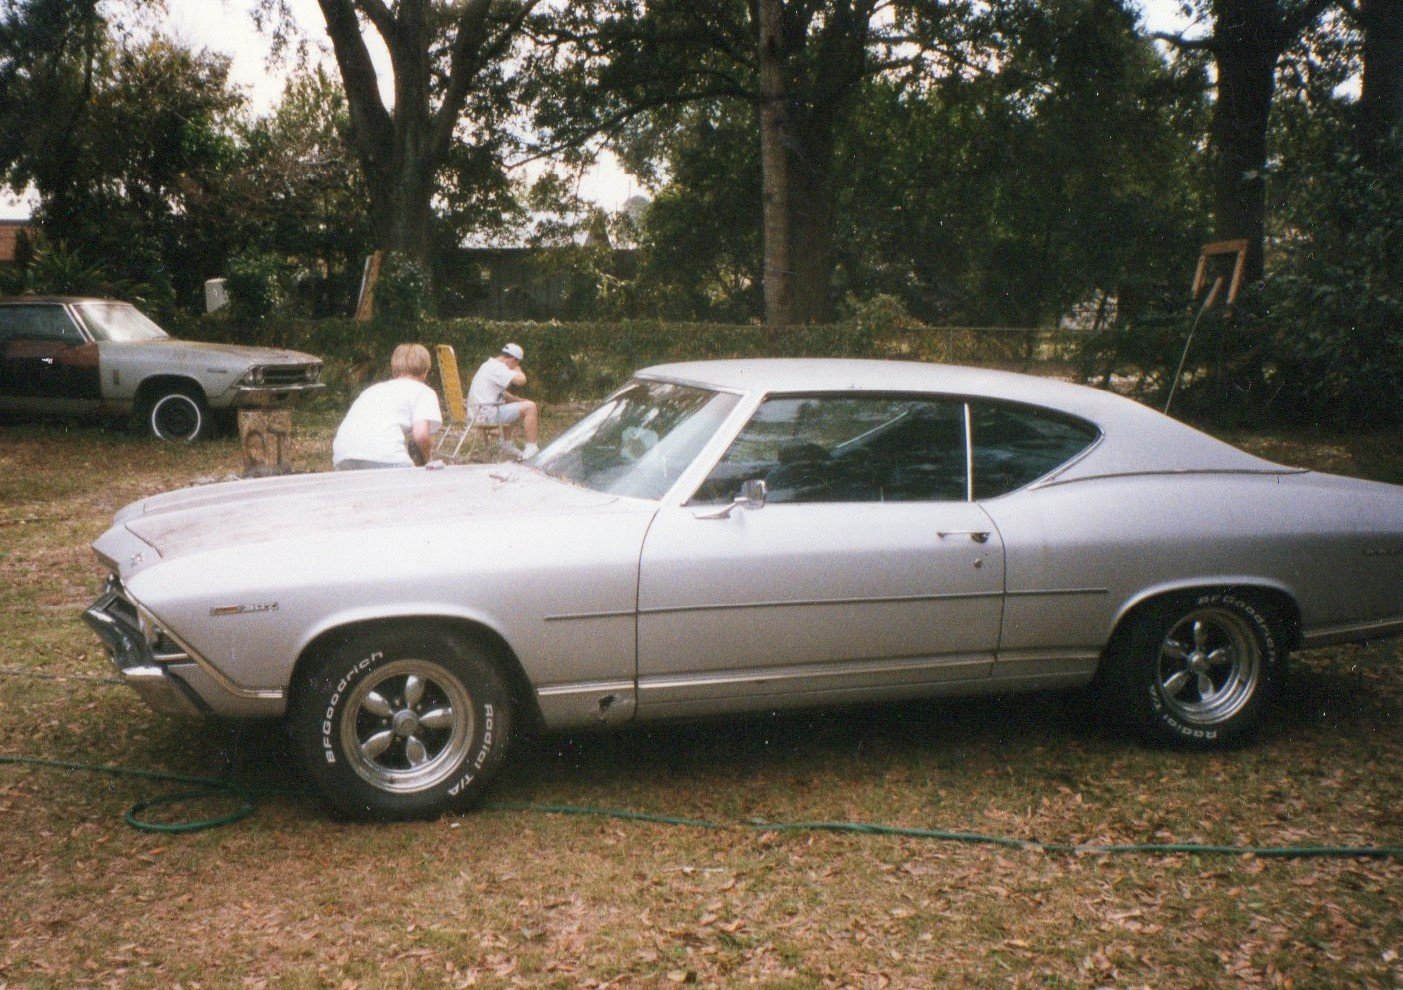
The blond haired boy you see in this photo is my son who is now 40 years old. I'm guessing the photo was taken around or about 1994 or '95. I bought the pair of 1969 Chevelles you see in the photos for $1,200 back then, and used the junker for a parts car to restore the better looking one. It was the last American muscle car I owned after a long string of them over the previous years. Still regret selling this one. A friend sold me a Buick 455 cubic inch V-8 that I rebuilt and installed in the Chevelle along with a turbo 400 automatic tranny.
- 101 replies
-
- 10
-
-
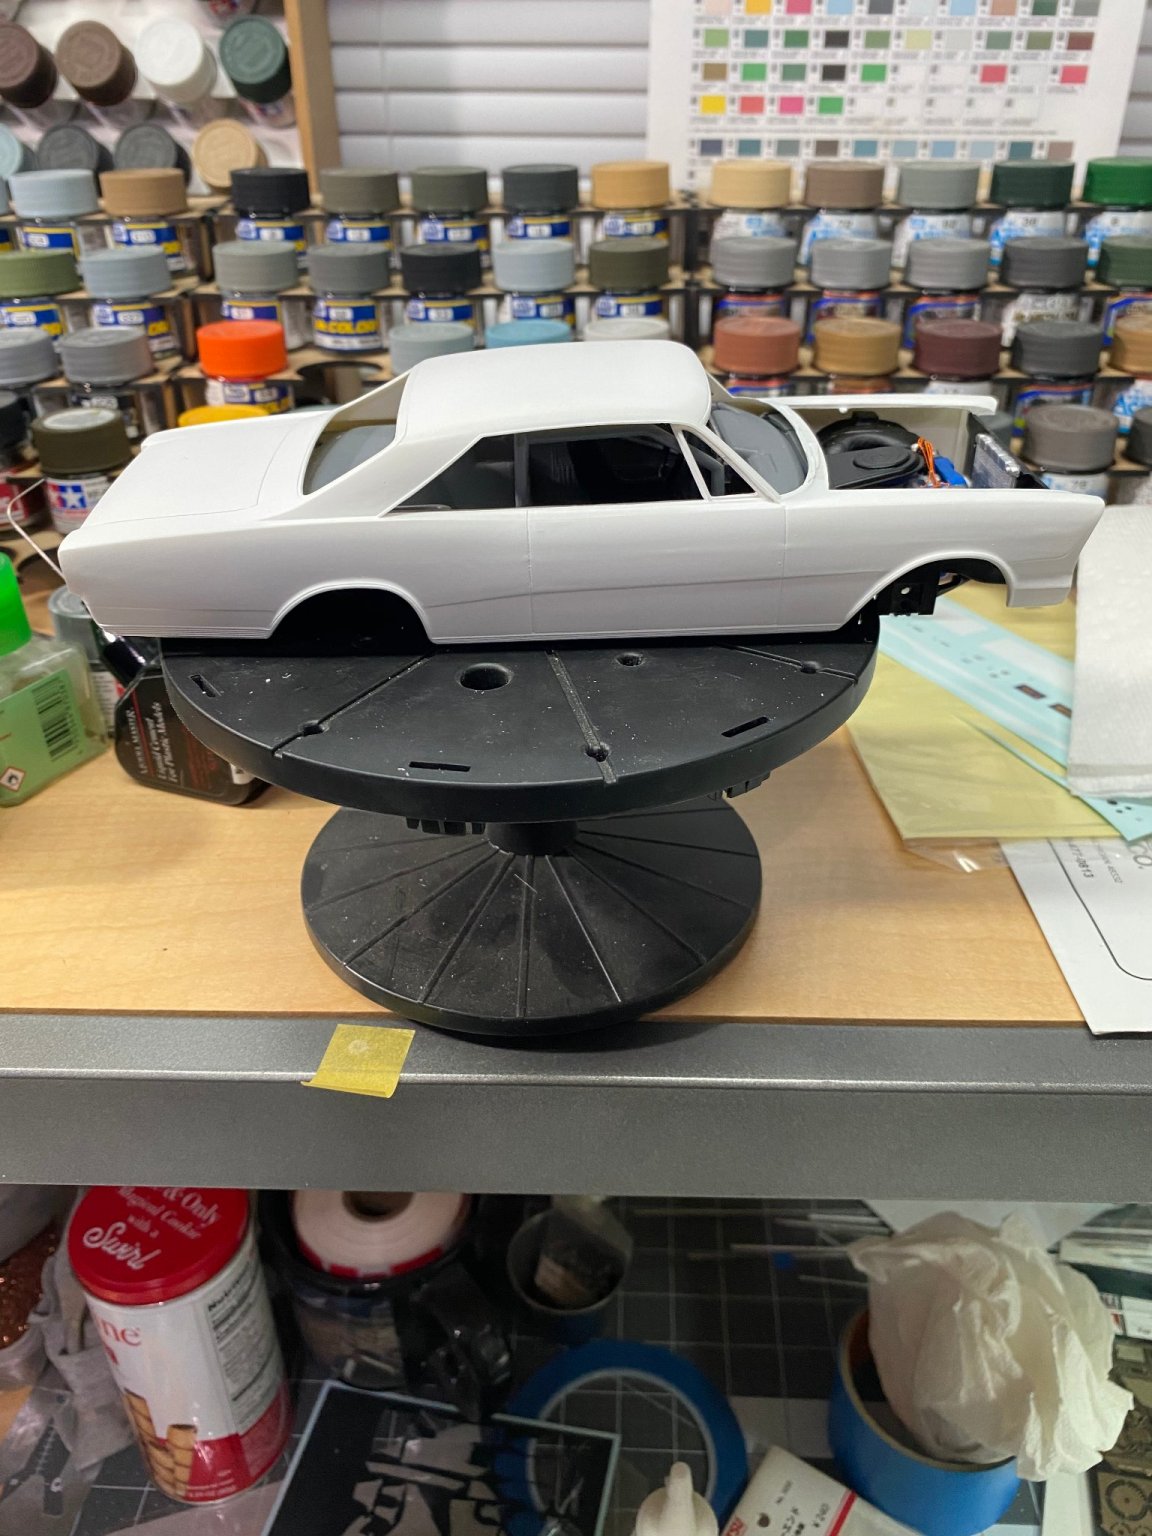
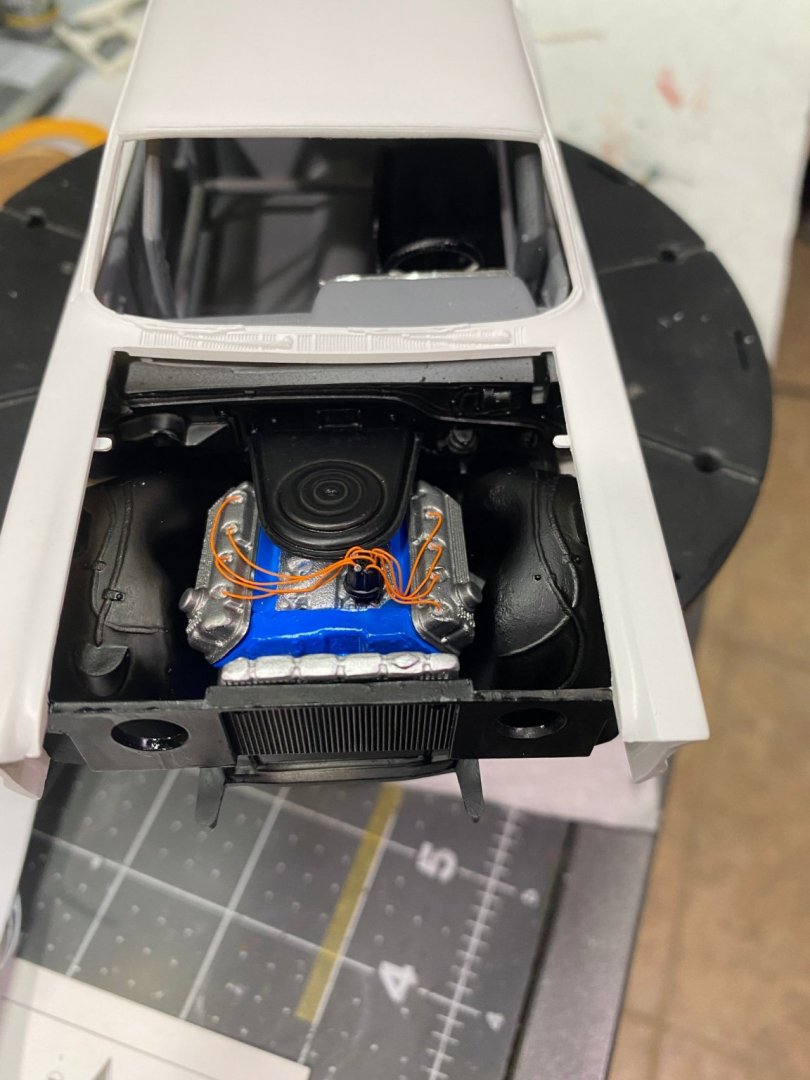
There is so much under the hood that's less than an authentic race car equipped engine bay. One could spend a lot of time scratch building all the details that should be under the hood. But that's not something I care to do at this time. Once I put this all together, the hood will remain in place and the only thing people who see it will notice is the finished model with the hood closed.
-
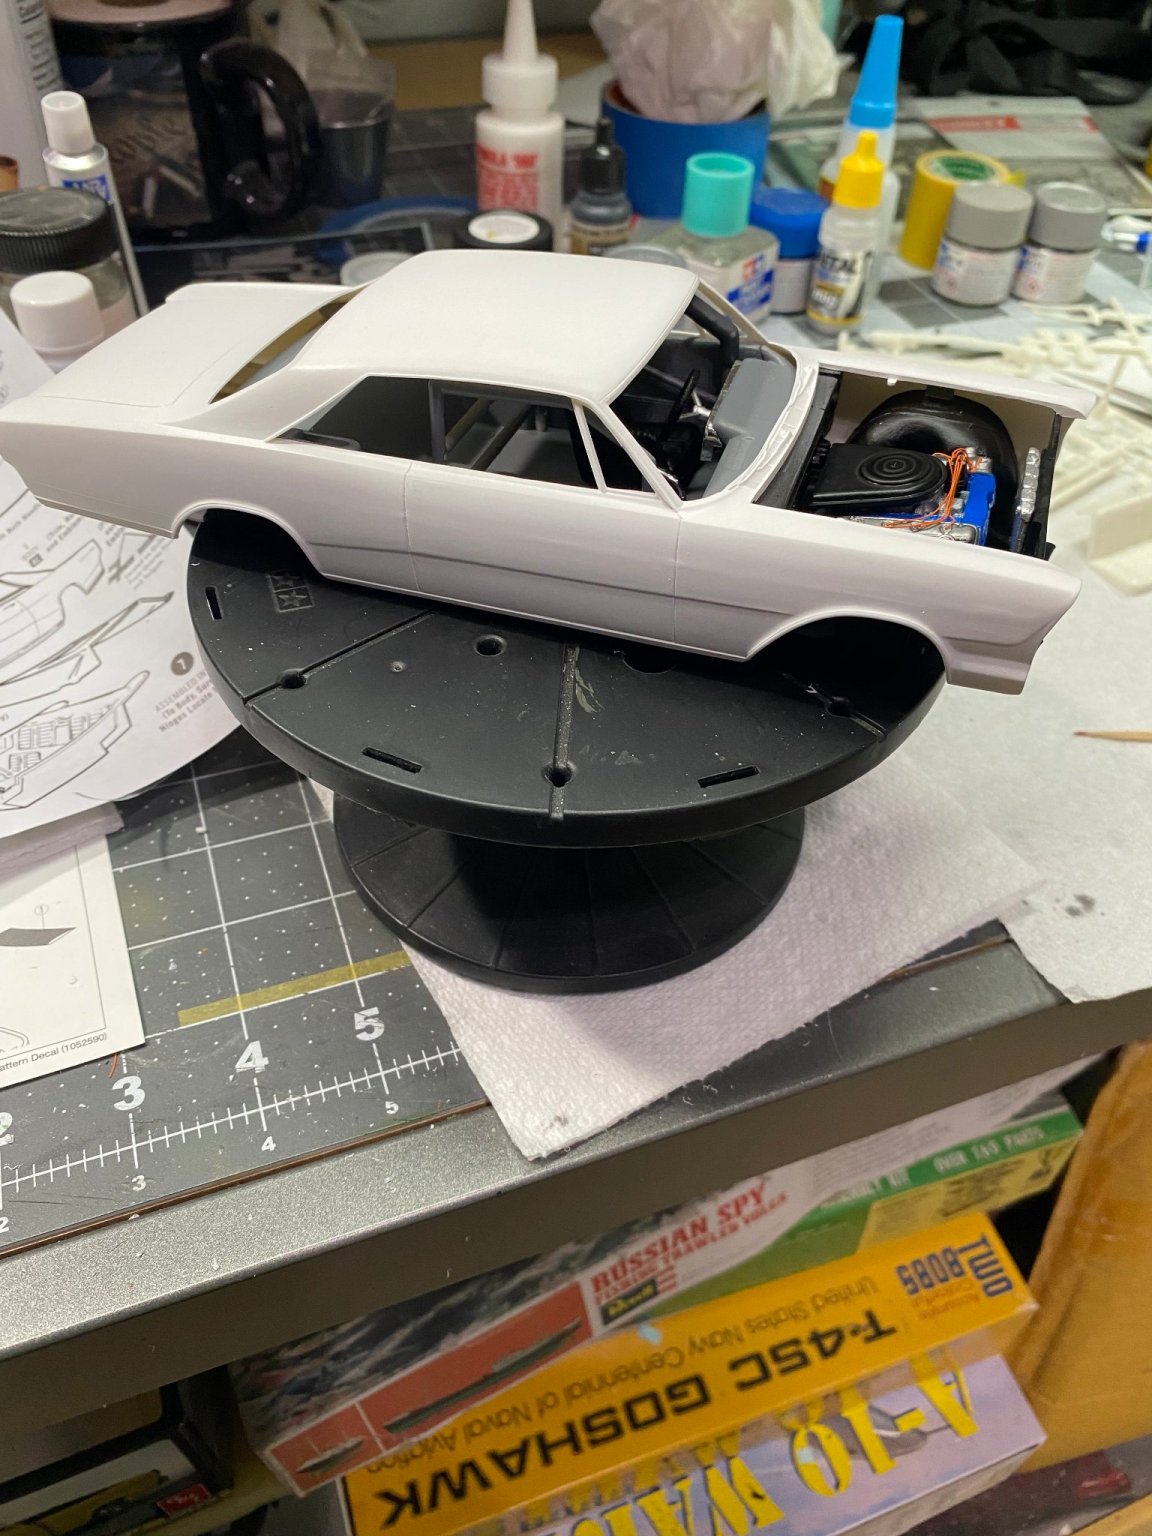
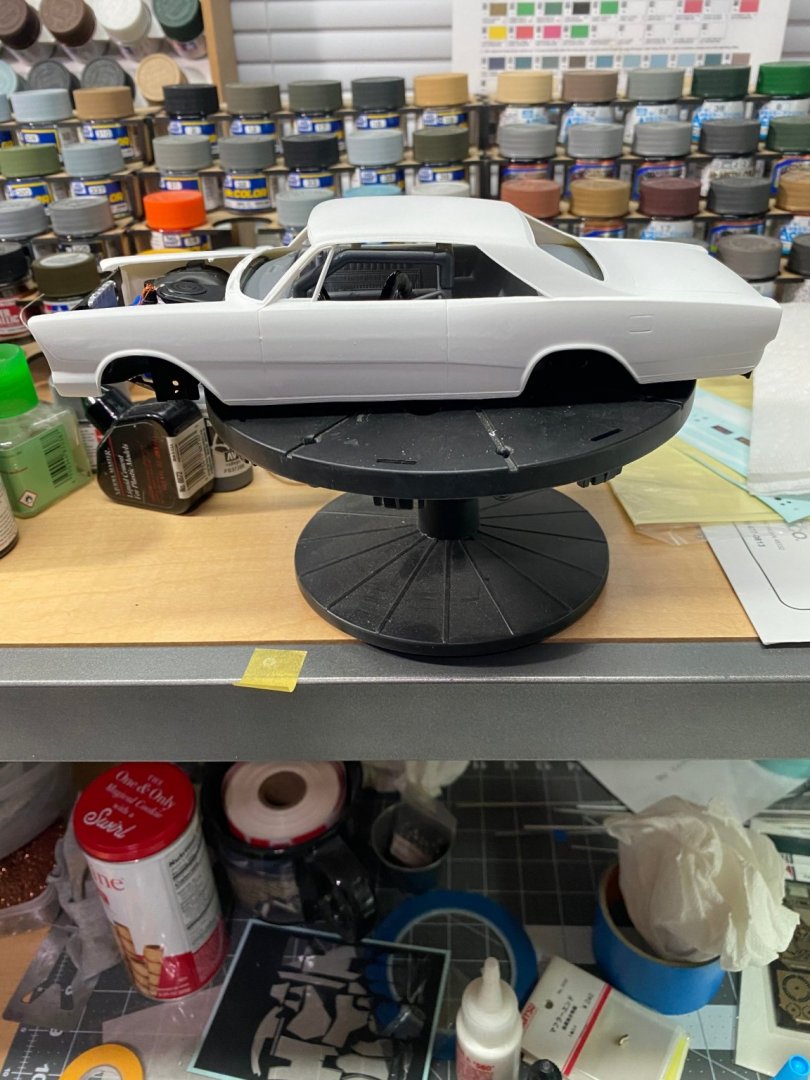
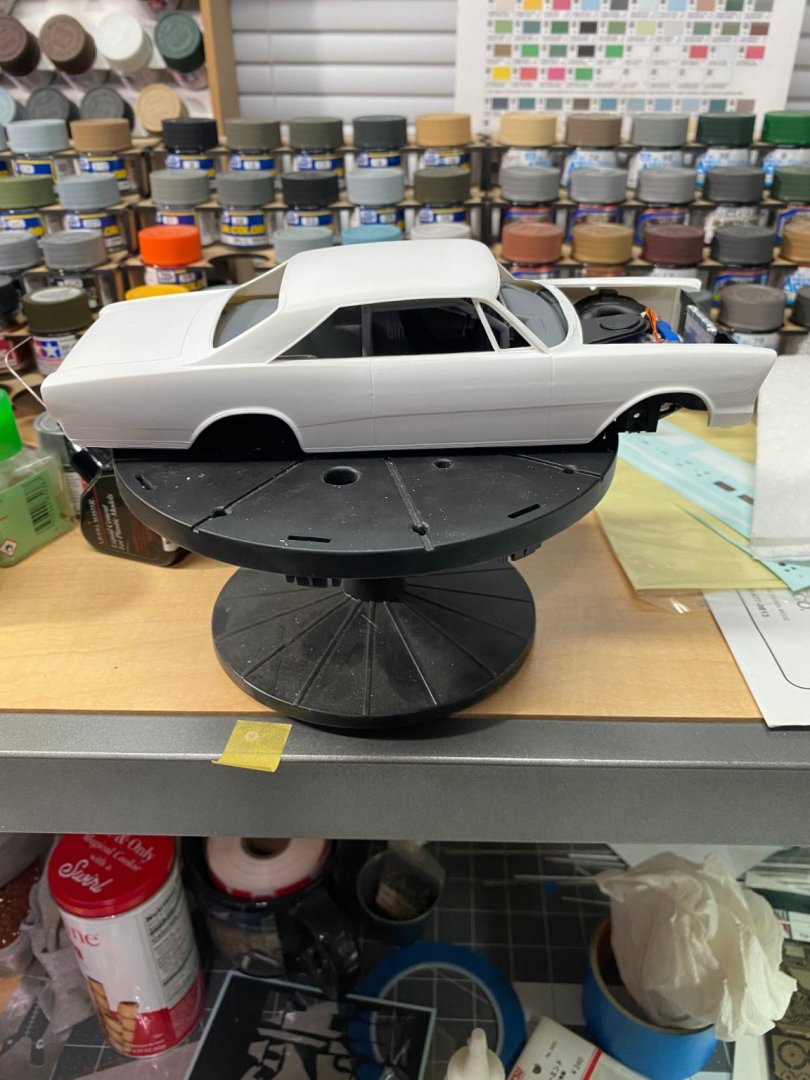
Just a few dry fit photos with the interior tub, engine bay (not complete), and the chassis all fitted to the body. I had forgotten how simplistic these old kits were made. Not too great details, this one even has the old steel axles so kids could roll them on the floor after they were assembled. The body car itself is fairly well done so at the least one can get a decent looking race car replica out of it when it's finished. Once I receive those decals I ordered, it won't take long at all to finish this old model. Maybe I should have added a little crash/road rash damage to it to make it look more authentic? In the meantime, I may start another kit while I wait on the decals to finish this one.


-
I highly recommend stopping by Big Daddy Don Garlit's museum if any of you are ever travelling south down I-75 through Florida. There is so much history and beautiful machines in there. Bring a good camera with lots of memory because you will want to take a ton of photos.
- 101 replies
-
- 10
-
-
Good photos of an original 1966 Ford 427 SOHC crate engine. https://bangshift.com/general-news/ebay-find-2/ebay-find-greatness-an-original-427-ford-sohc-engine-from-1966-still-with-factory-installed-oil-filter-and-tags-unobtanium-extra-intake/
-
My route mail carrier is great. He never fails to bring my packages to the door, but when he's off or on vacation, all bets are off.
-
Last time I checked Paypal rules for sellers, the seller MUST get signature confirmation for any items/transaction sold that total $100 or more. If not, delivery confirmation alone is not enough to establish delivery to the customer and the customer can successfully recoup their cost on a contested transaction. Purchases less than $100 do not require signature confirmation. If signature confirmation is used, the carrier MUST take it to the door and get a signature. It's worth paying for signature confirmation even if you must pay for it yourself as the buyer. This idea of leaving a package beside your mailbox at the roadside is ridiculous and can easily result in a lost package.
-
Speaking of being at the mercy of the post office... Over a month ago I ordered several models from an individual up north. They quickly mailed out the kits and provided a tracking number. About a week later, the tracking indicated the package arrived at my zip code post office. That was early on a Friday morning, so I guessed they would probably deliver the package on the next day, Saturday. It didn't arrive Saturday, so I figured no problem, it will be here Monday or Tuesday. Monday and Tuesday came and went past, nothing. Another day went by and I checked the tracking again. This time it said the package was in transit. This same message went on for another few days, then next time it said the package was in New York. Huh? Then the package said in transit again while another few days went by. Next it said the package had arrived at my zip code post office again. A couple days go by with no package and when I looked again, it said the shipping label had insufficient information to deliver it to me and had been returned to the sender. Sigh. So I write the sender and advise them to be on the lookout for the returned package then we could retry with a fresh label. Several days go by and I check the tracking. Now it says the package was left at my mailbox on a specific day and time. It wasn't. I have a full time video surveillance camera system at my home so I go to the time and date they claimed they delivered it and it was not delivered. I later went to my zip code post office and spoke to the Postmaster to tell him the story about it along with the tracking number. He promised he would call me back the next day after he had a chance to speak with the mail carrier (a substitute who was filling in for my vacationing mail carrier). Three days have gone by and the post master has never called back as he promised. I suspect this one is going to be a total loss. I have no recourse with the seller as the post office indicates it was delivered. Sheesh.
-
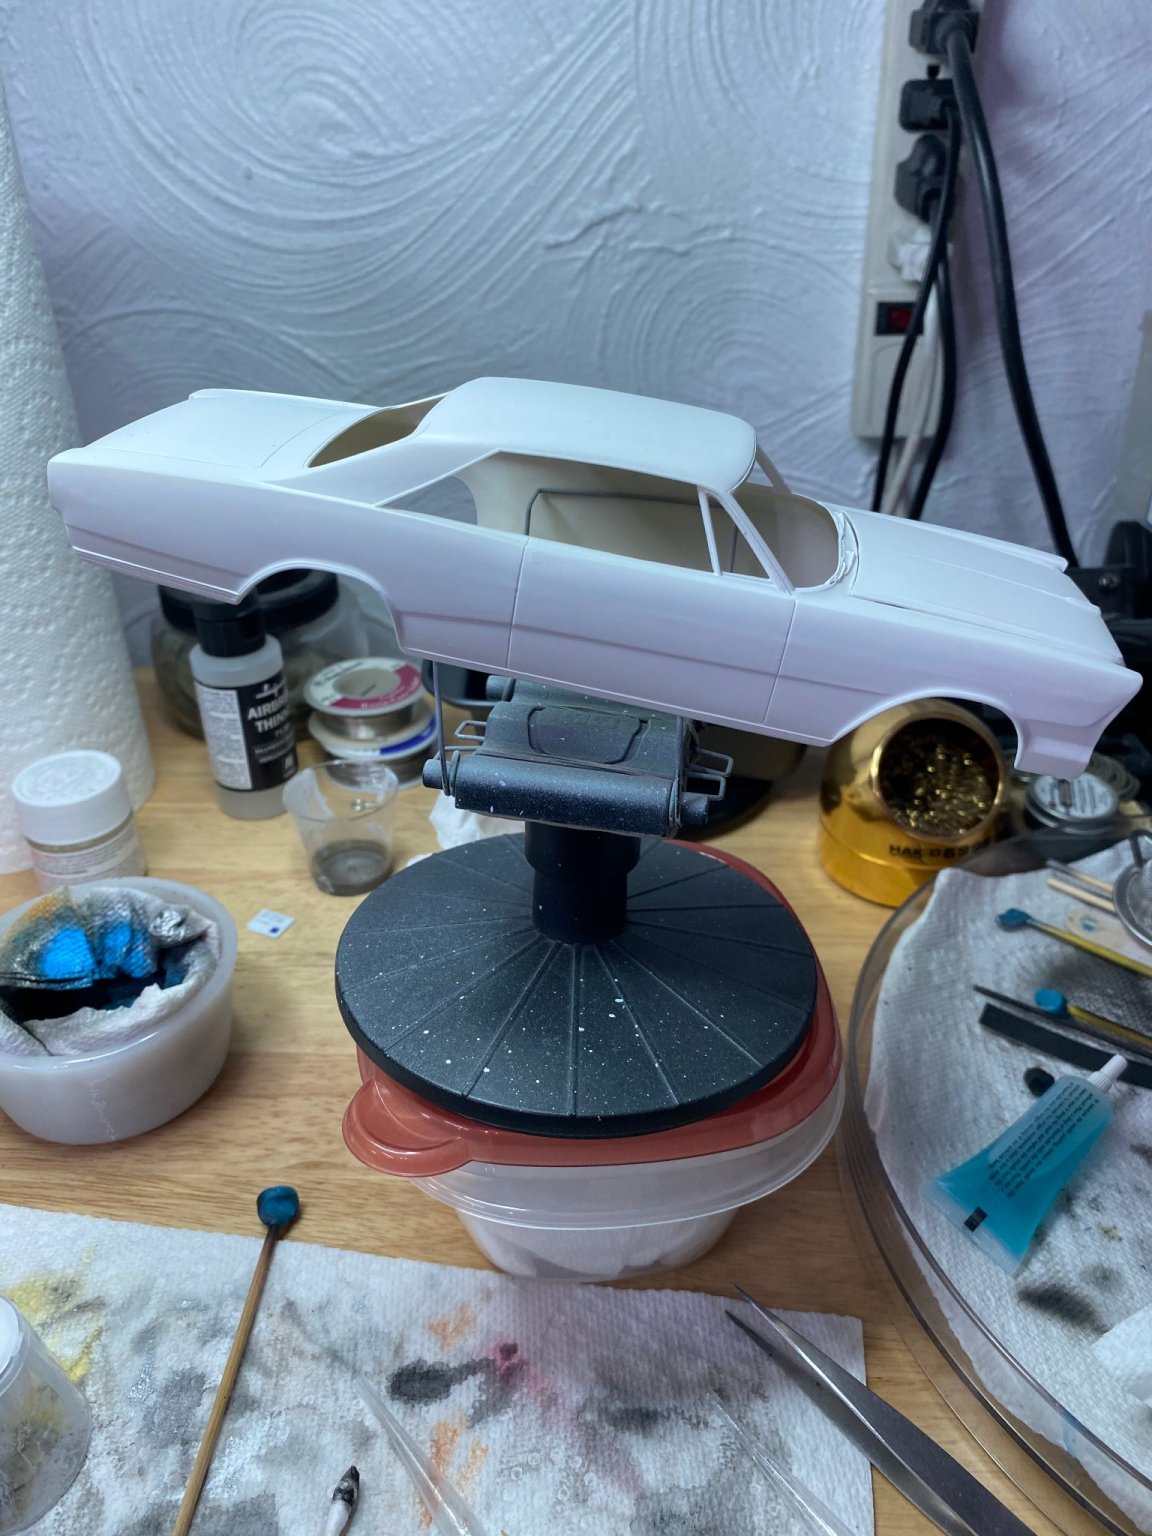
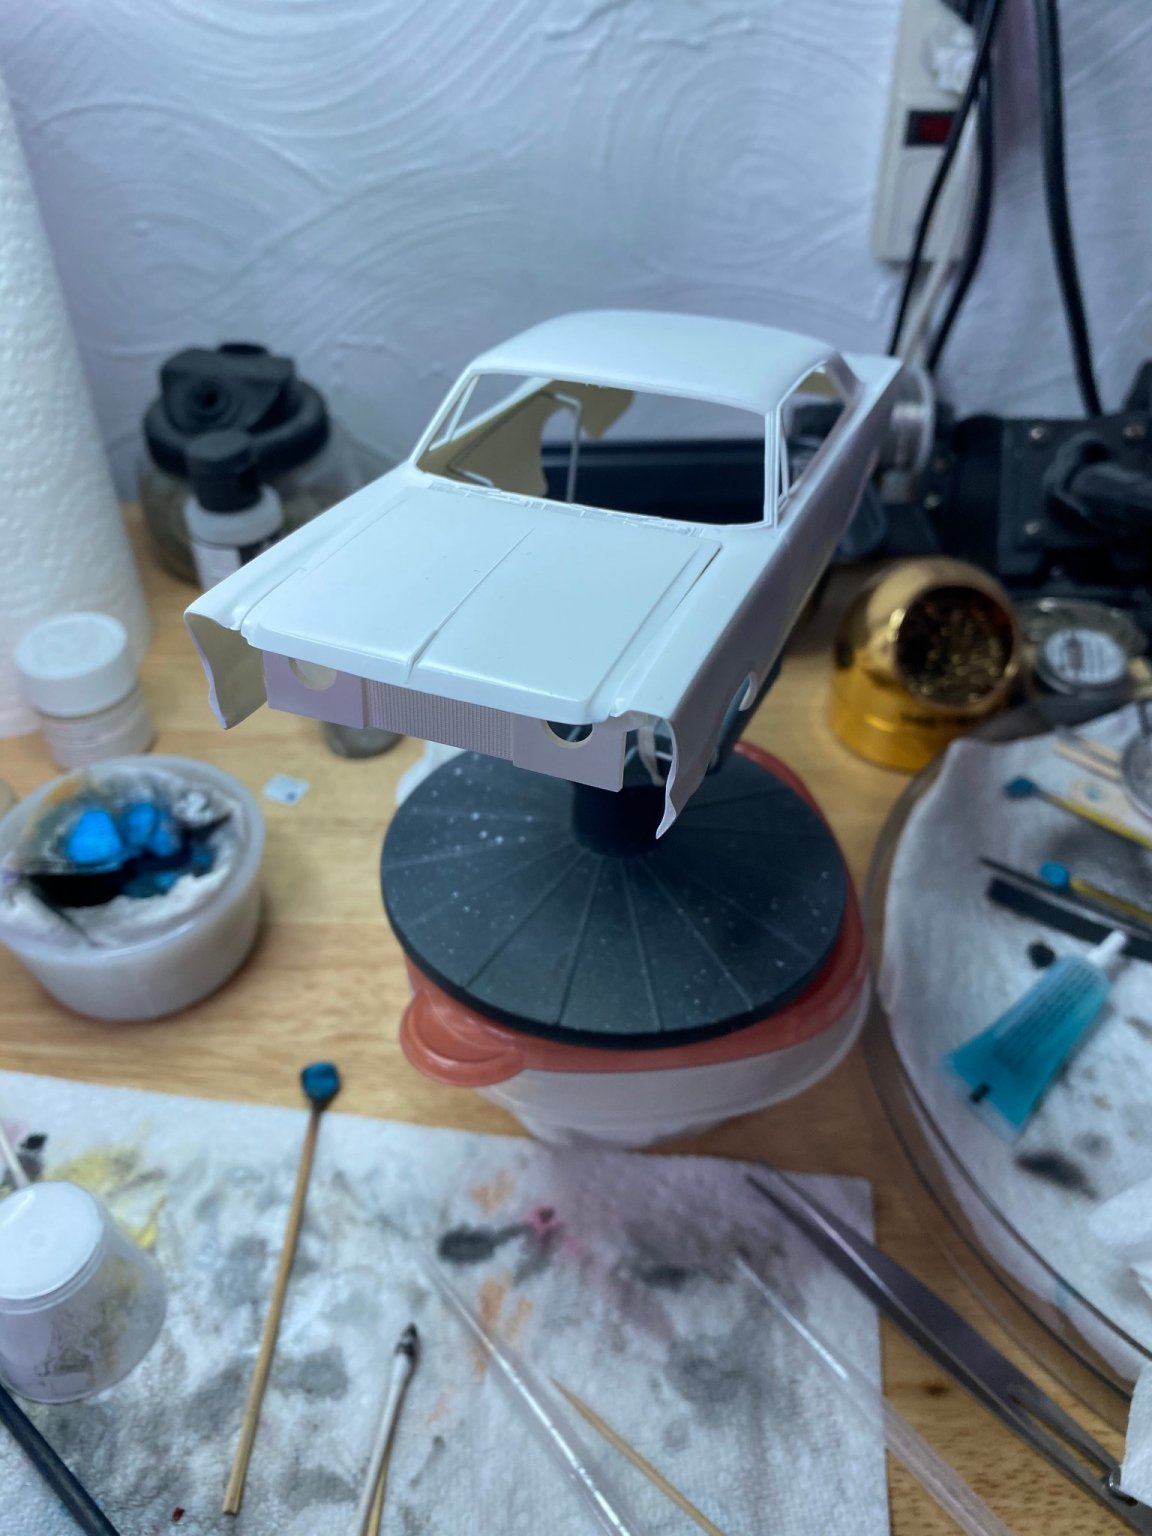
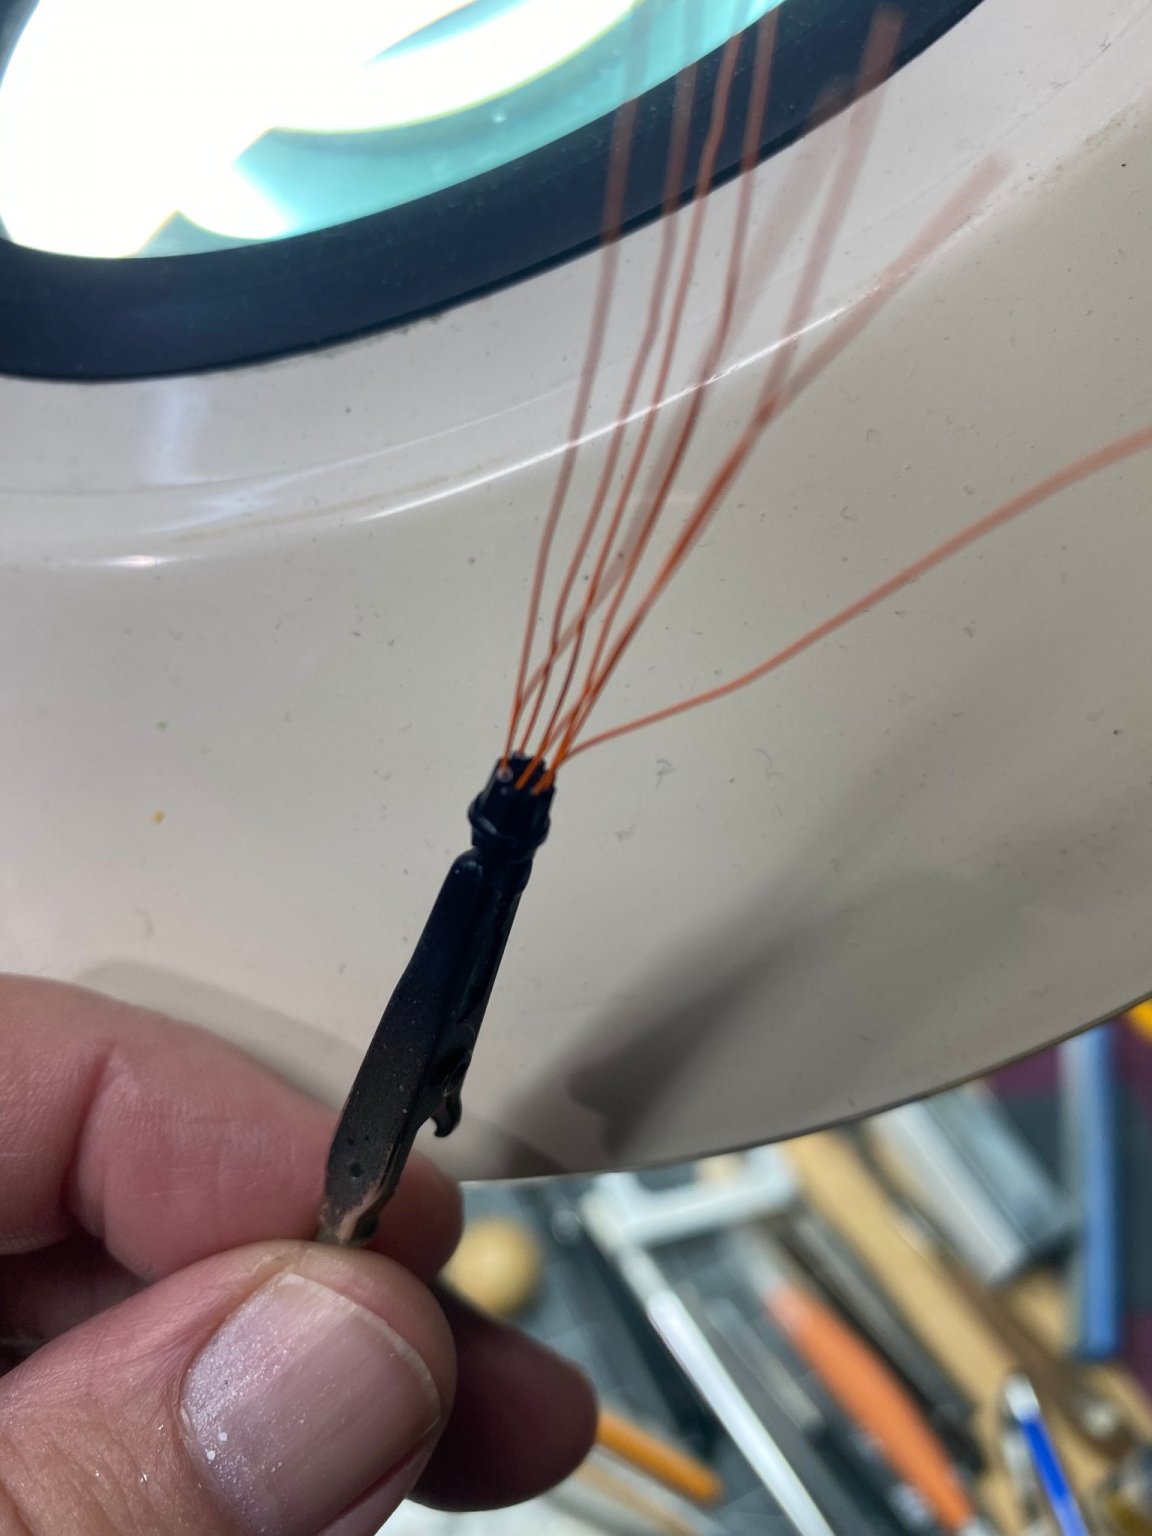
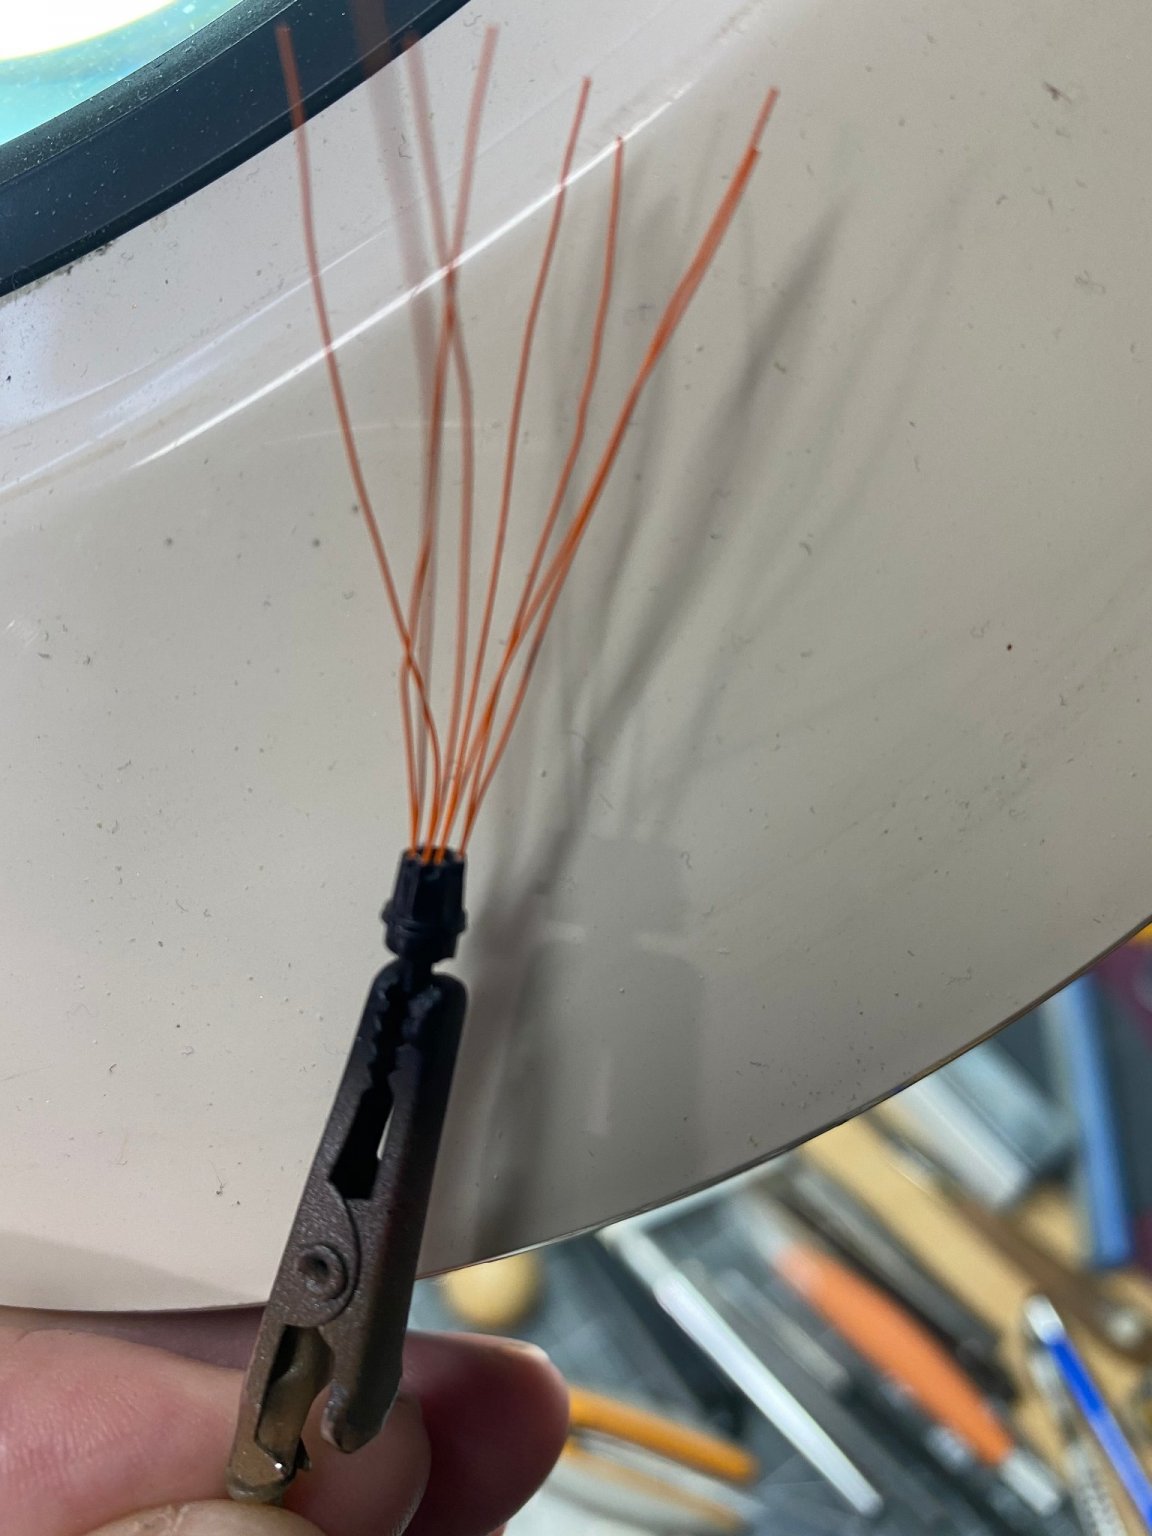
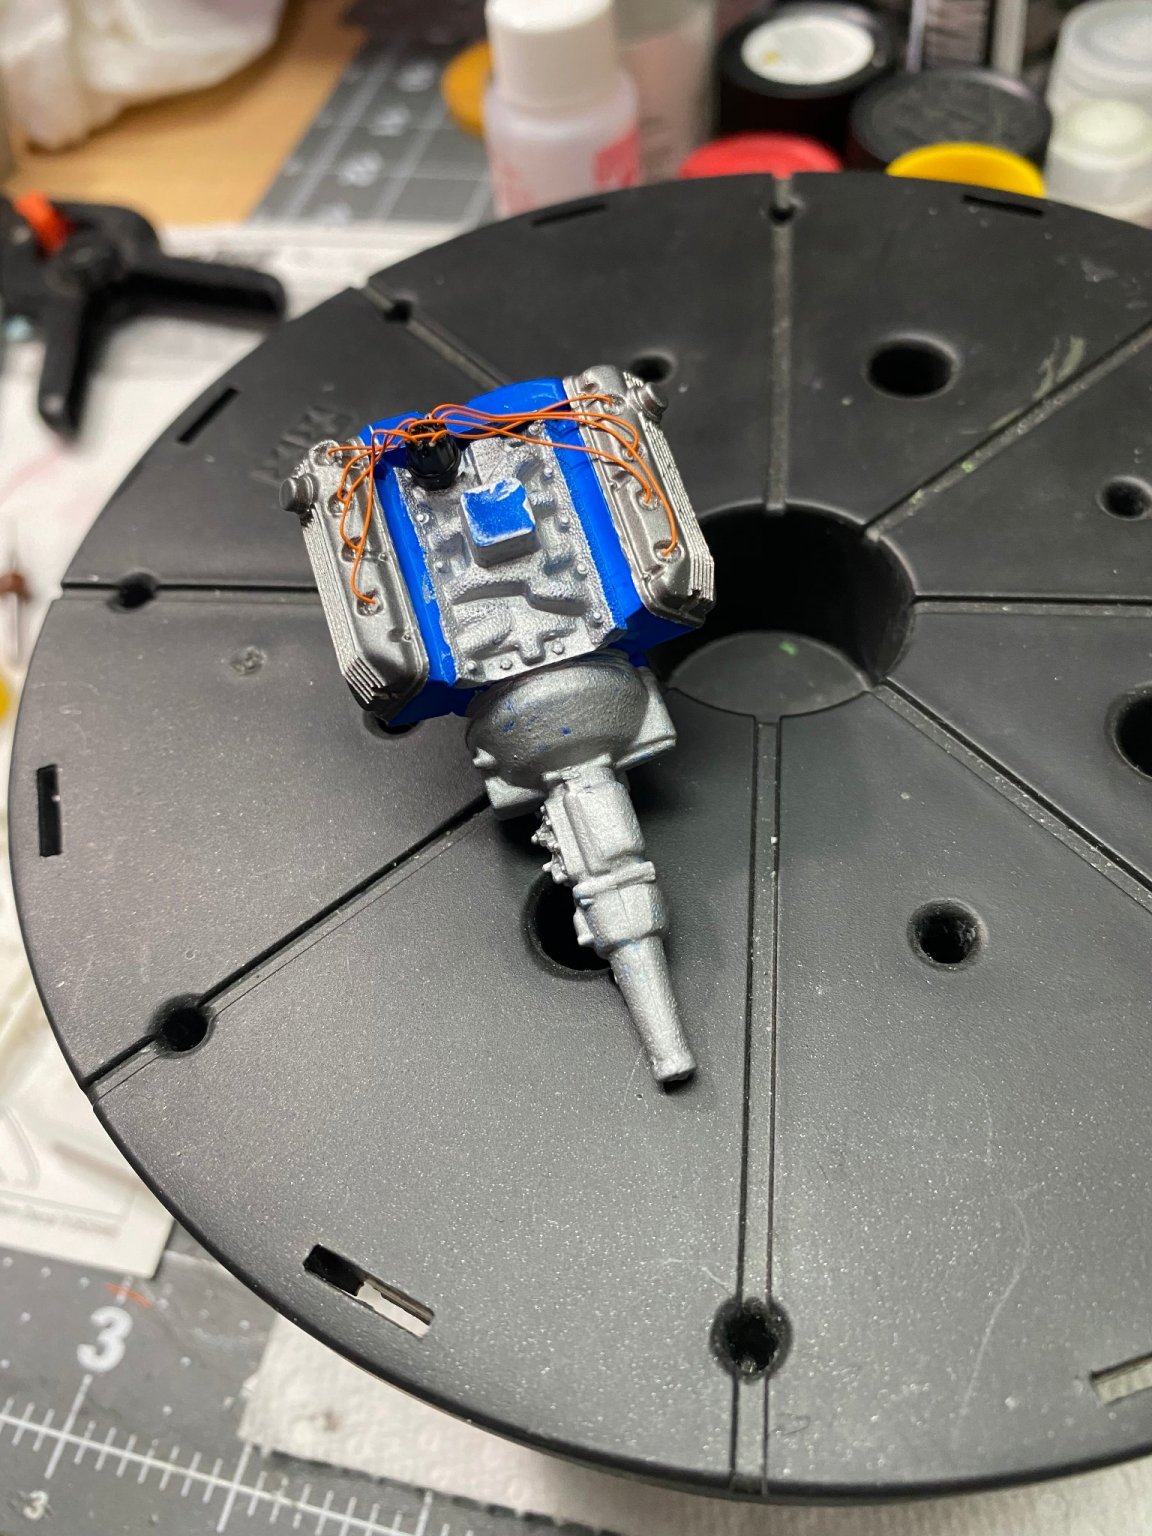
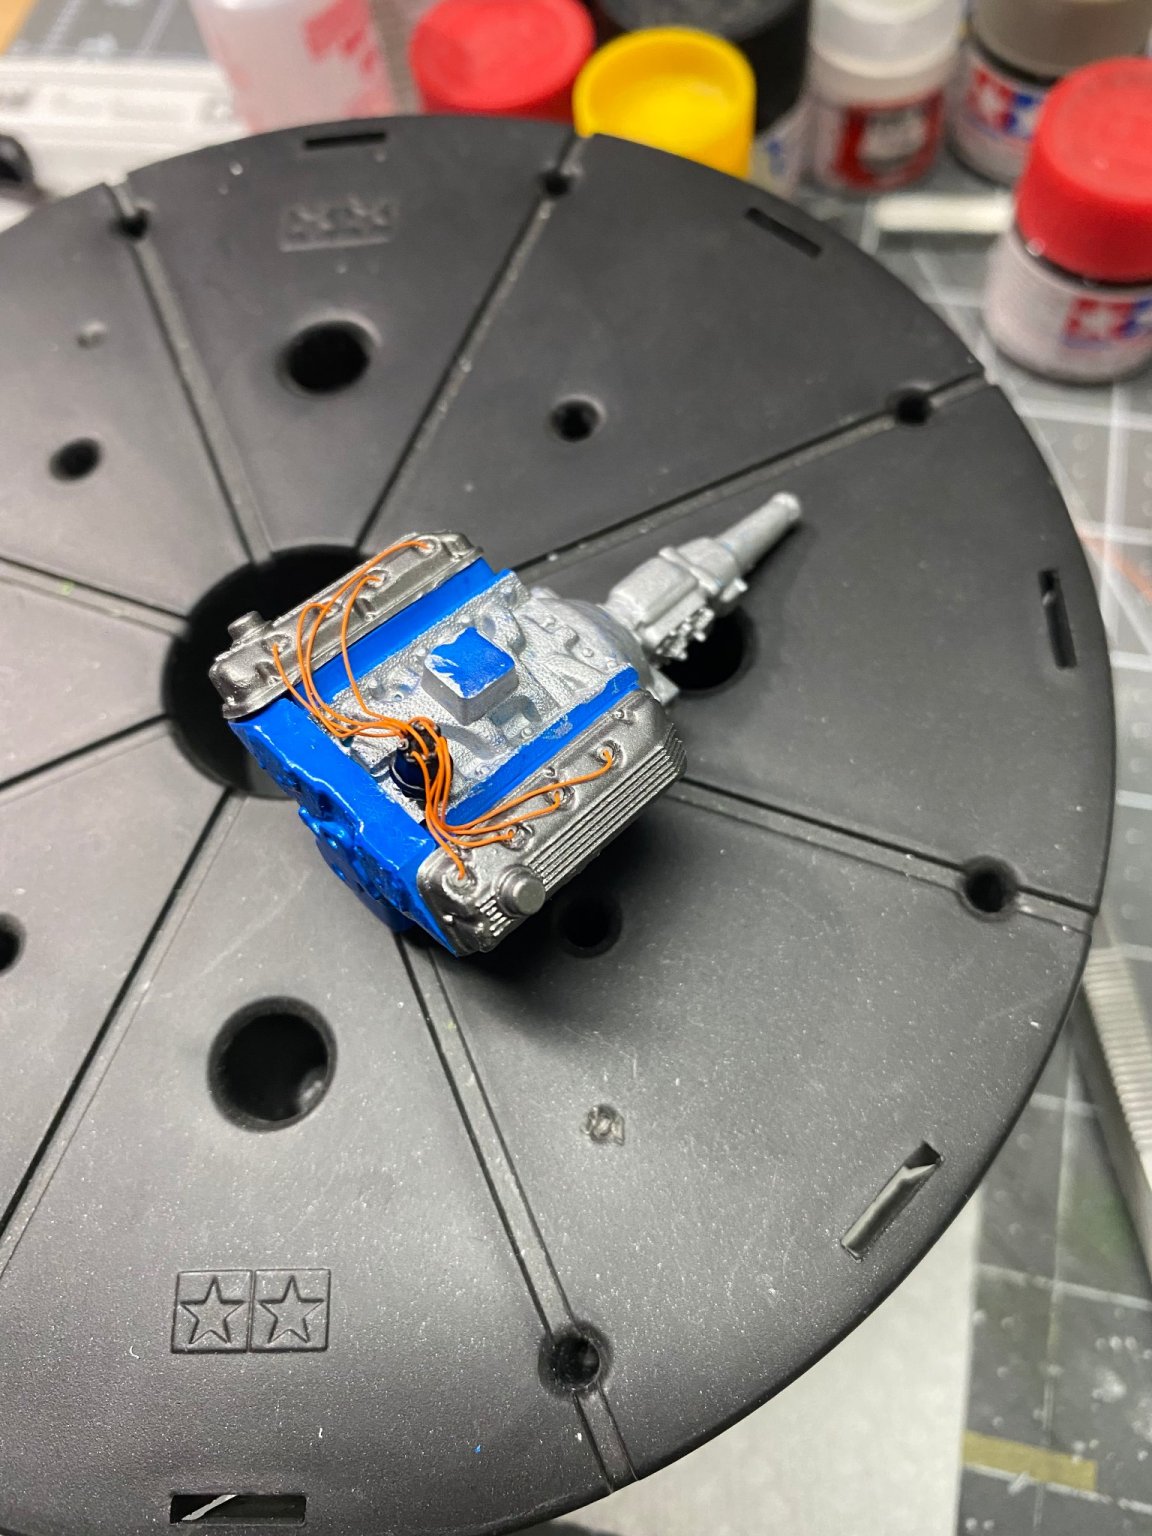
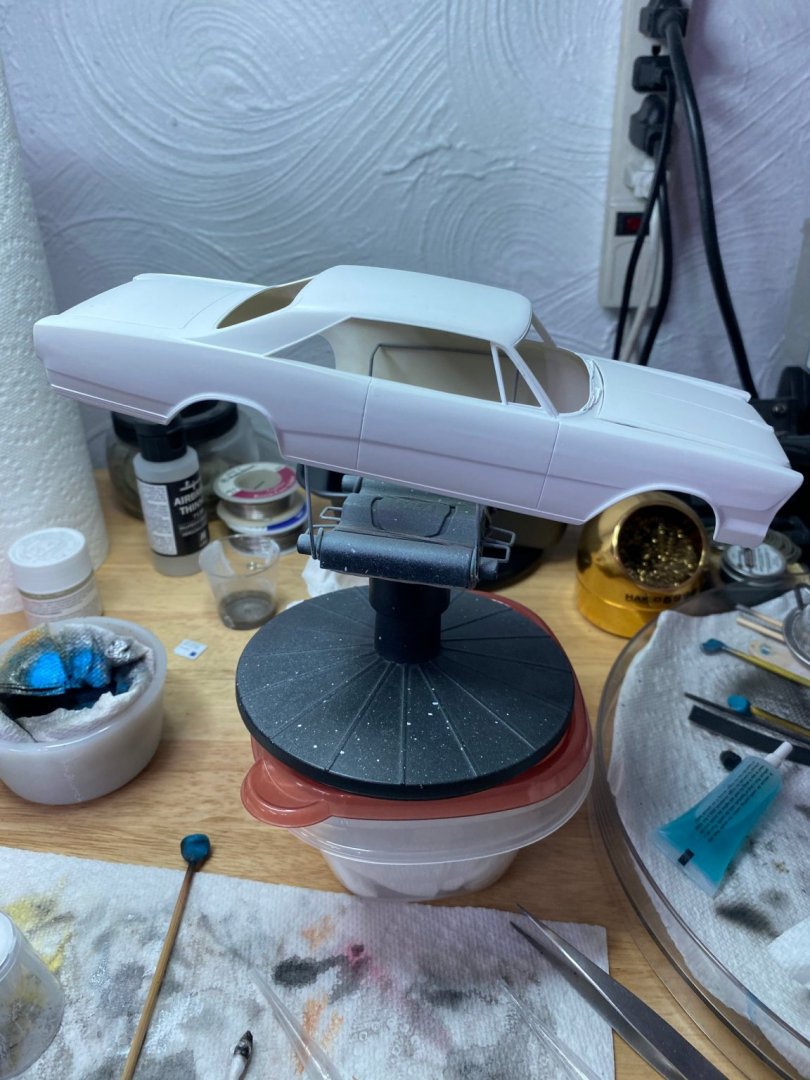
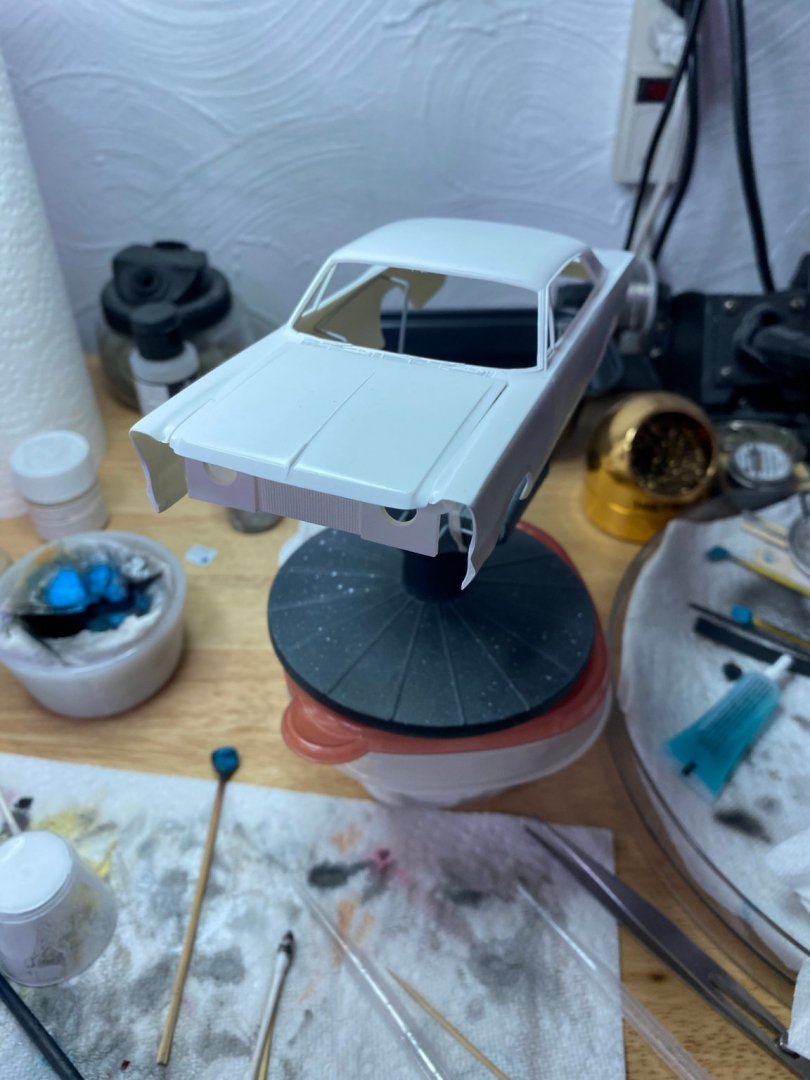
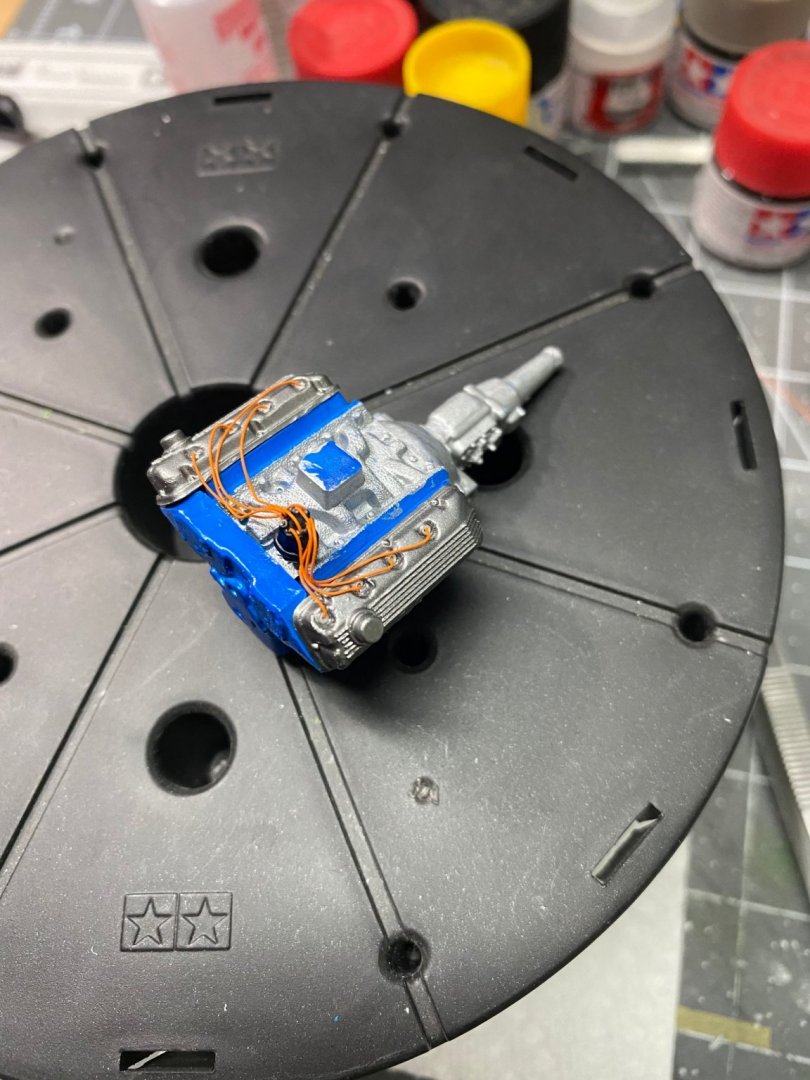
Have done some basic things to start off the build sequence for this model...removed molded on chrome trim, sanded, primed, sanded, primed, sanded, painted, then sanded some more on the car body. The color scheme is quite simple, a white body with a red top. The headlight and tail light covers will also be red. The steel wheels will be black. The decal scheme will be for the Harvest Ford, #41, driven by Curtis Turner. The decal sheet is on order and I am at the mercy of the post office. They will hopefully arrive in another week. This is how I wire a distributor. Just drill out the distributor cap and super glue pre-colored wiring in place. Here is the massive Ford 427 cubic inch single overhead cam racing engine. A huge black air filter/breather will sit on top of the manifold/carburetor. That's all for now.


- 101 replies
-
- 13
-