CDW
-
Posts
7,755 -
Joined
-
Last visited
Content Type
Profiles
Forums
Gallery
Events
Everything posted by CDW
-
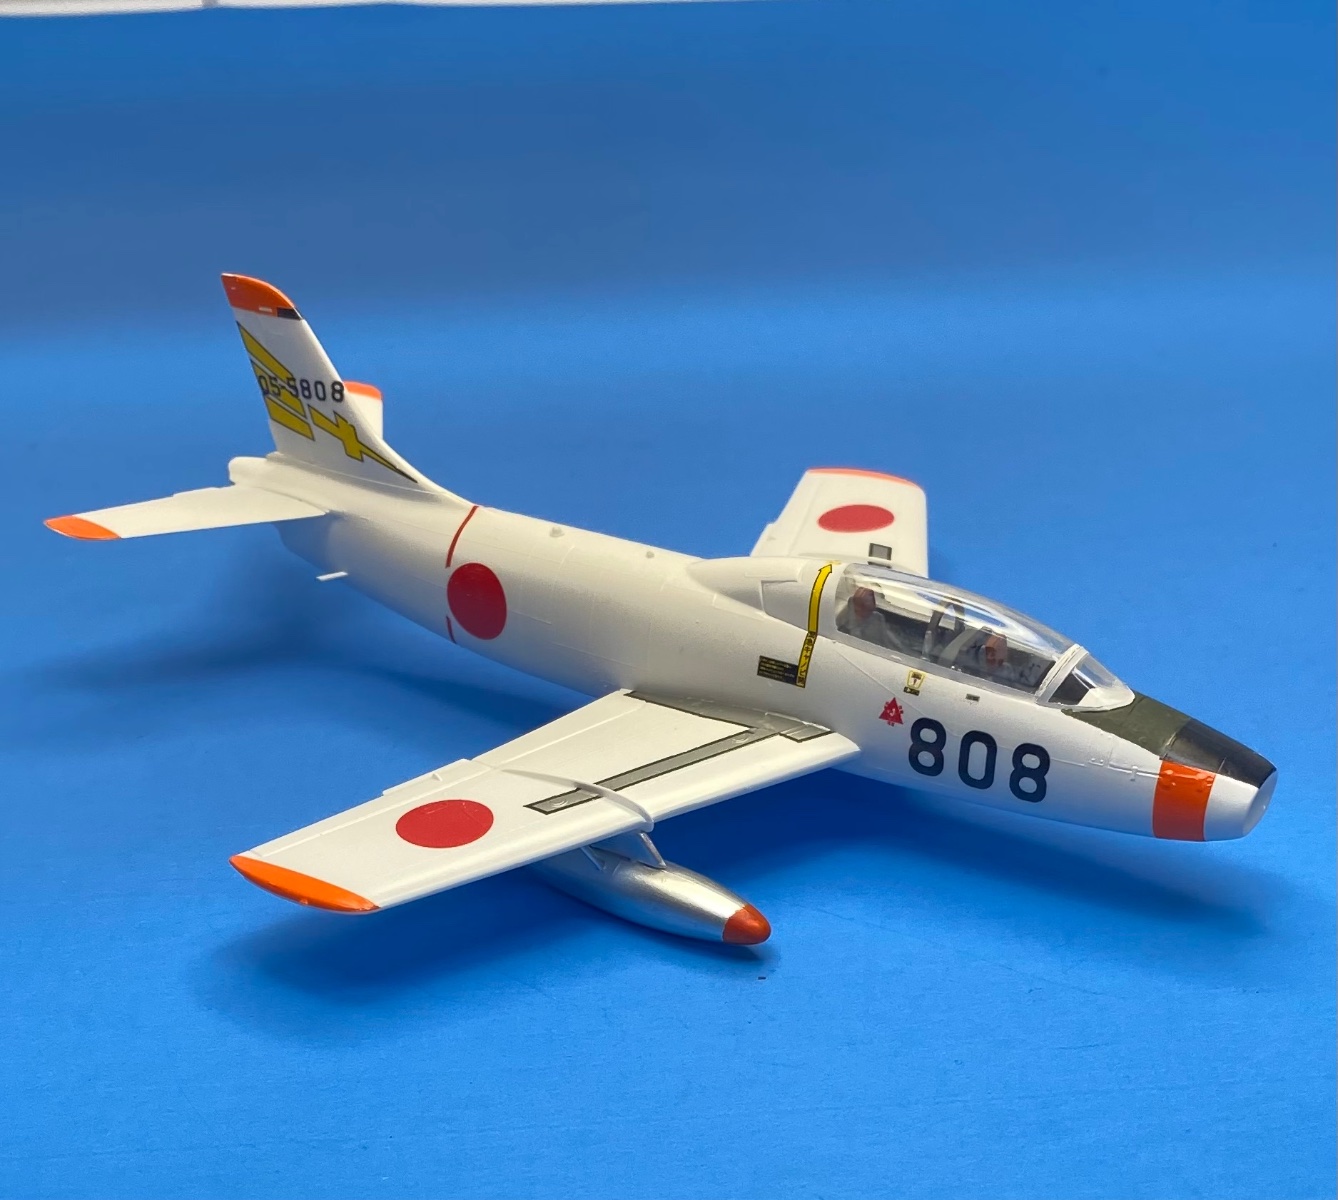
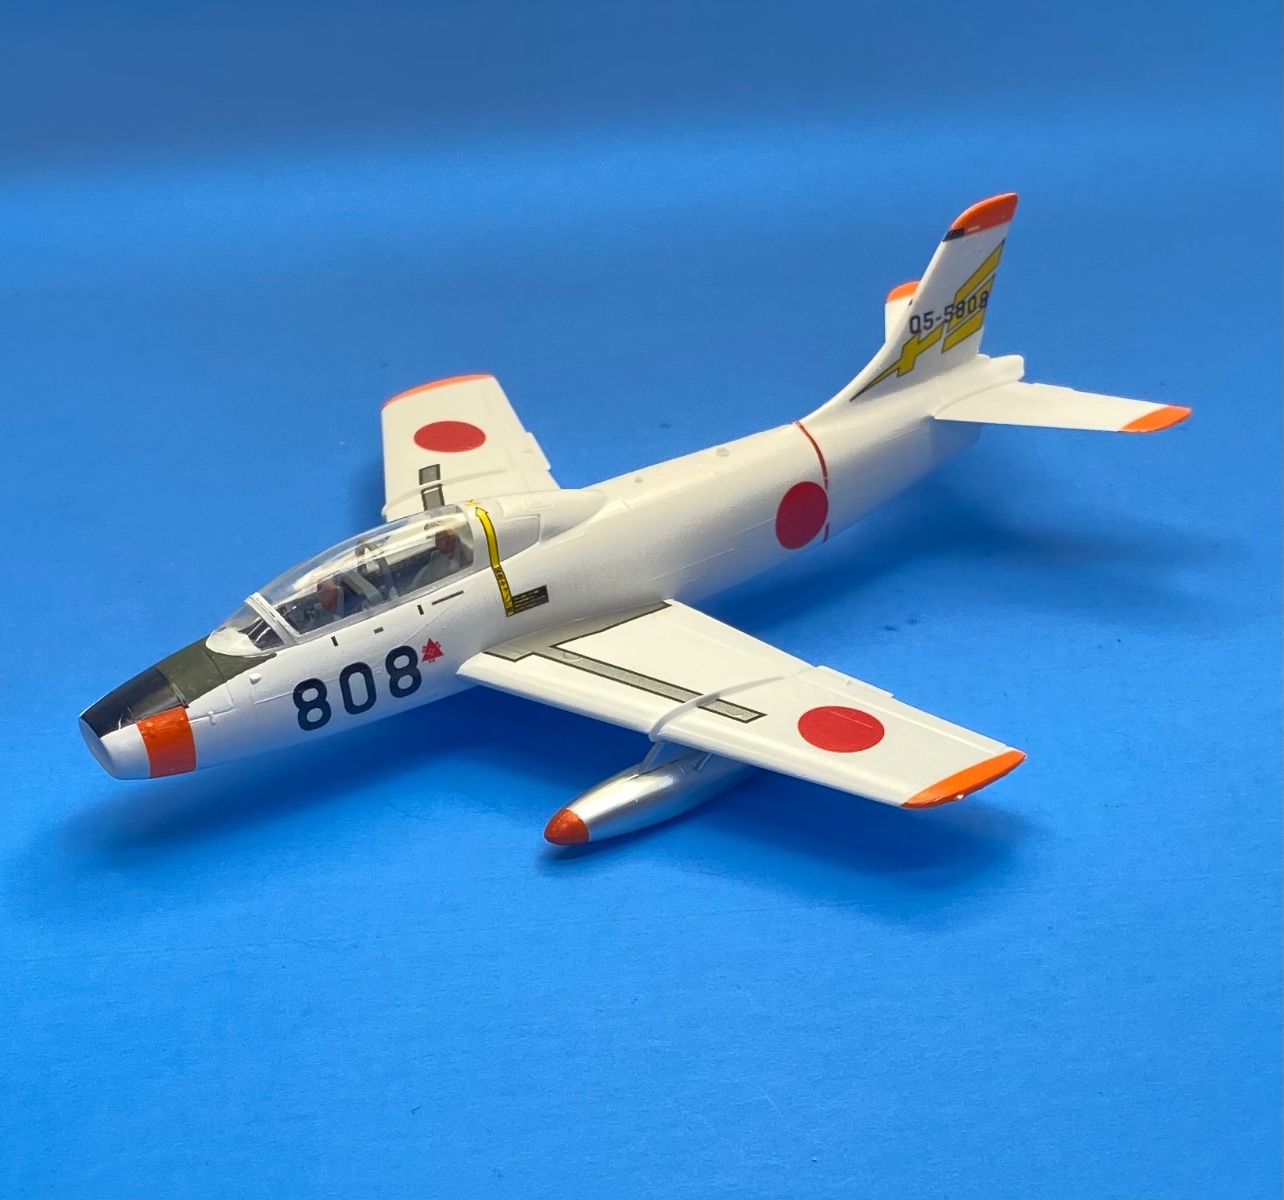
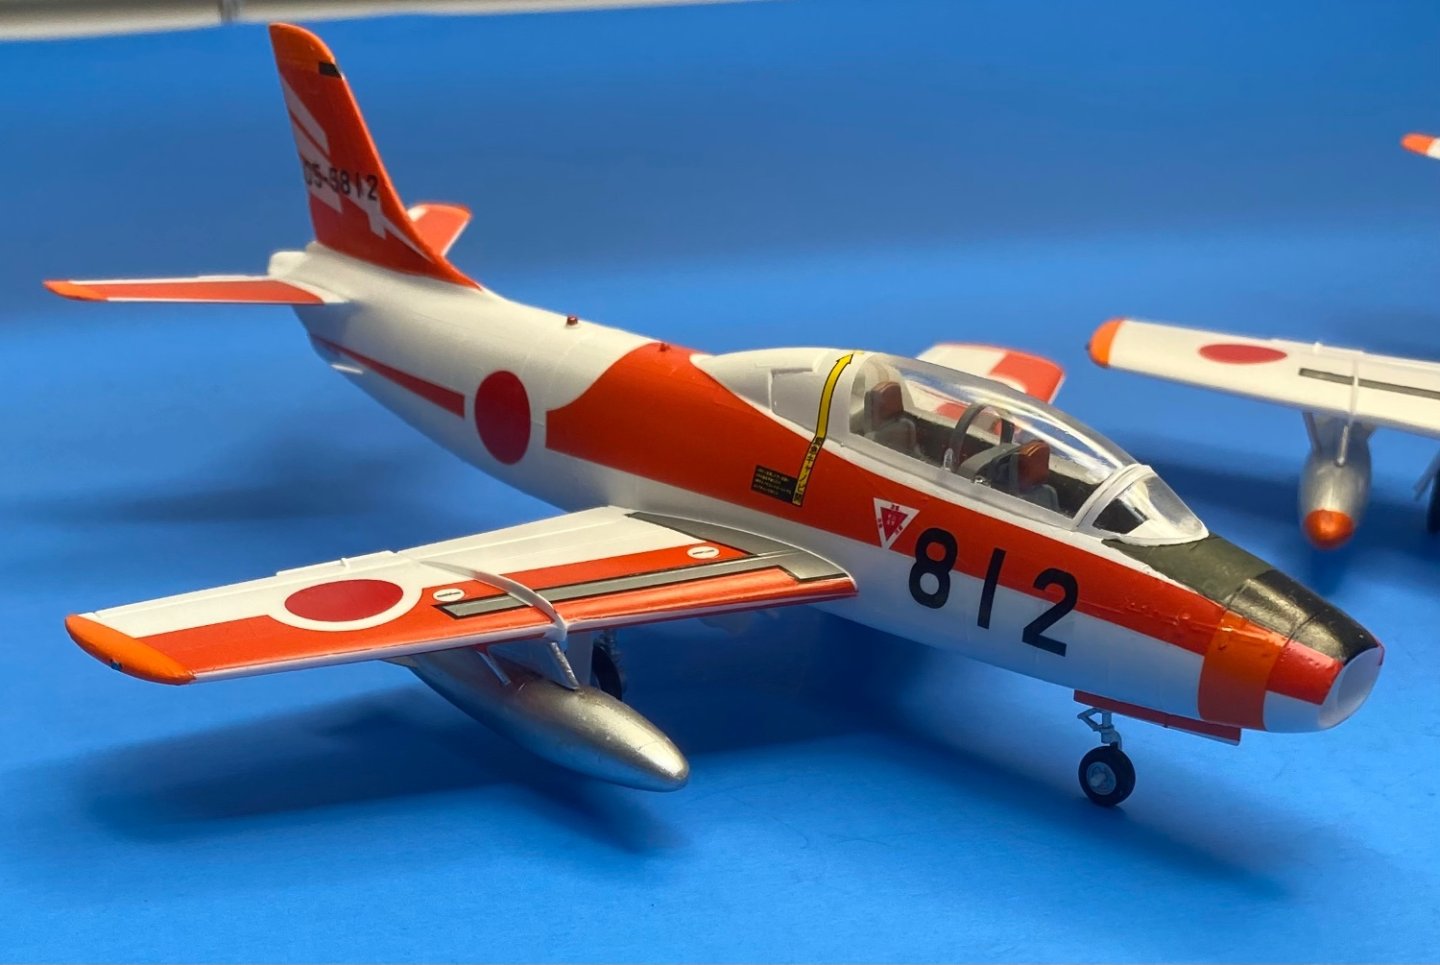
 Completed. Final photos. Thanks for the likes, comments, and for following along. It’s been fun!
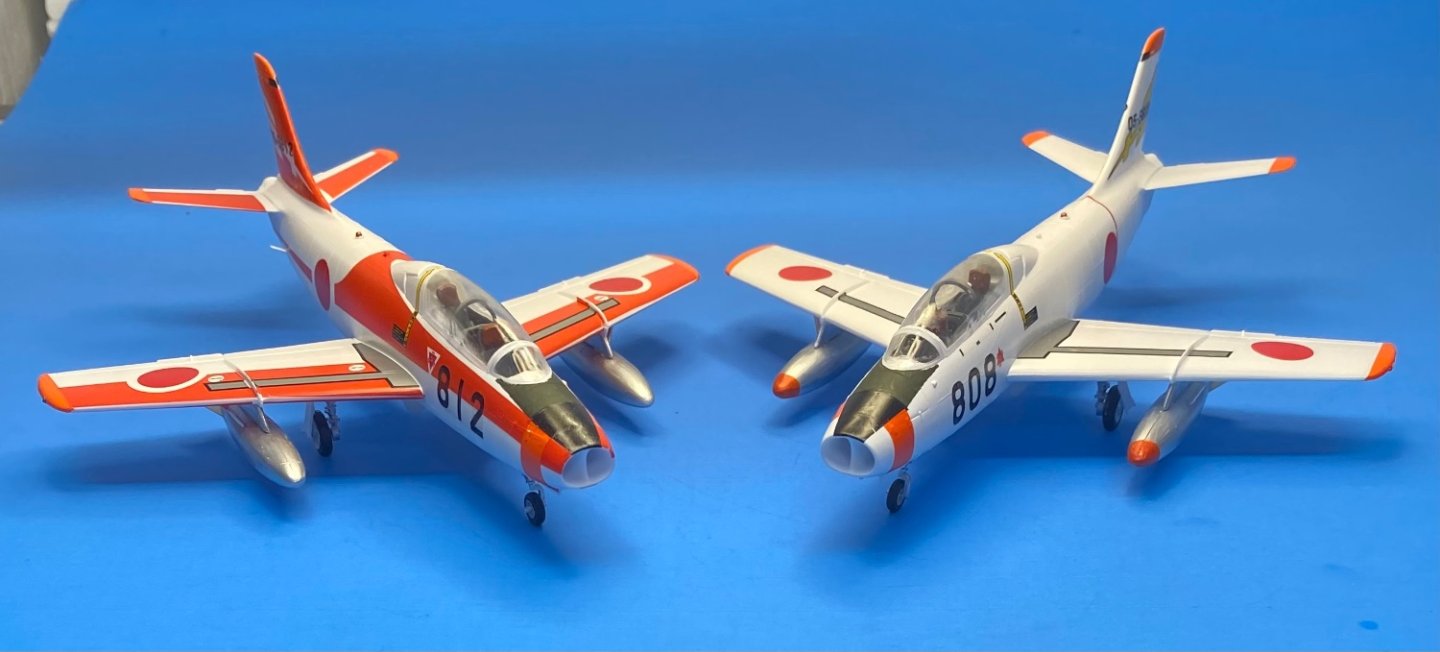

- 45 replies
-
- 13
-

-

-
I don’t remember Champ. We’re those railroad items? I know Walthers was railroad. That’s where I learned about it, from my railroad modeler friends.
-
F-86F-30 Sabre by Egilman - Kinetic - 1/32nd scale
CDW replied to Egilman's topic in Non-ship/categorised builds
Man, that looks good. Very very good! You hang in there and take care of yourself first. We are all pulling for you EG. -
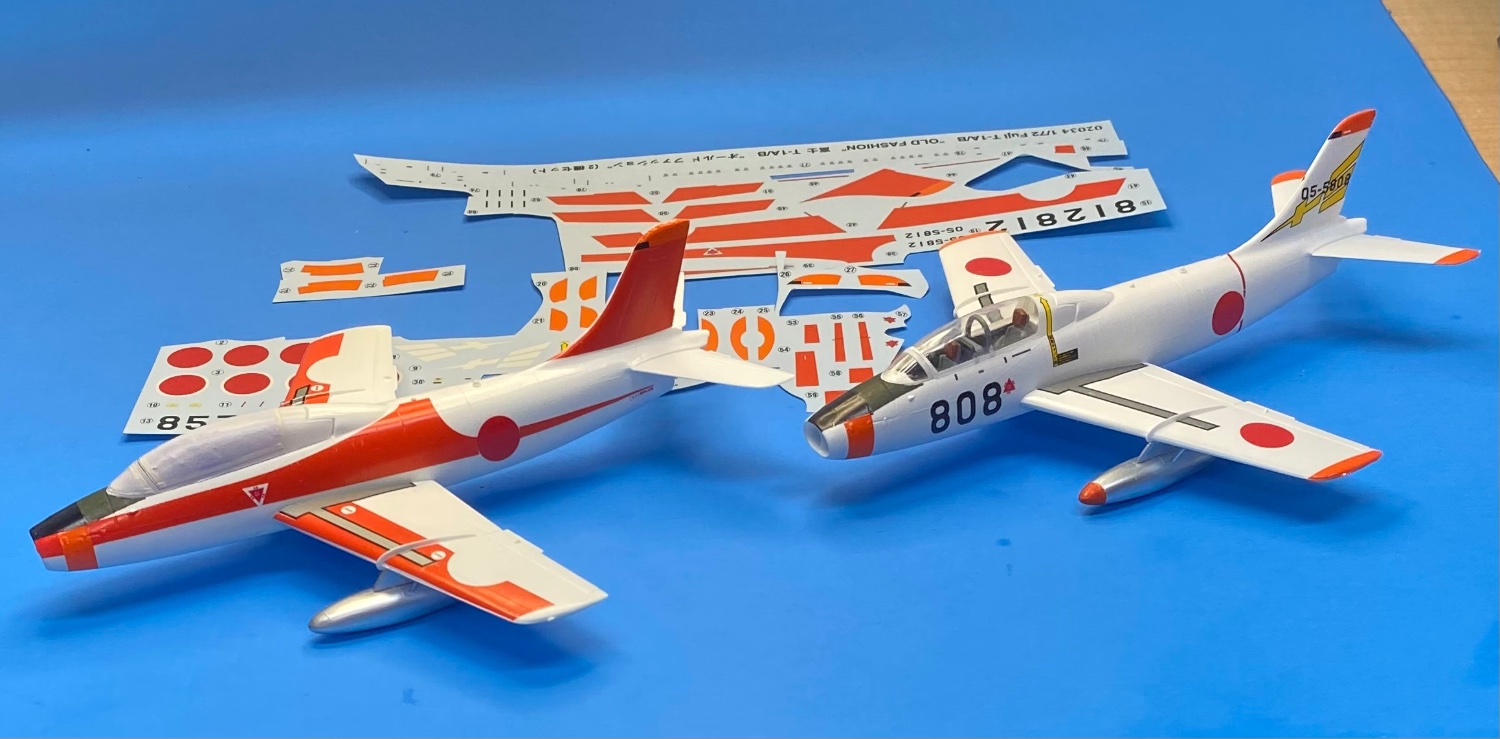
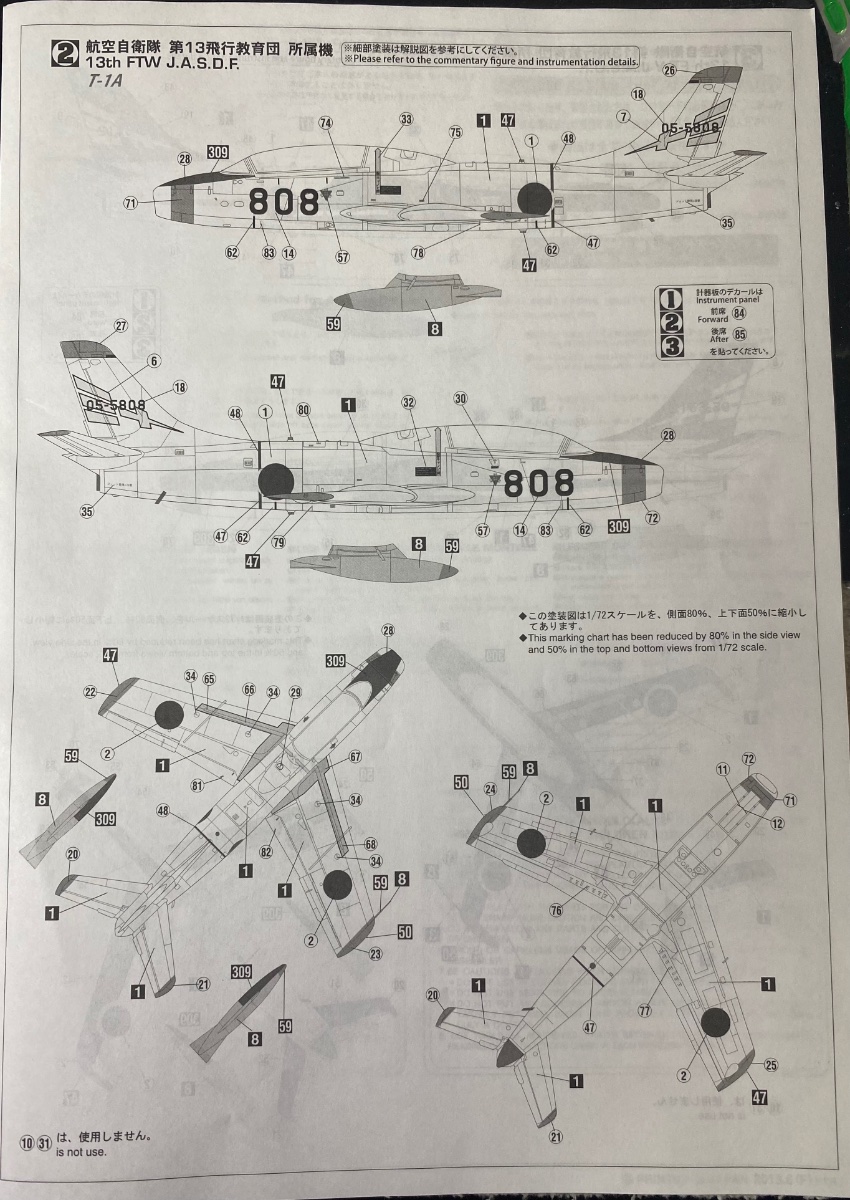
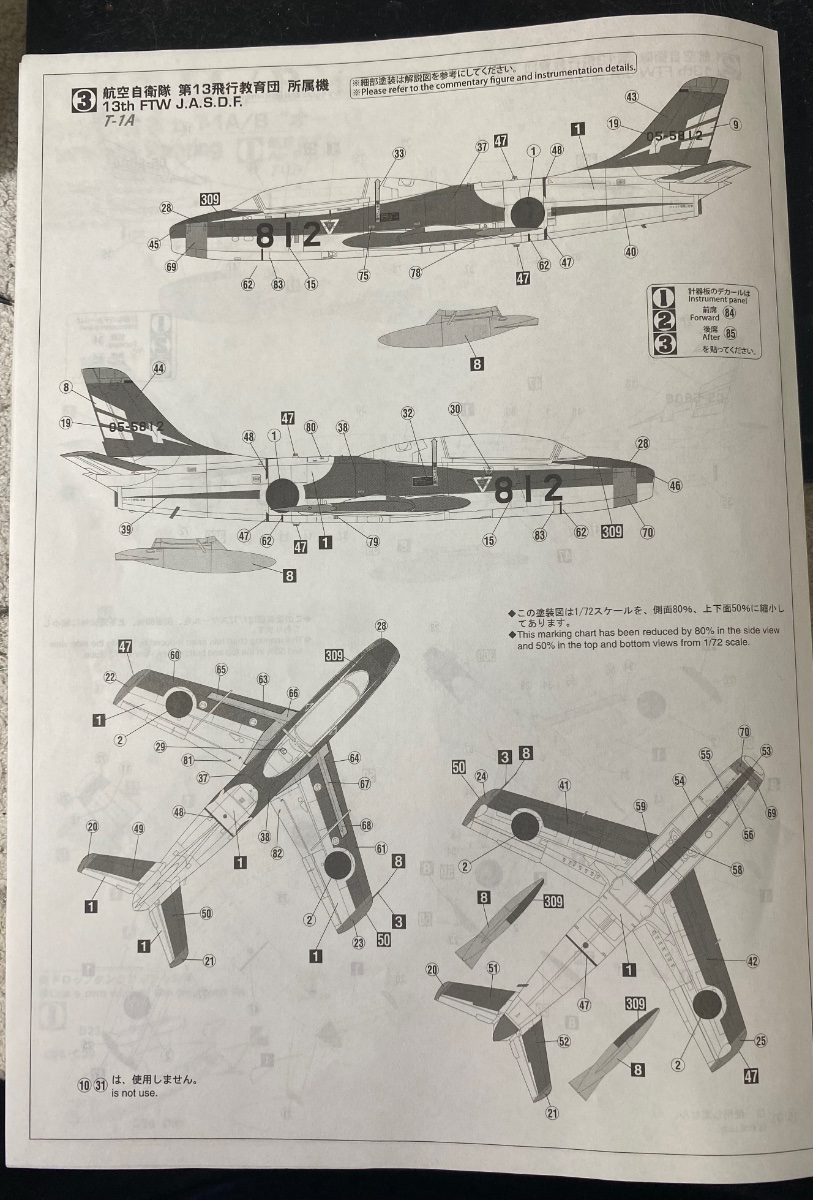
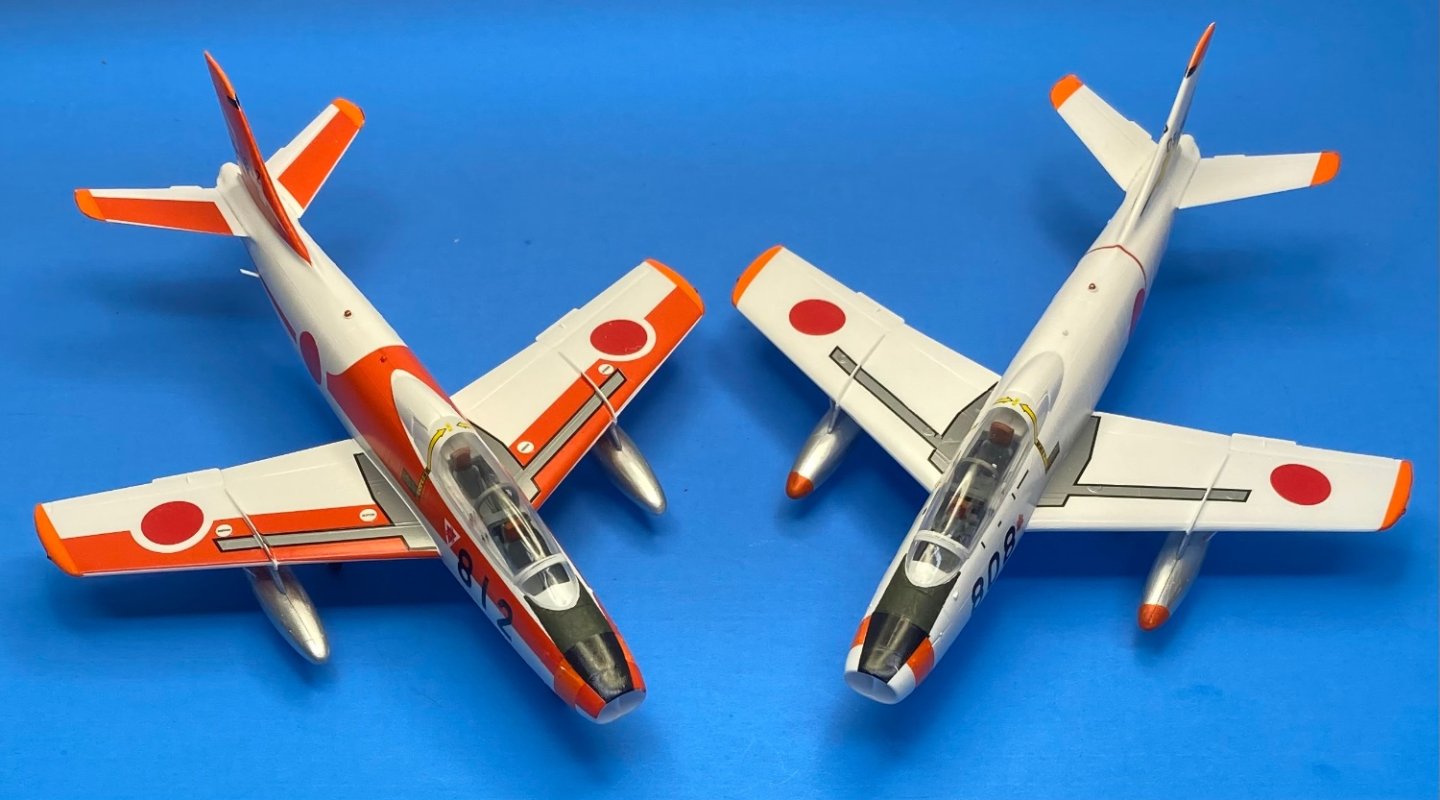
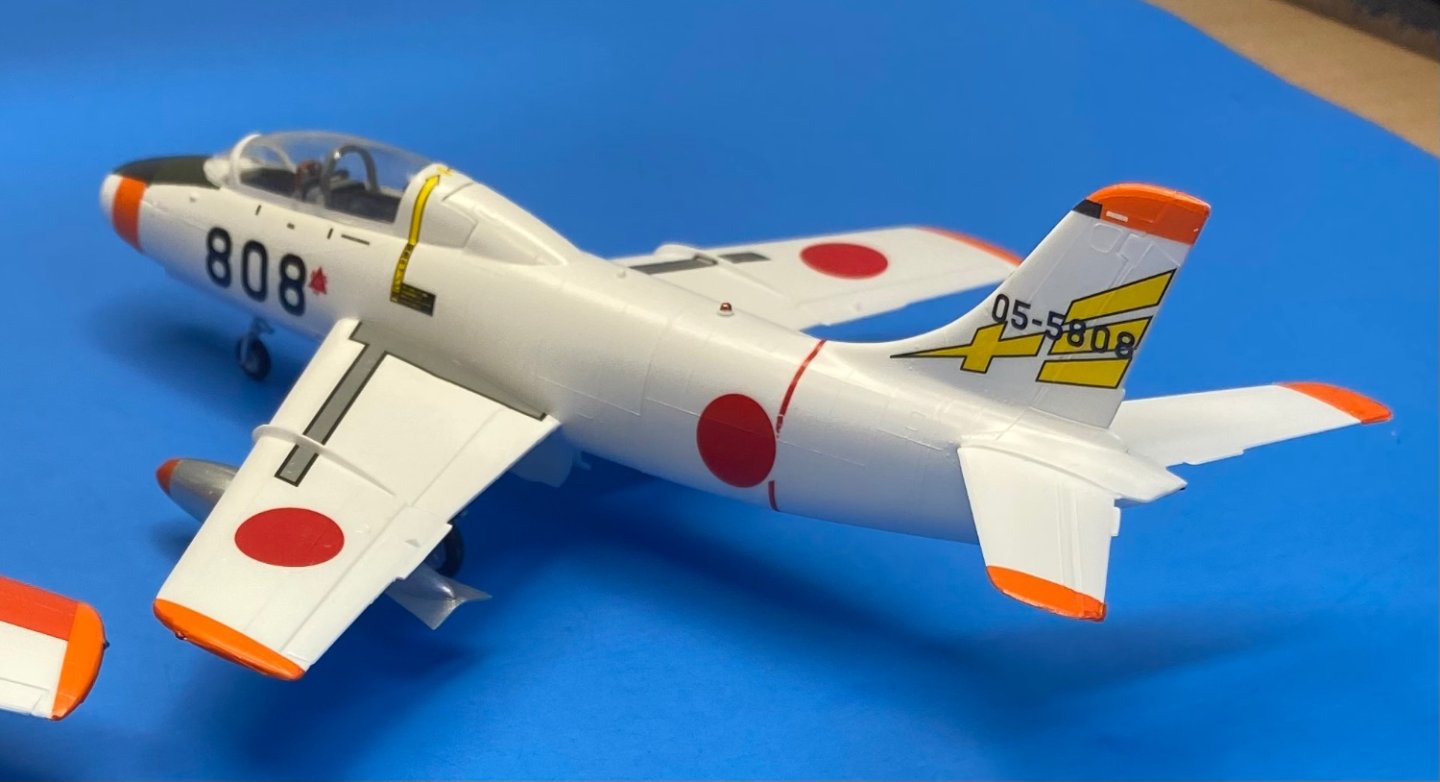
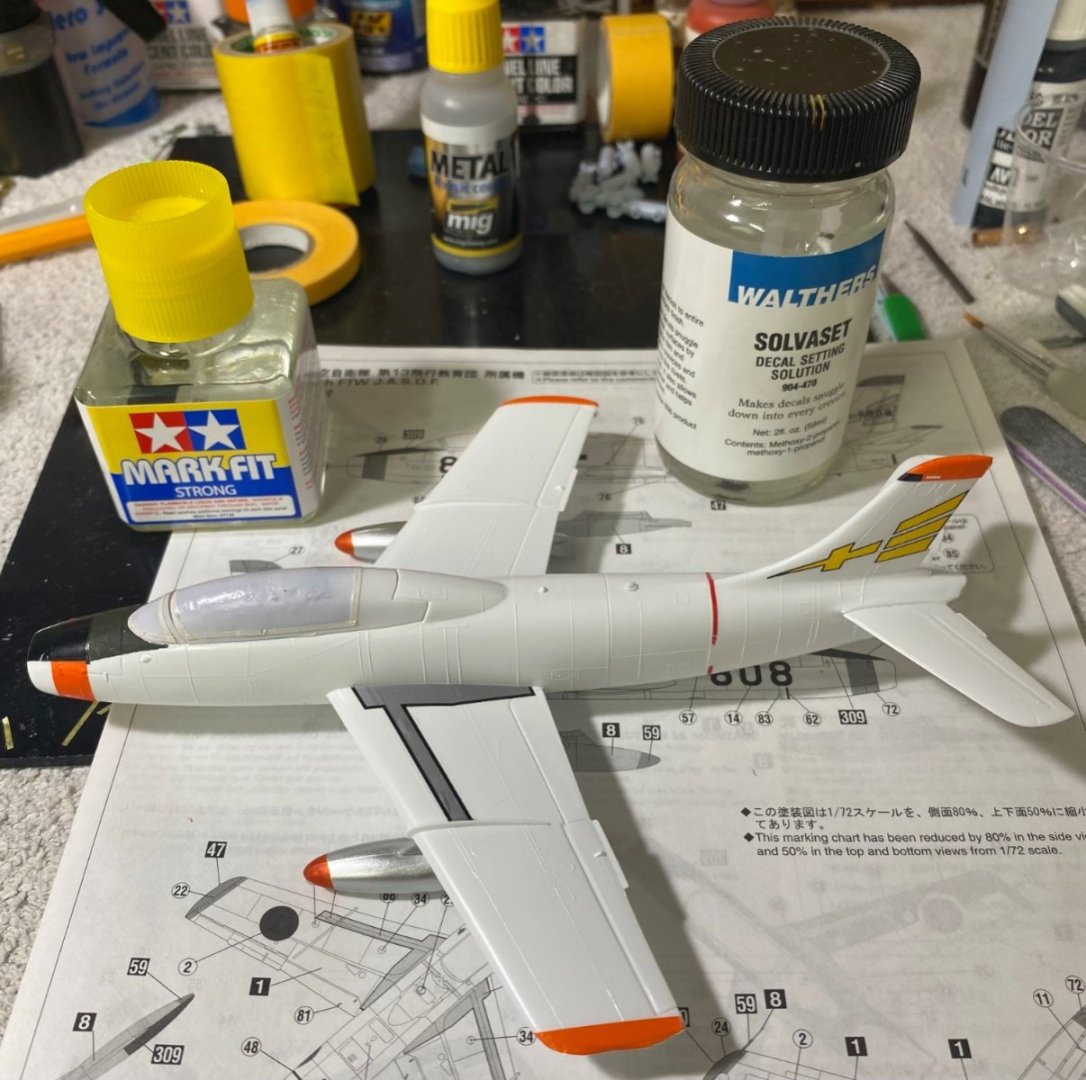
With all the decals that have been placed, many remain as can be evidenced by the decal sheet pieces behind the planes. As I stated before, more than anything else, this little project will be primarily an exercise in decal placement.

- 45 replies
-
- 12
-
-
-
Decal work in progress. One thing that can be frustrating are the way decals behave from one manufacturer to another. Totally different. Some decals will require a mild solvent to help them settle into place, or none at all. Some will require a strong solvent or something in between. There is even inconsistency in the same kit brand from one kit to another. All this demands a varied selection of decal solvents on hand and experimentation to see which one is required. From experience, I can tell you it’s similar to carpentry, you can cut more off but you can’t add on. So it’s best to start with a milder solvent solution first then move on to a stronger one if needed. But don’t count on that same solution working for the next model. Each decal sheet seem to have their own characteristics. This one required the strongest solvent in my inventory, the Walthers Solvaset. My last model, the Airfix kit, worked just fine with Tamiya Markfit strong. Solvaset can damage some decals beyond salvage, so like I said before, start with a mild solution first then work your way up to a stronger one if needed.
-
You’re not late, but right on time!
-
Thanks Ken. This one is definitely stretched.
-
Hey, you’re welcome here anytime, even without the snacks. Thanks Lou
-
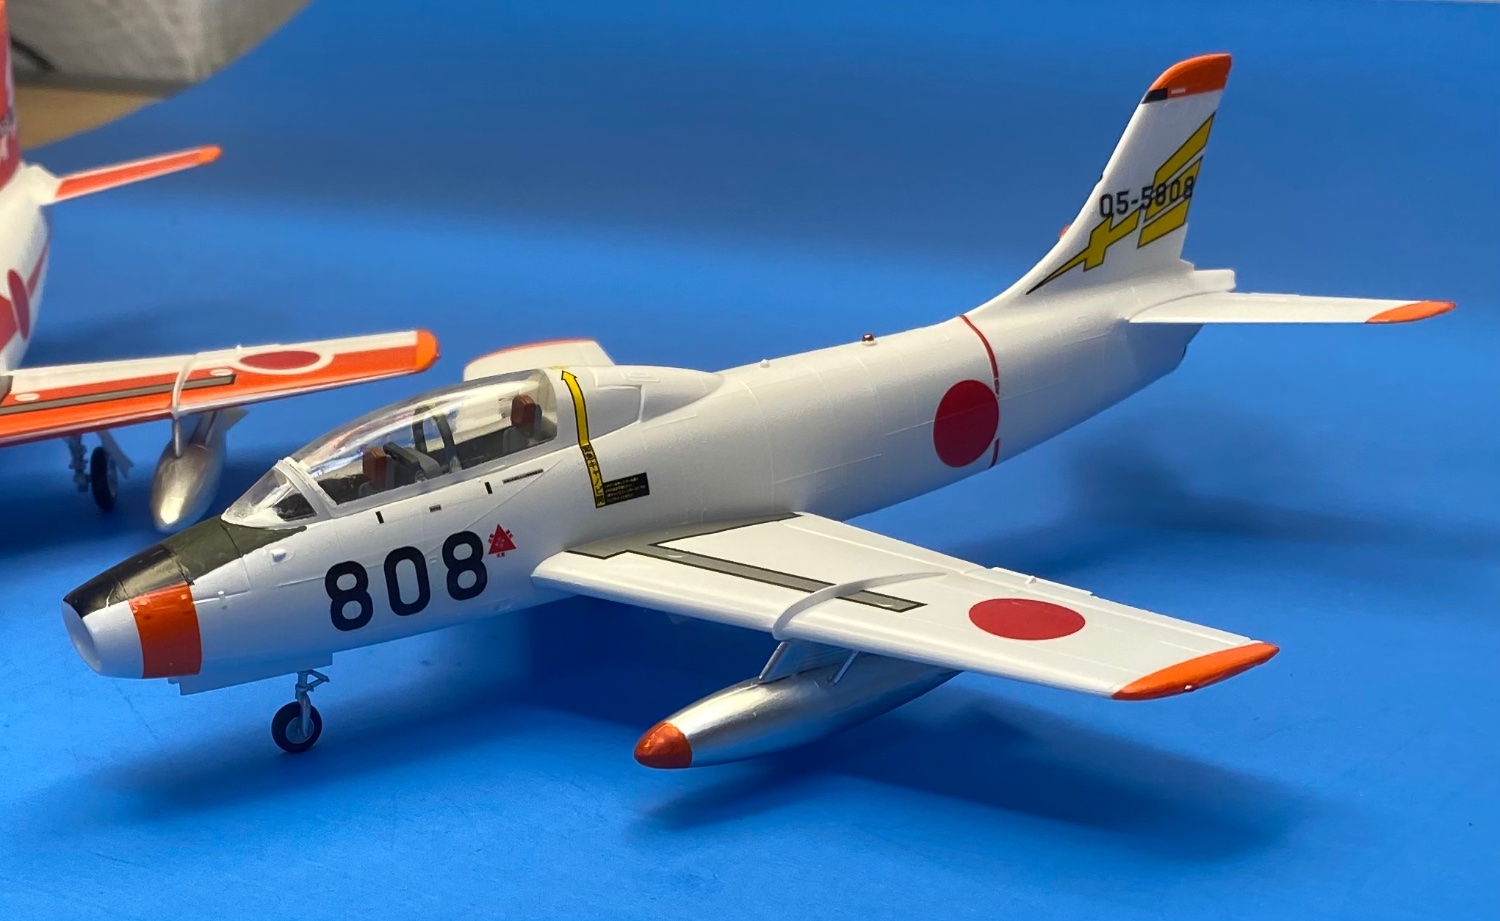
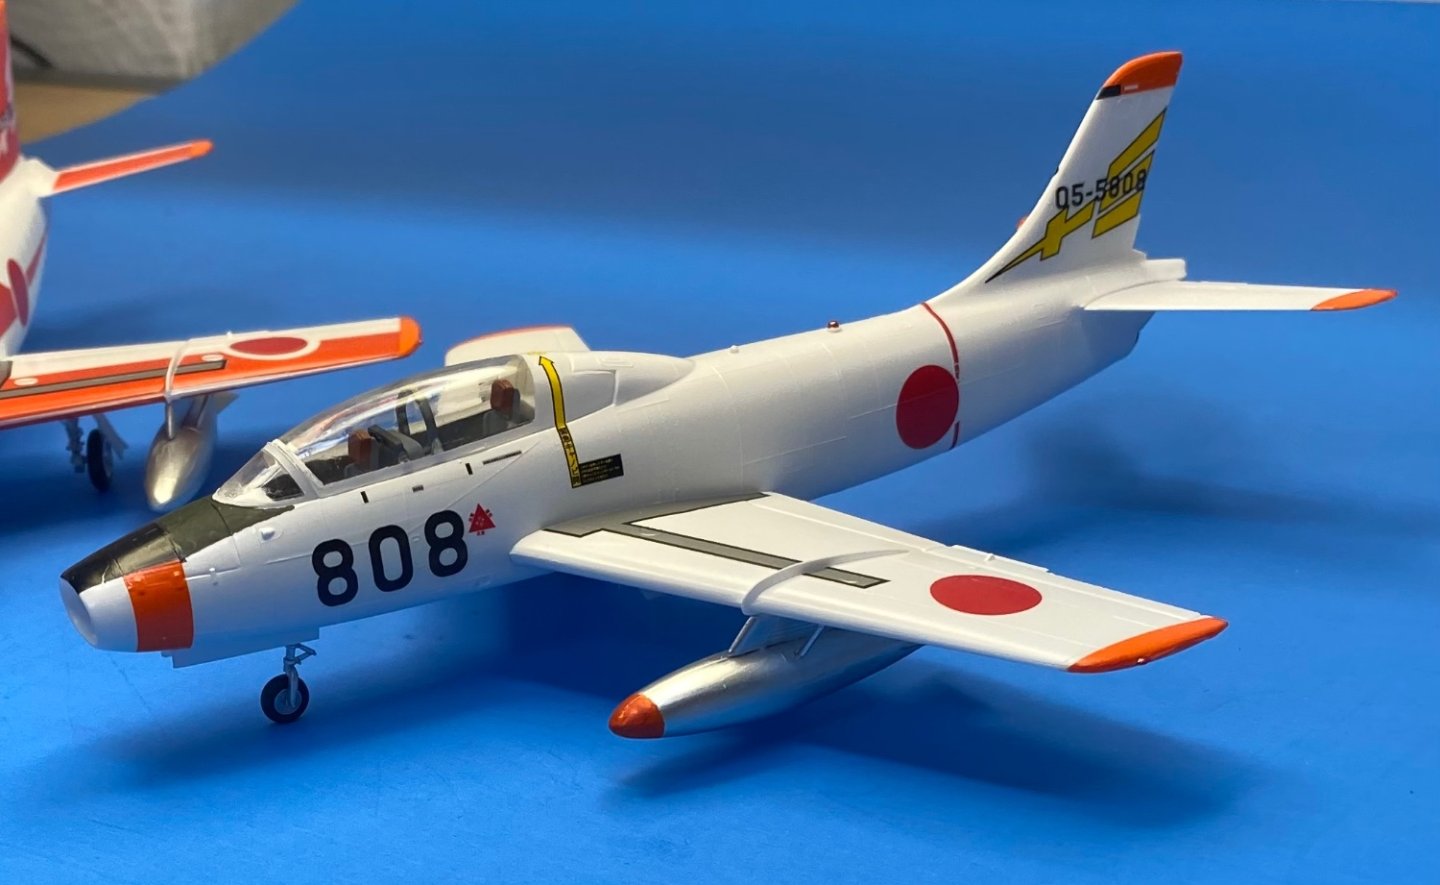
Thanks EG. I guess the Japanese needed to exercise their engineering skills after a long hiatus, but they sure do look a lot like Sabres to me. Maybe there are subtle differences in angles of incident, centers of gravity, things like that, which would be hard to detect with the naked eye. The history I read remarked on their good stability for pilots in training, so maybe they concentrated their efforts to make the Sabre design more pilot-in-training suitable. They stayed in service a long time.
-
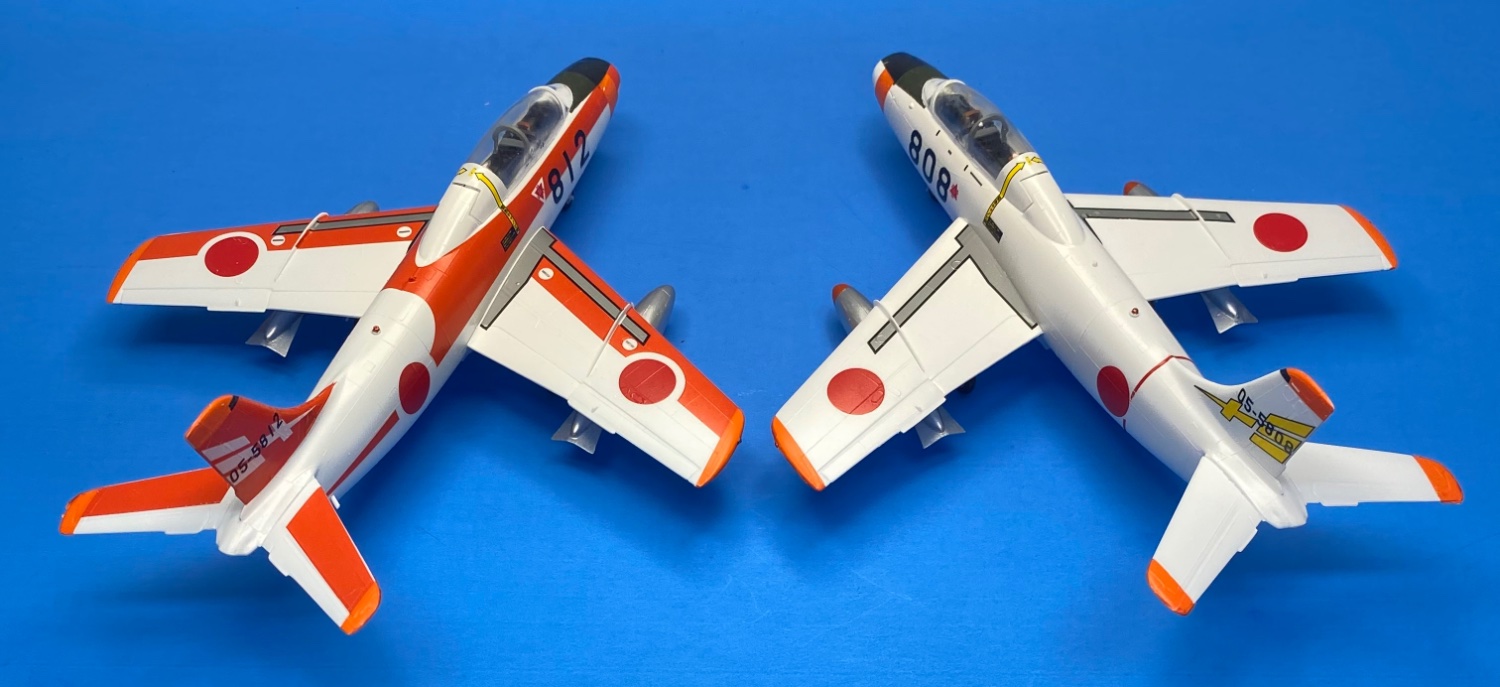
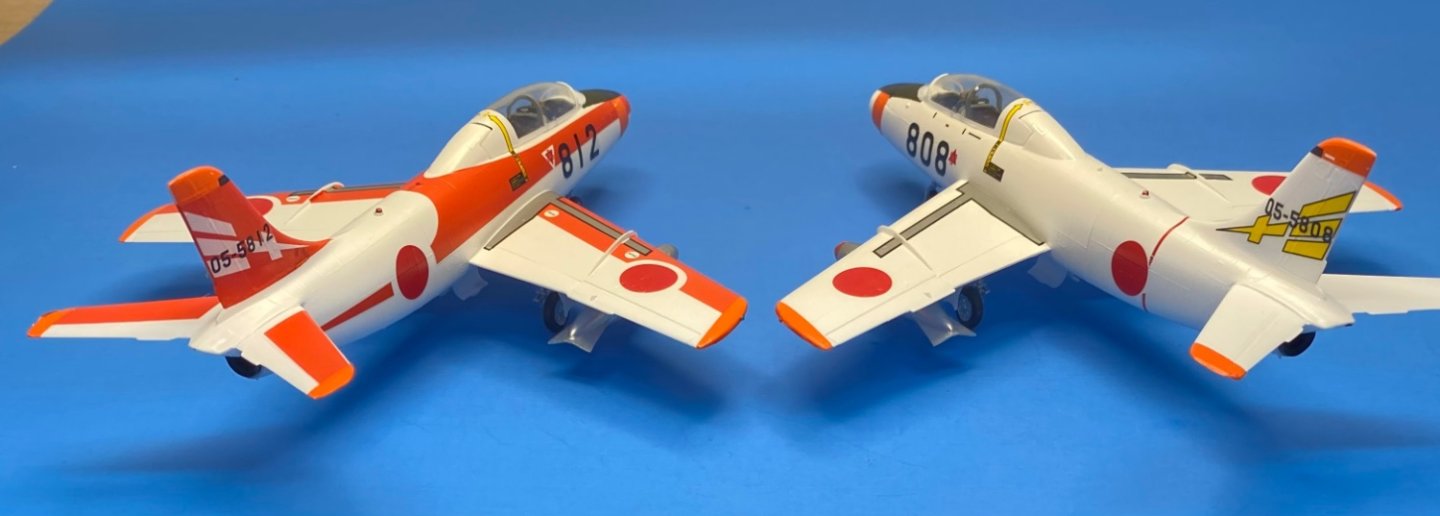
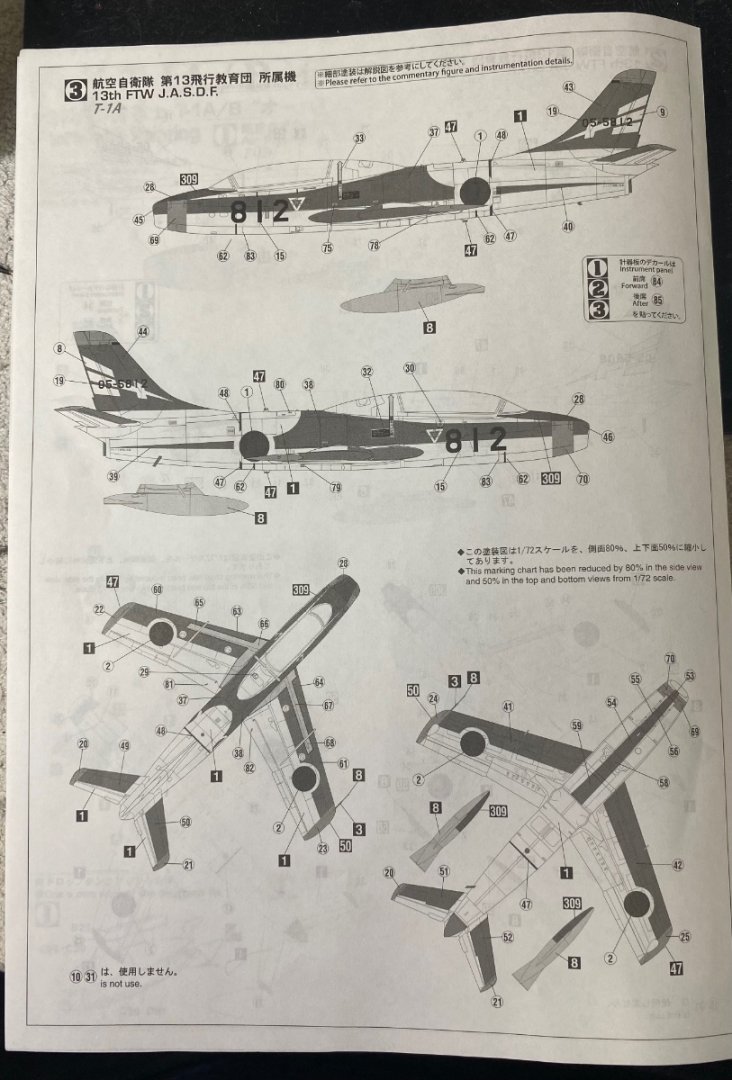
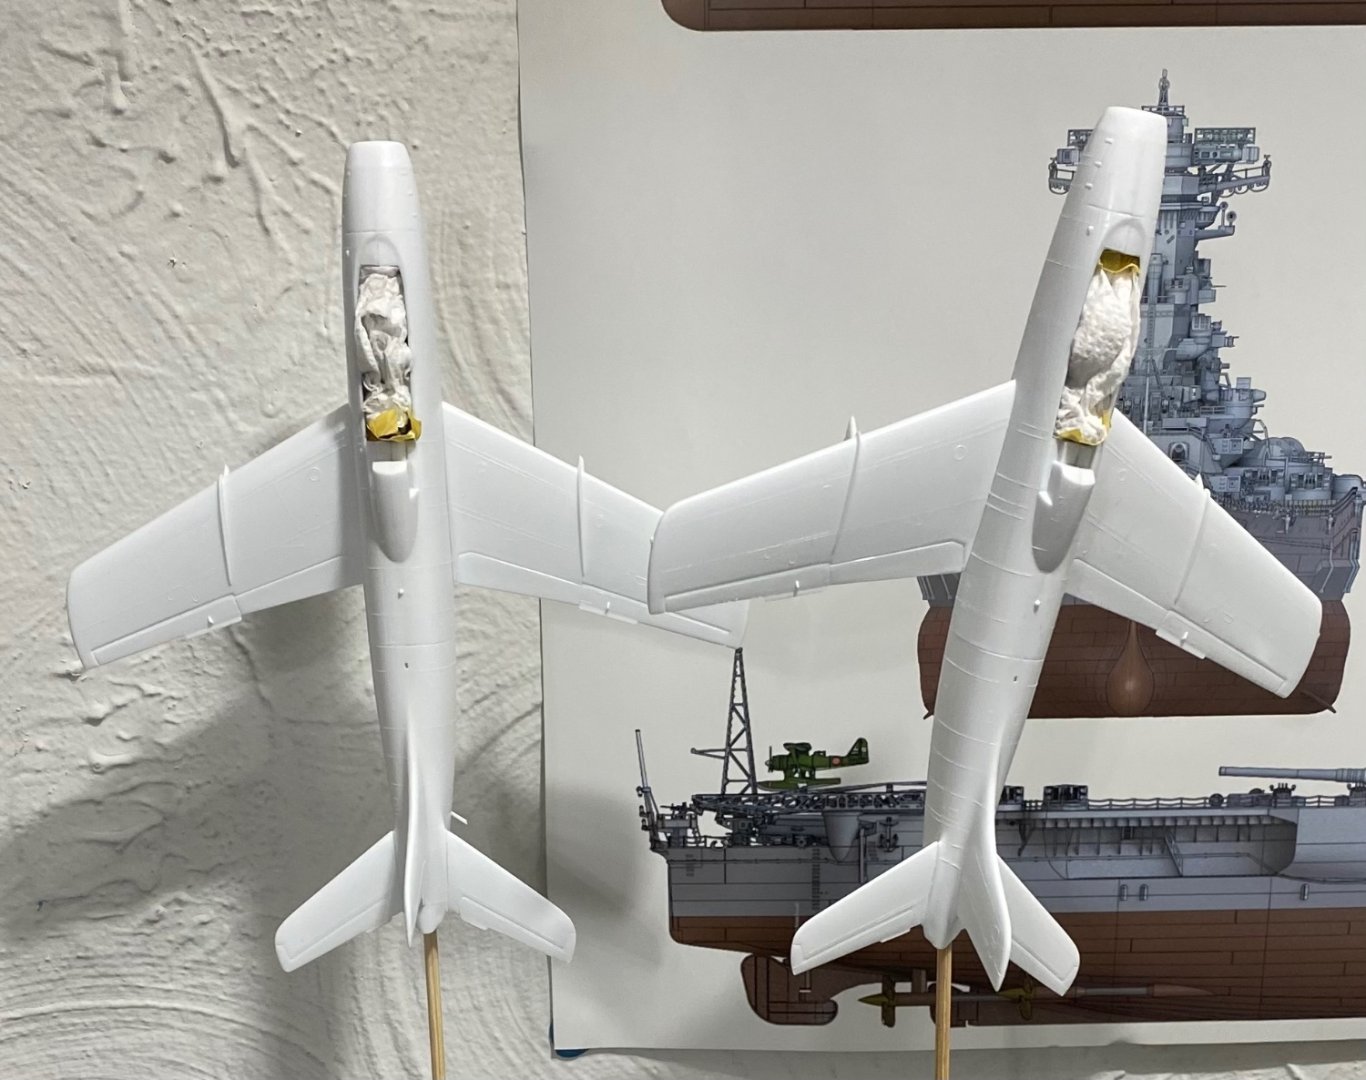
Both models have silver external fuel tanks but various trim colors. Intentions are to finish the pair as per these callouts:

-
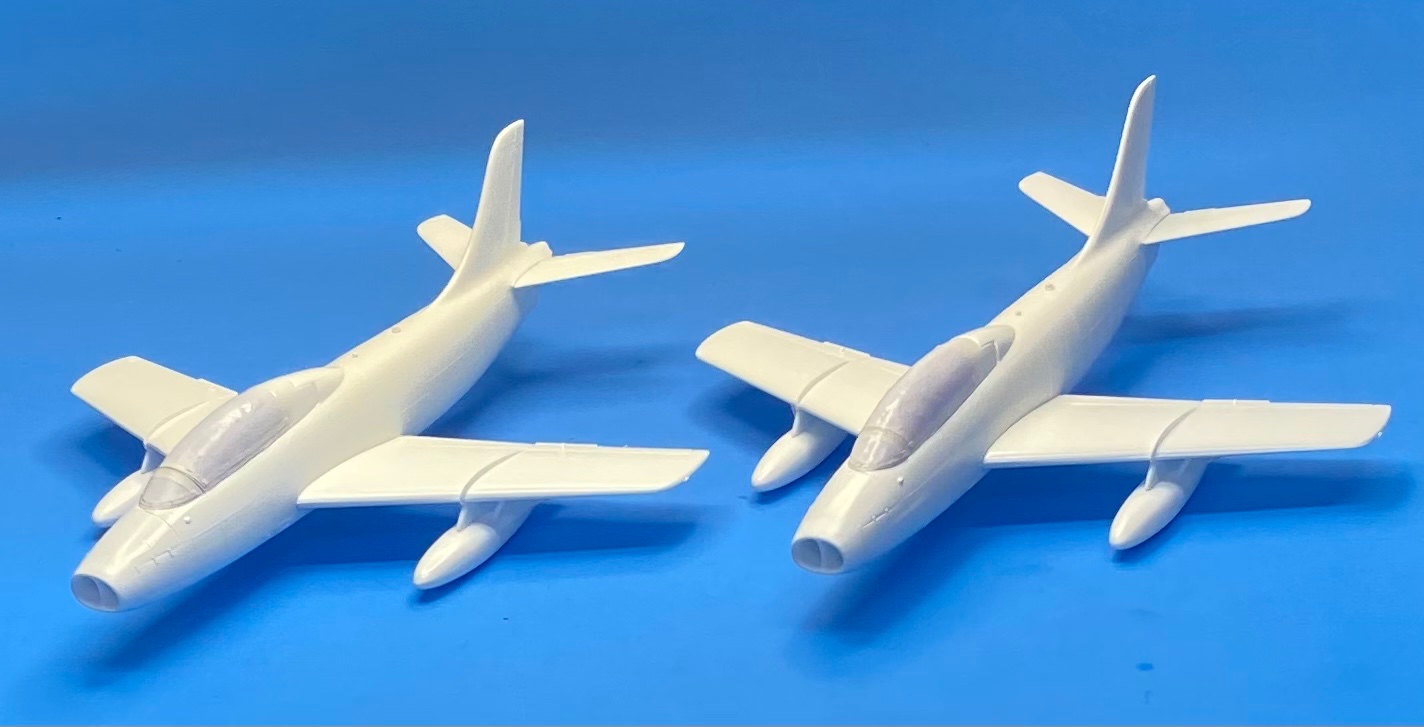
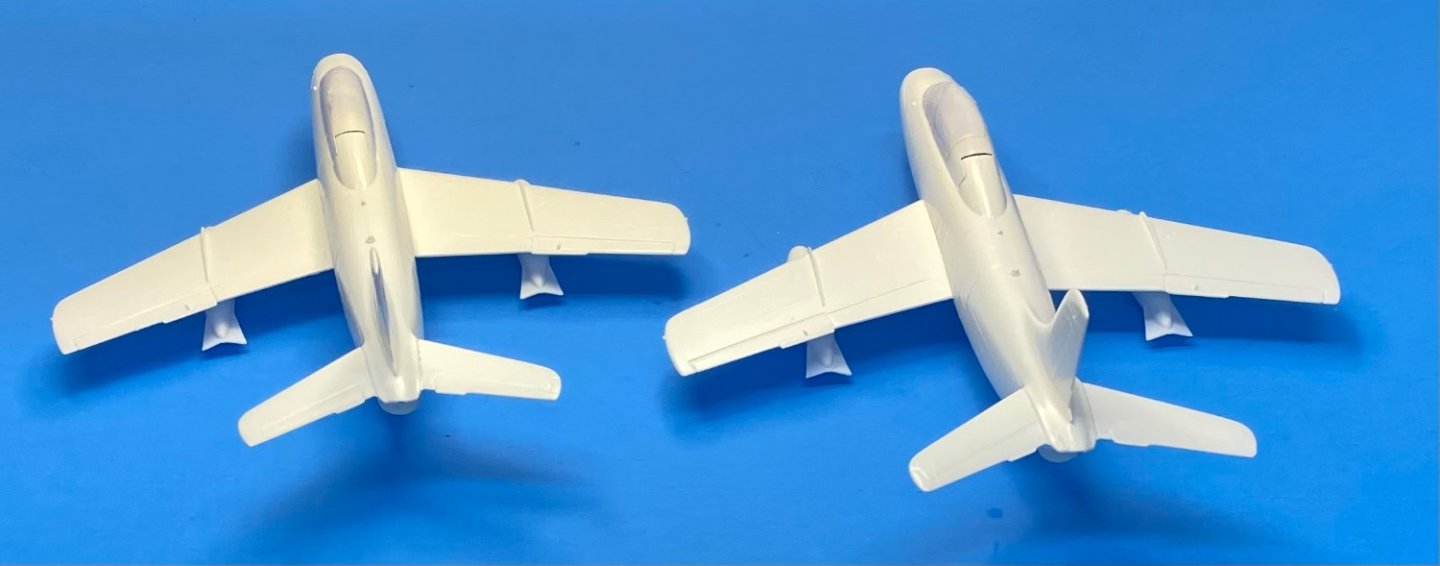
The pair now have their gloss white paint applied, Tamiya lacquer. Next will mask off the details and shoot various colors here and there before final assembly and decals. Short and sweet.
-
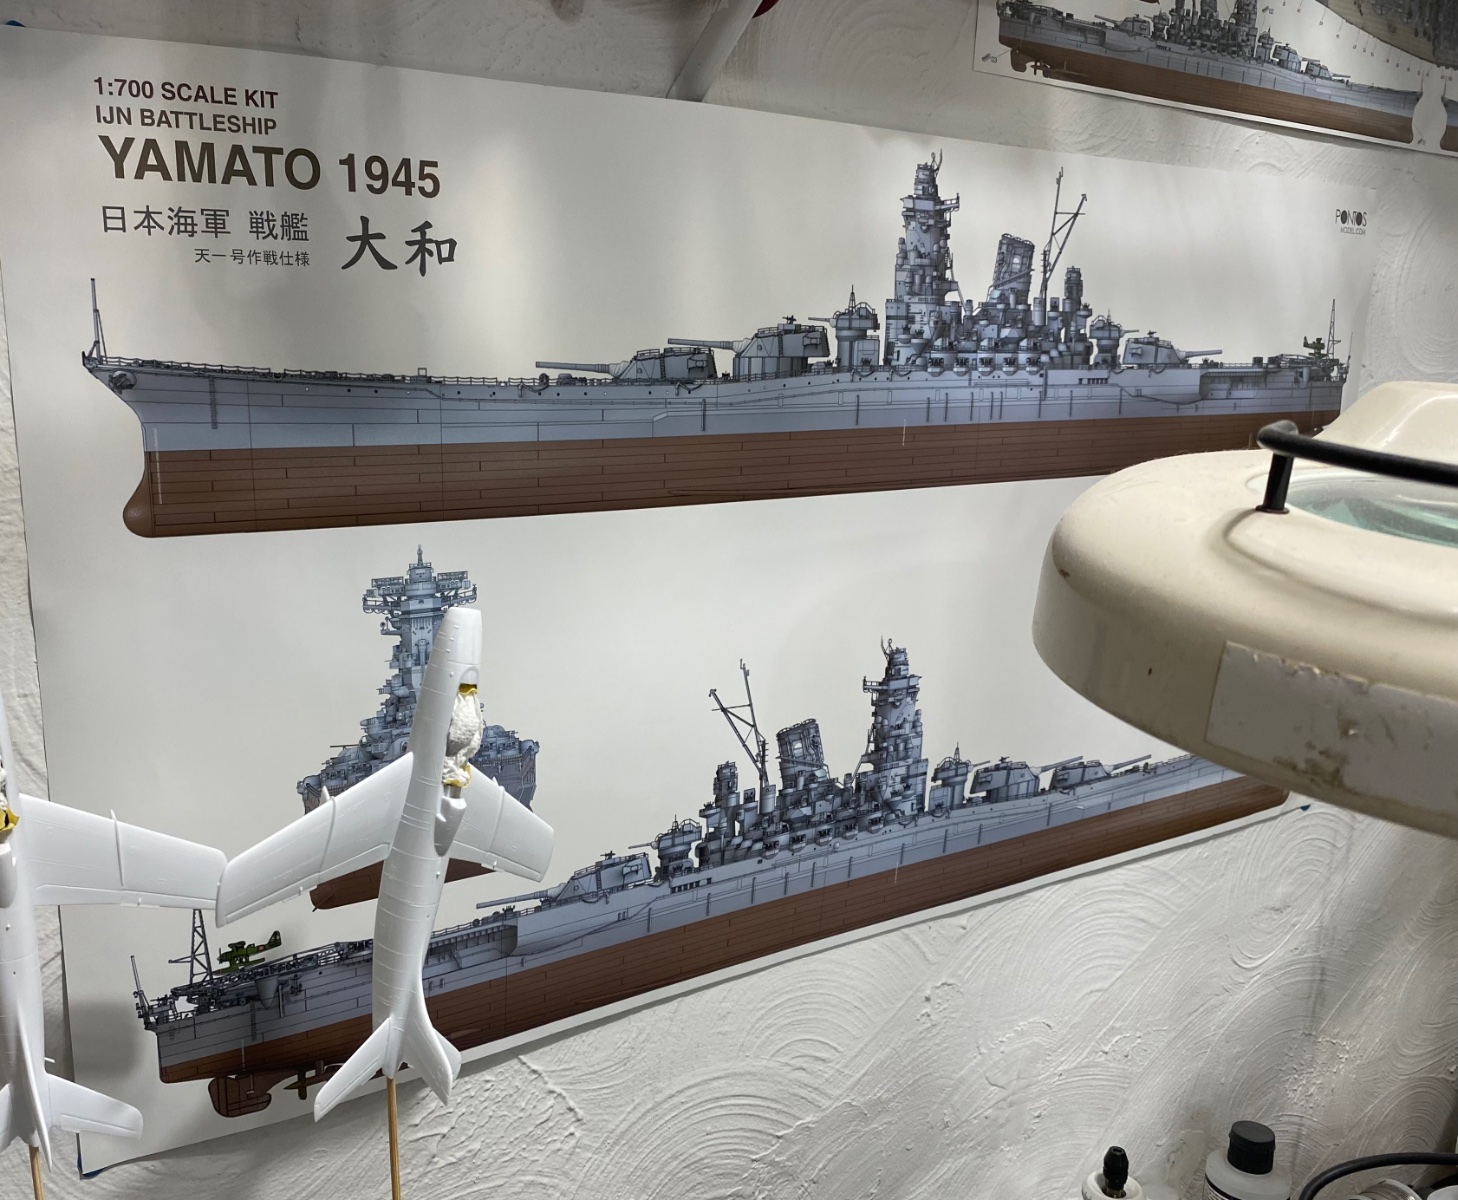
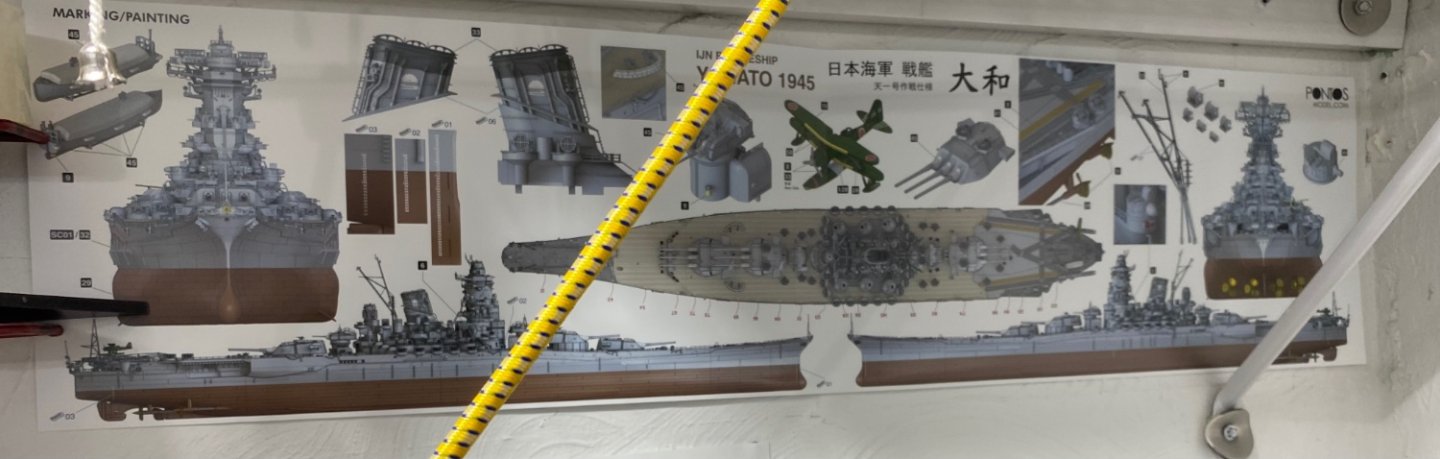
Yes, the Pontos Yamato. Started it over a year ago and got sidetracked. Tons of detail.
-
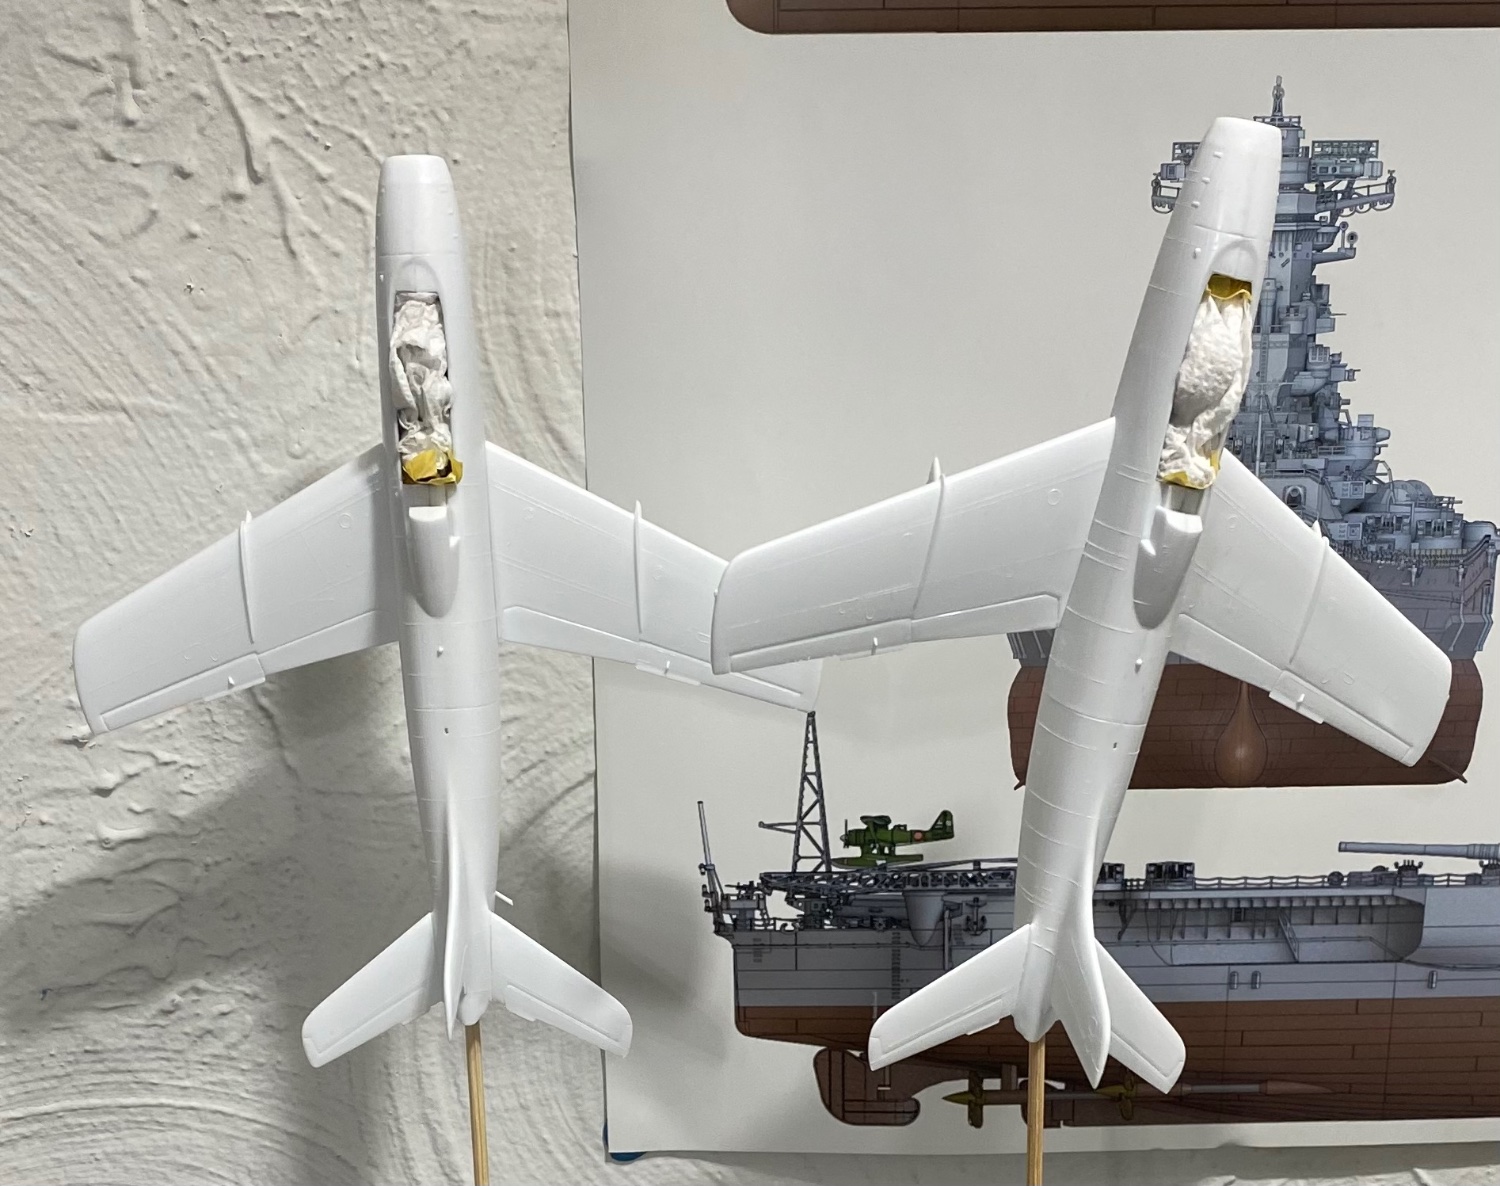
First steps of the paint finish begin with a coat of Mr Surfacer 1500 white primer. Will follow up next with a gloss white lacquer (Mr Color). These posters are on my wall to remind me of my 1:700 Pontos Yamato kit build thread I need to finish.

-
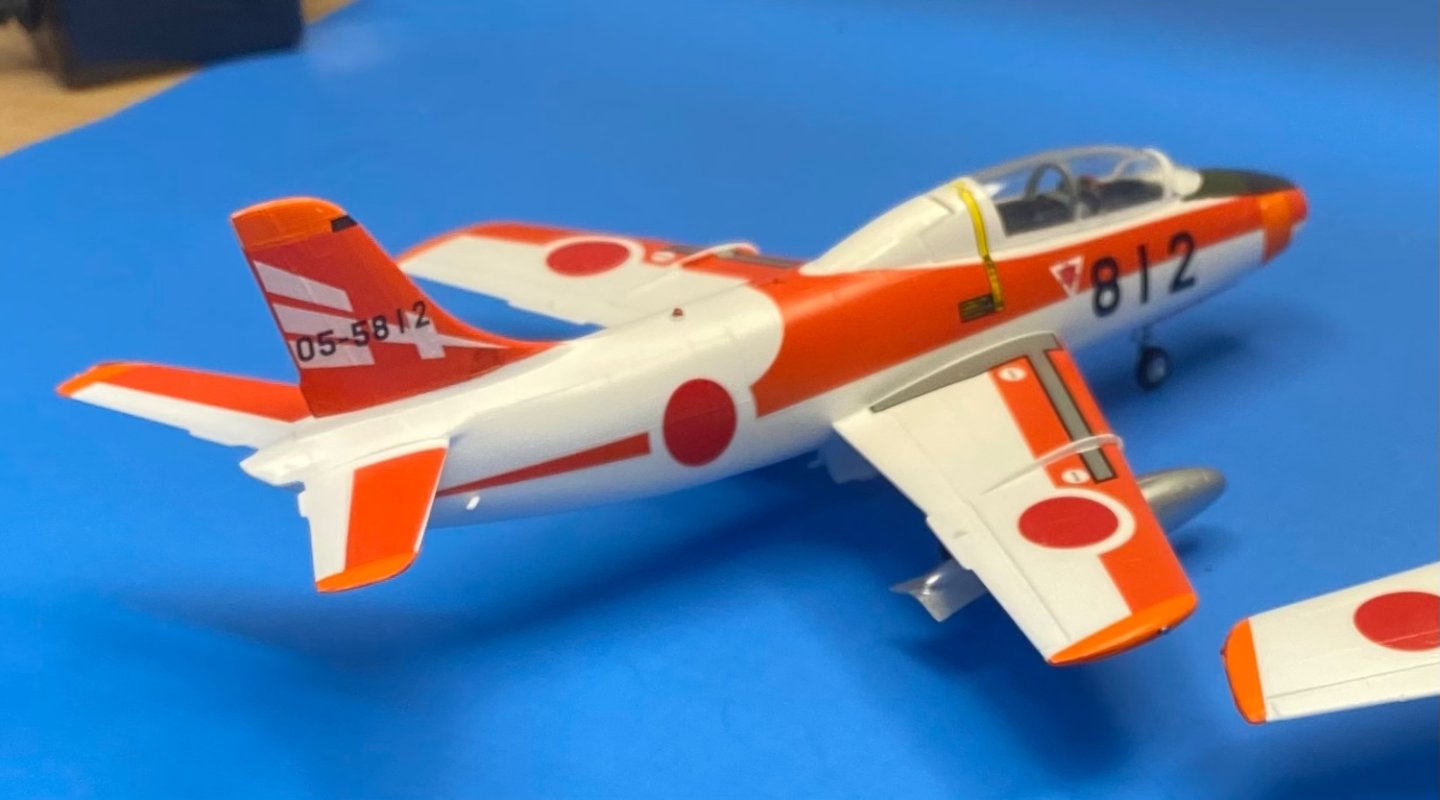
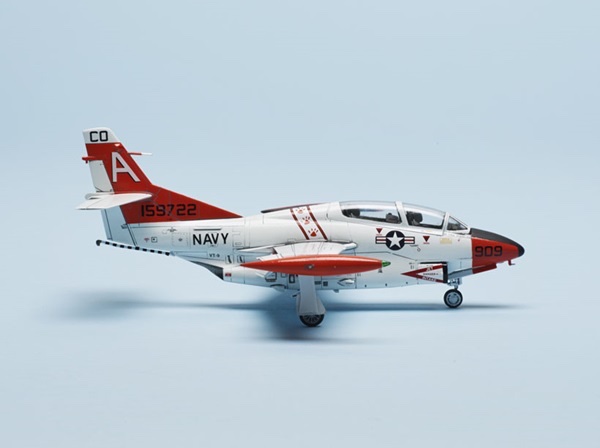
Thanks. I’ll probably mix my own from Mr Color red and florescent orange
-
What is your opinion/recall of the colors on the T-2C. Was it red, orange, or something in between? Do the photos of the model review I posted look correct to you?
-
Welcome aboard gentlemen!
-
I think you are stating a fact concerning the size of the sprue gates. It’s been my experience that limited run kits have in common, large sprue gates. I often use a razor saw to cut the parts away from the sprue leaving a small portion to trim and file away to smooth it all out. The surface detail on this model looks good. It appears the fuselage halves join along the center/sides of the model? How is that fit. Will sanding or filler be required?
-
https://finescale.com/product-info/kit-reviews/2015/05/wolfpack-designs-t-2c-buckeye Above is a link to a FineScale Modeler review of this Buckeye kit. No mention of whether it’s a rebox, so I guess it’s safe to assume it’s Wolfpacks own mold but we know what they say about assumptions. ps I picked up the paint I needed to start this build. Will finish the pair of Fuji Trainers first.
- 25 replies
-
- 10
-
-
Mike, this reminds me of a Fujimi or similar quality kit. Good but not as great as some of the newer molds that have been tooled lately. I believe Wolfpack might have reboxed this kit from some other manufacturer, but I don't know this for sure. It's better than average IMO.
-
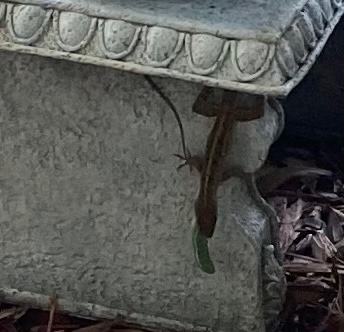
Just watched a lizard catch a grasshopper this morning in my front yard. Call of the wild.
- 25 replies
-
- 10
-
-

-
-
From an individual on EBay
-
Martin B-26B Marauder by CDW - FINISHED - Airfix - 1:72 Scale
CDW replied to CDW's topic in Non-ship/categorised builds
Thanks for the nice comments. That glass looks good from six feet…just right