CDW
-
Posts
7,756 -
Joined
-
Last visited
Content Type
Profiles
Forums
Gallery
Events
Everything posted by CDW
-

MRAP ATV by CDW - FINISHED - Rye Field - 1:35 Scale
CDW replied to CDW's topic in Non-ship/categorised builds
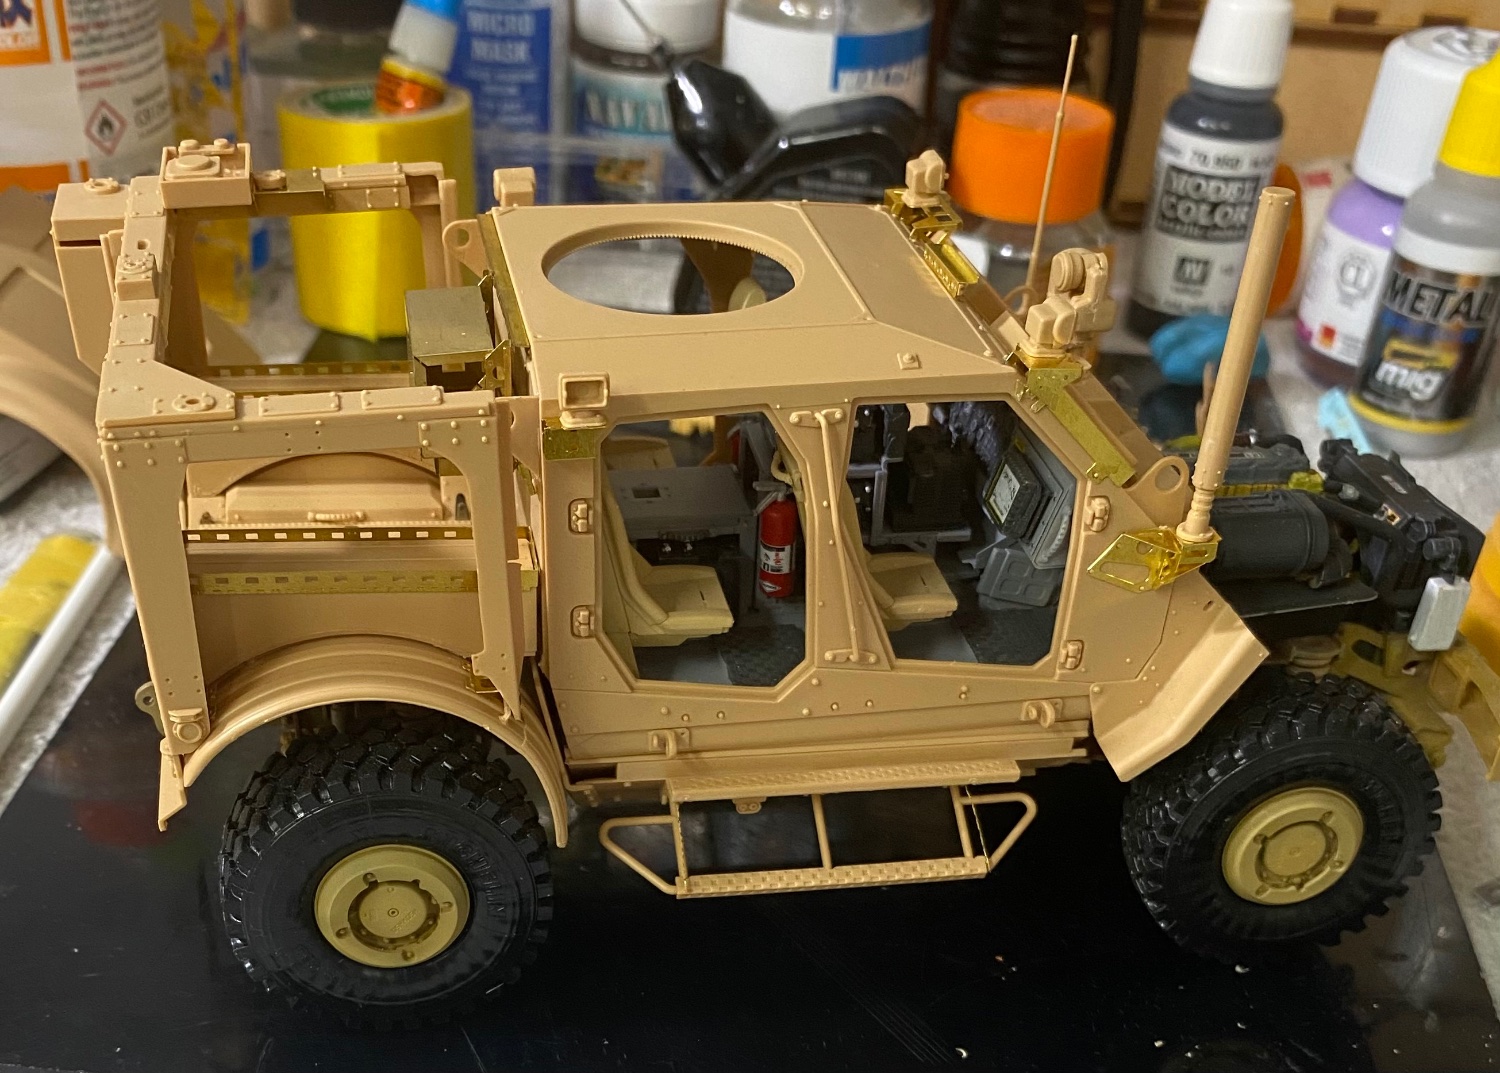
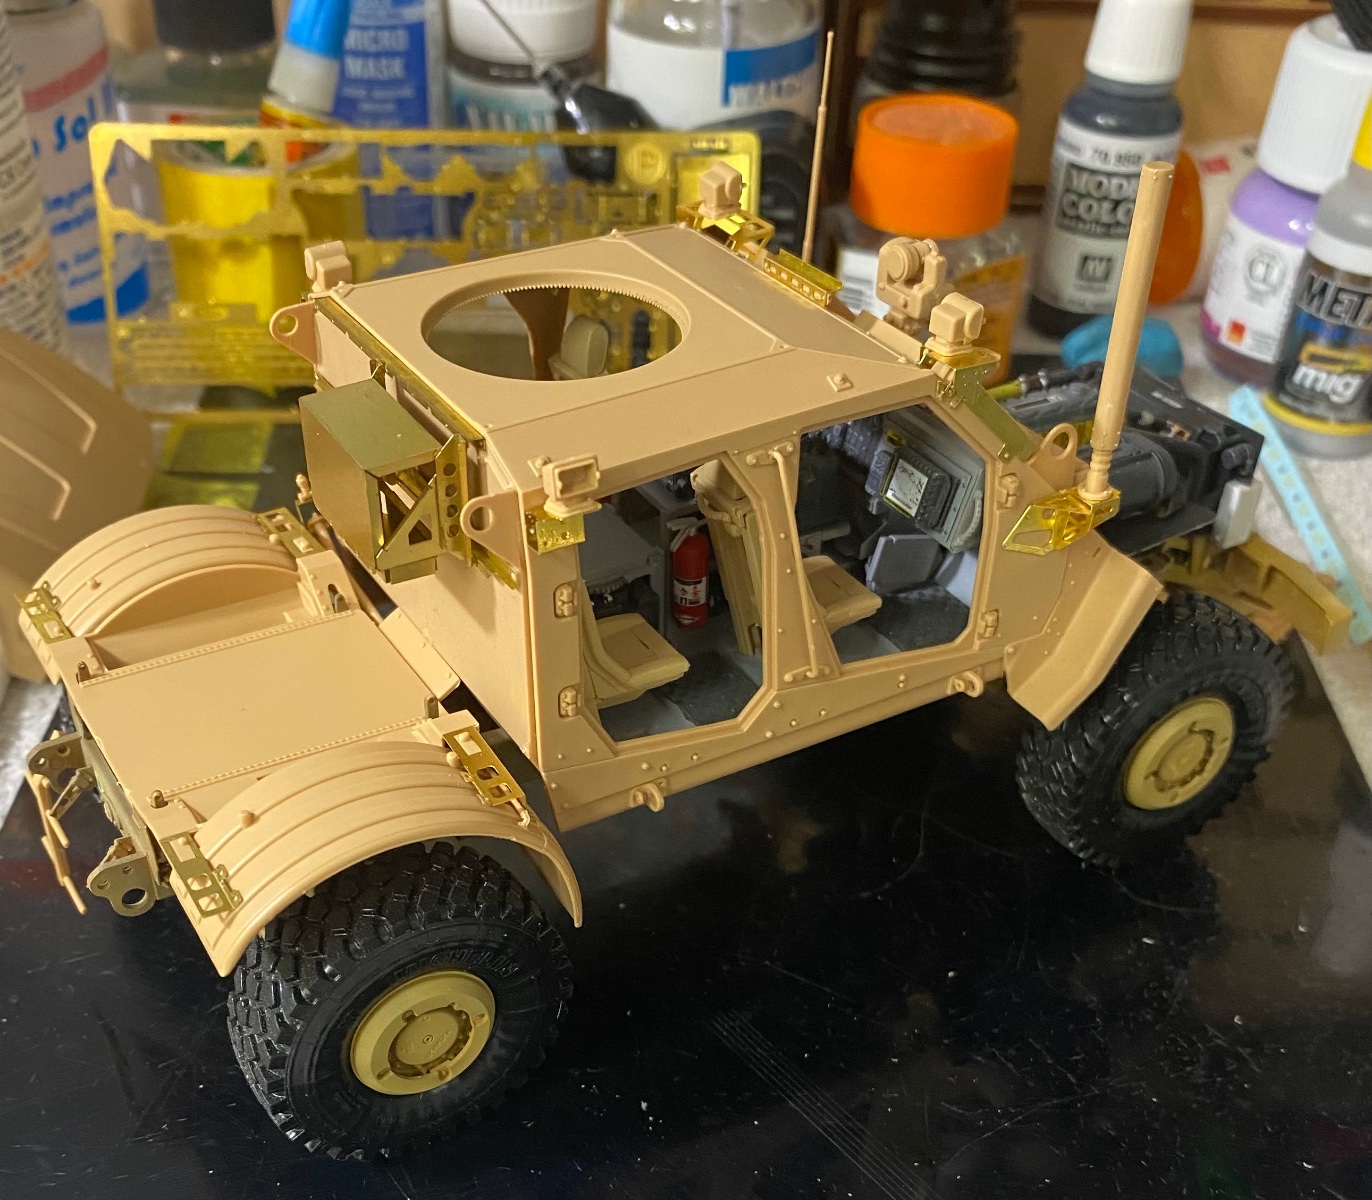
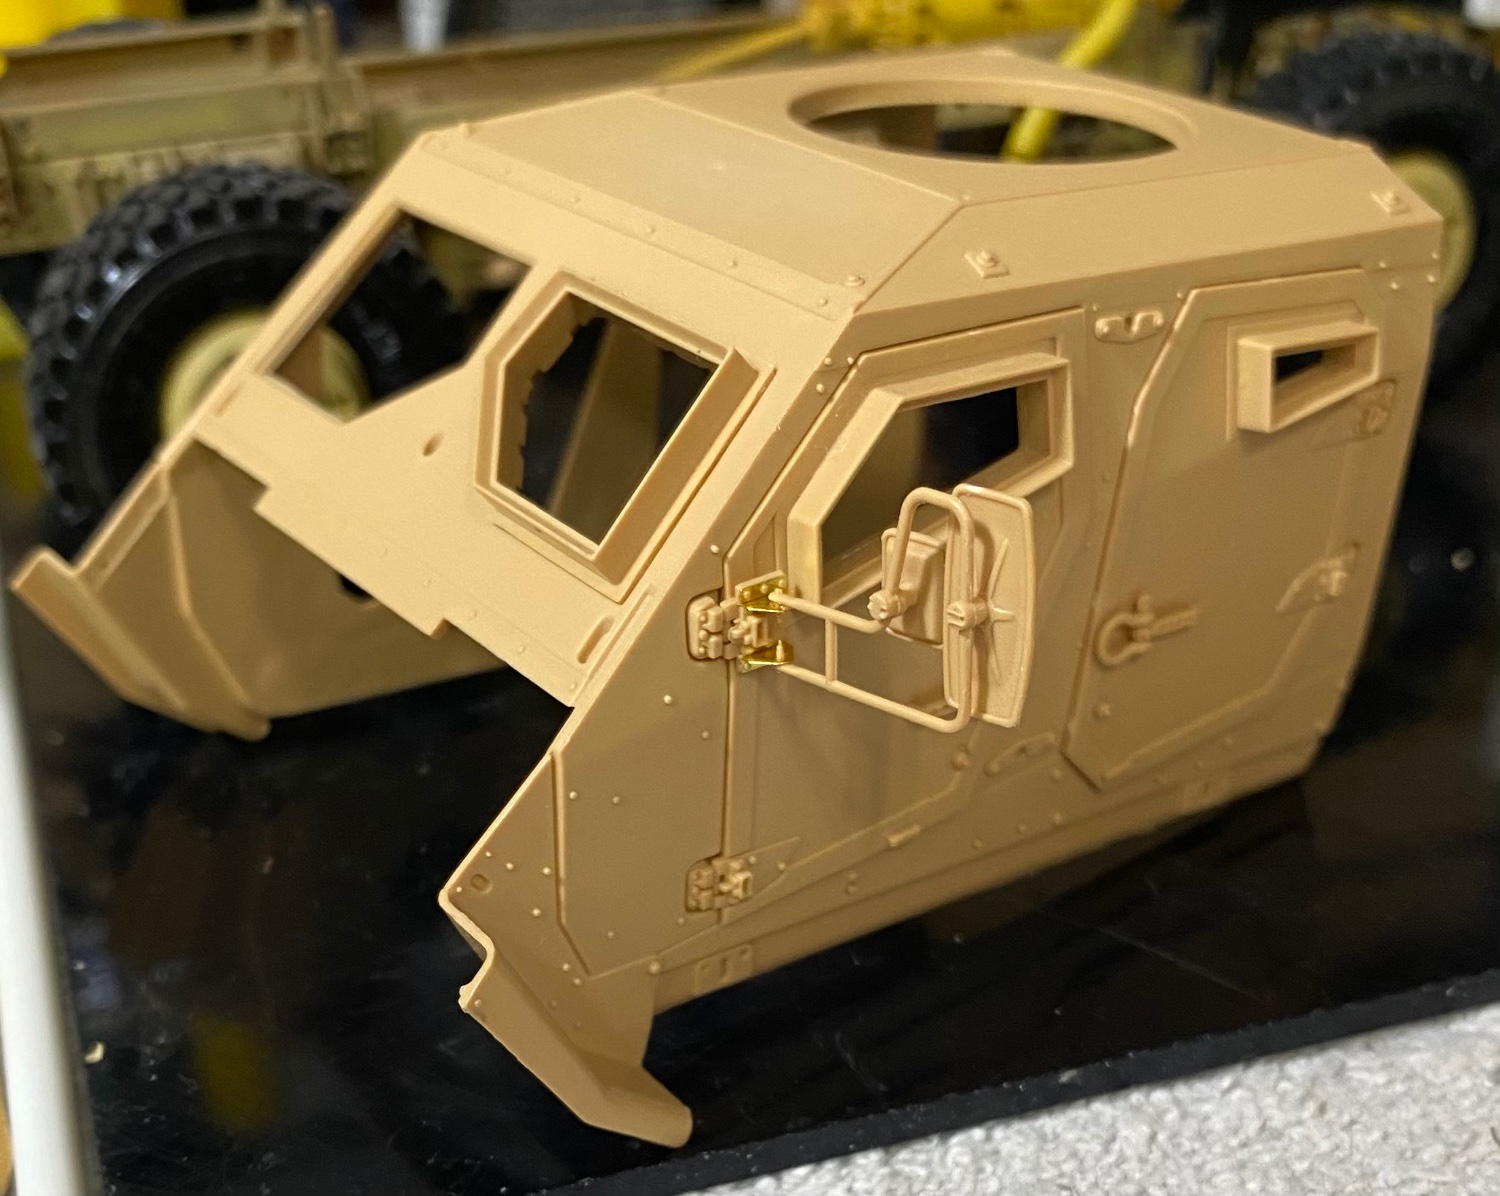
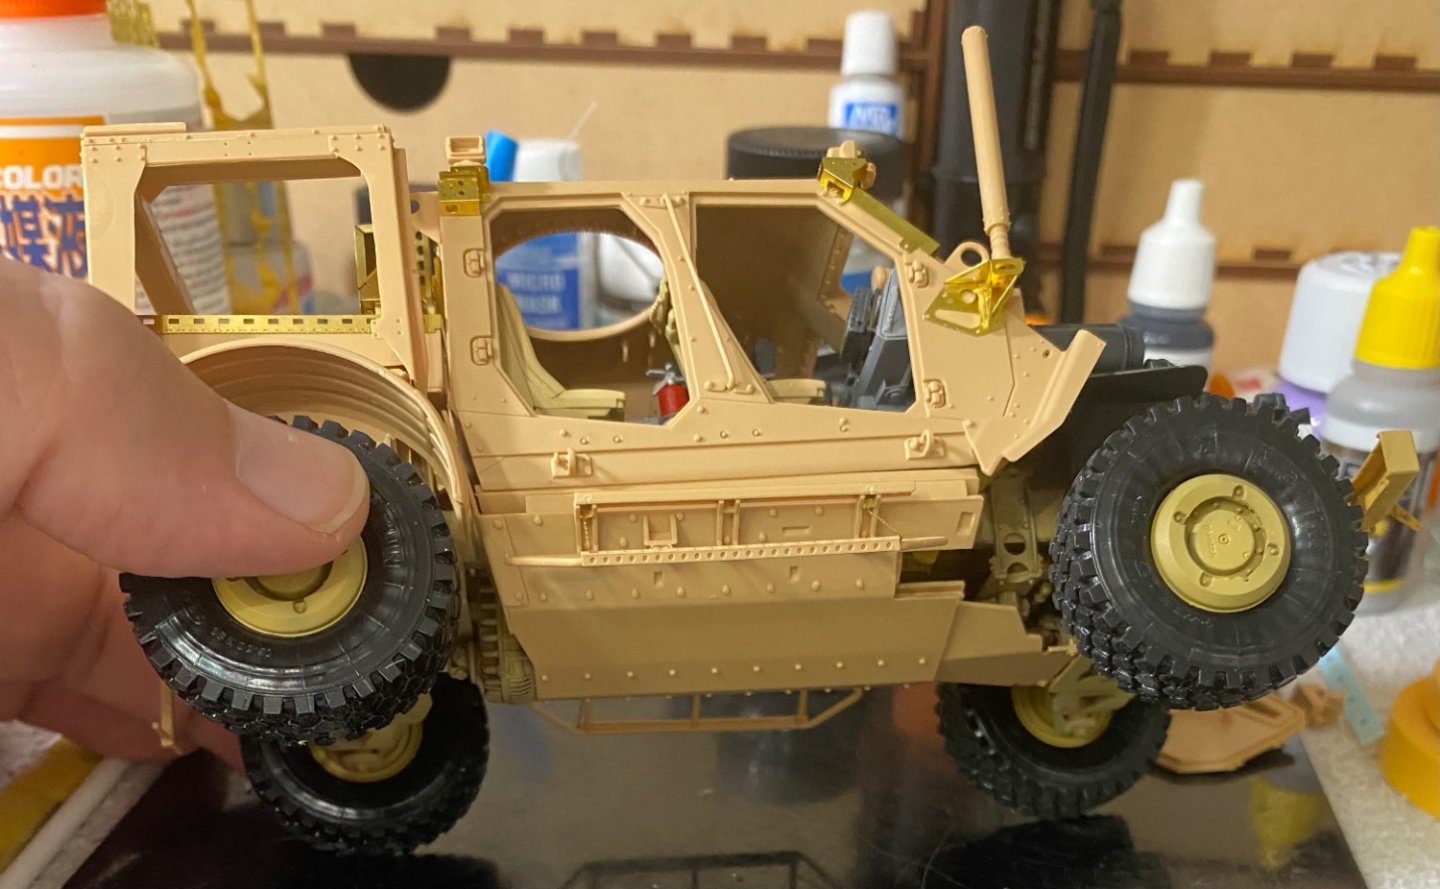
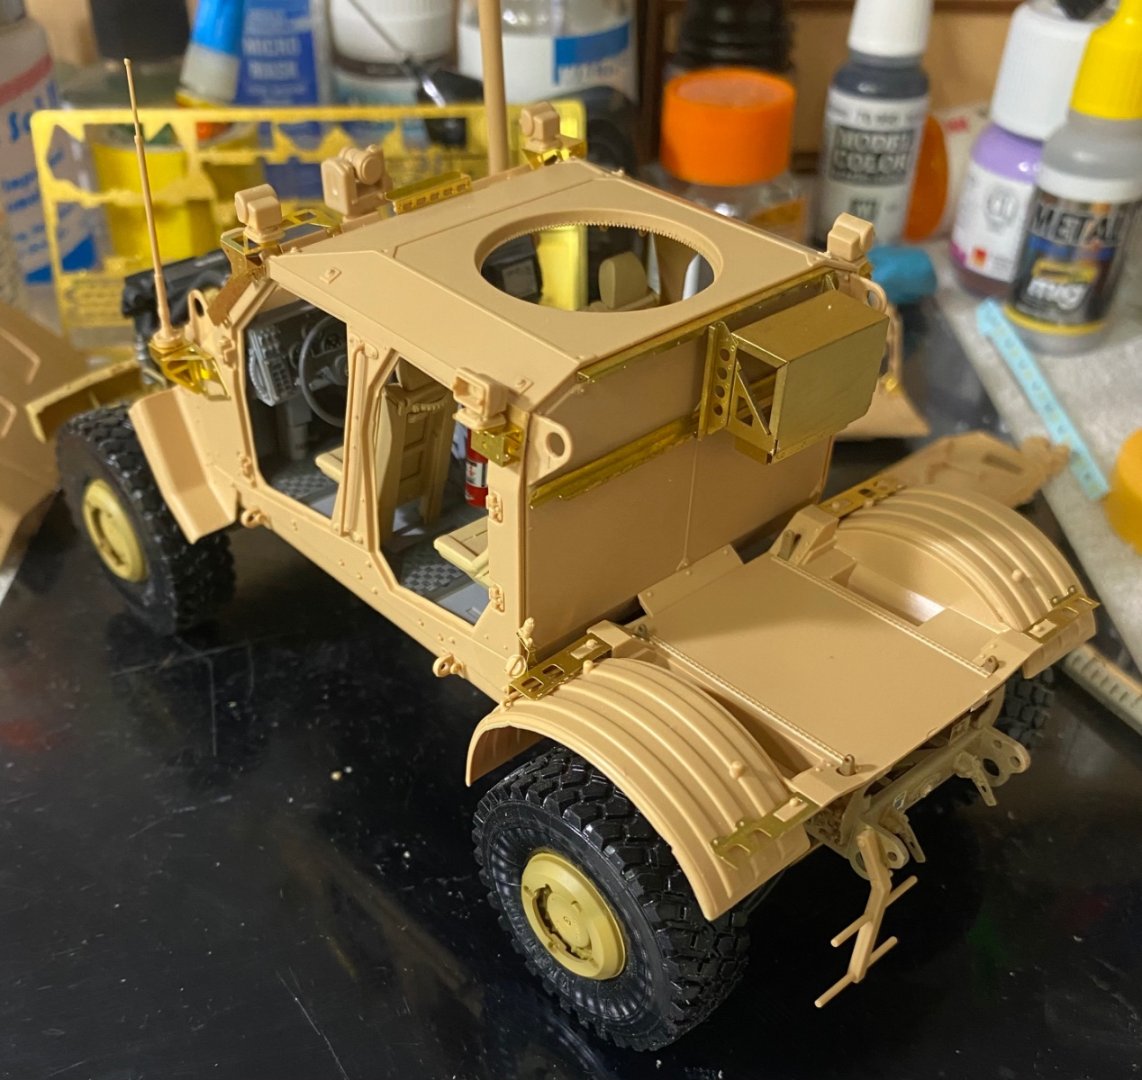
Almost ready to take the modular components to the paint shop. Before paint it’s necessary to do a lot of dry fit testing to make sure all adjustments are made before paint. Flipping it over a bit, you can see the angular armor plating on the bottom of the chassis that’s designed to protect the vehicle and occupants from a land mine detonation.
-
I thought it looked like a Nieuport. I like the Japanese markings too
-
This one: Paper Card Model - Nakajima Type KO 3 - by Answer | eBay and this one: Italian Fighter Ansaldo A.1 Balilla # ORLIK Card Model # Scale 1/33 # OR 707 | eBay
-
Chris Do you have an opinion on the quality and fit of Orlik or Answer card models? I've run across a couple I am interested in on Ebay. One is from the vendor you wrote about. The other is a vendor in Poland.
-
MRAP ATV by CDW - FINISHED - Rye Field - 1:35 Scale
CDW replied to CDW's topic in Non-ship/categorised builds
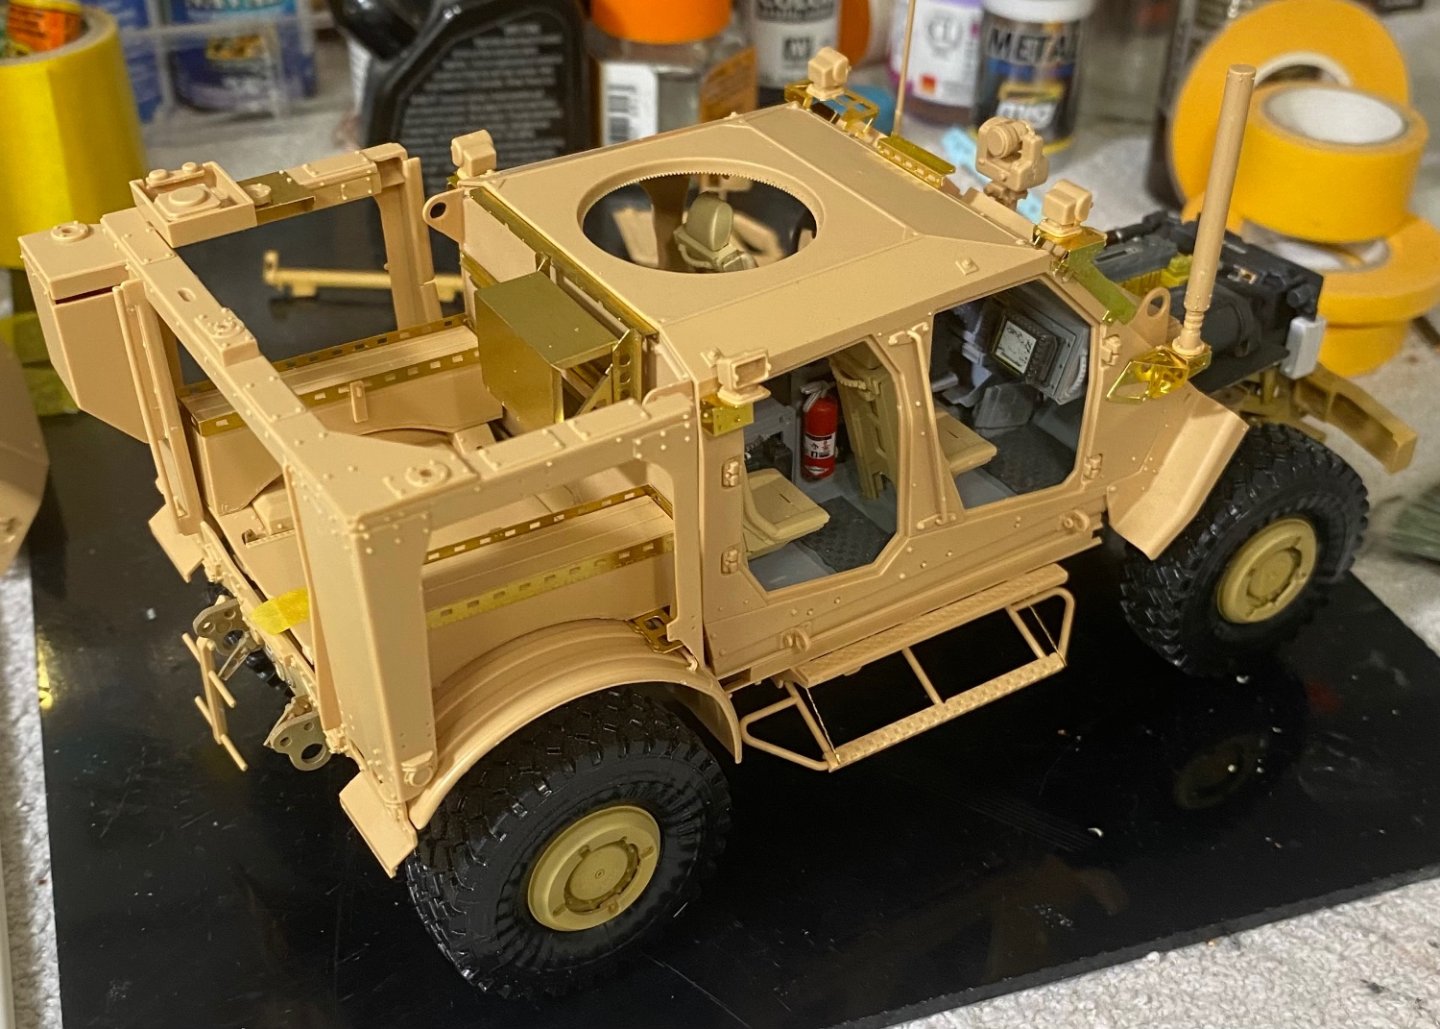
I feel about 90% certain I’ll build another one of these albeit a slightly different version, the CROWS II. On the next one will apply some lessons learned building the first. In addition, this kit has been a pleasure to build but it is tedious and part count intensive. Ryefield did an excellent work producing a kit with this level of detail inside one box.
-
MRAP ATV by CDW - FINISHED - Rye Field - 1:35 Scale
CDW replied to CDW's topic in Non-ship/categorised builds
Don’t know for sure. When I get finished with this I’ll probably be ready to move on to something different (as usual). Maybe later on I’ll get my figure building mojo and do some. I’ve got them. If you don’t like to do photo etch this is probably not a model you’ll want to tackle. It has a lot of photo etch and there are no optional plastic parts to take the place of the photo etch. Do or die. It was slow going clipping, filing, folding, and gluing photo etch today. In the end, it seems worth it.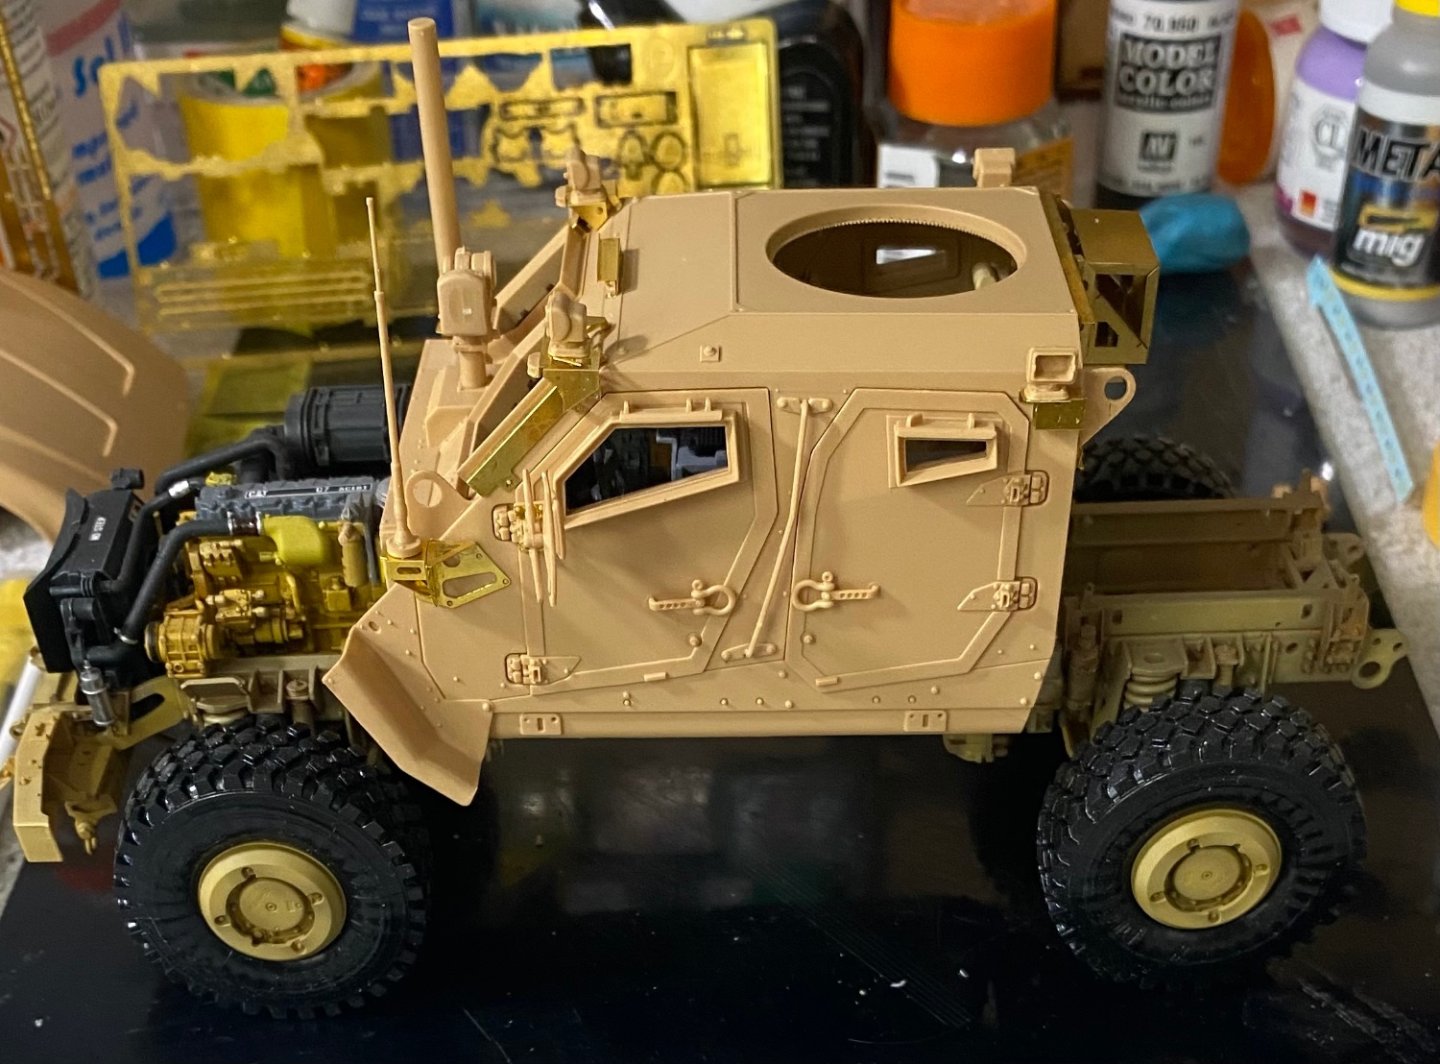


- 217 replies
-
- 12
-

-

-
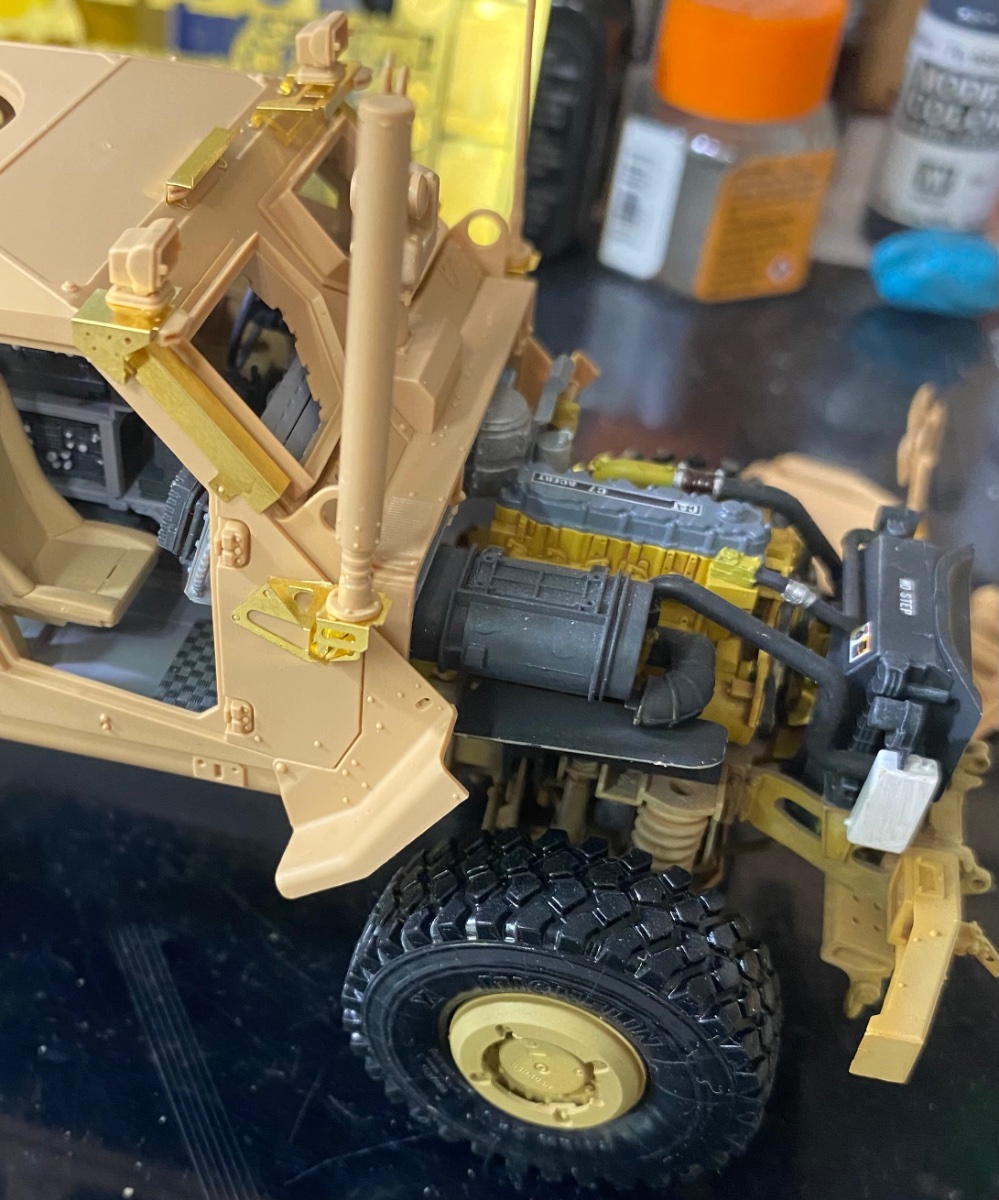
That would be the "Viper" engine 🙃
-
That’s some tricky work but it came out great Chris. Wish I could watch you fo some of this work. Ever thought about doing a Video of your work in progress? Sure would be great to see.
- 165 replies
-
- 13
-
-
-
MRAP ATV by CDW - FINISHED - Rye Field - 1:35 Scale
CDW replied to CDW's topic in Non-ship/categorised builds
I saw a Russian modeler who made his seatbelts and harnesses like that and they looked great. I’ll act on his idea. -
MRAP ATV by CDW - FINISHED - Rye Field - 1:35 Scale
CDW replied to CDW's topic in Non-ship/categorised builds
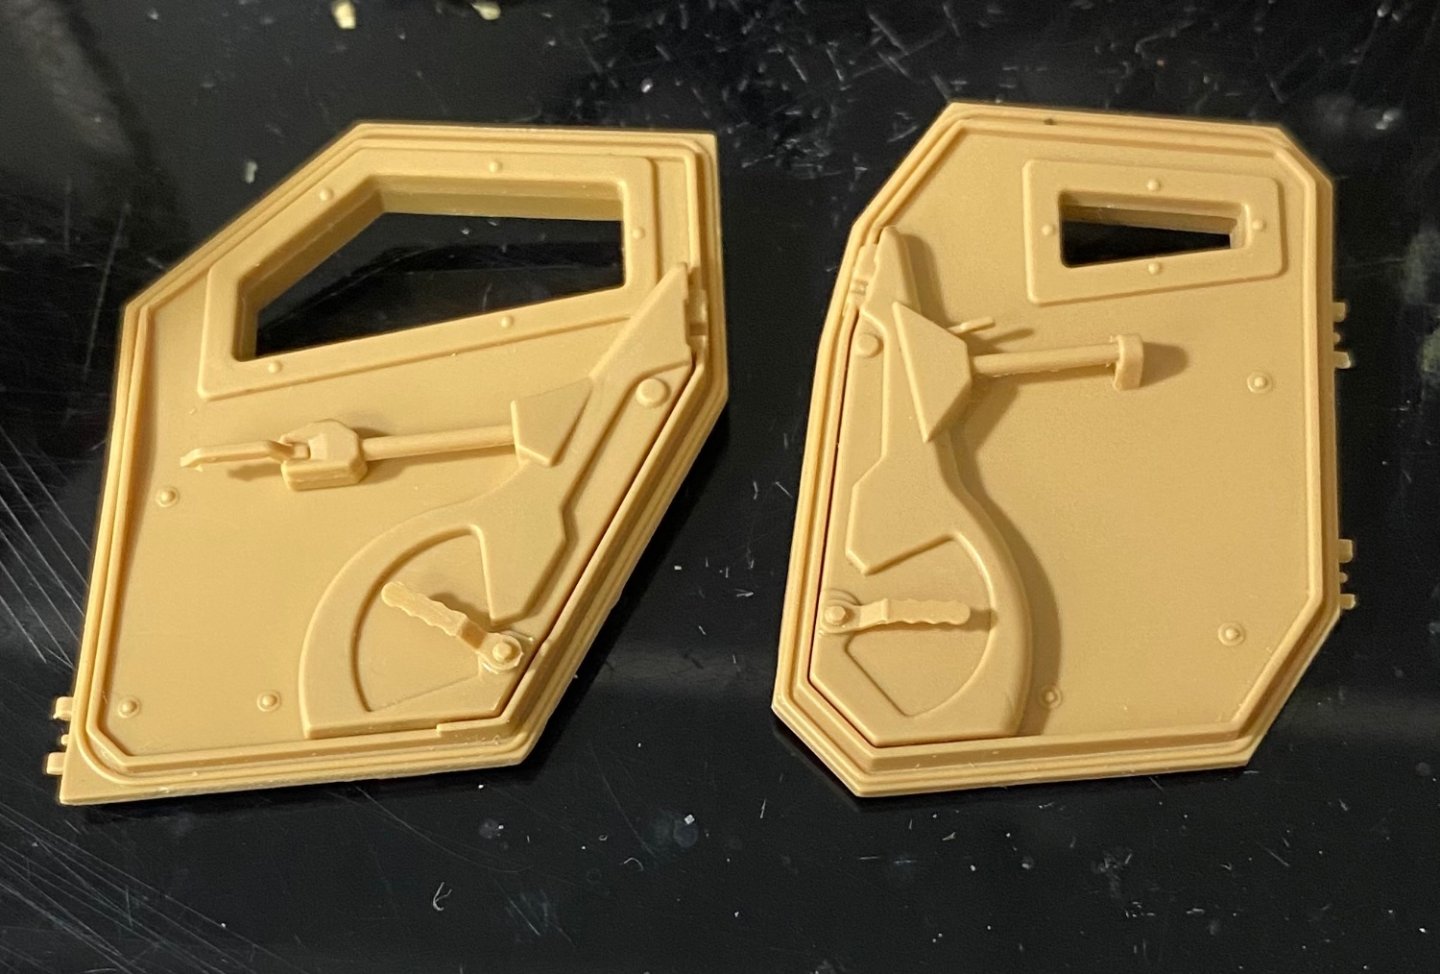
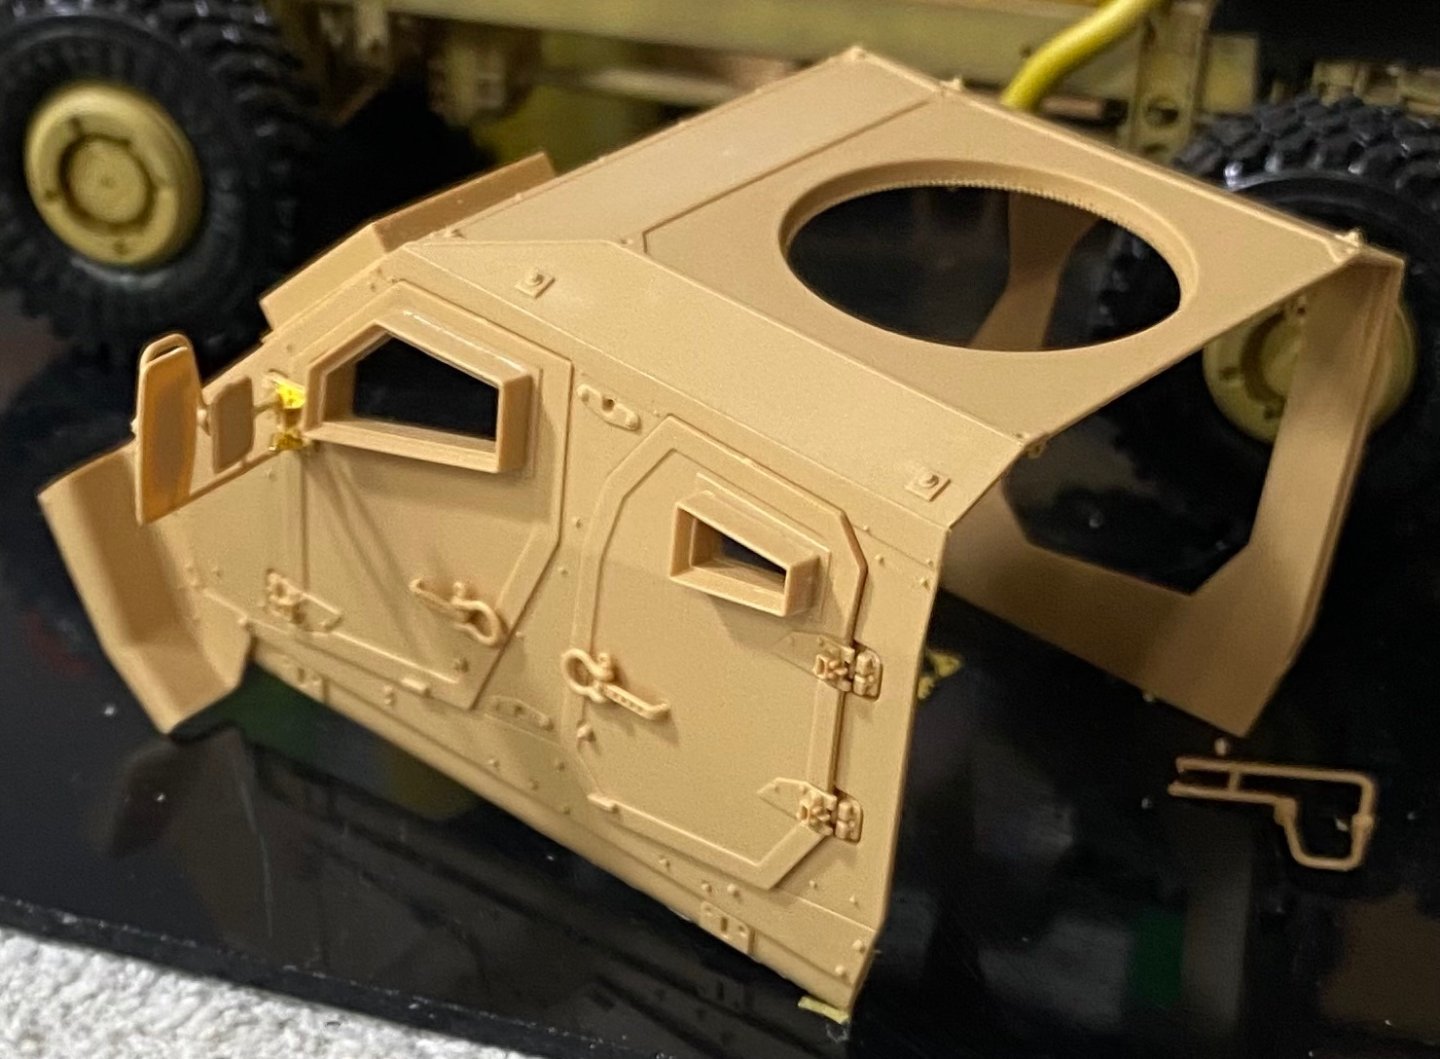
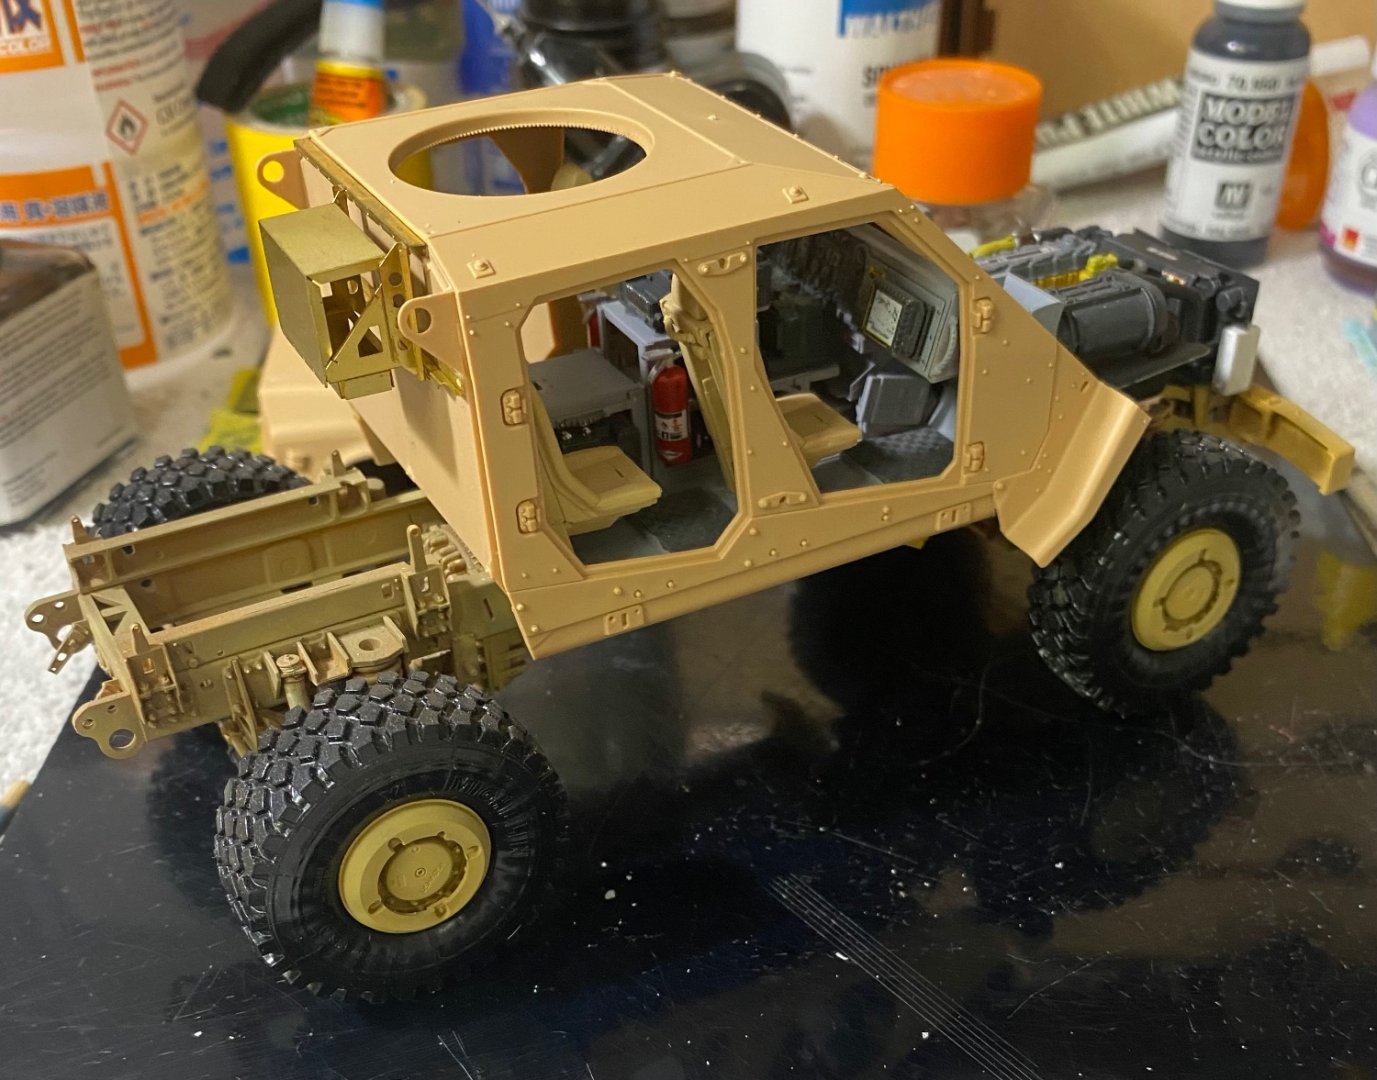
A nice set of side mirrors. Delicate. Must resist dumb thumbing it down the road during this build. Maybe leave the doors off till the end? Detail inside the doors not shabby either. Suicide doors. That’s what we used to call rear doors that opened from front to back. My old ‘64 Lincoln Continental had them like that. What a beast that car.
- 217 replies
-
- 11
-
-
MRAP ATV by CDW - FINISHED - Rye Field - 1:35 Scale
CDW replied to CDW's topic in Non-ship/categorised builds
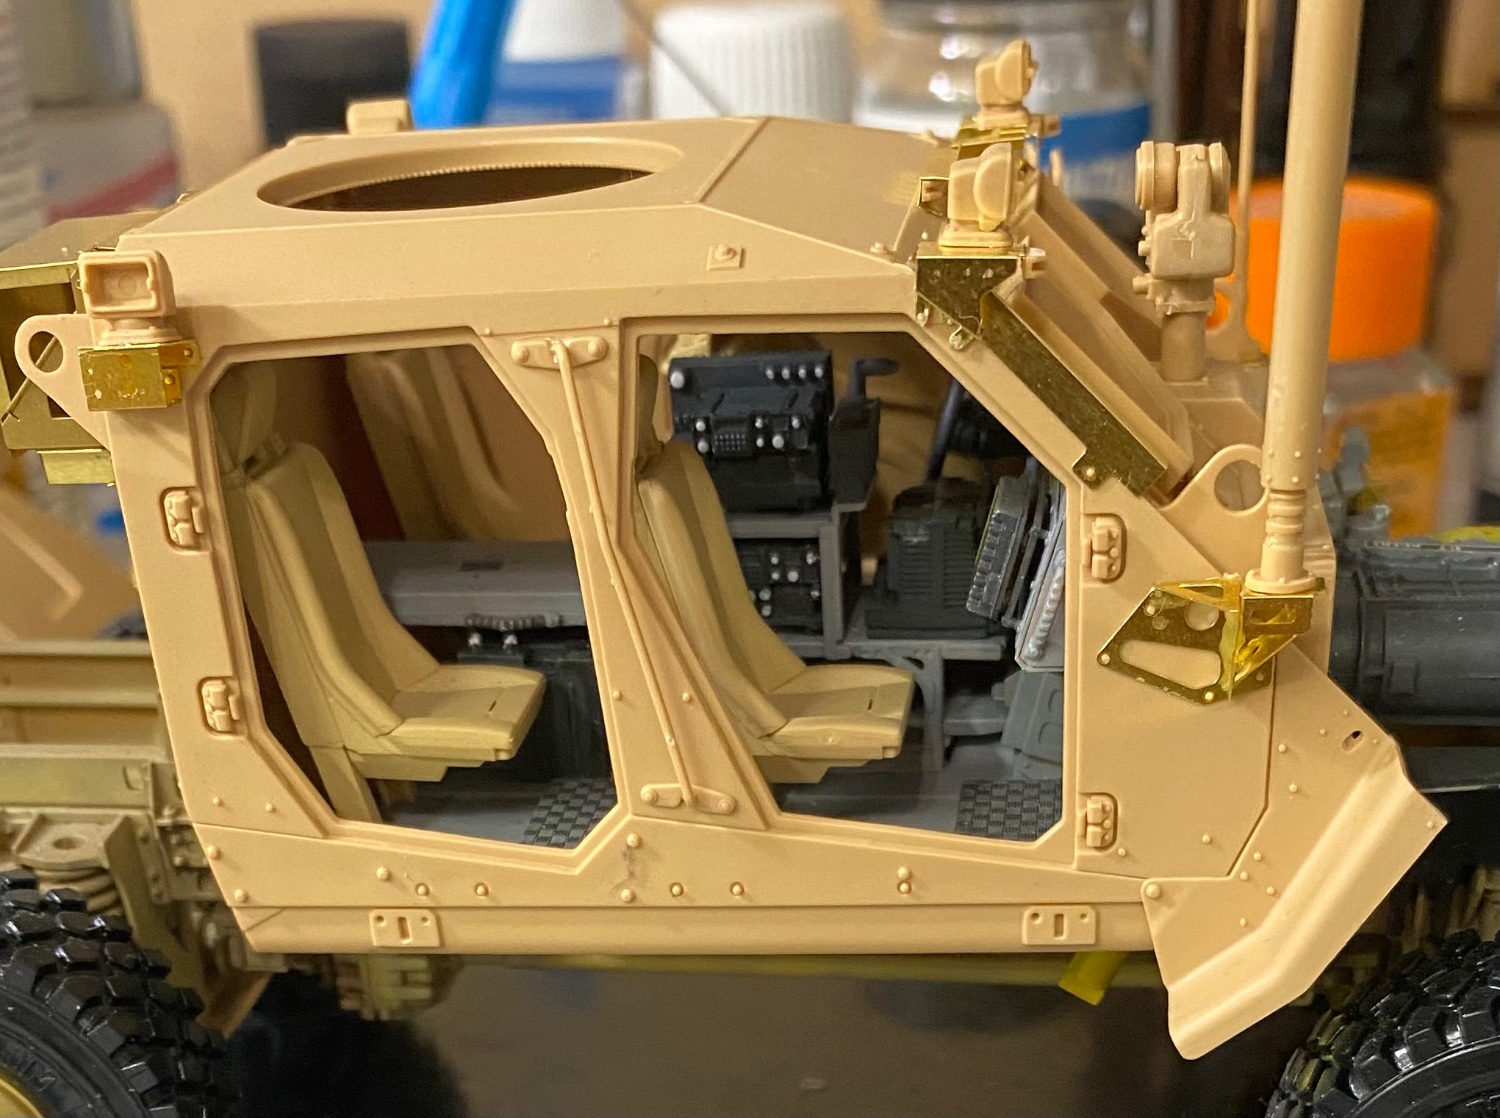
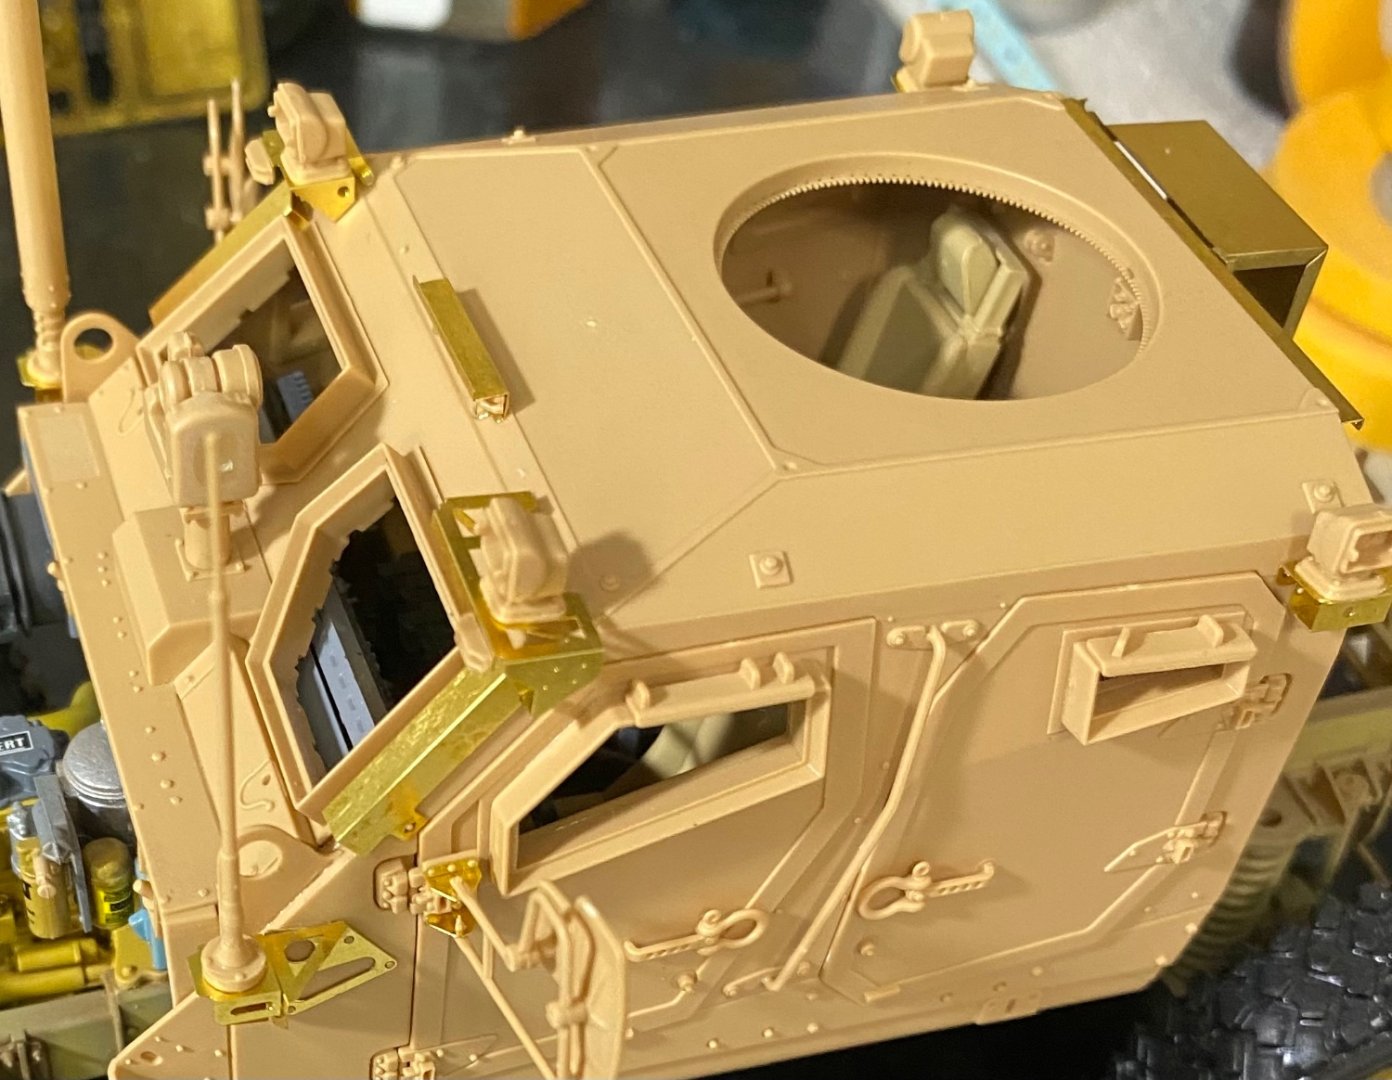
Even the inside top (headliner?) of the cab gets a lot of detail. This model begs for seat belts and harnesses.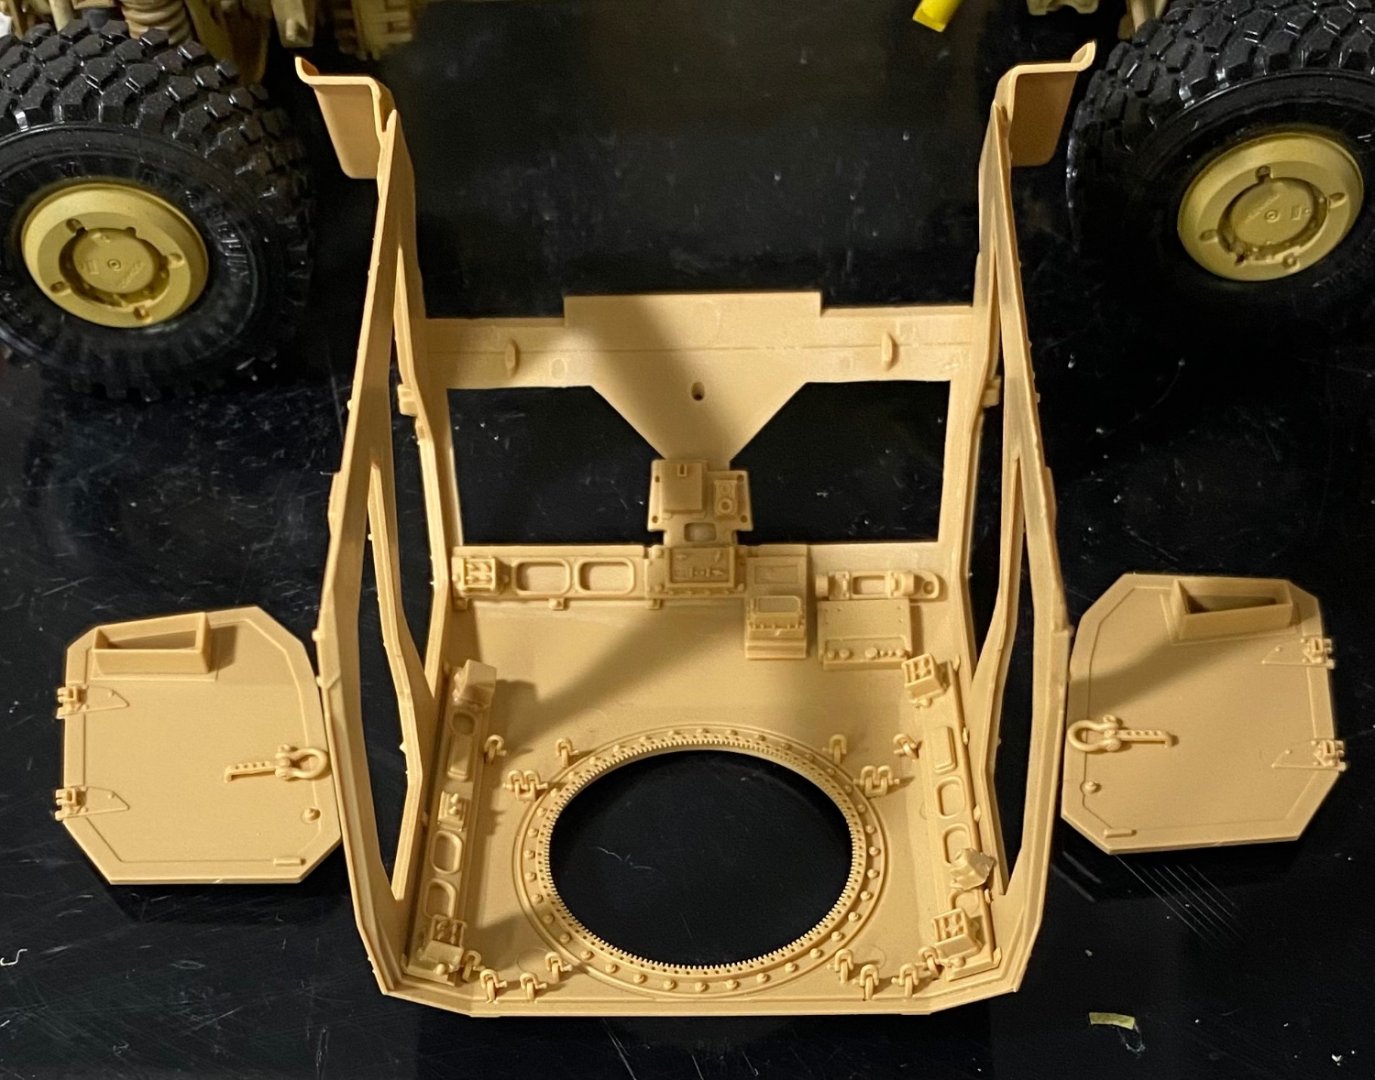
- 217 replies
-
- 10
-
-
-
MRAP ATV by CDW - FINISHED - Rye Field - 1:35 Scale
CDW replied to CDW's topic in Non-ship/categorised builds
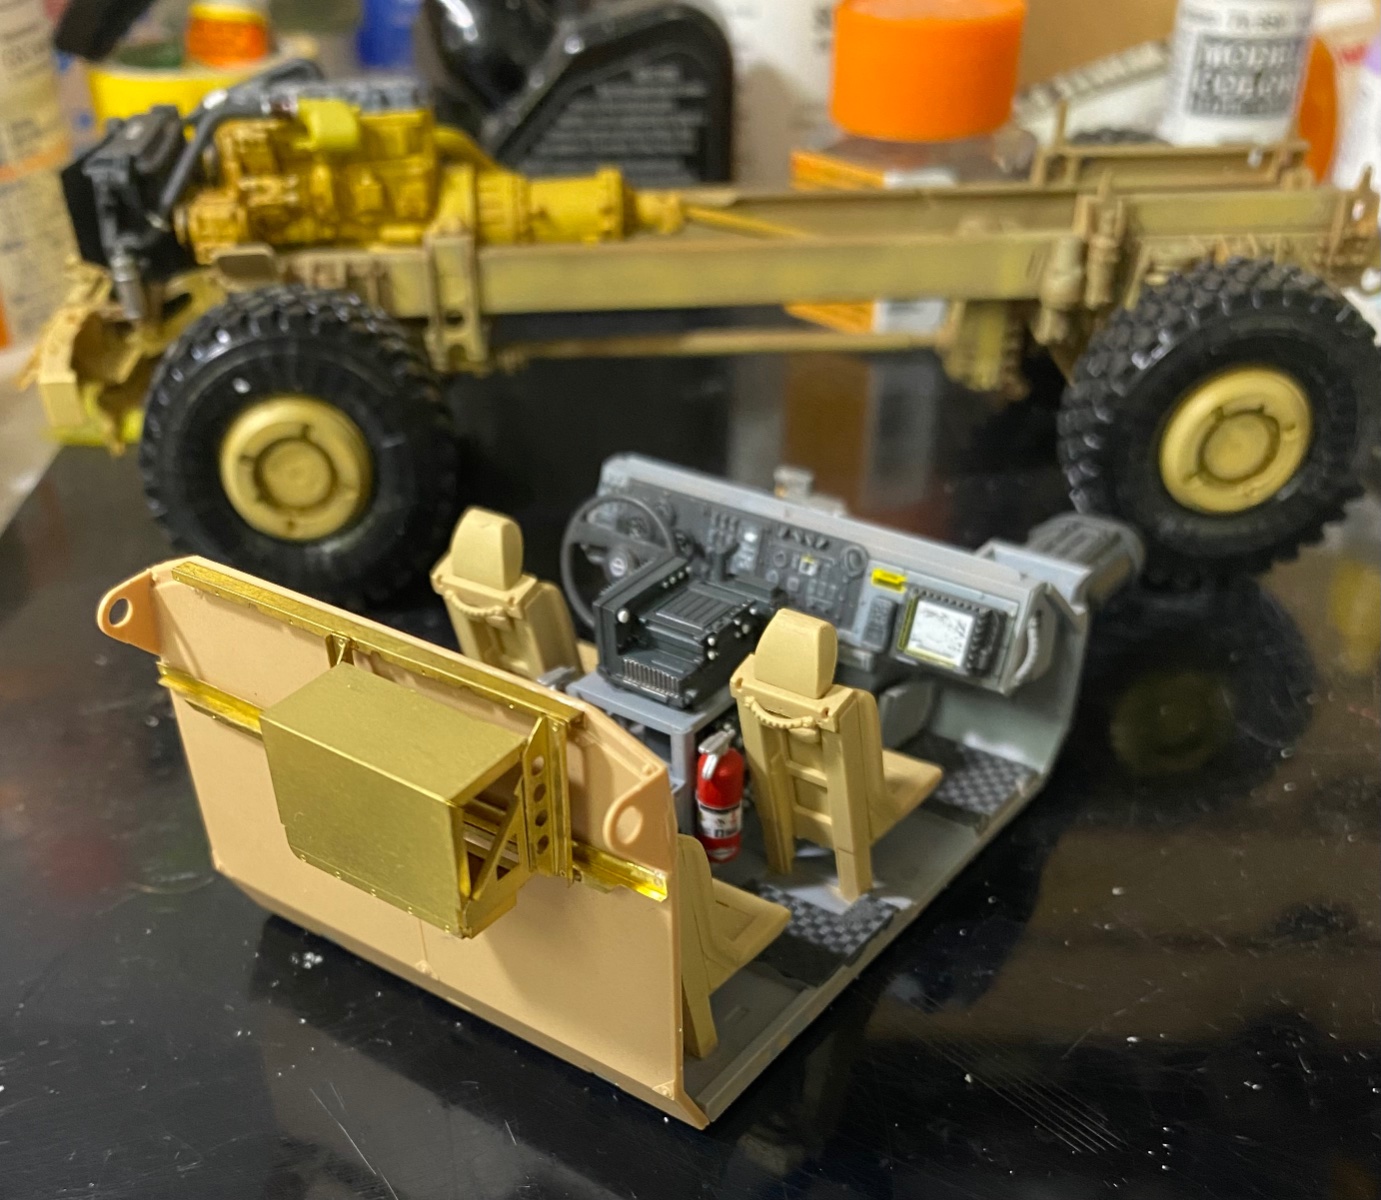
Test-fit Every reference I see shows solid color seats so I guess I’ll stay with that. Need to add seat belts and shoulder harnesses though. Maybe use tape to make my own? Don’t want to wait around for an aftermarket set to arrive (if there is one).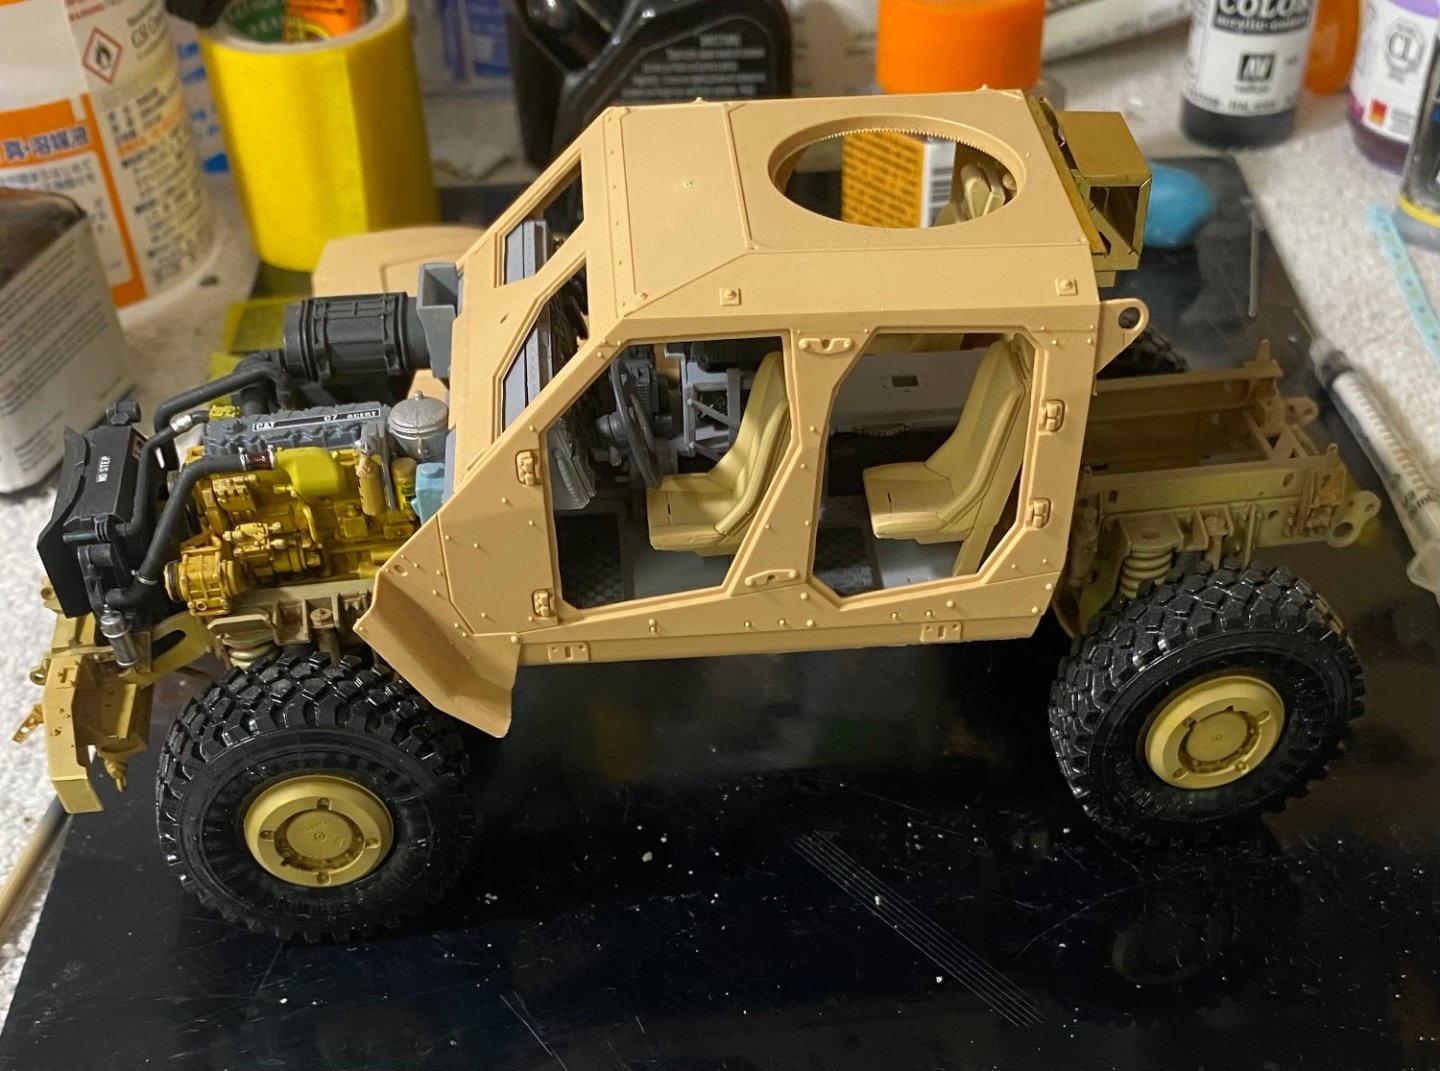
-
MRAP ATV by CDW - FINISHED - Rye Field - 1:35 Scale
CDW replied to CDW's topic in Non-ship/categorised builds
Thanks. It’s been a long time coming. -
MRAP ATV by CDW - FINISHED - Rye Field - 1:35 Scale
CDW replied to CDW's topic in Non-ship/categorised builds
With the rear cabin bulkhead assembled, it’s time to paint it up before gluing together.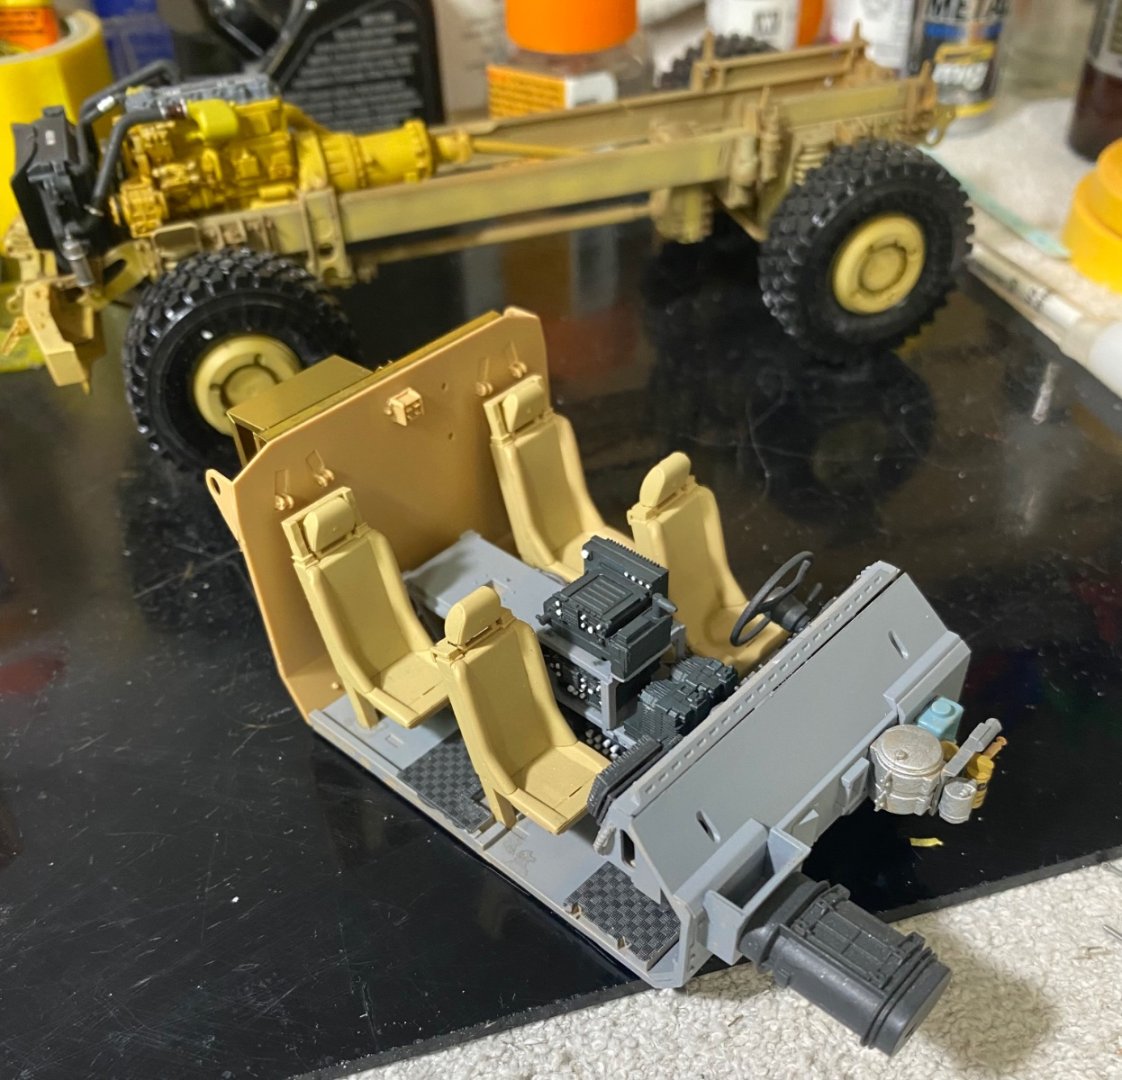

-
MRAP ATV by CDW - FINISHED - Rye Field - 1:35 Scale
CDW replied to CDW's topic in Non-ship/categorised builds
I need to check some references. They may not be of a solid color regardless of what the instructions call for. Now is the time to sort it out before it’s all buttoned up. -
MRAP ATV by CDW - FINISHED - Rye Field - 1:35 Scale
CDW replied to CDW's topic in Non-ship/categorised builds
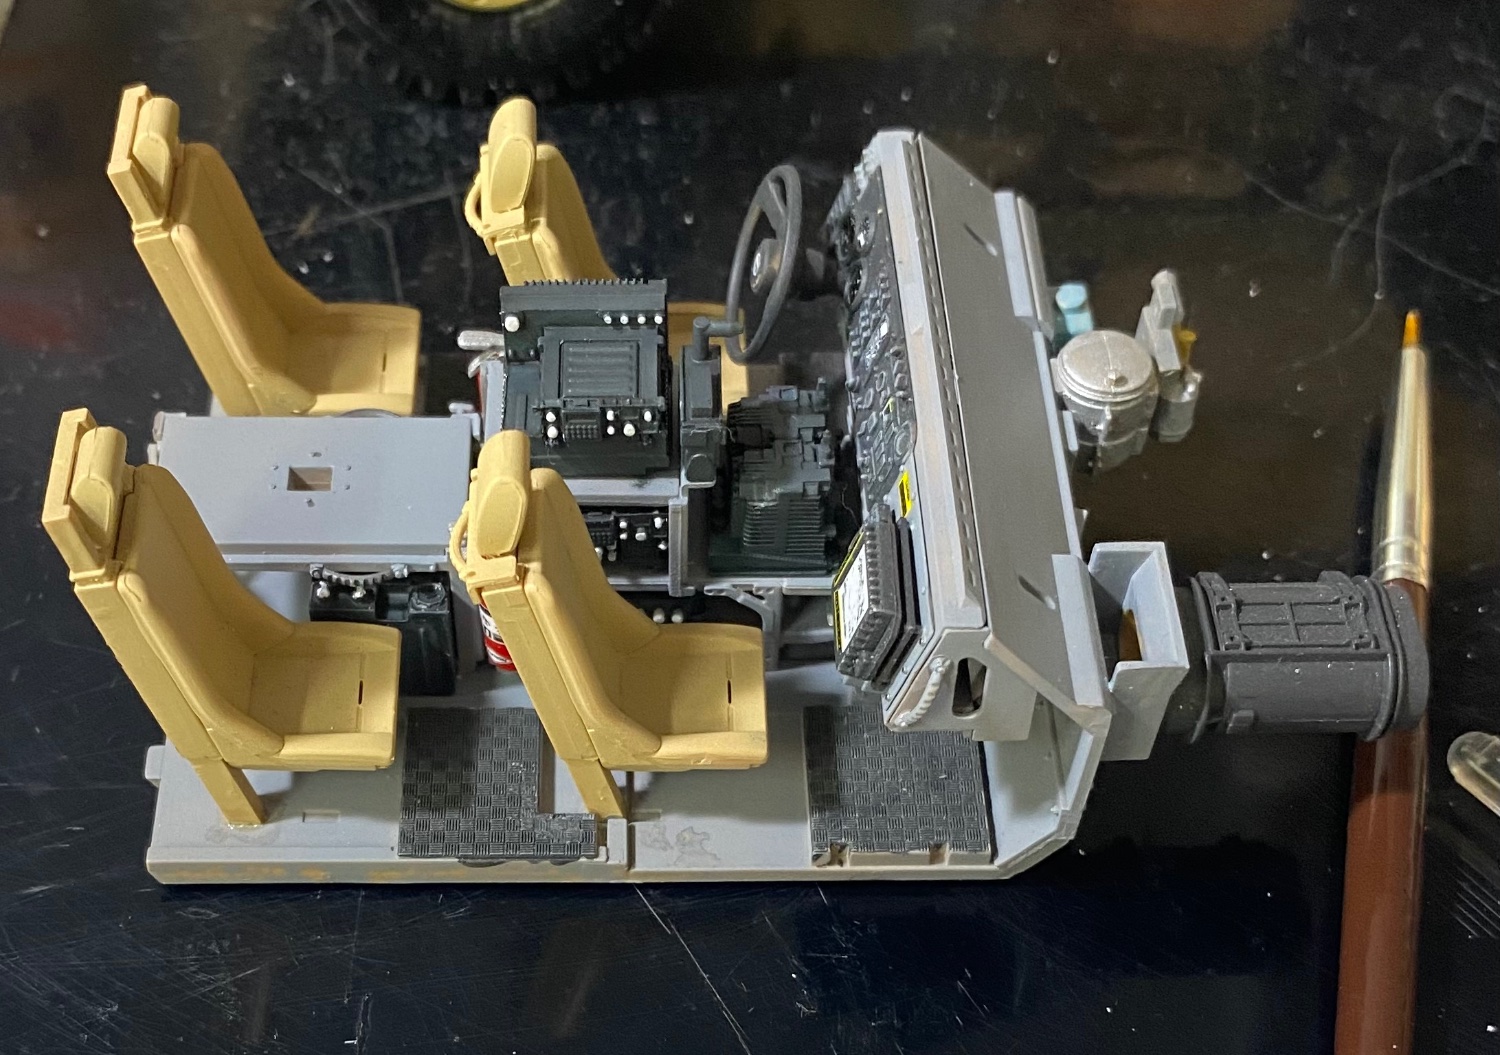
Once the seats are installed much is the radio gear gets covered. Even more so once it’s all inside the cab of the vehicle.
-
MRAP ATV by CDW - FINISHED - Rye Field - 1:35 Scale
CDW replied to CDW's topic in Non-ship/categorised builds
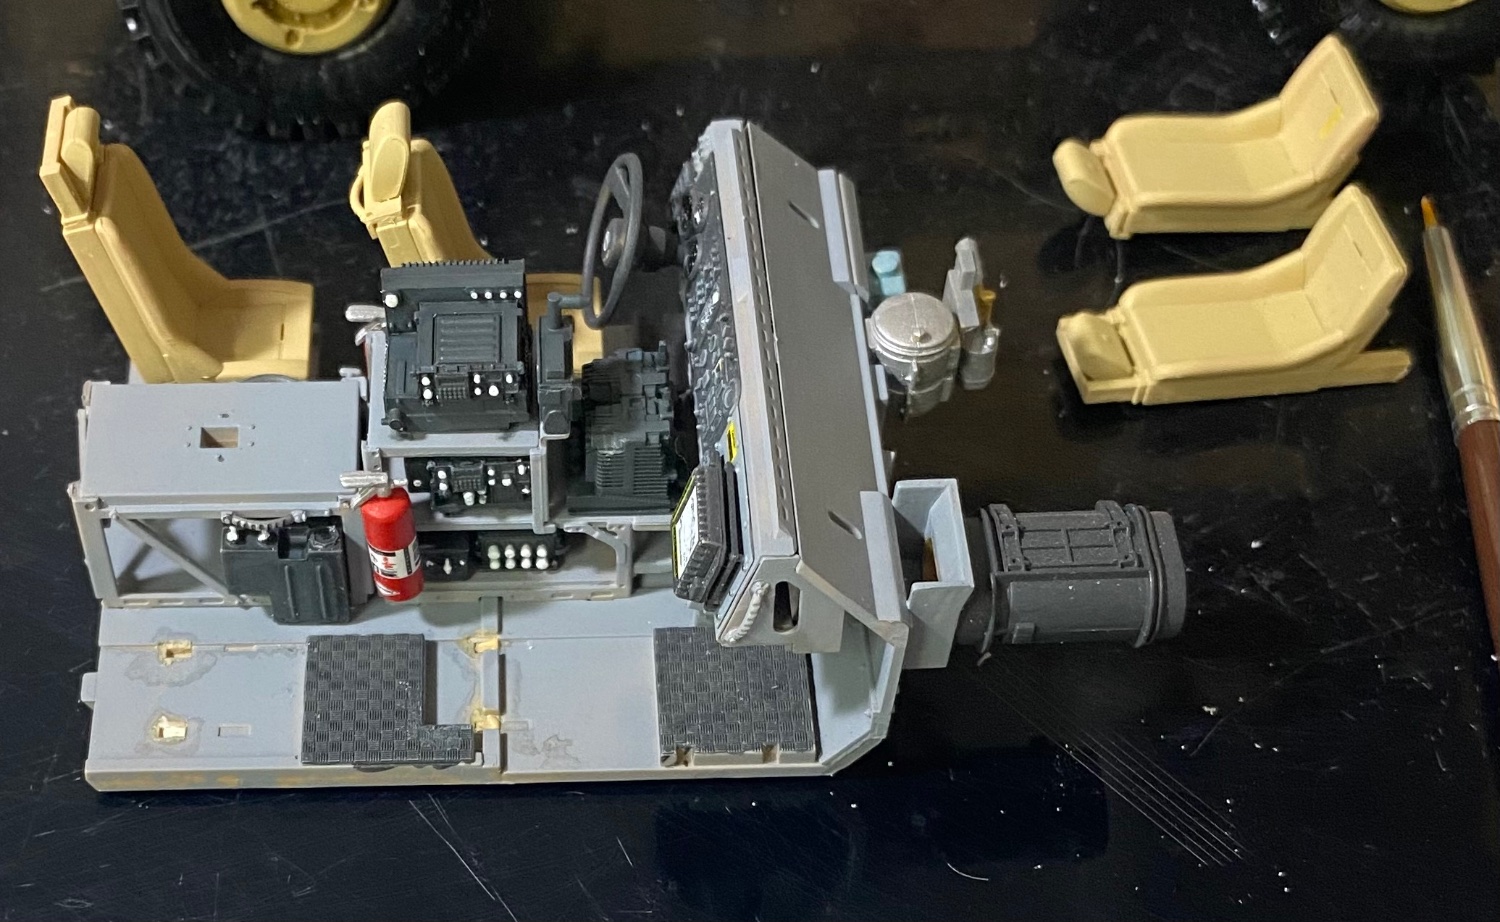
Ripped out the front and rear seats to install the radio gear. Seems like a long climb for a short slide maybe. At least I’ll know they are there when it’s finished.
-
MRAP ATV by CDW - FINISHED - Rye Field - 1:35 Scale
CDW replied to CDW's topic in Non-ship/categorised builds
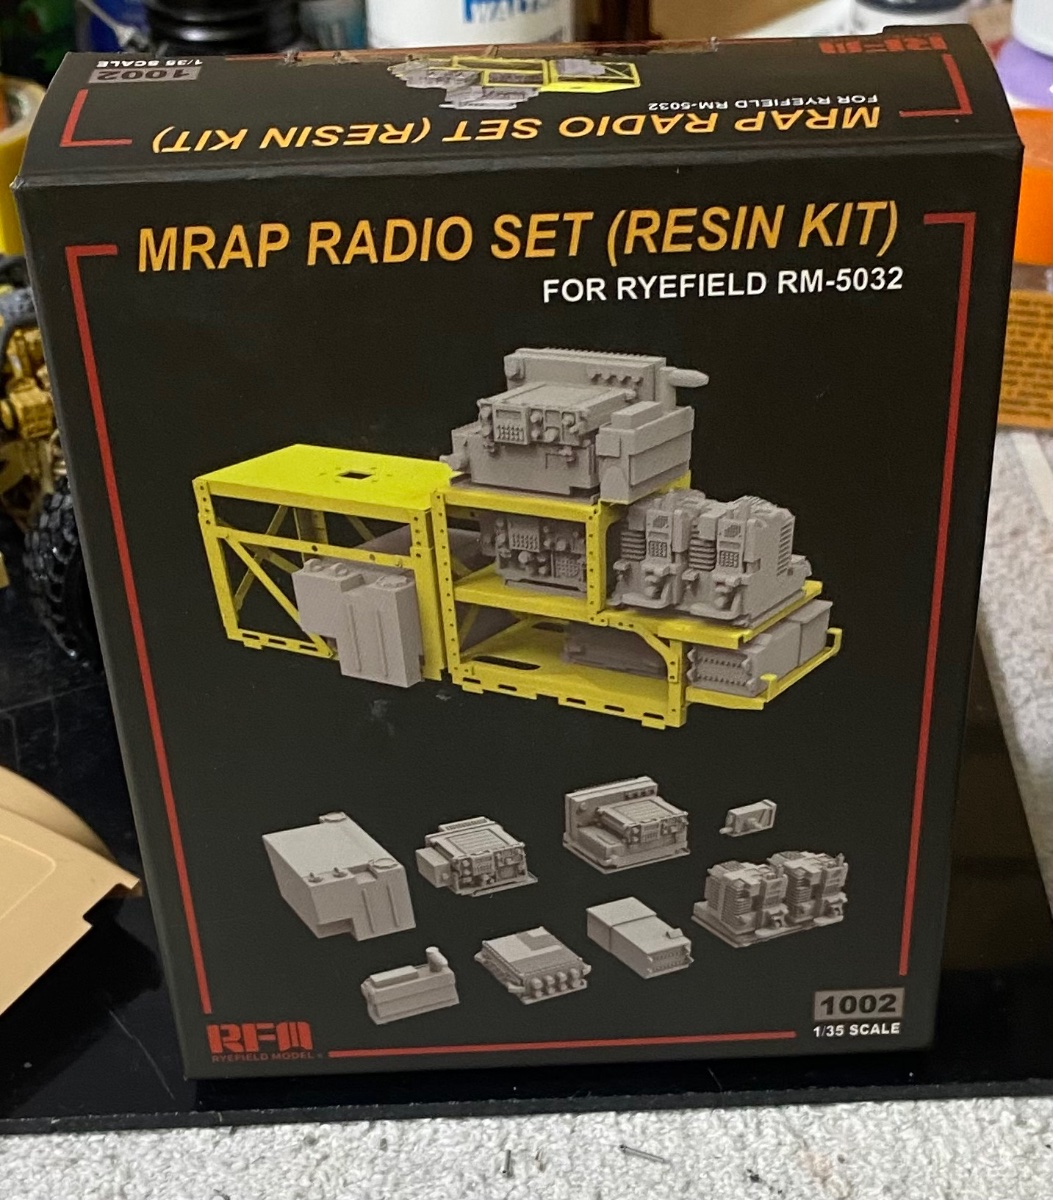
Jedi mind tricks. This Ryefield kit is incredibly detailed but…they do not include the radio gear that is mounted inside the cabin between the seats. I did not realize there was a Ryefield aftermarket radio set for it until after I assembled the interior. Next I will try to install it after-the-fact. Will require some disassembly and reassembly.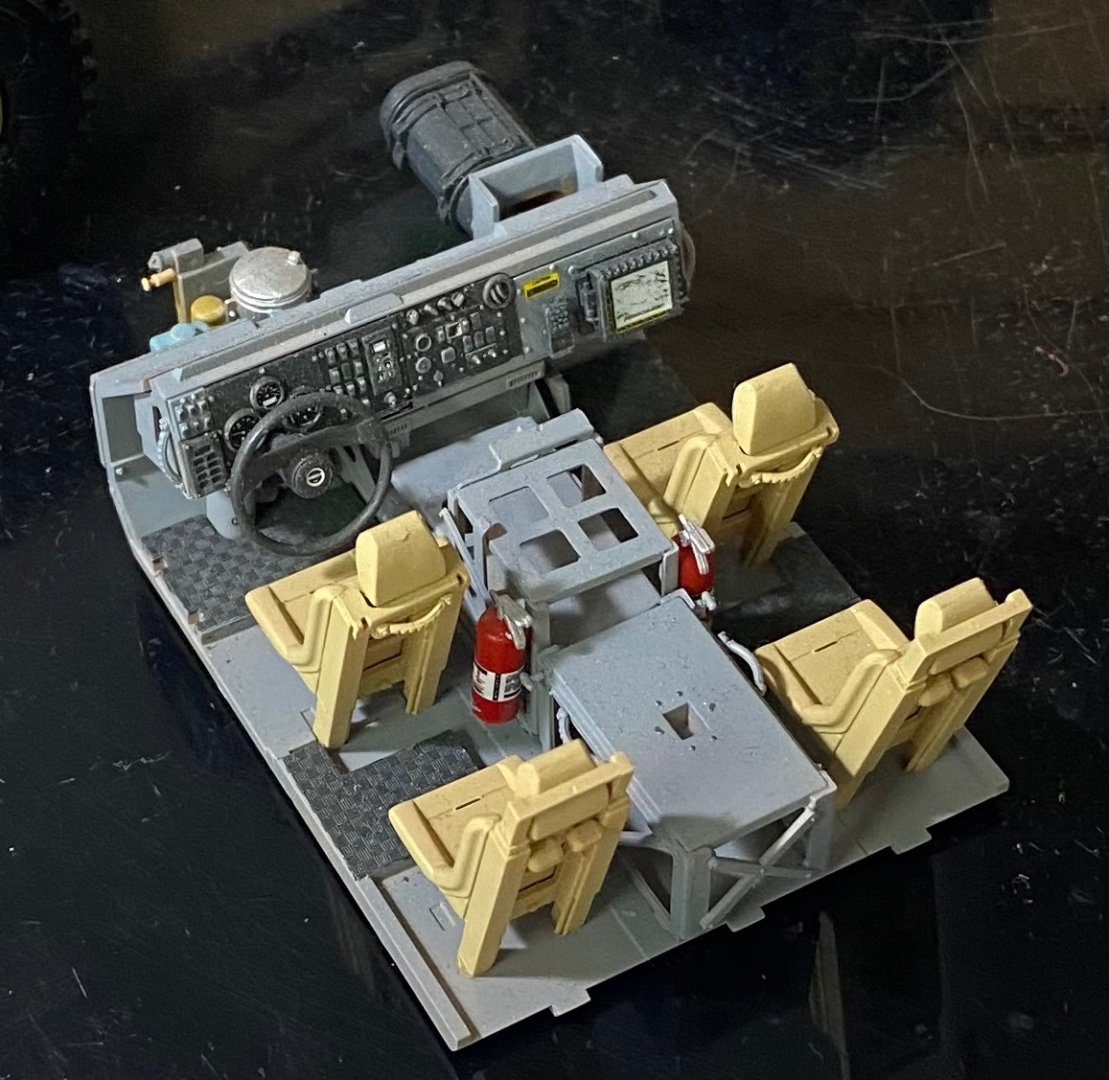

- 217 replies
-
- 10
-
-
MRAP ATV by CDW - FINISHED - Rye Field - 1:35 Scale
CDW replied to CDW's topic in Non-ship/categorised builds
It's been over two years, but I intend to resurrect and finish this old project, starting today. Everything was safely stored away and is ready to go. Trying to clear up some of the items I started and never finished for one reason or another. -
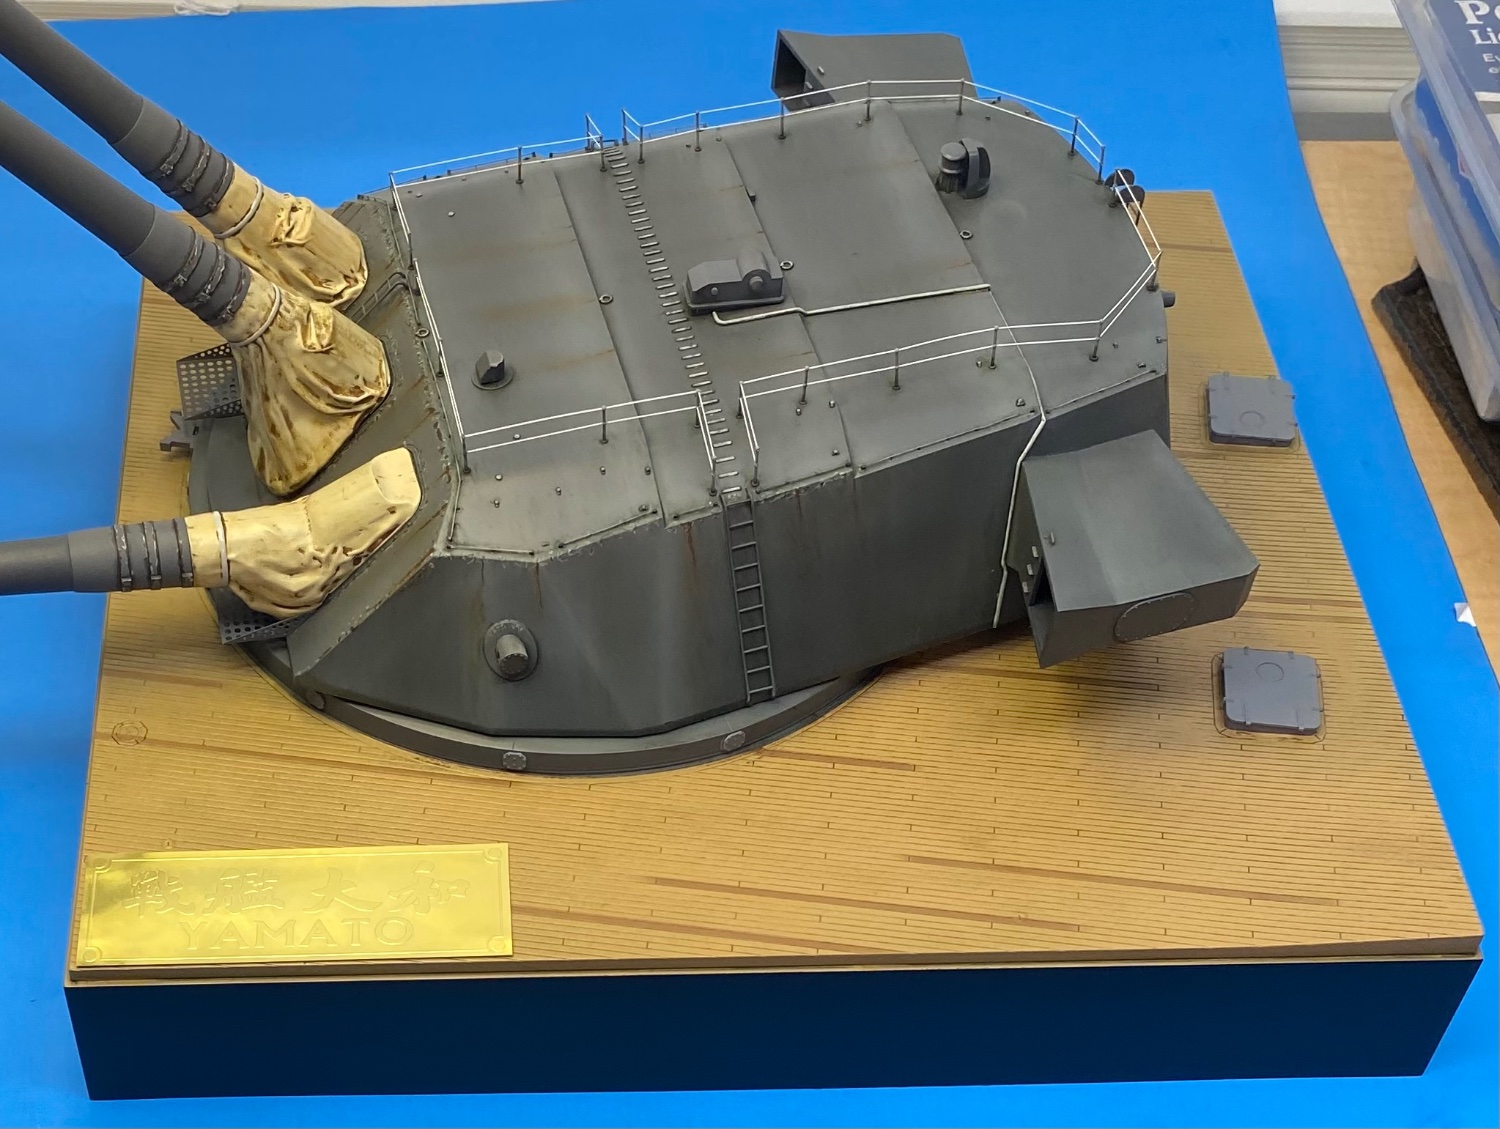
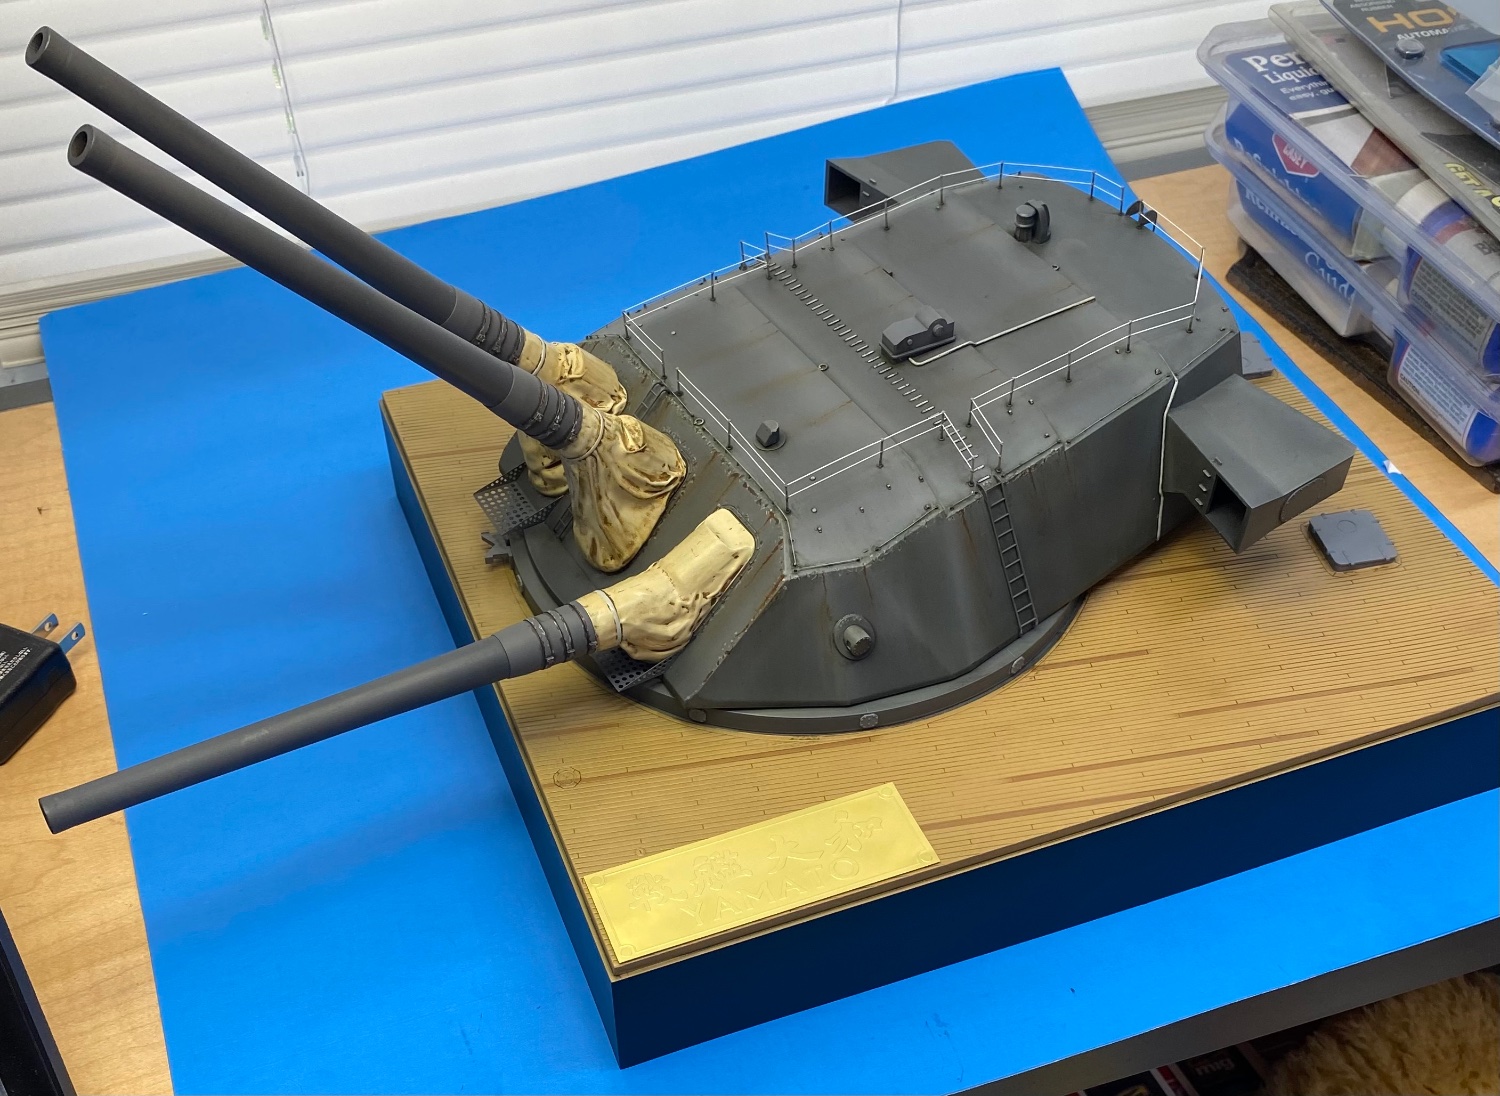
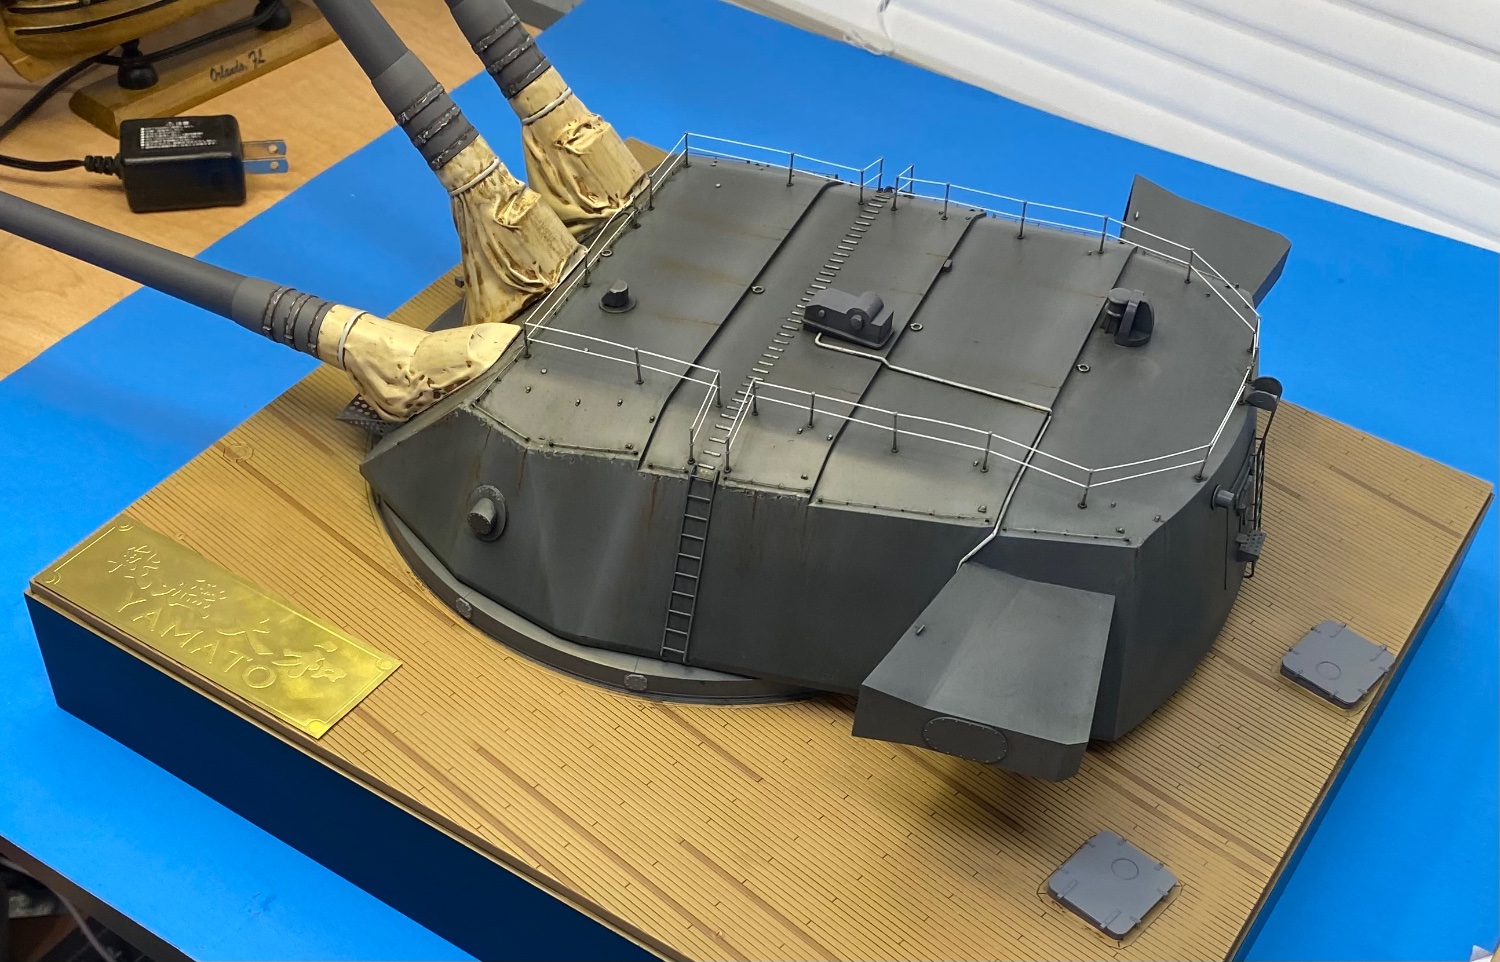
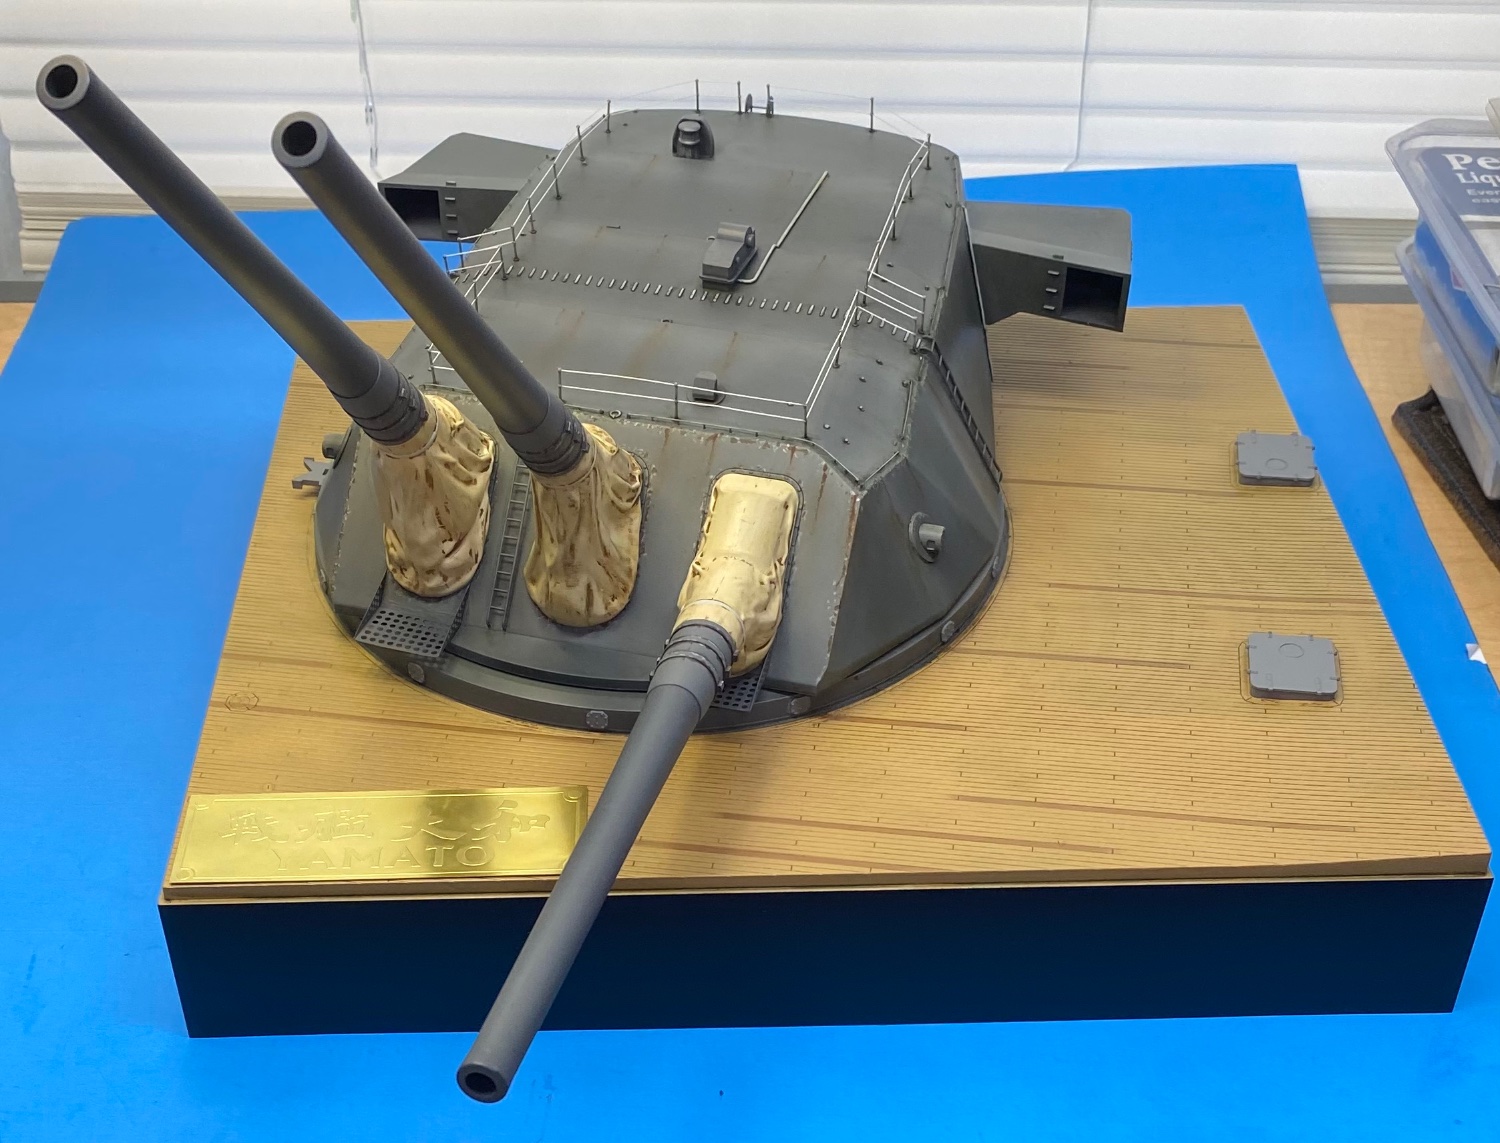
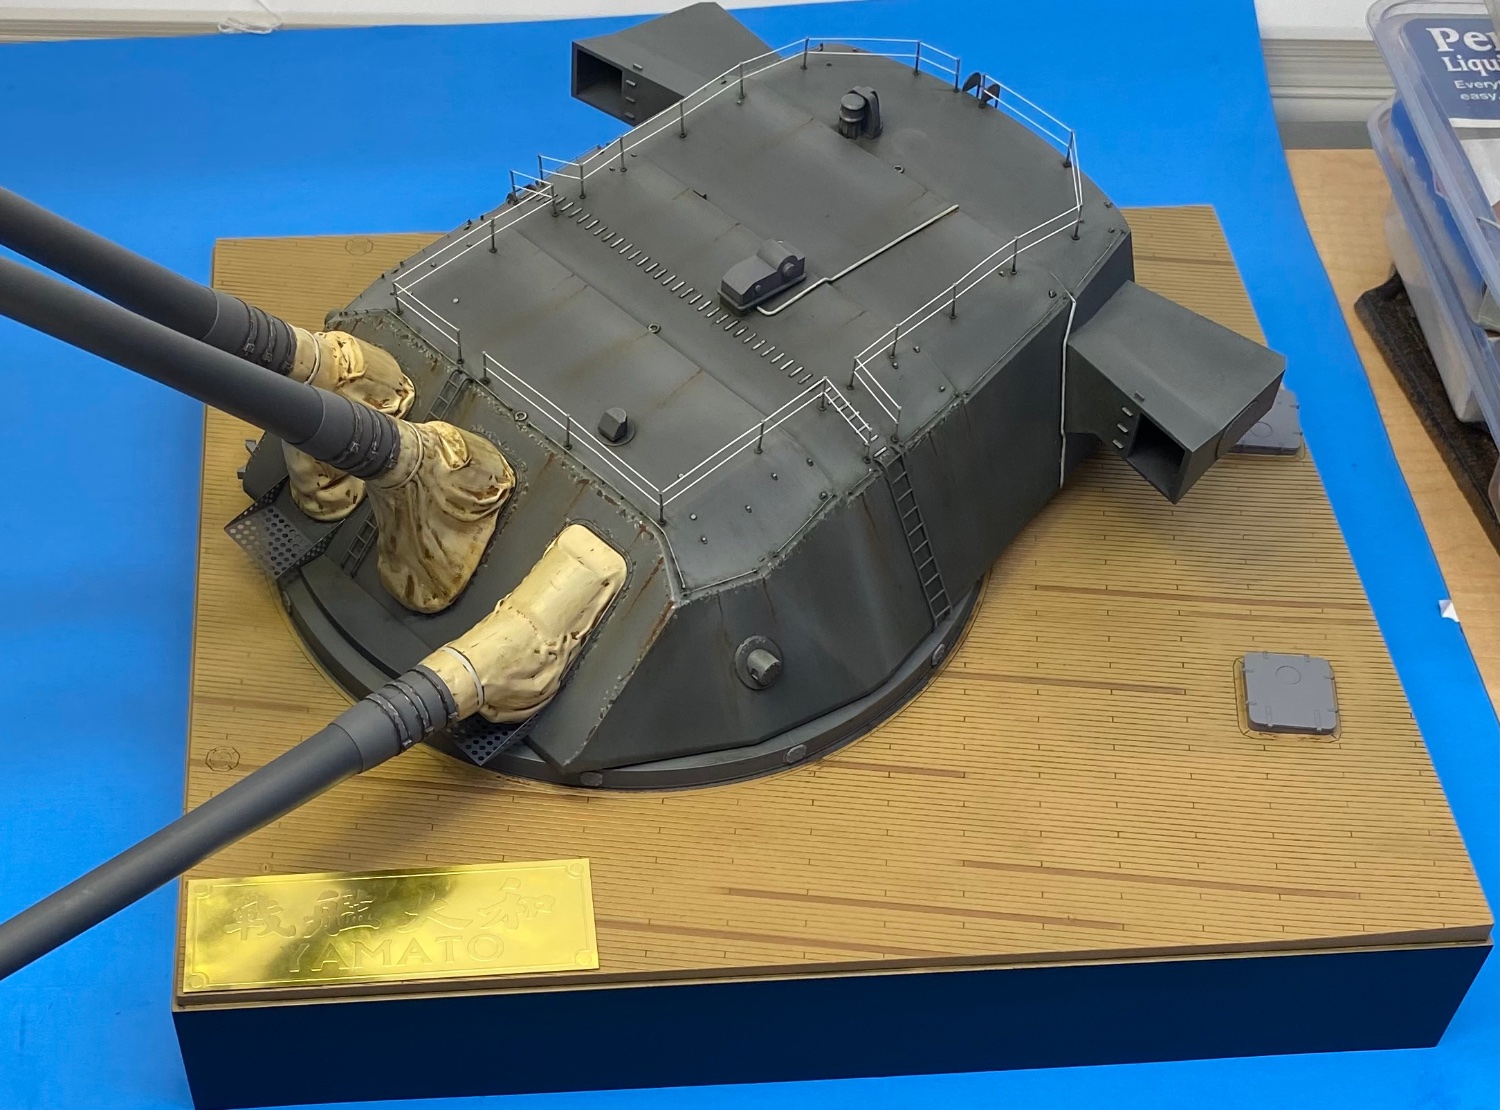
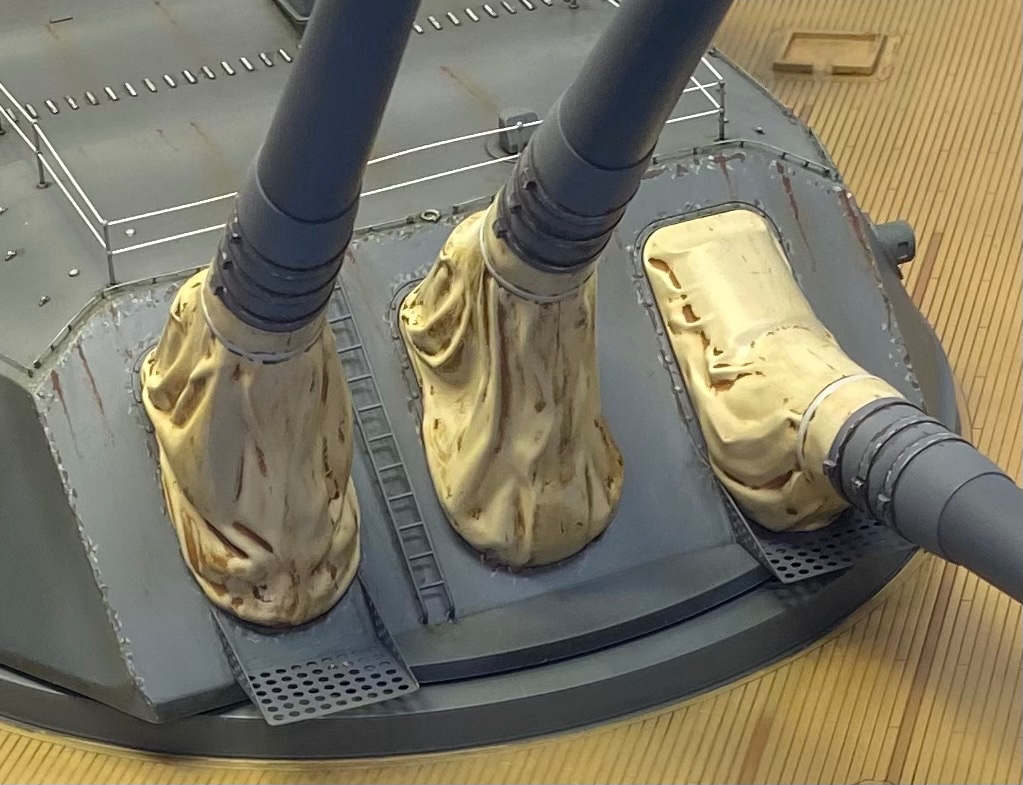
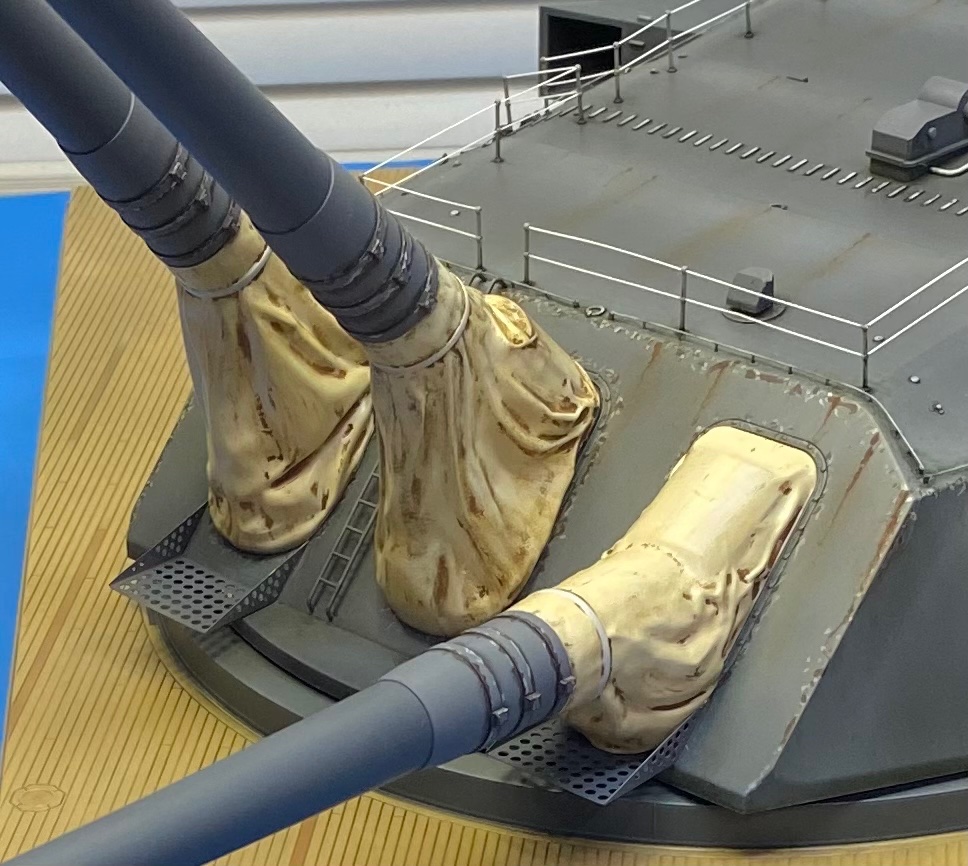
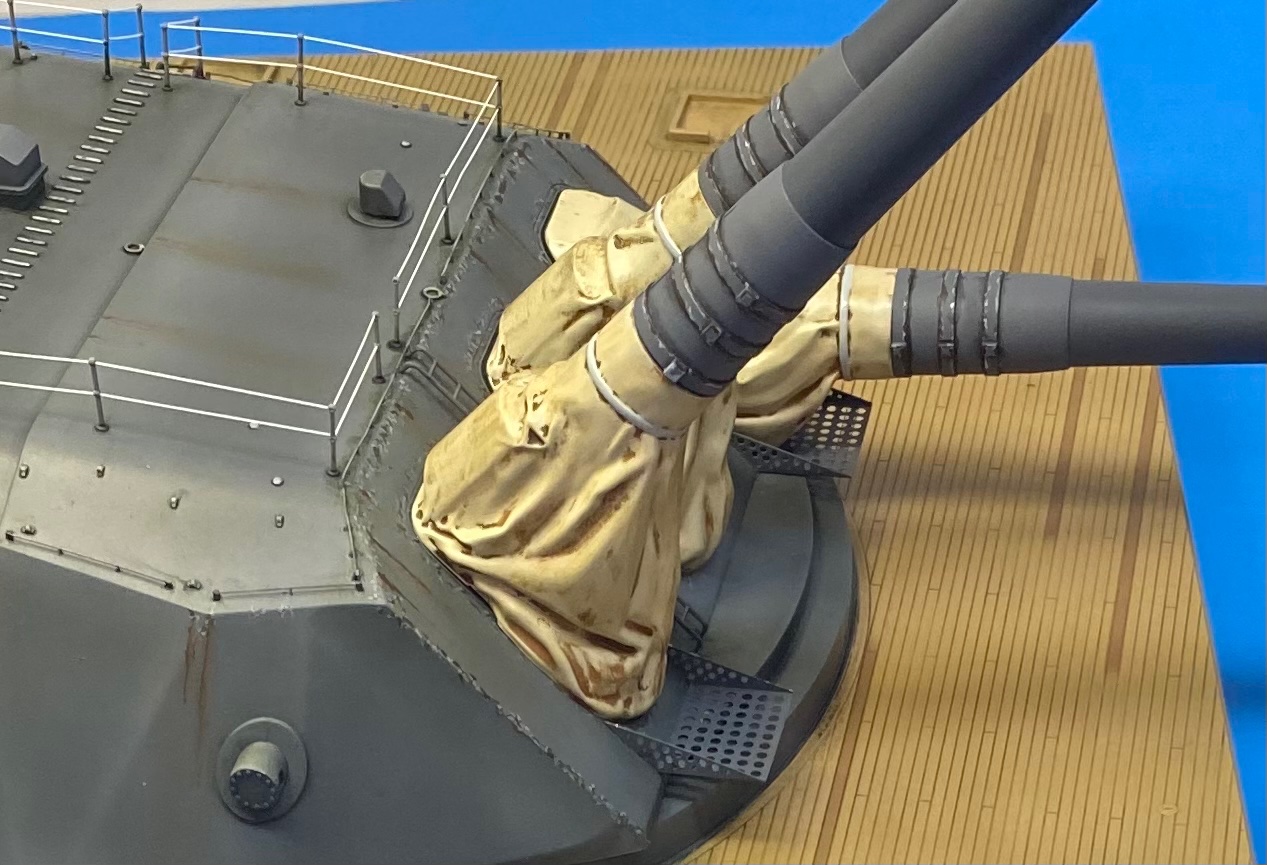
Thanks much for the comments gentlemen. I have not acquired the German guns yet, but it's possible I may decide to do so at some time, particularly if I see them on a discount sale. There is also the secondary triple gun turret for the Yamato in 1/48 scale. Just saw they released the 1:72 Missouri main gun turret. So many models, so little time.
-
Do you dampen parts like the wing fillets to shape them?
-
I've got OneNote as it came bundled...never used it. Thanks much for getting the word out on that software. Will definitely try it out now.
-
Thanks. I watched some Youtube videos to learn about the app for my iPhone. I'm lucky if I know 10% of my cell phone capabilities. I really appreciate learning about the feature from you. Here I had a solution for the problem all this time and didn't even know it.
-
Not sure how to use a translation app on my phone. Do you take a photo of it and the phone translates it or ??