CDW
-
Posts
7,760 -
Joined
-
Last visited
Content Type
Profiles
Forums
Gallery
Events
Everything posted by CDW
-
 I can see where this one would definitely be a gamble to get the hull sections joined without losing detail. Beautifully cast (printed?) hull parts. From the comments I read, I presume it's 3D printed resin?
 -
Yes, I see it now. Doesn't seem a big deal though, two pieces split midship. I've been following the threads of a couple of modelers here who pieced together massive 1:48 scale, 3D printed Corvette destroyers with multi section hulls with excellent results
-
If this hull is multi-sectional, I sure couldn't see it in the photos. Shimakaze, 3D-Wild CY512 (2022) (scalemates.com)
-
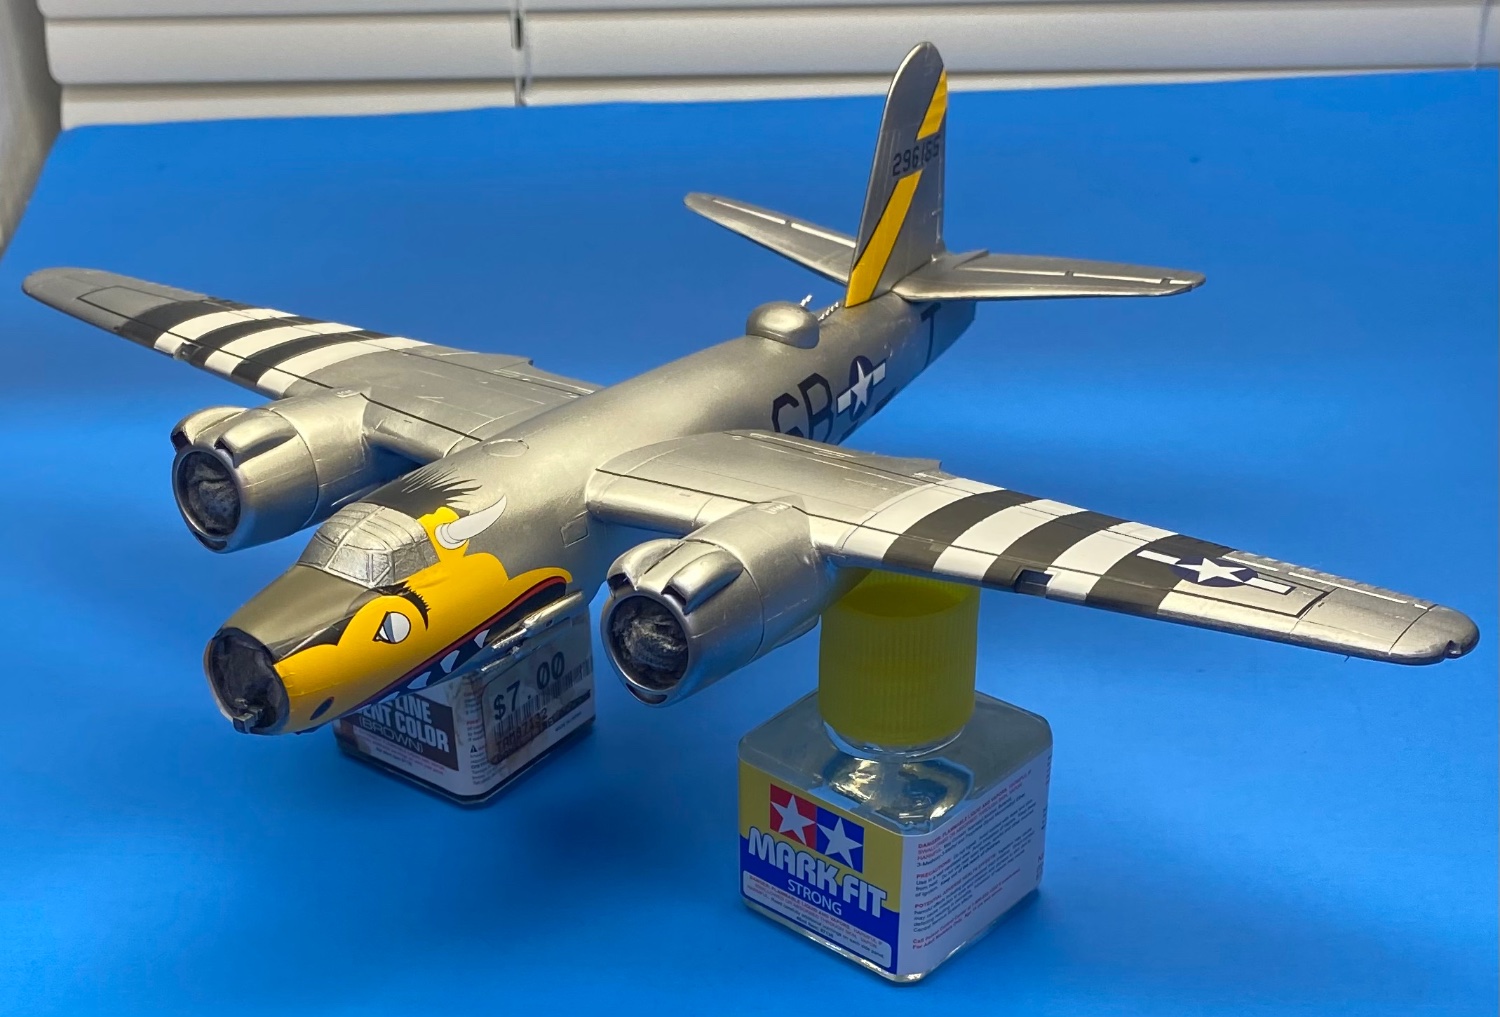
Martin B-26B Marauder by CDW - FINISHED - Airfix - 1:72 Scale
CDW replied to CDW's topic in Non-ship/categorised builds
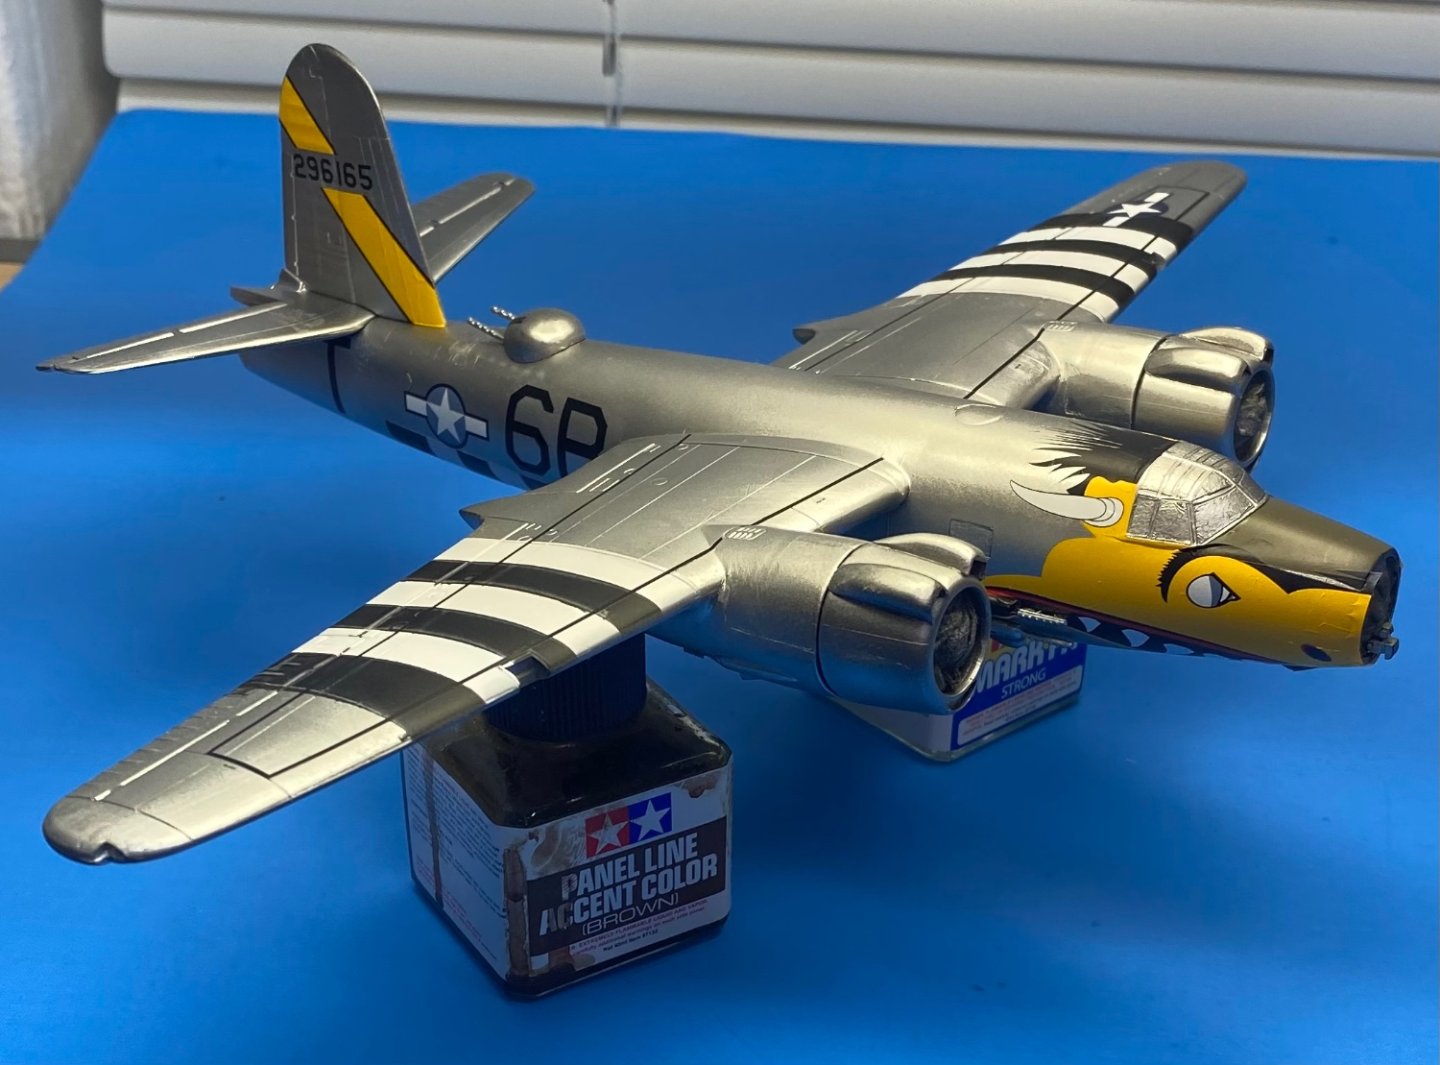
Thanks OC Need to install landing gear and doors before finishing the decals.

- 97 replies
-
- 14
-

-

-
Martin B-26B Marauder by CDW - FINISHED - Airfix - 1:72 Scale
CDW replied to CDW's topic in Non-ship/categorised builds
Preview, not finished
- 97 replies
-
- 11
-
-
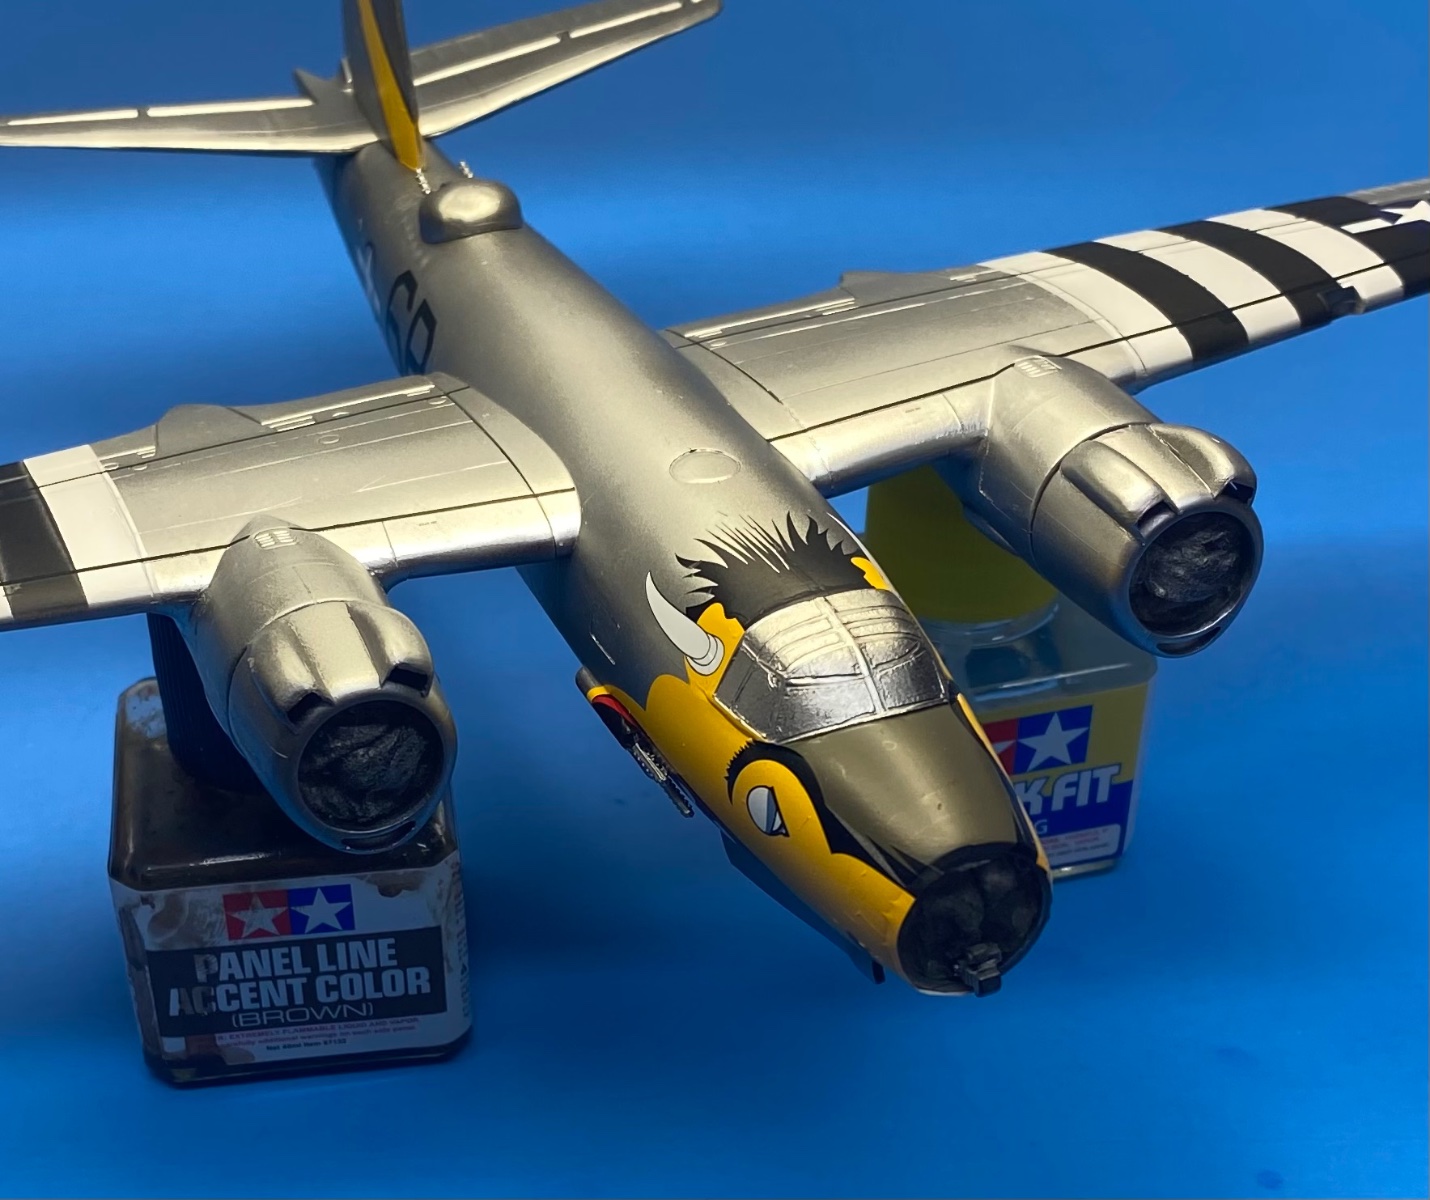
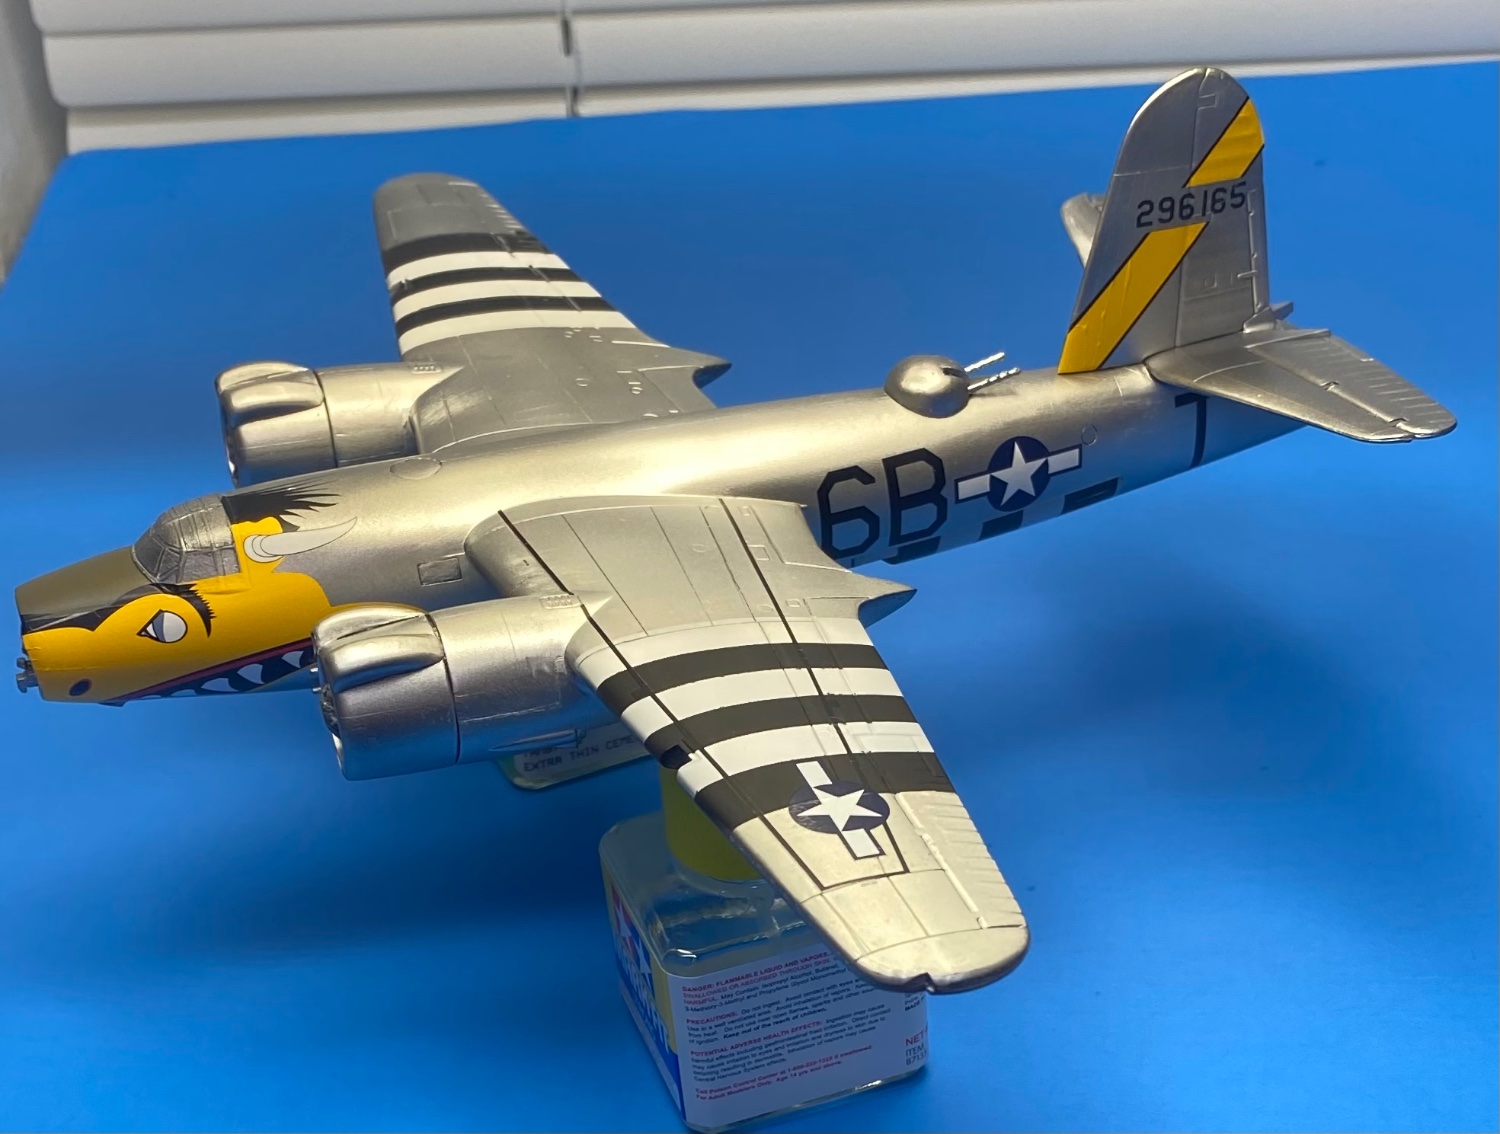
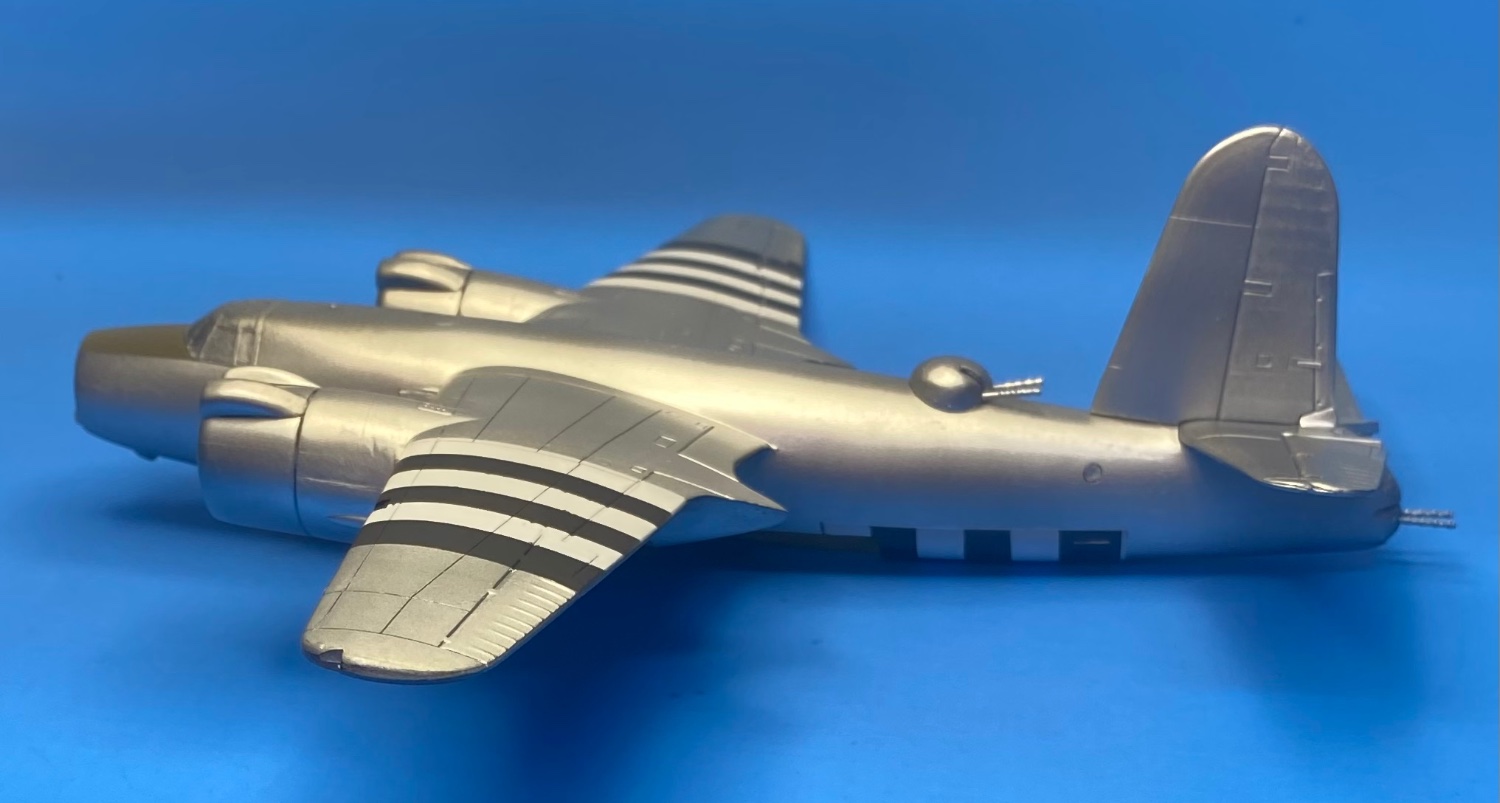
Martin B-26B Marauder by CDW - FINISHED - Airfix - 1:72 Scale
CDW replied to CDW's topic in Non-ship/categorised builds
Ready for the invasion now that the stripes are painted on. Ready for the decals, too.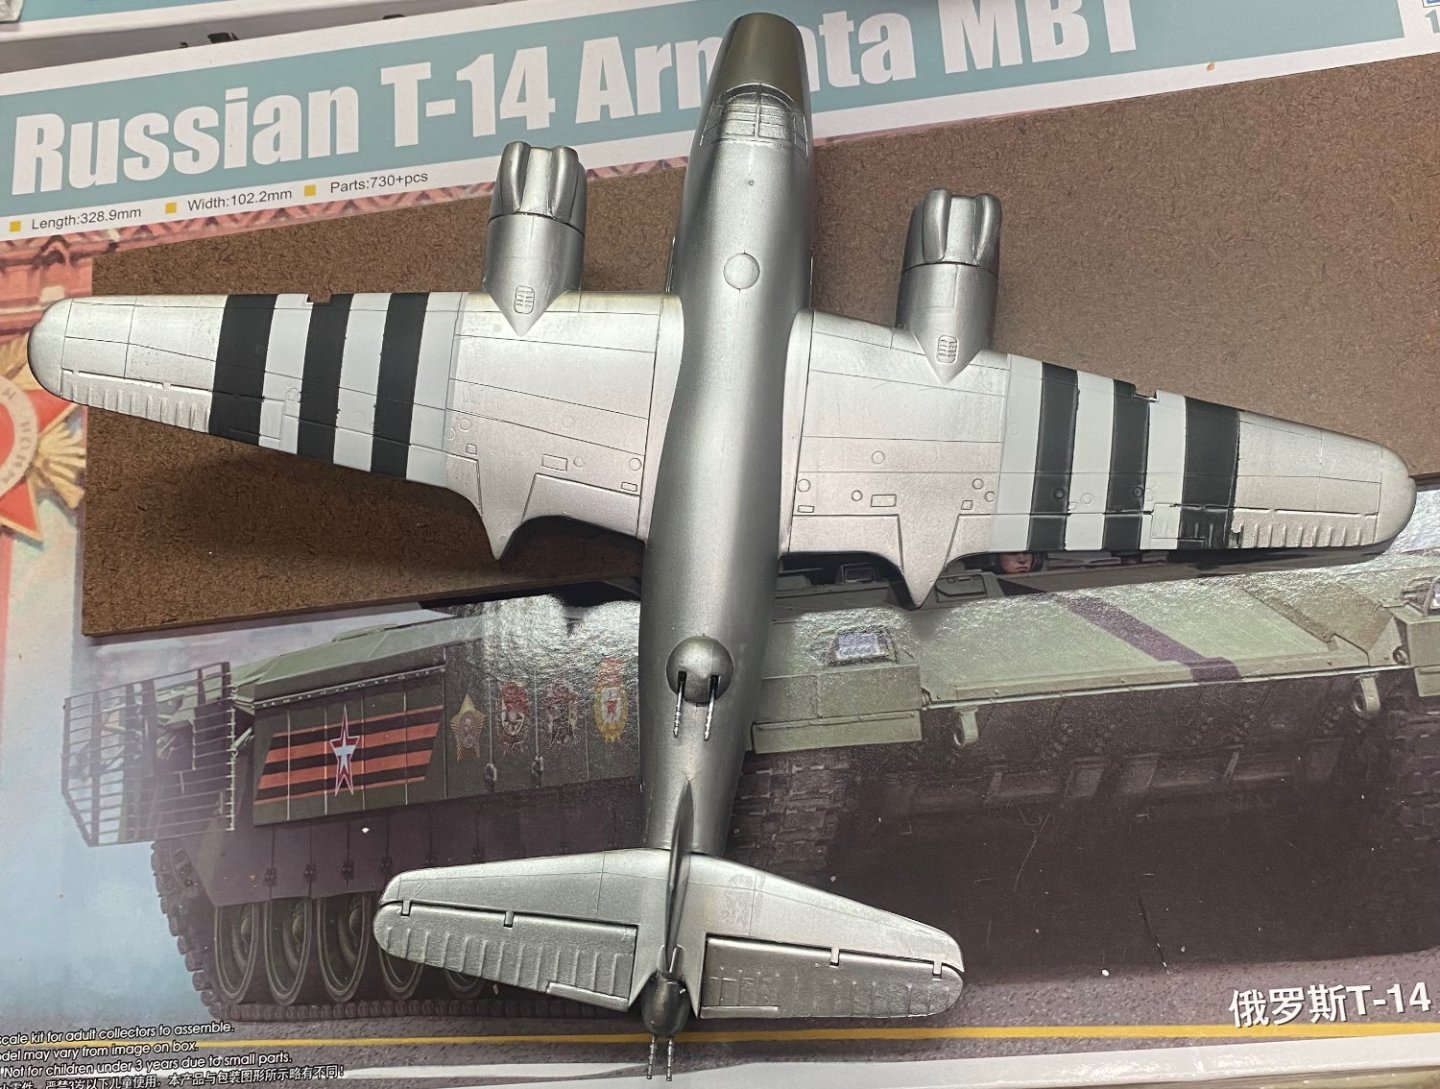


- 97 replies
-
- 12
-
-
Besides a beautiful model (1:200 Shimakaze), I like the fact the company is out of Pennsylvania. Makes it feel a little less of a gamble sending them our hard-earned money. Did you see they are also offering a 1:200 Zao cruiser? Wow!
-
Martin B-26B Marauder by CDW - FINISHED - Airfix - 1:72 Scale
CDW replied to CDW's topic in Non-ship/categorised builds
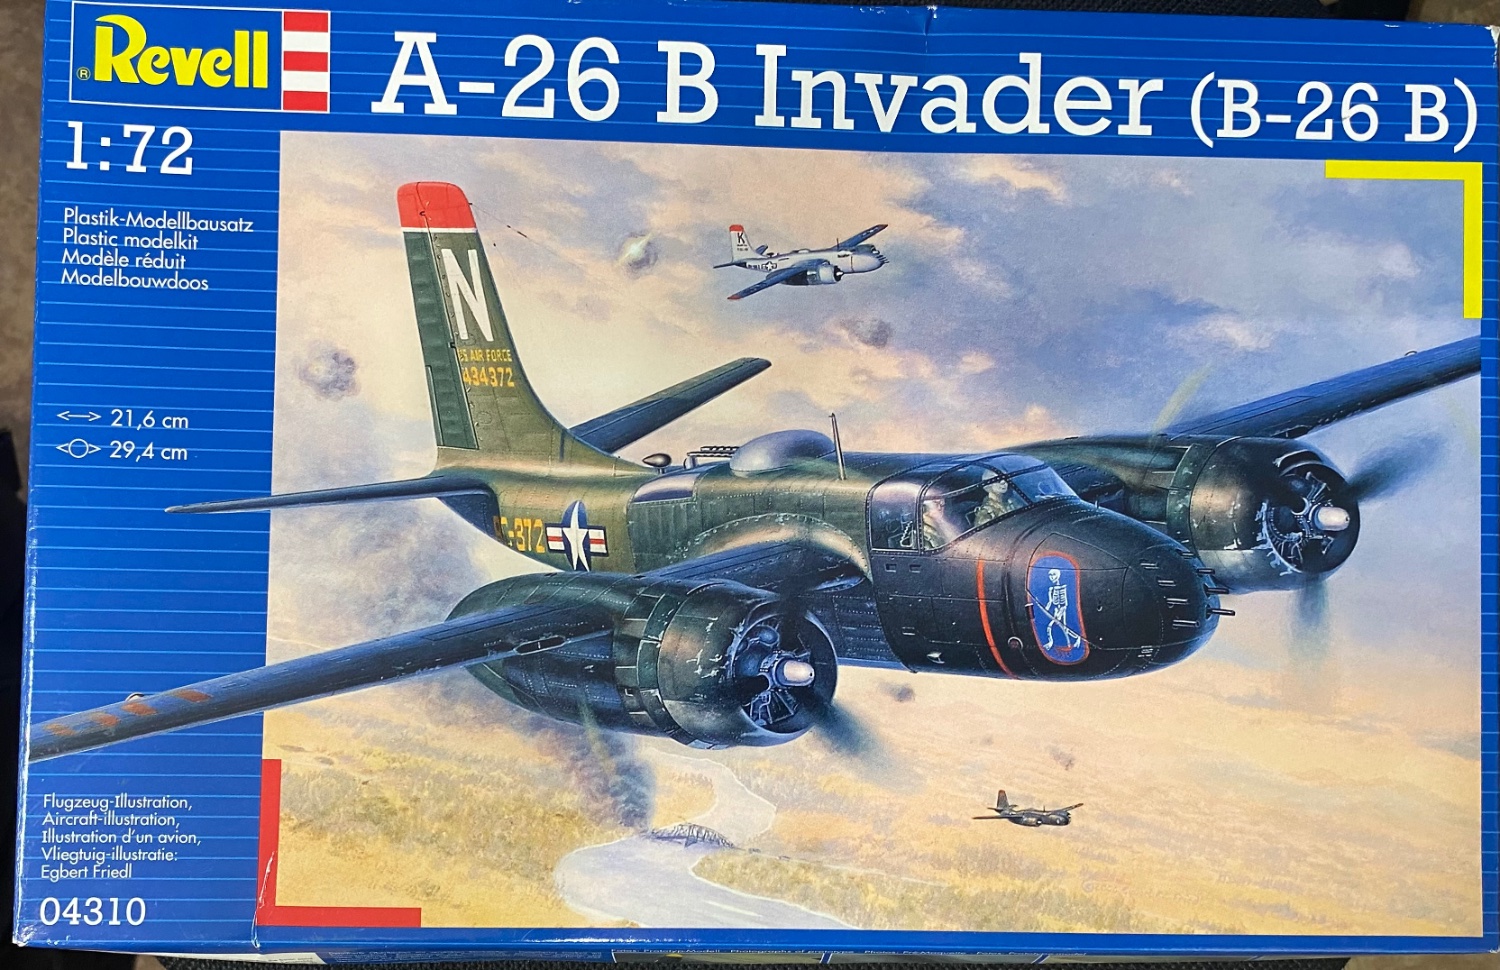
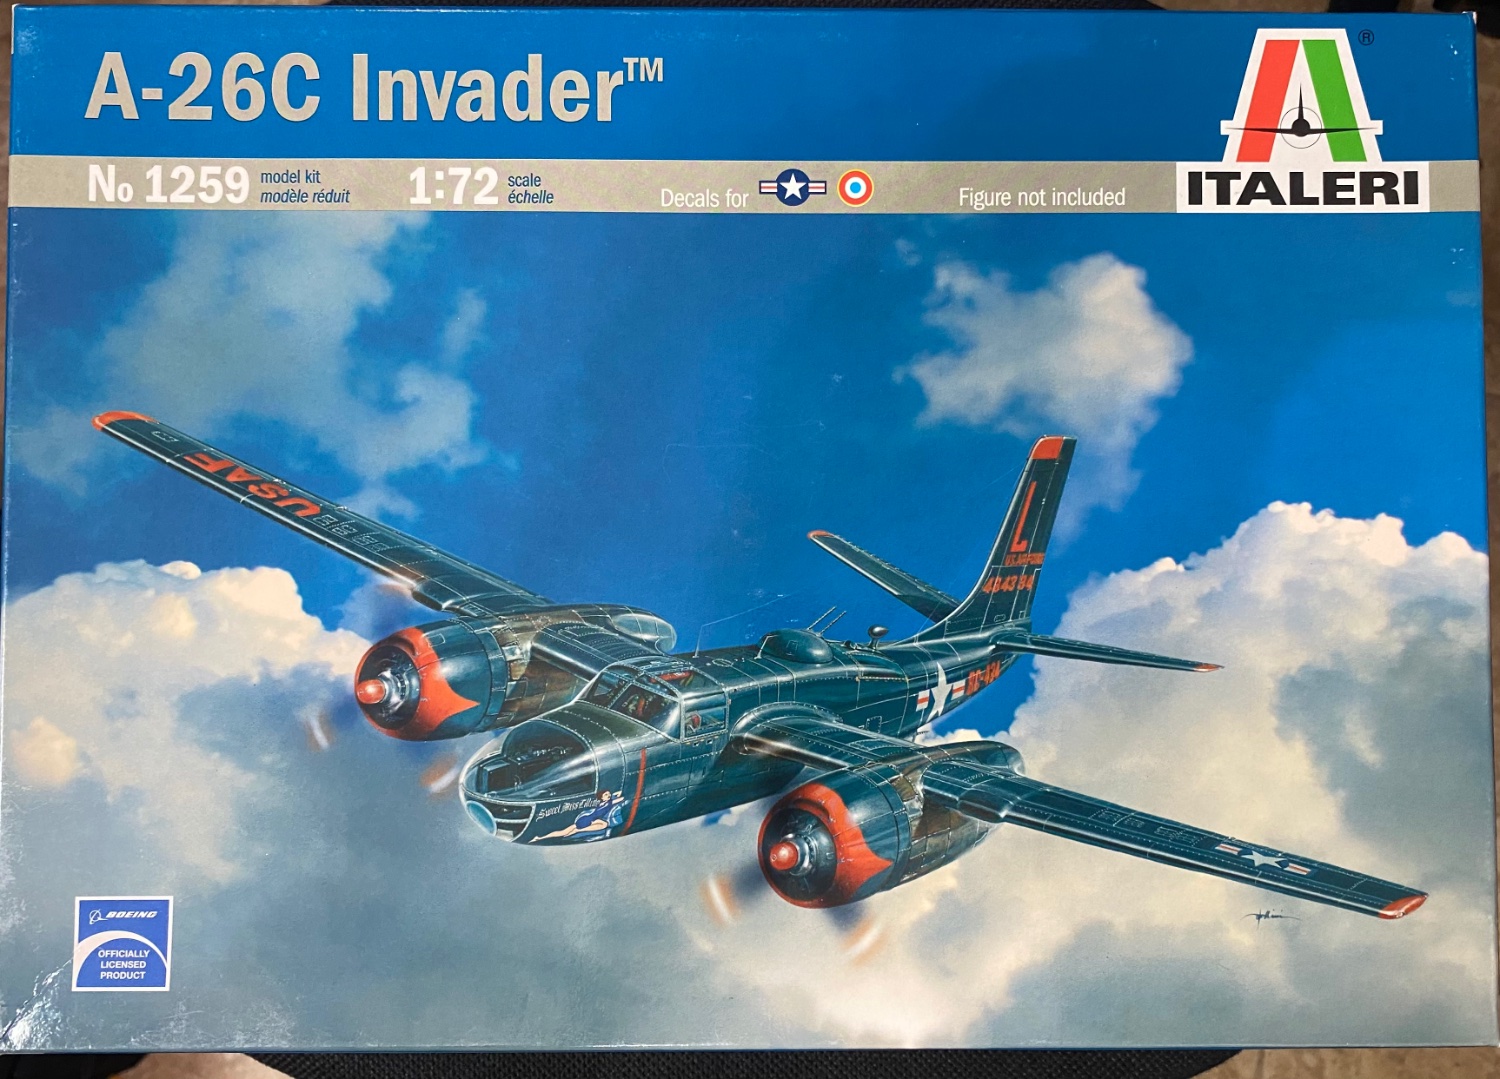
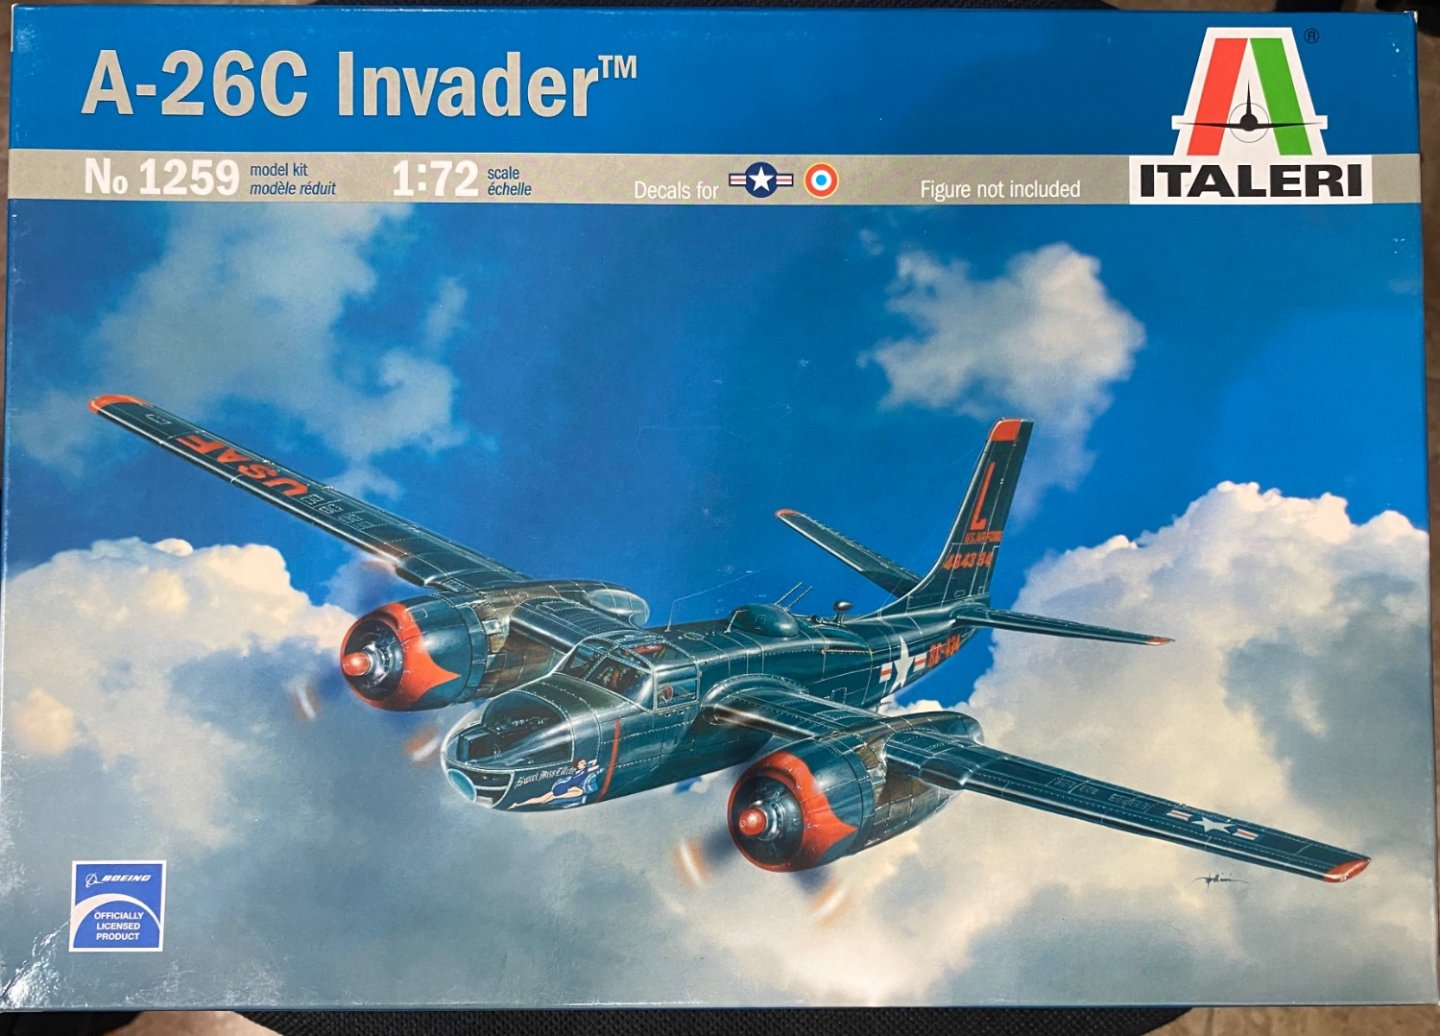
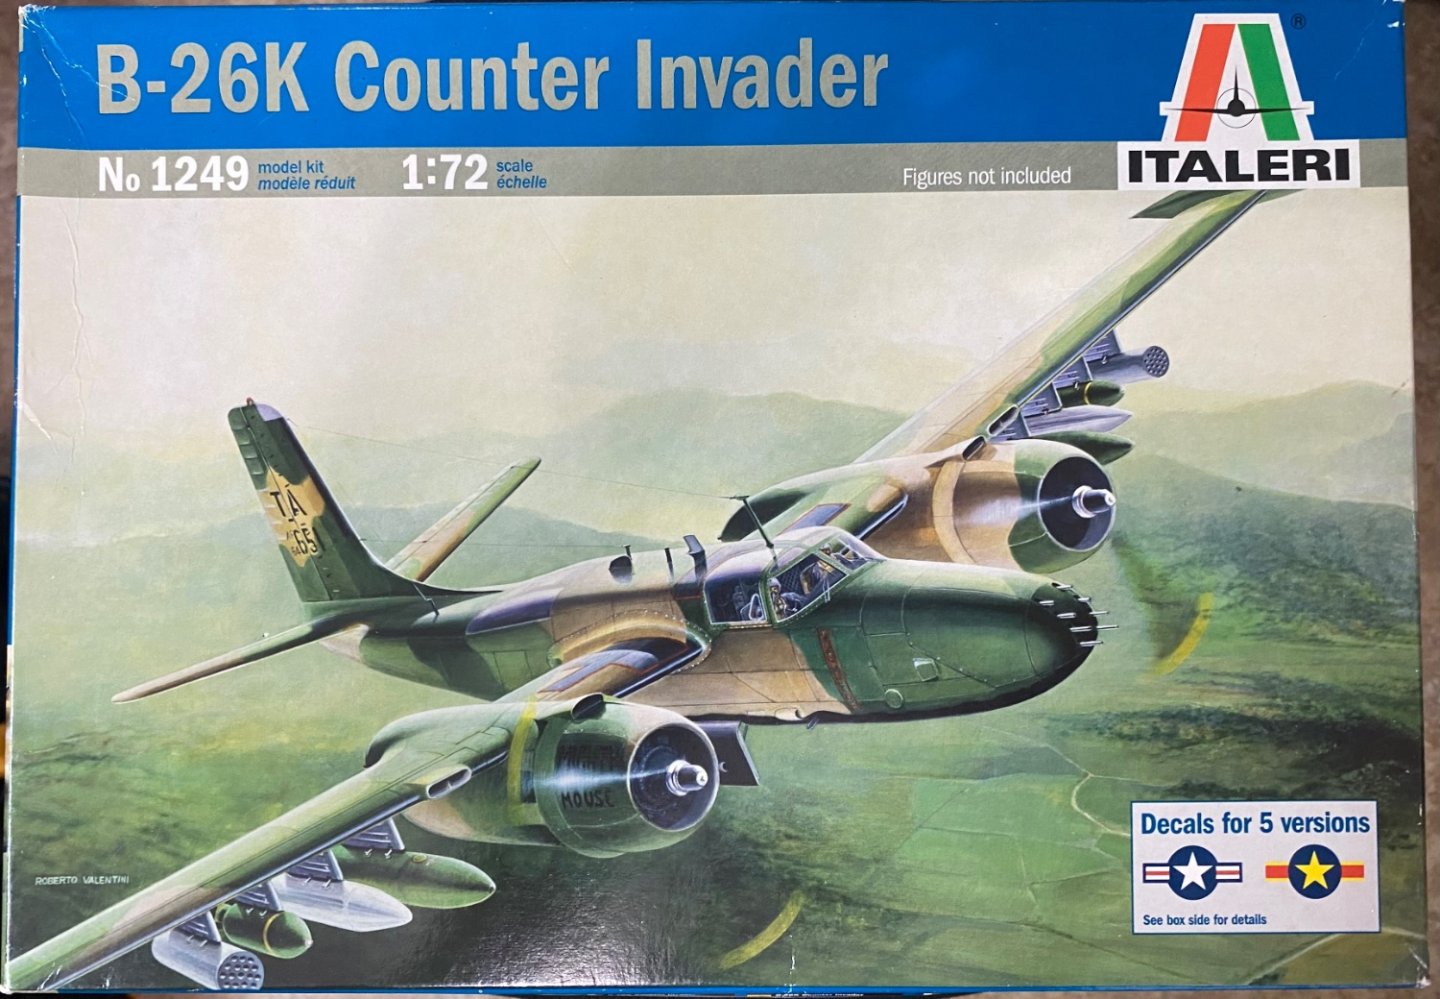
Before the end of WW2, the B-26 Marauder gave way to its replacement, the A-26 Invader. The A-26 went on to serve with distinction through the North Korean conflict, the Vietnam conflict, and beyond. The A-26 Served with other military units throughout the world as well as civilian use. Quite a capable aircraft the A-26 turned out to be. I am fortunate to have no less than three versions of it in 1:72 scale. These kits have become hard to come by.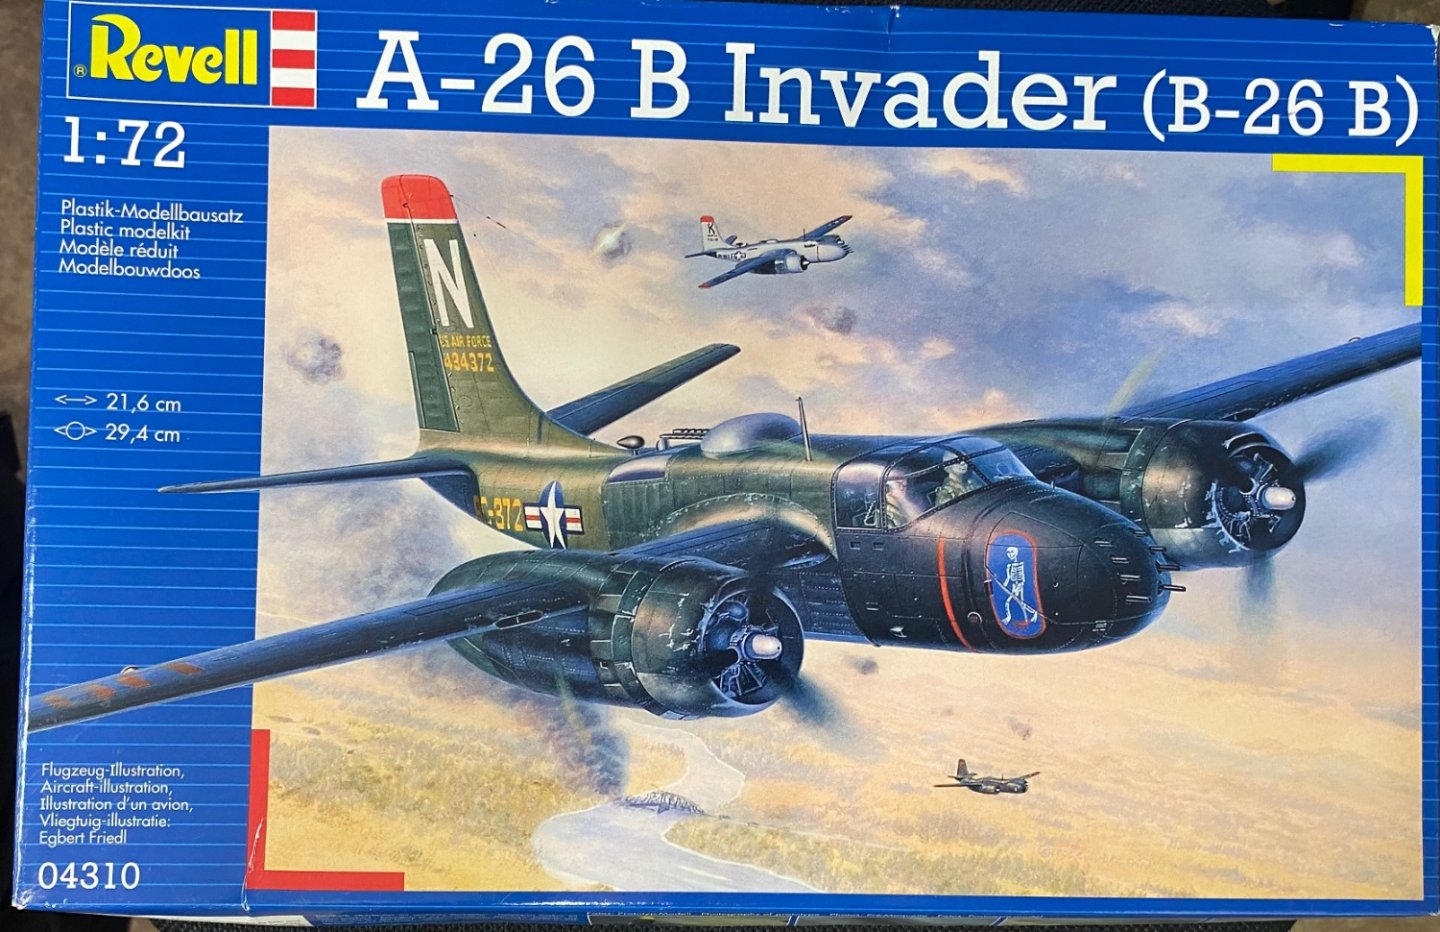
- 97 replies
-
- 12
-
-
Martin B-26B Marauder by CDW - FINISHED - Airfix - 1:72 Scale
CDW replied to CDW's topic in Non-ship/categorised builds
Will try to knock out the invasion stripes tomorrow then the decals after that.
- 97 replies
-
- 12
-
-
-
Martin B-26B Marauder by CDW - FINISHED - Airfix - 1:72 Scale
CDW replied to CDW's topic in Non-ship/categorised builds
Thanks! -
Martin B-26B Marauder by CDW - FINISHED - Airfix - 1:72 Scale
CDW replied to CDW's topic in Non-ship/categorised builds
Thanks Javlin! -
Martin B-26B Marauder by CDW - FINISHED - Airfix - 1:72 Scale
CDW replied to CDW's topic in Non-ship/categorised builds
Thanks for the nice comments, I want to get this one finished. Hopefully in another day or two. -
Martin B-26B Marauder by CDW - FINISHED - Airfix - 1:72 Scale
CDW replied to CDW's topic in Non-ship/categorised builds
AK Xtreme Metal aluminum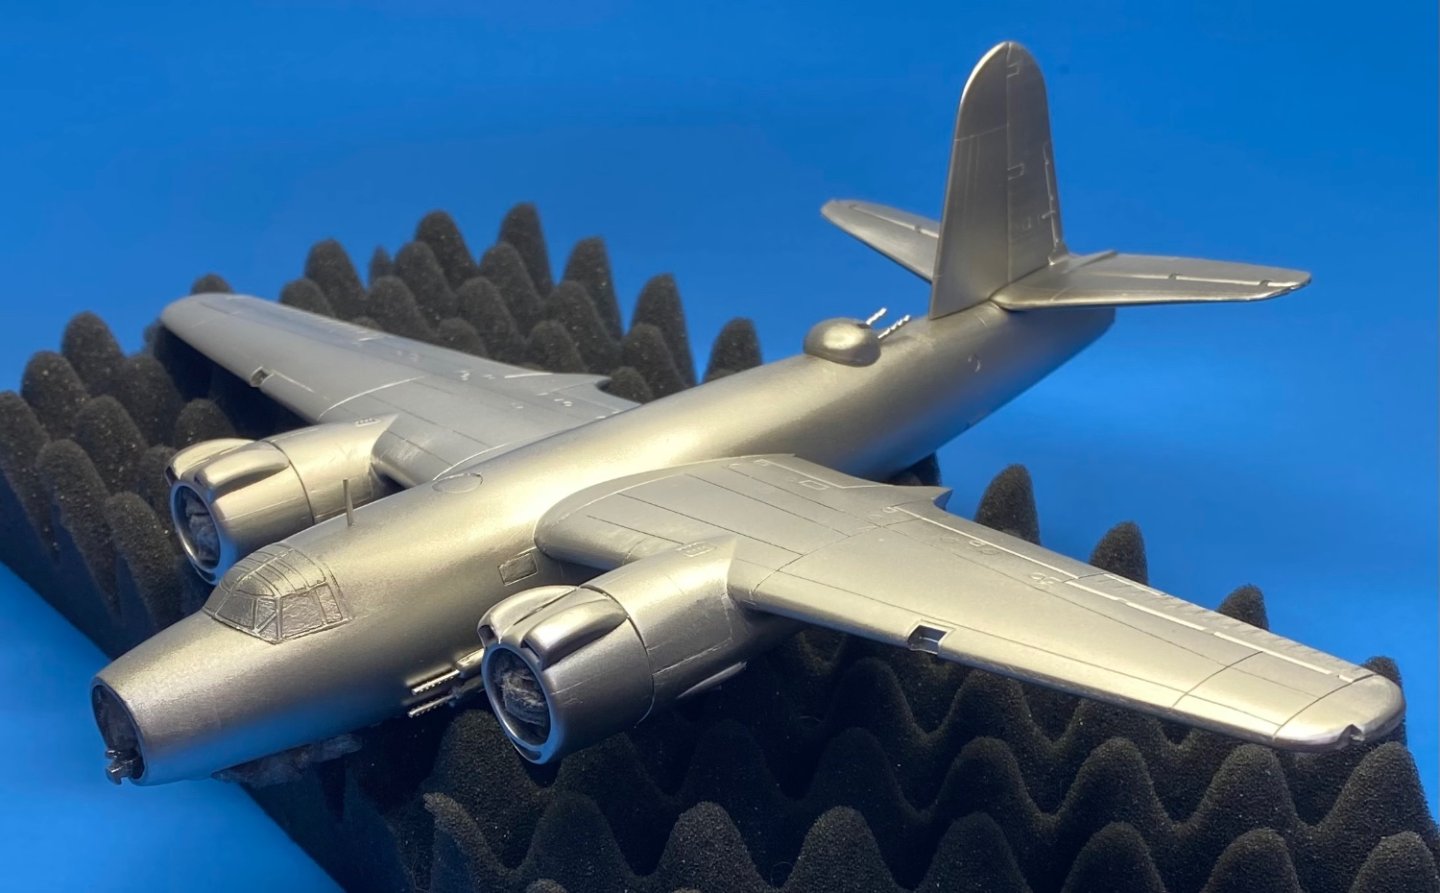
- 97 replies
-
- 11
-
-
Martin B-26B Marauder by CDW - FINISHED - Airfix - 1:72 Scale
CDW replied to CDW's topic in Non-ship/categorised builds
- 97 replies
-
- 10
-
-
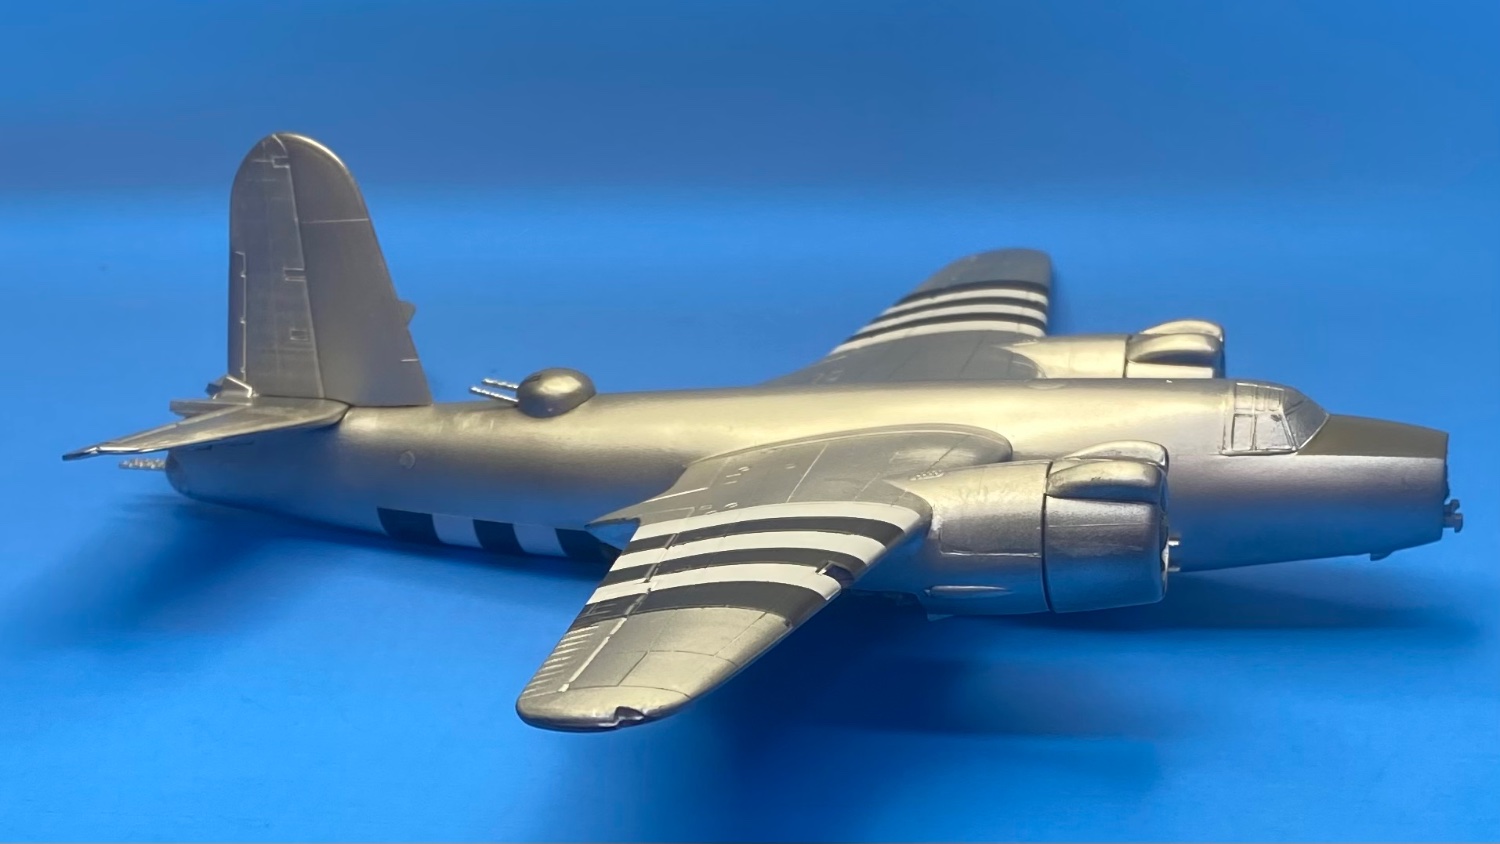
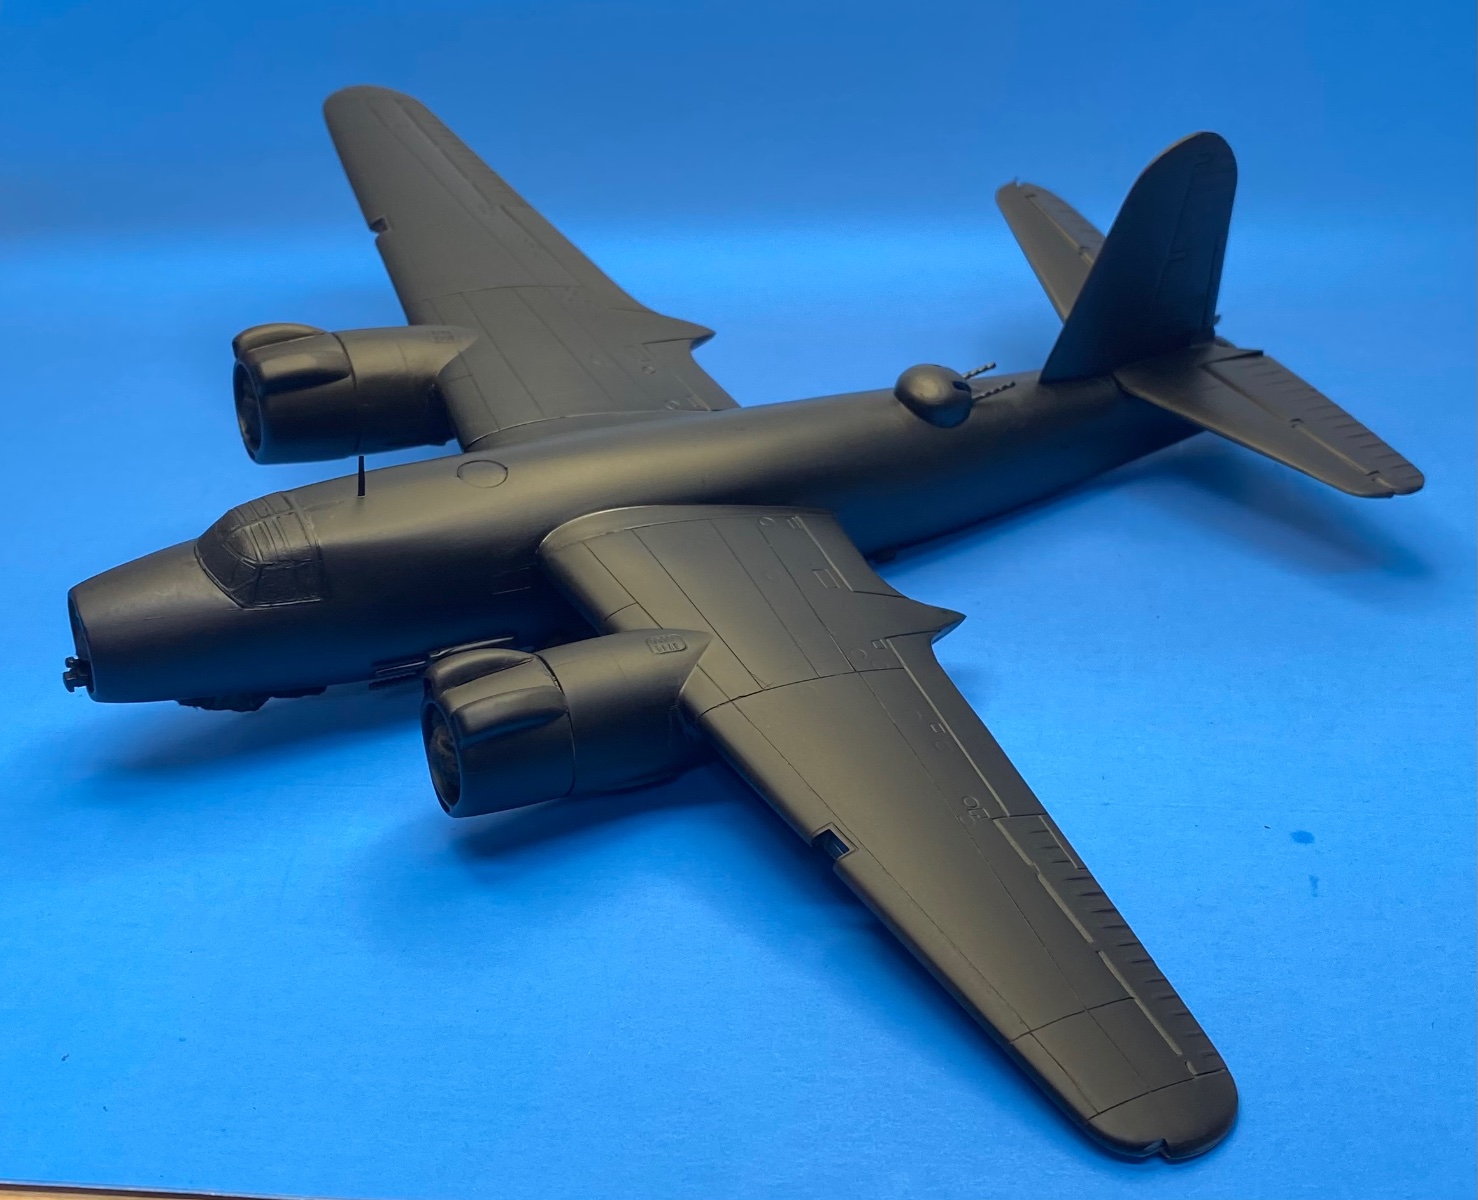
Martin B-26B Marauder by CDW - FINISHED - Airfix - 1:72 Scale
CDW replied to CDW's topic in Non-ship/categorised builds
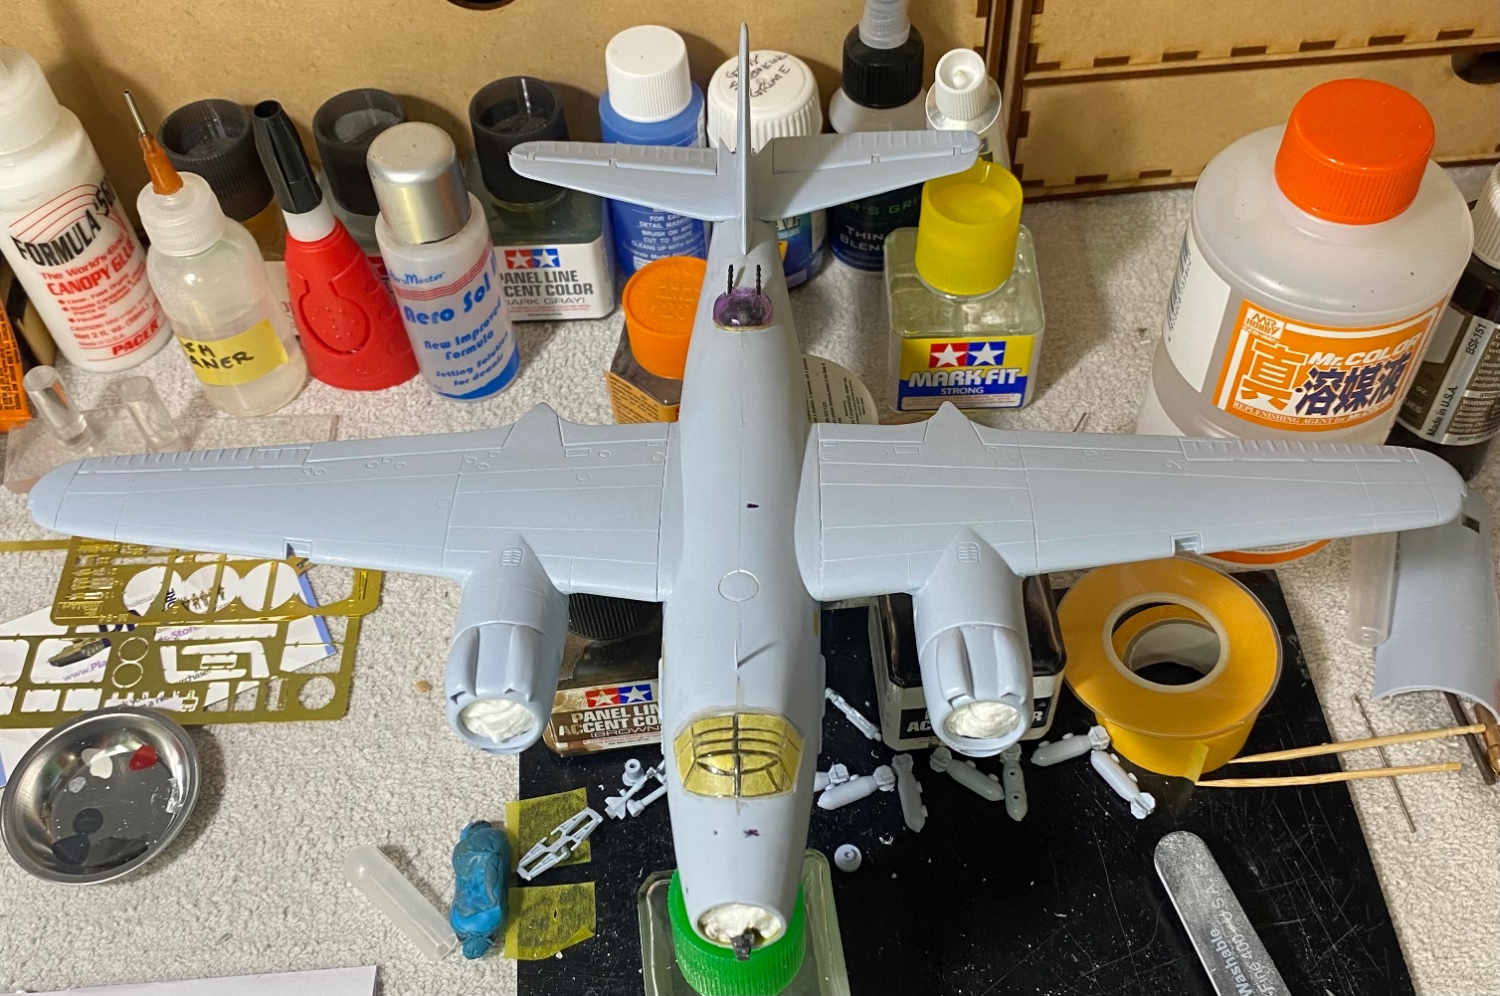
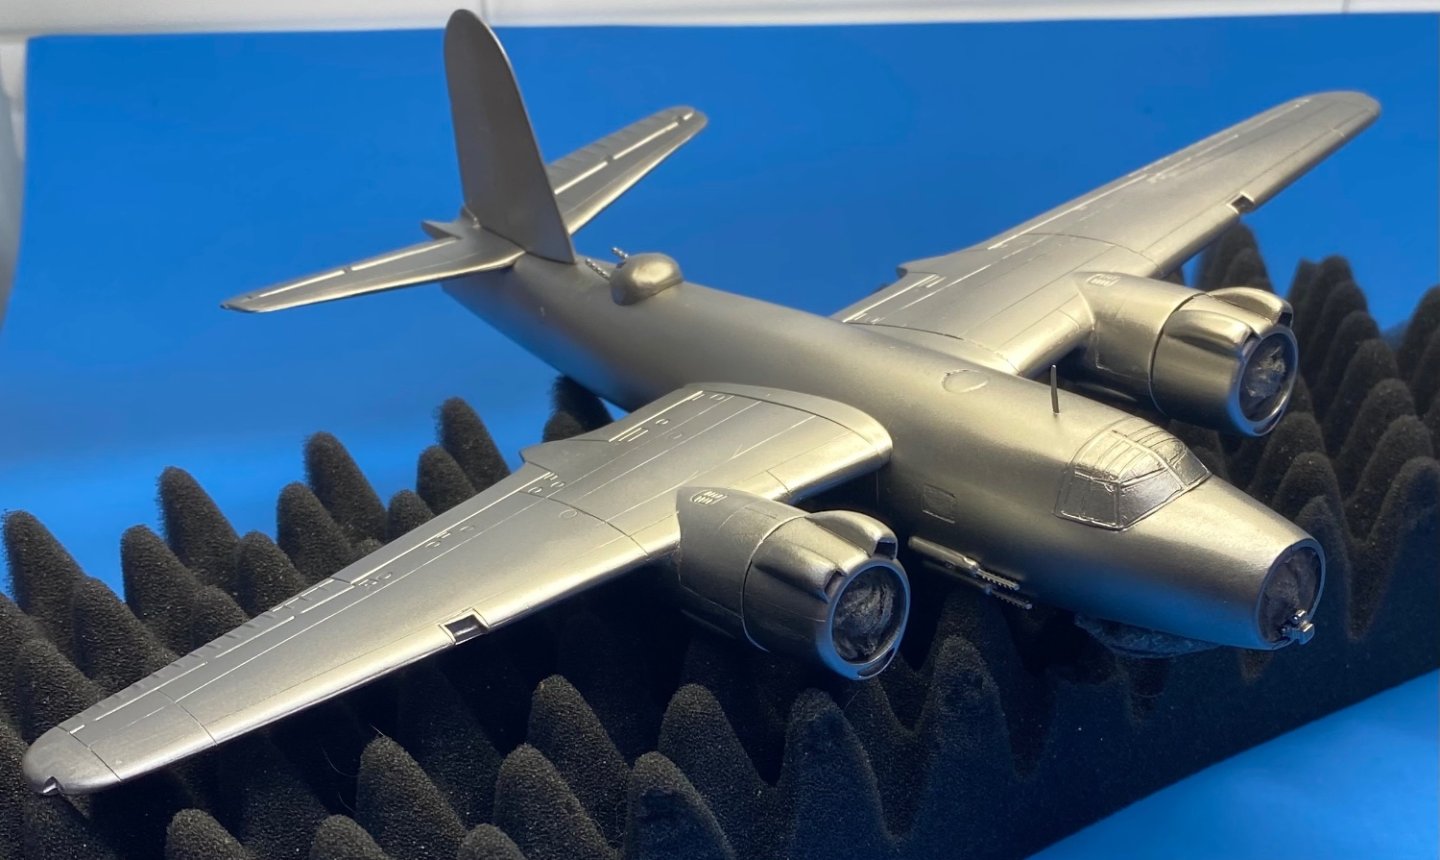
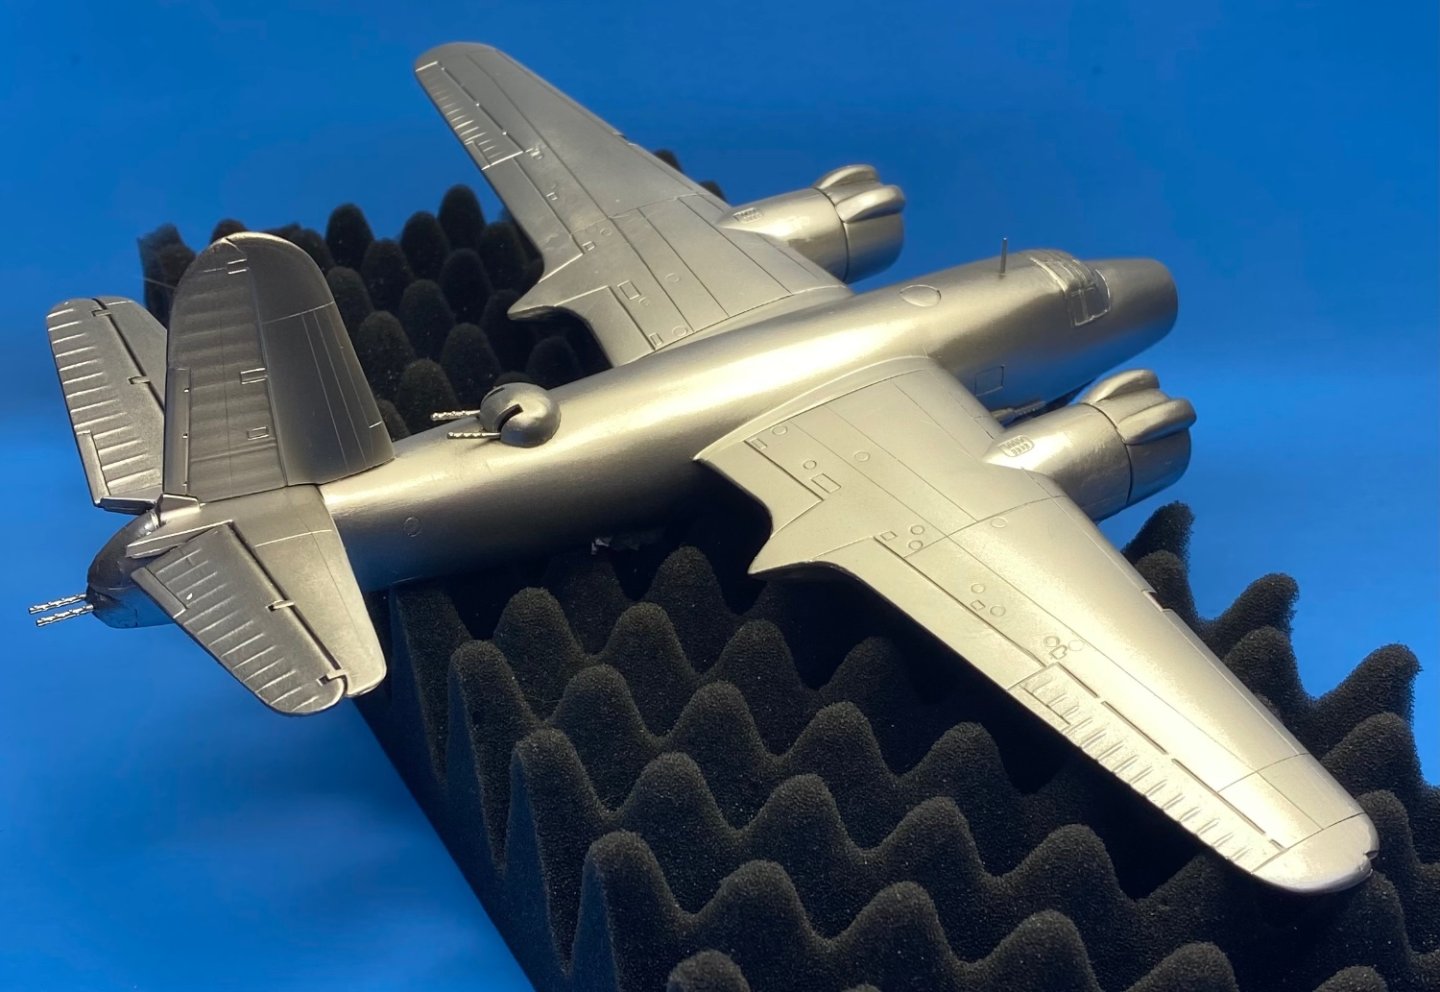
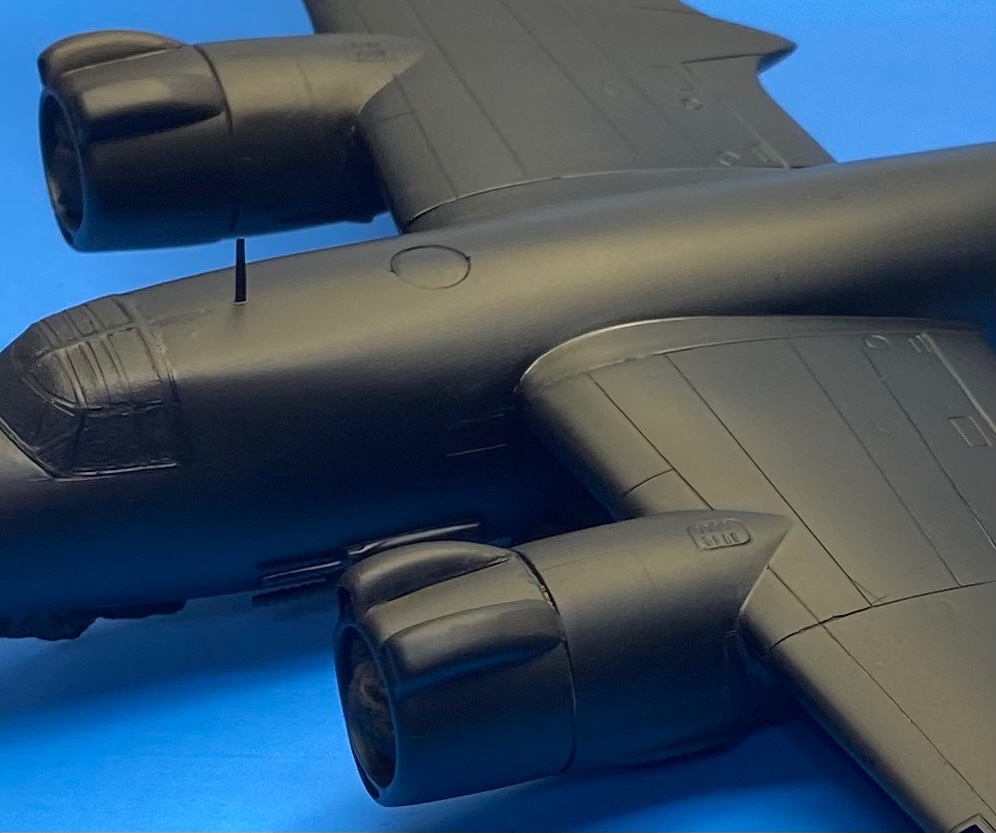
So far, I am very happy with the black primer which will give the foundation for the silver paint to come. Mr Surfacer 1500 diluted with 60% leveling thinner. A very smooth surface.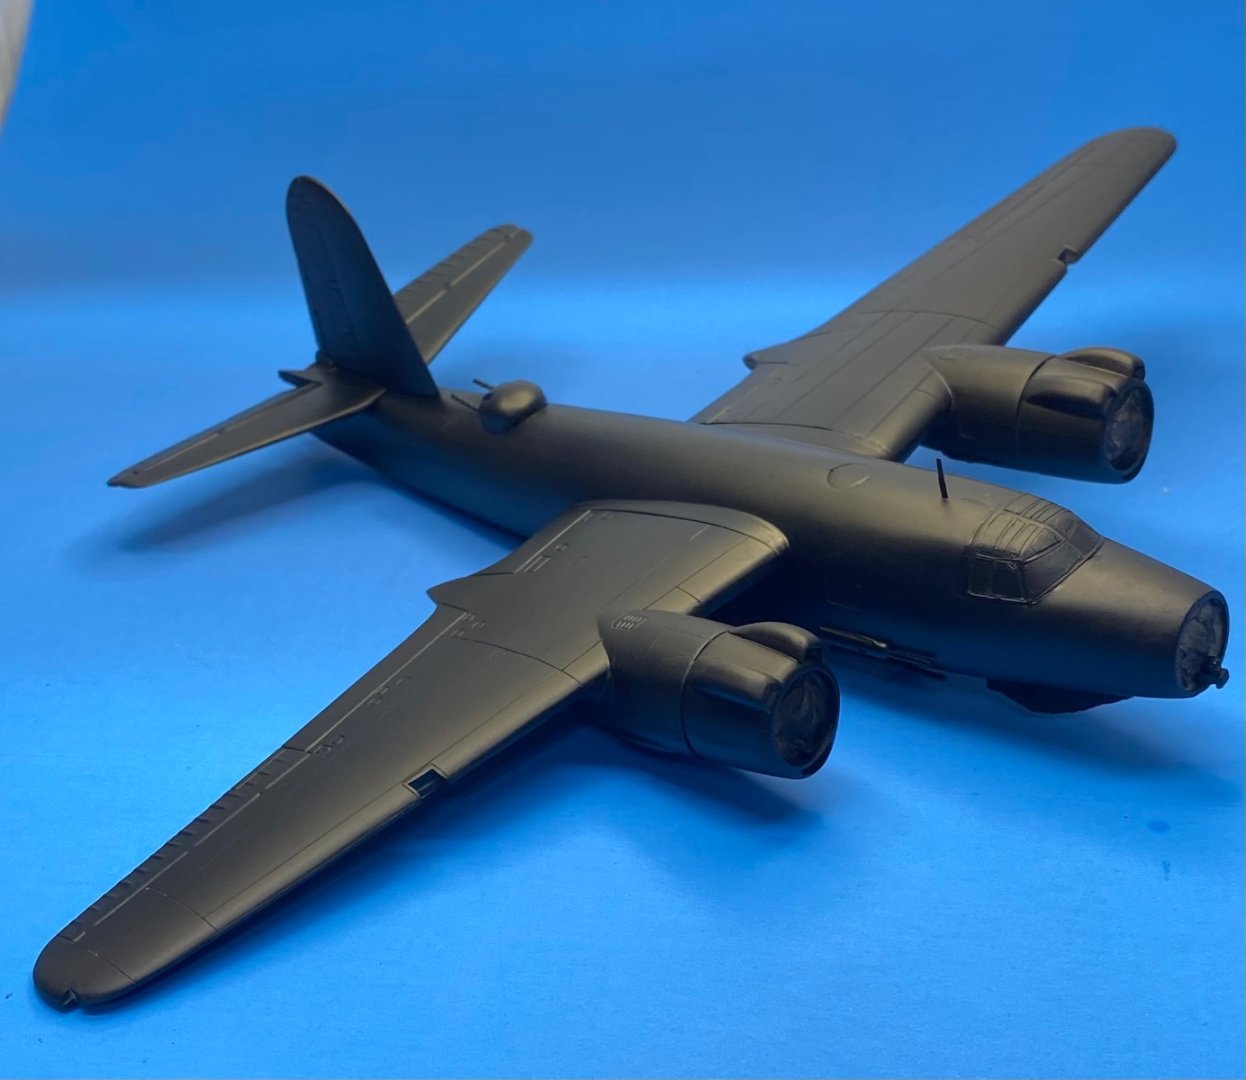

-
Martin B-26B Marauder by CDW - FINISHED - Airfix - 1:72 Scale
CDW replied to CDW's topic in Non-ship/categorised builds
Ready for primer and paint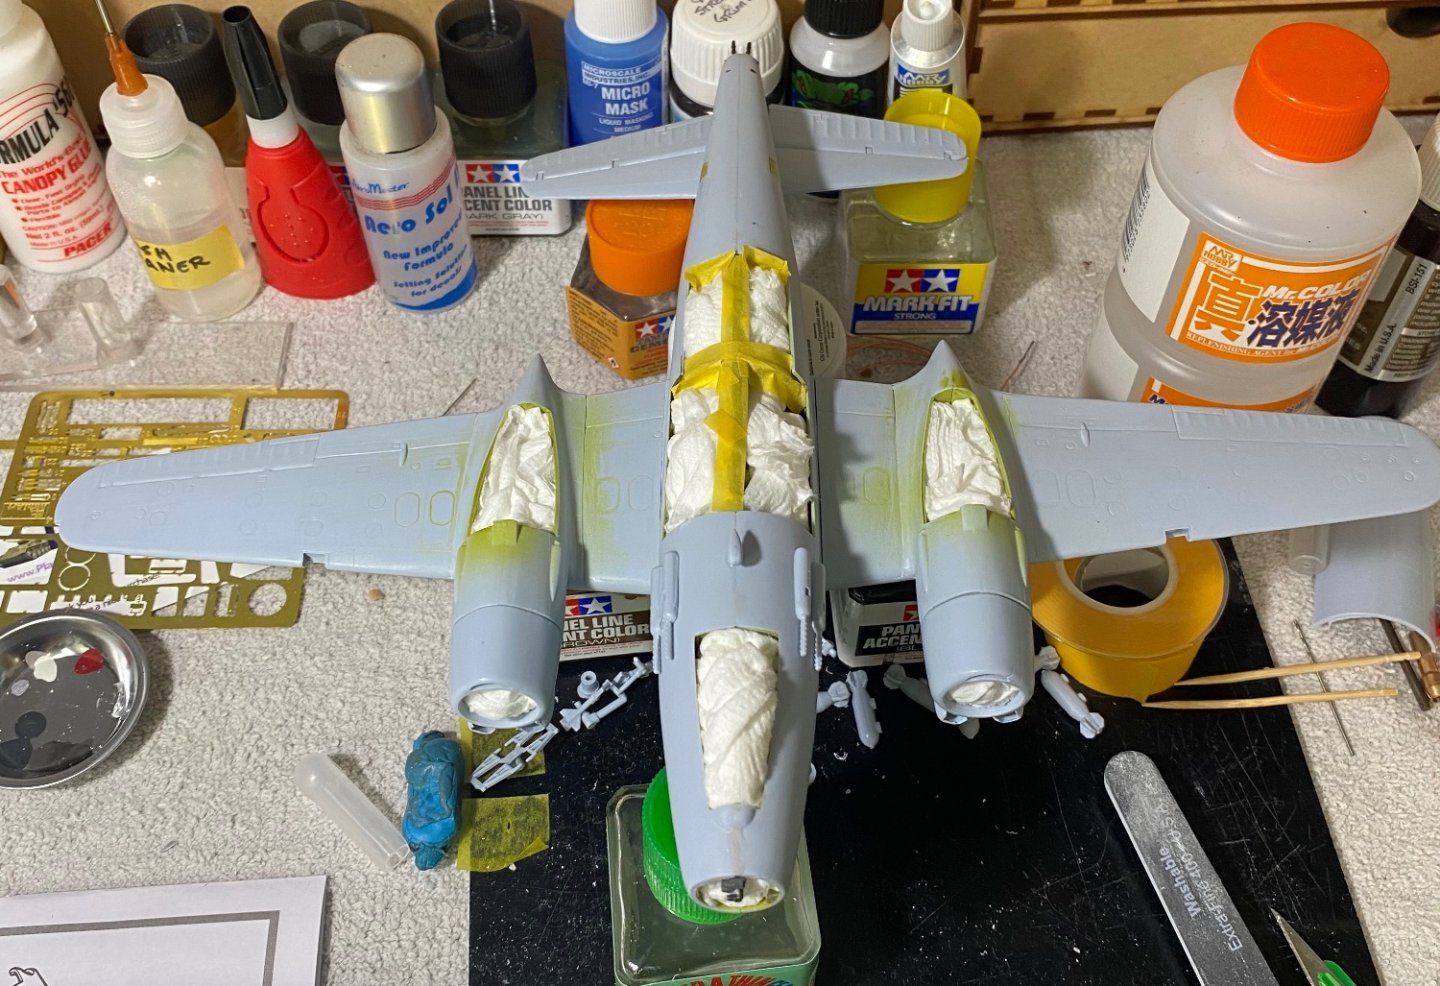

-
Martin B-26B Marauder by CDW - FINISHED - Airfix - 1:72 Scale
CDW replied to CDW's topic in Non-ship/categorised builds
It’s just the plane/rocket in 1:32 scale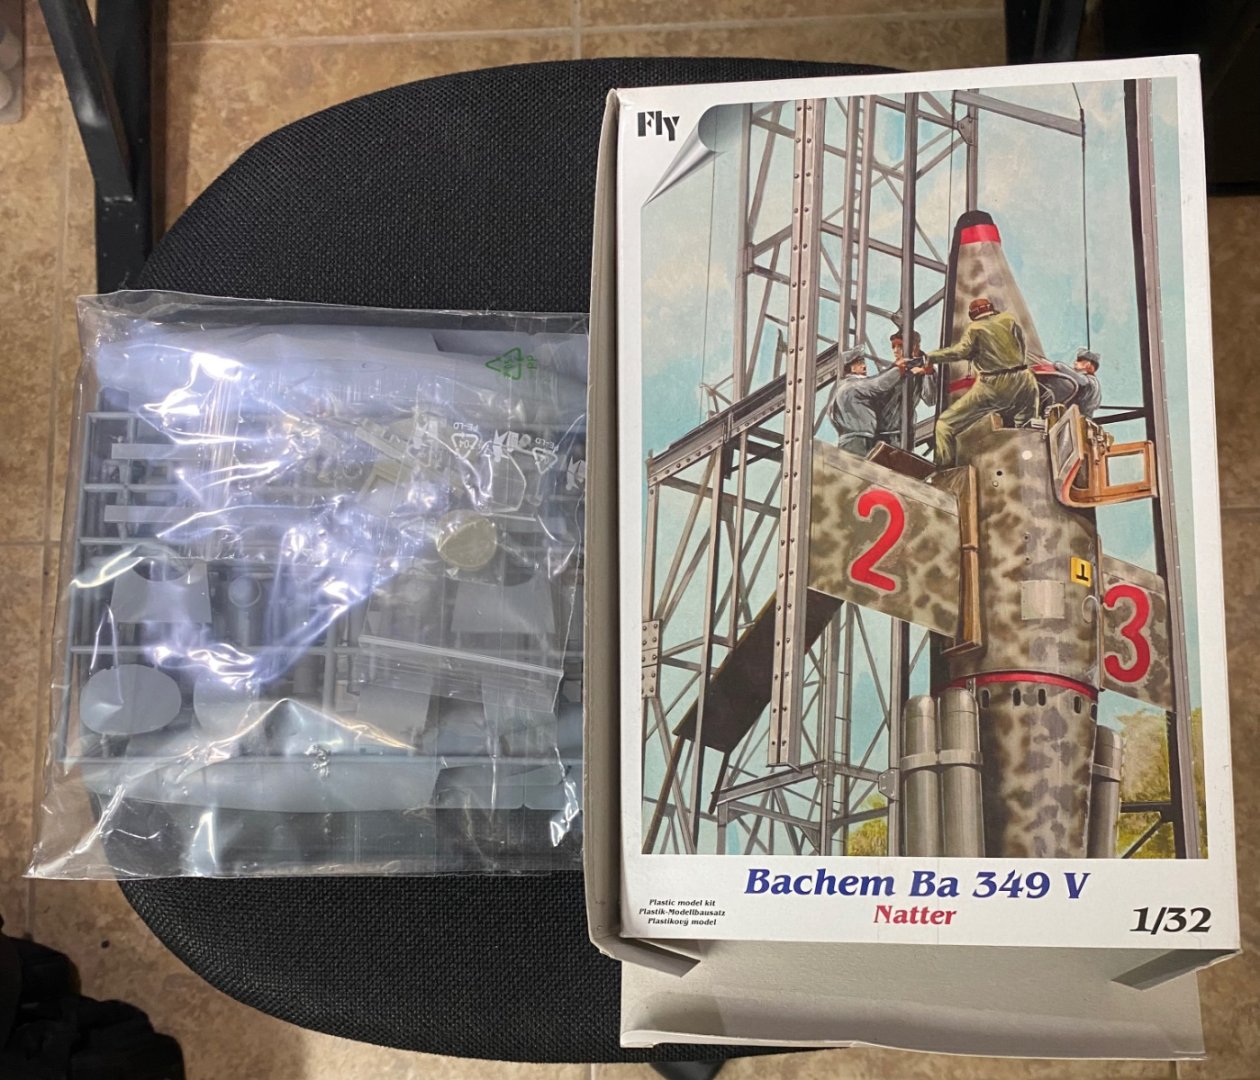
-
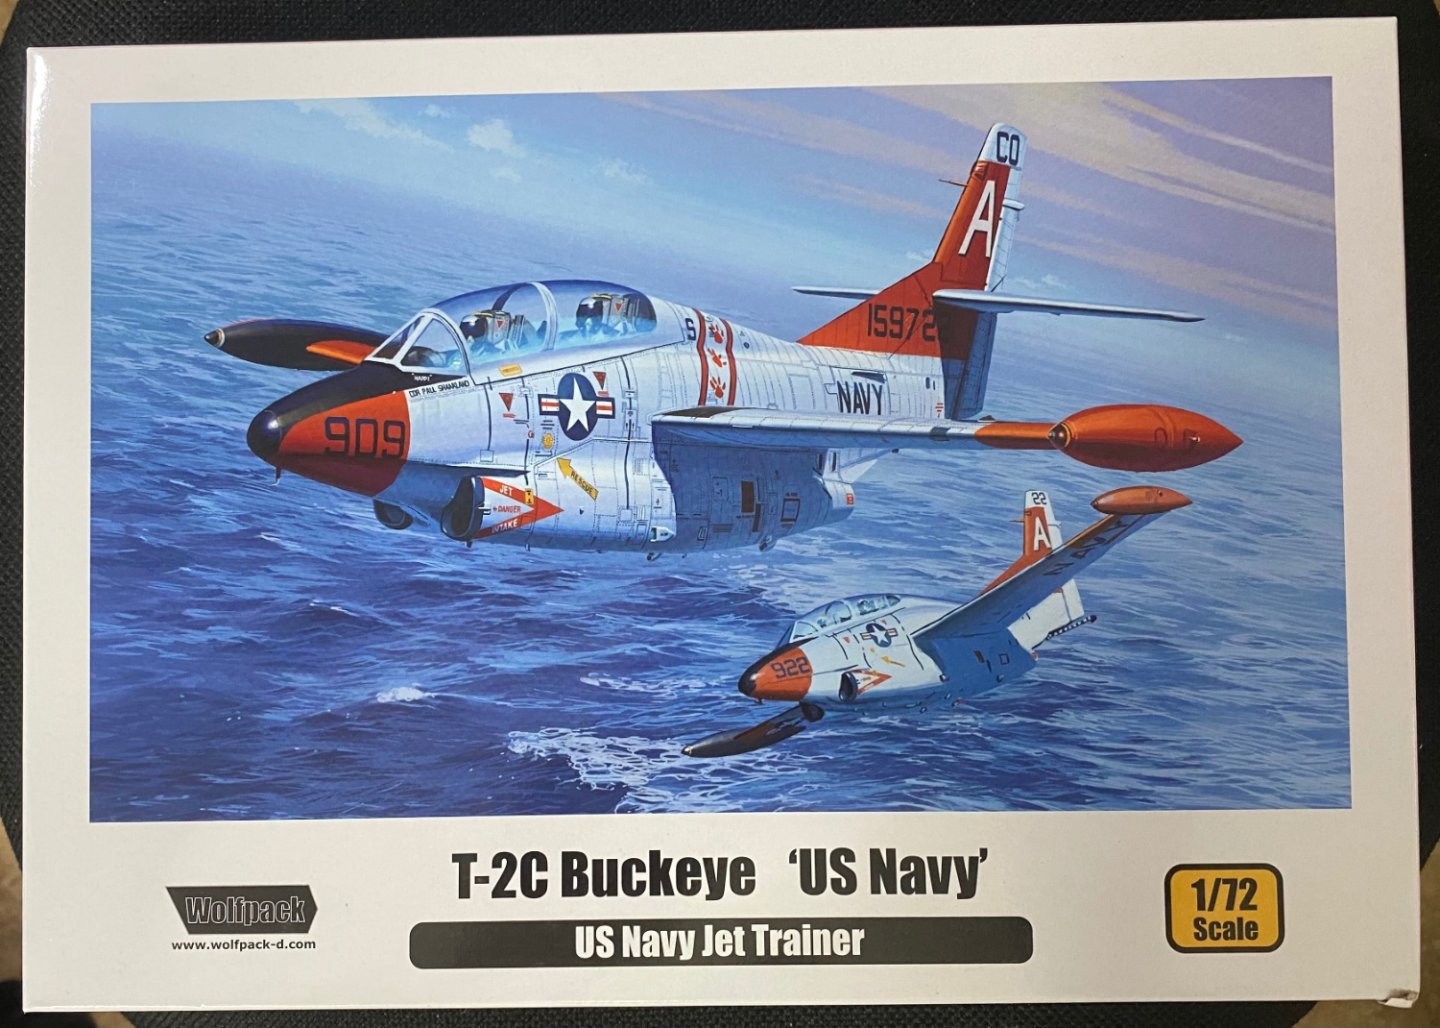
I wanted to do a colorful jet and this seemed to be a good candidate. Not often modeled. This one is small at 1:72 scale but has nice detail and decals.


- 25 replies
-
- 14
-
-
Martin B-26B Marauder by CDW - FINISHED - Airfix - 1:72 Scale
CDW replied to CDW's topic in Non-ship/categorised builds
Obscure doesn’t seem to be an issue for model companies. Wait until you see my Natter kit build. Talk about obscure… -
Martin B-26B Marauder by CDW - FINISHED - Airfix - 1:72 Scale
CDW replied to CDW's topic in Non-ship/categorised builds
I agree on the bomb bay doors. The closed door option is not a good fit. Too much filler required. The glass is not fixable. The clear has imperfections inside. Will just live with it as is. Thanks for your comments and for dropping in. -
What a beauty! Excellent build thread, enjoyed it so much. Thanks!
-
Martin B-26B Marauder by CDW - FINISHED - Airfix - 1:72 Scale
CDW replied to CDW's topic in Non-ship/categorised builds
I wonder why the B-26 Marauder is so under represented by model companies? The 1:48 B-26 from Monogram was the last, best version in 1:48 scale. There was the old AMT 1:48 version and it was a dog. You had an ancient Revell kit in 1:72 scale, the equally ancient Frog kit, and of course this Airfix kit. Only other and most recent 1:72 kit that comes to mind is the Hasegawa kit that appears to be out of production. Copies of it are selling for upwards of $100 on Ebay.- 97 replies
-
- 11
-