-
Posts
7,755 -
Joined
-
Last visited
Content Type
Profiles
Forums
Gallery
Events
Everything posted by CDW
-
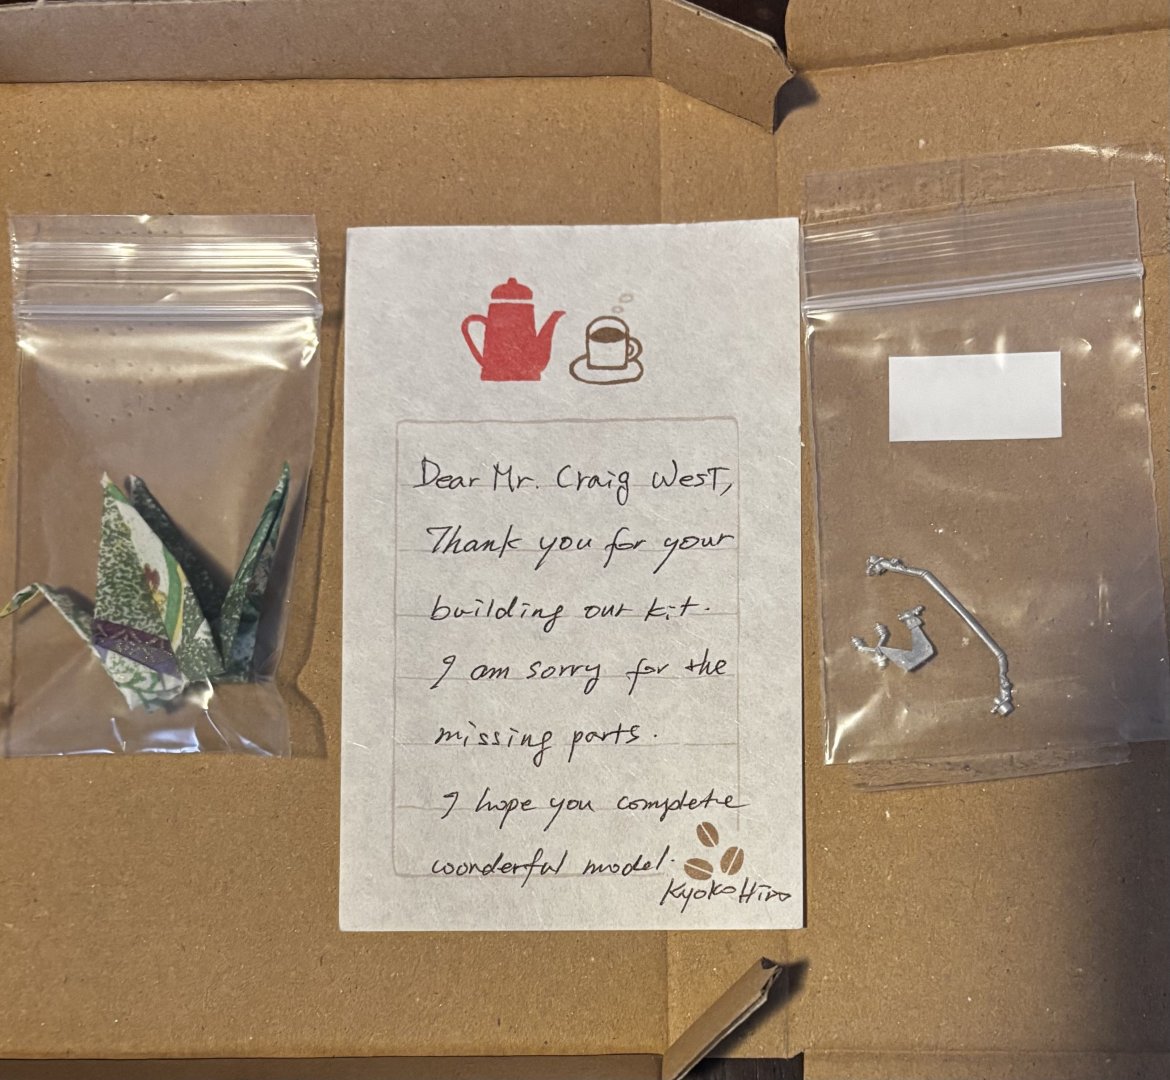
I didn’t look closely enough on my first examination of my kit contents. It seems what I thought were the correct parts for my chassis construction were not correct and now I am certain three parts are missing. It will now be necessary to once again call upon MFH customer service to assist. I should have caught this problem on first look and not be calling on them again. My kit has parts included that are not part of the kit but are similar to the missing parts. Someone at the factory must have had a bad day when my kit was boxed up. I have learned a lesson in the level of care needed to correctly inventory the kit contents before starting a build.
-
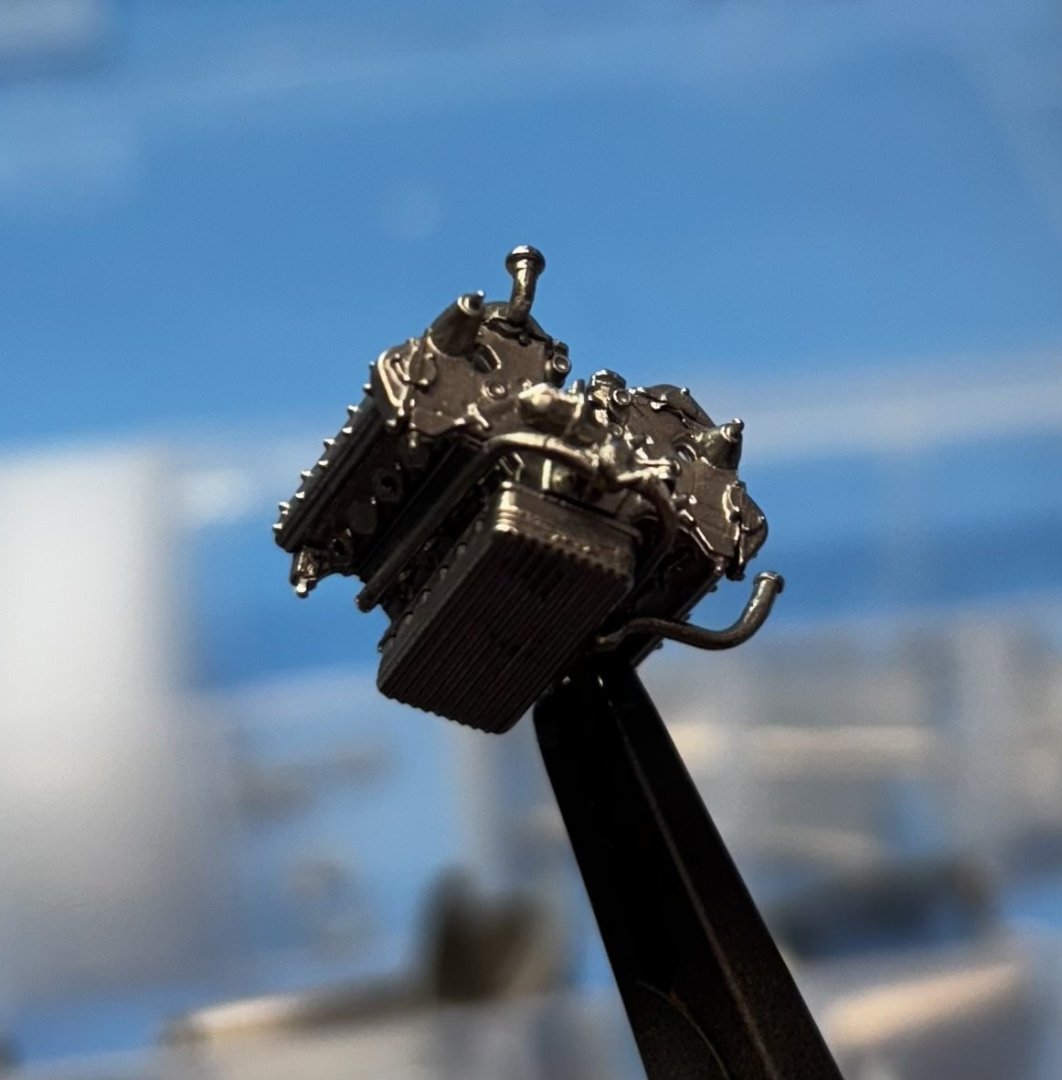
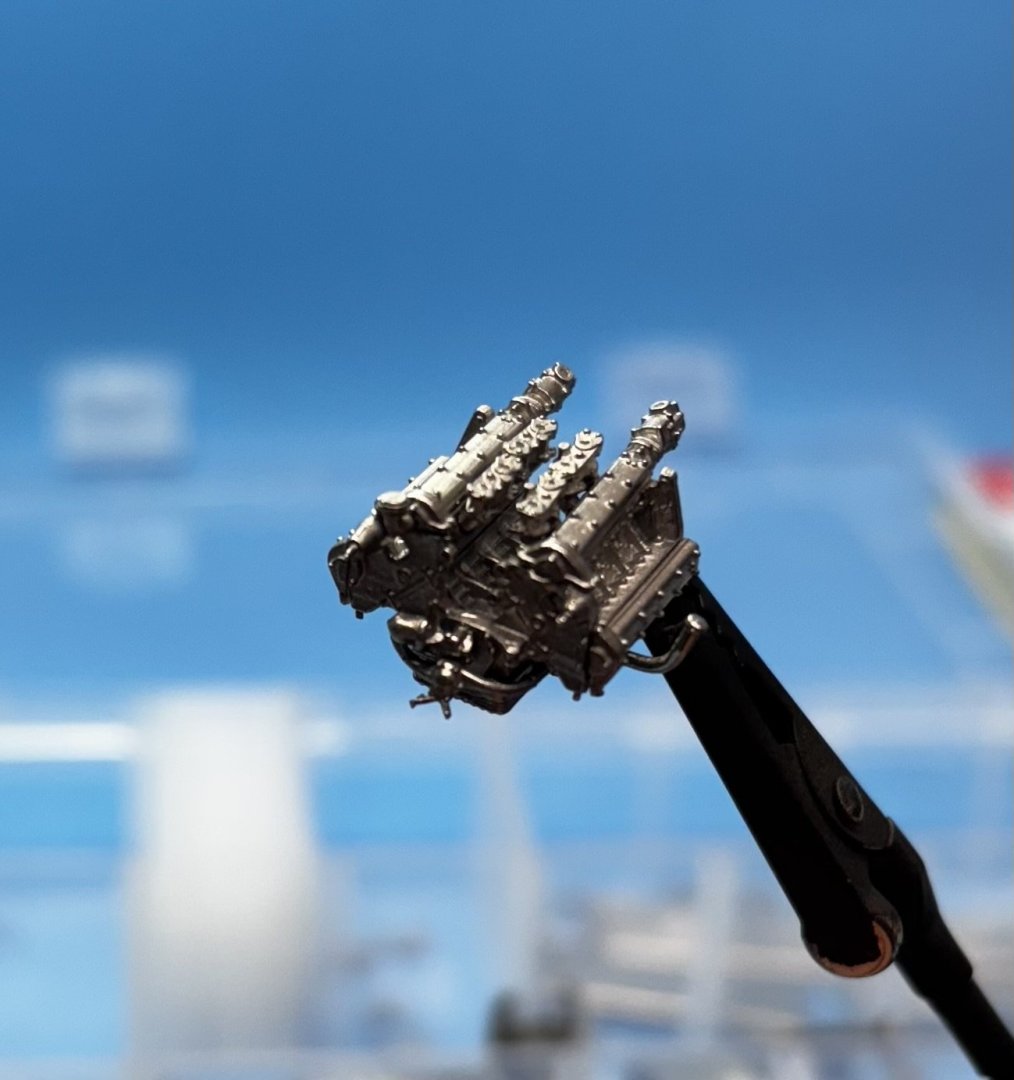
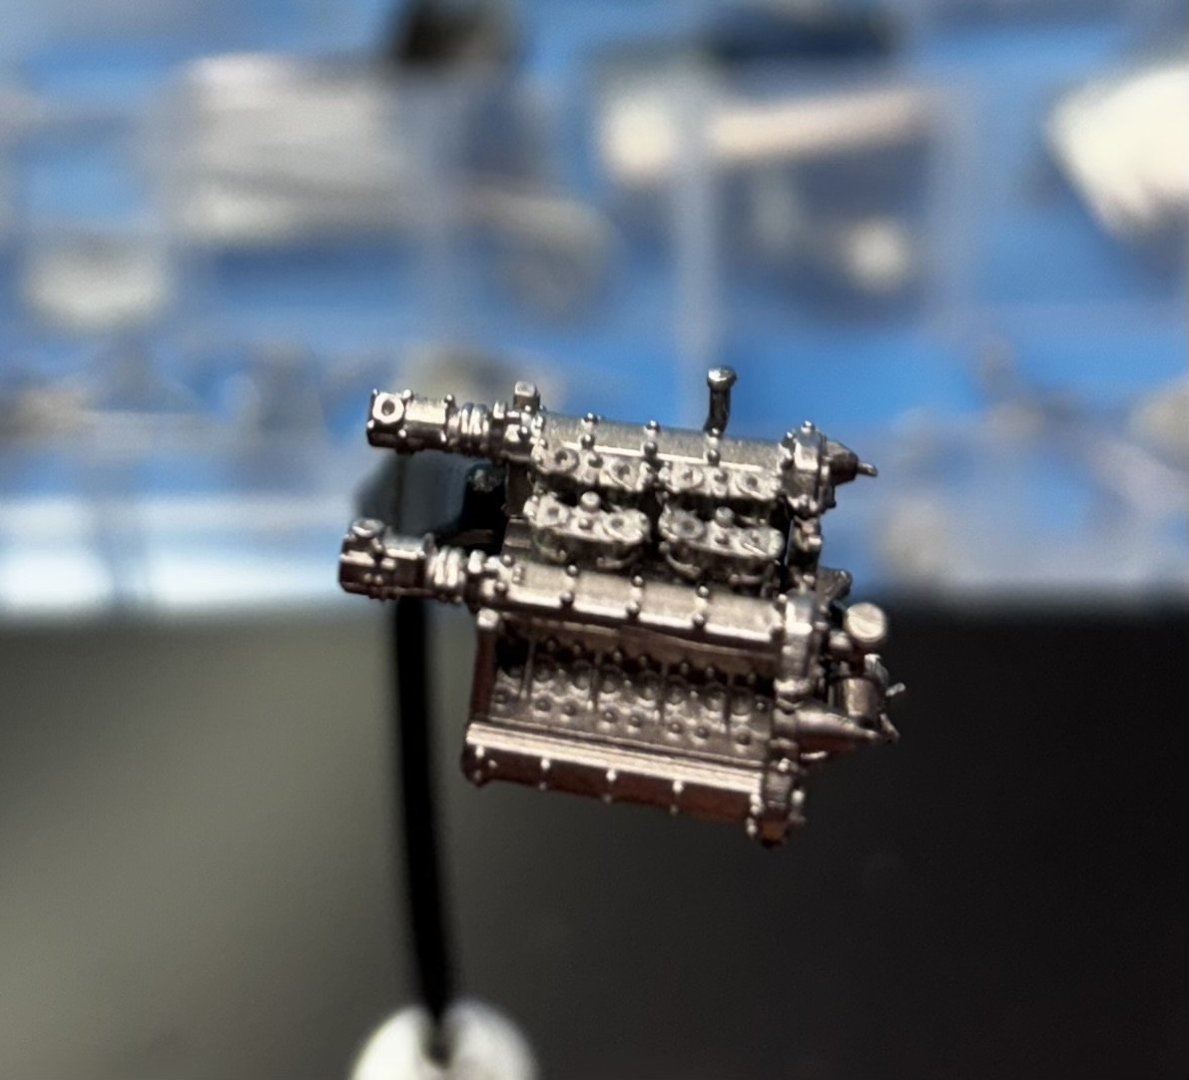
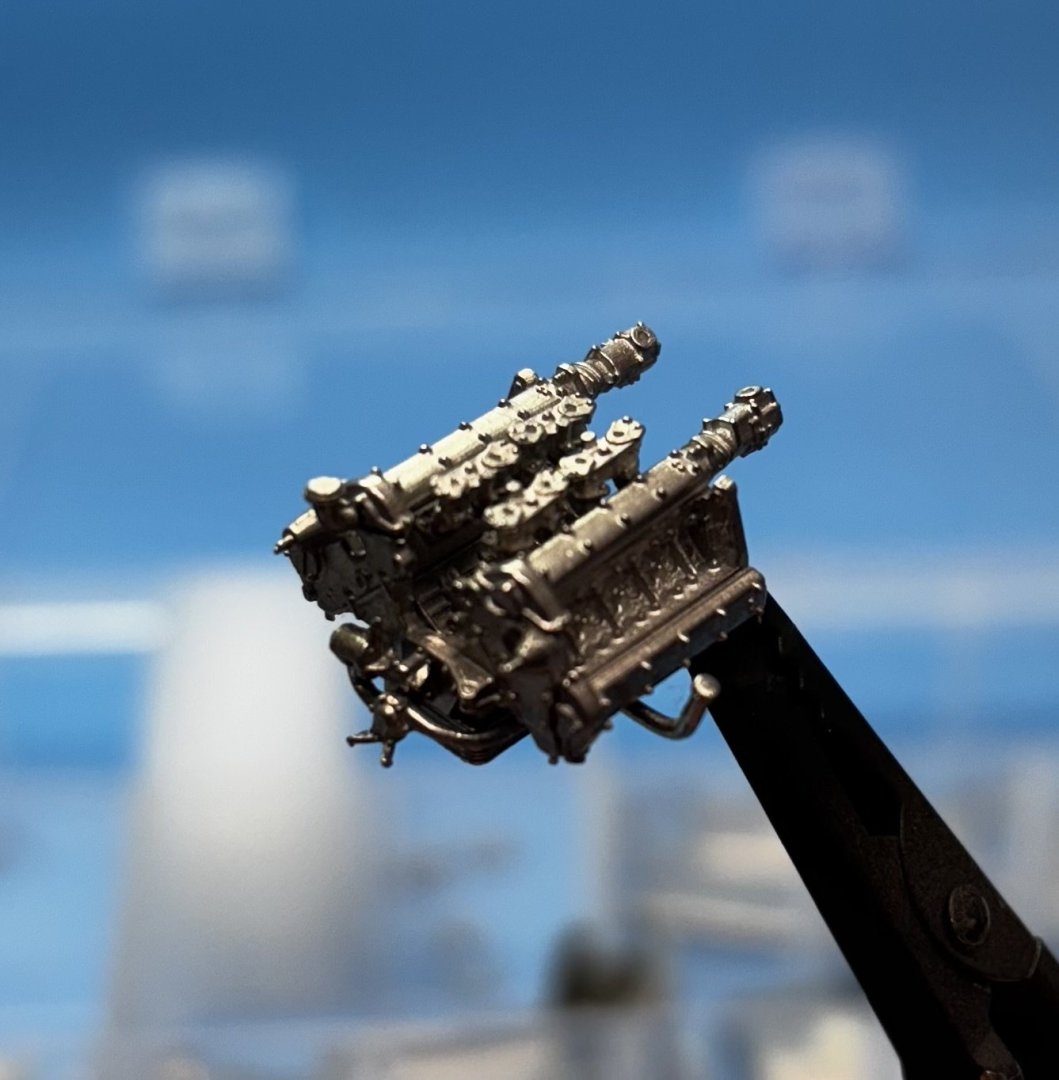
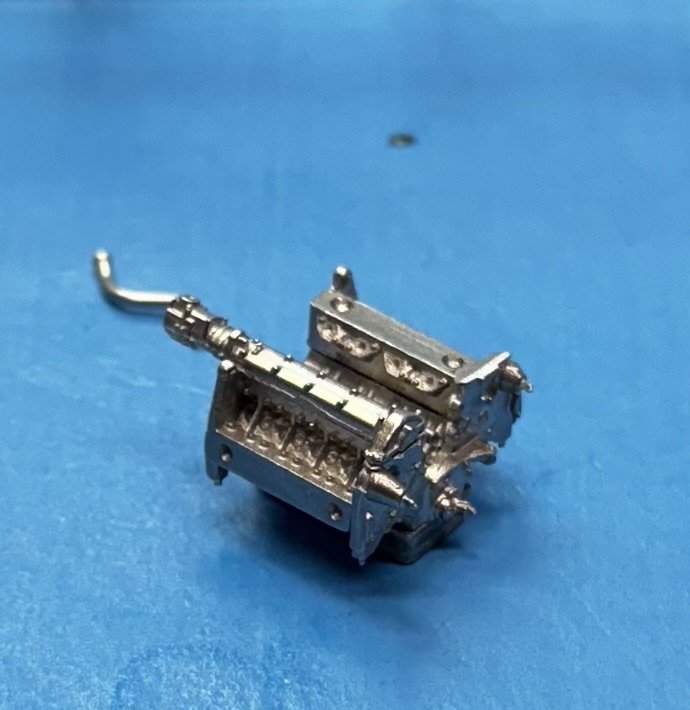
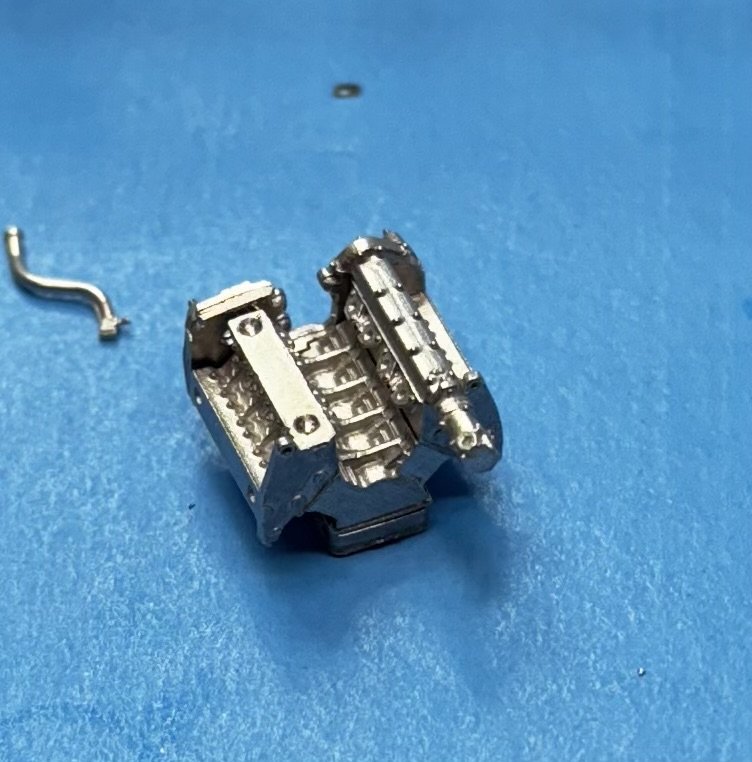
Here is the Lancia V-8 engine all assembled, before paint. It’s glued together with CA. I don’t trust my soldering skills with something this small and fragile. Don’t want to melt or otherwise destroy the delicate white metal parts. Next I will be priming with etching primer but will wait until I have more parts ready for primer and get most of it done all at once. I am going to choose my least desirable airbrush for the etching primer. I have a feeling it will be hard on the chrome plating inside the paint cup.
-
The cylinder heads to timing chain/cam drive cover is a custom fit. As it’s cast, the cam covers would not fit without resurfacing the cover to cylinder heads first. The cam covers on the right sits on a resurfaced cylinder heads first. The left side must be resurfaced before installing the left cam covers. This seems to be typical of the kinds of fit issues one may find with a MFH kit.
-
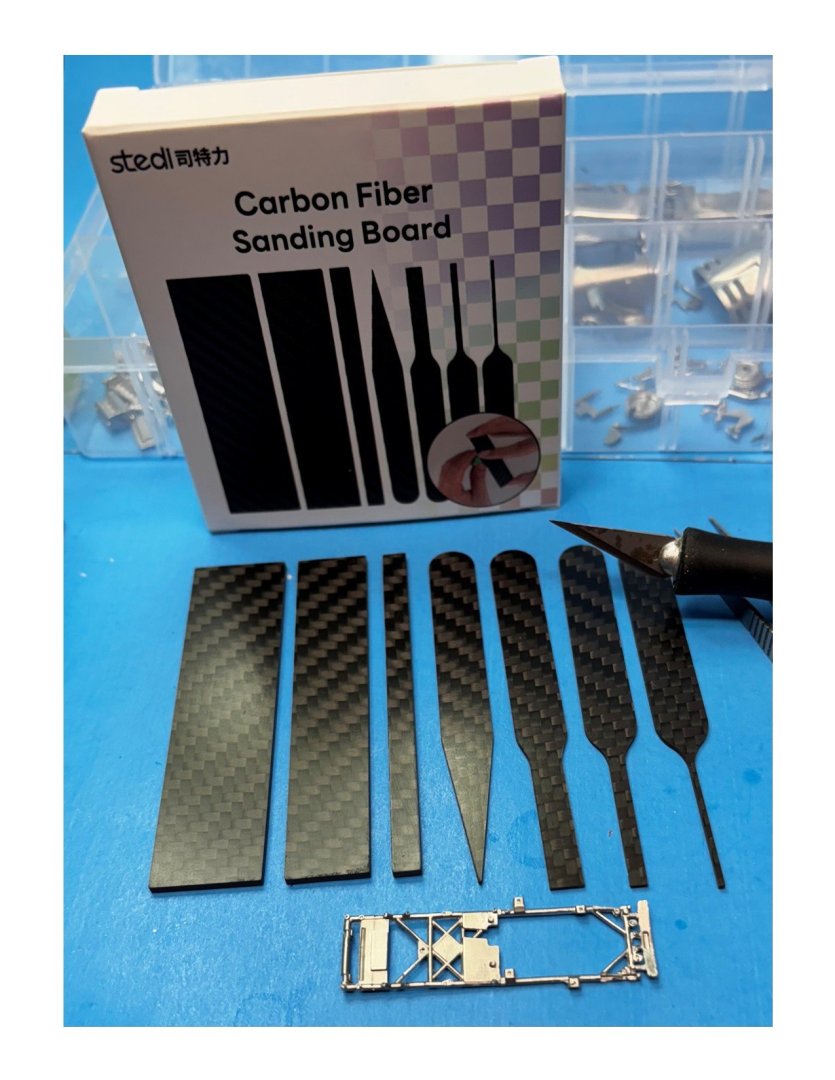
Found these carbon fiber sanding sticks on Amazon. Much smaller than metal files, they may be just what I need for taking care of the mold lines of the white metal parts from the tiny 1:43 MFH kits. Along with the sanding sticks, they offer self-adhesive sandpaper in various grit from extra fine to coarse. The sandpaper is scheduled to arrive today.
-
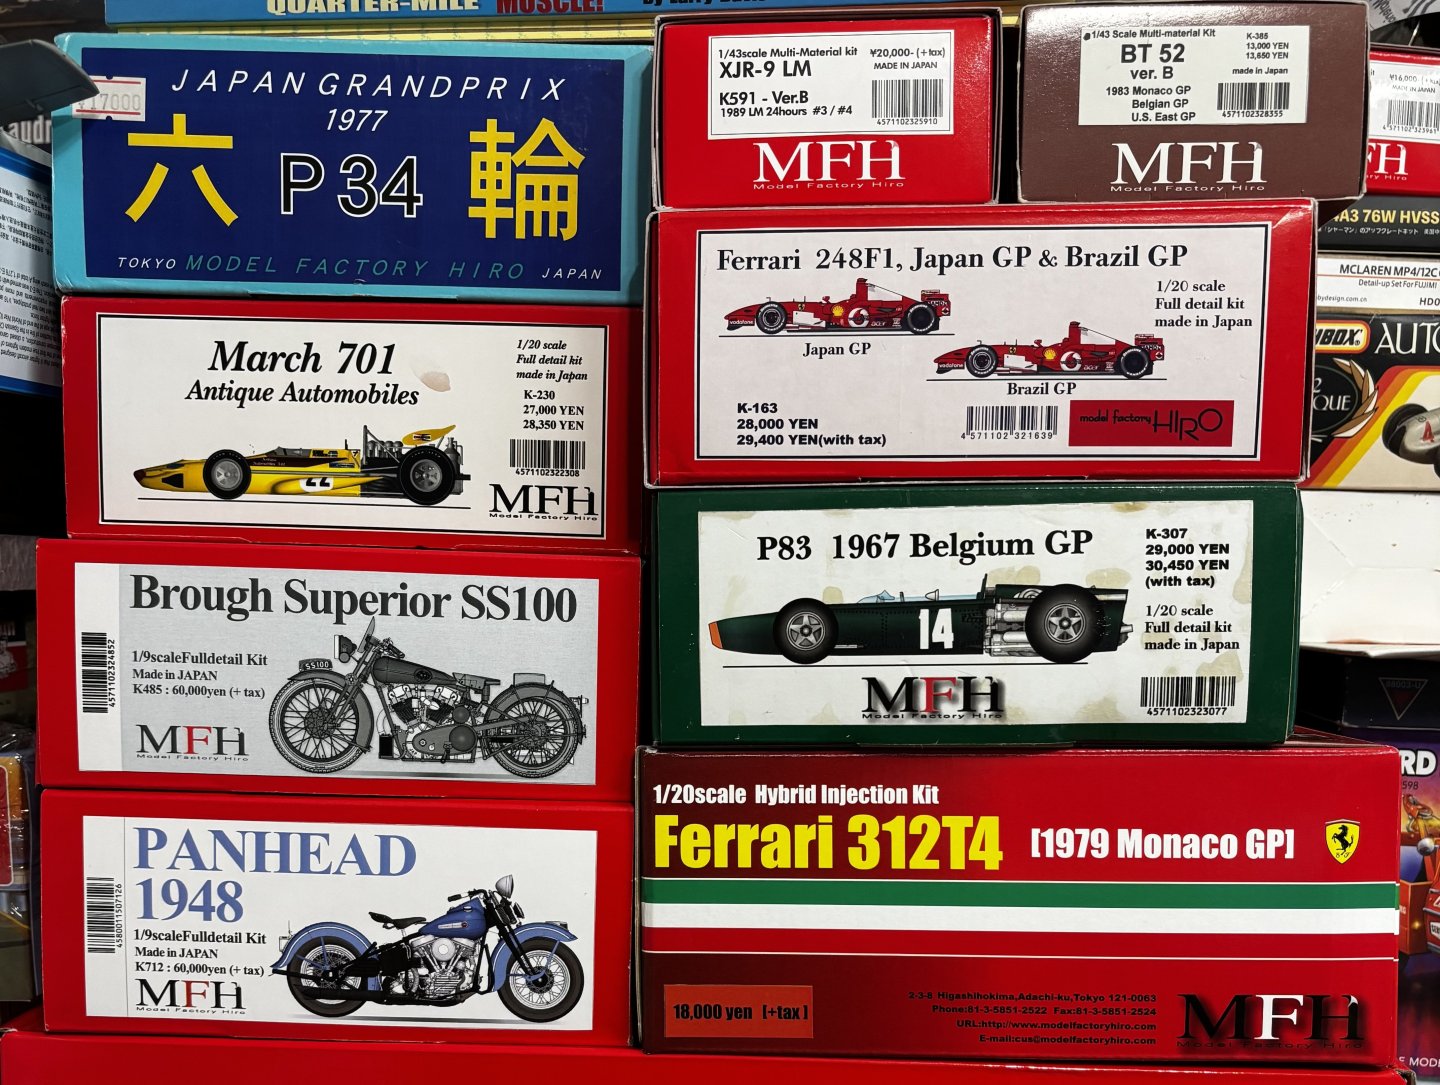
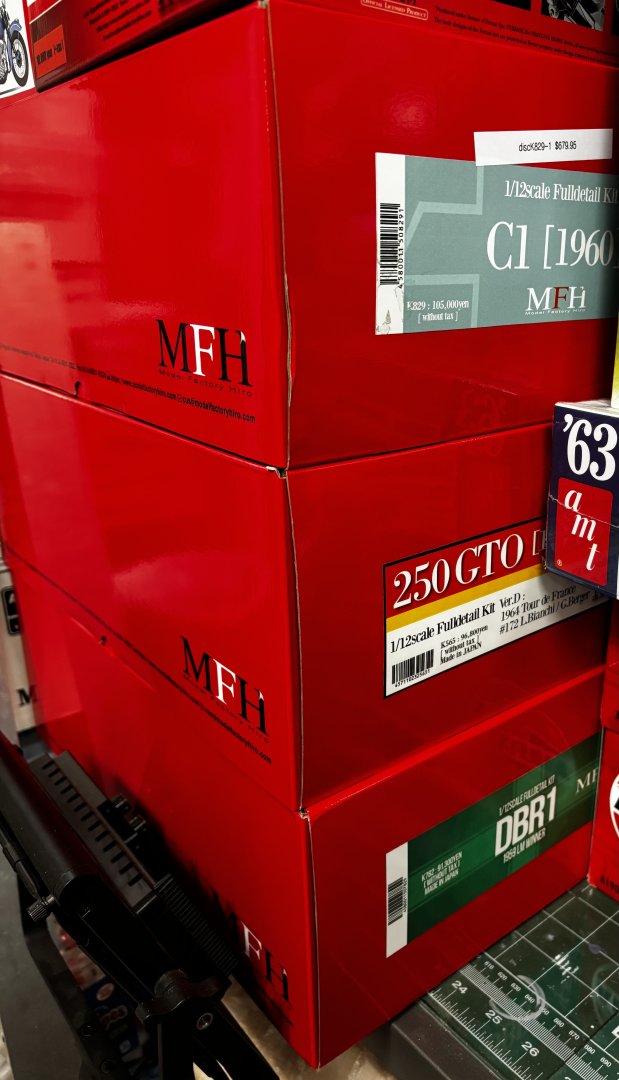
How does one determine whether a particular MFH kit is never going to be rereleased again? It has been said that one rerelease is all they do, but I see no way to know whether it will be released again or if it’s over. There are several MFH kits I want but the resale price on an out of production kit can often be twice the amount it would sell for new from MFH. If it was the last of the last, I could understand but on the other hand if it’s going to be rereleased I could wait.
-
One of the MFH kits I wanted to acquire was the Porsche 917. After watching build videos and seeing the numerous fit issues with the doors and other body components, decided to pass on it. Some fairly extensive work is required to make that one come together although the end result can be magnificent. I am sure Rob will overcome this inconvenience with the Cobra very soon.
-
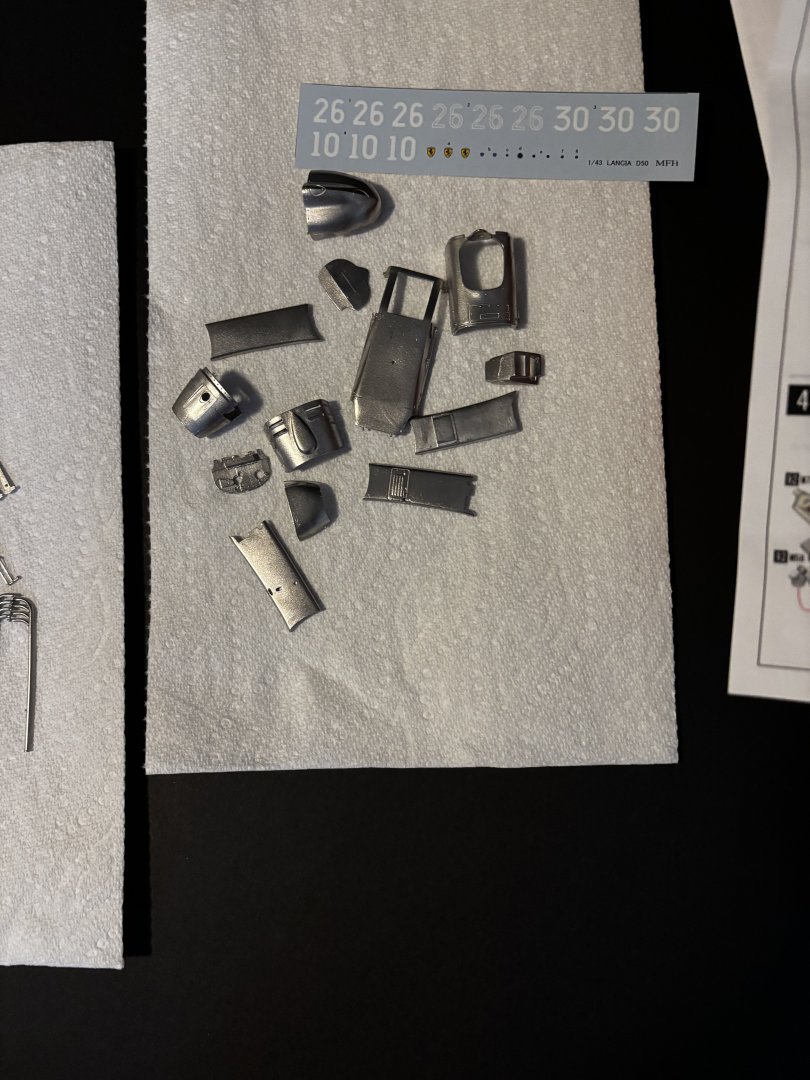
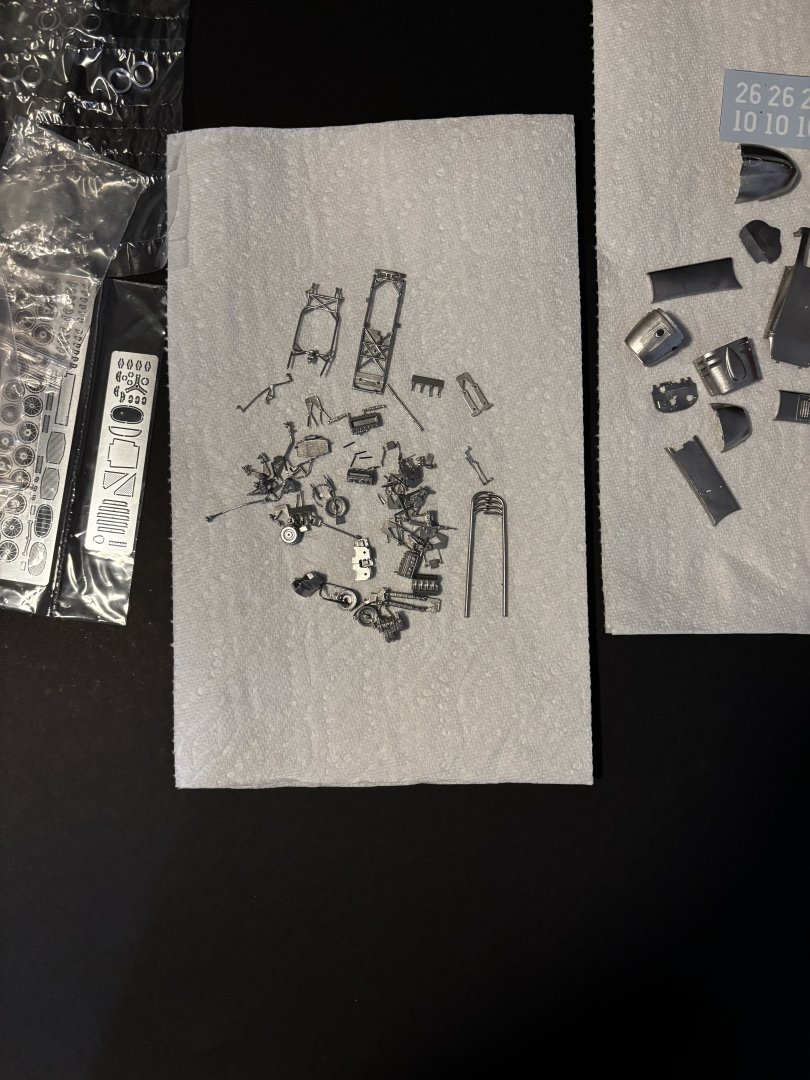
First steps will be filing, cleaning, test fitting, then building the engine and gearbox. Here are the associated parts with a straight pin for size reference. If there are any available, would like to find some smaller files. The Tamiya and generic jeweler files we are all familiar with are not small enough for some of the fine work necessary at this scale. If you know of a source for such, please advise.
-
When it comes to something as small as those rivets, have you tried using a pointed dowel with some bees wax to hold the rivet rather than tweezers? My luck with super tiny parts and tweezers is terrible. The parts go flying off where I cannot find them. You have a long, tedious task in your future.
-
There is no doubt resellers watch those announcements closely. The worst are resellers on EBay. Not only do they make a profit, the buyer pays their EBay fees as well. It’s not uncommon for resellers to sell out of production MFH kits for twice the original price. I only recently learned I could buy direct from MFH. I’m trying to learn how to stay in the know so that I don’t miss subjects that interest me. ( the McLaren mentioned for example)
-
Rob Have you been using solder to assemble your white metal parts? I'm going to practice on some MFH scrap pieces before I try it on the real parts. Would rather be safe than sorry. With this tiny kit, it's my intention to build it on top of a small, flat, presentation board. This way I can properly space everything out, keep it square and leveled so that all four wheels touch the surface with no awkward stagger or misalignment. I plan to first assemble the kit with thin CA glue for the initial fit then soak it all in acetone to remove the CA and disassemble it all once I am satisfied it fits together properly. By then I hopefully will know the correct build sequence to follow and details that need close attention. After that, would like to solder the white metal pieces if possible. I have heard good modelers who prefer CA or epoxy, then others who prefer solder but I have been warned about the MFH white metal low melting temperature. How does one stay informed about the kits MFH plans to release or rerelease in the future? I don't see that information on the MFH website. I get the impression that all their releases are first-come, first-served. Buying directly from them is the most cost-effective way to go but often times the only way to acquire a kit not currently in production is to pay a "middleman" a higher cost. This last kit I bought from them directly was substantially less cost than from any shop who stocked the same kit.
-
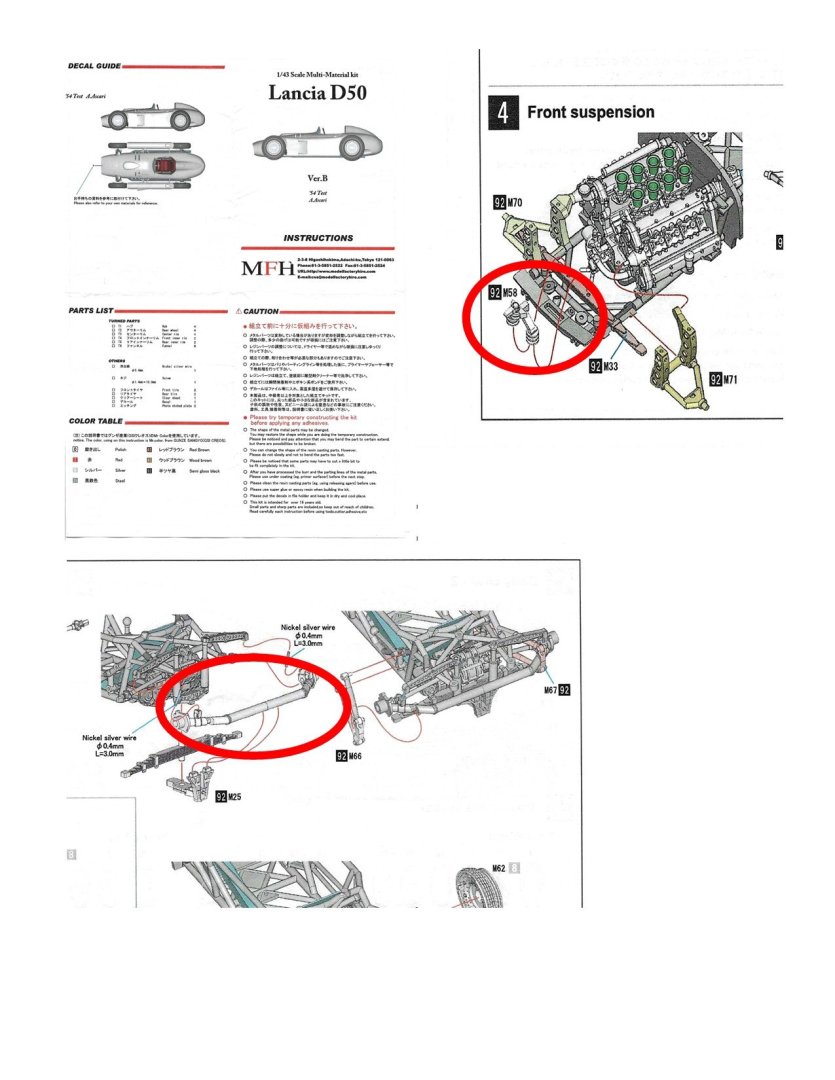
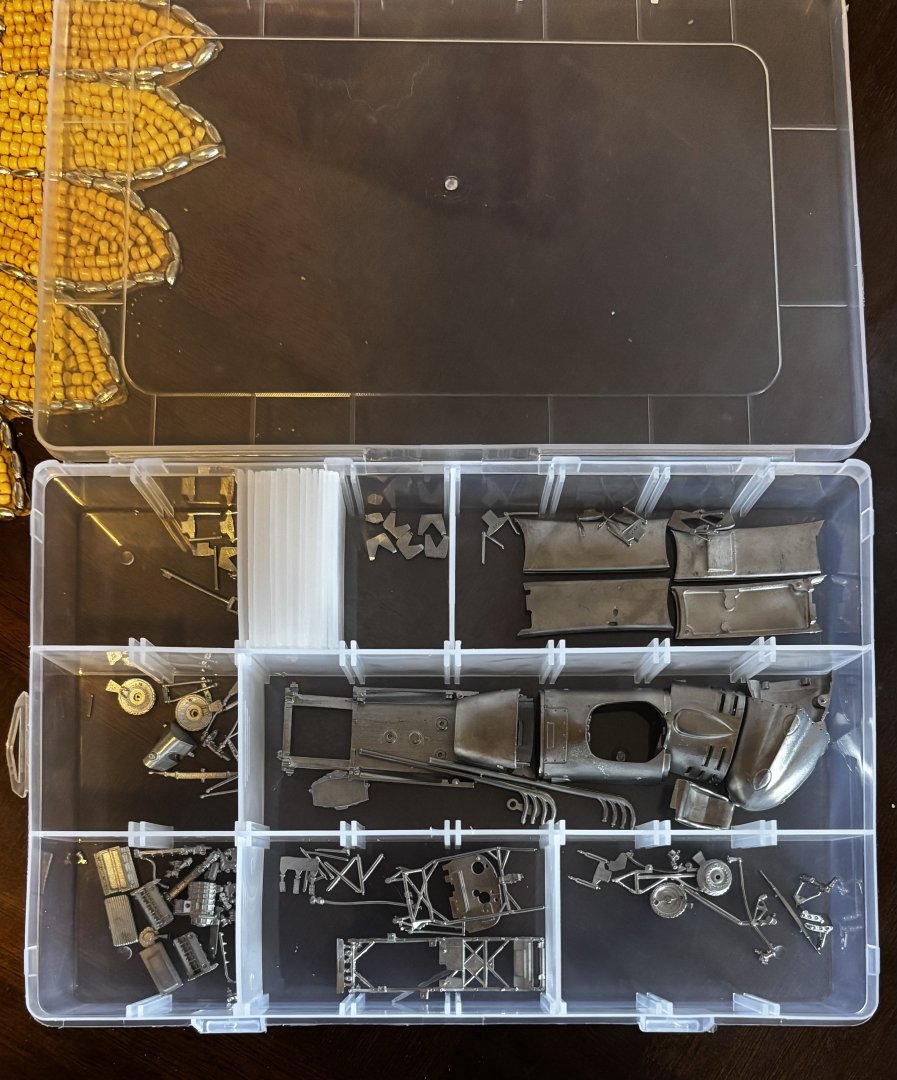
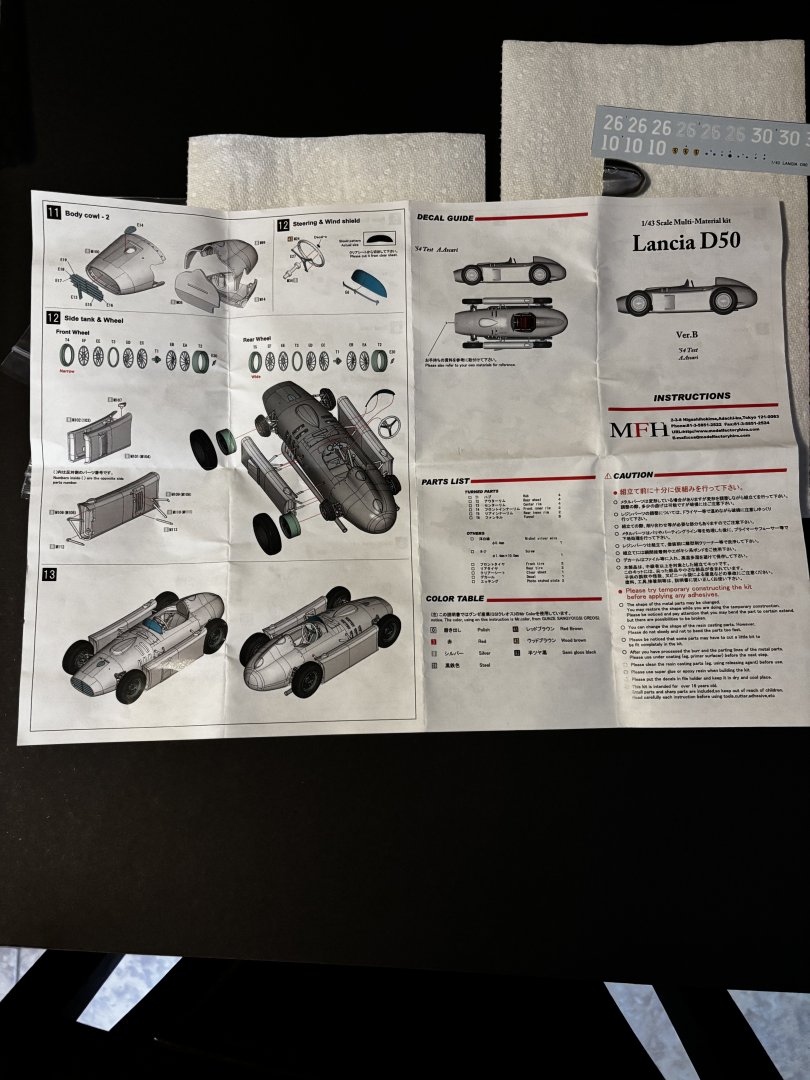
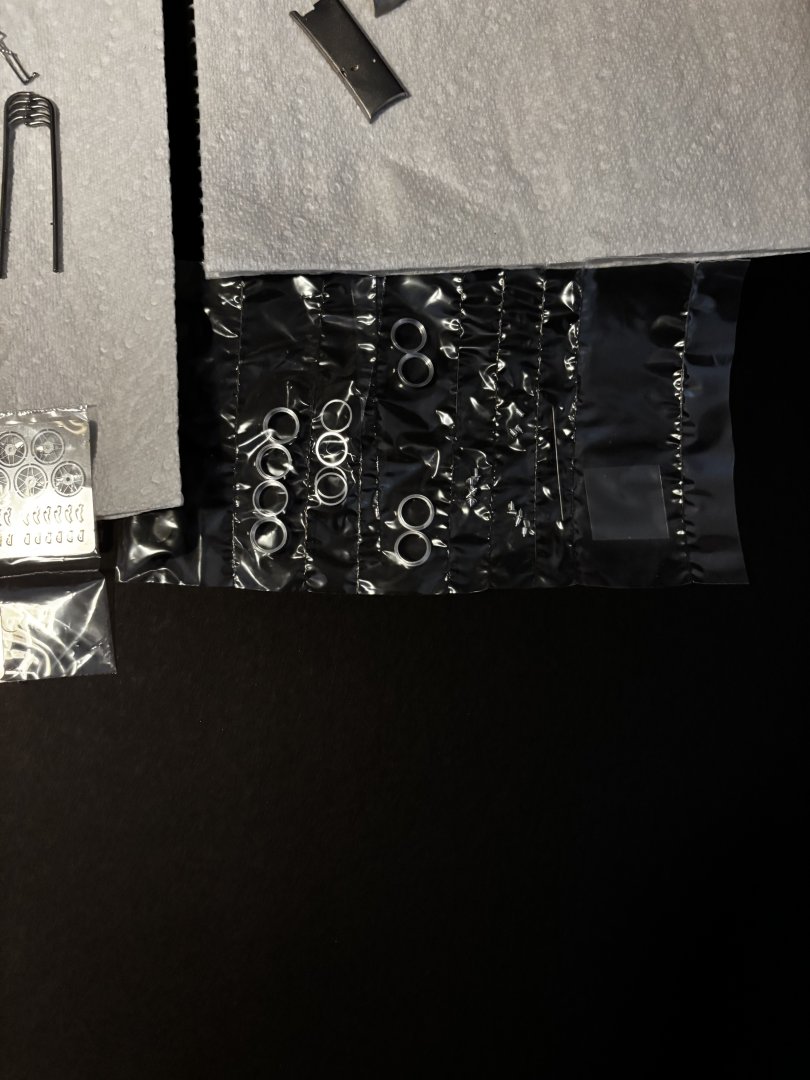
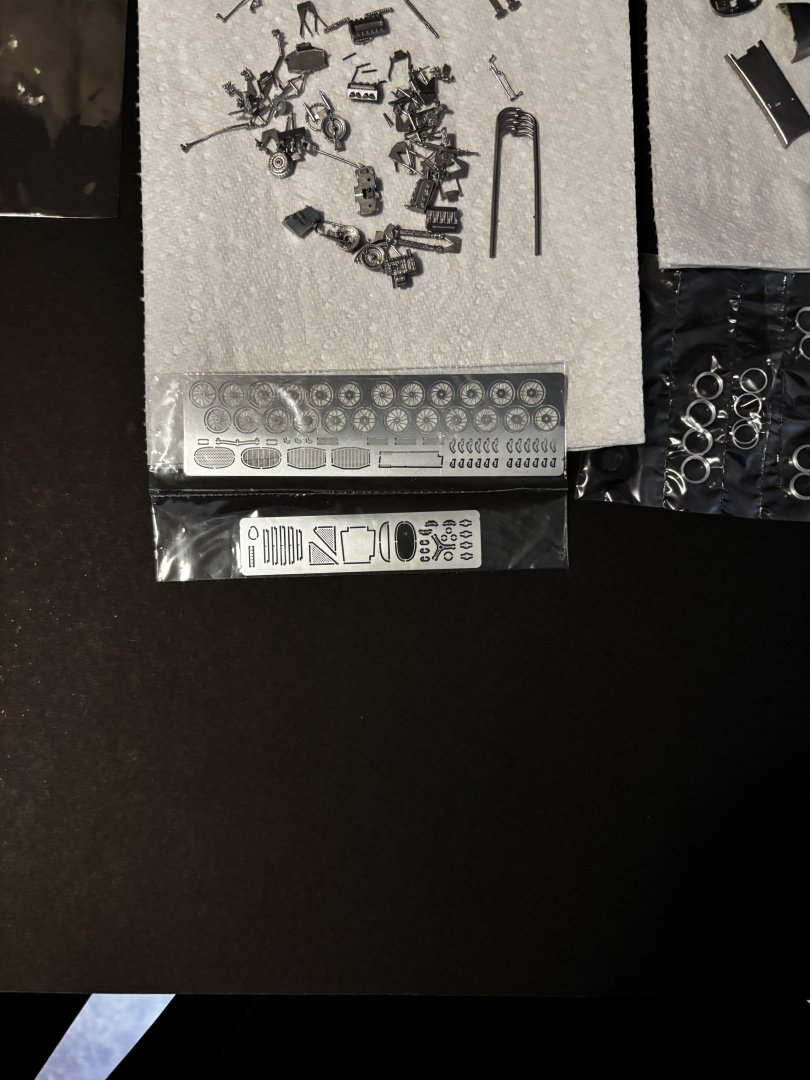
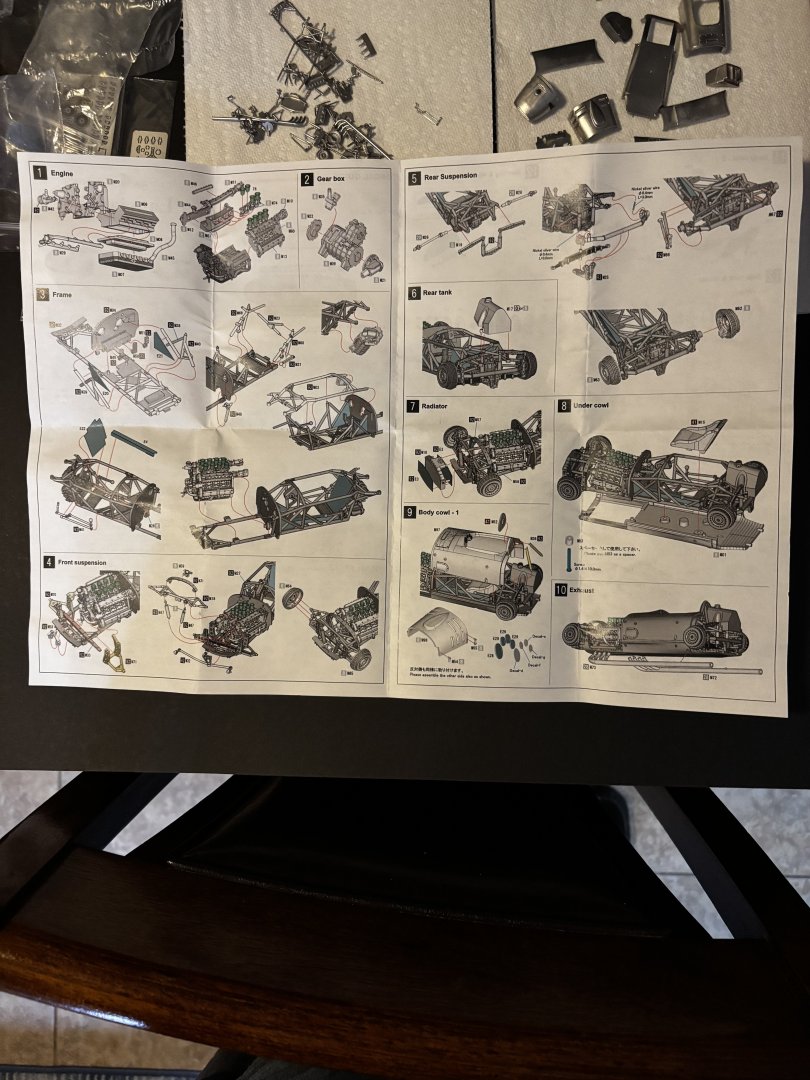
I've watched a ton of MFH build videos while trying to pick up helpful hints, tips, and tricks on how to tackle these kits. One of my favorite modelers to watch has a methodical approach to starting each kit that includes unboxing, examination, parts count, cleaning/preparing parts and organization steps. Comparing each part to the plans has revealed a couple of missing/damaged parts. On the front suspension assembly, part number M58, circled (by me) in red, was short-shot. Half of the part was gone, either as a casting malfunction or broken and lost in the manufacturing and shipping process. A major part in the rear suspension was missing. Again, the missing part is circled in red for reference. Oddly, it has no part number associated with it that I could find on the plans. I found small part organizer boxes on Walmart's website for a few dollars each. The part boxes have adjustable compartment panels which allow for a neat and tidy organization of the parts by assembly sequence. Starting from the left bottom compartment are all the engine and gearbox parts, moving to the right are all the frame parts, and so on. This greatly helps in checking the kit parts contents and keeping everything in order as the parts cleanup and preparation stage begins next. Last night I sat down and wrote a note to MFH in Japan with the attachments as shown here, asking for help to replace the missing/broken parts. I was shocked when I woke up this morning to find a notification and tracking number from Fedex that the missing, broken parts have already been shipped out to me! Talk about great customer service, wow. Never have seen anything like it. On a similar note, I ordered another new kit from MFH a couple of days earlier, and that kit was mailed out the same day I paid for it. It is scheduled for delivery to me tomorrow. I can't get service faster than this from dealers in the USA except for maybe Amazon. MFH is really on top of their game for customer service, I can attest to that.
About us
Modelshipworld - Advancing Ship Modeling through Research
SSL Secured
Your security is important for us so this Website is SSL-Secured
NRG Mailing Address
Nautical Research Guild
237 South Lincoln Street
Westmont IL, 60559-1917
Model Ship World ® and the MSW logo are Registered Trademarks, and belong to the Nautical Research Guild (United States Patent and Trademark Office: No. 6,929,264 & No. 6,929,274, registered Dec. 20, 2022)
Helpful Links
About the NRG
If you enjoy building ship models that are historically accurate as well as beautiful, then The Nautical Research Guild (NRG) is just right for you.
The Guild is a non-profit educational organization whose mission is to “Advance Ship Modeling Through Research”. We provide support to our members in their efforts to raise the quality of their model ships.
The Nautical Research Guild has published our world-renowned quarterly magazine, The Nautical Research Journal, since 1955. The pages of the Journal are full of articles by accomplished ship modelers who show you how they create those exquisite details on their models, and by maritime historians who show you the correct details to build. The Journal is available in both print and digital editions. Go to the NRG web site (www.thenrg.org) to download a complimentary digital copy of the Journal. The NRG also publishes plan sets, books and compilations of back issues of the Journal and the former Ships in Scale and Model Ship Builder magazines.

.jpg.7e80607770d9078b2f0b470e8c9c33ac.jpg)


