HOLIDAY DONATION DRIVE - SUPPORT MSW - DO YOUR PART TO KEEP THIS GREAT FORUM GOING! (Only 20 donations so far - C'mon guys!)
×


laps
-
Posts
118 -
Joined
-
Last visited
Content Type
Profiles
Forums
Gallery
Events
Everything posted by laps
-
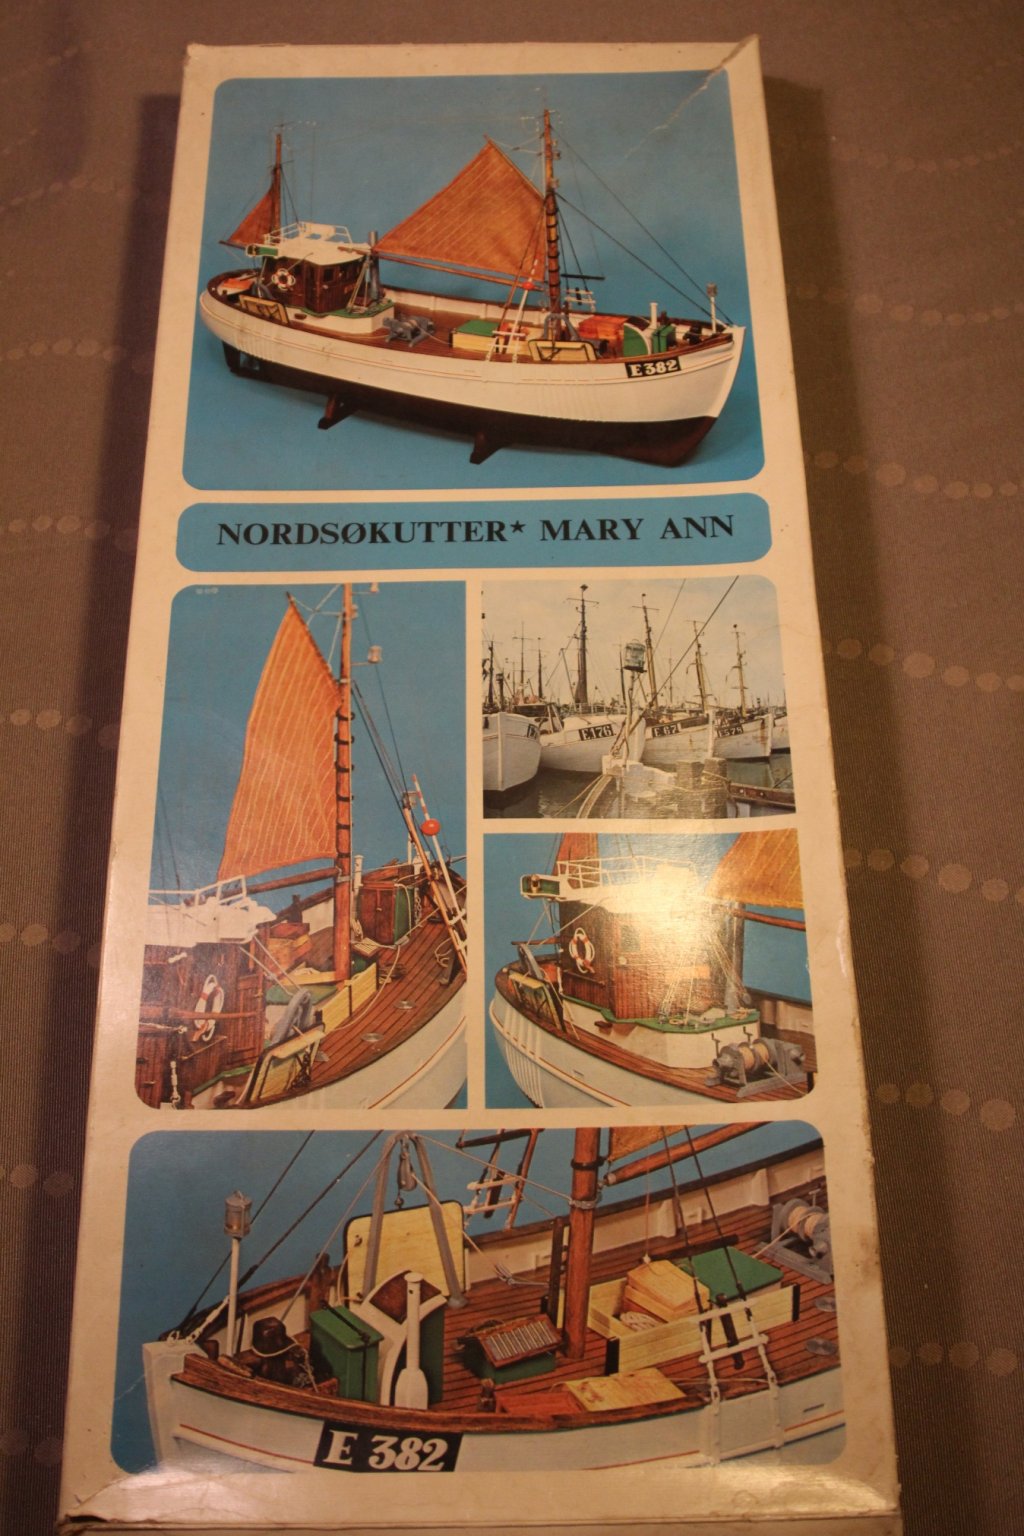
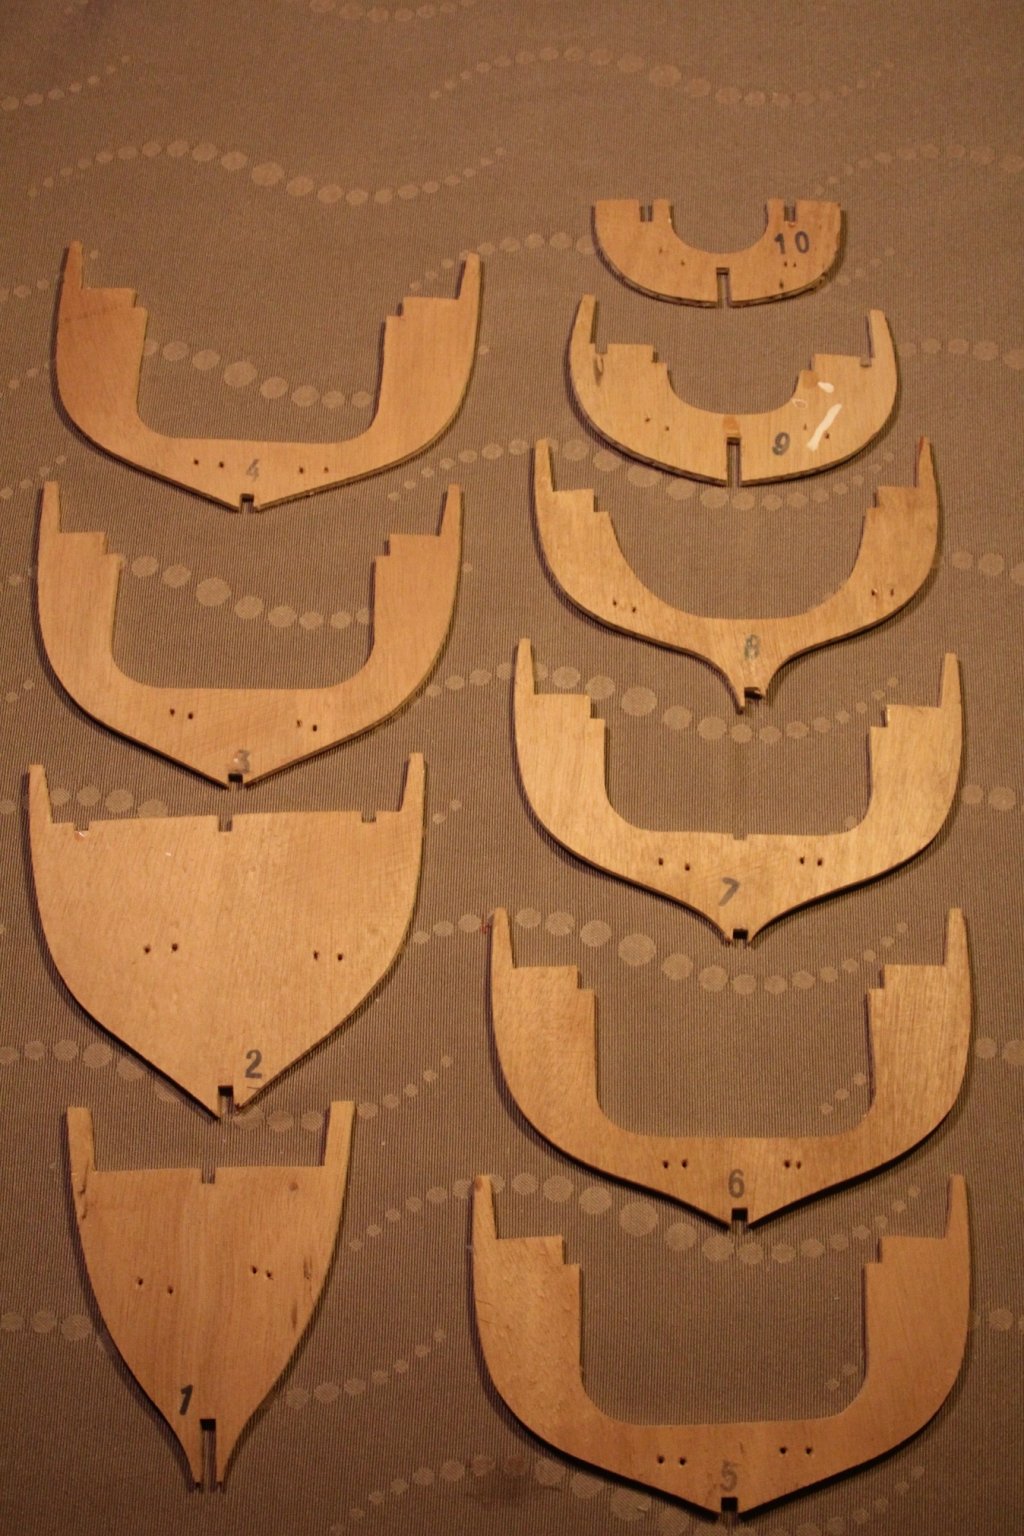
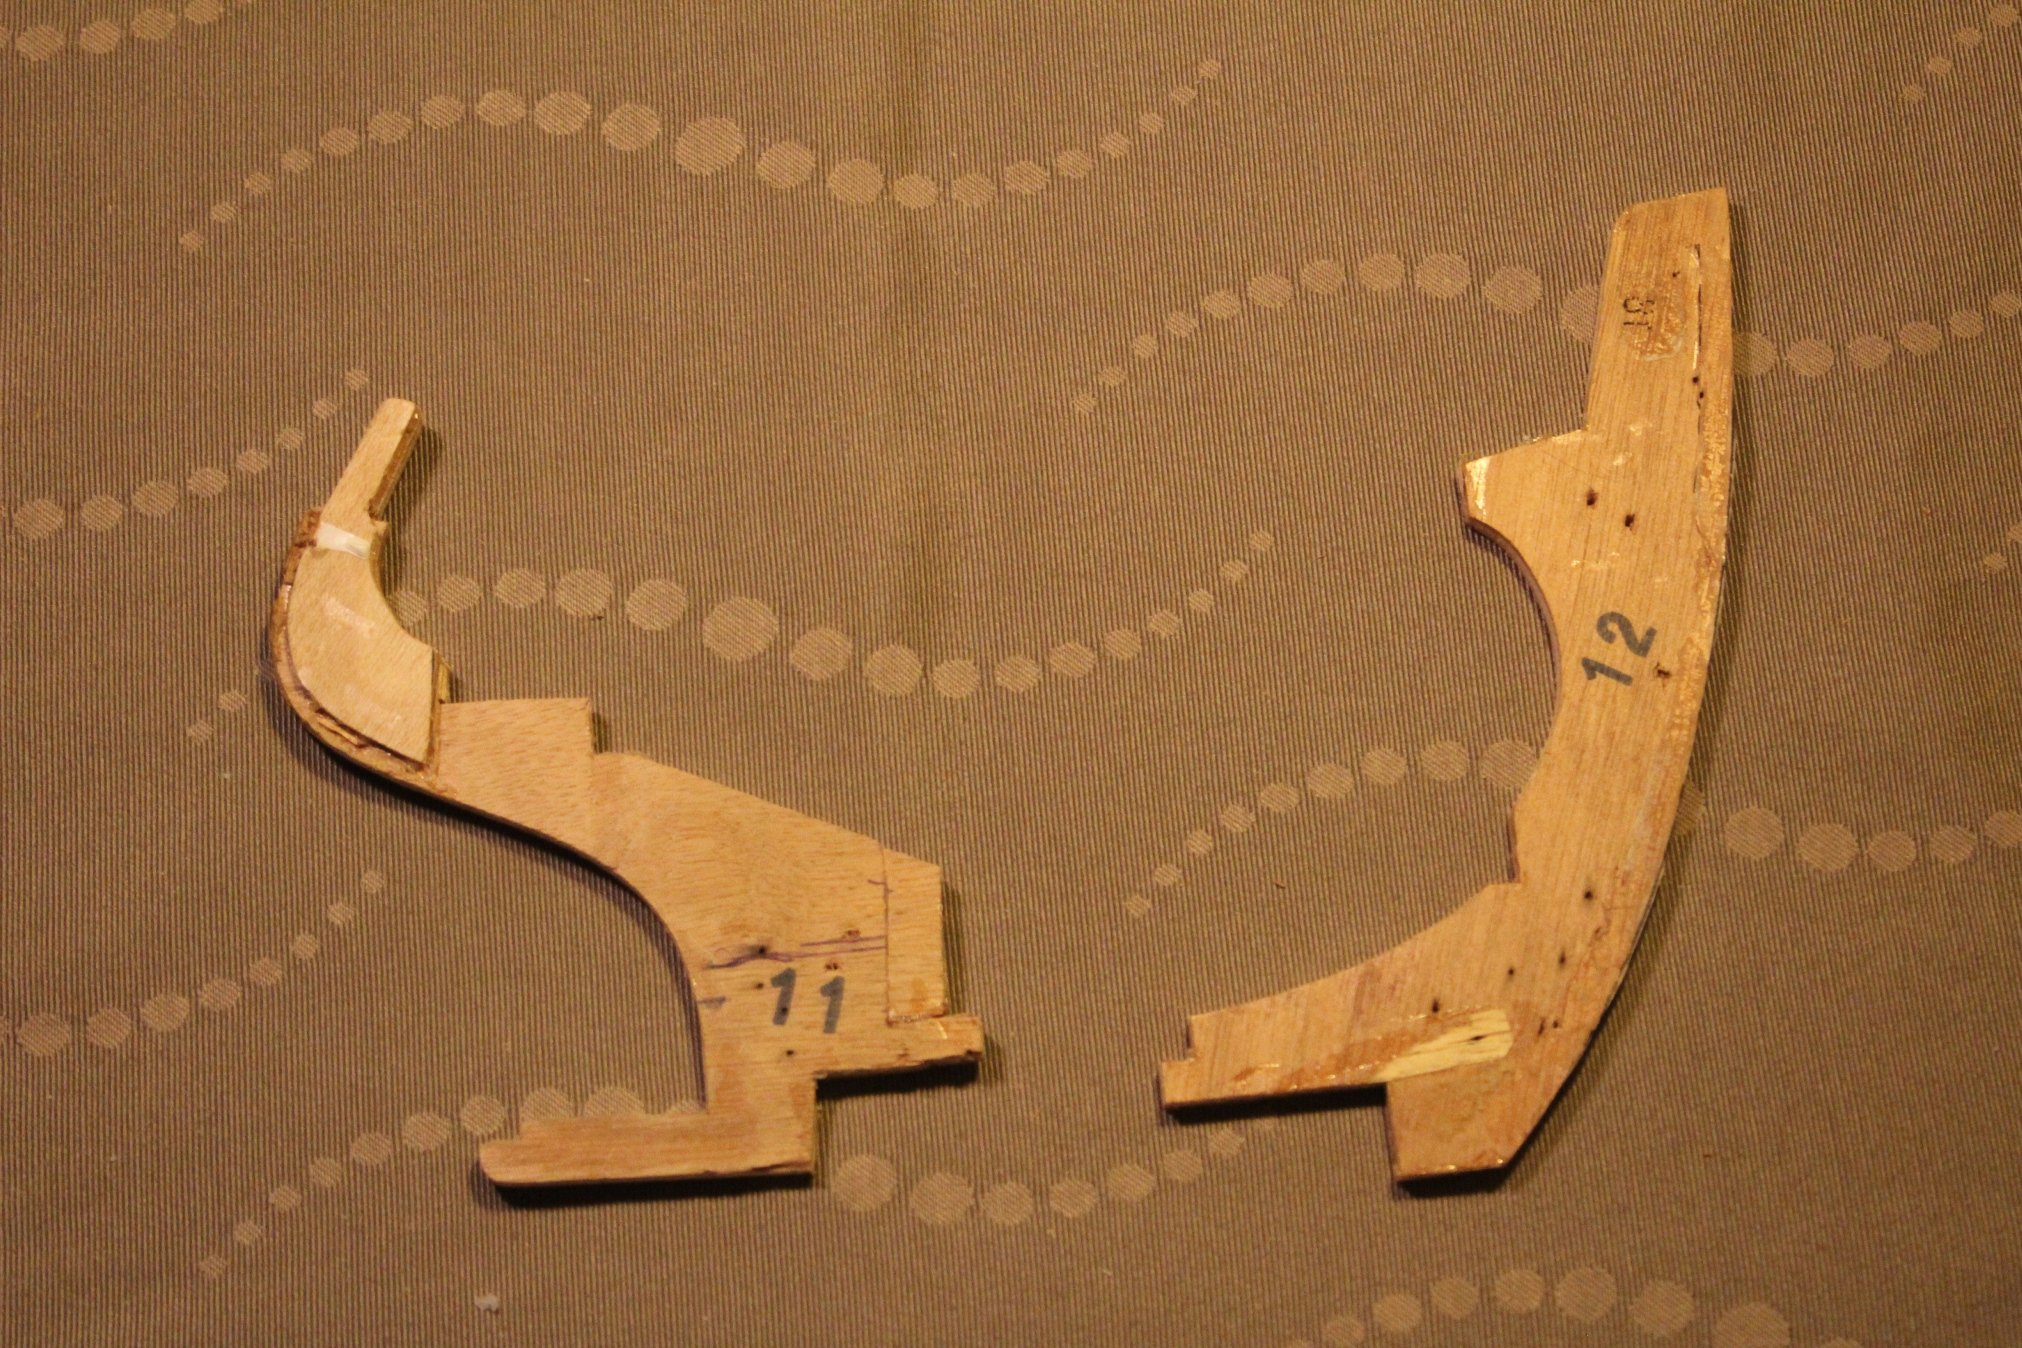
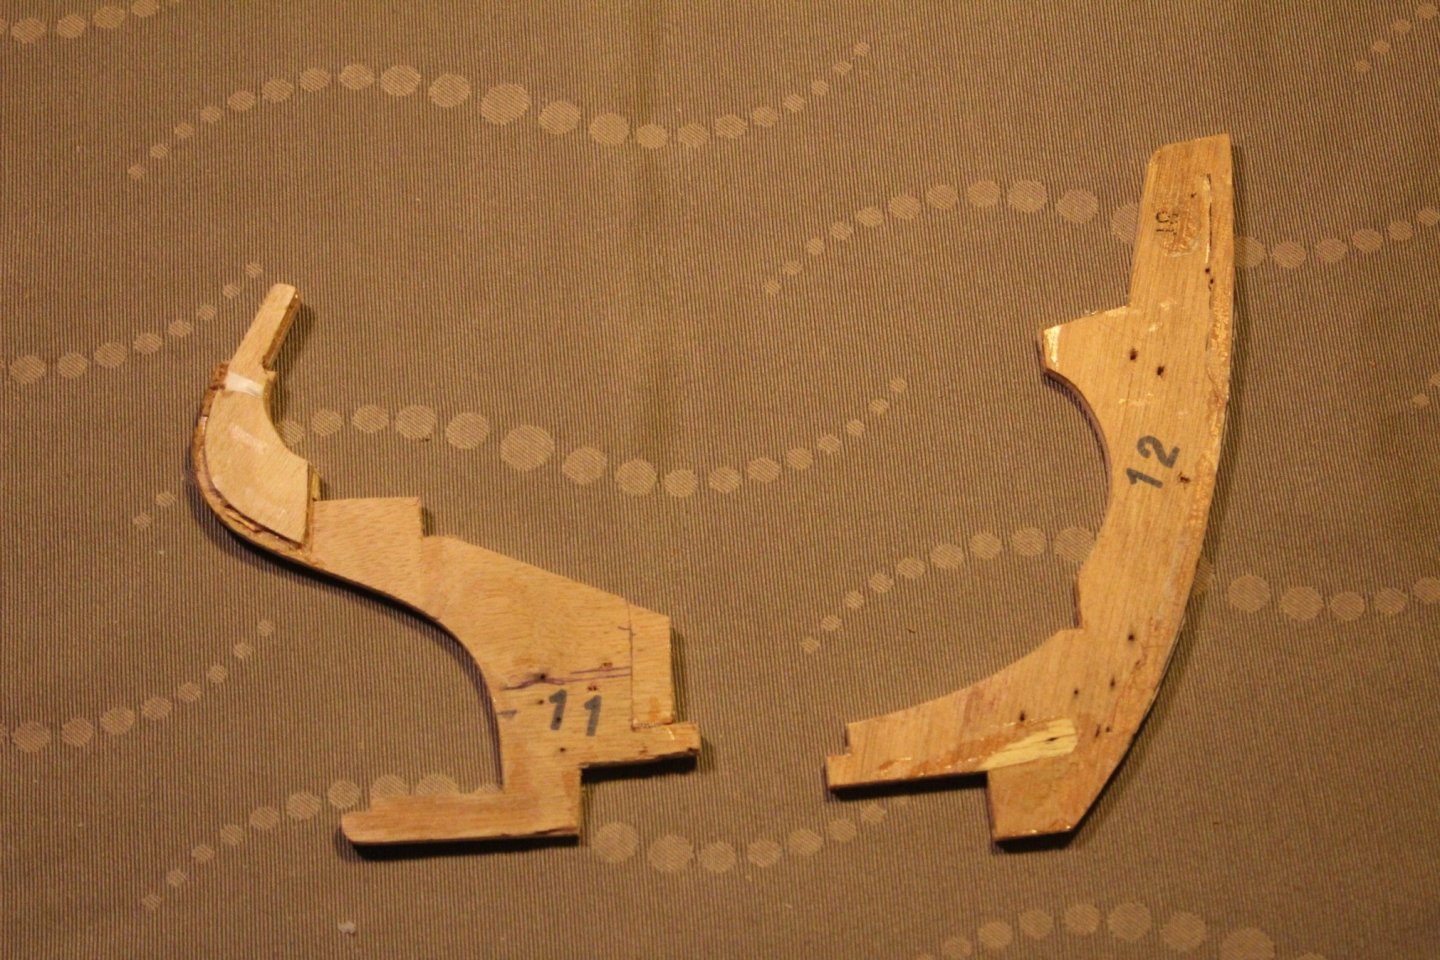
 Hi All, A while ago I was given an old Billing kit of the fishing vessel Mary Ann. Someone had already started the model but obviously given up. The keel and frame structure had once been assembled but are now in pieces. I cleaned up the frames the best I could - luckily it seems like only frame 8 will have to be redone. Not sure why there are 4 holes in each frame! The keel timber itself is missing and the bow and stern pieces are in a sorry state. It may be difficult to purchase plywood of similar thickness so I will remake both pieces in 4 mm plywood. Hopefully, the frames will not be too loose. I will deal with that when the time comes. Other pieces are also damaged or missing. The greatest challenge here will be to remake to false deck. The fitting set was not included but it is still available. However, with the kit I also got a big box of all kinds of fittings. I will go through this pile and see what I have already. I know there is a winch that looks very similar to the one in the instructions. I'm still finishing up my AV but thought I would start this. It shouldn't be too difficult given the scale. I will pick up some birch plywood on Monday so I can get started. /Lars Peter

-
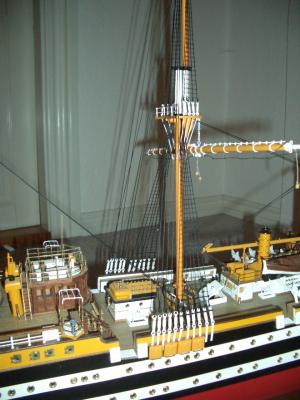
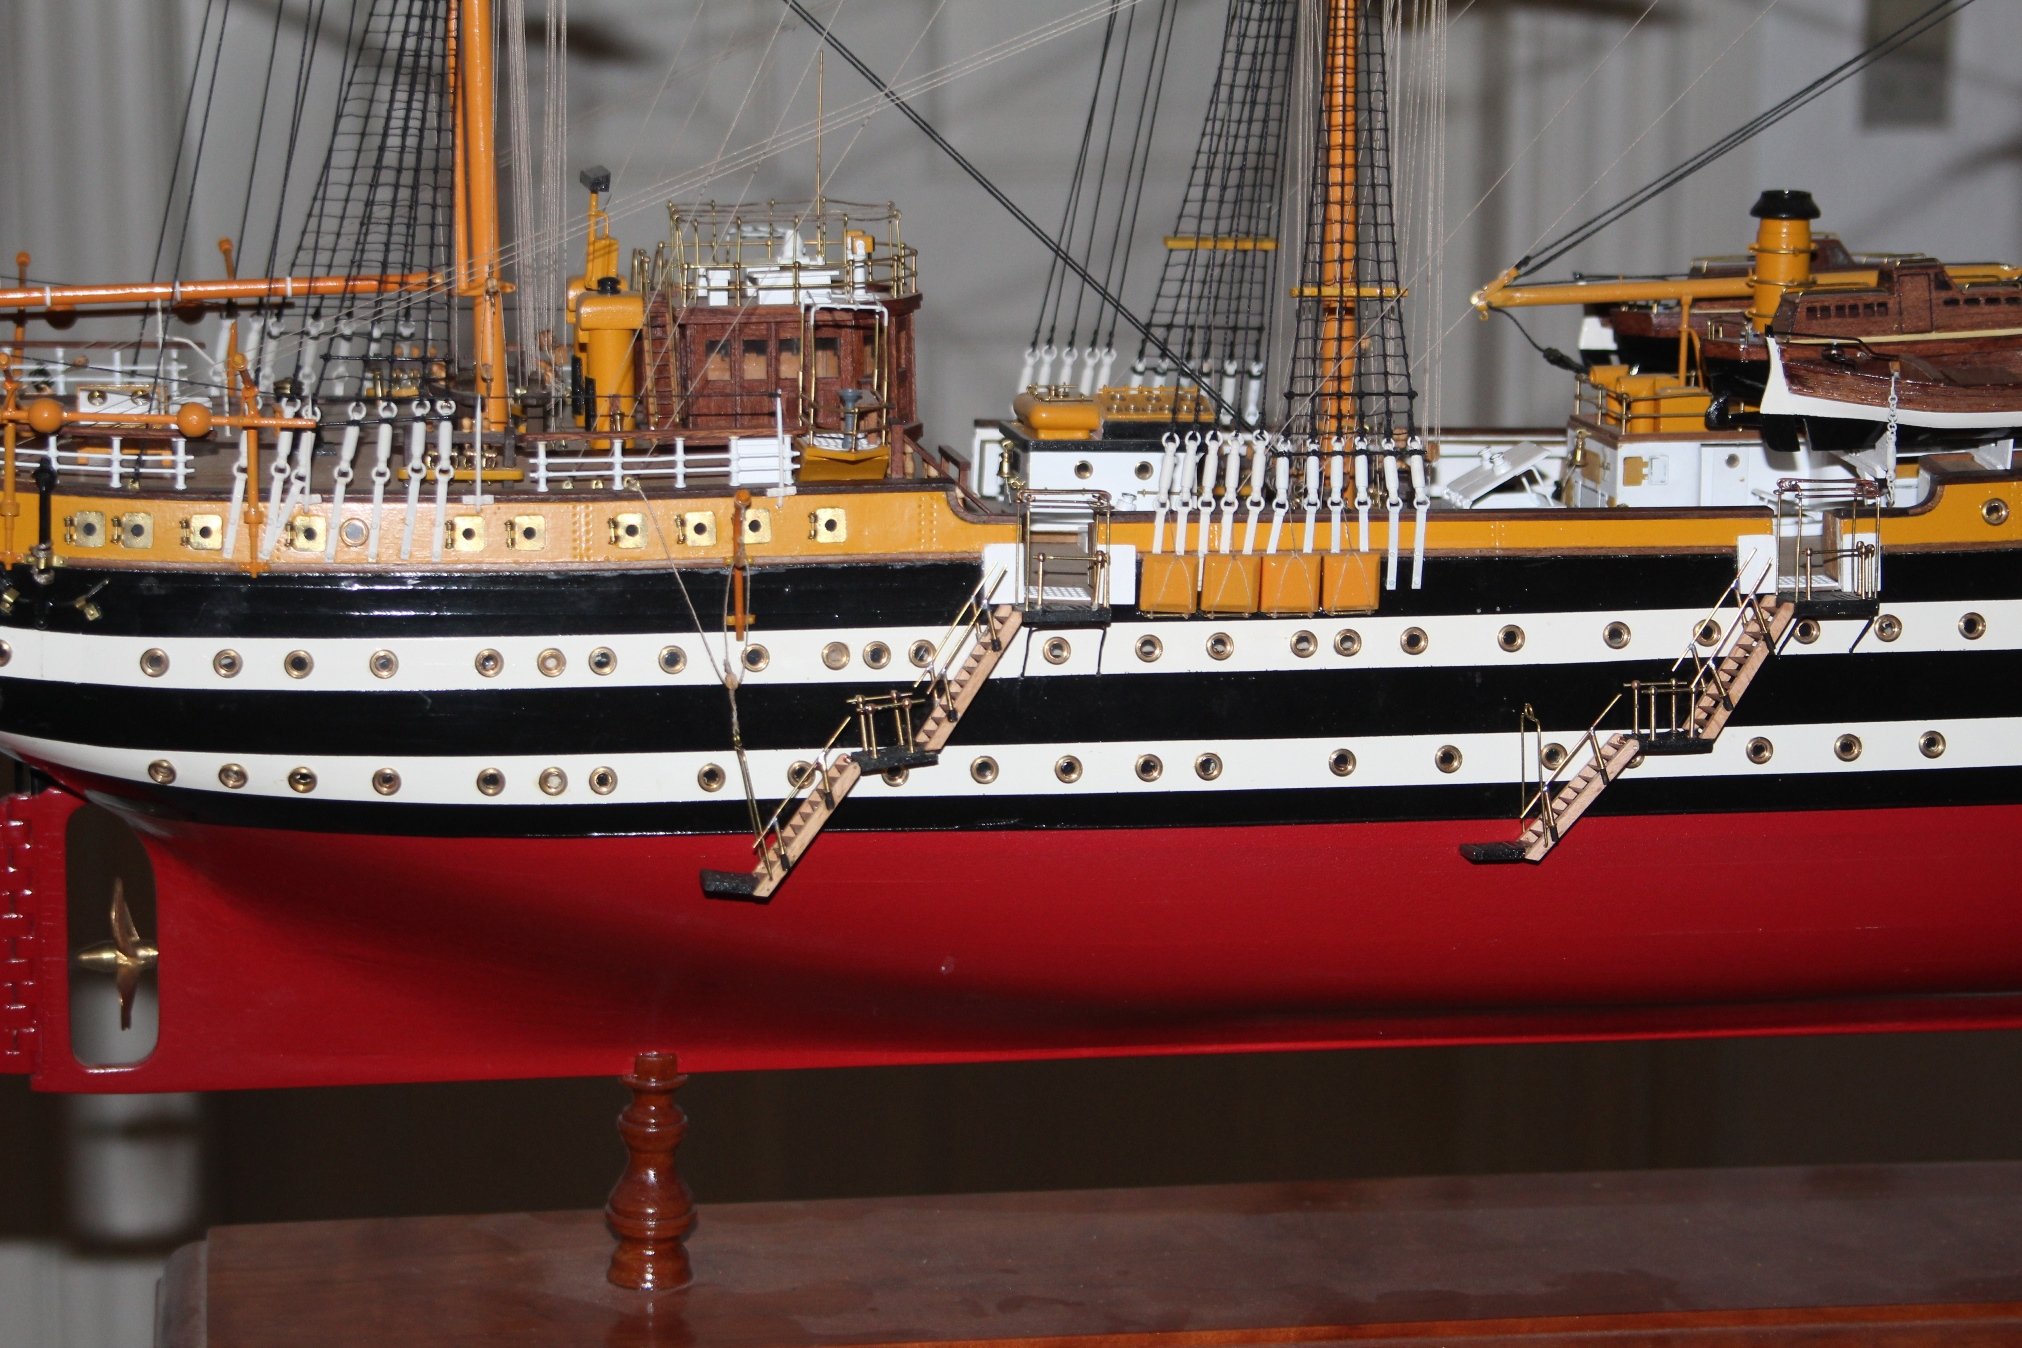
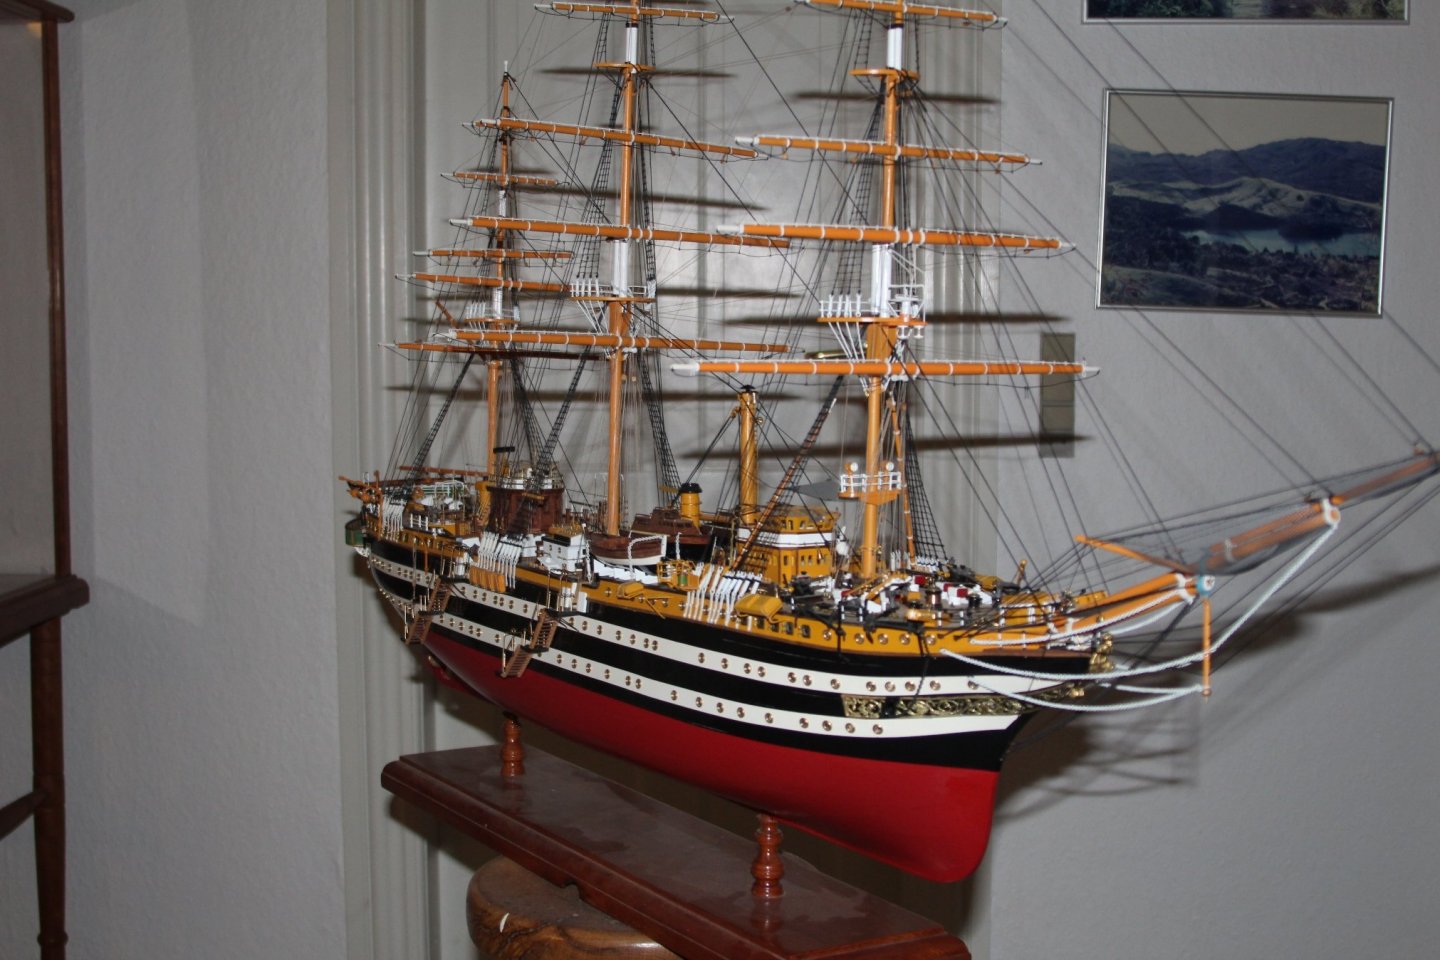
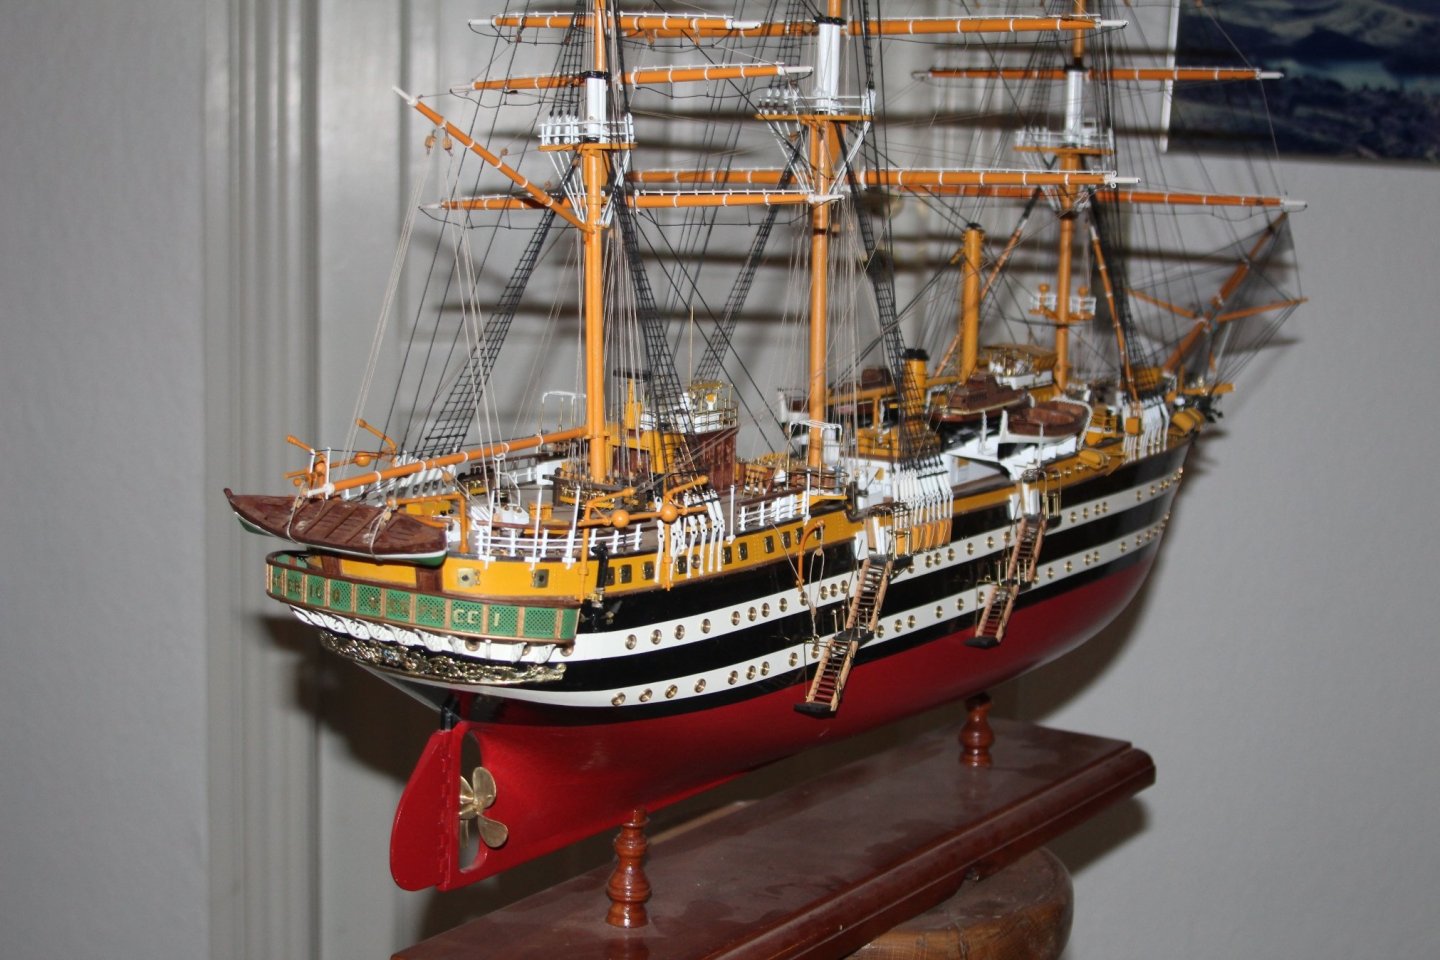
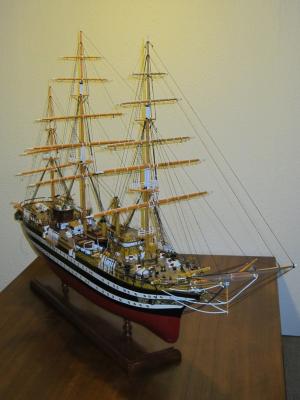
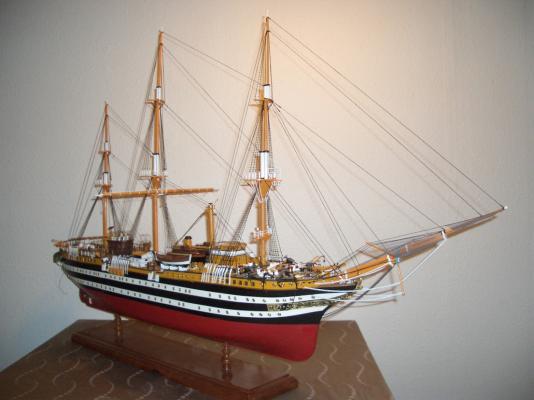
Shocking! I just realized that I started this model in May 2010. Hmm, perhaps it is time to get her finished. Main things to finish are three more small boats, boat davits, stairs for the port side, fit the remaining boats and some other bits and pieces. I found the stairs quite tedious to make. I couldn't used the supplied stanchions as is so I cut of the top and soldered rails to the remaining piece - not easy to maintain the correct angle while trying to hold the pieces and solder at the same time. But I think they are acceptable - at least from a distance. I have uploaded some overall pictures of the model. It's not easy to get good pictures without a wide angle lens which I don't have. Have to start thinking about where to put her when she's done - that's going to be a head scratcher. /Lars Peter

-
Wauw, 4 years since my last post. But I can tell you that the shipyard is up an running again. I need to finish this model so I can begin on the next one. Guess life came in the way. I will post an couple of photos within the next week or so. I have fixed the link to my photo album in my first post. /Lars Peter
-
Completing a Billing Boat Seeadler model for my deceased father-in-law
laps replied to dcaj2's topic in Wood ship model kits
I have recently bought this old kit (like the old vintage kits). The kit is complete and in good condition and includes the fitting set. Unfortunately both instructions and plans are missing. Is that something you can help me with? Kind regards Lars Peter Denmark -
Thank you Kevin and Grant. Still loads of stuff to do: 2½ row boats, boat davits, the outside ladders, an uncountable number of rope coils and probably more - and finally a good cleaning. But I'm looking forward to finish the rigging, and I have to figure out how protect the model - display case? Don't know - it's going to be big. /Lars Peter
-
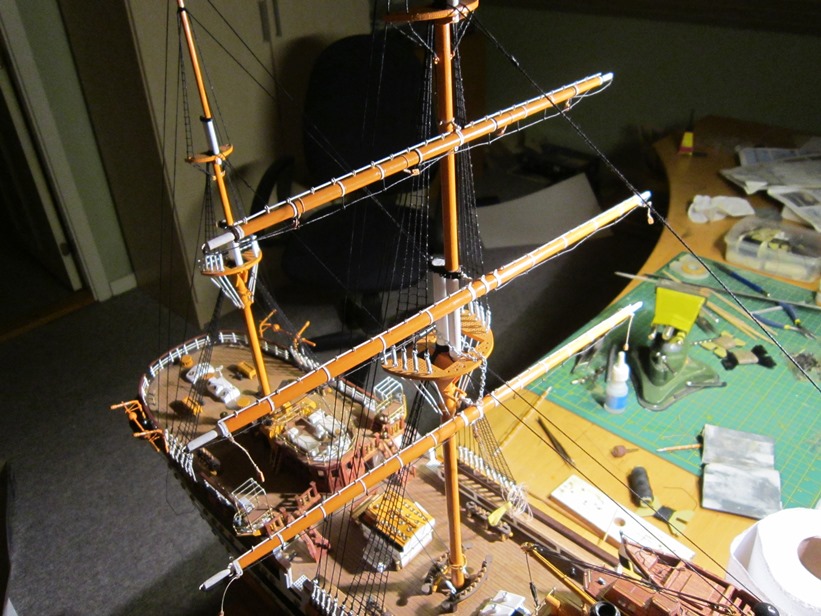
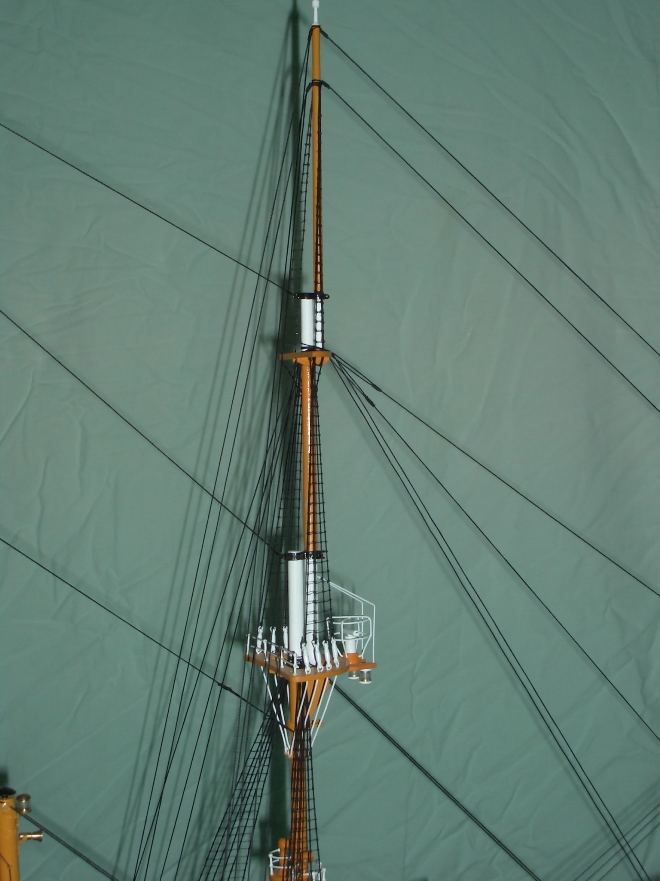
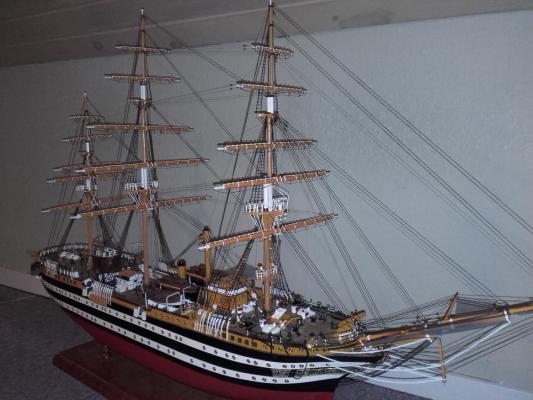
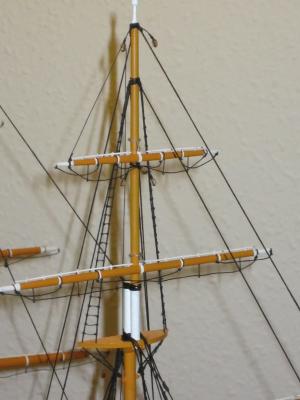
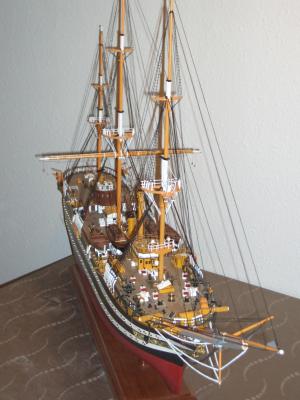
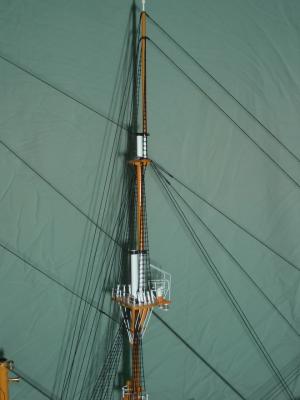
Well, I realized that it has been almost a year since my last update. However, the shipyard is now open for business again and it is time to finish the rigging of my AV. All yards are now in place. Lifts have been done on the fore and main masts. Today, I finished the braces for the fore and main mast yards. This is were I am at the moment. Below is a sorry photo. I only have my phone at the moment but I'll see if I can borrow a better camera and get some better photos without shadows and some more details. The work is pretty straight forward except it is going to be a bit tight to do the braces for the mizzen yards once the main braces are in place. I will be back soon. An overall shot of the model /Lars Peter
-
Fittings/Accessories to Billing Boats Meta af Byxelkrok
laps replied to samaka's topic in Wood ship model kits
Latest news is that a new website will be launced shortly. But that was from September 30, 2015 so I'm not sure what is meant by "shortly" here /Lars Peter -
Fittings/Accessories to Billing Boats Meta af Byxelkrok
laps replied to samaka's topic in Wood ship model kits
Unfortunately, I can help with the fittings for this model either. However, I have some information about the Billings Company. It is correct - they are no longer in business. However, they have been sold to a larger Danish company, Vestergaard A/S - the Danish distributor of Billings kits. So model kits are still being made - still using the Billings name, I guess. Today, I talked to a guy who has just received the 2016 Billings catalog. And they are a few 2016 news. The reason, I talk to the guy was because he is selling a rare vintage VHT/Billing kit of the Danish paddle steamer Hjejlen. I have bought it and will pick it up on Wednesday - quite excited. /Lars Peter -
Hi Everyone, Time for a short update. I have almost finished installing the yards - only 3 to go. Here's an overall view. I have also slowly begun on the running rigging to get a break from the yard making. Here's a bit from the main mast. And from the fore mast. Started installing the yard lifts starting from the top of the fore mast. And finally a macro shot of some standing rigging from the fore mast with dust and everything (don't know whether I will use macro shots again - they reveal too much ). /Lars Peter
-
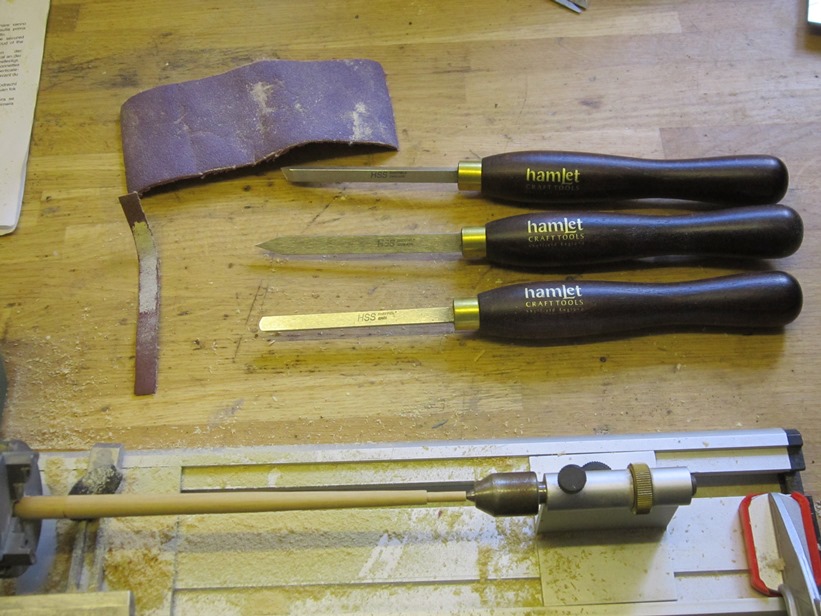
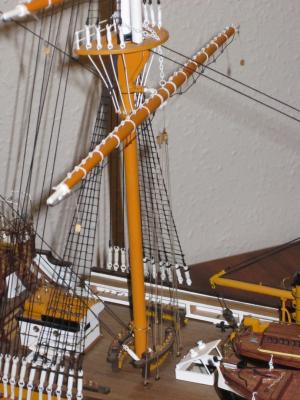
Spars update! I have know disassembled the yards for the main mast and re-fitted them with cardboard strips as reinforcement rings. The 5 yards for the main mast are complete and I have attached three of them so far. The two bottom yards are in a fixed position (according to the plans) and cannot be moved up and down. I expect that the three upper yards can be moved up and down. I saw that Joachim has added sheaves for this on his masts. The tyes(?) are not shown in the instructions and it will be too difficult for me to add sheaves at the present stage. So the tyes will not be added to my model. However, these yards are tied to the mast to indicate that they can be moved up and down. I have completed the shaping of the remaining 10 yards. I did this on my lathe using the tools shown in the photo. The thinnest yards are made from 3 mm dovel and it was quite difficult to shape these as the slightest deflection (even with sandpaper) caused an oval shape. So I finished them off by hand with a file and sandpaper. The yards for the fore mast are now ready to be fitted following a procedure similar to the main yards. The remaining 5 are waiting for paint. This photo shows the three first yards attached to the main mast. *** you may be able to see the new rings looks less bulky compared to the styrene strips. Still have to do the lifts and all the other string work. /Lars Peter


-
And the building continues... I have not been very active lately on MSW but winter is approaching so outdoor project are coming to a halt for this season. I have taking a close look at the running rigging (except bowsprit) I have done so far. I decided I wasn't happy with the reinforcment ring around the spars. I have used styrene strips for this but they are very difficult to glue in place because CA doesn't stick well. So I had to use plastic glue and clamping afterwards. This proved to time consuming so I decided to use card strips instead - what a difference. It takes no time at it is much easier to allign the strips properly. Also, they are a bit thiner than the styrene strips and thus looks less bulky. So this is the way forward. Unfortunately, I do not have any photos yet. My digital camera is broken. I got an old one from my parents but it broke after a while, too. So I may have to buy a new one. There are 15 spars and 2 boom to make. They are more or less identical so I may wait to show you anything until they're all done. Make take a while. /Lars Peter
-
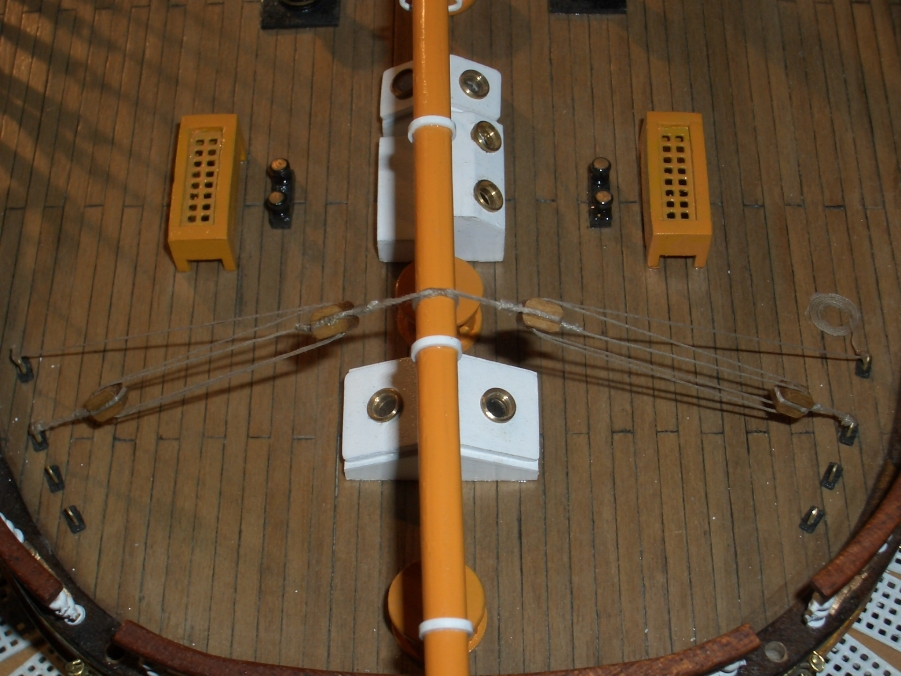
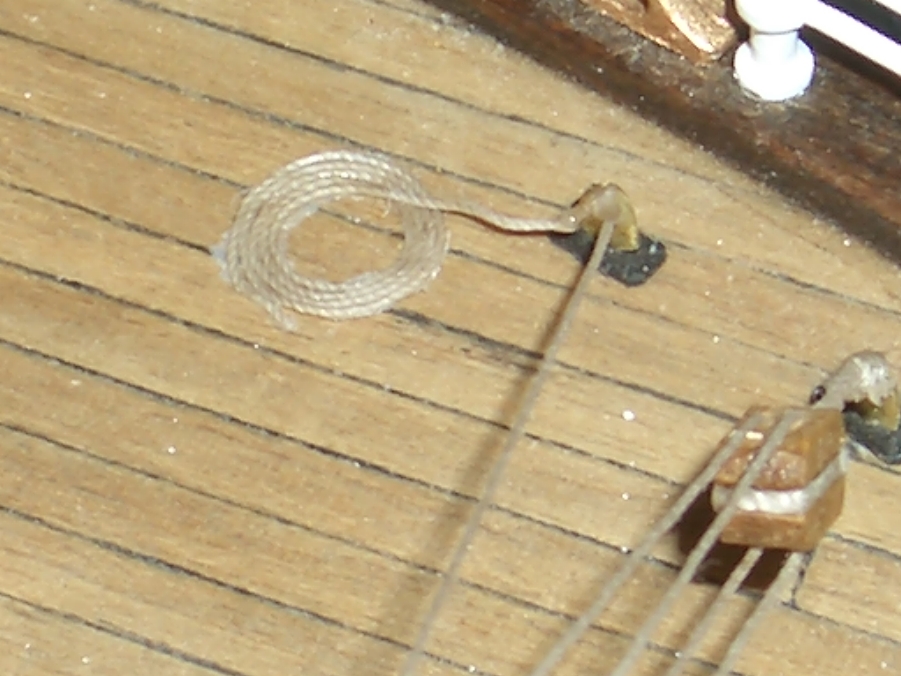
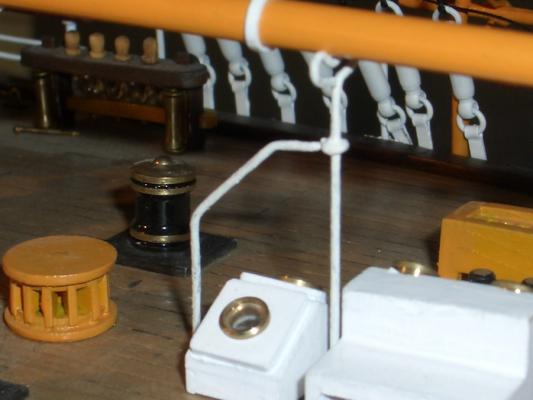
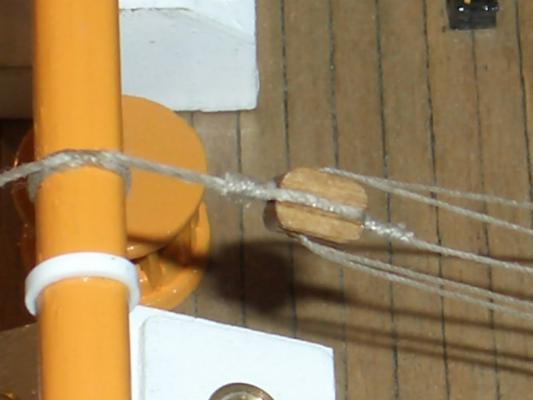
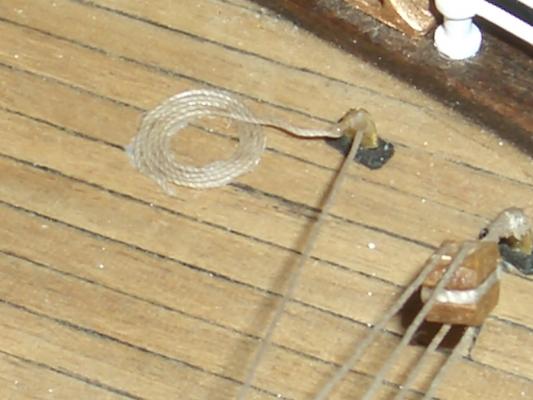
Moving aft on the model, I decided to rig the spanker boom and the spanker gaff boom next. The spanker boom was quite simple to rig and included a support structure made from 0.8 mm bras wire and painted. The next photo shows the completed running rigging of the spanker boom. And a close up photo of one of the blocks. The lines are secured to an eye bolt in the deck. It is simply tied to the bolt with a half hitch and a drop of CA added. To finish of the job, I tried to add a rope coil which is glued to end of the tied line. The supplied rigging line is made from some sort of nylon, I think, and is very difficult to work with. It took quite a while to make it. I taped some masking tape to the table upside down and slowly laid down the line to form the coil. Finally, it was covered with diluted wood glue and left to dry overnight. It was then quite easy to pry it of with a scalpel and move it to the deck. However, I think it is going to be difficult to coil the rope this way in the real world. The end of the line should be in the middle I guess Luckily, I'm not going to make too many of this type of coils but I'm not looking forward to making all the rope coils for the pin rails. Now on to the rigging of the spanker gaff boom. /Lars Peter

-
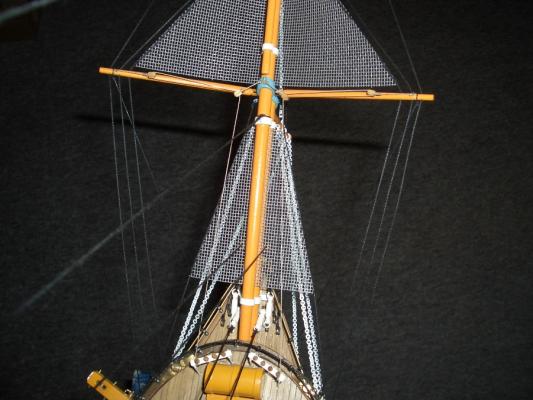
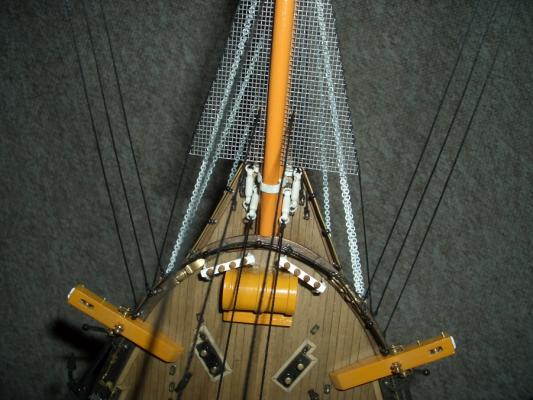
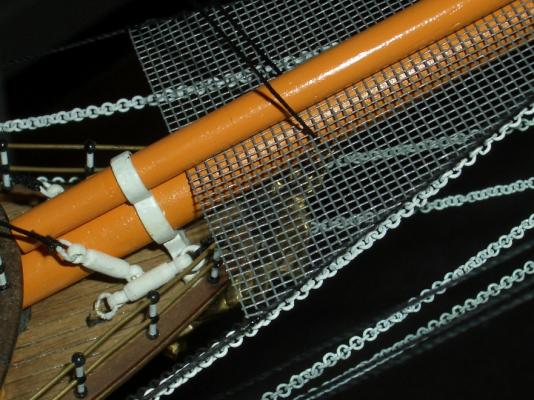
This looks awesome Joachim. Great work! Don't forget to add the netting before you fix the line to the fore mast. Can't wait to see more. /Lars Peter
-
Hi Joachim I know , didn't know the proper name. The rigging is quite different from some of the older ships like my Jylland model and it is difficult to find information about newer ships. Looking forward to see how you tackle the rigging once you have all the small bits and pieces ready. /Lars Peter
-
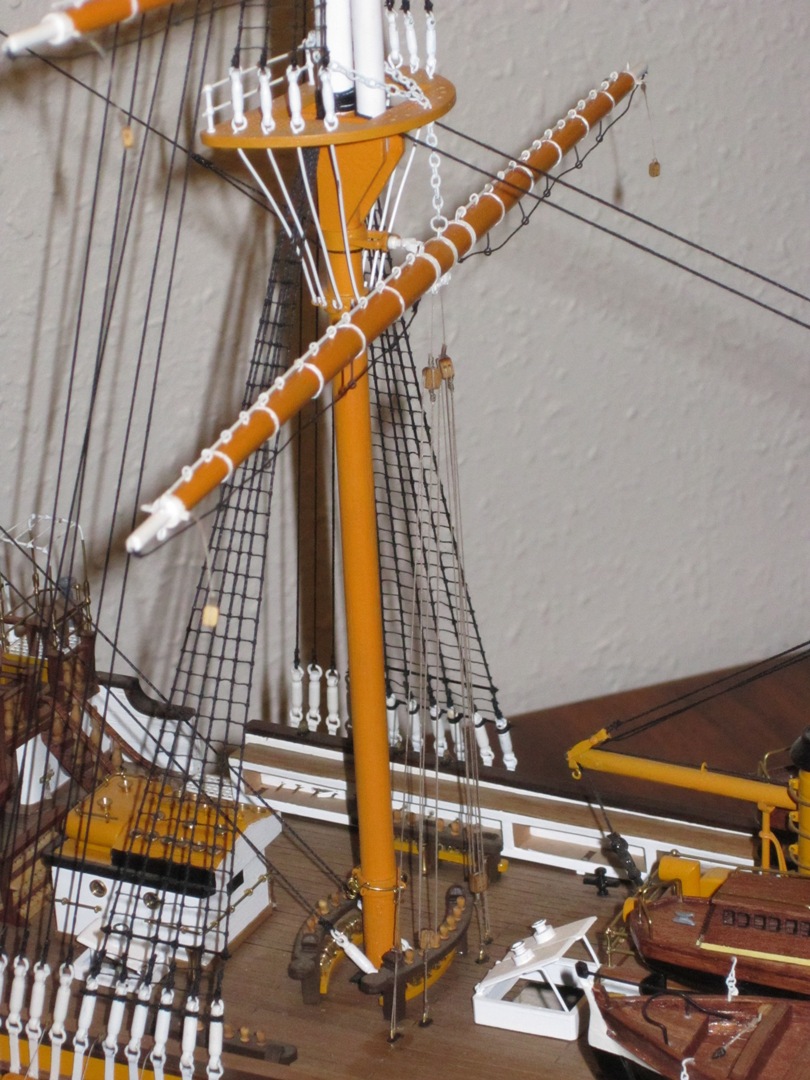
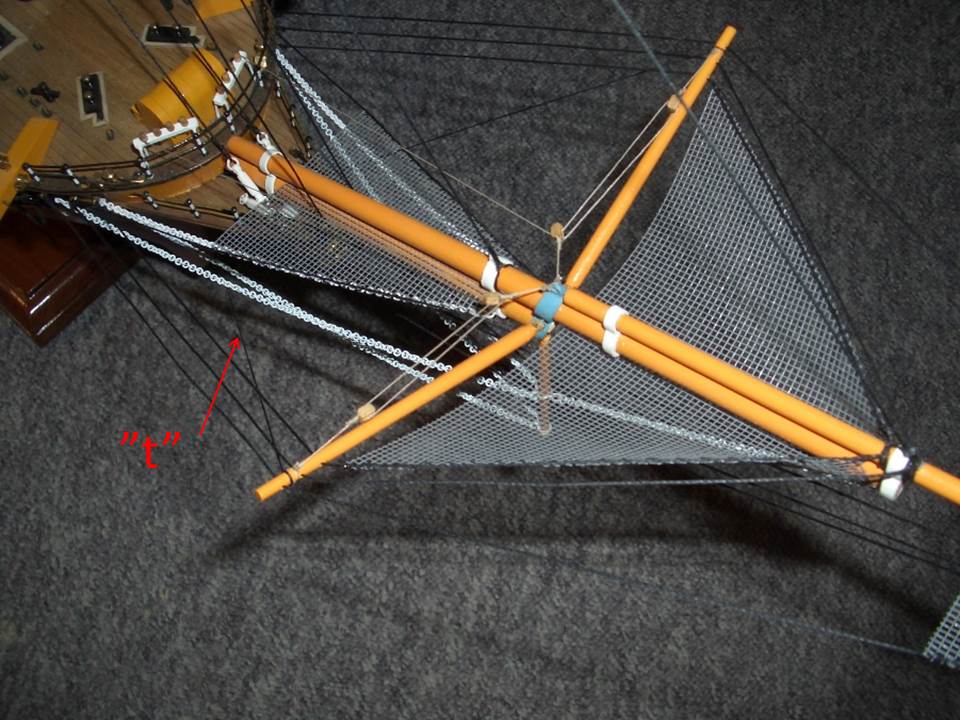
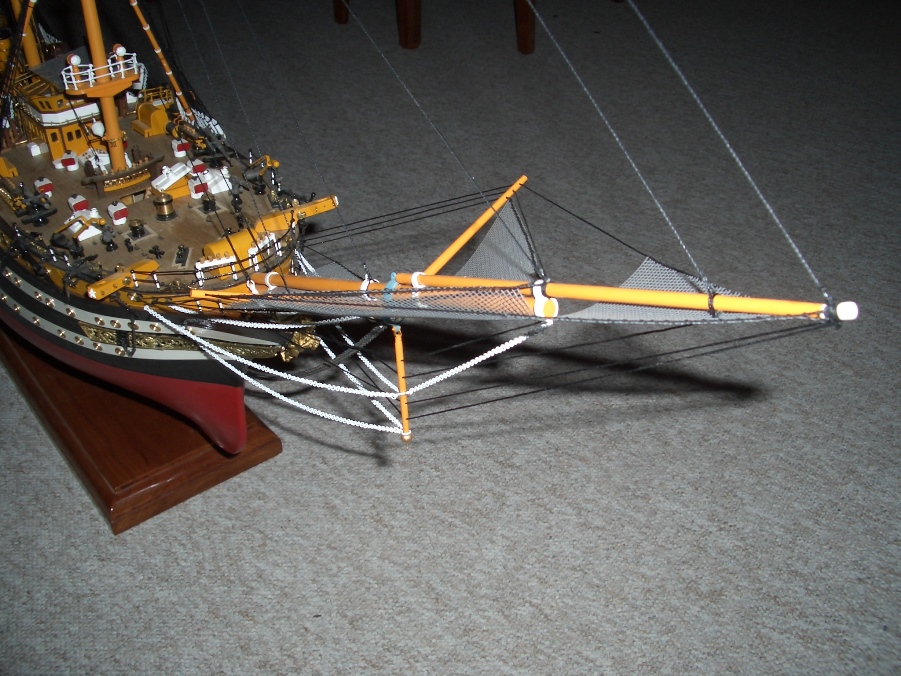
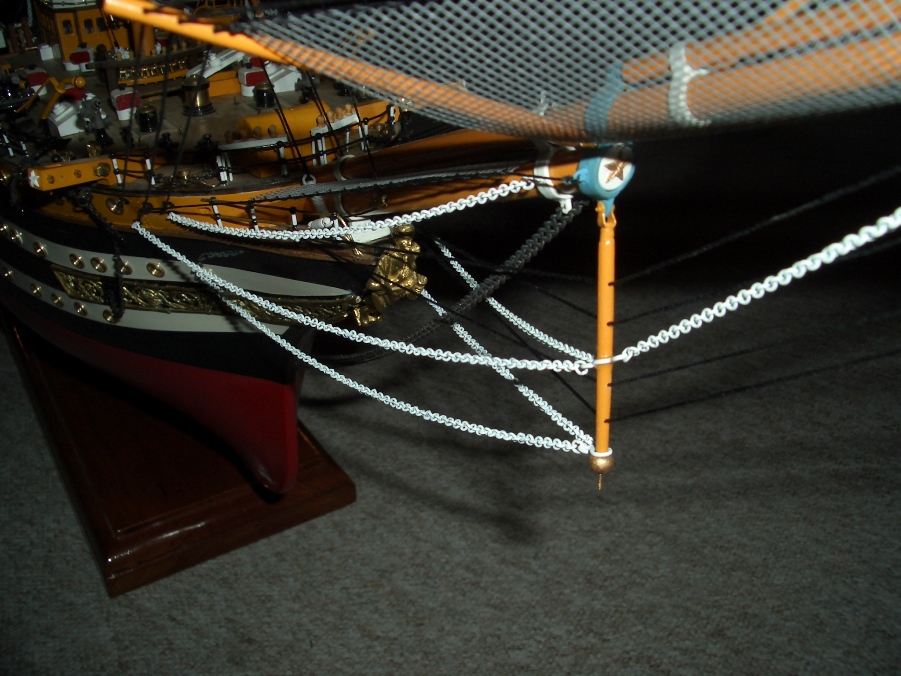
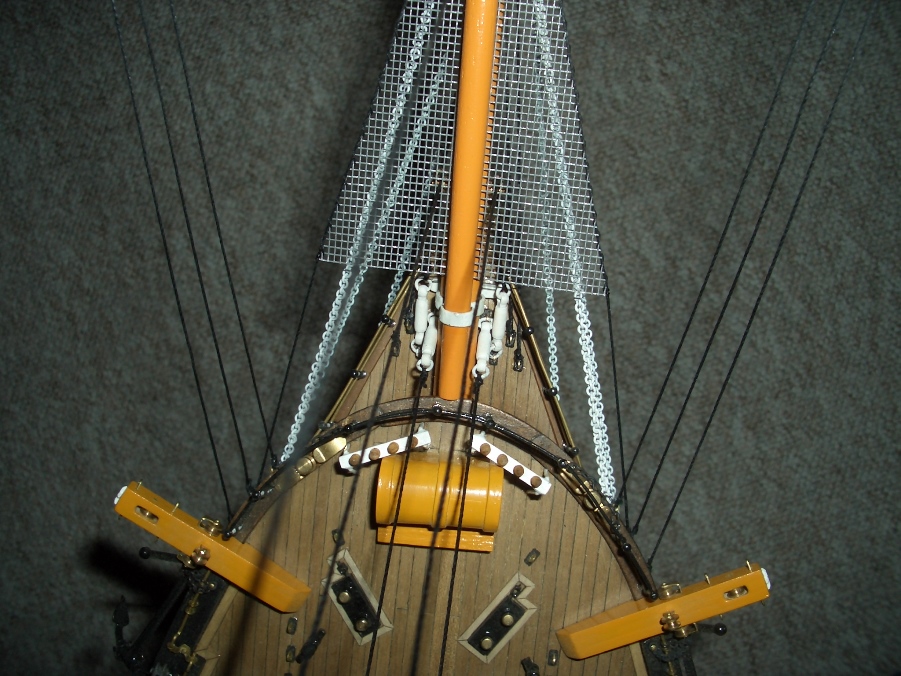
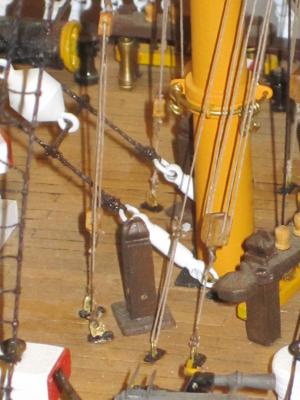
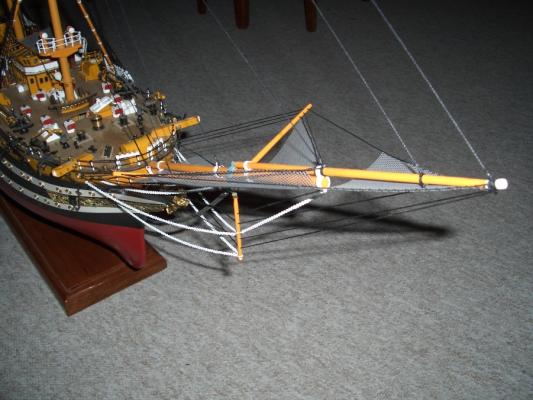
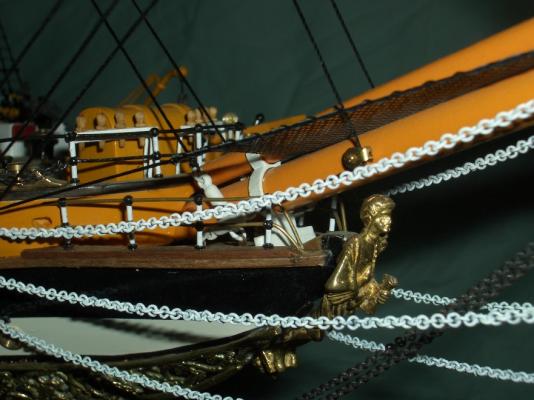
Standing rigging I have now officially started the work on the running rigging starting with the bowsprit. This also meant that I have to install a couple of lines not shown in the instruction. But thanks to Joachim's big work on the rigging plans I decided to add what he call line "t" - don't know the proper term. These are needed to keep the two "booms down as the running rigging shown on the photo will pull them upwards. The other end of the line attaches to the bow below the chains. I do not know how these are fixed to the bow so I used by imagination and used an eye bolt with a ring where the two lines are lashed too. The photo show this attachment. It is a bit blurred but I hope you get the idea. This should complete the bowsprit except for the flag pole and flag. I will try to keep the running rigging simple and follow the instruction where I can while at the same time looking at the correct rigging and belaying plan made by Joachim. /Lars Peter

-
Just thought I would share this video with you. http://www.youtube.com/watch?v=2YnZE0c1pAc Guess, it speaks for itselv. Just unbelievable. /Lars Peter
-
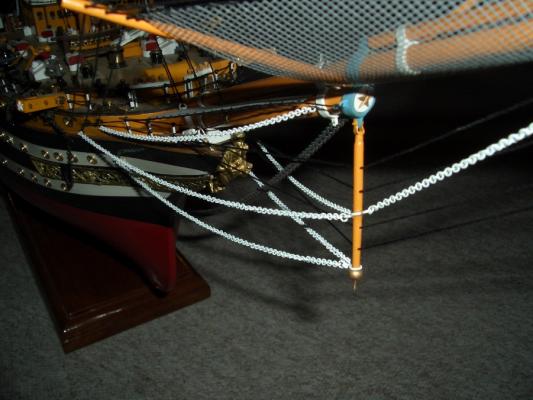
I have now completed the standing rigging of the bowsprit. Joachim has made a nice daigram showing the correct rigging of the bowsprit.Thank you very much for this. It deviates a bit from the kit. I used Joachim's diagram to get everything as correct as possible. However, I have not put in any sheaves so instead of a continious line the line are split and tied to the bowsprit. Also, I didn't pay enough attention to the instruction photos so the outmost part of the bowsprit is not tilted to starboard. This creates a slight problem when I have to attached the flagpole and flag. The part is glued on with CA and I do not want to ruin paint etc. trying to disolve the glue with acetone. I'll see how I deal with this later. /Lars Peter
-
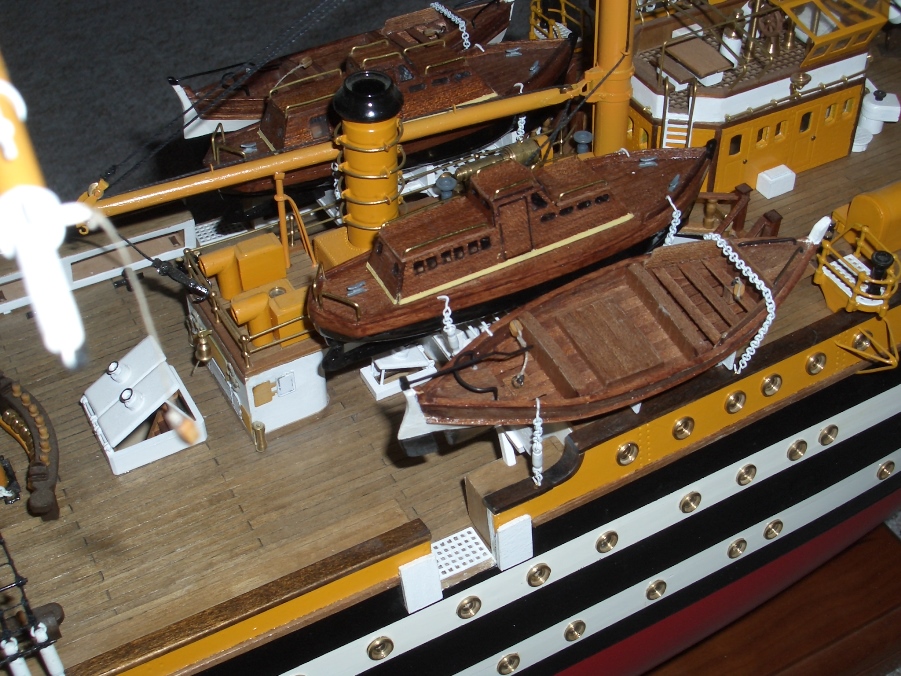
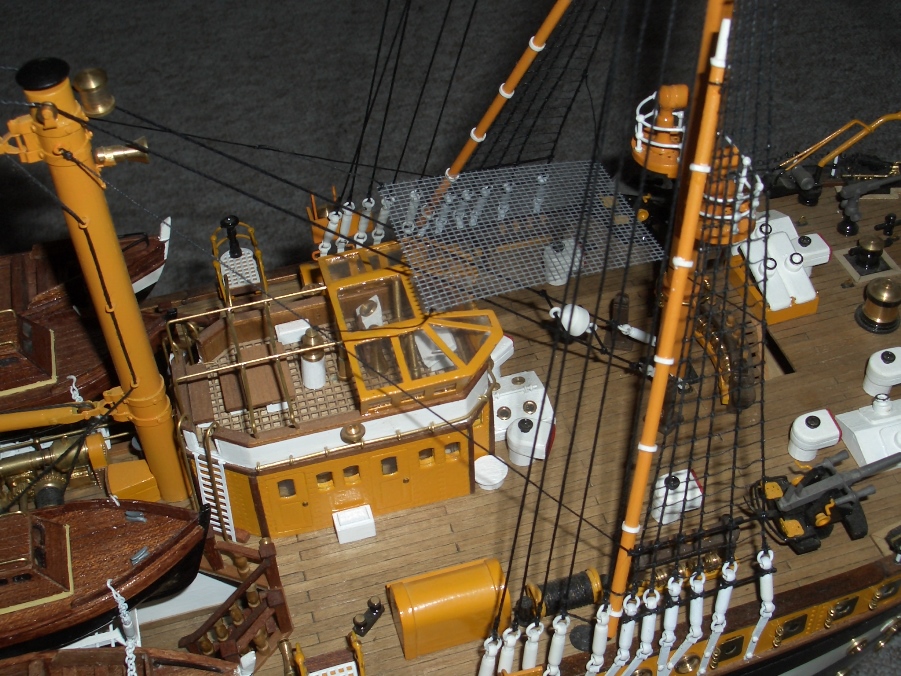
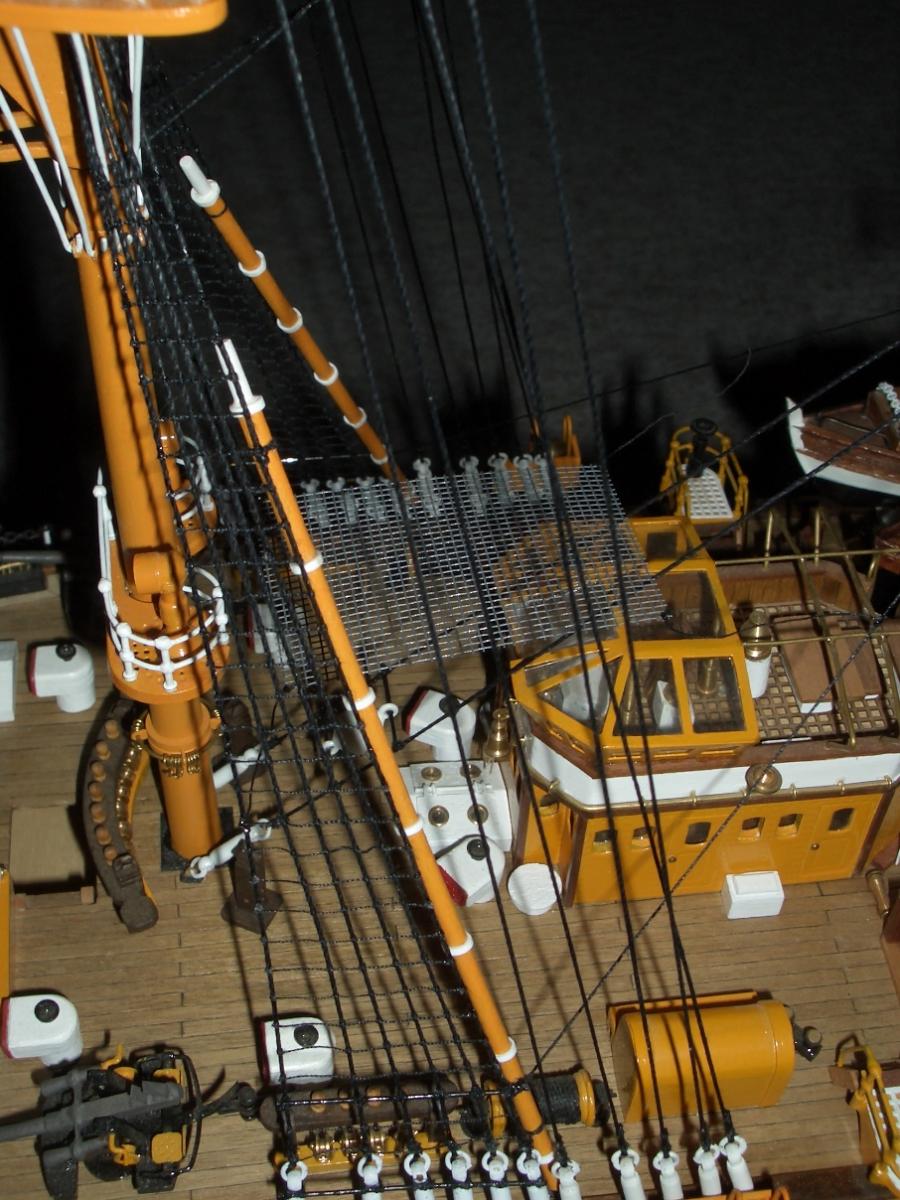
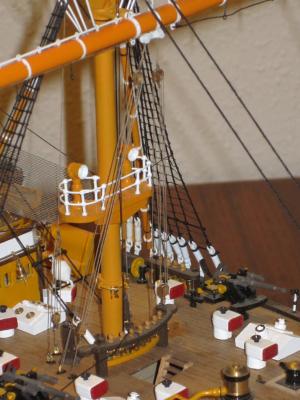
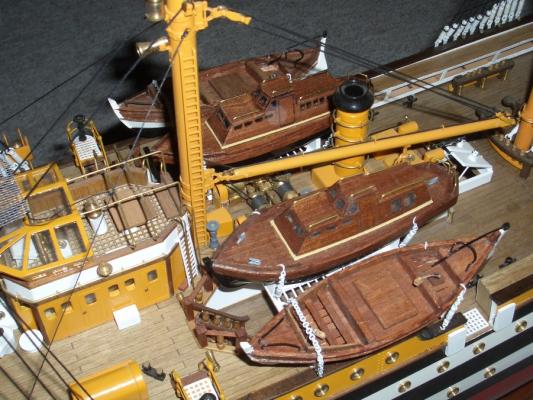
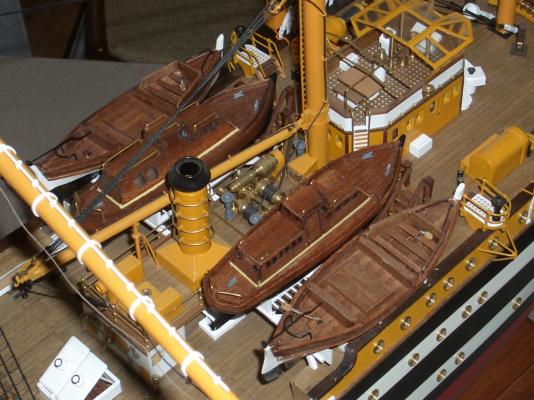
A few small jobs have been completed. The first 4 boats have now been lashed to the deck. I have also installed the safety netting above the deck house and two spare spars (not sure what they are for) have been lashed to the fore mast shrouds. Now I can continue with the rigging. /Lars Peter


-
Thank you for your comments. Joachim: Your diagrams a most useful. However, I haven't had the time to finish the bowsprit yet. Currently, struggling with another rowing boat (no. 2 out of 4). I currently covering the inside of the boat and the mahogany strips are a pain to work with. I'm really looking forward to the day all the small boats are finished. /Lars Peter
-
Hi Richard My advise would be to turn the hull upside down and then carefully drill holes through the keel preferably using a drill press to keep the drill bit vertical. My AV is mounted with 4 mm threaded rod but if you fix a smooth rod at the top of the pedistals and then lower the hull onto these rods, I'm sure the weight of the hull will keep it vertical and down. Another option is to use the cradle which came with the model. Just a couple of ideas. /Lars Peter
-
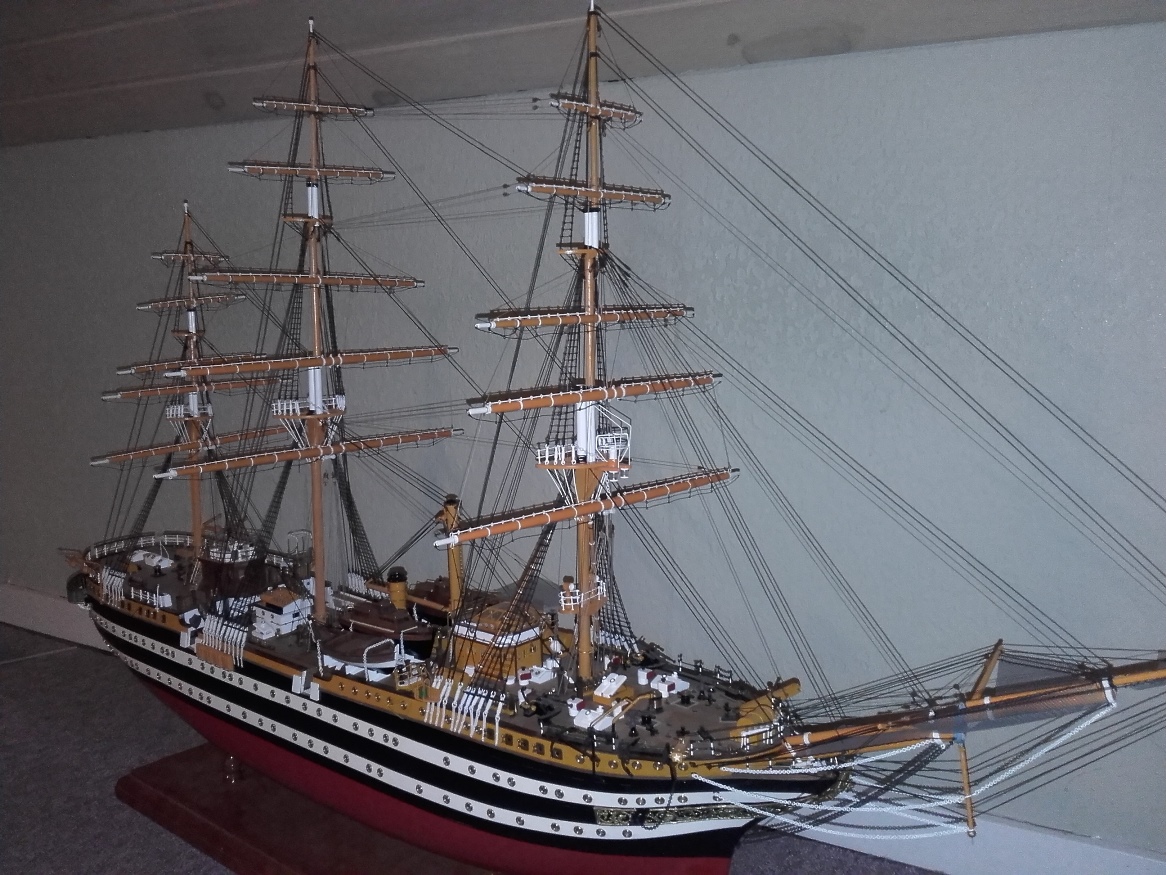
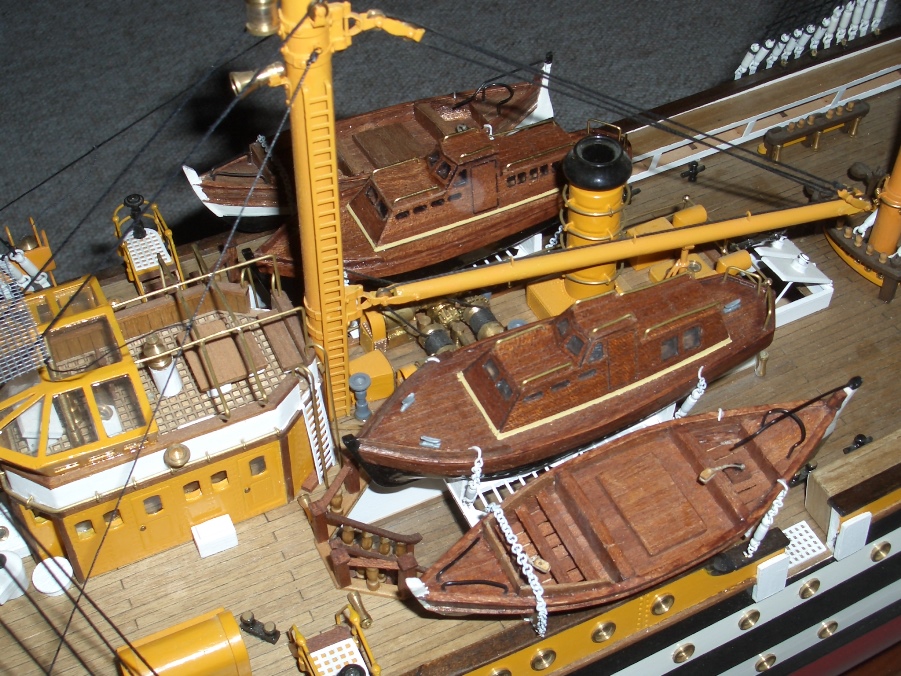
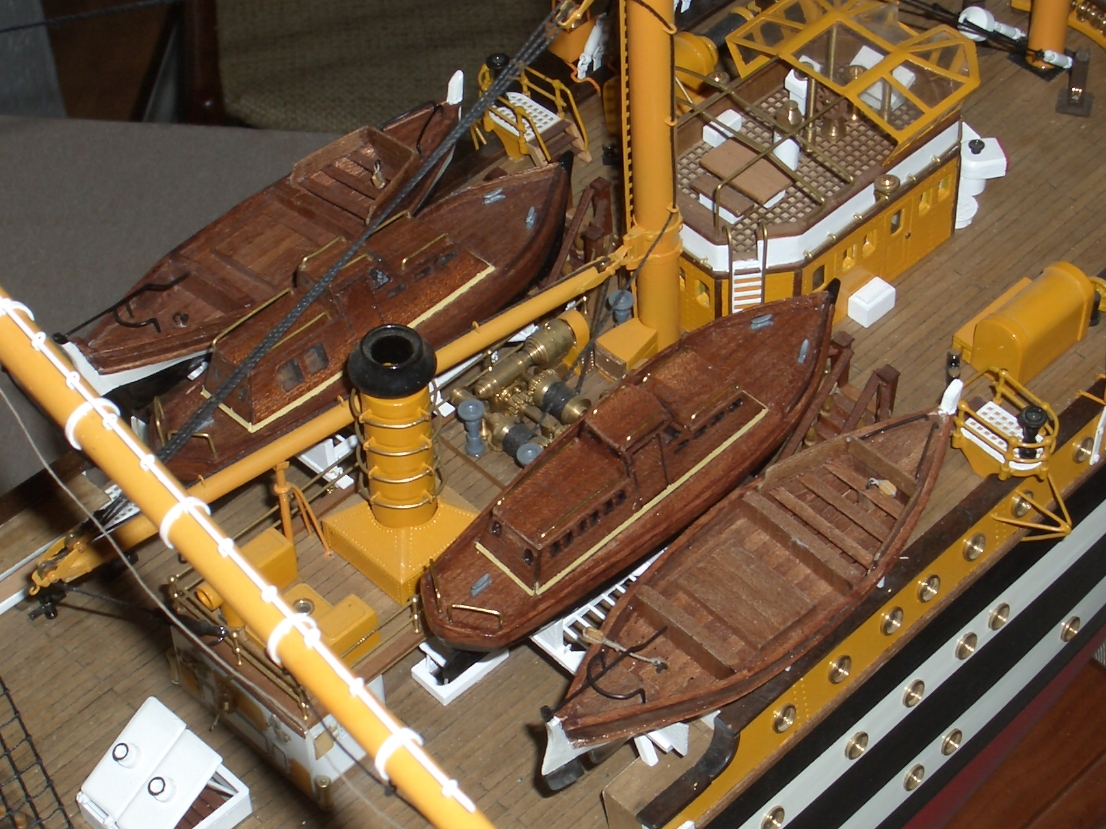
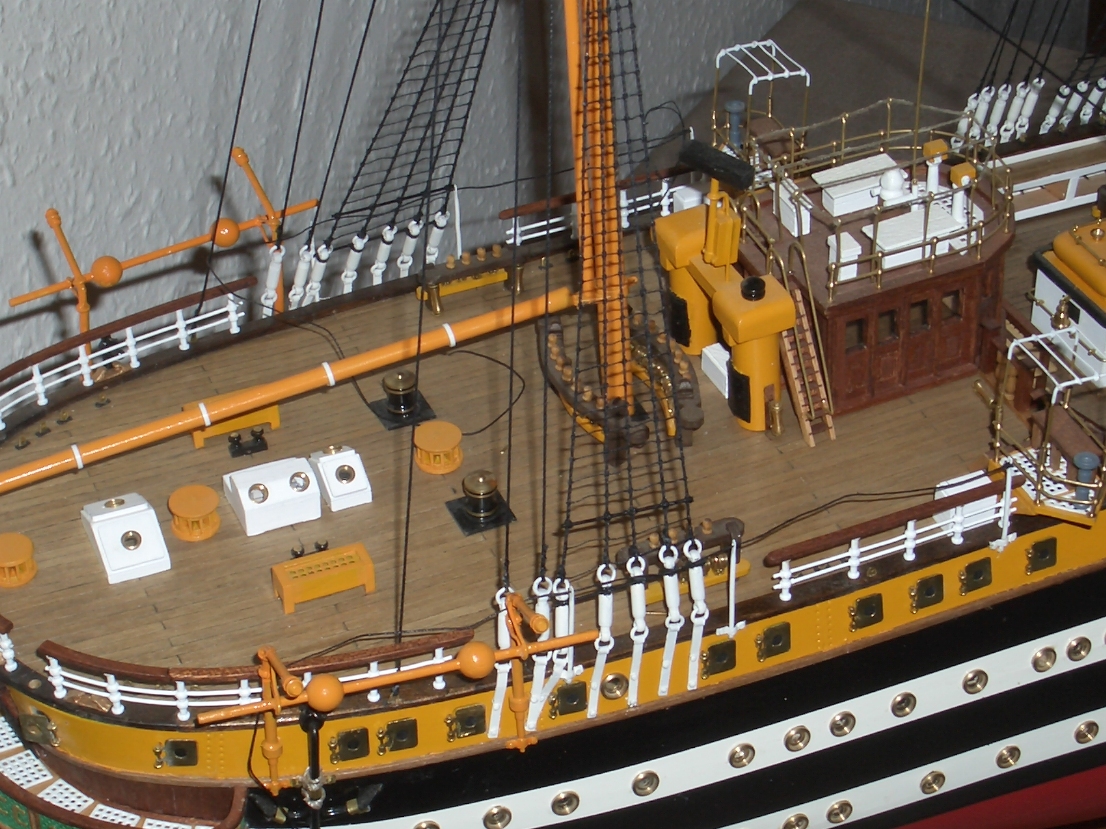
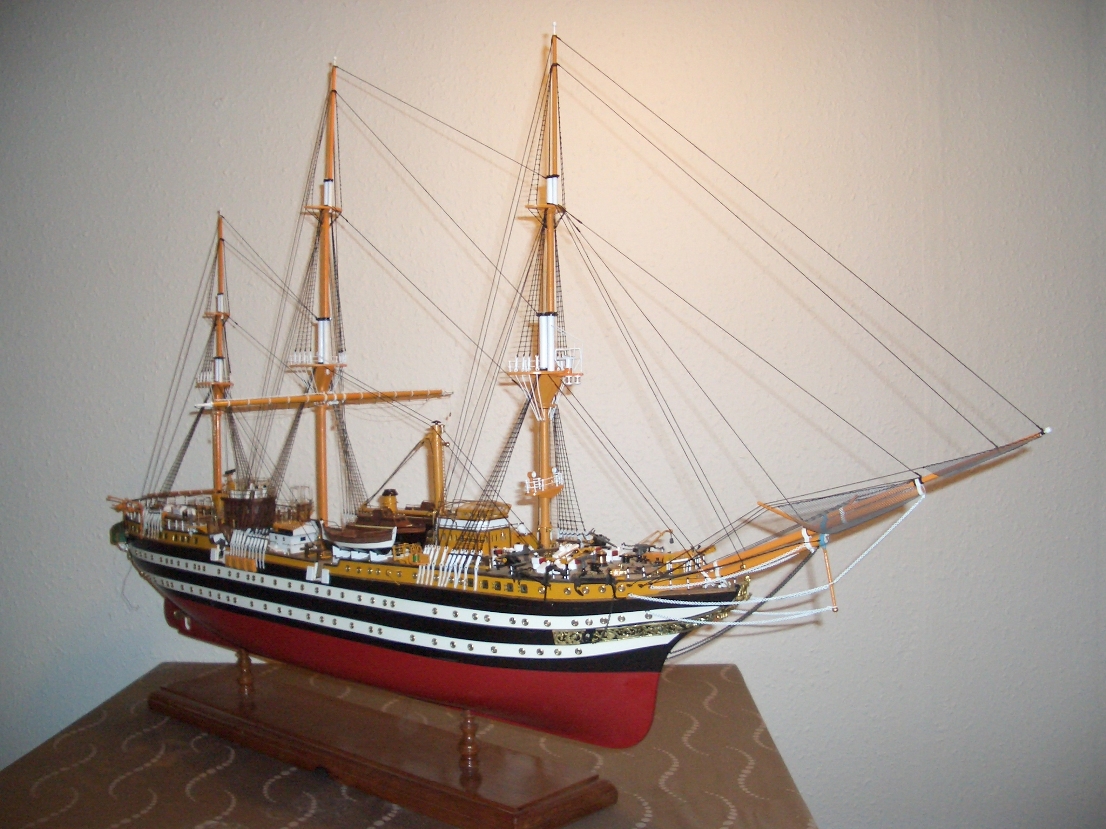
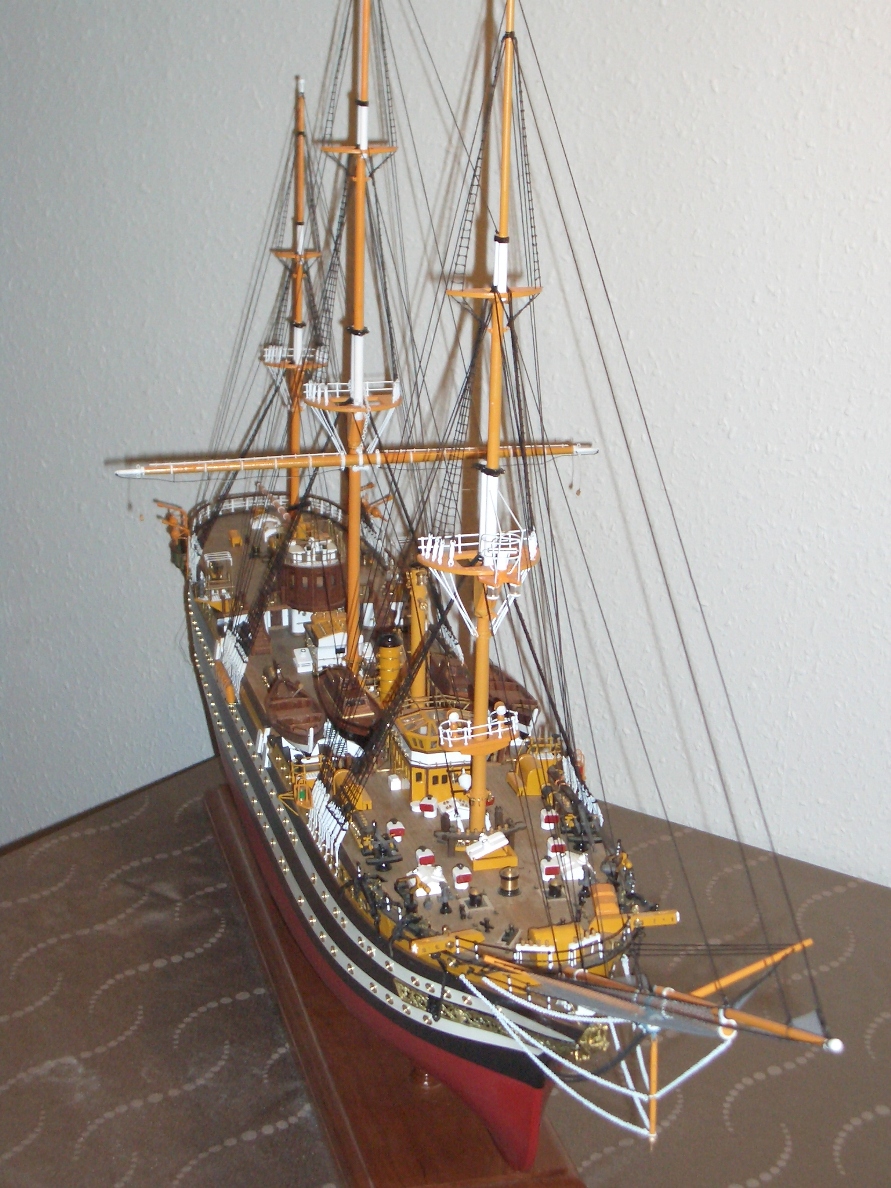
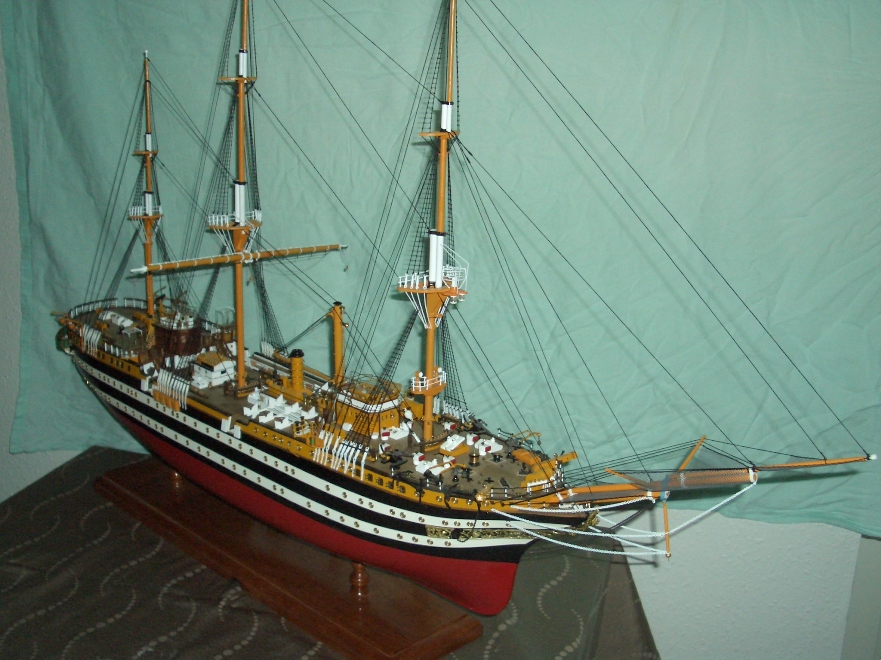
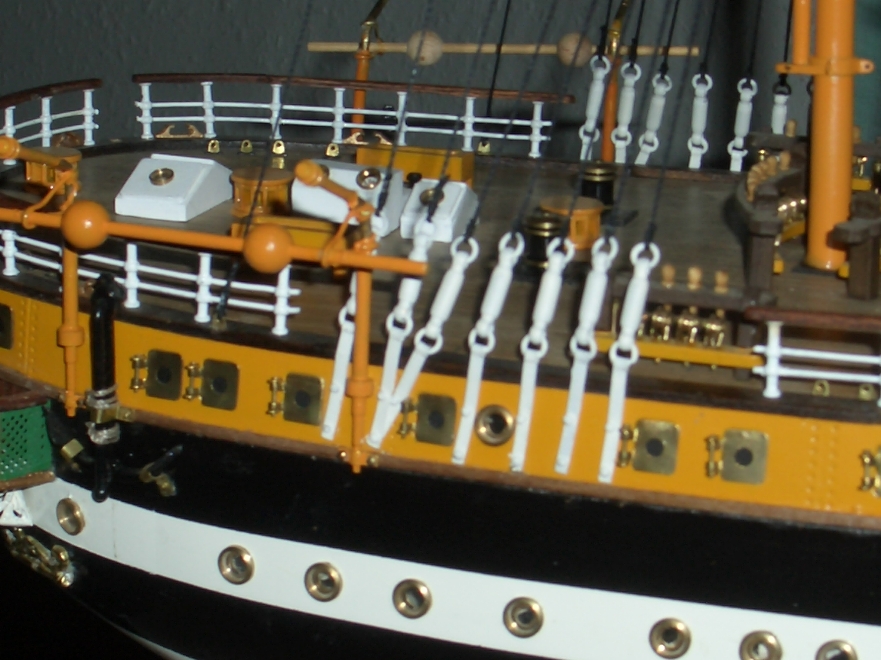
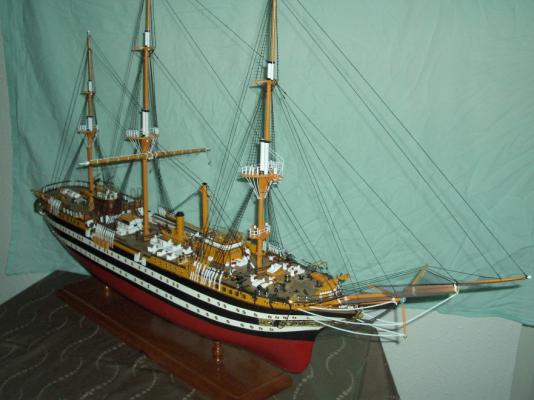
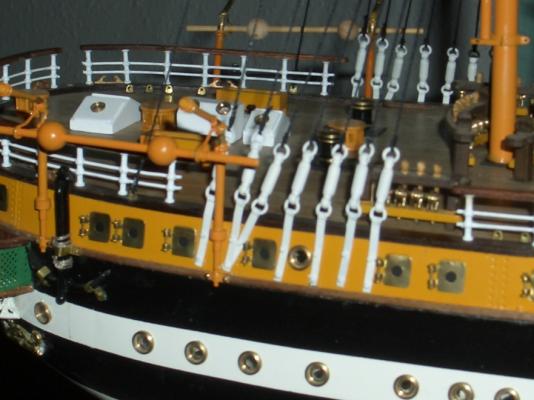
A milestone has been reached - I have finished the standing rigging and all the ratlines except the standing rigging under the bowsprit. I have finished the second motor boat. The photo show all of the four boats in place on the deck. I'm currently in the process of making the lashings for these so they can be fixed in position permantly. They should not interfere with the running rigging. The next picture show the quarter deck where I have installed the first stanchions to hold a safety line (I belive that's what it's for). Finally a couple of overall photos /Lars Peter

-
She's a beast. Definately on my which list so I will be following your log with interest. I did the BB Jylland a few years back and was very satisfied with the quality of the laser cut parts which were very accurate especially compared to my Panart AV kit where every cut seems to have been made at an angle. Keep the pictures coming. /Lars Peter
-
Hi Joachim, I'm quite amazed about the amount of work you put into your AV. I'm very much looking forward to how you tackle your rigging. I only follow the instructions which leave a lot to be decided. Perhaps I should slow down and wait for you to catch up so I can get hints from your log Keep up the good work and do not wait too long with an update. /Lars Peter
-
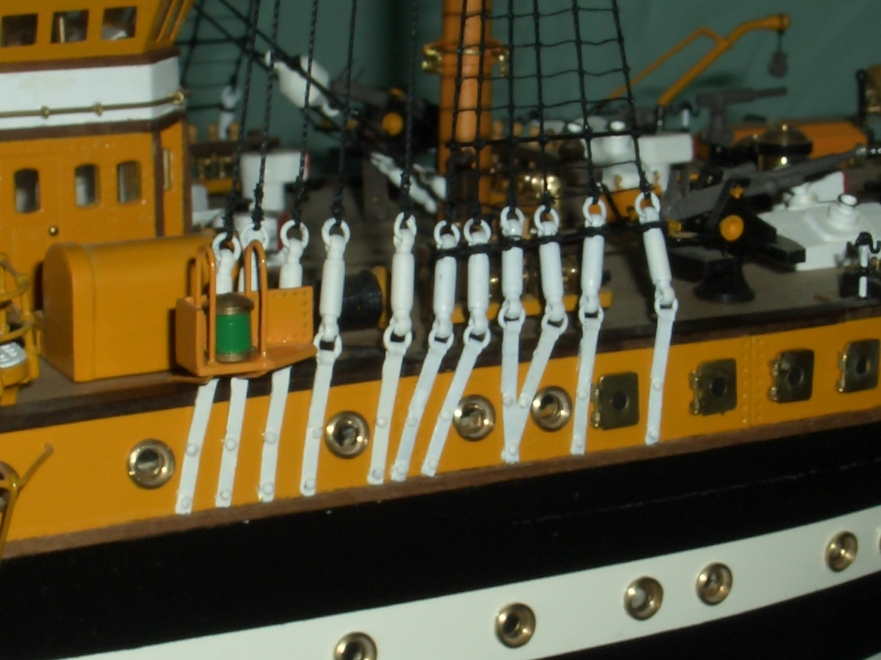
First of all a happy New Year to all of you. I managed to get quite a bit done on my AV over the Christmas holidays. The standing rigging is now more or less finished. I still have to do the ratlines on the mizzen mast. I had to attach to pair of boat davits in order to figure out how much room I had left for the mizzen backstays. They still need to be cleaned and finished off with paint. Also, the two boxes for the lanterns had to removed and changed to fit with the rigging. I will now slowly begin on the running rigging. Again this will take a lot of time. There are a total of 15 spars that need to made. So far I have only made two. I also have to fit the 4 boats on the deck as it may be too difficult with all the rigging in the way. This means I have to complete the last boat to go here. I apologize for the poor quality of the photos. Ny own camera is broken beyond repair so I have borrowed one which is also more or less broken. The auto focus and the screen are not very good so it is really difficult to take decent photos and it does not help that it is quite dark outside most of the day, too. /Lars Peter


-
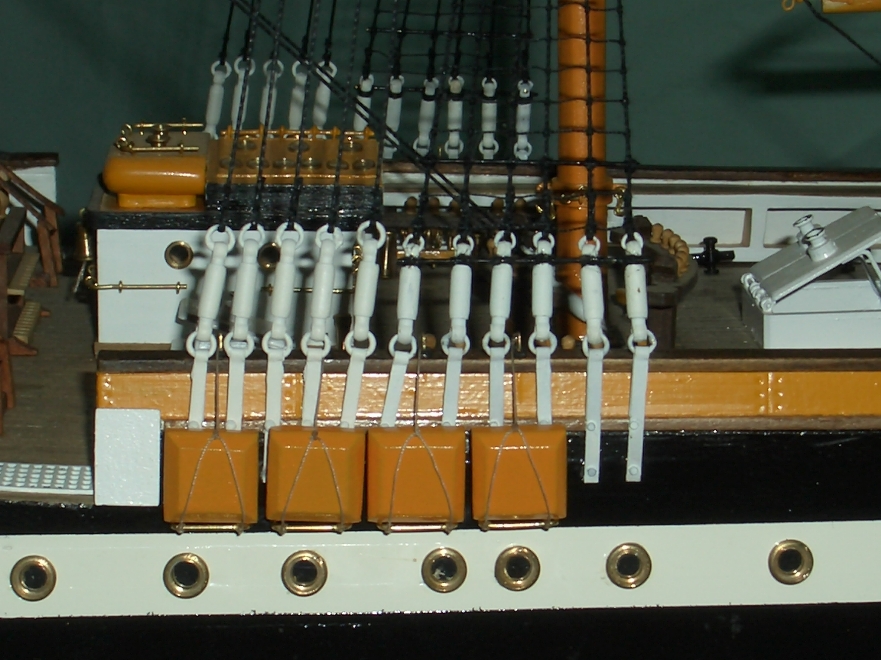
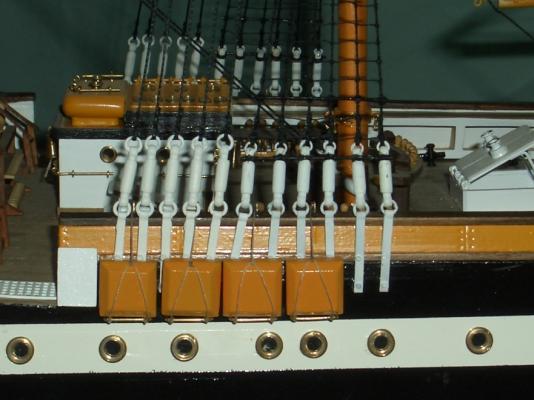
Just a small update. I have completed installing the back stays for the main mast and completed the ratlines on the main mast. Also, 8 life rafts have been added to the hull. Just need to make some robe coils to finish these off. Now I can do it all over again on the fore mast - except the life rafts. It is time consuming work but I'll keep you updates once these are finished. /Lars Peter