waspy
-
Posts
40 -
Joined
-
Last visited

-
 GrandpaPhil reacted to a post in a topic:
HMS Victory by waspy - Constructo - First time modelling with wood
GrandpaPhil reacted to a post in a topic:
HMS Victory by waspy - Constructo - First time modelling with wood
-
GrandpaPhil reacted to a post in a topic:
HMS Victory by waspy - Constructo - First time modelling with wood
-
cristikc reacted to a post in a topic:
HMS Victory by waspy - Constructo - First time modelling with wood
-
cristikc reacted to a post in a topic:
HMS Victory by waspy - Constructo - First time modelling with wood
-
MEPering reacted to a post in a topic:
HMS Victory by waspy - Constructo - First time modelling with wood
-
MEPering reacted to a post in a topic:
HMS Victory by waspy - Constructo - First time modelling with wood
-
MEPering reacted to a post in a topic:
HMS Victory by waspy - Constructo - First time modelling with wood
-
MEPering reacted to a post in a topic:
HMS Victory by waspy - Constructo - First time modelling with wood
-
MEPering reacted to a post in a topic:
HMS Victory by waspy - Constructo - First time modelling with wood
-
MEPering reacted to a post in a topic:
HMS Victory by waspy - Constructo - First time modelling with wood
-
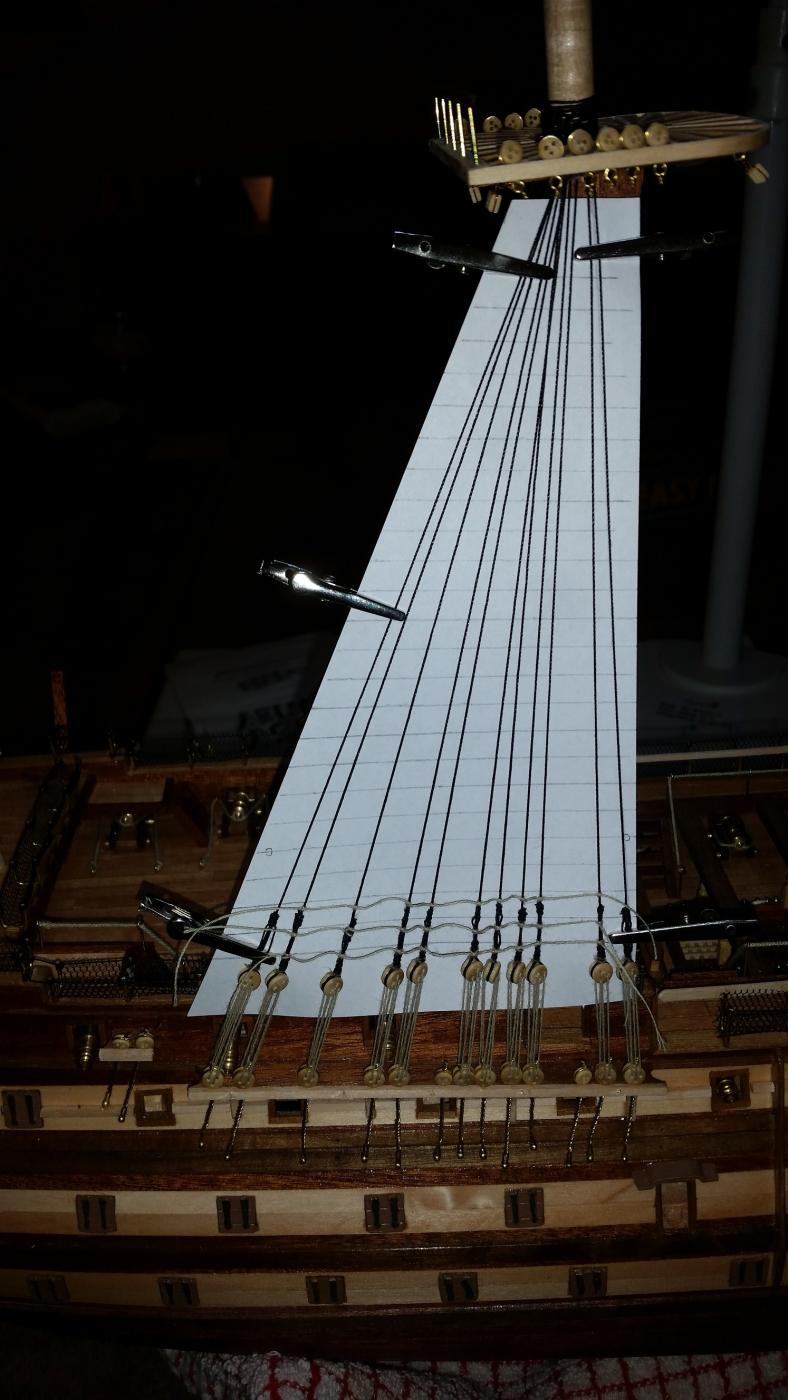
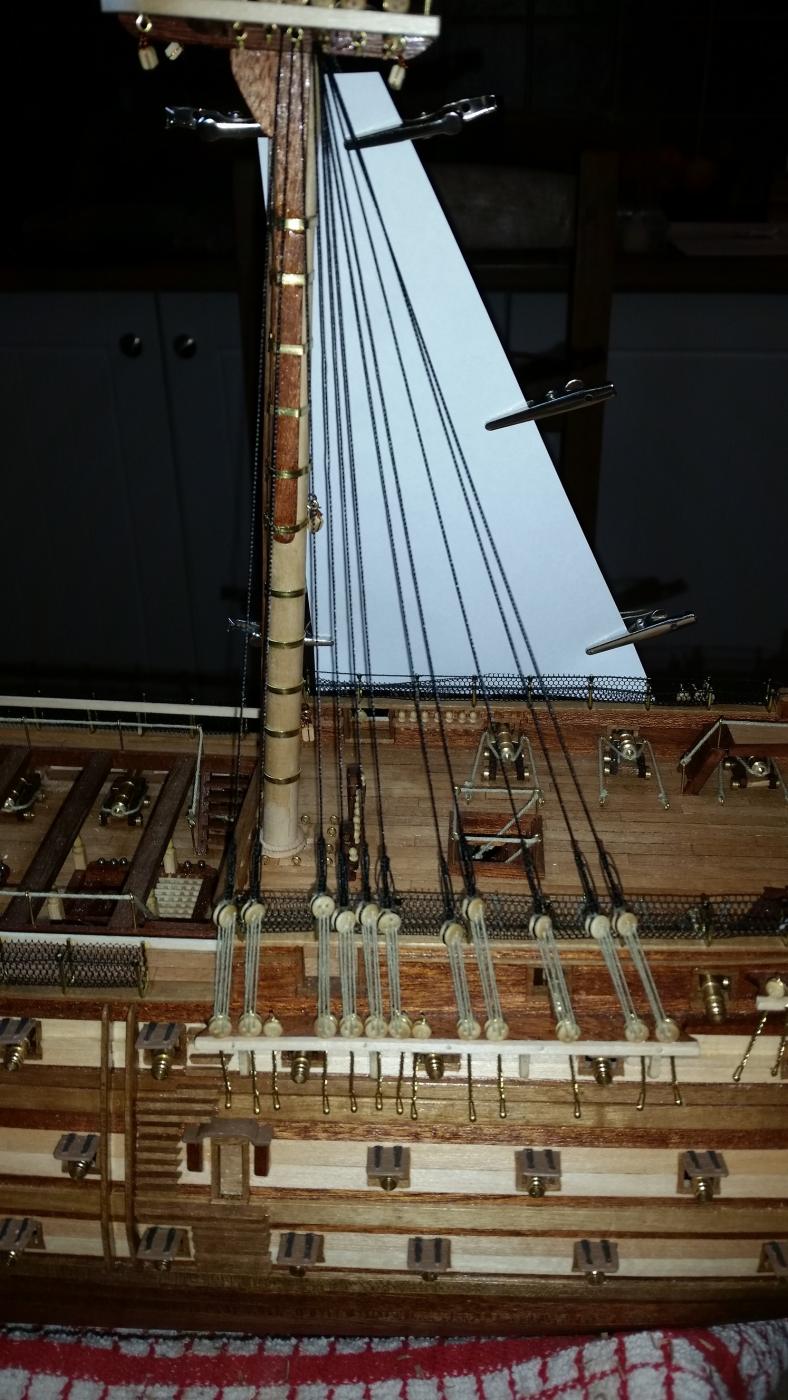
 With the nice weather outside, progress has slowed considerably, but in the last few days I've fixed the main mast, attached all the lower main shrouds and have now started on the ratlines. That now means I've got plenty to do when I've got a spare 5 minutes that don't need all my tools out.....just thread, scissors and tweezers *edit* just seen the pictures and a couple of the shrouds have twisted at the top.....gonna have to address that before any more ratlines go in.... Waspy


- 47 replies
-
- 3
-
-
- victory
- constructo
- (and 1 more)
-
looking great Heinz!
-
waspy reacted to a post in a topic:
HMS Victory by Heinz746 - Caldercraft
-
just a little update: lower fore and main masts completed, lower mizzen on its way.... Lower main stuck in place and the very first shroud attached to it's deadeye


- 47 replies
-
- 4
-
-
- victory
- constructo
- (and 1 more)
-
waspy reacted to a post in a topic:
HMS Victory by Heinz746 - Caldercraft
-
waspy reacted to a post in a topic:
HMS Victory by Paul0367 - Constructo - Scale 1:94 - First wooden ship build
-
looking good as always! .... Constructo certainly have left us to our own imagination when it comes to the rigging - very limited to the detail of where all the ropes are supposed to go! What is the title of that book Paul ? - the pictures look much more informative than the book on rigging that I am trying to decipher!
-
waspy reacted to a post in a topic:
HMS Victory 1805 by Robert29 - FINISHED - Caldercraft - Scale 1:72
-
thanks Ian, I kept having to re-check the plans to make sure the bowsprit was the correct length coz it looks SOOOoo long lol
- 47 replies
-
- 1
-
-
- victory
- constructo
- (and 1 more)
-
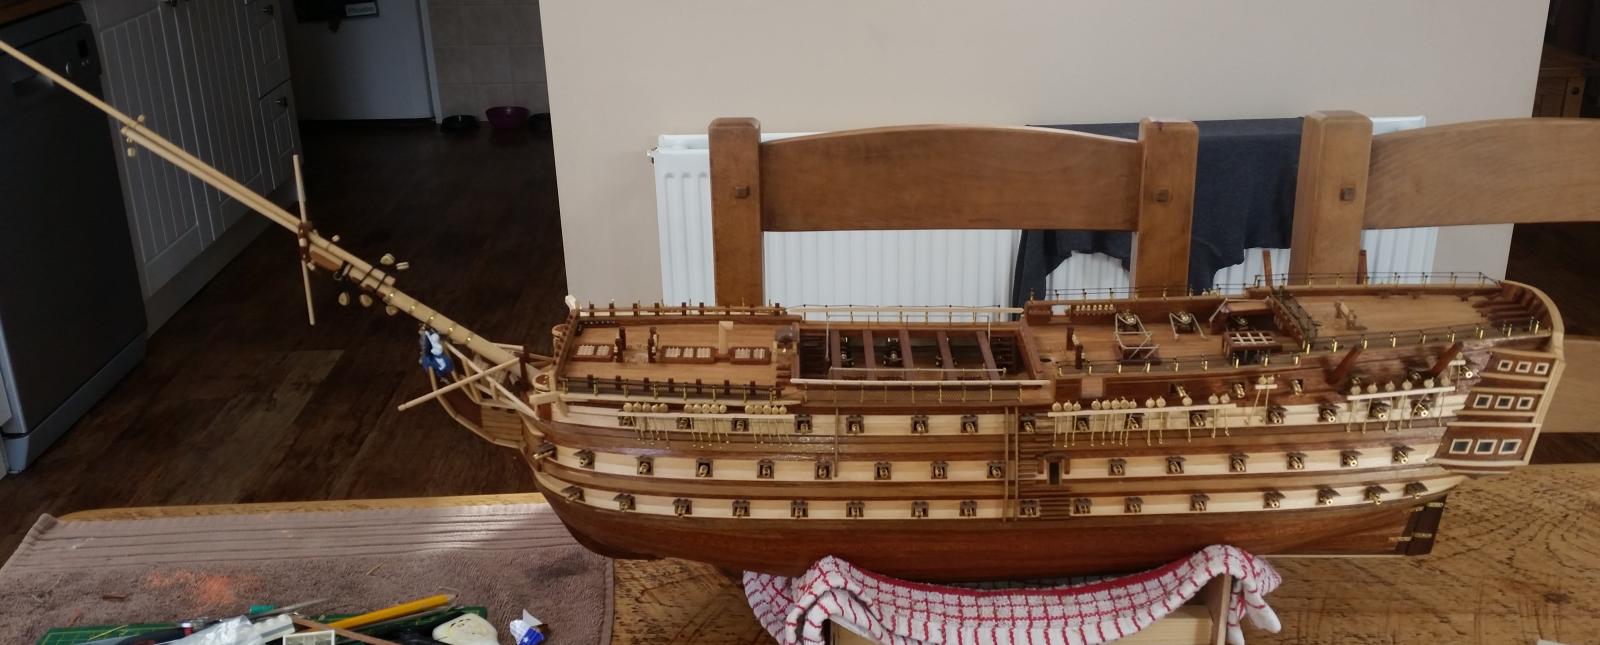
just a quick post to see overall progress so far: half the hammock nettings in place and bow sprit fitted: Waspy
- 47 replies
-
- 2
-
-
- victory
- constructo
- (and 1 more)
-
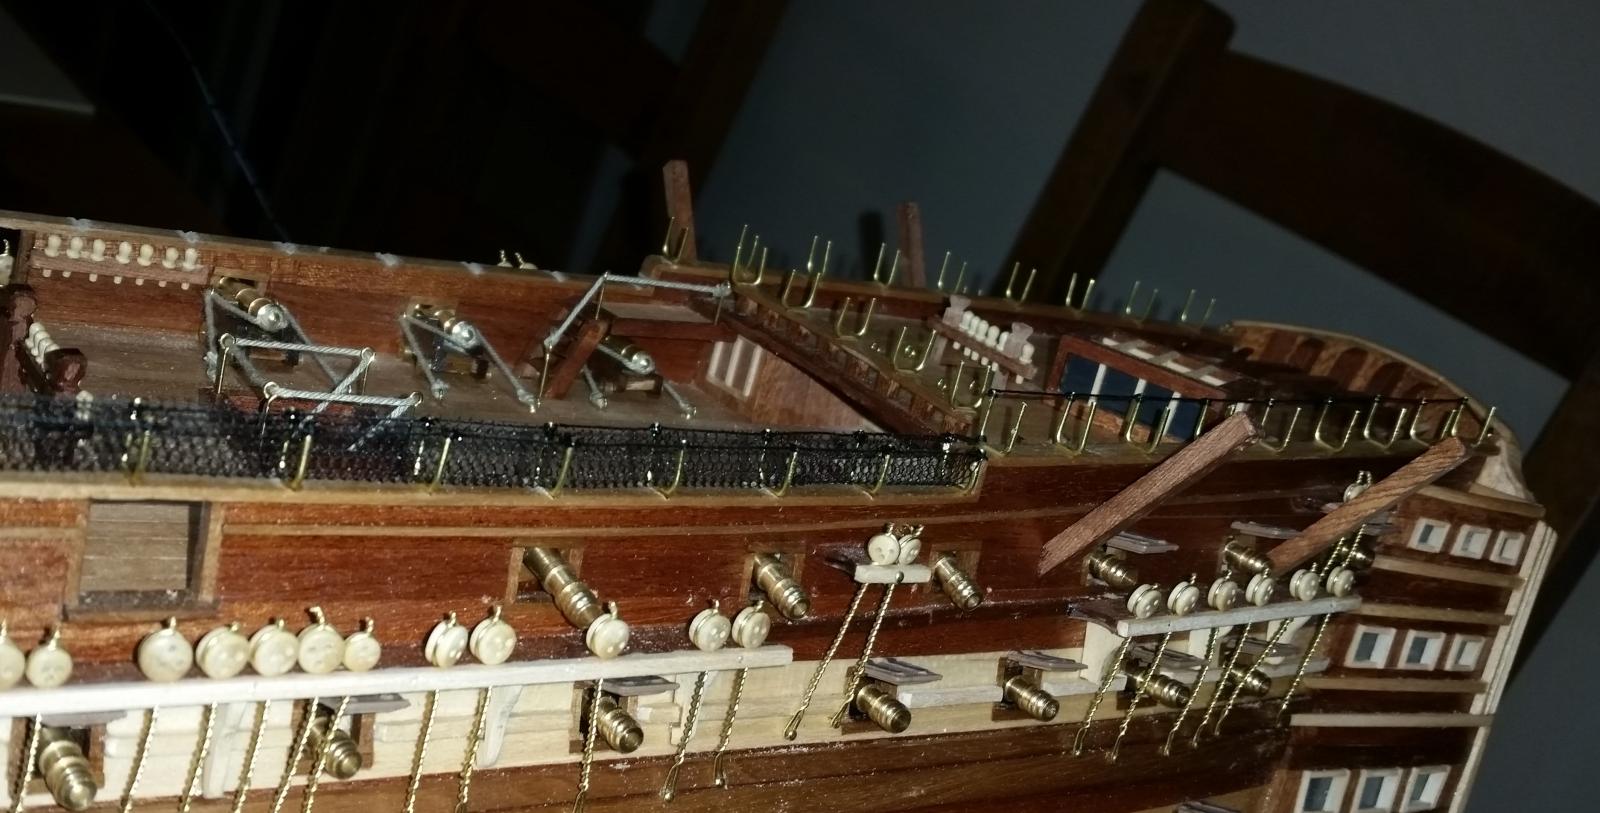
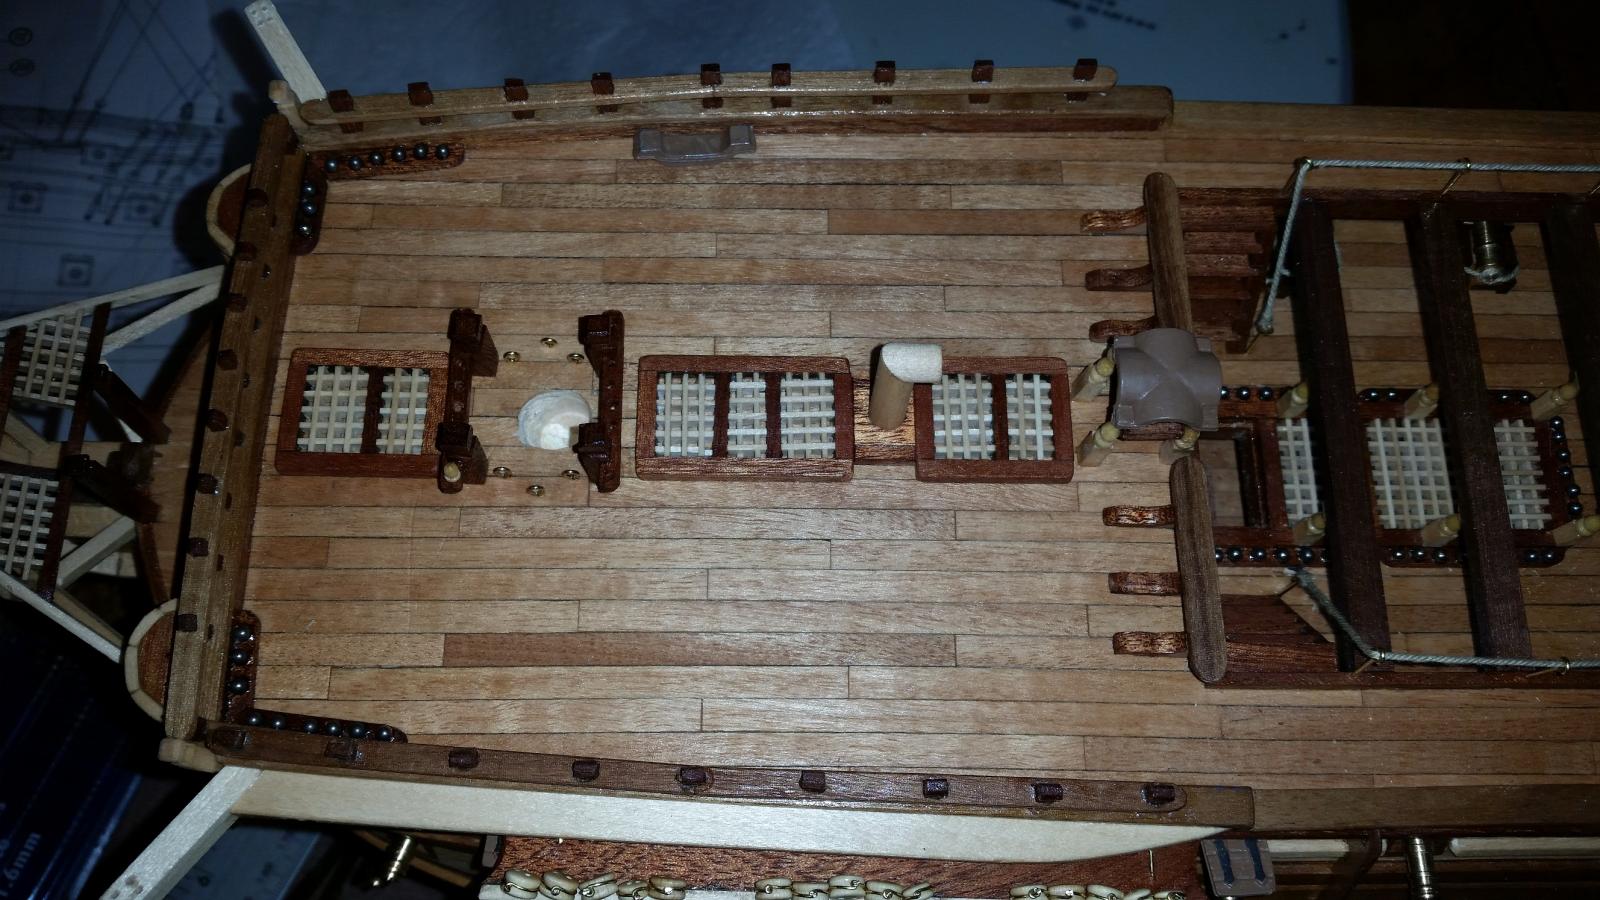
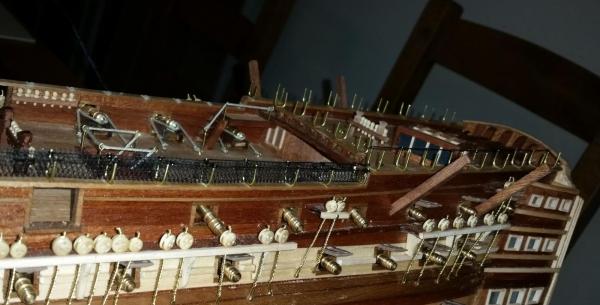
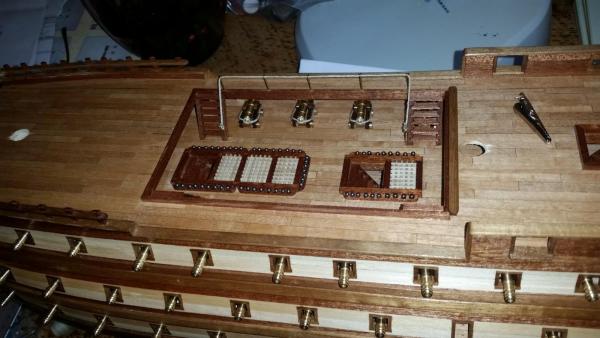
lifeboat davits in place and most of the deck furniture fitted including the last of the pin-racks and the hammock netting well under way.....I thought I'd struggle with the hammock netting and spoil the look of the ship at 1:94 scale.....but it's really looking good so far

- 47 replies
-
- 2
-
-
- victory
- constructo
- (and 1 more)
-
waspy reacted to a post in a topic:
HMS Victory by Heinz746 - Caldercraft
-
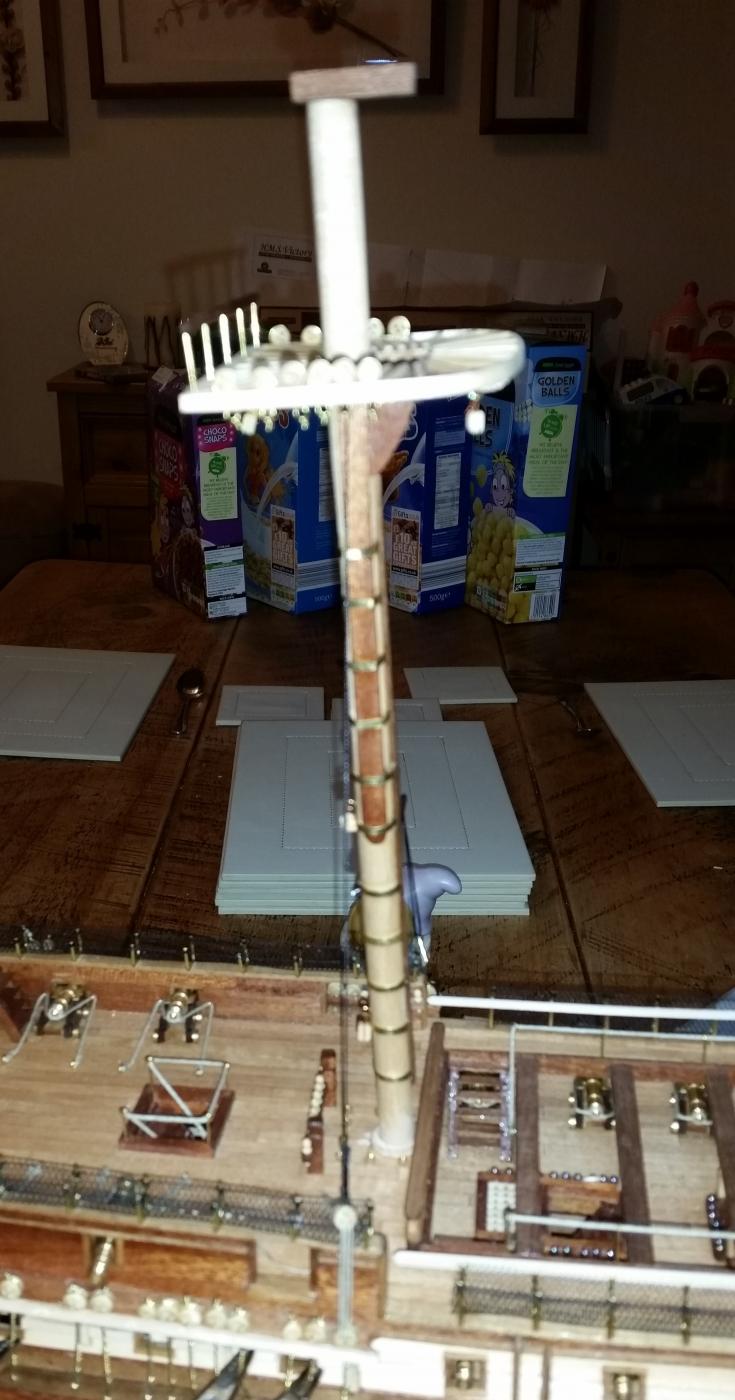
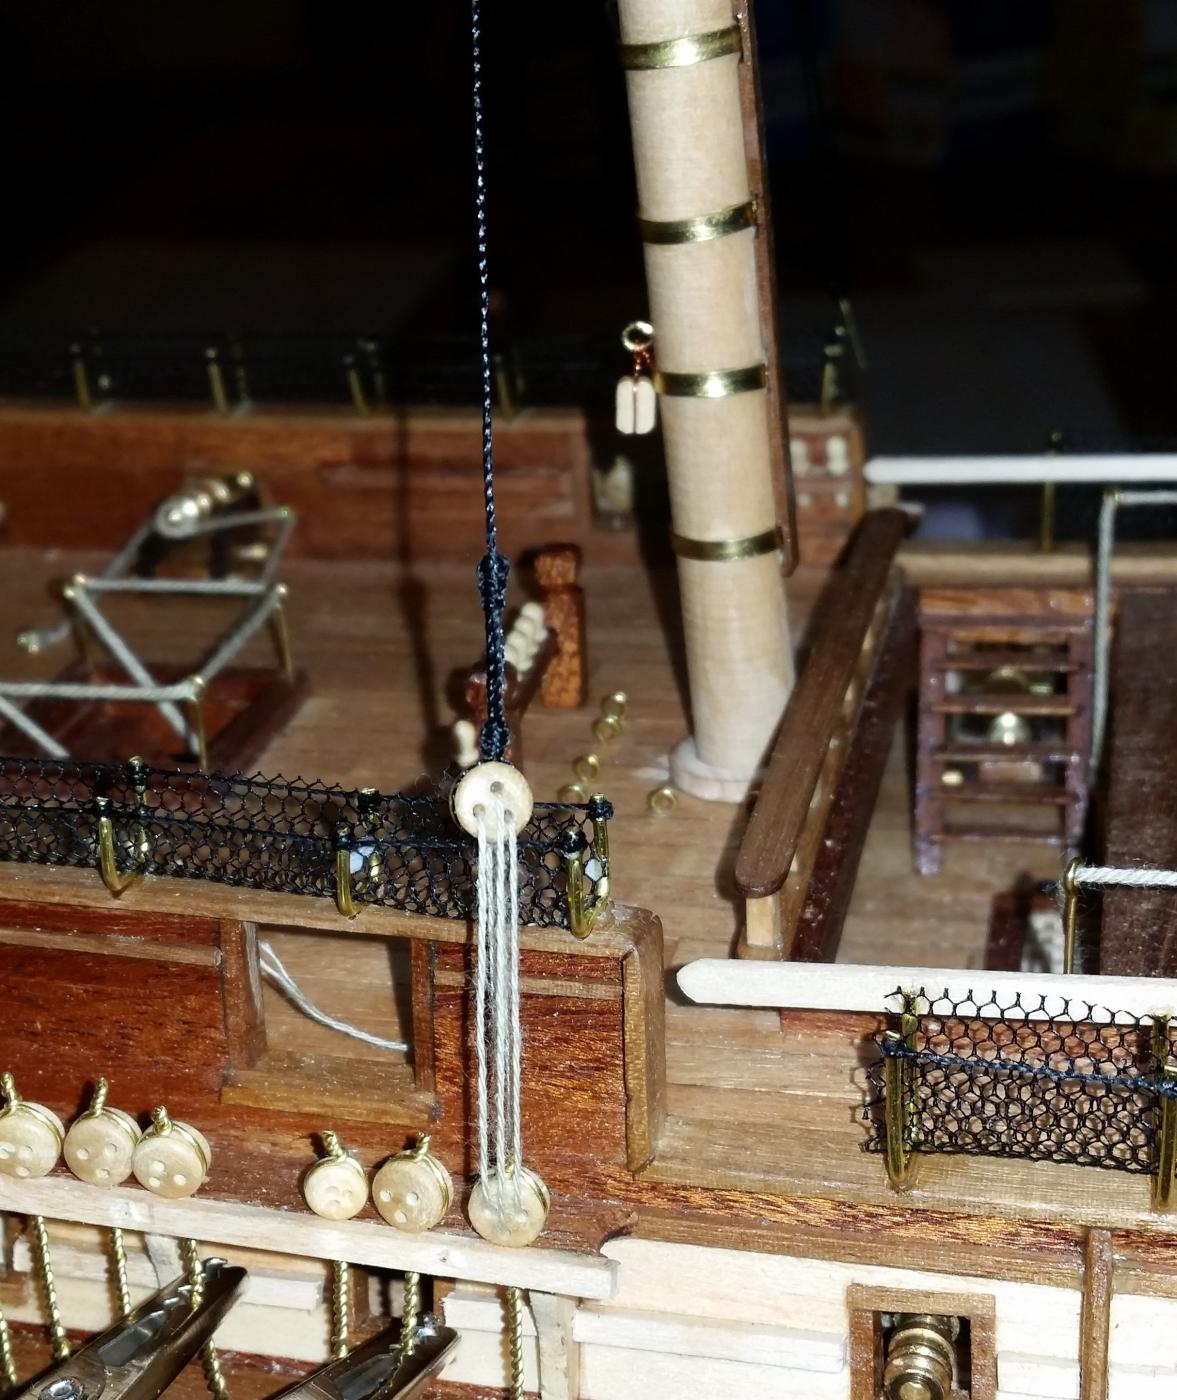
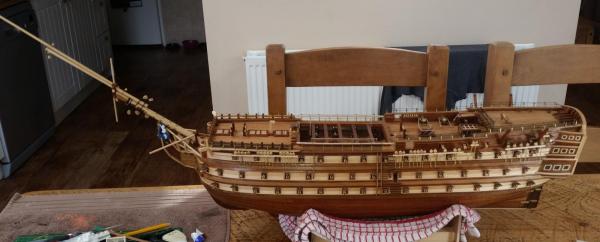
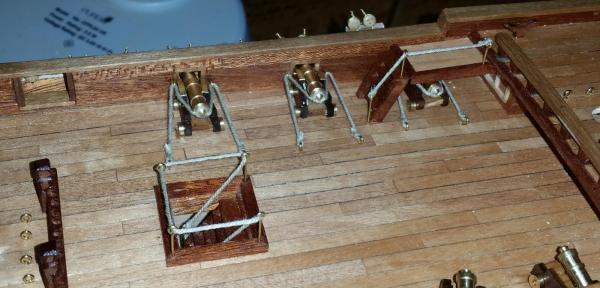
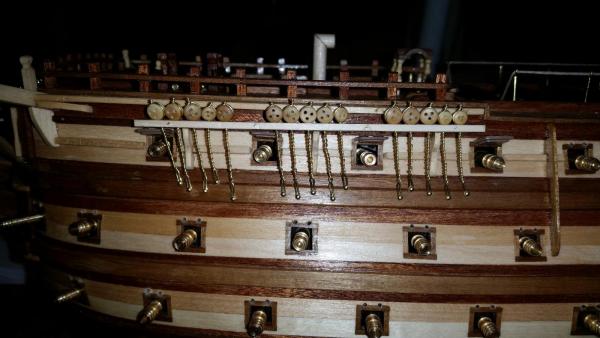
evening all Chains all completed both sides and have been continuing on rigging the cannons on the upper deck and have completed one side of the ladder to the quarter deck...I know the rigging is not accurate but at this scale there's a limit to my ability (Constructo's instructions make no mention of rigging the guns at all!) And as variety is the spice of life I made a start on the bowsprit. With no lathe I had to make do with my drill to use as a wood turner to taper the ends....which worked ok - certainly good enough for me. In my usual effort to make things easier to suit my ability, after 2 failed attempts, I gave up trying to square off the top section of the mast and just kept it round - I think it would be much easier to turn square stock to a round instead of round stock to square. I'm sure some of you will shudder but I don't think it detracts from the overall finished effect.... I've started on the main mast and top, I'll grab a photo of it when it's further along.... that's all for now, Waspy

- 47 replies
-
- 1
-
-
- victory
- constructo
- (and 1 more)
-
waspy reacted to a post in a topic:
HMS Victory by Seventynet - Caldercraft - Scale 1: 72 - first build
-
waspy reacted to a post in a topic:
HMS Victory 1805 by Robert29 - FINISHED - Caldercraft - Scale 1:72
-
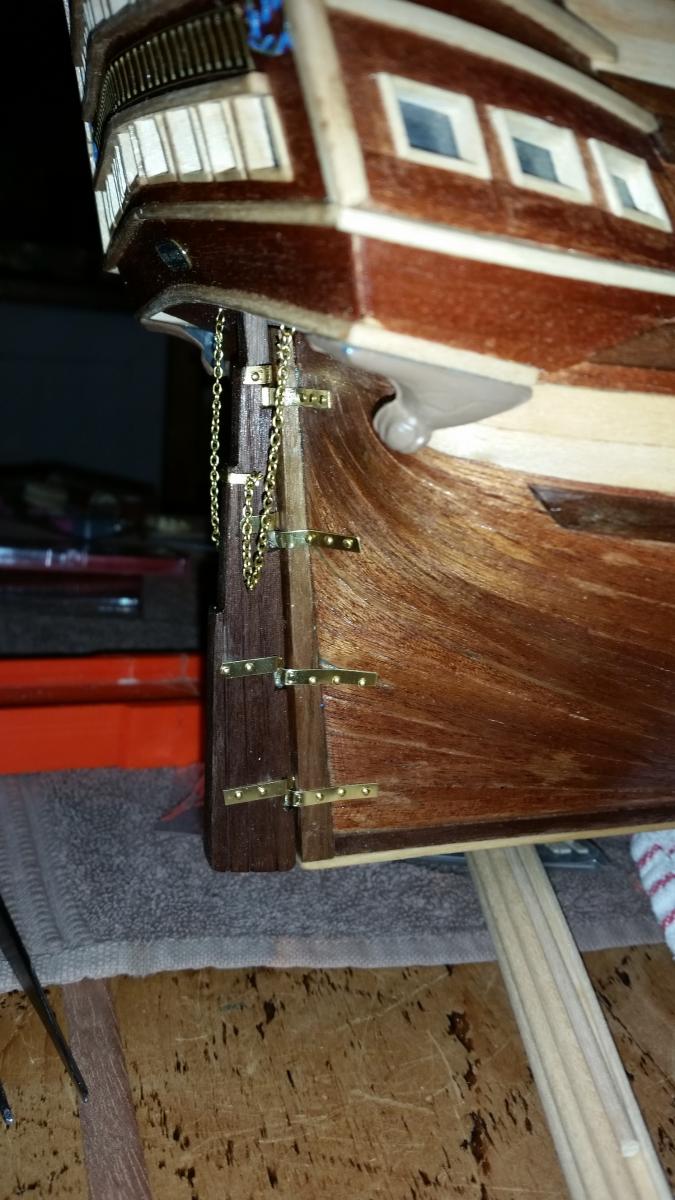
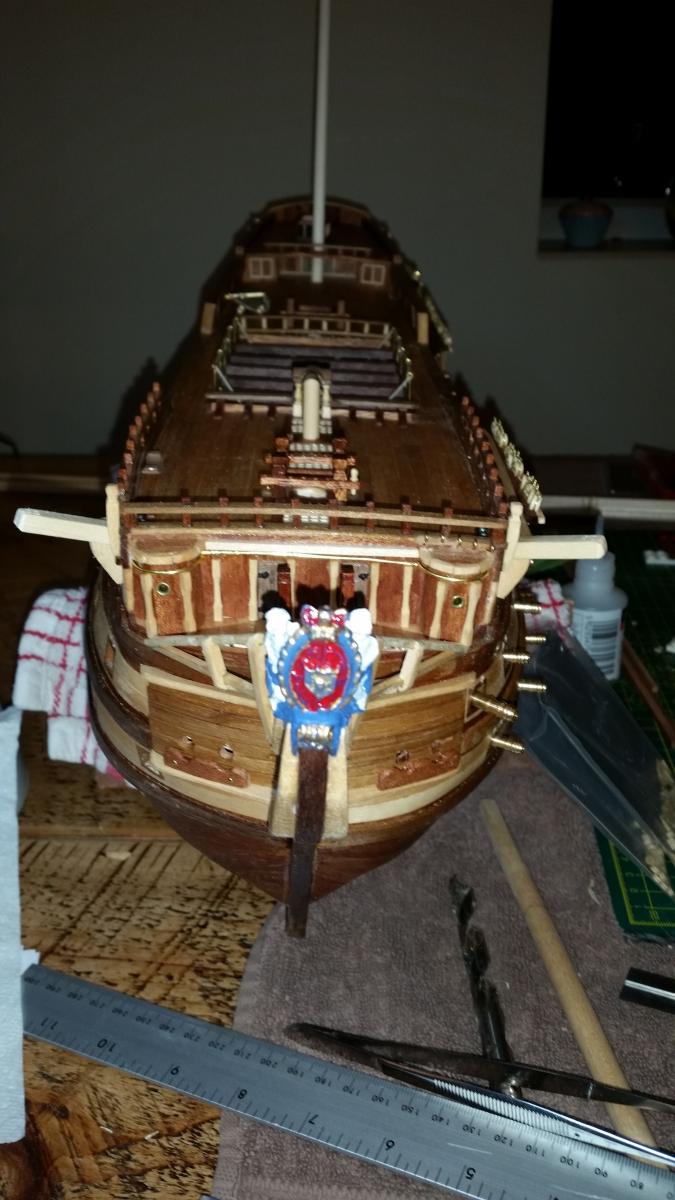
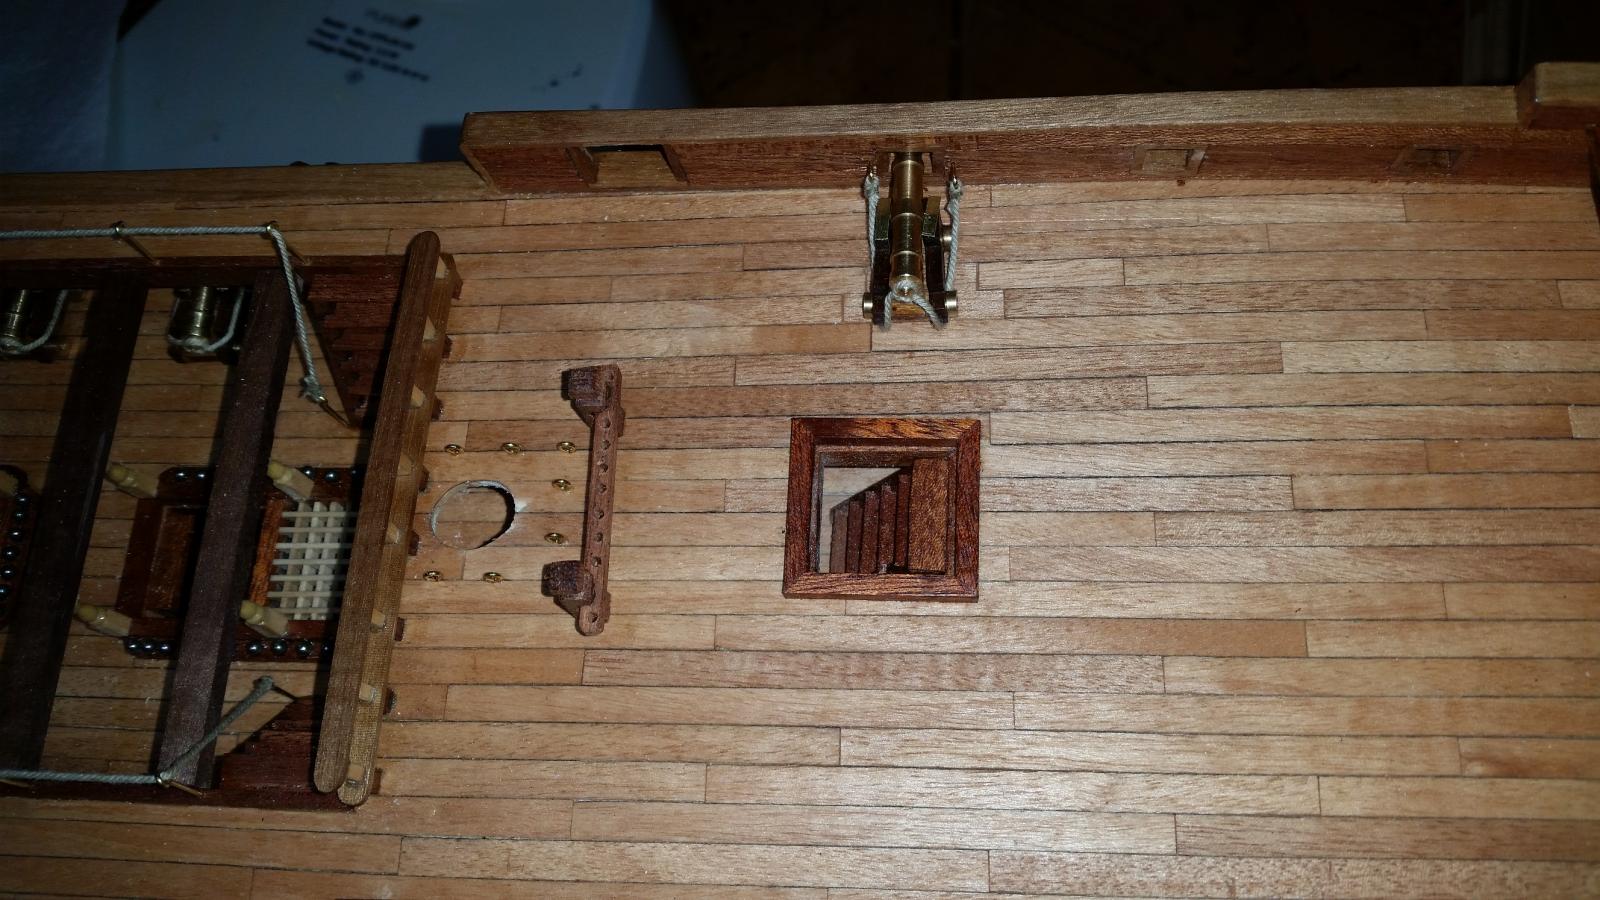
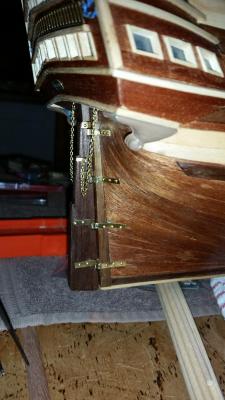
some progress in the last week (some real life jobs fell through.....so I had 3 days off to kill ) worked on the rudder - amazed the difference it makes to the overall look of the stern - chains are too long right now, I'll get around to adjusting them in the future.... added the bow doors and figure head....not sure why my camera doesn't like taking pictures of painted parts.....I'm not suggesting my painting is great.....but it looks much nicer than this photo makes it look lol added the side reinforcements and the steps.....I really like how the steps turned out, but they are a bit squashed and out of line at the top - a symptom of me moving the gun-ports off-plan to avoid the BH's .....so many lessons to learn, I sure hope I remember them all for next time assembled some of the chains, and was really chuffed with how they looked....until I saw them in the photo close up, I might have to try and re-make most of them a bit tidier.... added some of the deck furniture and riding bits....and what I assume to be the chimney for the ovens....or maybe it was the blacksmiths forge? right now I'm experimenting on how to rig the upper deck cannons.....I think it needs a rope attached to a bolt on the deck at the rear....but now quite sure the best way to deal with the slack on the main rope attached to the bullwarks.... That's all for now, Waspy


- 47 replies
-
- 3
-
-
- victory
- constructo
- (and 1 more)
-
waspy reacted to a post in a topic:
HMS Victory by Heinz746 - Caldercraft
-
waspy reacted to a post in a topic:
HMS Victory by Seventynet - Caldercraft - Scale 1: 72 - first build
-
that planking is incredible! I certainly wish I'd put in filler blocks around bow and stern! If your manzonia is anything like mine supplied in the constructo kit, it's every possible shade of brown/orange /yellow. not the best for planking a hull
- 527 replies
-
- 1
-
-
- caldercraft
- victory
- (and 1 more)
-
waspy reacted to a post in a topic:
HMS Victory 1805 by Robert29 - FINISHED - Caldercraft - Scale 1:72
-
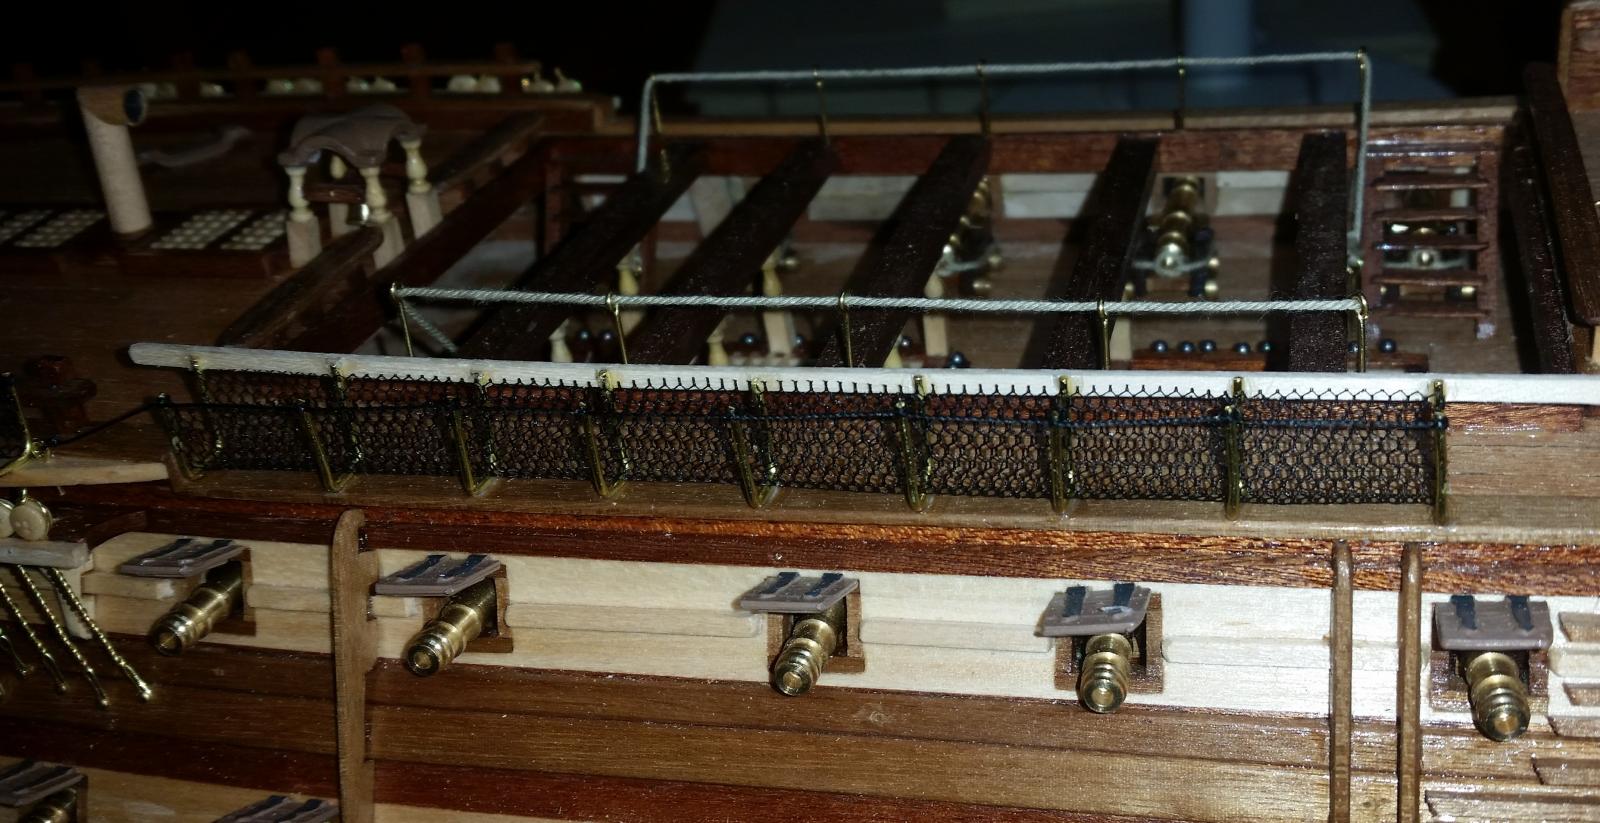
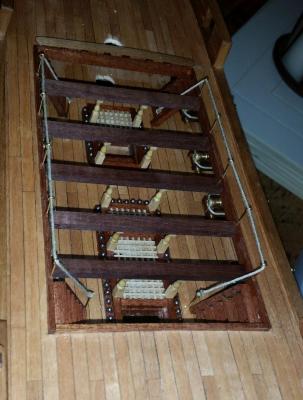
waist railings, beams and supports all in..... I'll cover the waist with something now to try and minimise the inevitable dust of the next year or so.....
- 47 replies
-
- 1
-
-
- victory
- constructo
- (and 1 more)
-
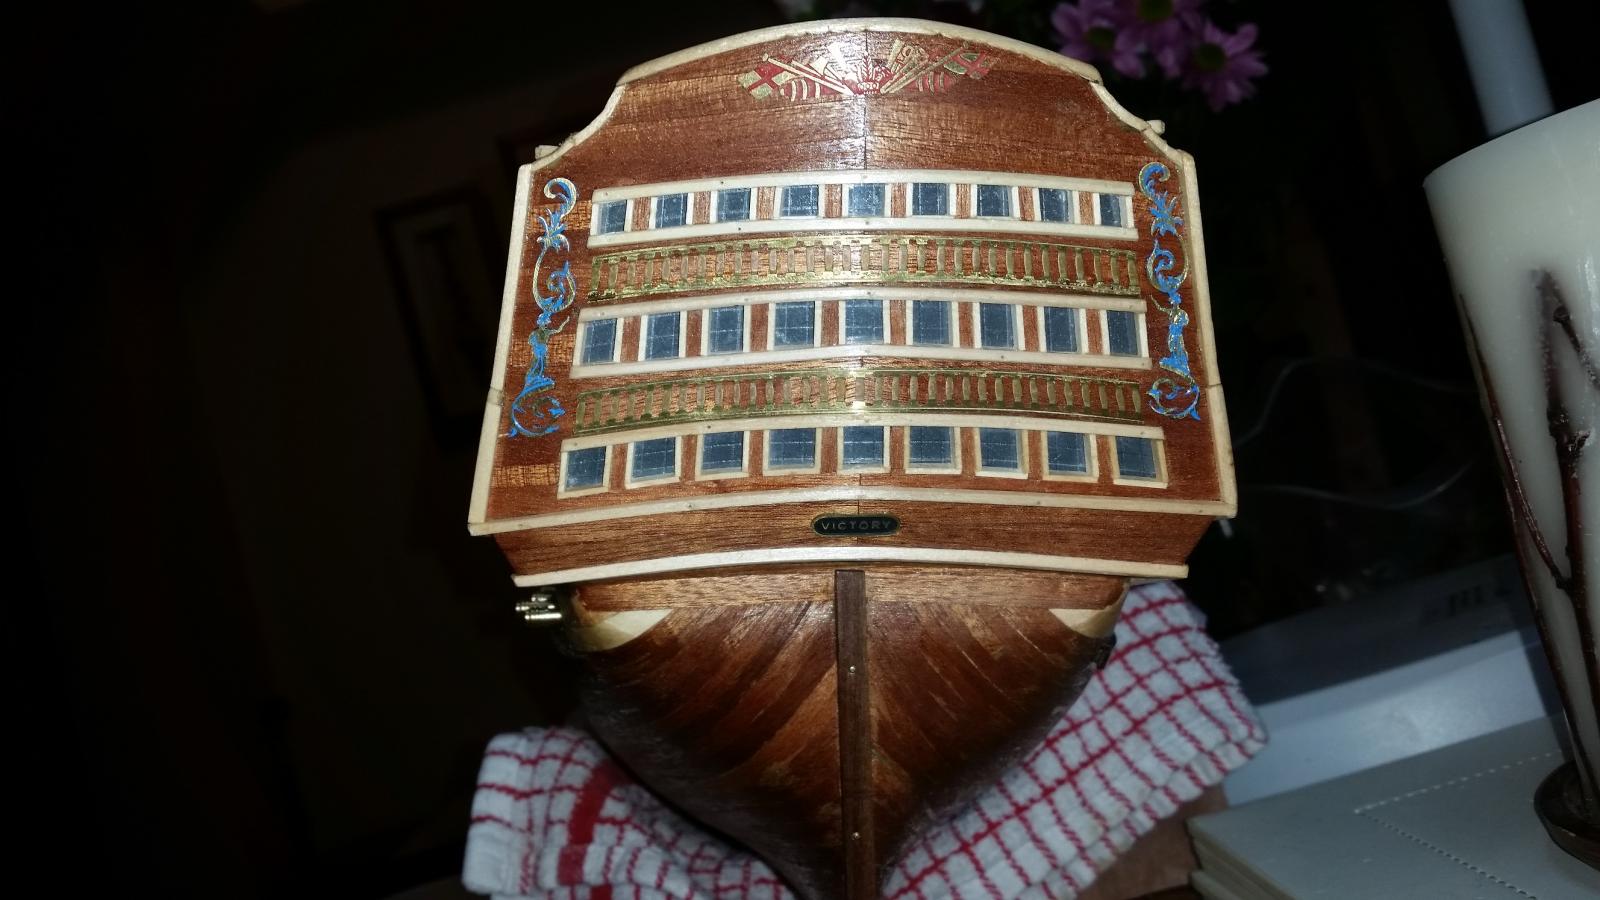
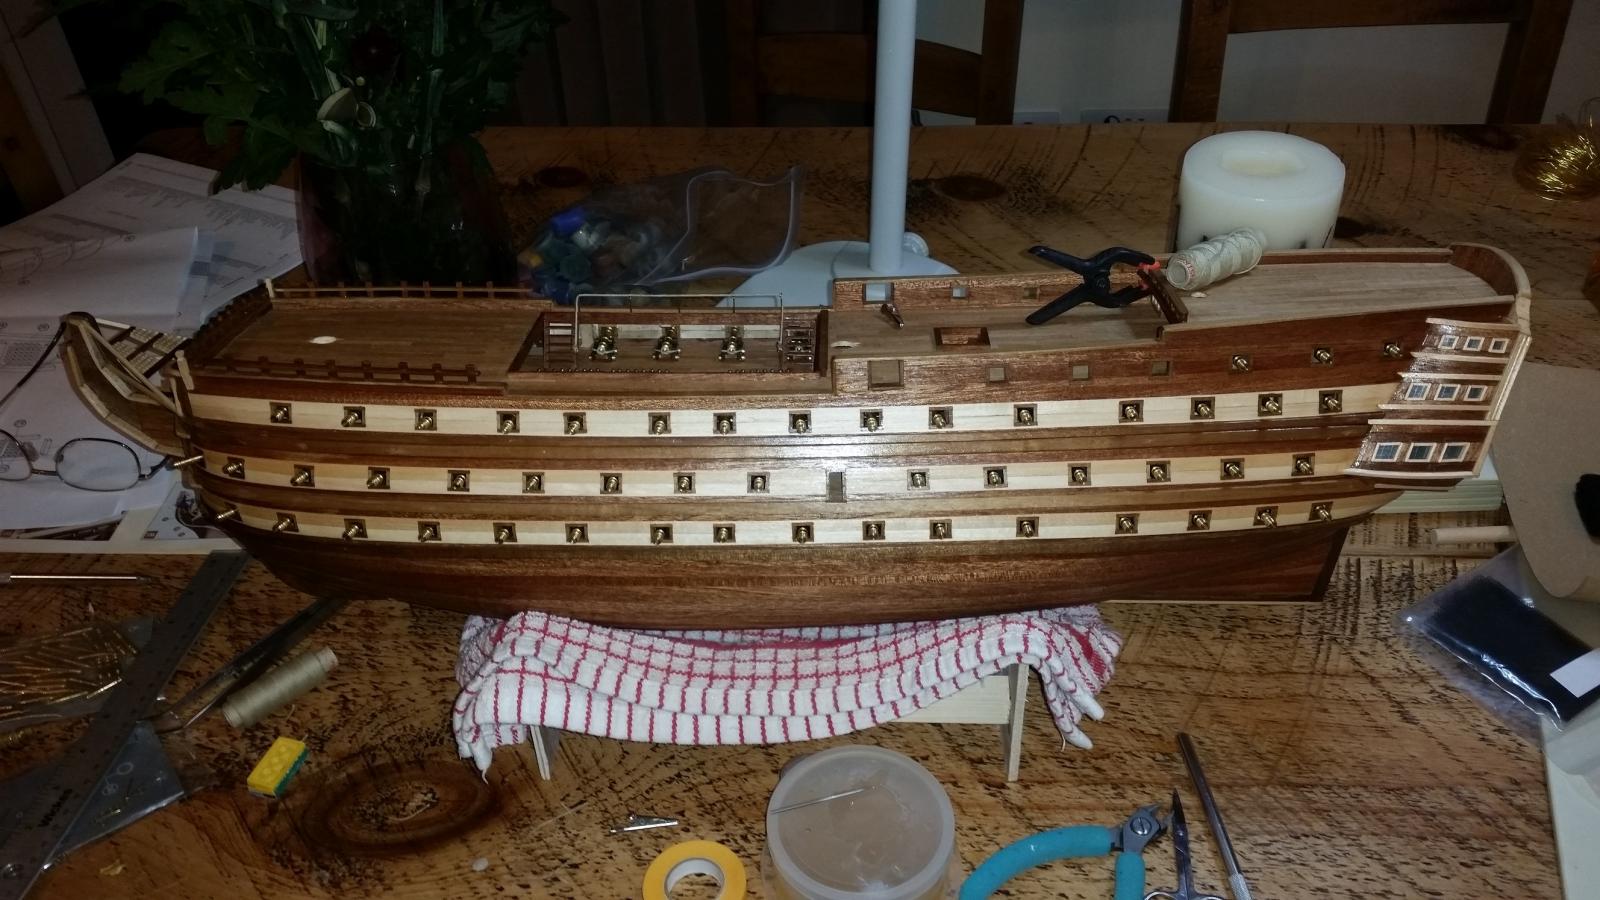
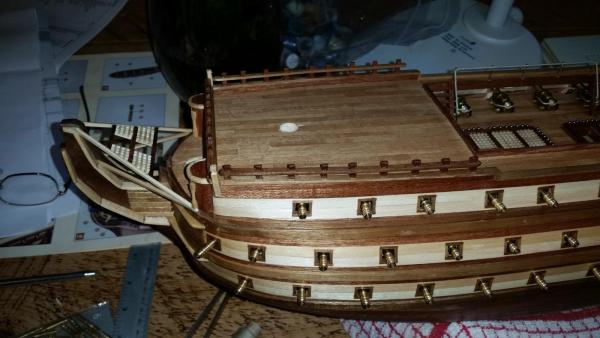
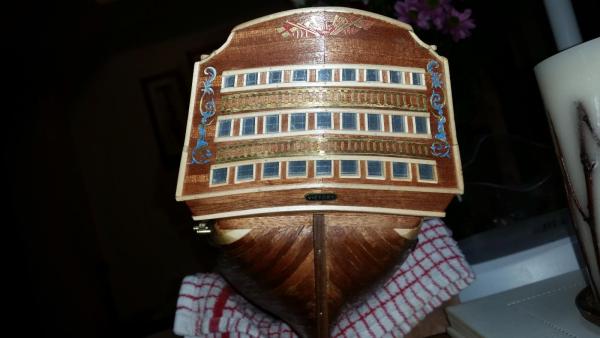
evening all. I've been a busy bunny and got all sorts done on my Victory, but I keep jumping from one part to another to keep up the interest....even if it's not logical to most of you perfectionists As you can see from the first photo, I have simplified the bow-detail a lot to keep it within my very limited abilities - certainly not an accurate model - but I still love it I've assembled all my gun-deck cannons and added a little rope detail - and started on the steps and detail of the waist I worked on the transom and windows some time ago but I don't think I posted any pictures. I've now added the etching details. (don't know why the camera makes the sides look so blue! it looks awful in the picture but in real life the blue is just very fine lines picking out the detail - didn't matter how many photos I took, they all came out blue like that?) and I've given all the hull a couple of coats of button polish - I'm really loving the colour of the different woods now

- 47 replies
-
- 3
-
-
- victory
- constructo
- (and 1 more)
-
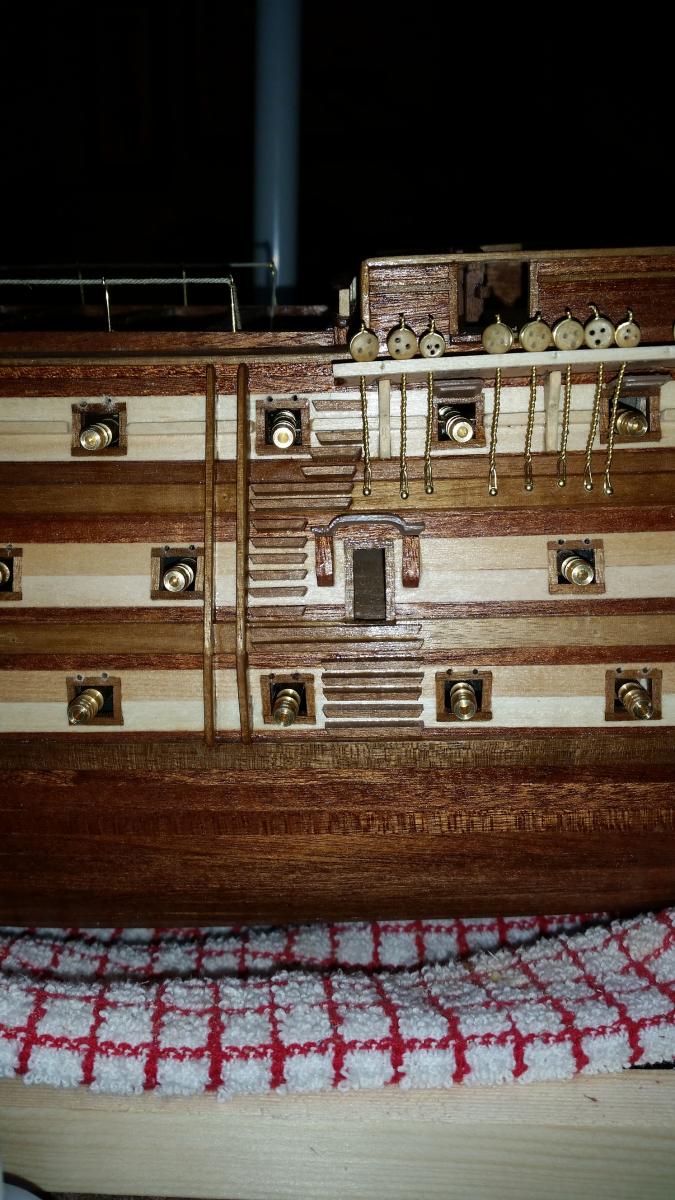
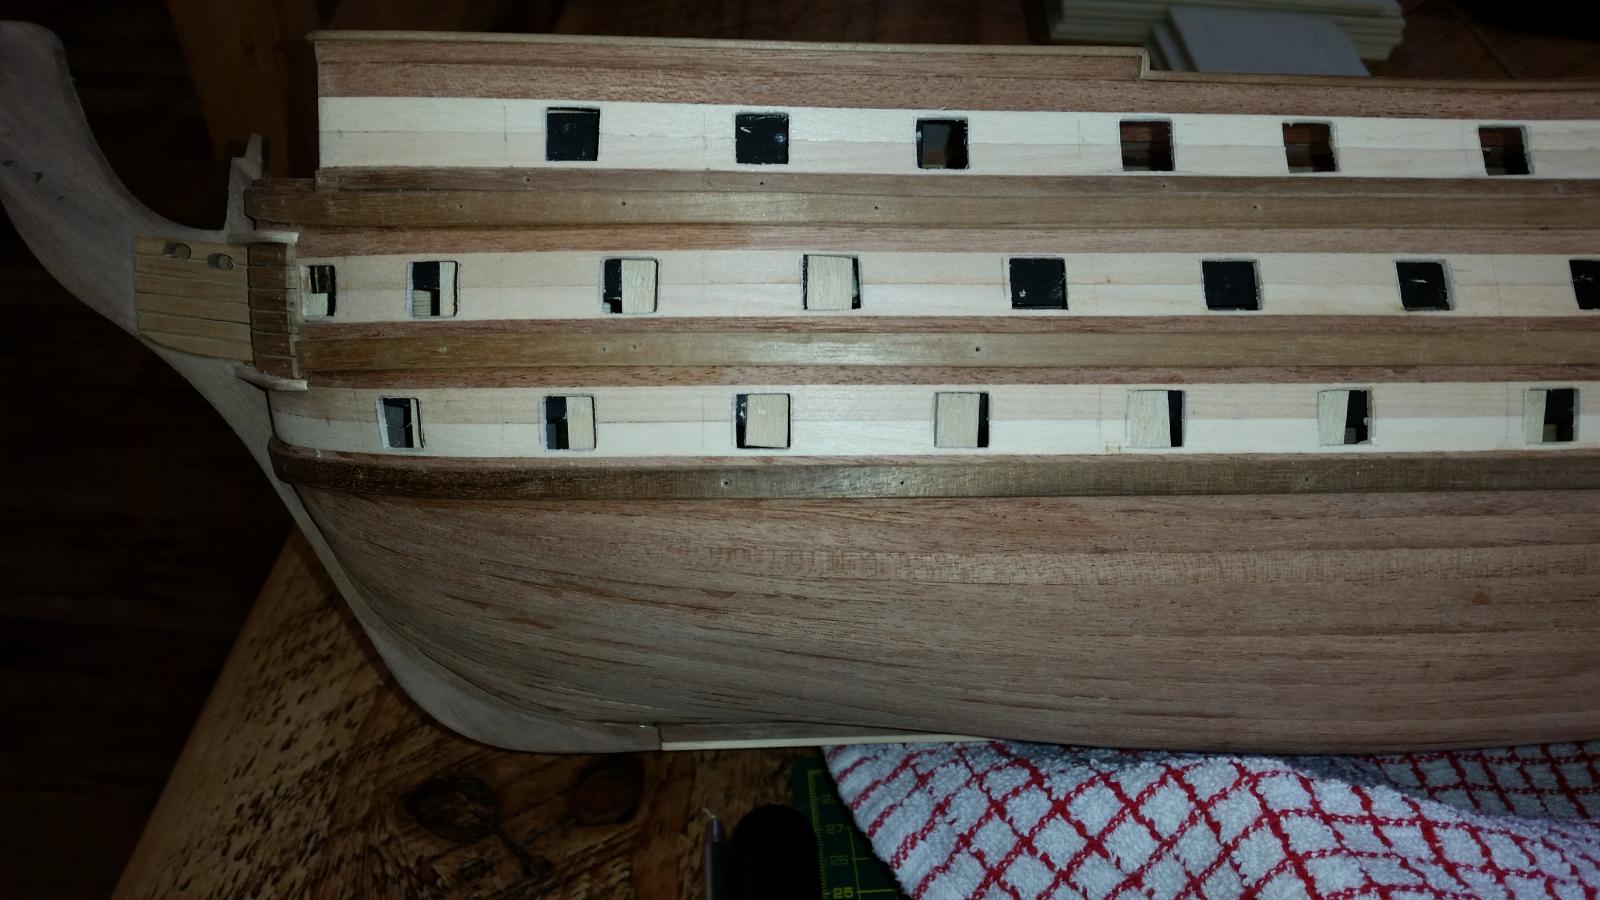
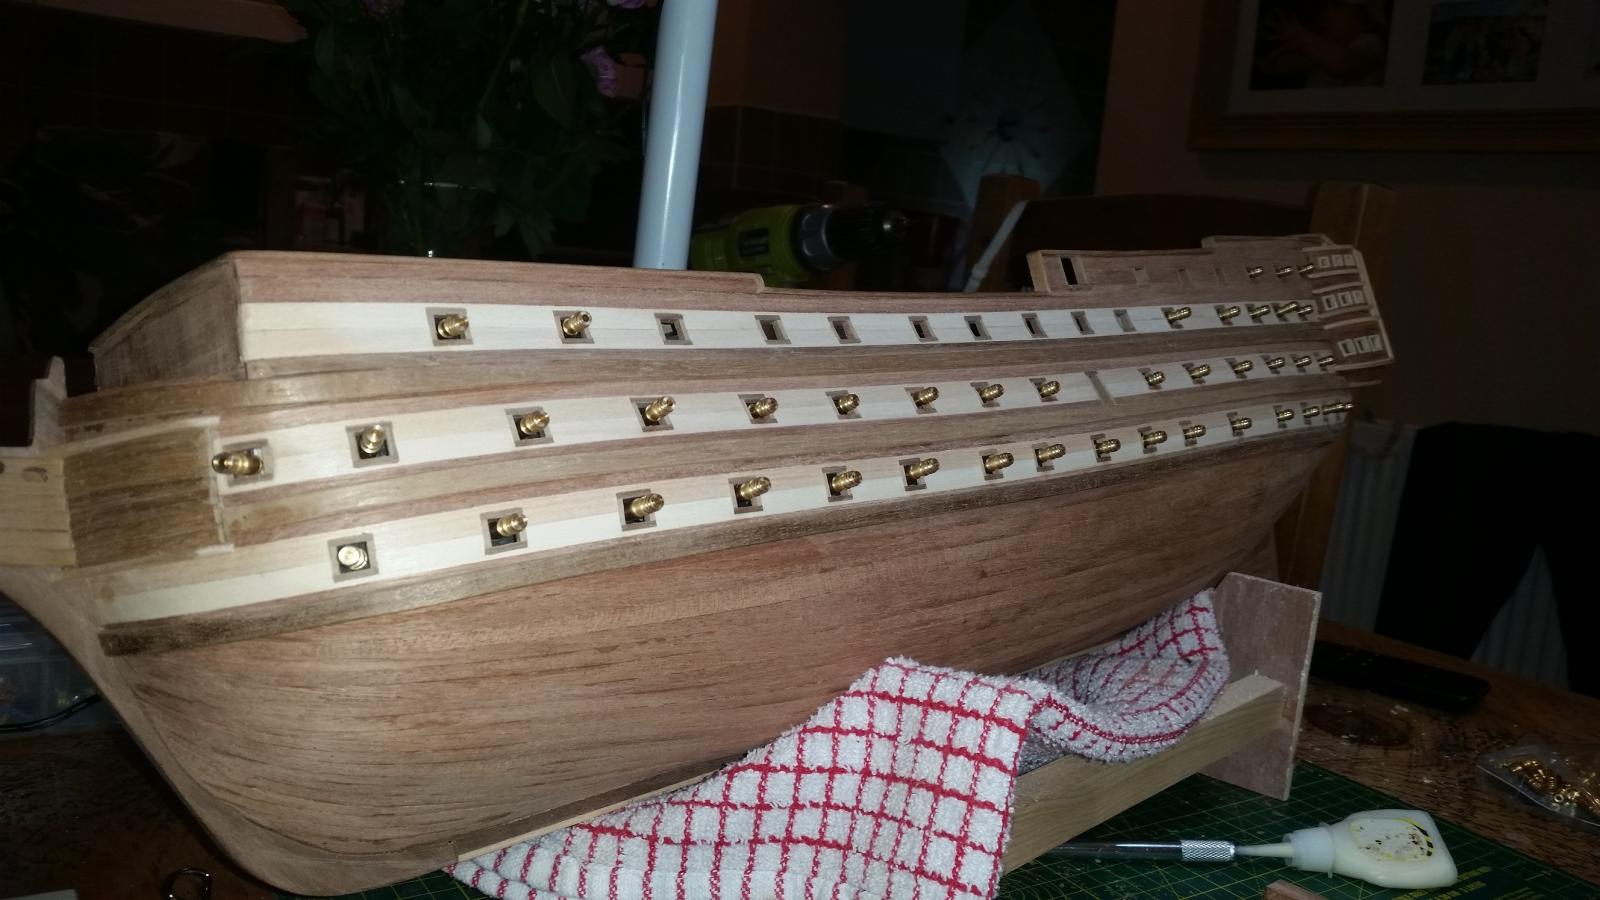
gunport update...... All gun ports complete....yay! managed to get them lined up on this side so only 2 or 3 have ended up over a bulkhead. Some of the back-boards didn't line up, but for those that didn't I managed to glue some extended panels onto the existing back boards before drilling the holes for the false cannons. Although that means some of them will be poking out 2mm further than the others....at least I can have all the ports open and filled with cannon on this side Waspy


- 47 replies
-
- 2
-
-
- victory
- constructo
- (and 1 more)
-
have you looked at the very back of the instruction manual - after all the other languages ? thats where I found them on my constructo manual of Victory....
- 48 replies
-
- 2
-
-
- lady smith
- constructo
- (and 1 more)