Corey
-
Posts
27 -
Joined
-
Last visited


-

Work station clutter
Corey replied to Senior ole salt's topic in Modeling tools and Workshop Equipment
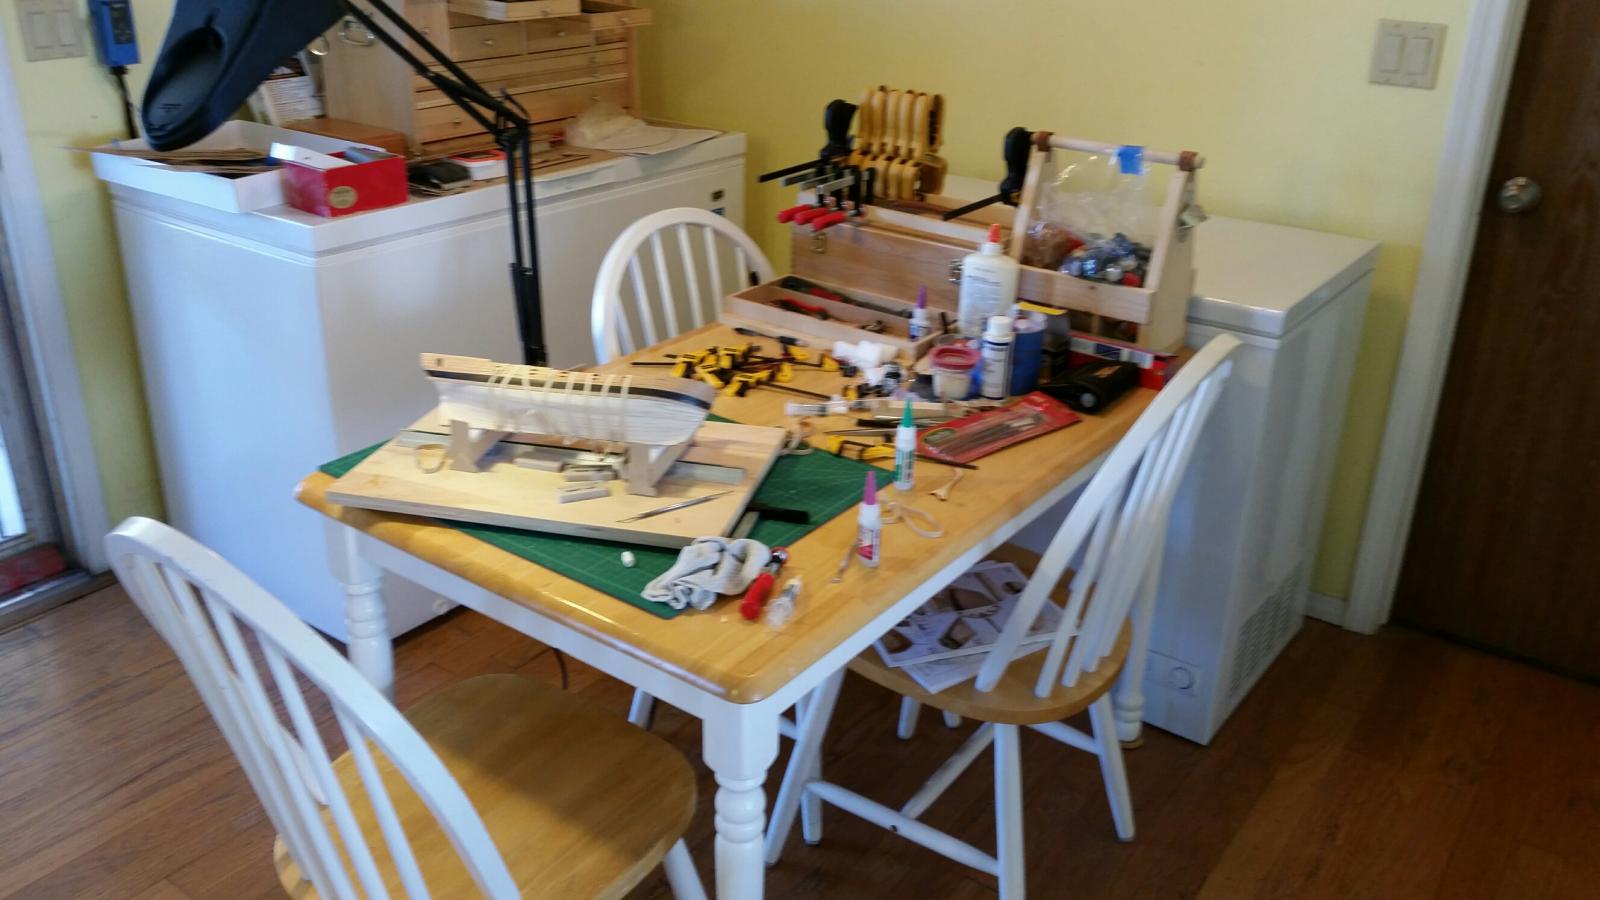
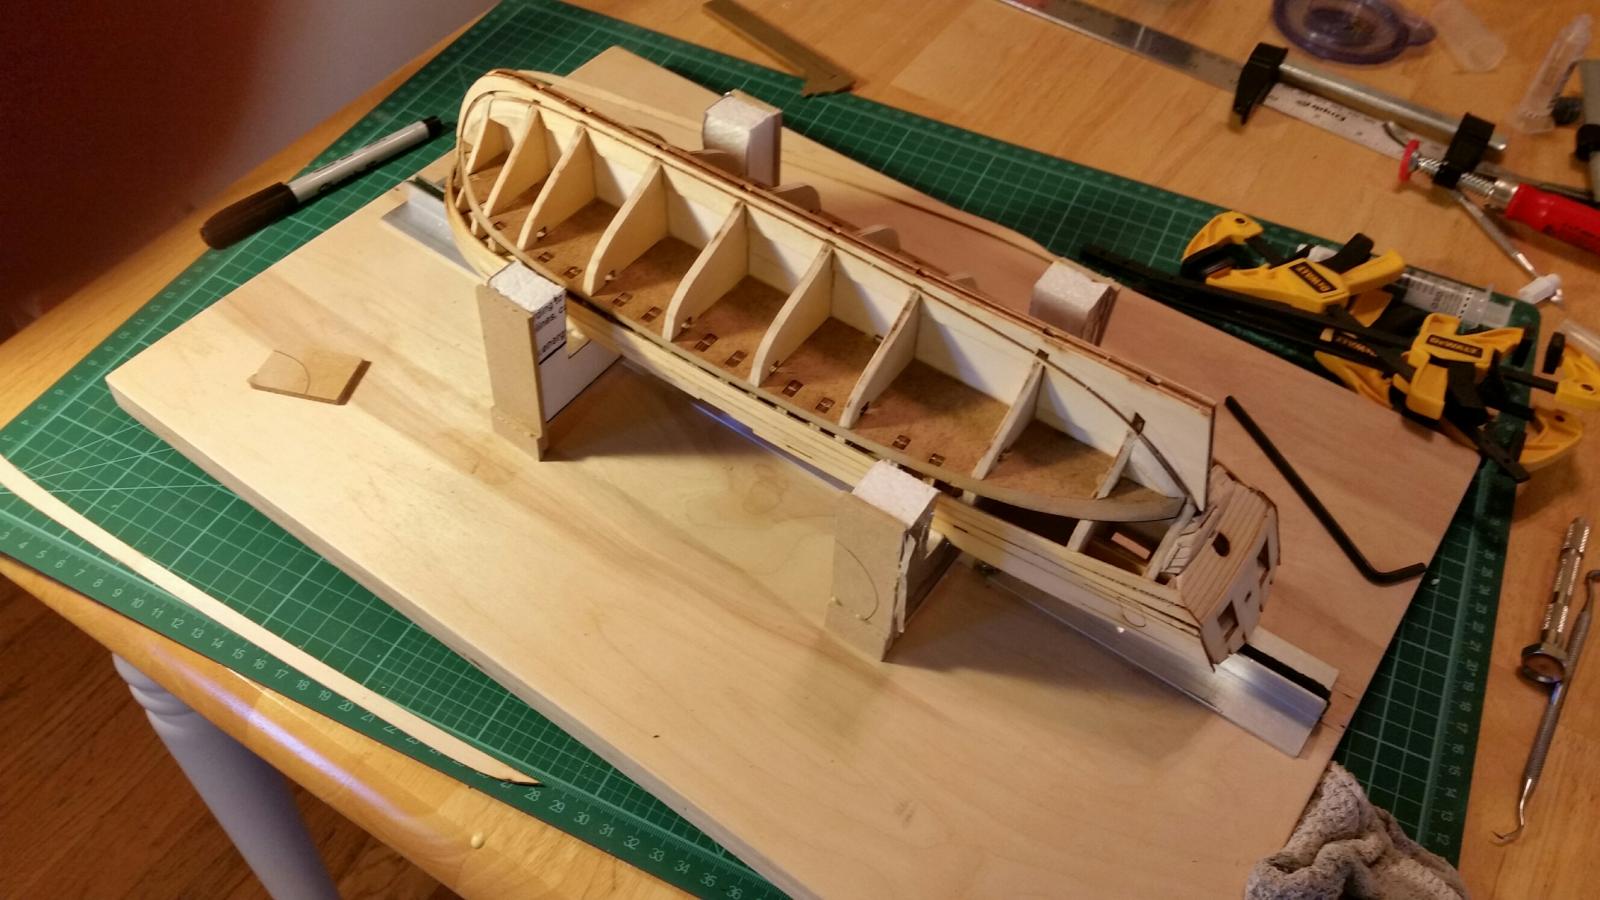
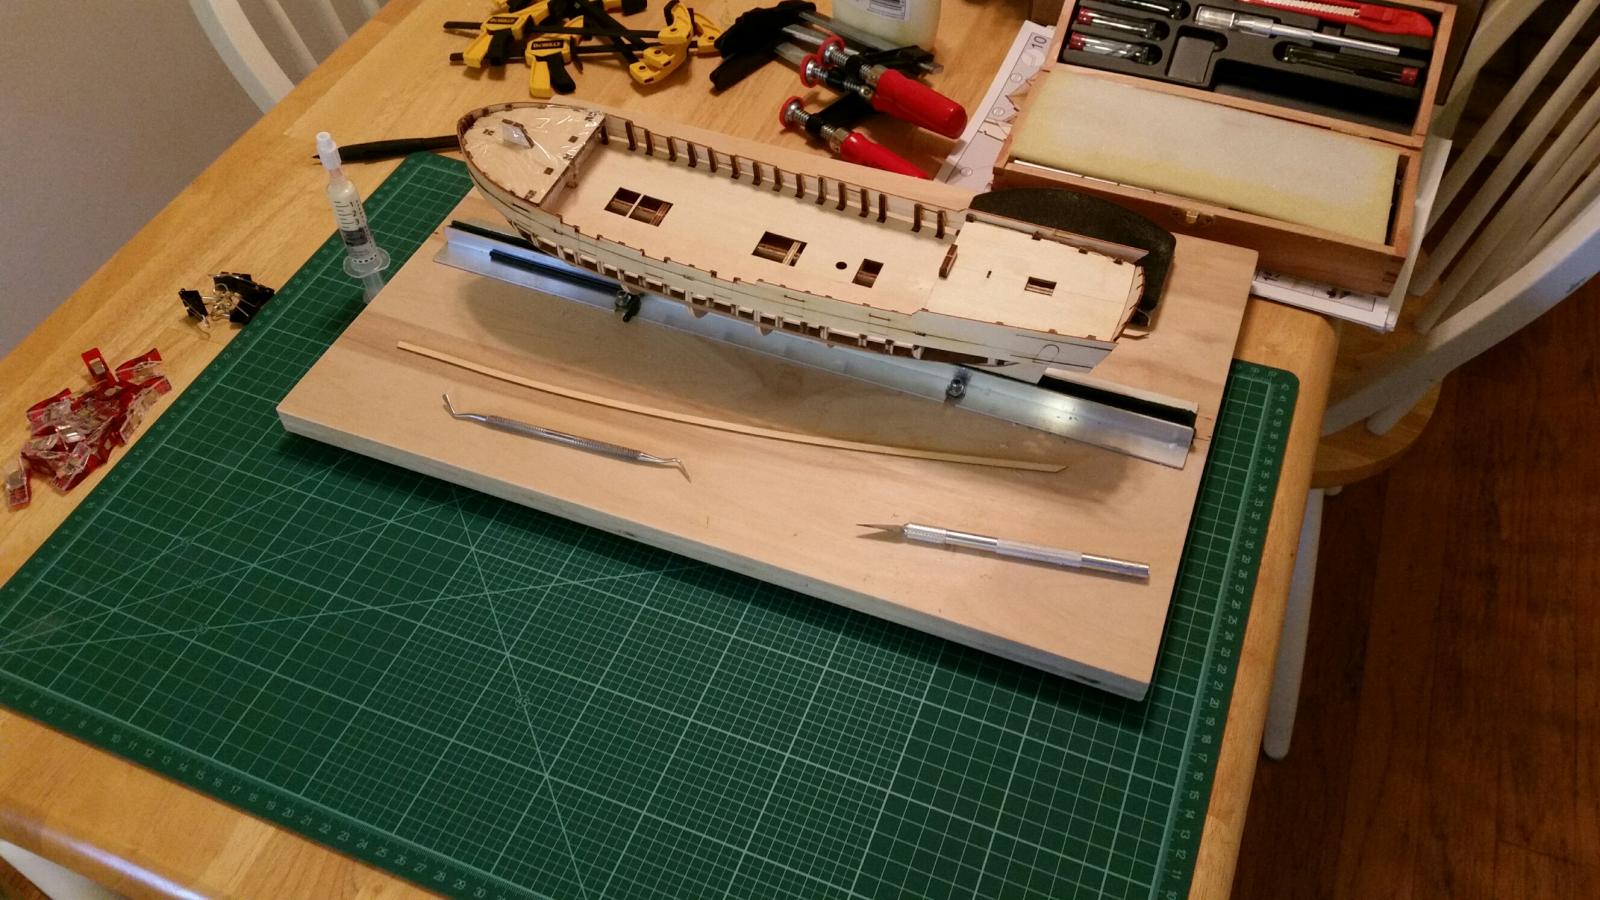
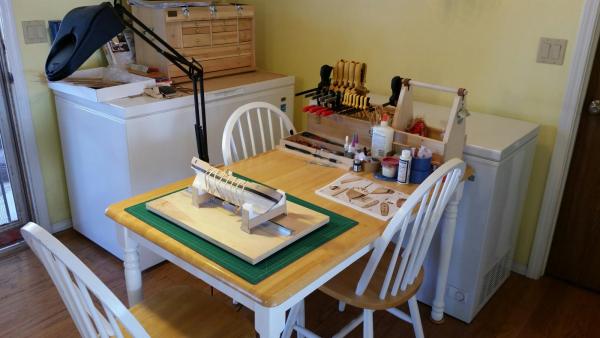
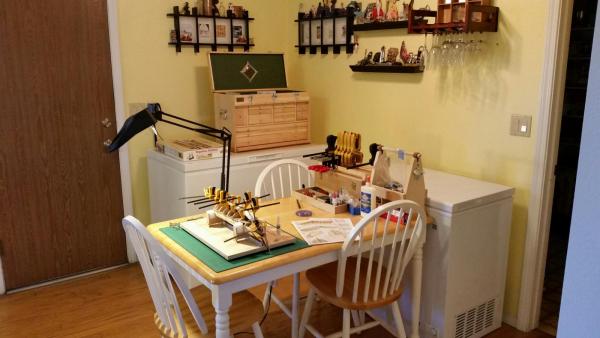
I find when I'm about to take photos for my build log, which I try to do frequently, I tend to tidy my work space up a bit. I wouldn't want to give my fellow modelers the wrong impression and let them see just what a total slob I really am. Before, and believe me it has been much worse! After
-
 Corey reacted to a post in a topic:
The Kit-Basher's Guide To The Galaxy
Corey reacted to a post in a topic:
The Kit-Basher's Guide To The Galaxy
-
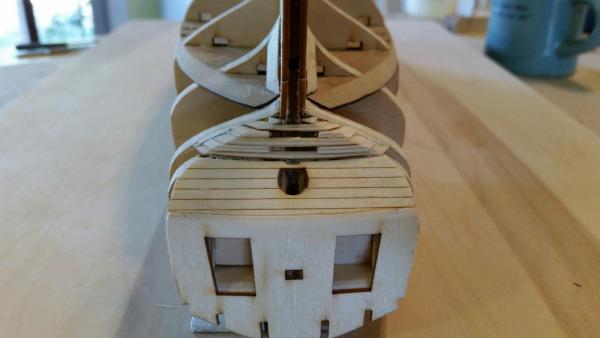
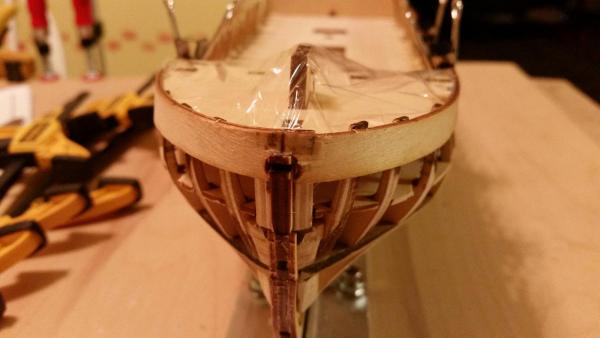
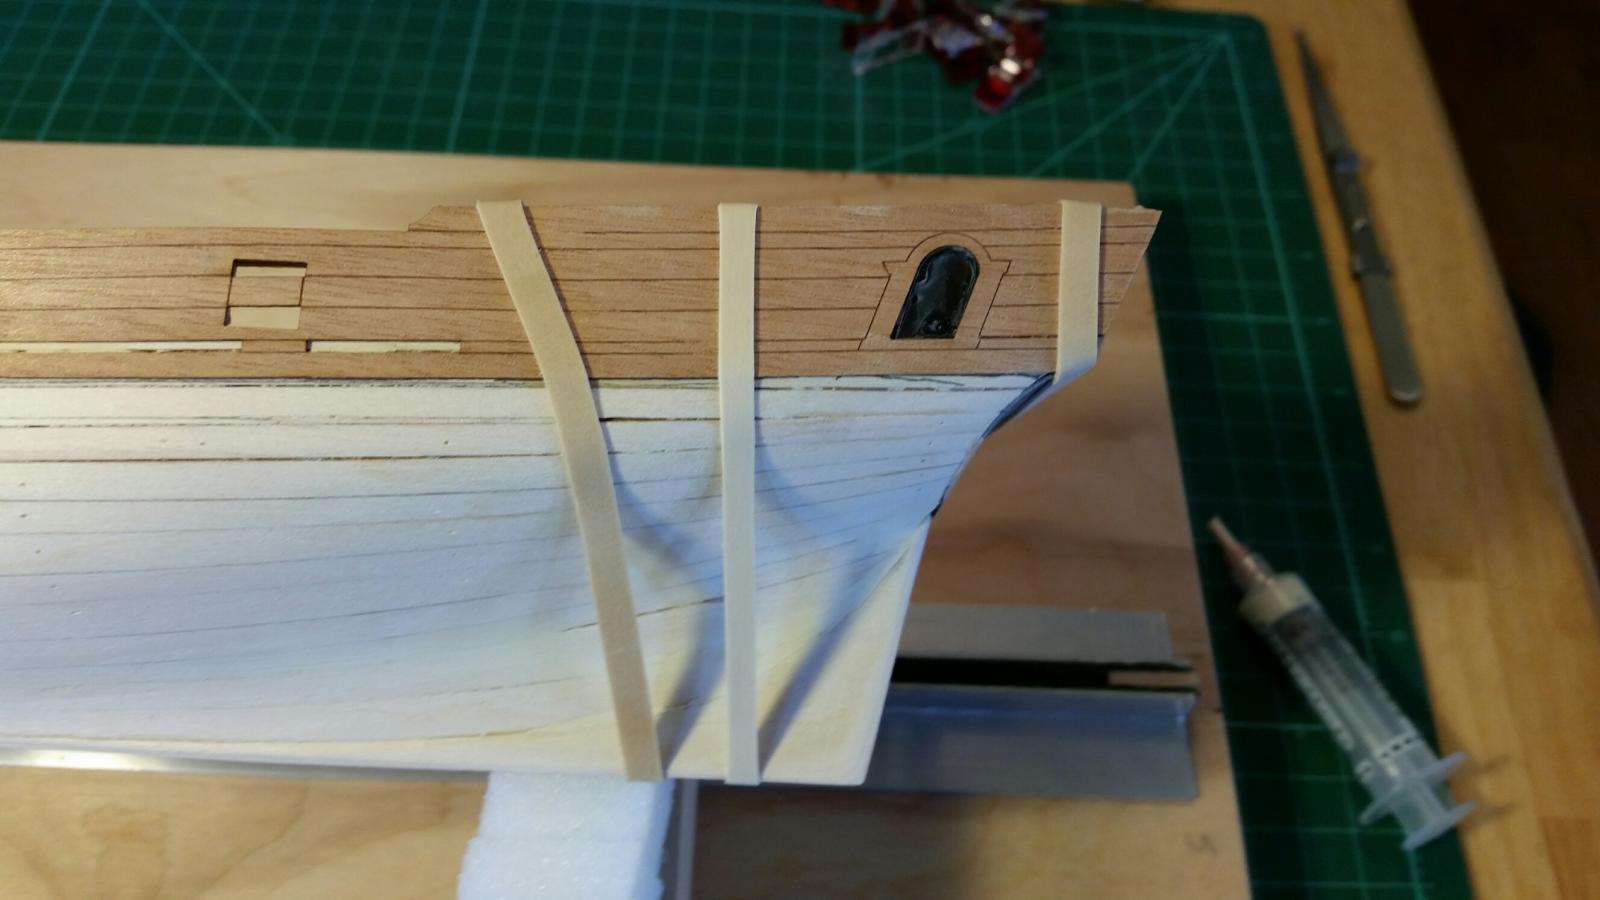
Starting the secondary planking. Forming the outer bulwark planking to the hull. Now it's time to glue it up. I'm pleased with how this is turning out so far.


-
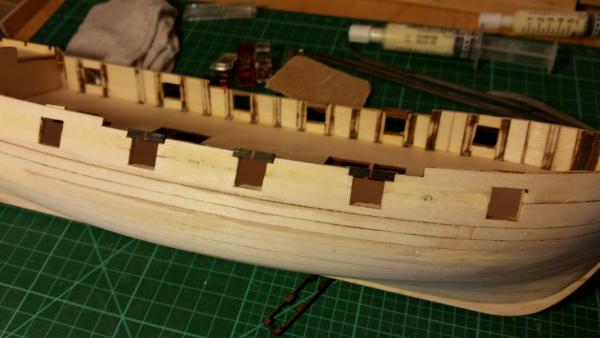
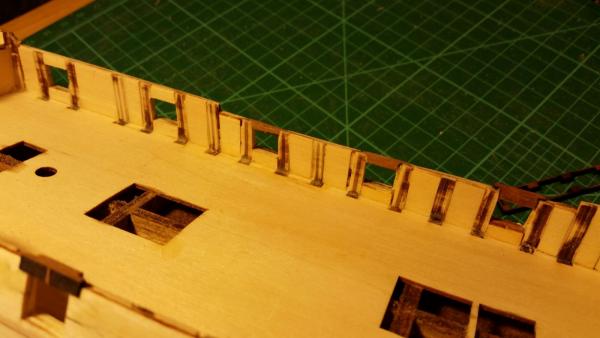
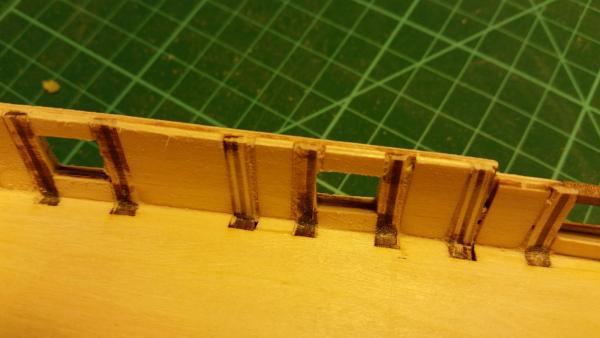
Building up the bulwarks.
-
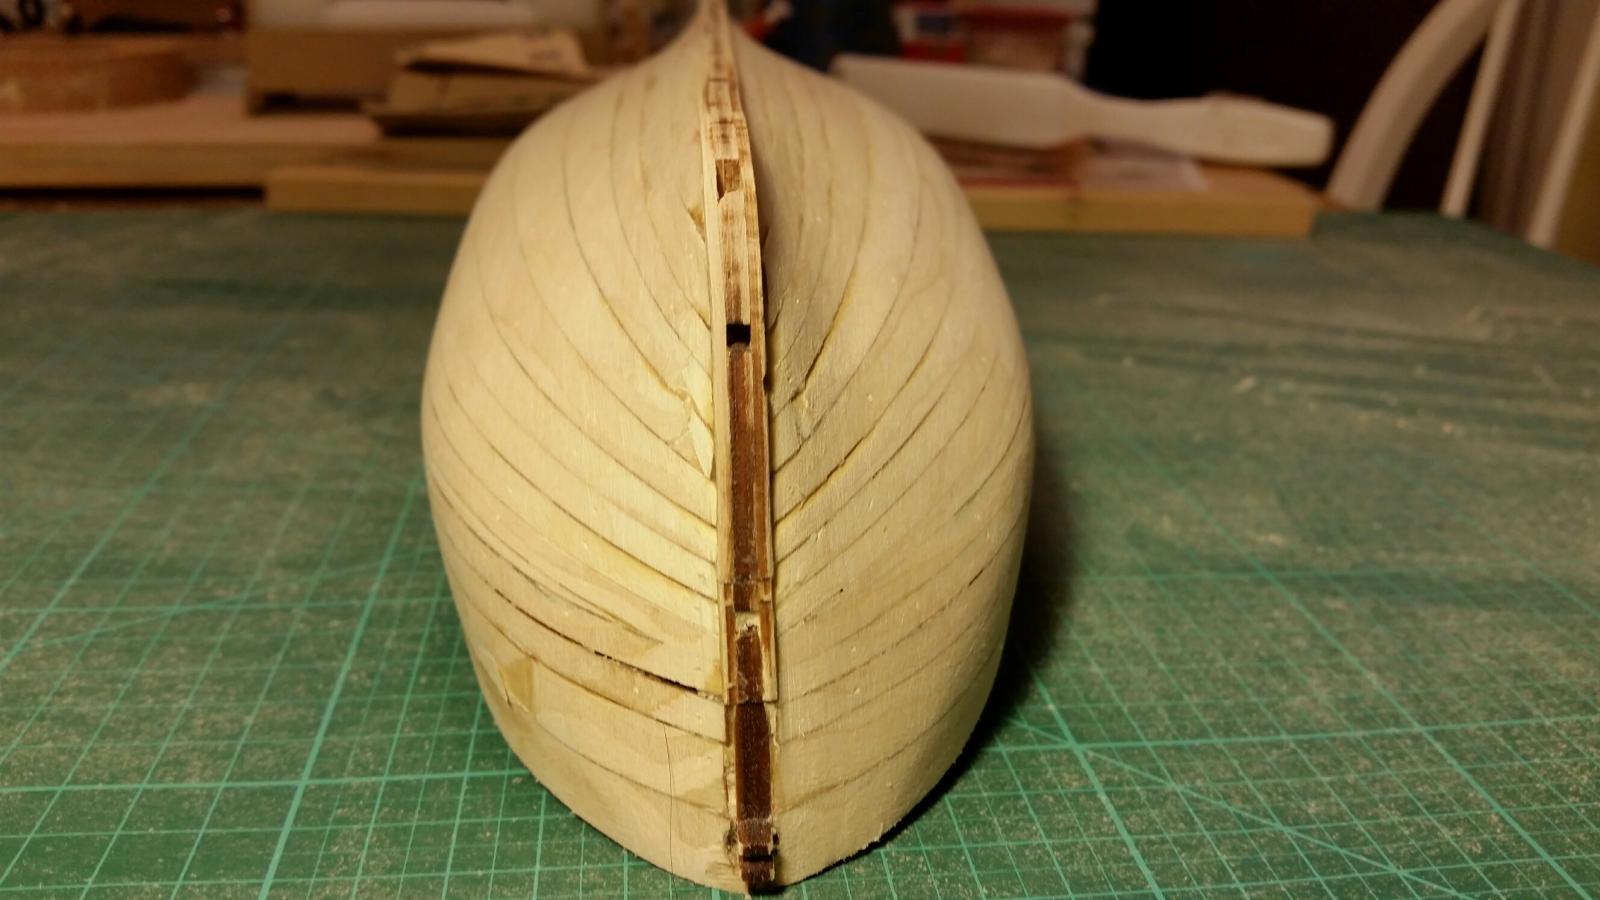
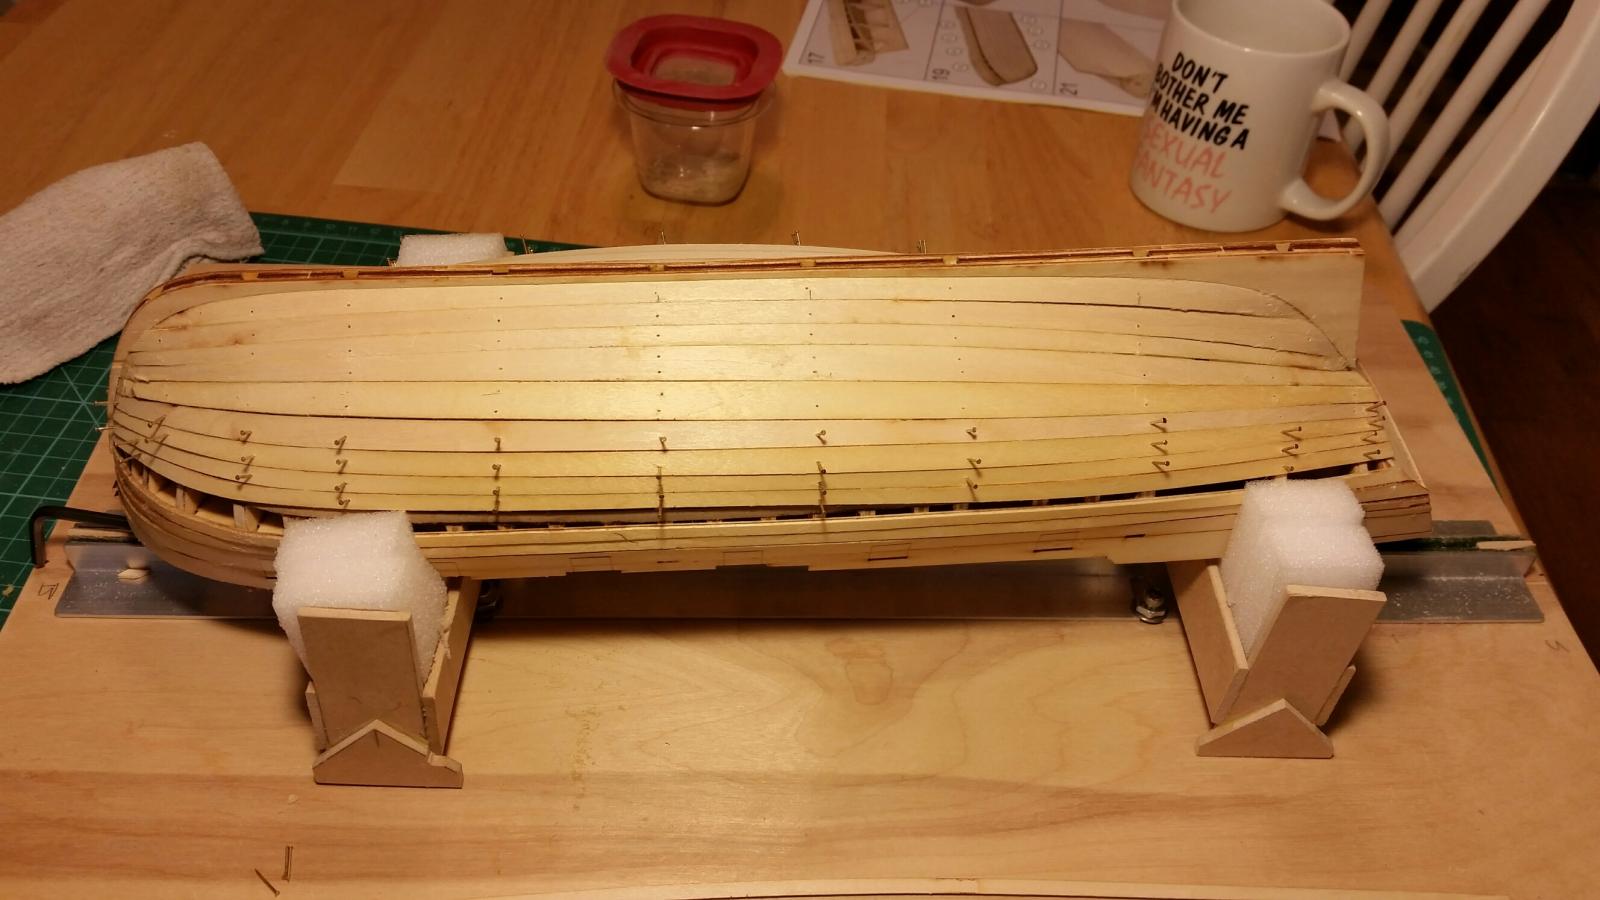
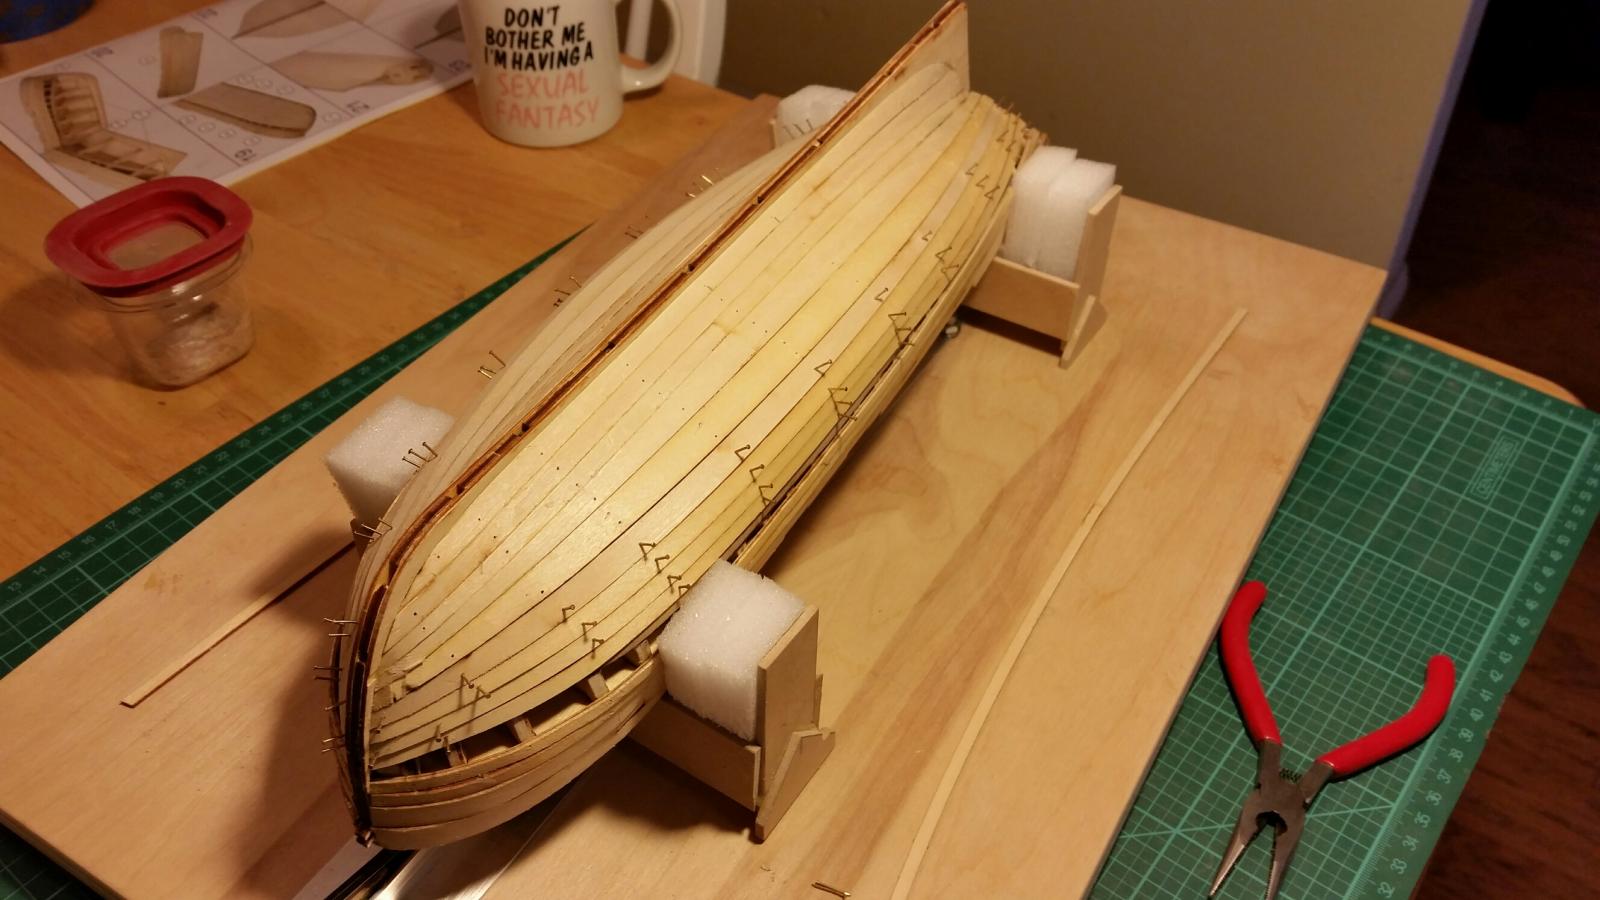
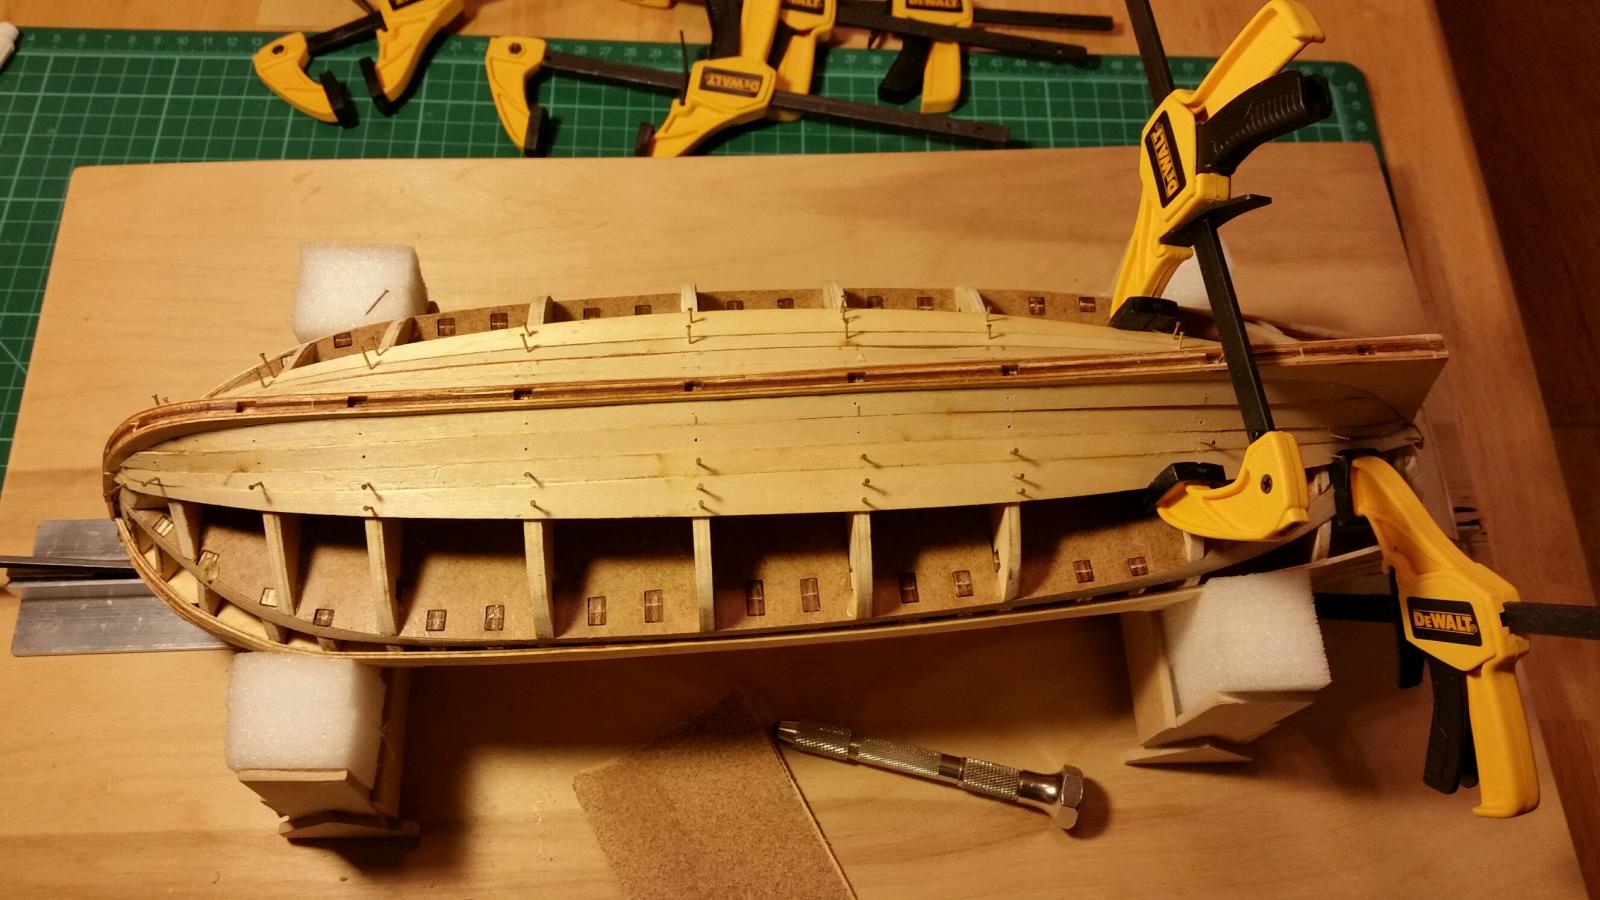
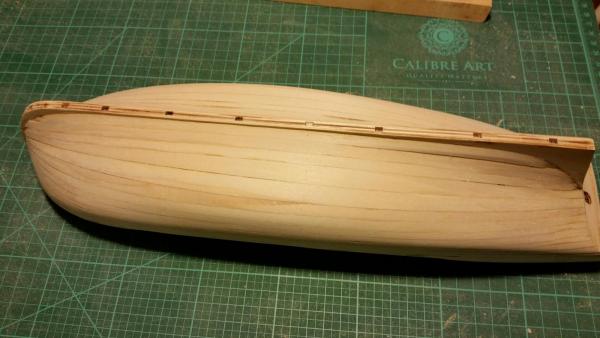
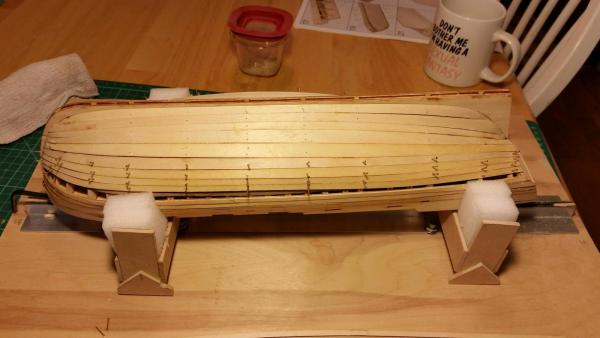
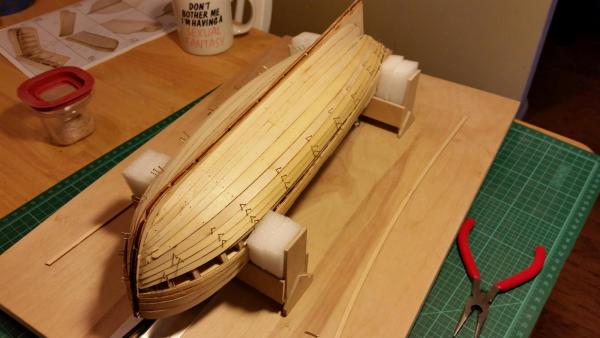
Sanding and filling the hull. Getting close!

-
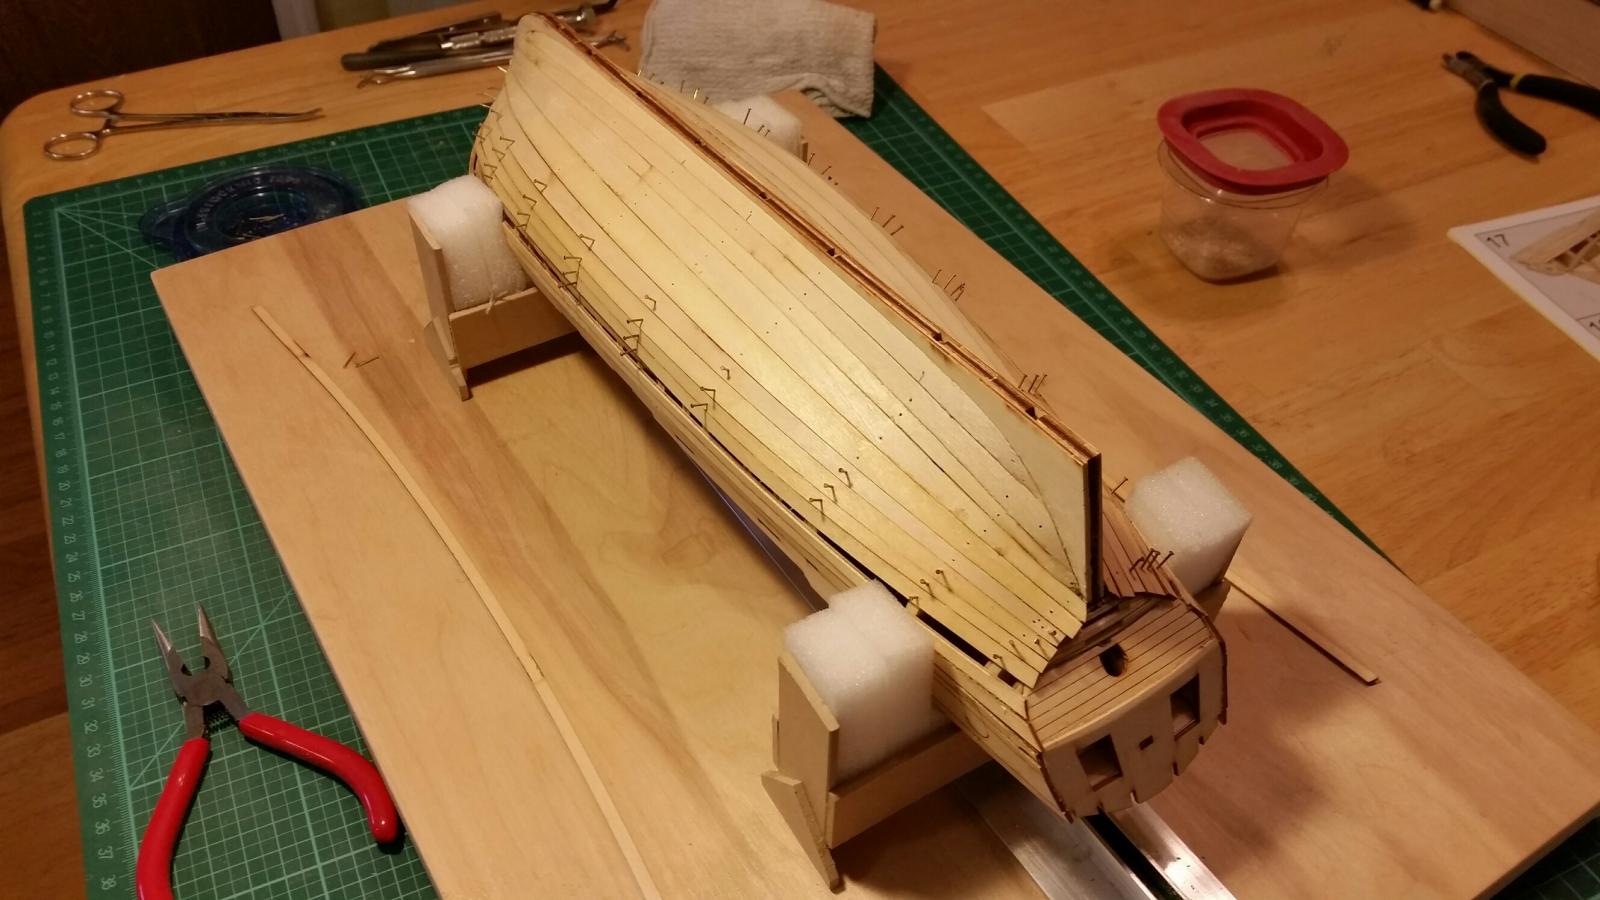
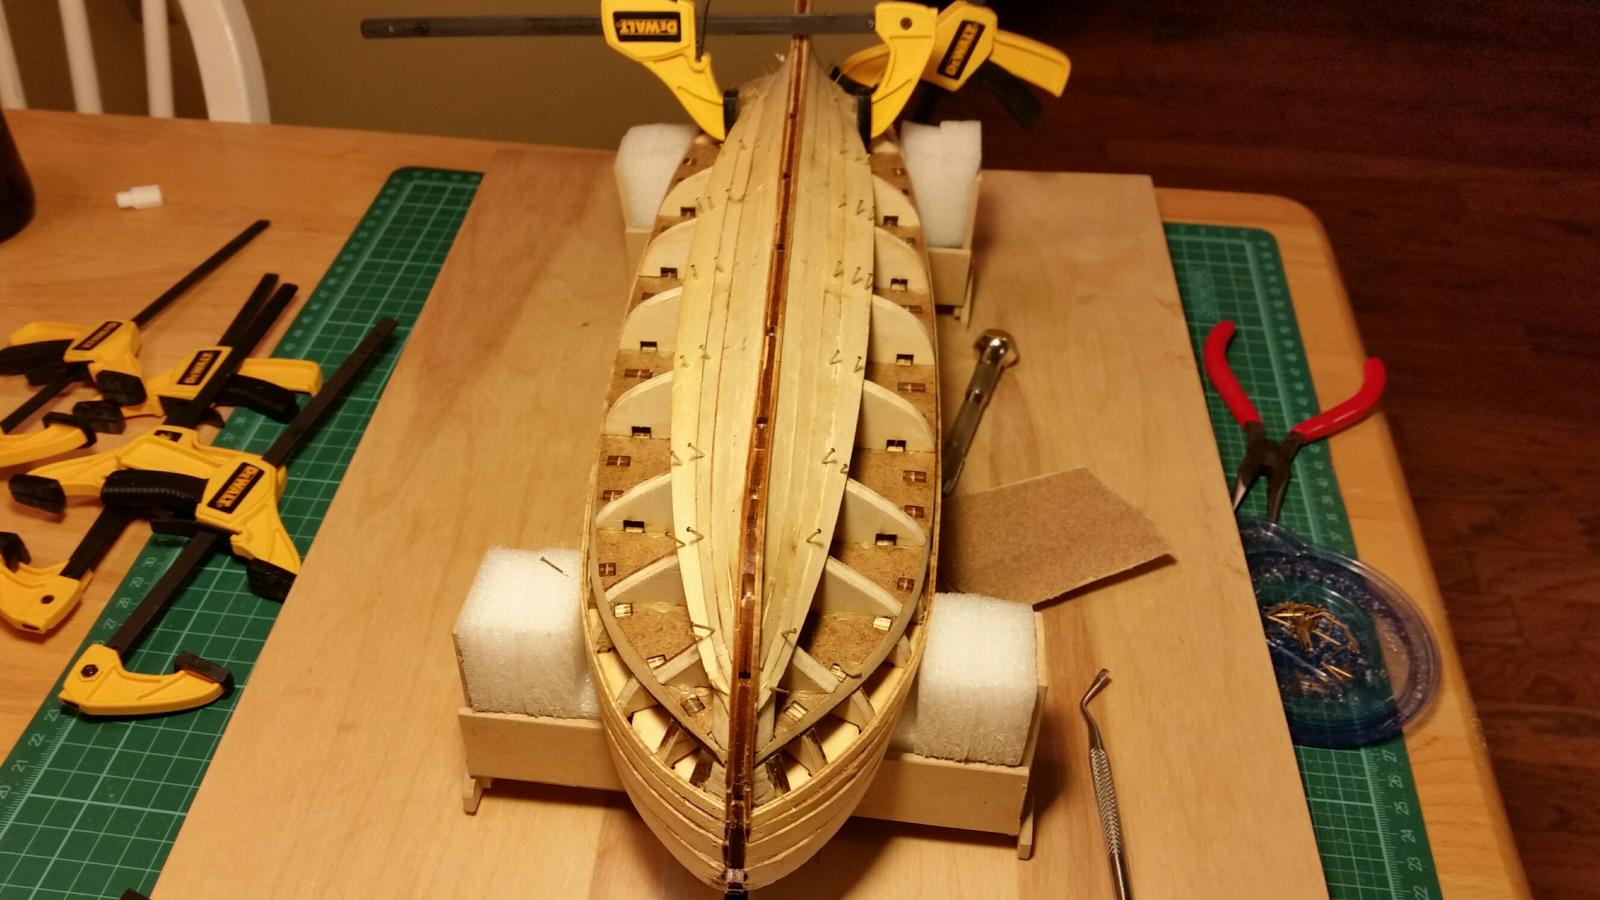
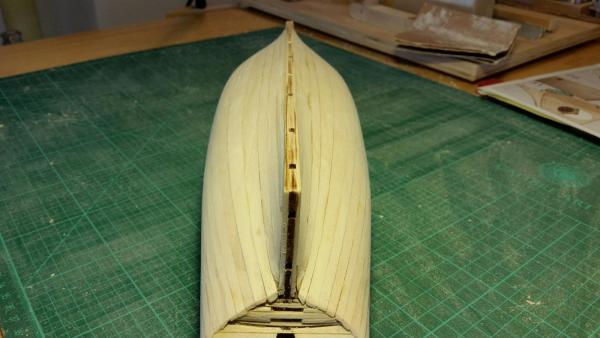
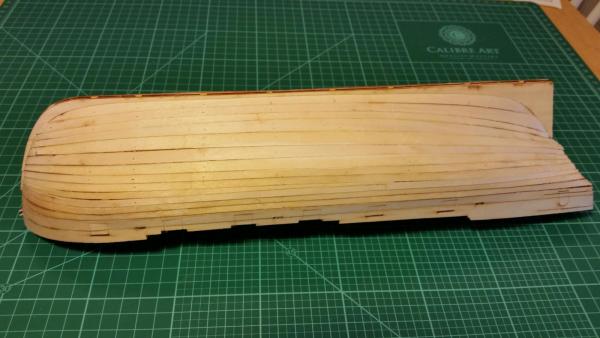
Okay, back to work! Completing the initial planking on the hull. Yes, it's a little rough


-
Corey reacted to a post in a topic:
HMS Victory by Seventynet - Caldercraft - Scale 1: 72 - first build
-
Wow Ian, I'm very impressed. First of all because of the model you chose for your first build and secondly for the beautiful work you're doing! All I can say is WOW! Corey
- 191 replies
-
- 6
-
-
- victory
- caldercraft
- (and 1 more)
-
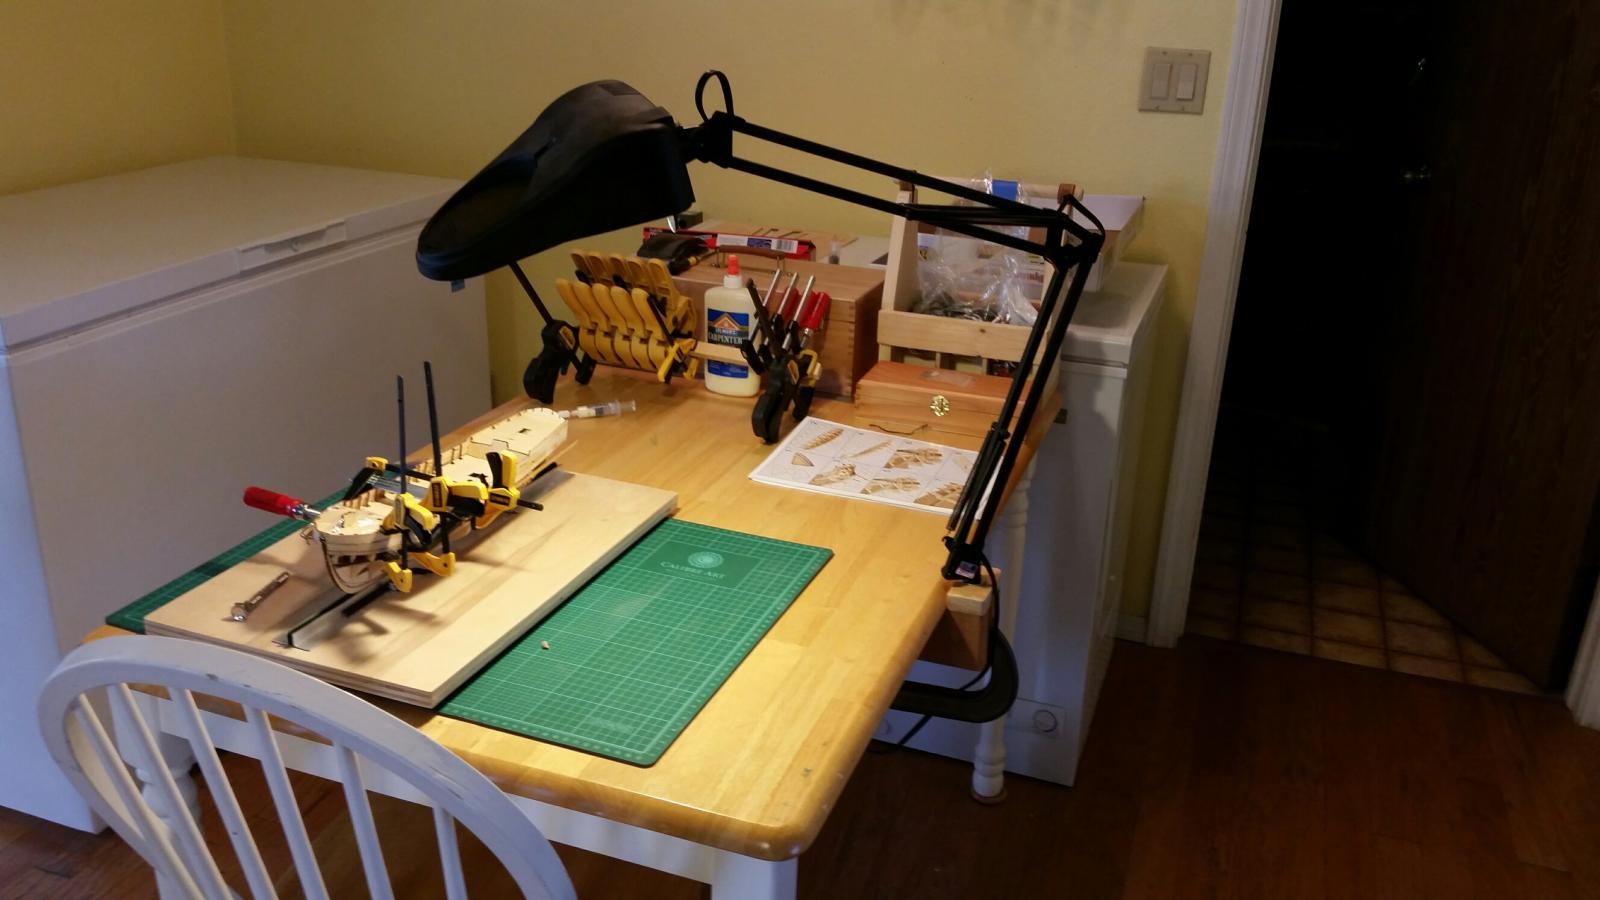
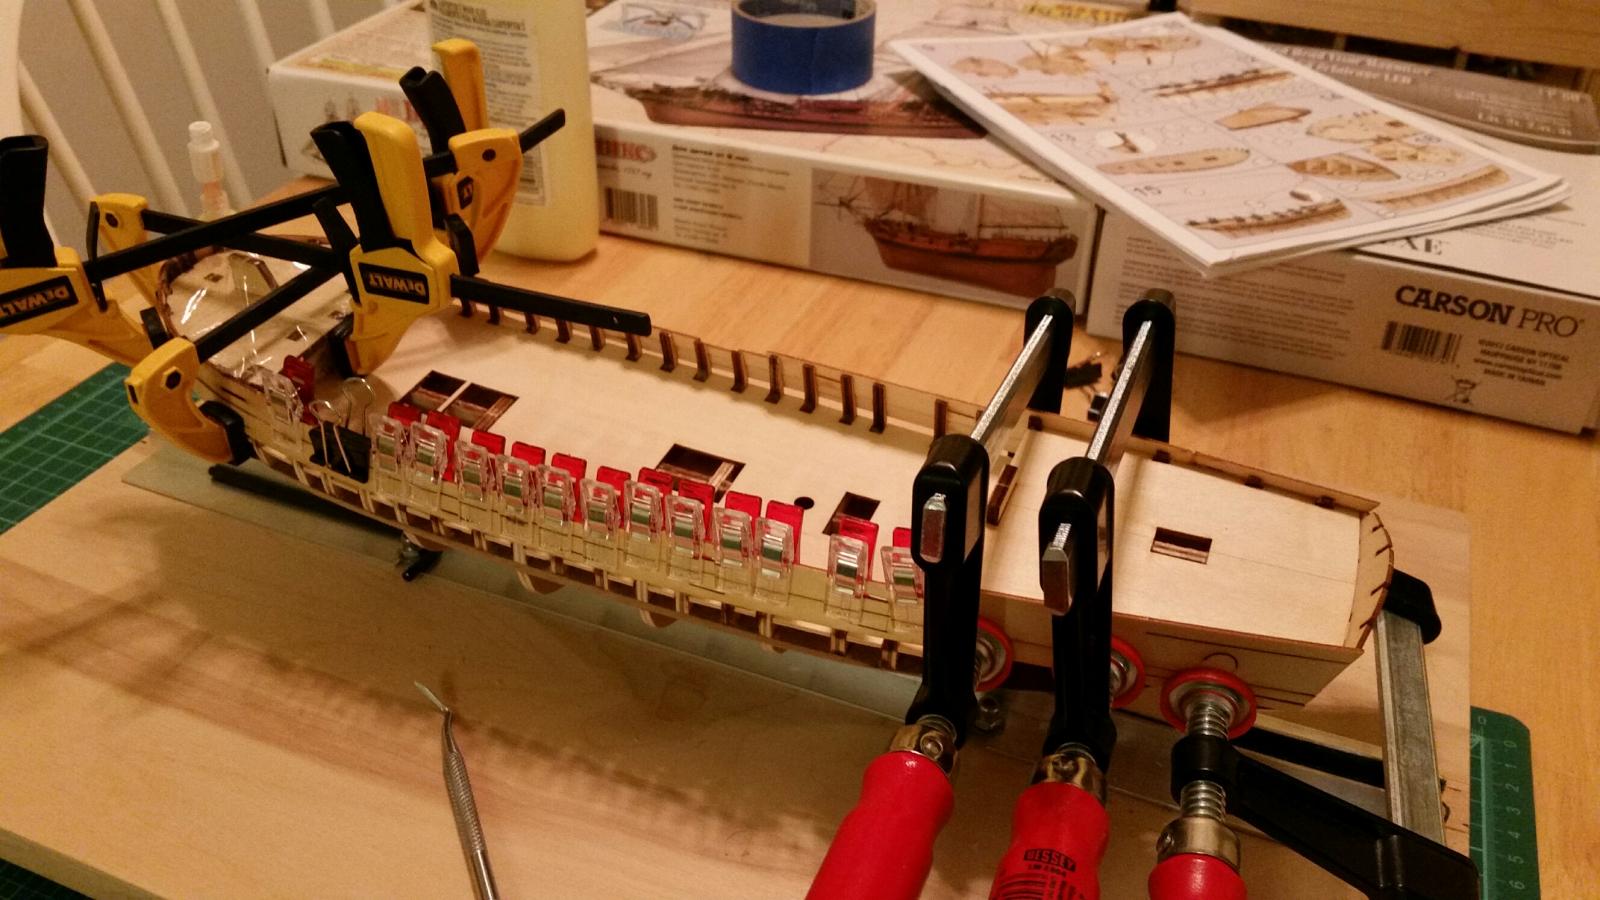
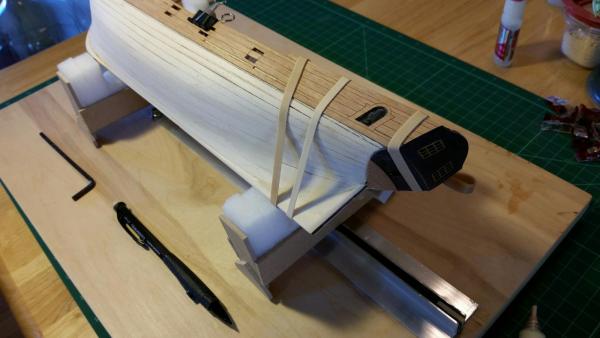
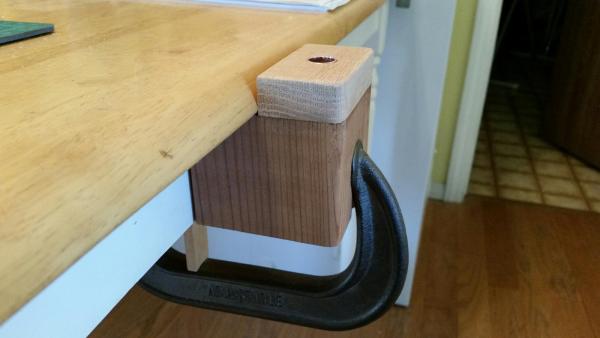
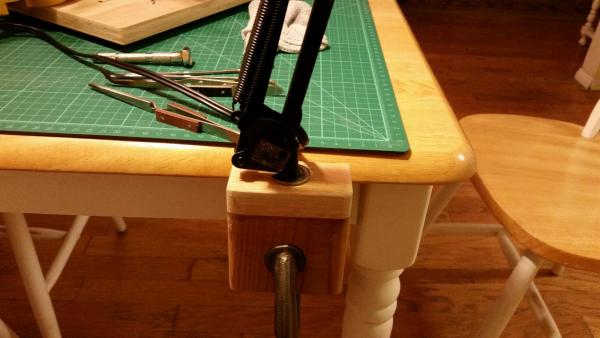
My happy little corner of the kitchen.
-
I got this idea from one of the build logs. Now why didn't I think of this? Now I have Light!


-
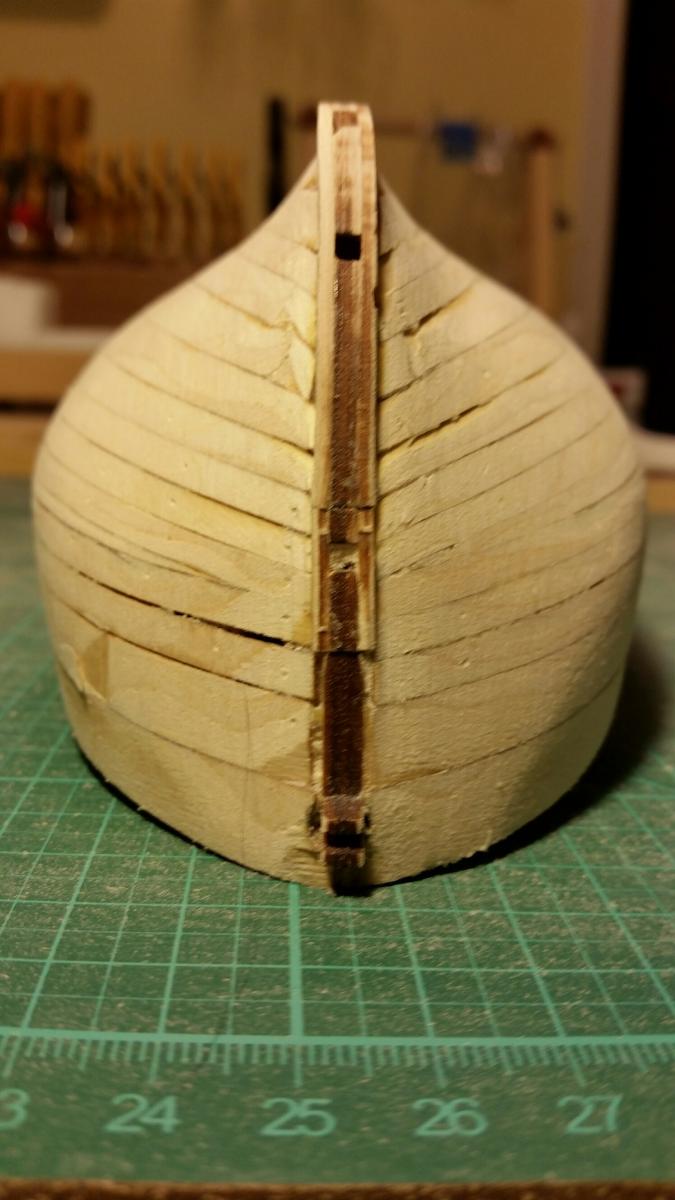
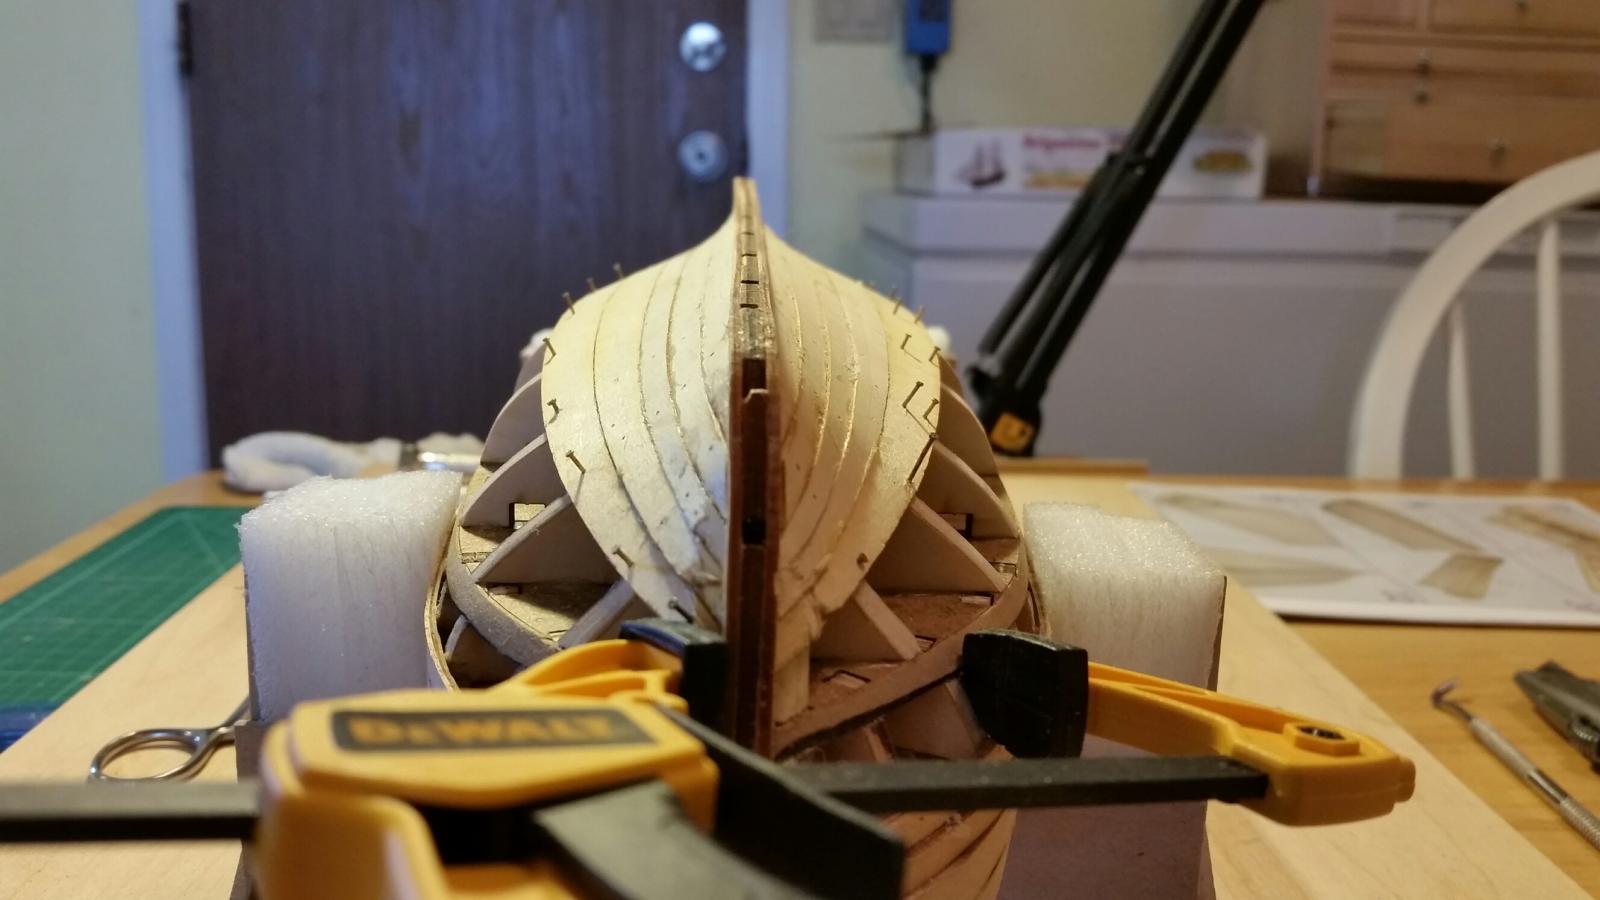
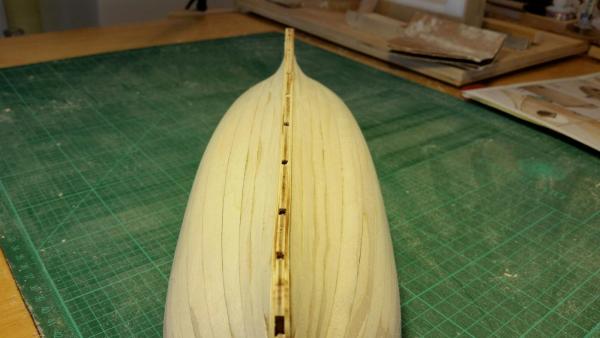
So the build continues with the first layer of planking. I'm a little worried about the sloppiness of some of the glue joints but I'm hoping sanding and filling the gaps will fix all the flaws.


-
Wow Brian, truly a work of art and a piece to be proud of. As I go through some of these build logs I can only hope that some day... Corey
-
Thank you avsjerome2003, Is "Crackers" your moniker or a type of fair-the-well? If you have any suggestions or see that I'm doing something wrong, PLEASE, I'm all ears. Corey
-
Hey Mark, Thanks for the tip. Yes, I'm using PVA glue and I'll try using alcohol the next time I screw up. I learn something new every time I'm on the site. I just discovered yesterday, while reading a build log, that I should be sanding the laser char off of each part. My model kit directions are in Russian so I'm missing all of those fine details and essentially assembling this model by the seat of my pants. I wish more people would chime in with suggestions and thoughts. I could sure use the help. Thanks again, Corey
-
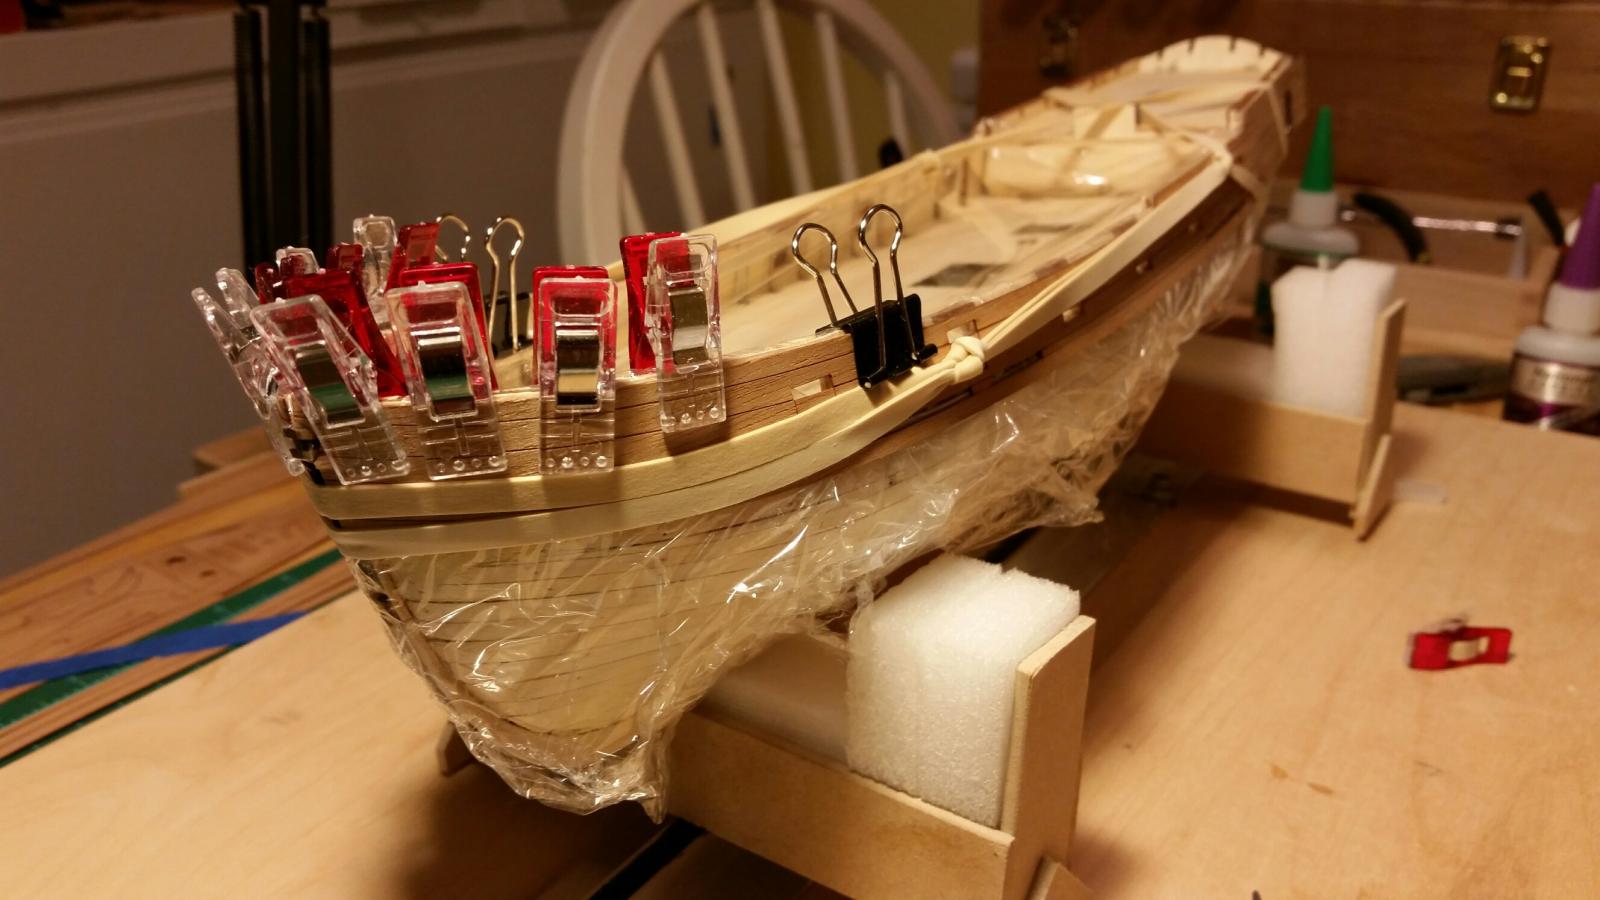
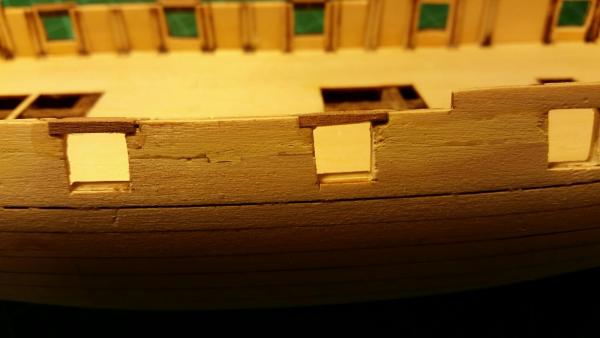
Better late than never. After gluing the second bulwark plank and letting it dry I discovered the top of the plank was higher on the right side than on the left. It took several minutes of gentle prying to get the glue joints apart without tearing or breaking anything. I need to be more careful!
-
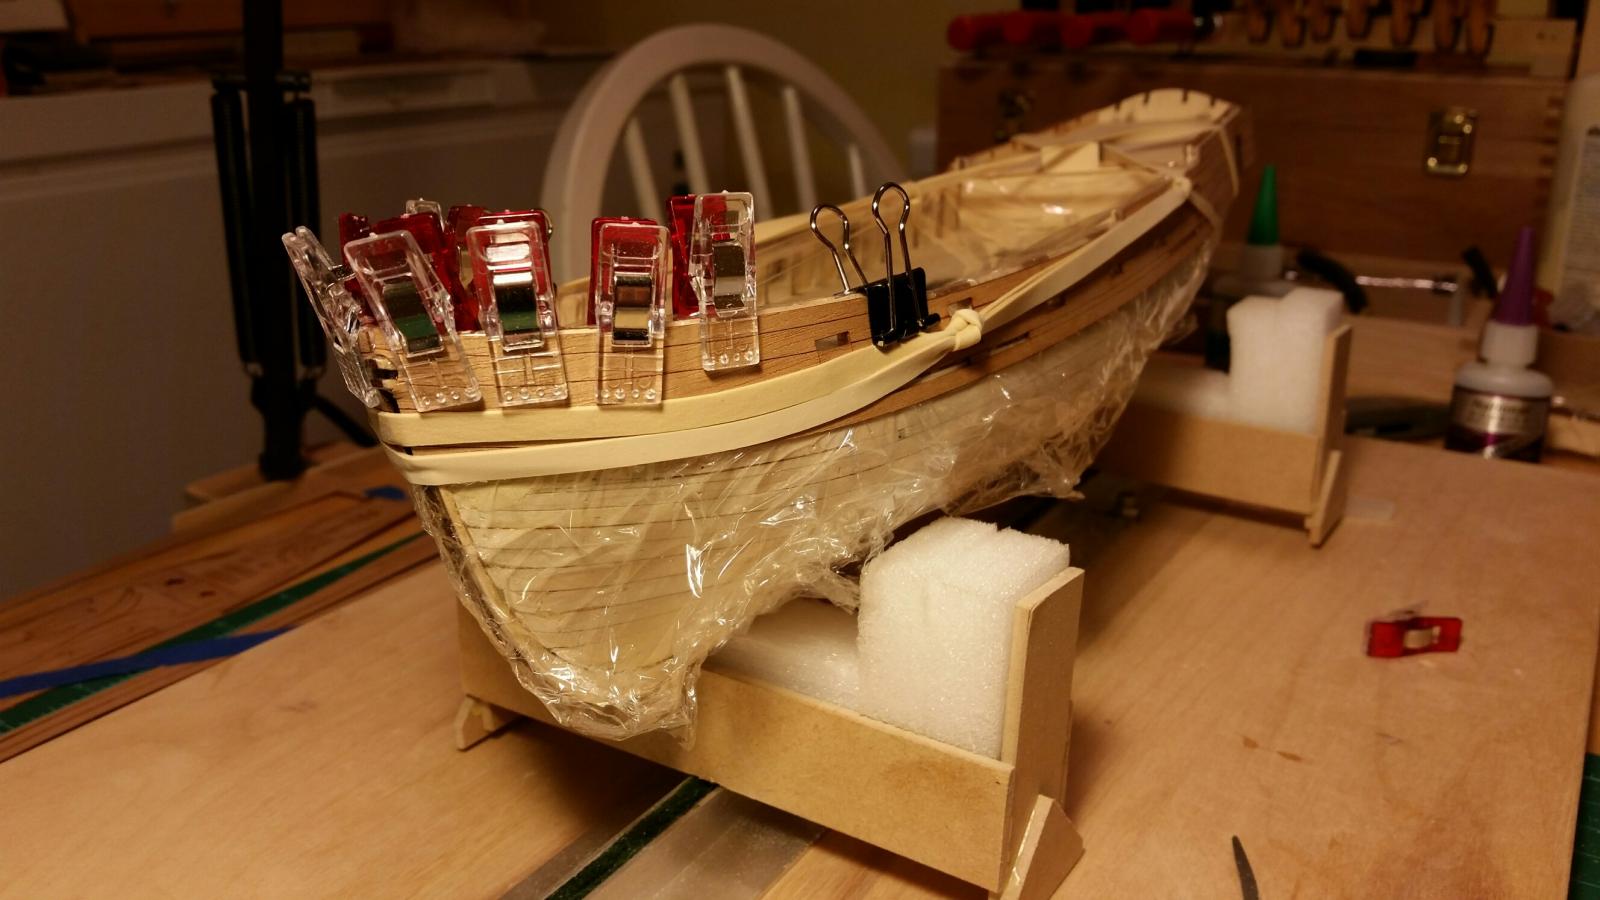
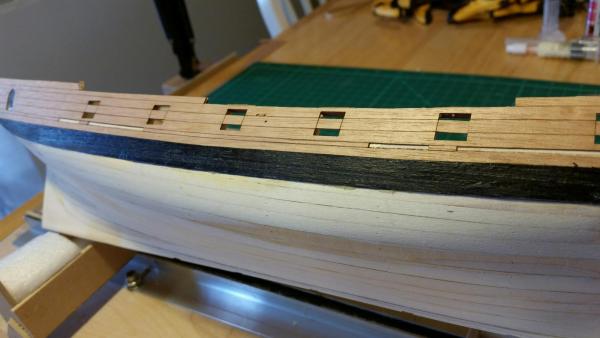
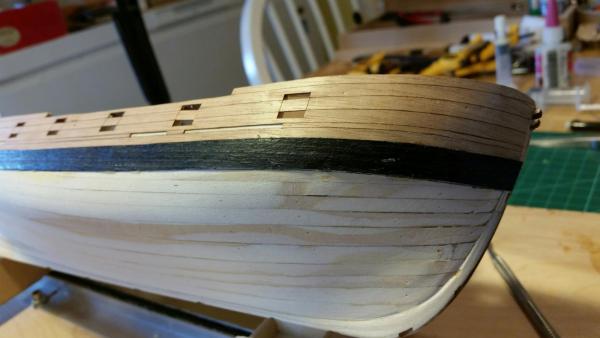
Just a couple more pics of the bulwark planking:

-
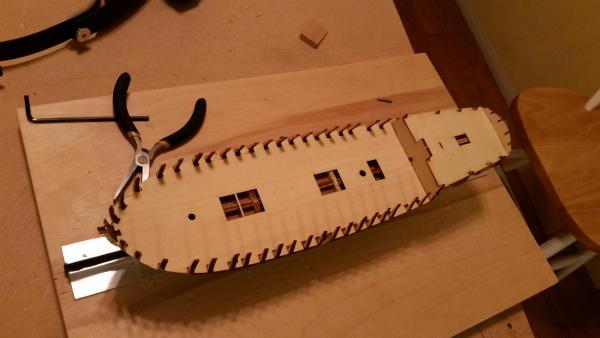
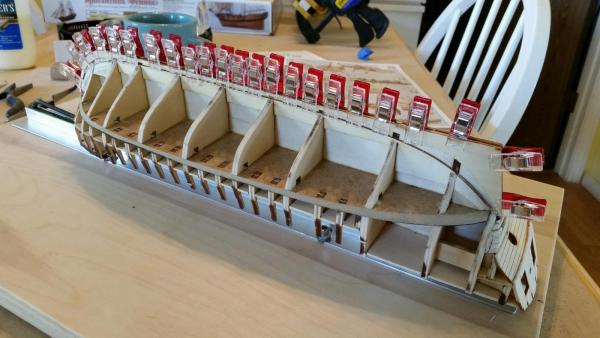
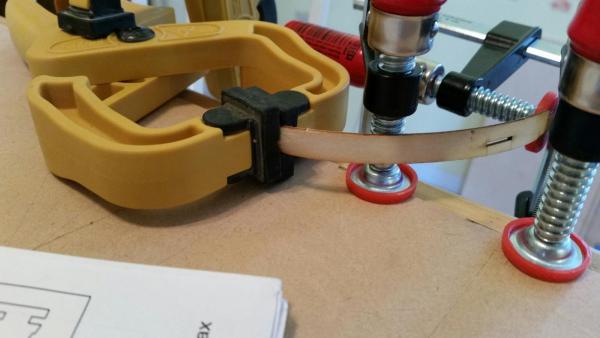
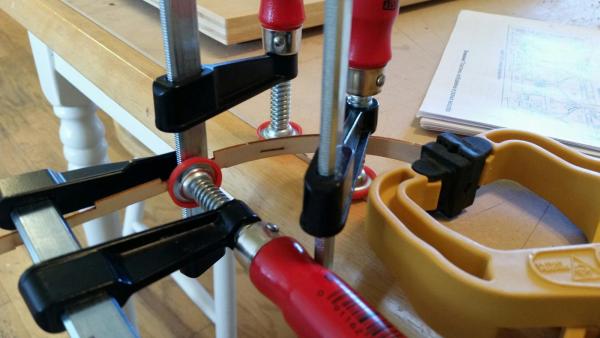
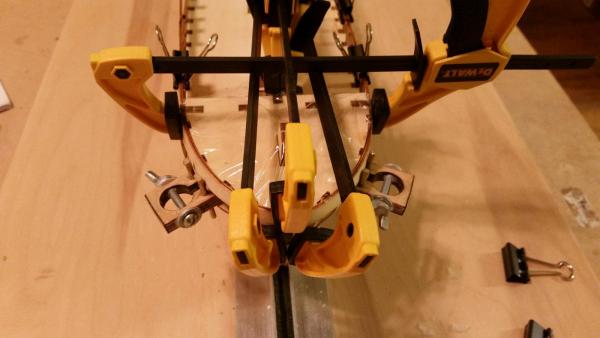
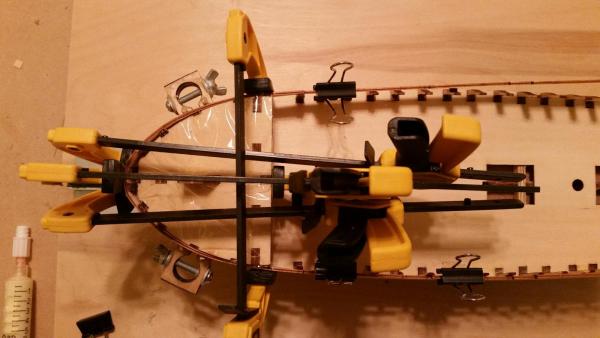
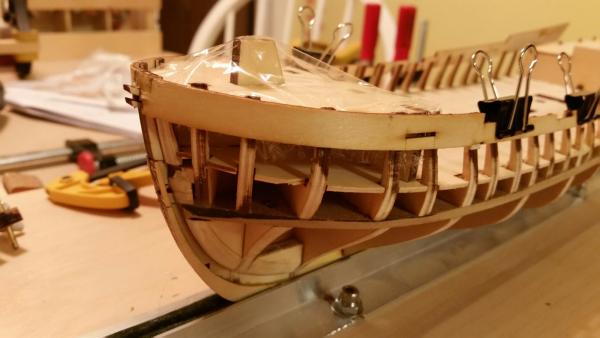
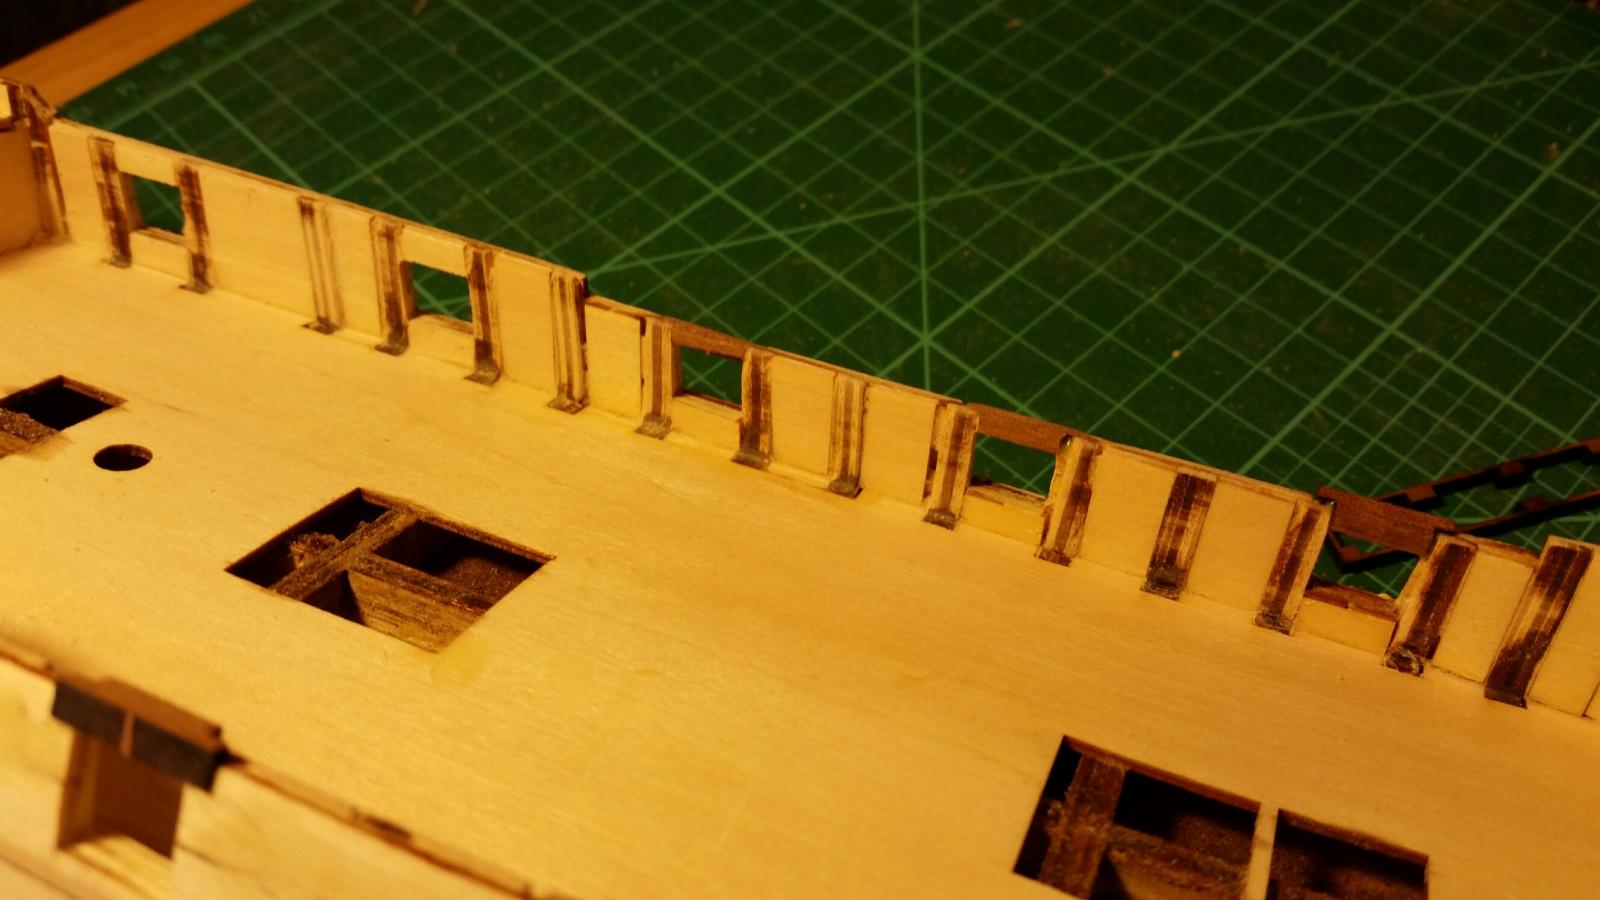
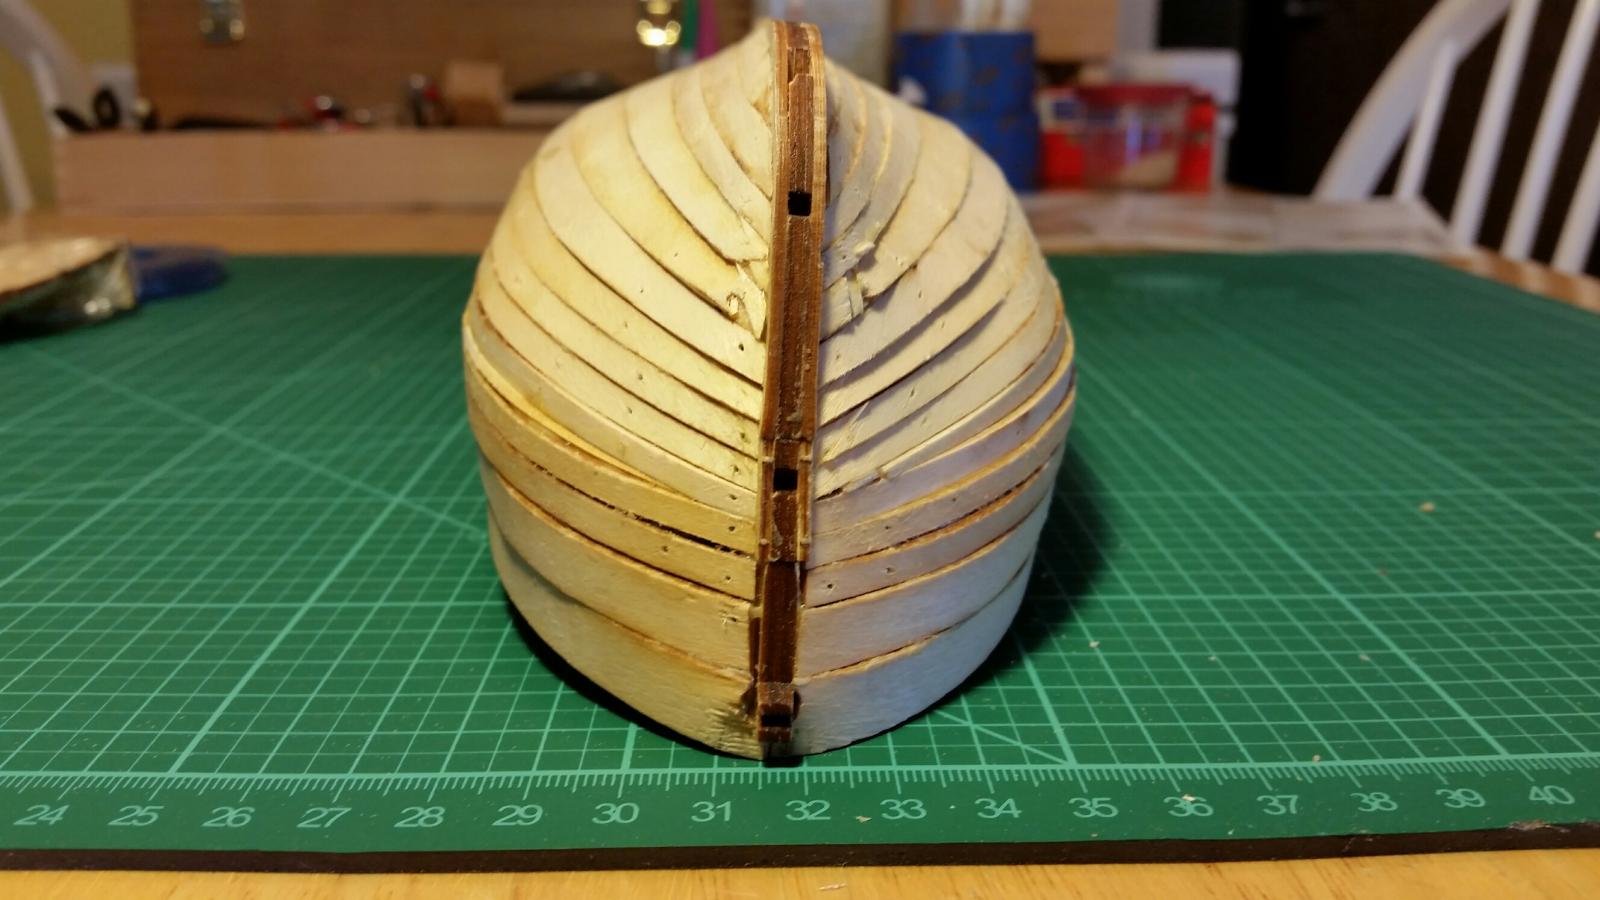
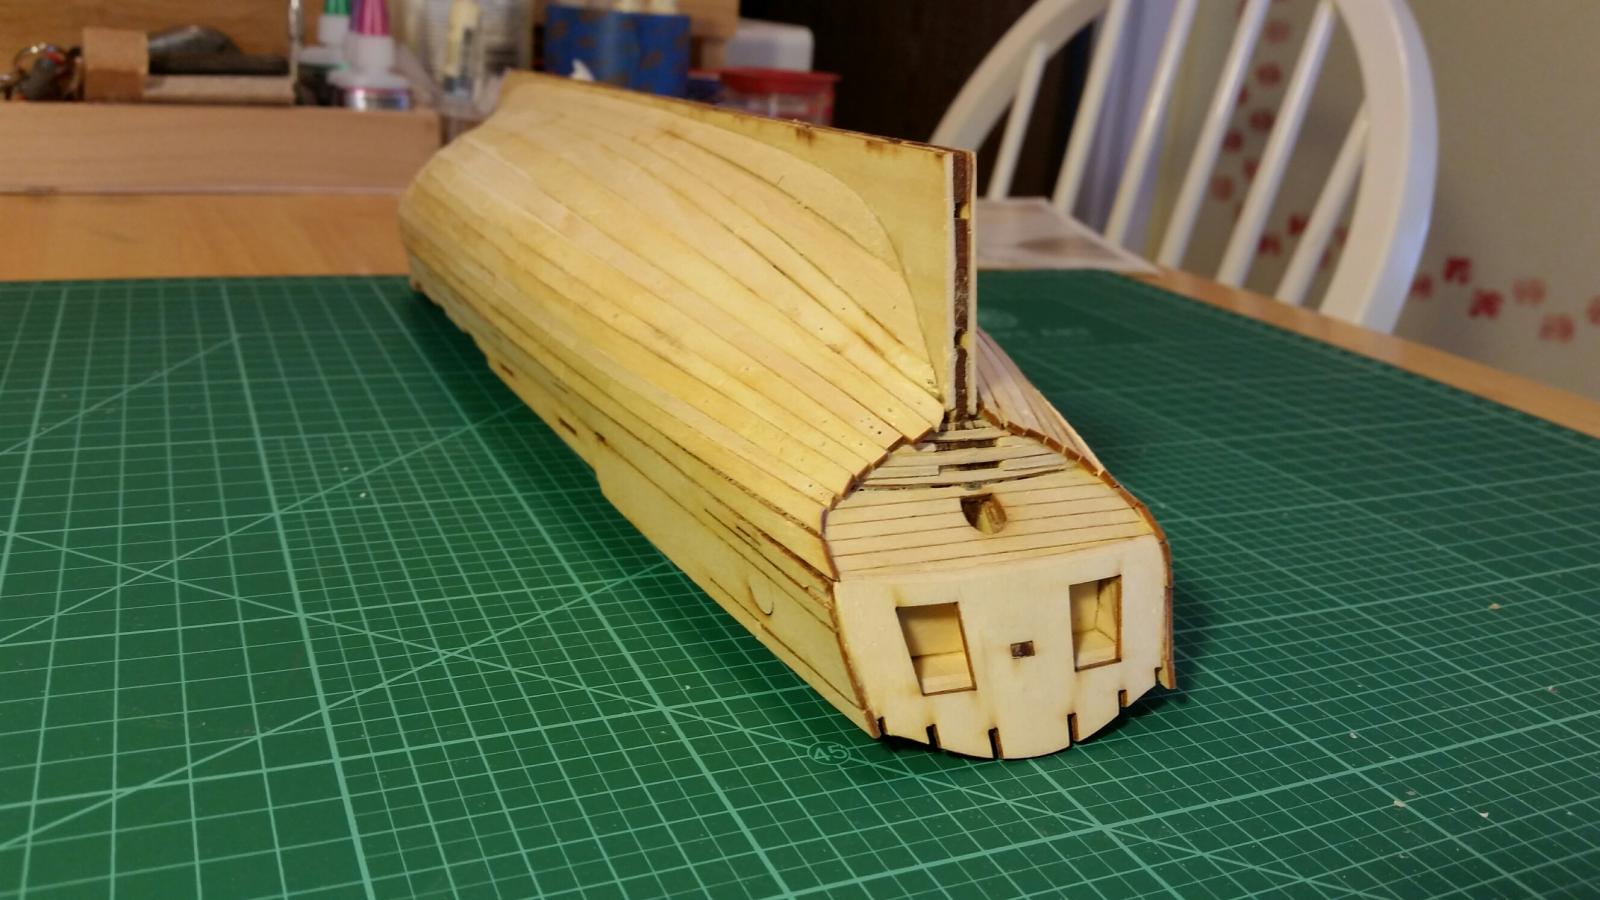
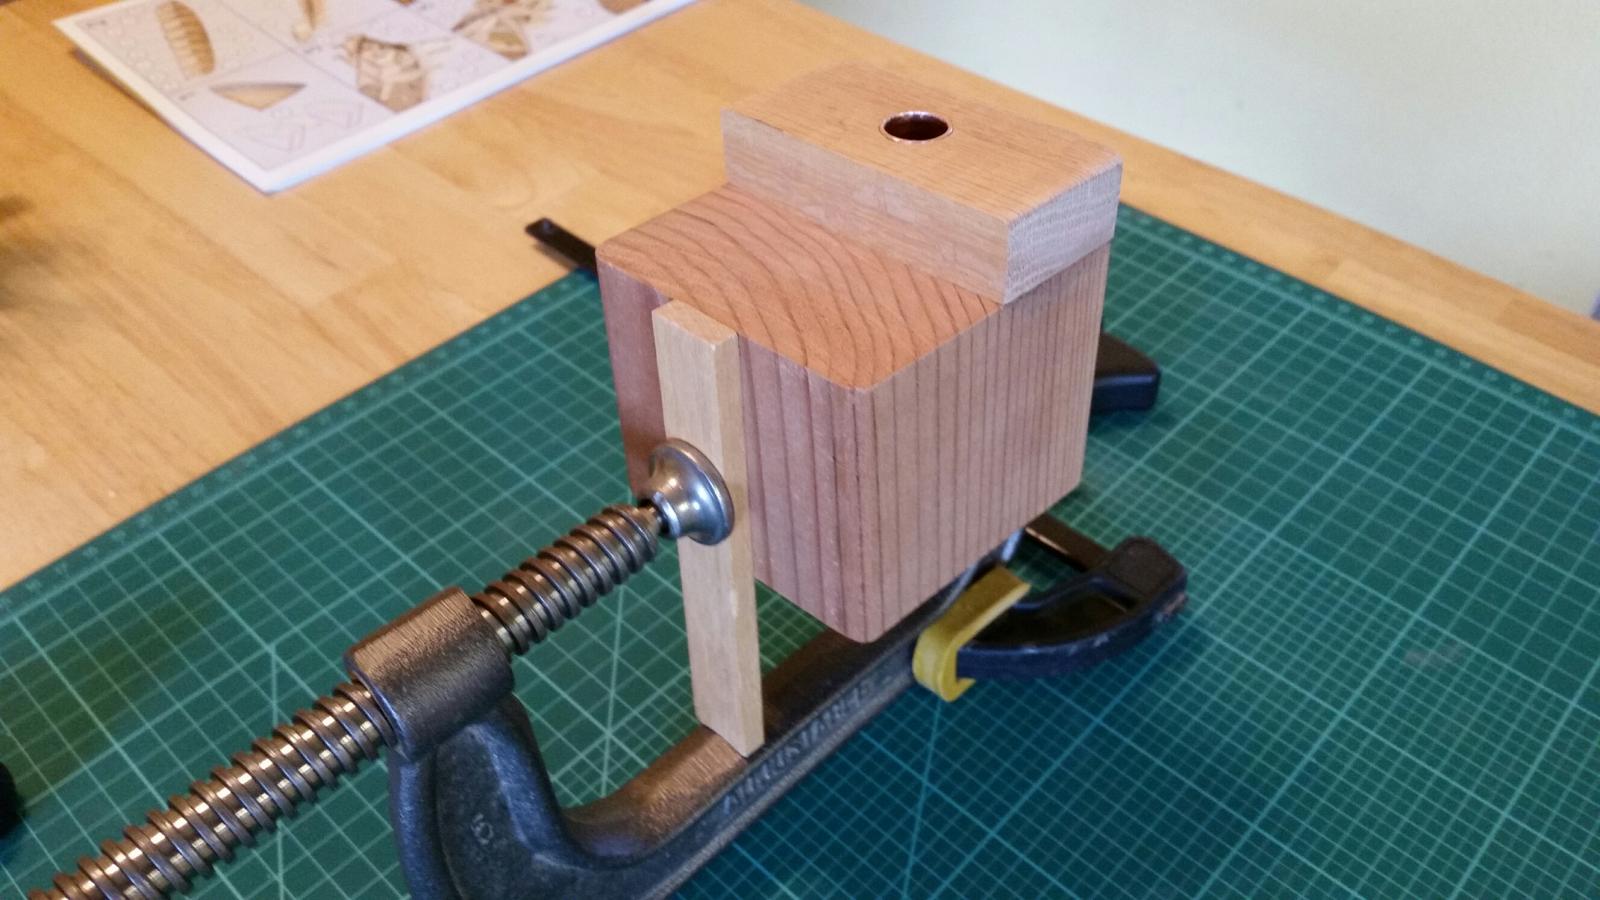
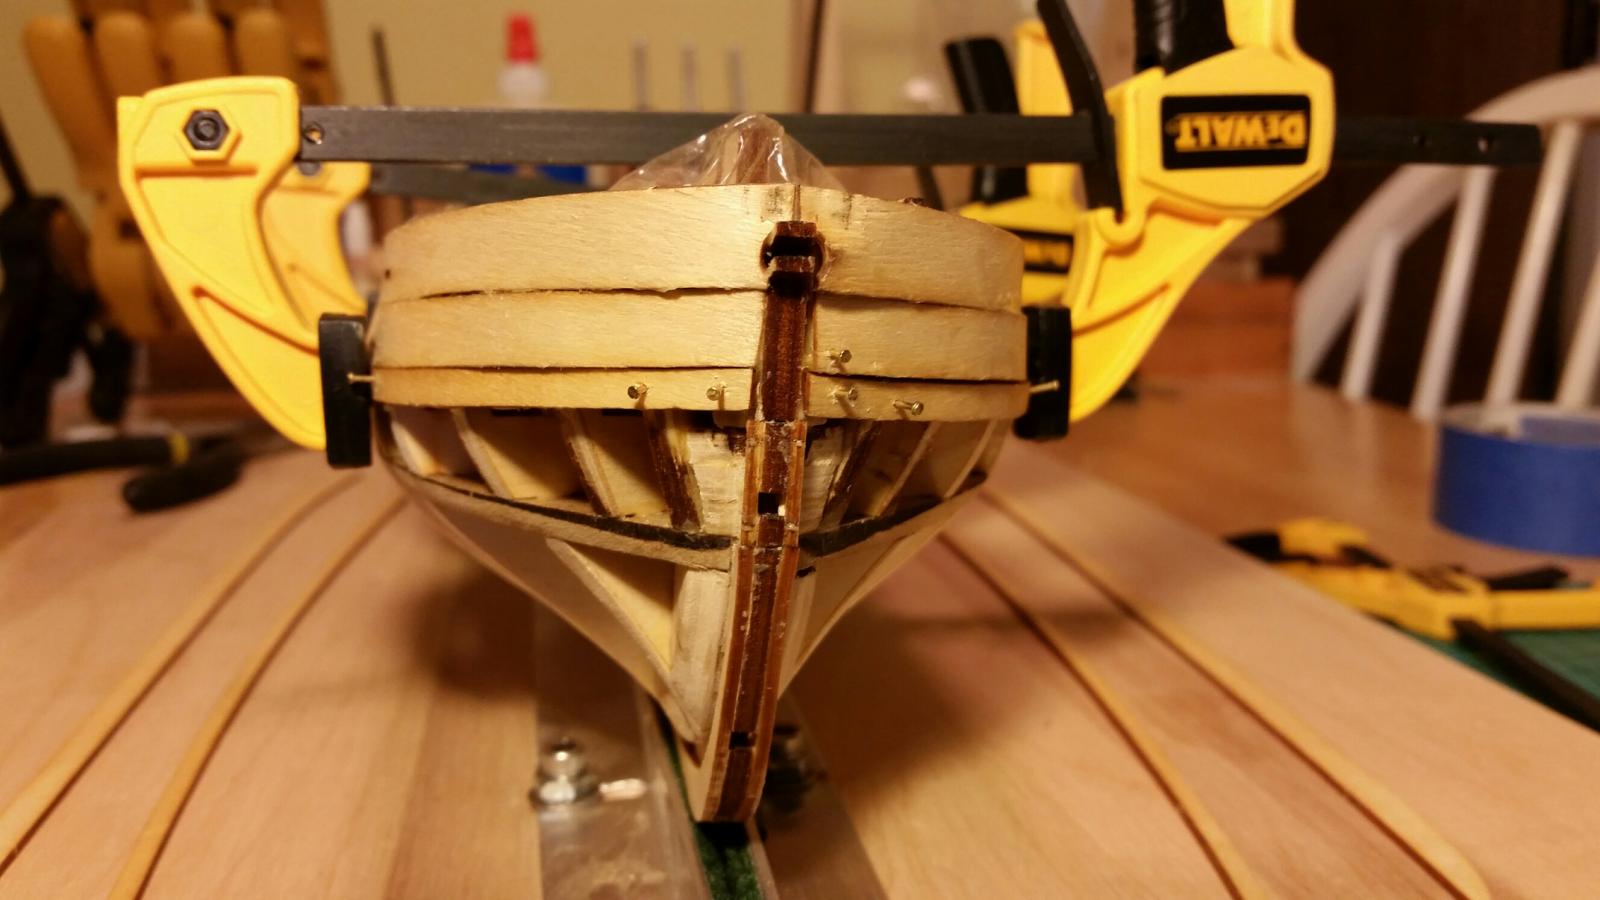
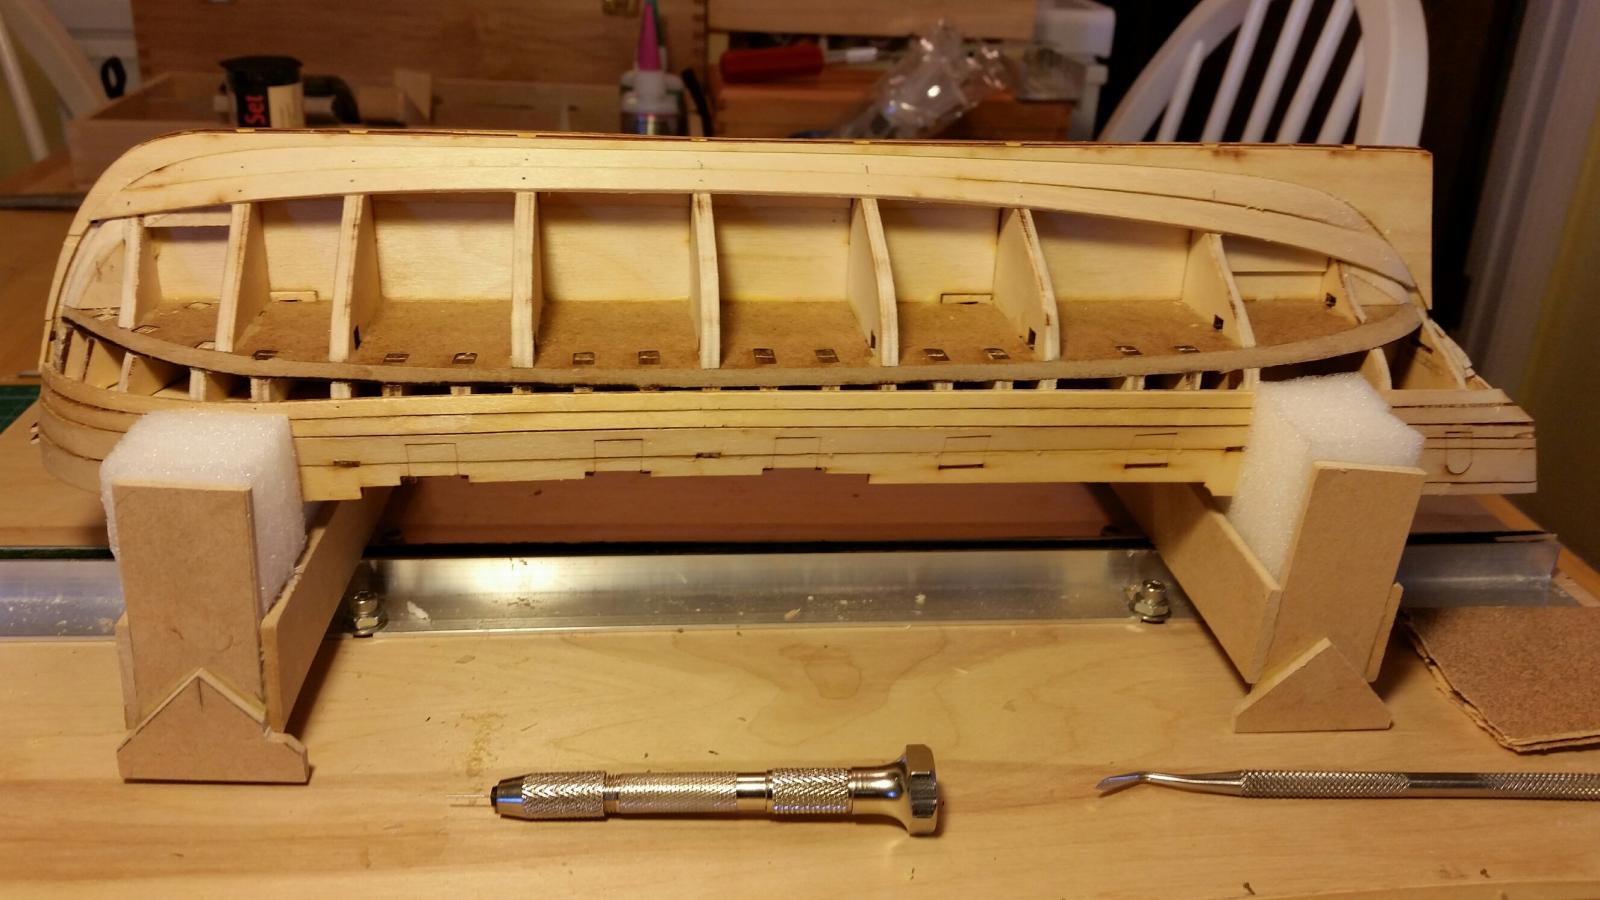
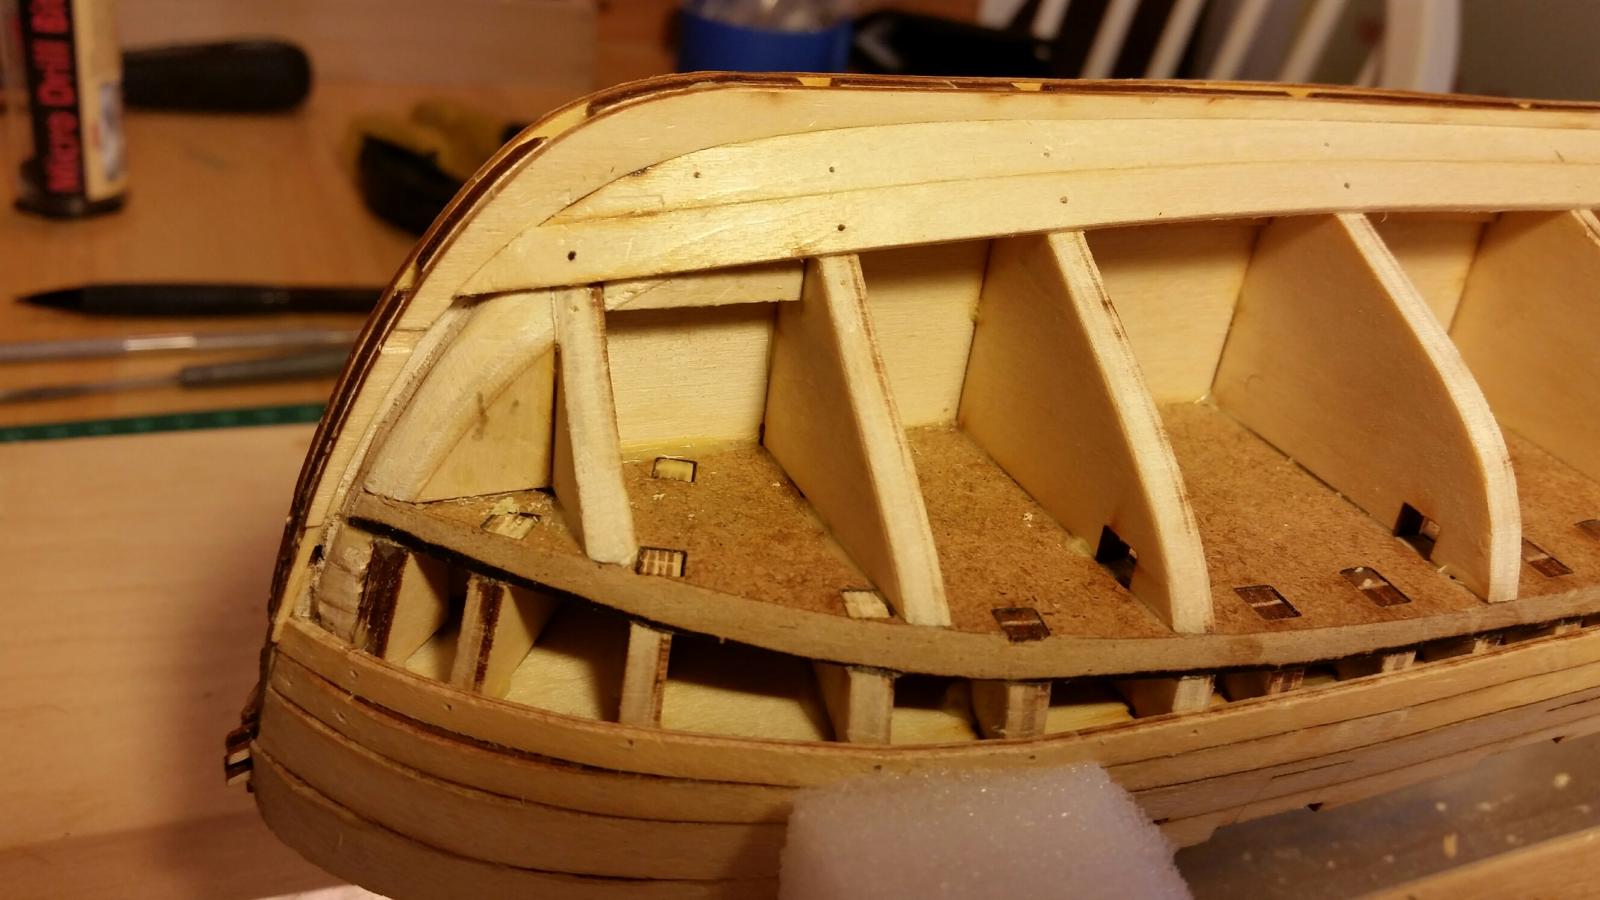
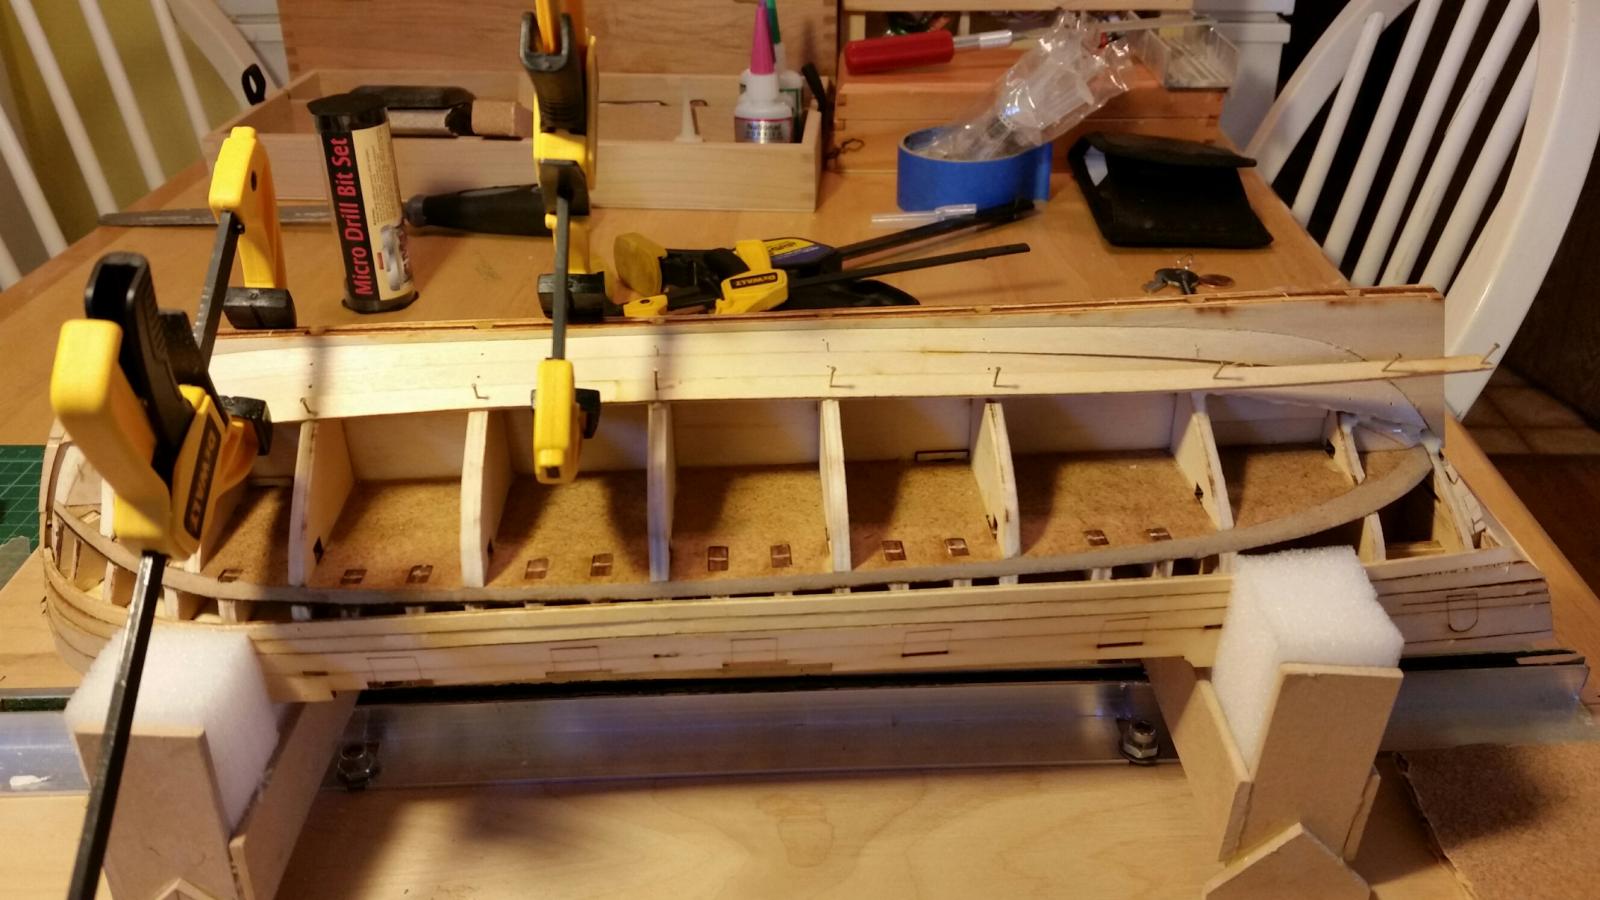
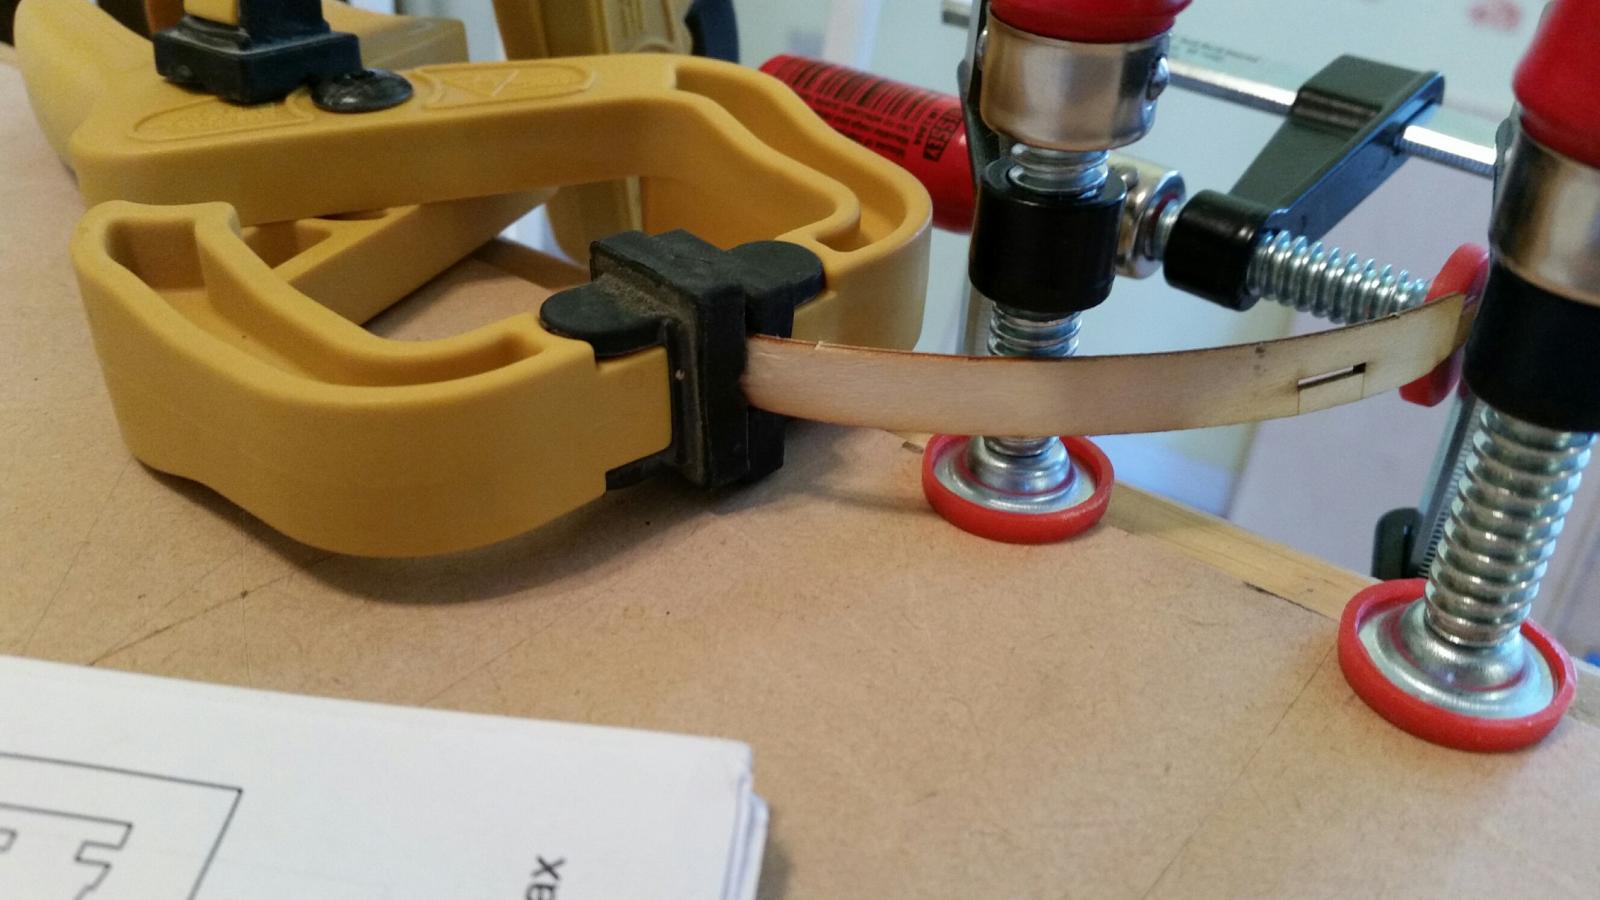
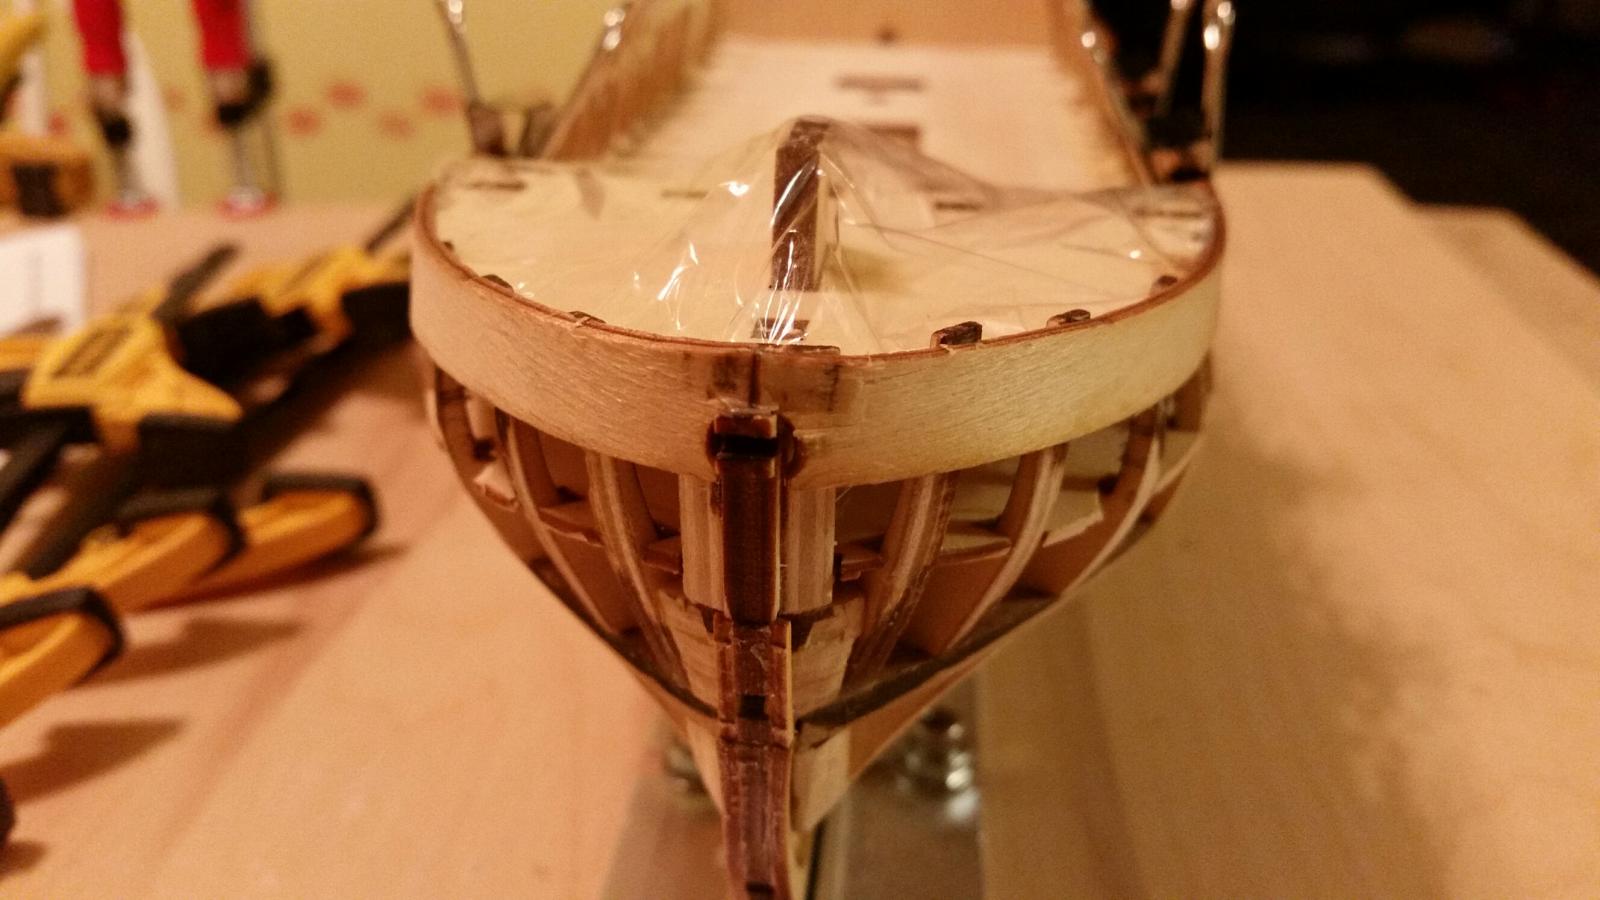
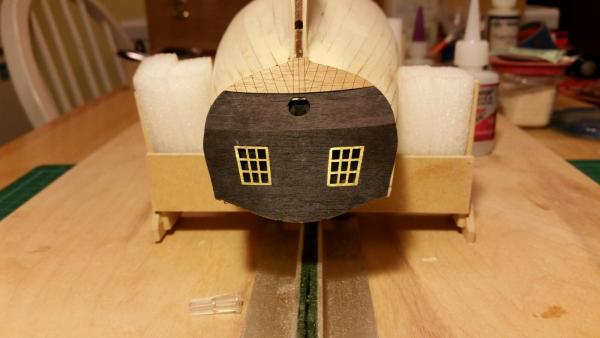
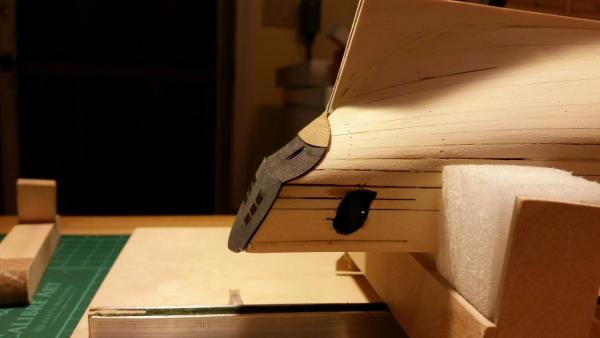
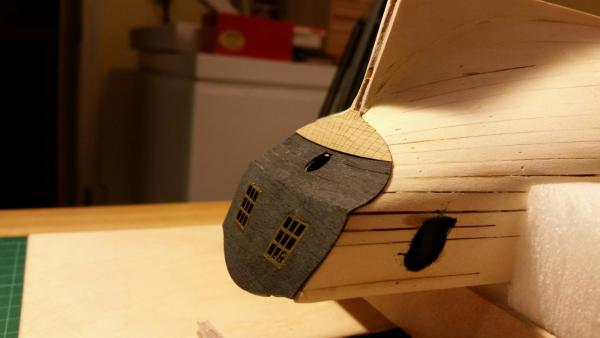
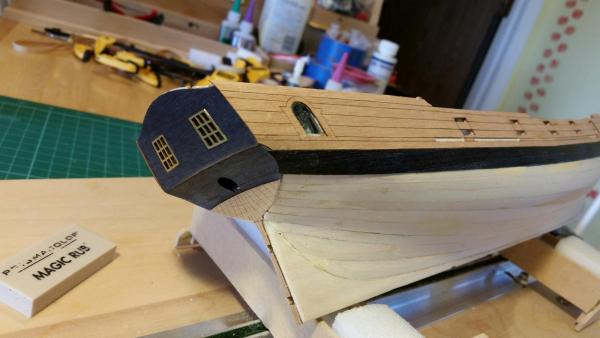
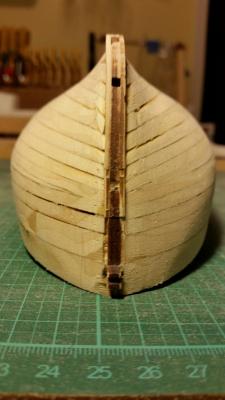
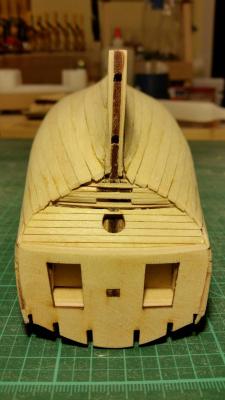
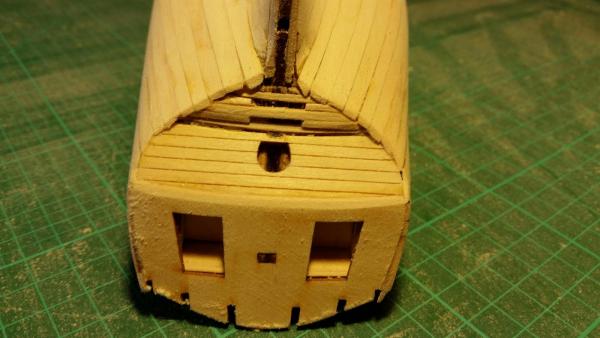
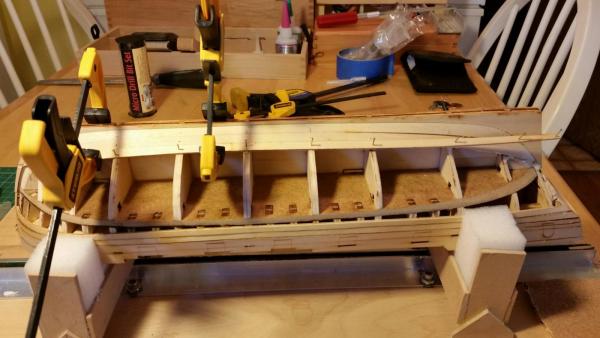
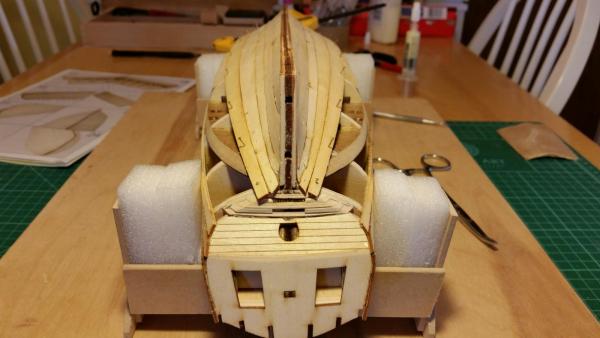
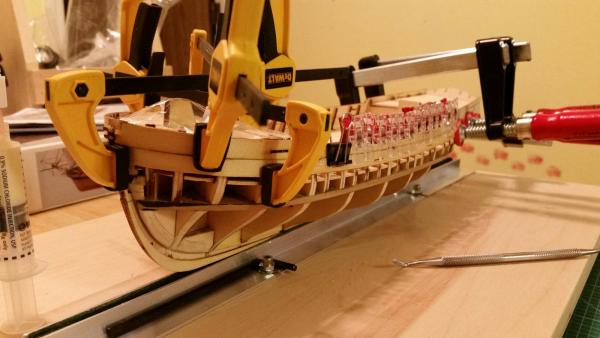
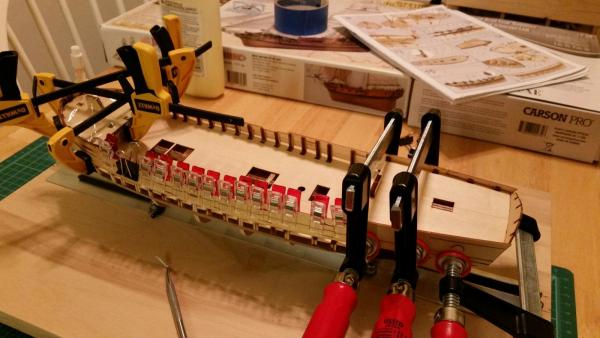
So far so good. I was on a work stretch so I haven't made a whole lot of progress on the model. I finished the stern portion, put in the sub-deck and started the base planking on the bulwarks. I don't have a plank bender and the planks that go on the bulwarks are plywood. I decided to steam the plywood planks which may not have been the best option because the outer layer tended to separate and wrinkle on the inside radius of the bend. Strategically placed clamps prevented this from becoming a major issue. Initially I formed the planks into the basic shape of the hull using clamps, allowed the planks to dry then glued and clamped them to the hull. I found it was easier to clamp the steamed planks directly to the hull to form them then glue them on when dry. Stern section complete Sub-deck added Preparing the keel for planking Forming the plywood planks Planks glued on and clamped Not too shabby at the bow