Trussben
-
Posts
2,008 -
Joined
-
Last visited
Content Type
Profiles
Forums
Gallery
Events
Everything posted by Trussben
-
 Enjoy the planking Dusan!
 -
Looks Fantastic Chris.
-
Thanks Dusan, same to you brother!
-
Very nicely done!
-
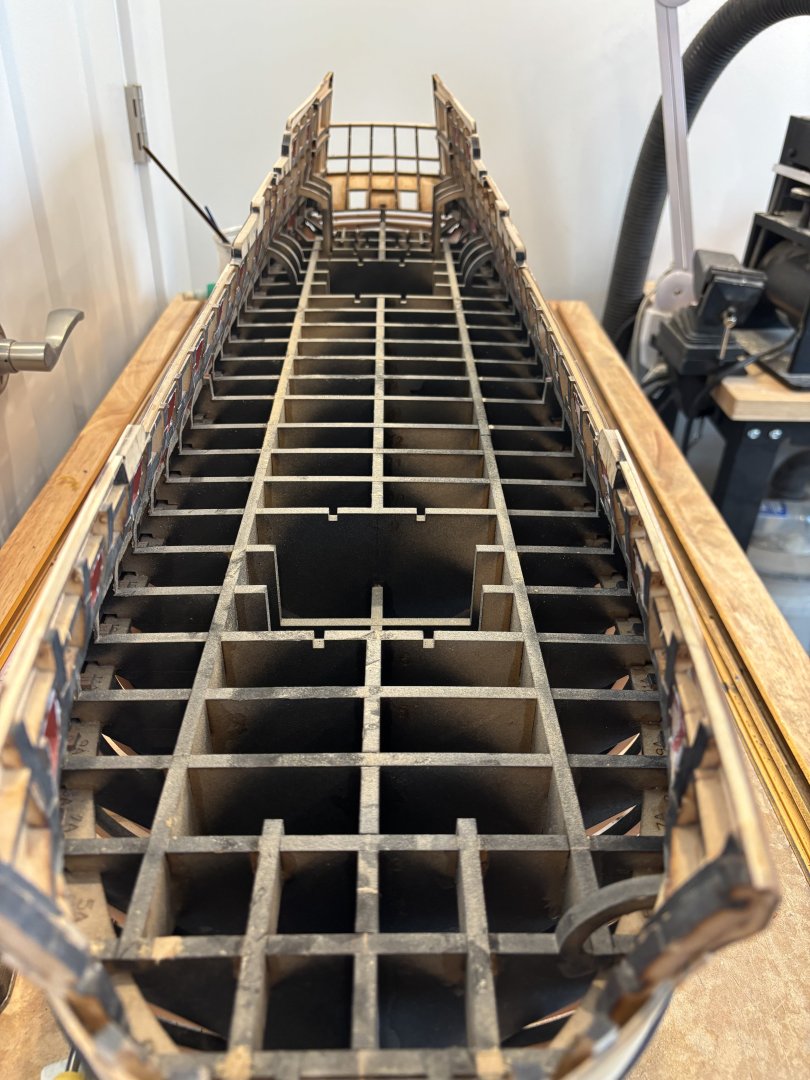
Hi JJ Surprisingly it came out just fine - I was expecting issues but no problems - I didn’t mistakenly glue anything to the jigs.
-
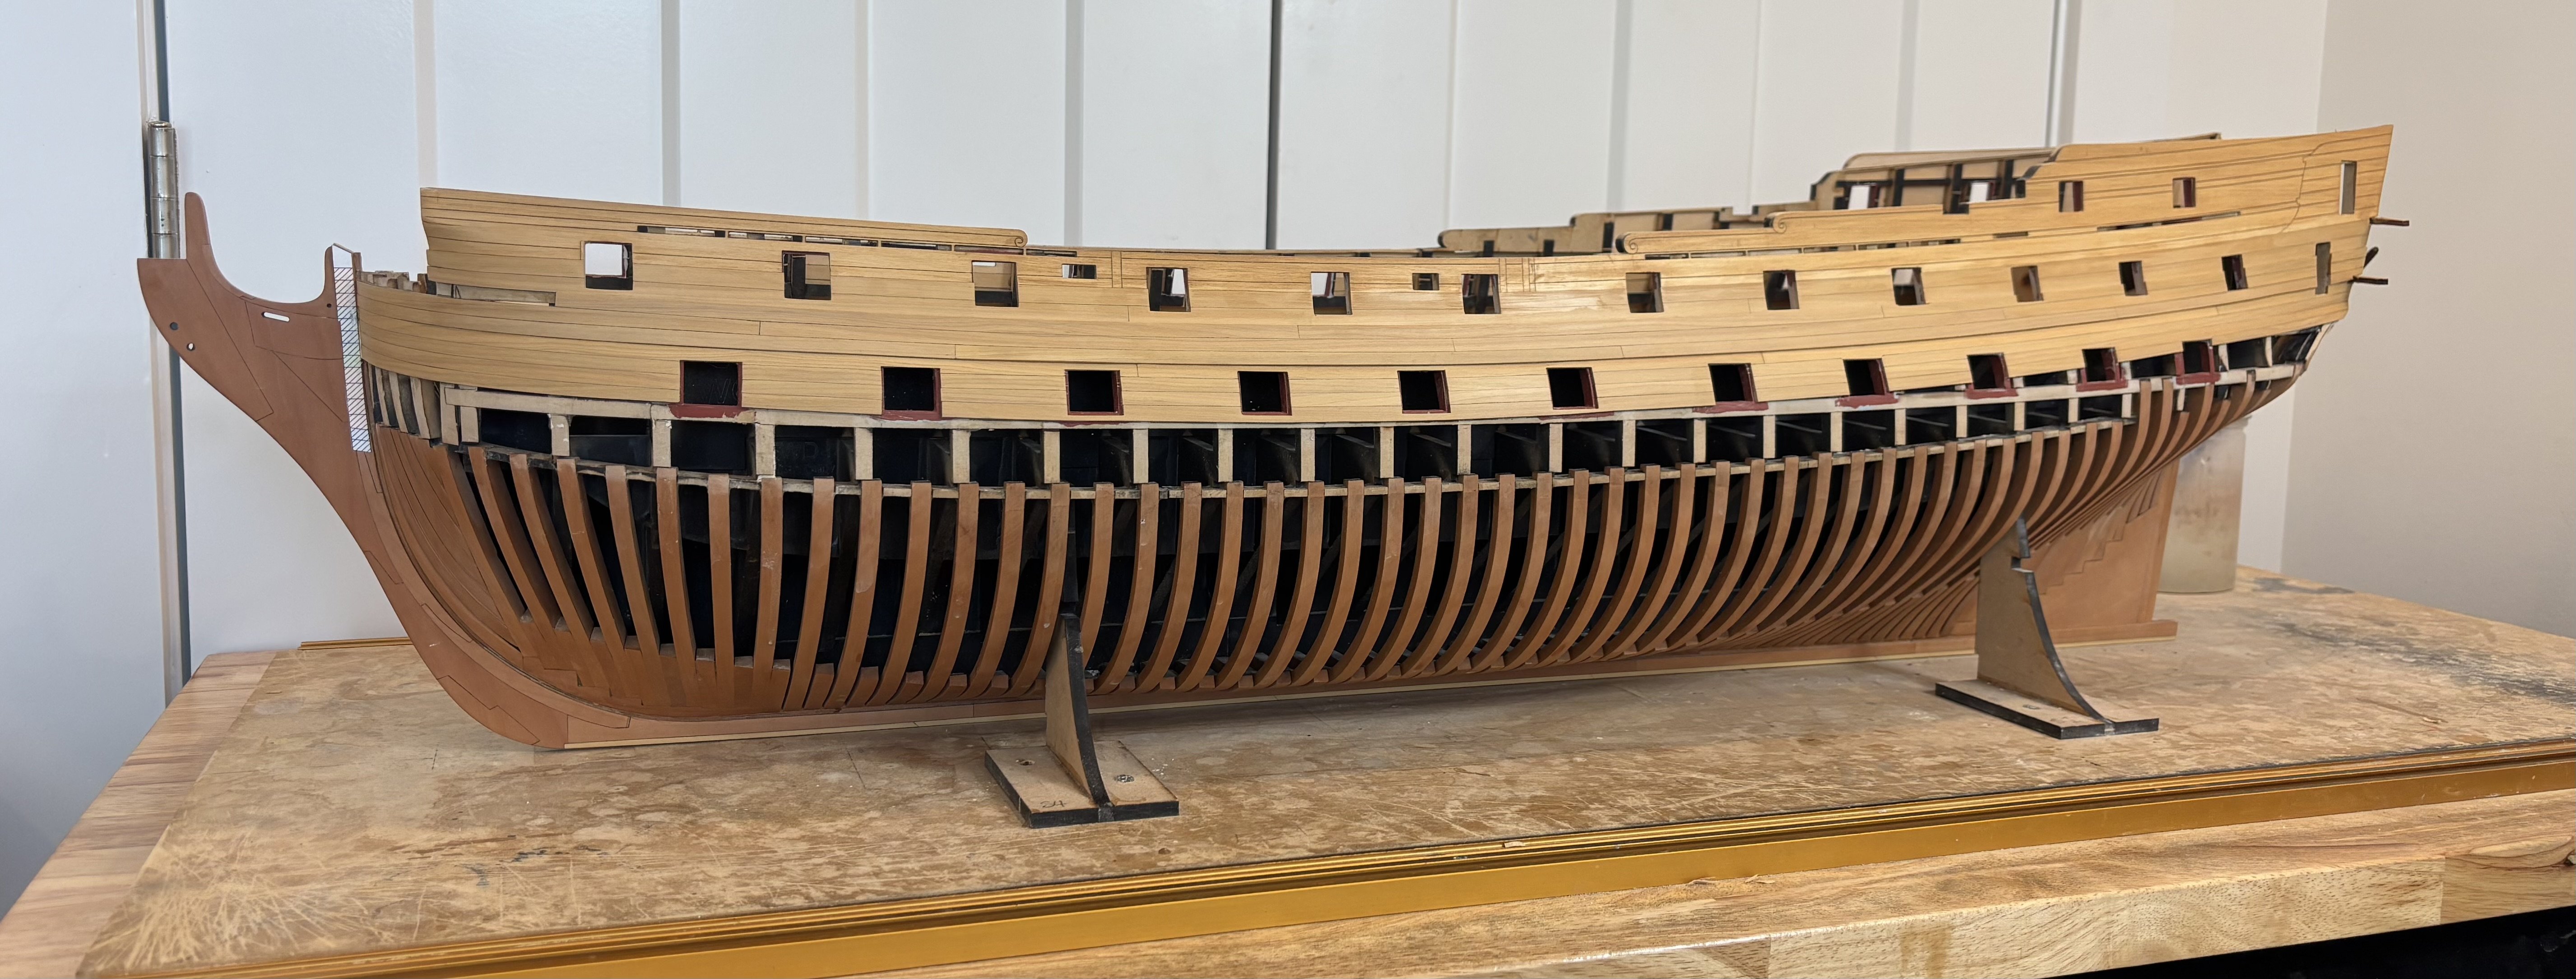
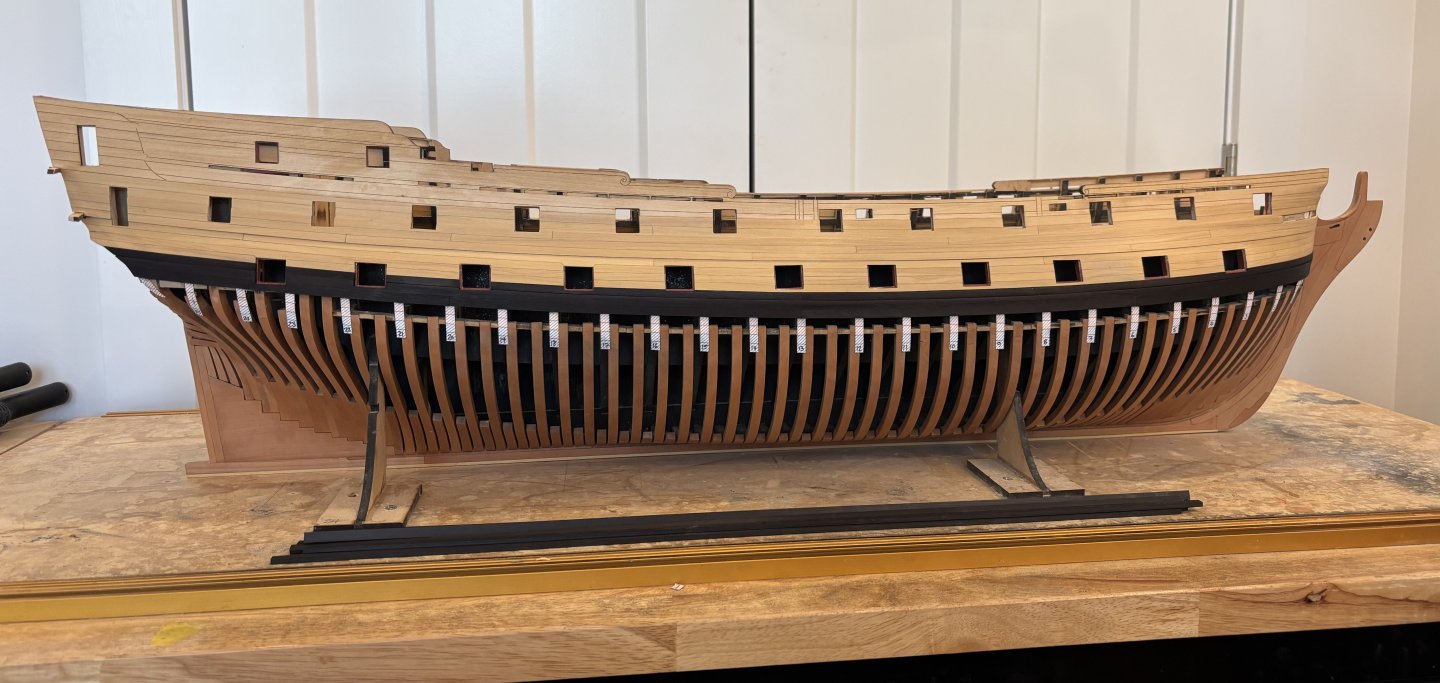
Port side Wale planking completed, and all of the inboard jigs that were supporting the bulkhead extensions have been removed. I need to complete the two missing pieces of the channel wales and then add the two strakes of boxwood planking below the wales, clean up and paint the gunports to basically complete chapter 2.

-
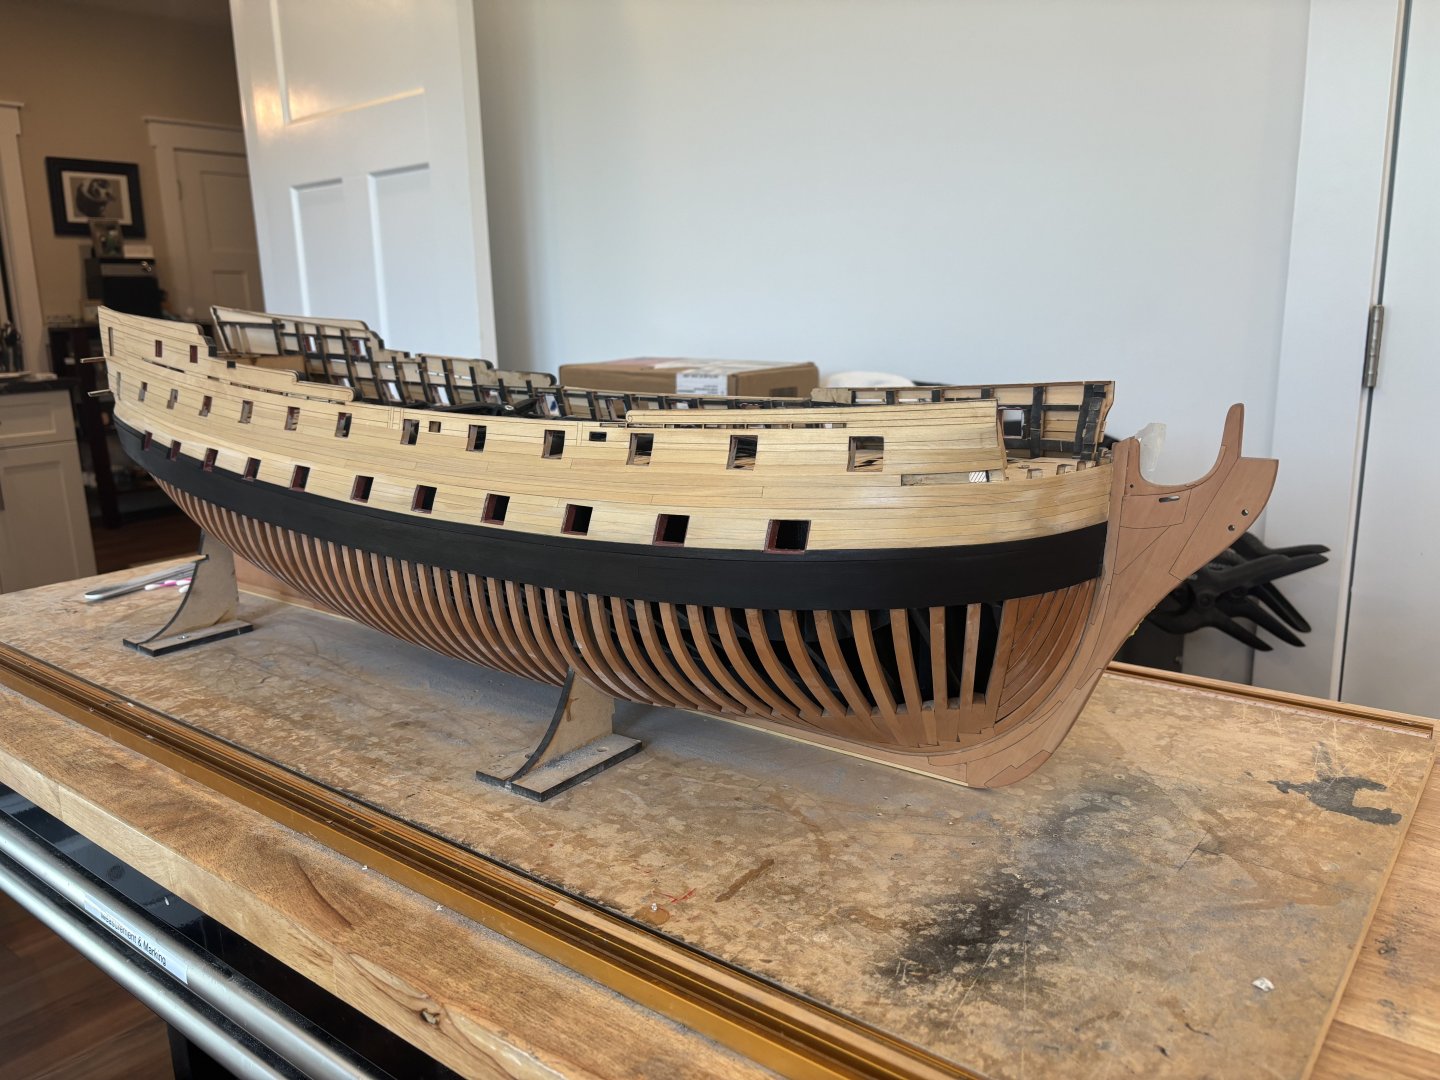
Port side planking below the channel wales completed, now for the black strake and the main wales.

-
Really nice Dusan, the upgrades to the Apron and Deadwood fixed the issues that we saw, everybody after us should have a much easier time.
-
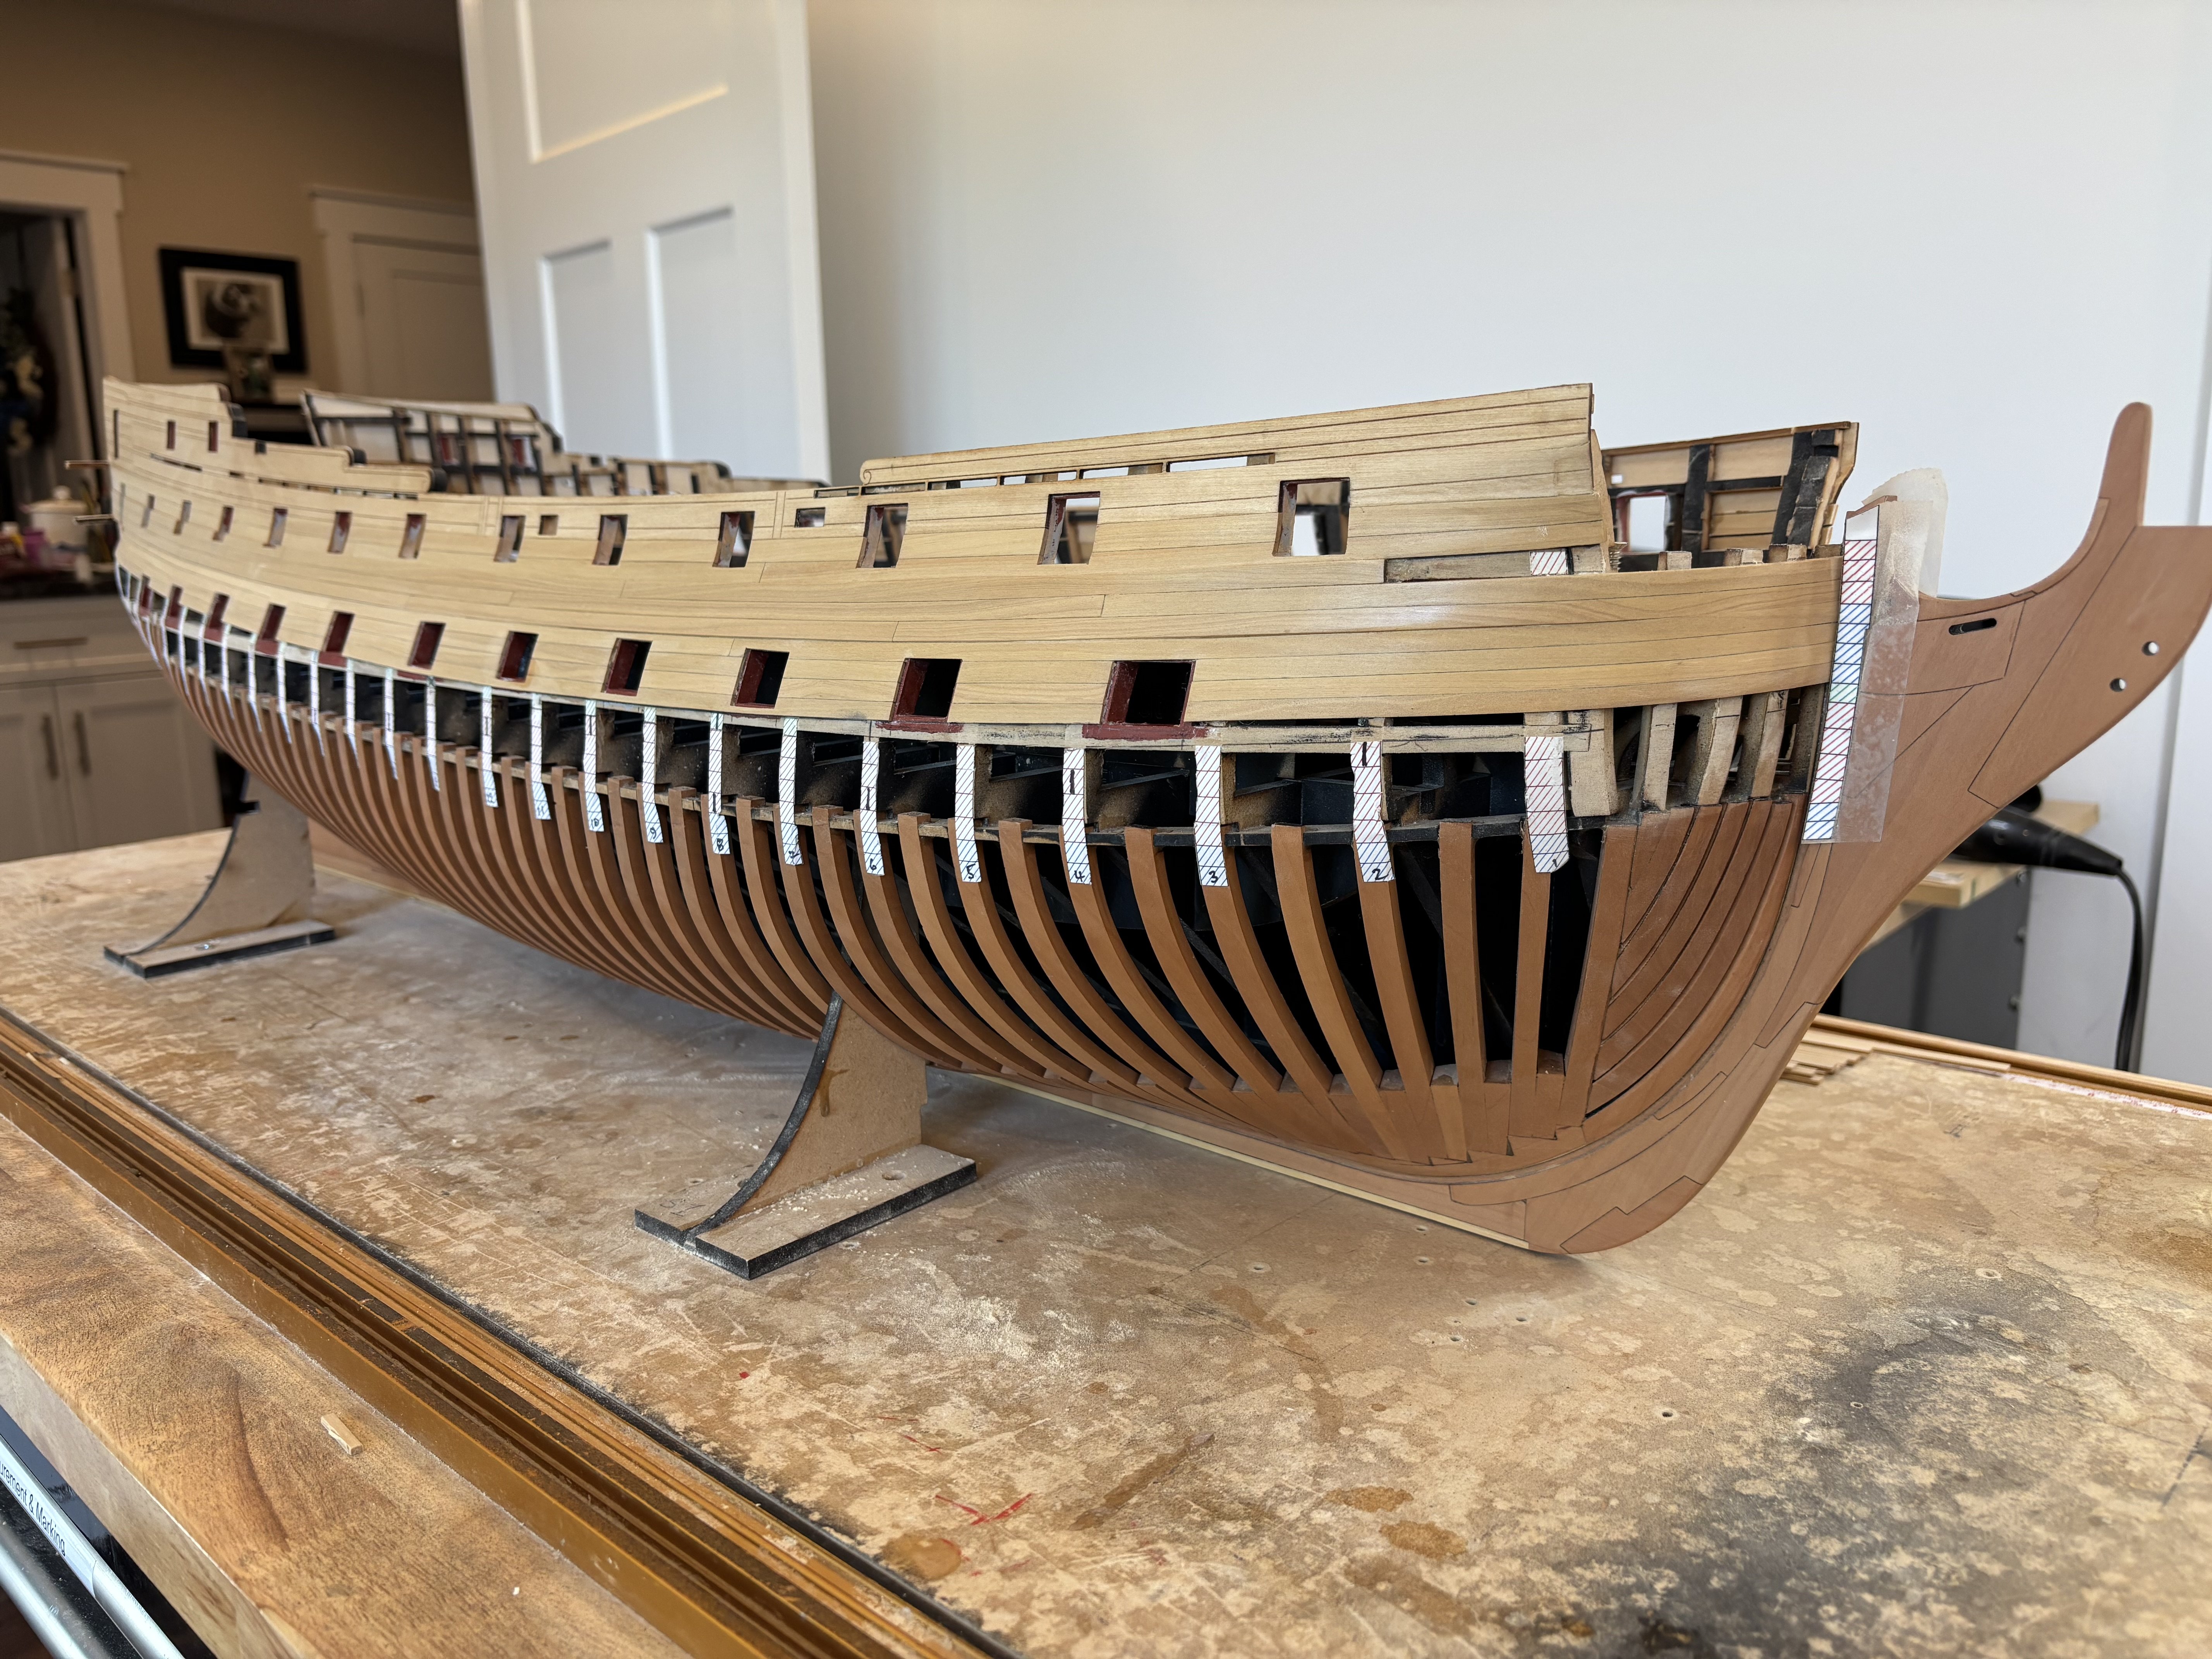
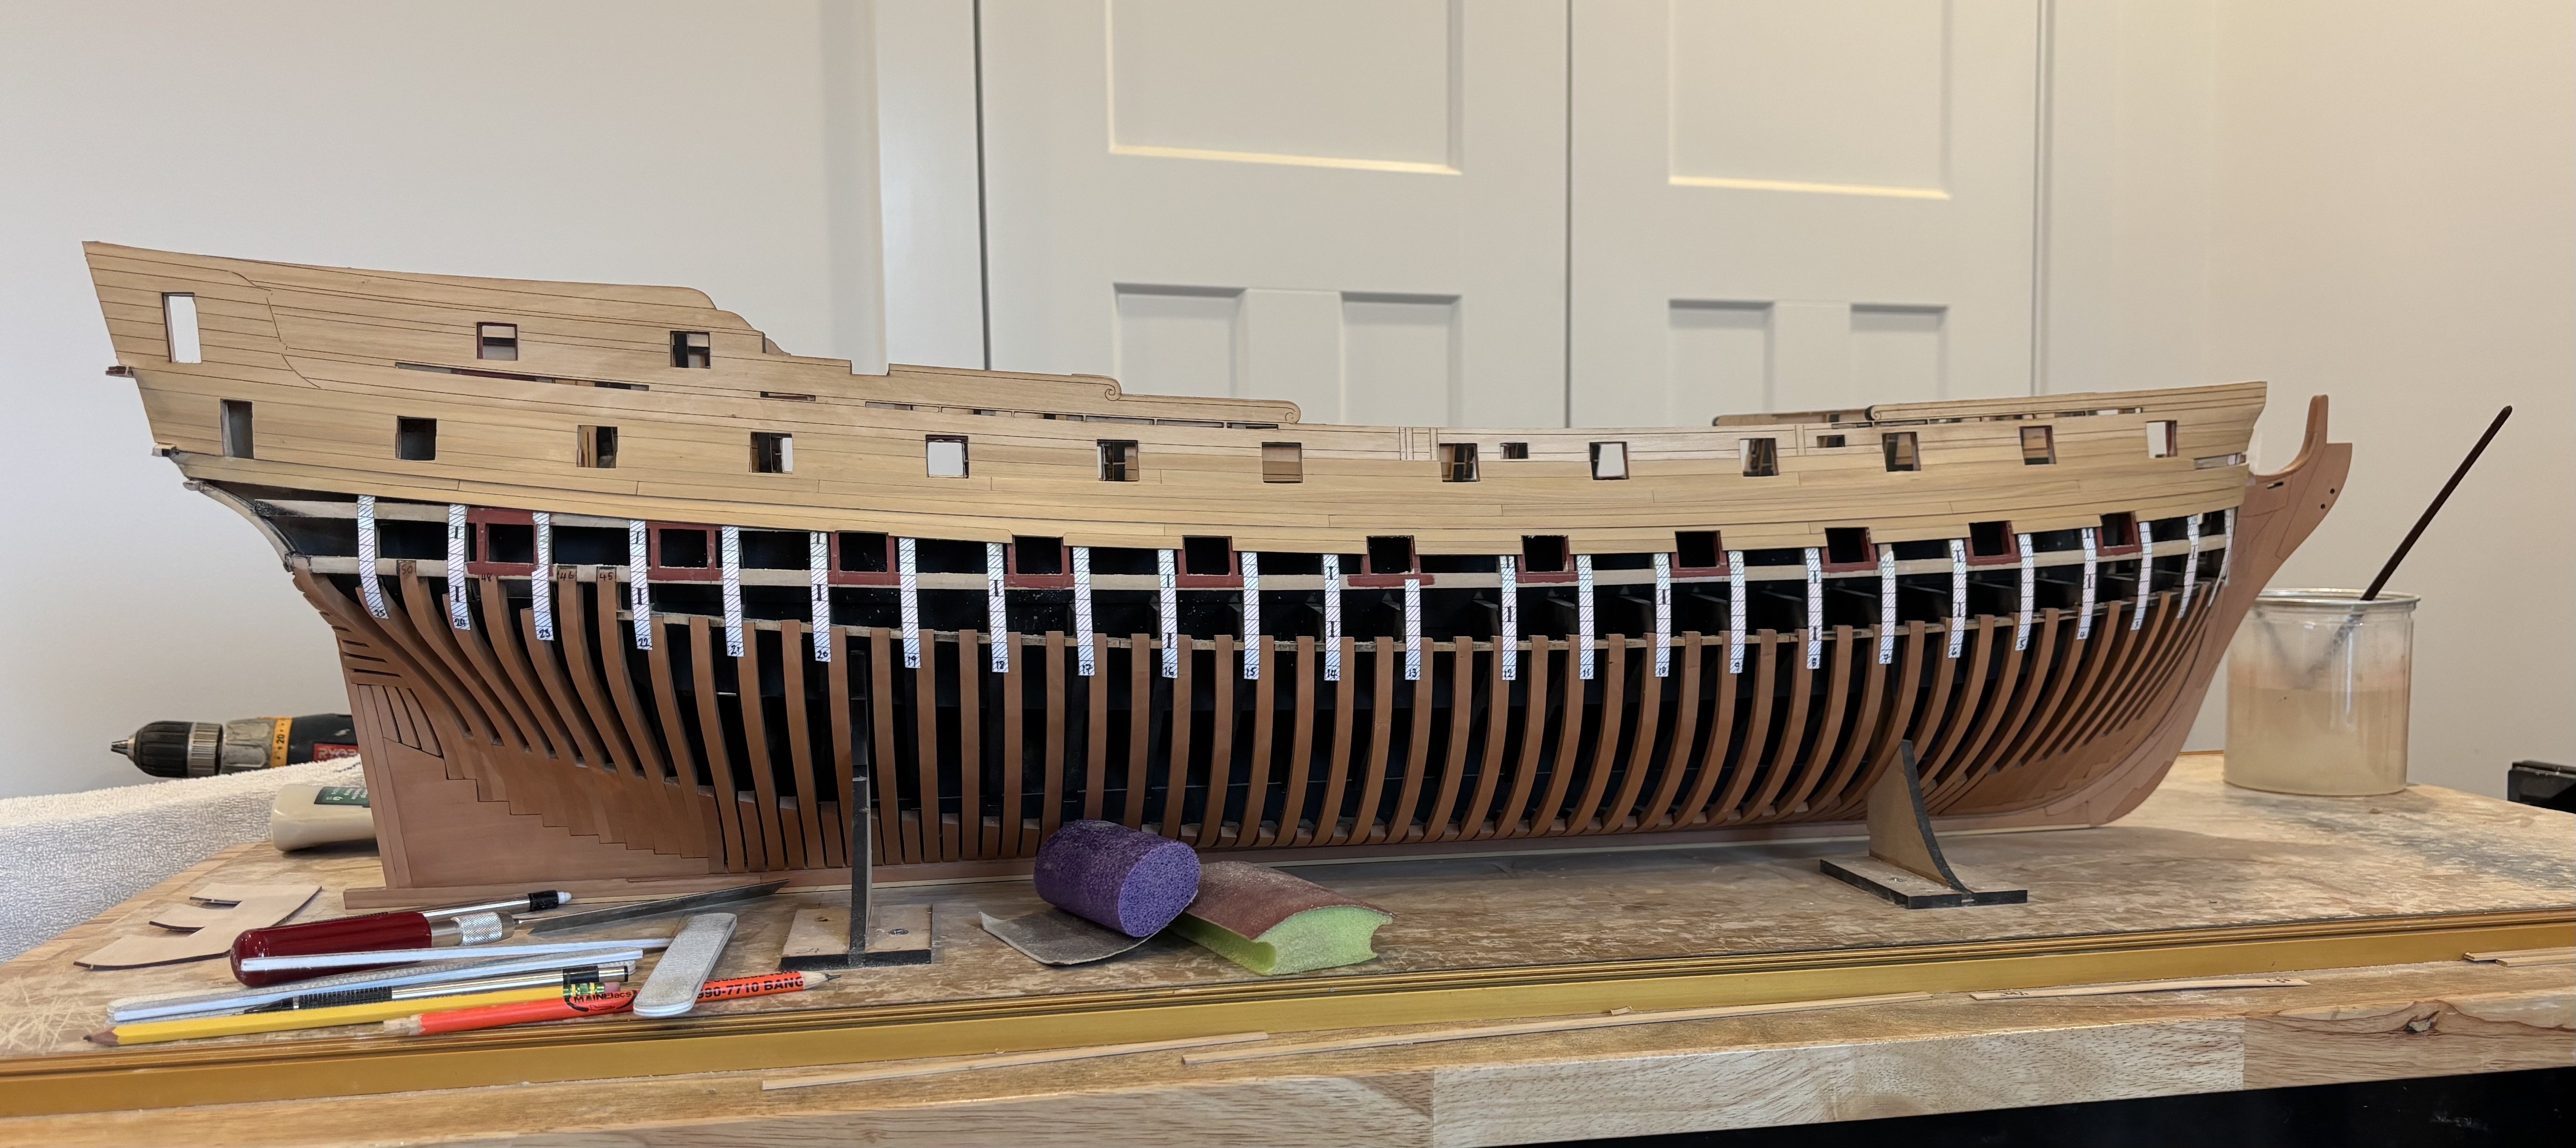
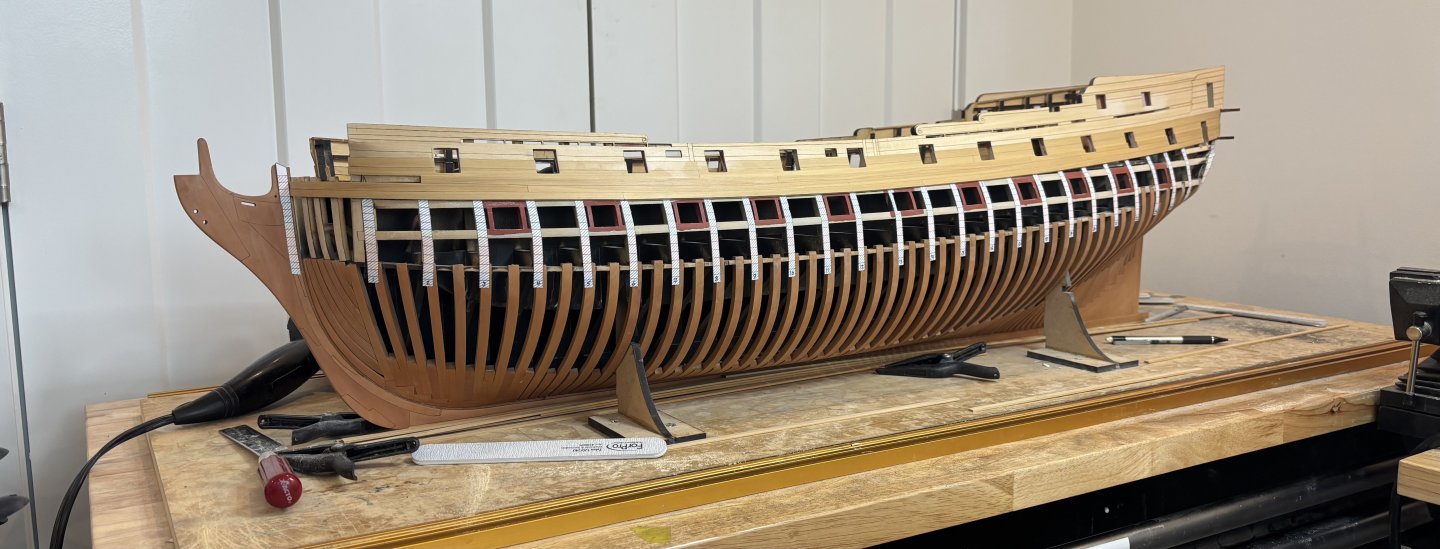
Added the port side tick strips again as some had got damaged.
-
Yes, after we do the main gundeck I will see how much can be seen through there, if it doesn’t look good I will add the last two strakes.
-
Starboard main wales completed, they will require some final finishing but I’m moving back to the Port side planking for now.
-
I used the std black leather dye.
-
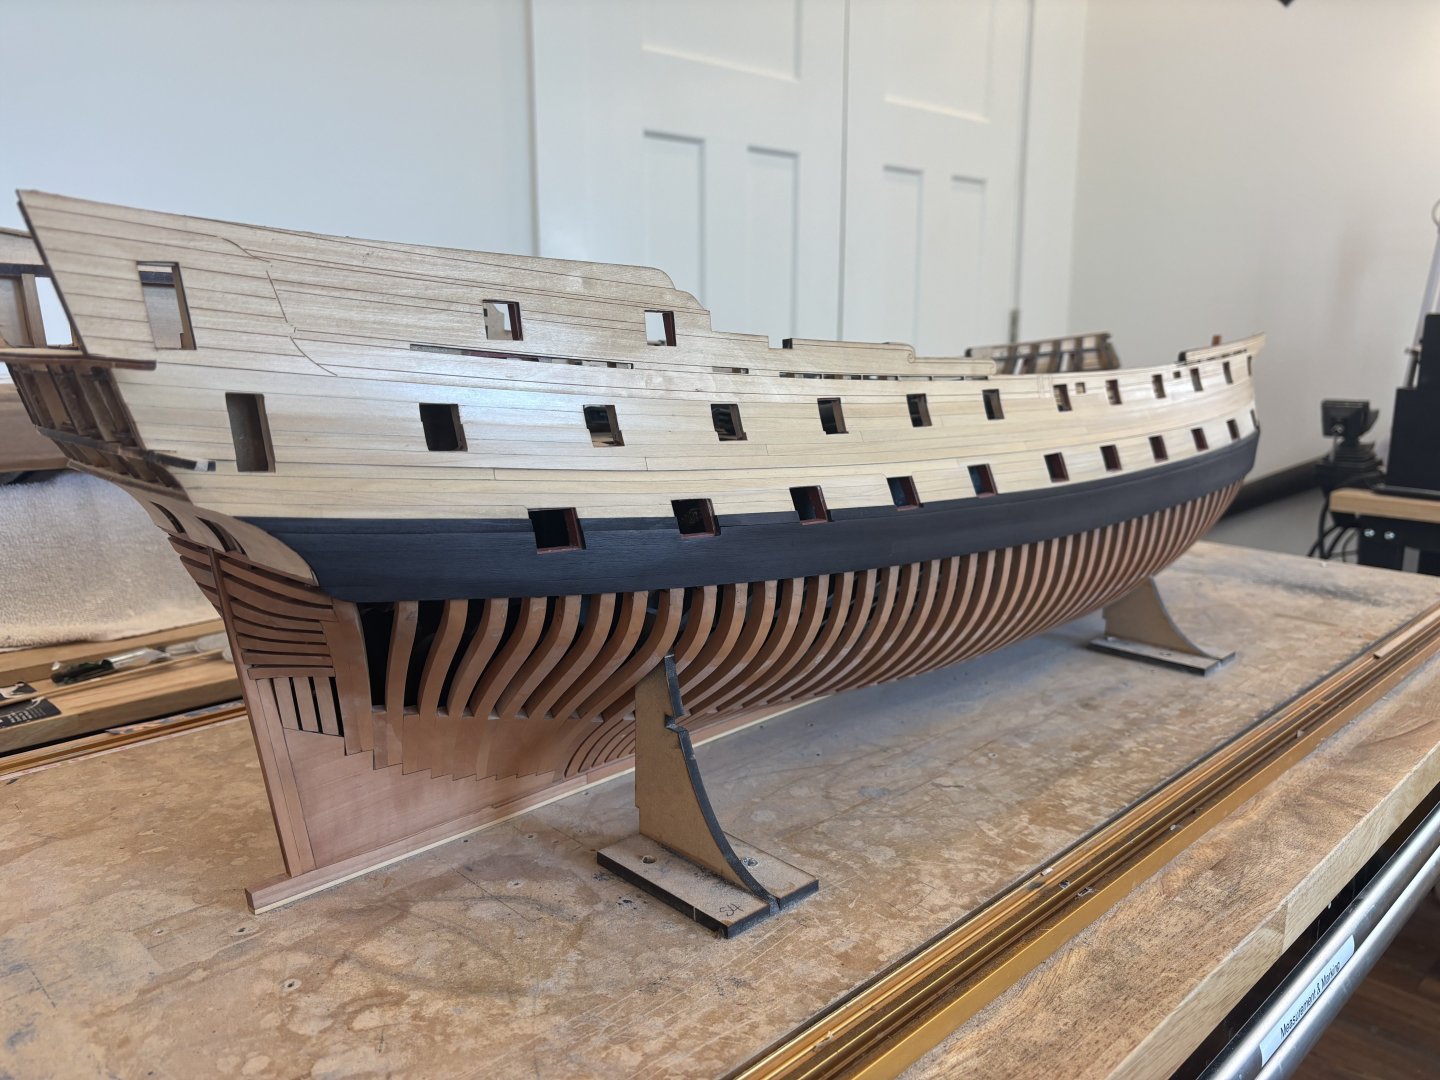
What you see has already been dyed off the model, then glued in place, lightly sanded, and dyed again in place being very careful and using a q-tip to apply it with more accuracy - care must be taken with this stuff.
-
Hi JJ No - it’s not Hornbeam, I was going to use ebony but an old friend and mentor talked me out of it, So I’m trying Holly dyed with fiebings at his suggestion. I’ve used Pear dyed with fiebings before on Pegasus that came out well so I was interested to see how it works with the Holly - I’m quite pleased so far but will reserve final judgement until it’s all completed, sealed and buffed out. Ben
-
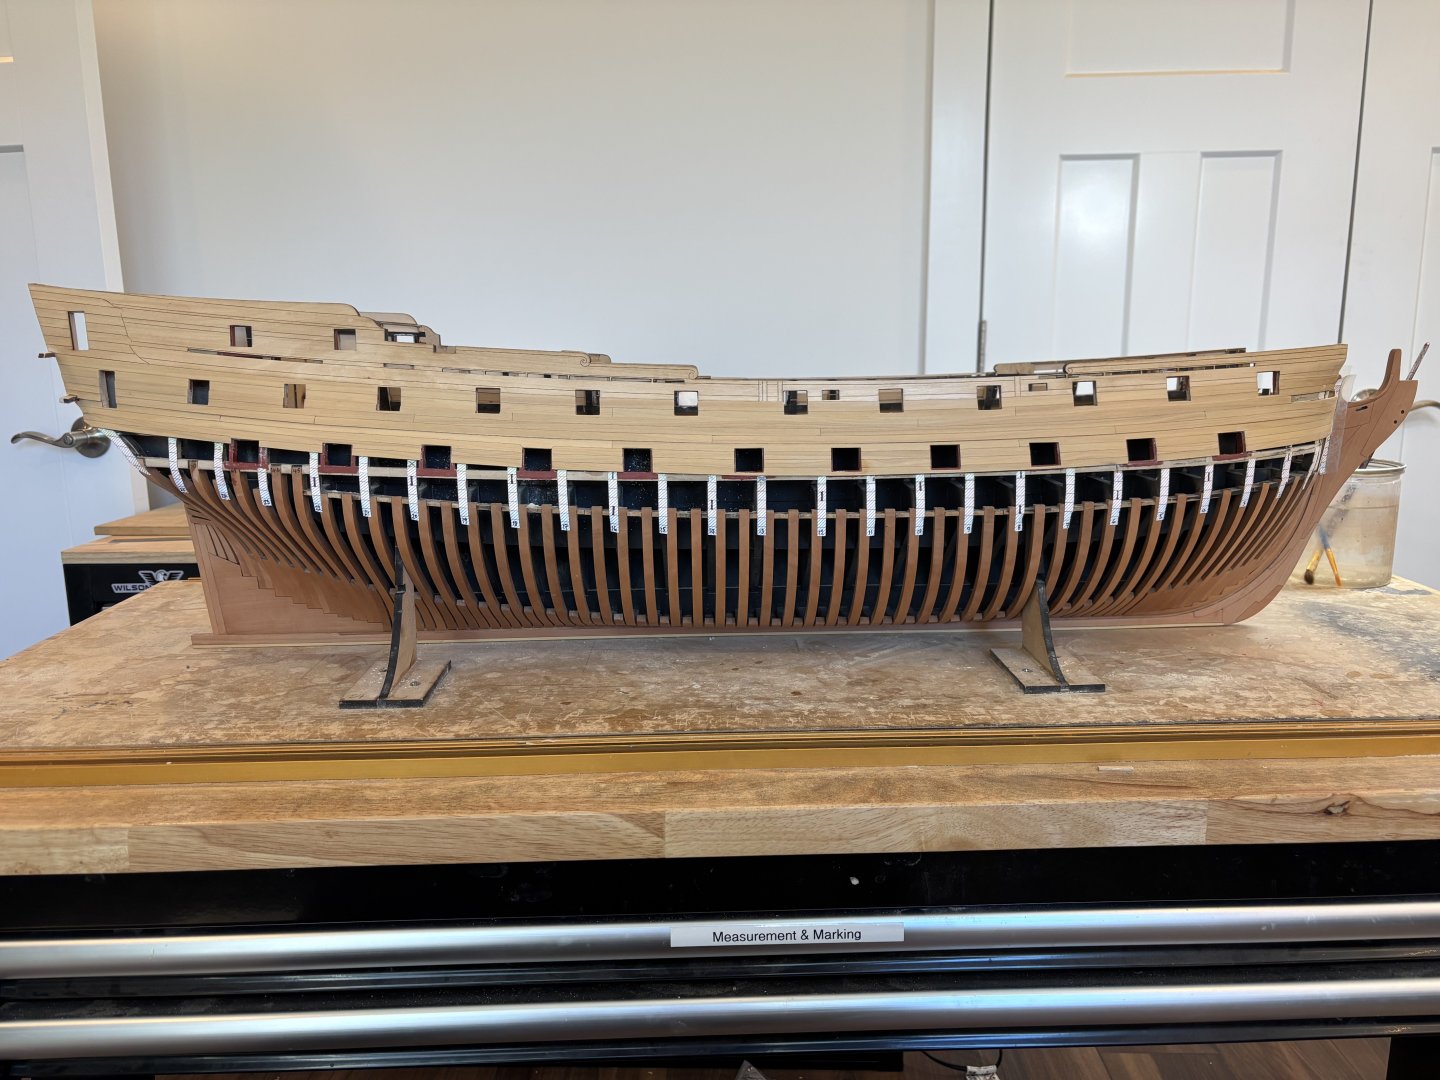
Black strake and first two wales are on, the planking layout and tick strips line up pretty well with how the paintings look.
-
Looking really good
-
Finished the planking below the channel wales, now for the “black” strake ( which on this model happens to be black according to the paintings ) and then the Main wales.

-
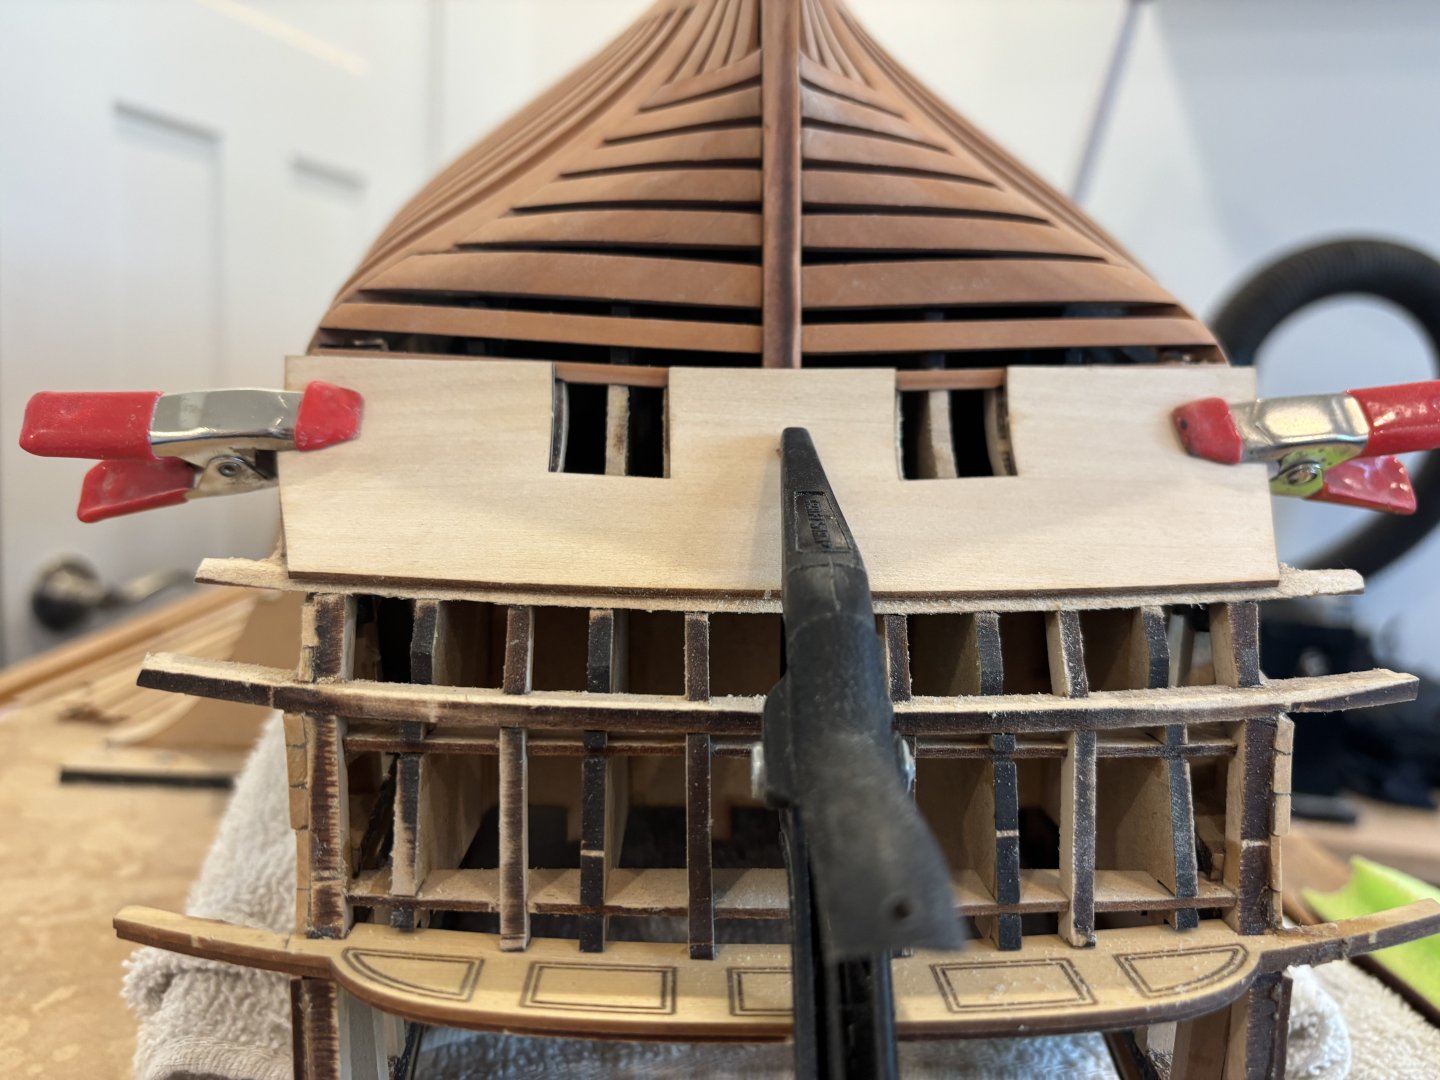
Fitting and trimming of the false lower counter panel, then cut off the lower ears and fair everything in before adding the aft planking tick strips again and starting to plank again.


-
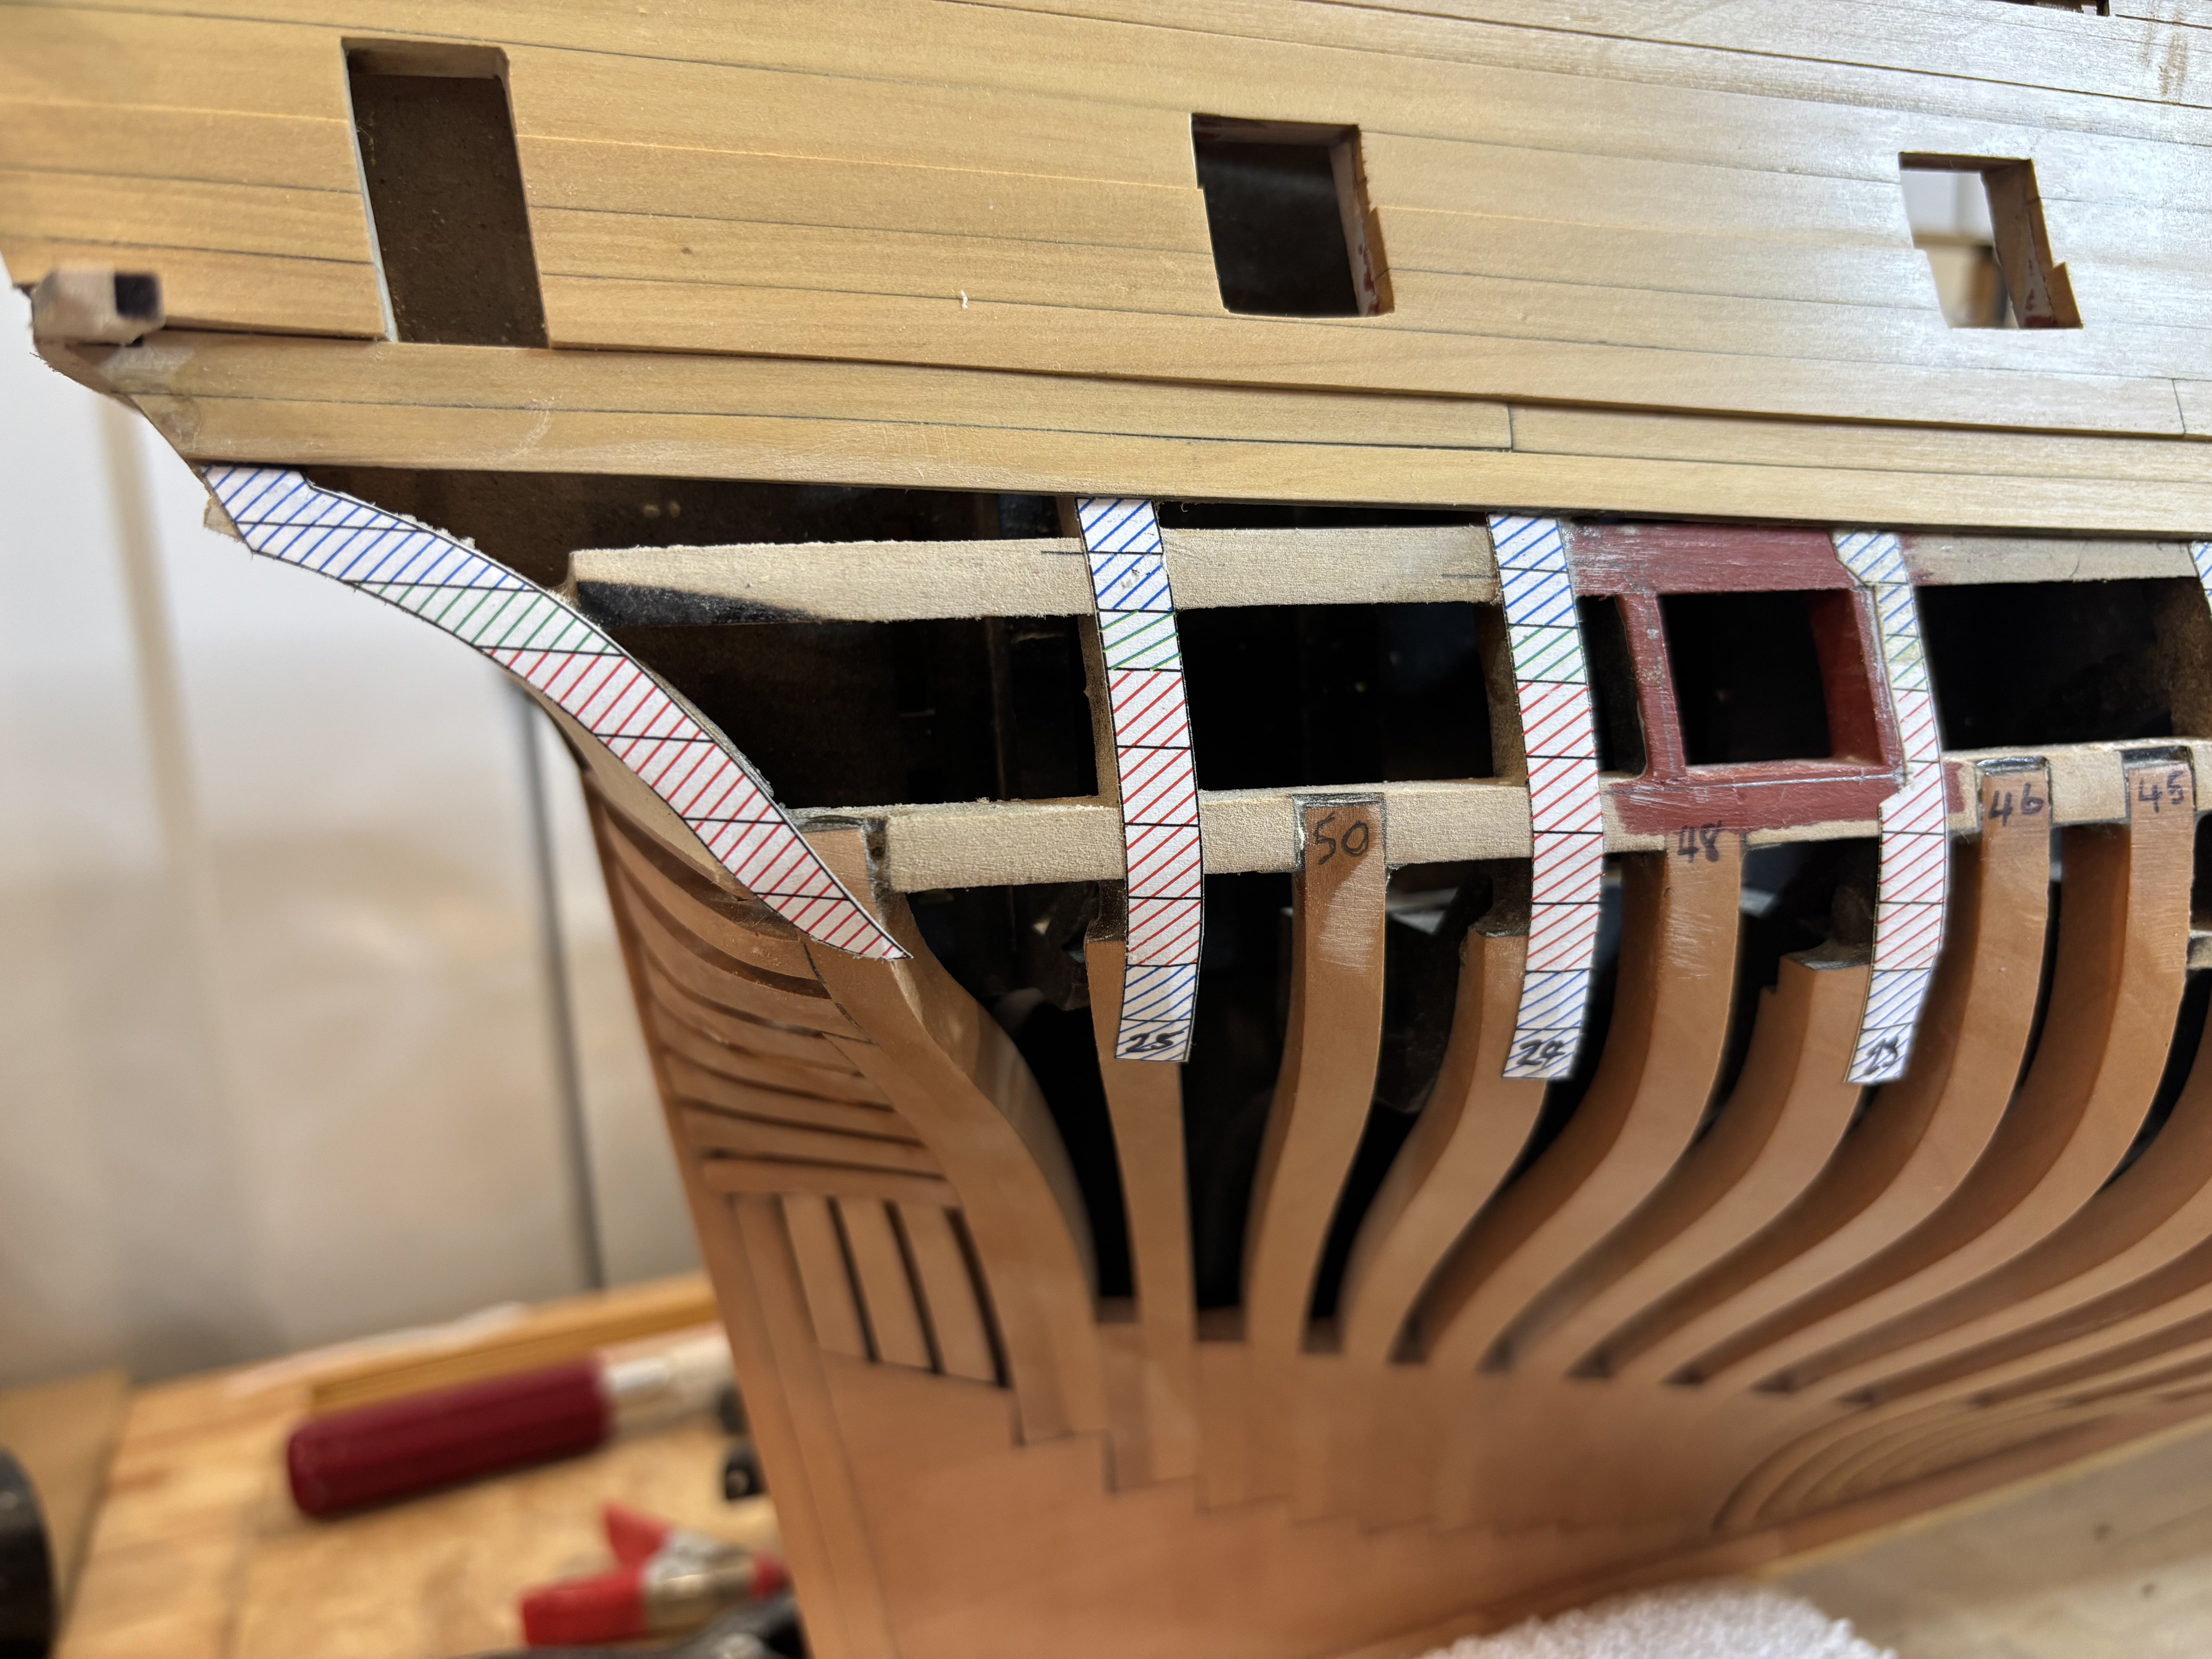
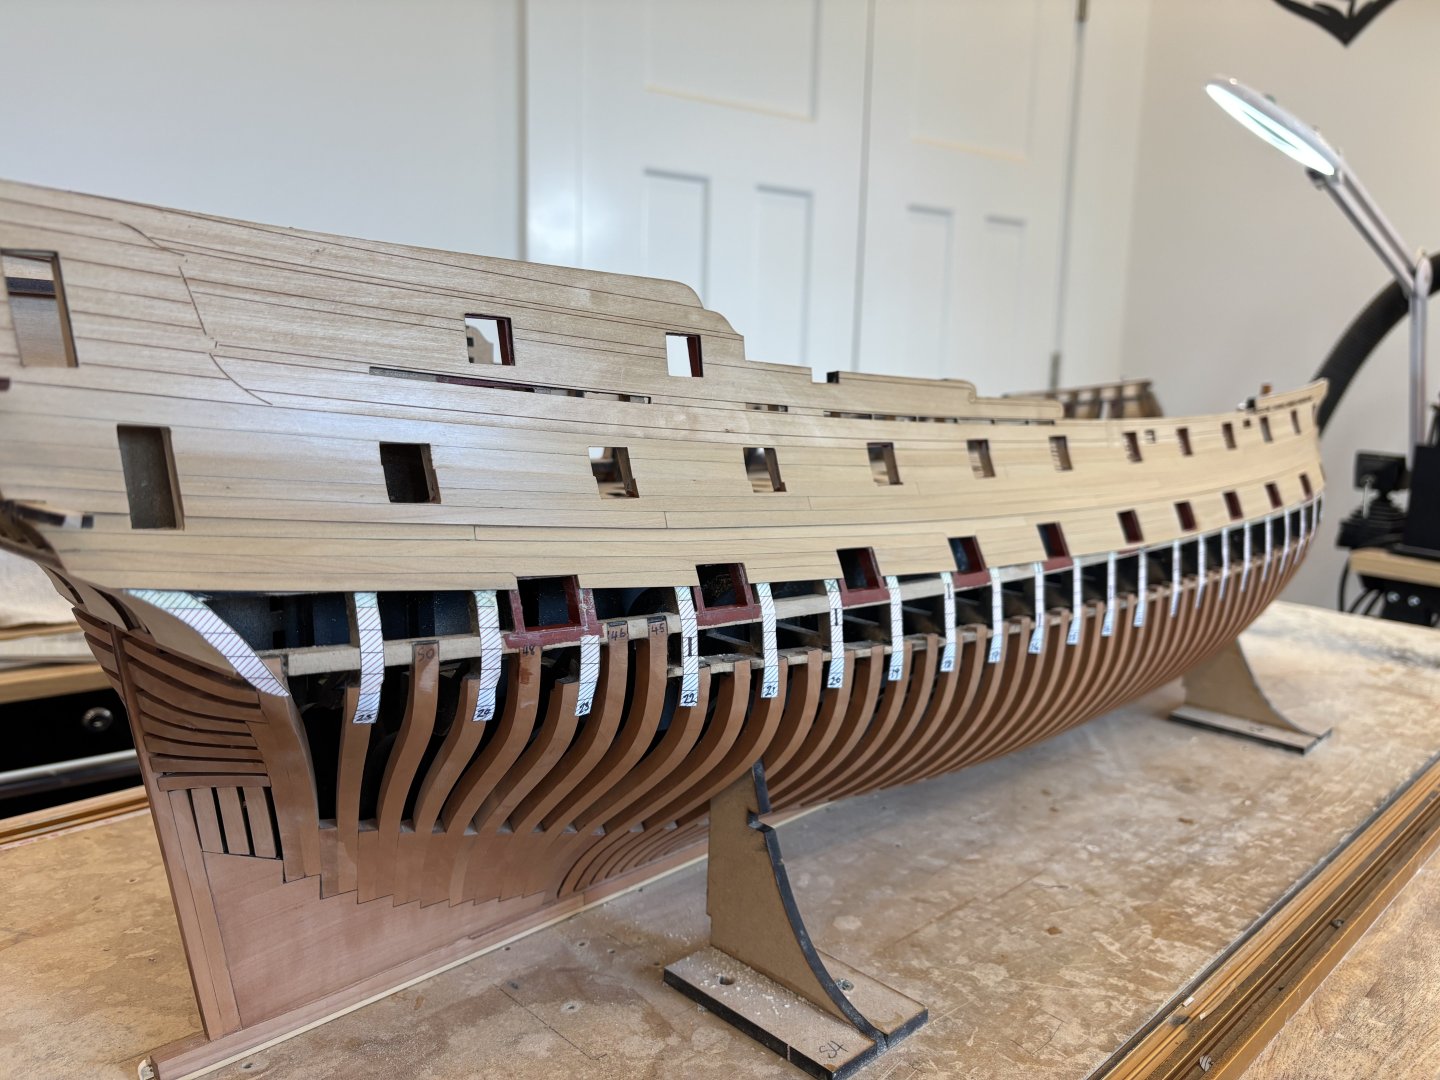
First couple of planks below the channel wales installed, taking time to carefully leave the 1/32” reveal around the gunports.

-
Looks great JJ, Will there be some sort of carving or relief in the coving? The painting of Portland and picture of Bristol appear to show something in there?
-
Enjoy all the sanding.