Trussben
-
Posts
2,008 -
Joined
-
Last visited
Content Type
Profiles
Forums
Gallery
Events
Everything posted by Trussben
-
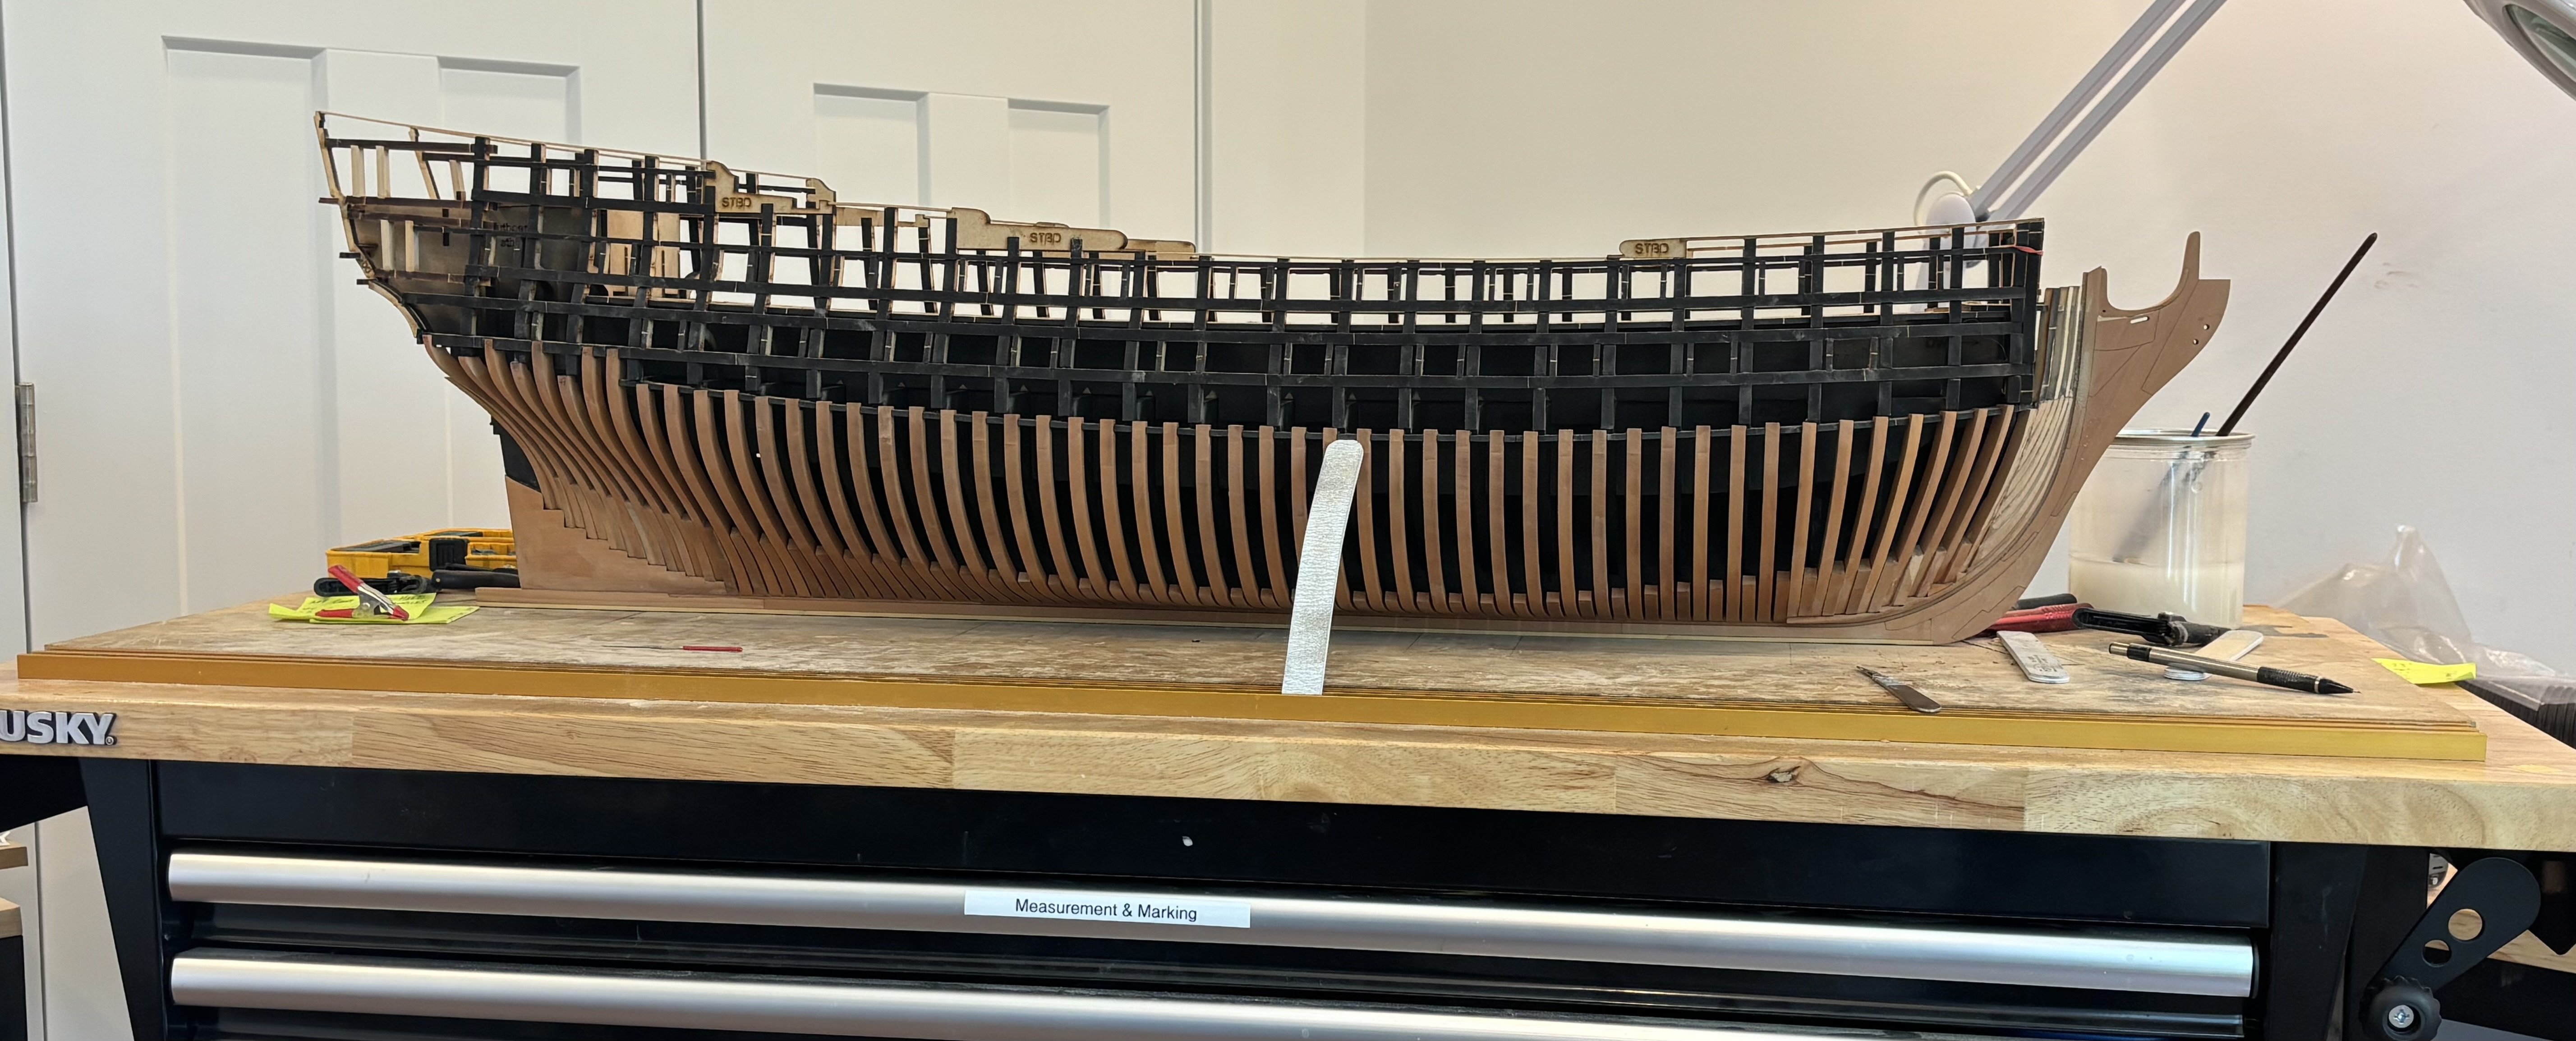
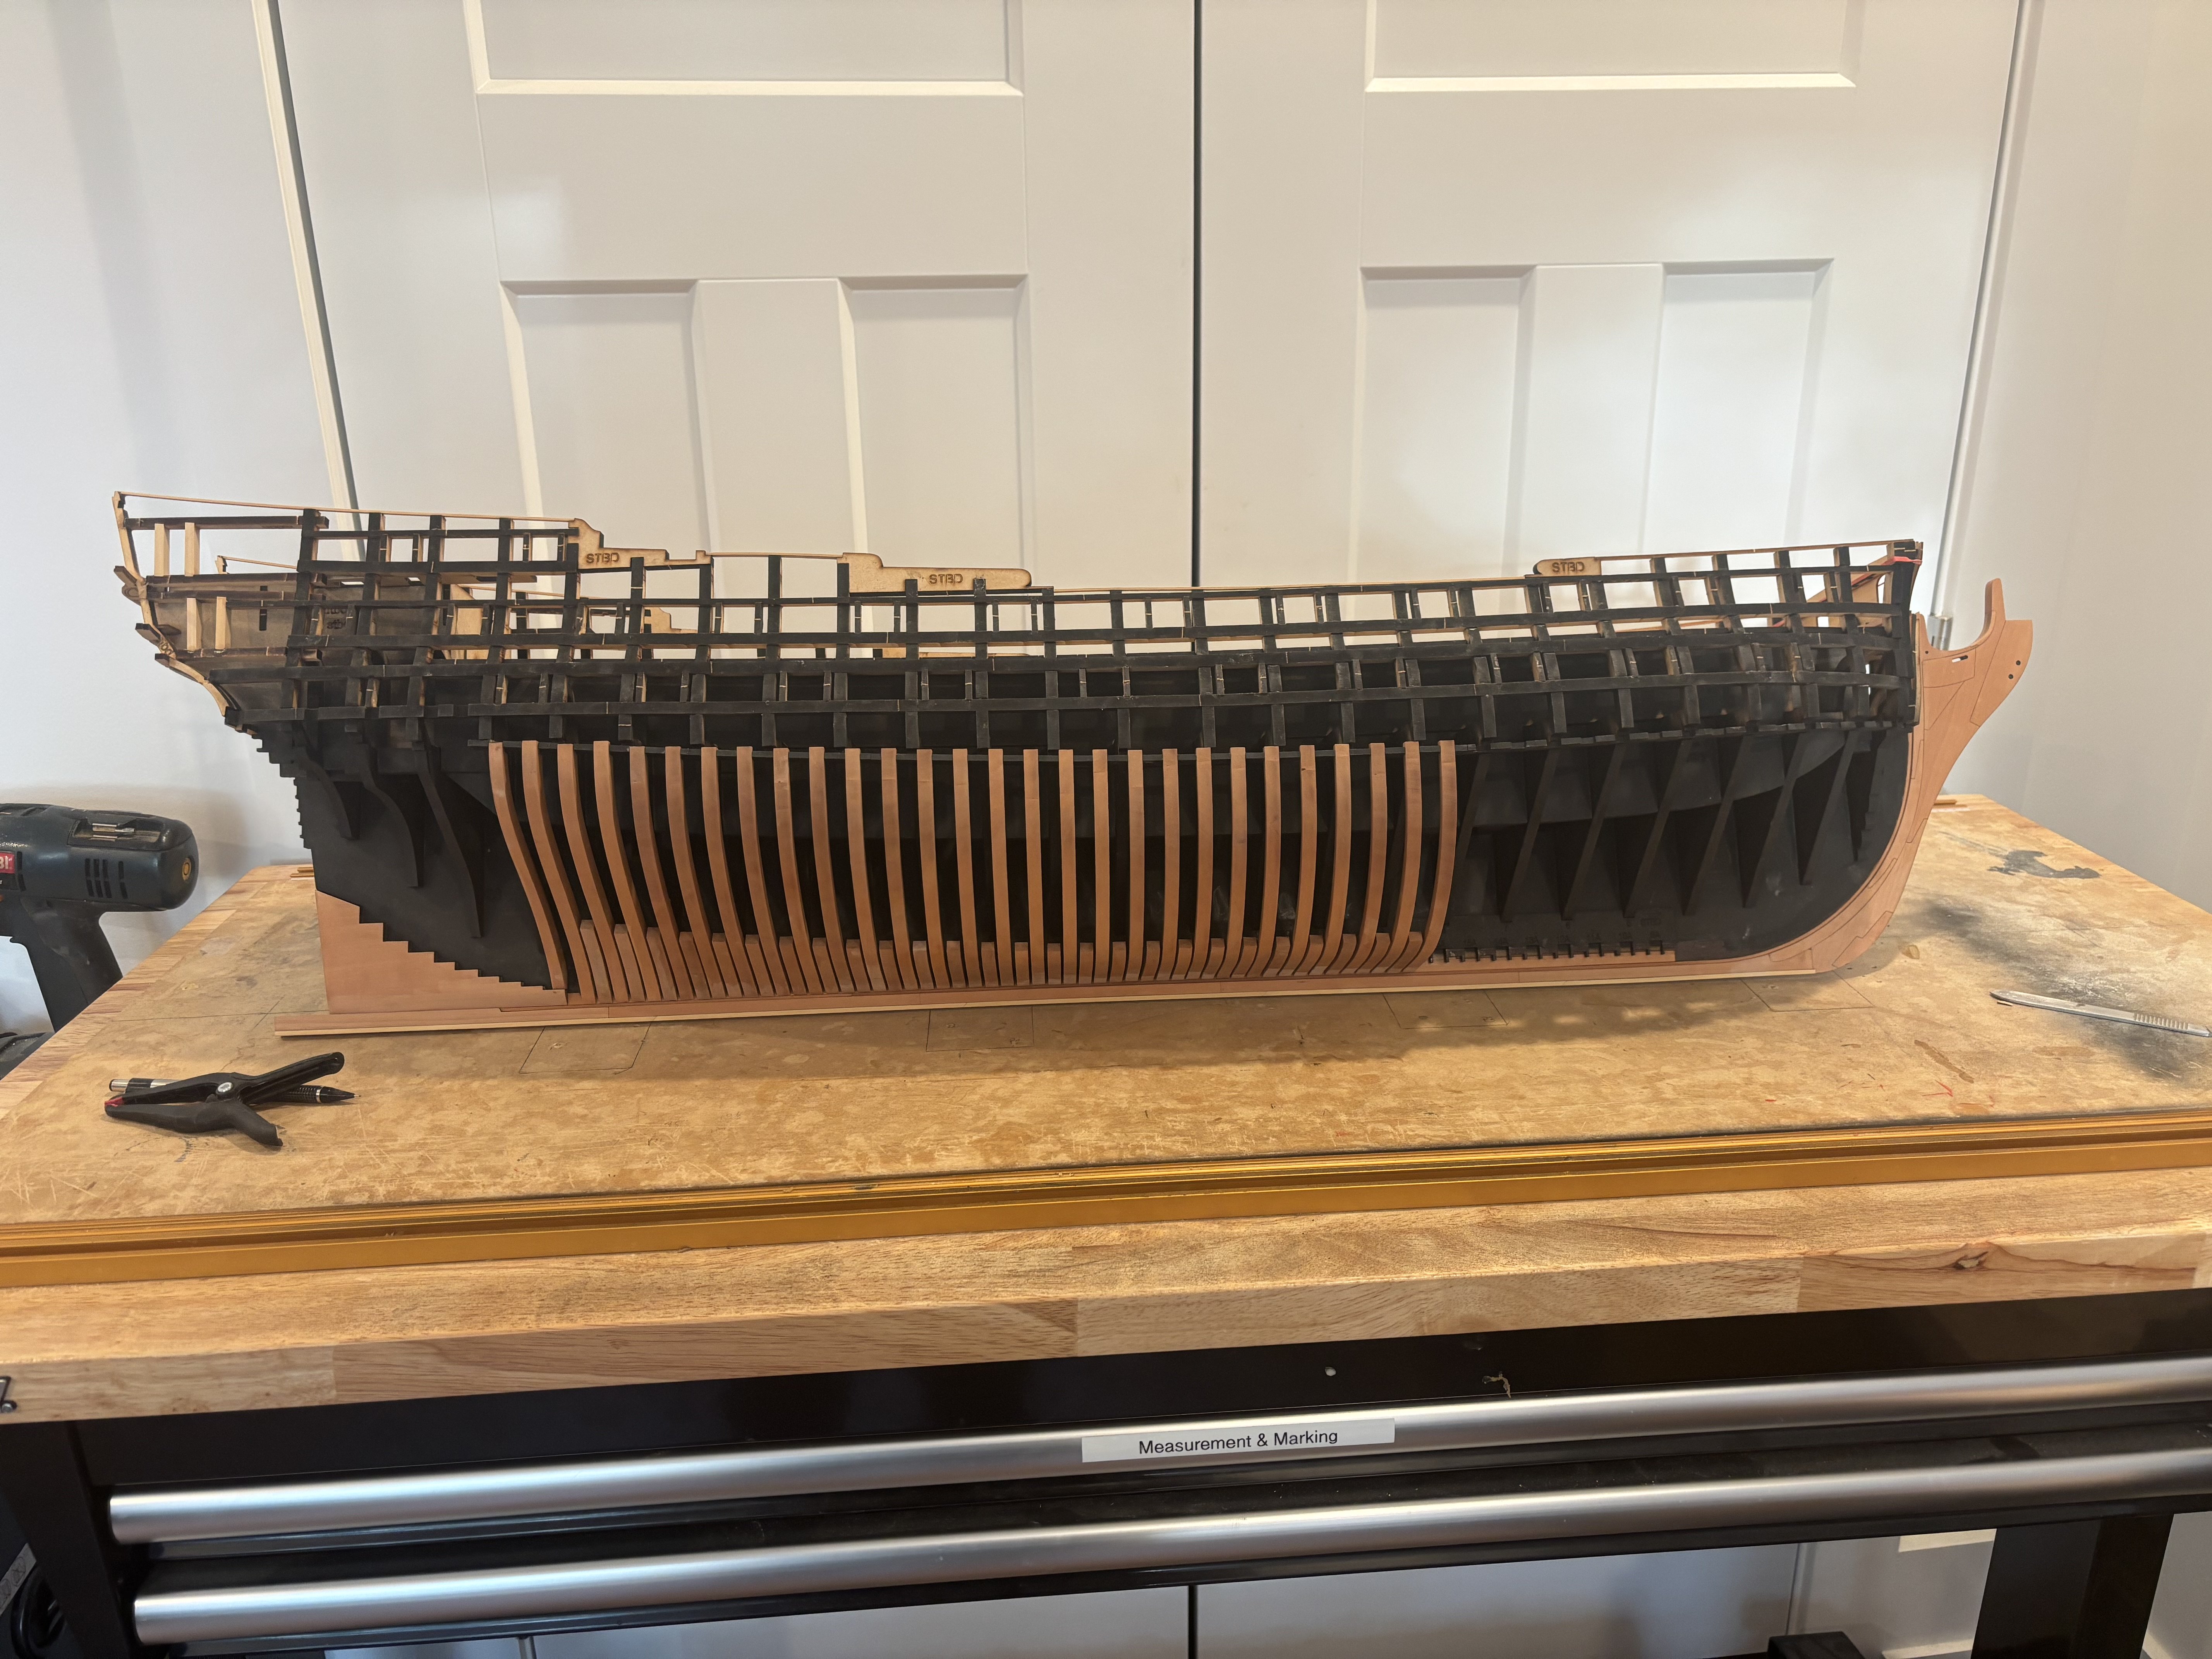
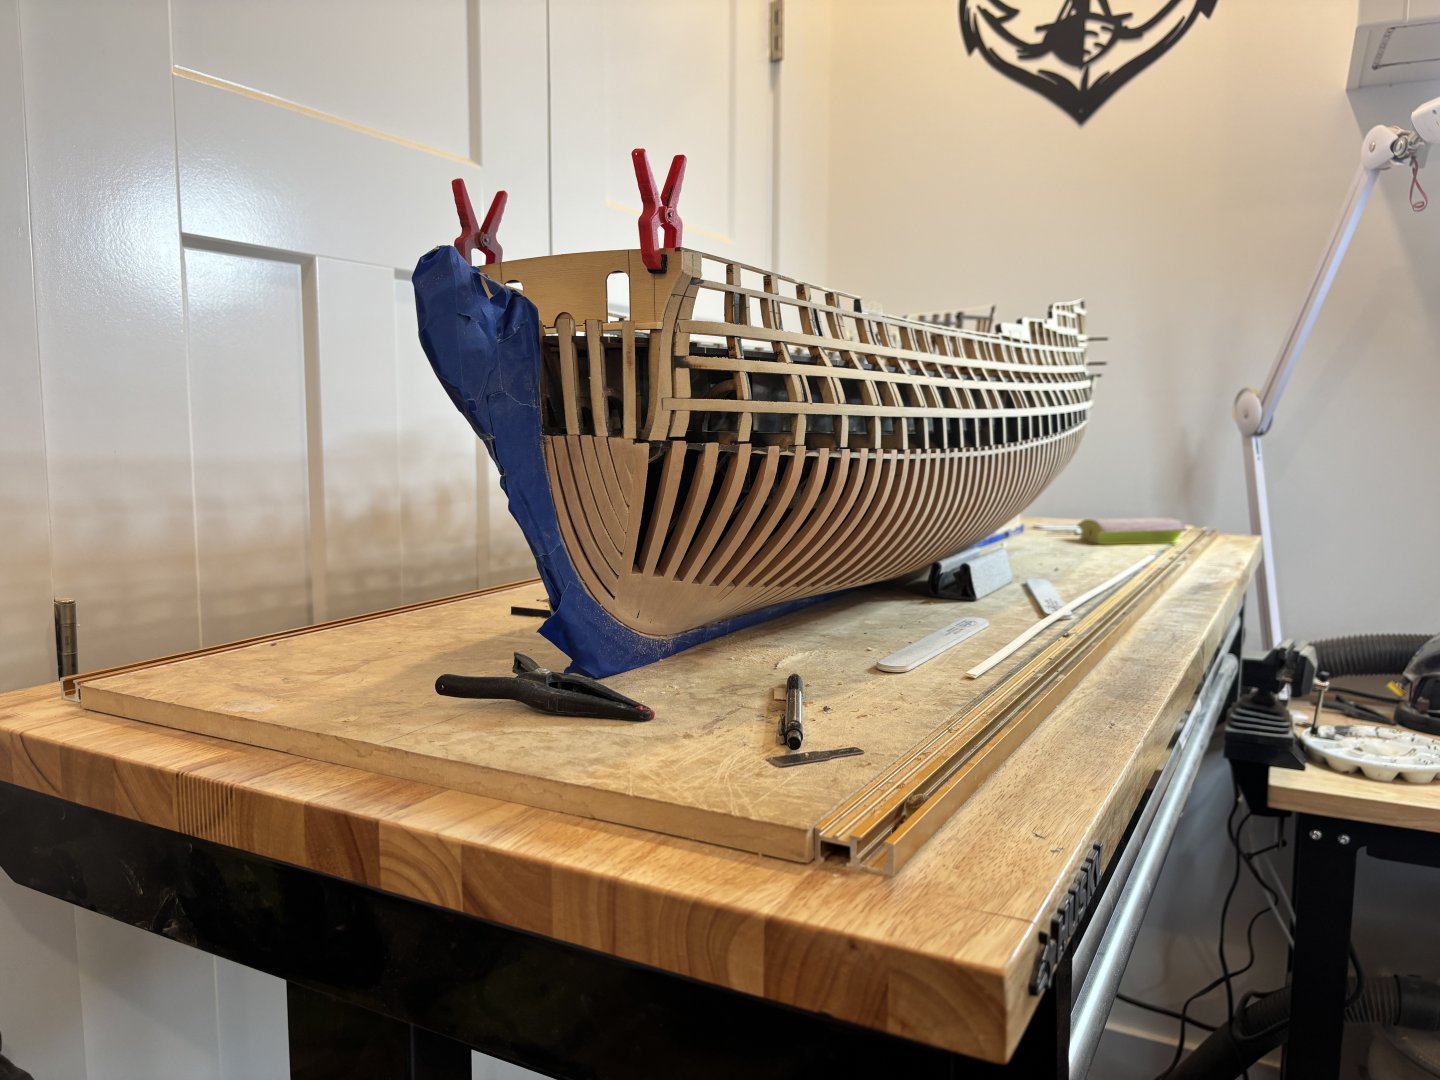
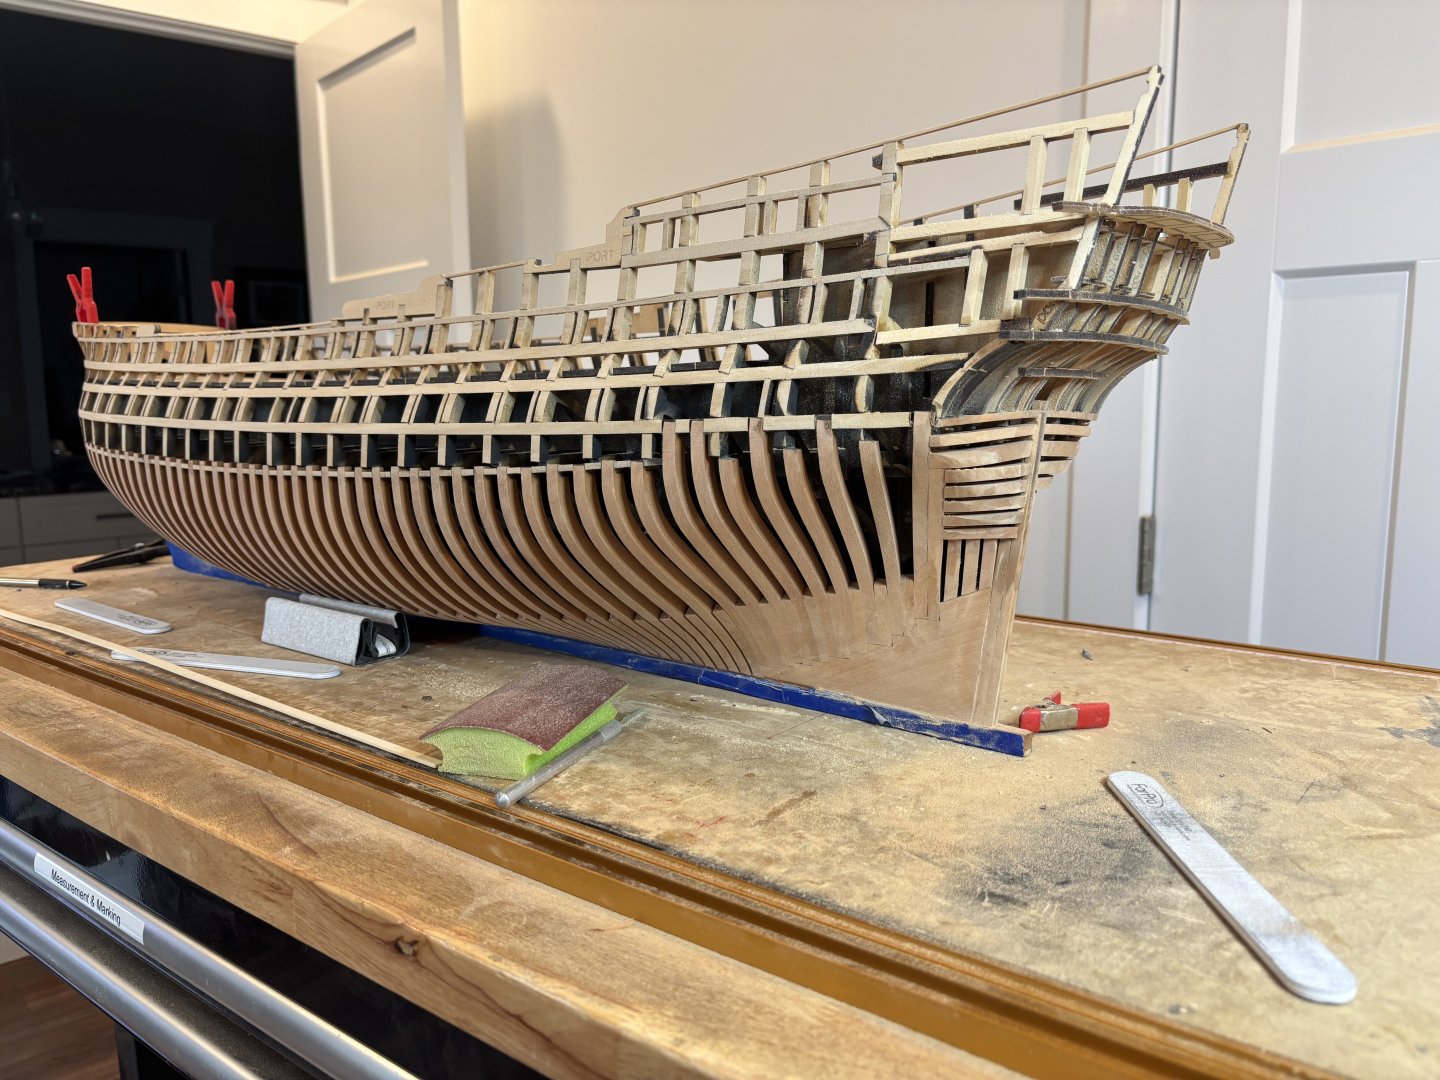
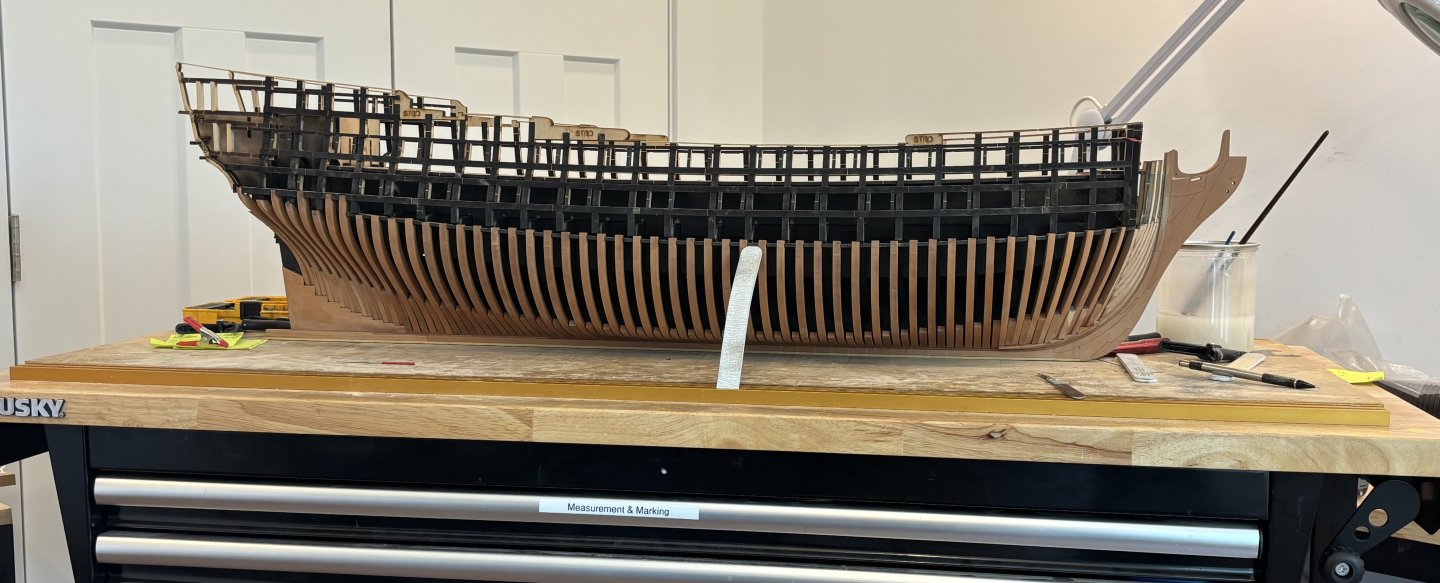
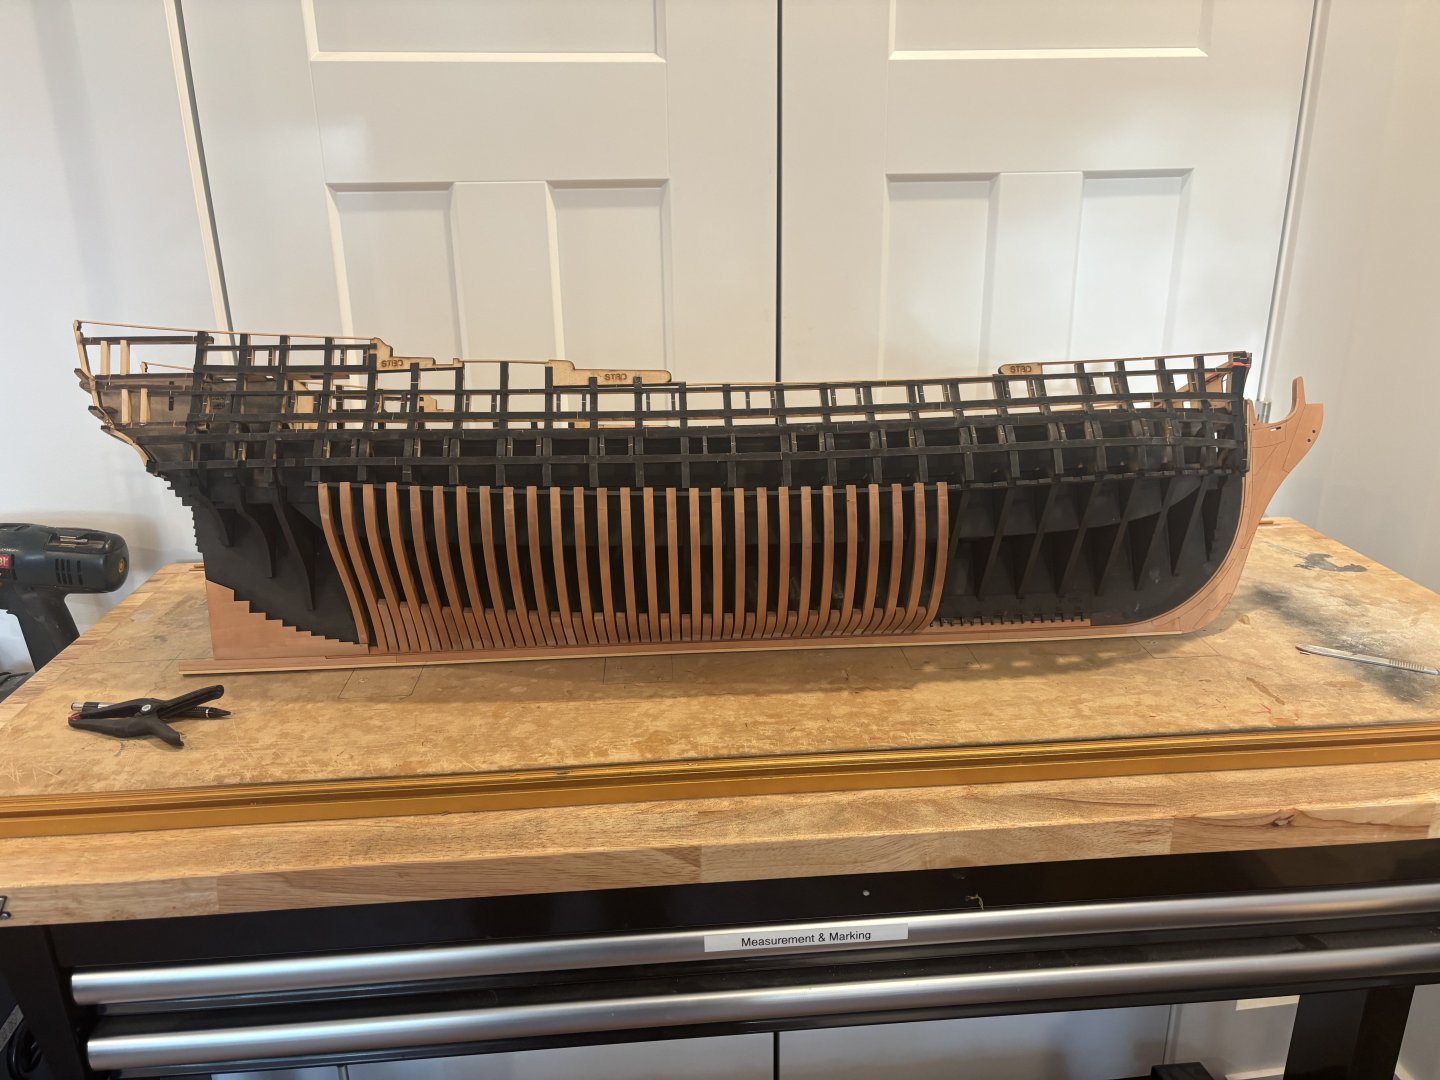
 Chapter 1 has now been completed with all framing done. Lots of sanding and fairing of the hull has begun, this is going to take time and make a lot of mess. Then Chapter 2 will start with the painting of the gunports and installation of the frieze panels.
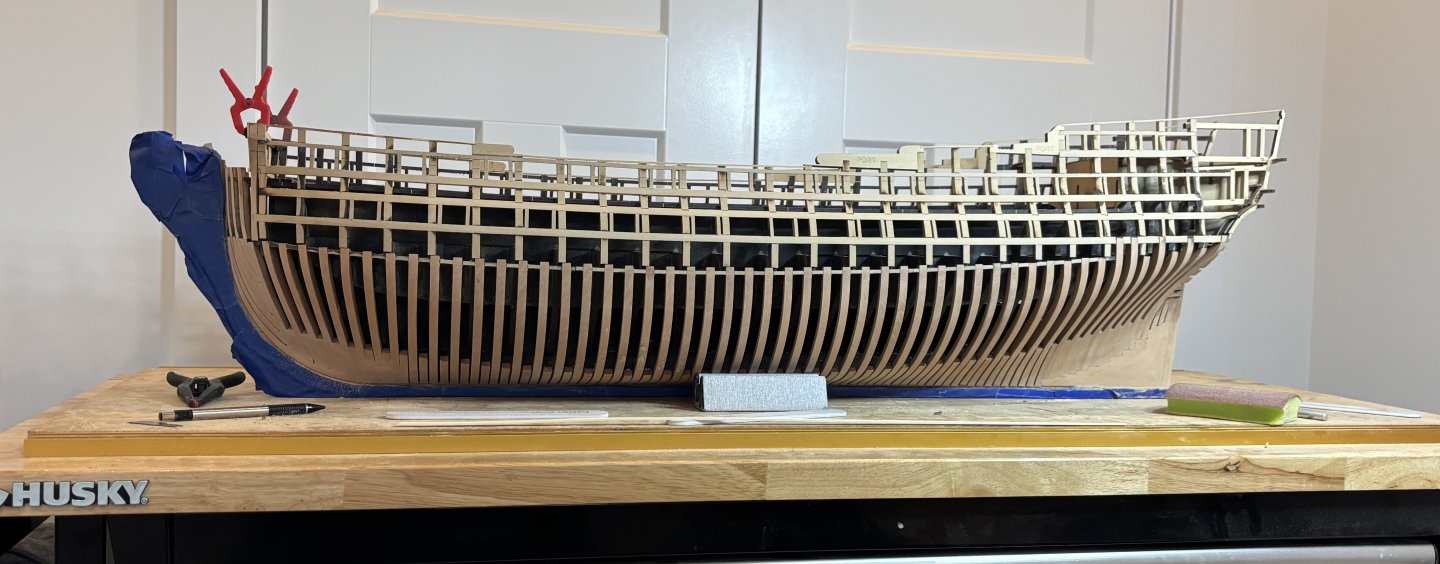
-
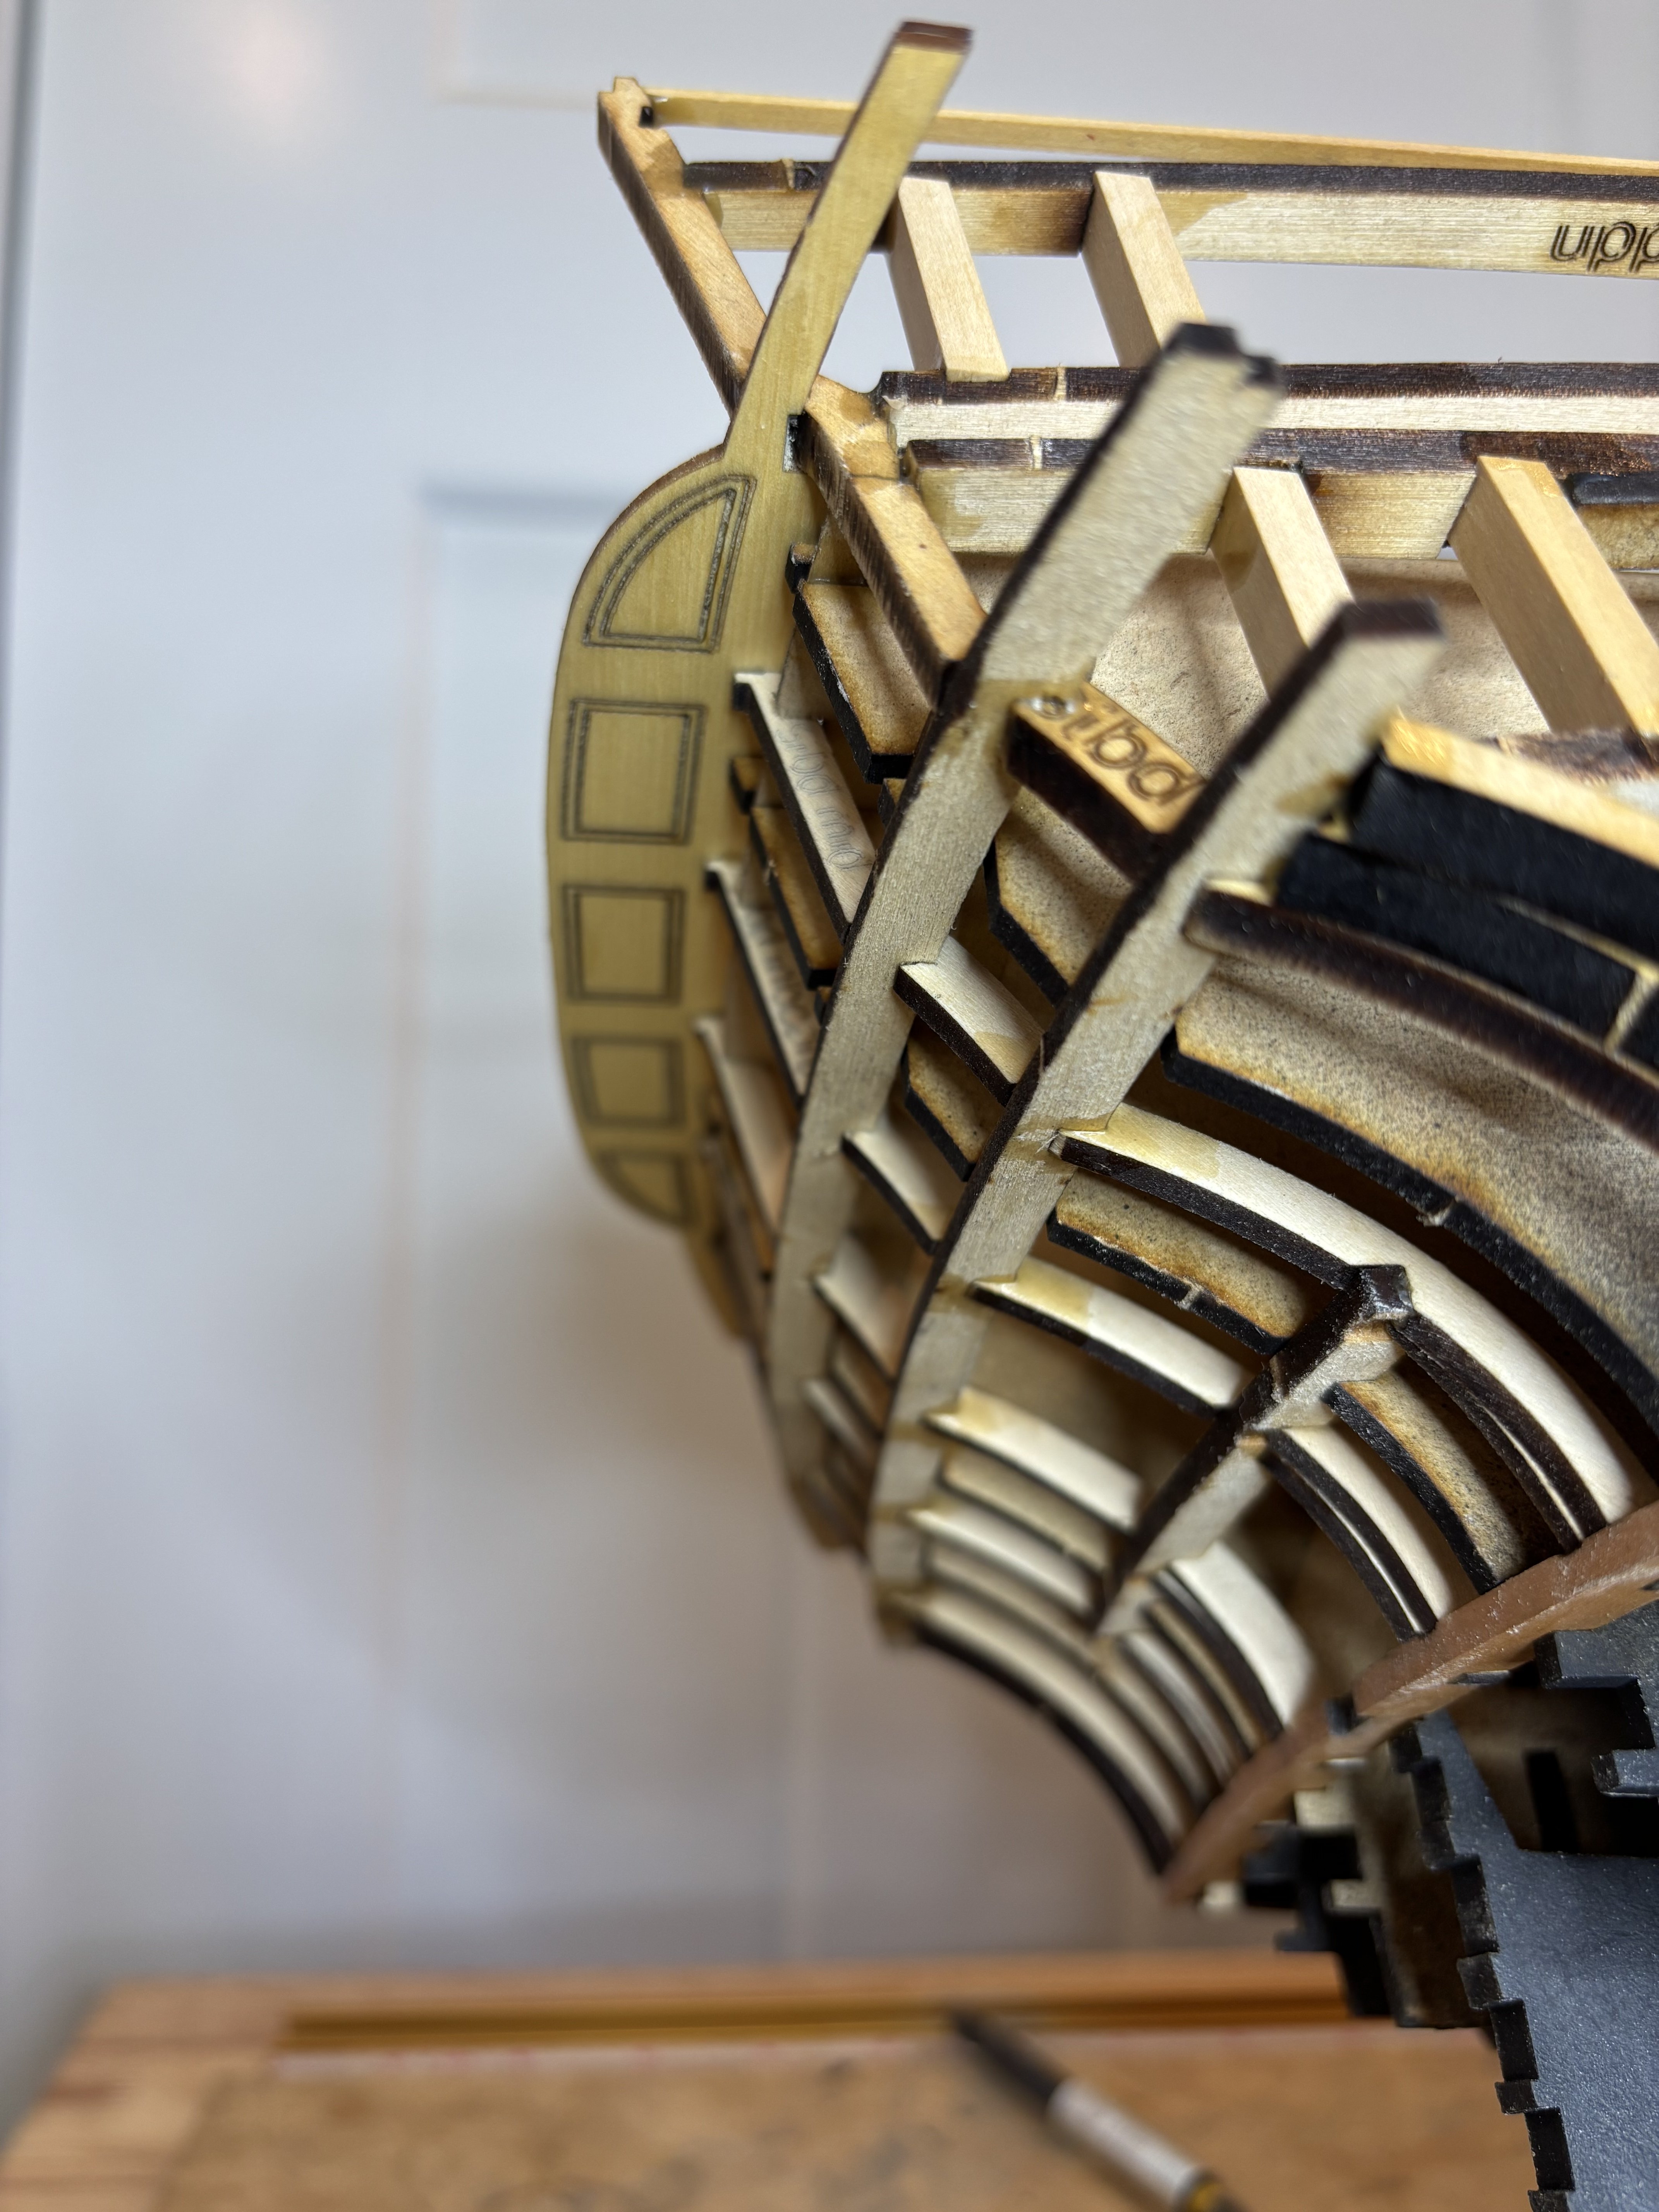
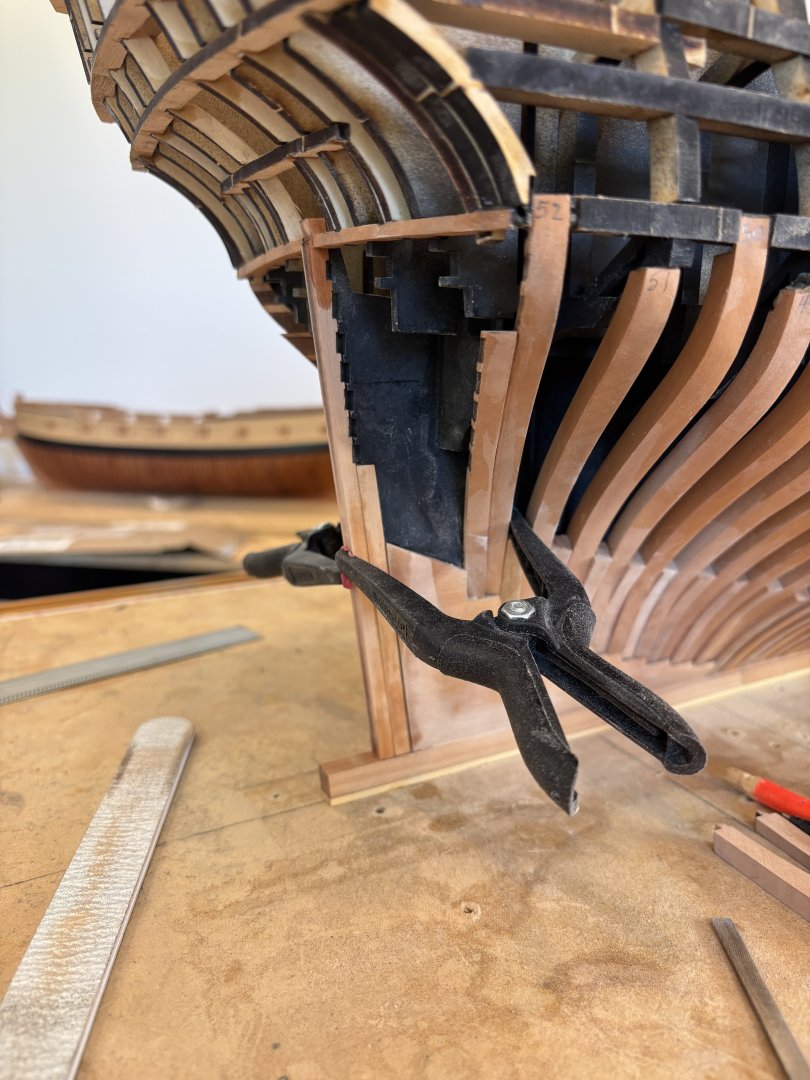
Transoms sat in place but no glue yet.
-
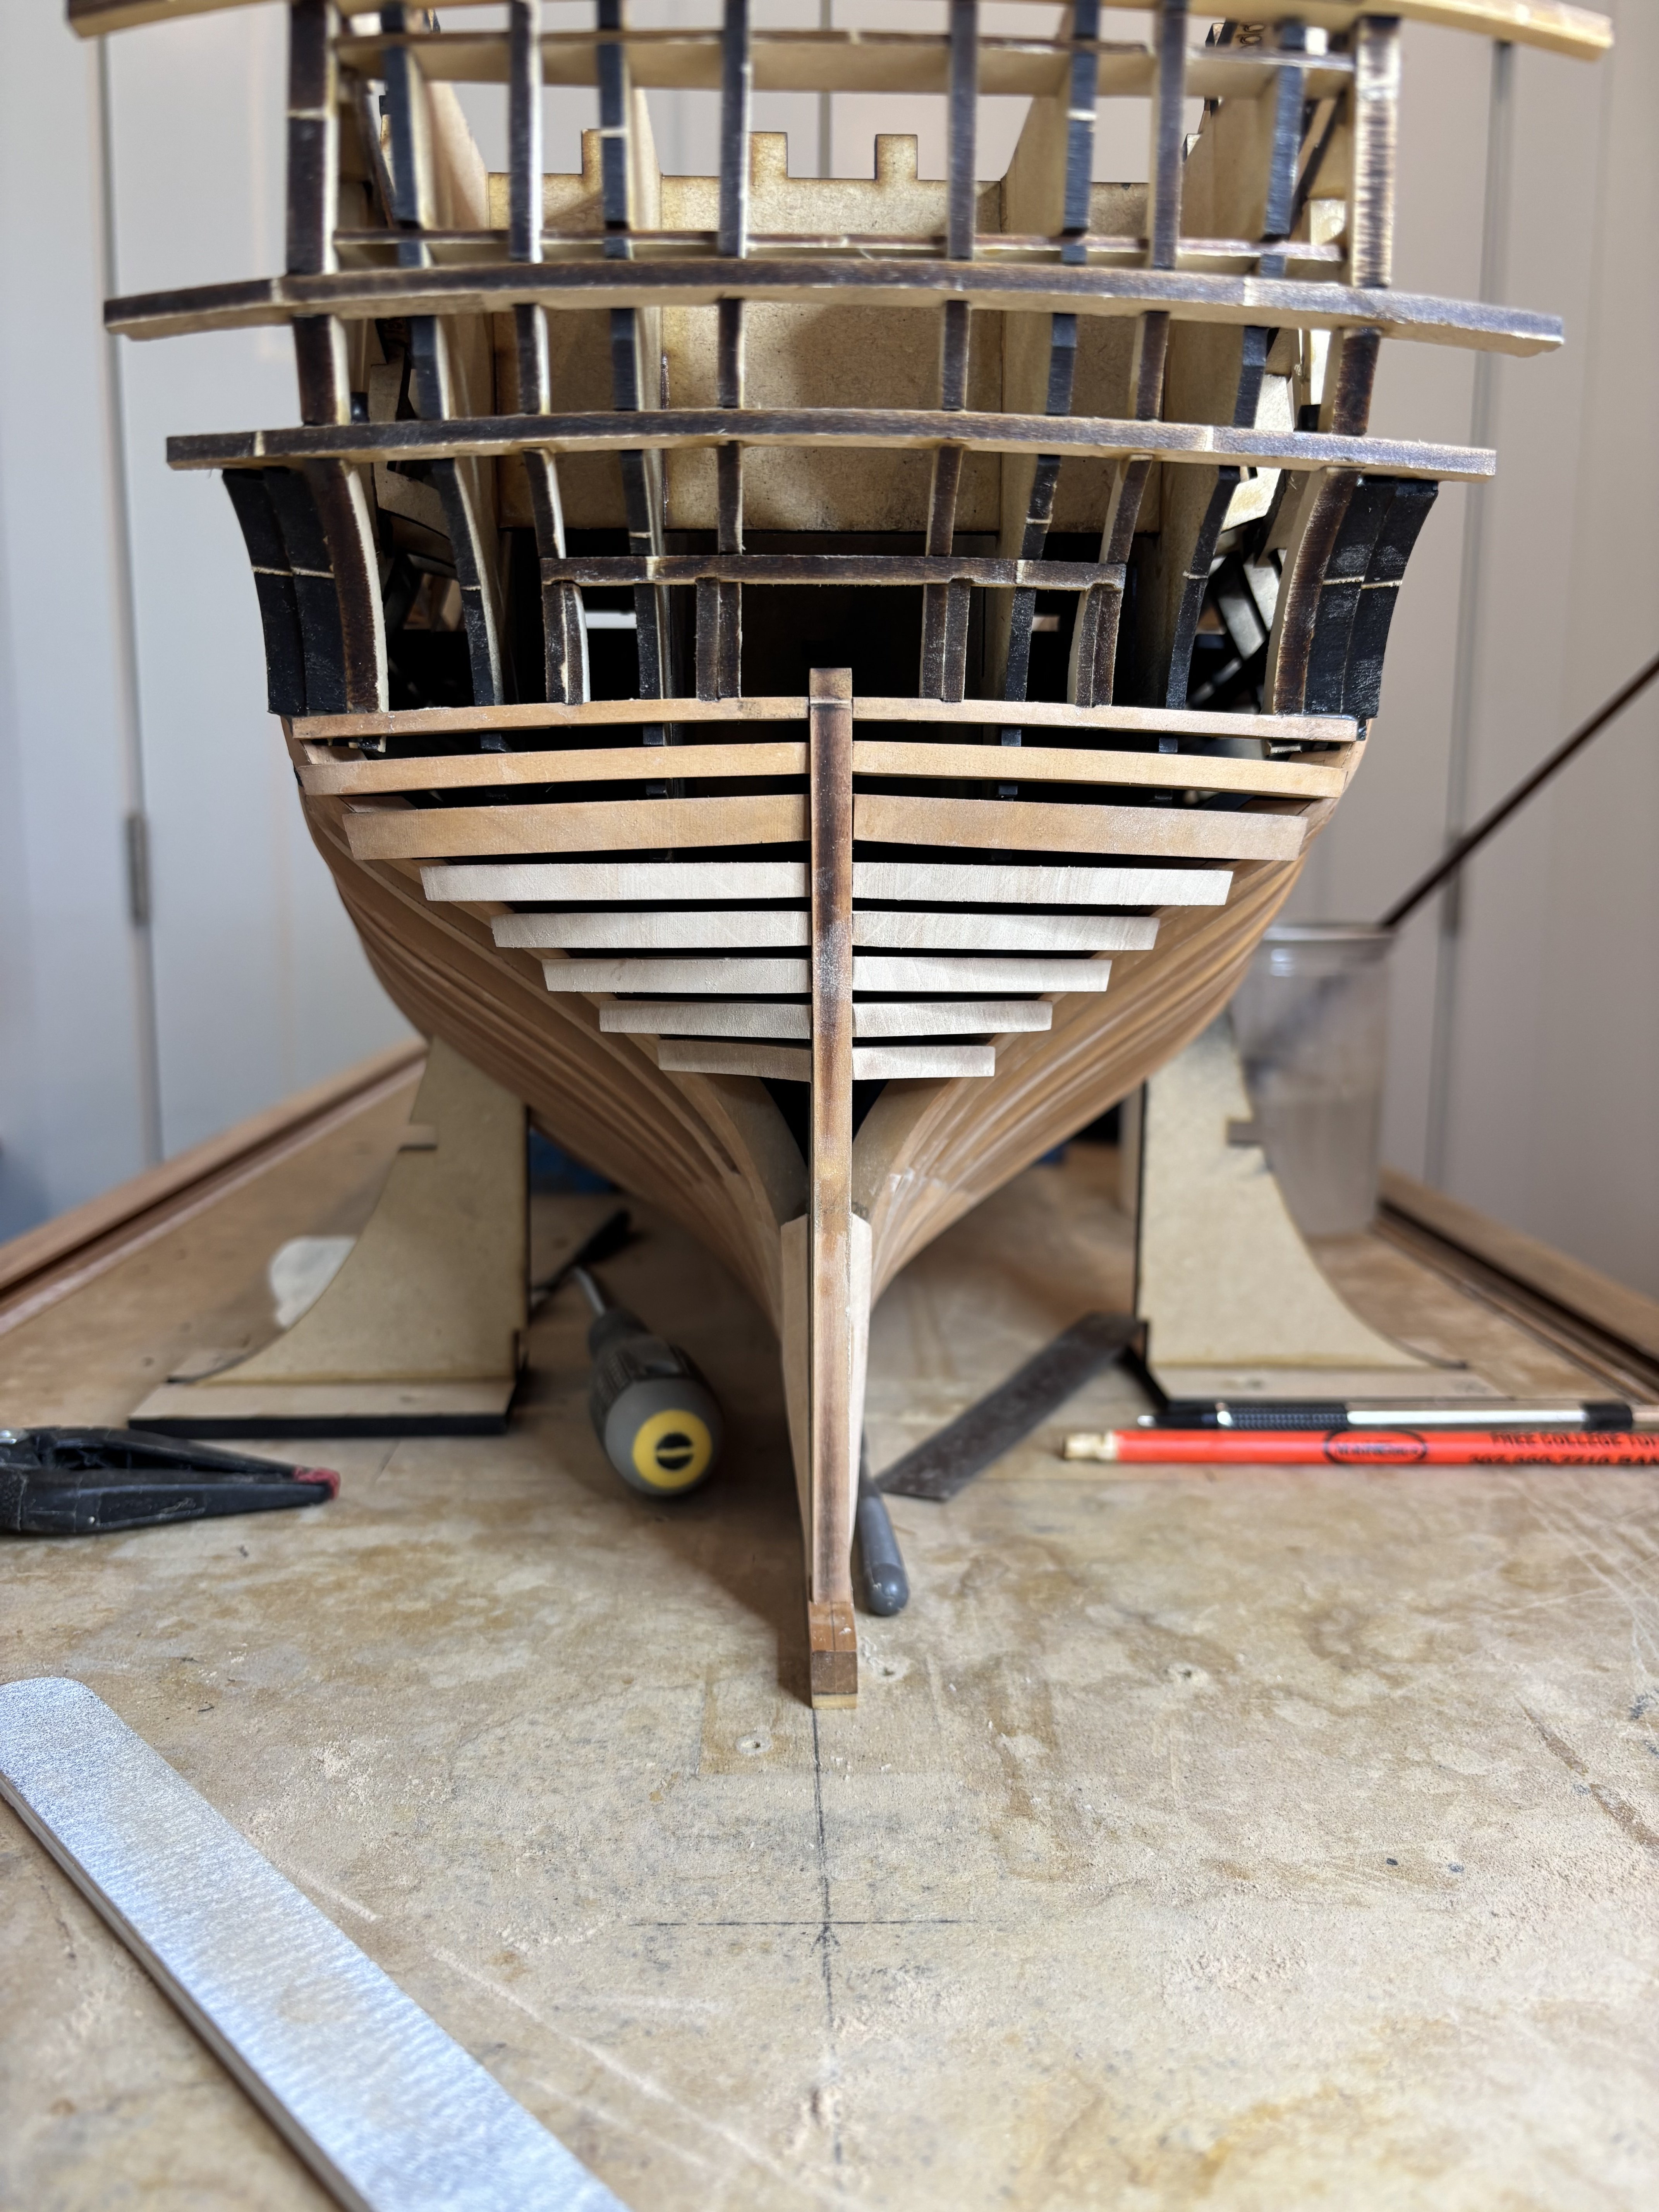
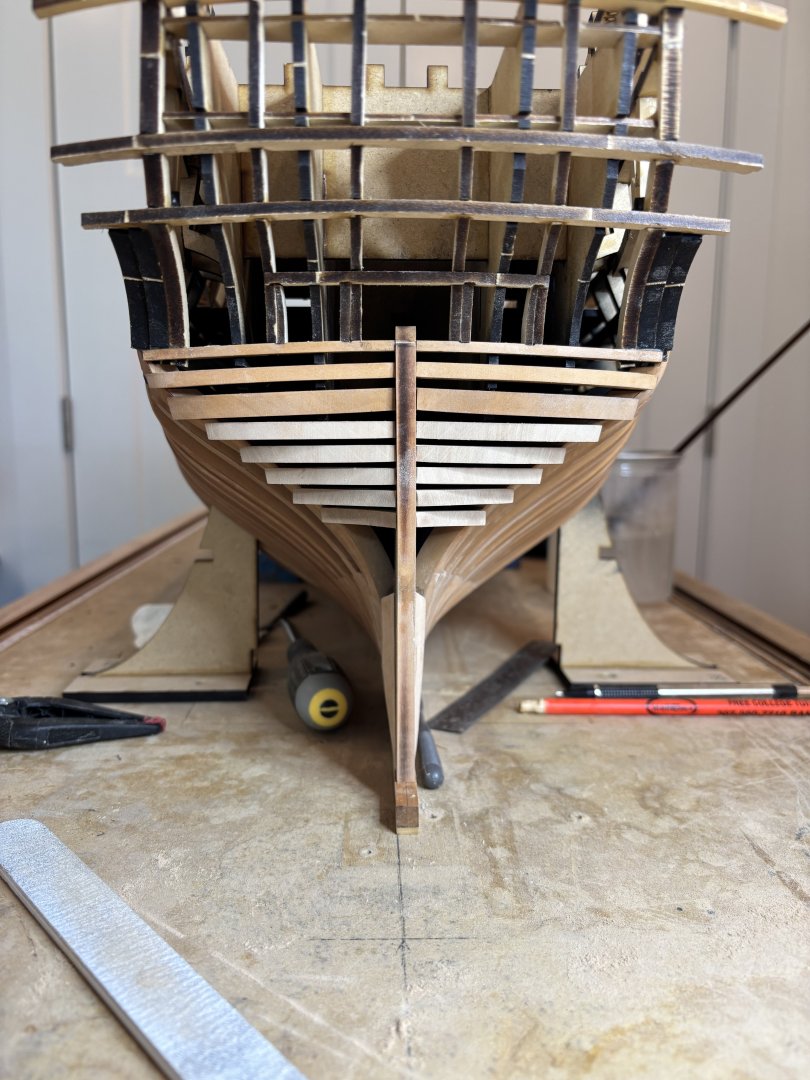
Aft cant framing completed and then I added the two inner stern posts ready for the transoms.
-
Caldercraft Red Ochre
Trussben replied to scrubbyj427's topic in Painting, finishing and weathering products and techniques
Cornwall has it back in stock. -
Hi It will be planked from the wales up, and maybe one or two strakes below, posssibly even the garboard strake.
-
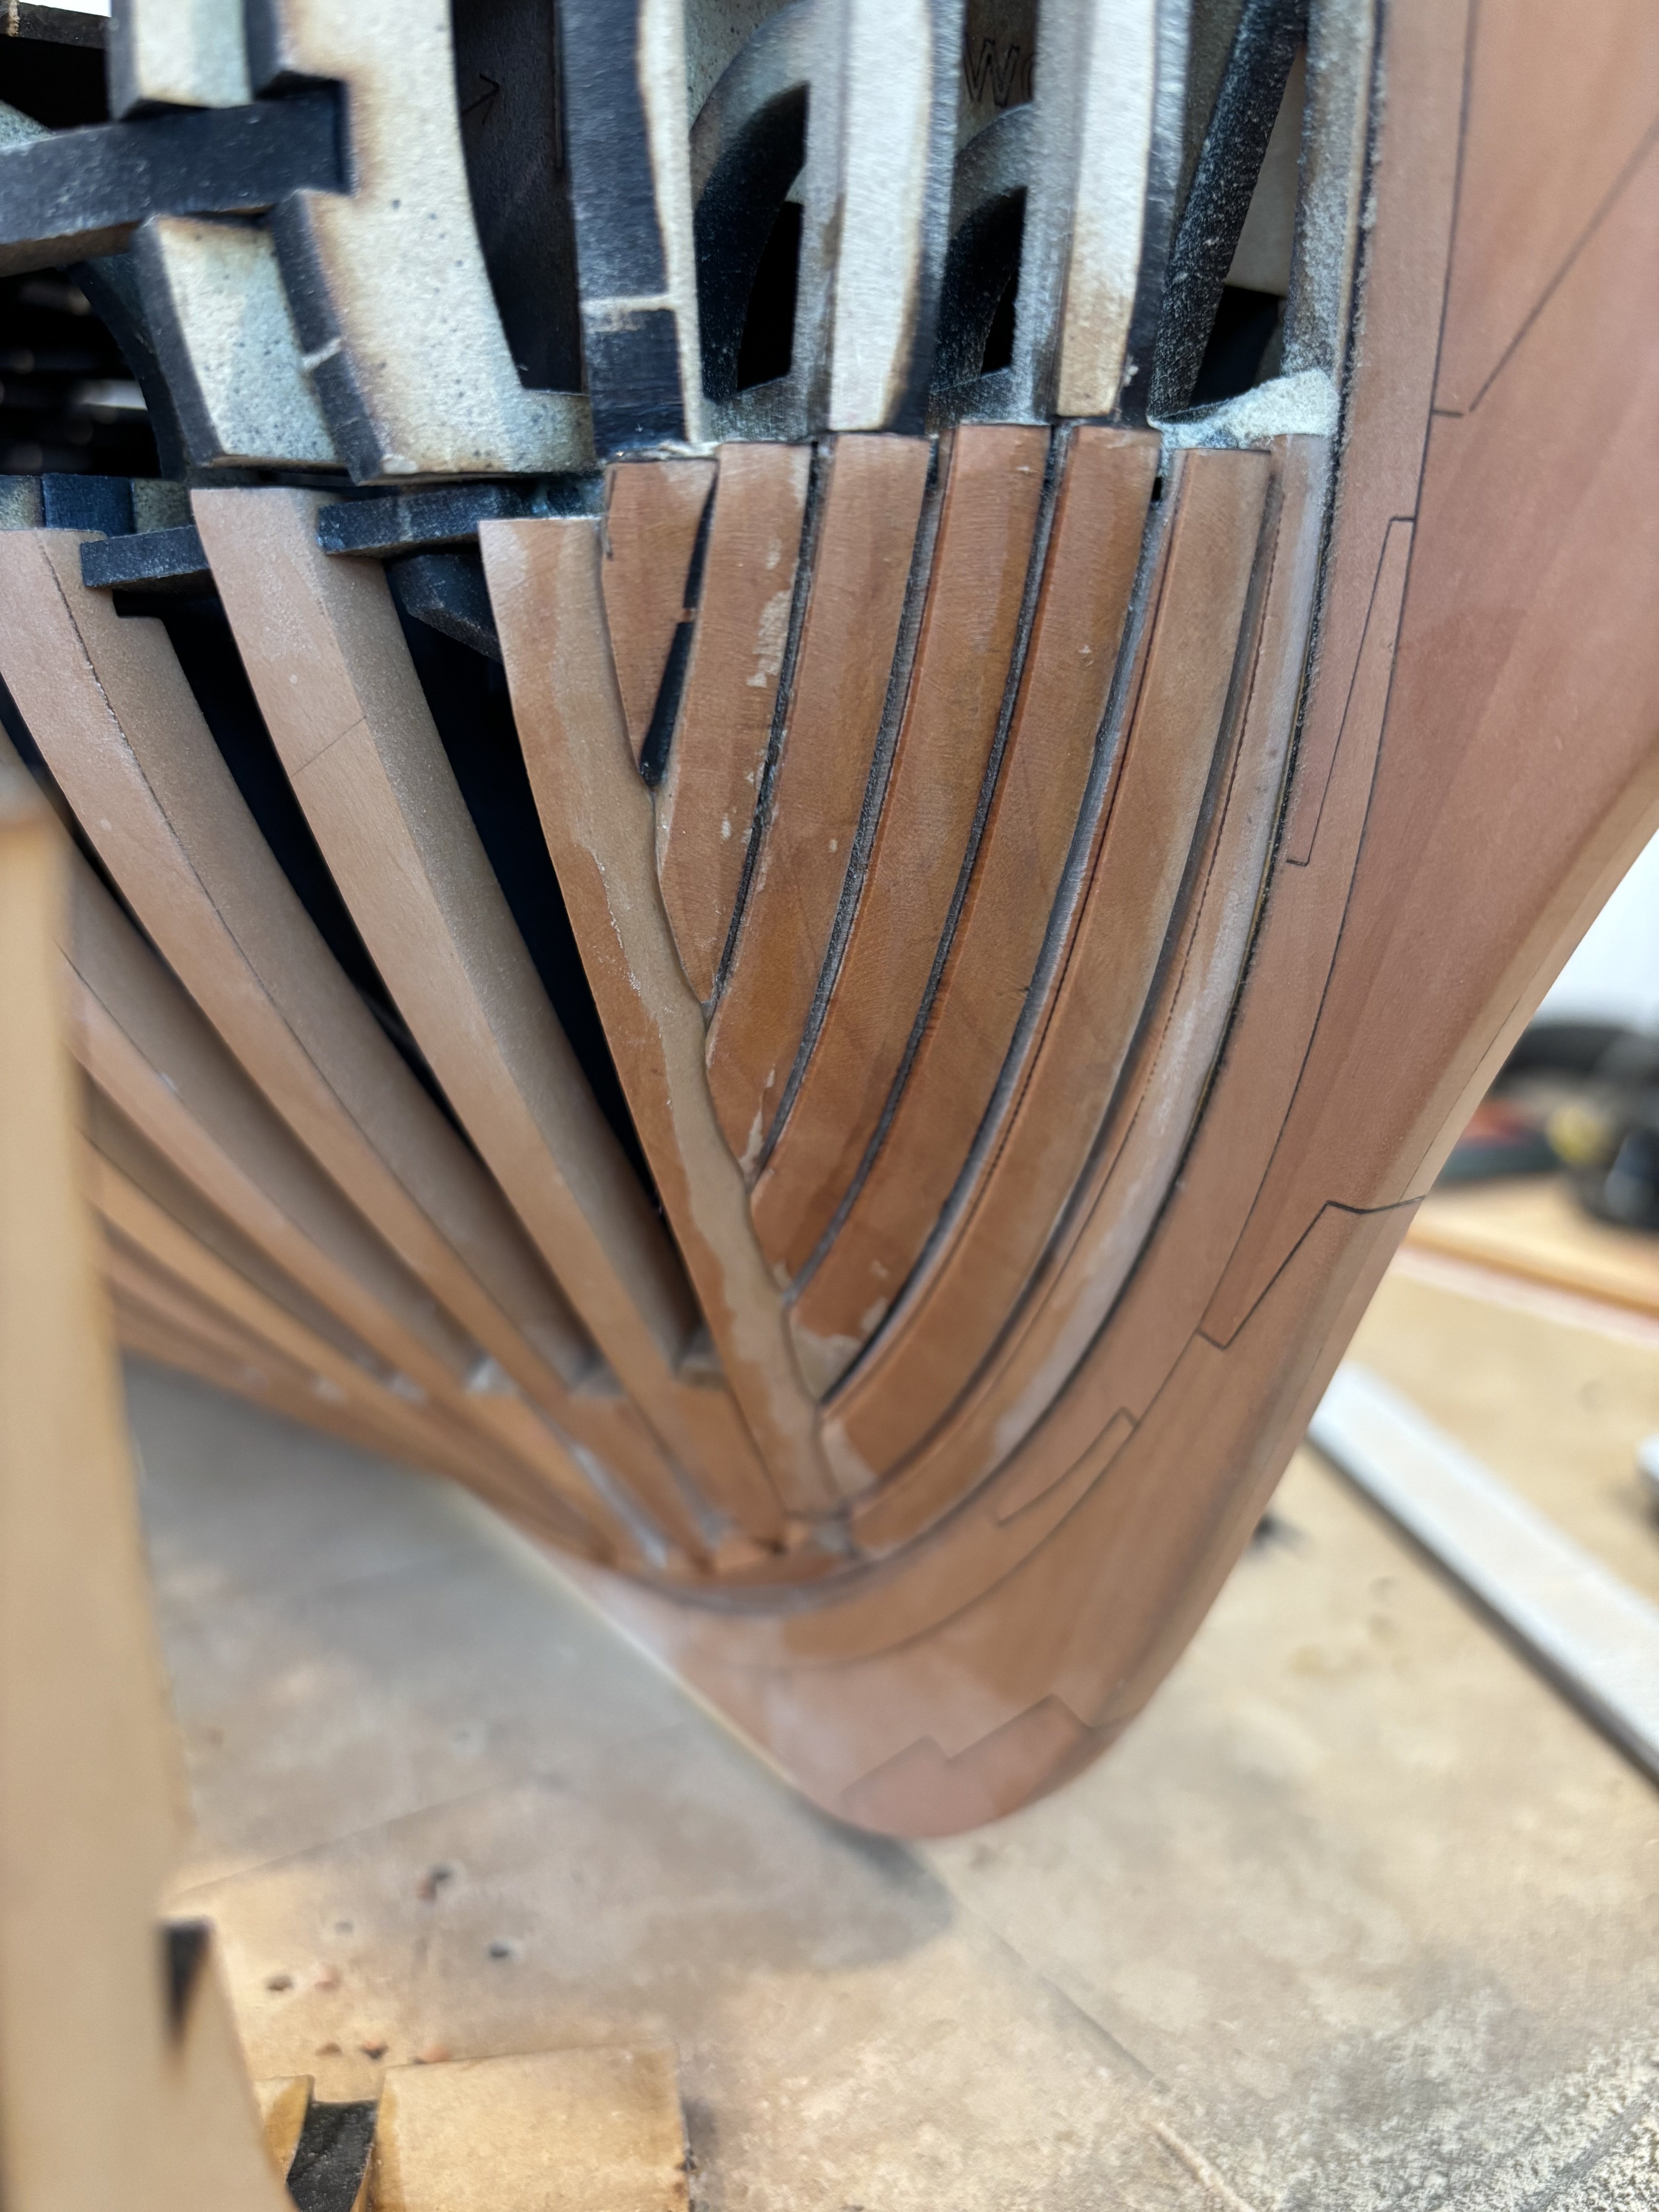
More framing and started on the port deadwood.

-
It’s an ink stabilizer and UV protector that helps stop fading. spray on until wet and then allow to dry, I use the Krylon brand stuff. The dullcoat is a varnish lacquer that will do the final seal and give a tougher finish.
-
Nice to see you back working on the Speedwell.
-
I have had good luck with the printed Friezes by doing this as well, but I first spray them after they come off the printer with a matt fixative, when they have been glued on the model I then give them a couple of coats of Testors Dullcoat.
-
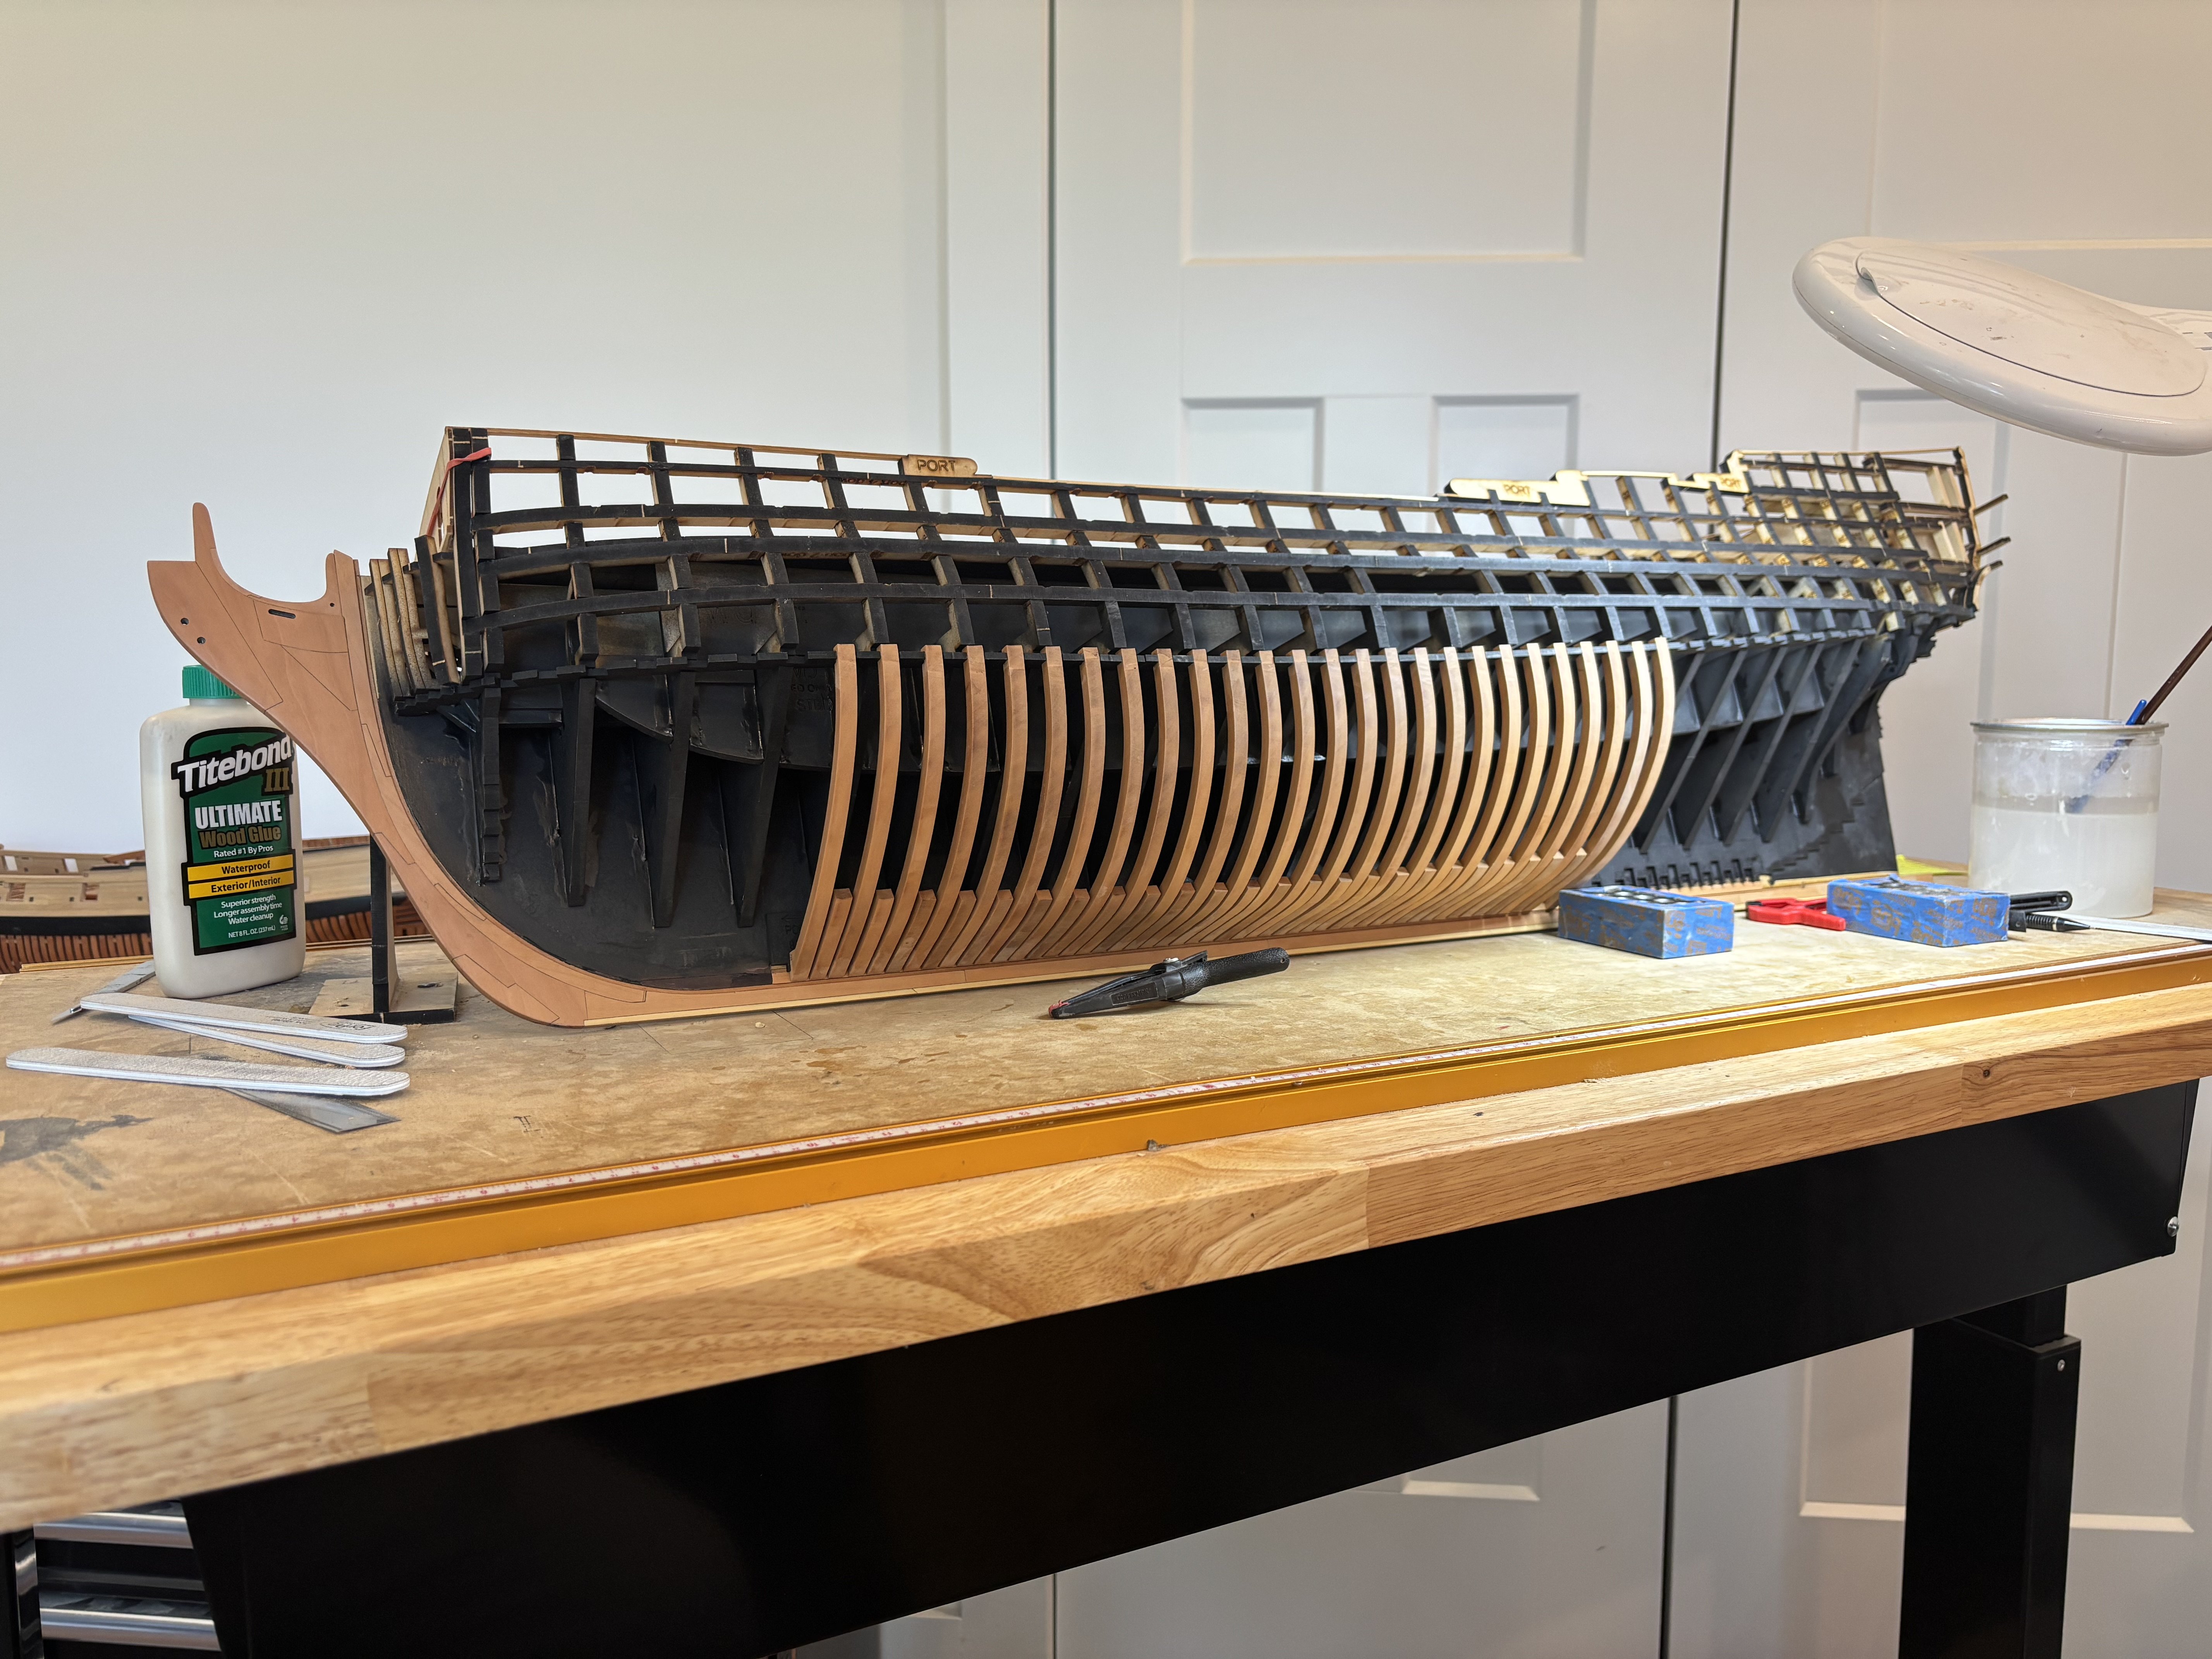
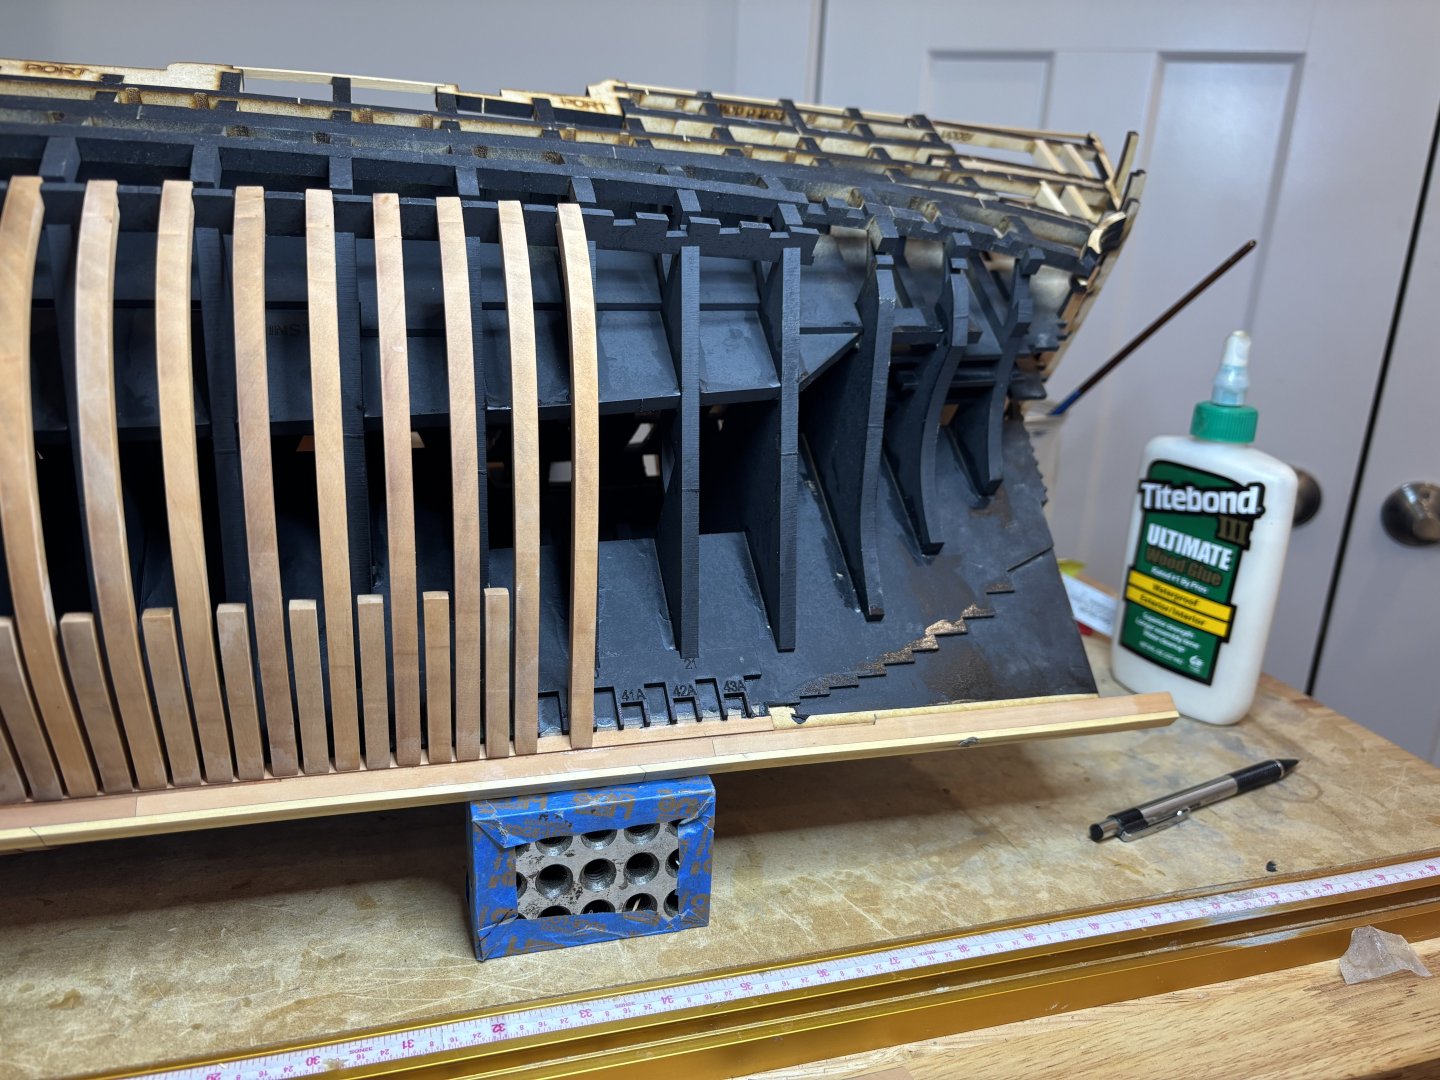
Port side square framing well underway.

-
What red did you use? The paintings seem to show more of a brighter orangie red? Do you plan on straight main wales or in anchor stock style? Any type of templates for keeping the port surrounds at the correct width?
-
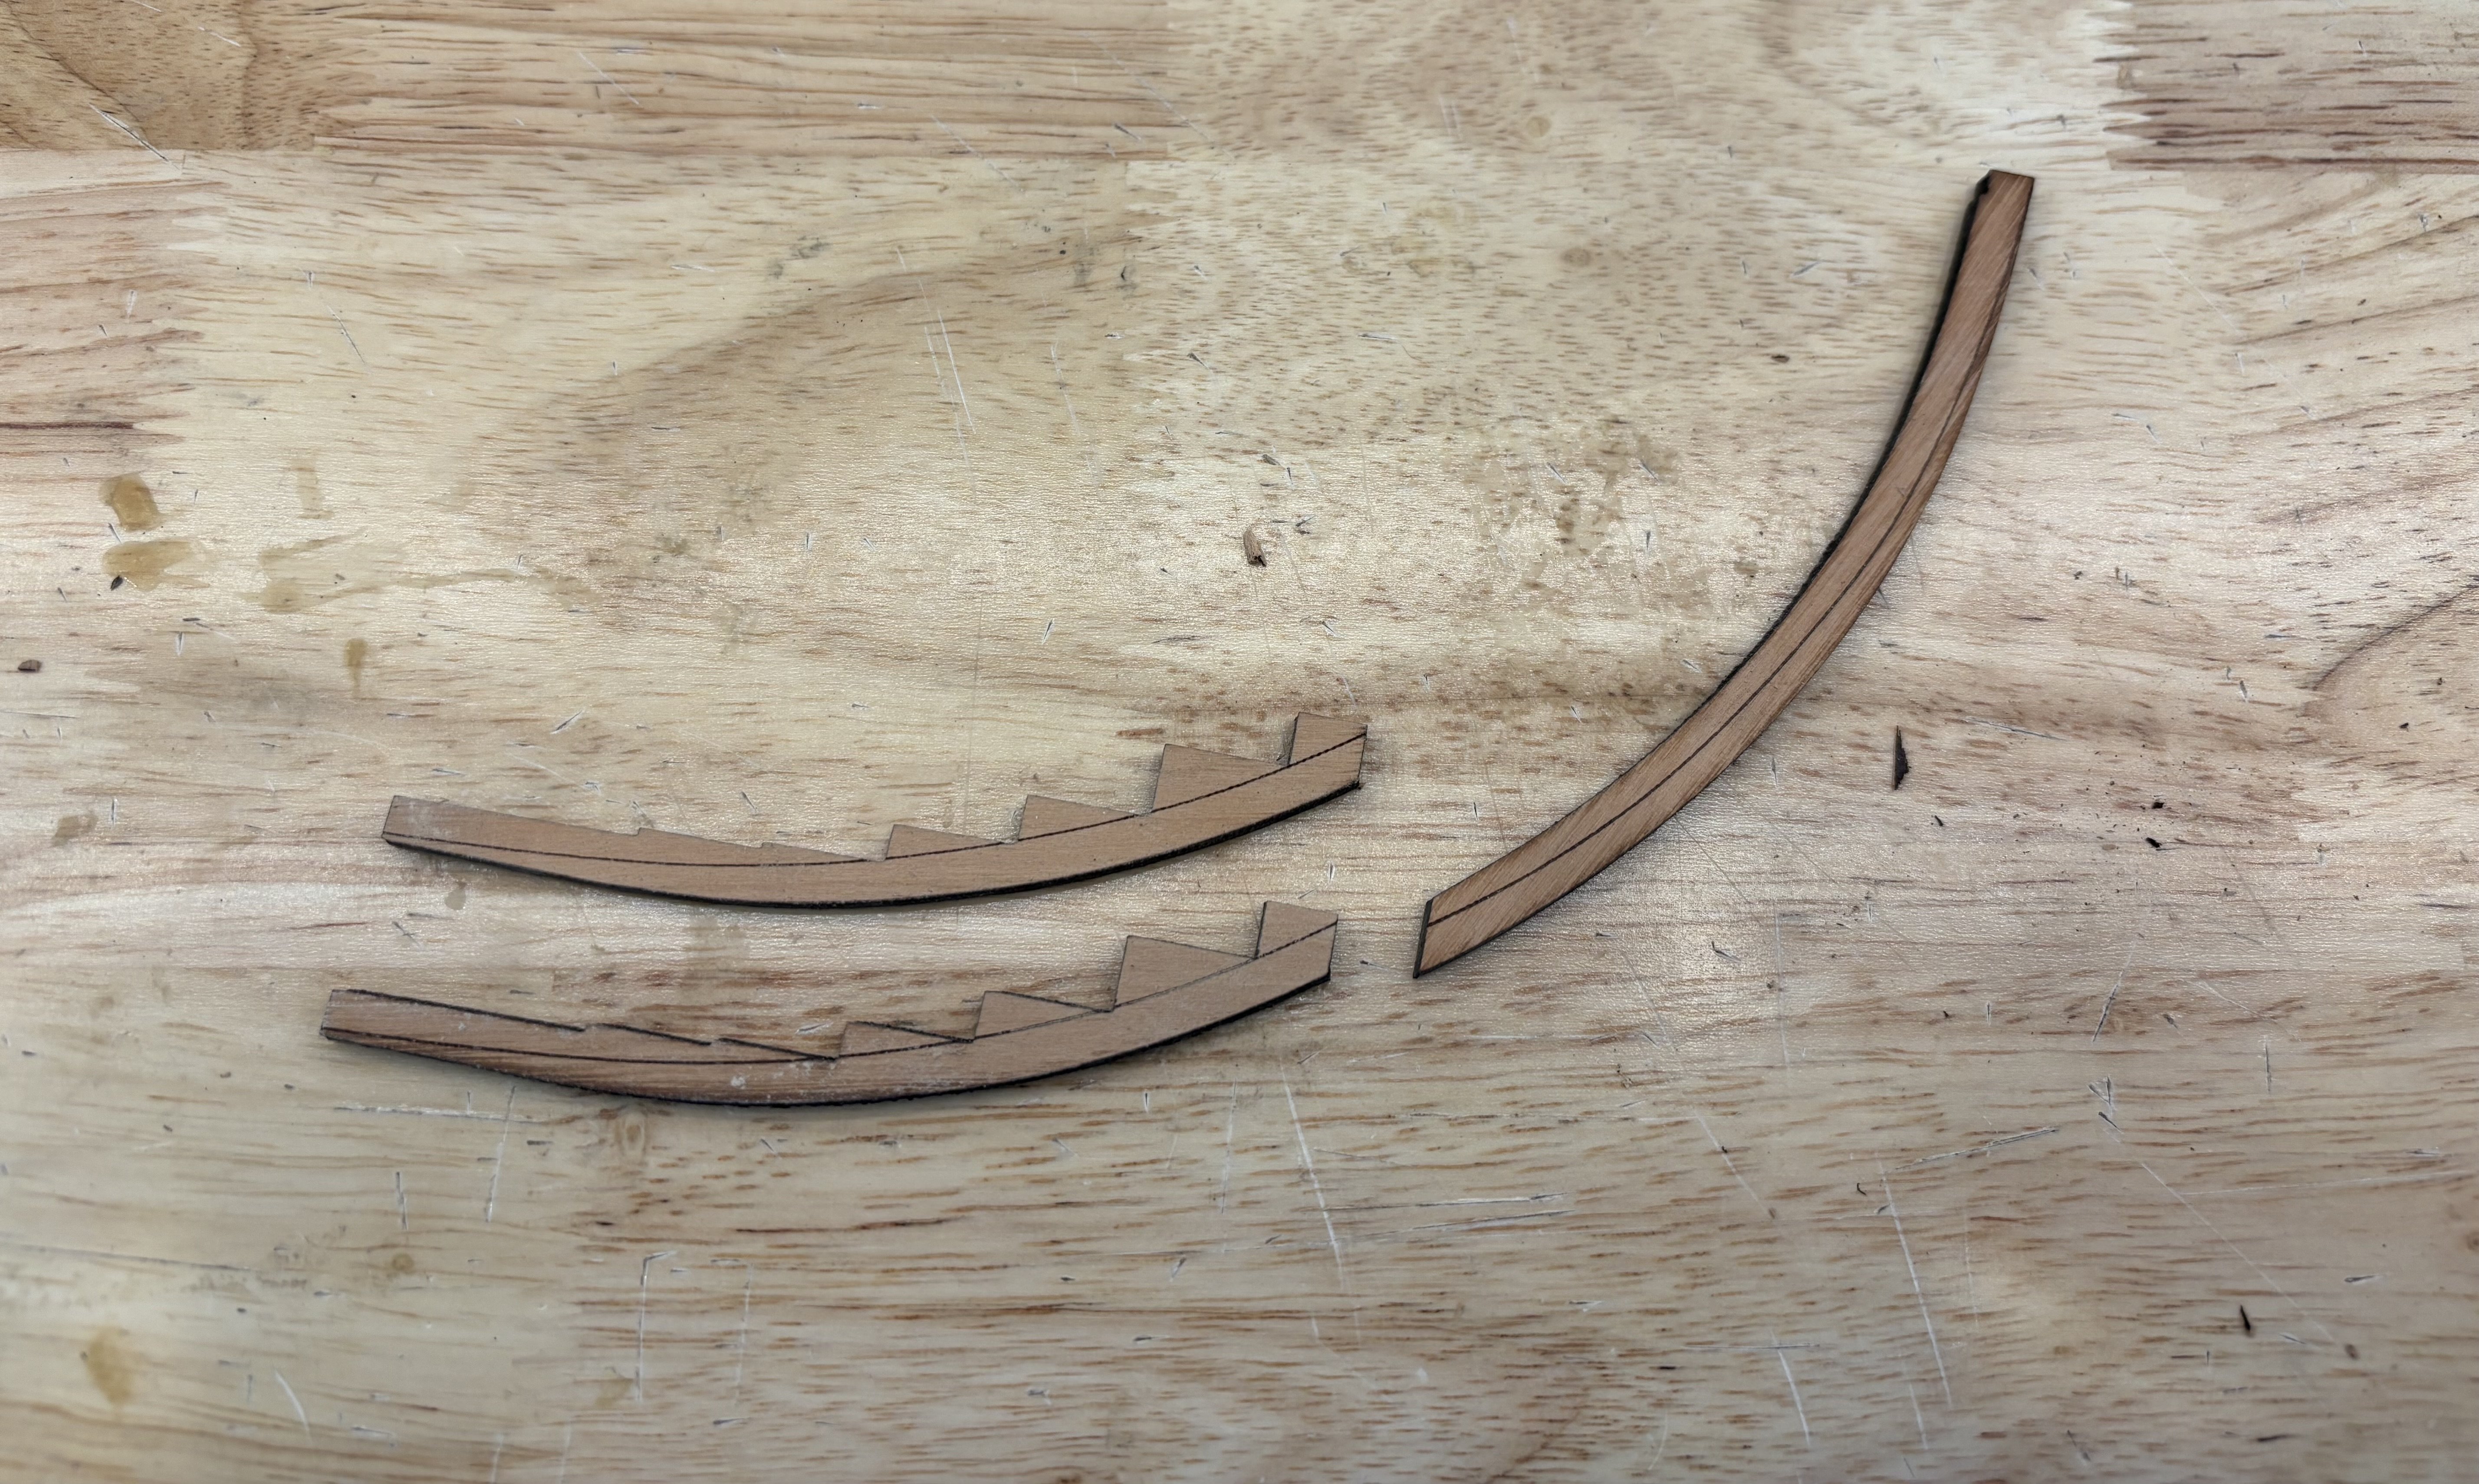
Port side framing ready for cleaning of laser char.

-
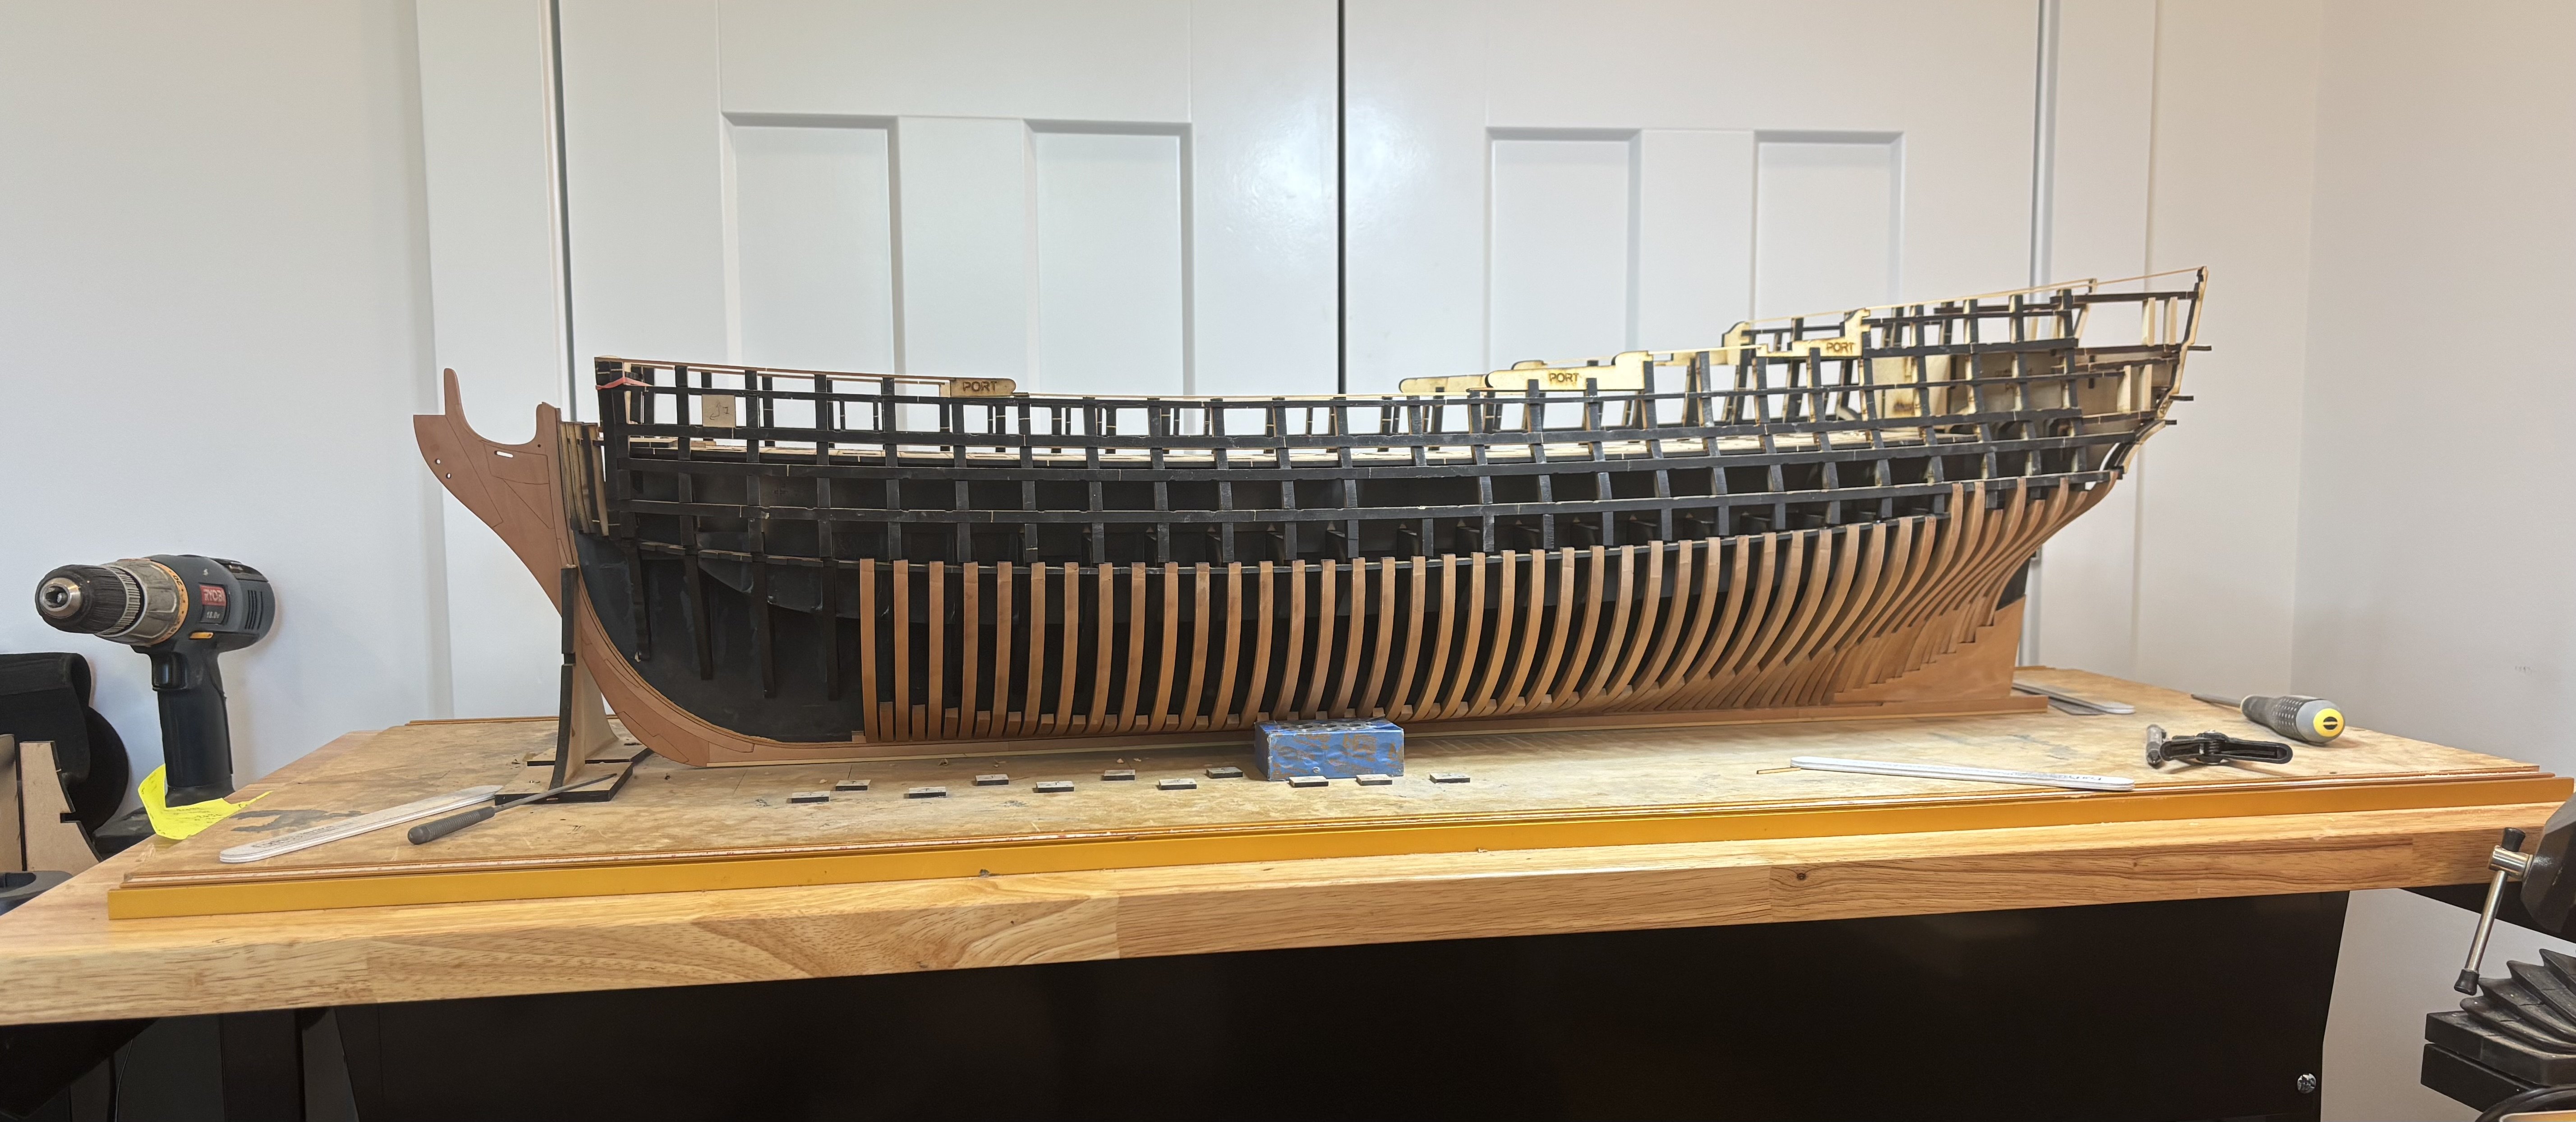
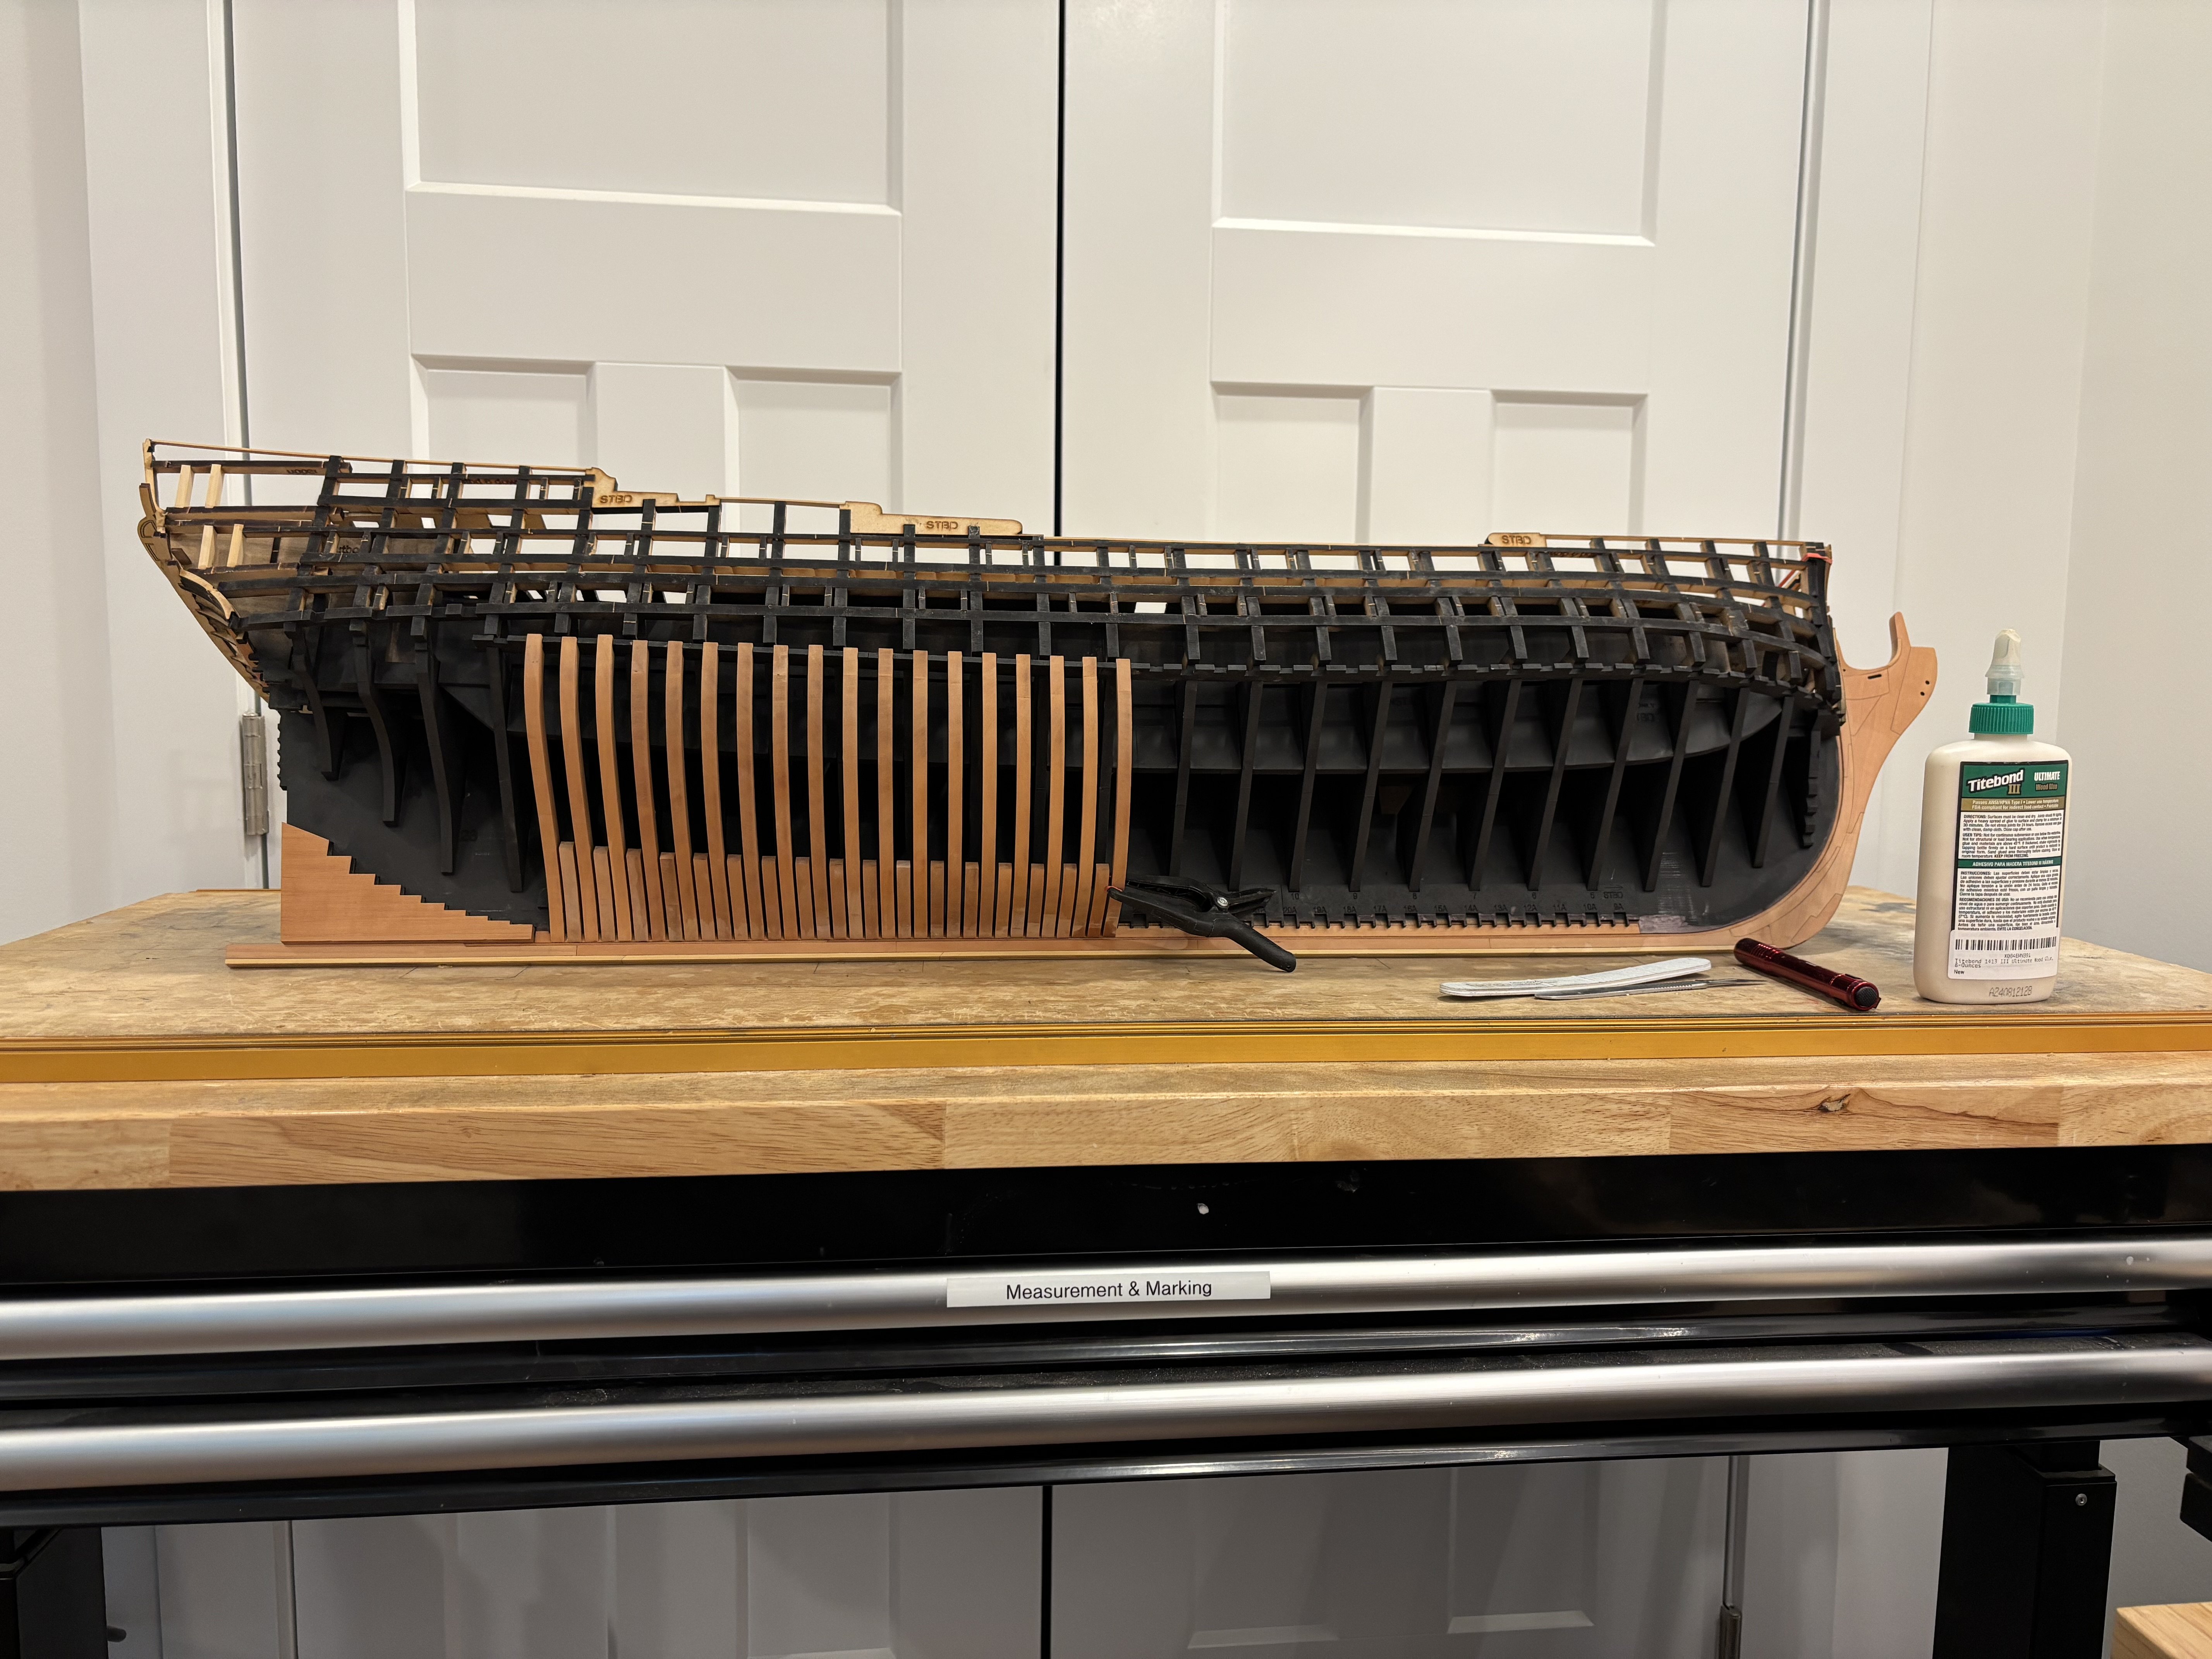
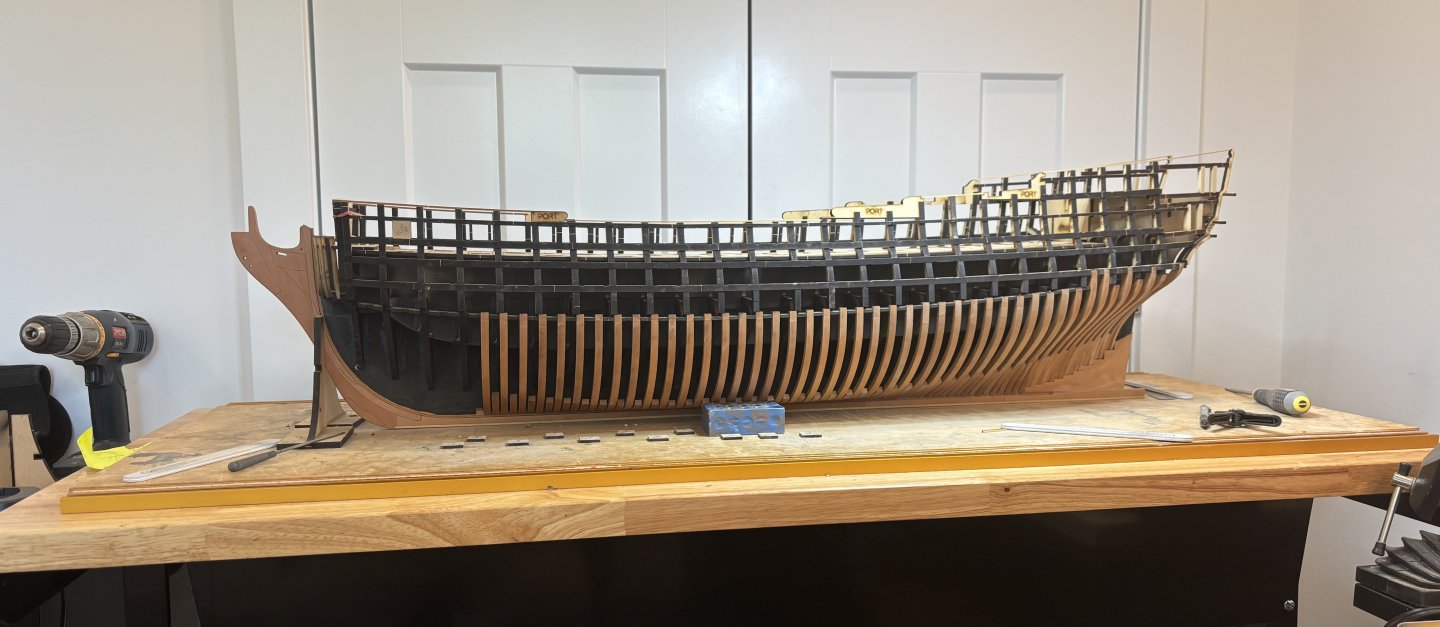
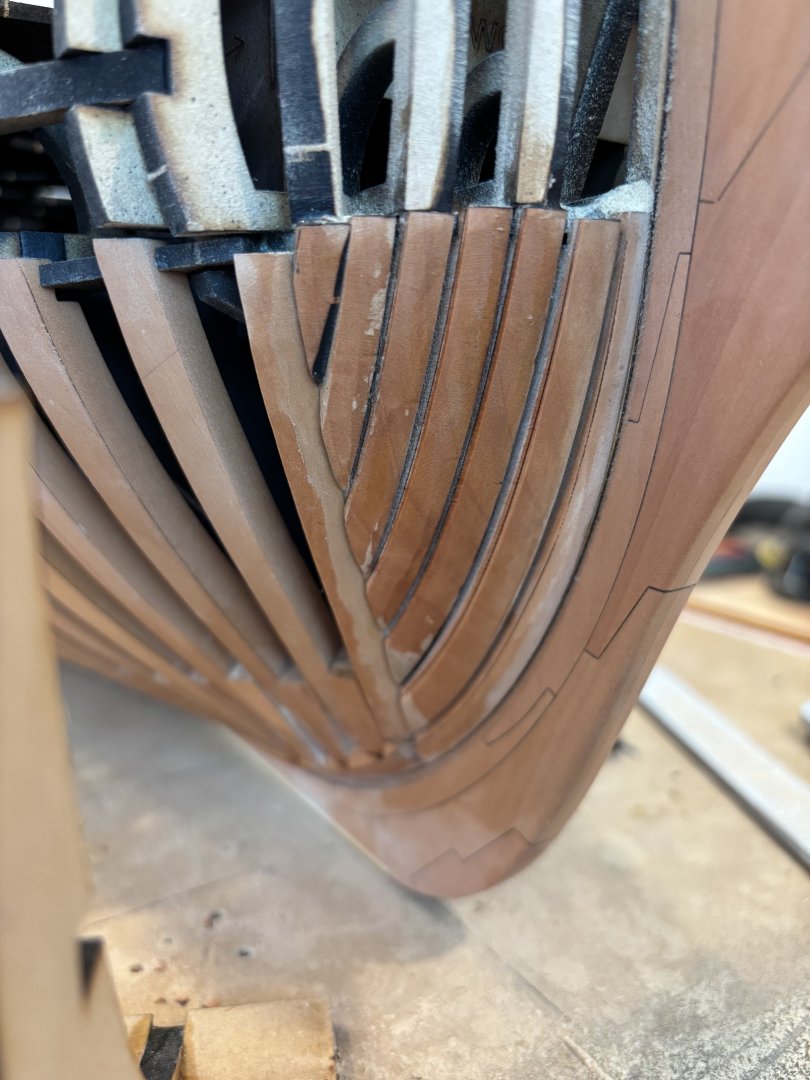
Starboard side framing completed, now onto the port side. Obviously it looks awful at this stage as it needs “a **** ton” of sanding and fairing but we will get to that soon enough.
-
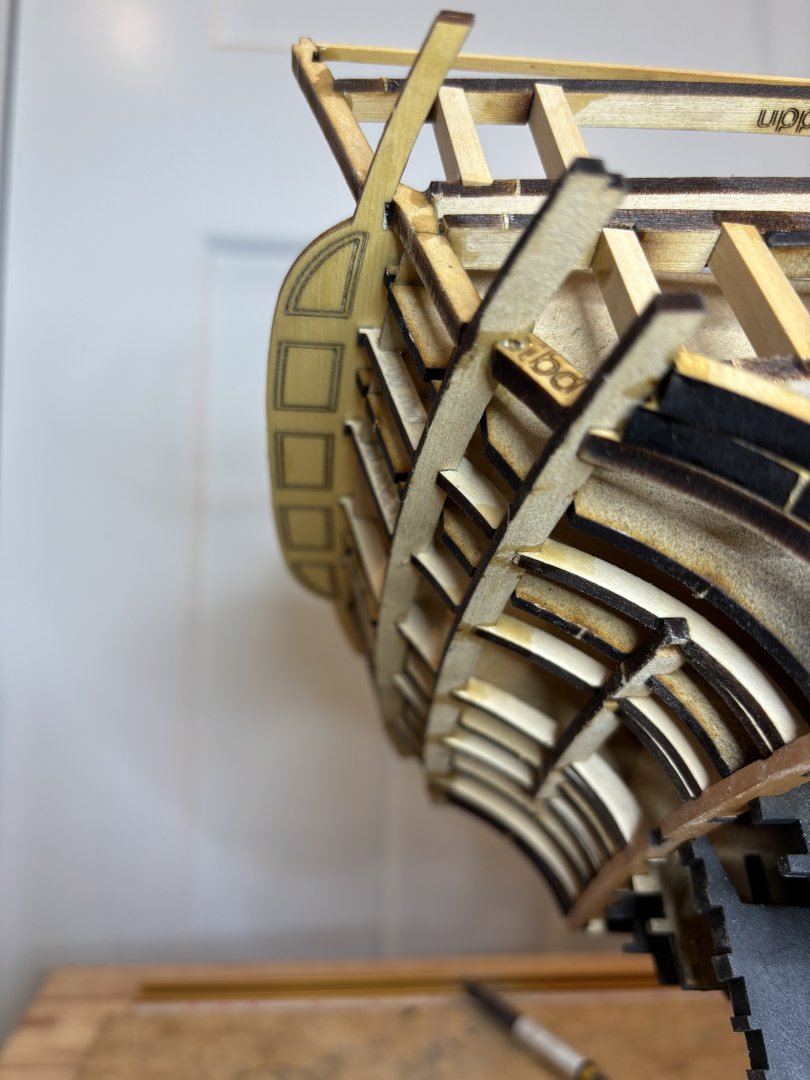
Work on the forward apron and cant frames has begun, nothing glued in place yet, just checking the fit.


-
Liking the progress, what material will you be planking with? AYC like the other prototype?
-
Nice, enjoy the framing!
-
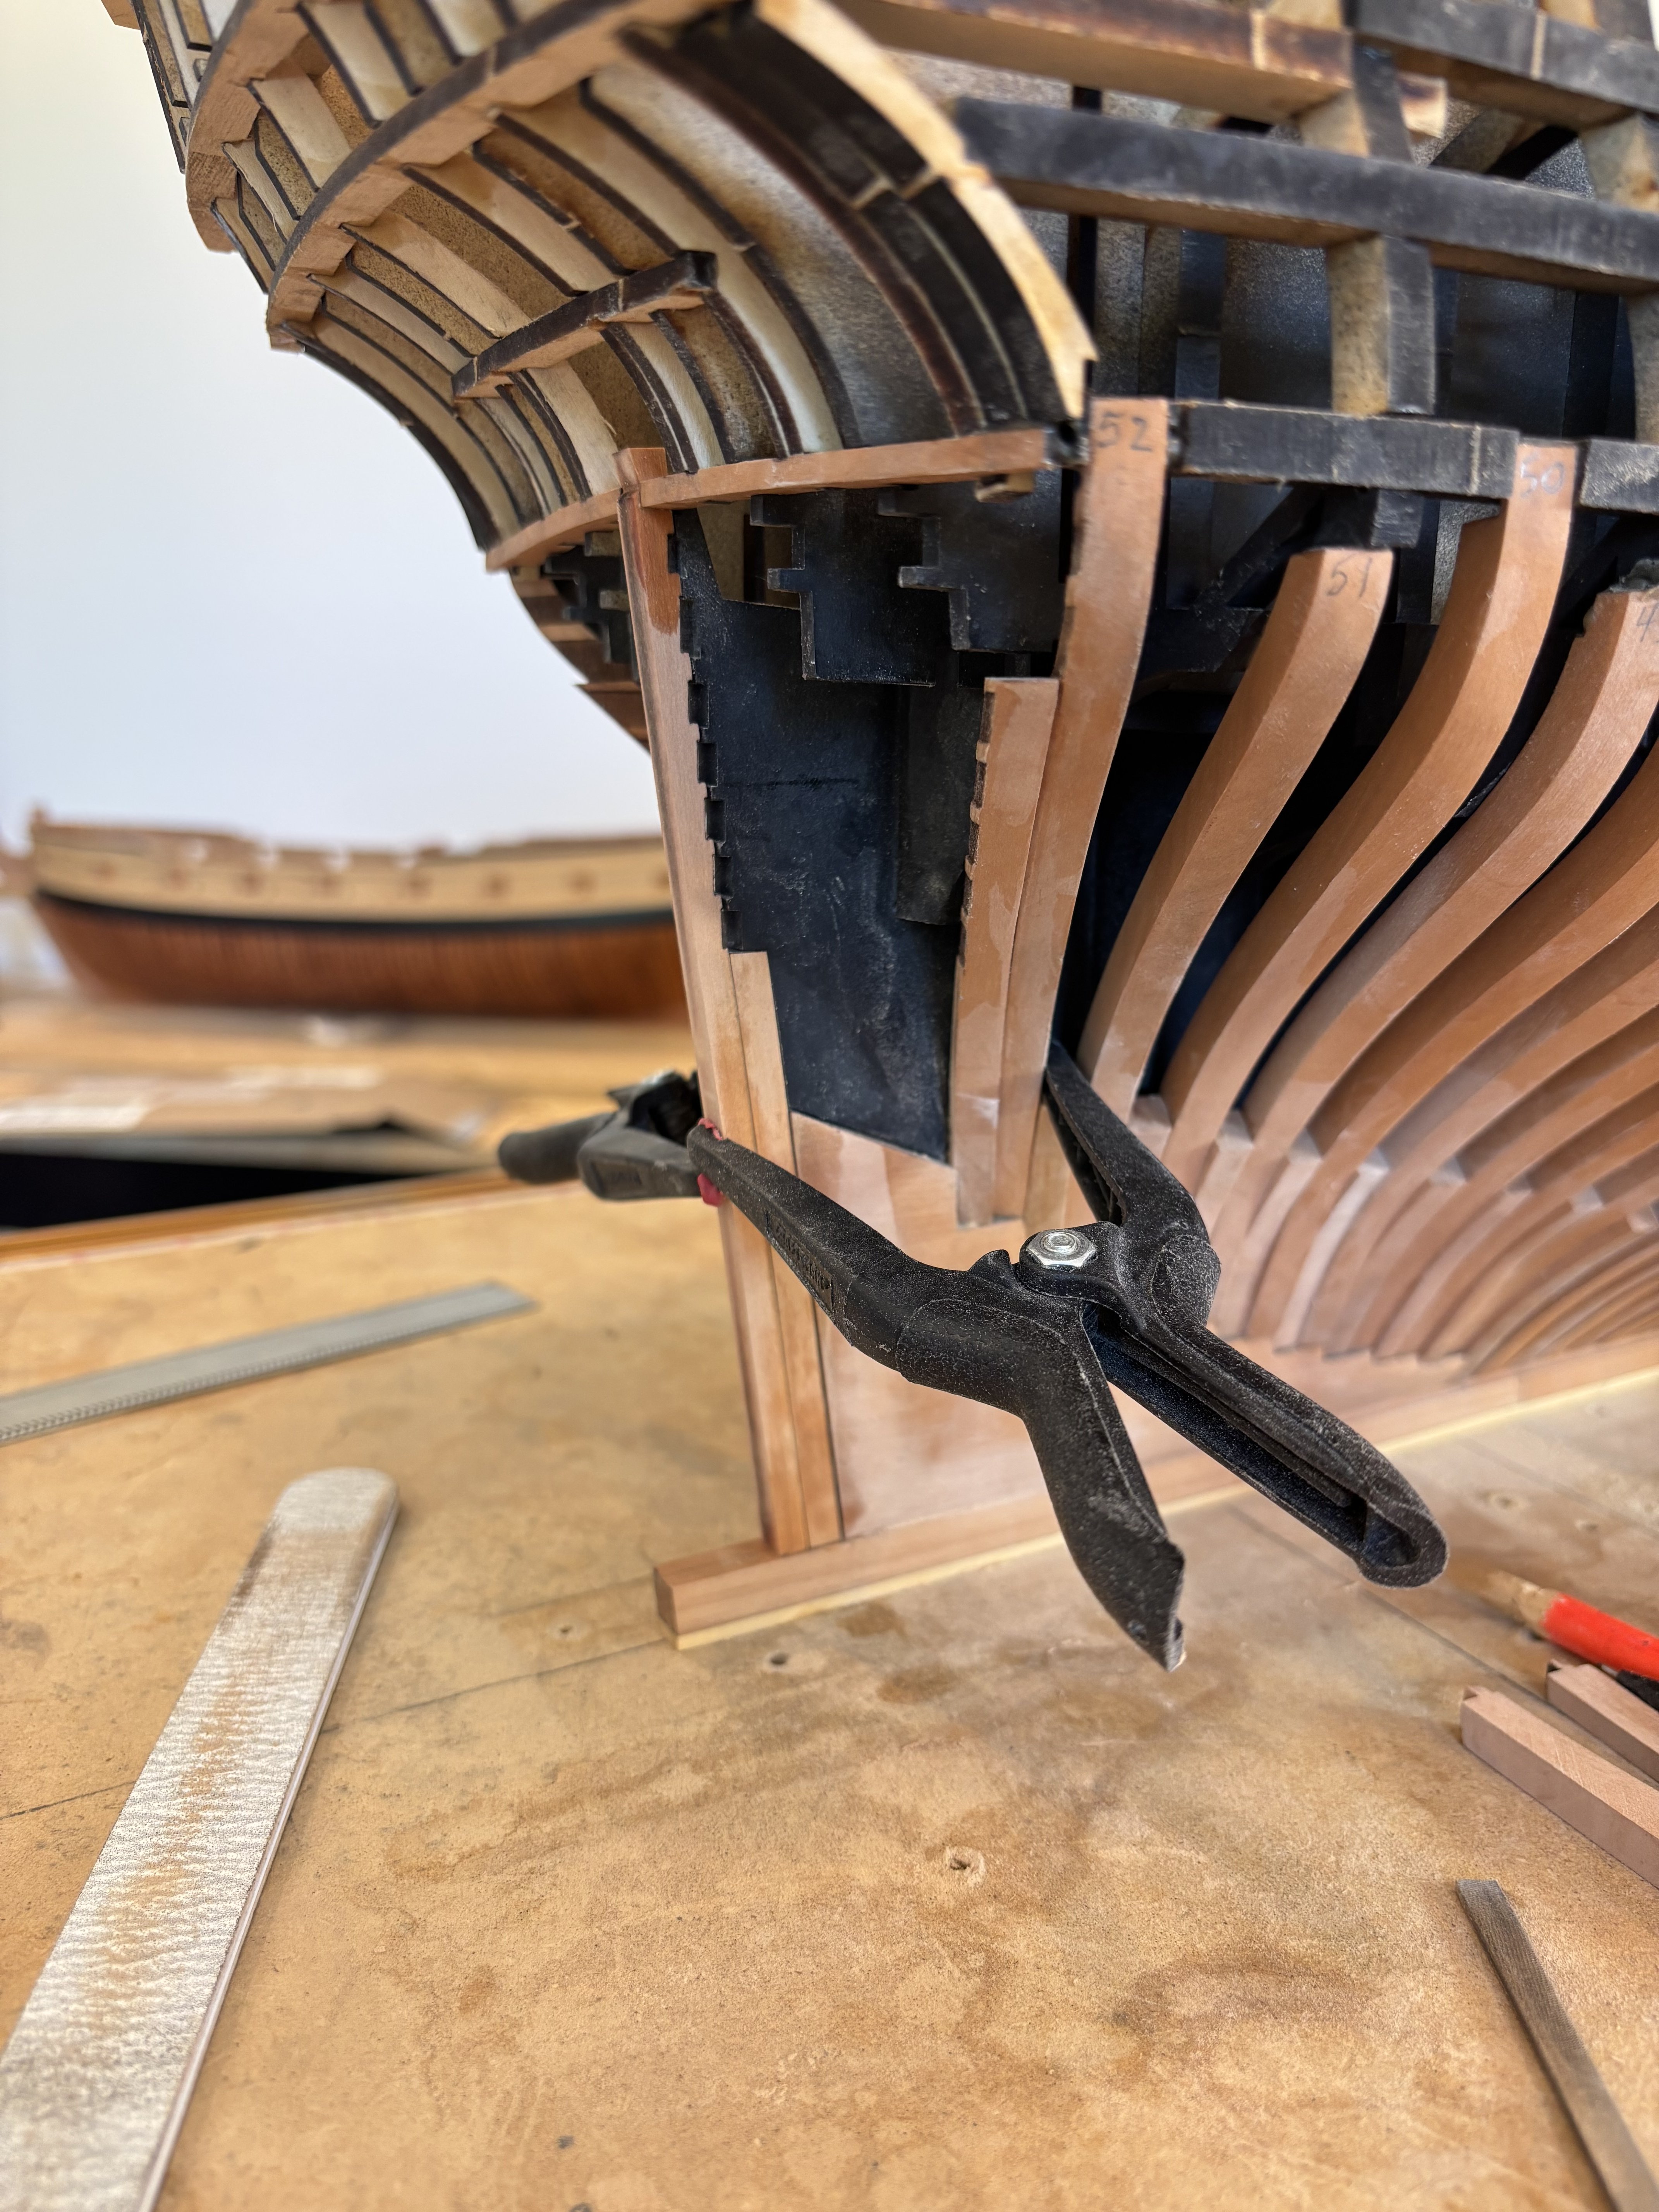
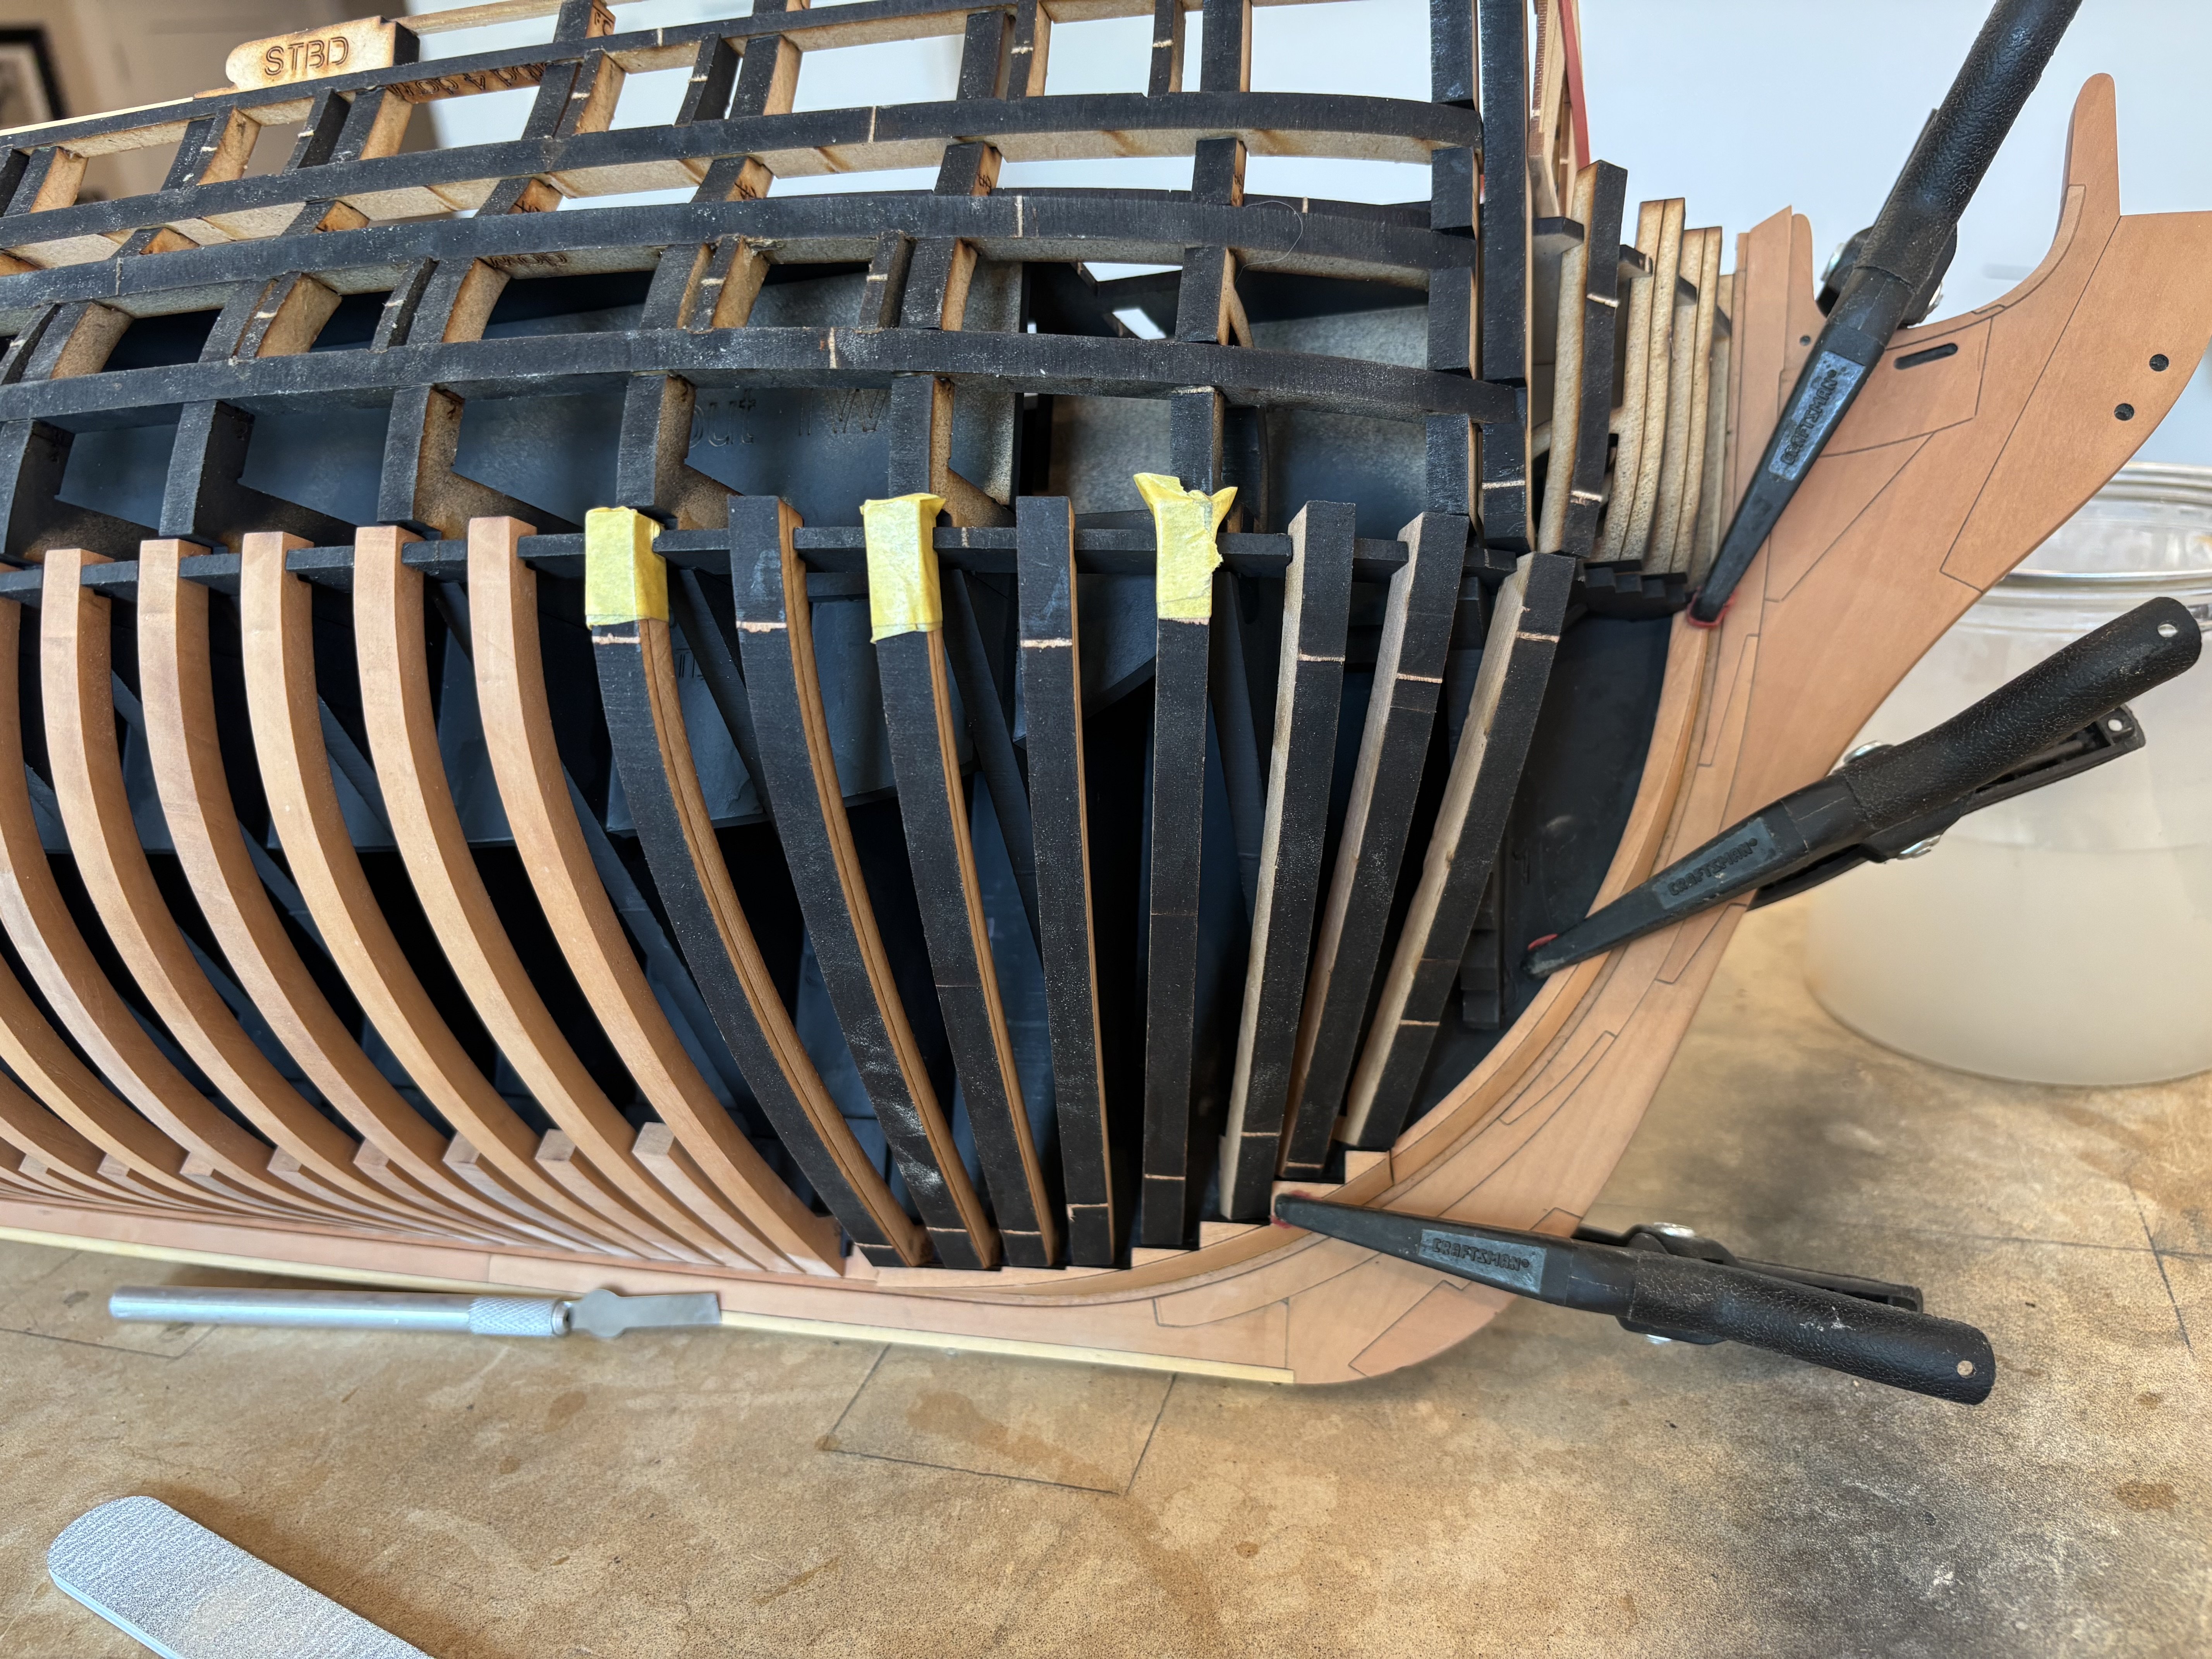
Work on the aft cant frames is well underway.

-
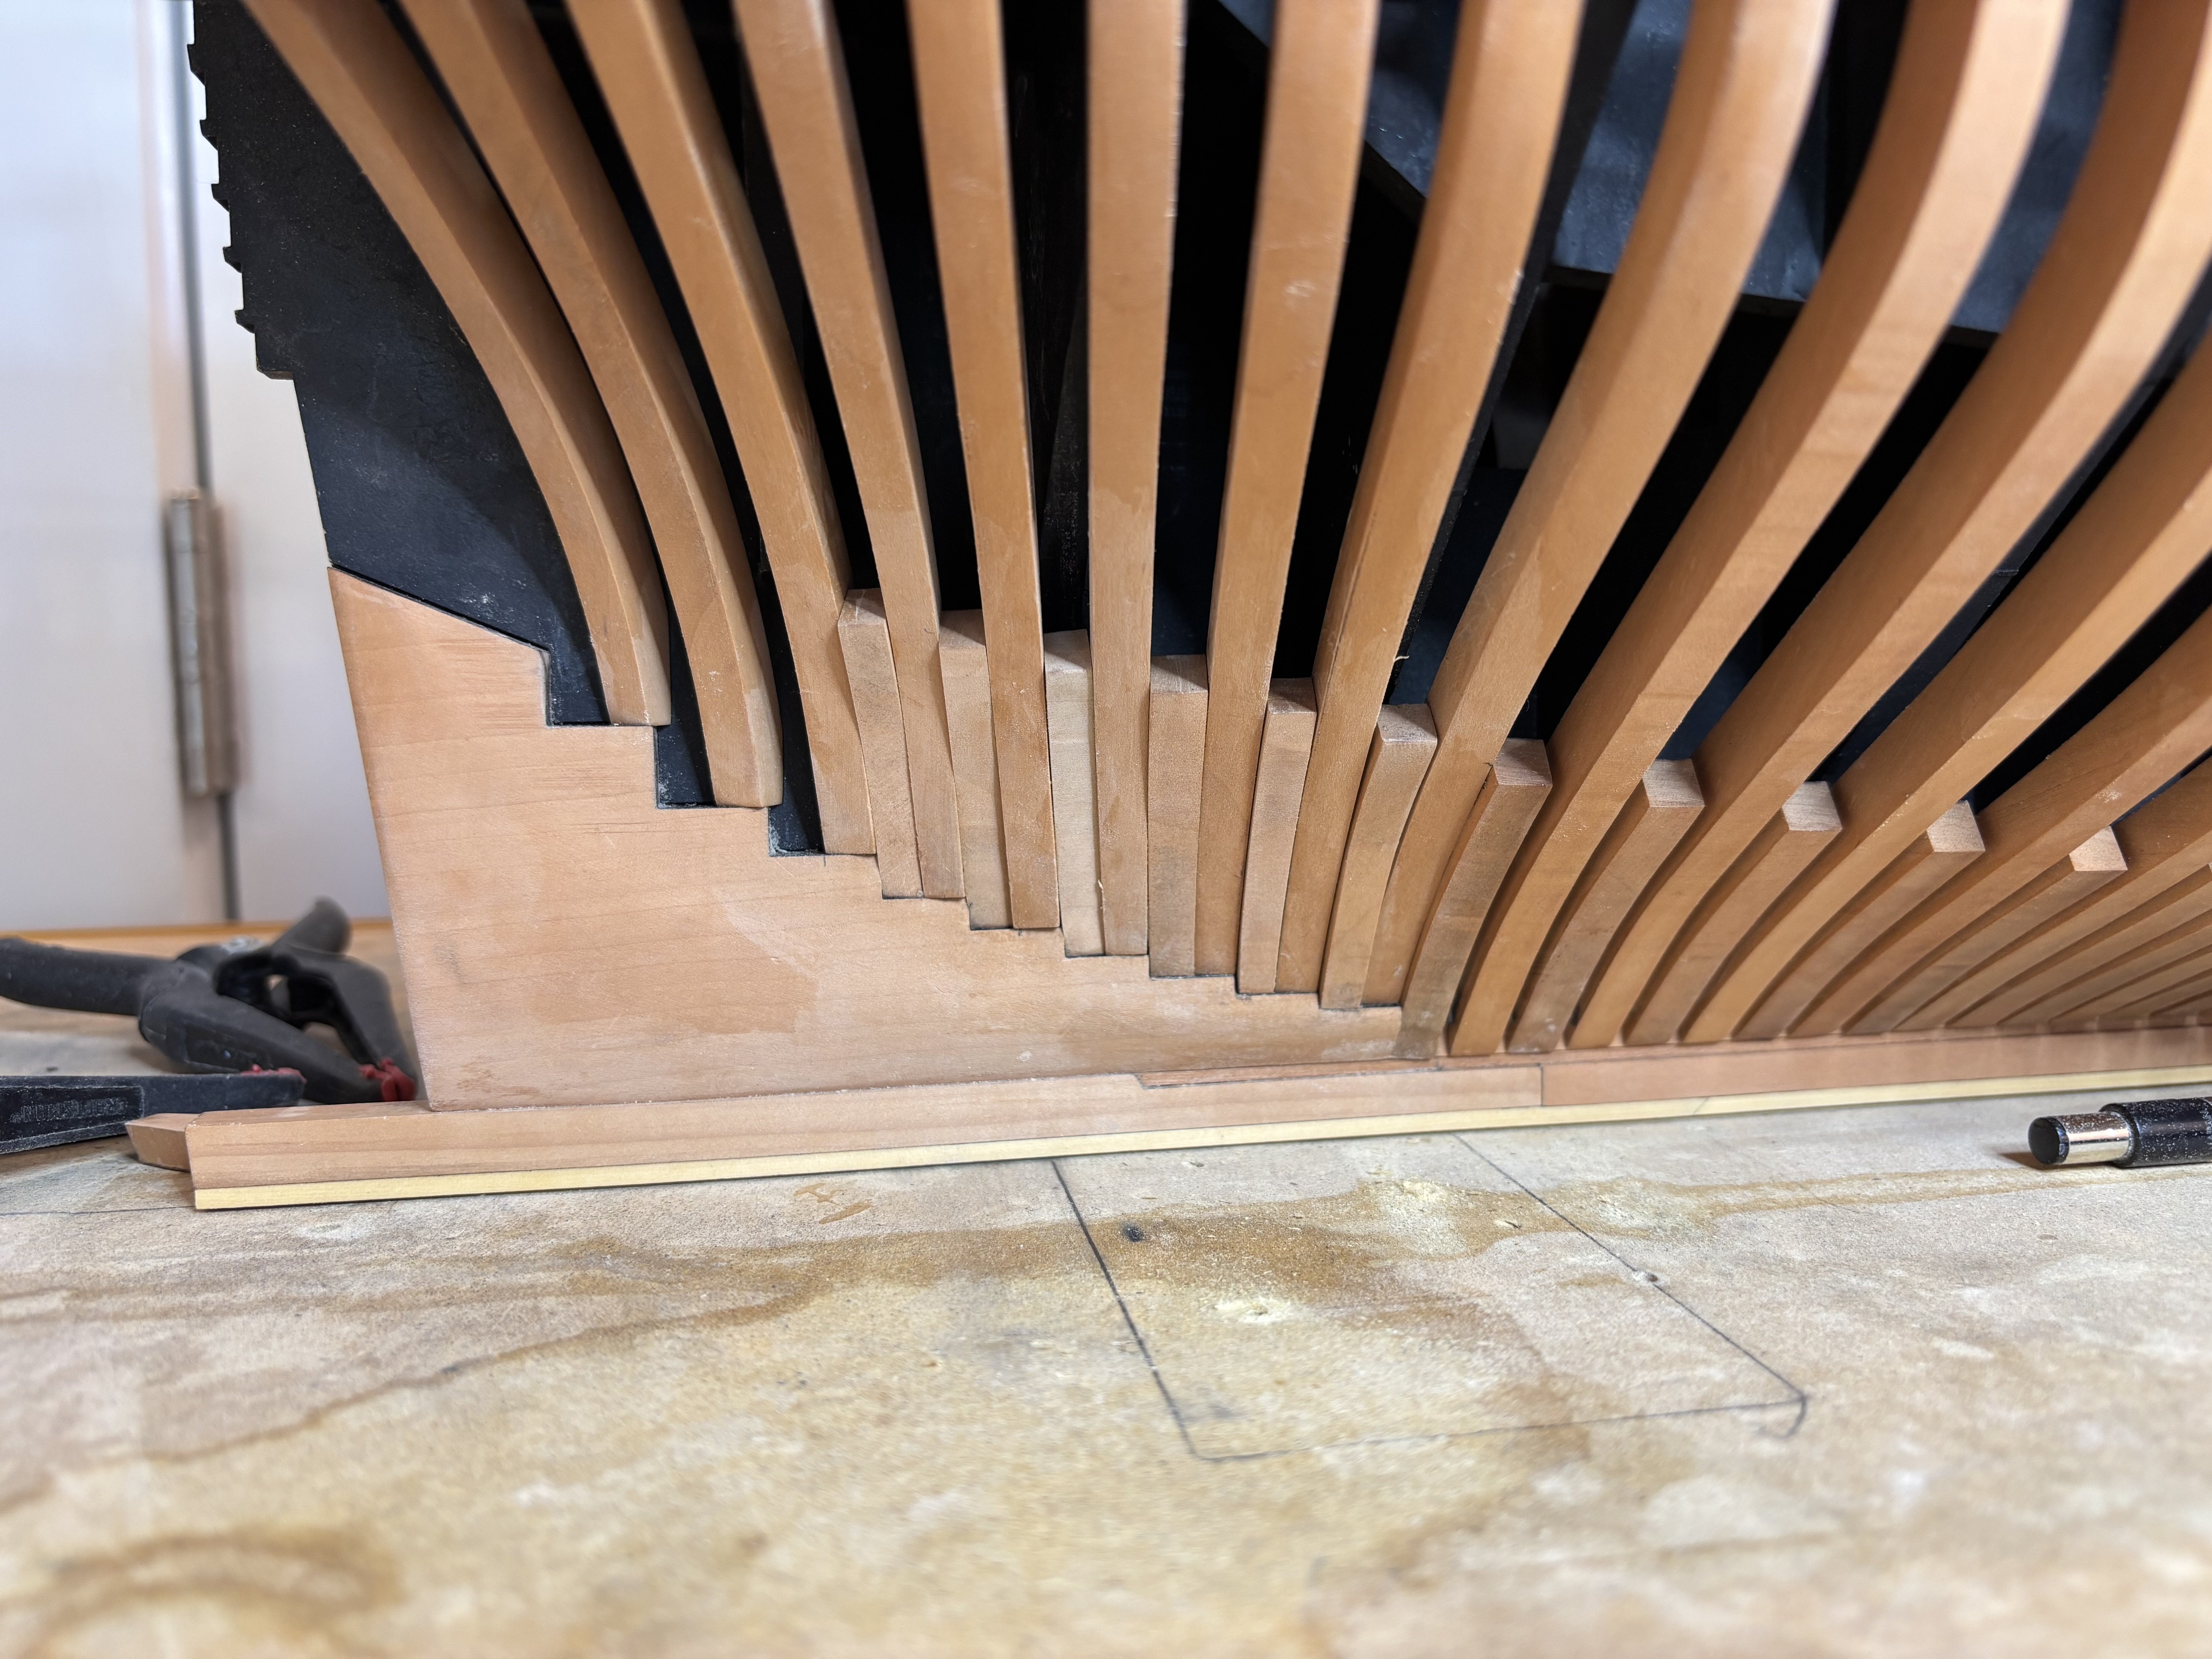
Deadwood has been shaped and more framing completed.
-
Several more frame pairs added, moving at a good pace now I’m in the groove.

-
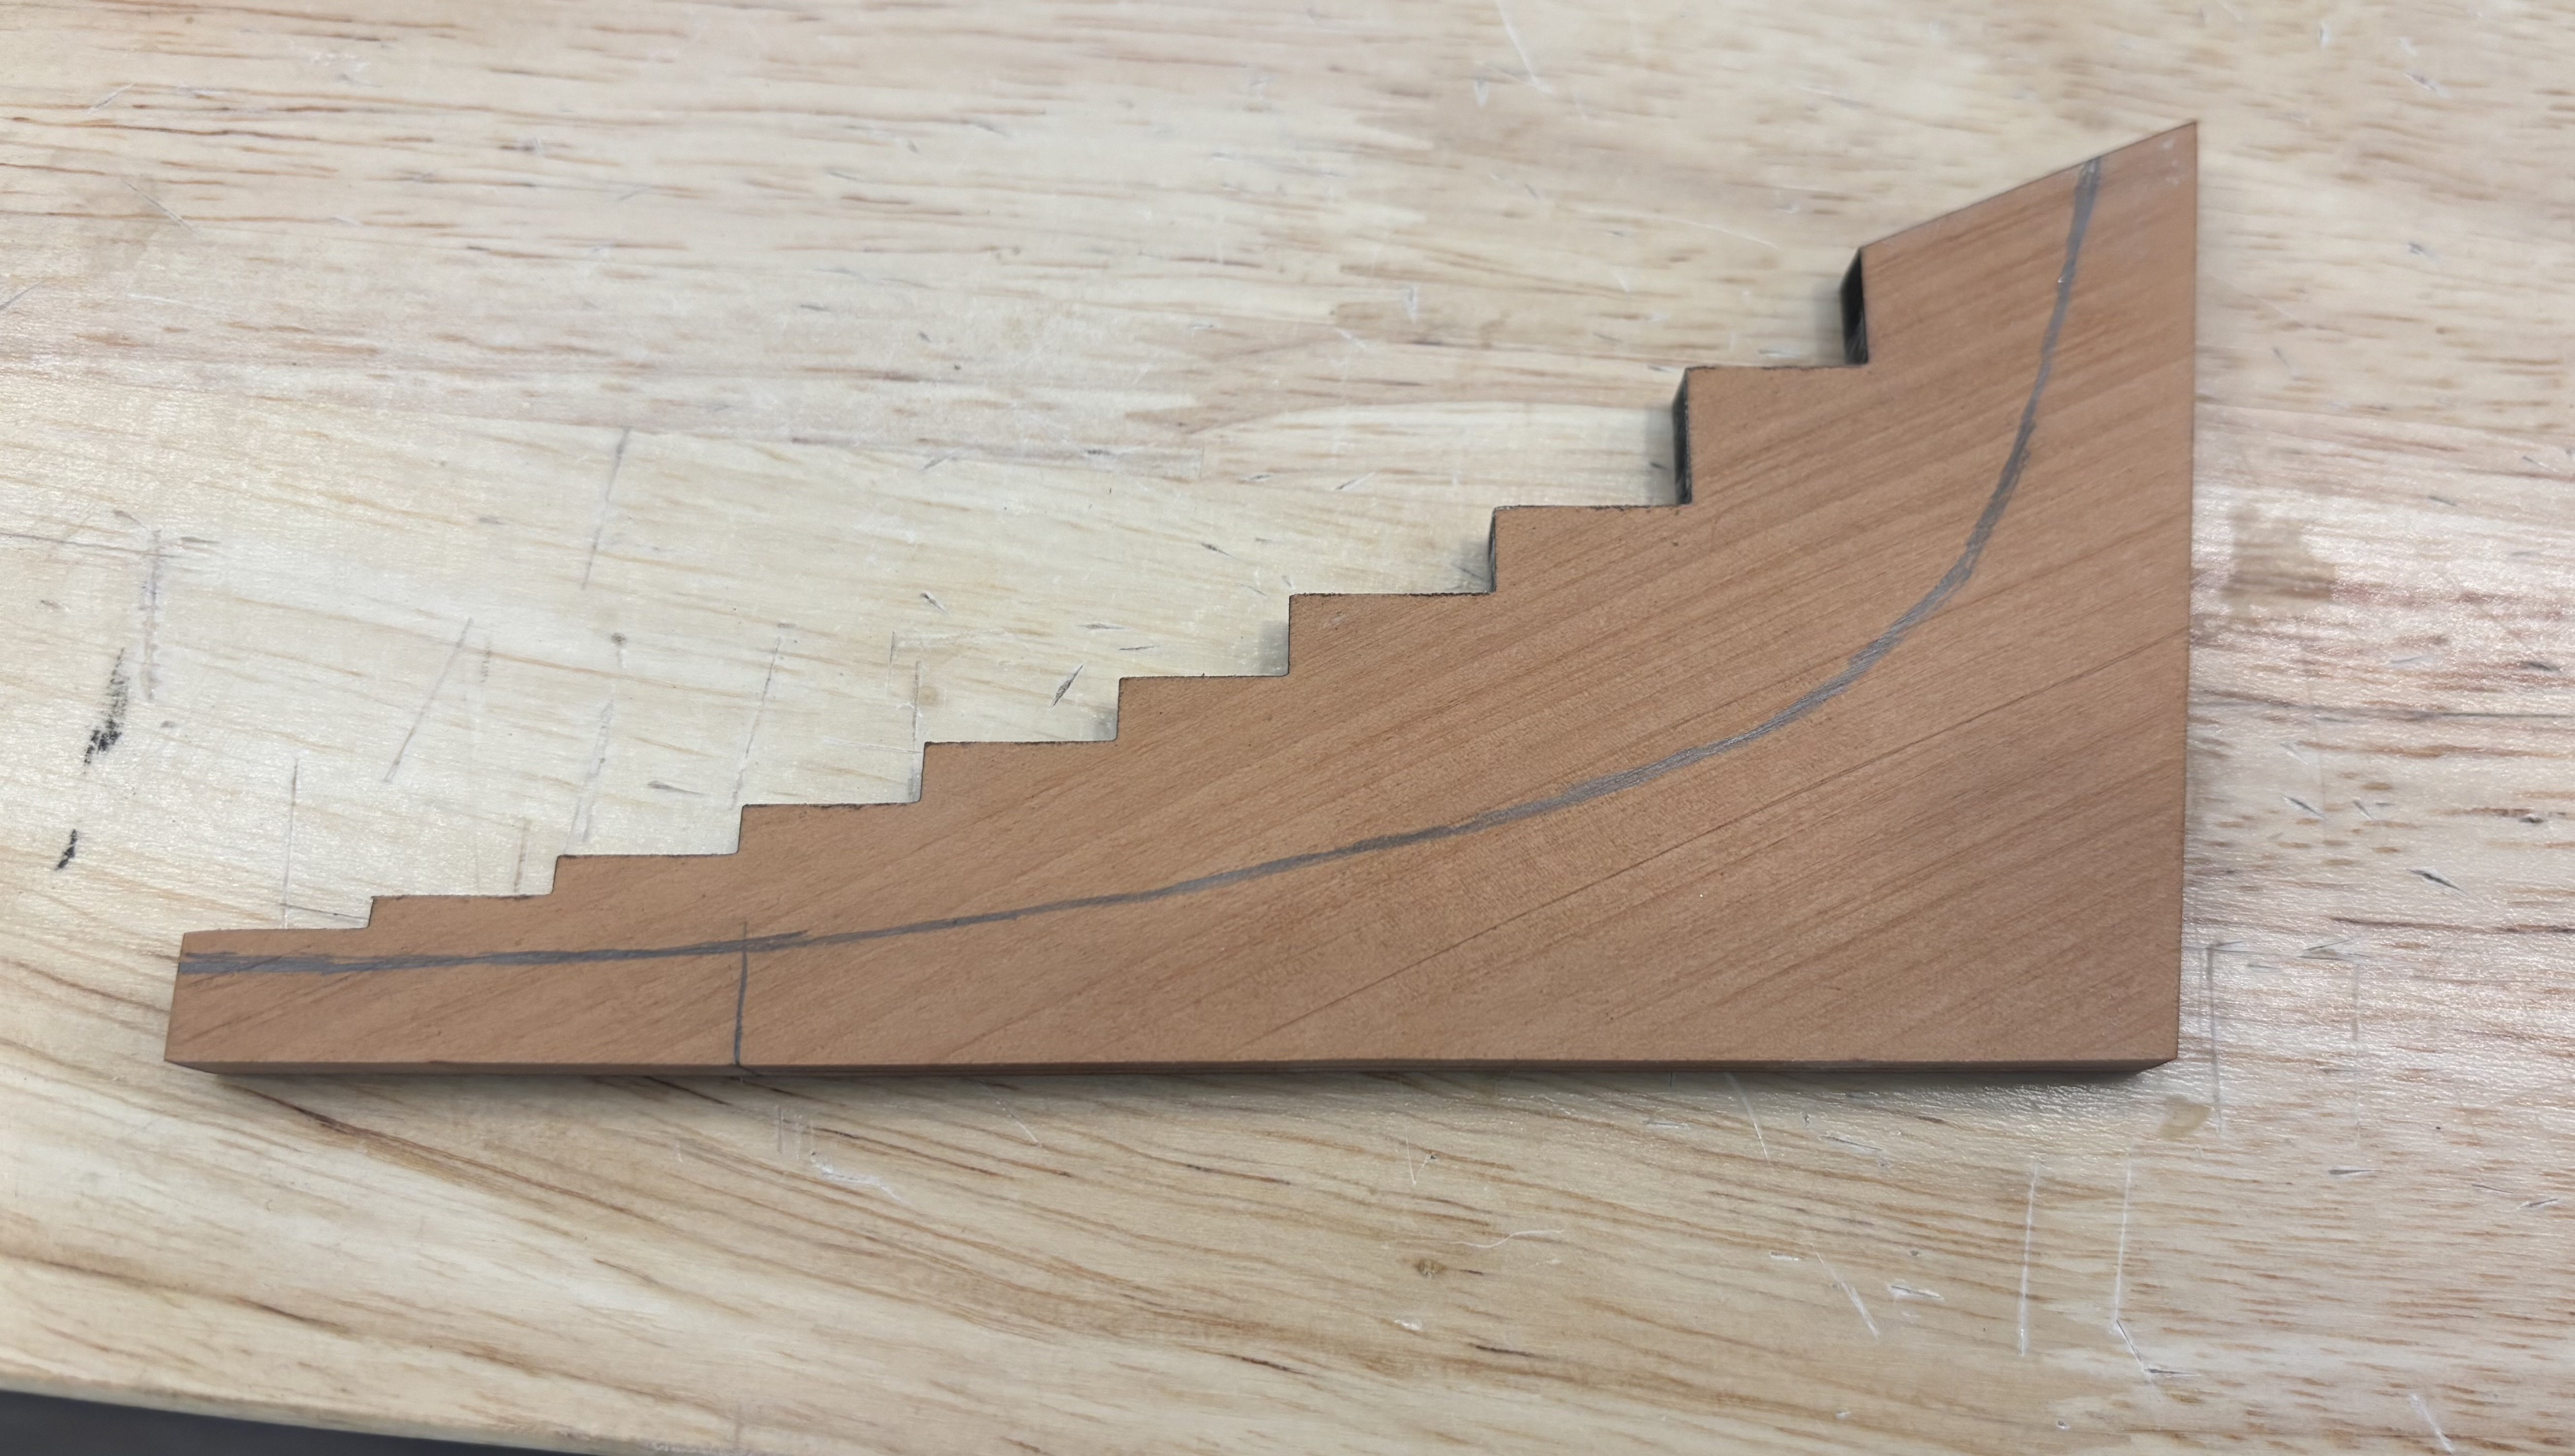
Aft deadwood piece was cleaned of char and adjusted so it was a nice tight fit in its position, it’s not been glued in as its shape needs to be sanded closer to what it will finally look like.