HOLIDAY DONATION DRIVE - SUPPORT MSW - DO YOUR PART TO KEEP THIS GREAT FORUM GOING! (Only 13 donations so far - C'mon guys!)
×
Beckmann
-
Posts
420 -
Joined
-
Last visited
Content Type
Profiles
Forums
Gallery
Events
Everything posted by Beckmann
-
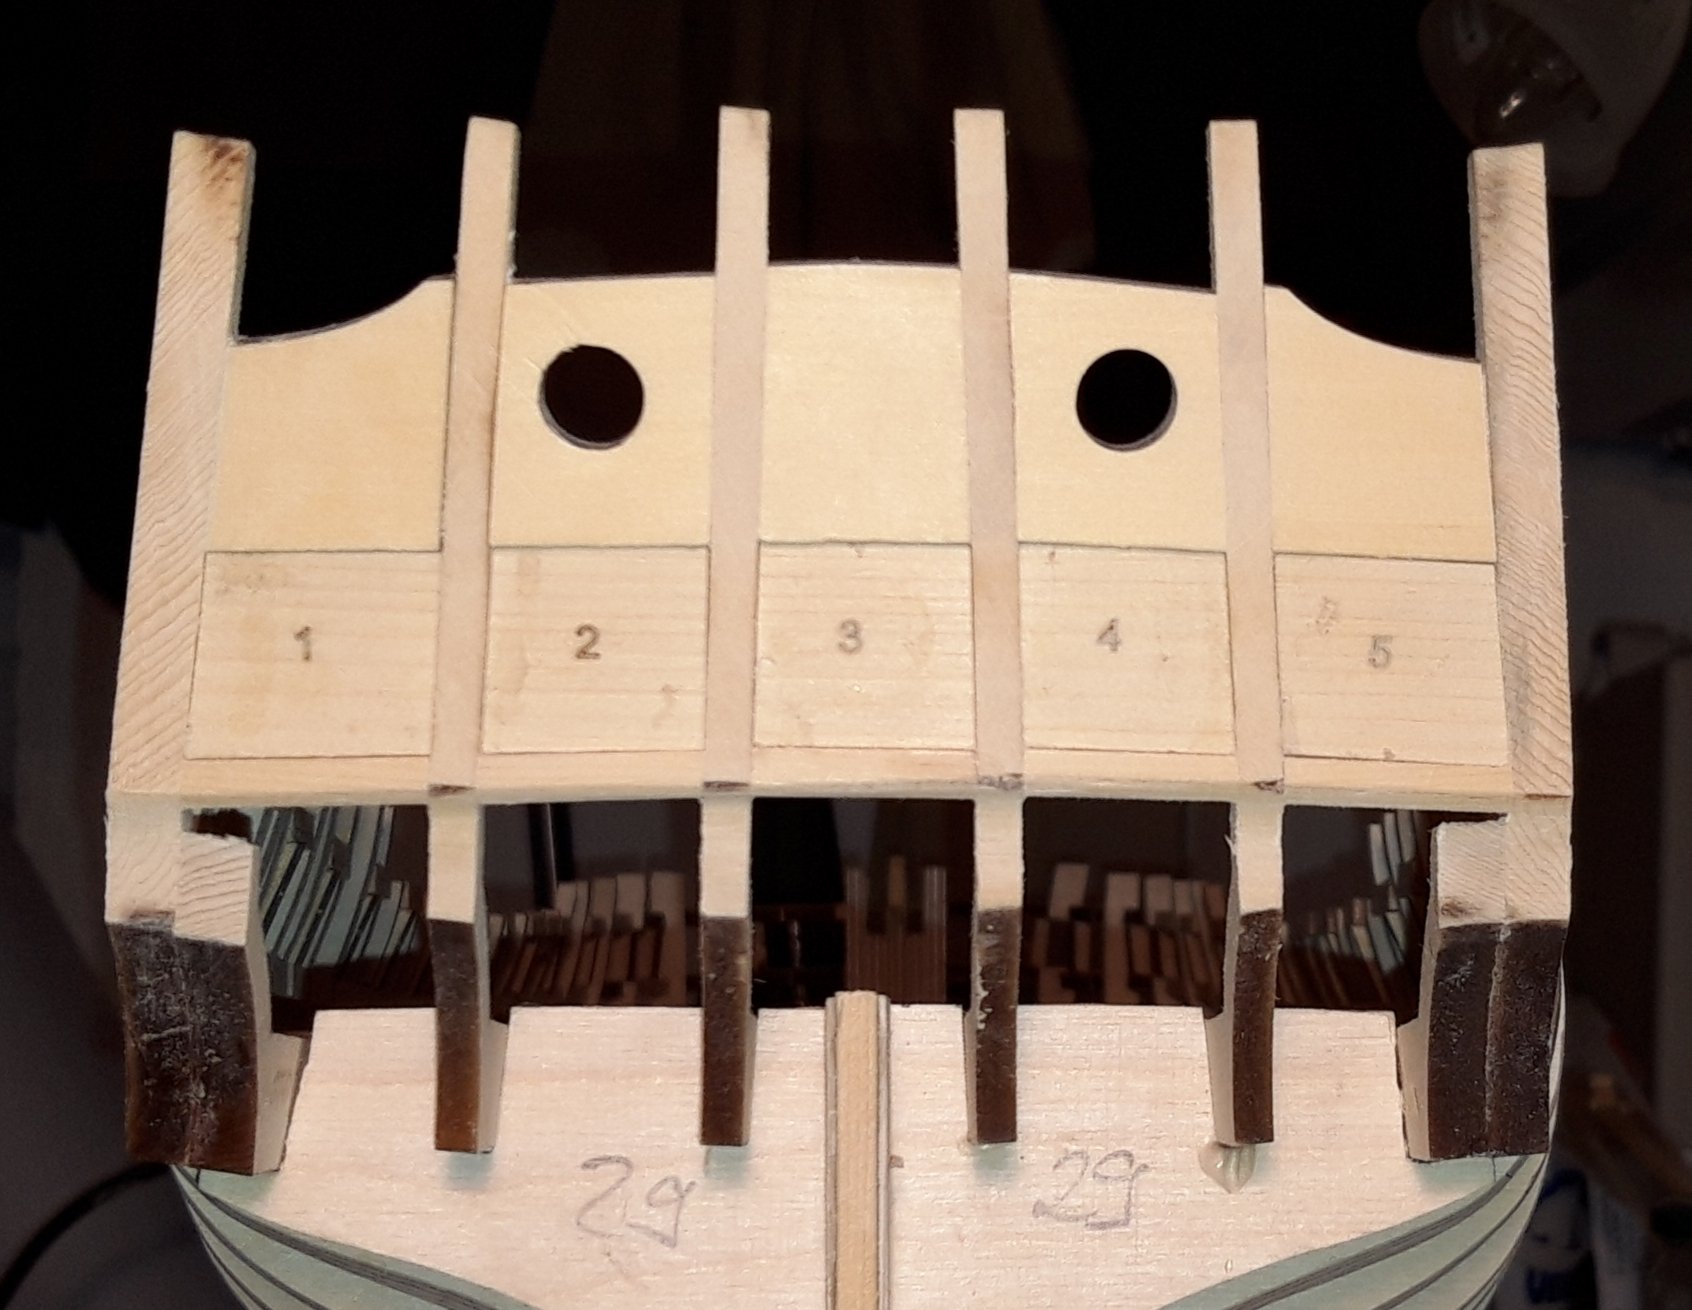
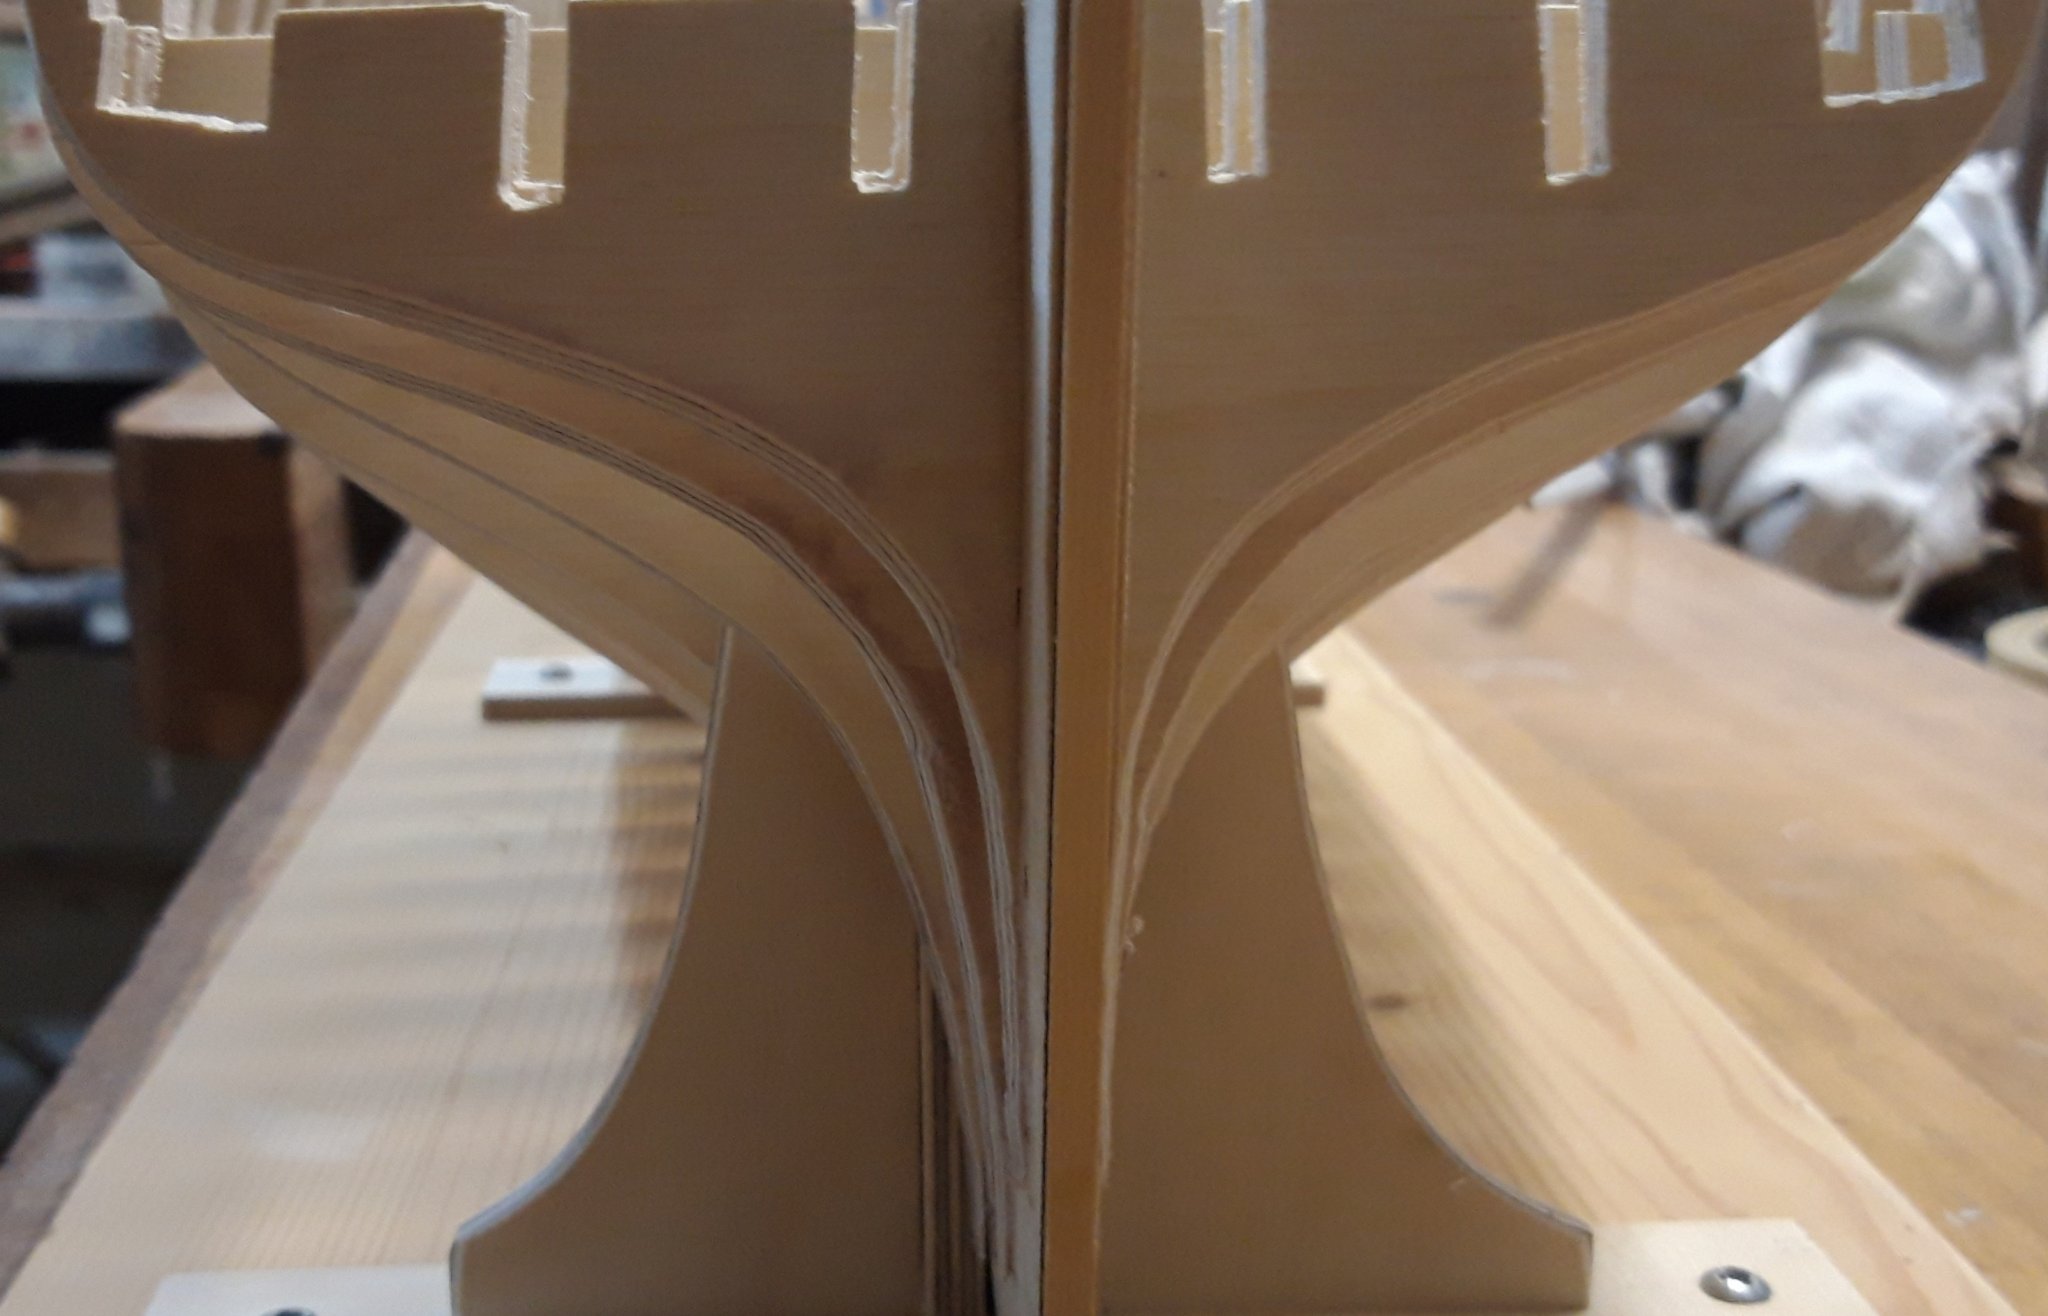
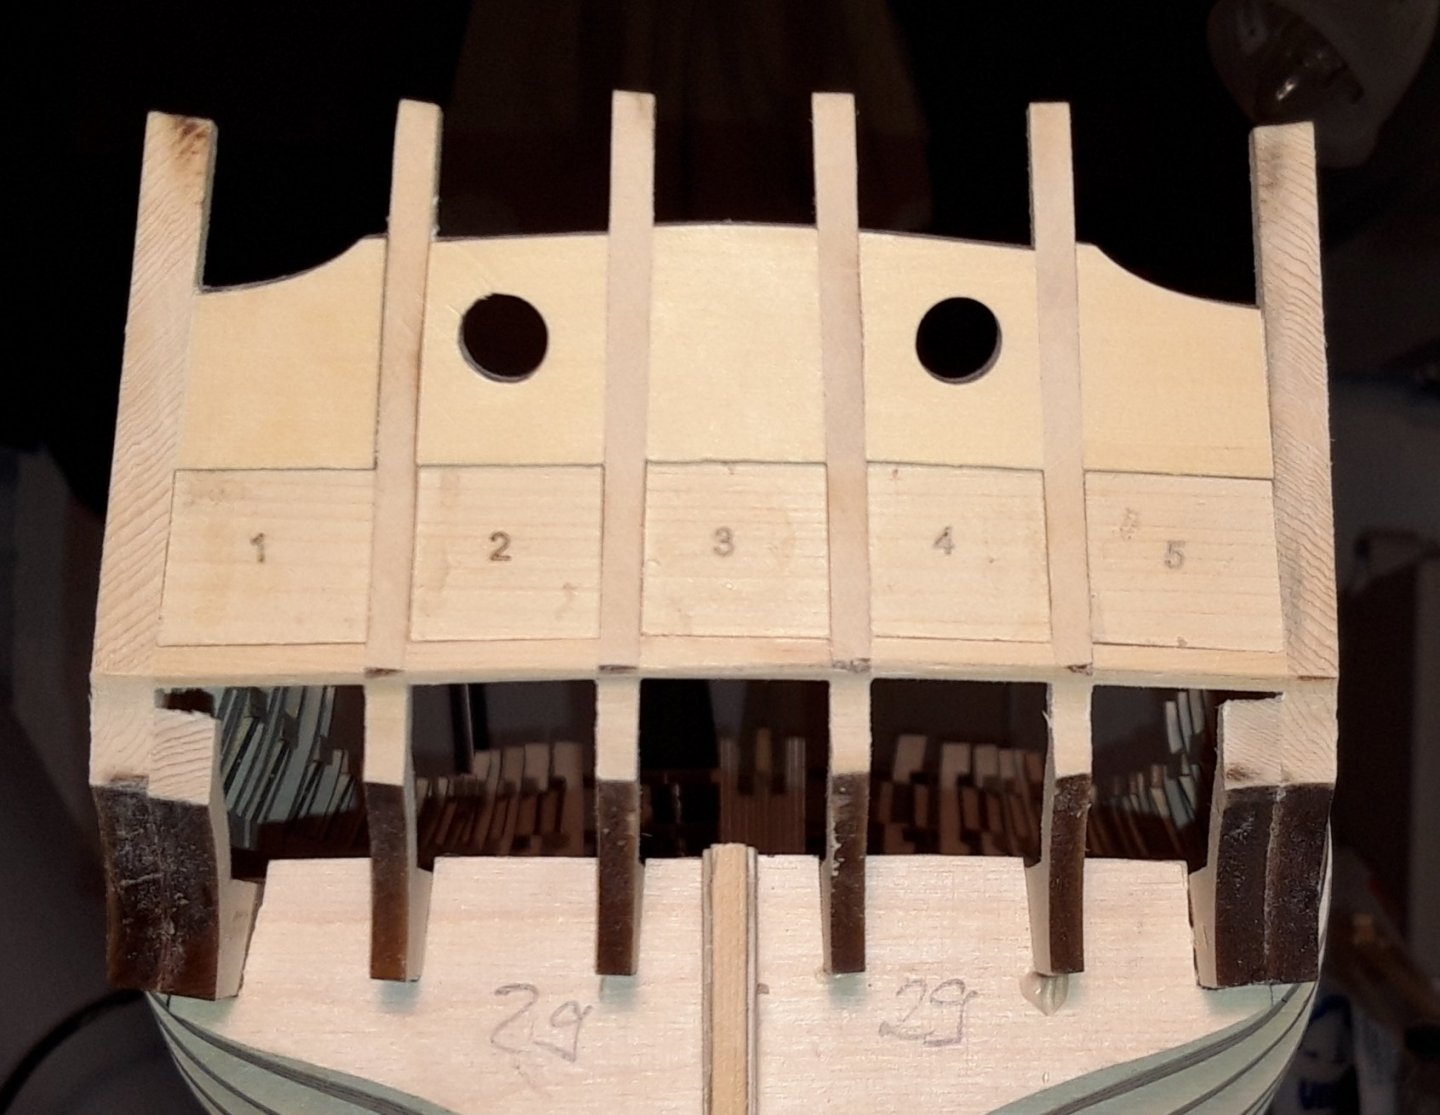
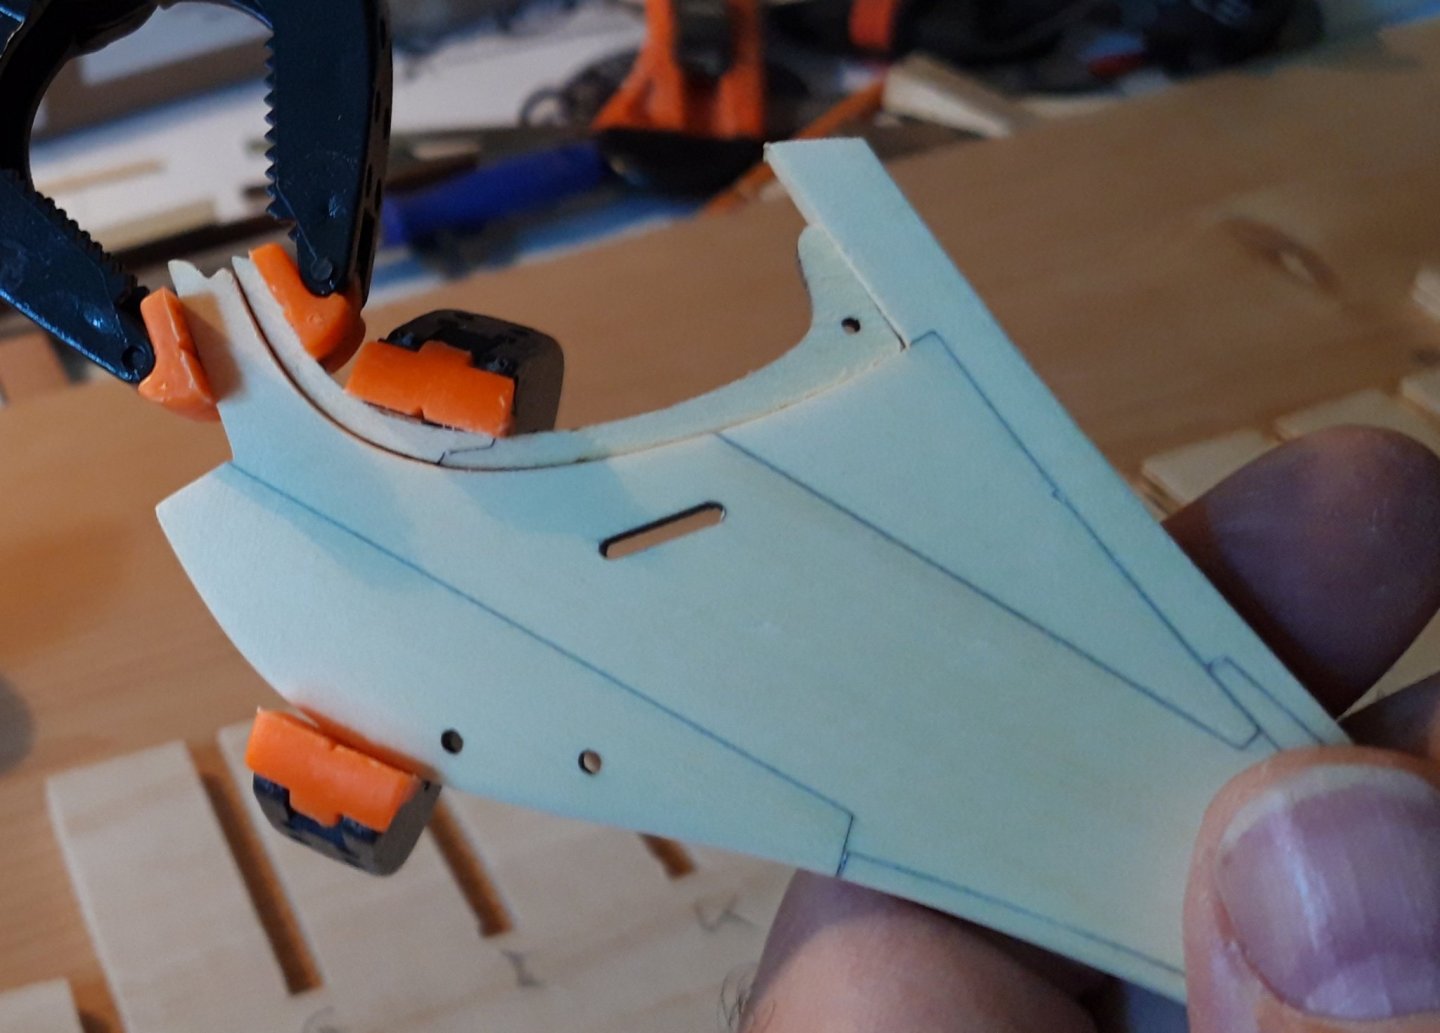
 I corrected the middle transom piece and then I started sanding the stern. I am not shure about, how to form it properly. Do I sand it down to 3/32" from the outside? Or just at the top from the inside? At the moment it is still about 4 mm thick at the top. That is about 5/32" I think.
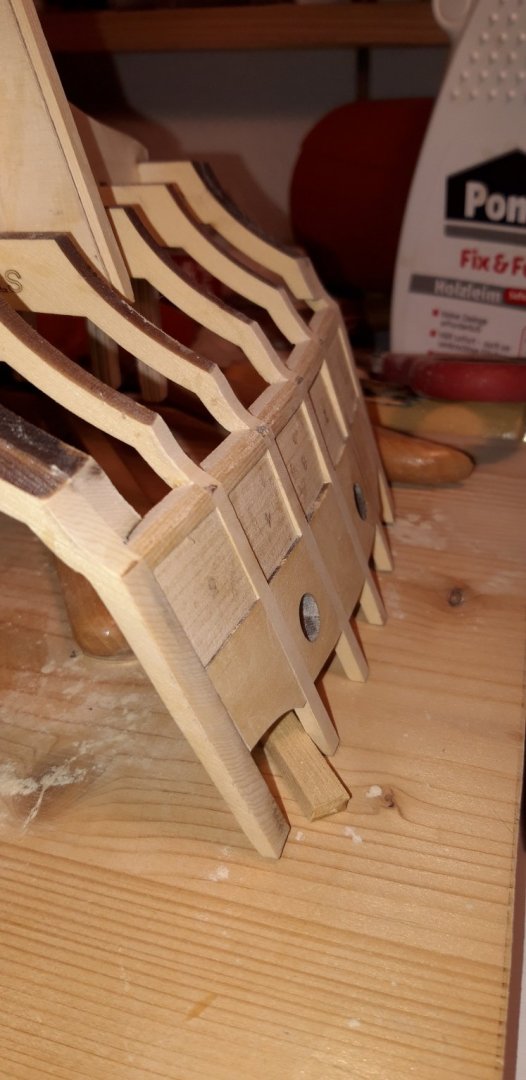

-
Okay, thanks for the tip, if the window openings become too high, I will cut the transom pieces out and glue them in a little bit higher, that should work.
-
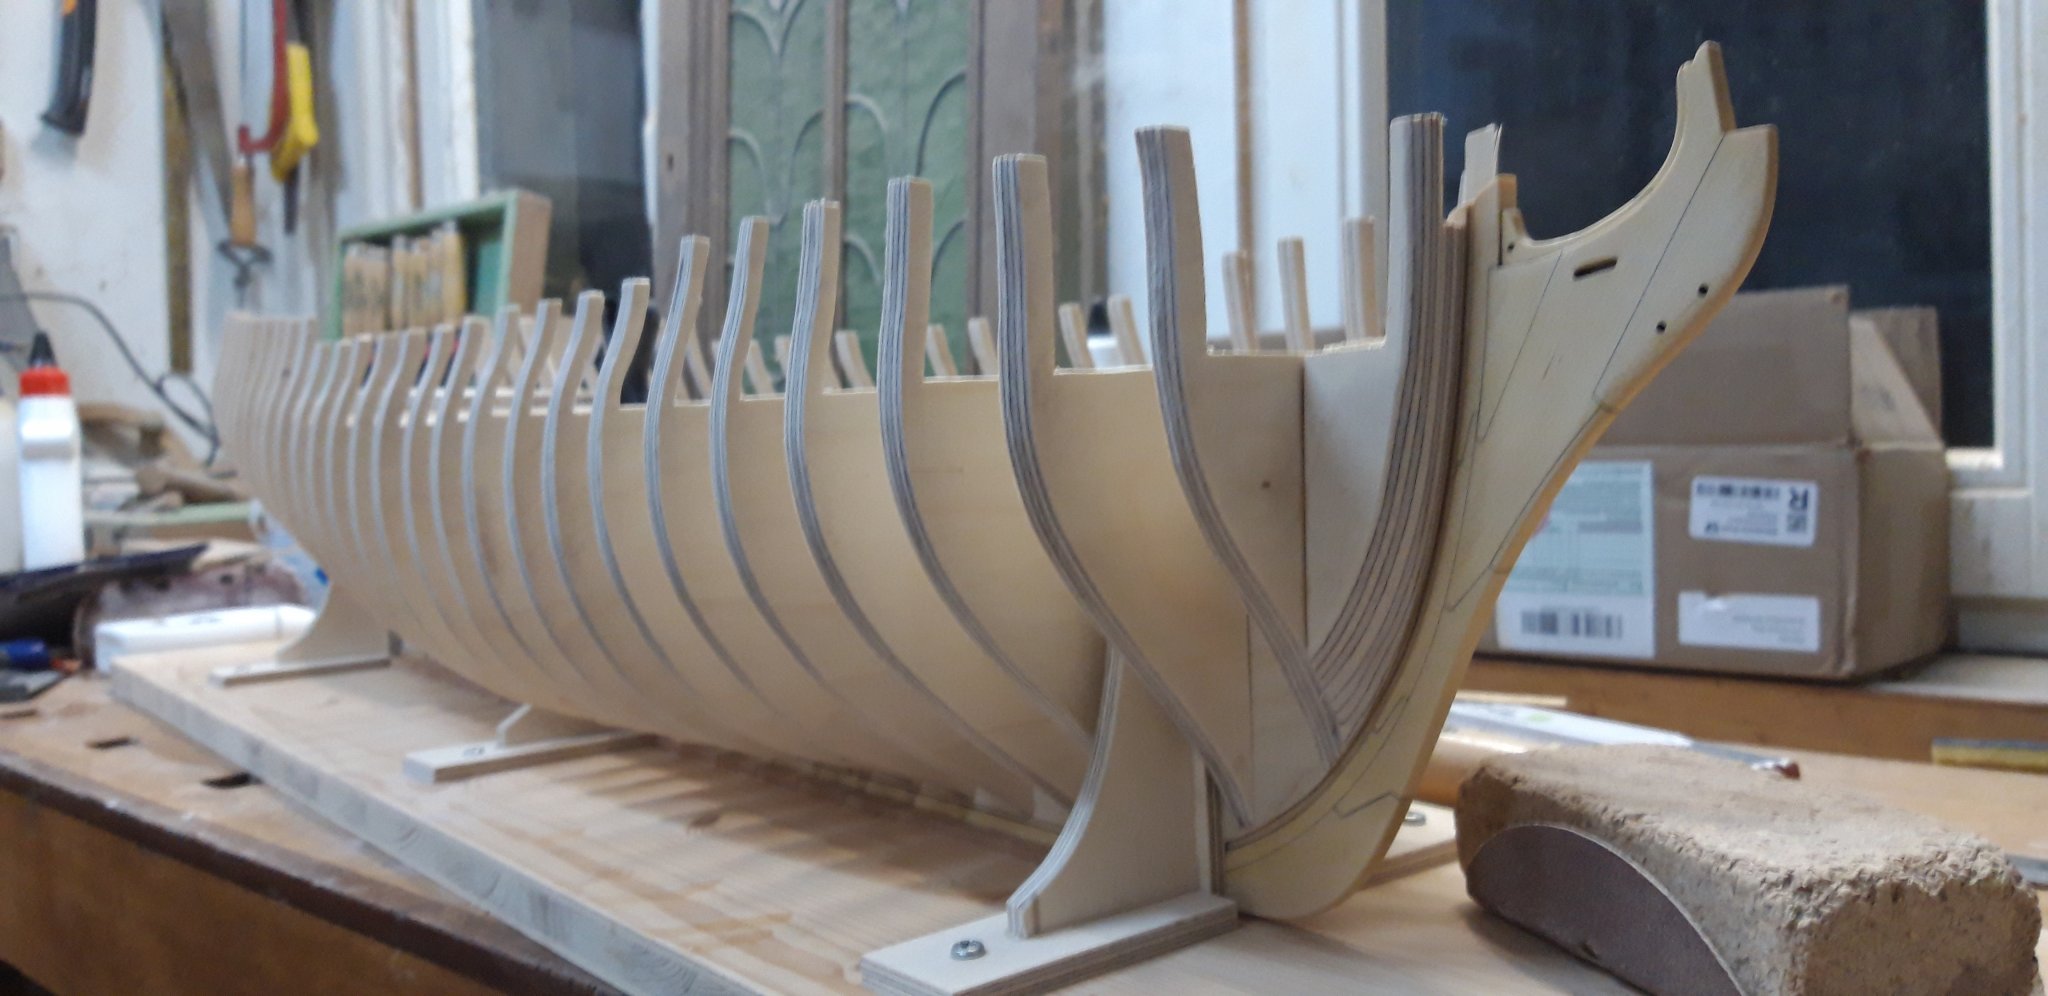
The last days I started building the stern. I found it quite challenging to get it all in the right place. It is good, that there are several laser cut pieces, so you can take a new one, if one is sanded down too much.
-
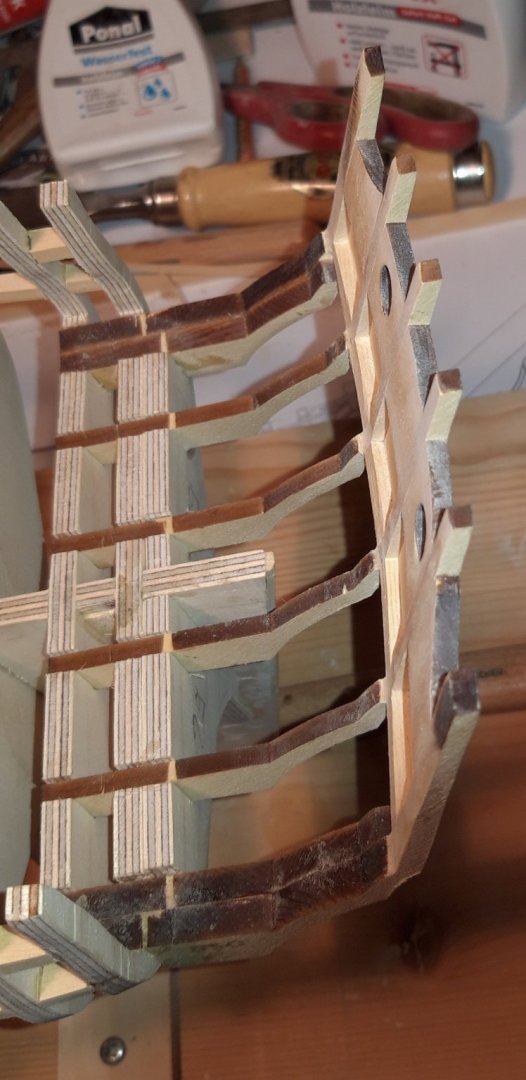
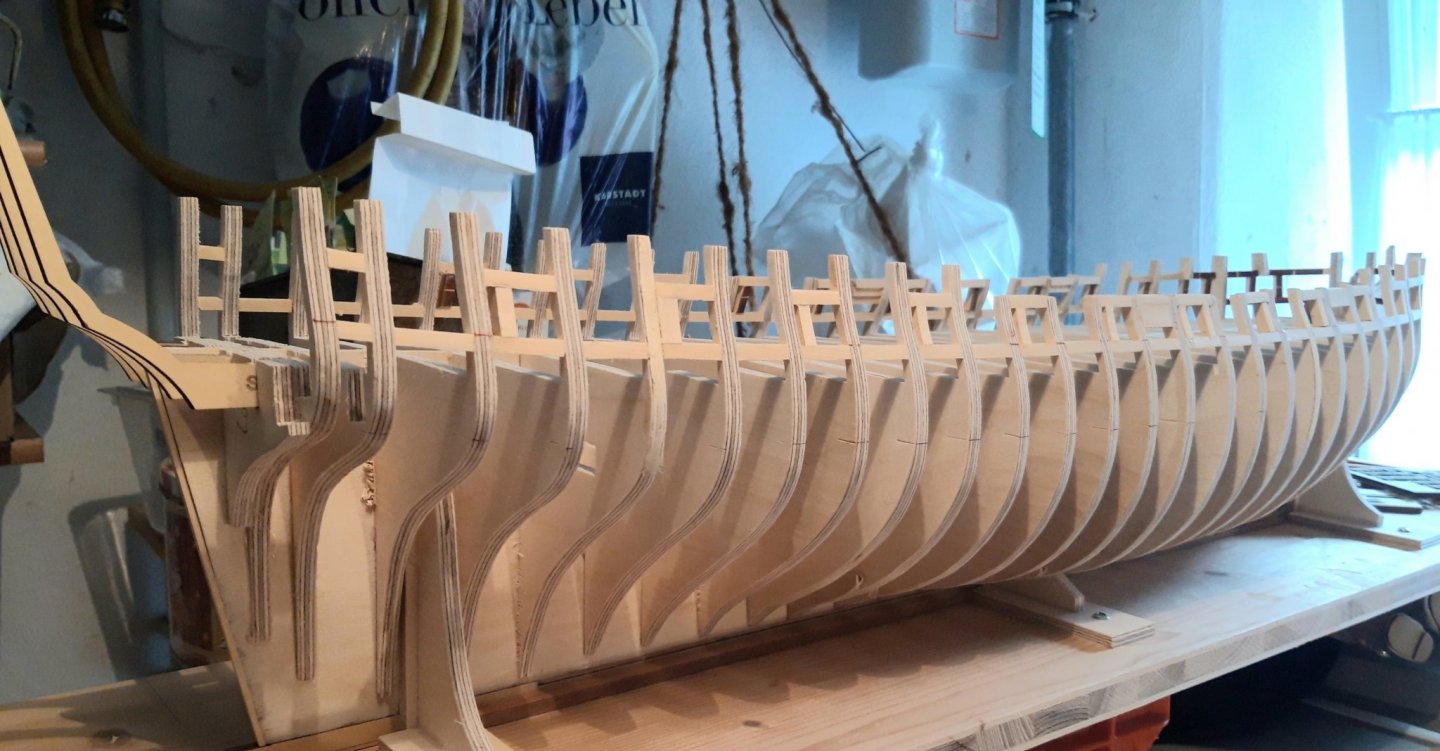
I made some progress with the gunport frames. They are all done now and faired flush with the bulkheads. Next thing will be the stern. Looking forward to that. Matthias

-
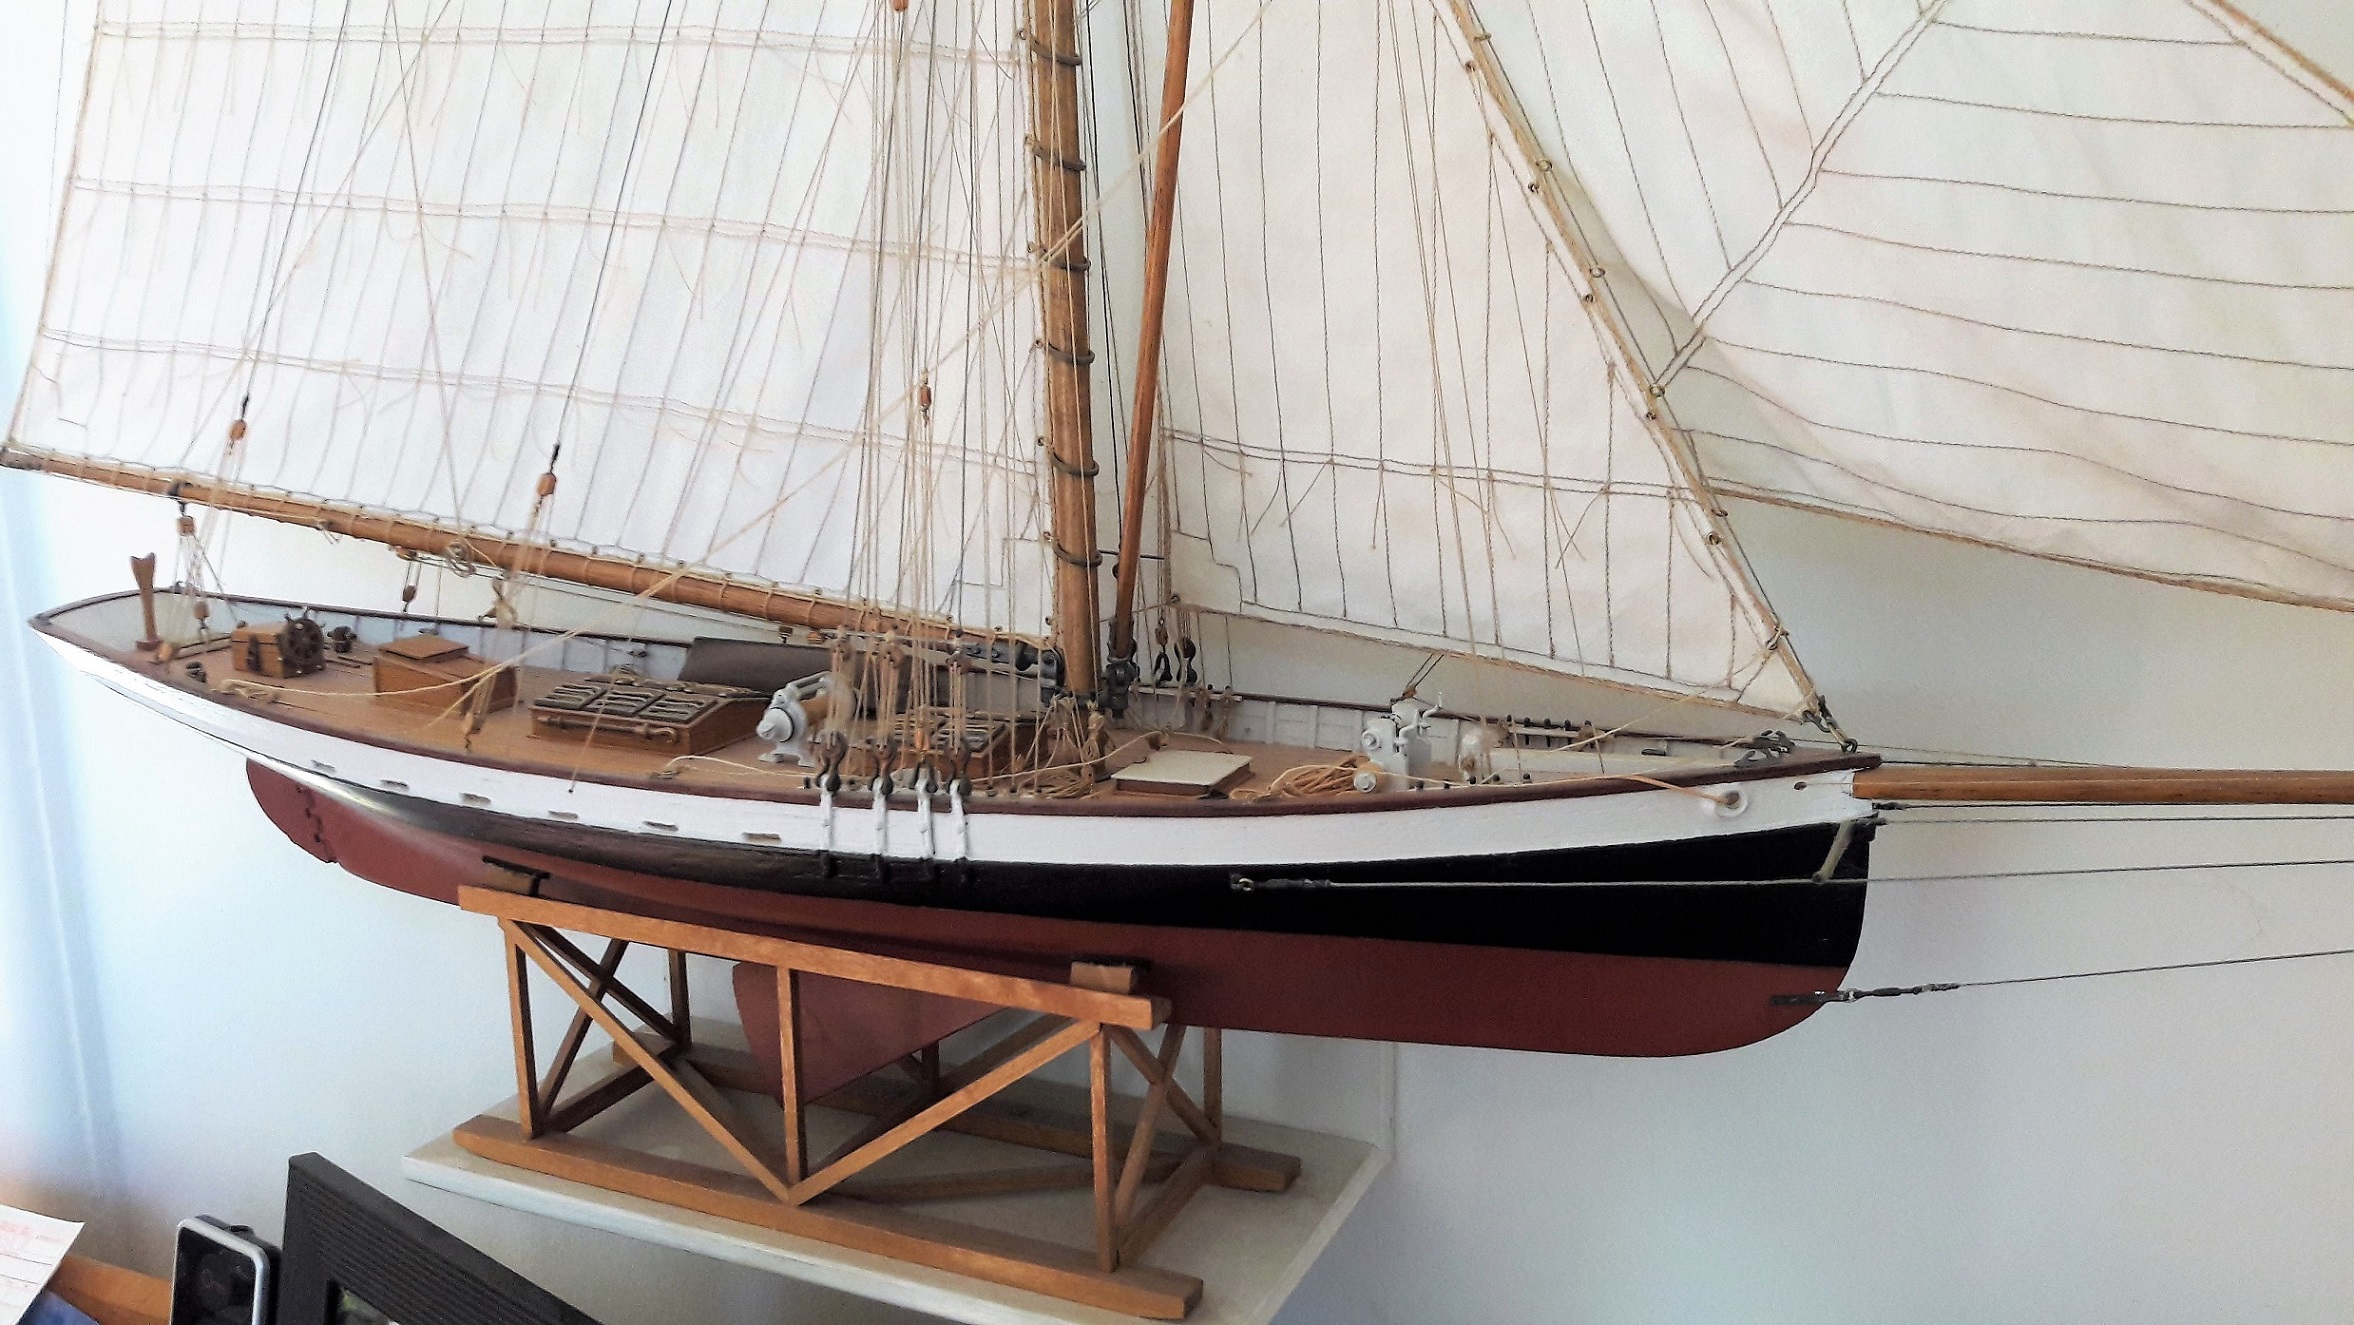
You are Building a lovely model!! these elegant racing yachts are a dream. Regards Matthias
-
I have still another model (LEON / A. Underhill) wich is waiting to being rigged. But whenever I have to decide, whether to do the rigging of LEON, or to proceed with HMS Winchelsea, the latter ALWAYS wins. But luckily there is still a lot to do in chapter one, and all the planks have to be cut… So I will be fine for the next weeks. And if I really catch up to you, LEON will be lucky to get her main mast or something else. Matthias
-
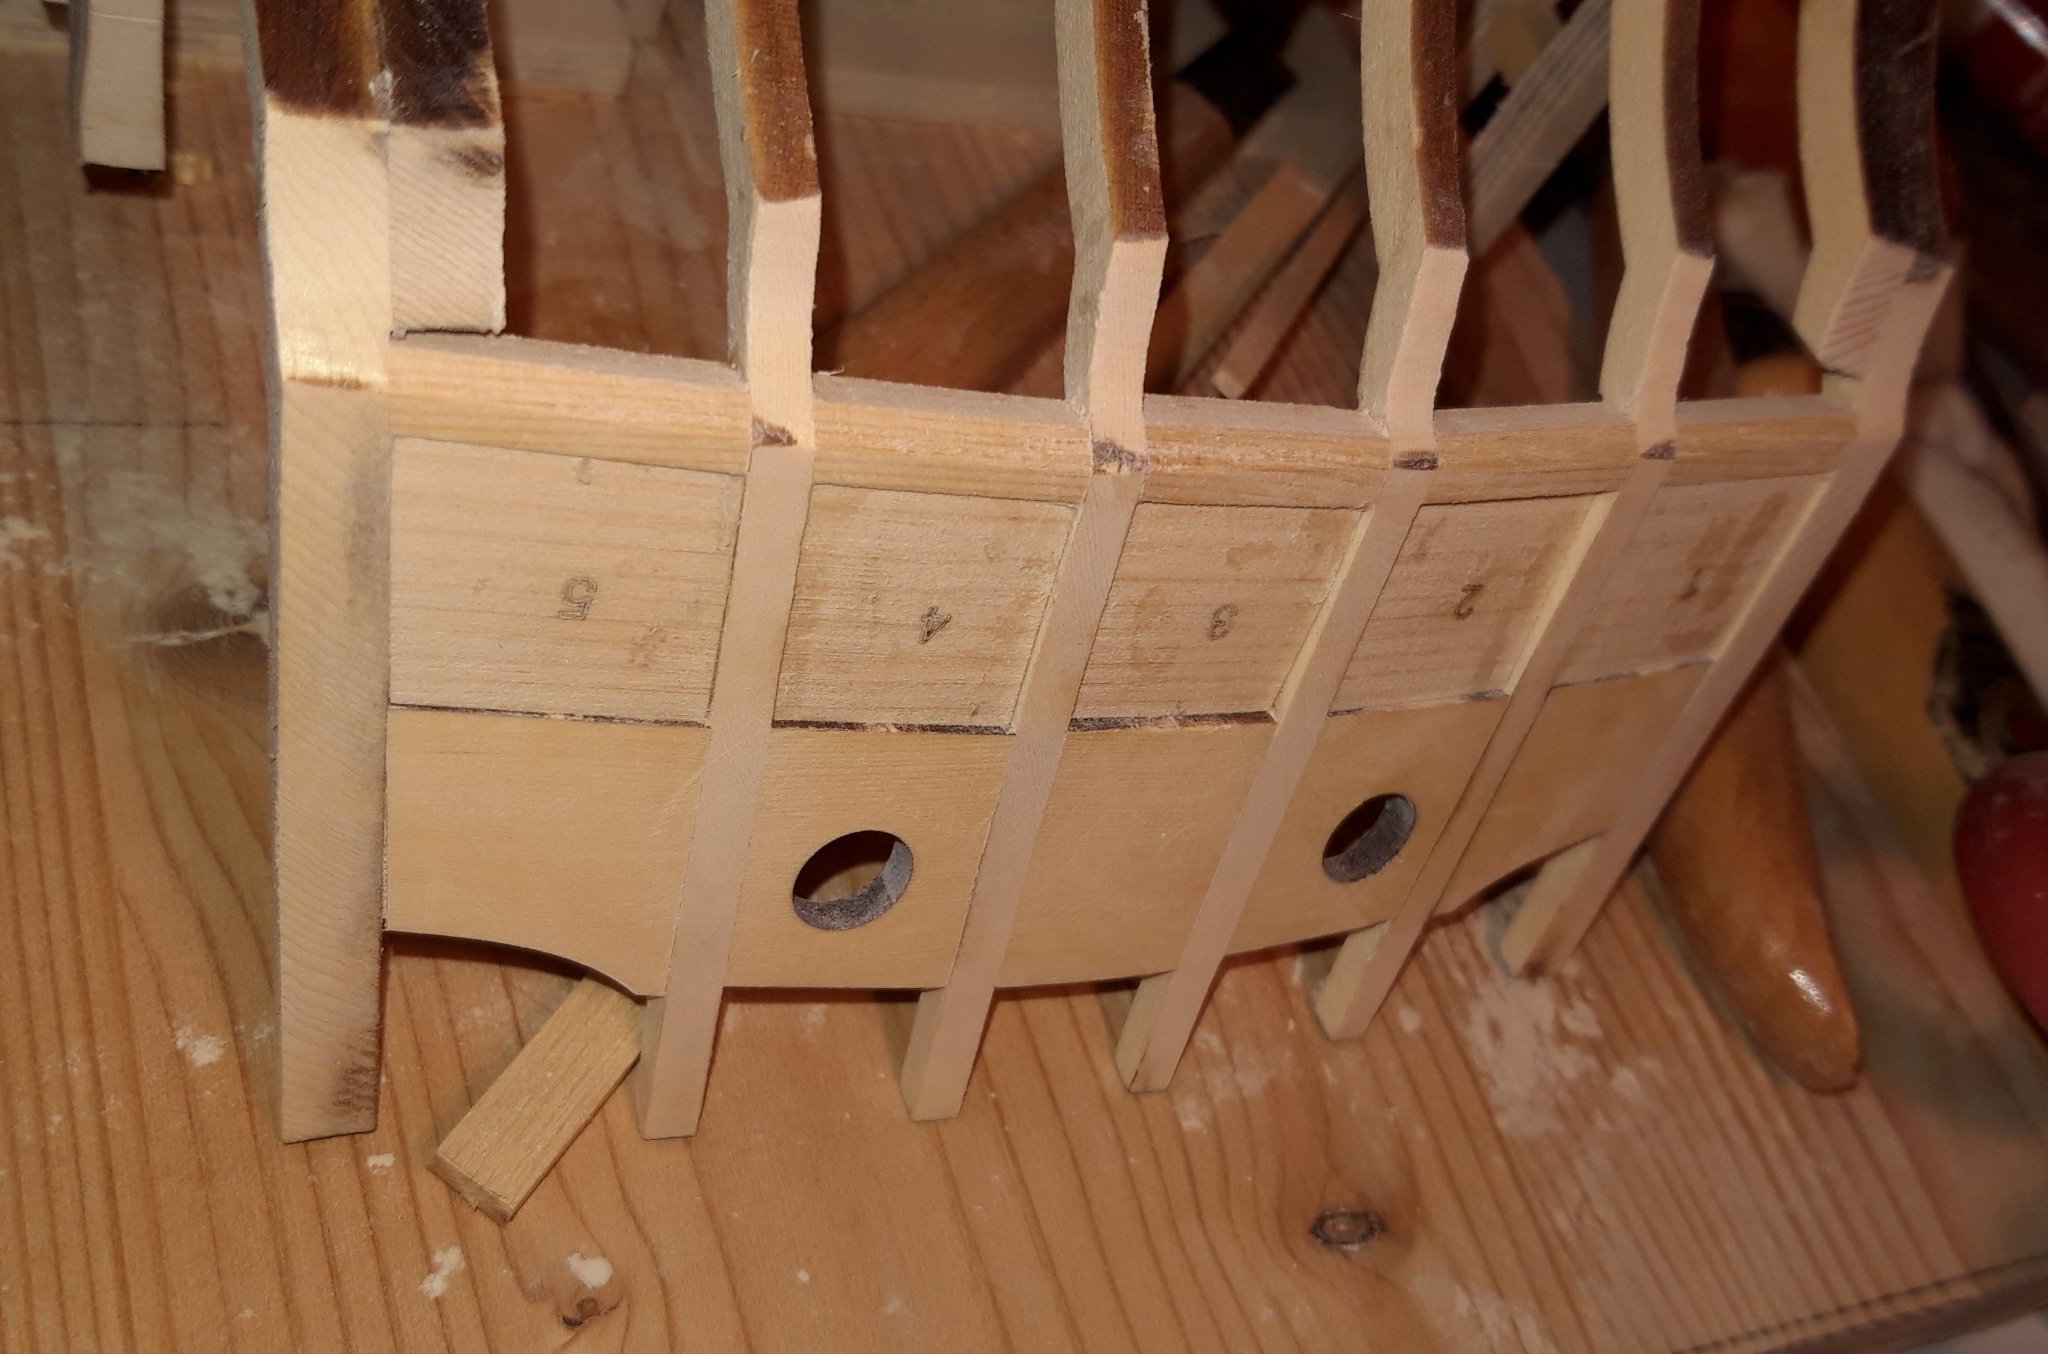
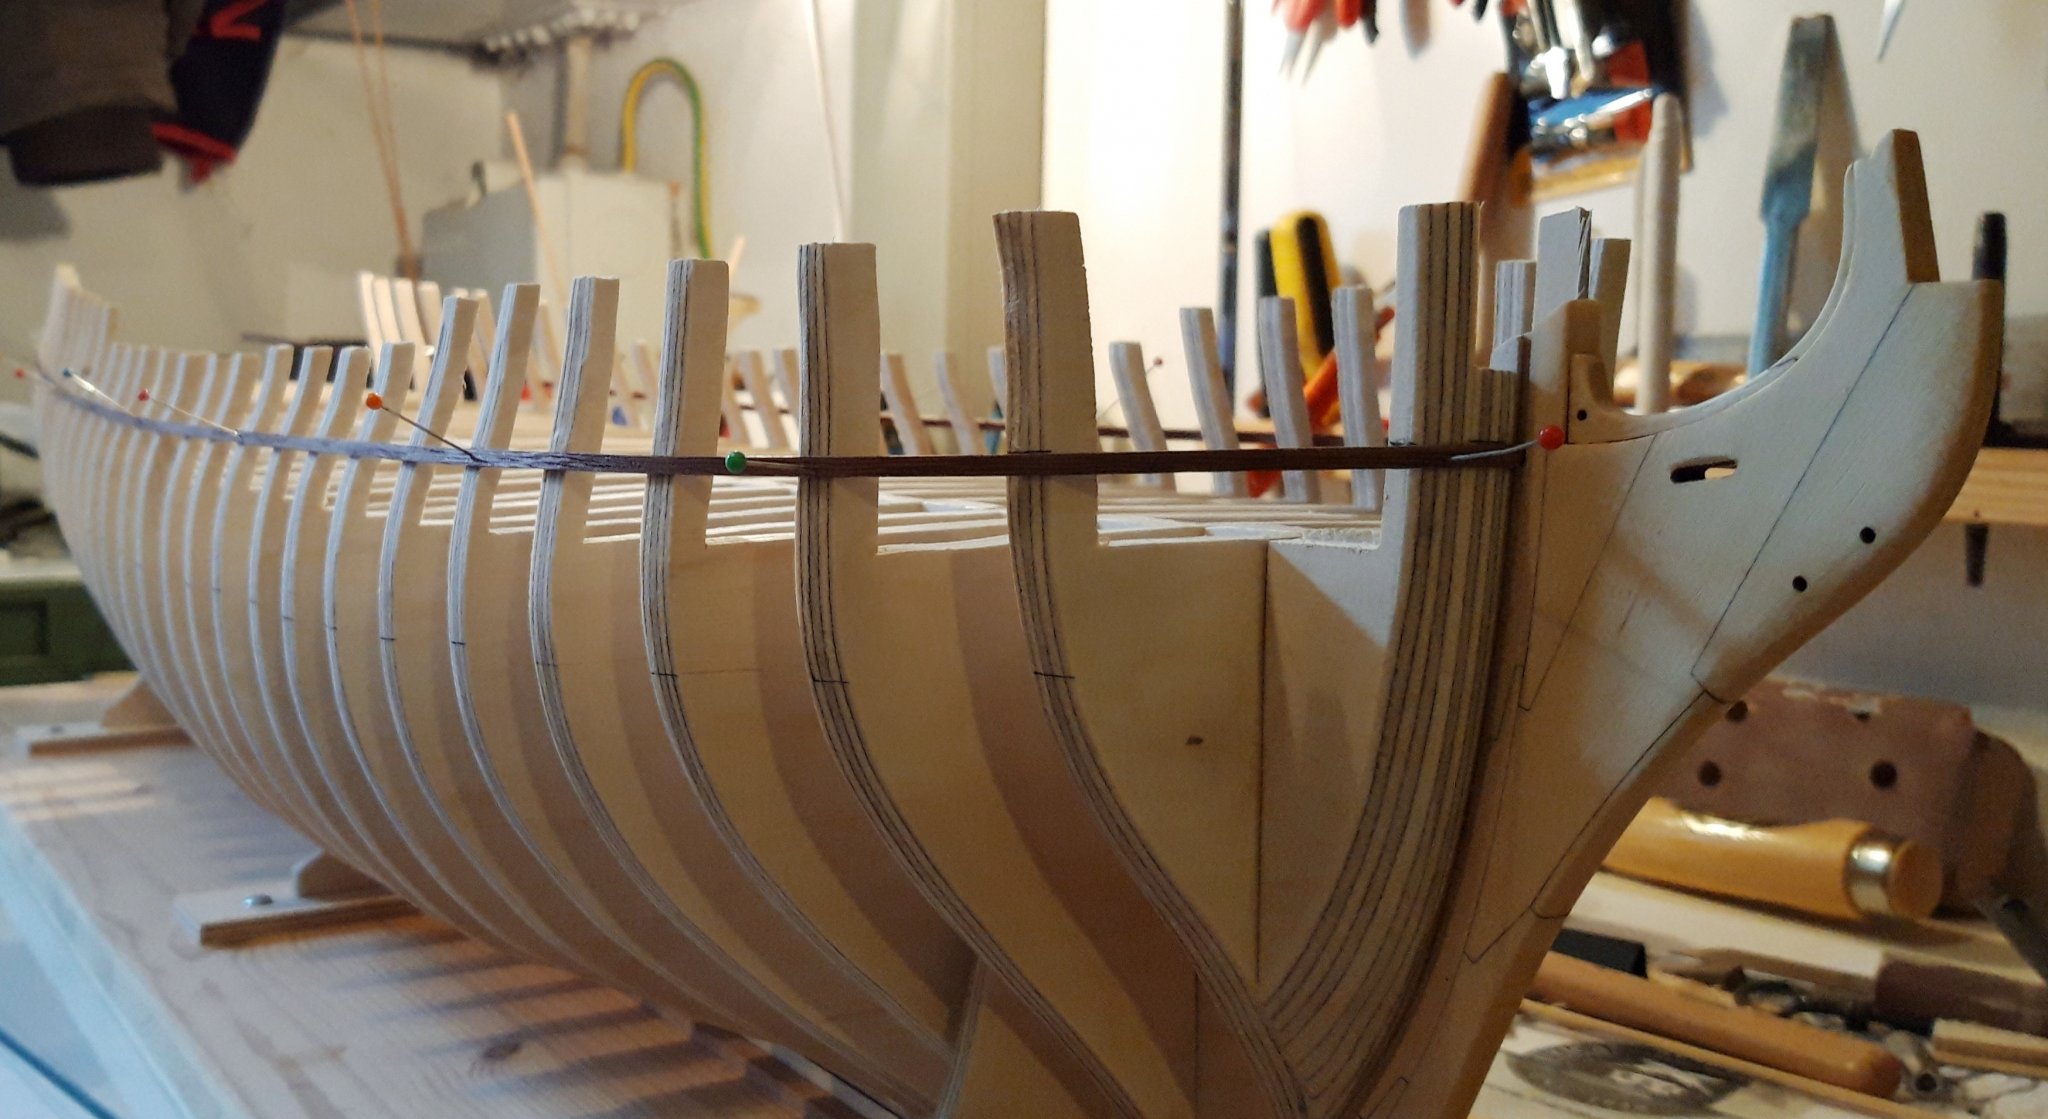
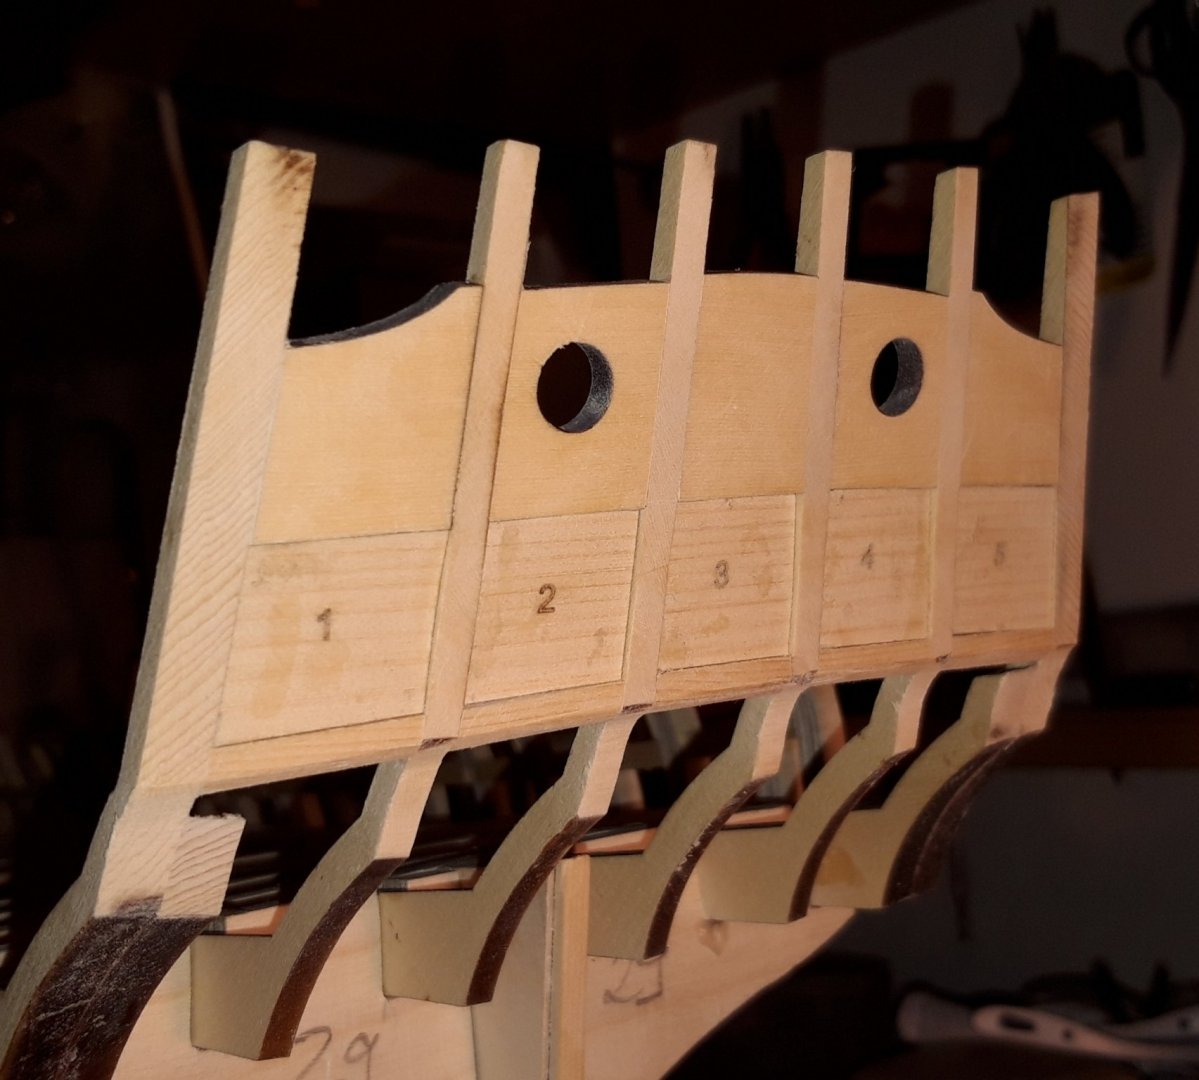
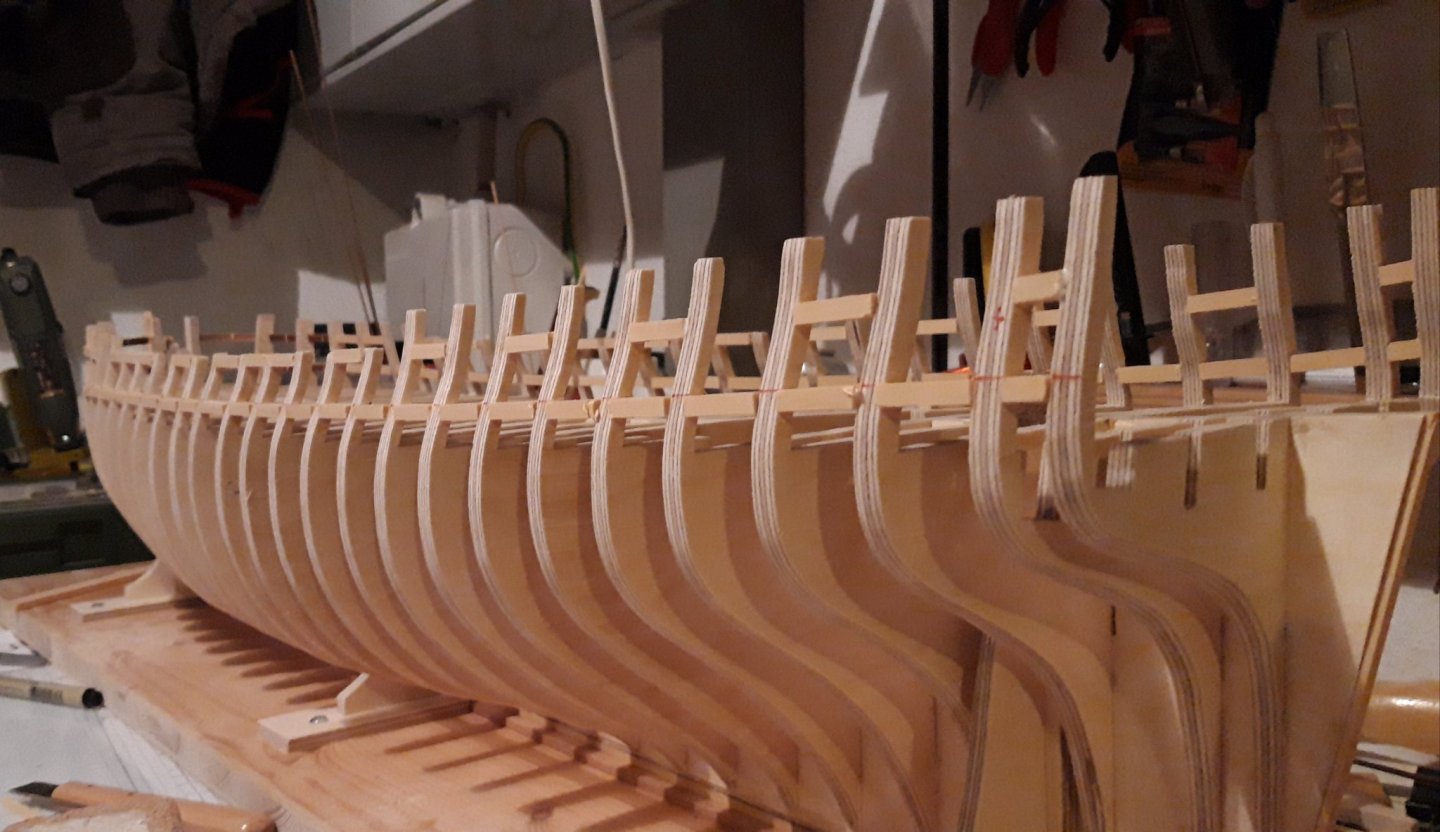
Thank you all for the 👍!!! And the encouragement. In the meantime I glued some of the sills in position
-
That looks perfect!!! Do you glue the planks just to the bulkheads or with each other as well? Matthias
- 607 replies
-
- 2
-

-
- winchelsea
- Syren Ship Model Company
- (and 1 more)
-
I hope that is allright.

-
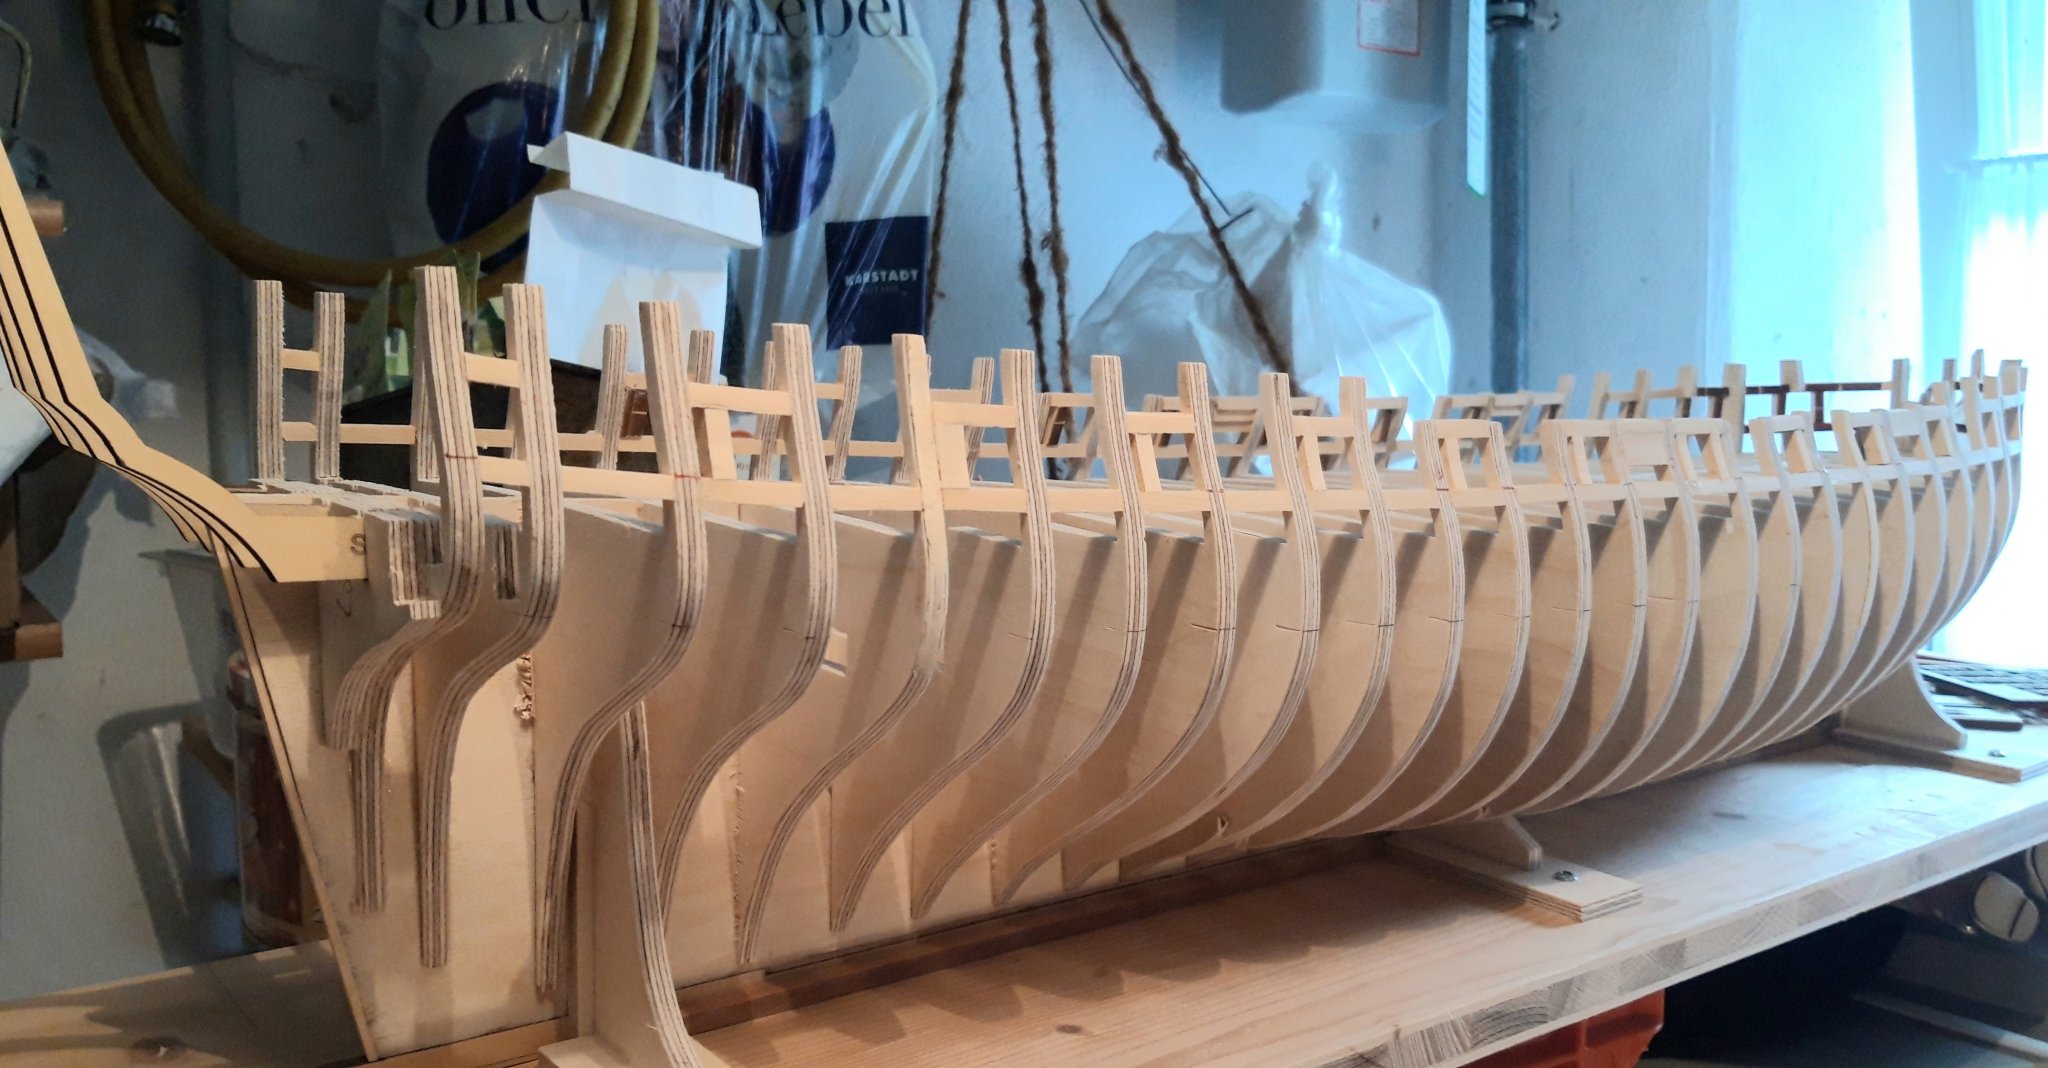
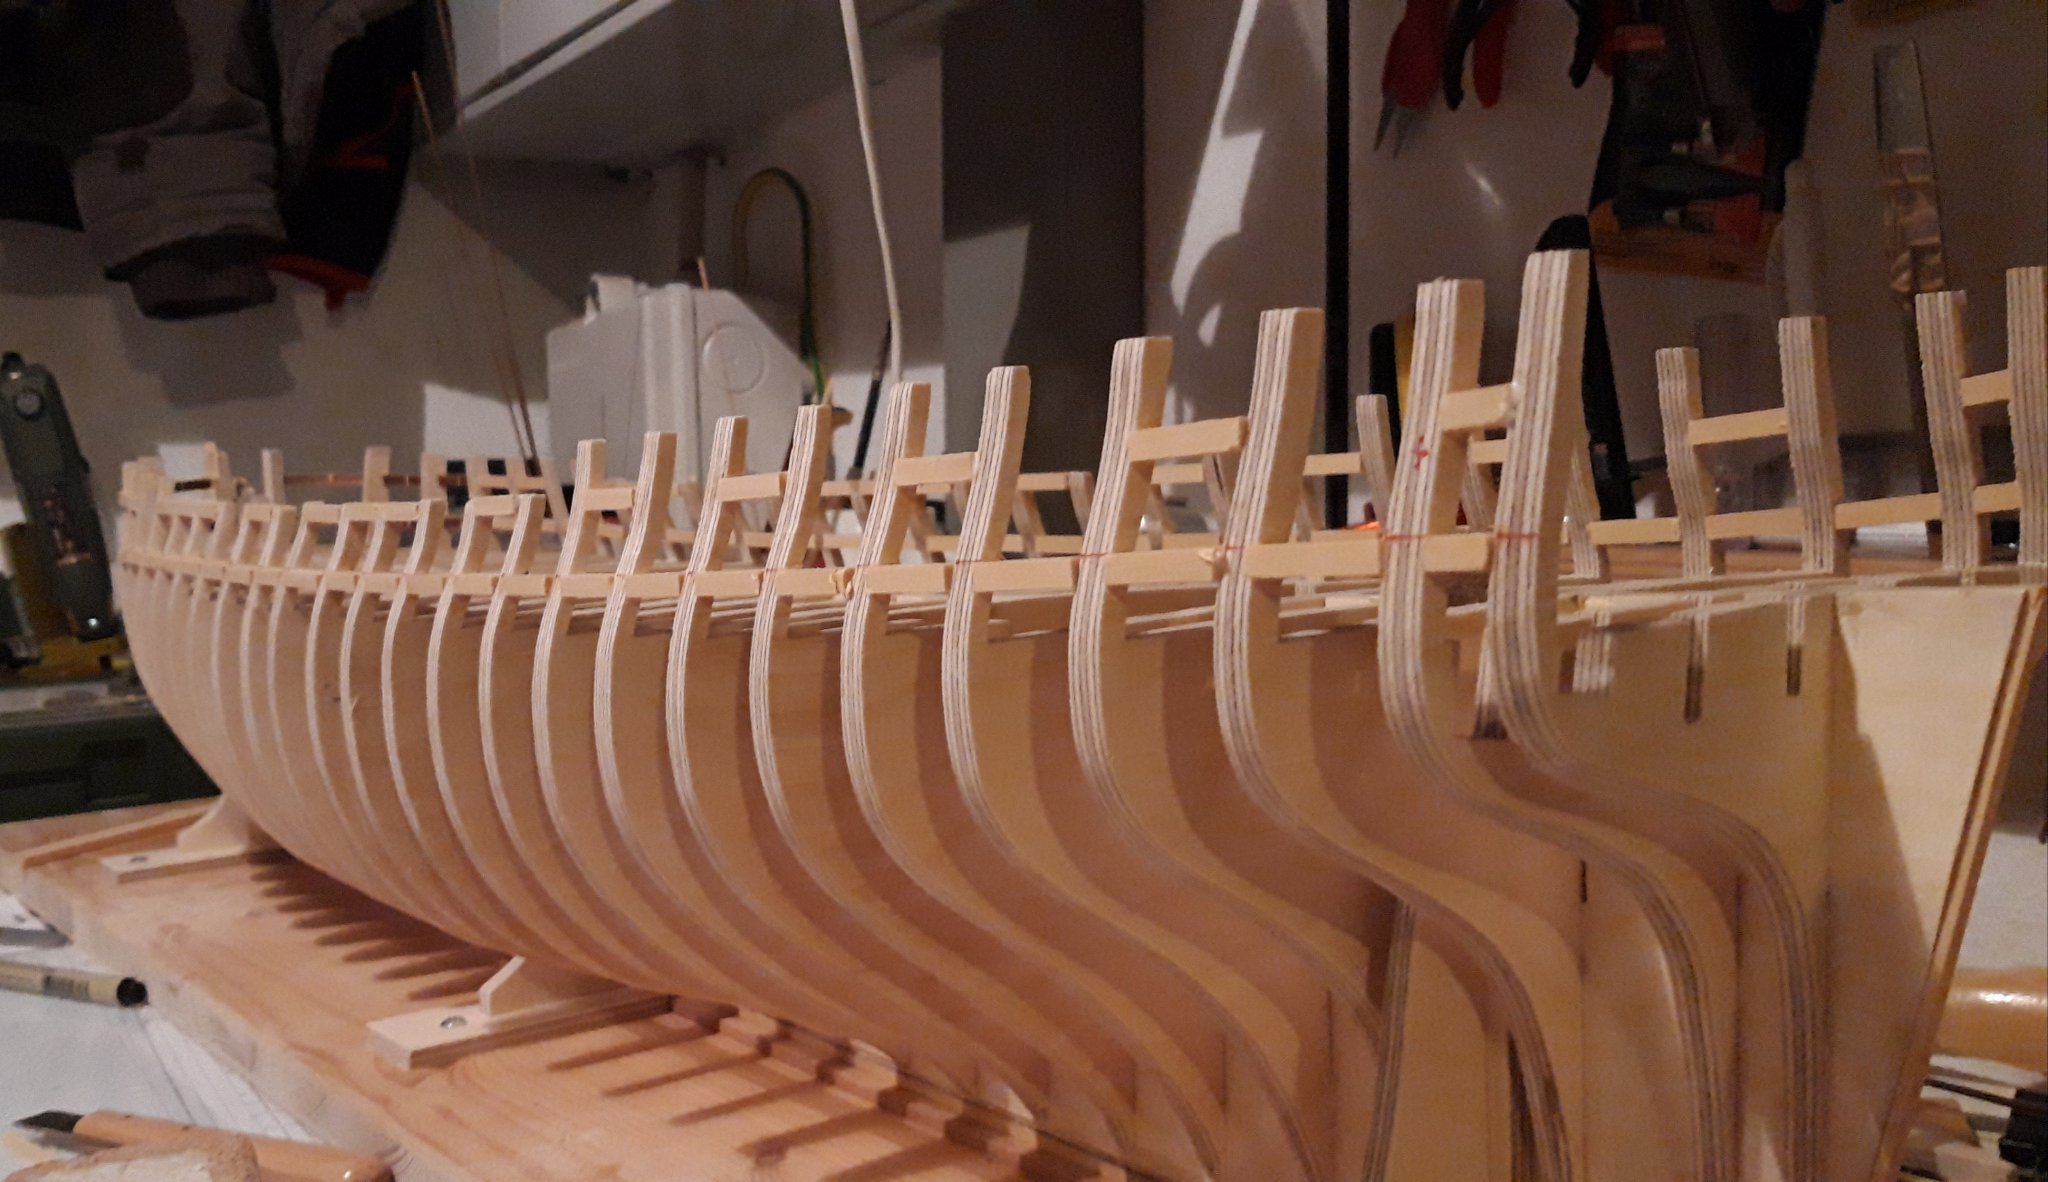
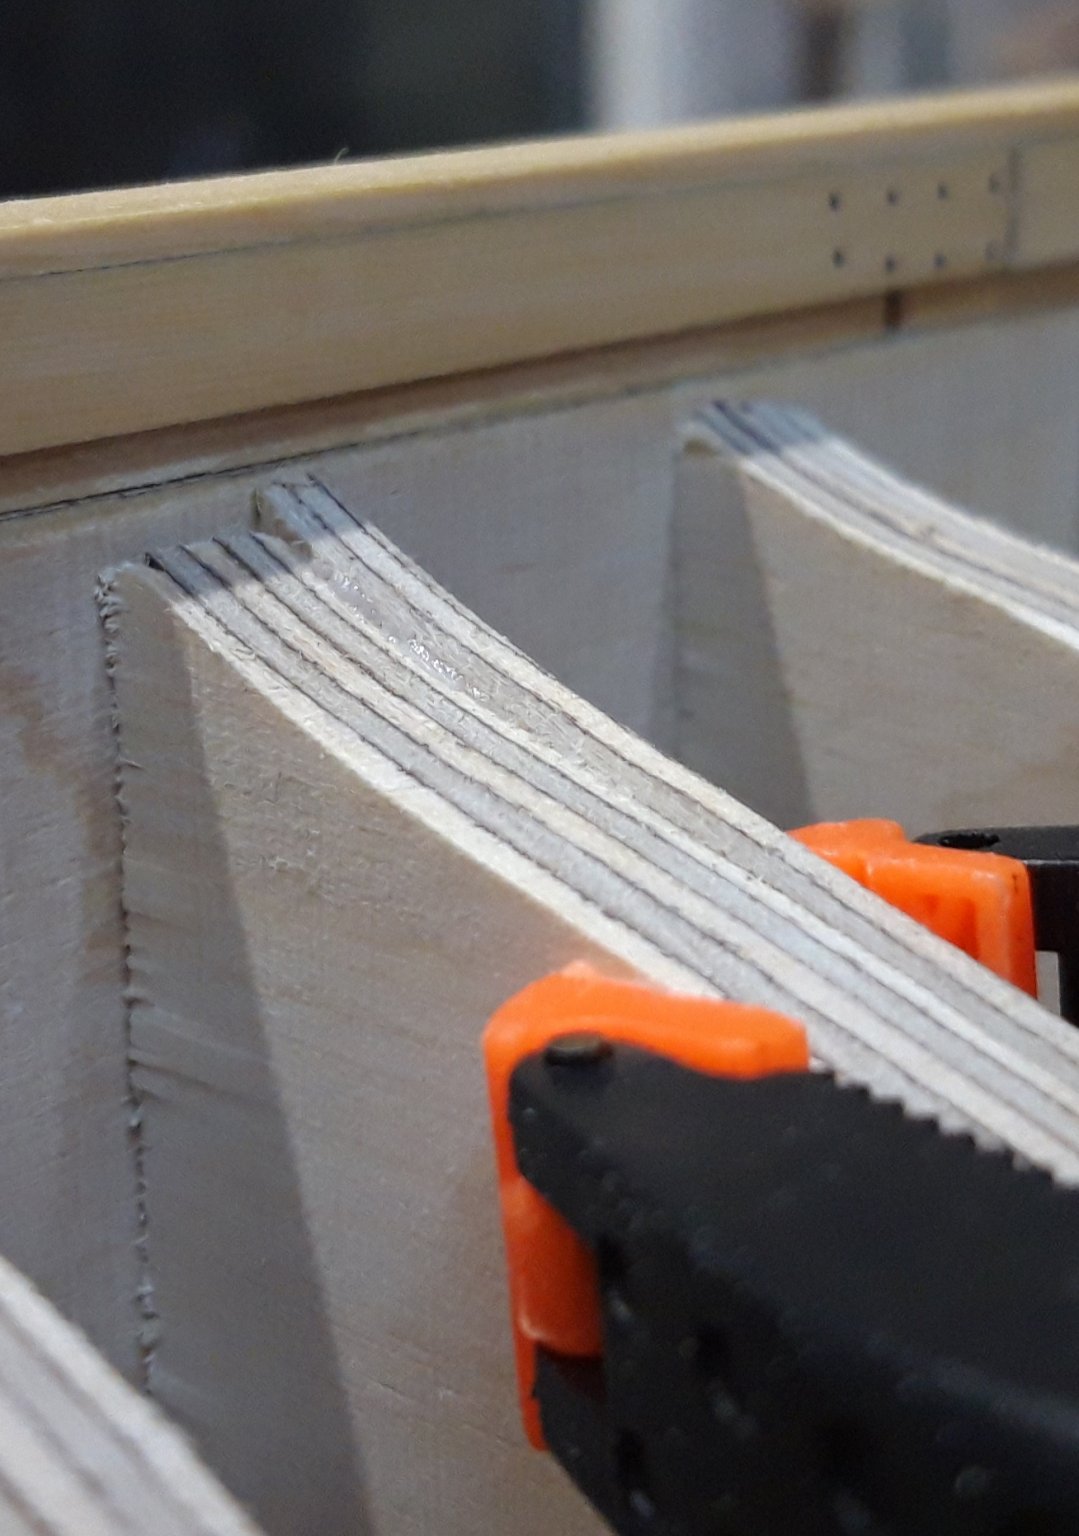
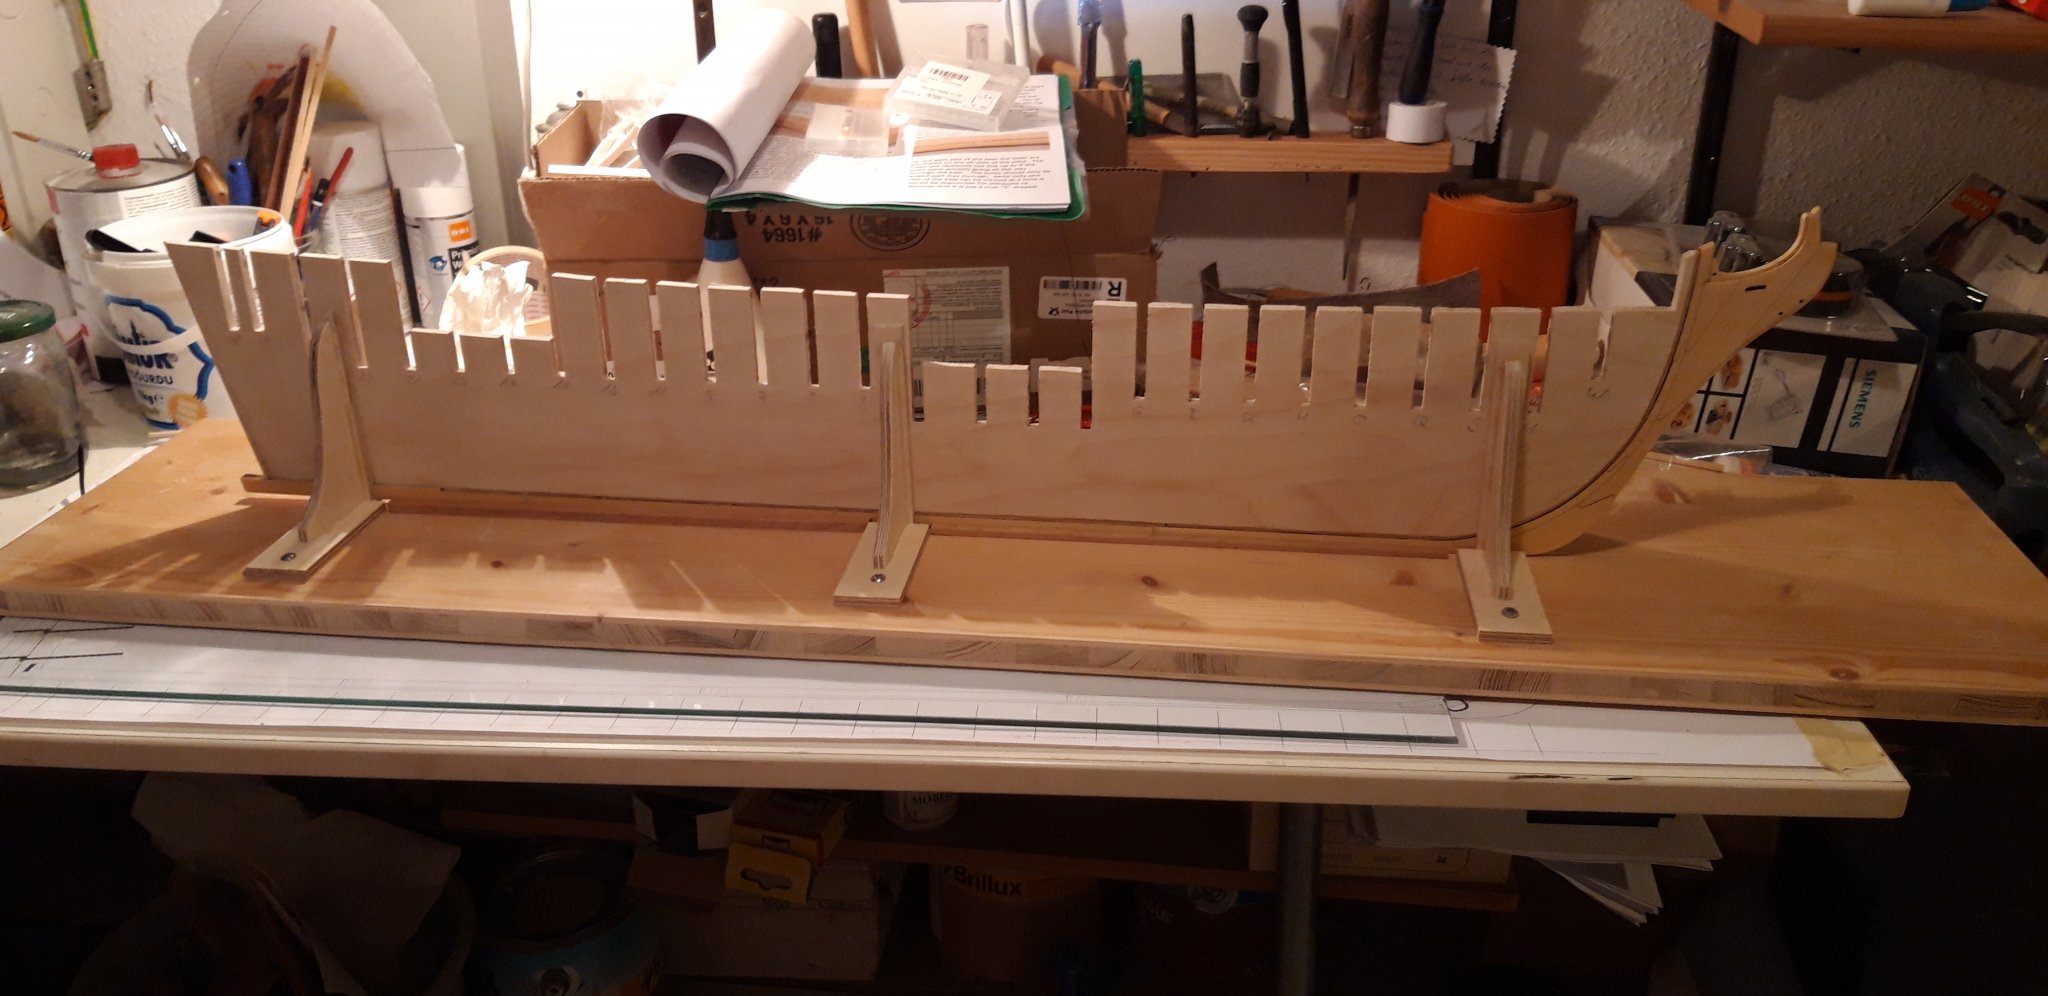
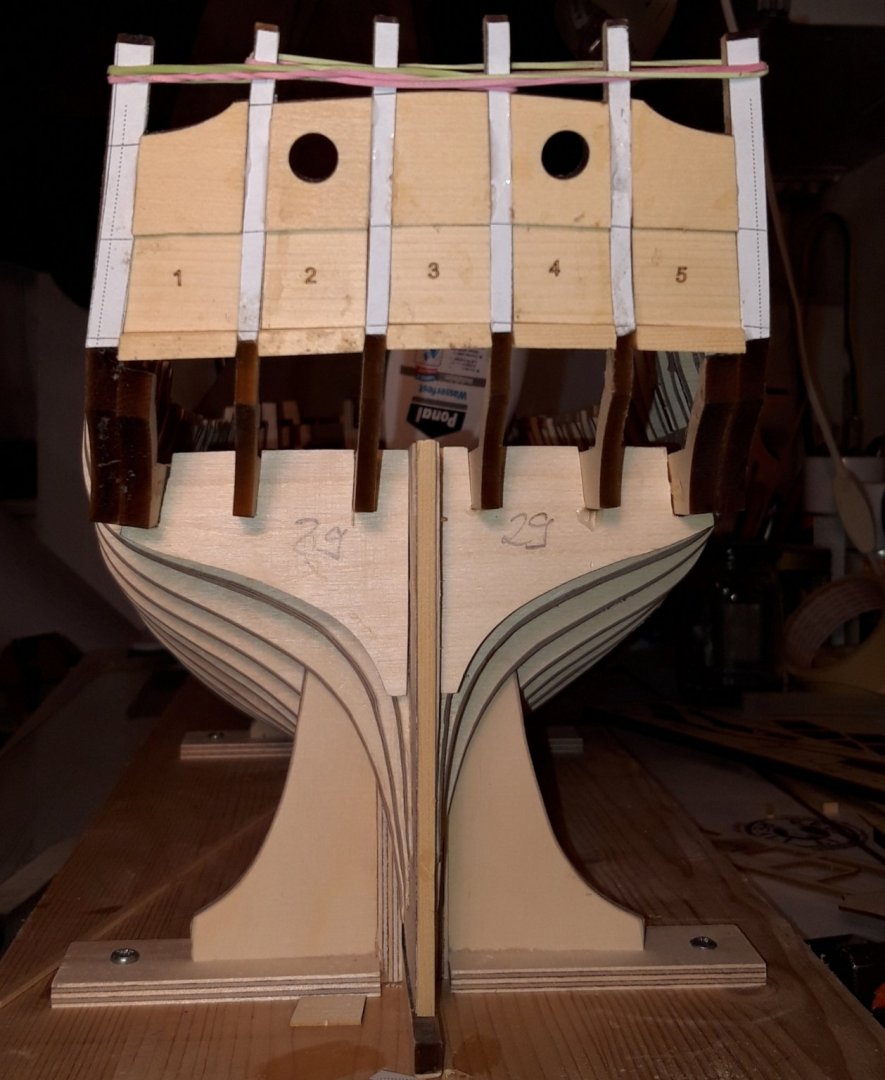
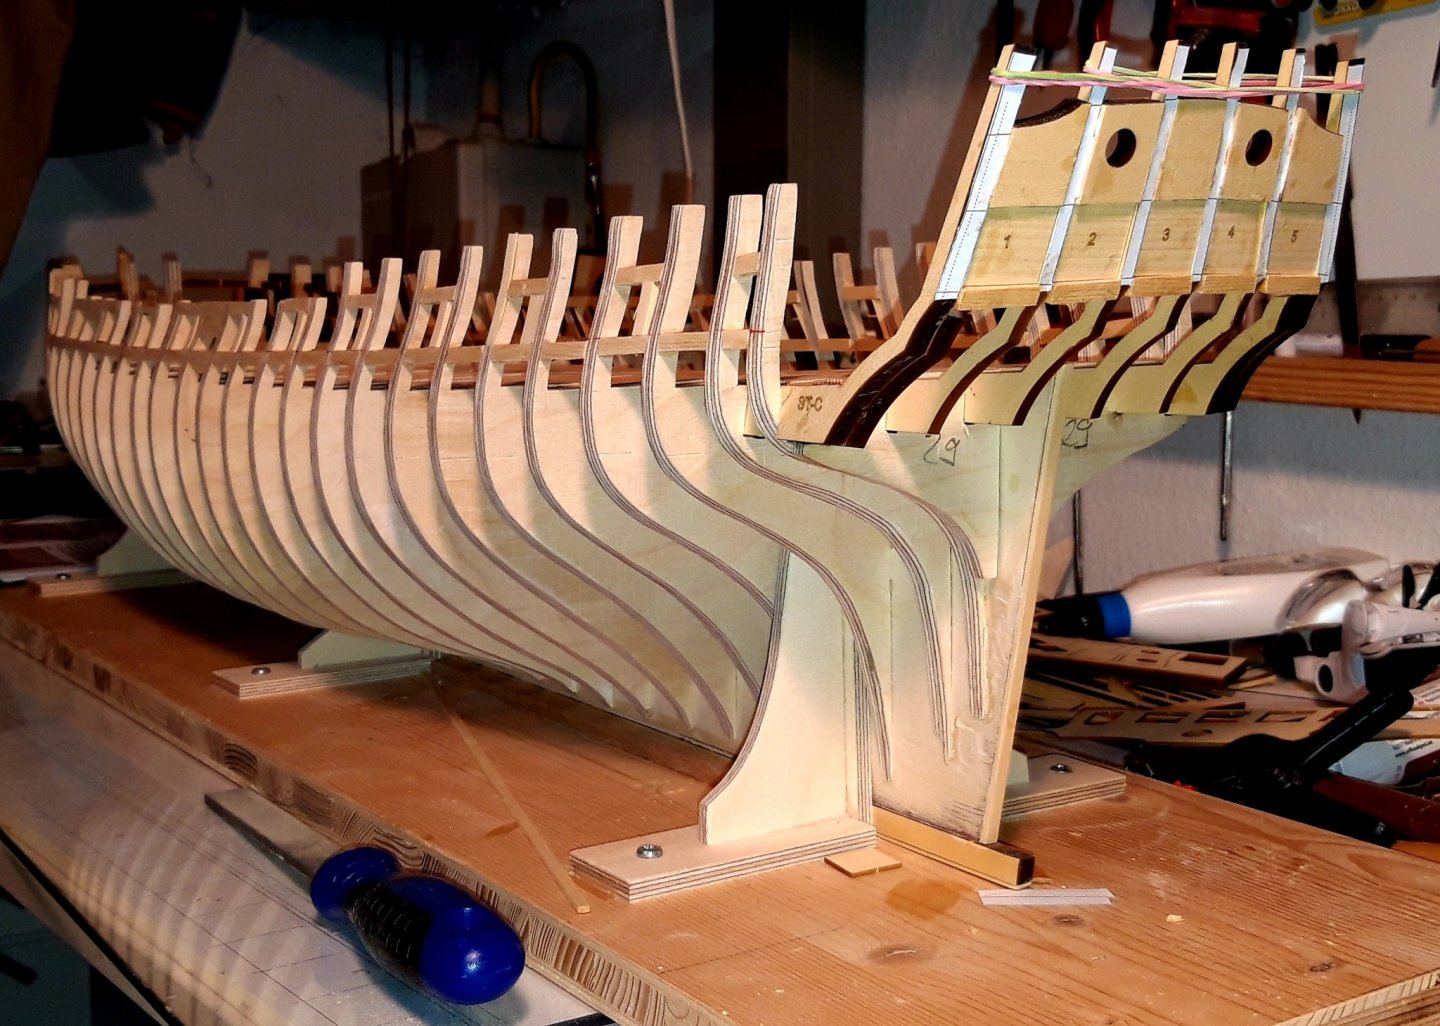
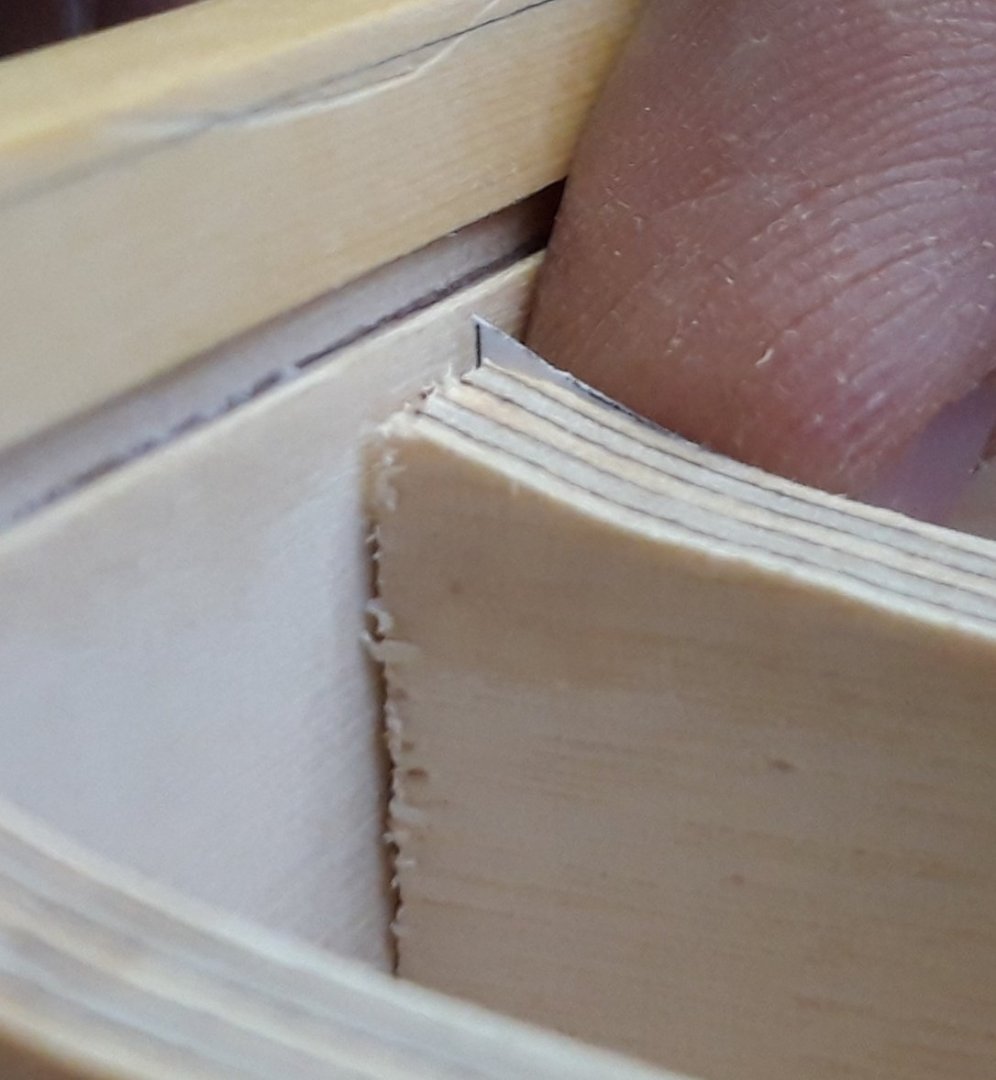
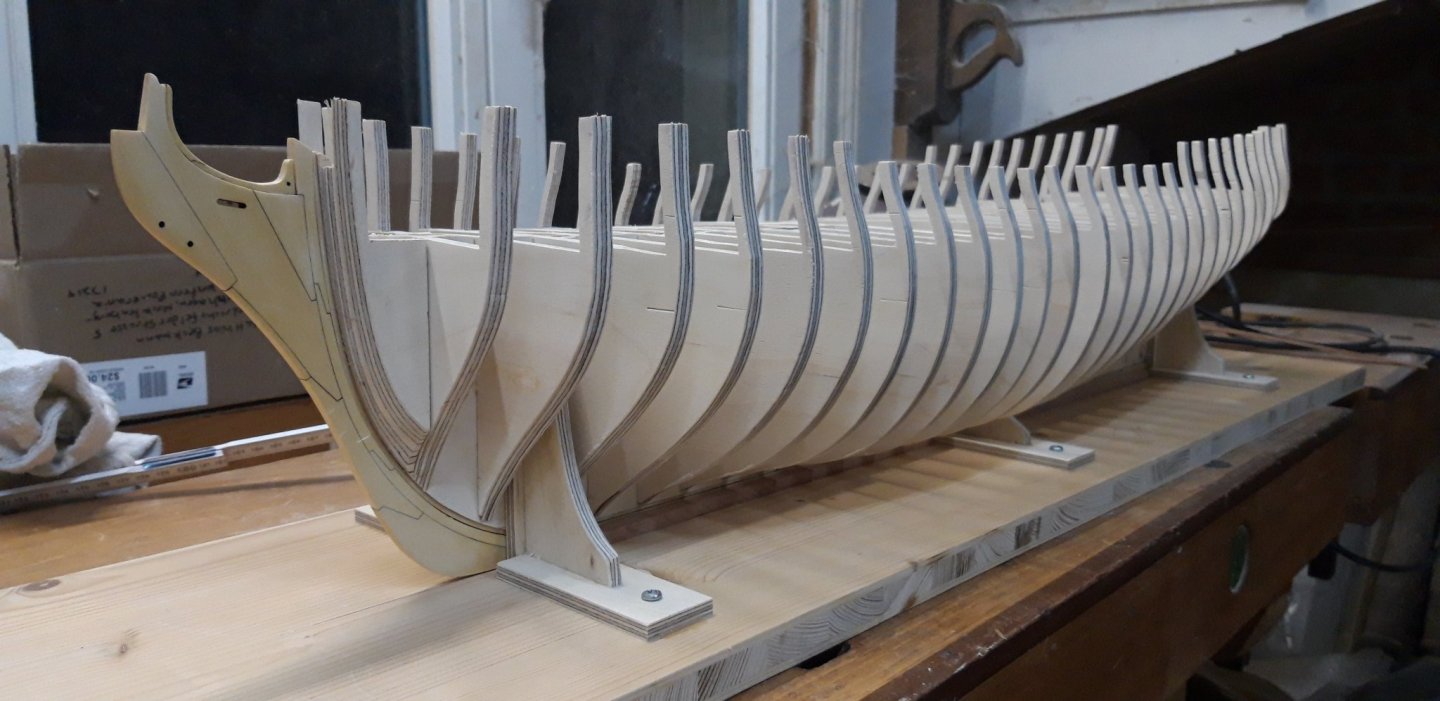
Today I did some sanding I think it looks a bit better now. I fixed most of the bulkhead-tips. I had to cut loose one bulkhead and center it properly. So for folk, who glue the bulkheads: Mark the center on top of the bulkheads so you can check better if it is really accurate centered. Otherwise the outer line of bulkheads dance in and out. Every Millimeter out of the center will cause problems if you now what I mean

-
Thanks Mike, I am relieved, that I can fix it like that. Building this model is a new level of precision. Matthias
-
Hi Chuck, I am just trying that.


-
I will have to somehow rebuild the missing tips.
-
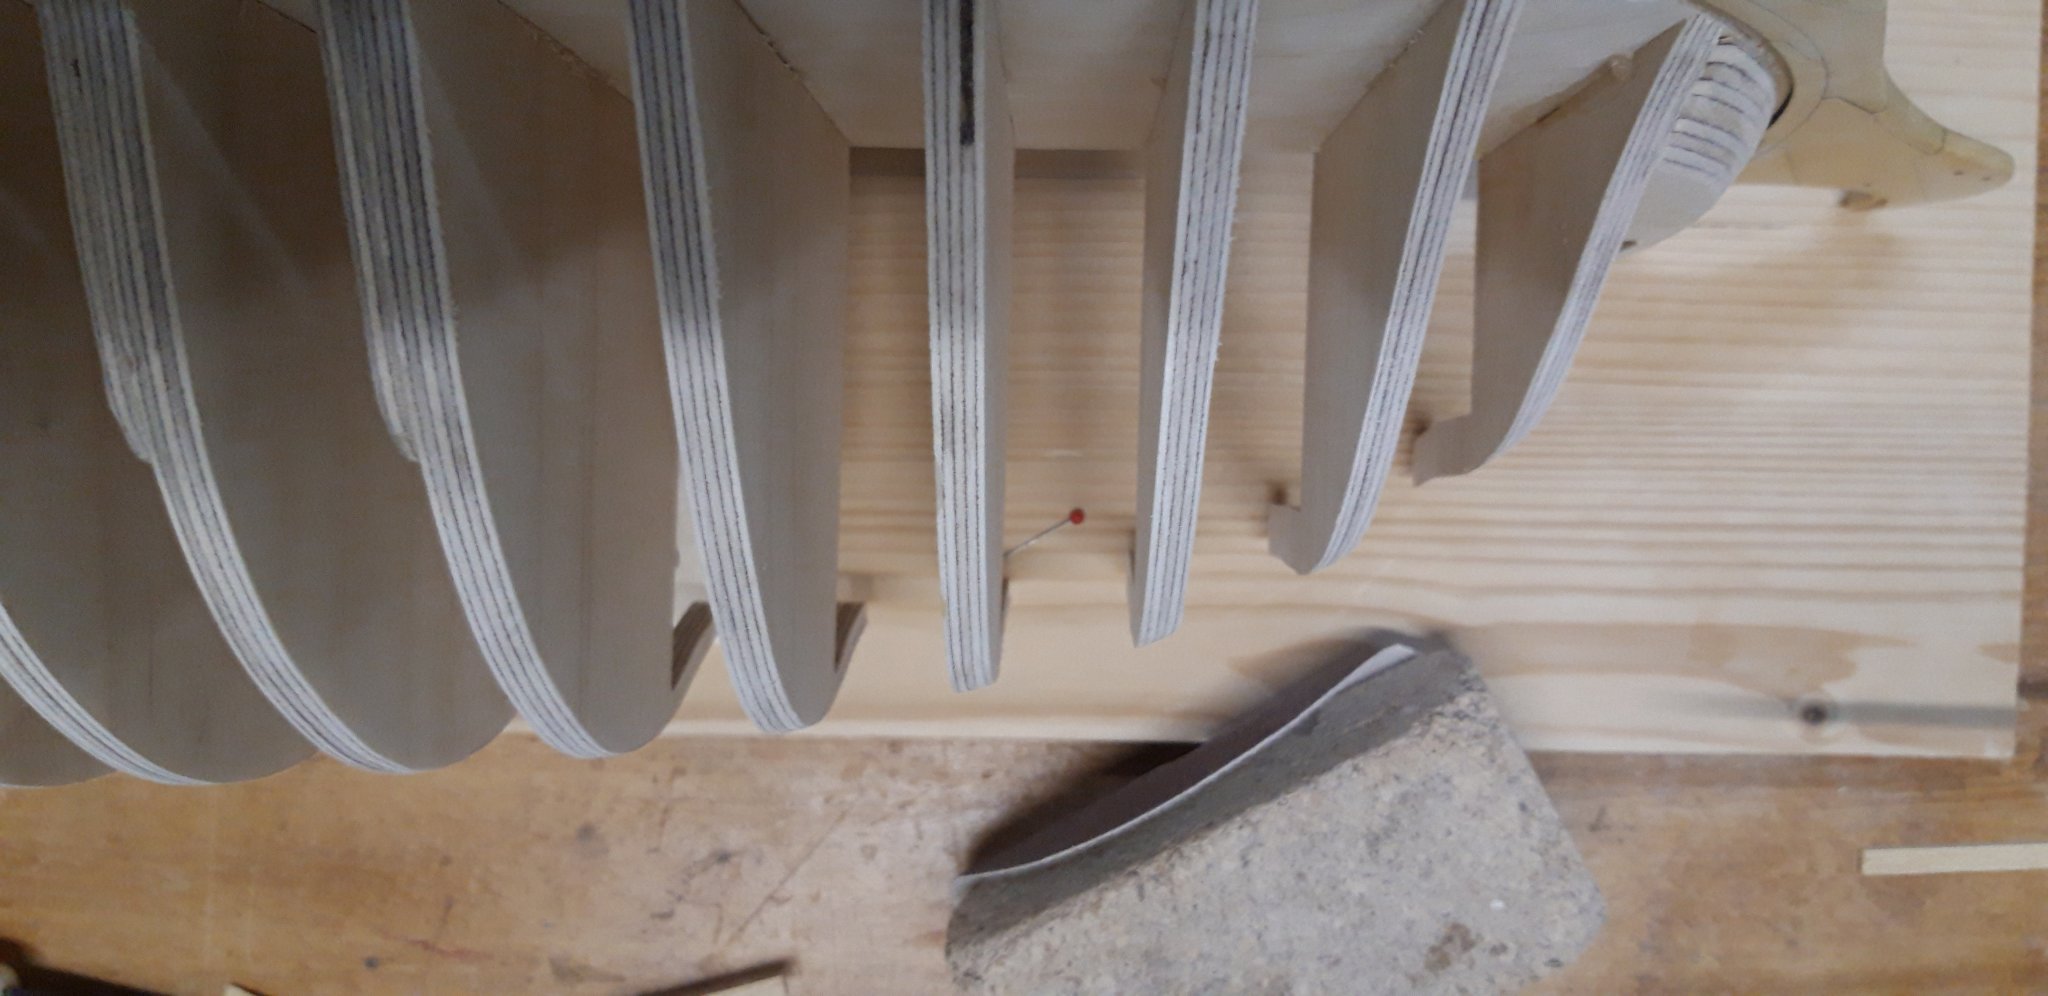
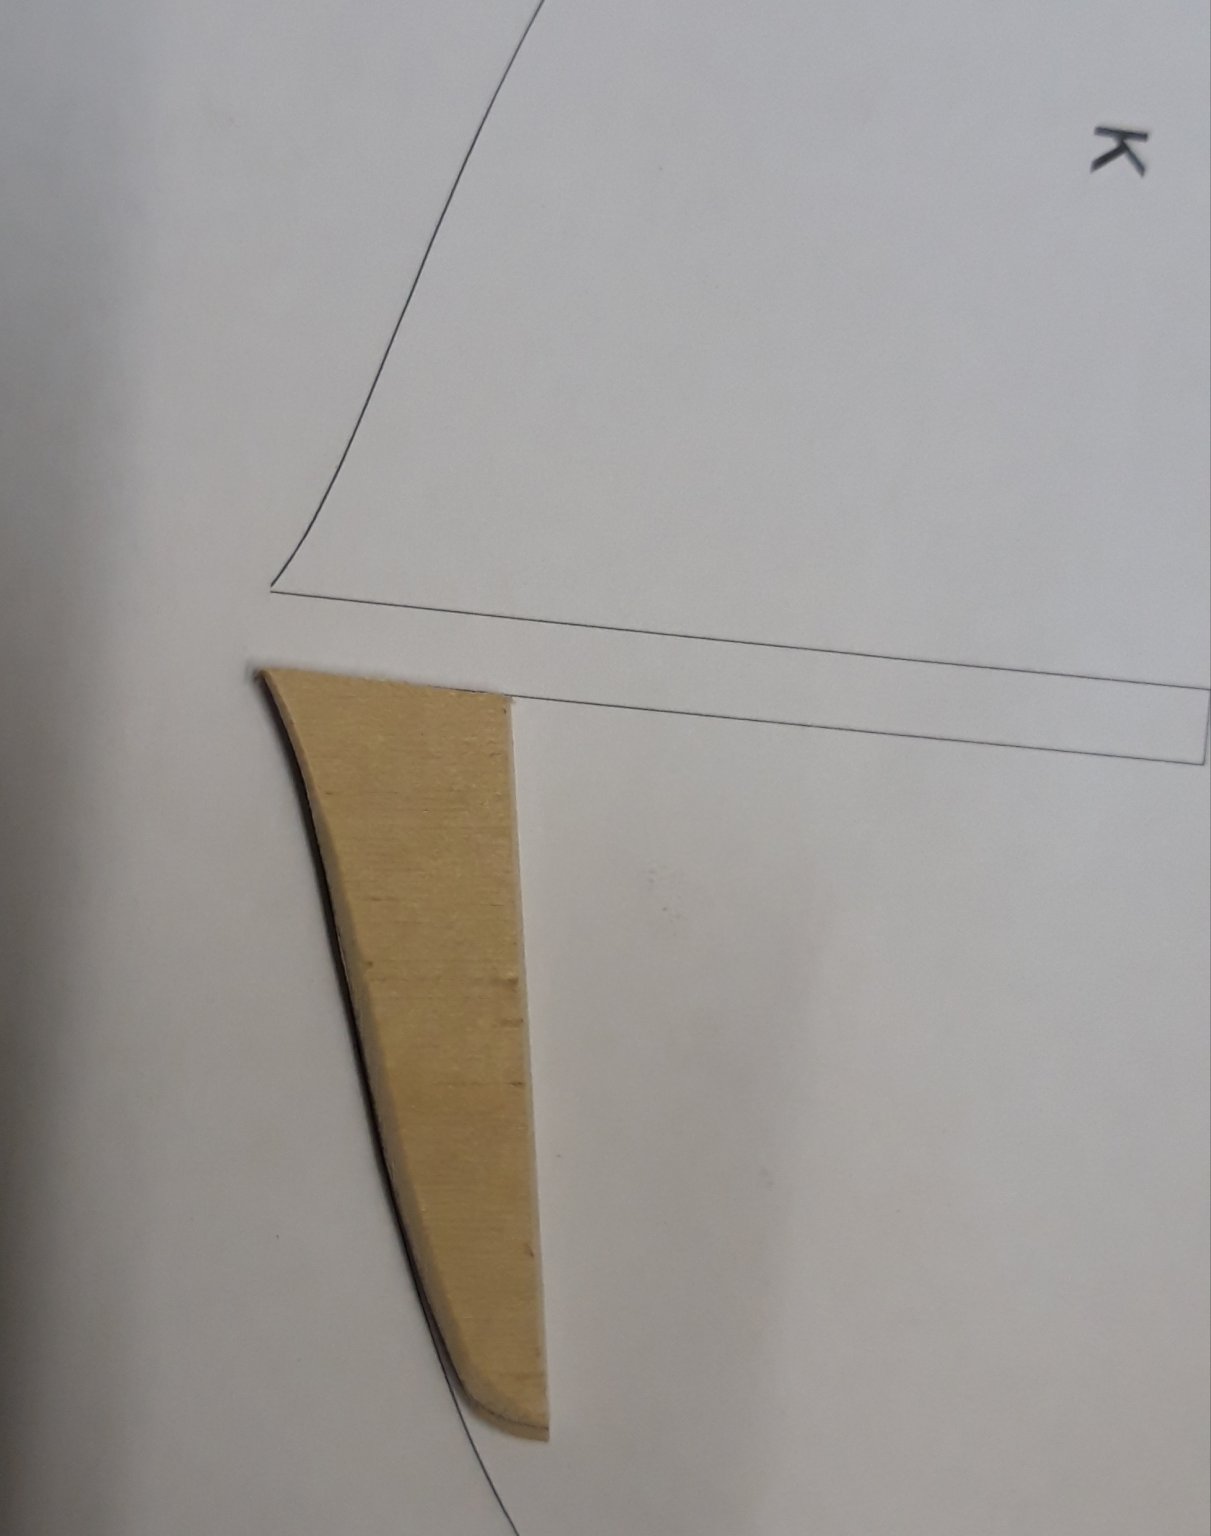
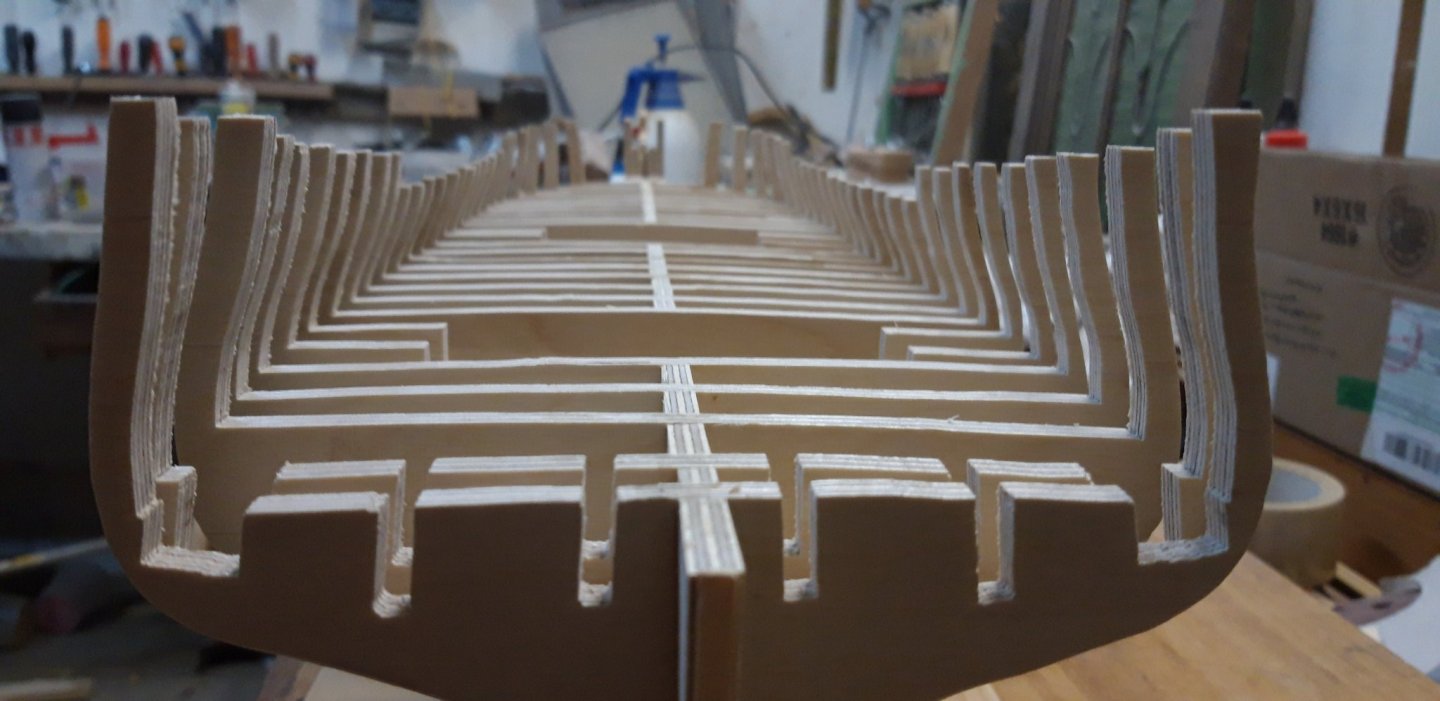
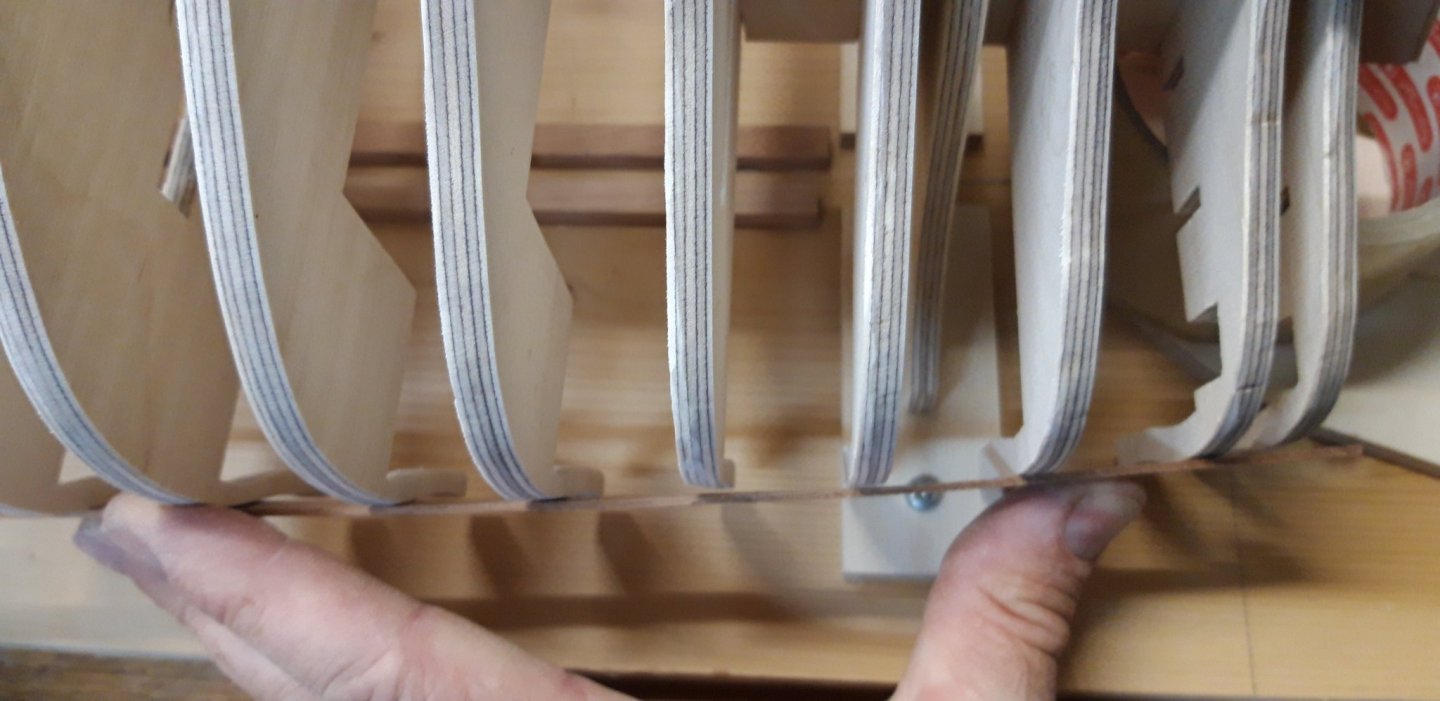
I printed the bulkheads again and tried to find out, what happened. There are two or three things that sum up. The biggest is my inaccuracy, when I cleaned up the bulkheads after cutting them out. I often sanded the tips of the bulkheads too much. That is 90% of the problem. The rest is about having not pushed it down into position enough.
-
Ok that seems to be a severe Problem. I will check out what happened and then try to correct it. Maybe I cut the bulkheads too much on the line + sanding, they became too small, in this case I will add a new bulkhead-half and glue it next to each bulkhead to correct the shape.
-
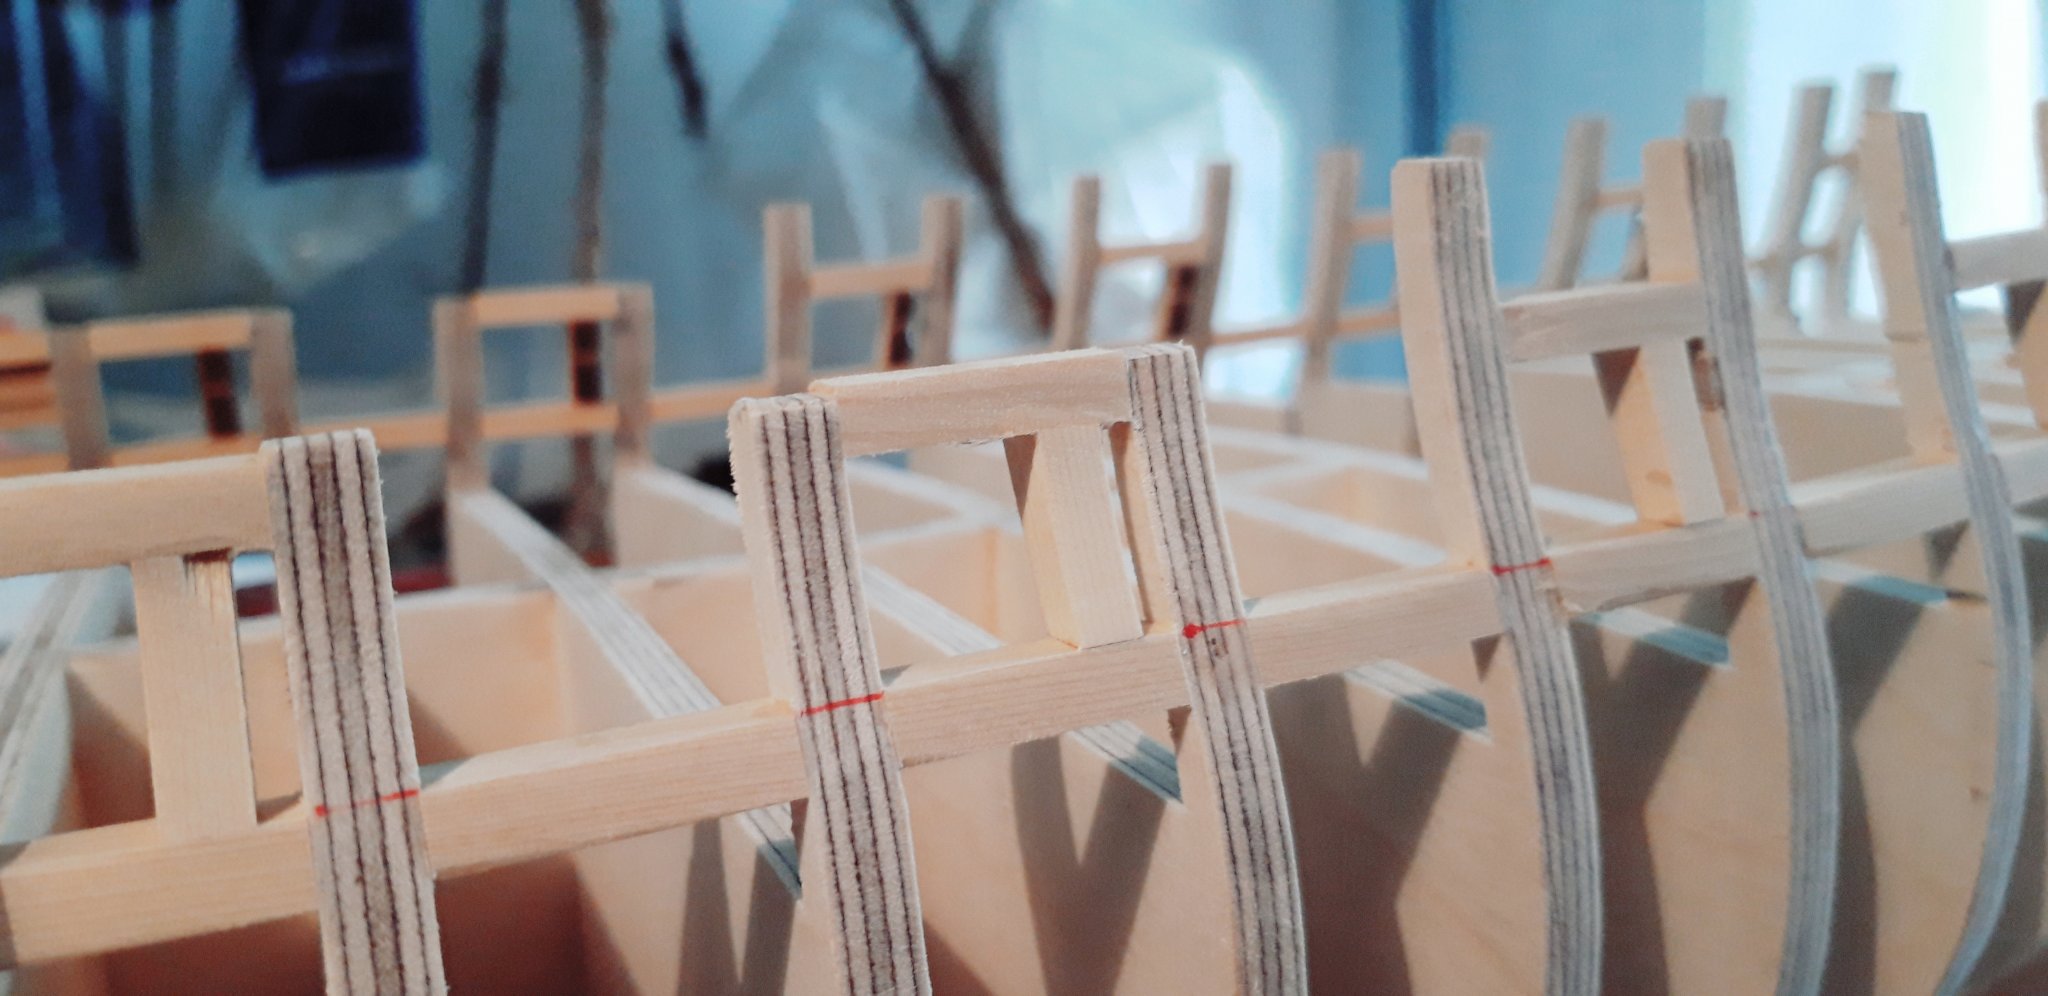
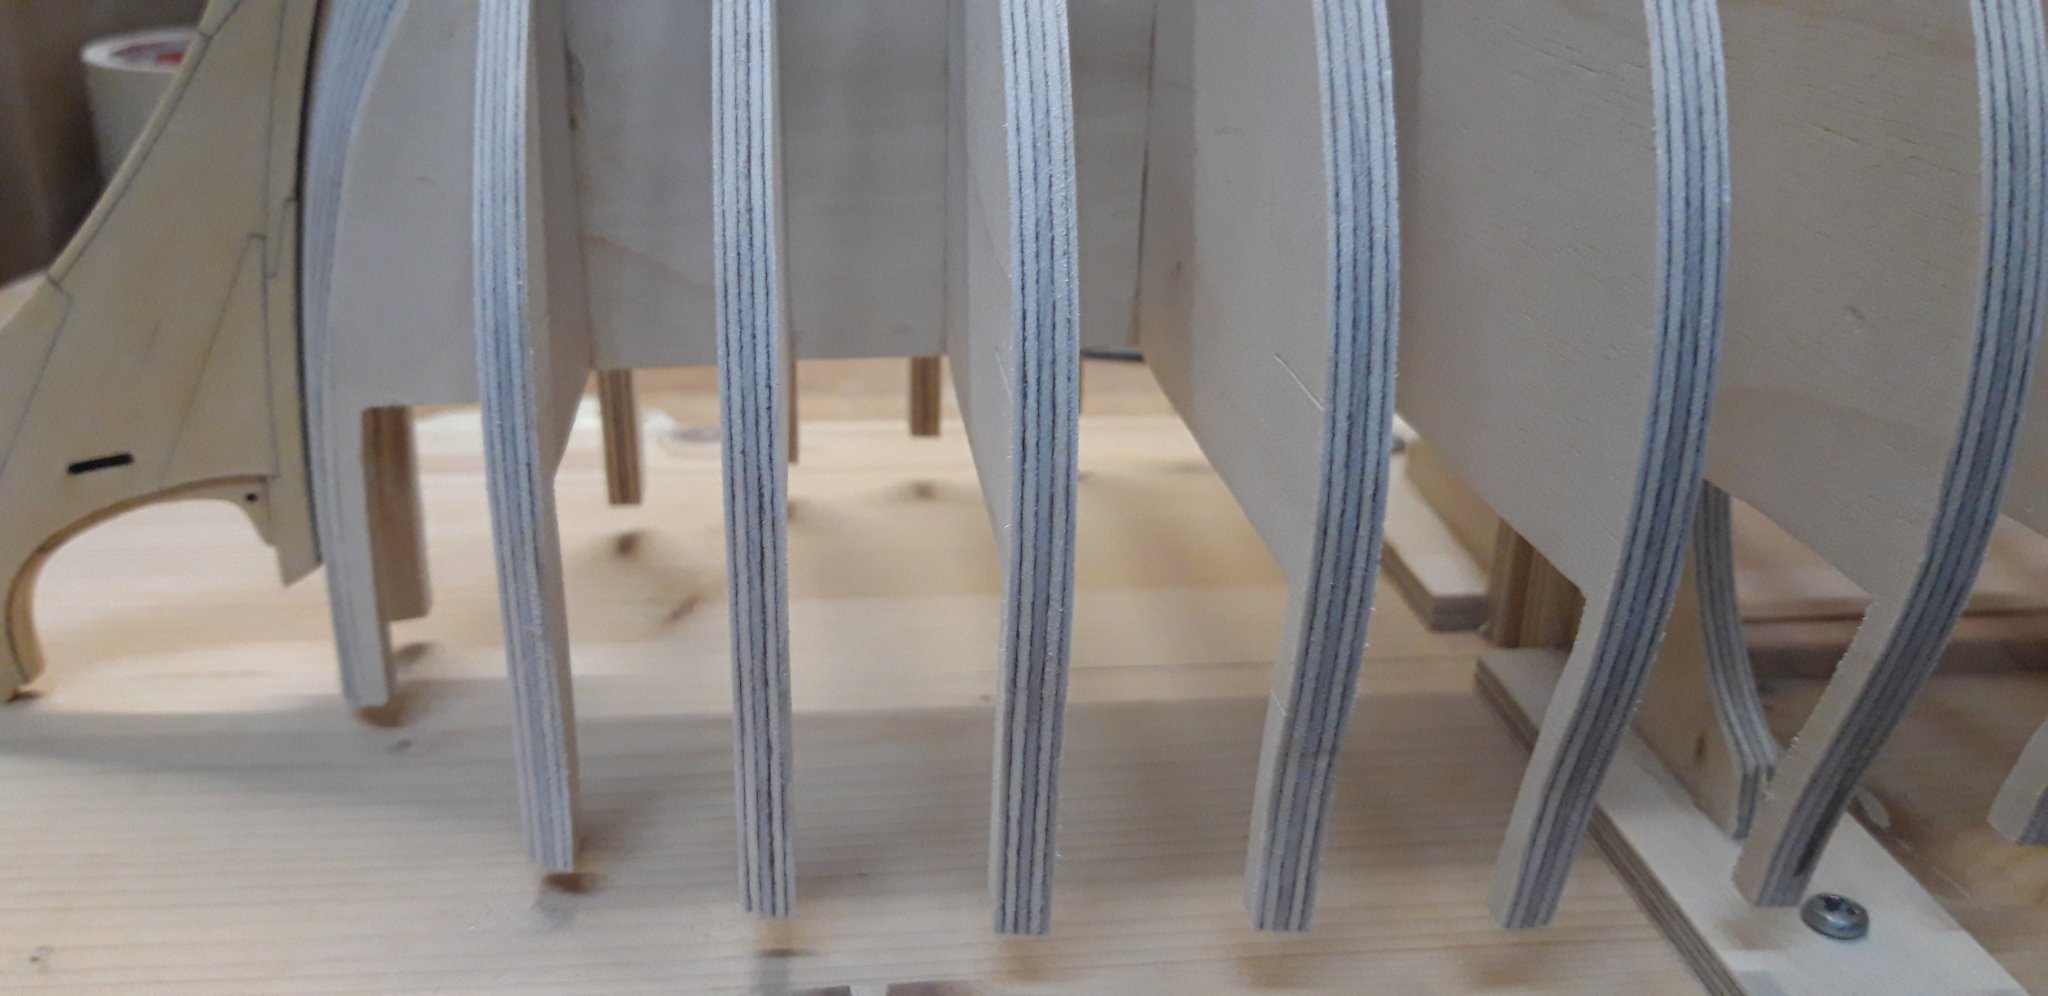
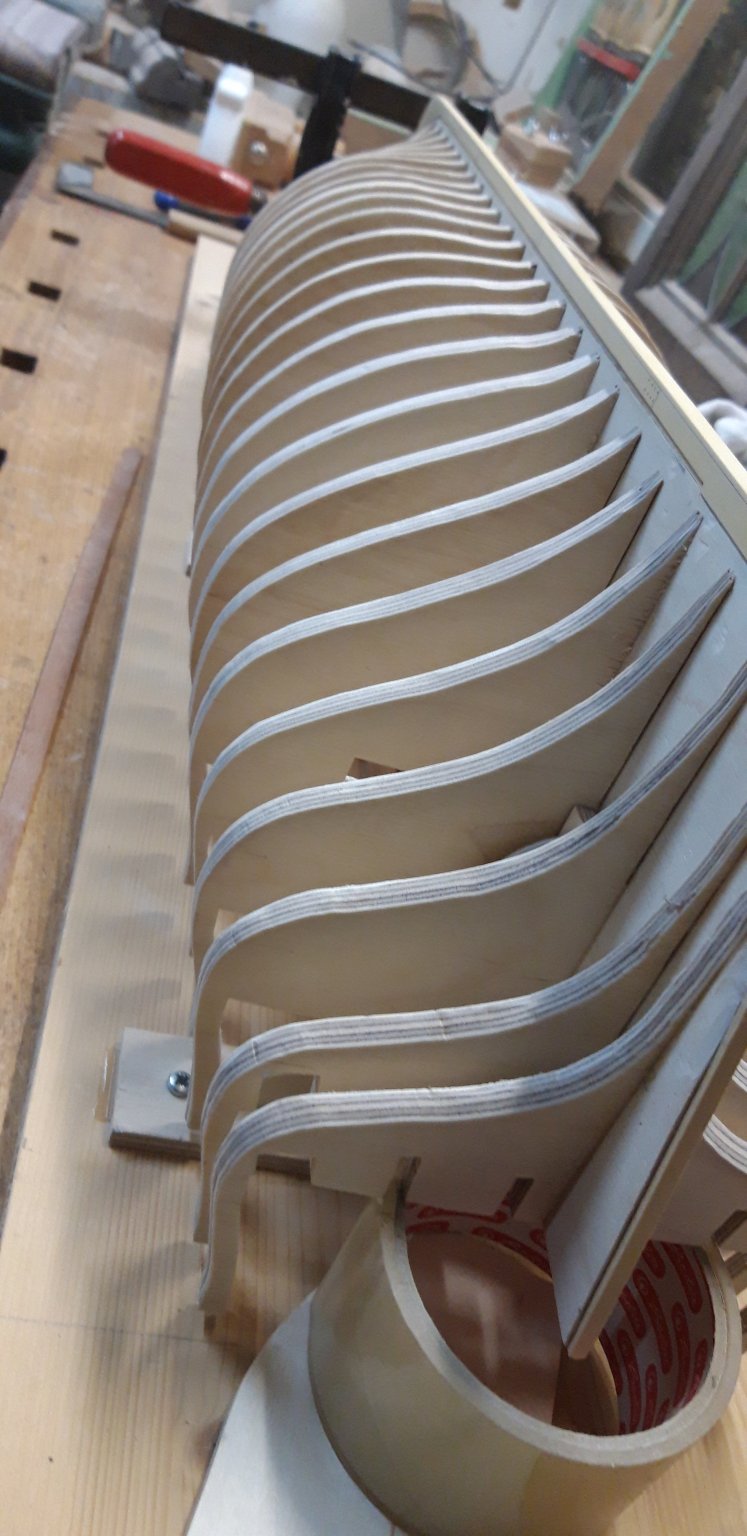
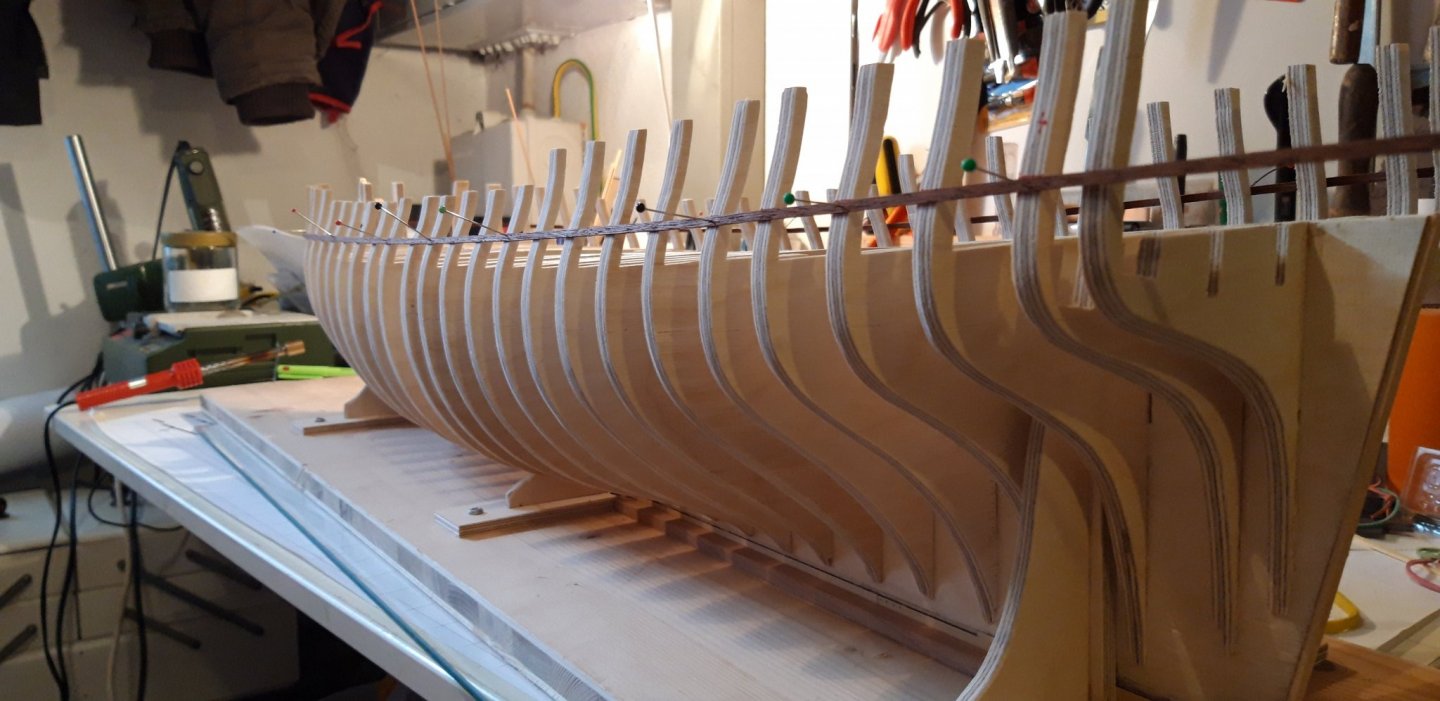
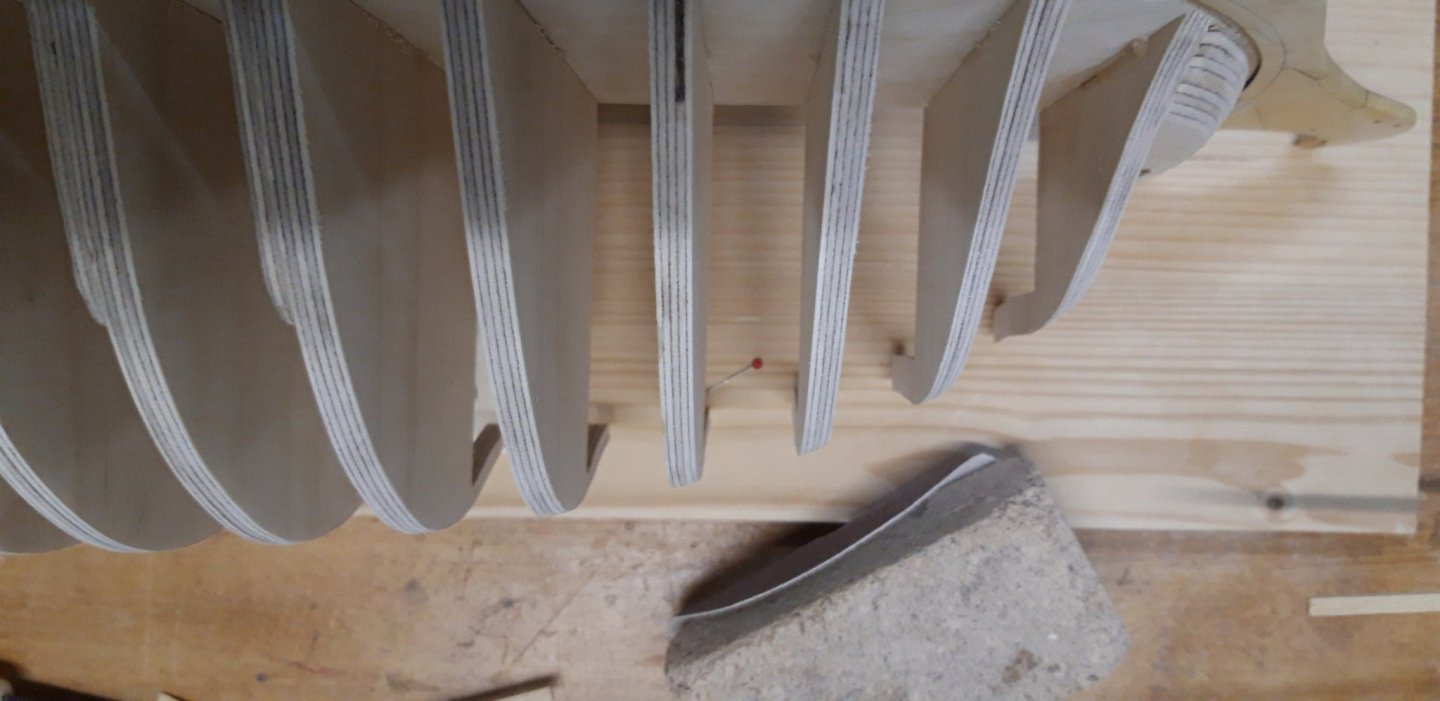
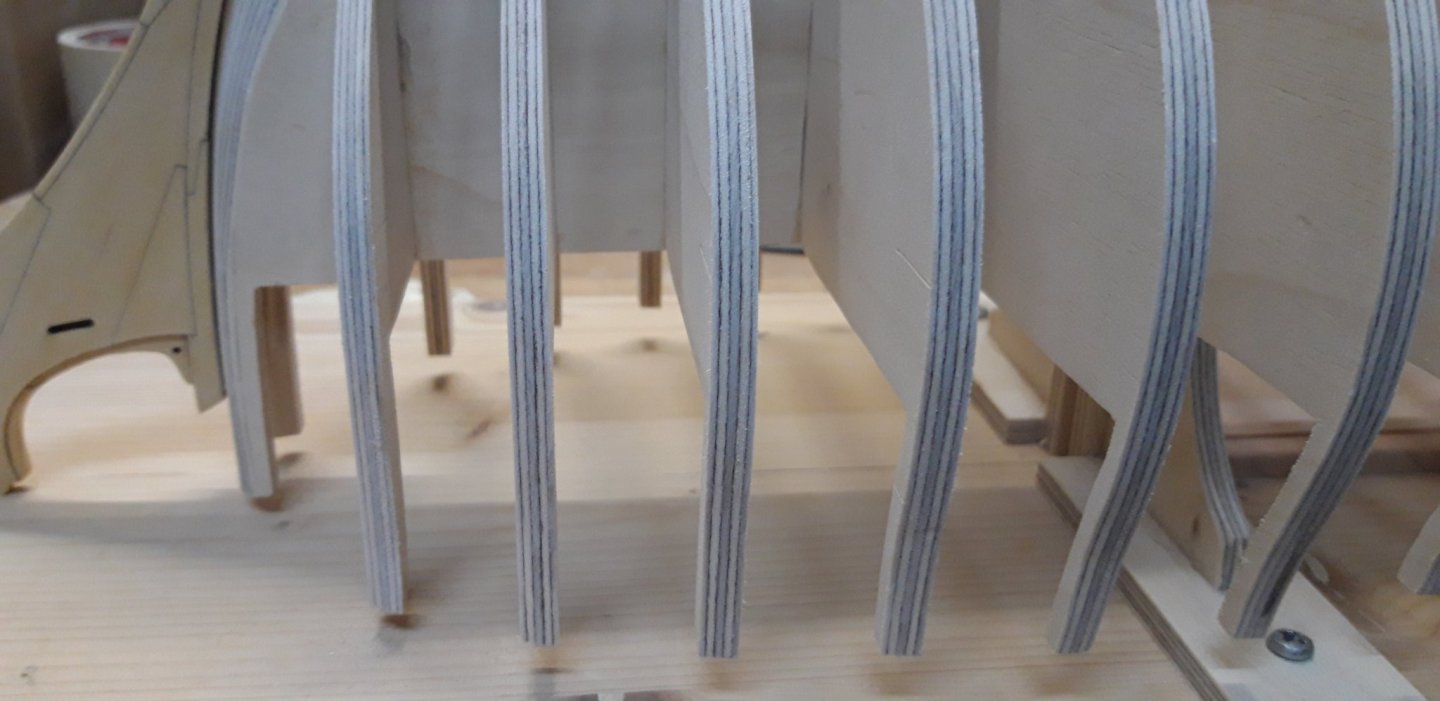
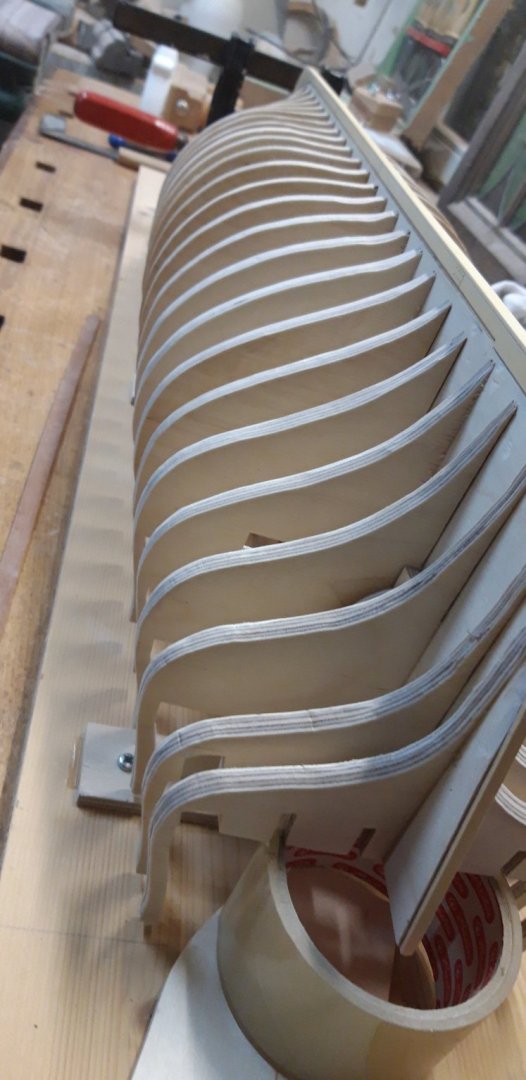
I glued the bulkheads into position. That was the easy part. Then I startet sanding the bulkheads, that appears to be the challenging part. I am not totally happy with the result so far, I need to go over it again. One or two bulkheads jump a little bit back behind the line of the others. I have to see, wether I glue something in the gap or sand the others down.

-
Hello Jack, I would like to purchase the boxwood Carvings, Thanks Matthias
-
Everything ready for the bulkheads now.


-
I'm looking forward to it!!!
-
Don't wory, I wont get ahead of you. Your careful step be step instruction and the laser cut kits makes it so easy. I rather wait on chapter 2 than making mistakes.
-
They fit, I took care about that.
-
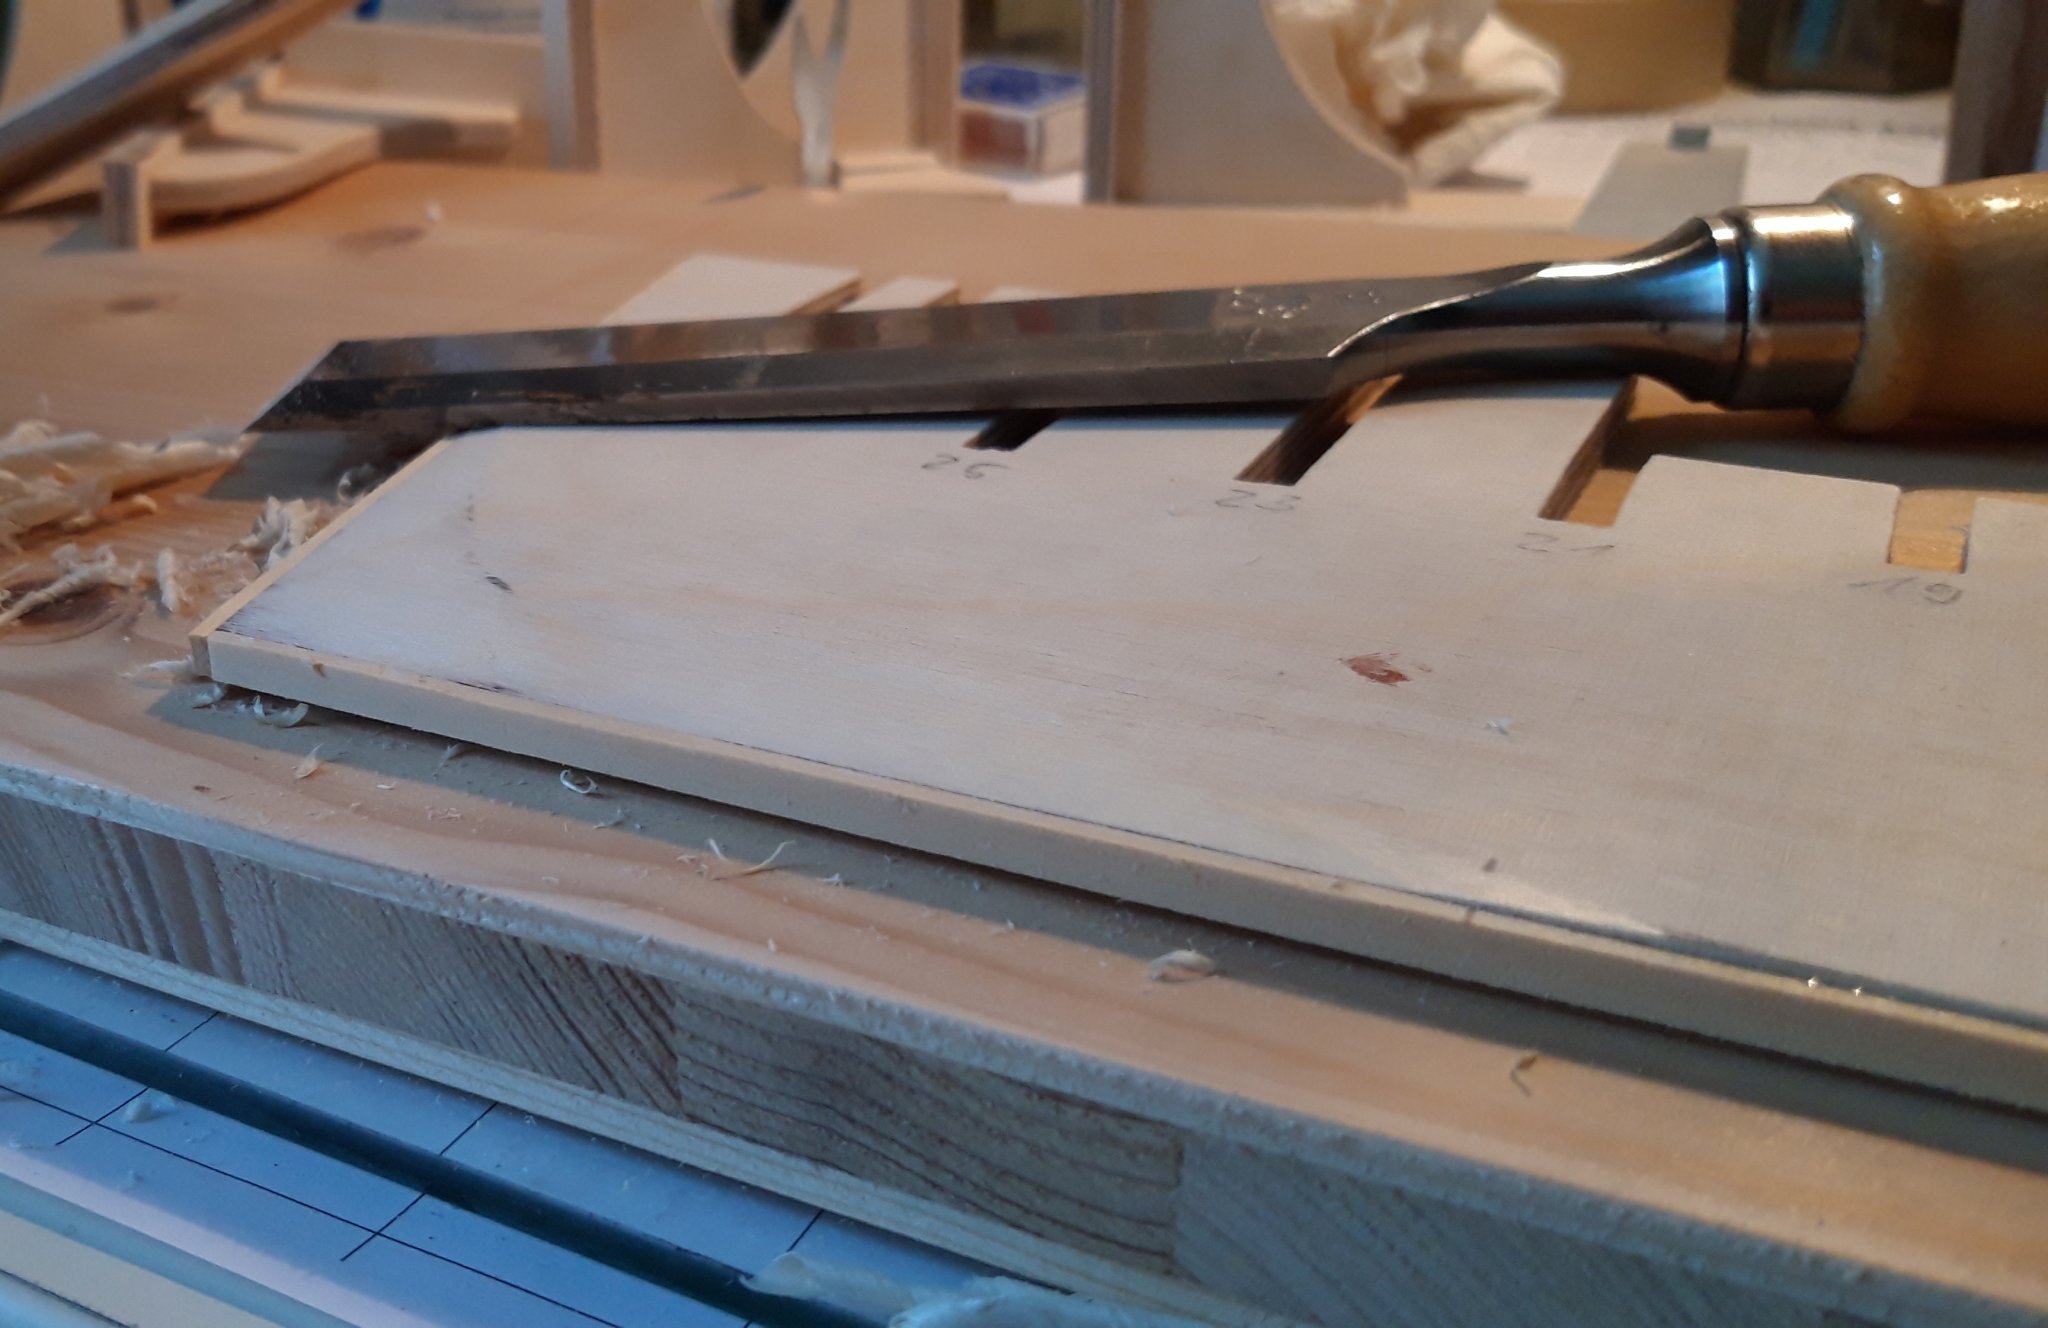
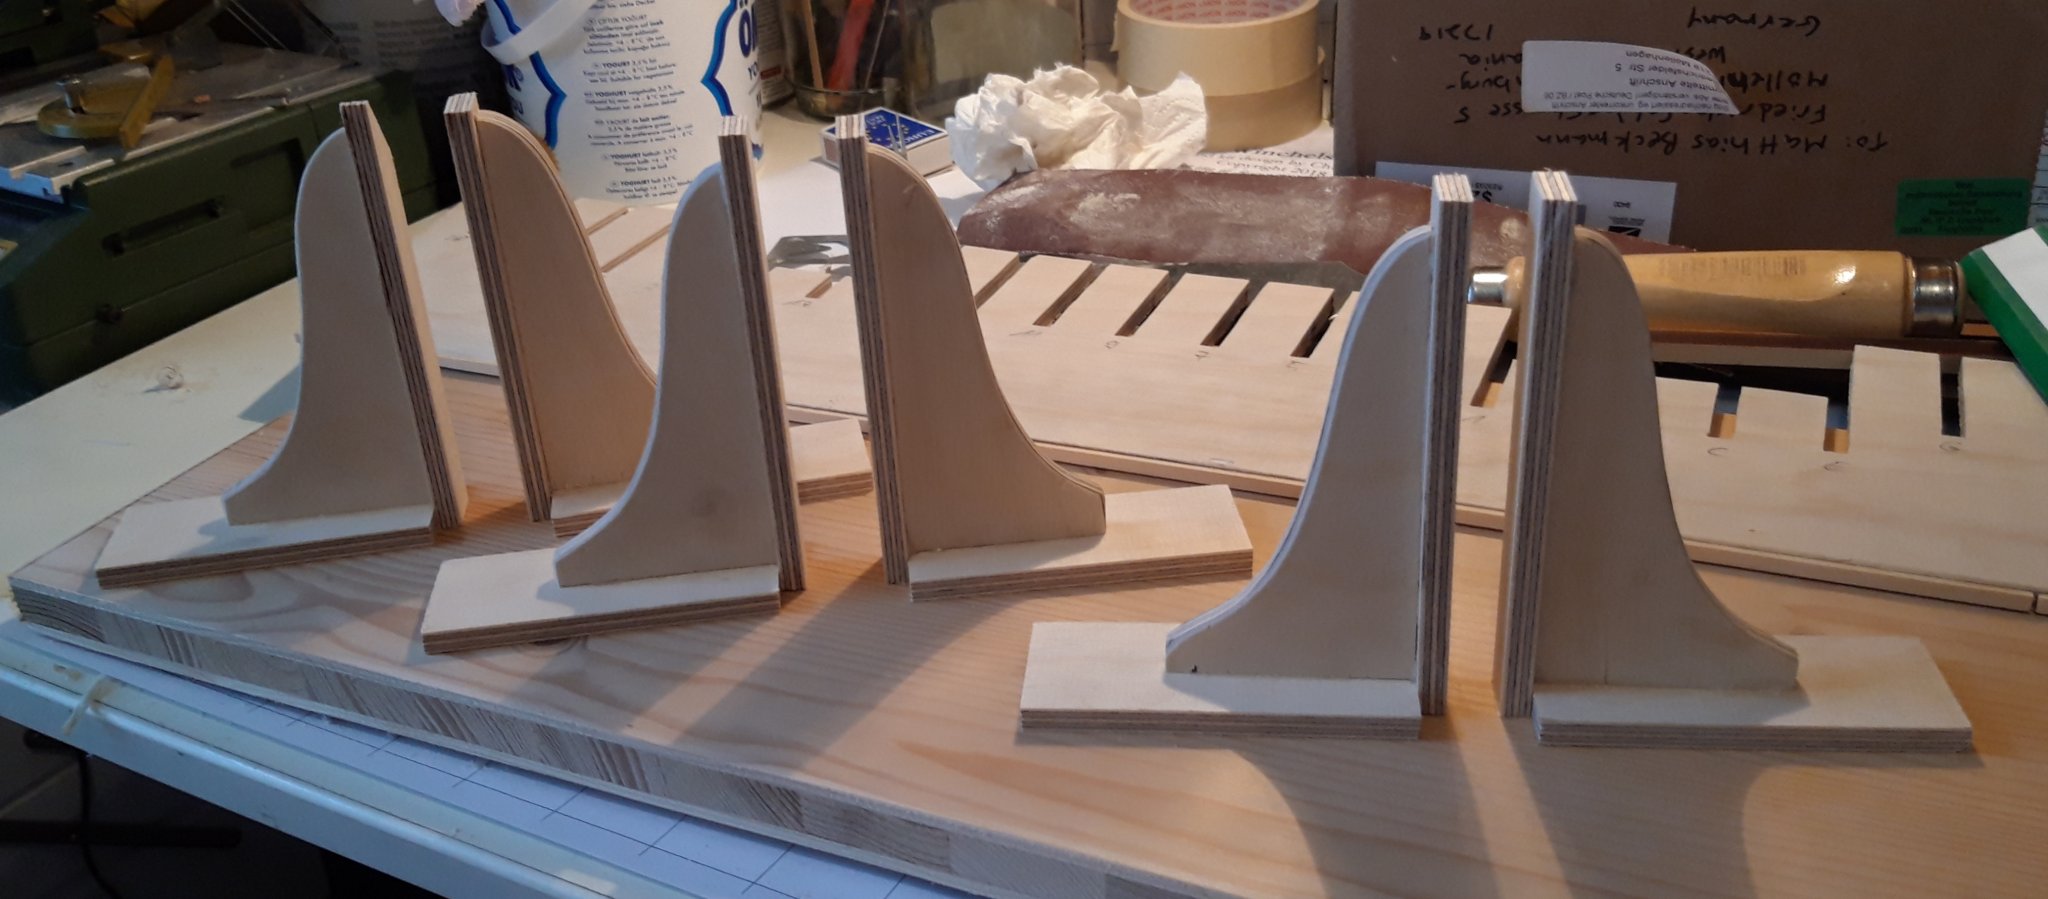
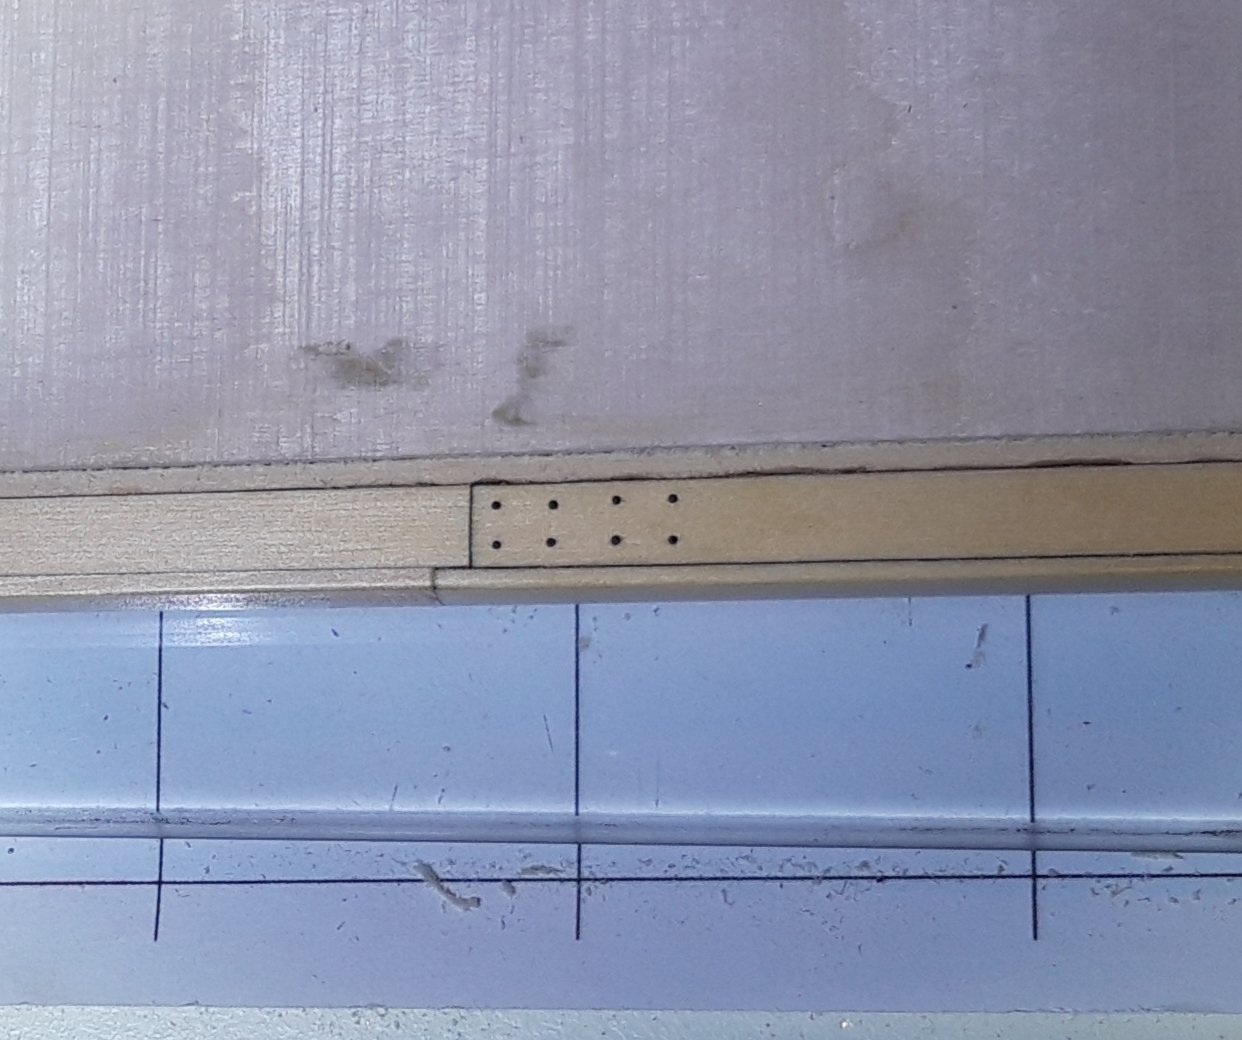
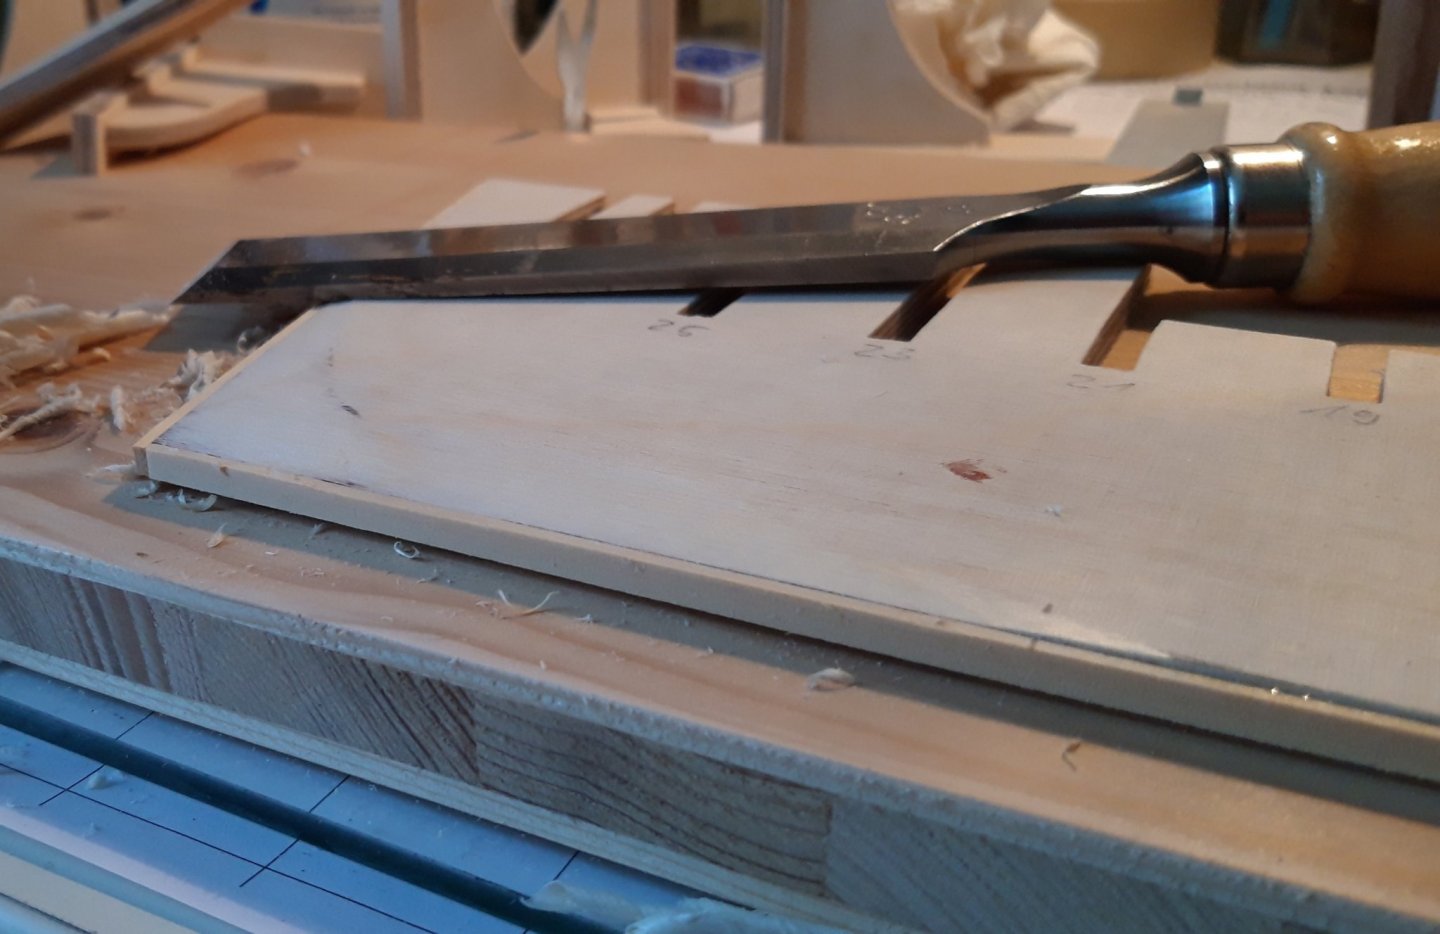
great fun, how the puzzle matches the plywood that was left from making bulkheads was just enough for the brackets

-
I must admitt, without all the assistance you provide chuck, people like me would probably never start such a model projekt. If I come home after work I have about 1 hour time every second or third day to go into the Workshop and make some progress. You make it all very easy, so fulltime busy people still can have some model-building fun and make some progress late in the evening.
- 1,784 replies
-
- 7
-
-
- winchelsea
- Syren Ship Model Company
- (and 1 more)
-
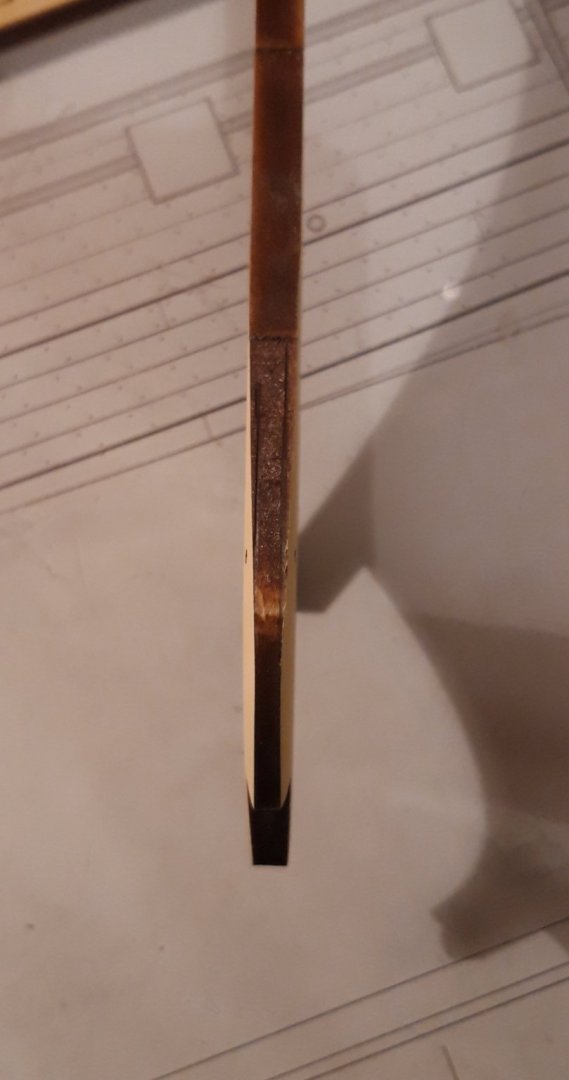
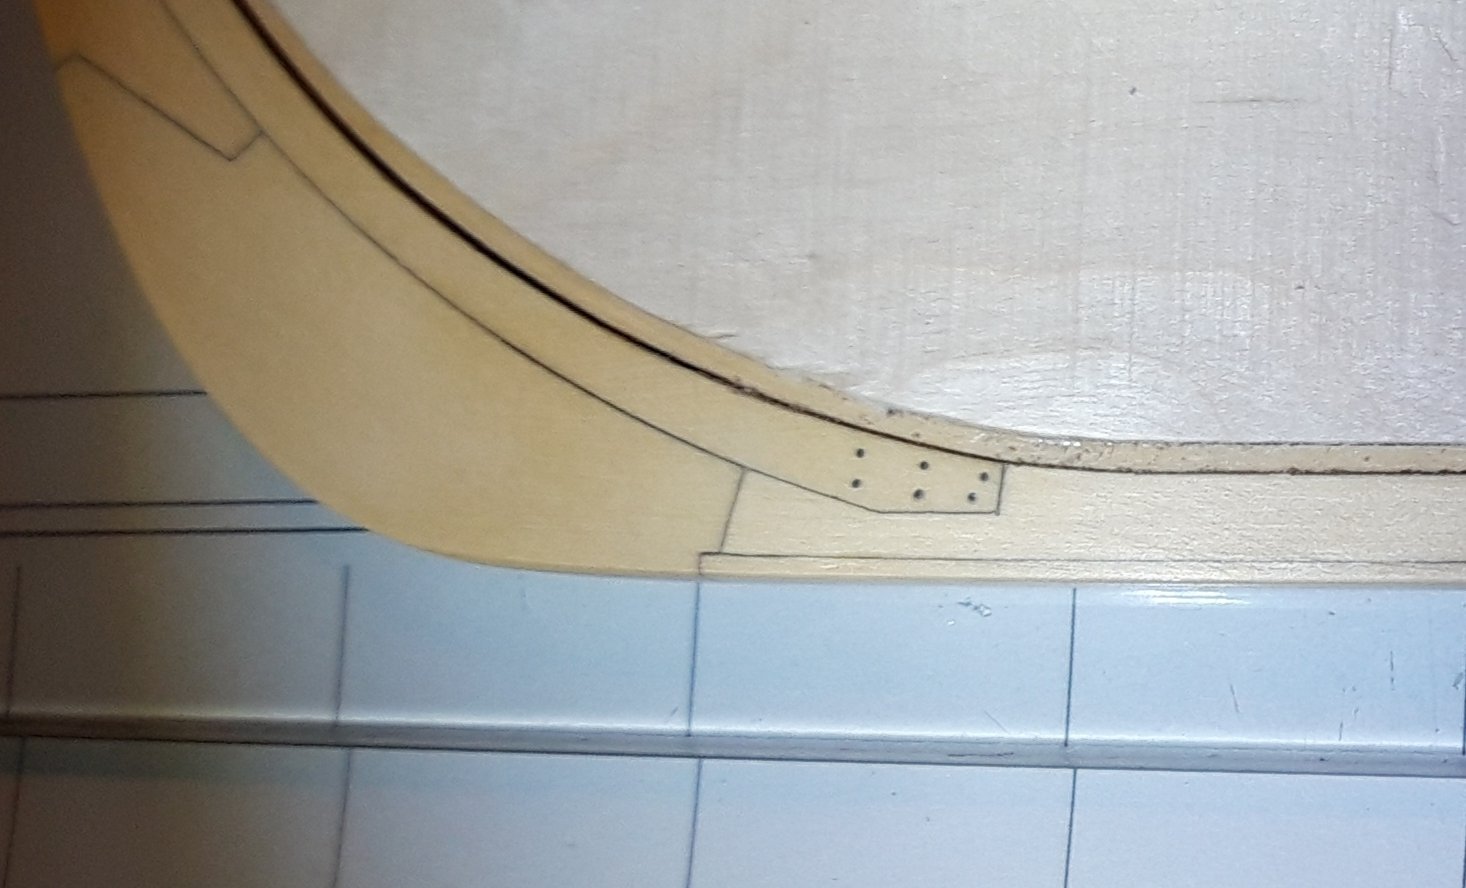
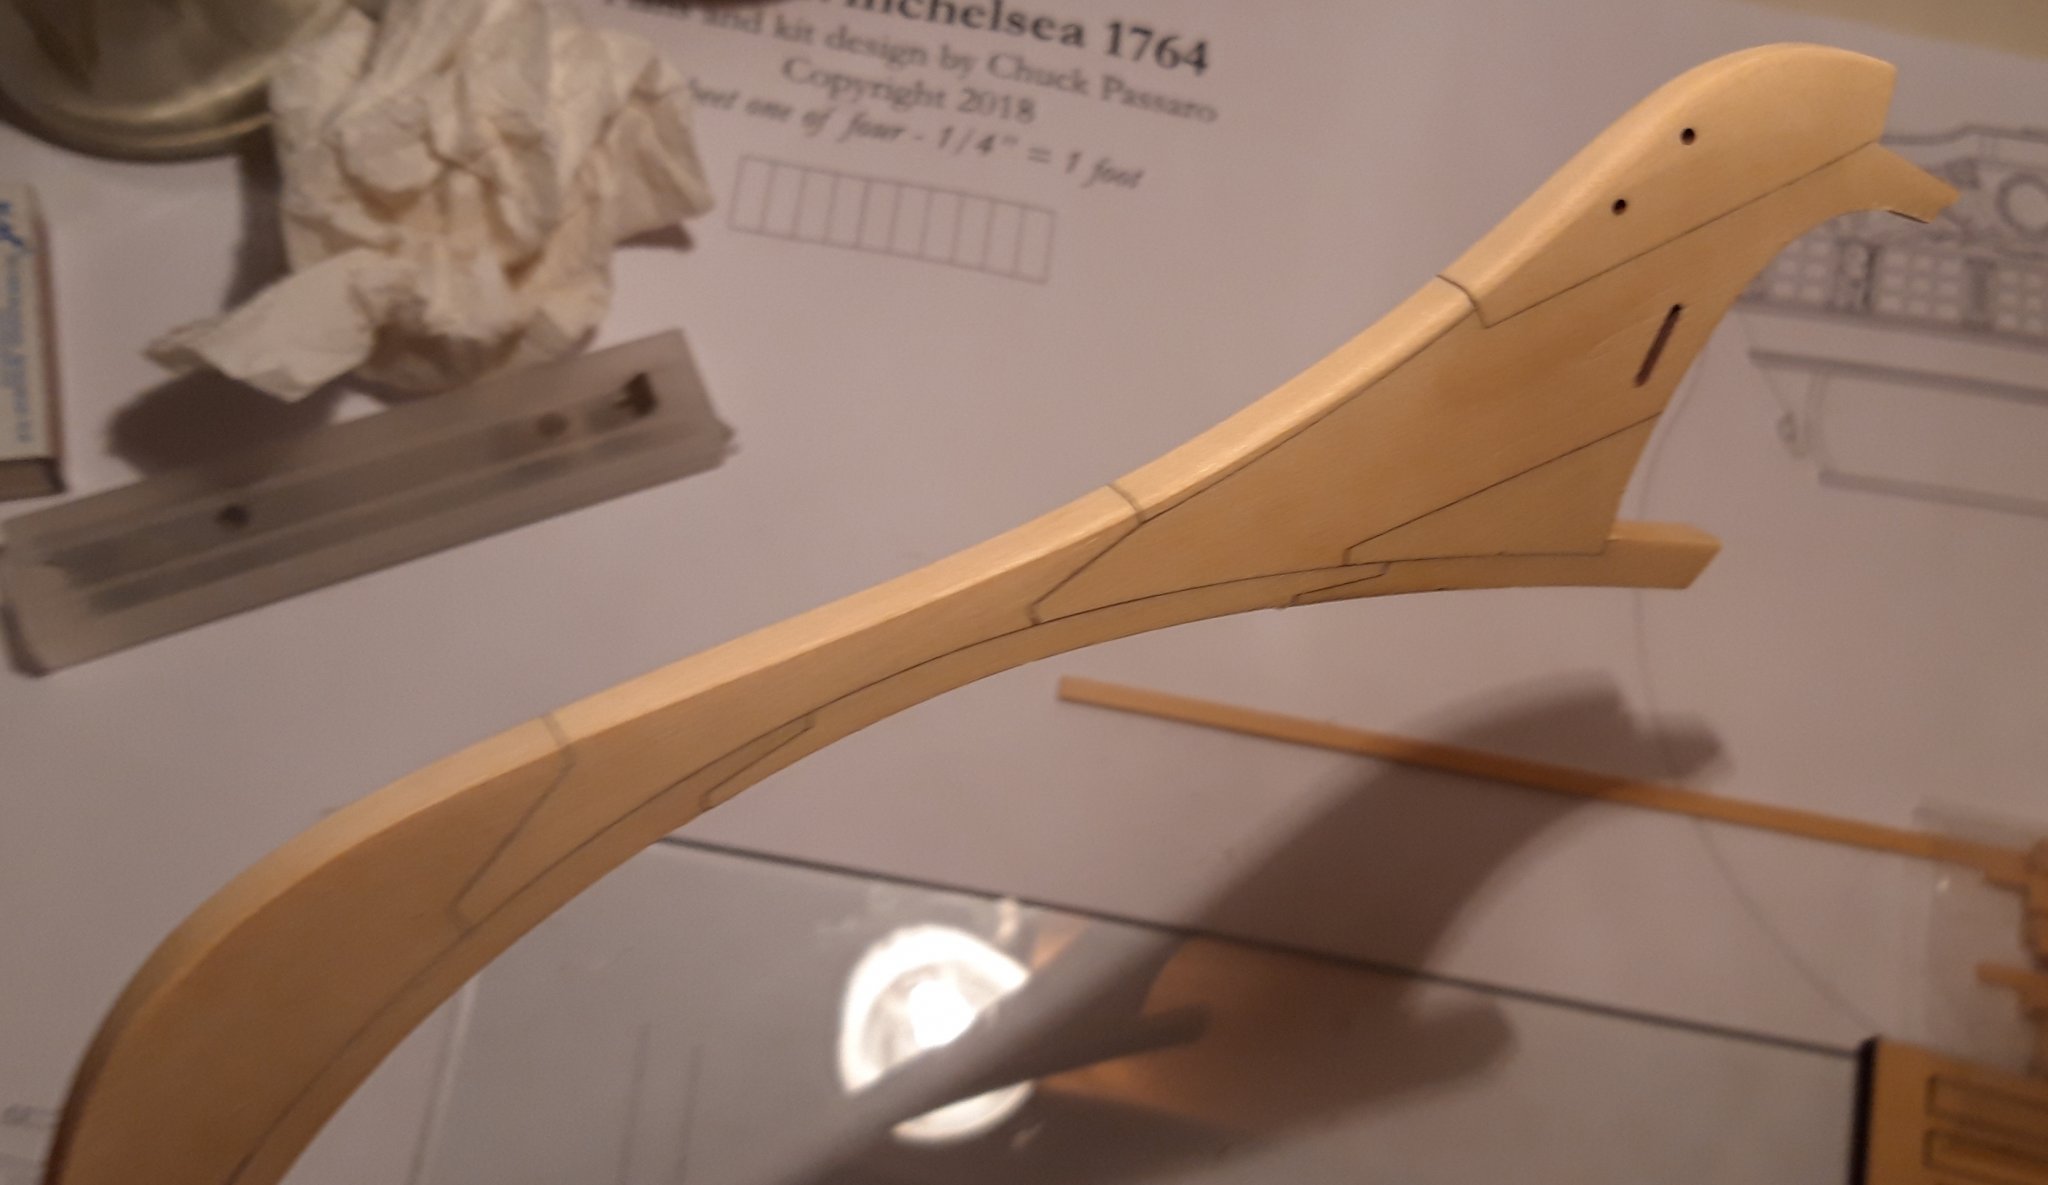
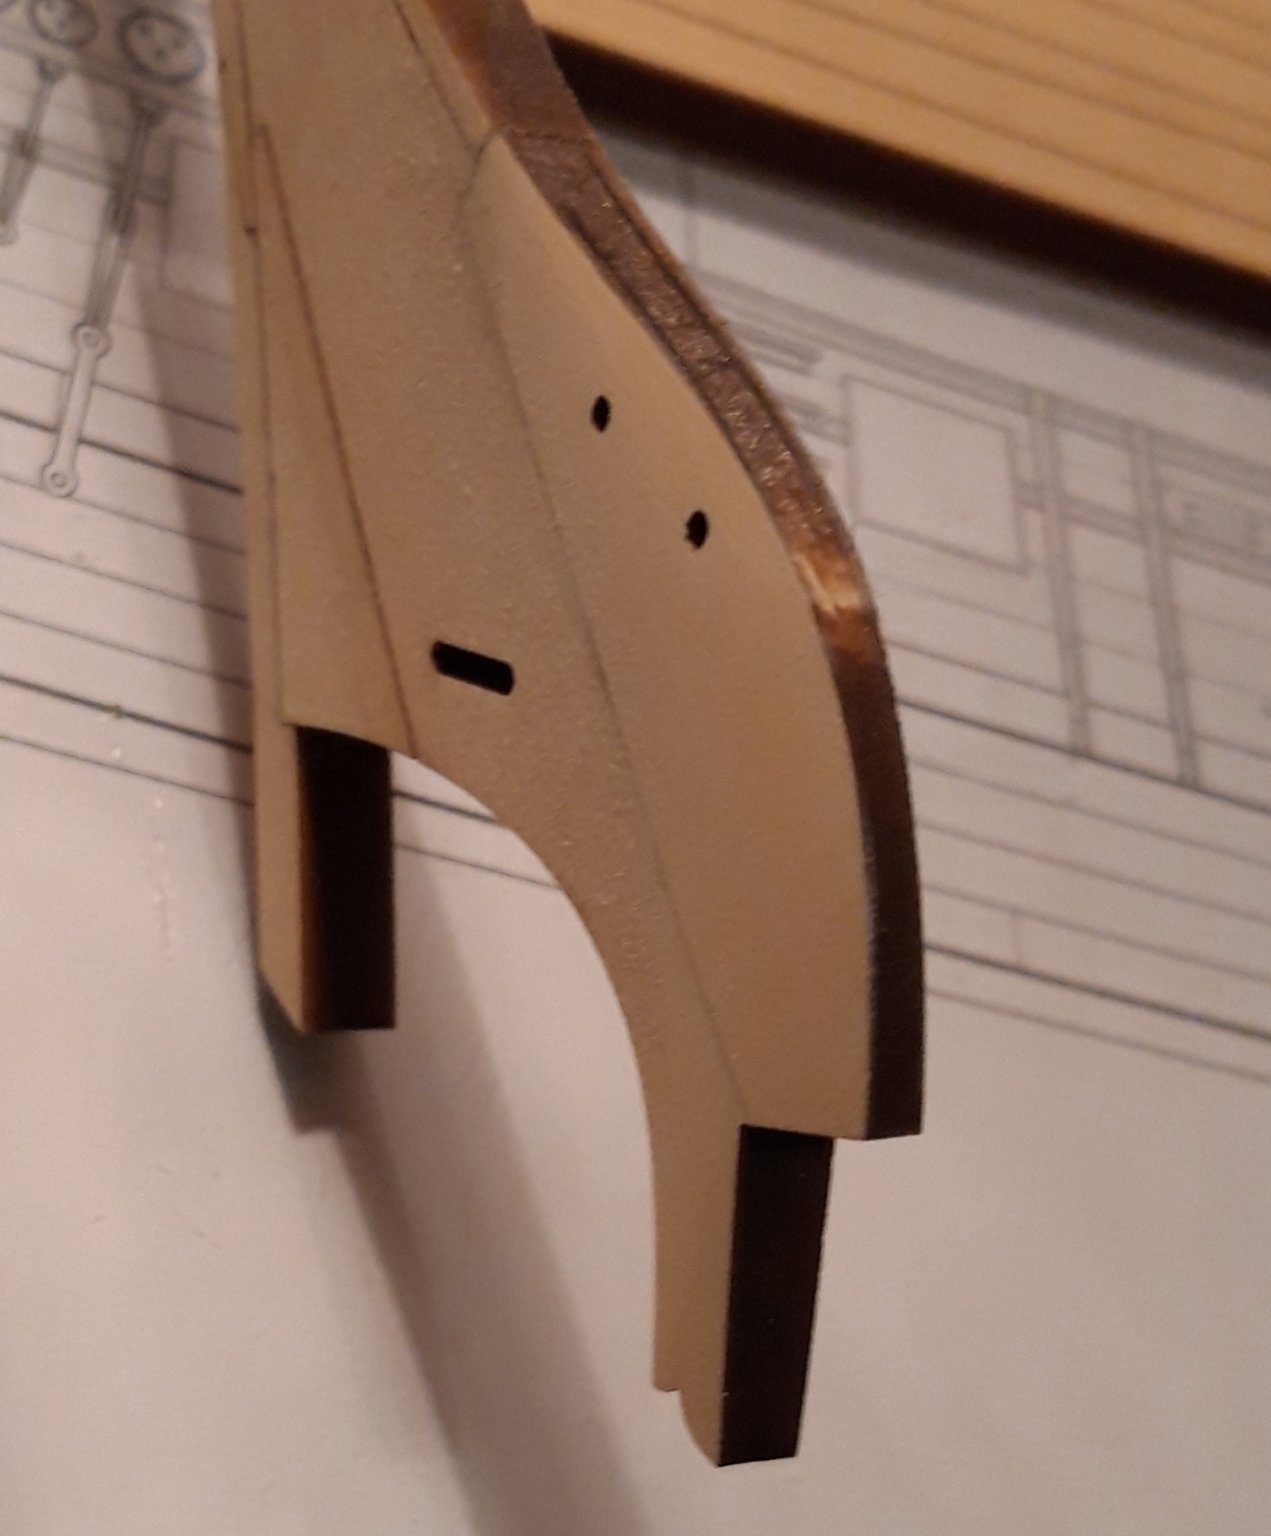
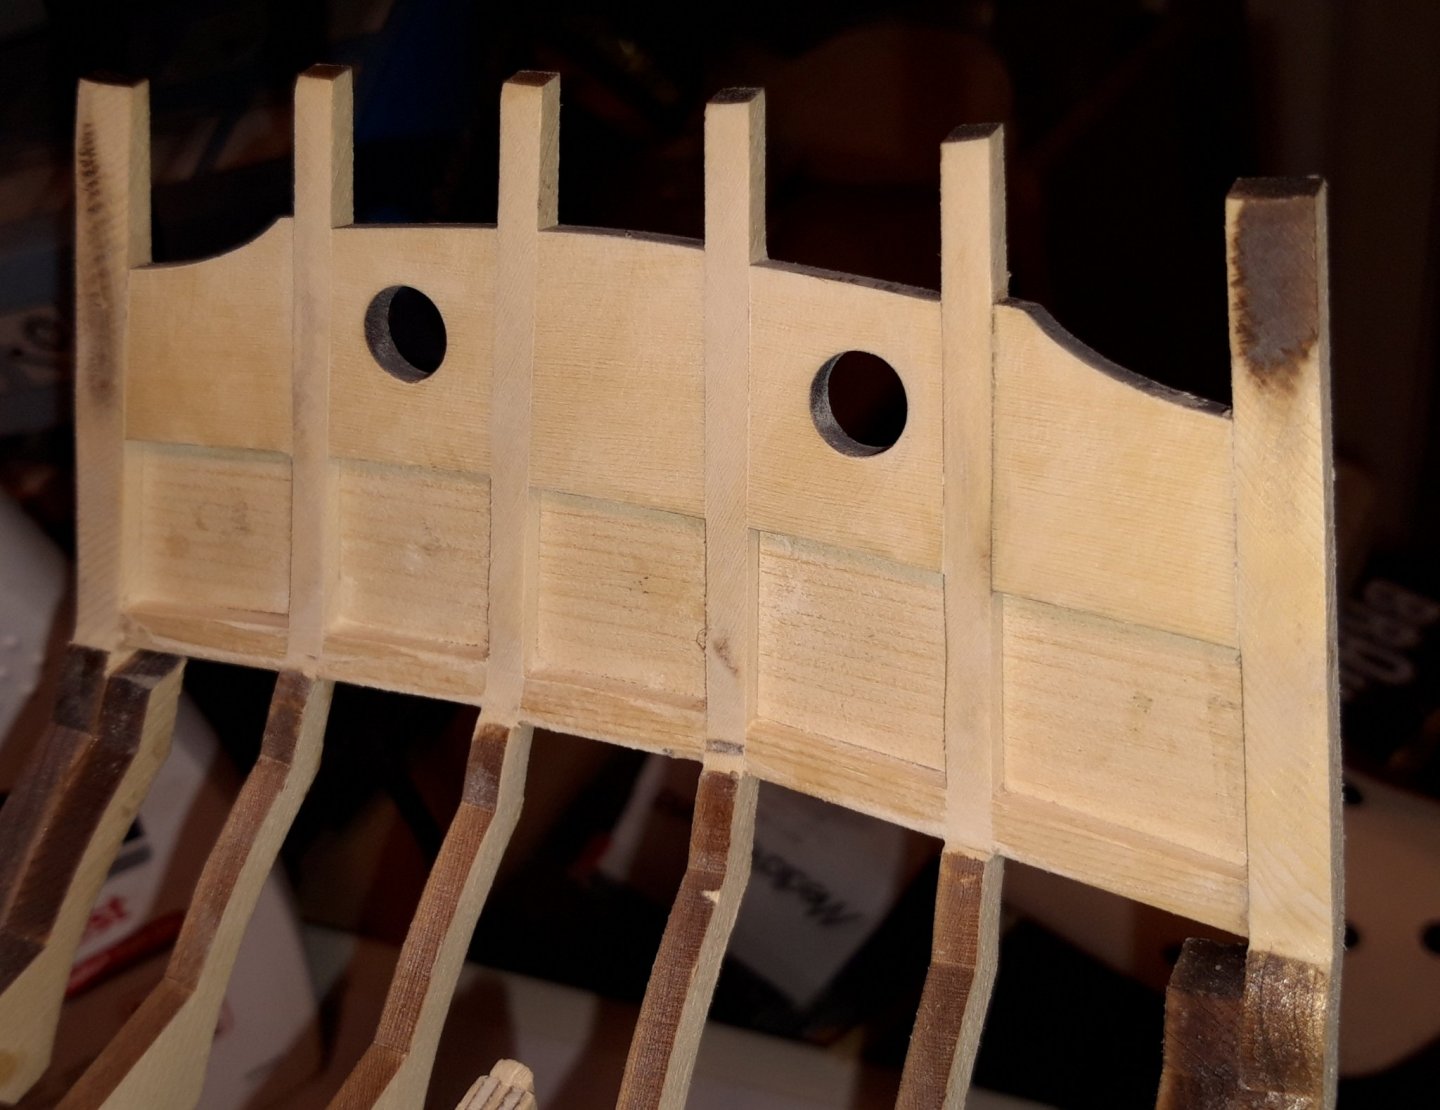
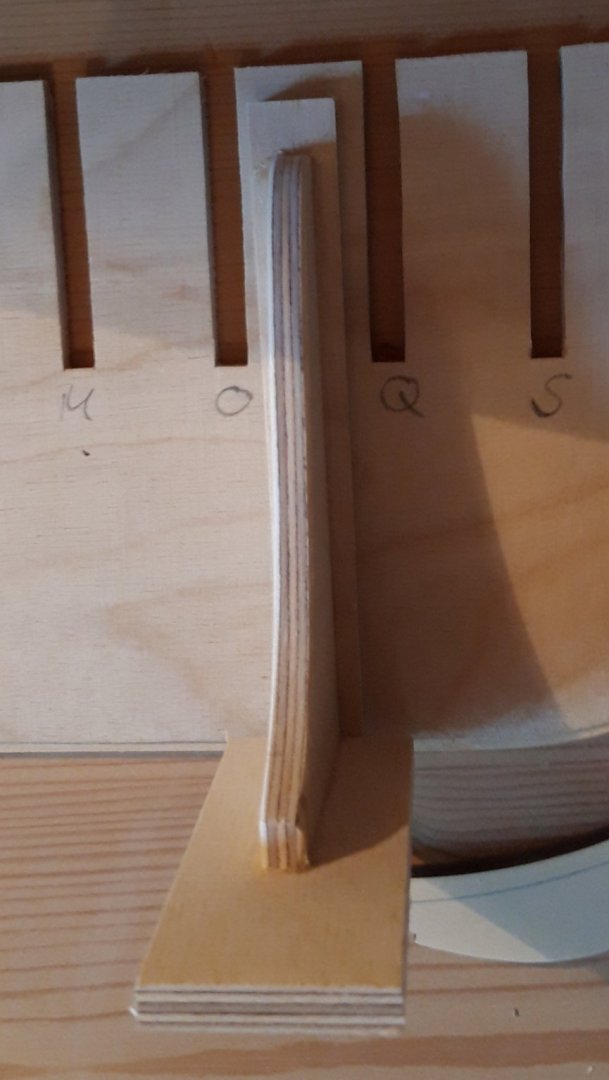
is that enough tapering? I'm not shure, if the top of the head knete Muster be reduced to 1/8" as well.