semorebutts
-
Posts
664 -
Joined
-
Last visited
Content Type
Profiles
Forums
Gallery
Events
Everything posted by semorebutts
-
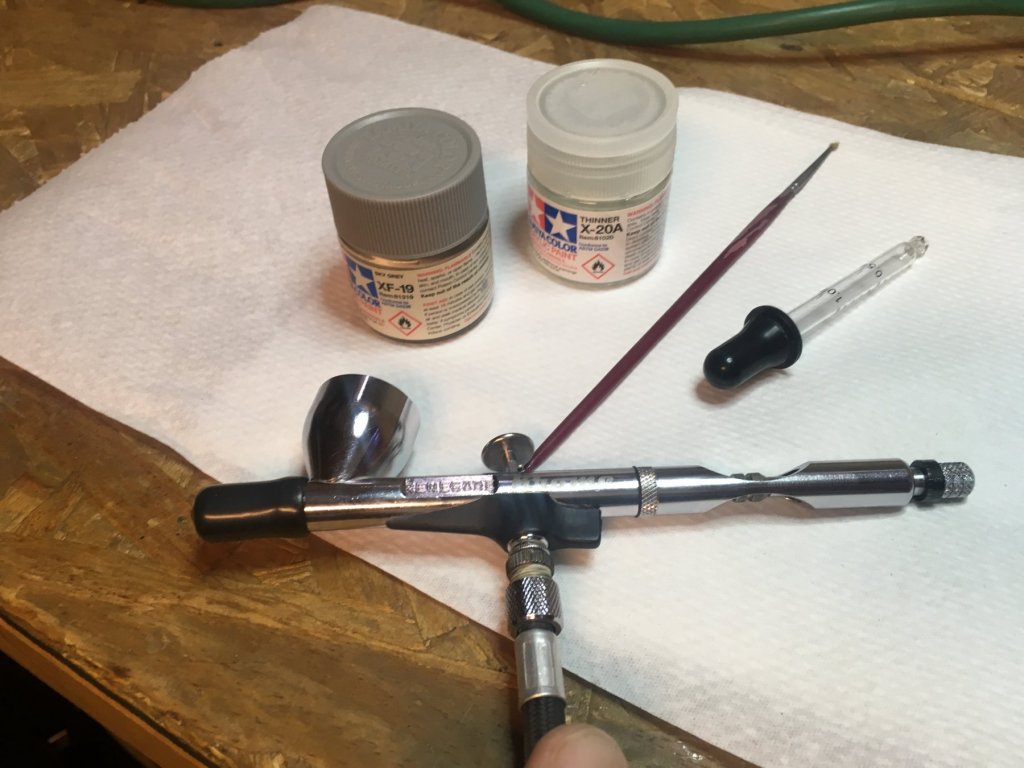
next i'm going to shade the cranes. then rig them with ez-line. I'm not sure if I will use fine or heavy ez-line. I think fine is more to scale... oh I forgot I also have to paint the pulleys and hook black first. then paint the launches. I am scared to death of painting the launches though I don't know why.
-
whoa that was deep, made sense too. I agree I love seeing others builders working on the same model I am and how they approach things! it's just that this is basically my first model build. so when I hear you guys say how very good it is it makes me feel like it downgrades the pros to a rookie level. I don't know i'm wierd. well OK then... if you guys say so i guess i am doing a pretty good job, but that's the most you'll get me to say.
-
I just dont see it. I see it in plenty of other builds on here, but not mine. Either you guys are being very nice about it or im blind lol. But thank you for the compliments. It keeps me going for sure!
-
Thanks guys. Maybe it just looks better online lol. Its ok if you ask me. Deffinetly no where close to the others ive seen online. But hopefully when I do the missouri my skill set will be much better.
-
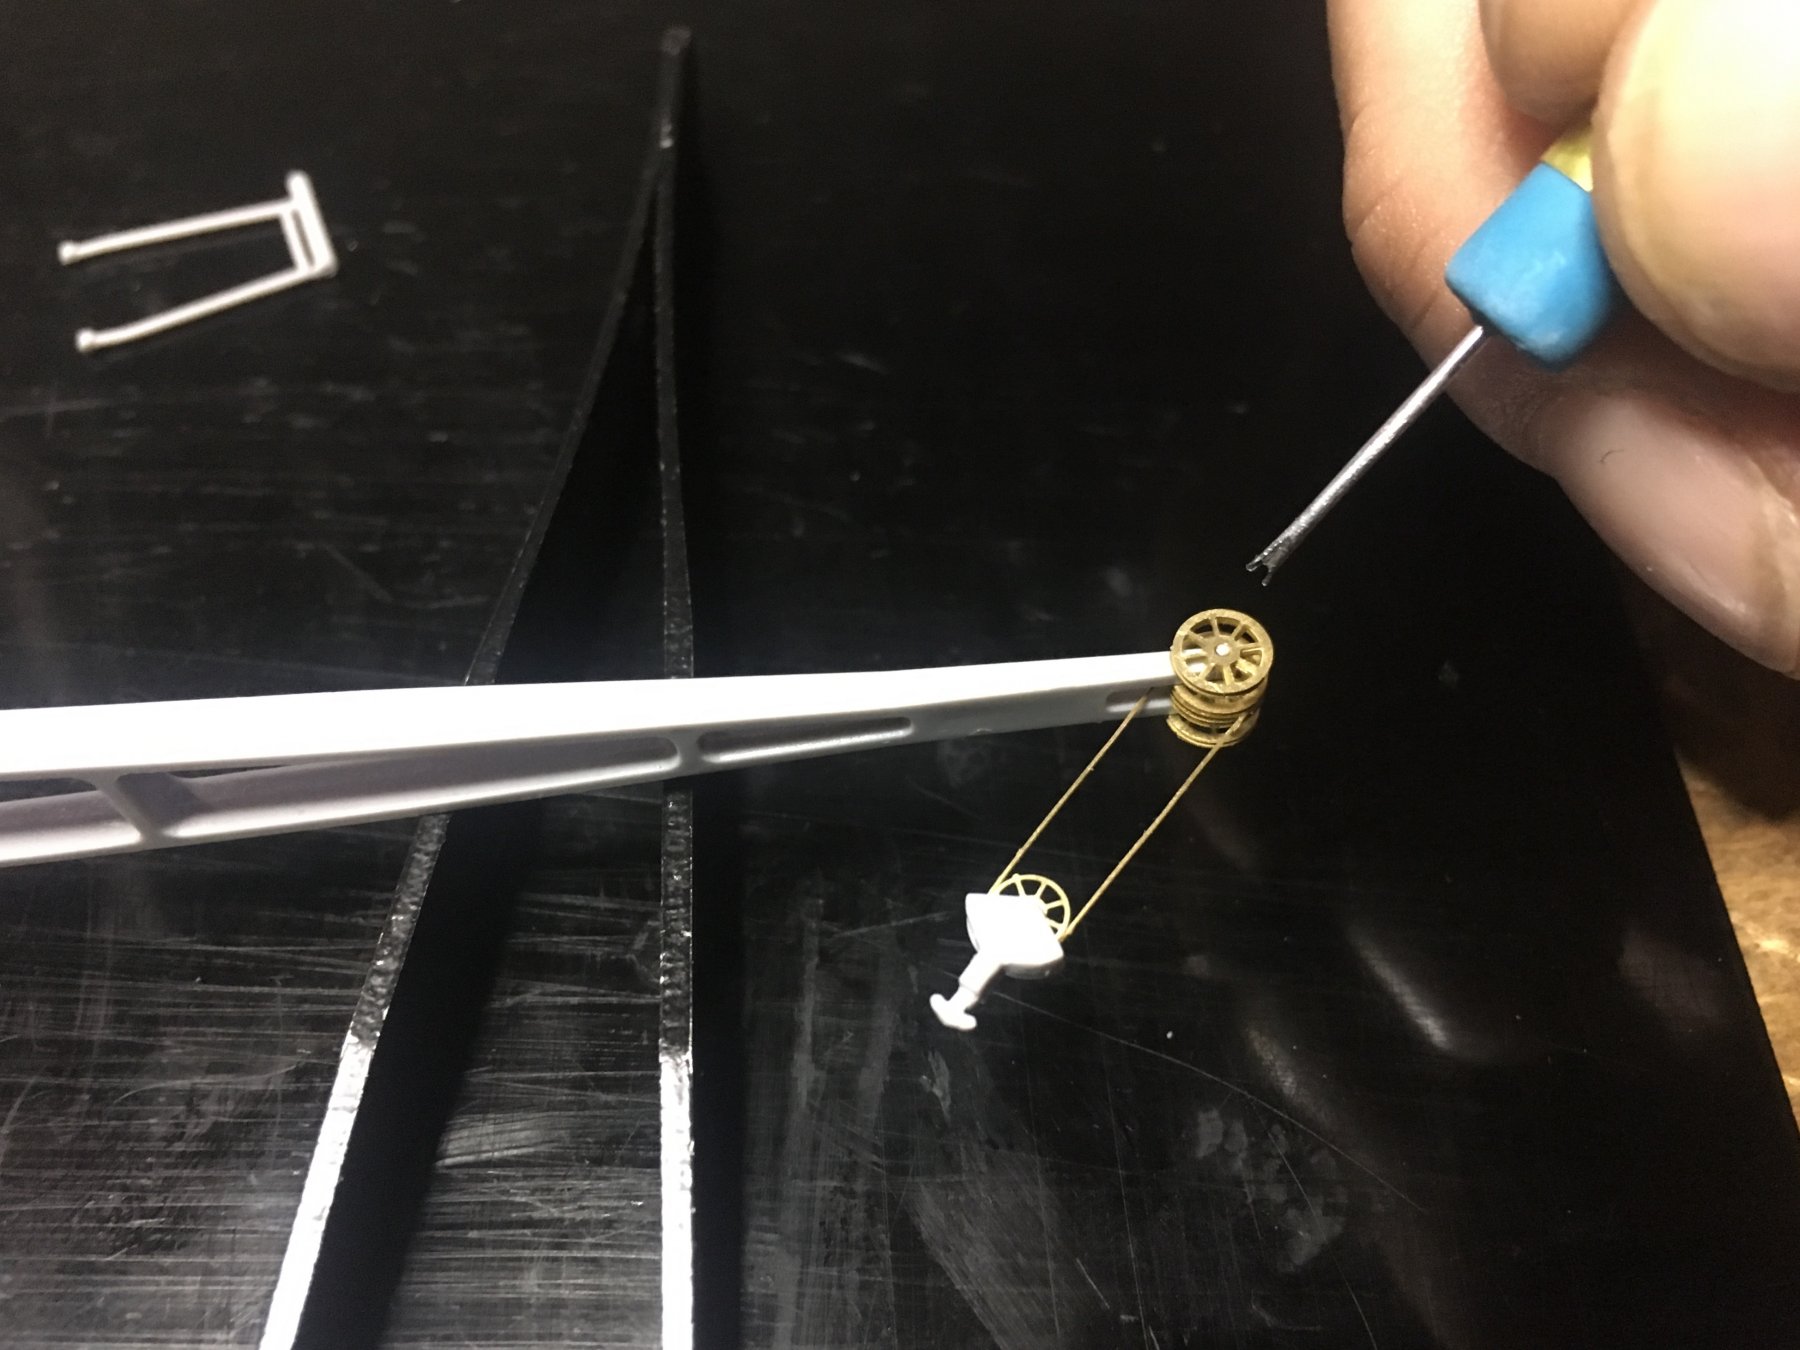
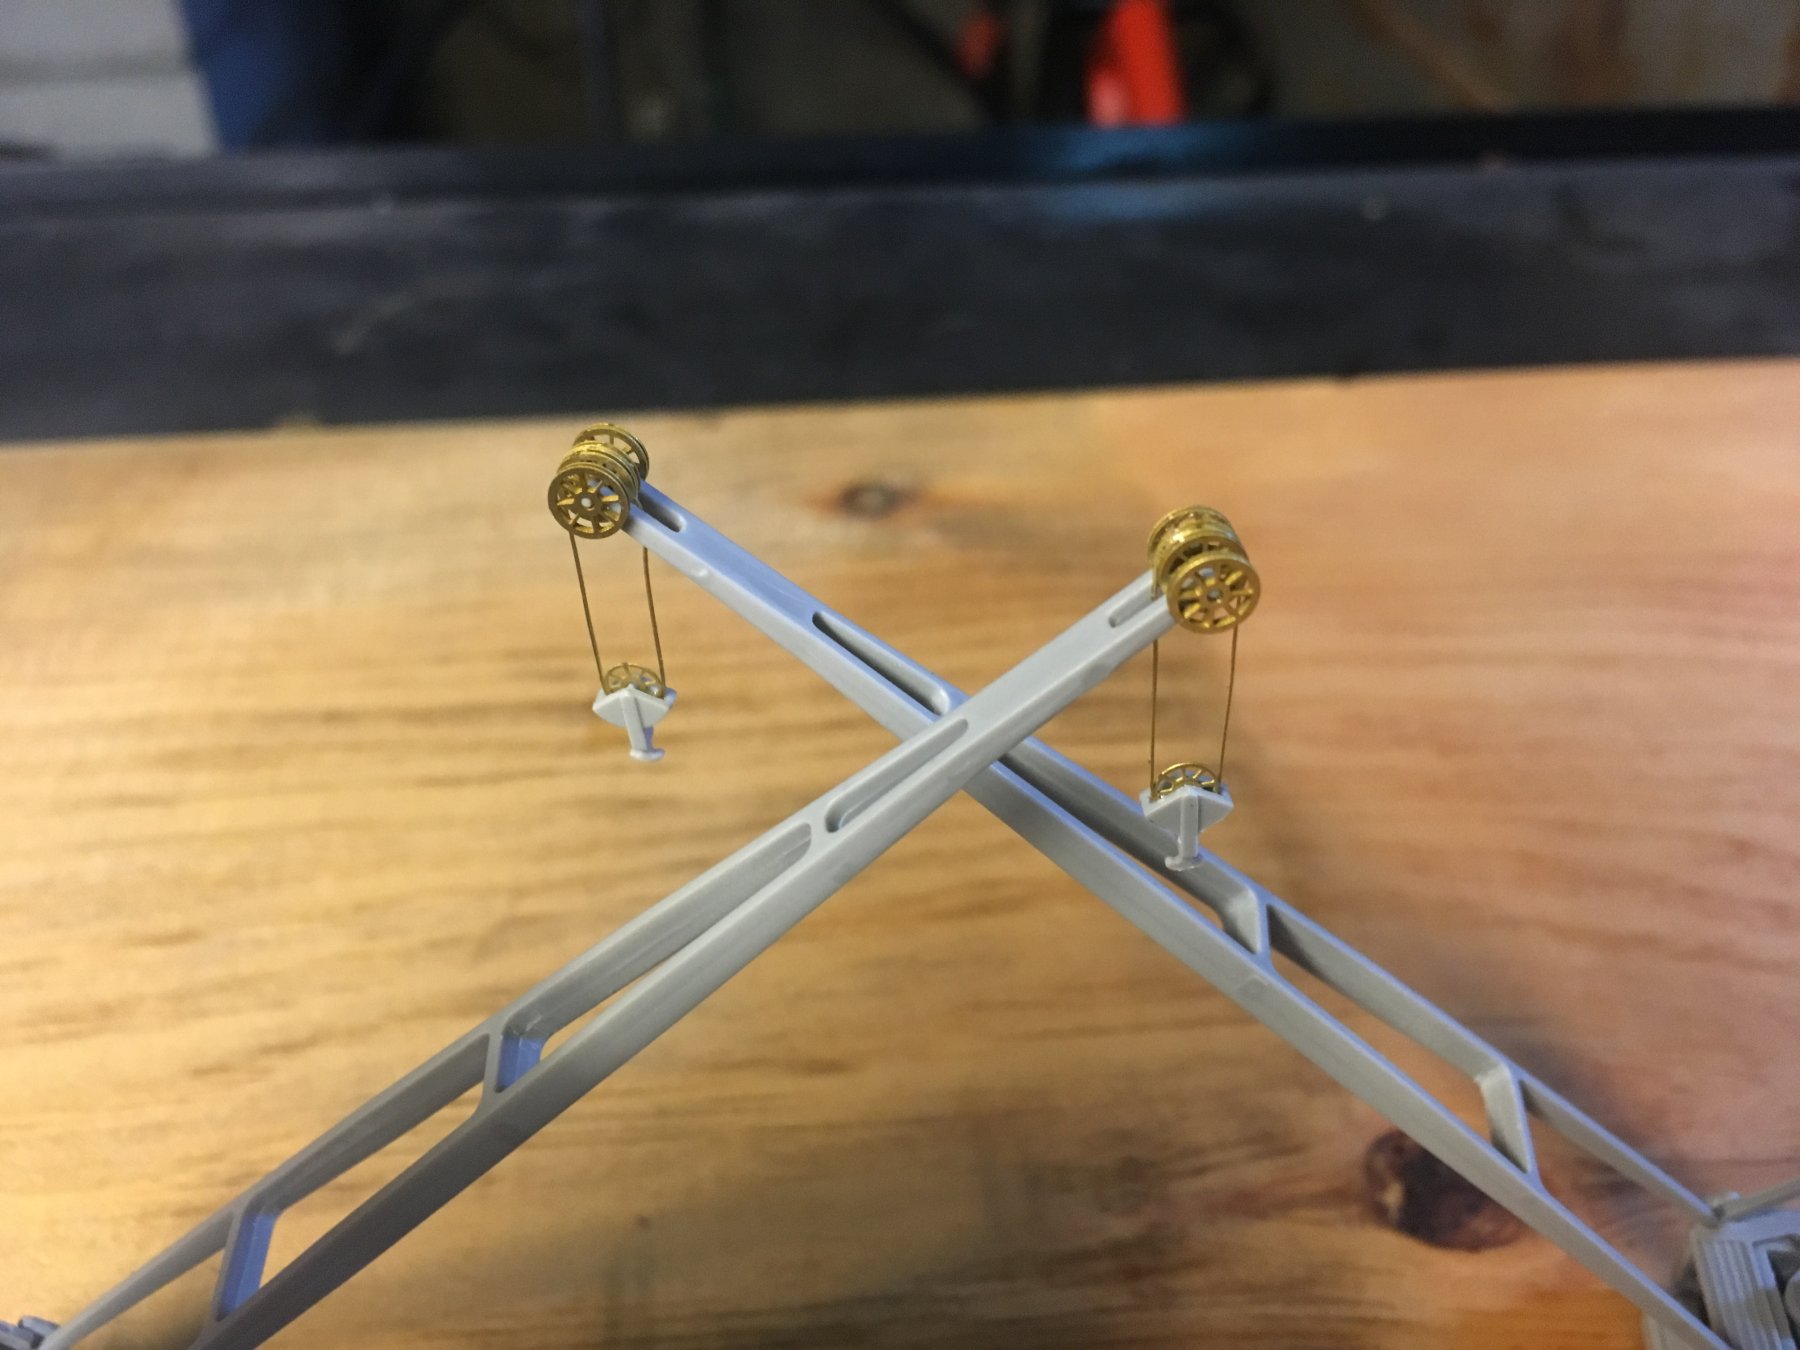
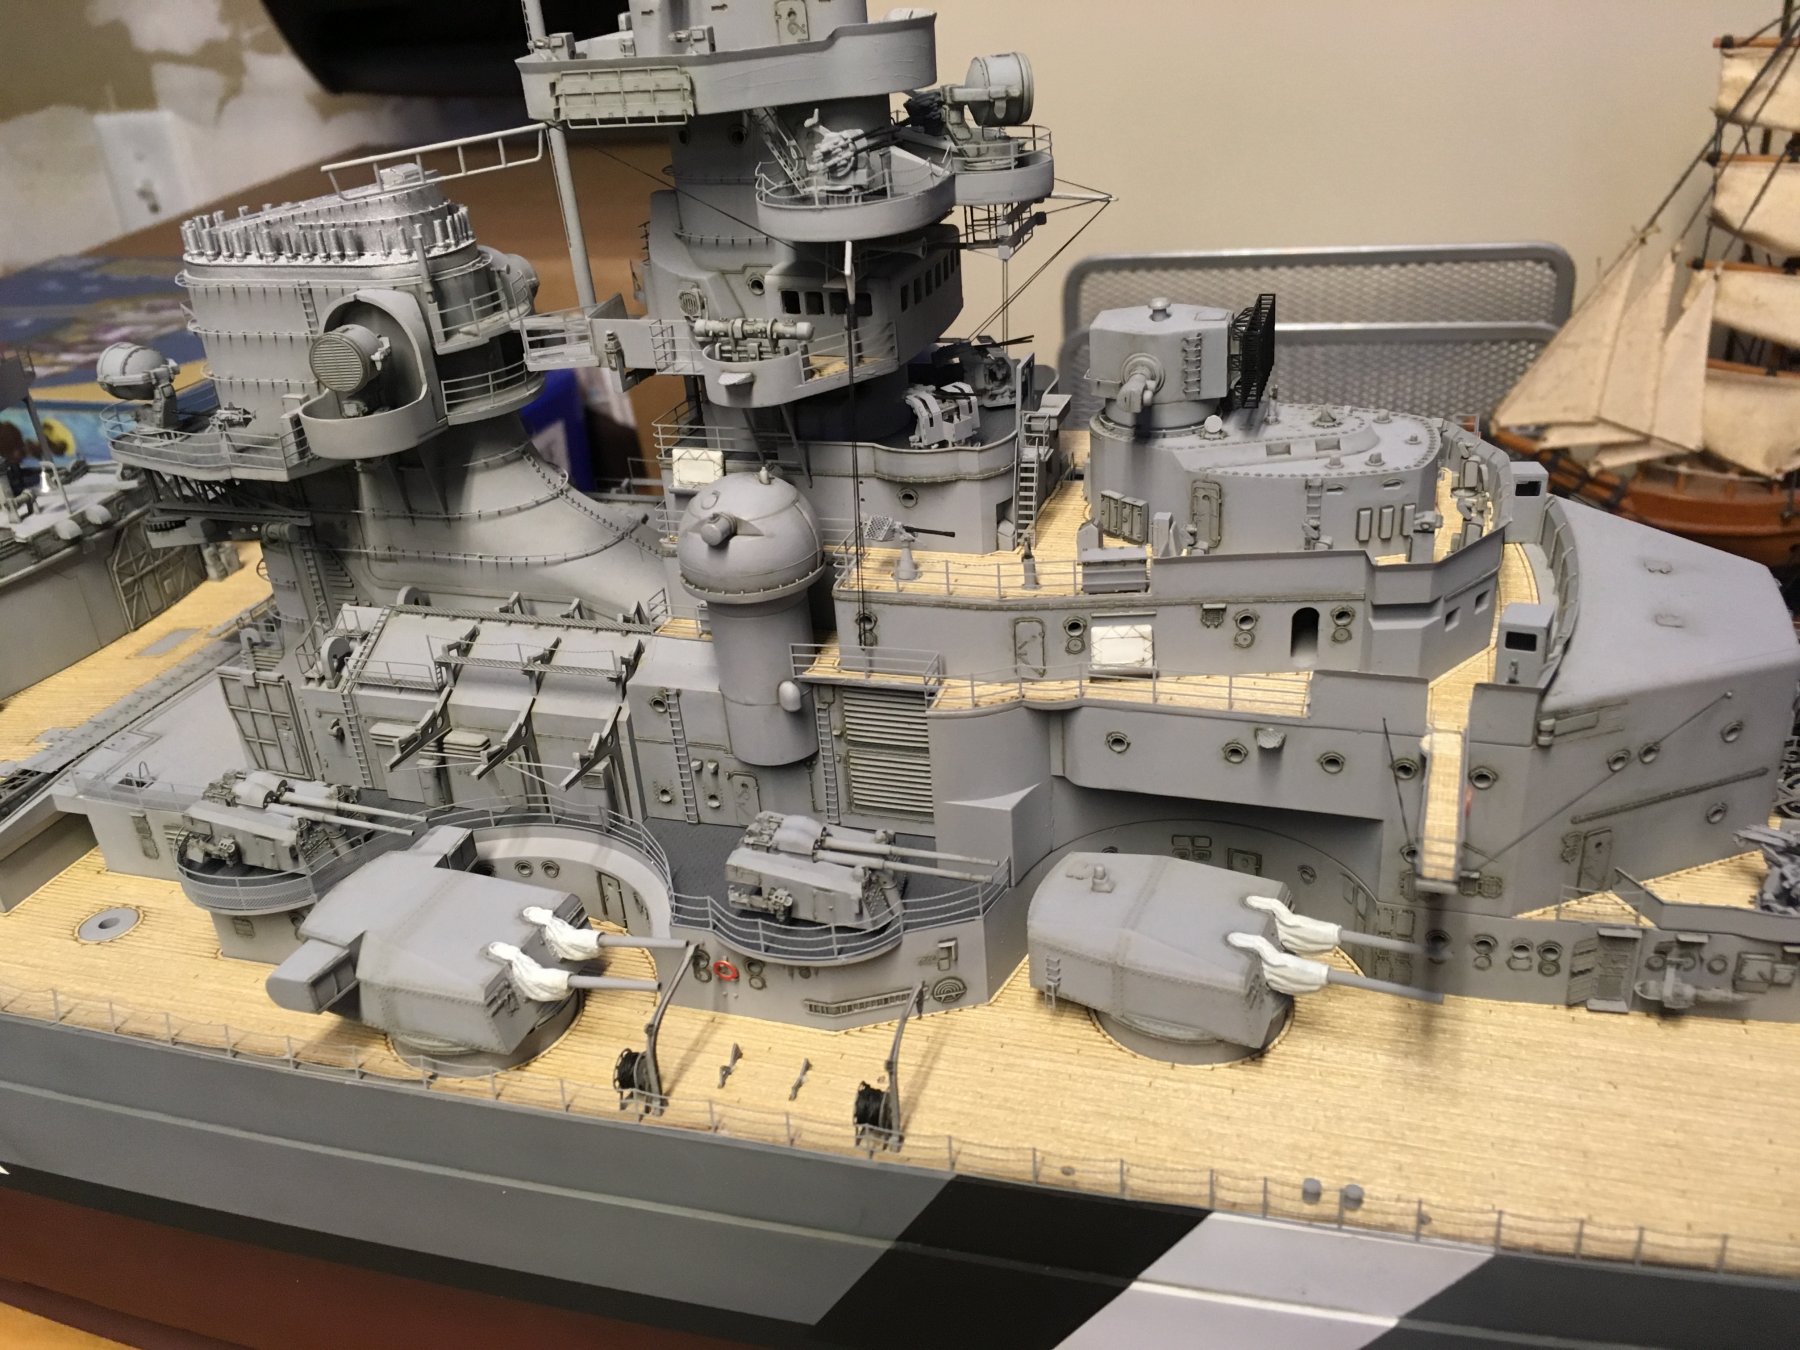
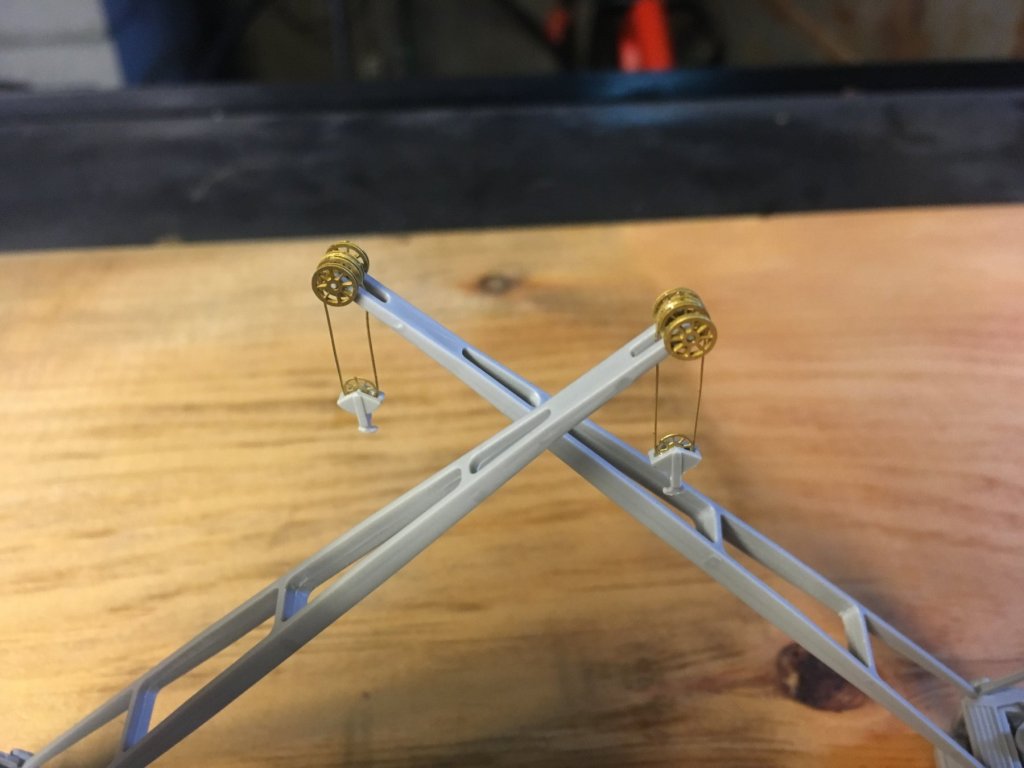
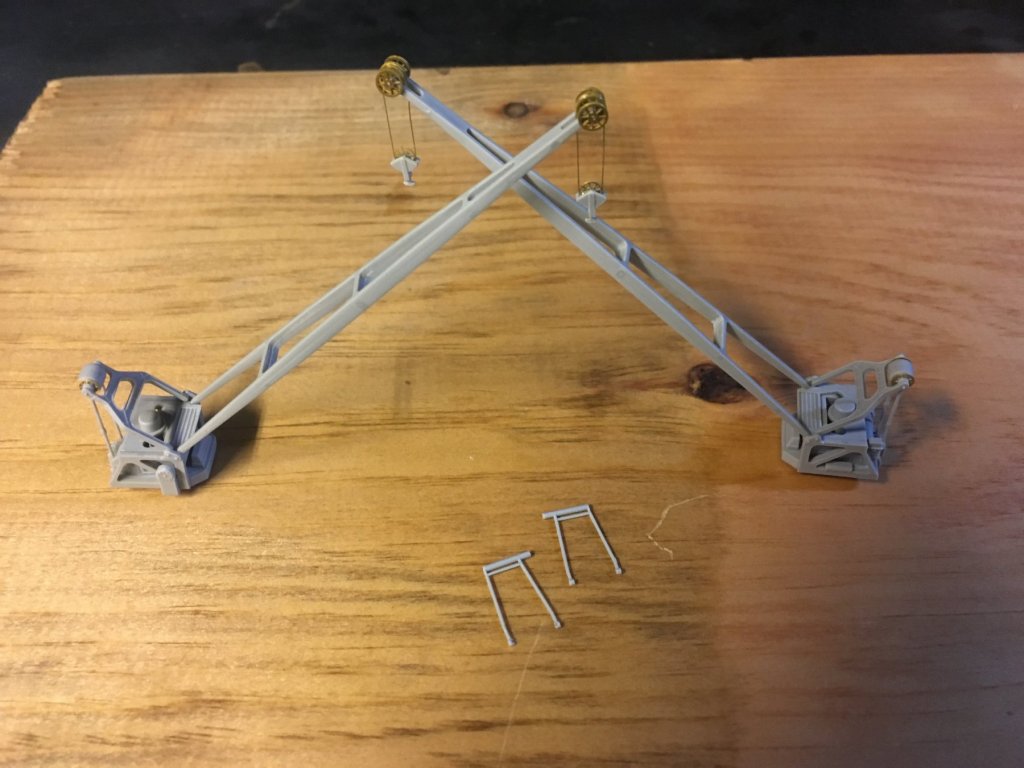
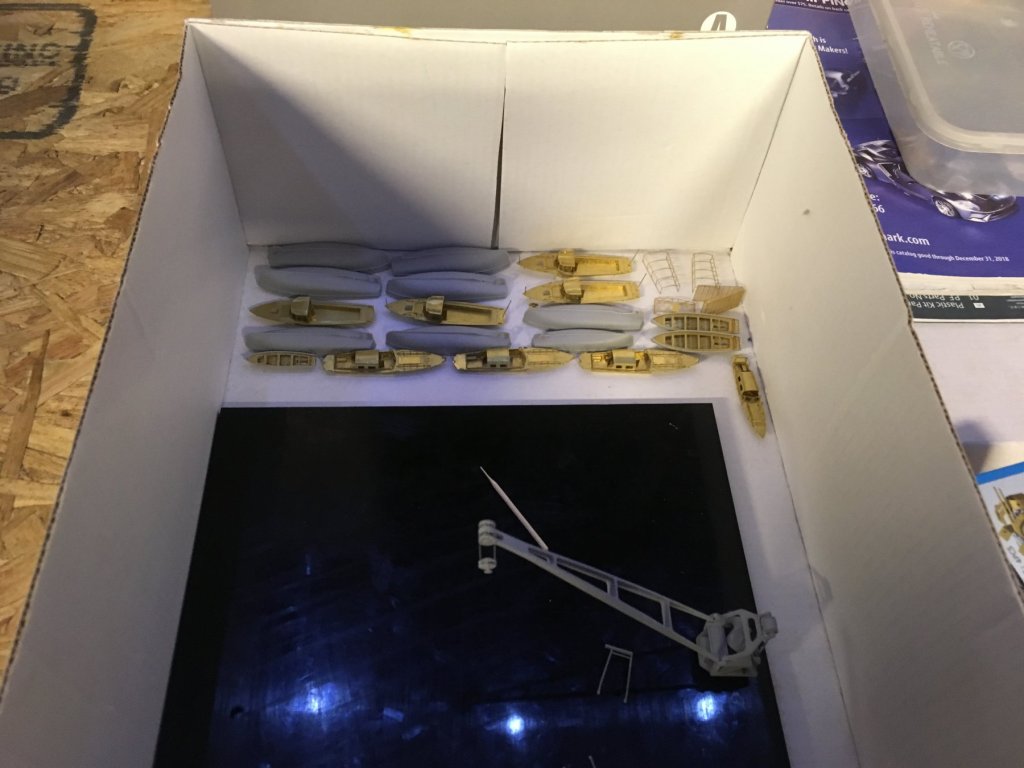
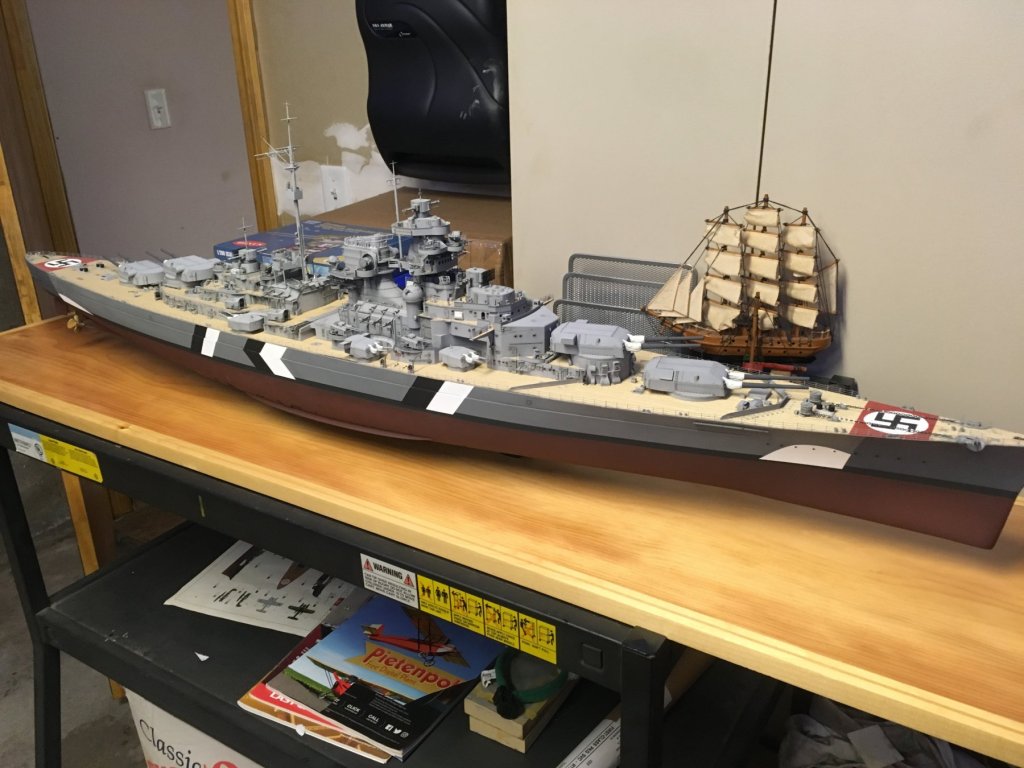
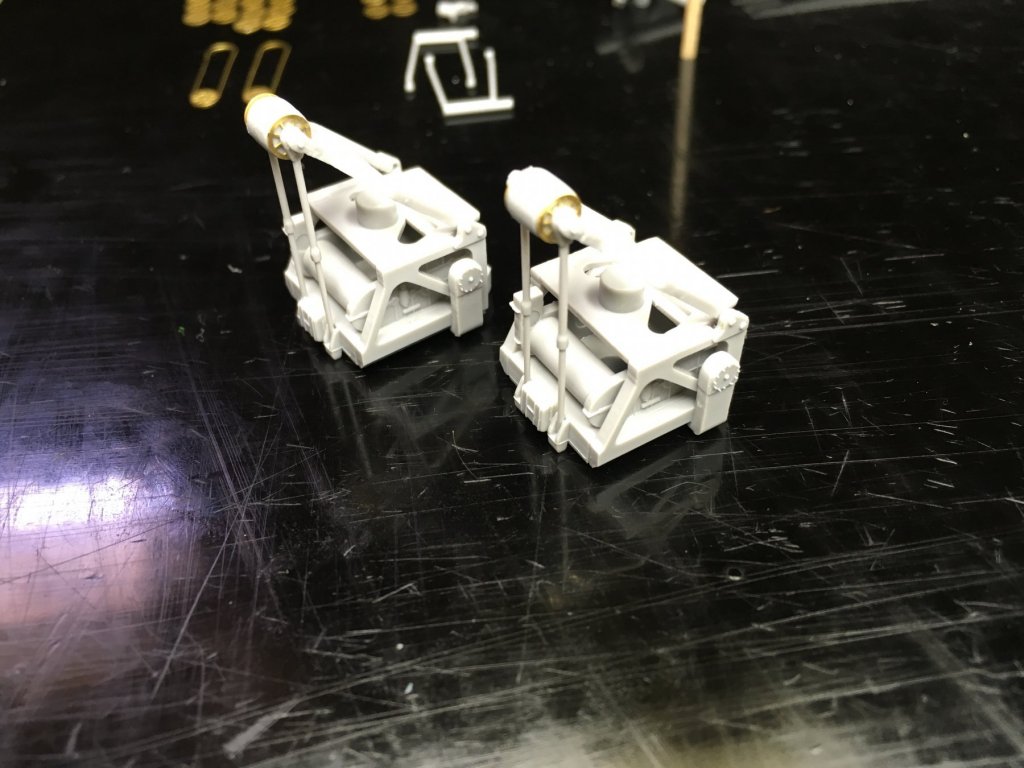
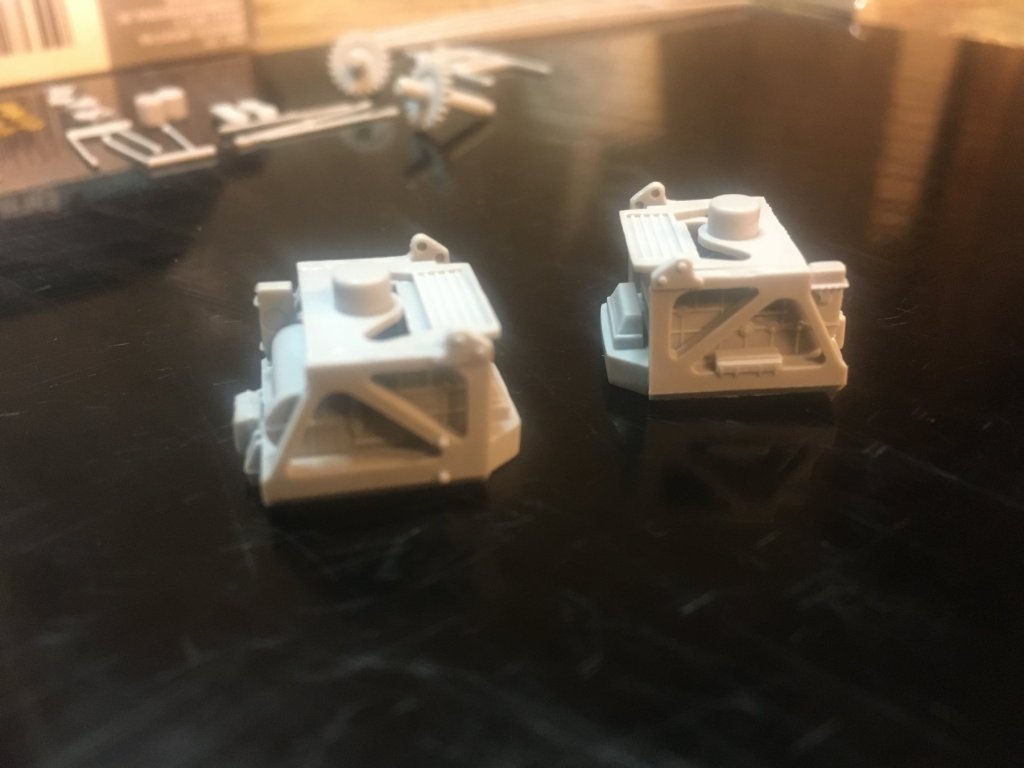
Hey everyone, I was on a roll with the cranes so I figured I might as well just finish them. First was to finish installing the pulleys. and with that done i was ready to paint. This part allways Makes me nervous. Which is why I’m procrastinating on the launches. 45 minutes later the deed was done. theres the launches. I shudder when i think of painting them. also the Bismarck came out to play. I have to really start to build a case. A 1/4” thick acrylic 5 sided box the shape of a fishtank should do. Now I just have to make it.


-
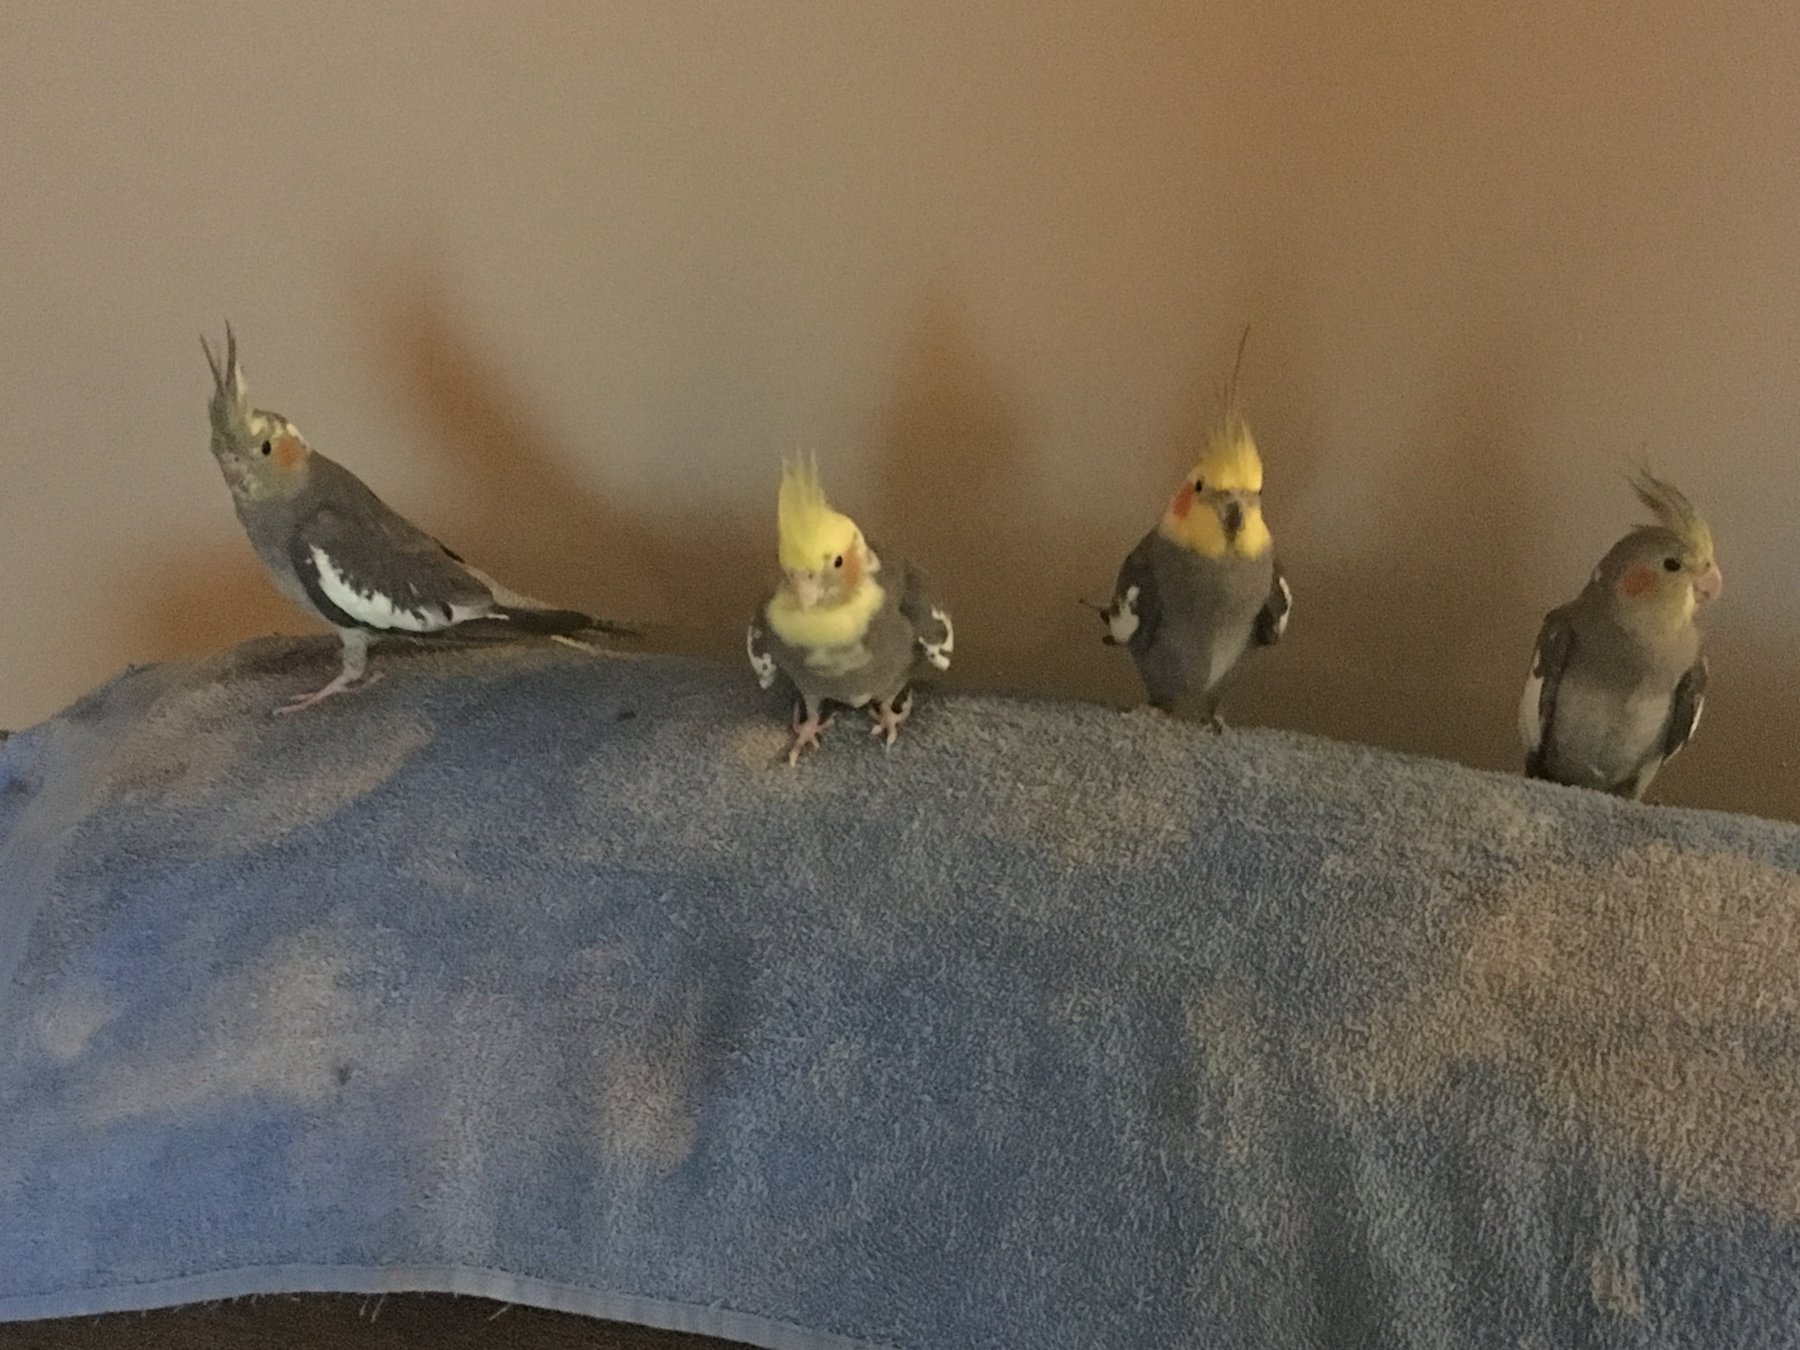
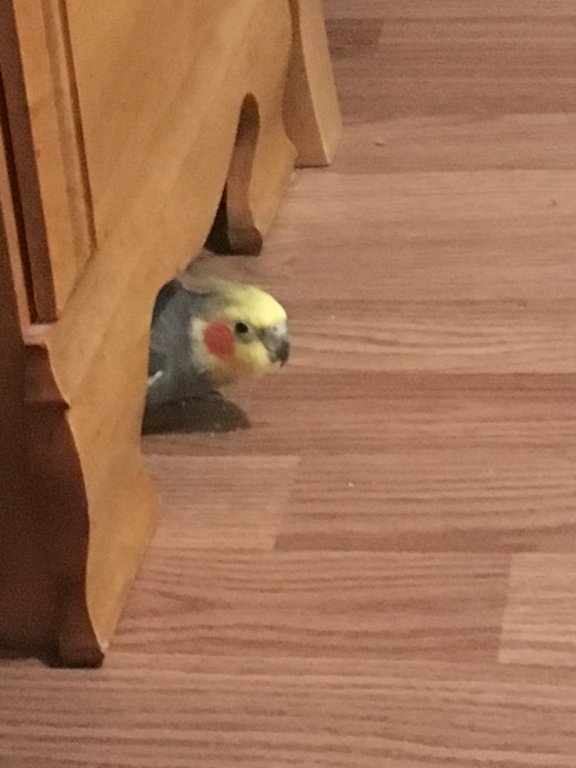
Jack, they are cocketiels. Beta, I dont think I’m going to be here long so I will just keep the basement how it is I guess. And yes when the 2 males have a screaming match it gets very loud! But I love them they are awesome! They also can live 30 years i was told!
-
I kept Oliver busy. He was chewing on a sprue for a while. Then i put on his favorite music on, Pink floyds the wall.... you gotta keep Oliver happy. Ya im very glad the lifeboats are done!
-
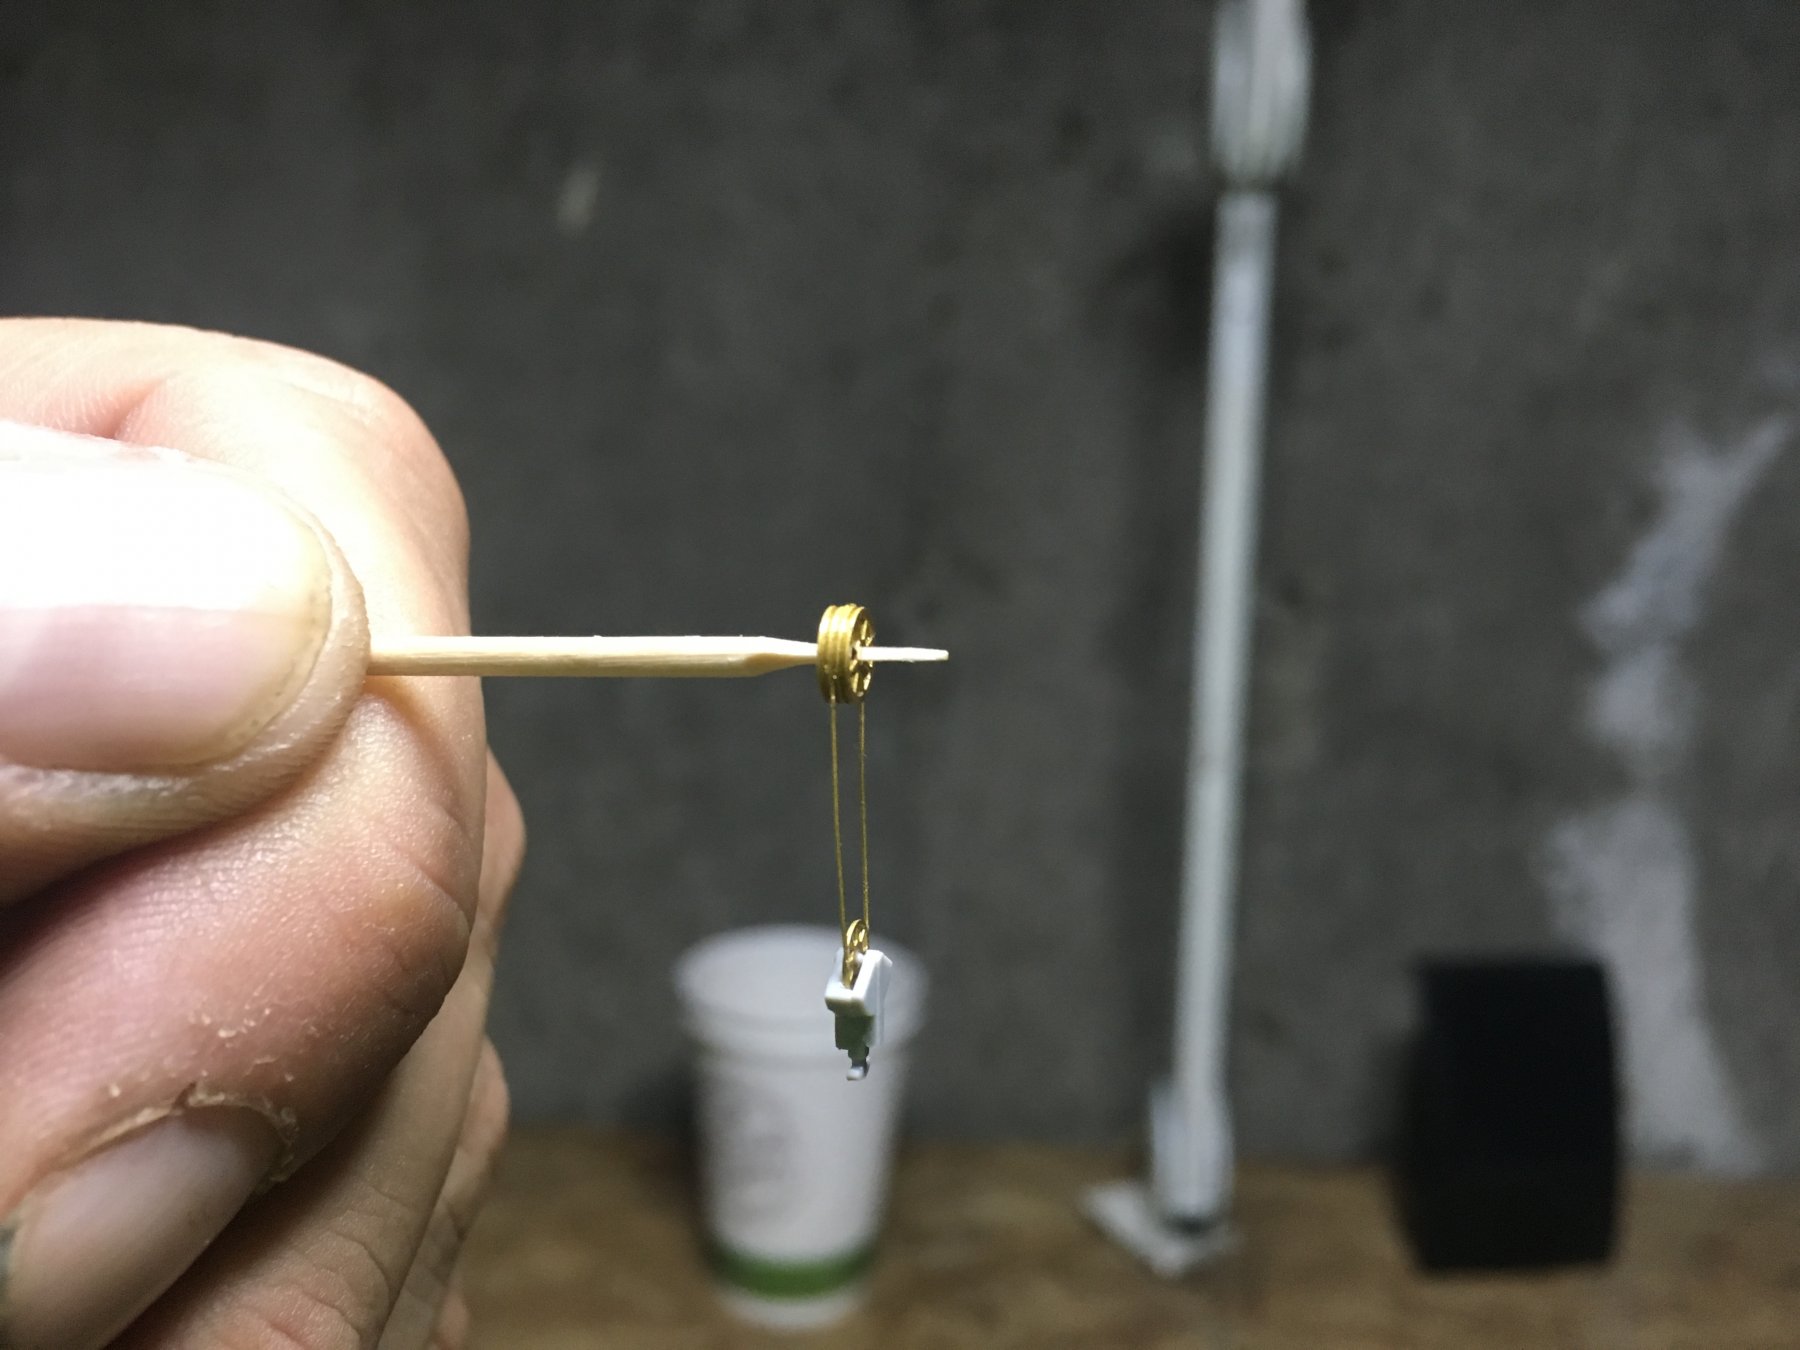
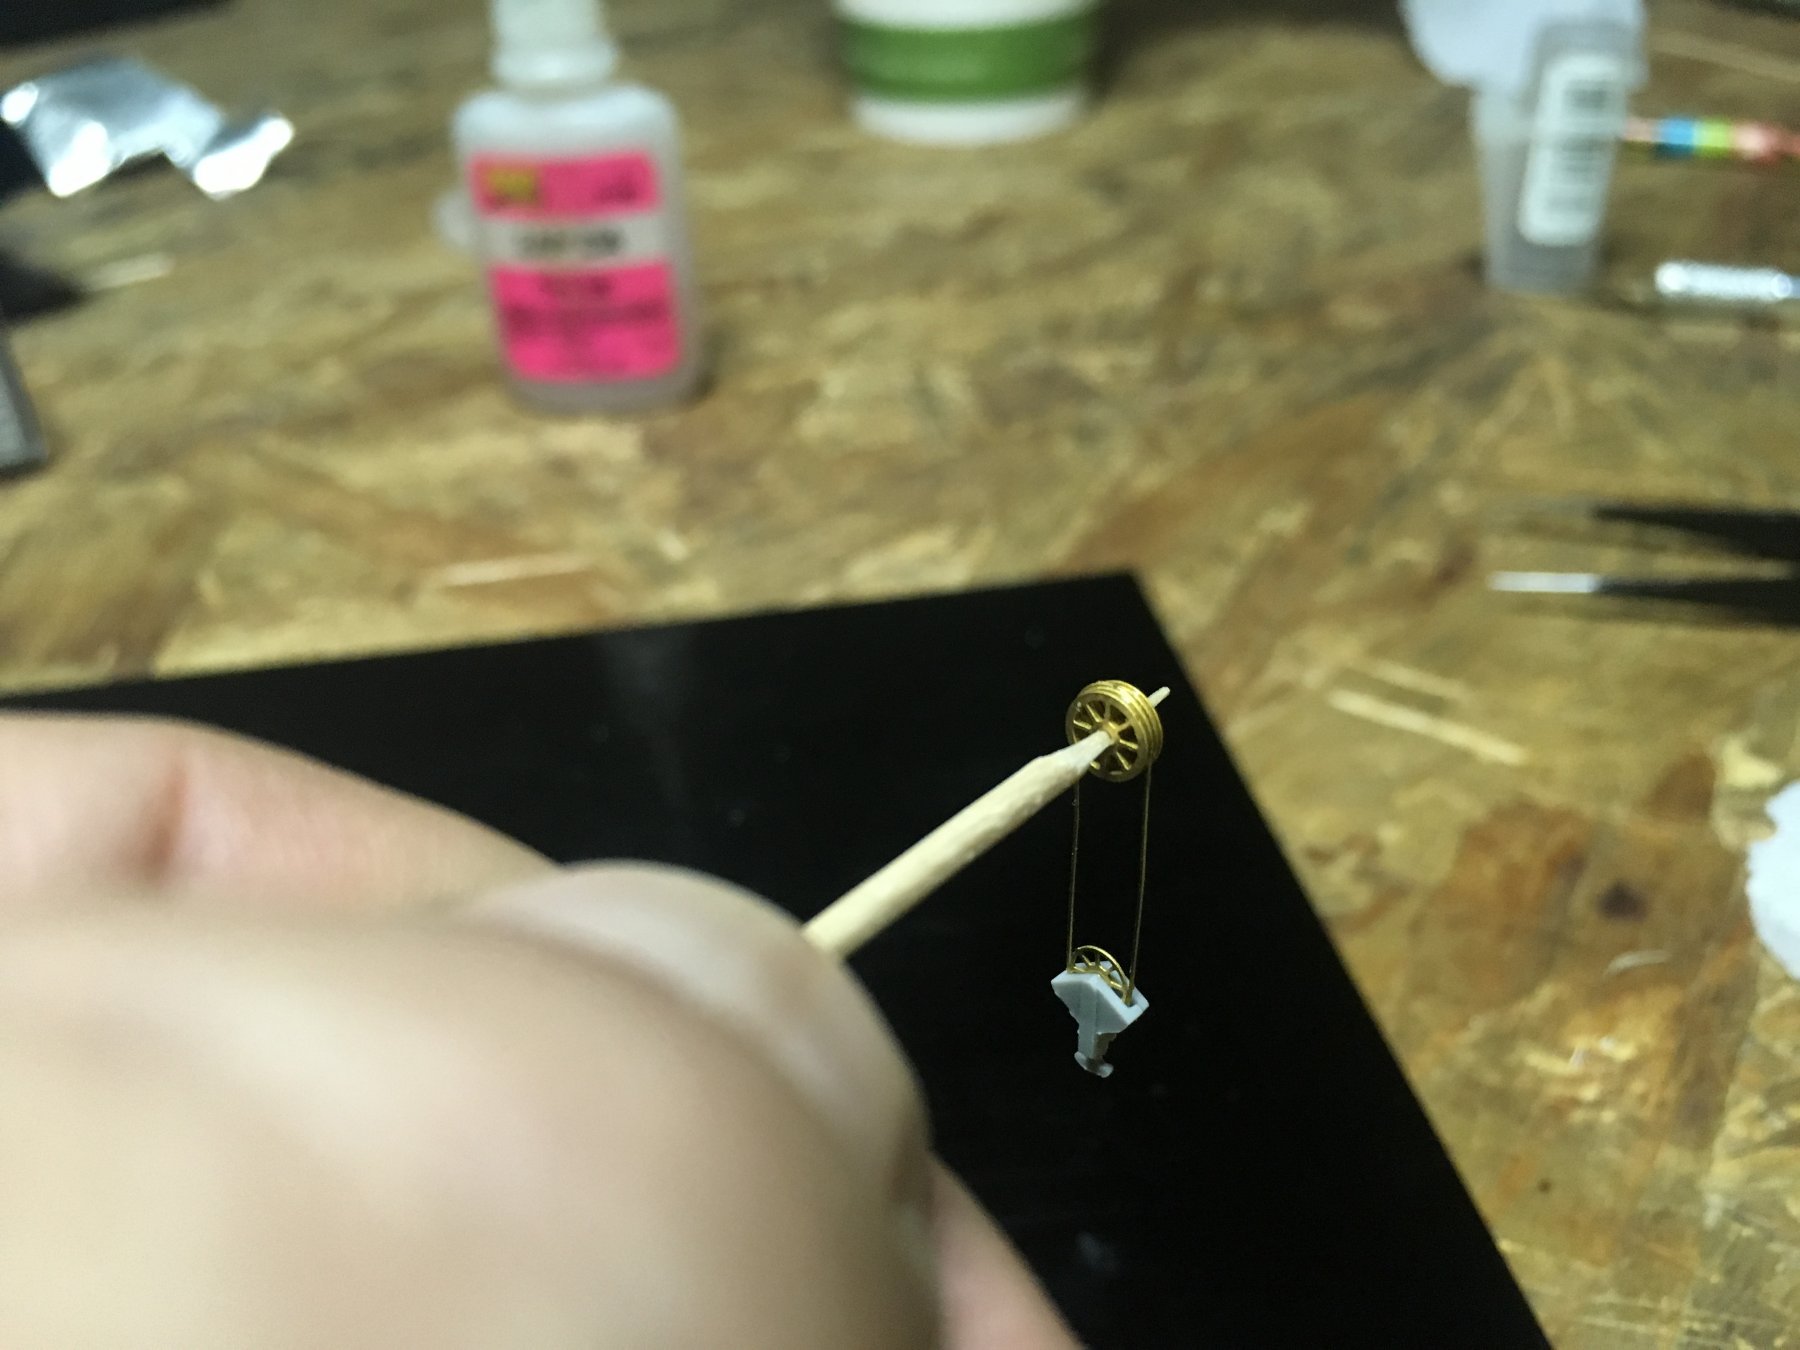
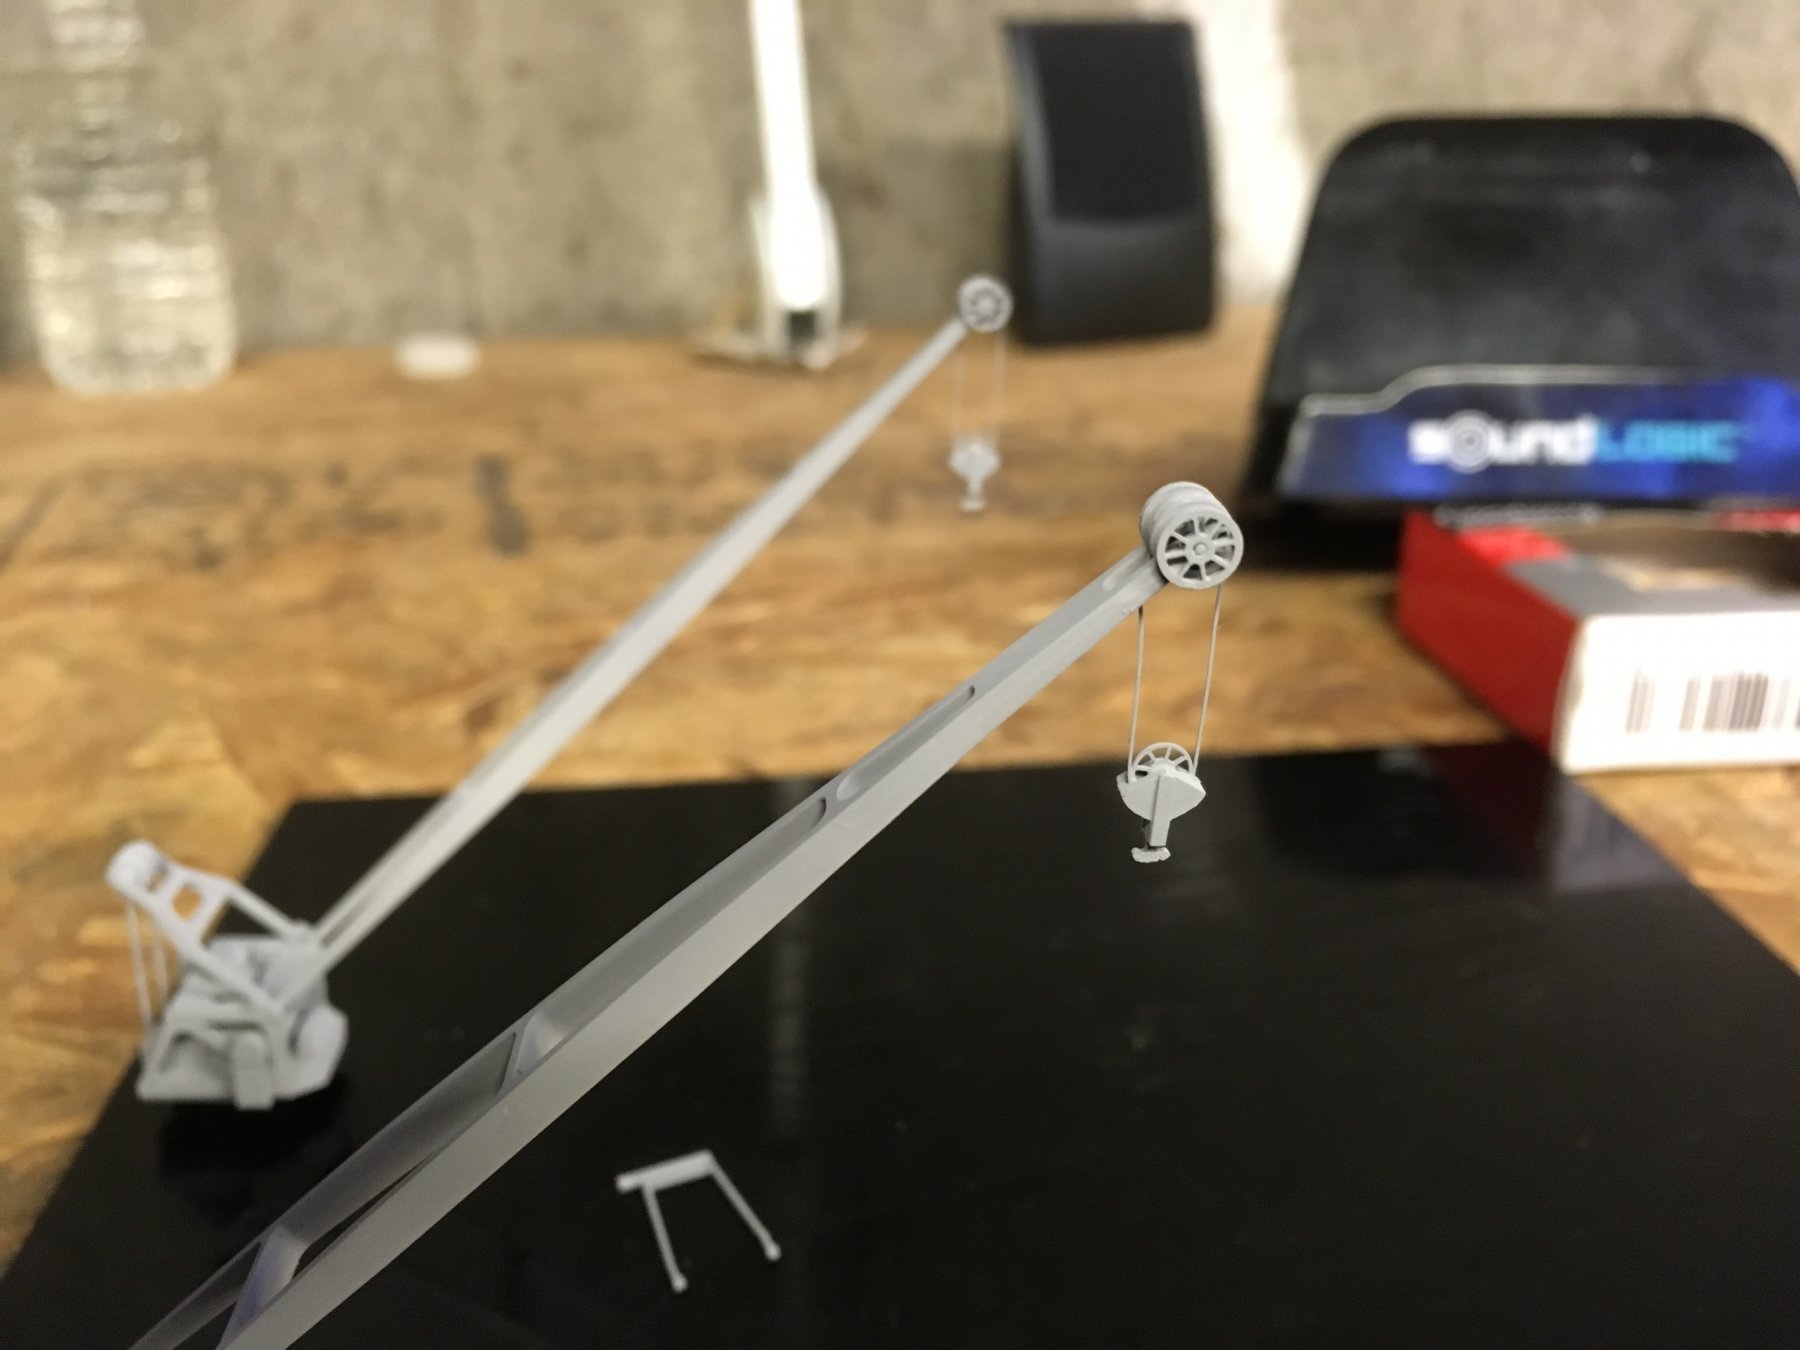
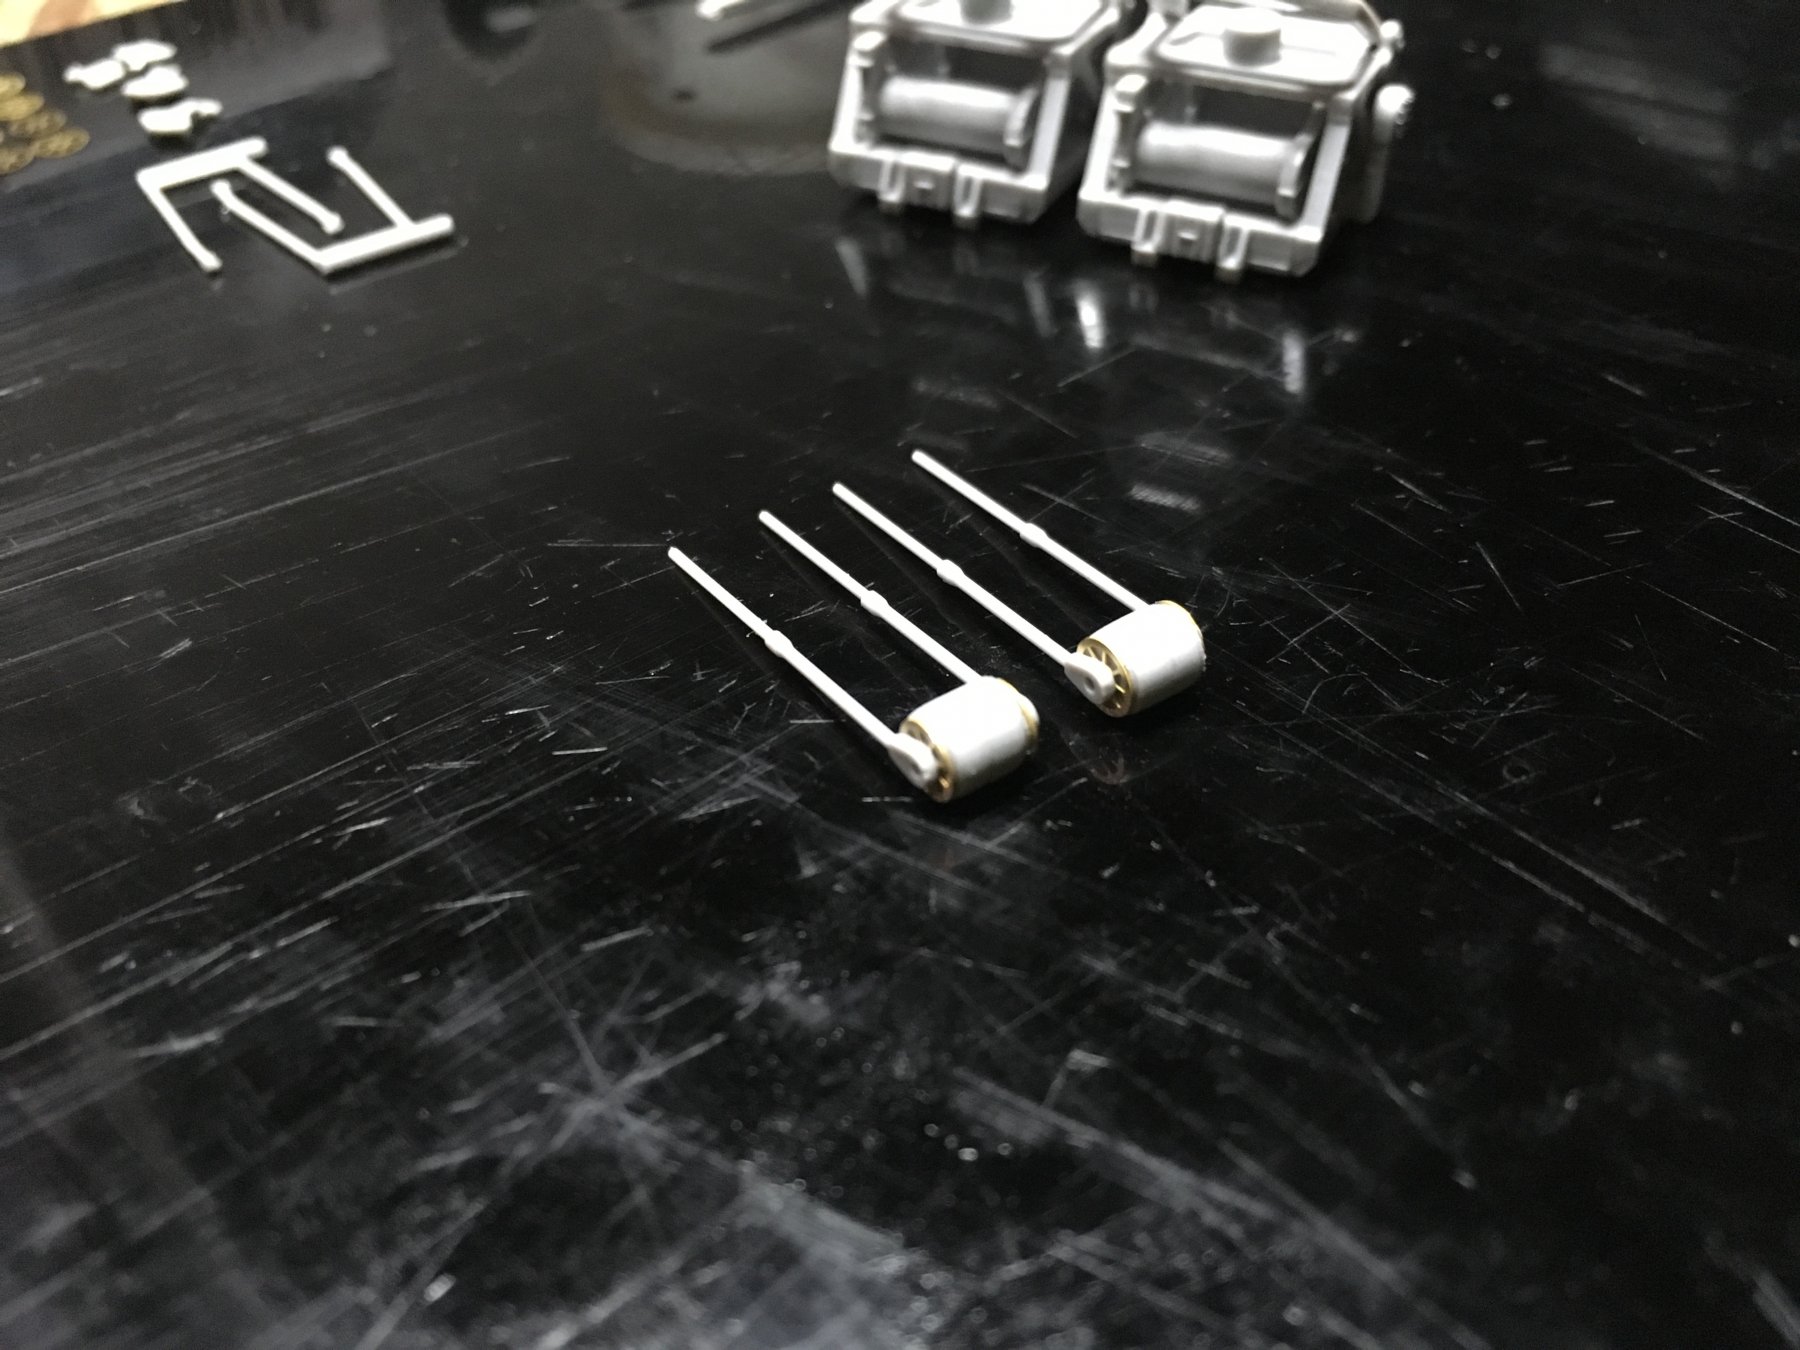
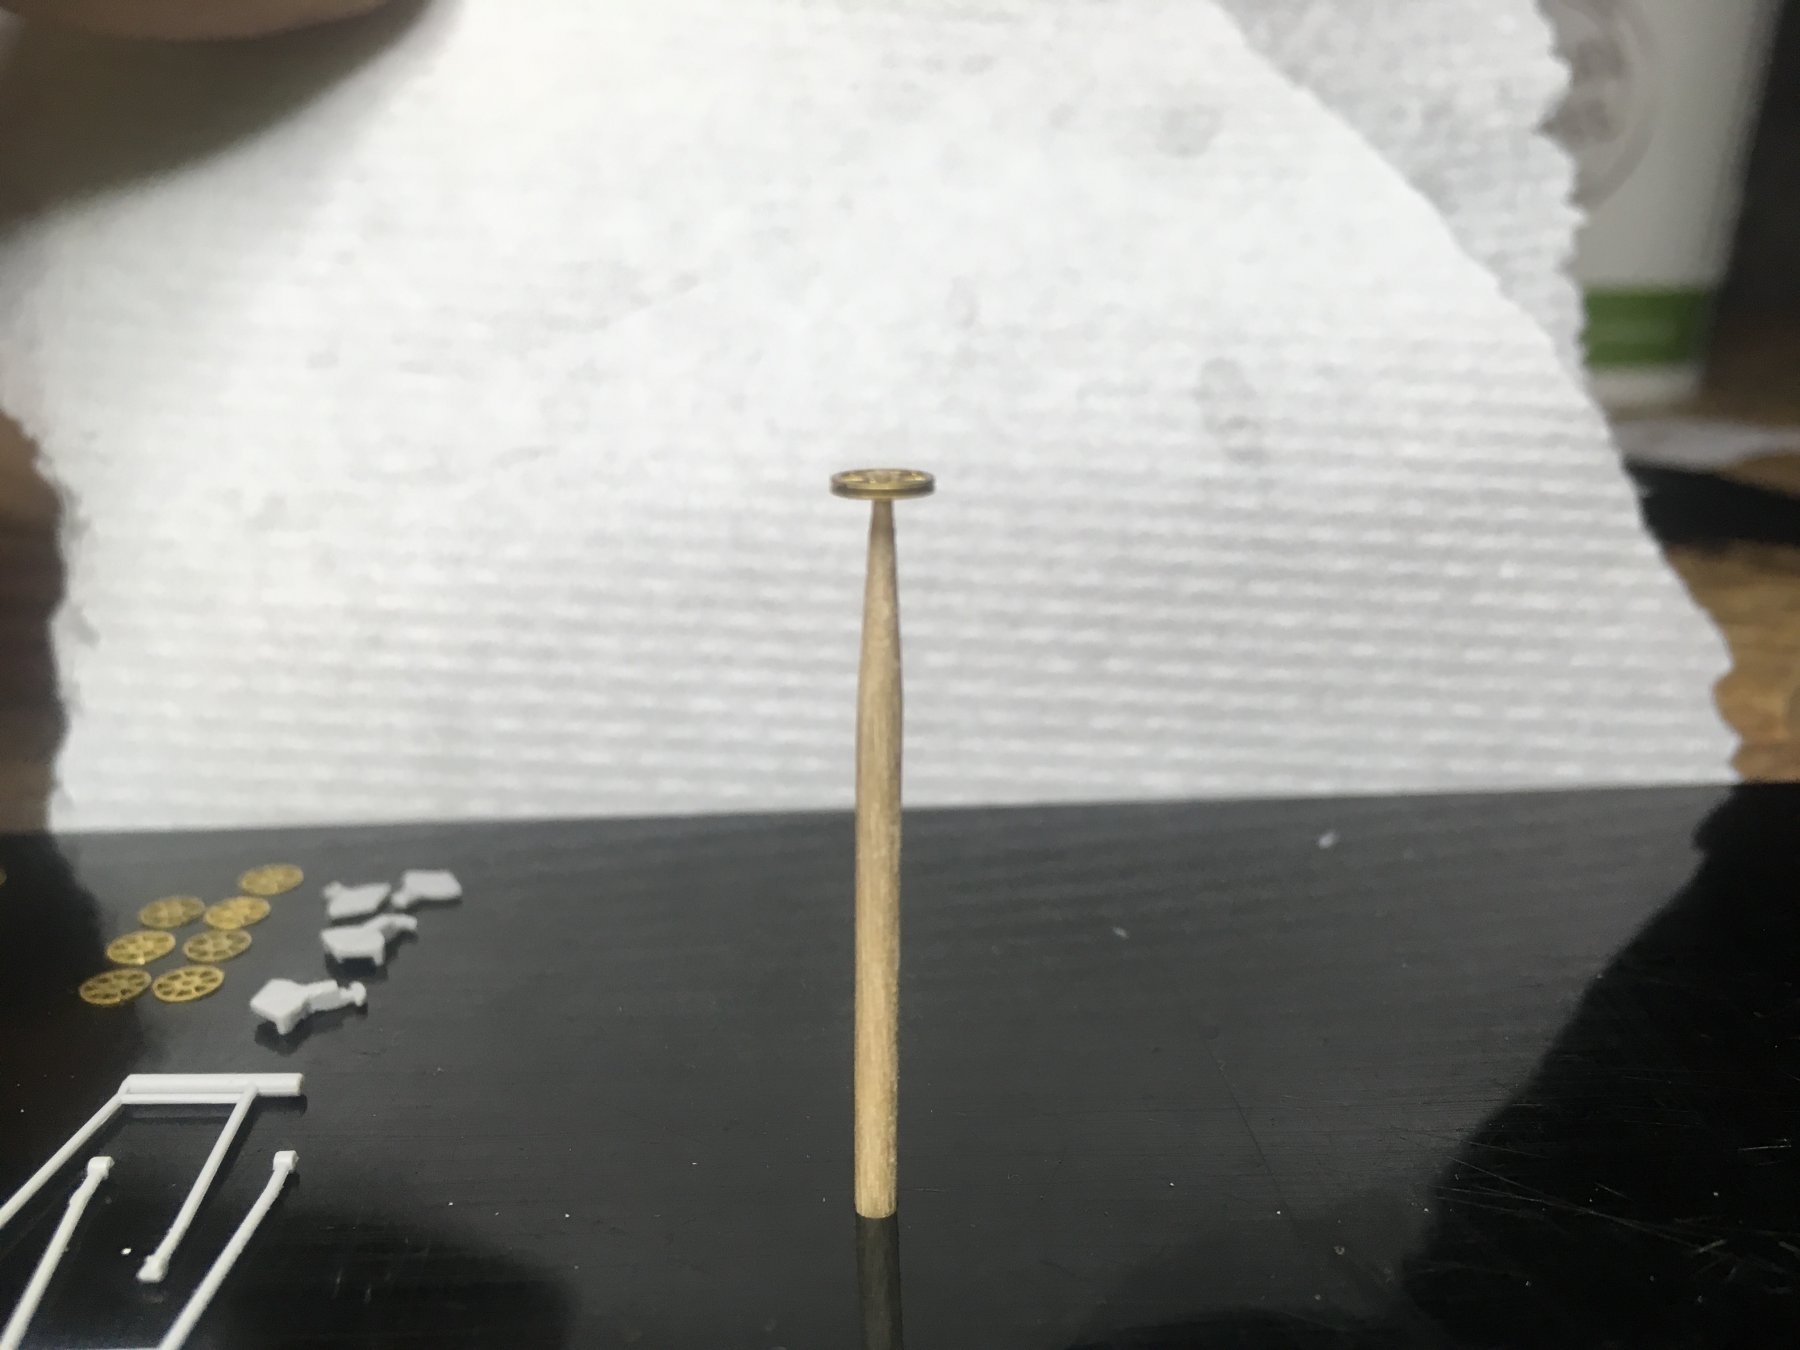
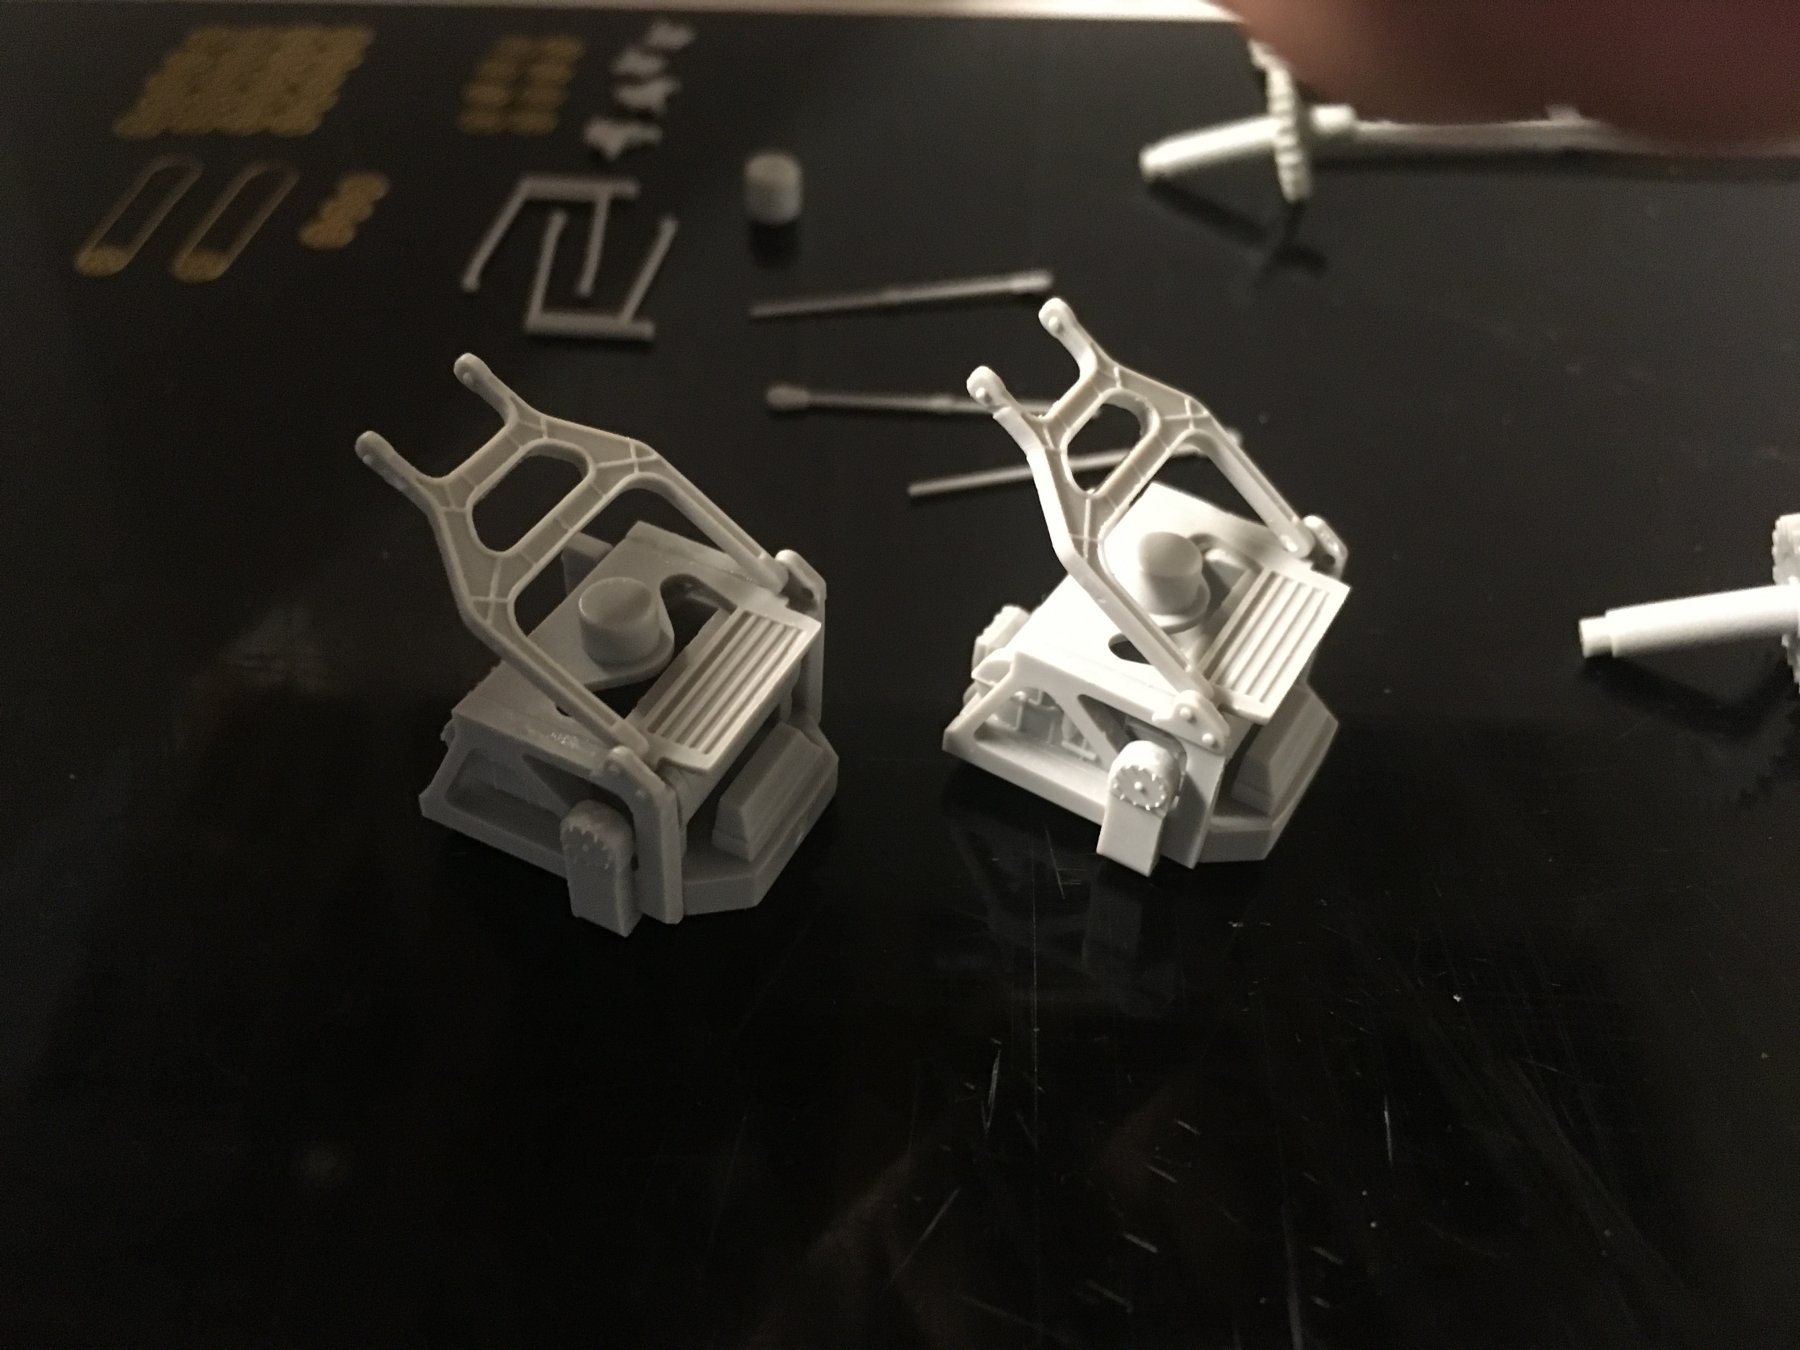
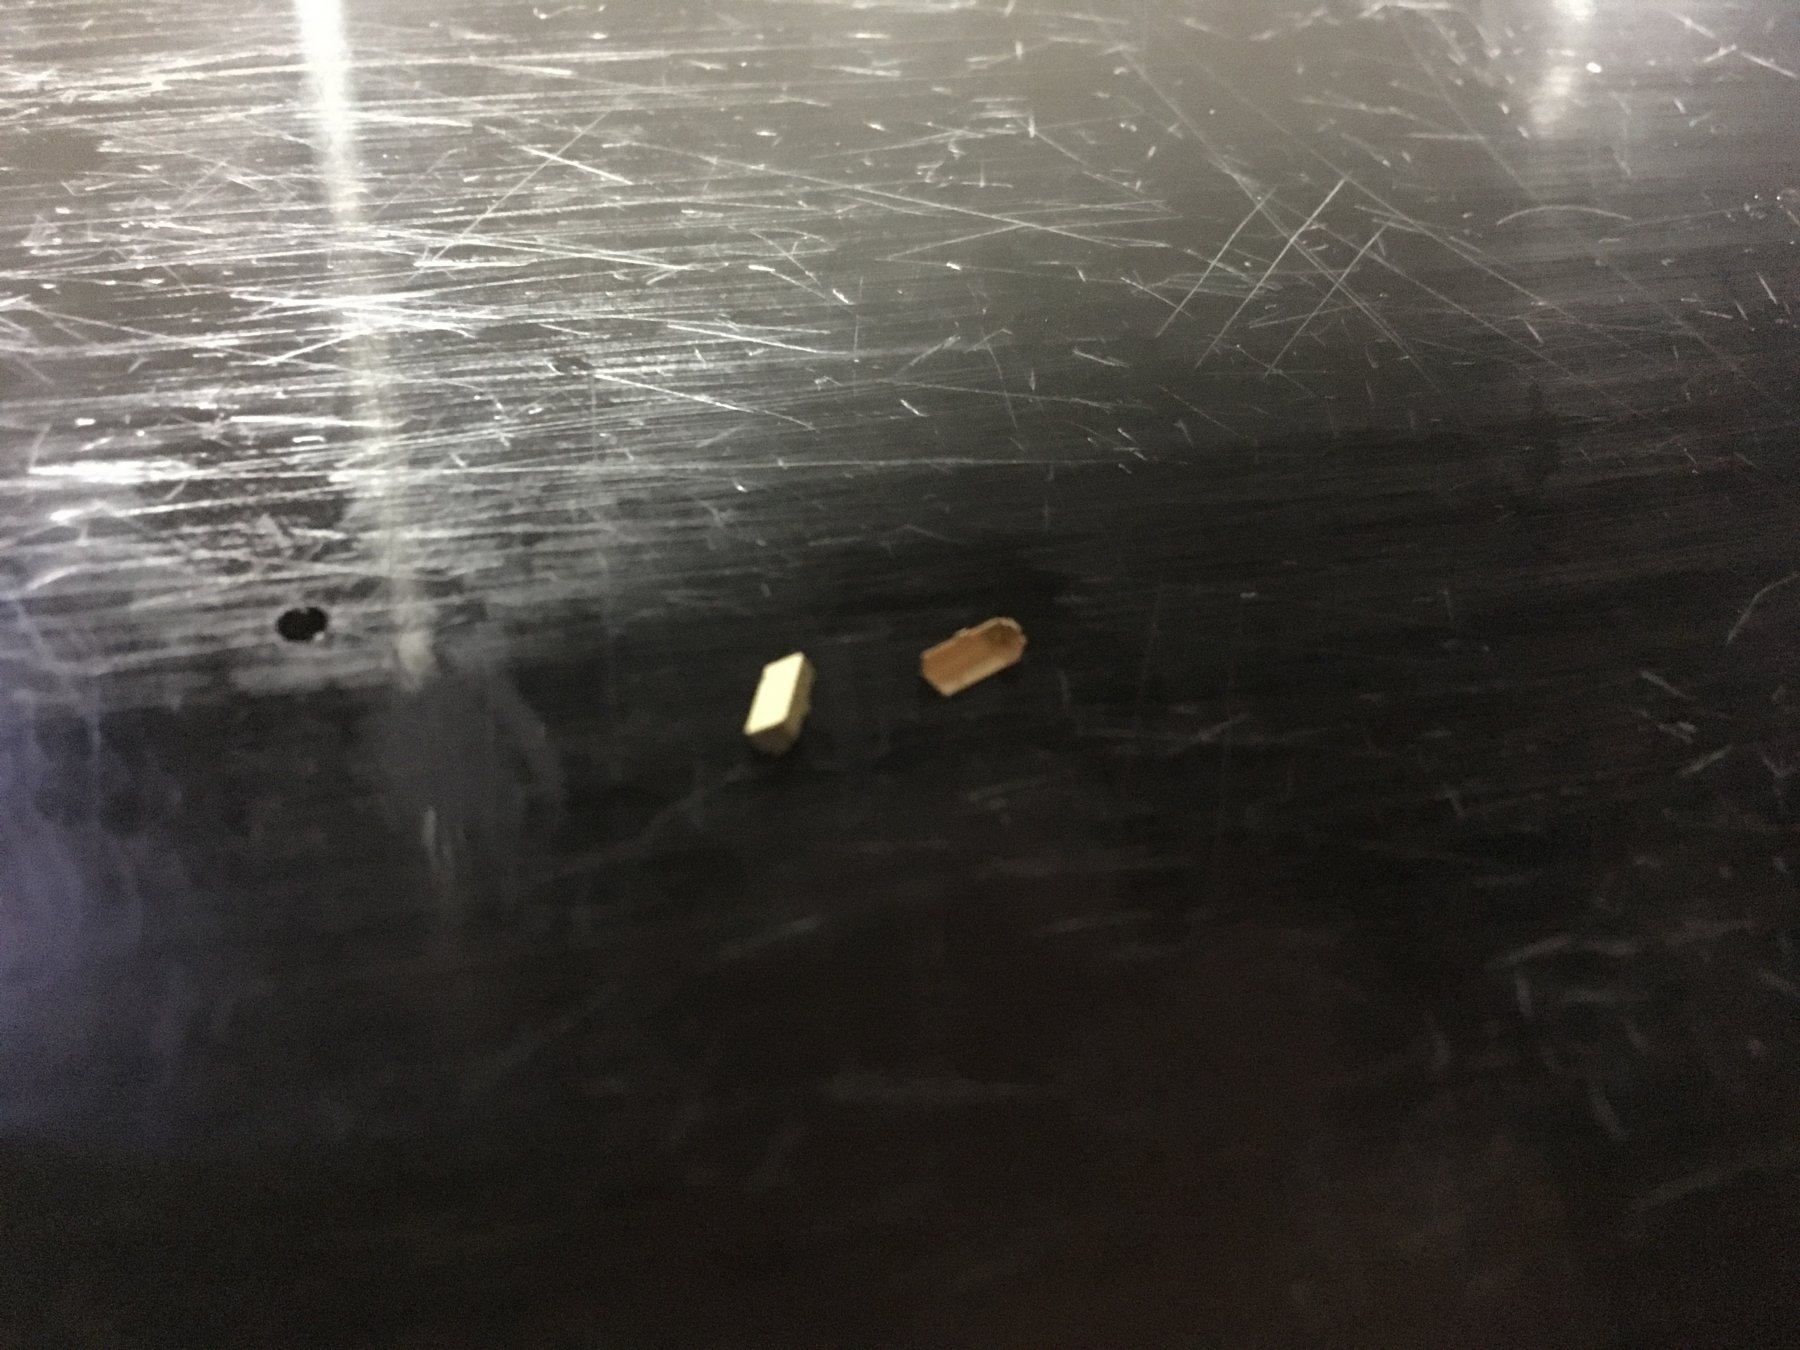
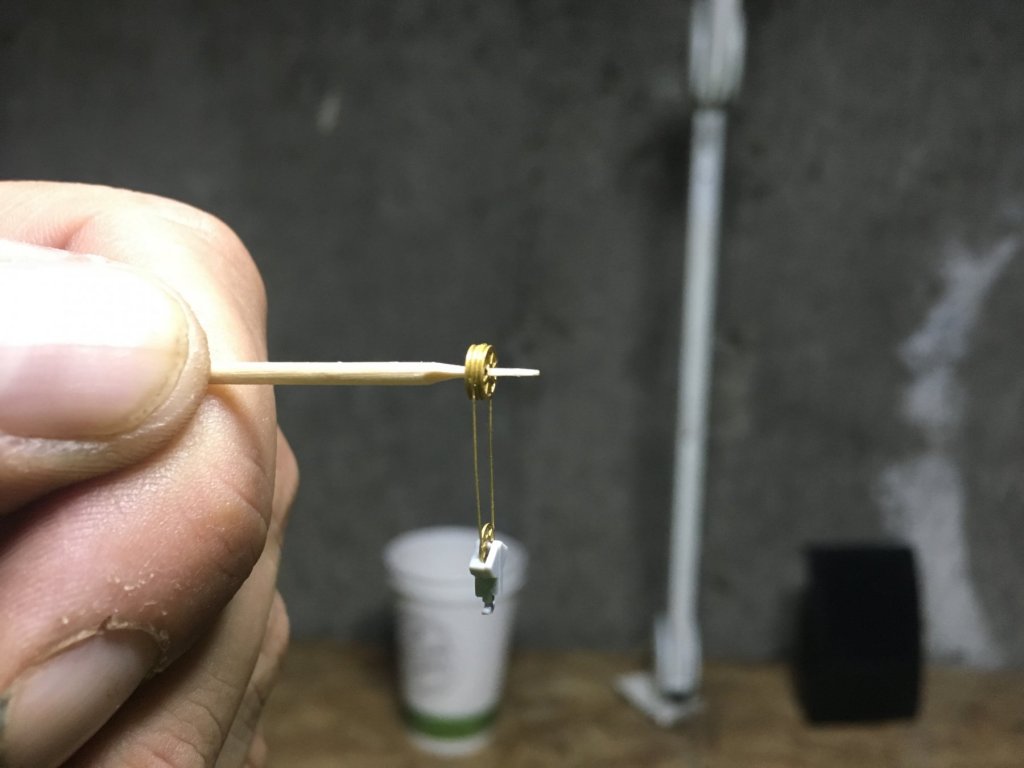
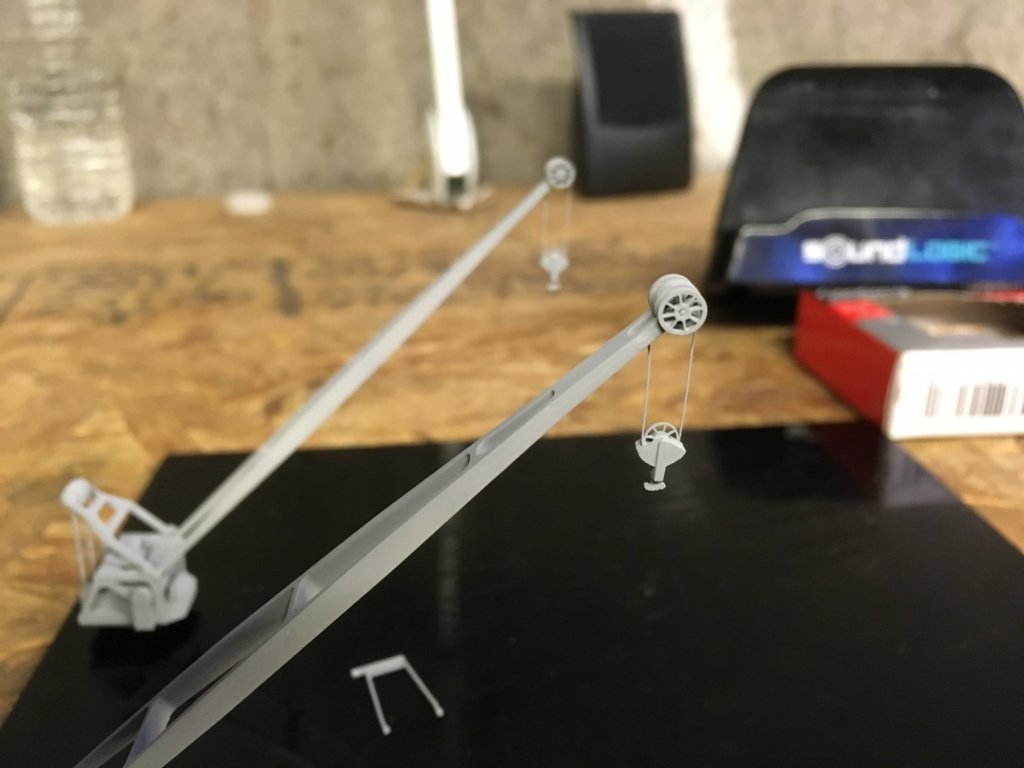
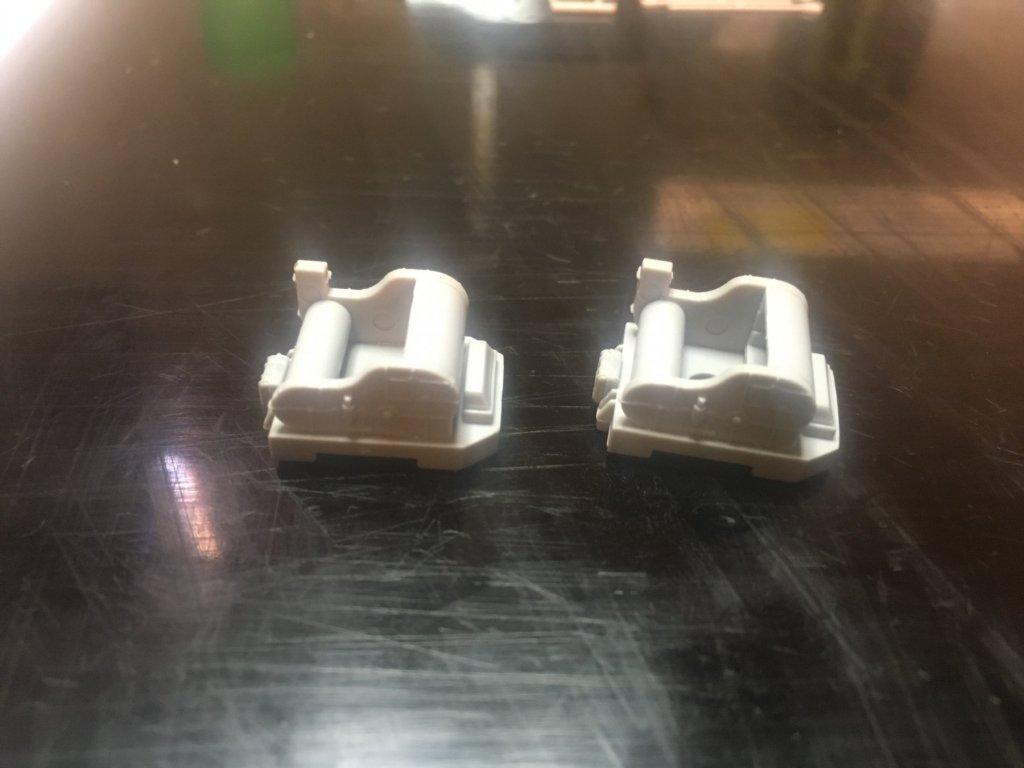
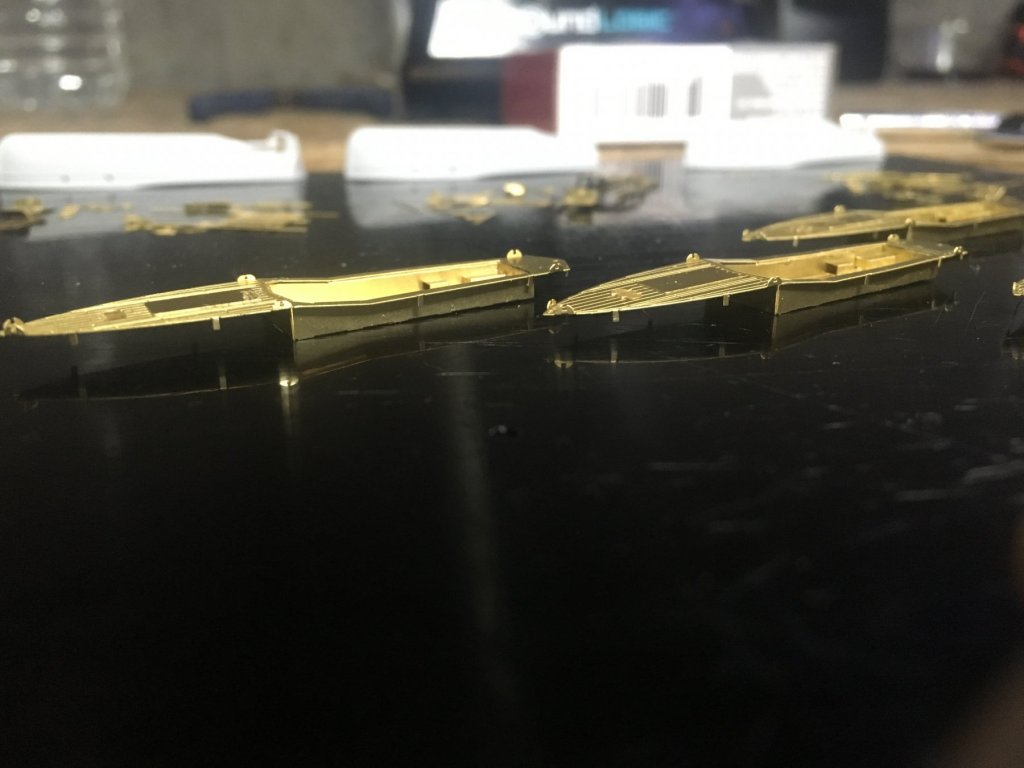
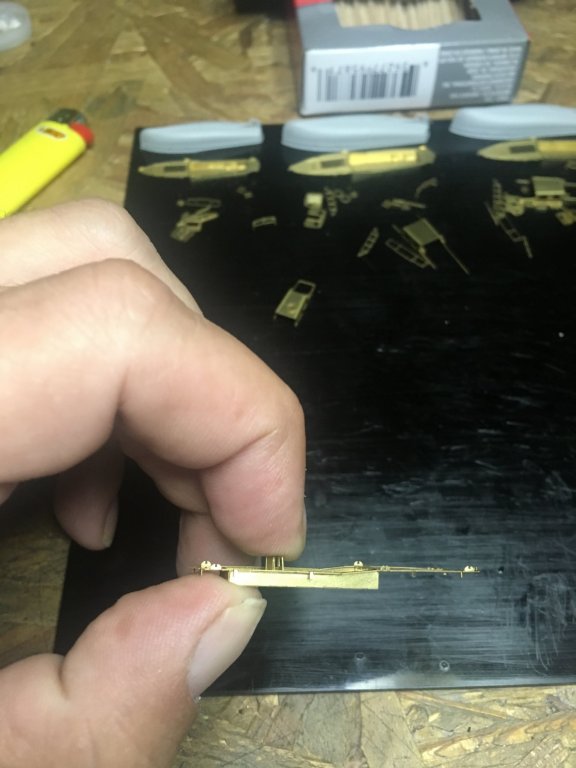
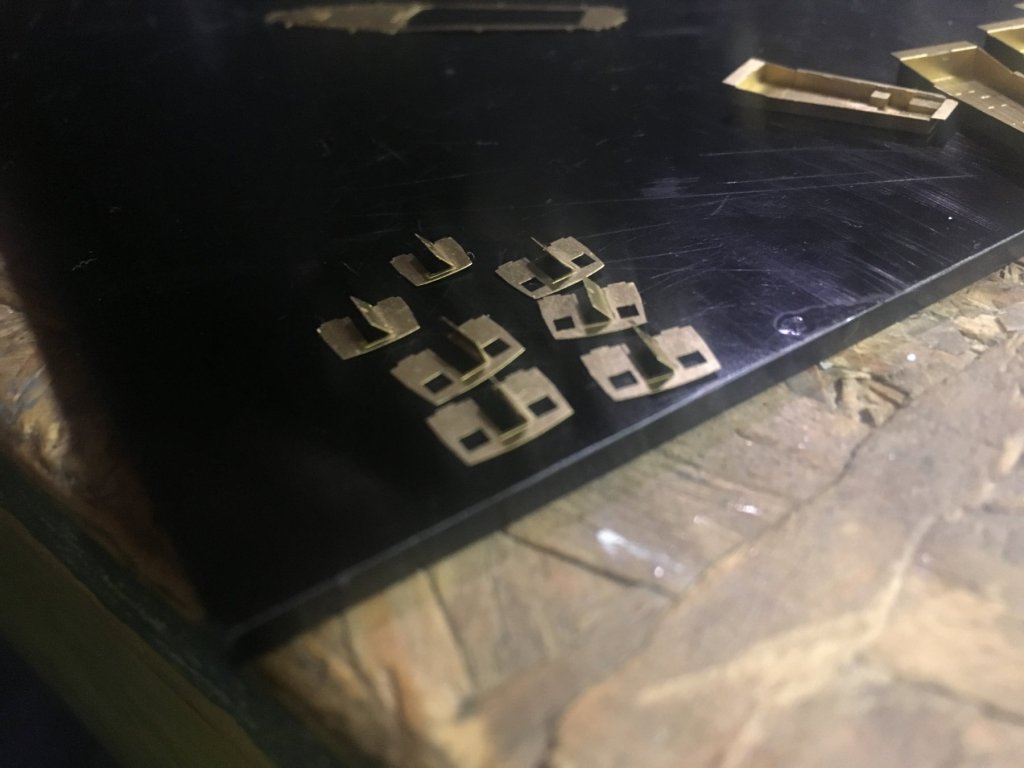
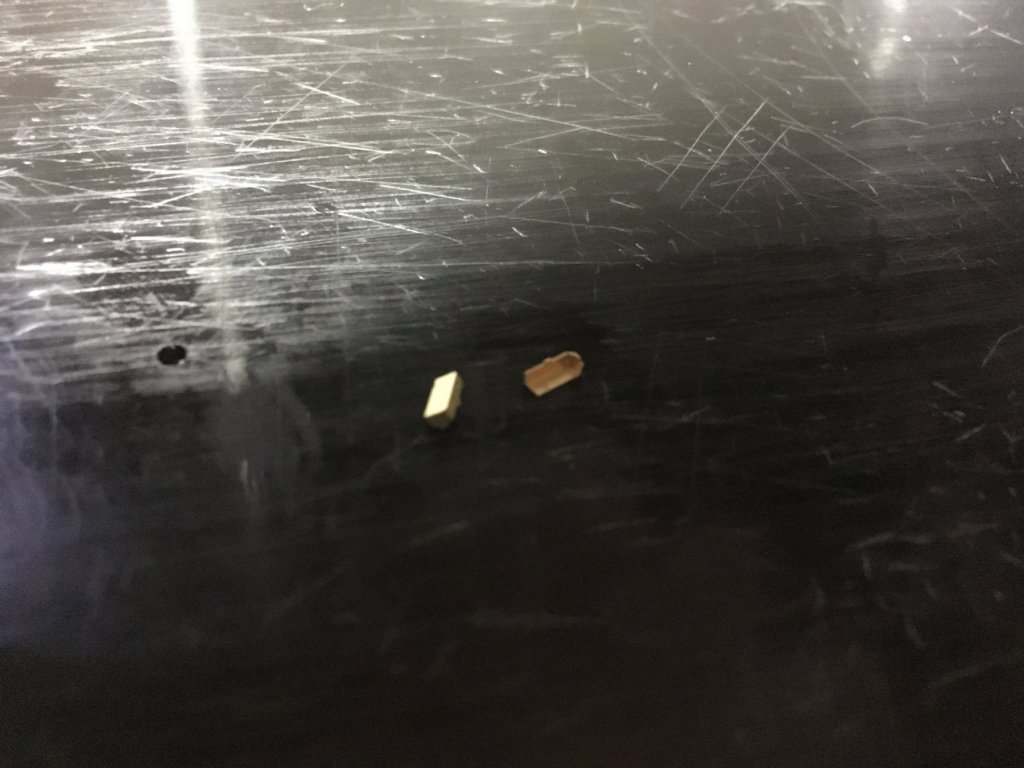
Thanks guys. Here is just a little update on the crane. They are just waiting to poop on something. Especially oliver, hes a poop machine. anyhoo, here a bit more of the crane coming together. i think this next part is so cool. The kit provides me with the pullies for the rigging line. One pulley is made of three pieces,a smaller photo etch sandwiched in between two slightly larger photo etch pieces all glued together creating a pulley. My iphones camera sucks but you can almost see what i mean.


-
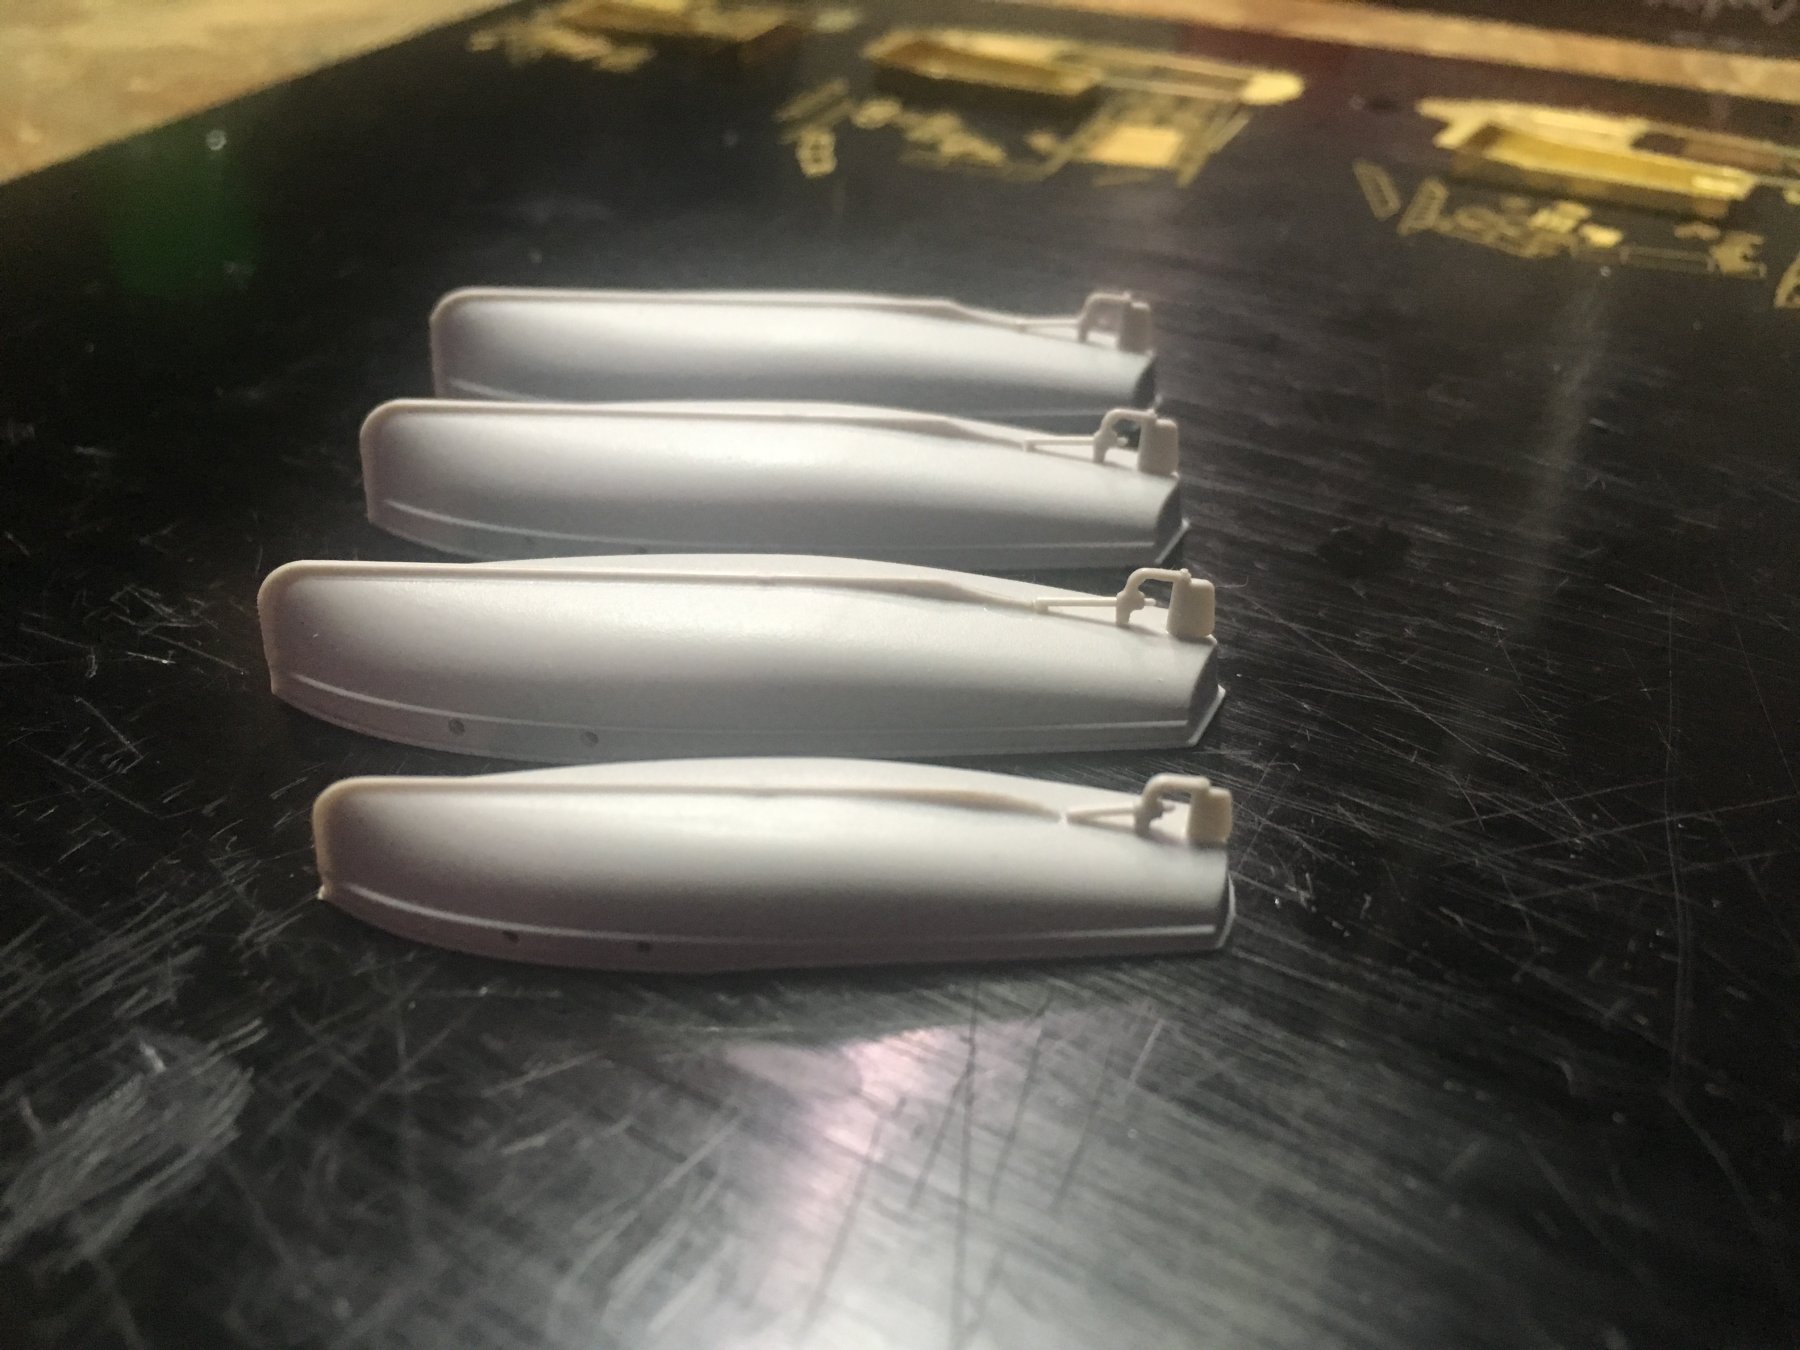
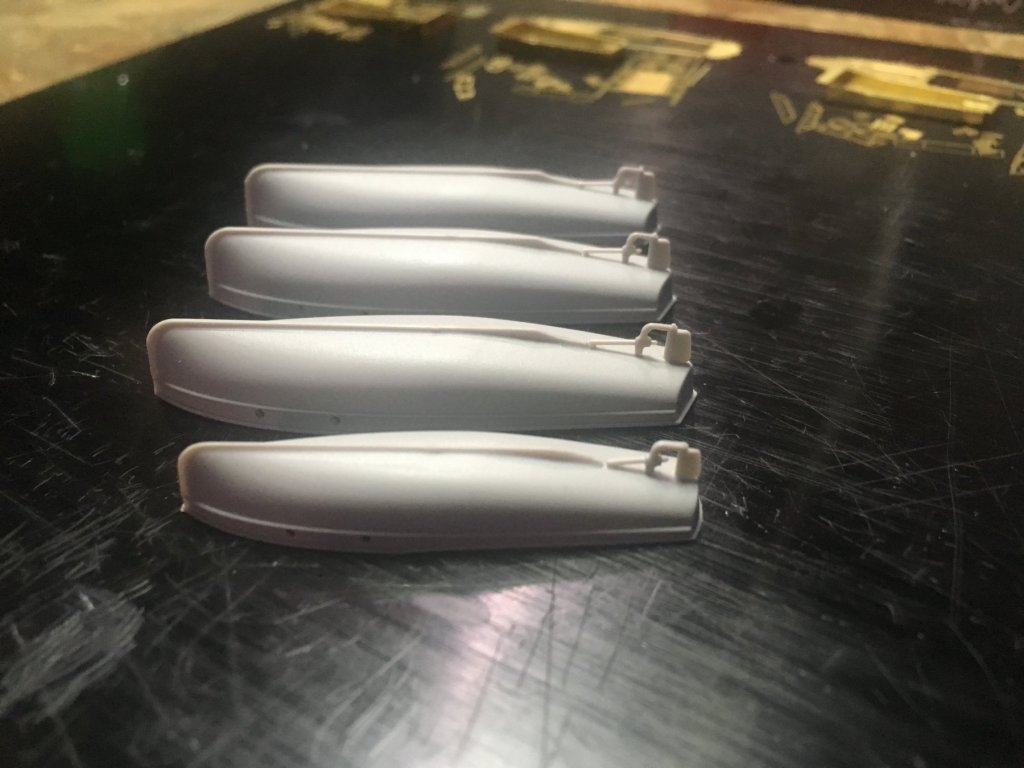
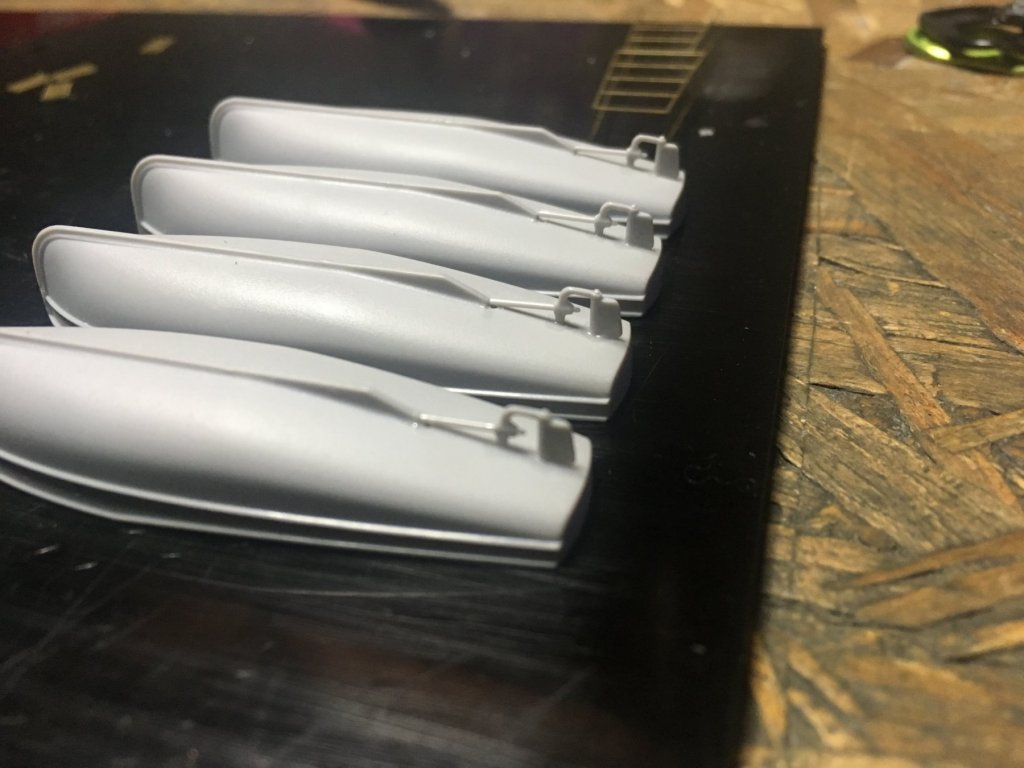
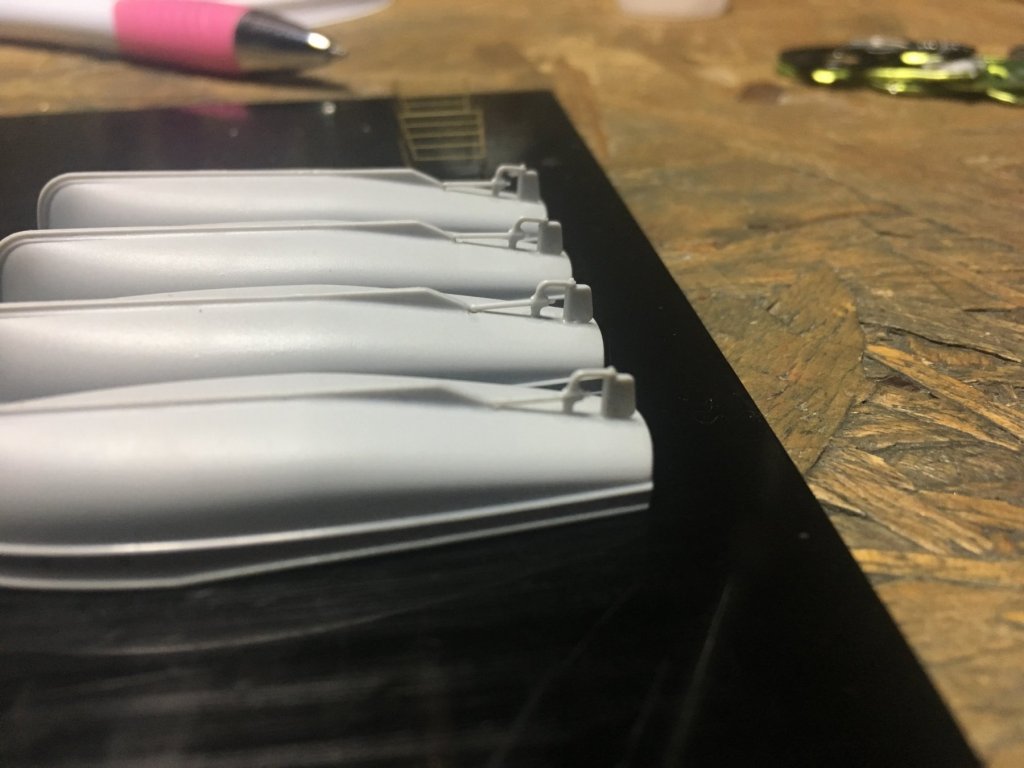
Finally! im ready to paint launches. There are alot of missing pieces on them such as antennas and railings and such but whatever. These were probably the least fun things to do on the entire ship.

-
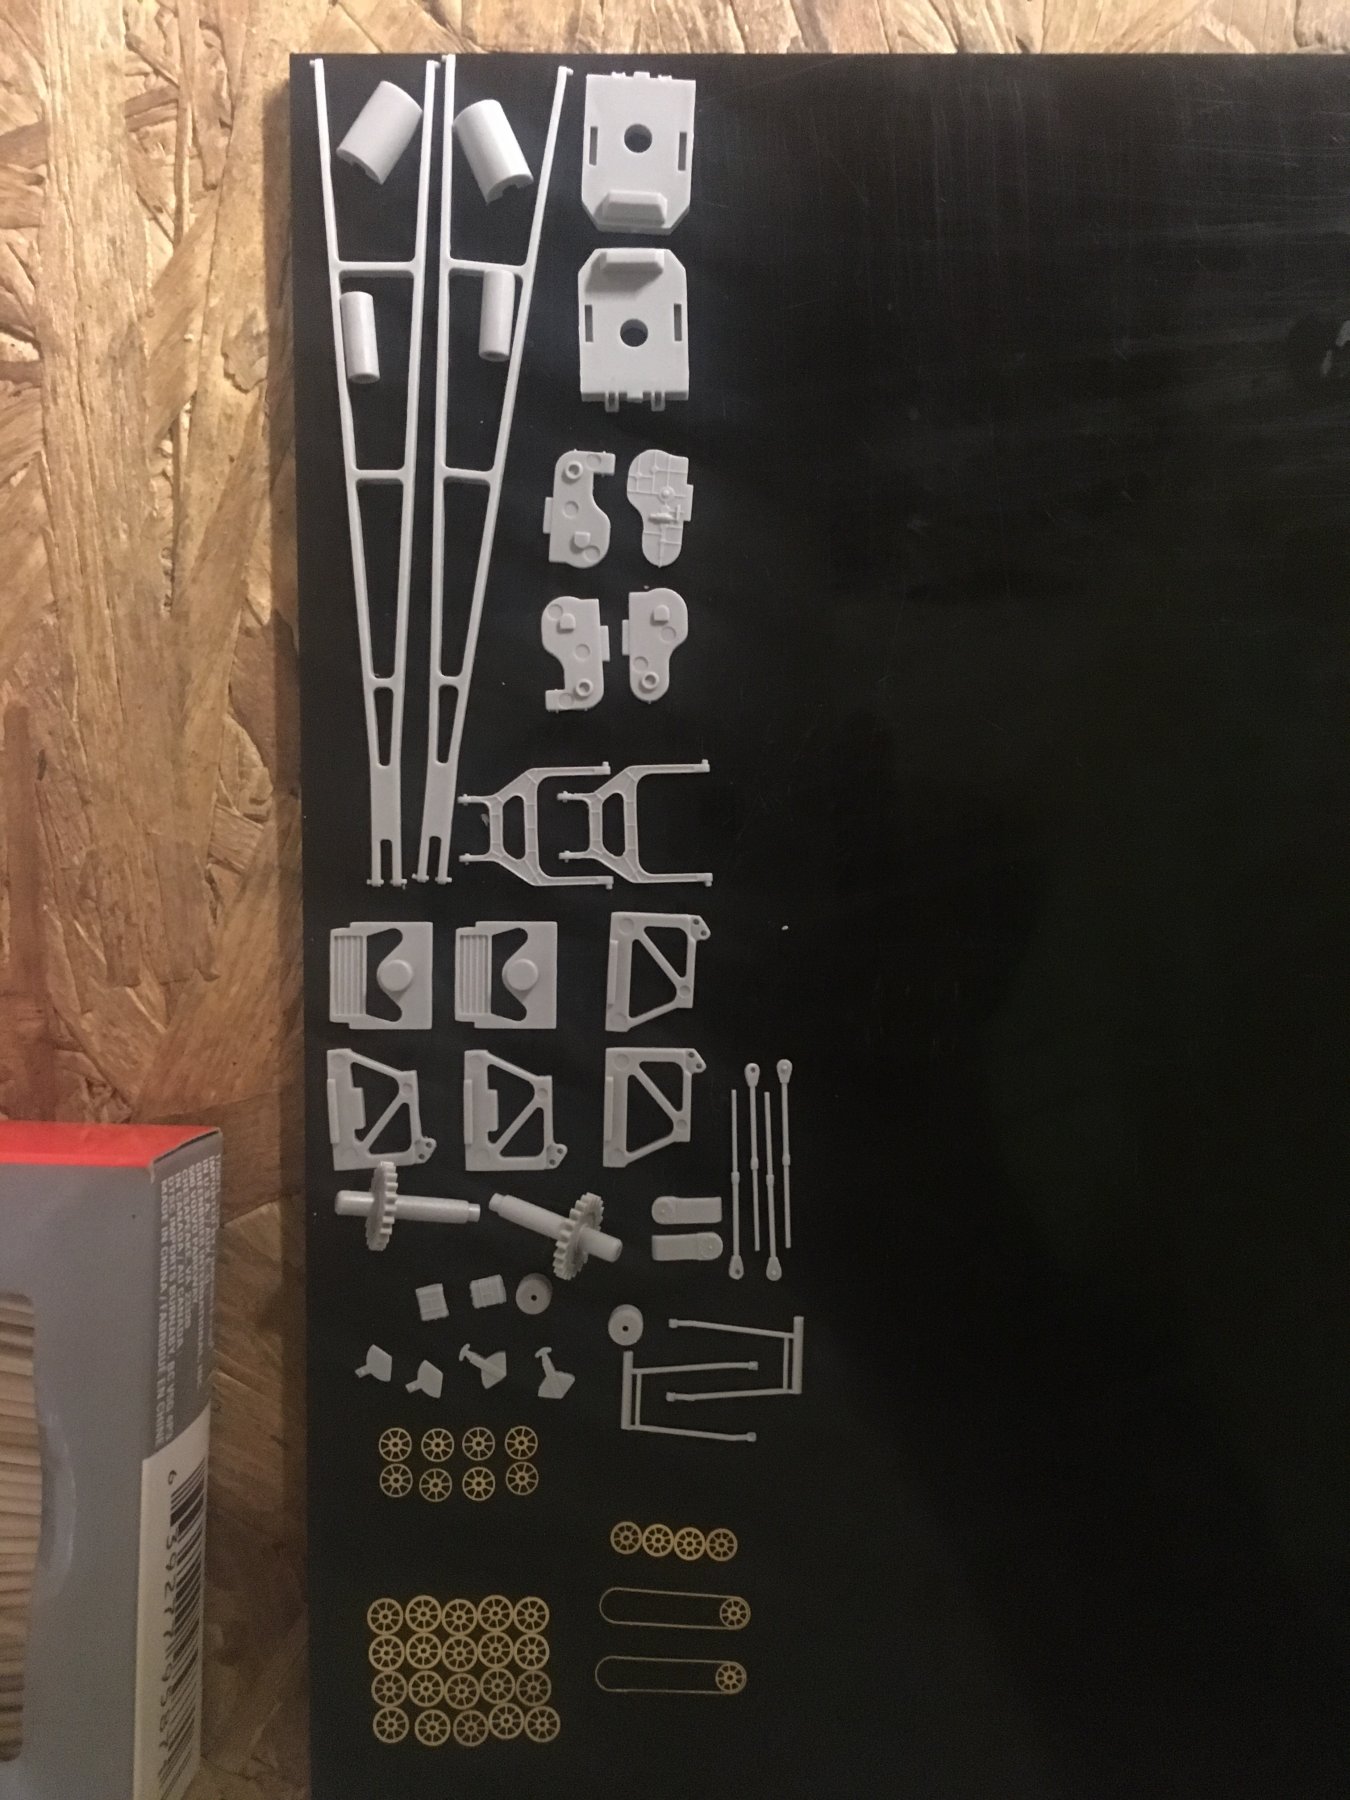
I wish i had a boat like that to go fishing! I’m scared of painting them! Lots of different colors and new Techniques that I have never done. The cranes are actually the first things in this kit that are entirely Trumpeter parts. There are zero aftermarket parts for the cranes. The only thing I am going to change is the rigging lines. The kid provides photo etch lines that I will use around the hook block only. The rest of the rigging will be EZ-line.
-
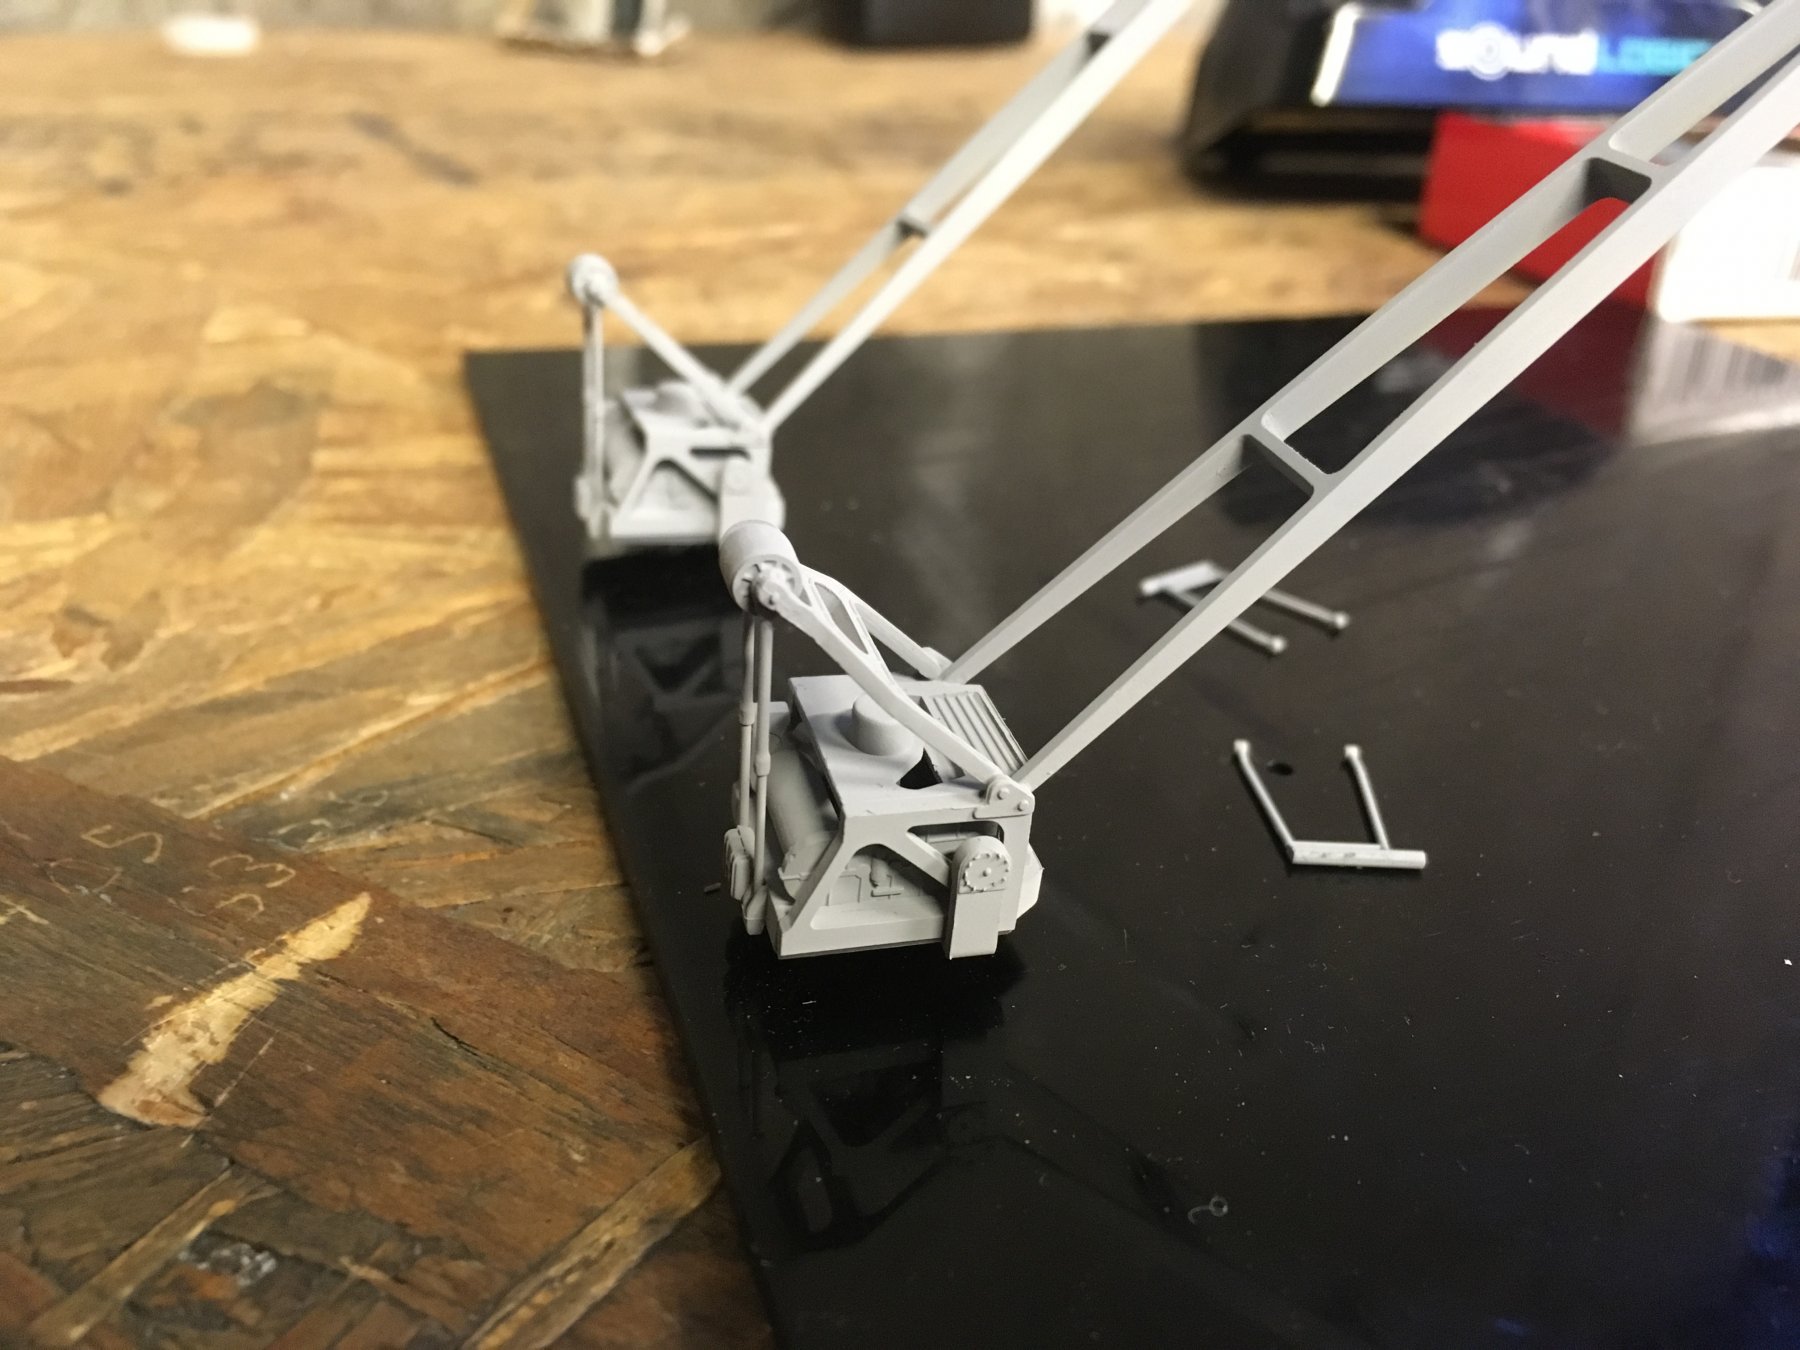
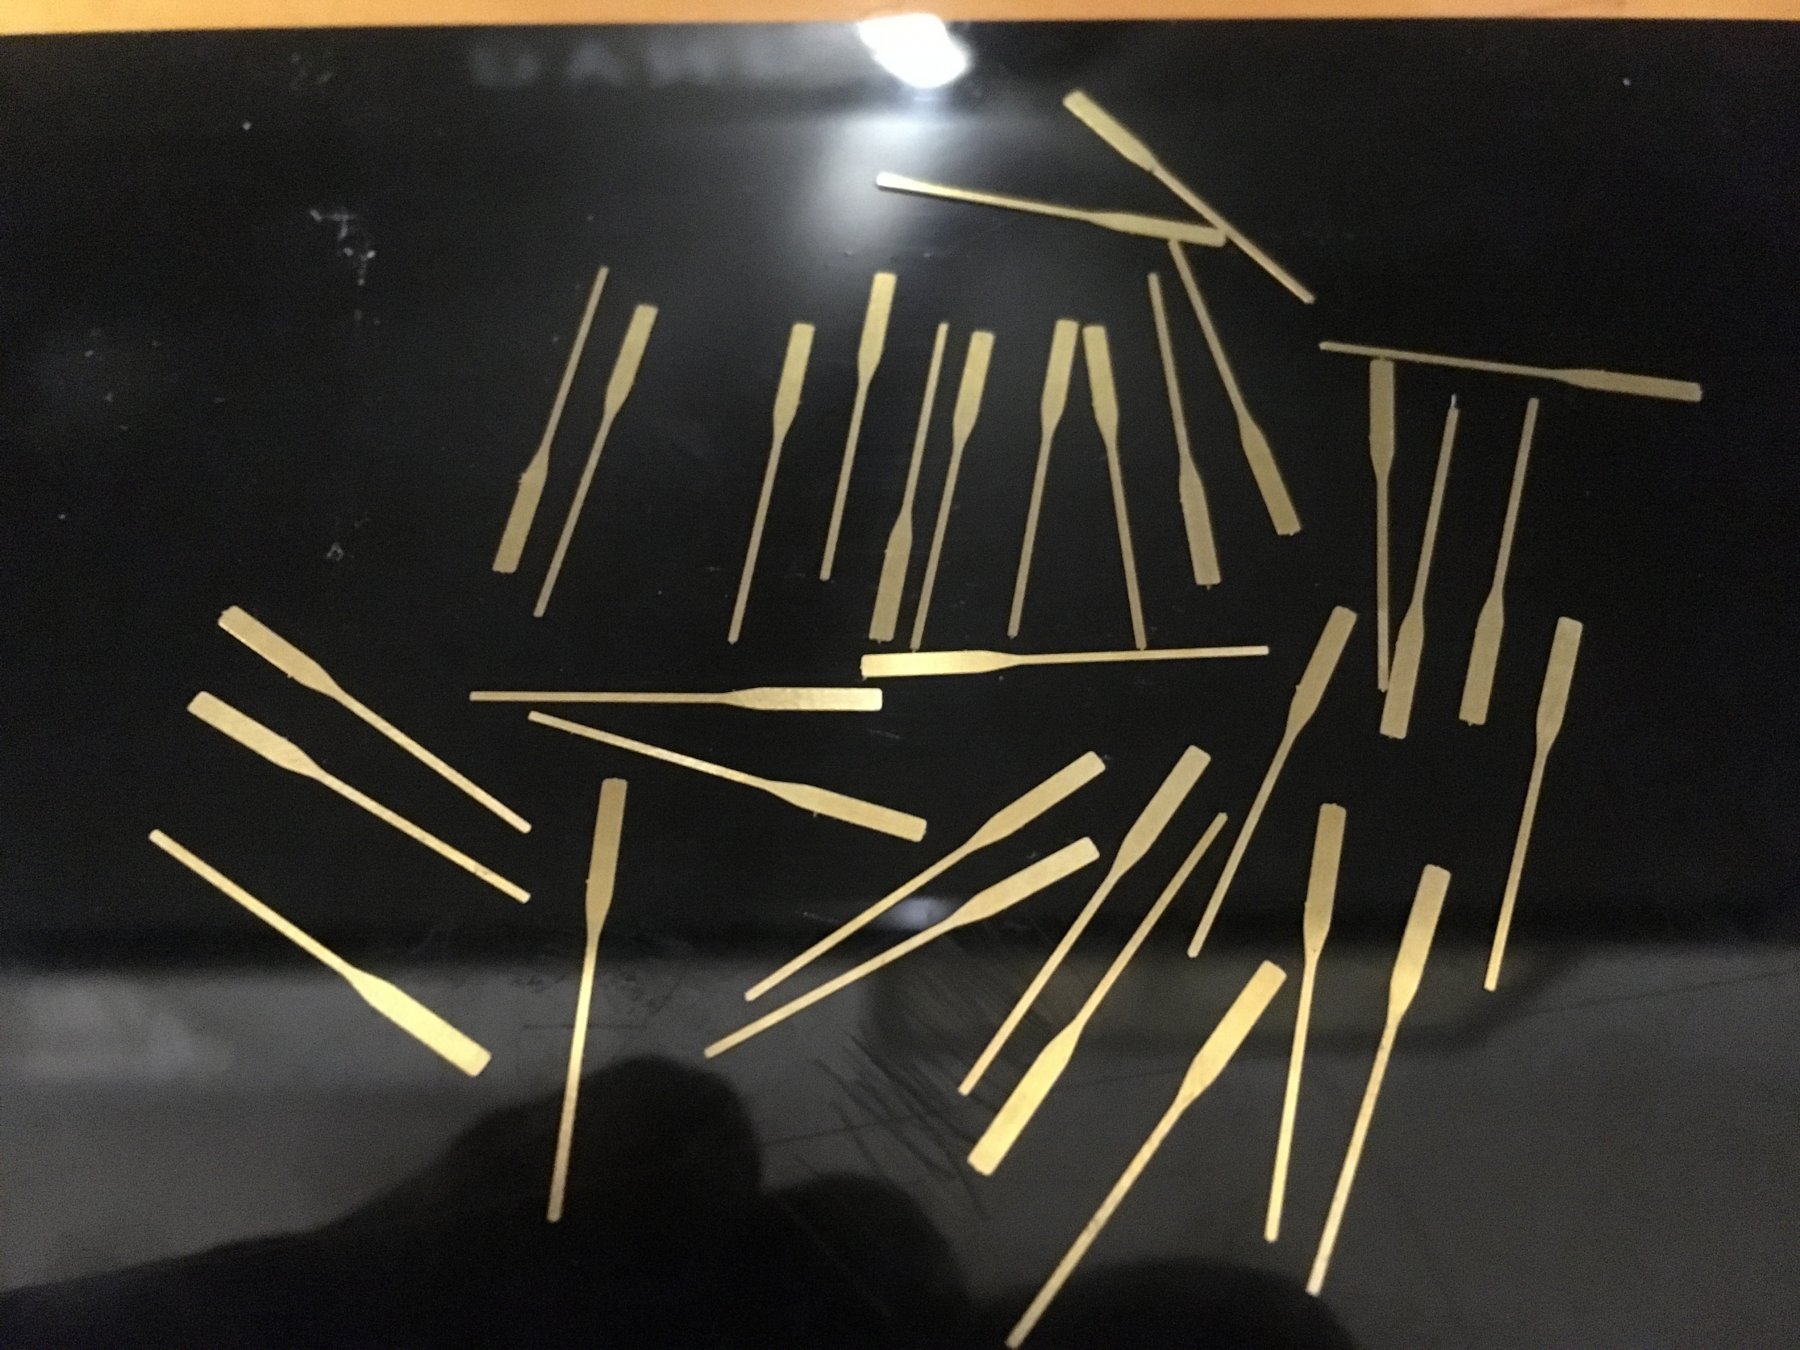
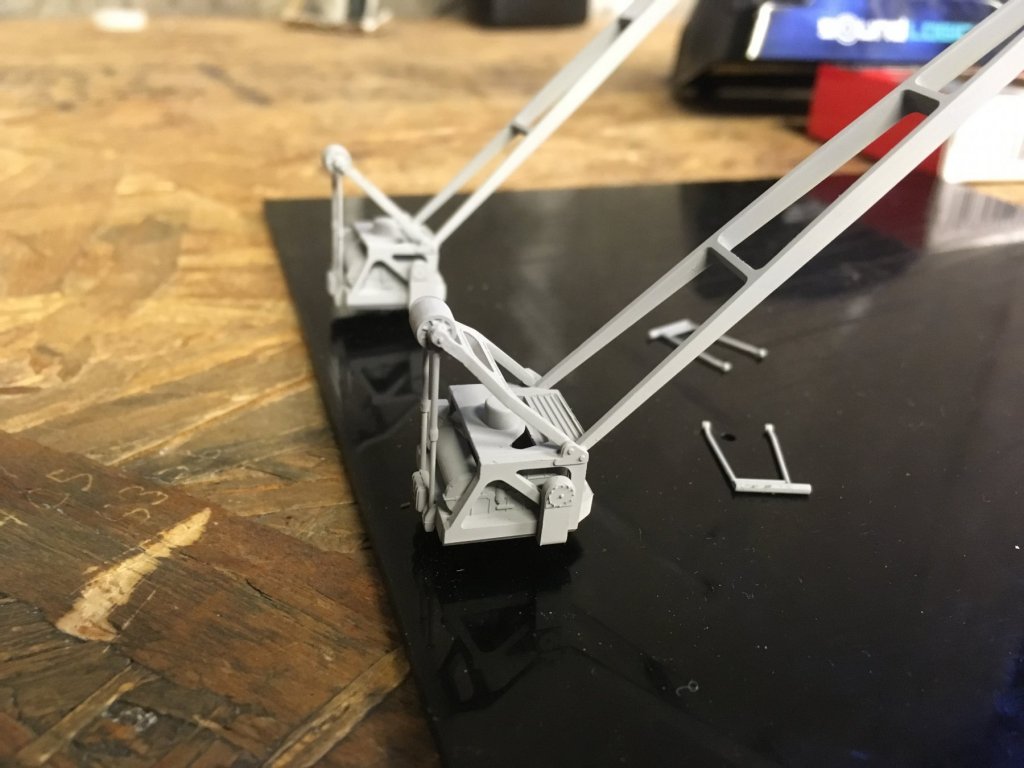
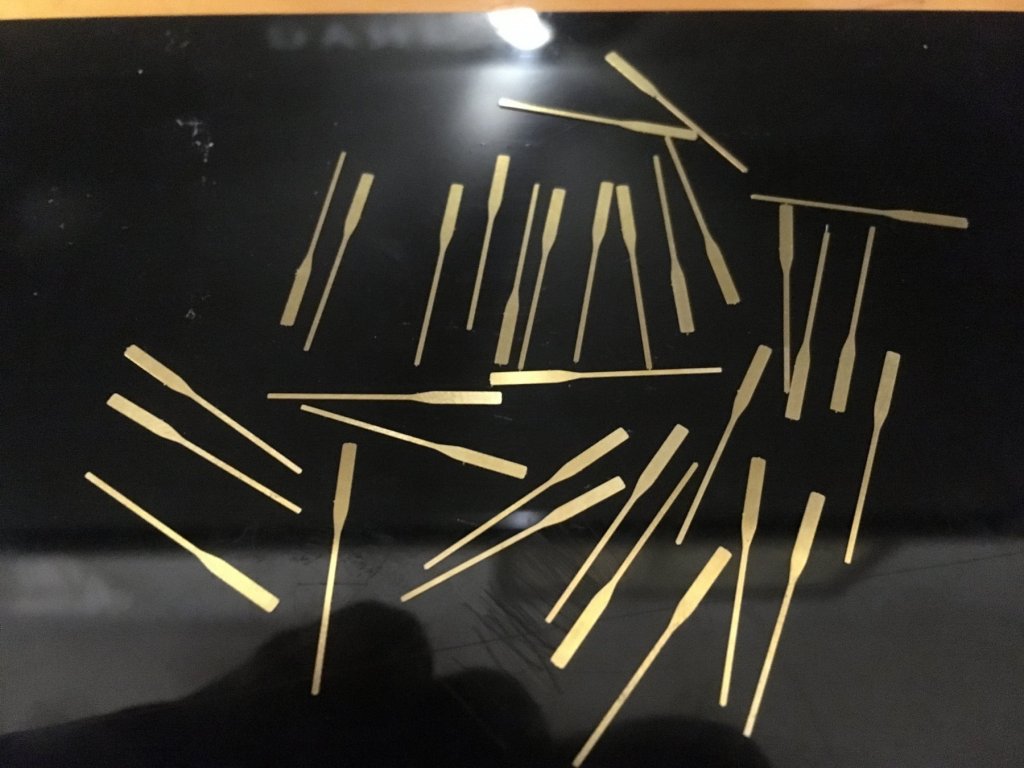
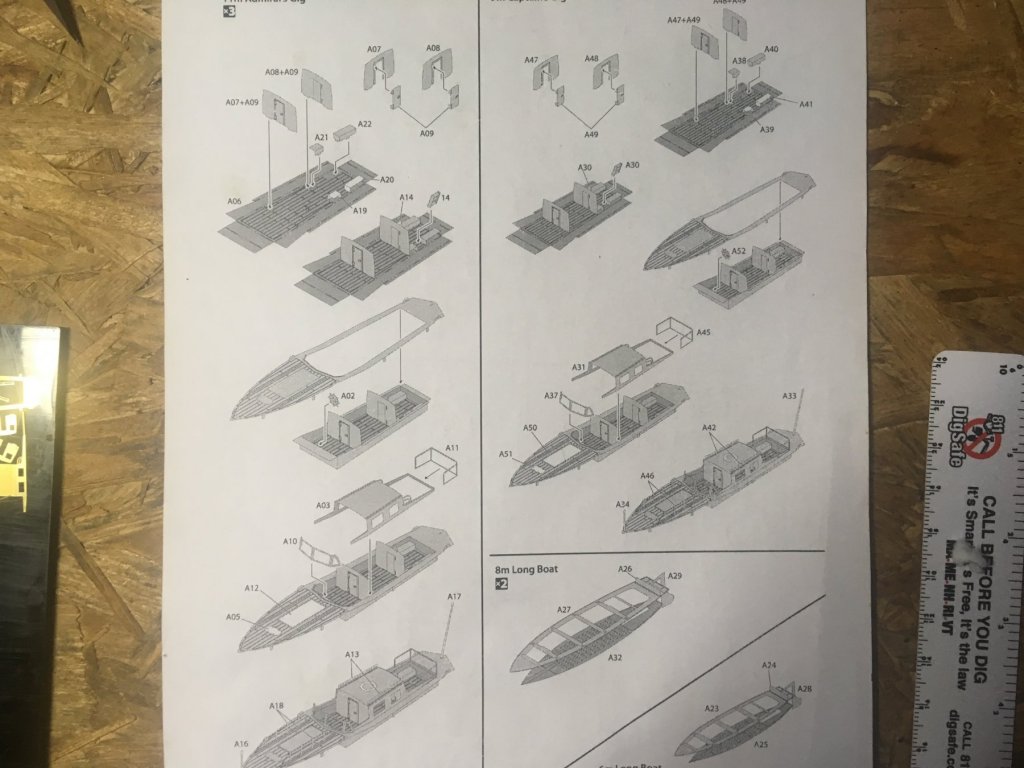
So the Work on the launch is continue slow and steady. It became too monotonous for me so I changed it up and cut out all the orrs Still not wanting to go back to the launches I decided to start on the cranes. So I cut all the pieces that will be needed out And sanded them Then started assembly. This is much funner and way easier than the launches.


-
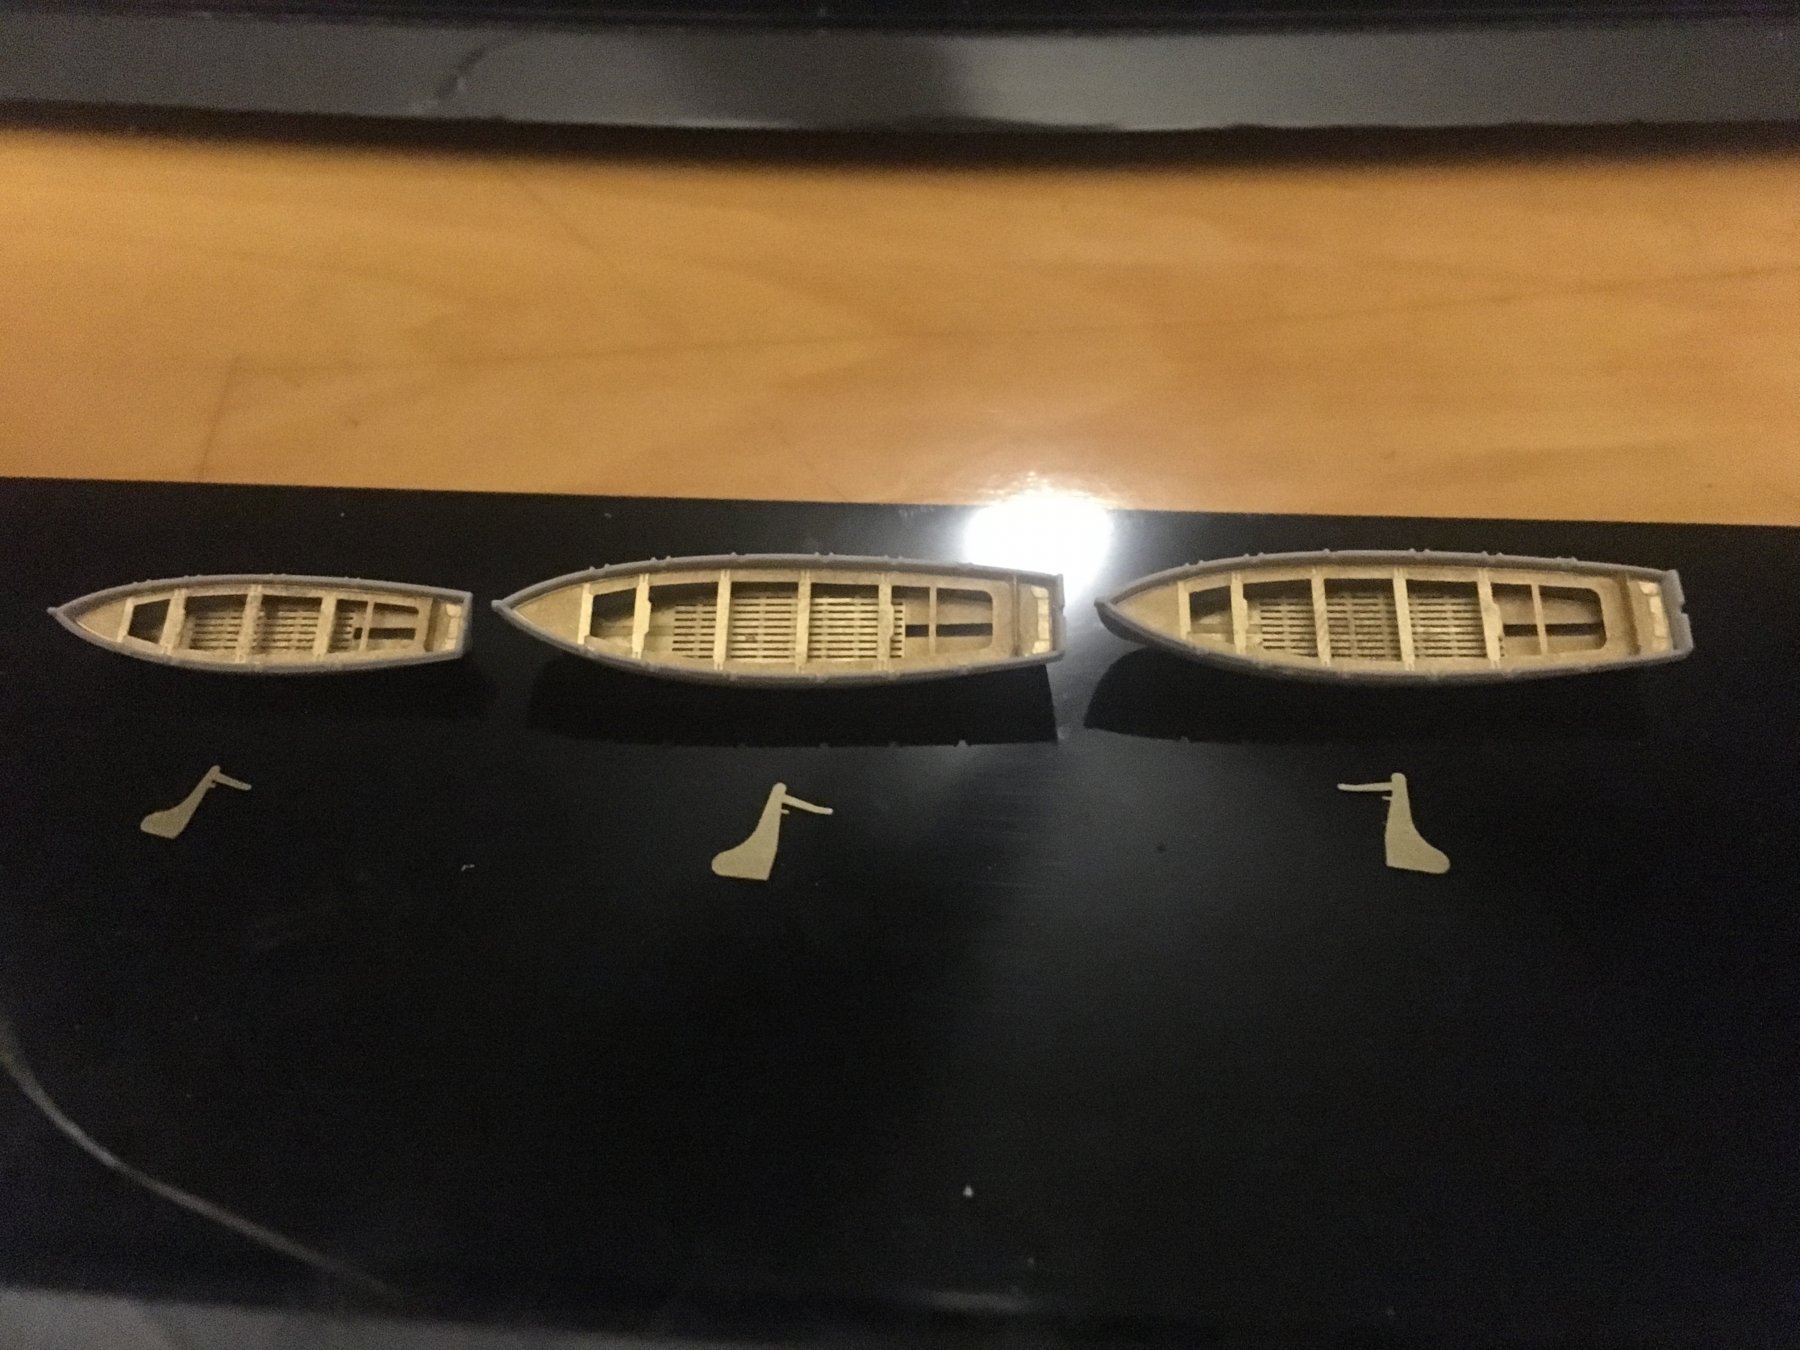
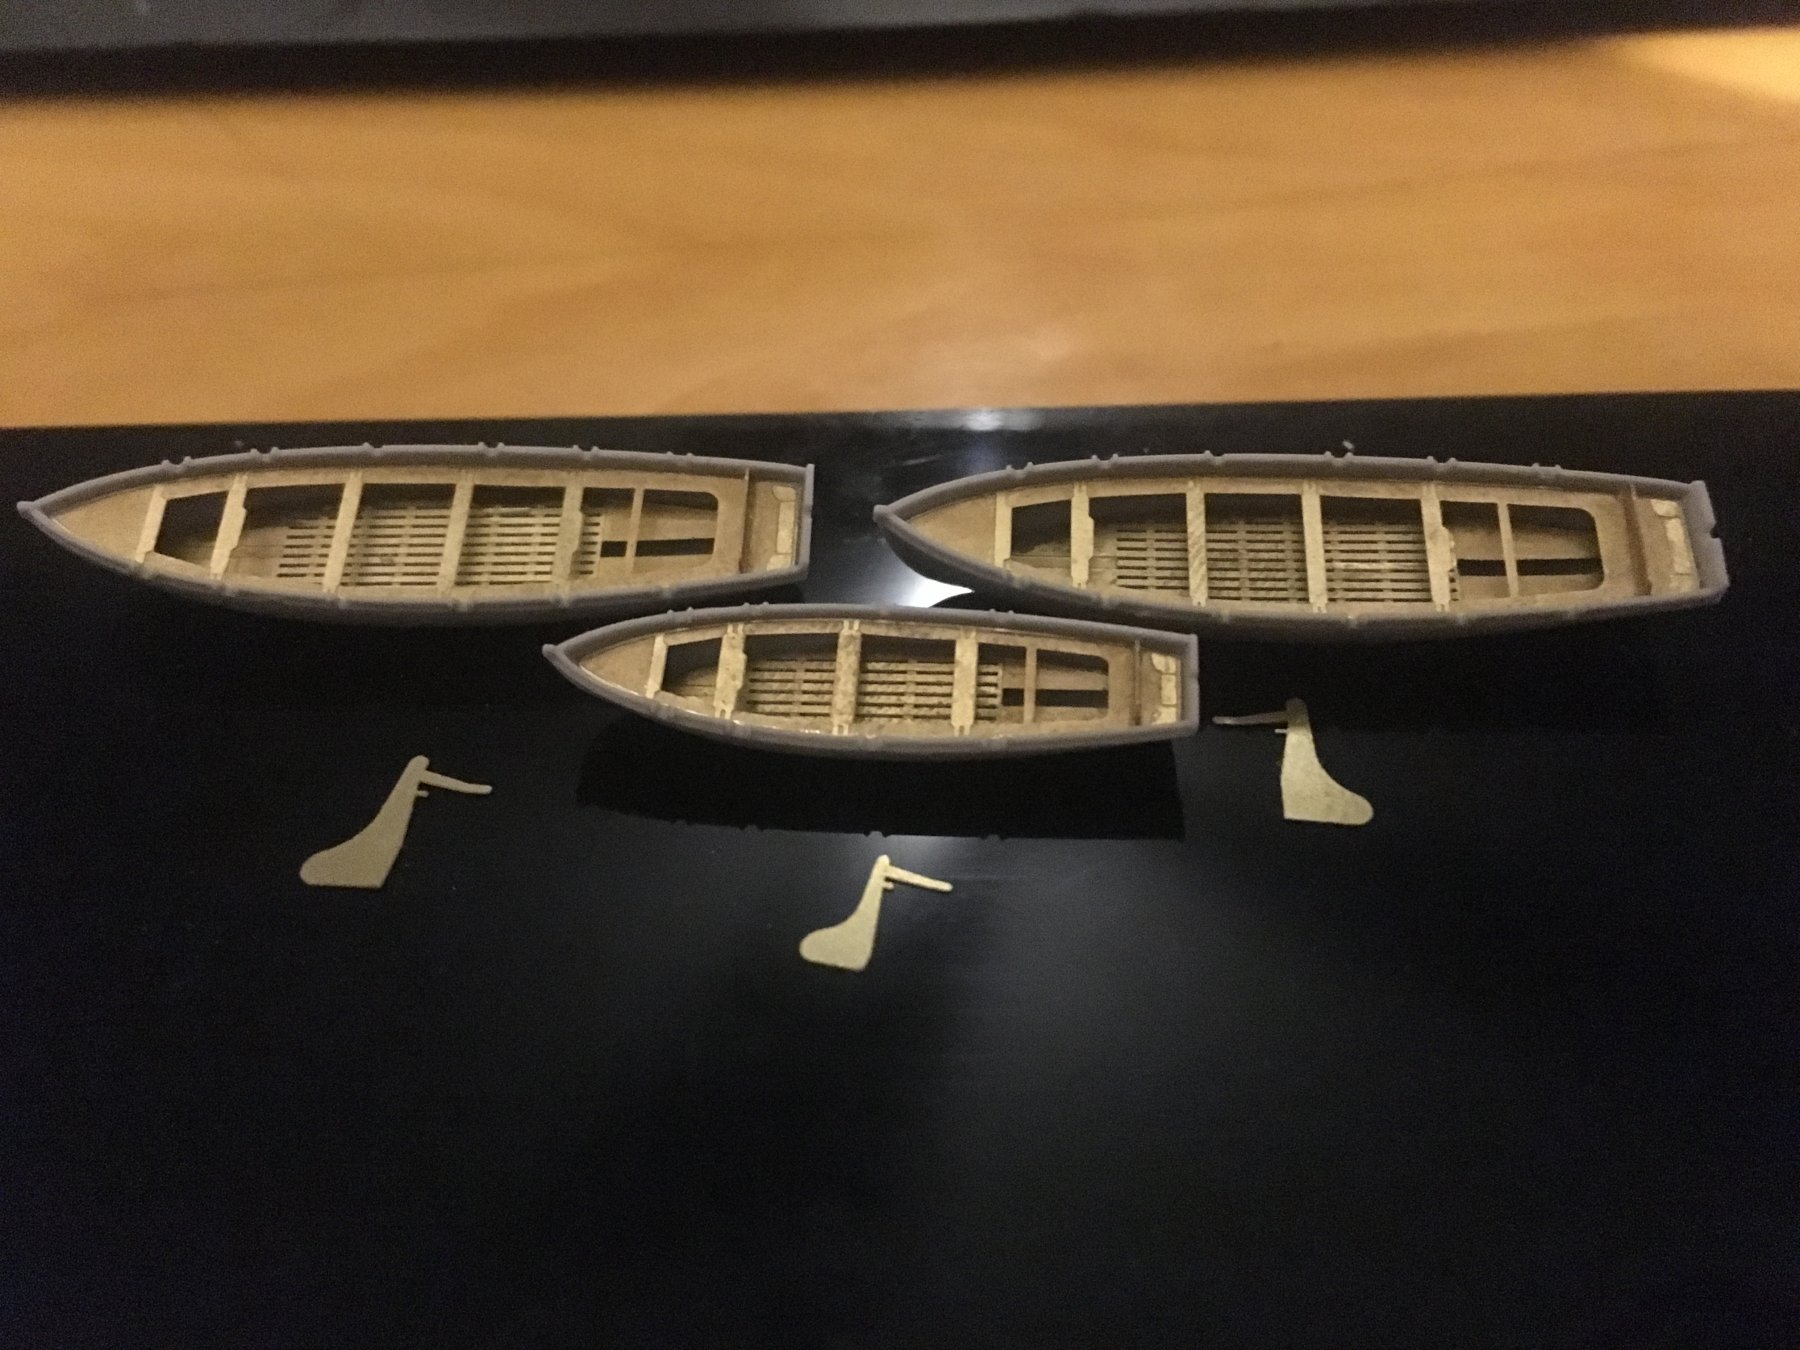
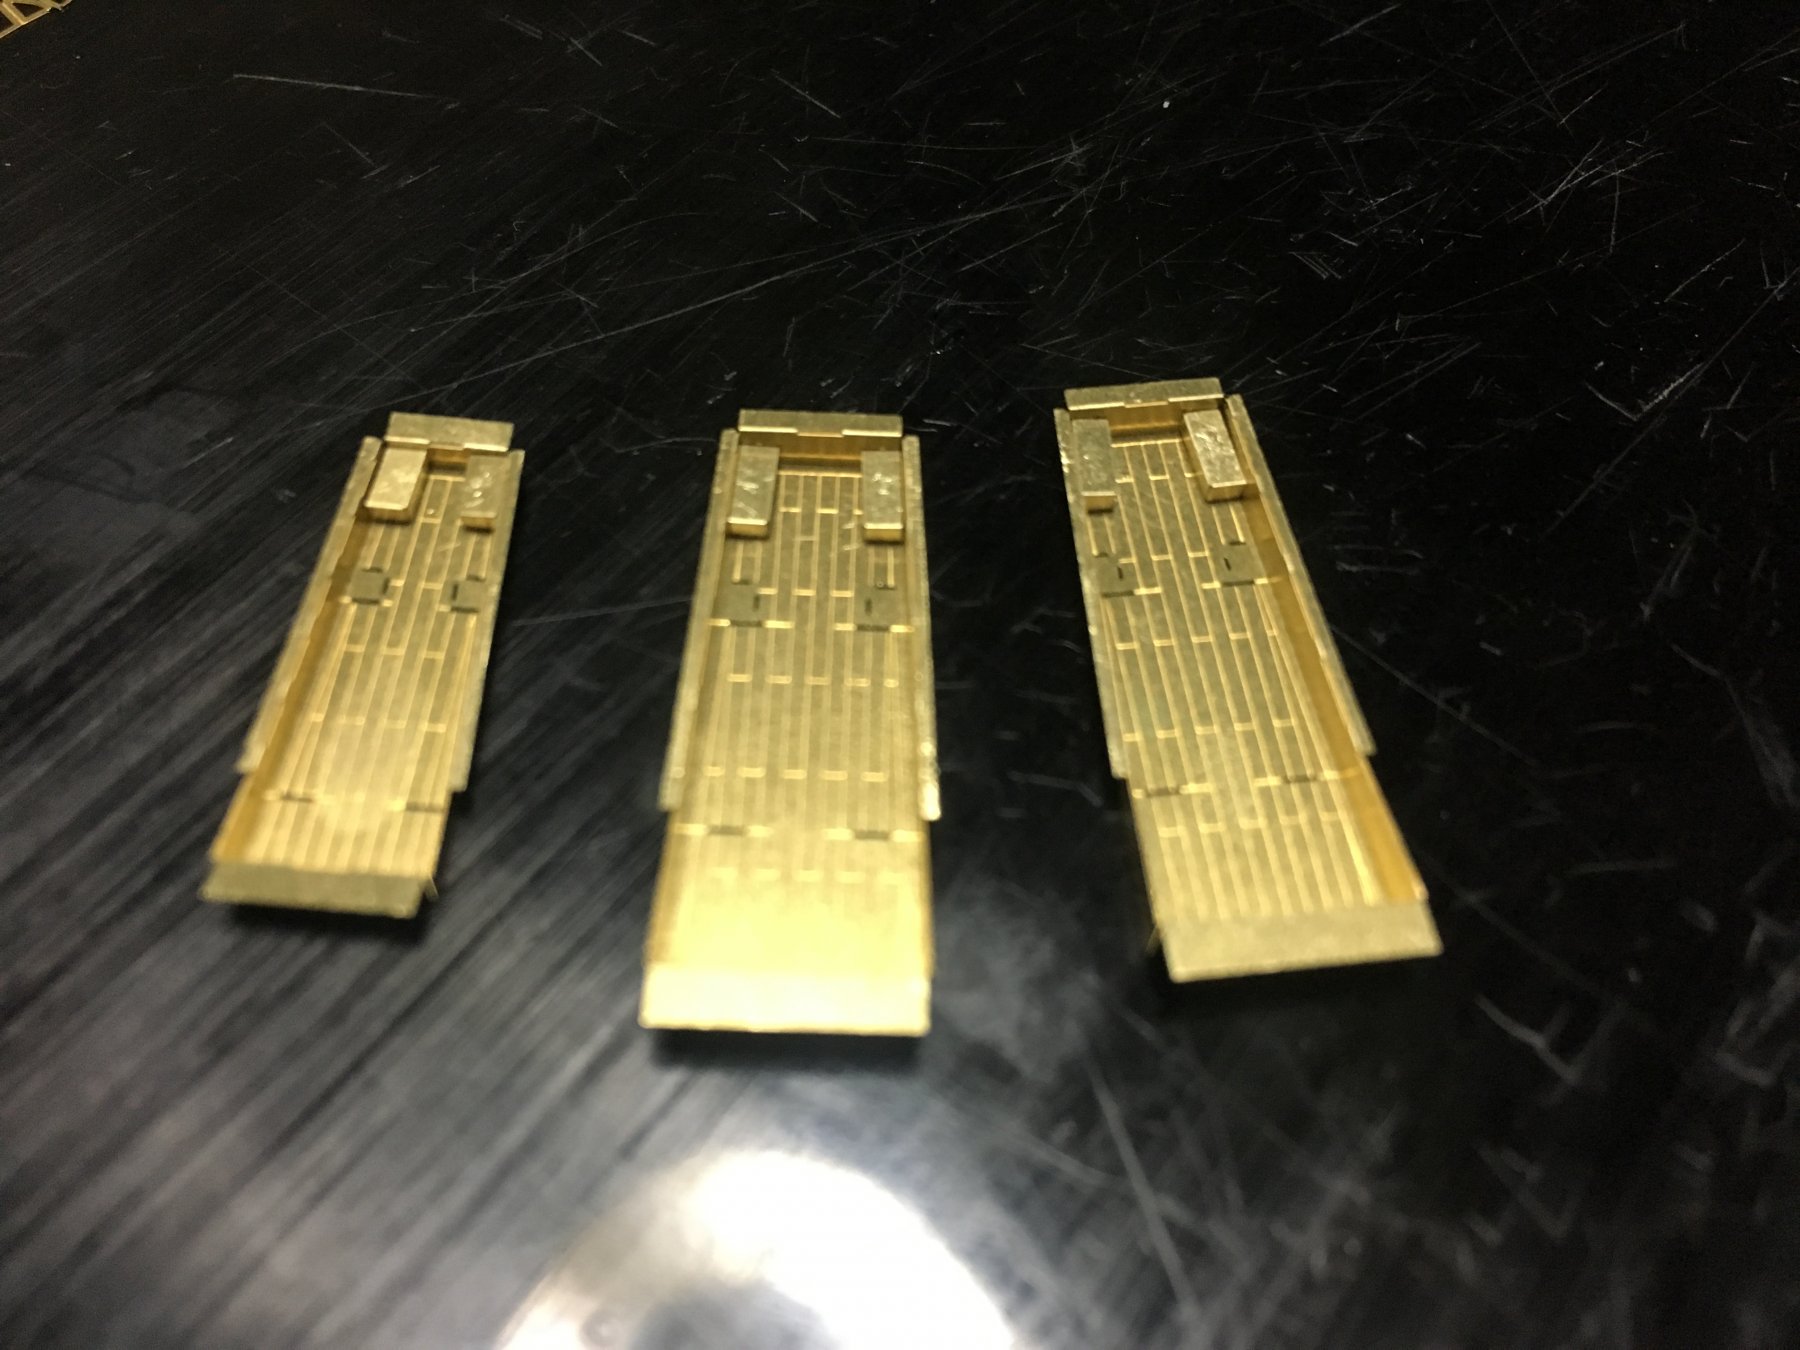
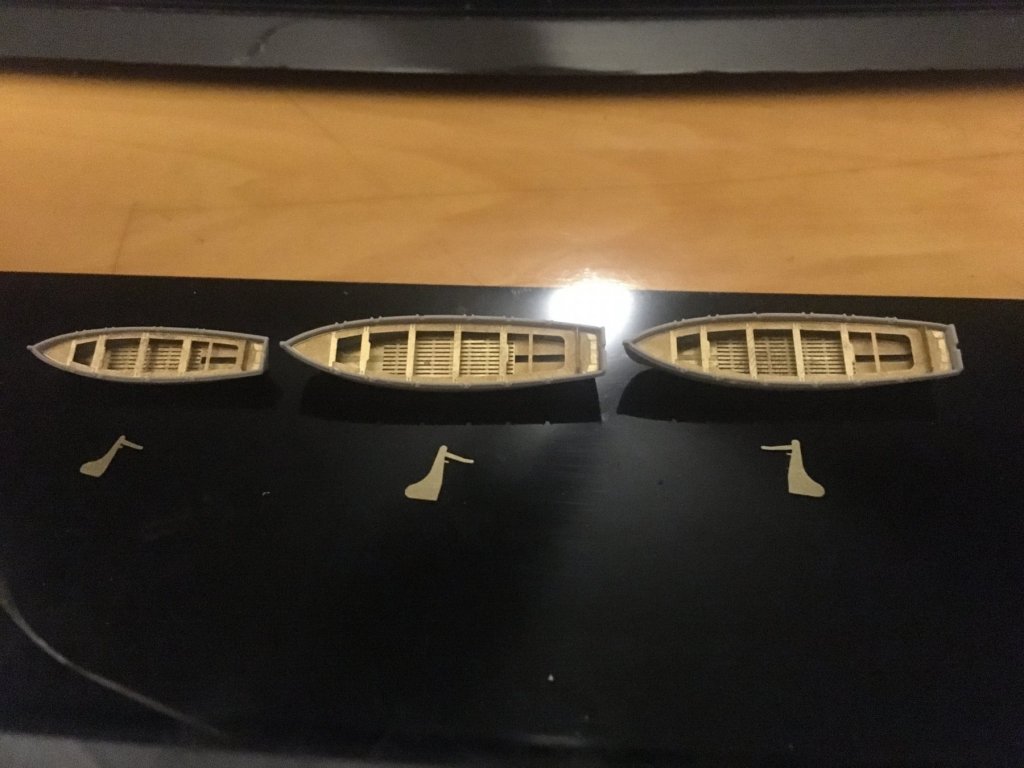
Work continues on the launches. I will be ready for paint soon. the walls and doors got glued in place the roofs seem like there are going to be difficult. So in typical fashion I procrastinate by moving on to the last 3 launches with ors. these are coming out pretty good though. 🙃


-
Thanks John. Like me! I can only work on it on the weekends. Its going on 2 years now.
-
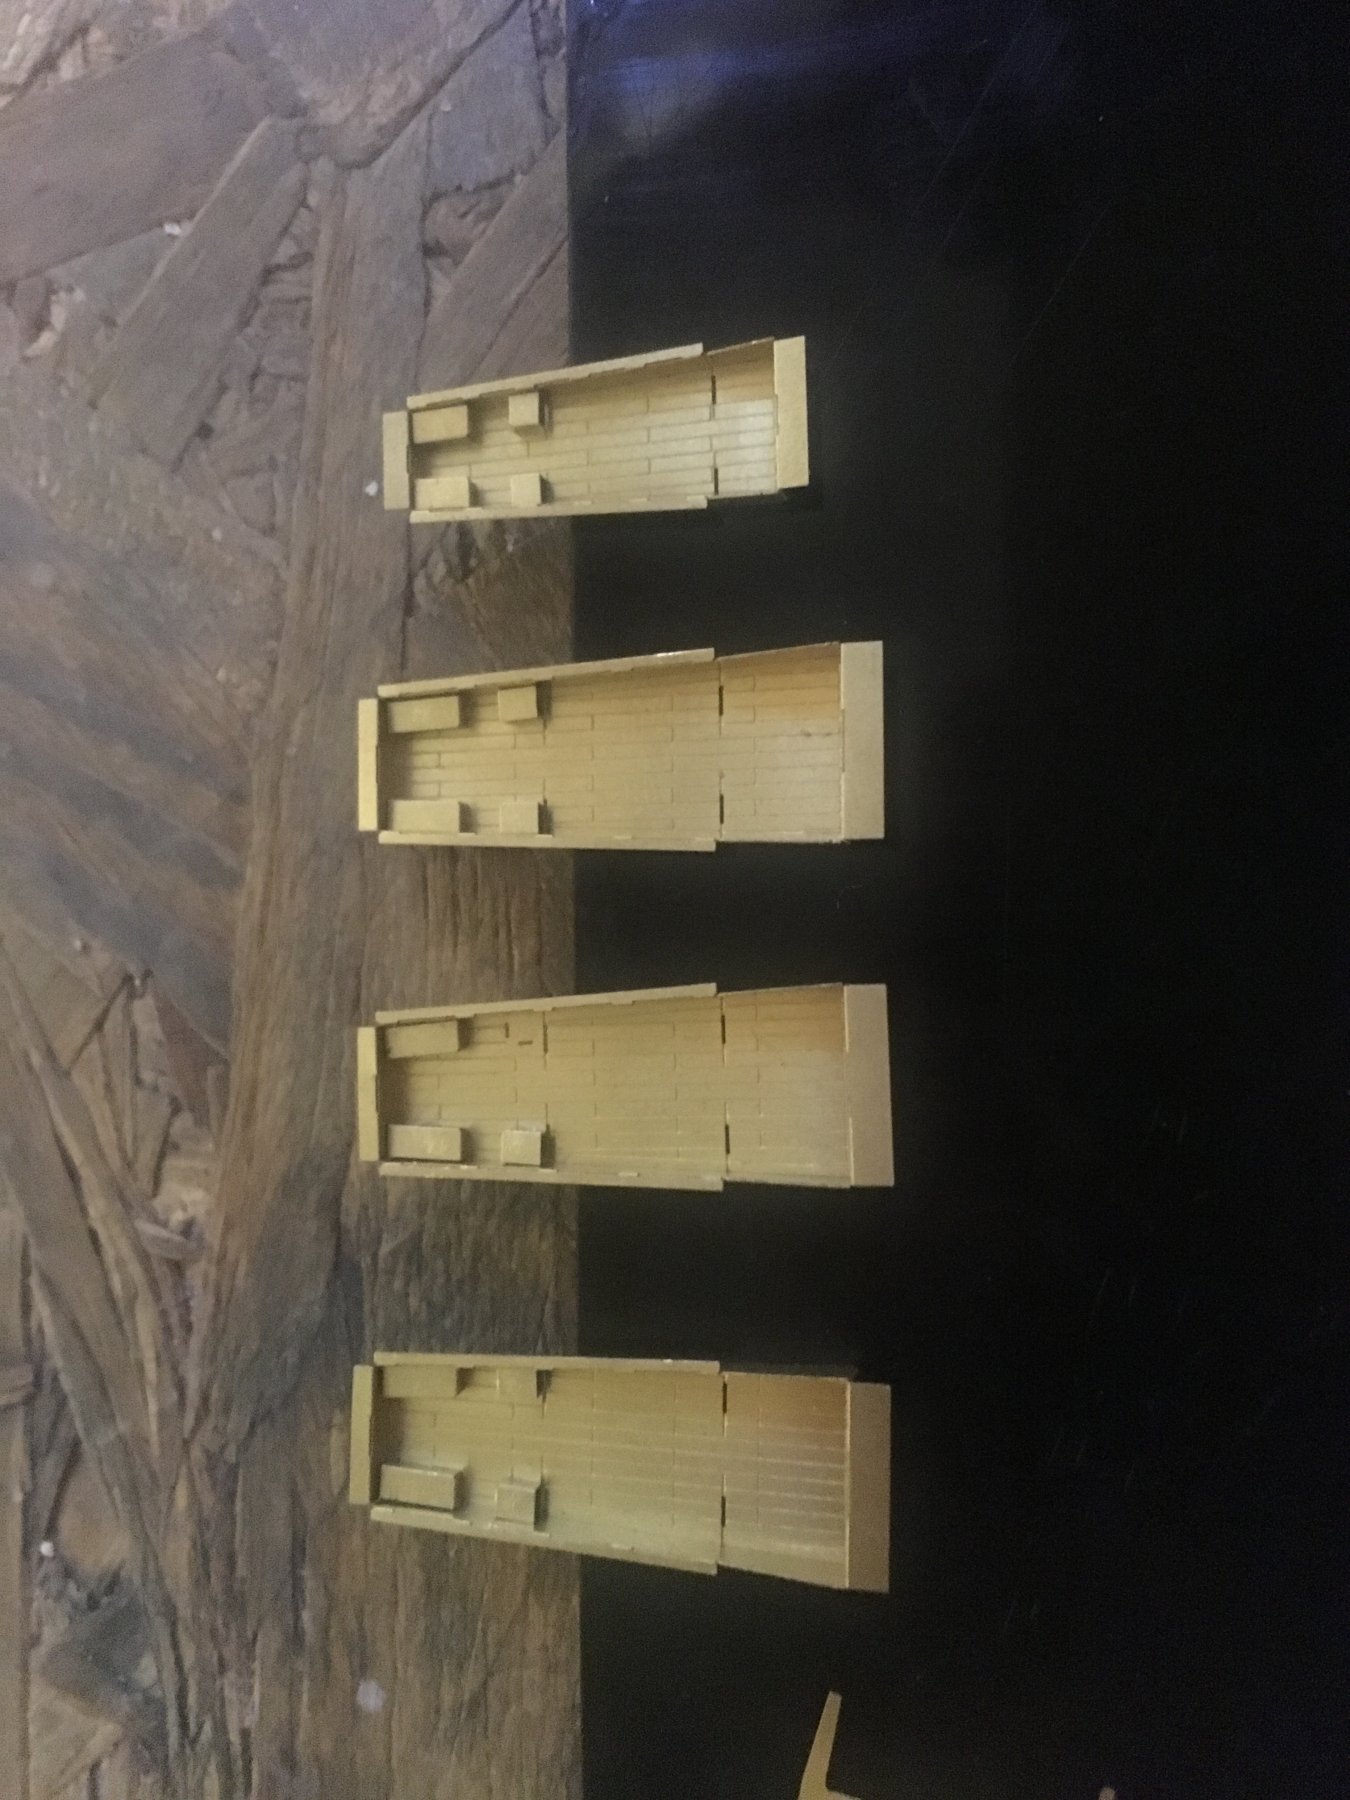
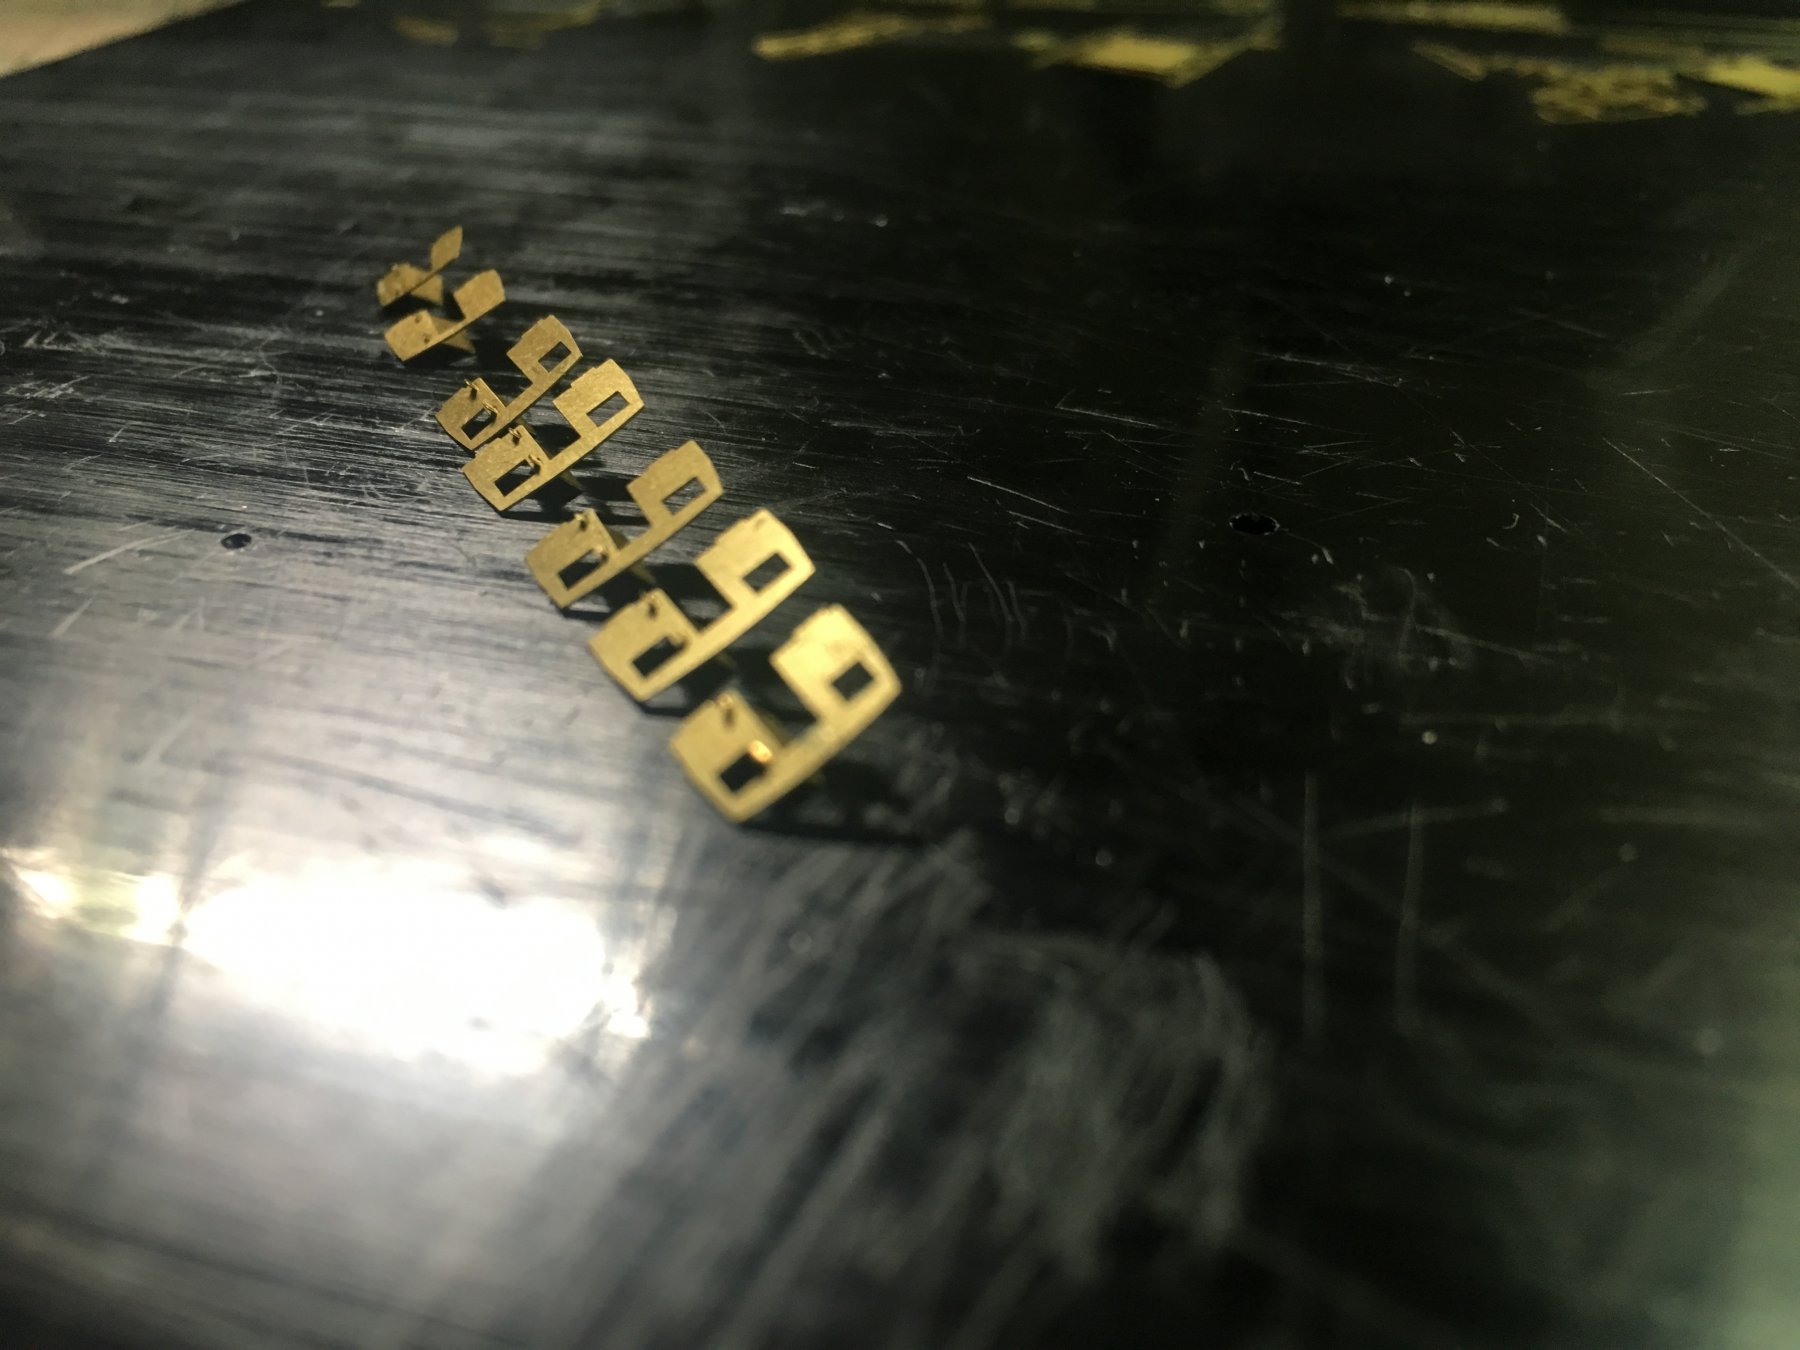
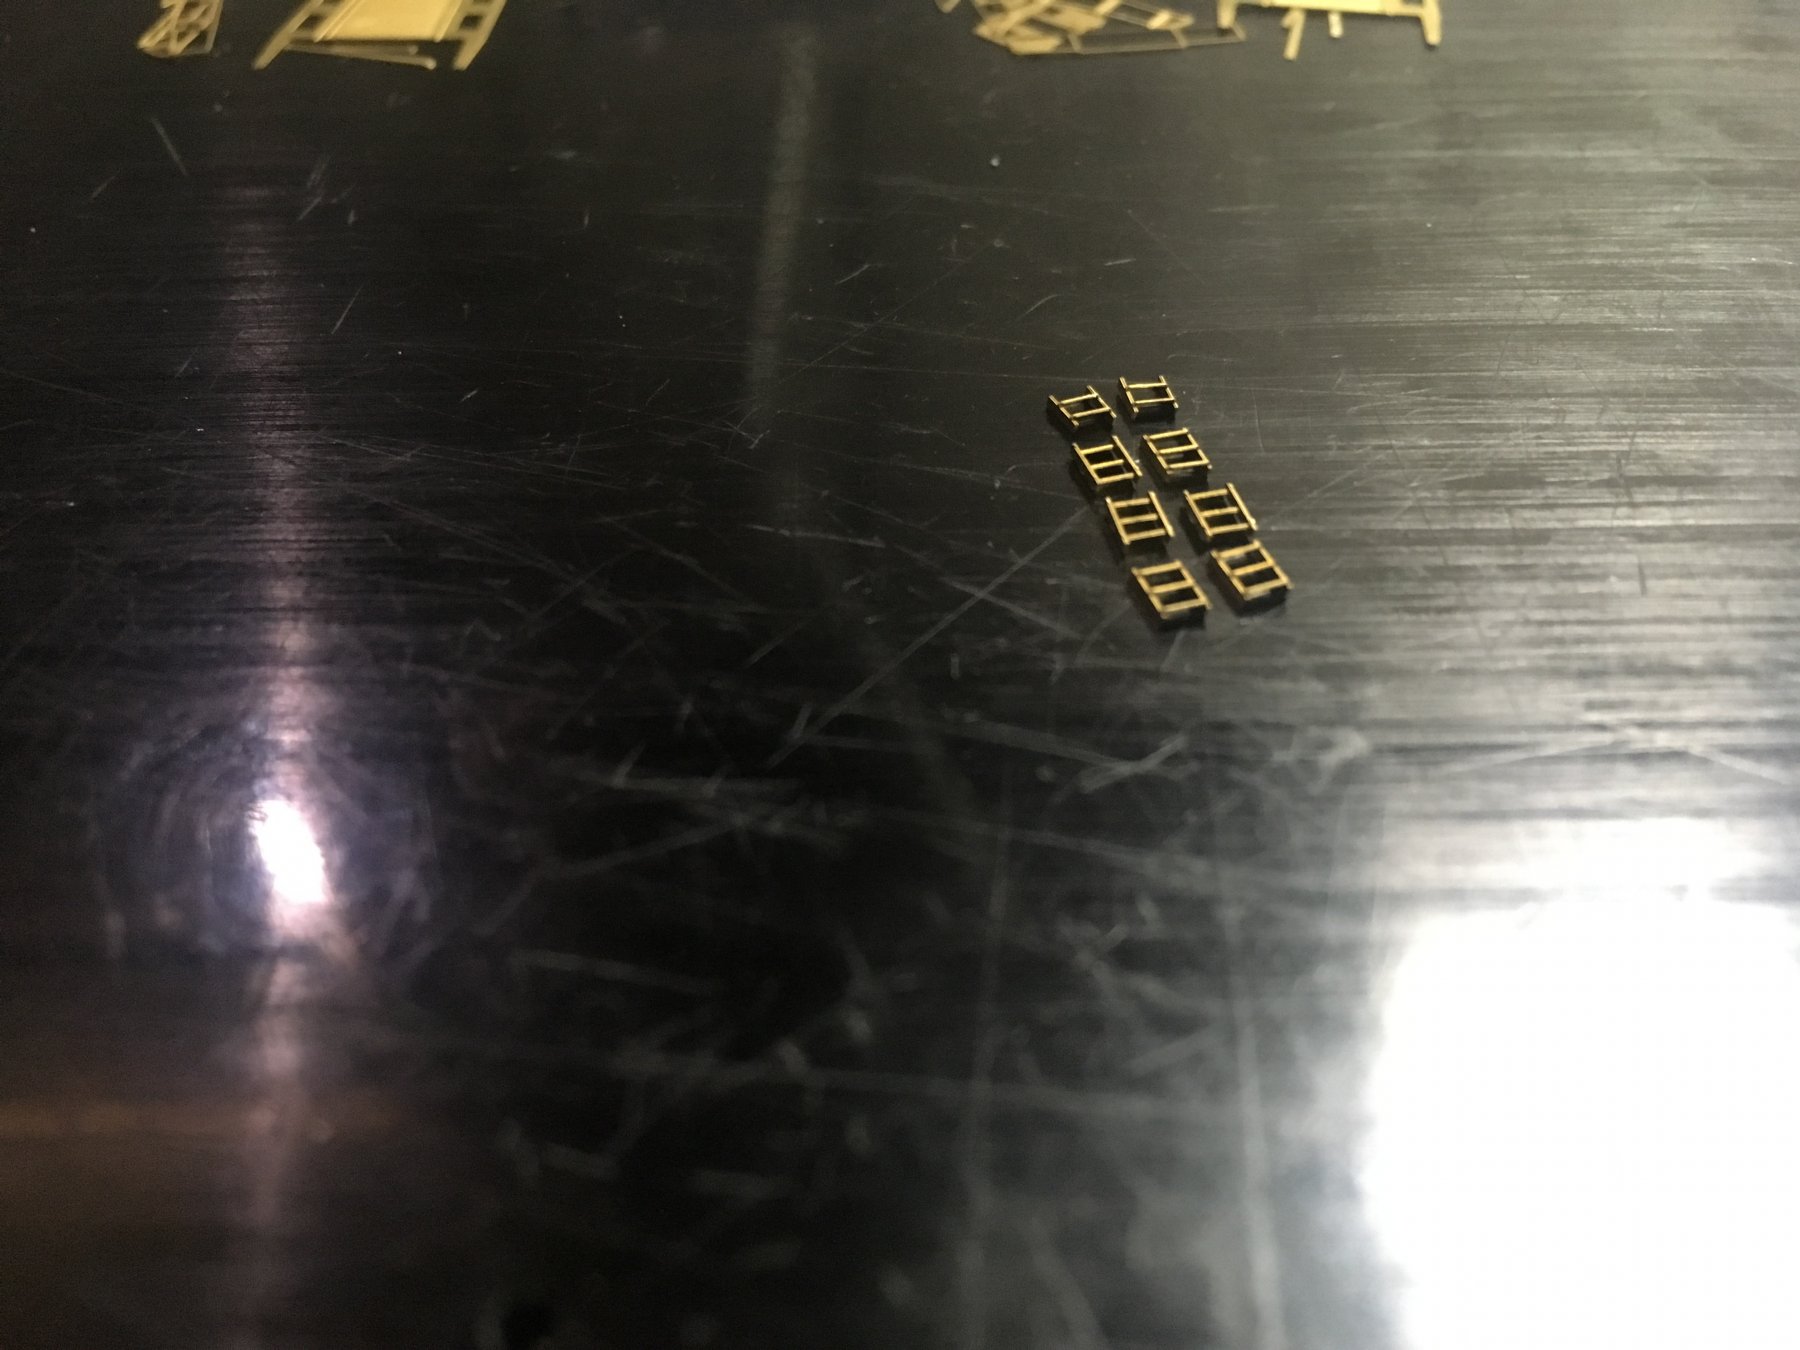
I know I have been going slow lately.. I just haven’t had a lot of time lately. I started by bending boxes and gluing them in place minus one box. oh there you are! I was worried. I bent all of the stairs I would need, though I don’t know if I’m going to use them yet. Next is to glue all the doors minus one because it got sucked into a black hole never to be seen again. then the hatches got glued in place. And that’s where I am at right now. It’s a long weekend so hopefully I can get more done.


-
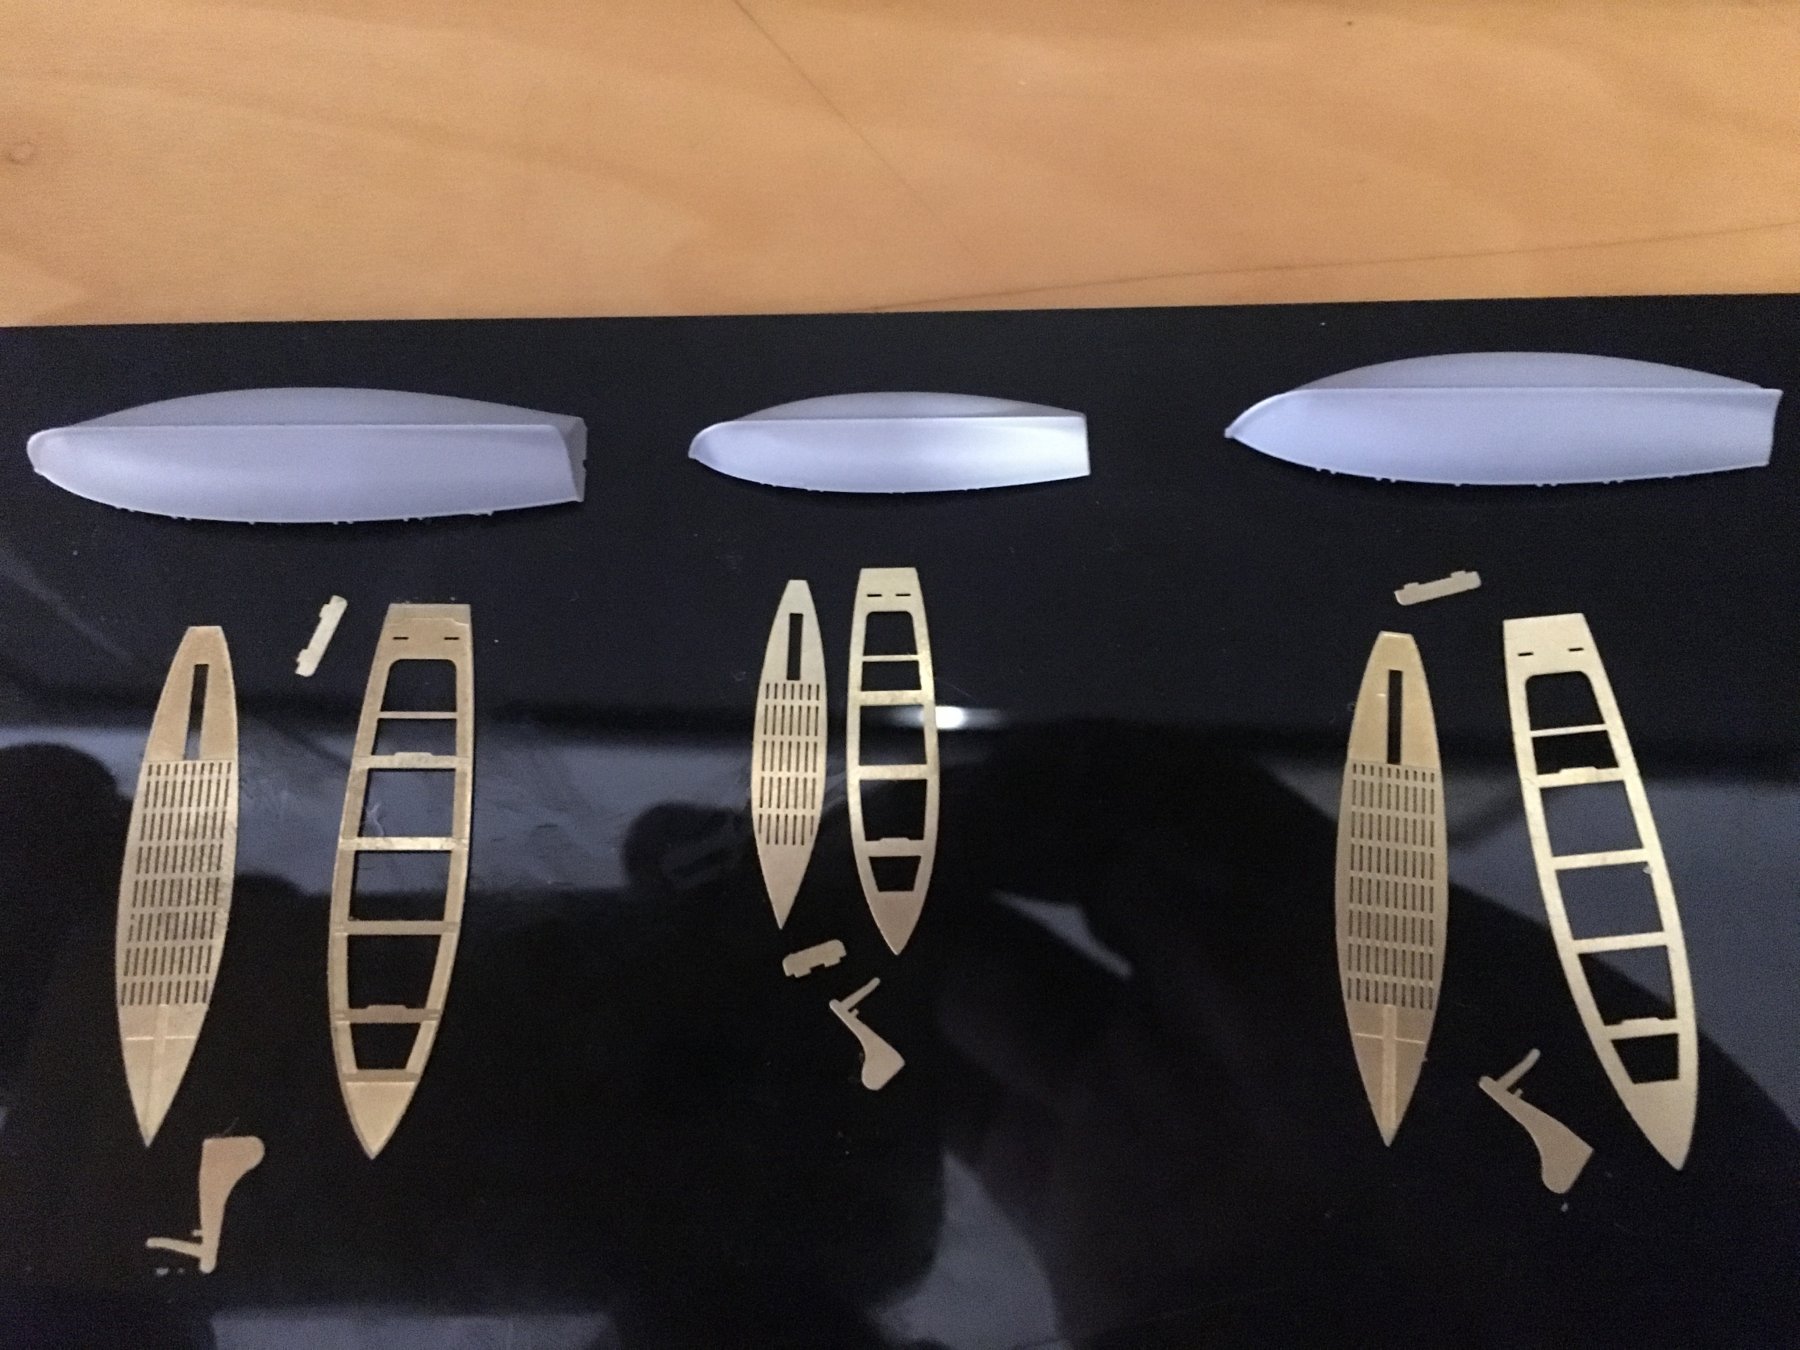
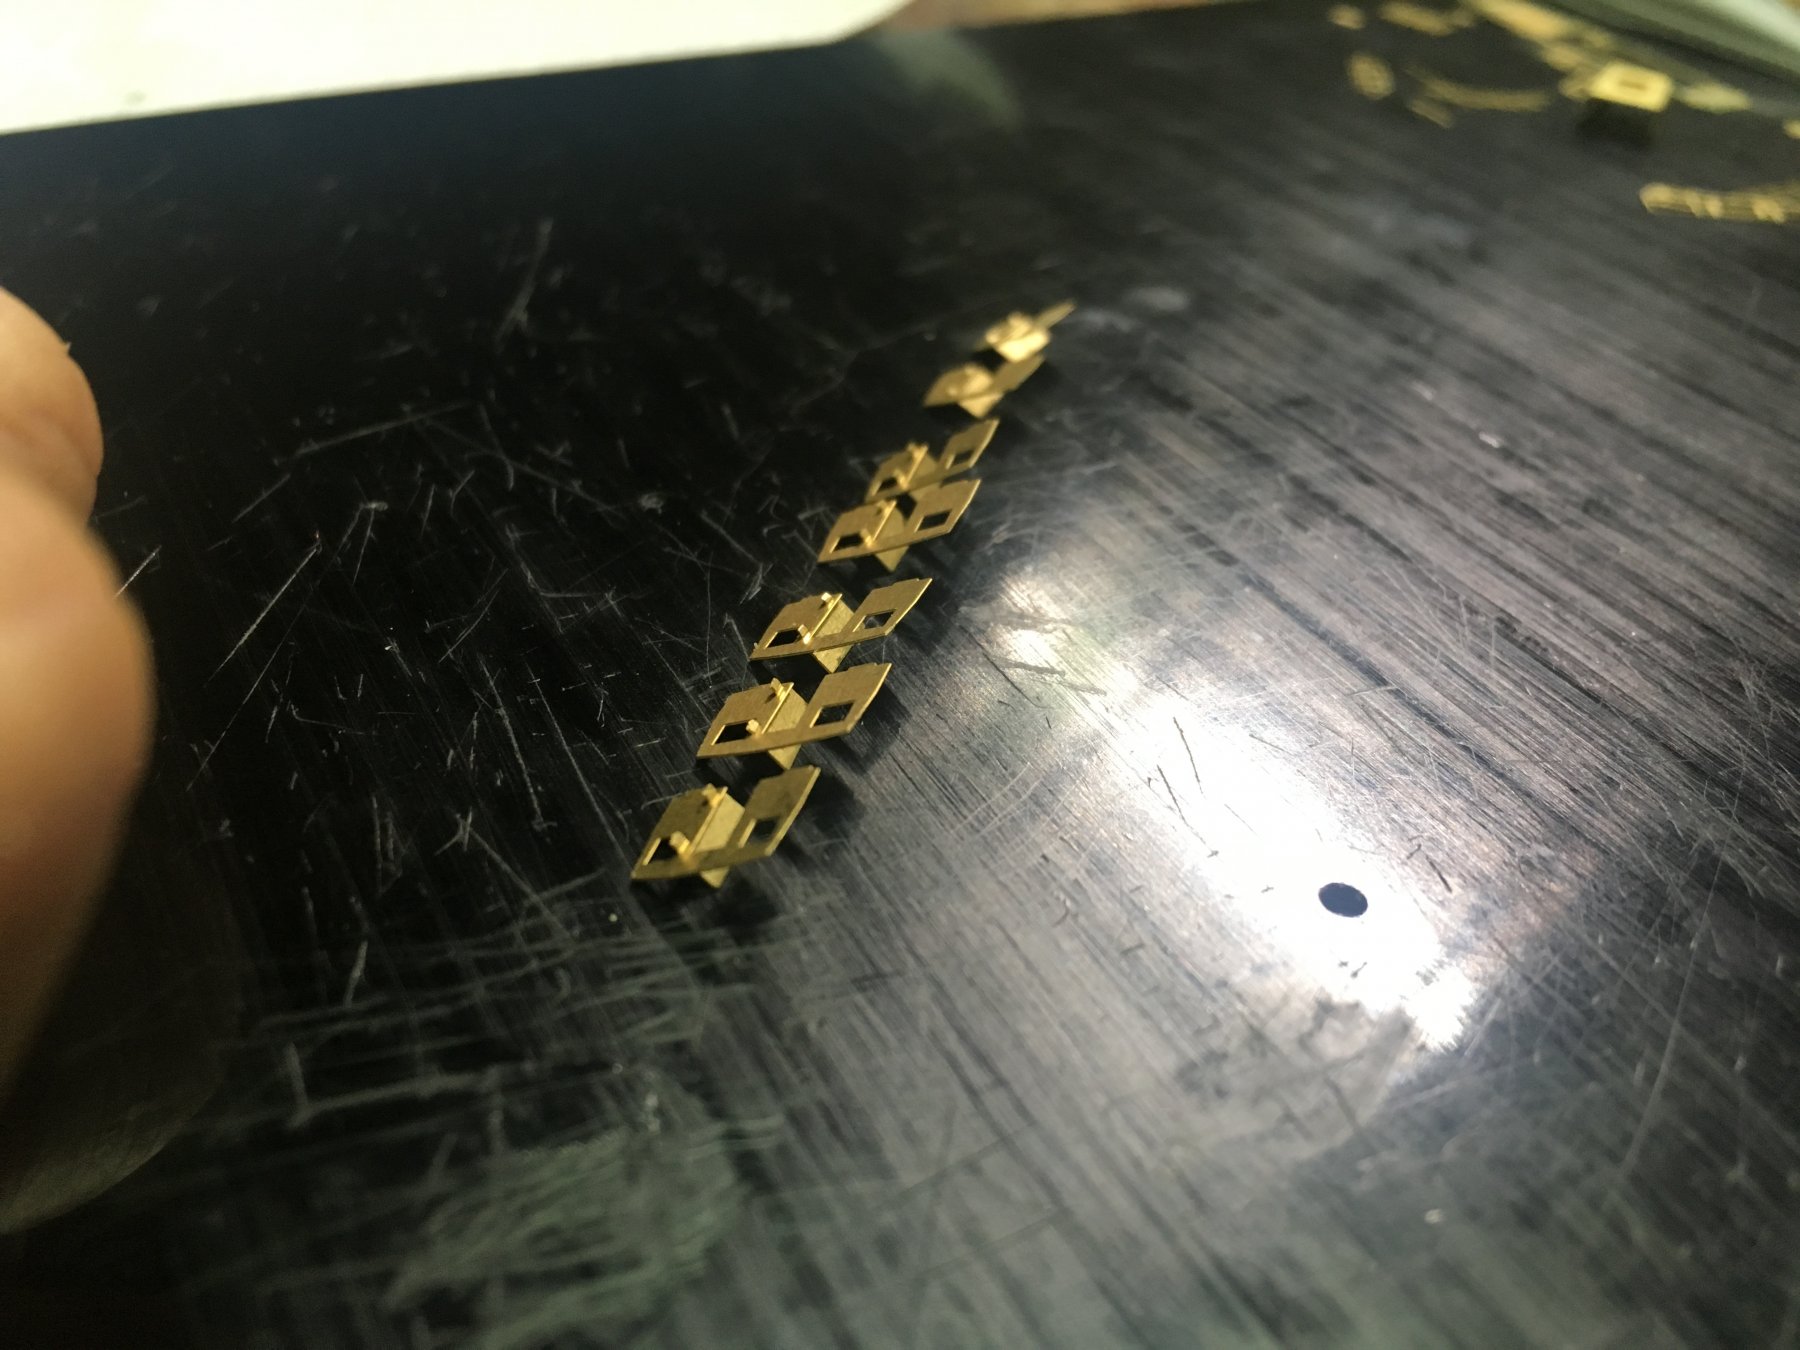
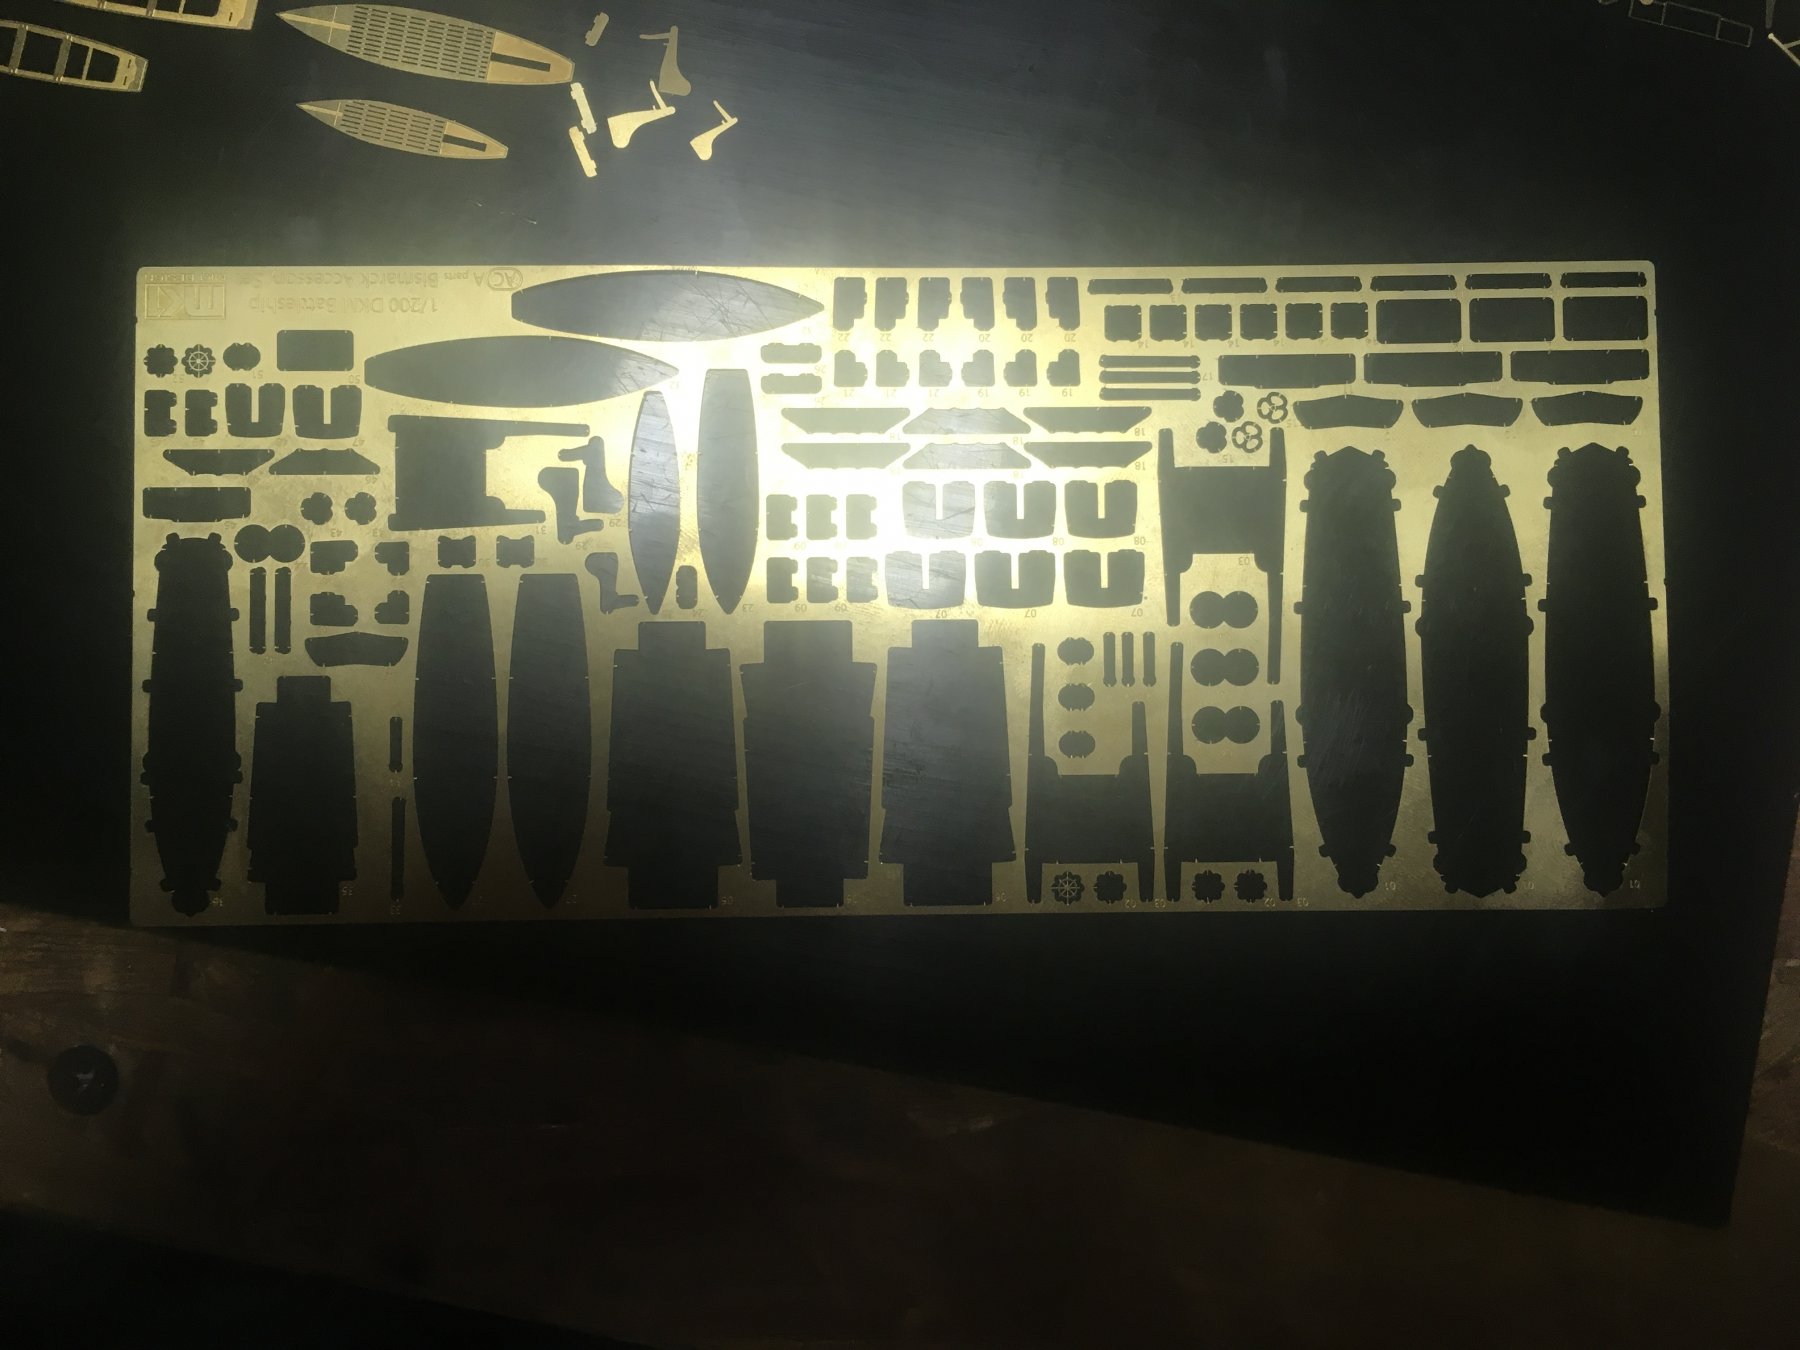
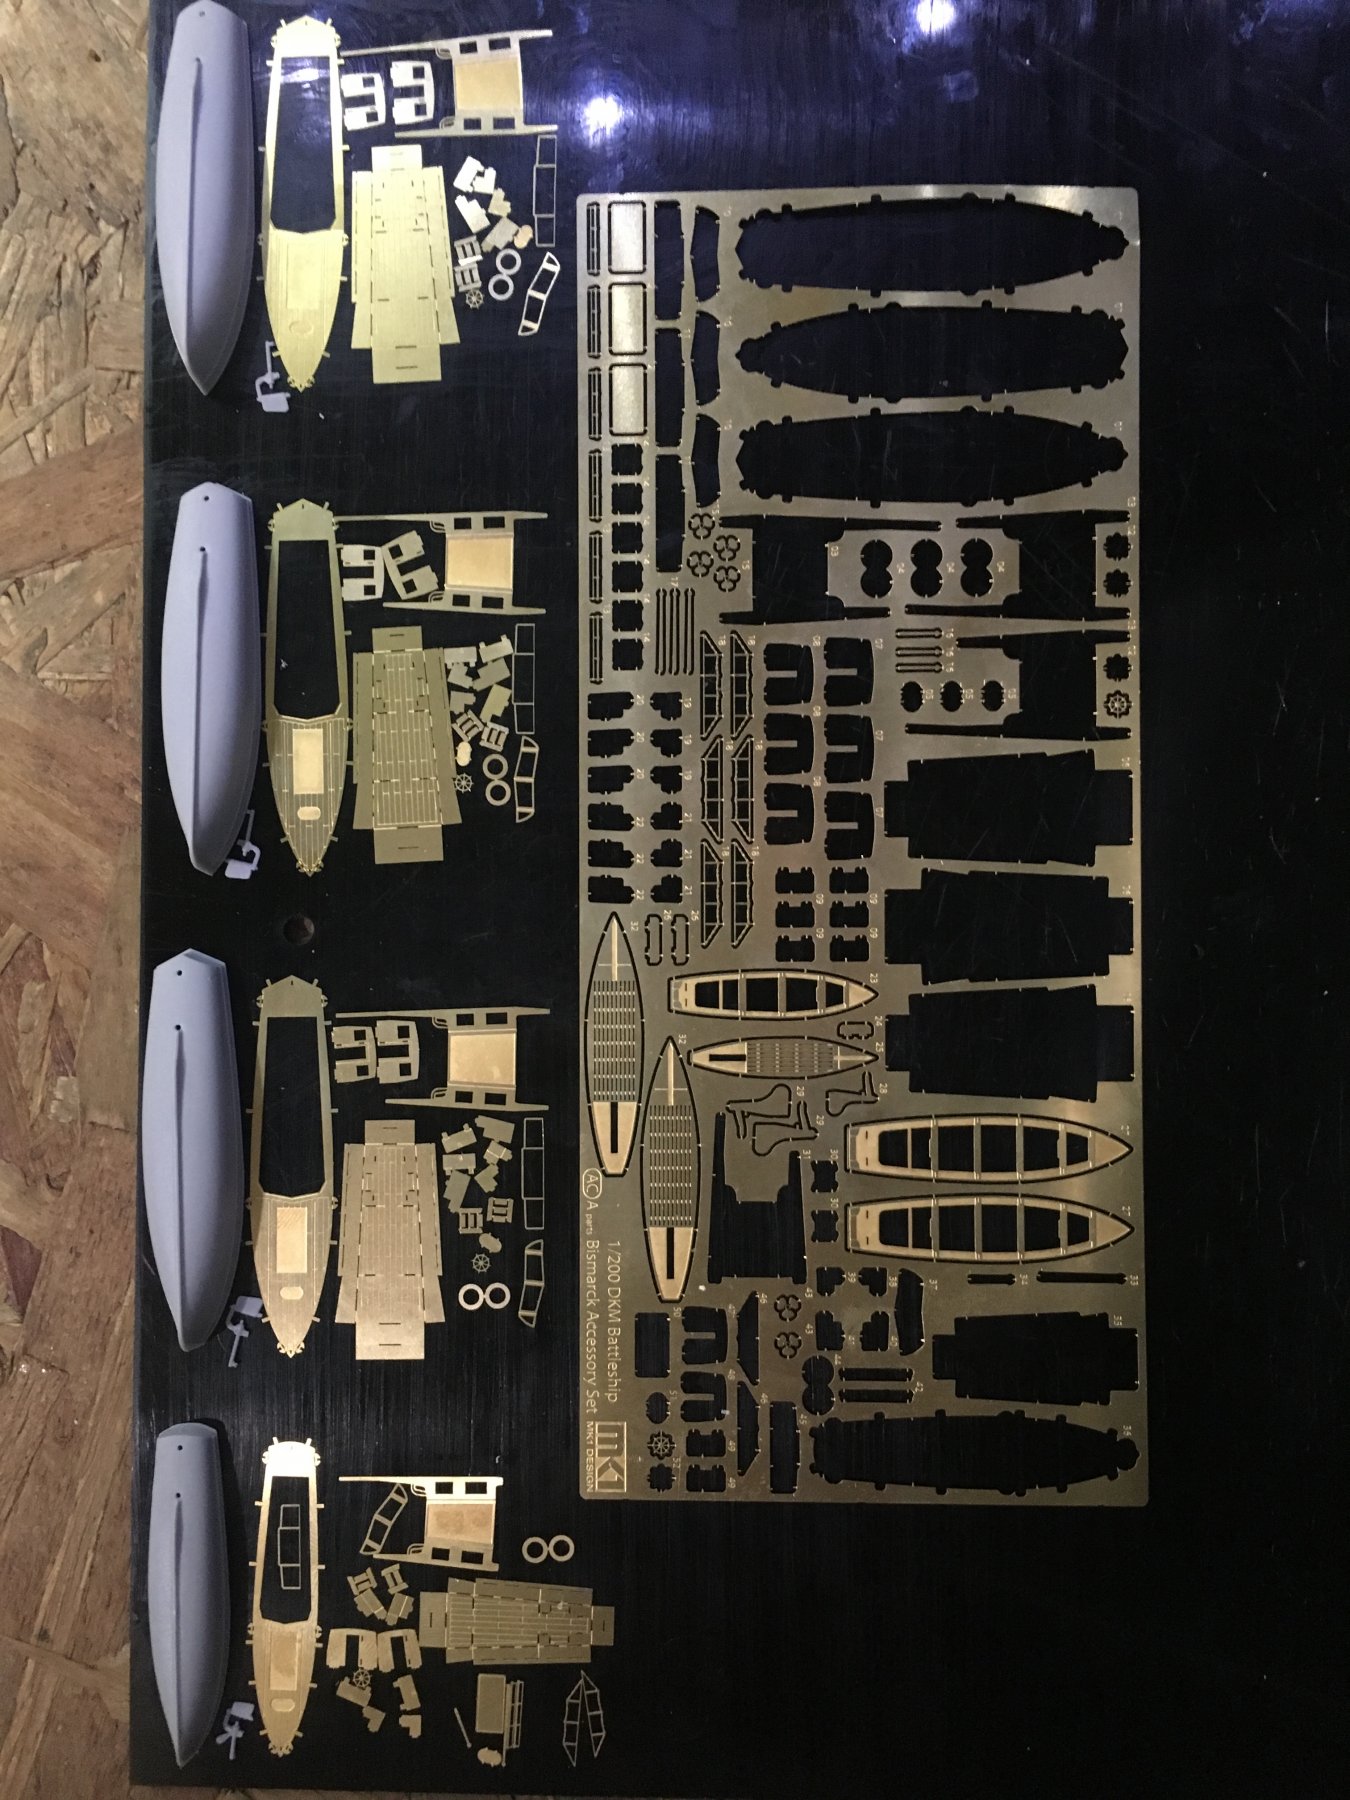
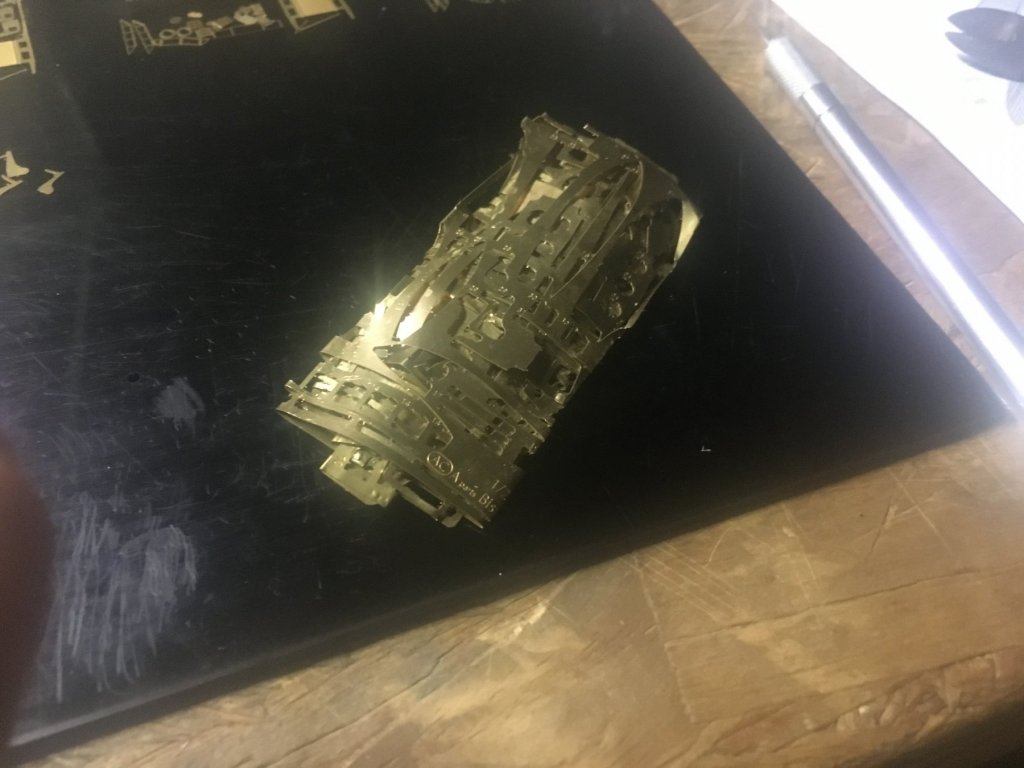
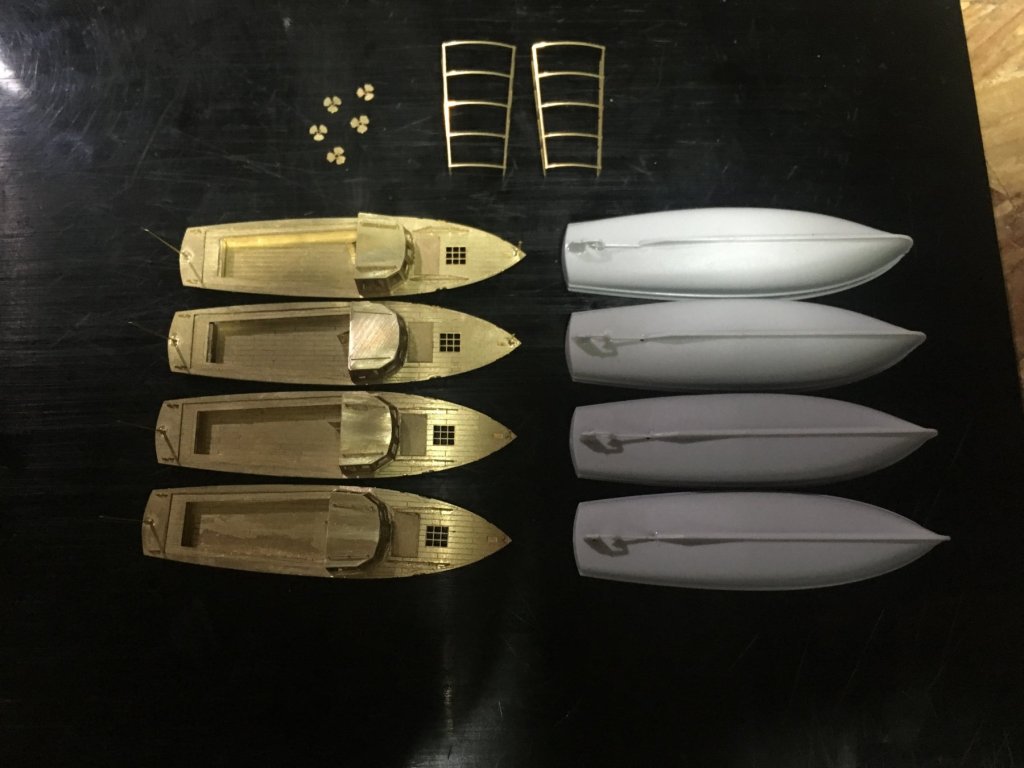
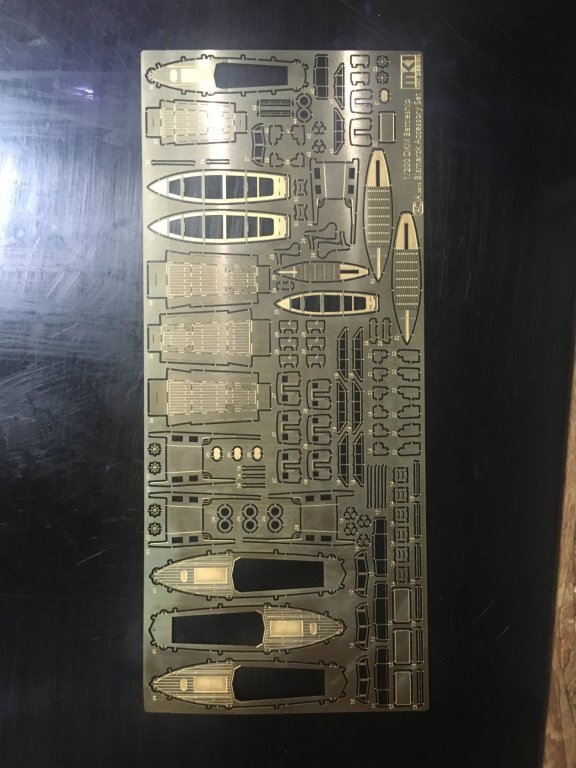
Work on the launches continues slowly. I cut out every piece I need for all launches leaving me with one less PE sheet and a bigger scrap heap. this is basically what I have to do with the PE like the other launches I started with the rudders Then I started with the PE. Folding tiny boxes and gluung in place etc.


-
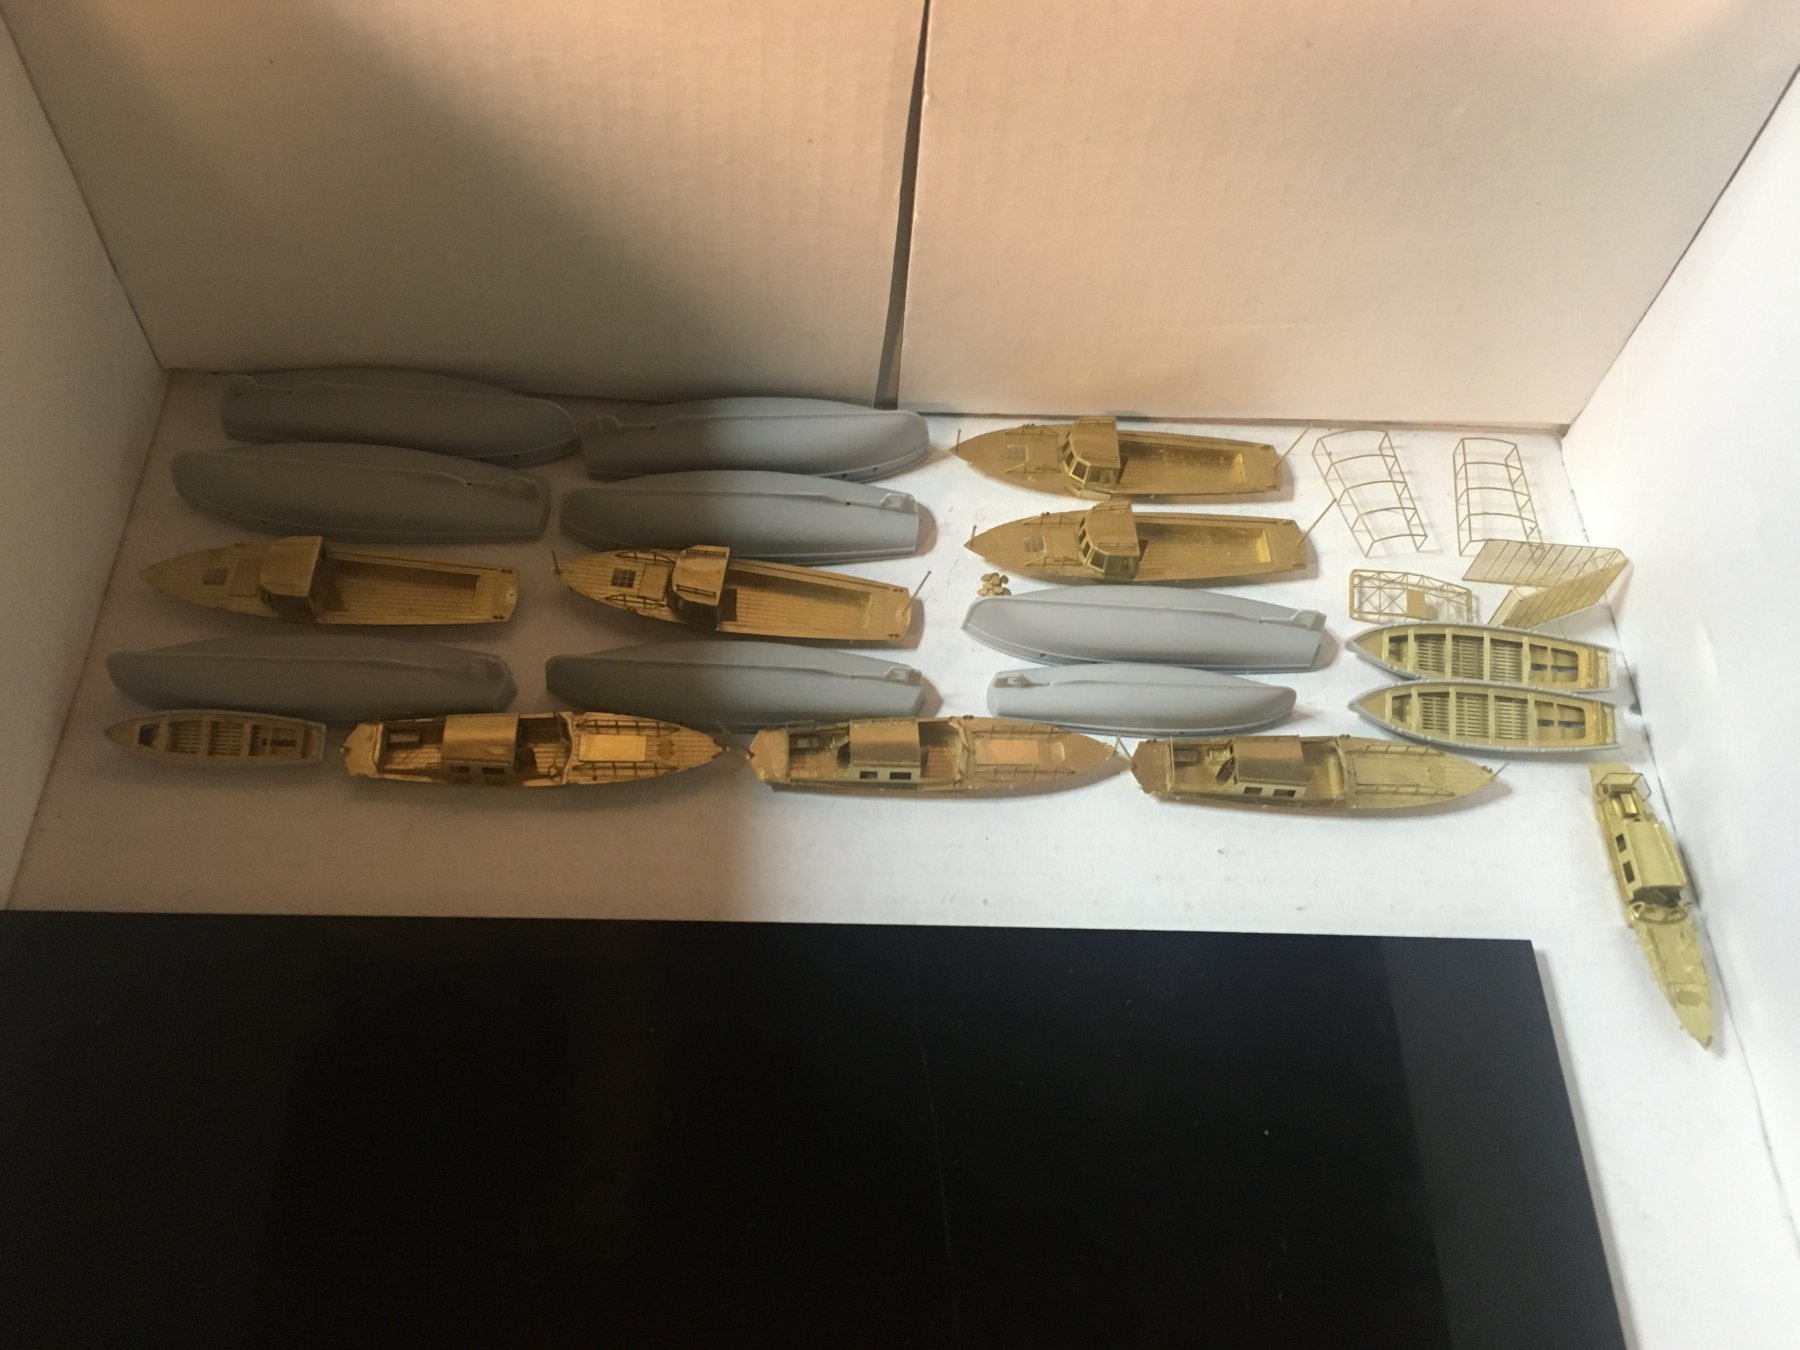
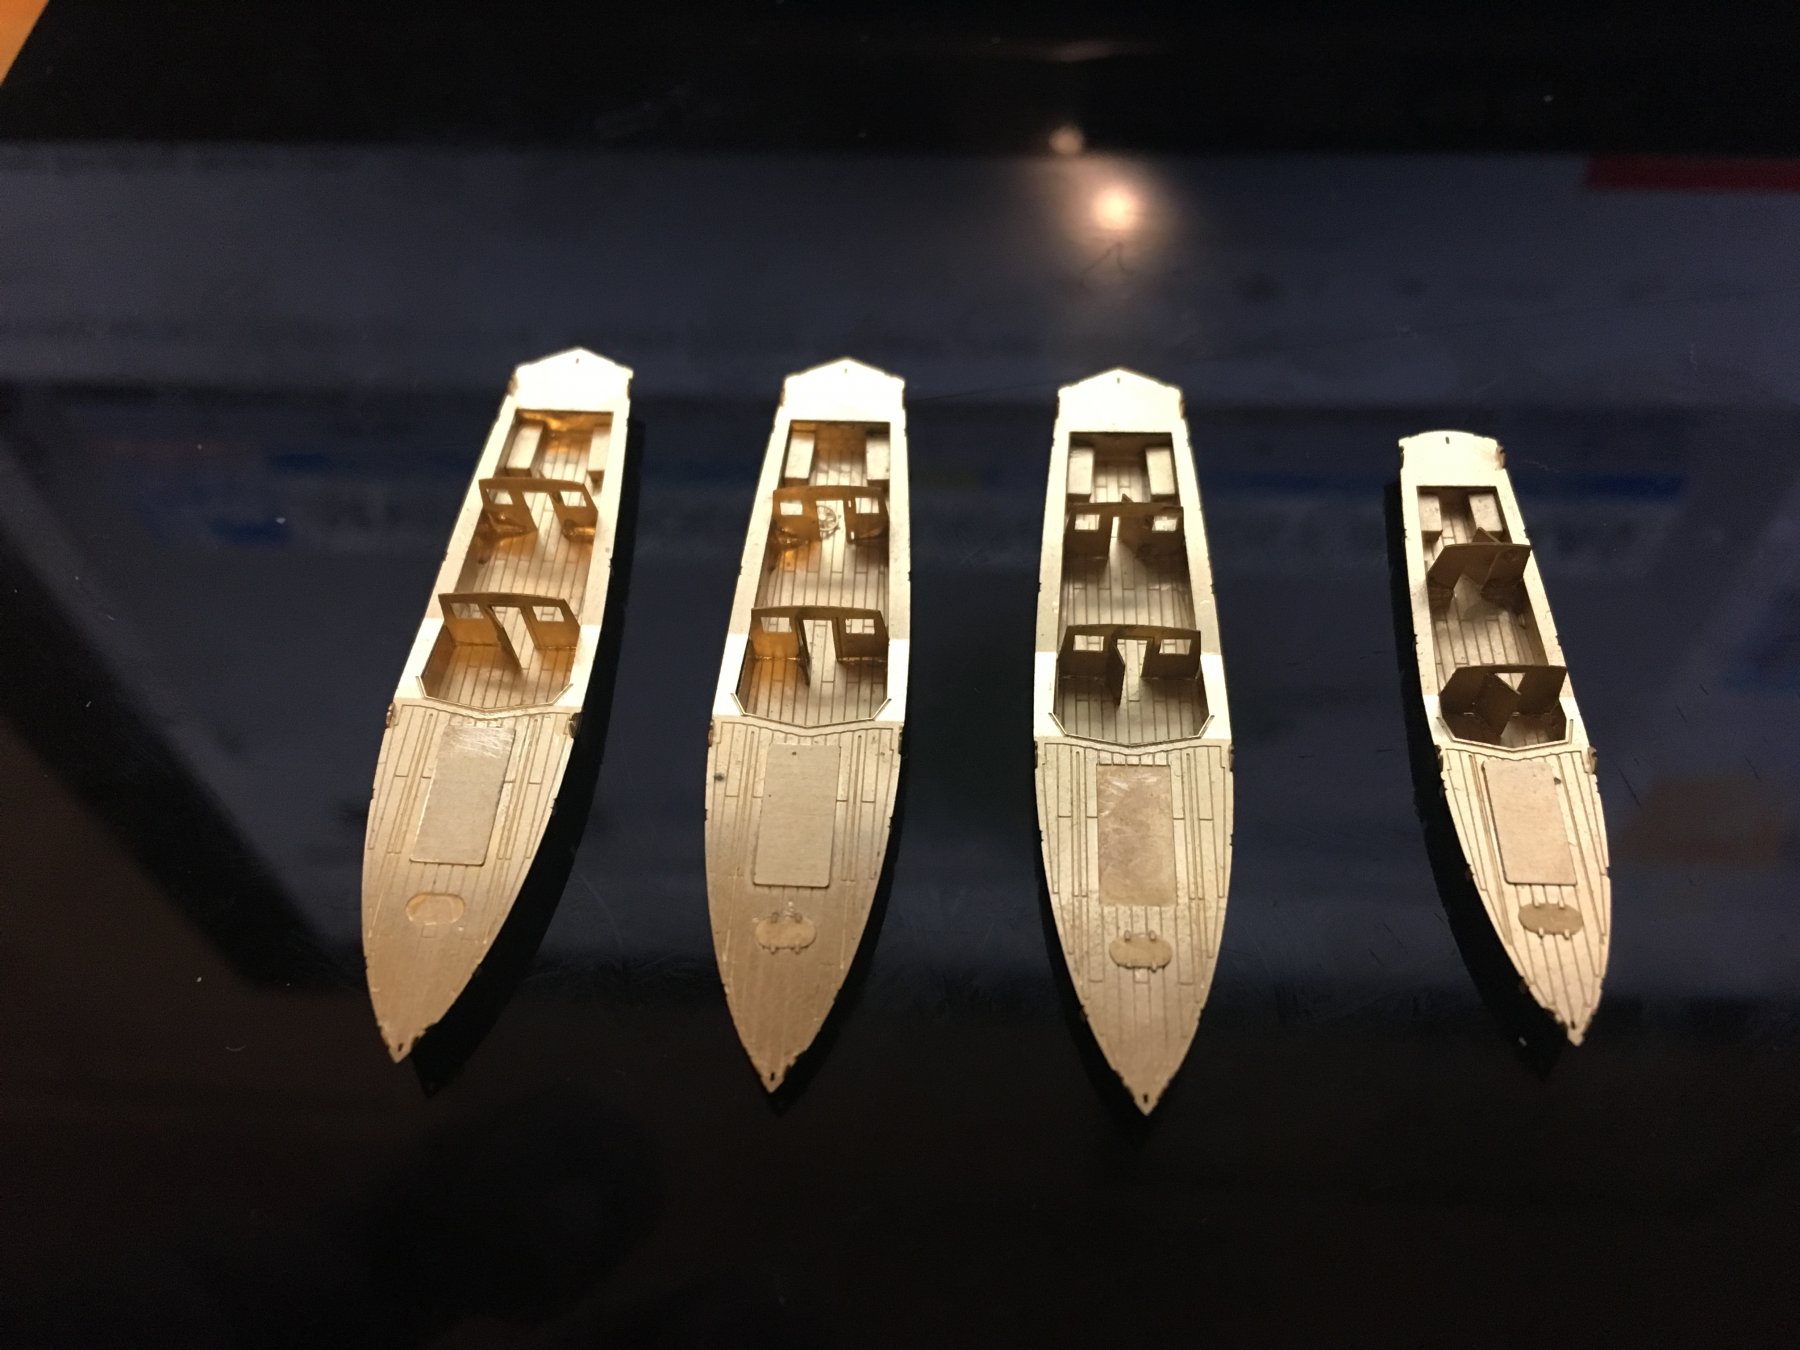
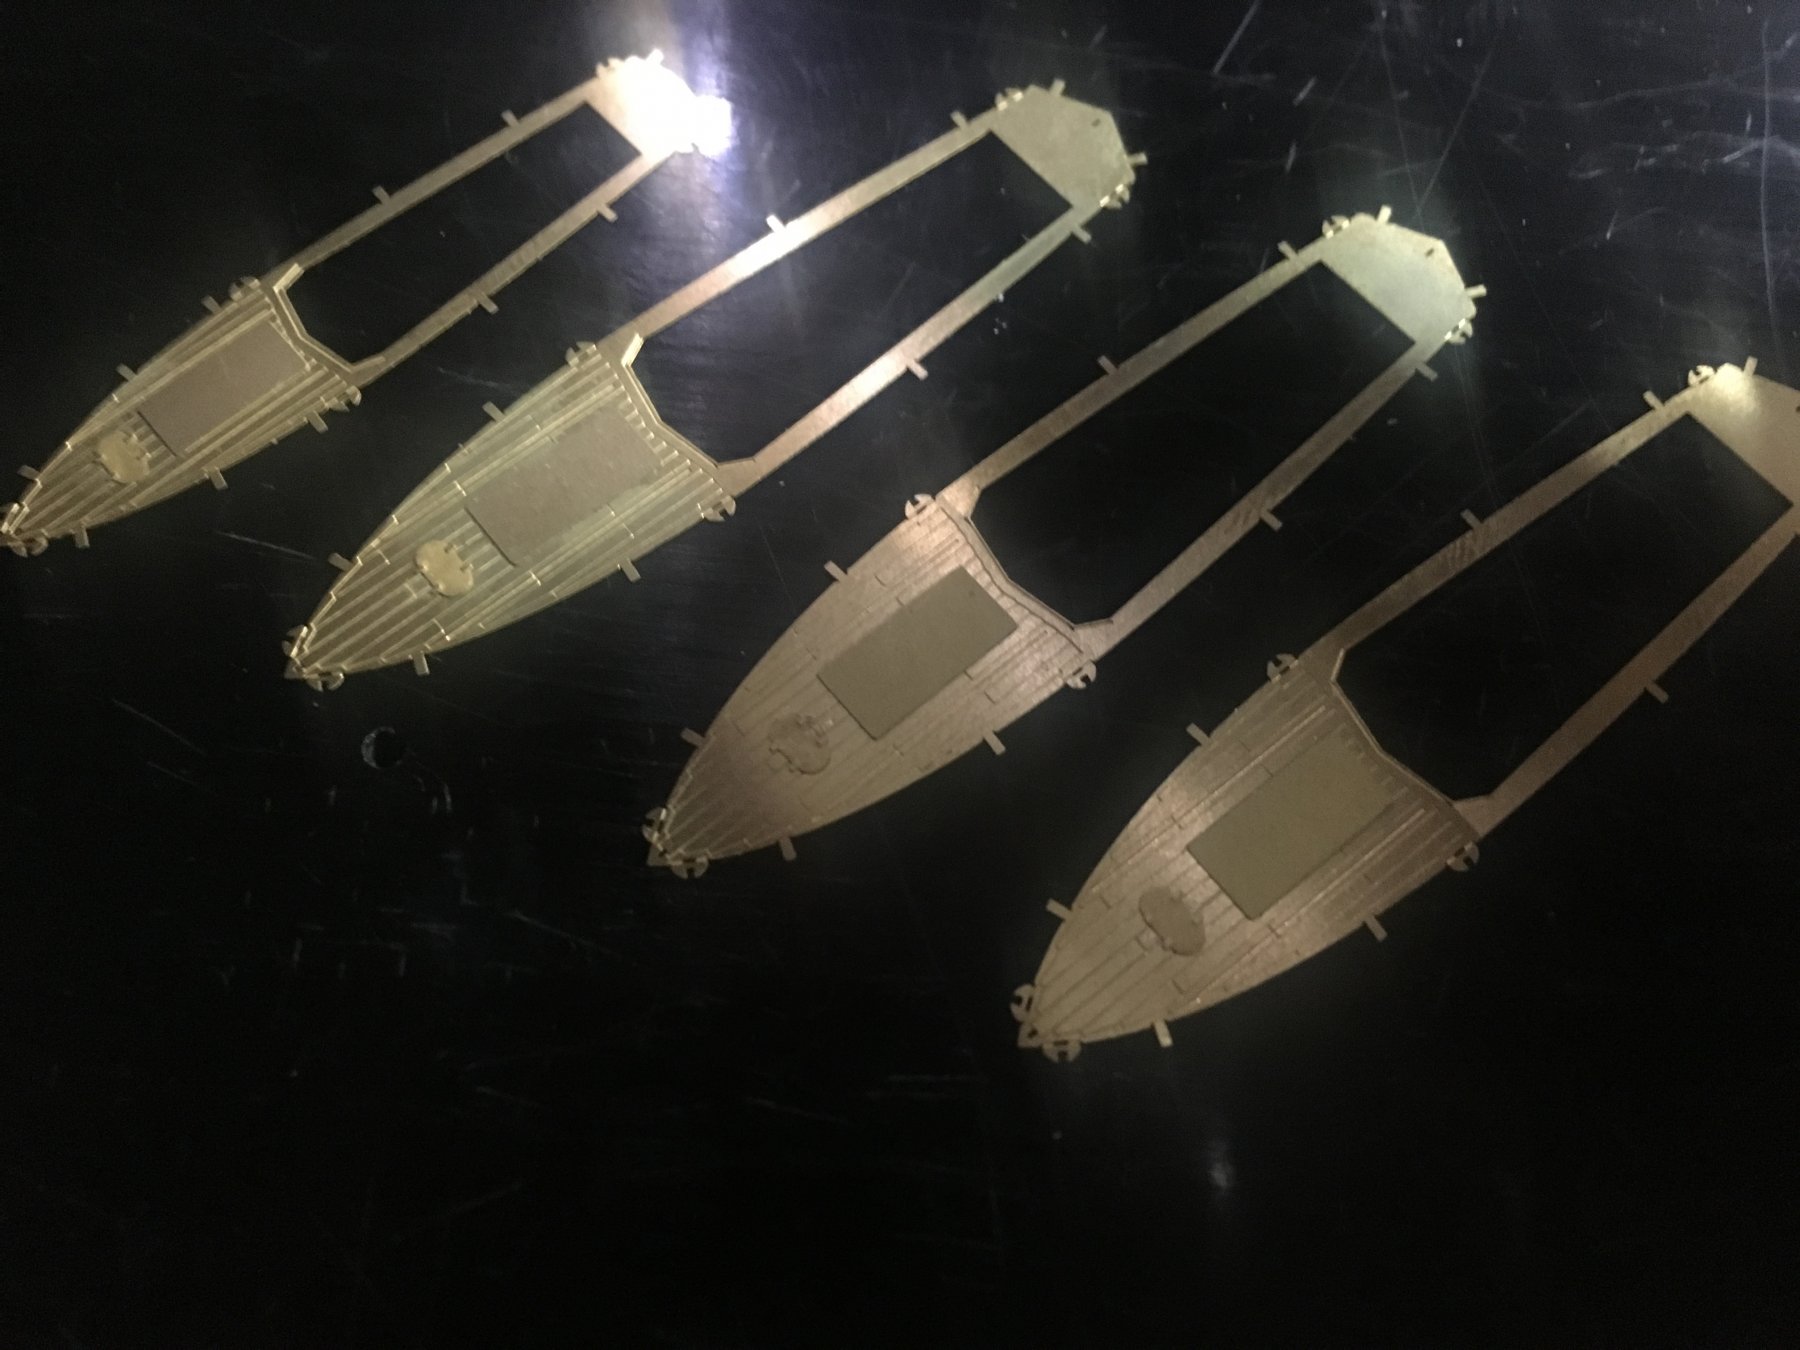
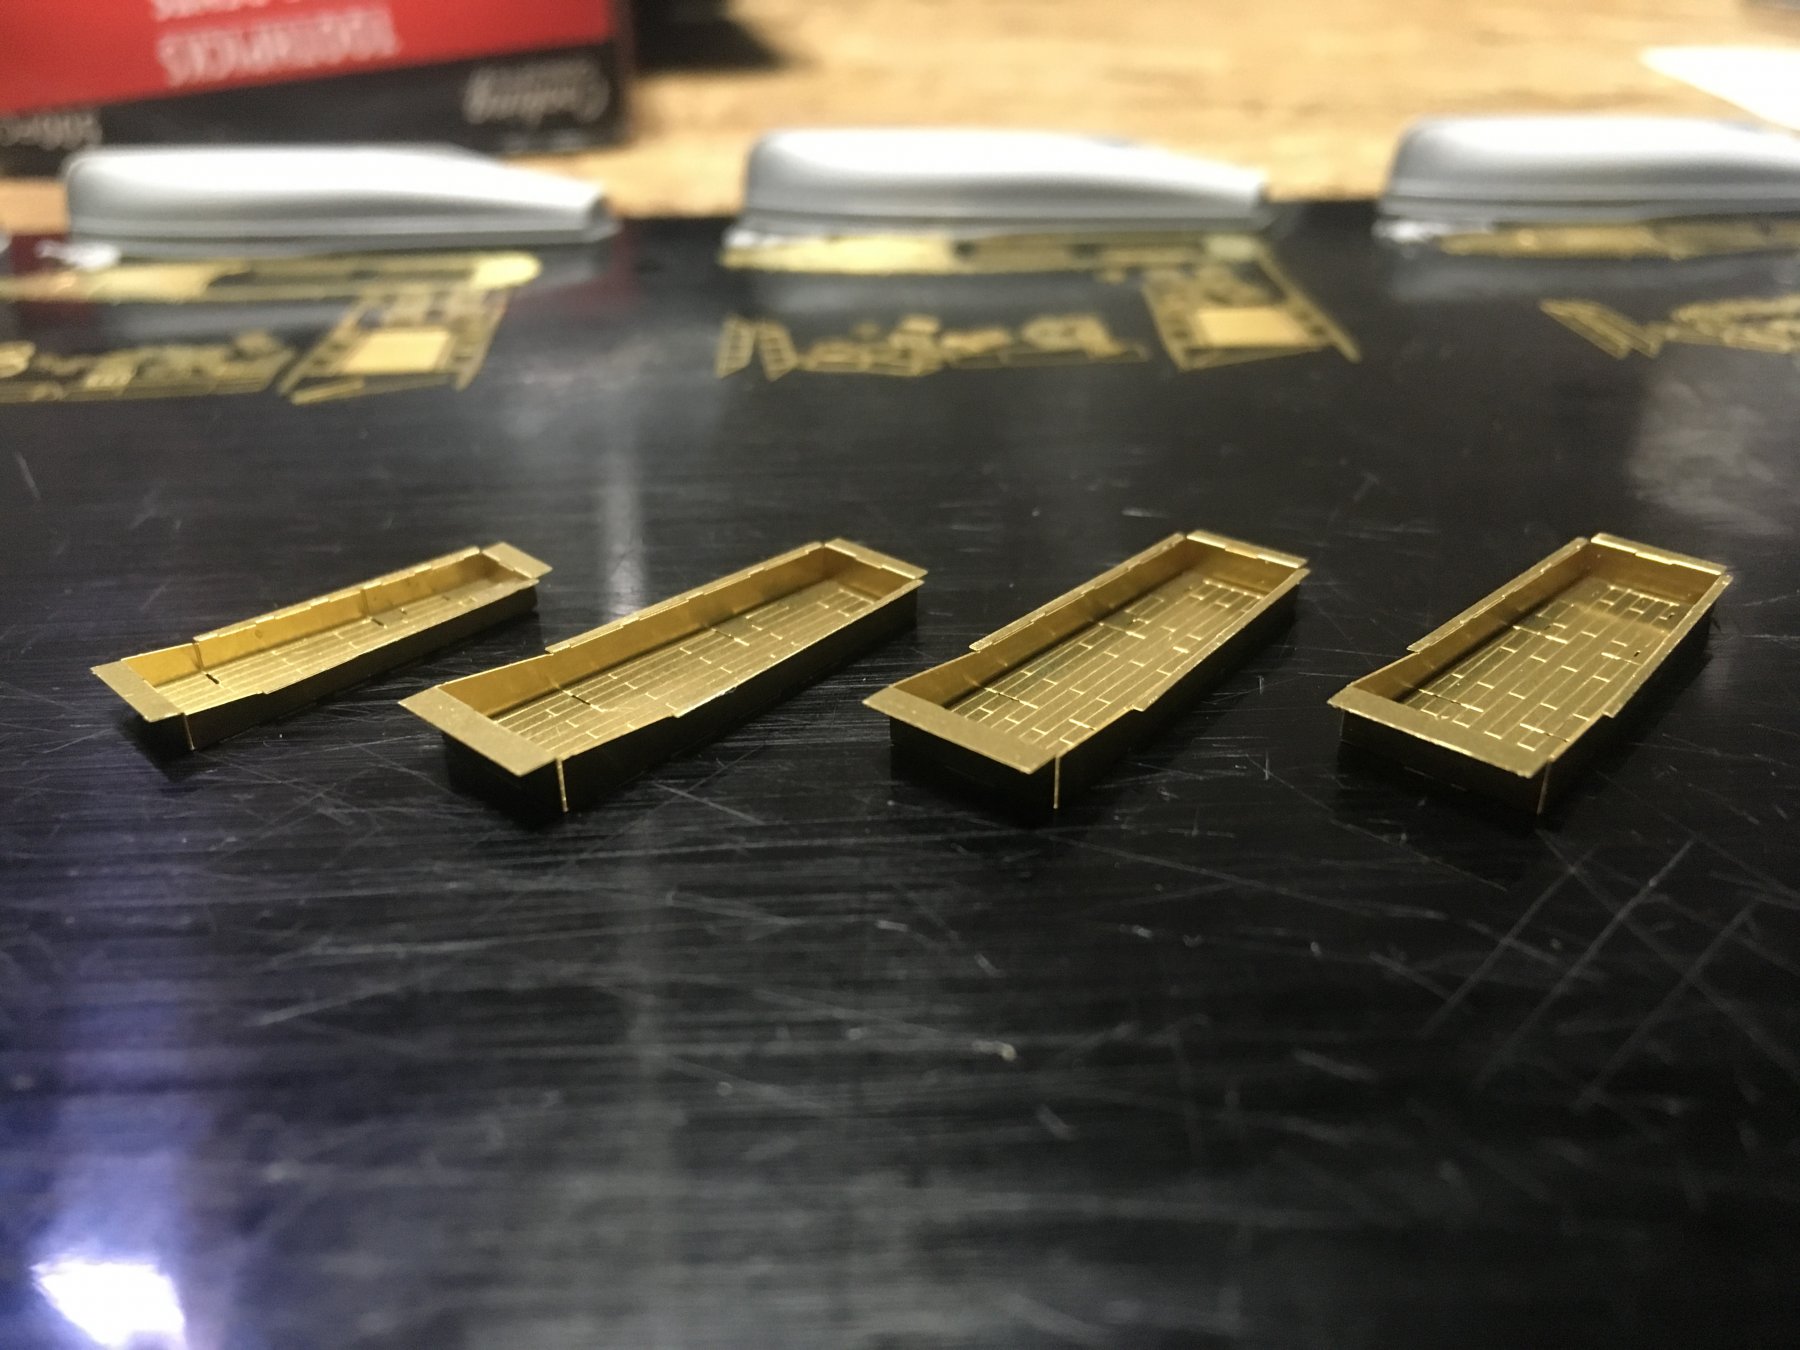
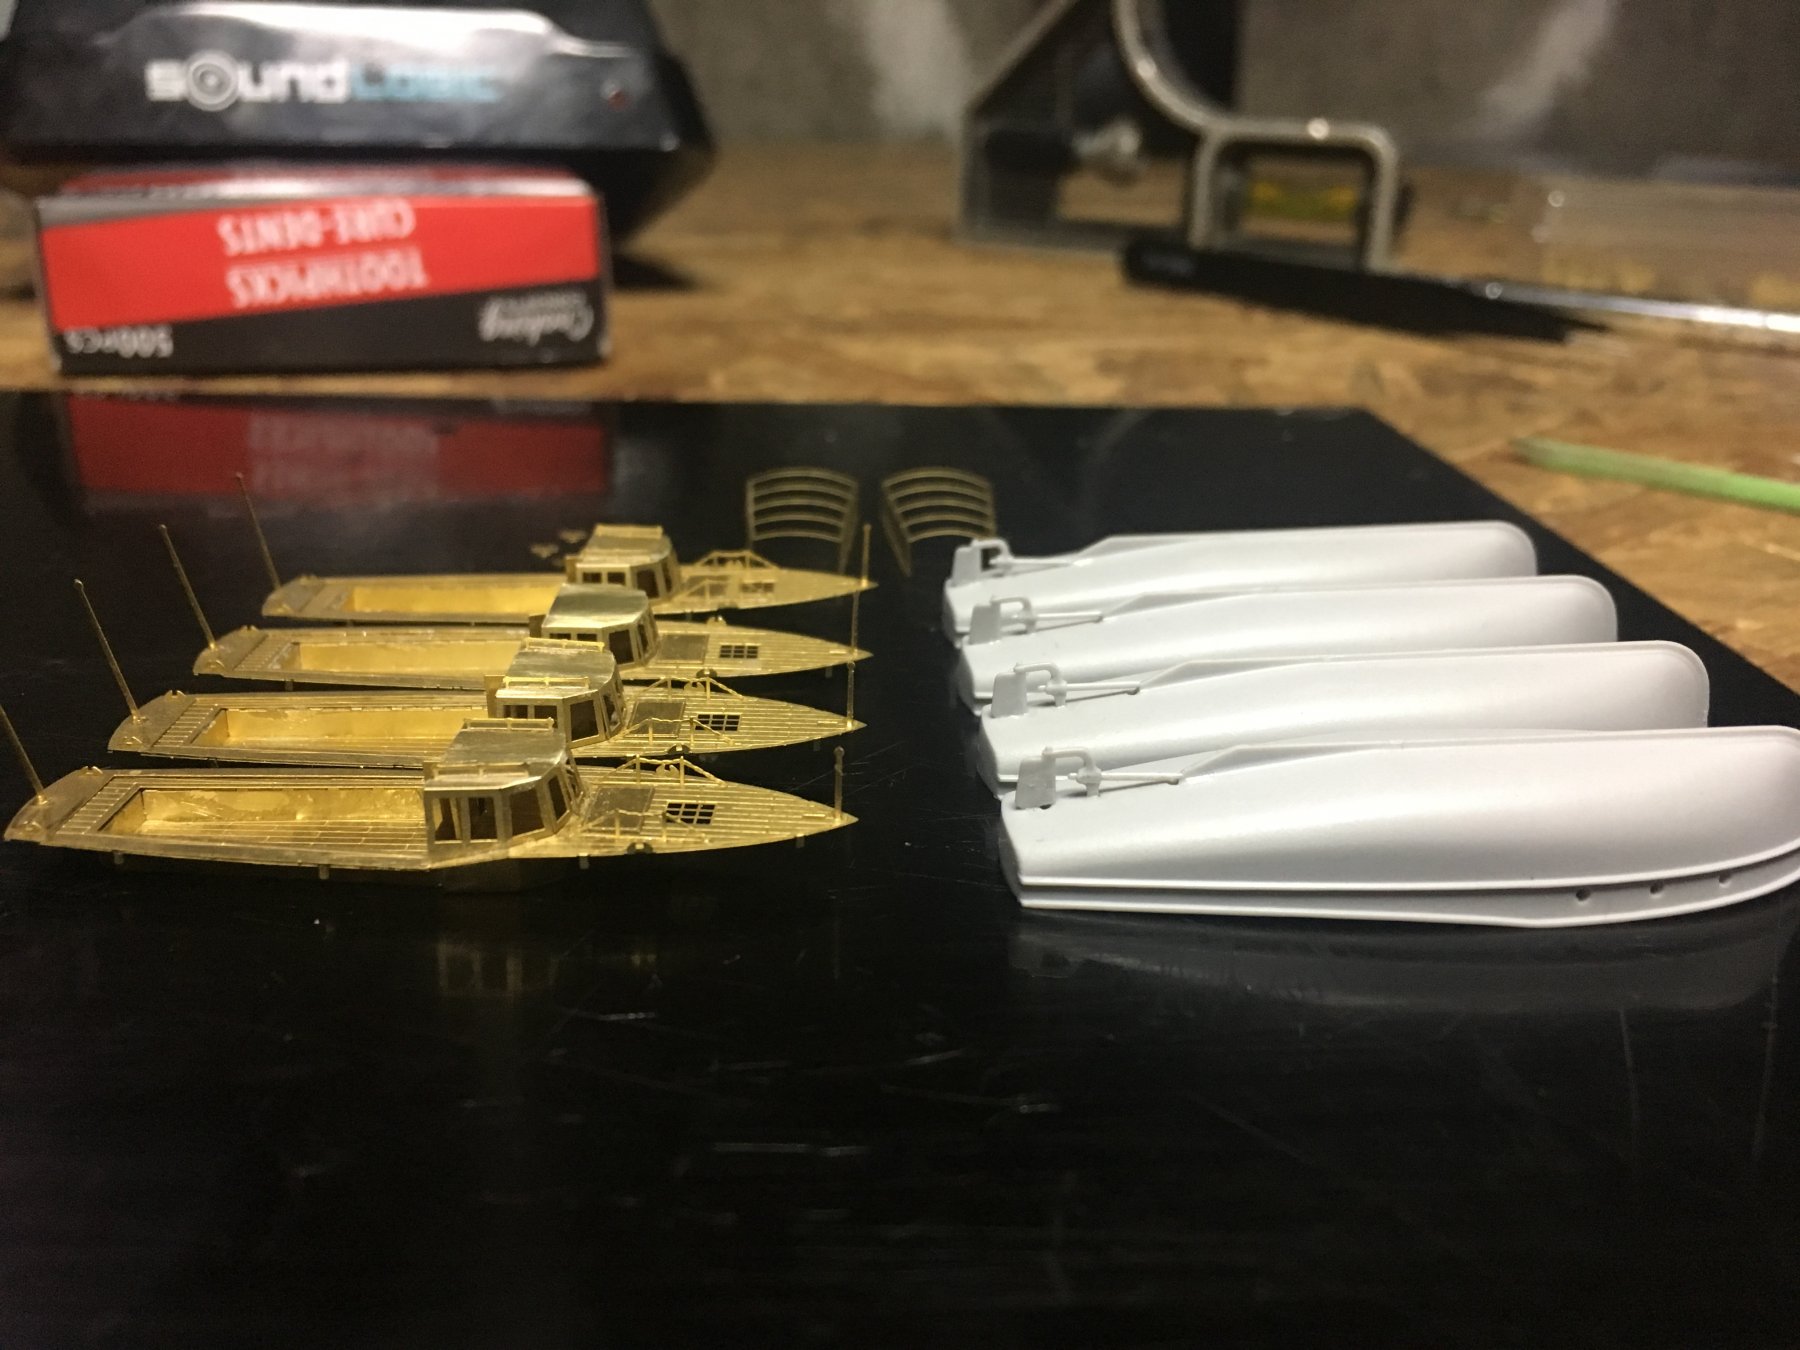
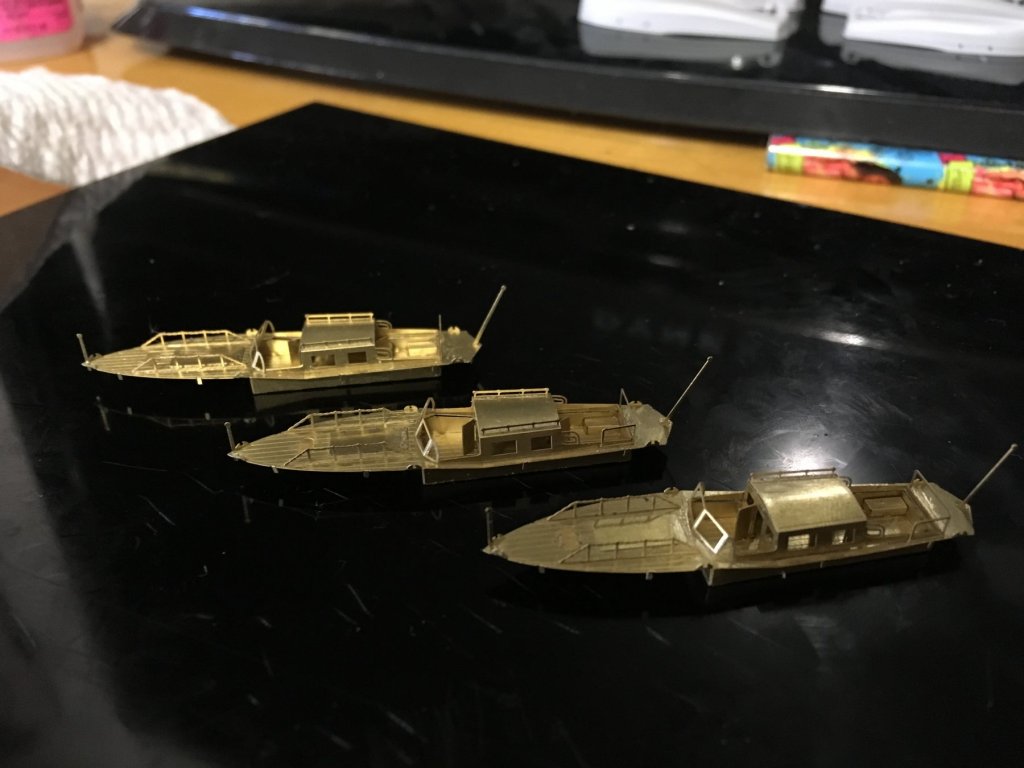
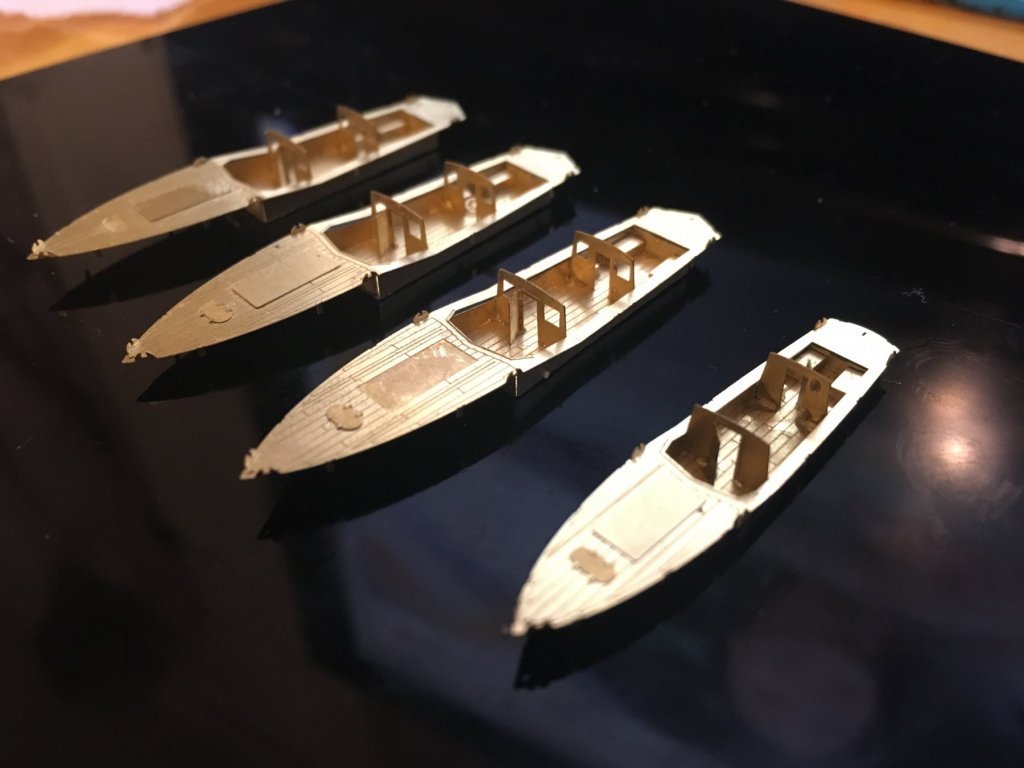
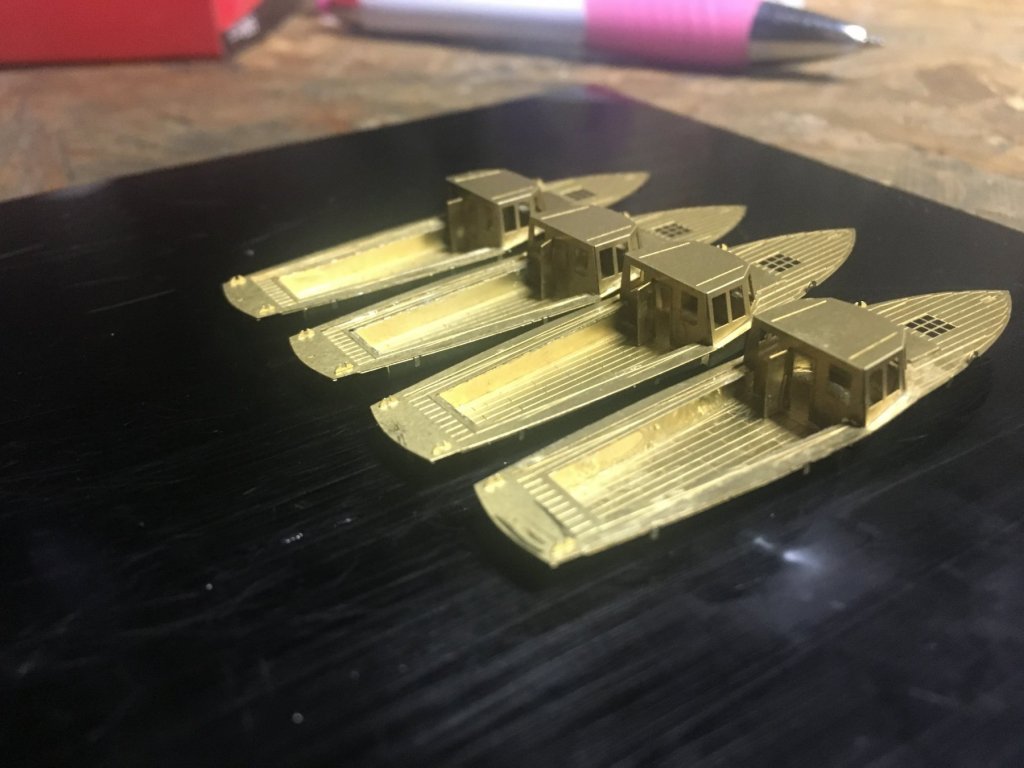
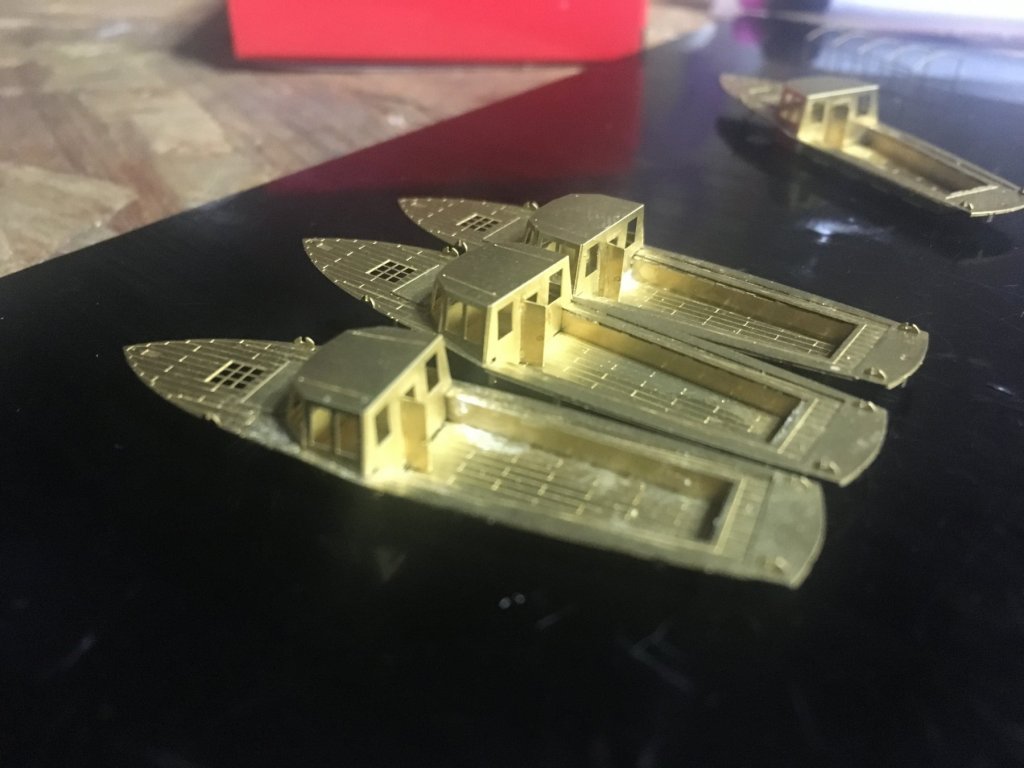
I just finished up the first 4 launches ready for paint. Hopefully the paint hides the gluey mess I just made. I will wait to finish all 11 before I start painting. I lost a few pieces so one of the launches does not have any grab rails. That one will go in the back. here is basically all the PE for the last seven launches


-
Slight progress today, I glued on the shafts and rudders. I also glued the cabin doors, but thats it for today. Sorry it wasn't more.
-
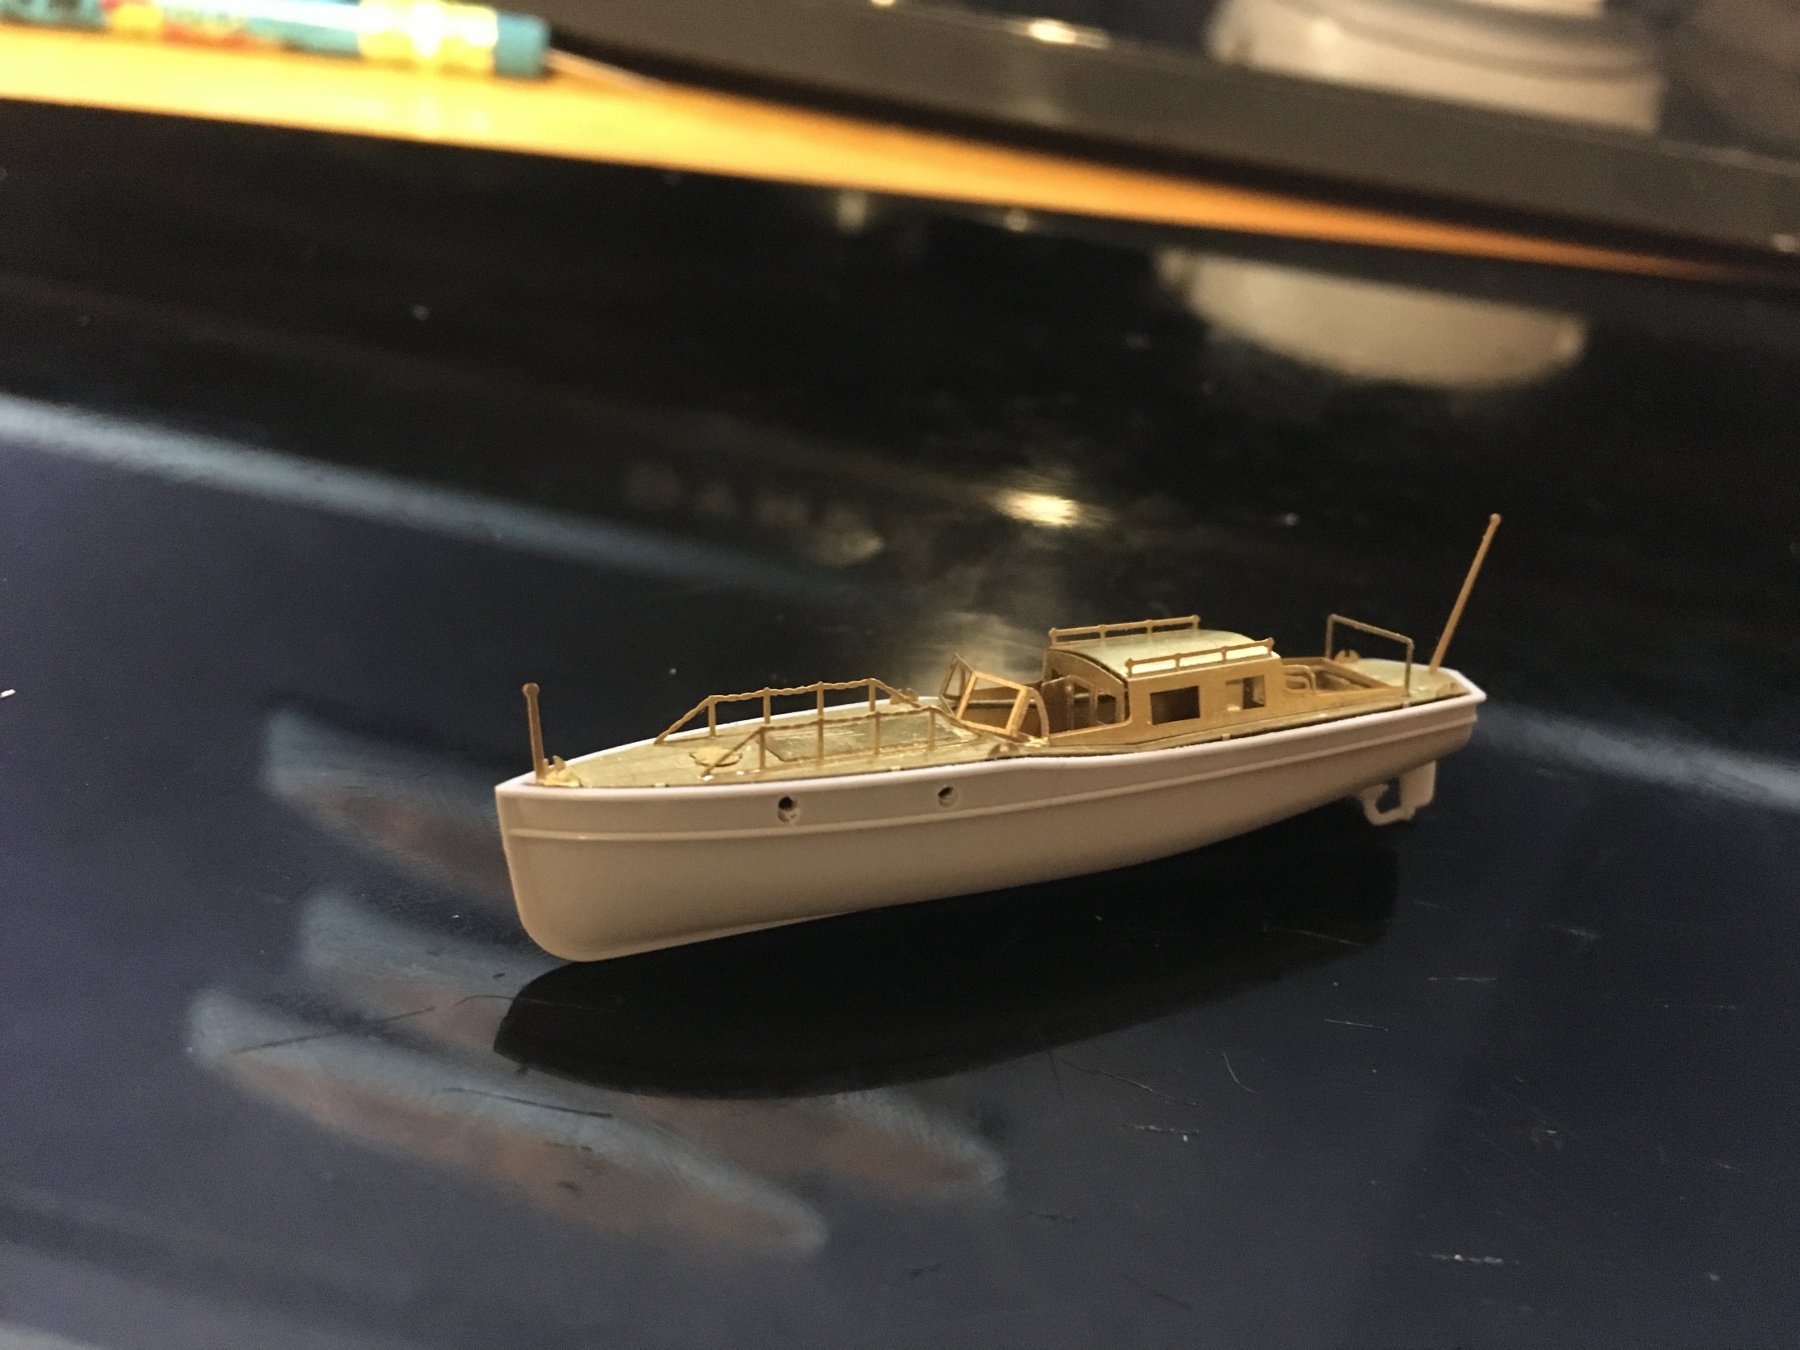
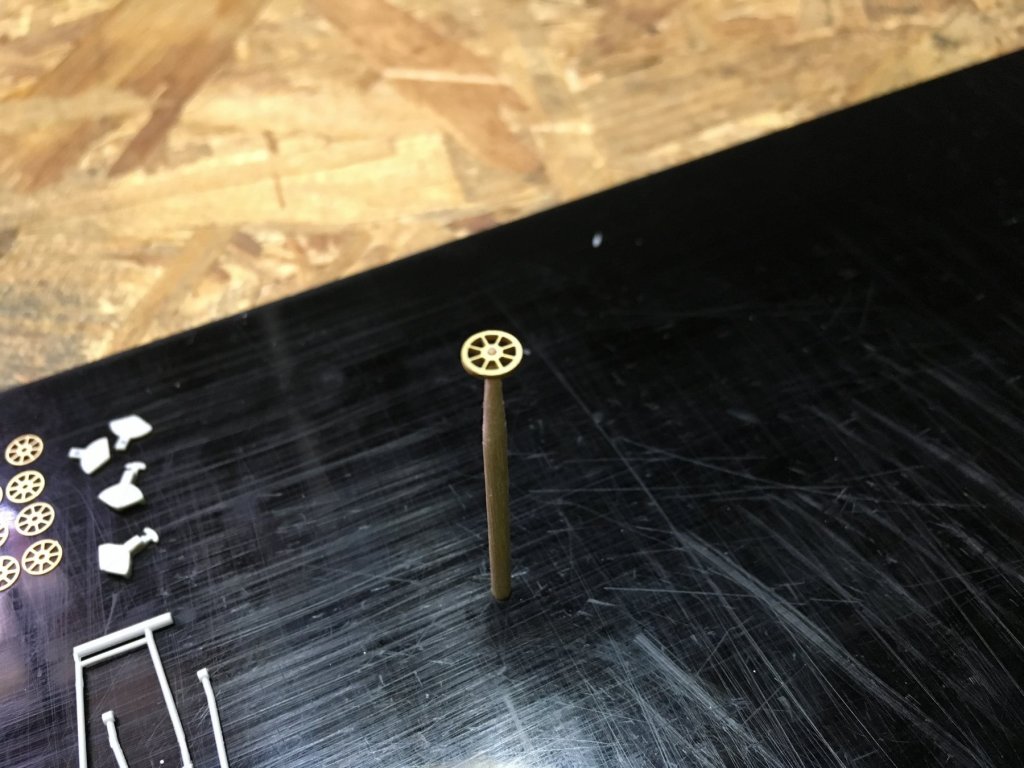
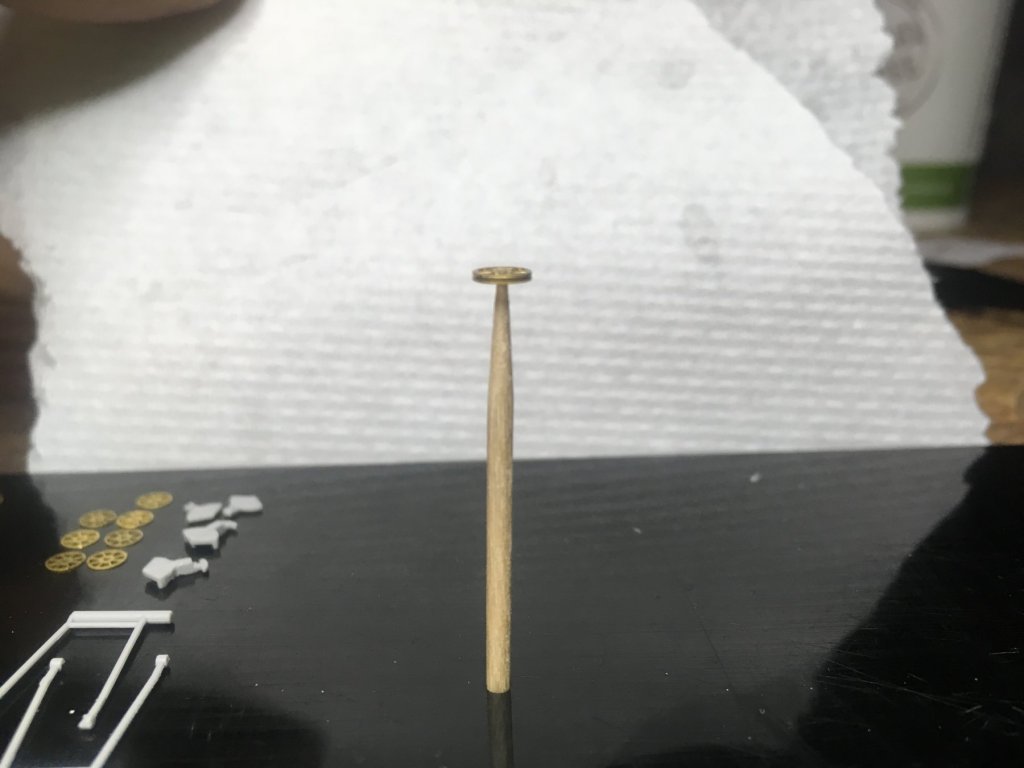
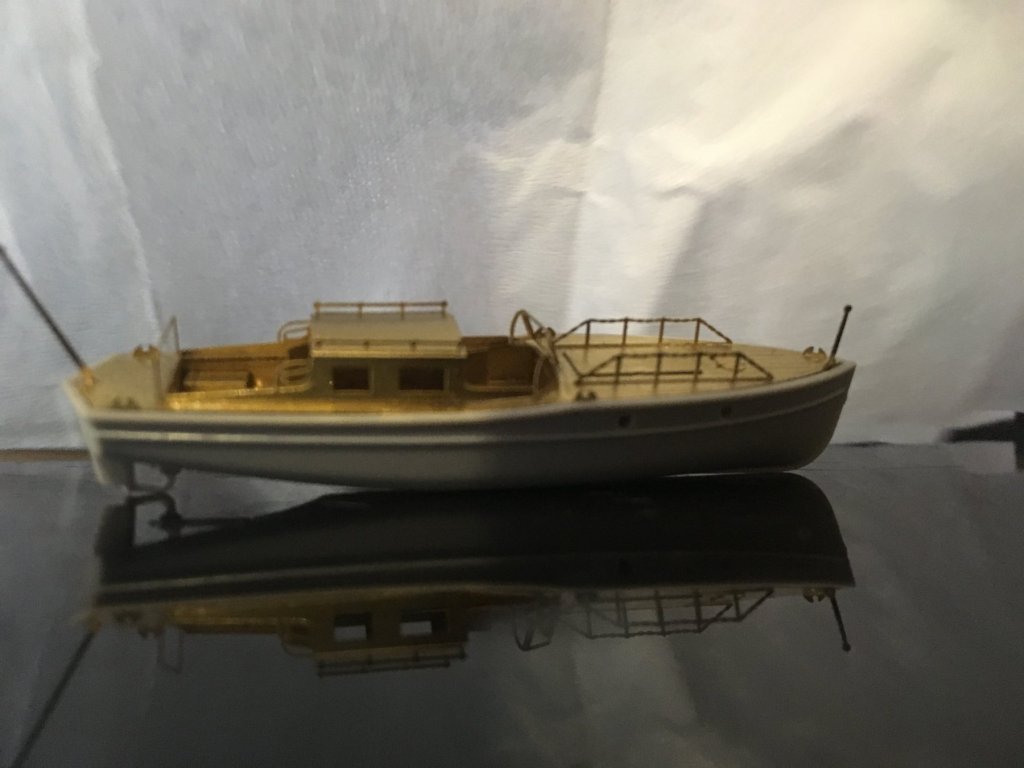
they were very excited! they love sitting on the couch looking out the window. when I put my hand out to bring them back home they ignore me lol. the canopy frame is not glued in place yet. it will be painted grey while the rest is painted wood color. it don't like to glue painted brass to painted brass but I think I have to this time. that reminds me any suggestions on what paint to use to simulate wood. also how to simulate wood.... I have no idea what I'm doing. the Flory models build uses primer then tamiya buff then brush on oil paint then wipe the oil paint off to simulate wood. it comes out awesome but there has to be an easier way.