HOLIDAY DONATION DRIVE - SUPPORT MSW - DO YOUR PART TO KEEP THIS GREAT FORUM GOING! (Only 13 donations so far - C'mon guys!)
×


jfhealey
-
Posts
361 -
Joined
-
Last visited
Content Type
Profiles
Forums
Gallery
Events
Everything posted by jfhealey
-
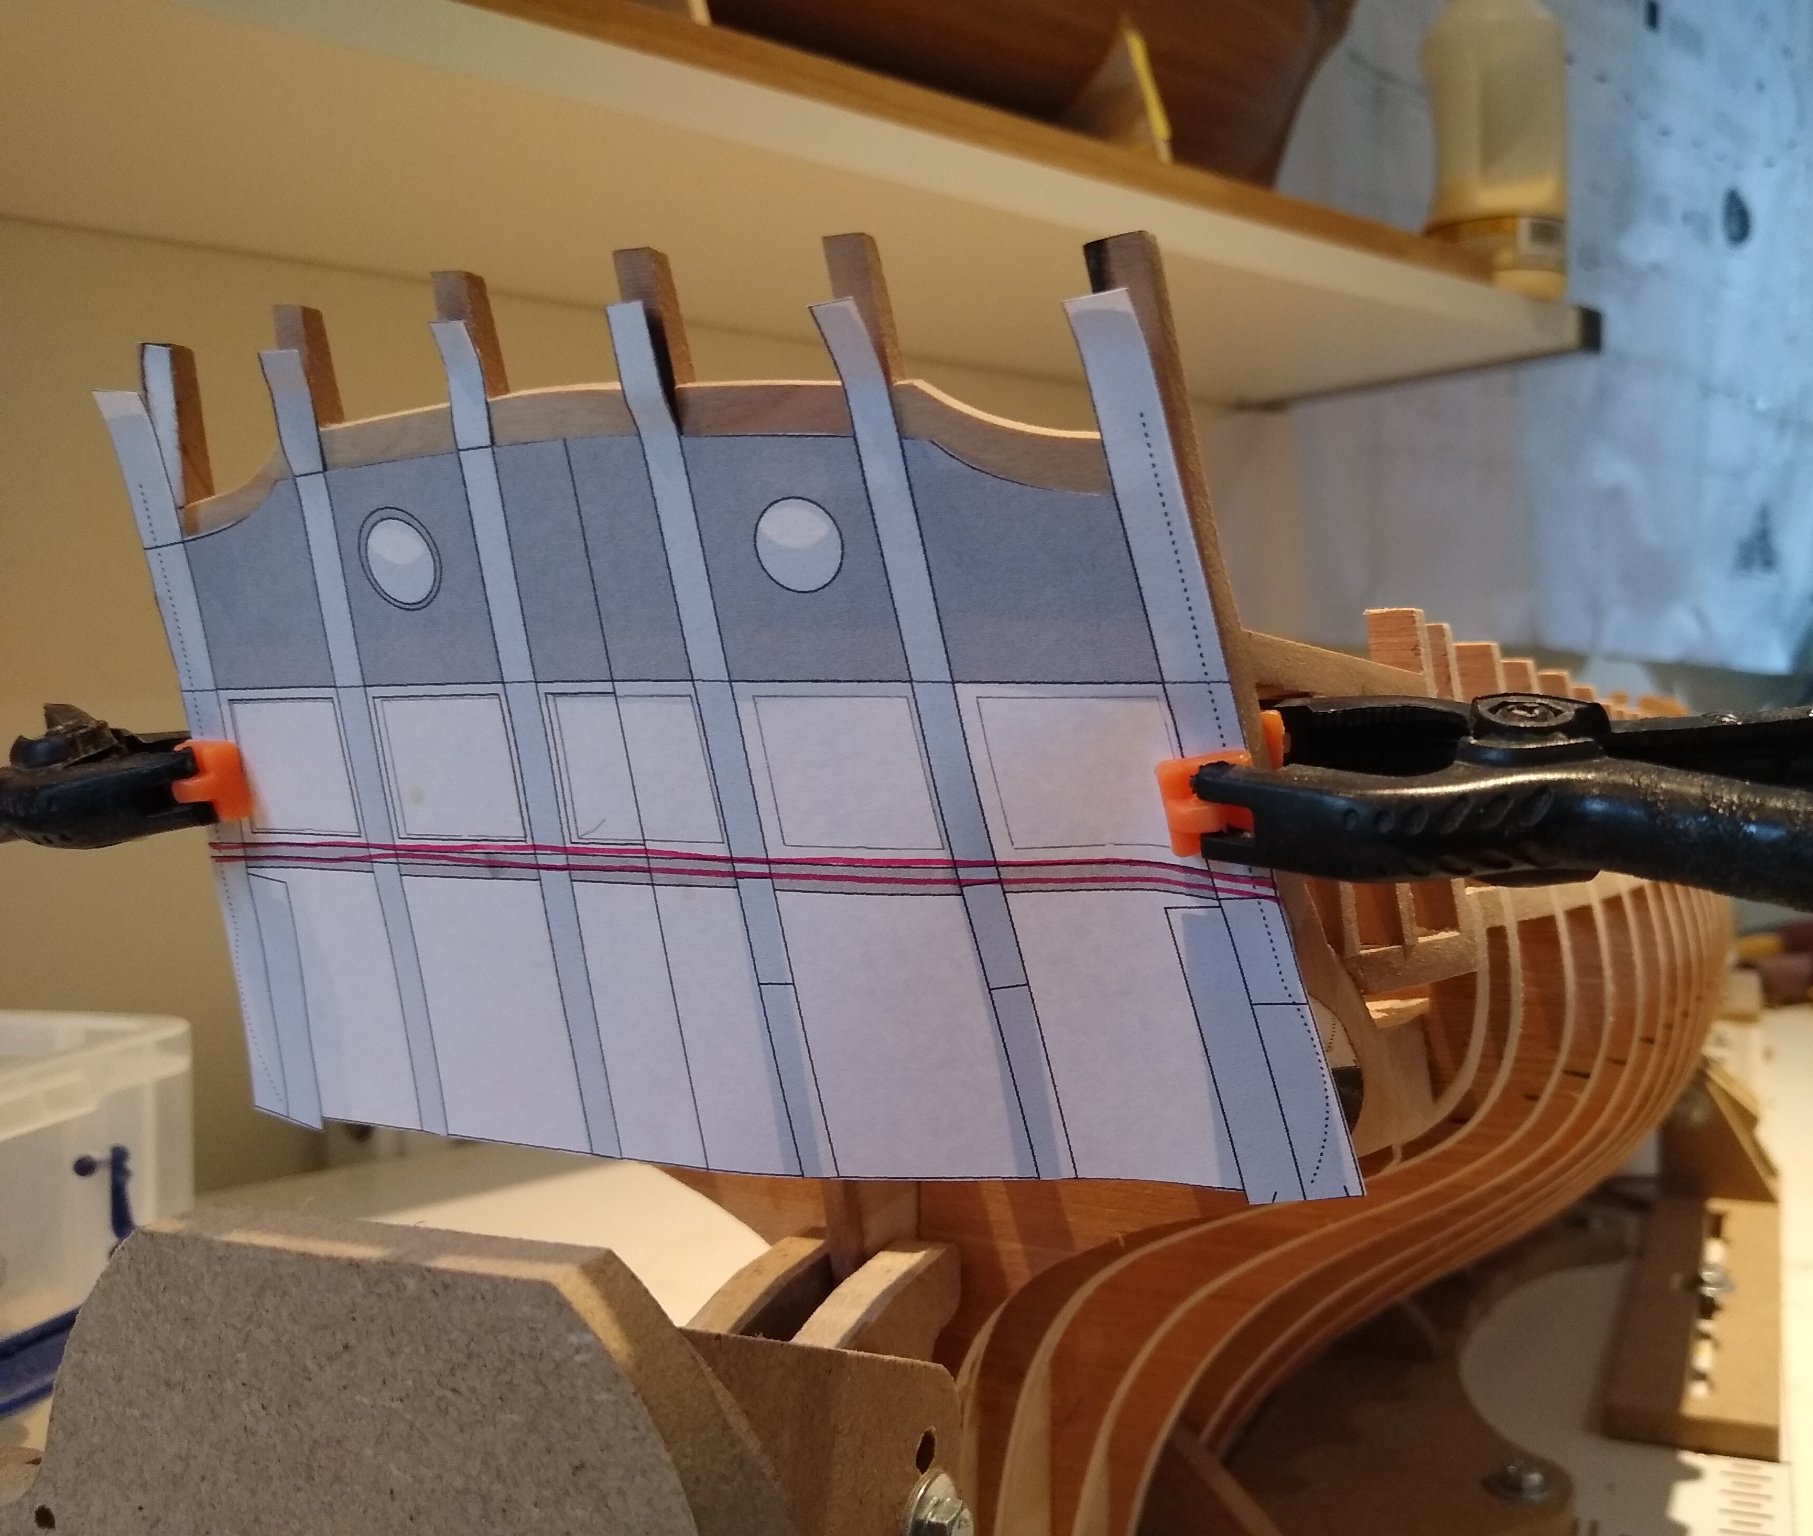
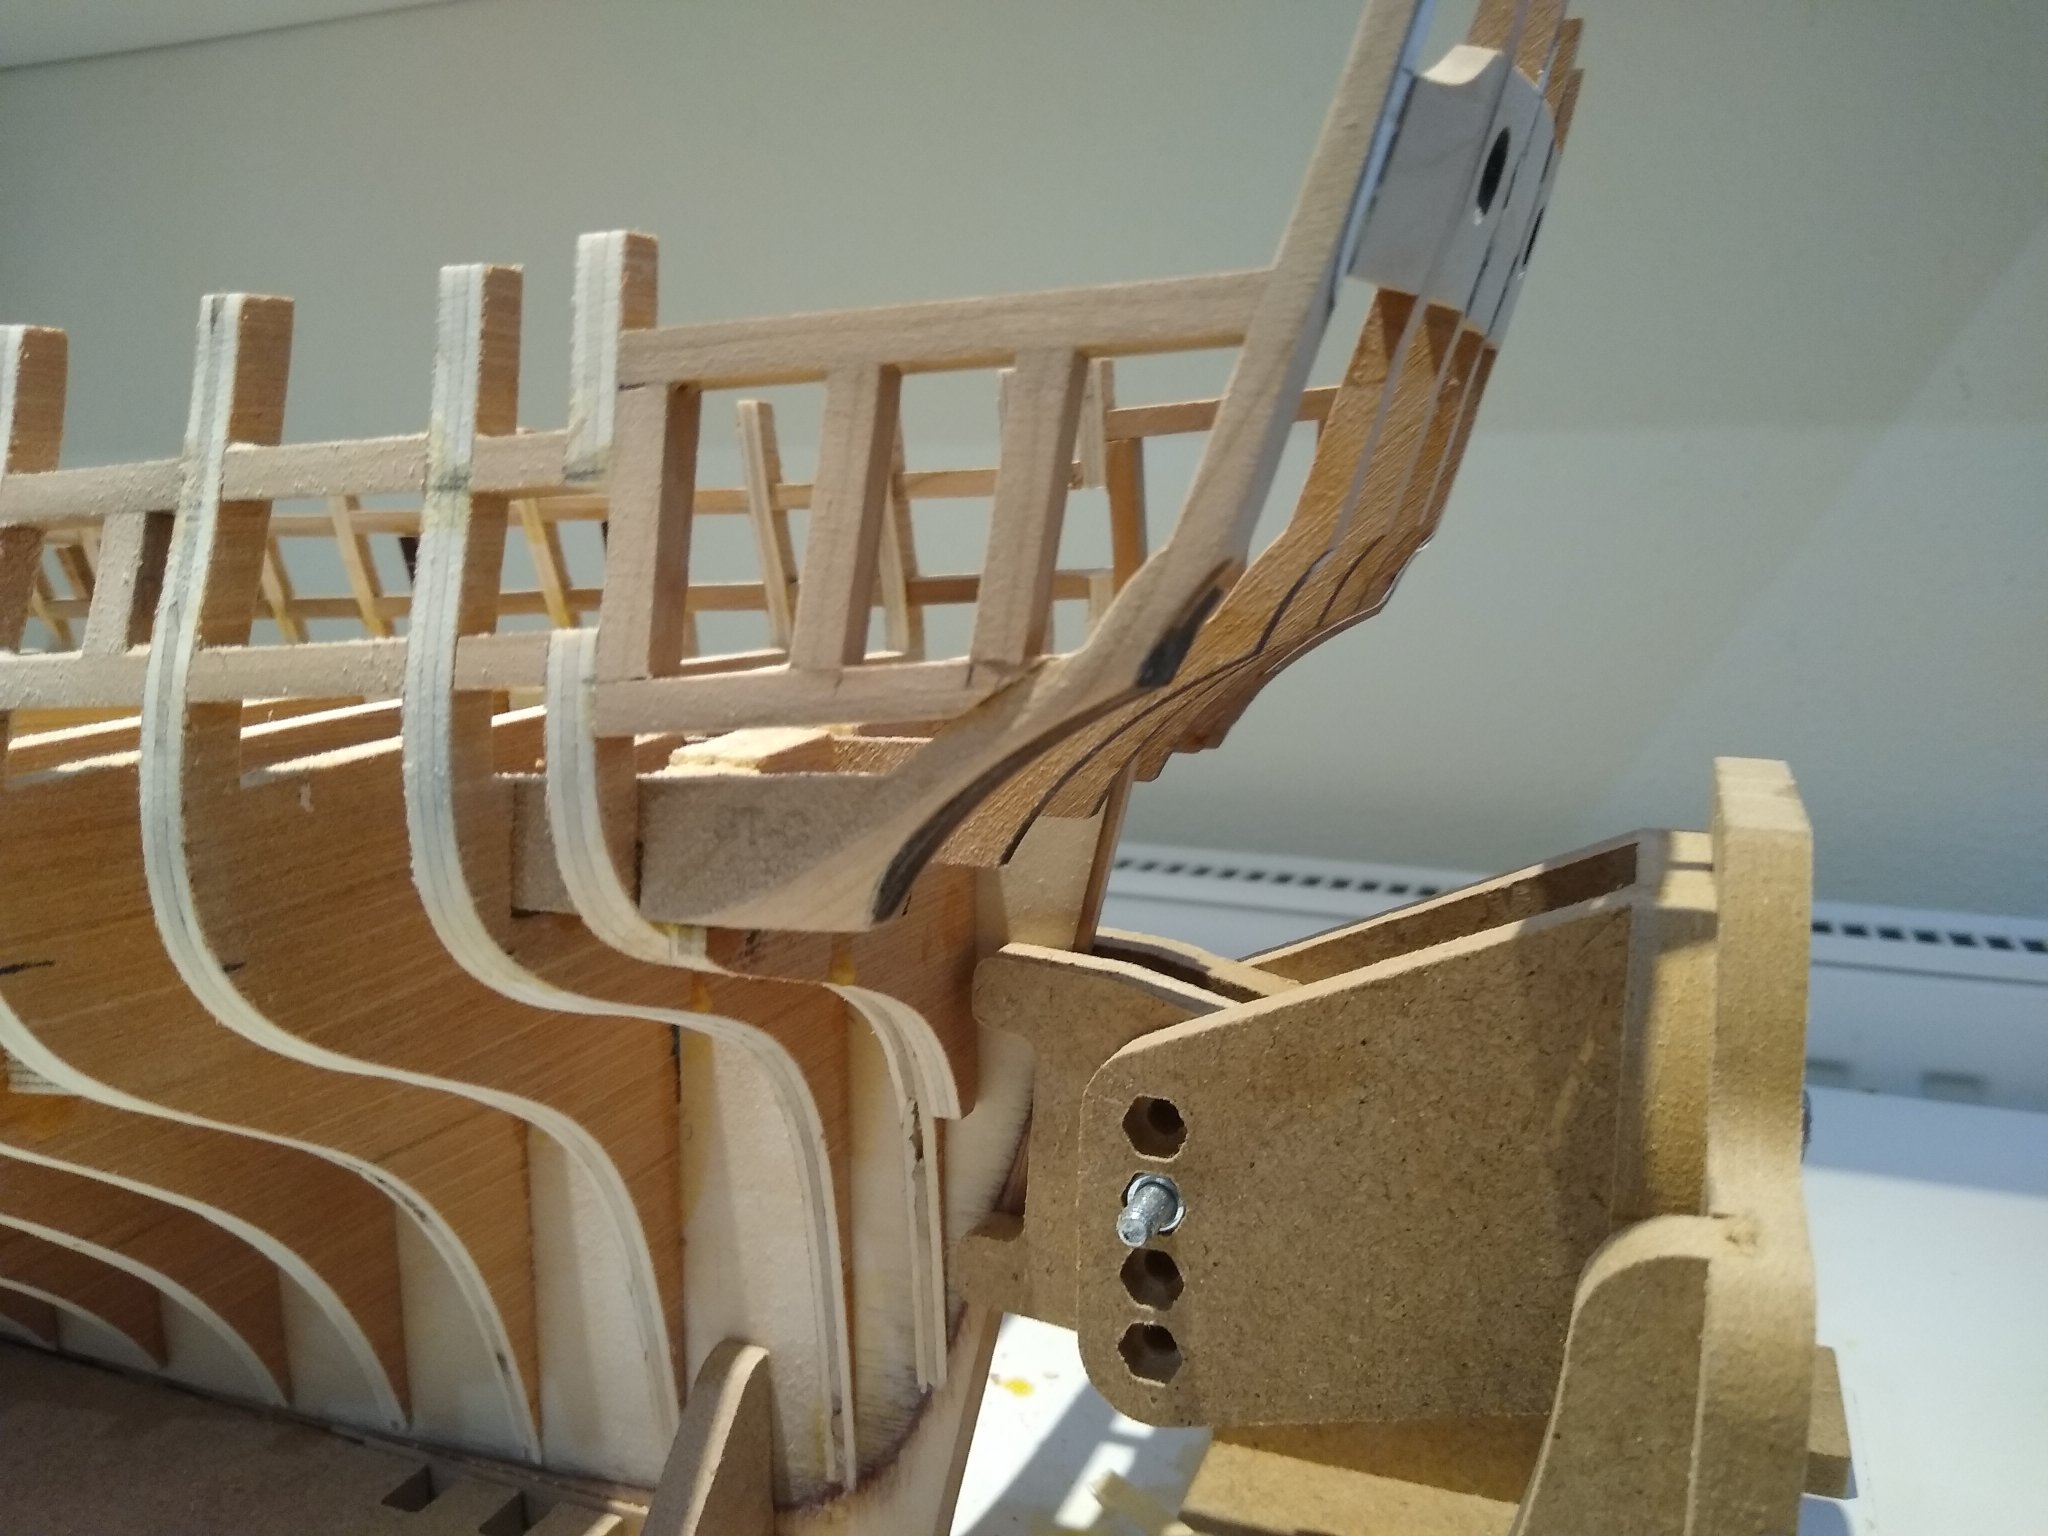
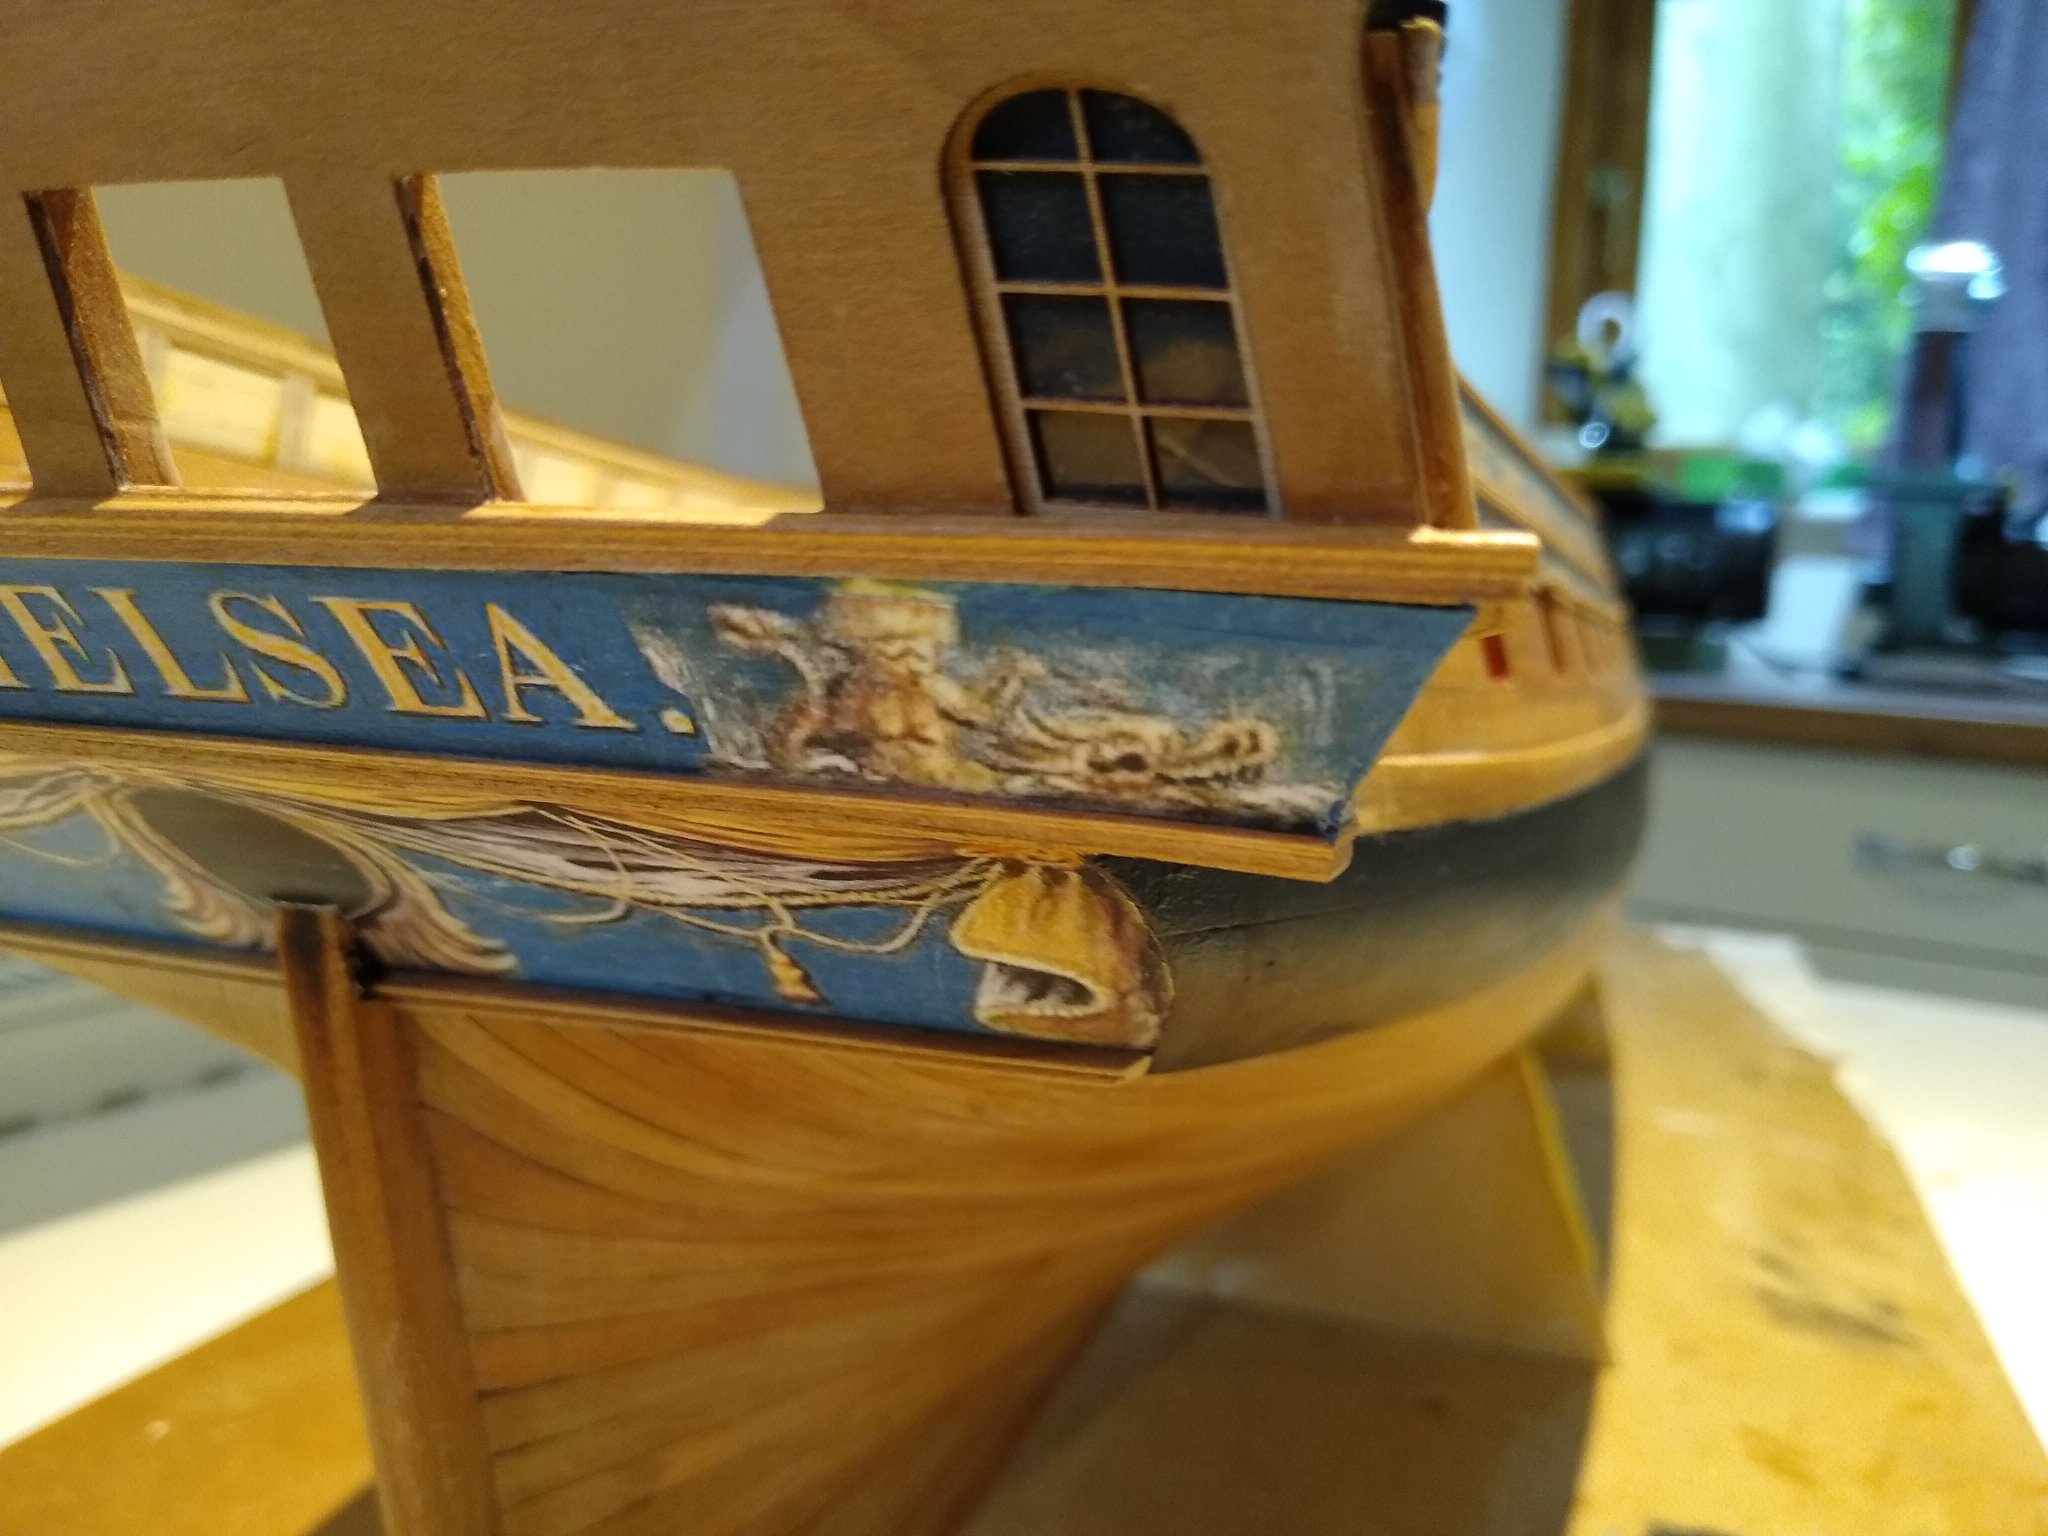
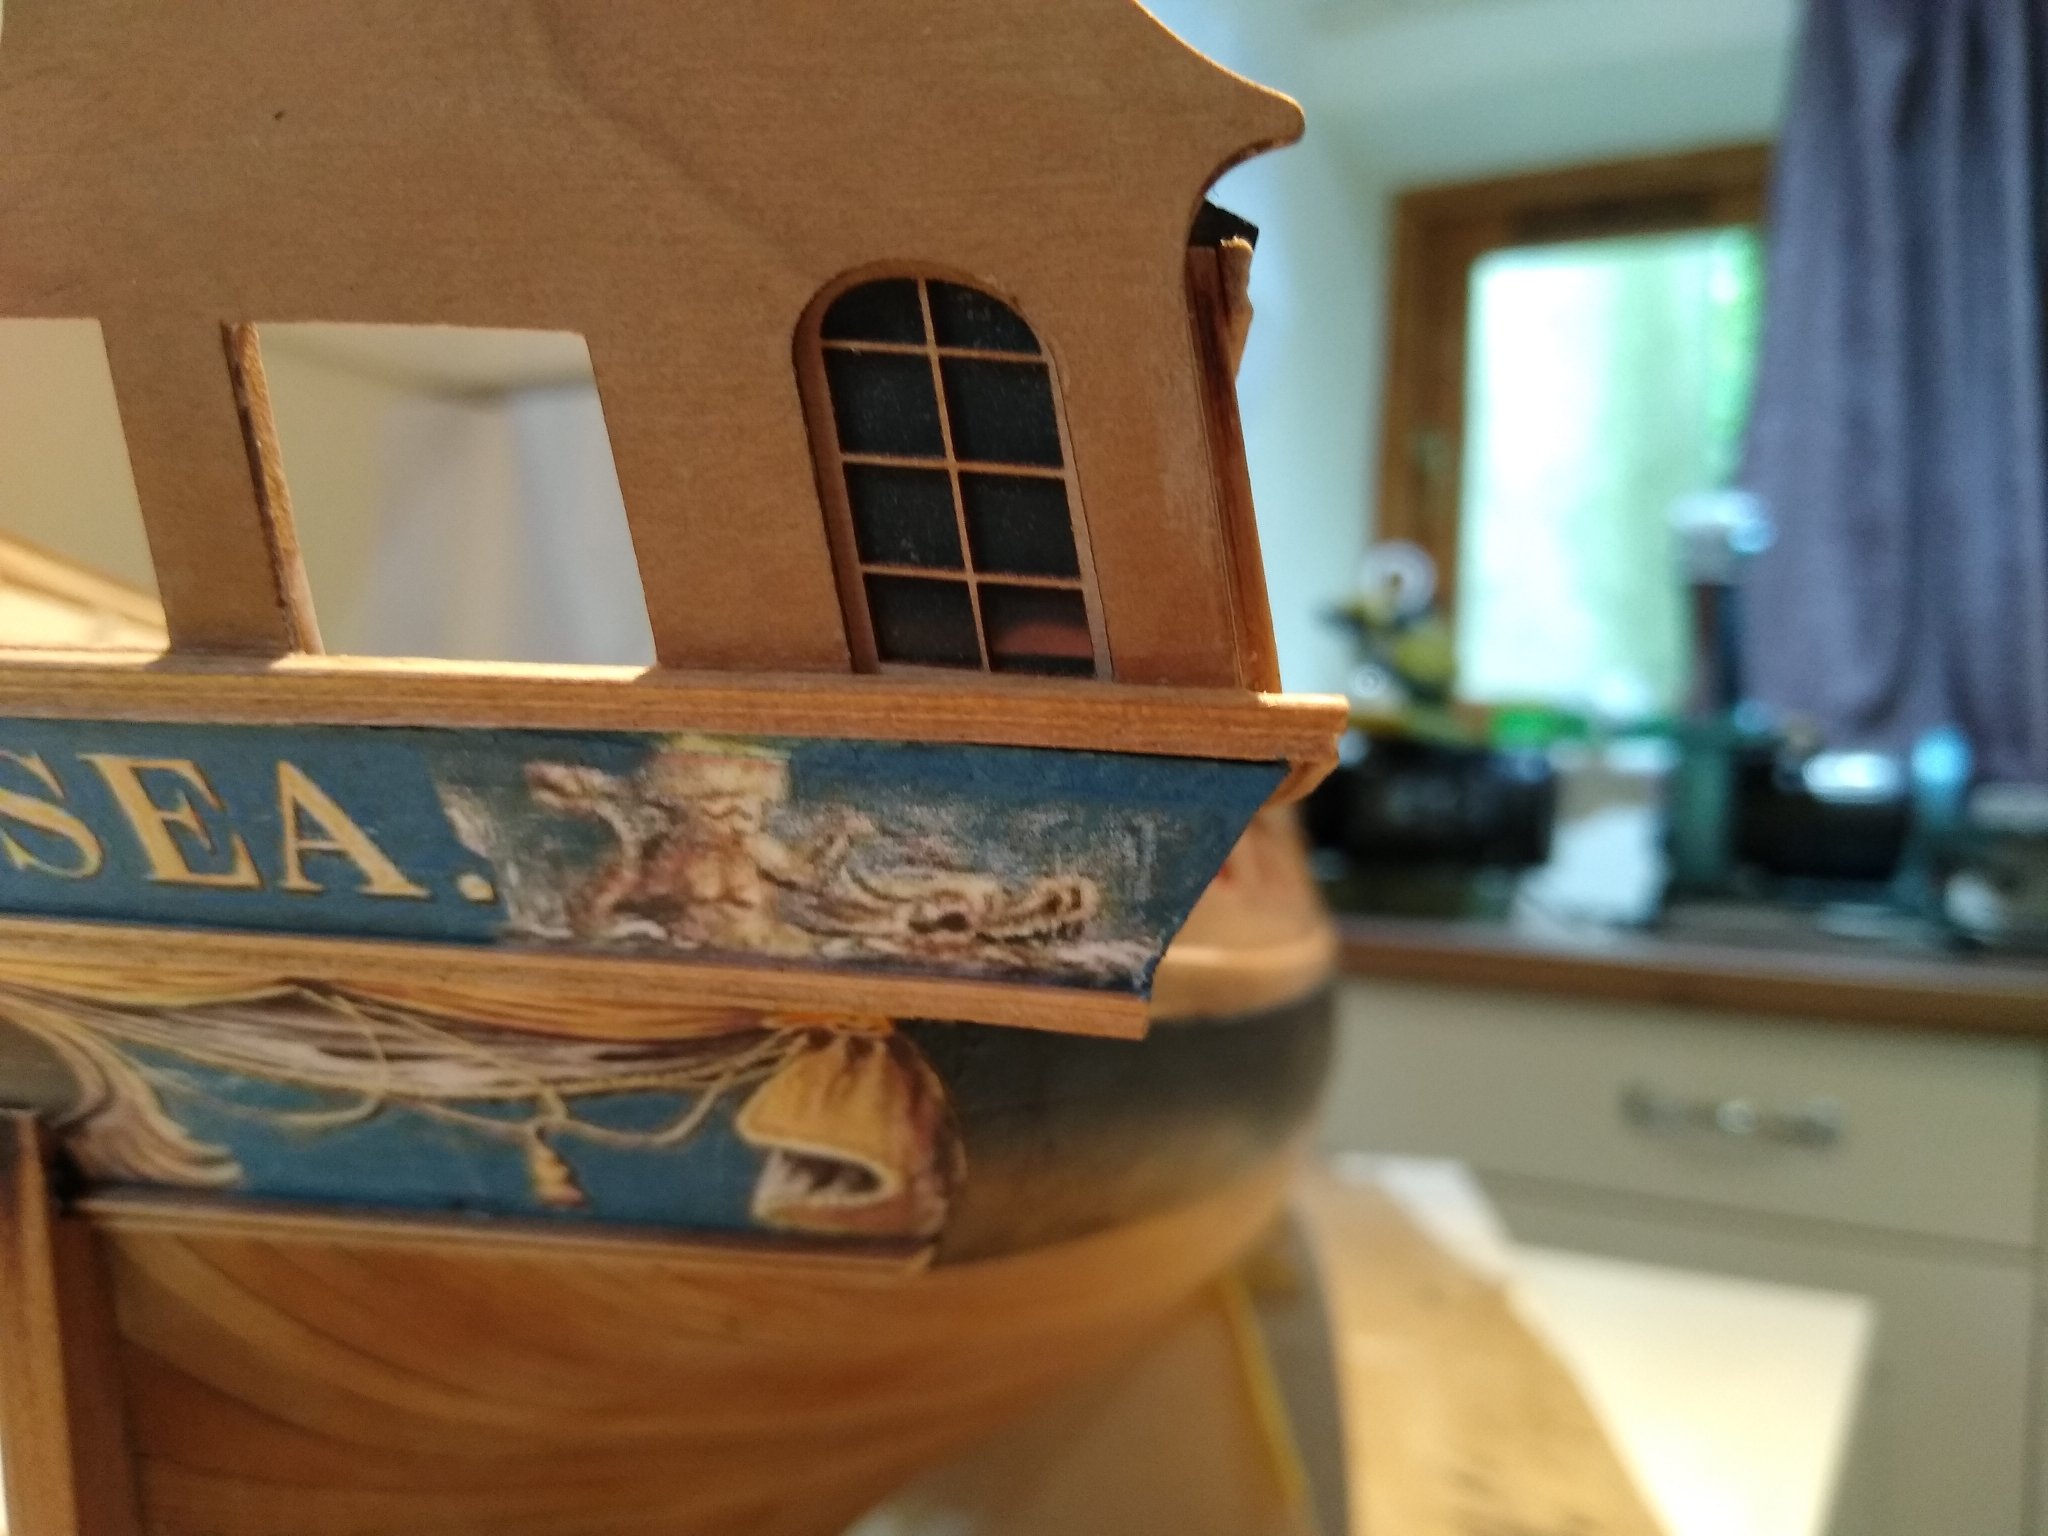
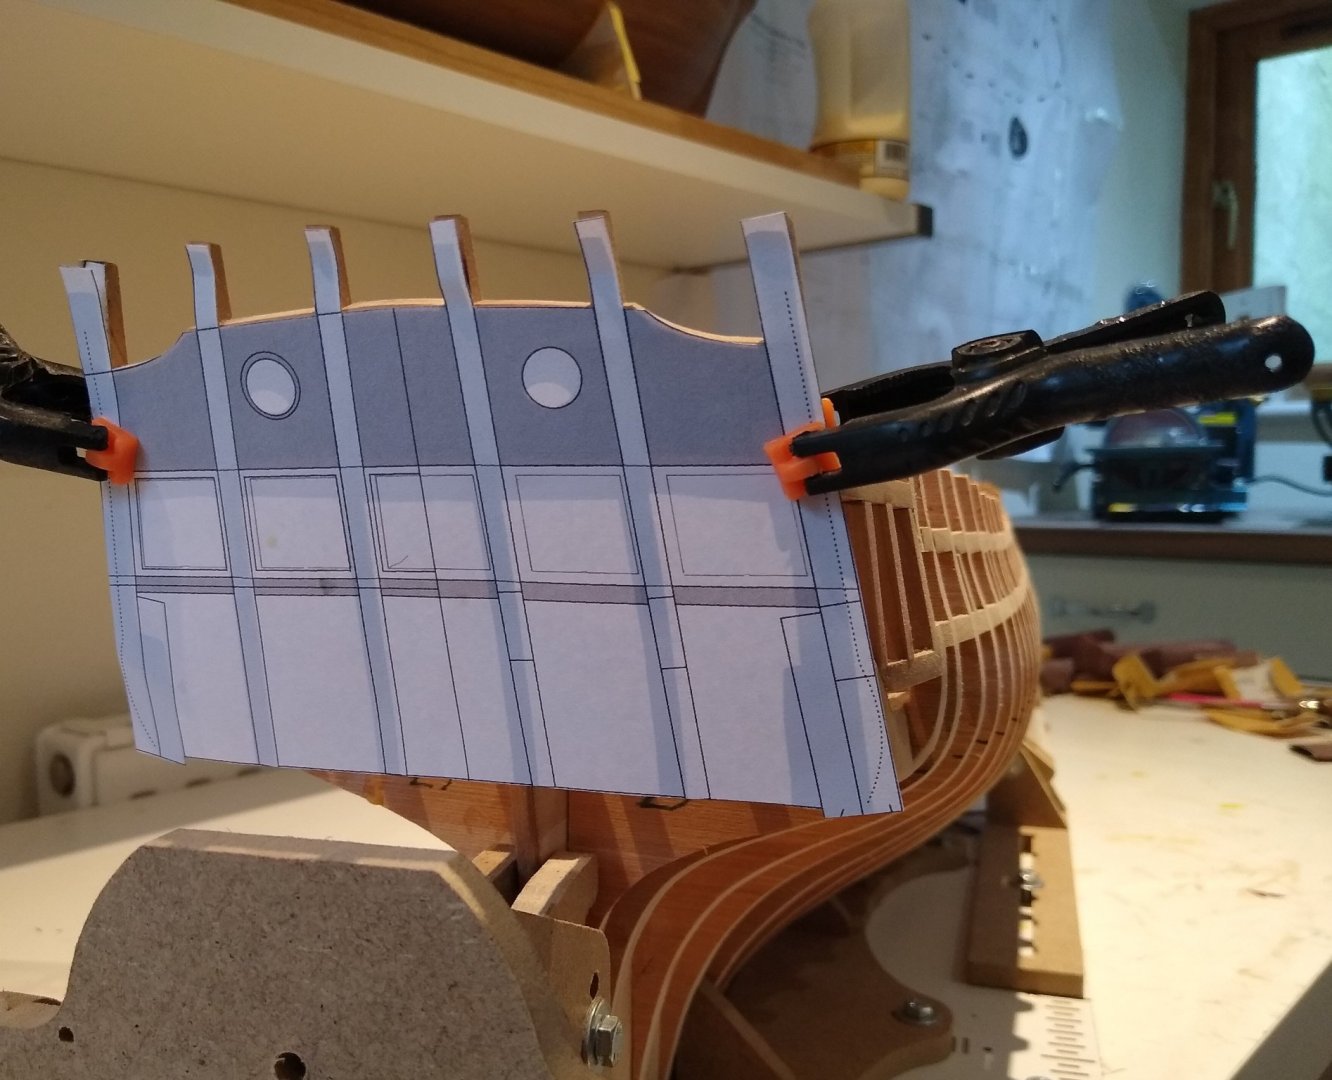
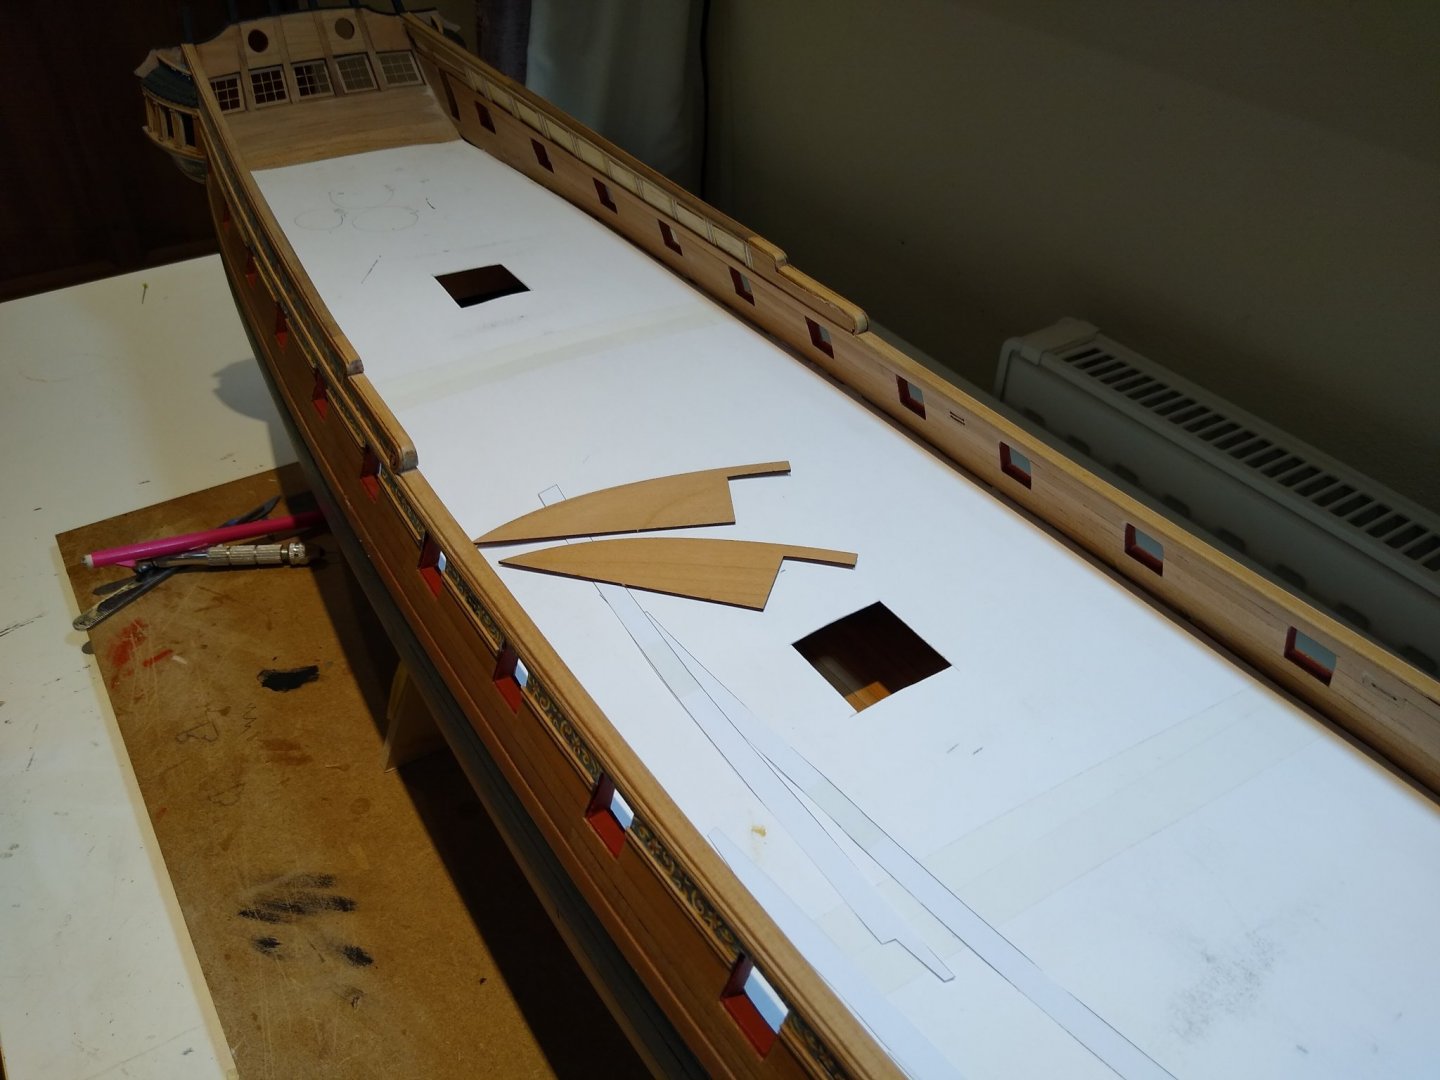
Here is the problem. I used the plan of the transom very carefully aligning the top of the stern frames to the plan. I should not have done. It is now clear to me that I should have aligned the "red line" with the sculpted part of the stern frames. Thus

-
And just as it all seemed to be going so well....... That is the chapter 4 deck clamp. The transom fillers are way too high. The deck beam will cut across the window.
-
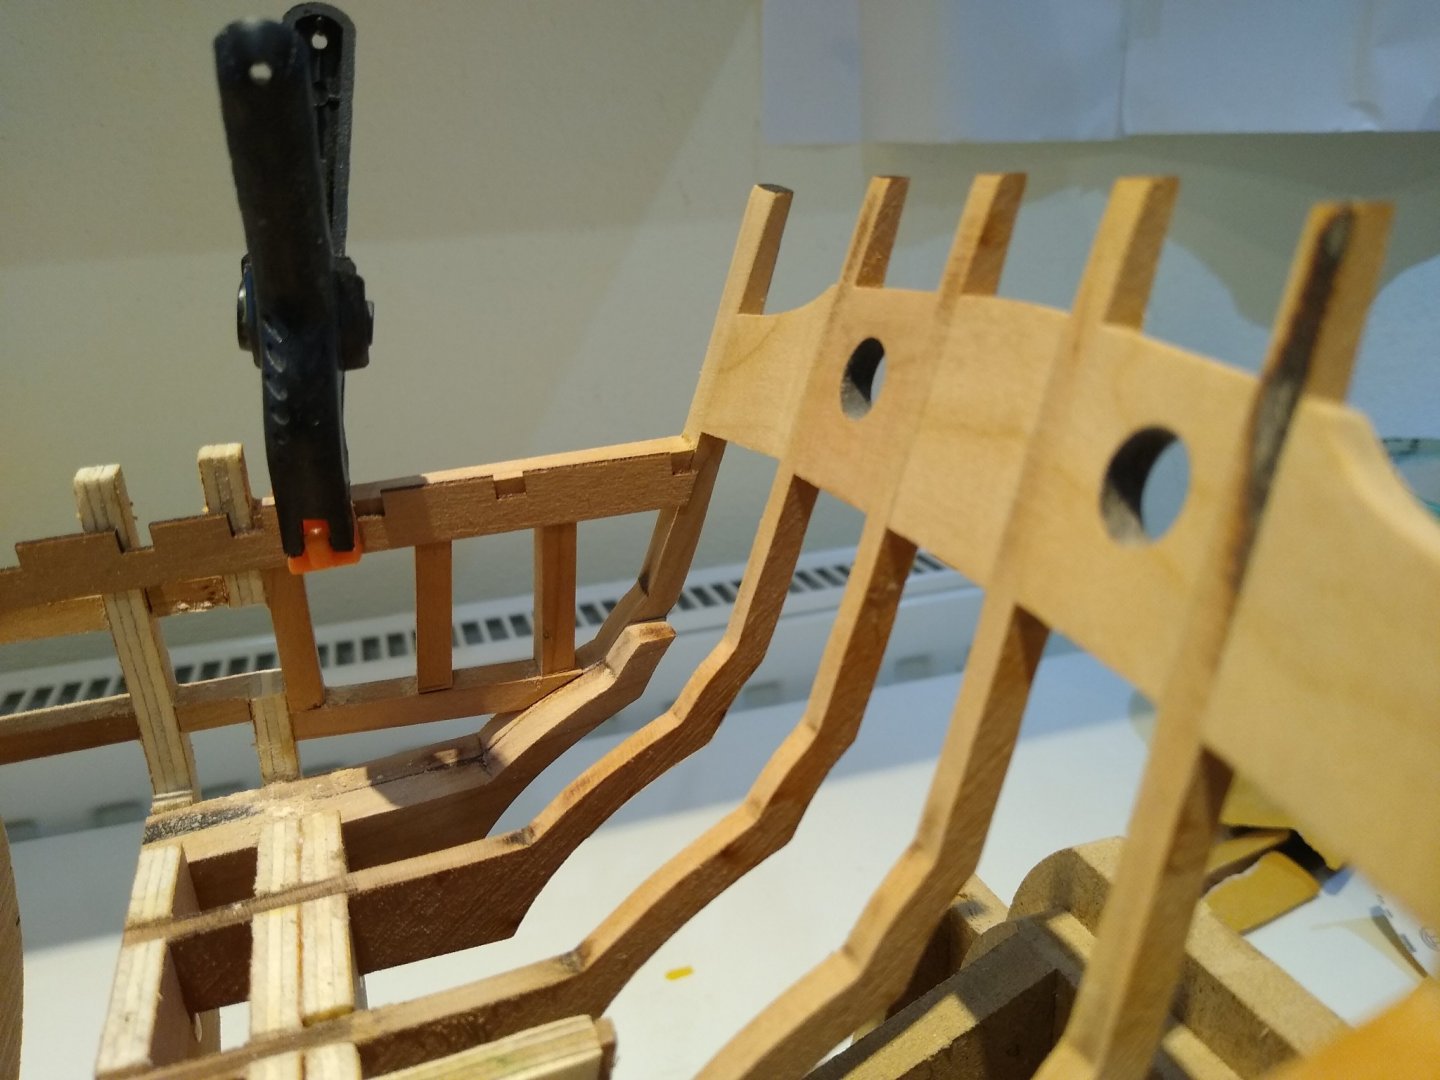
Here are the transom fillers added

-
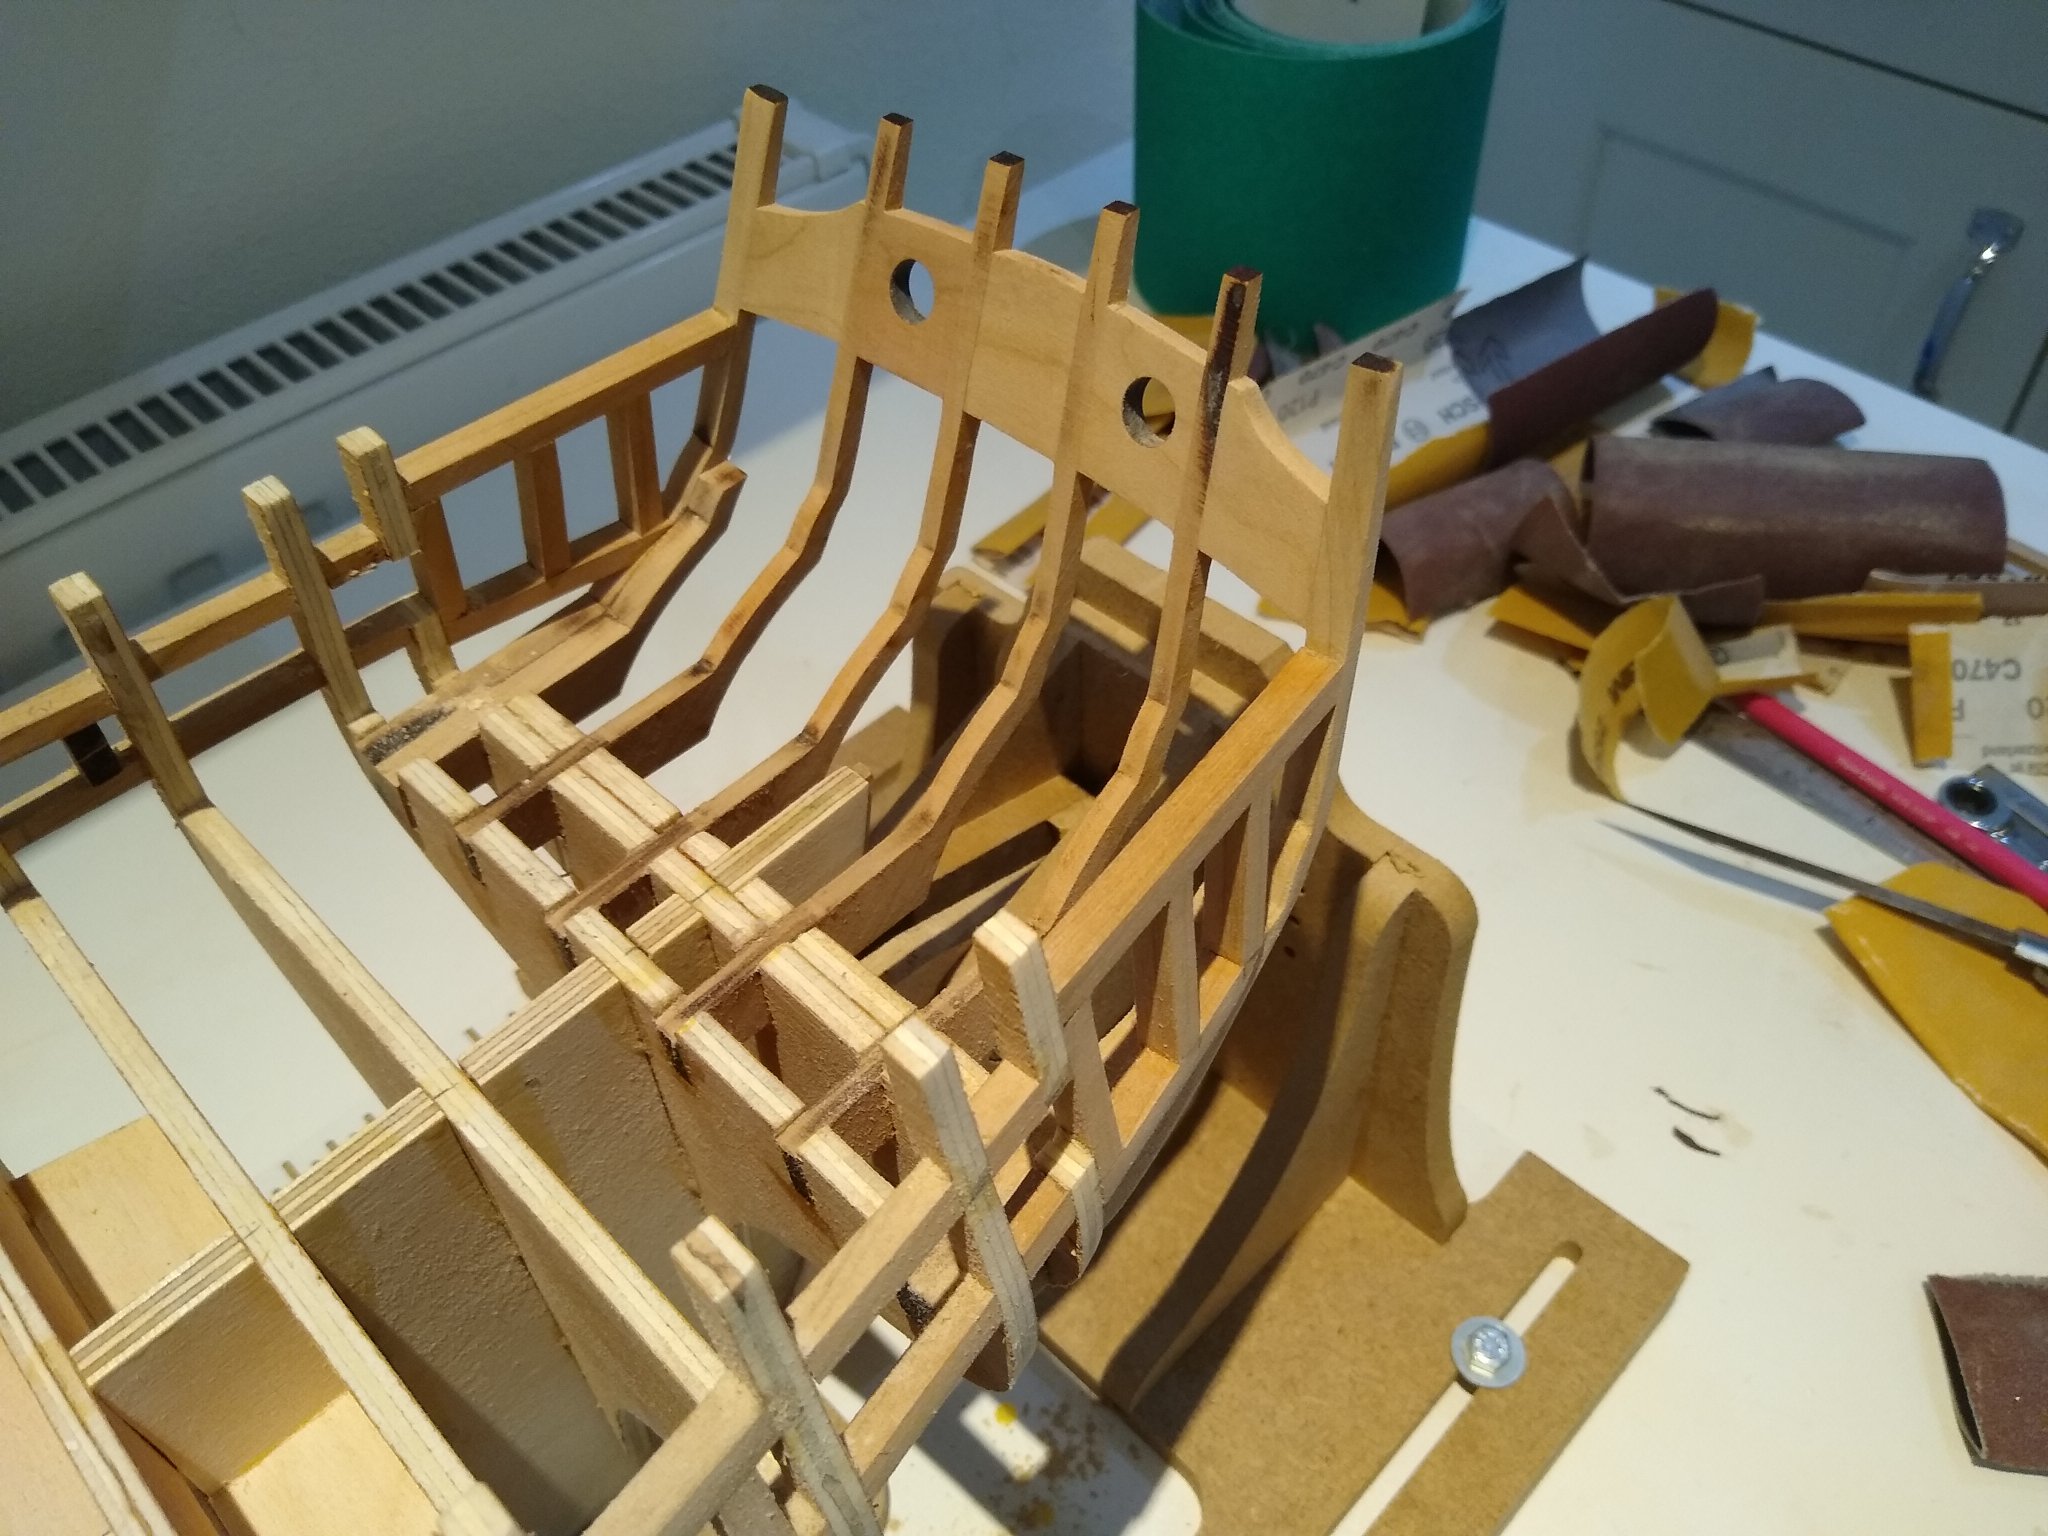
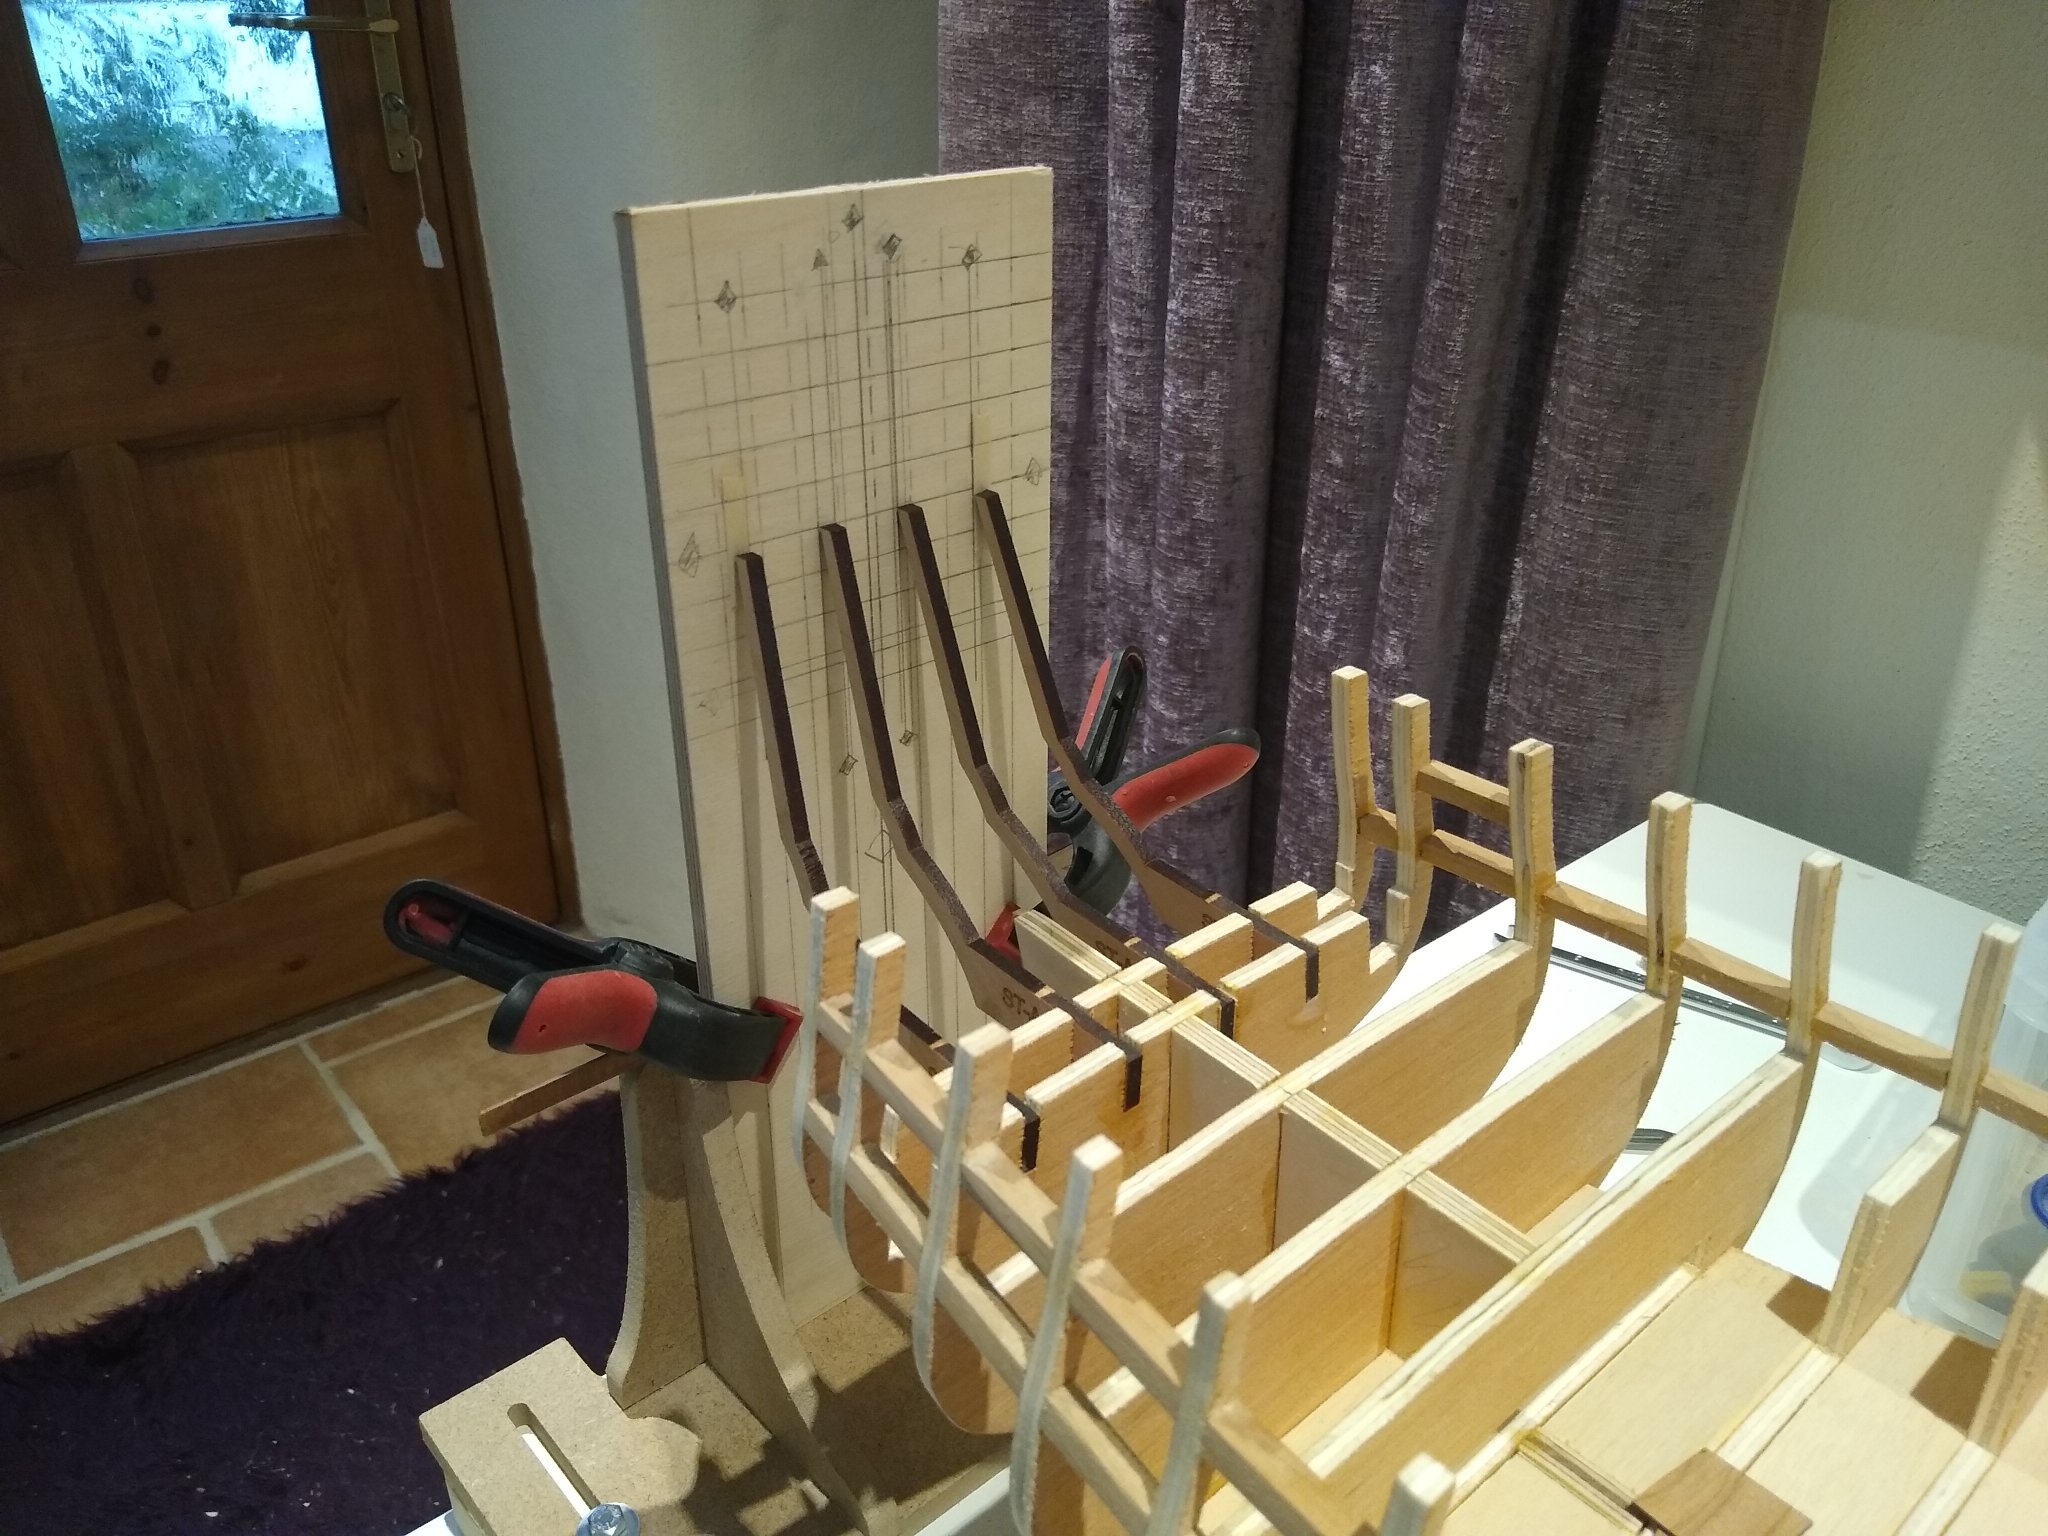
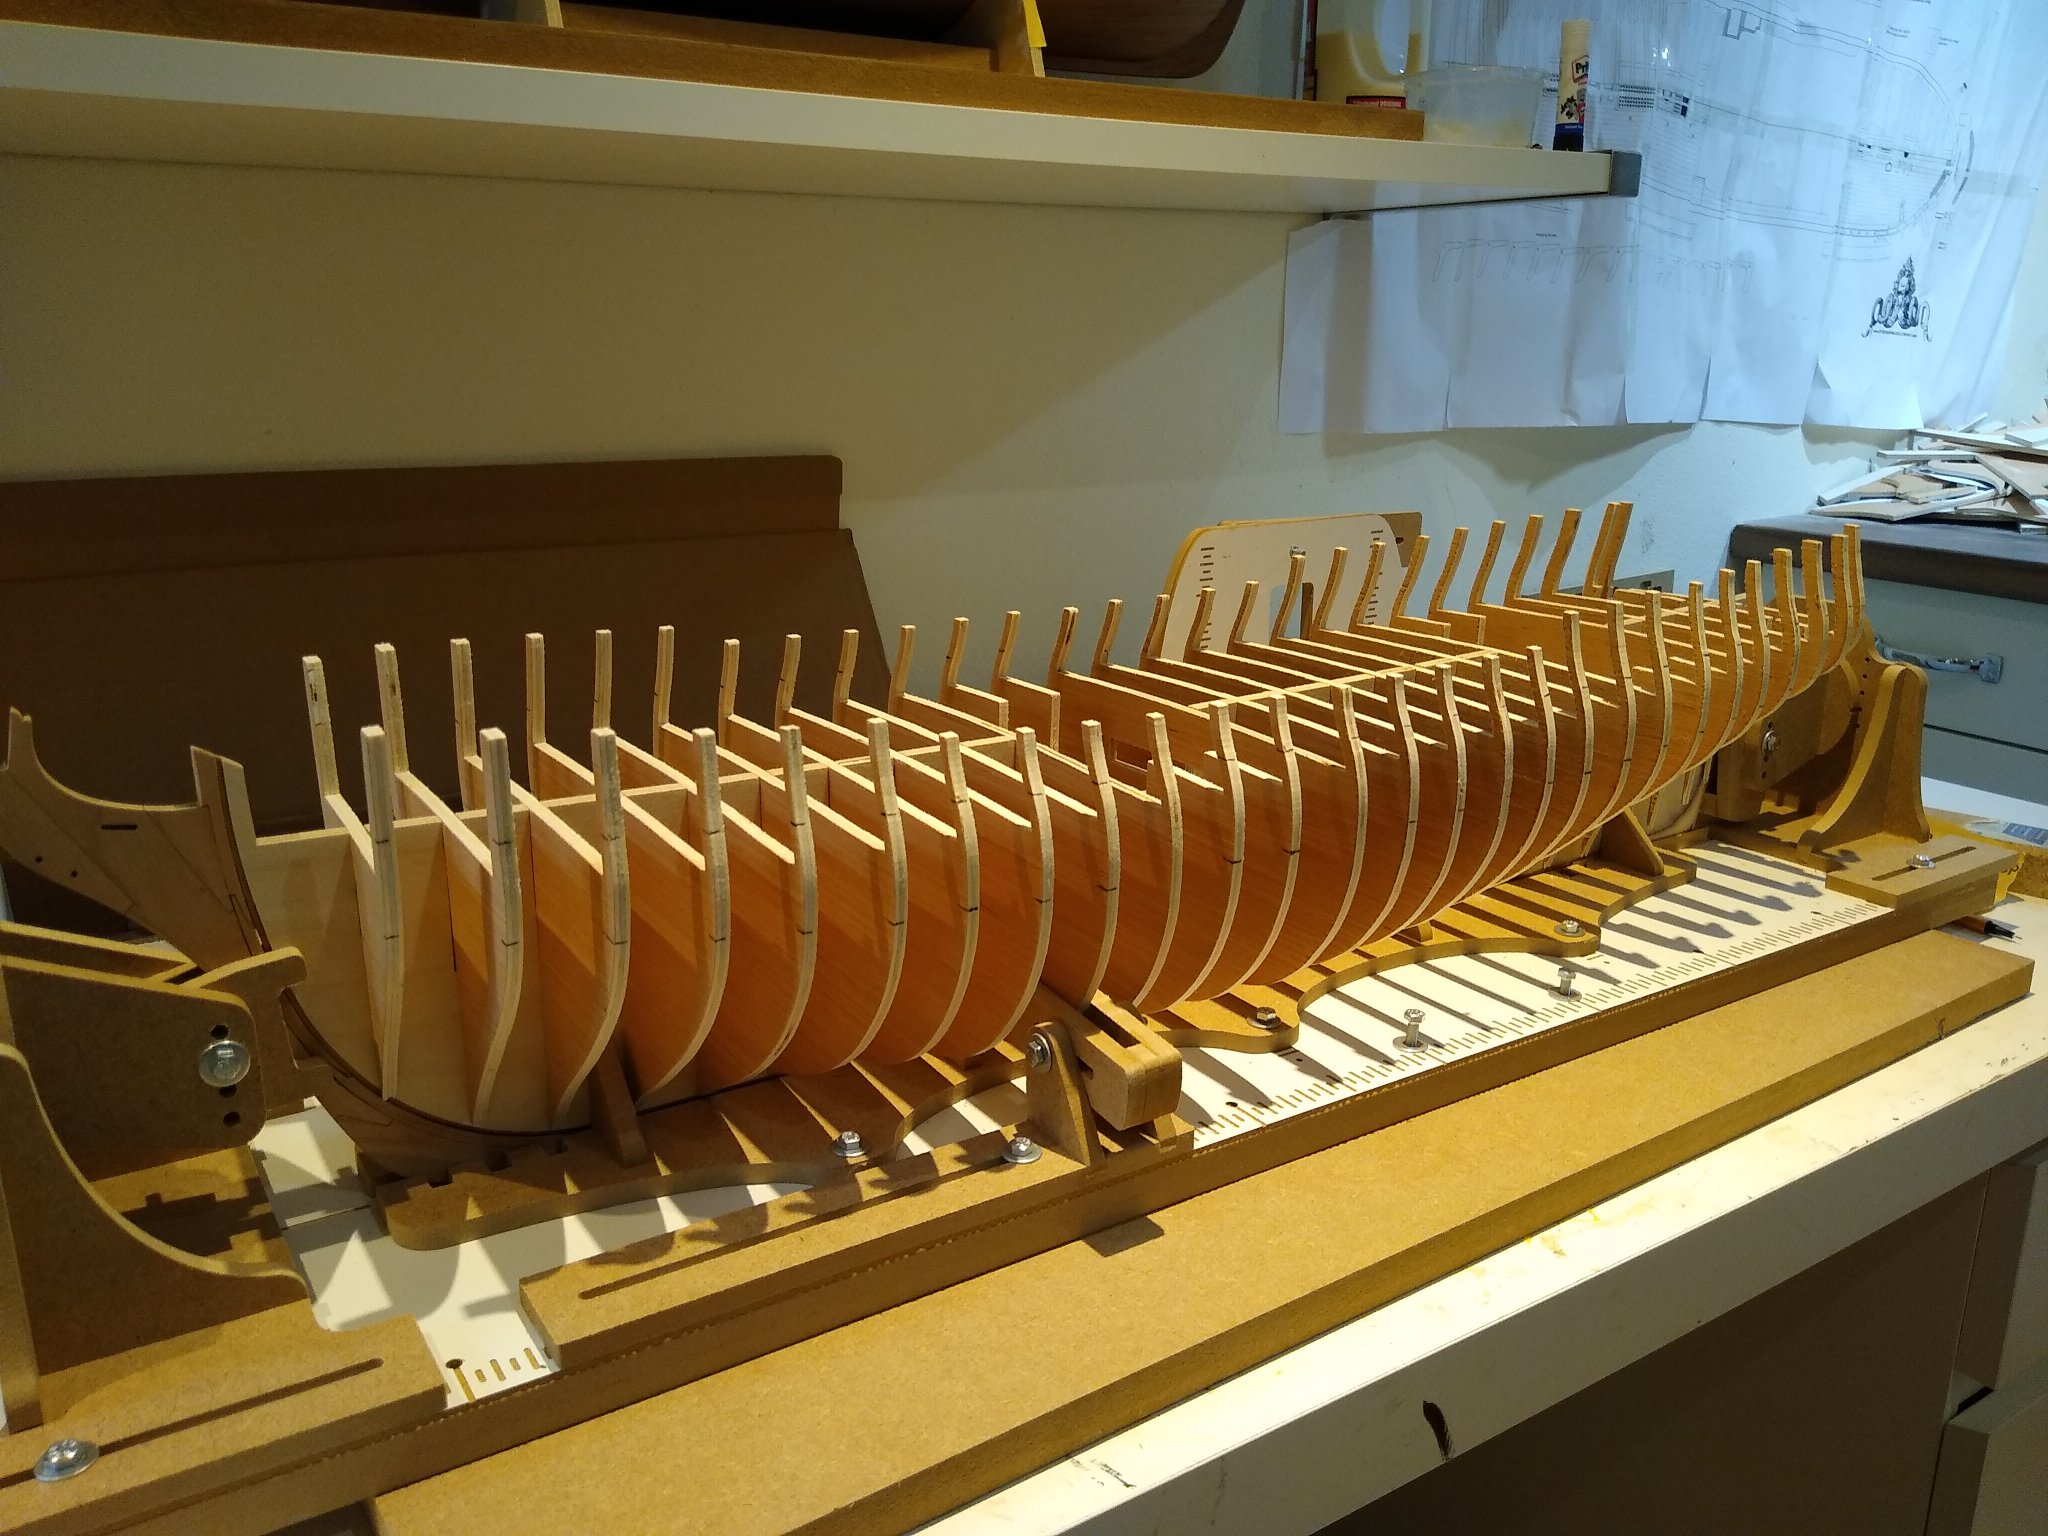
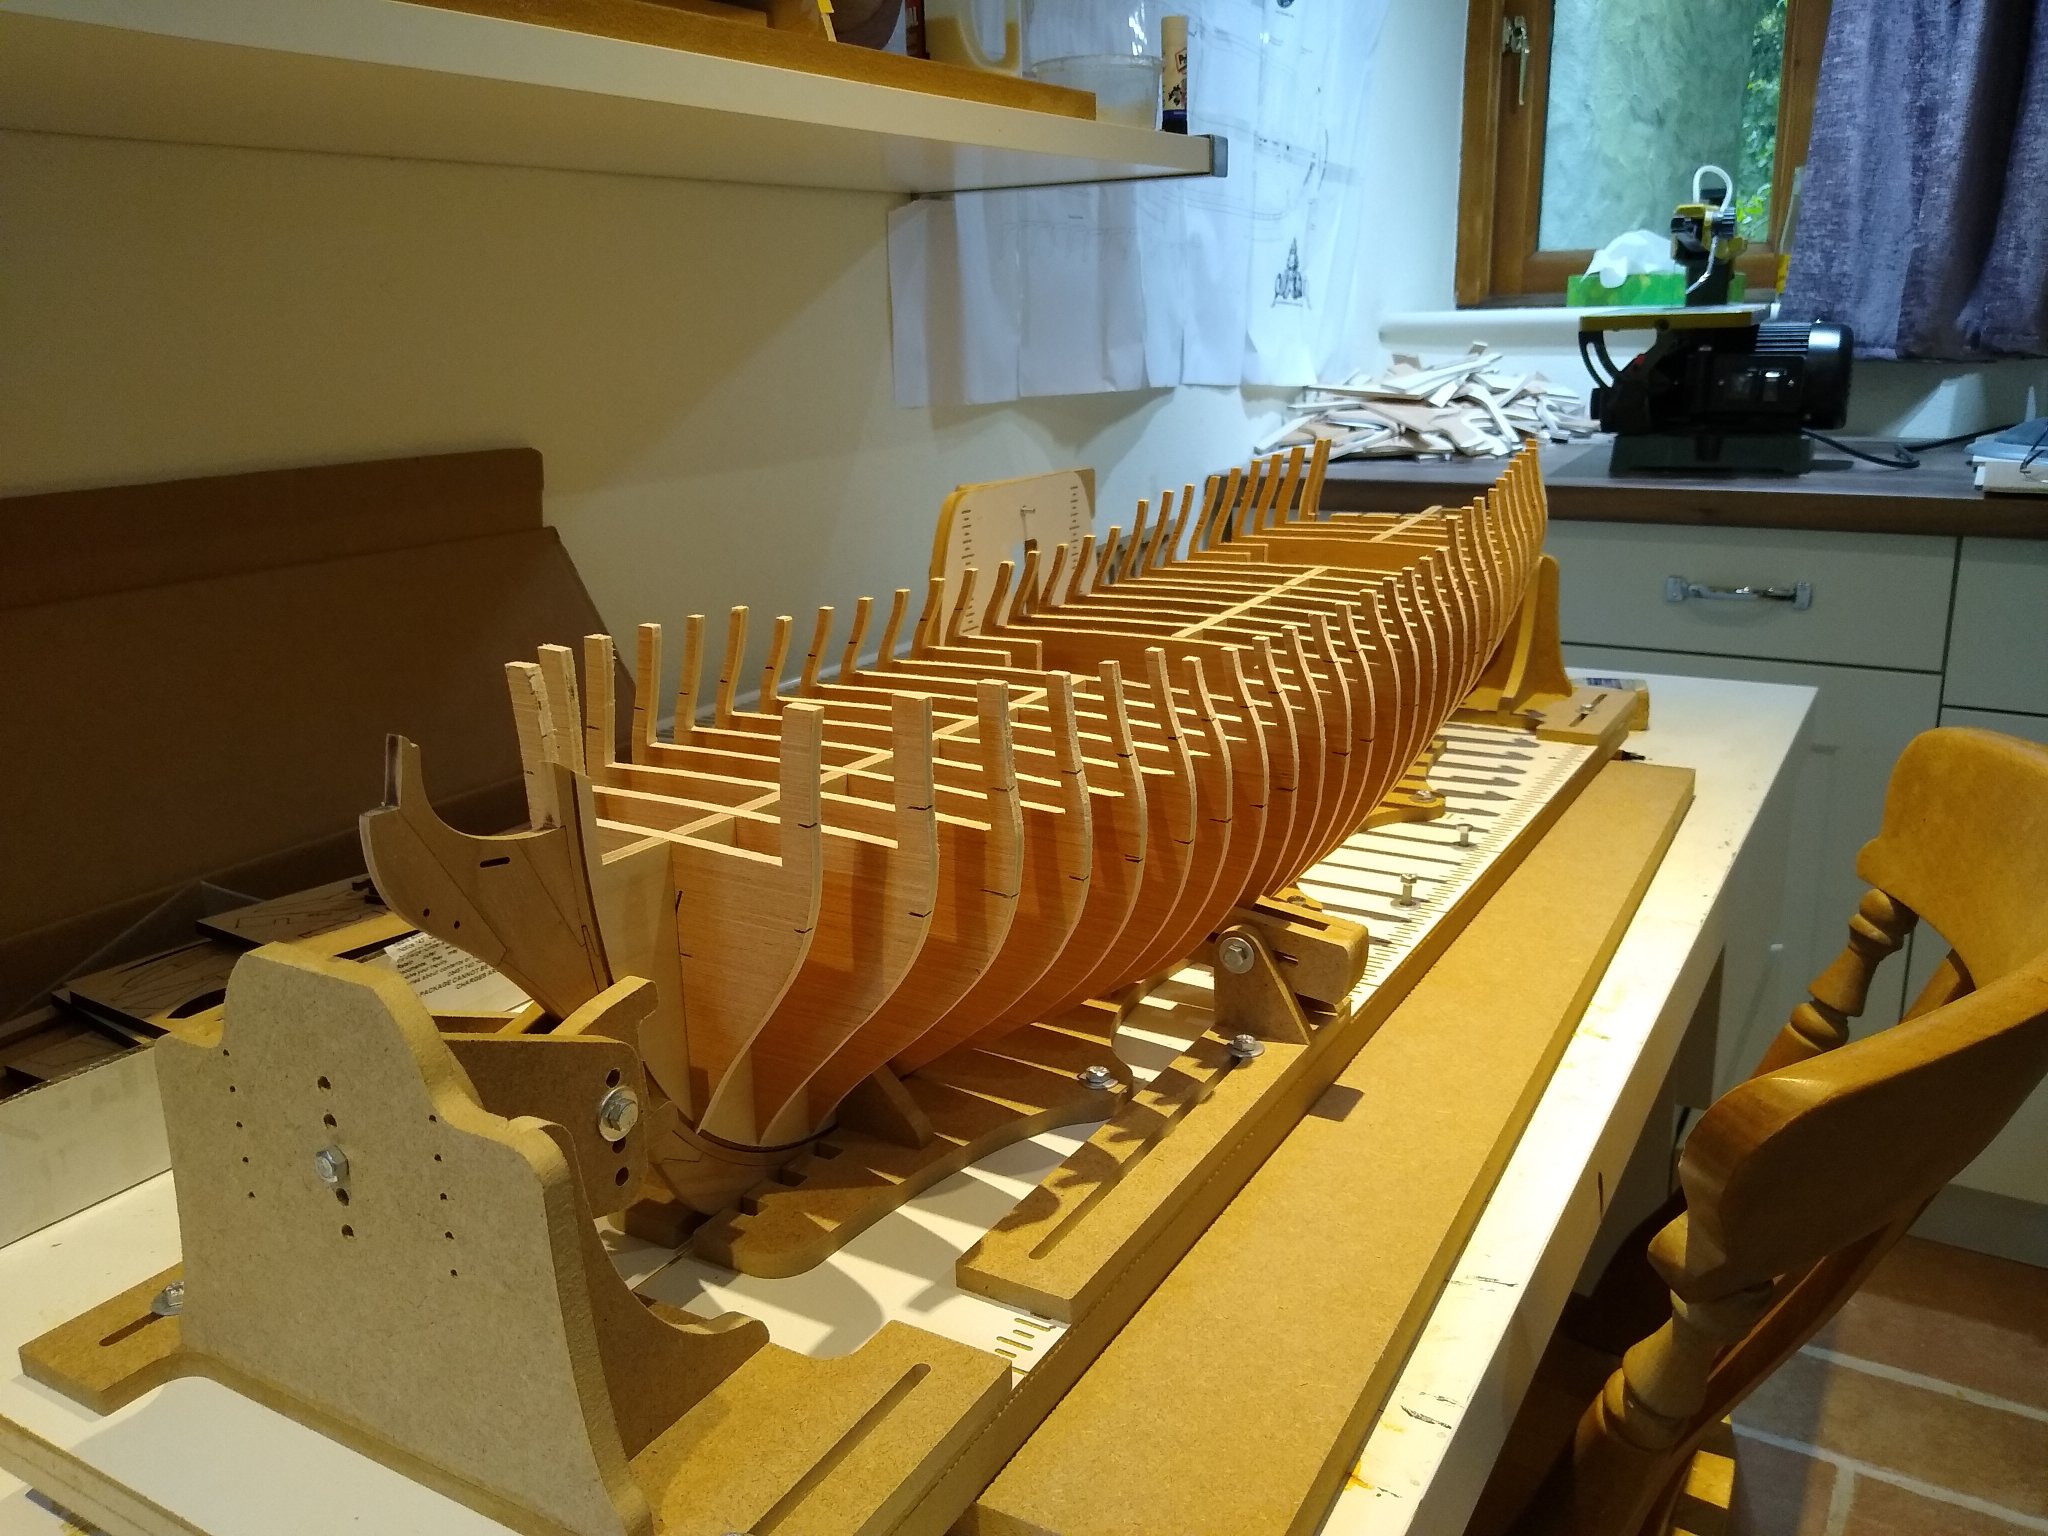
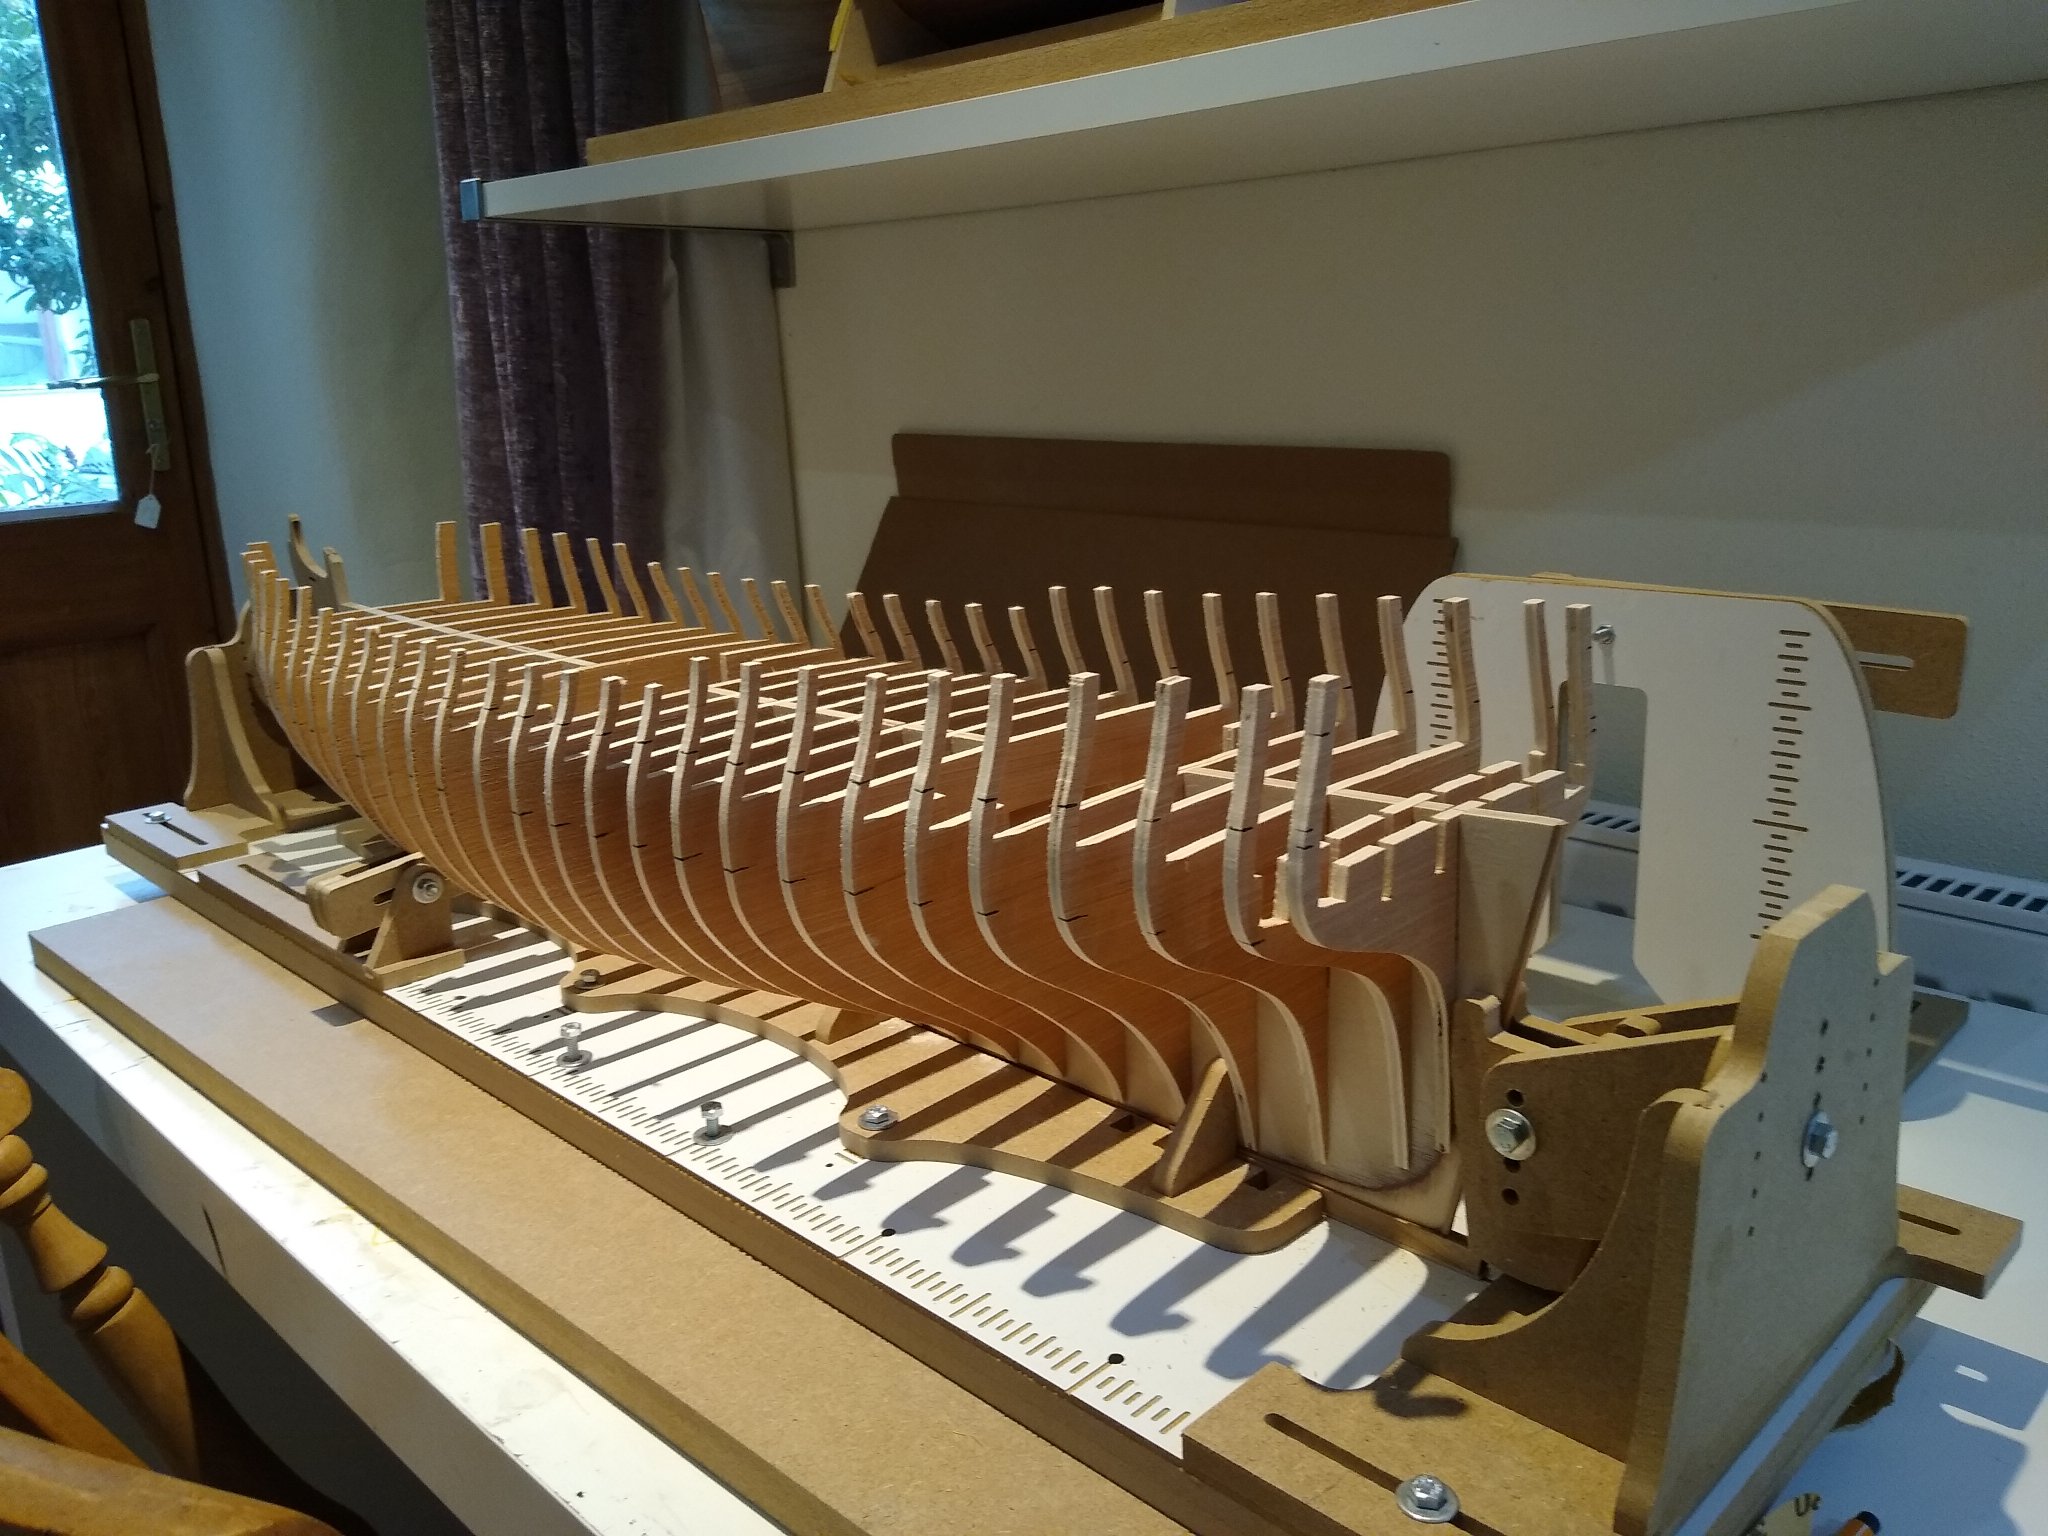
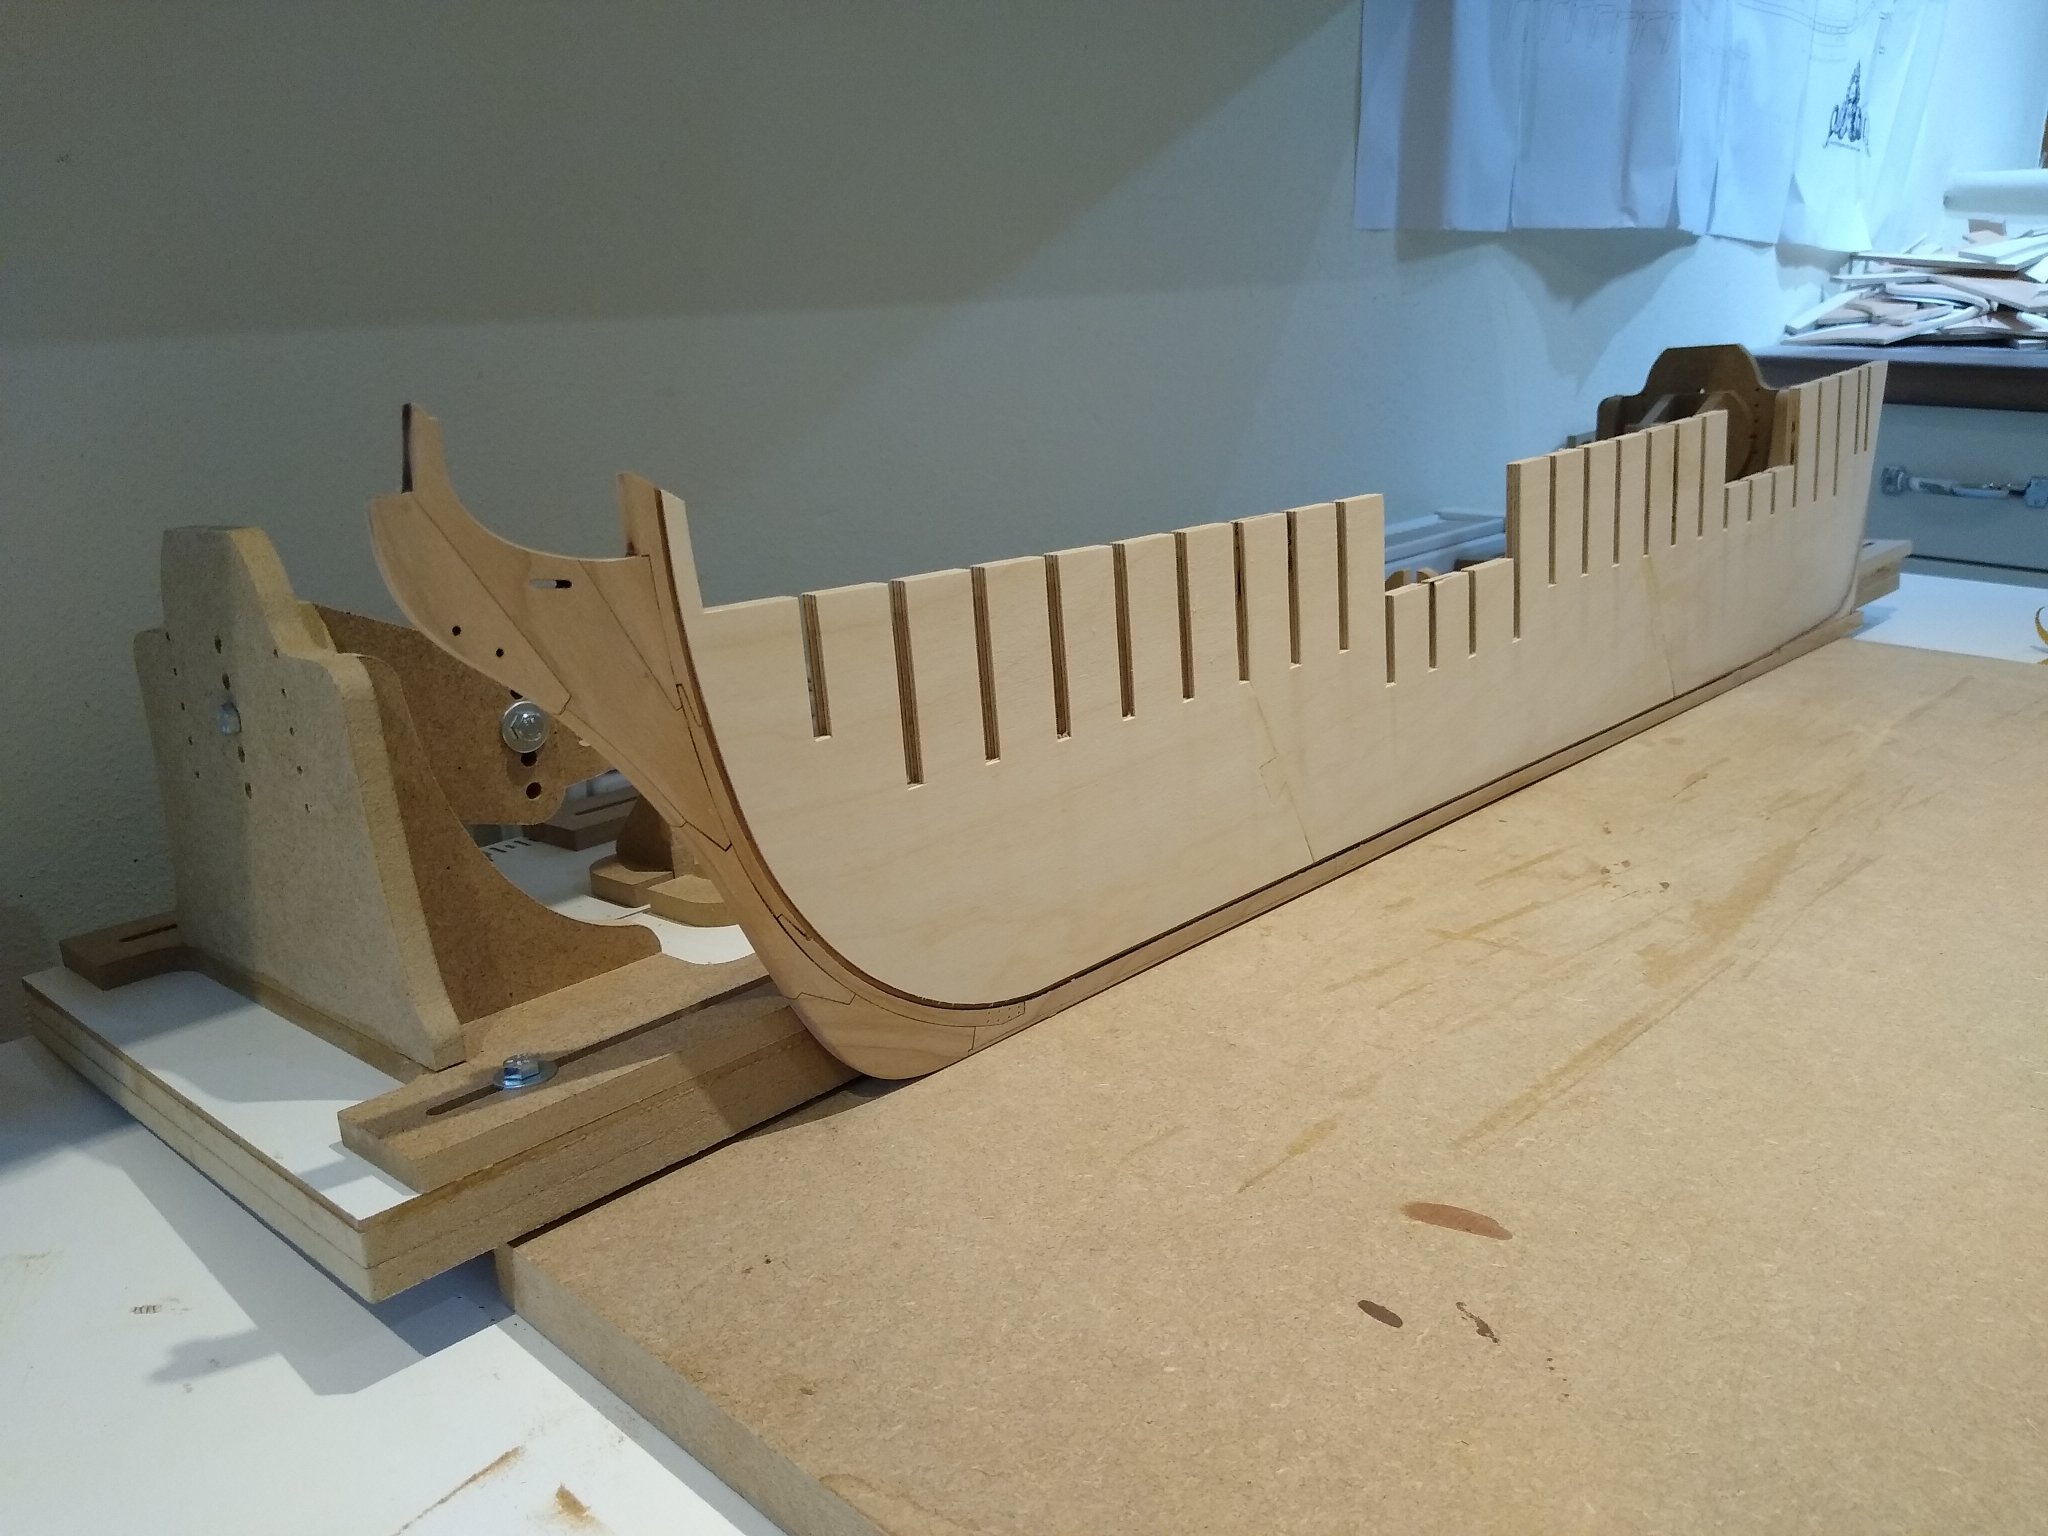
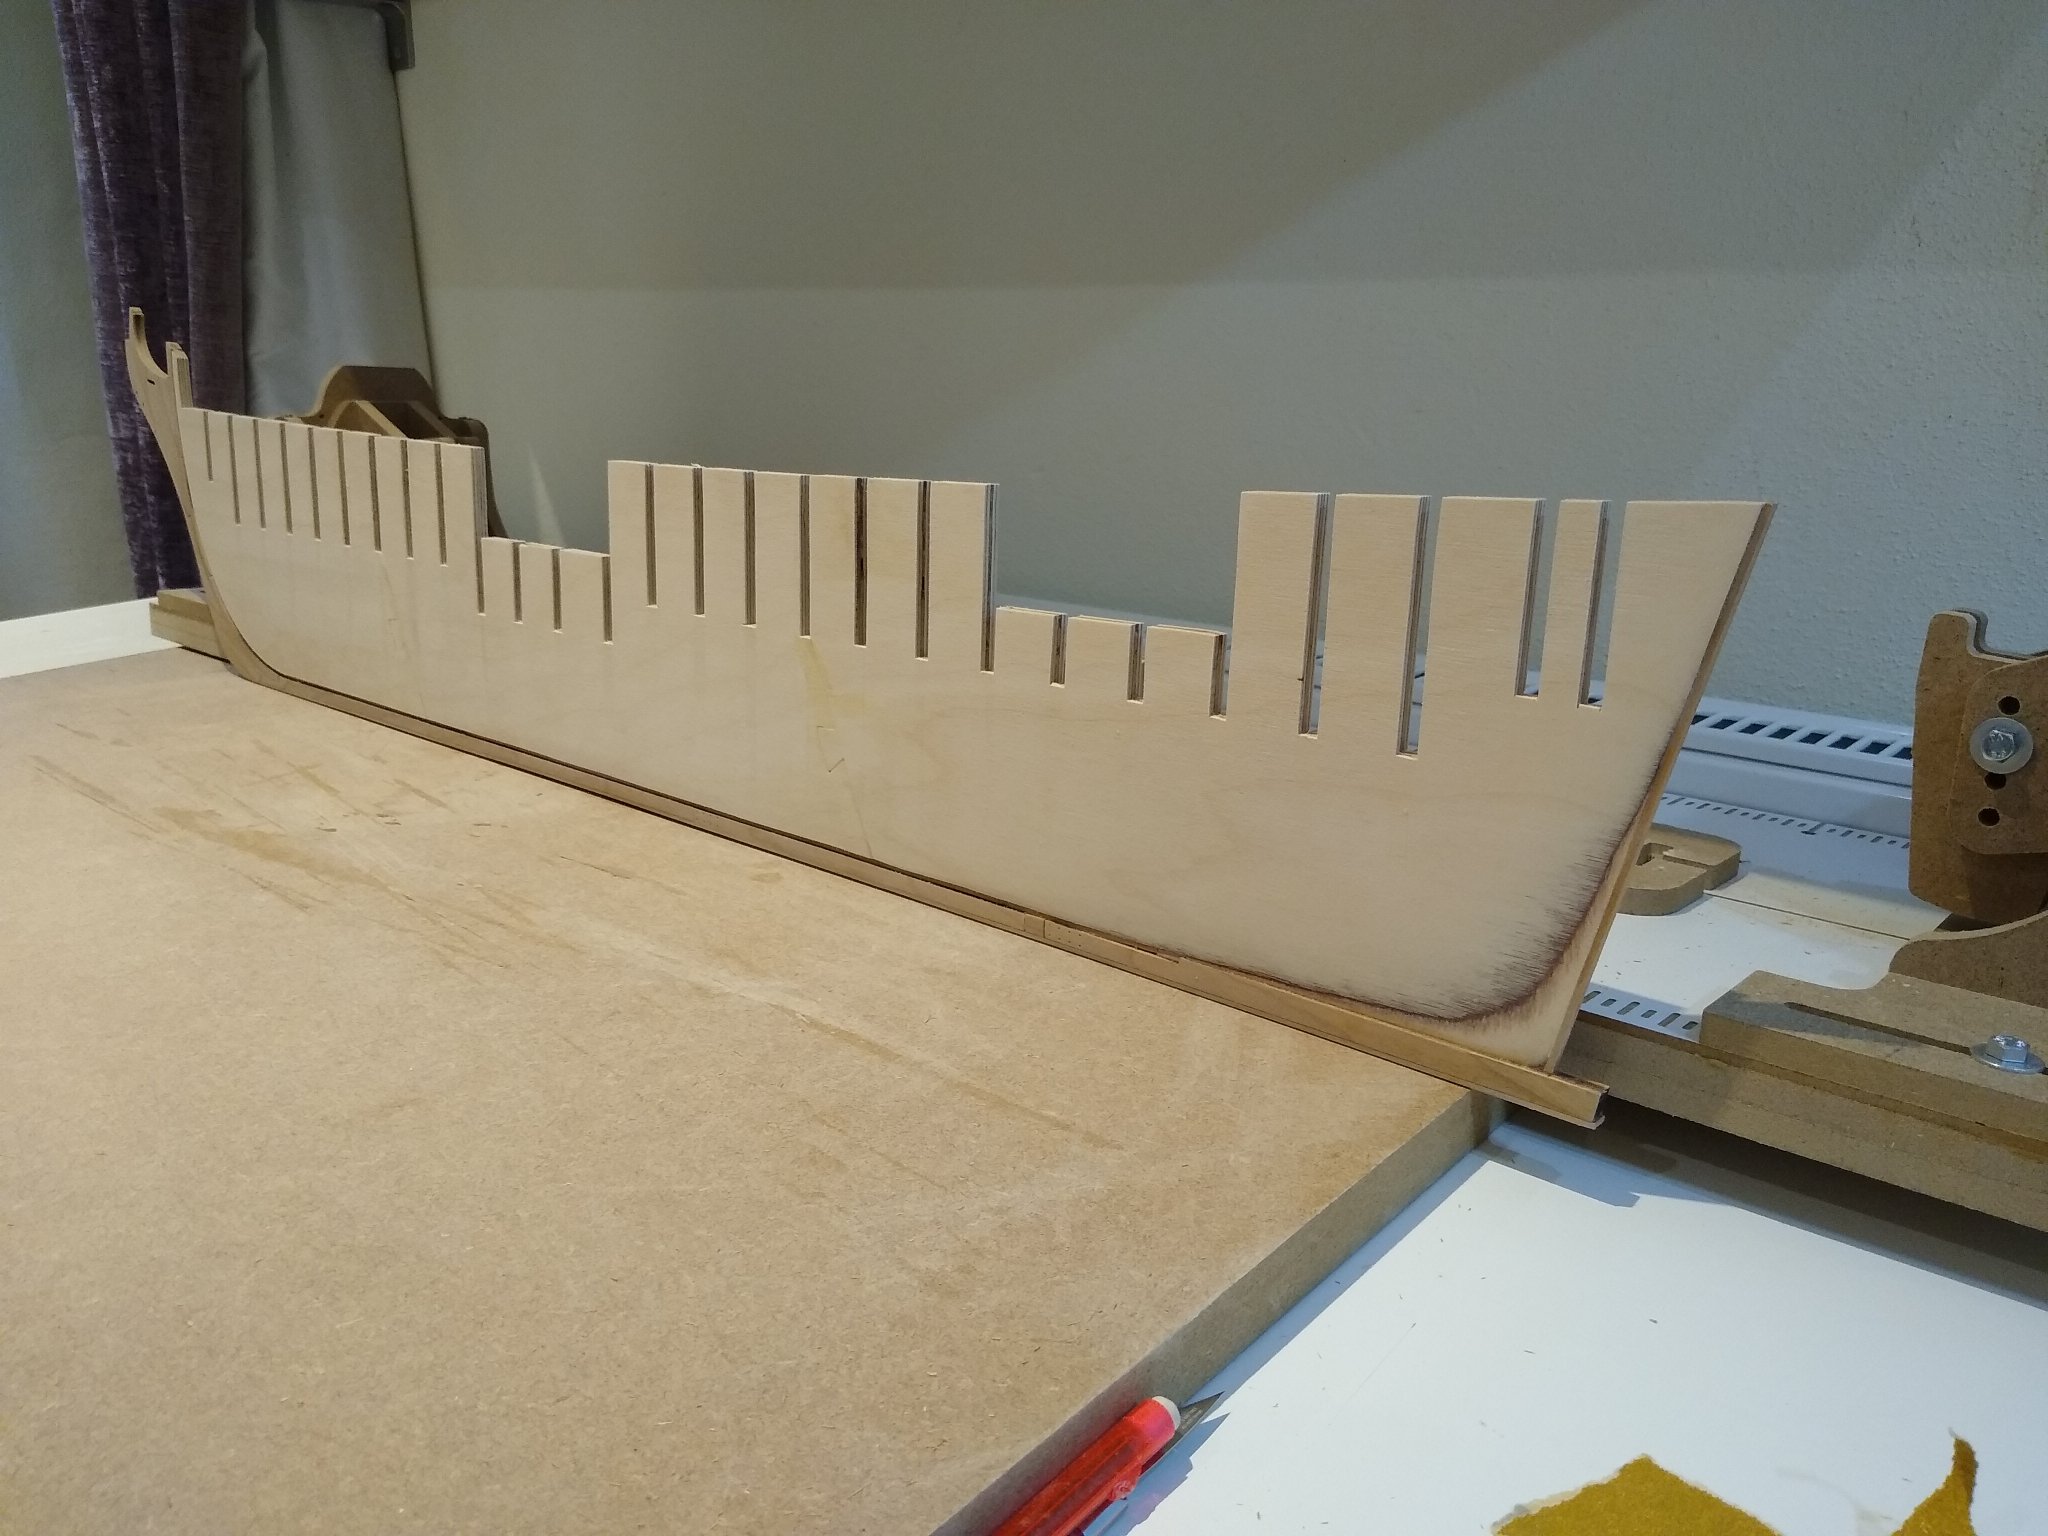
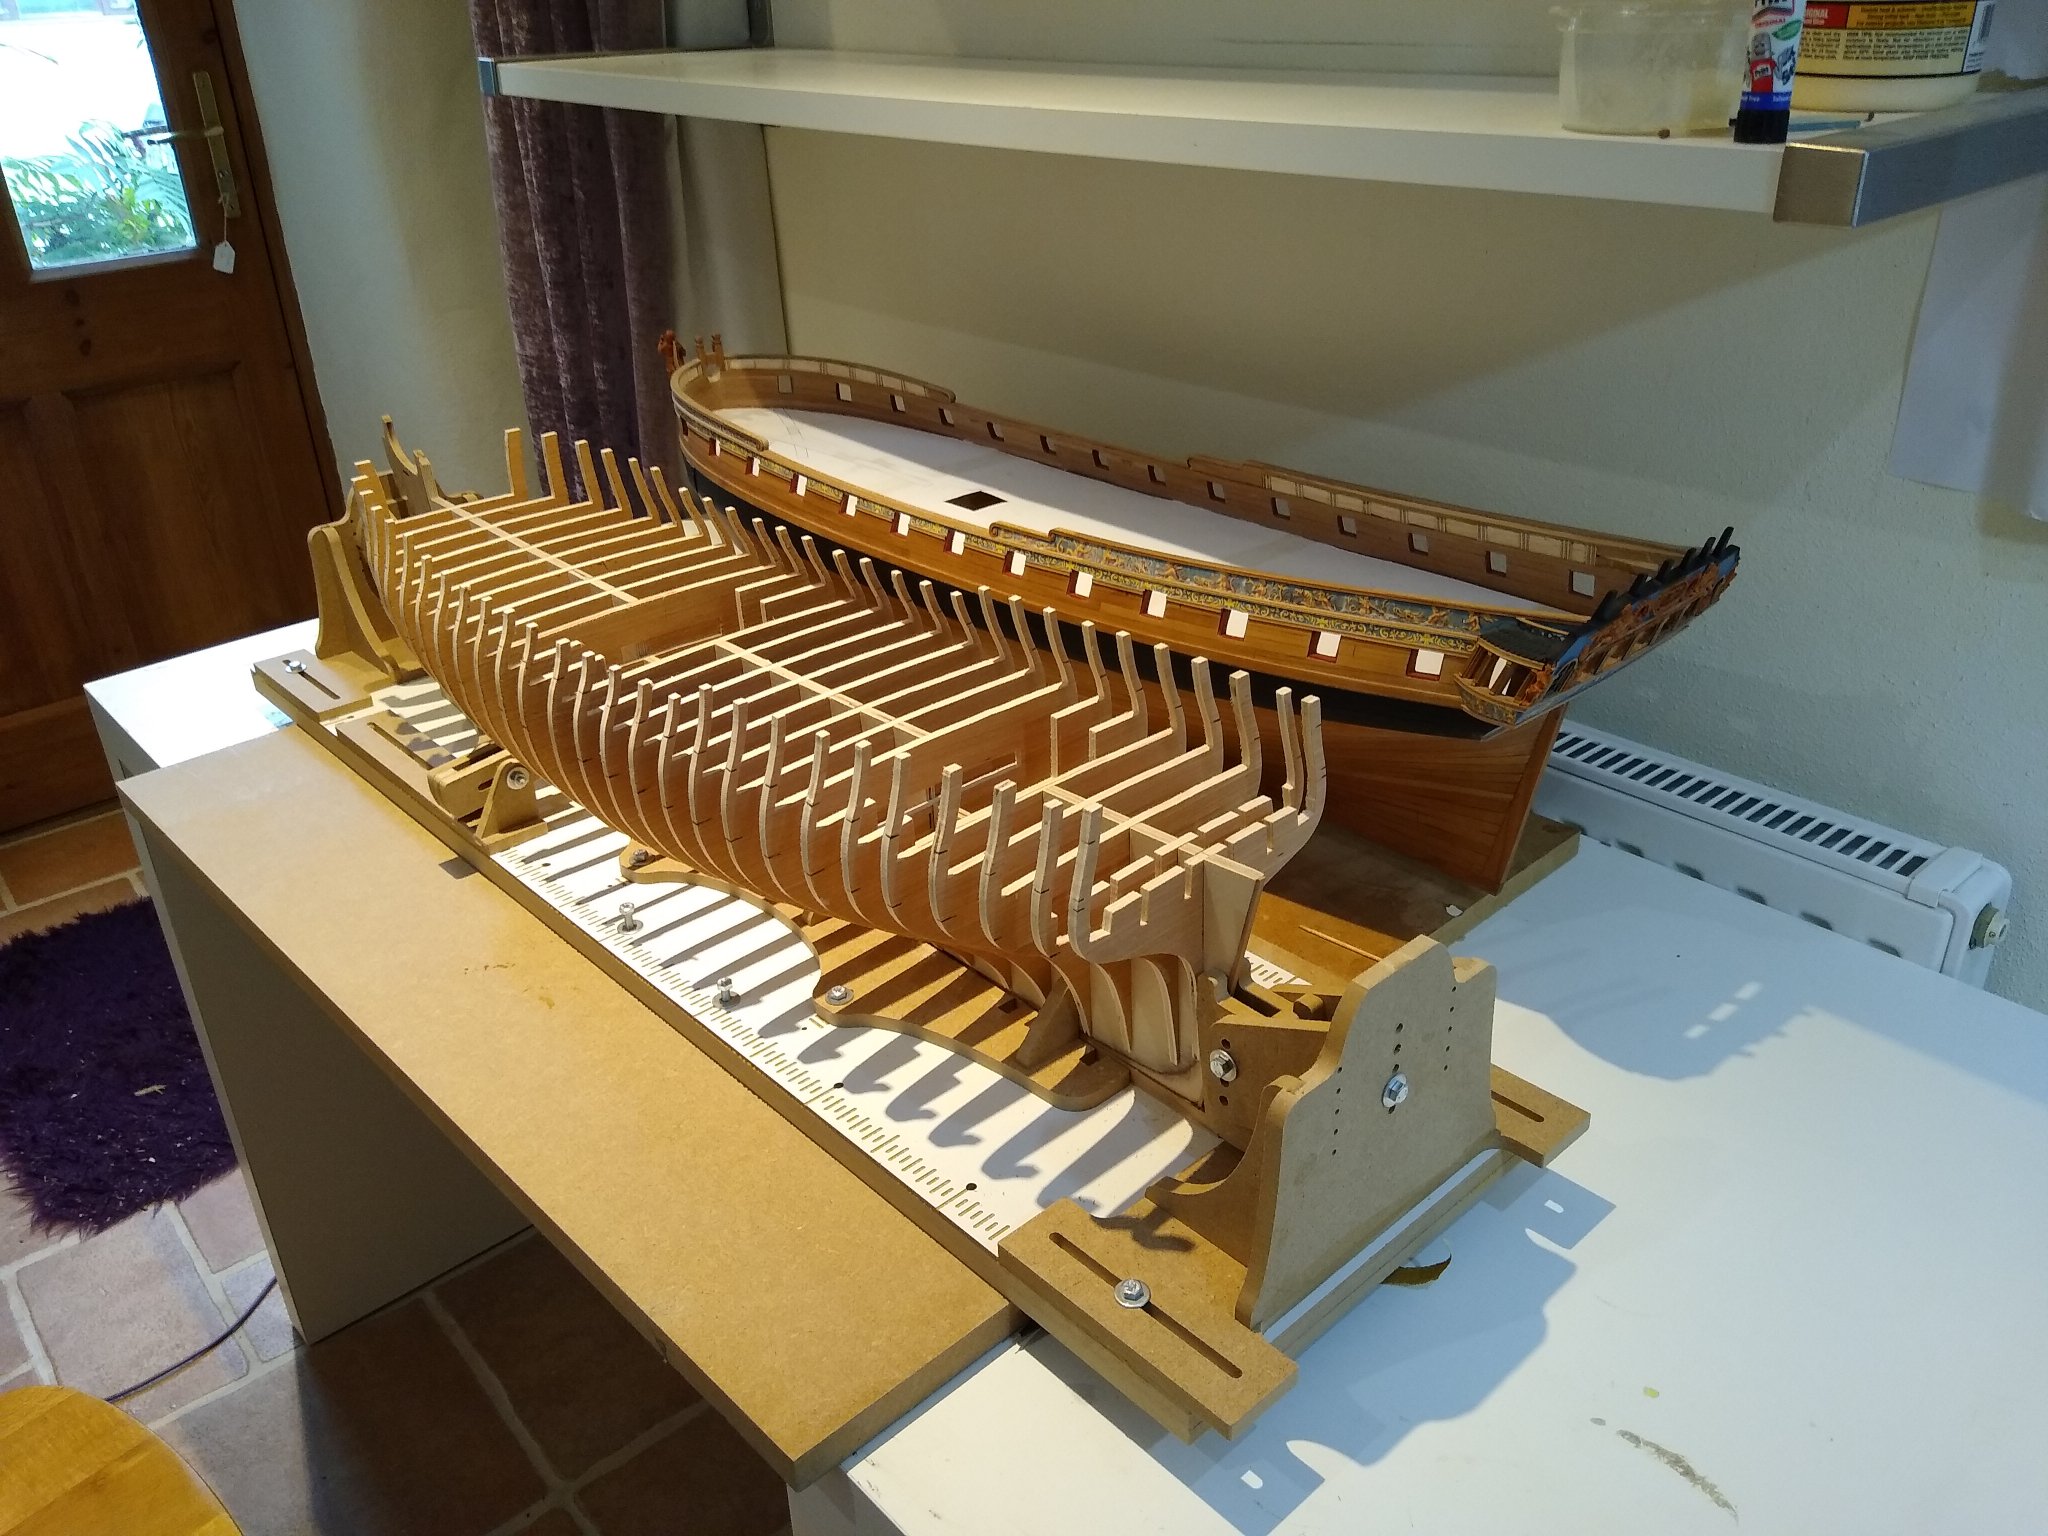
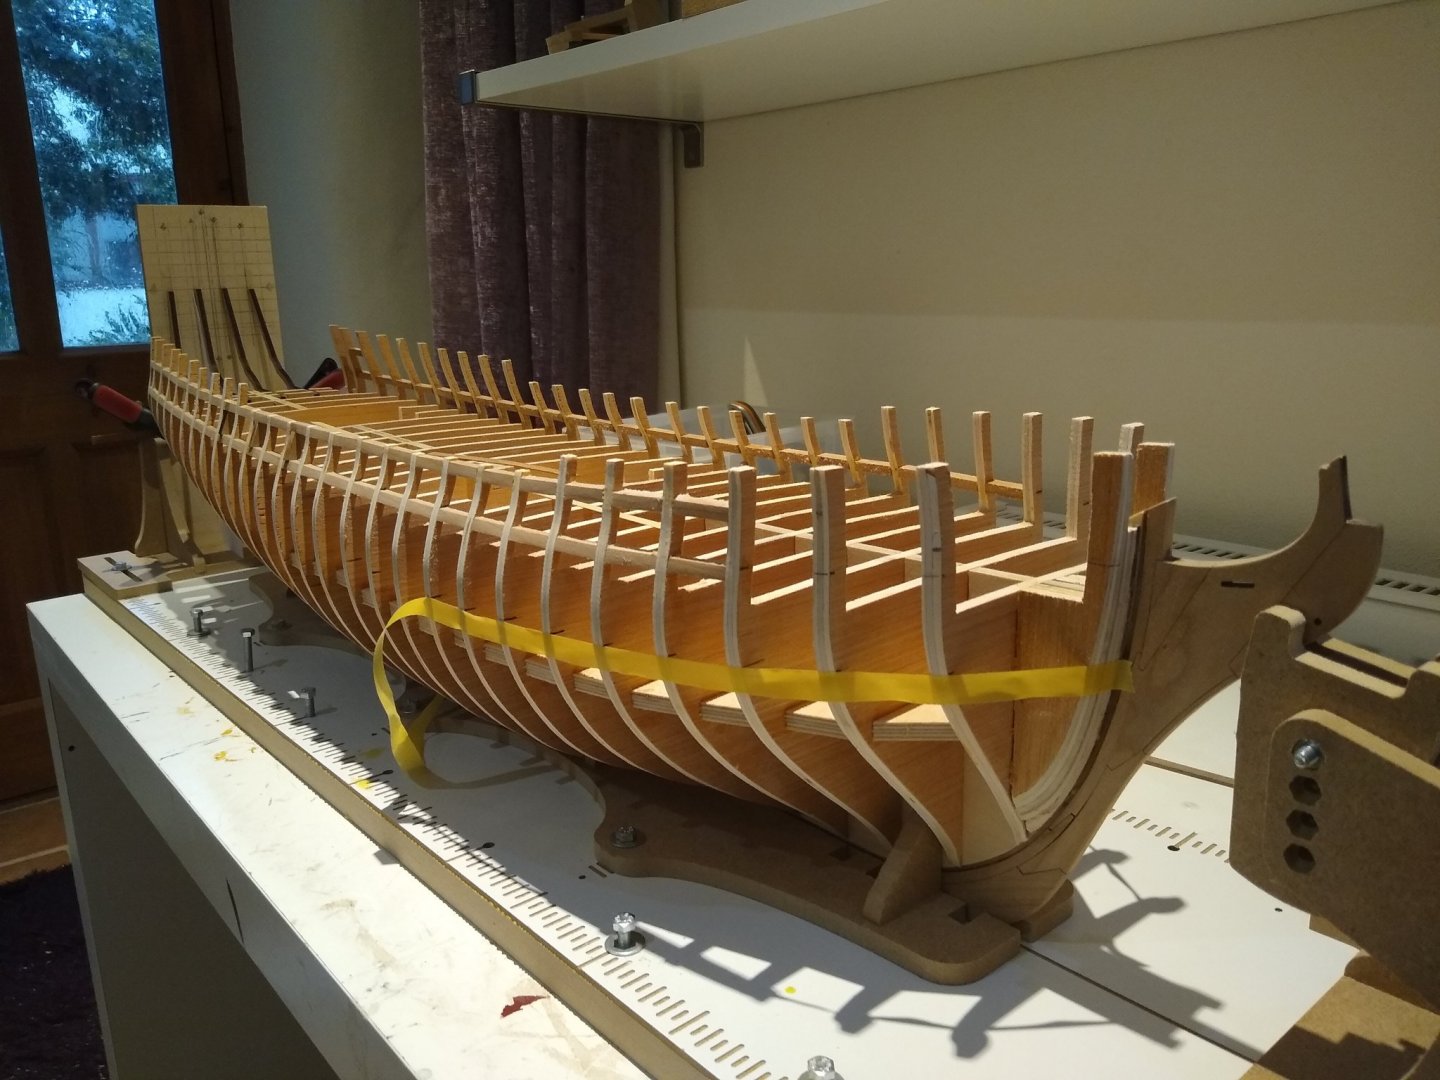
One of the problems with cutting your own bulkheads is, inevitably, and no matter how much care you take, that they will be less accurate then the superb laser cut frames from Syren. I had real problems with the stern frames on W1. Here, I am trying a different route. The vertical board at the back may look a bit low tech but it is there to position the frames accurately one to the other and at the correct angle. There is a 1mm sliver of wood behind the outer frames to give the transom some curvature.

-
That's looking superb JJ! I really admire your restraint leaving the sanding of the hull until all the planking has been done. I found the temptation to neaten things up a bit by sanding as you go irresistible even though it causes difficulties with the lie of adjacent planks. Keep up the good work Fred
-
That looks like really neat work Greg. This is a fun stage isn't it. Fred
-
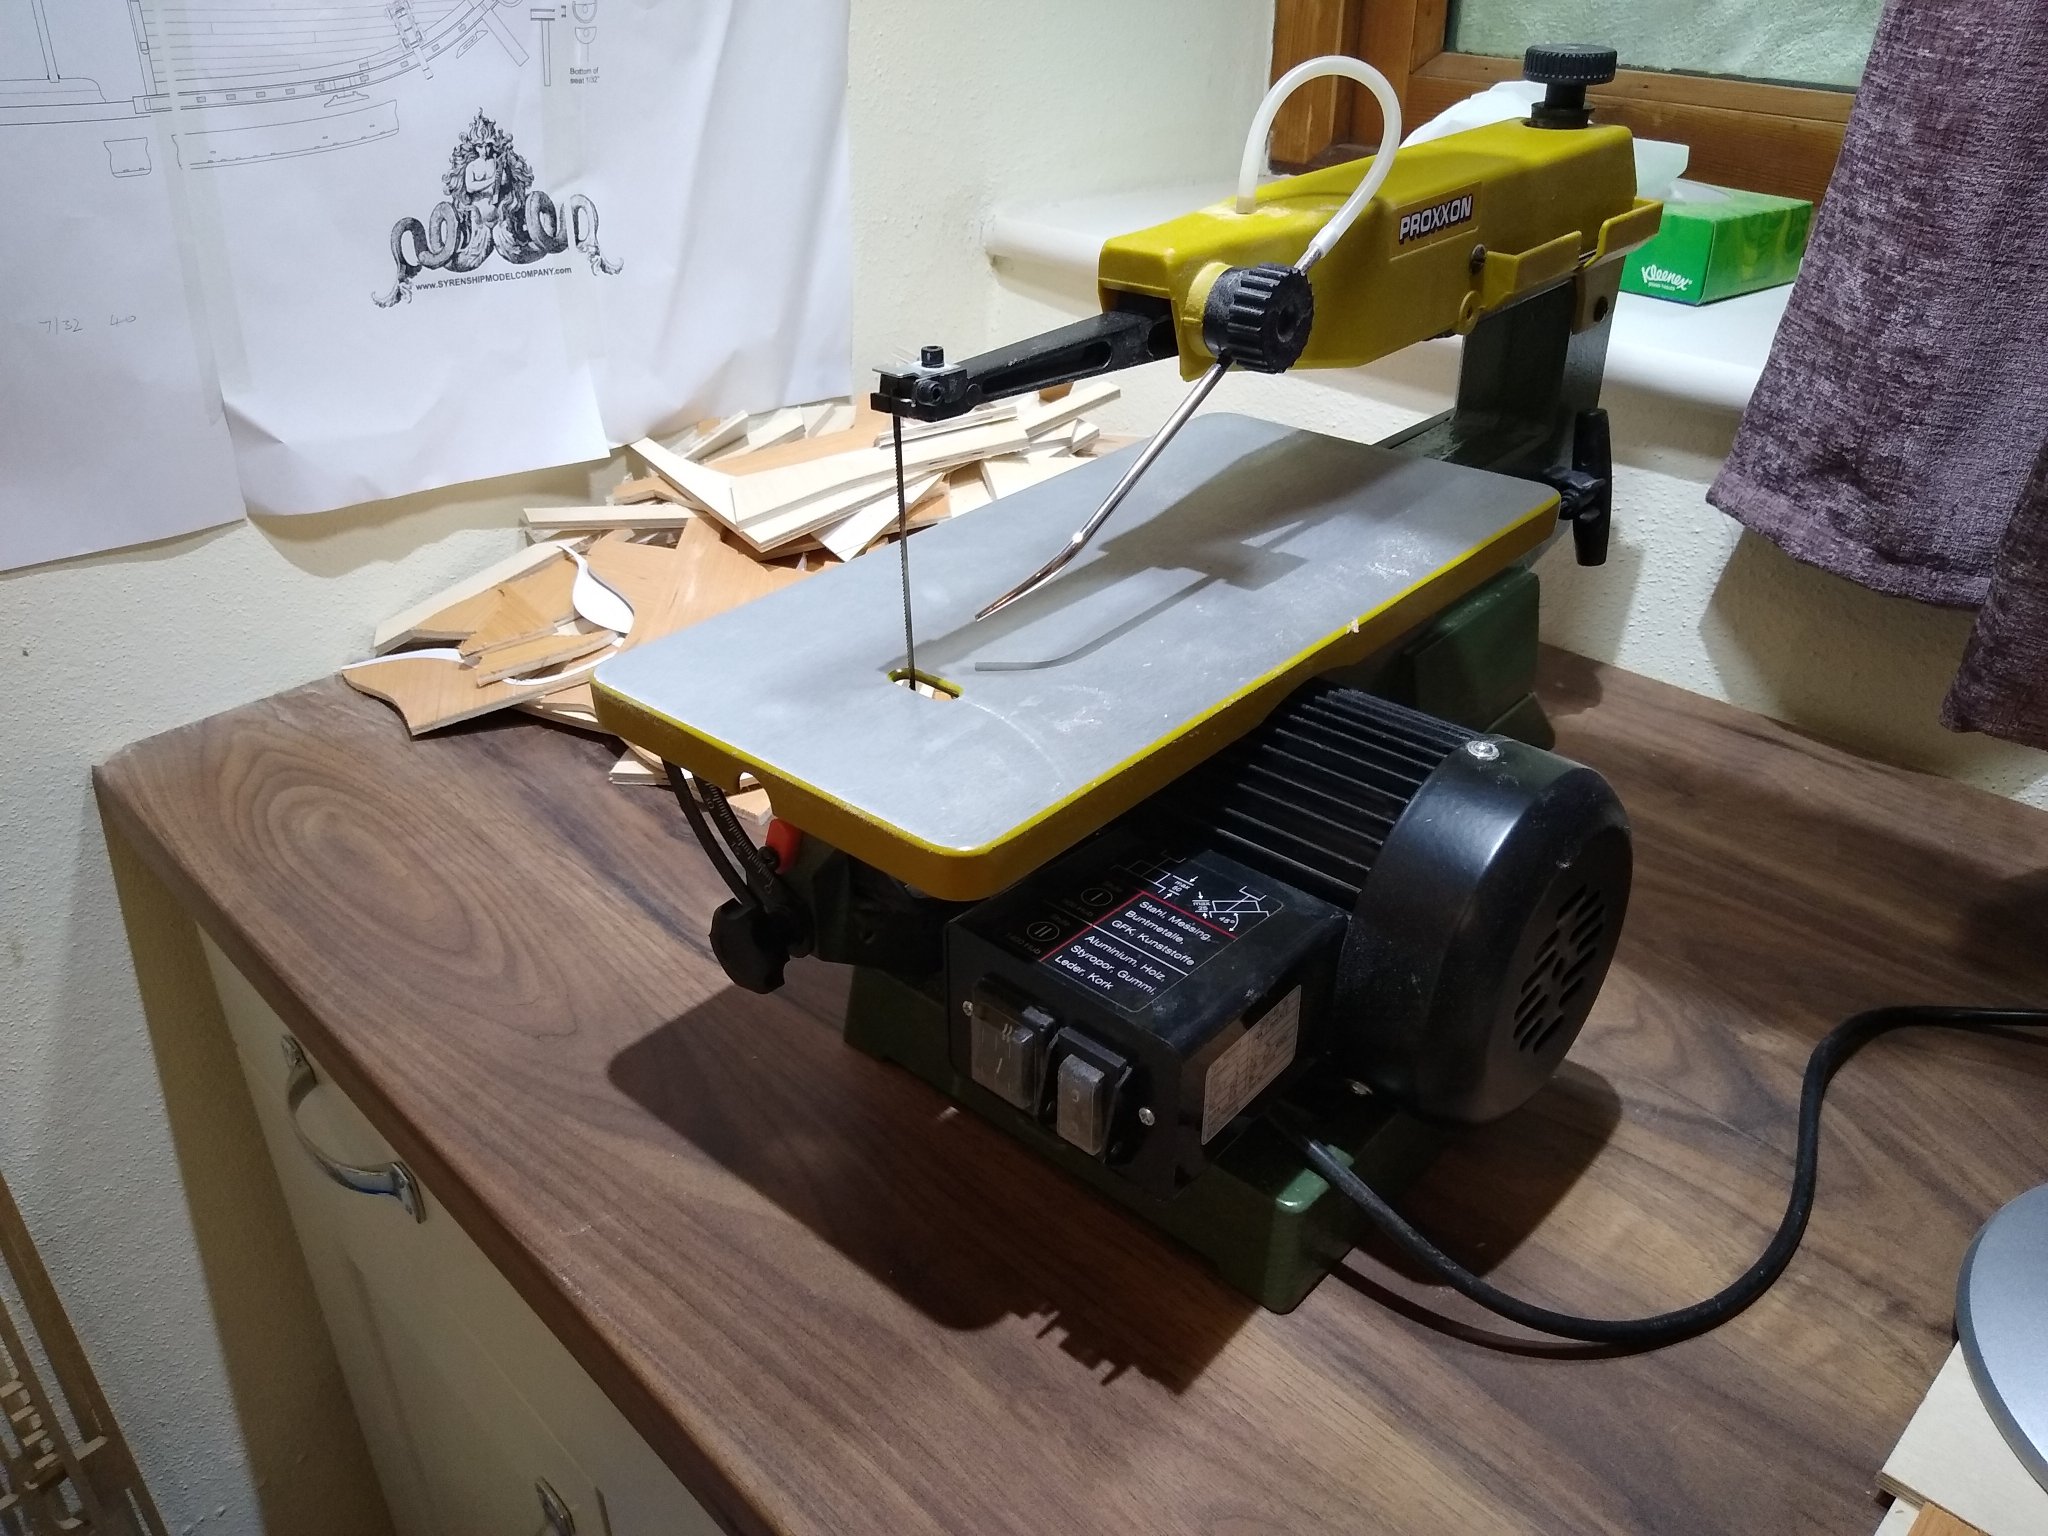
Thanks chaps. Joe, I entirely agree with you. I can't shake off the "could do it better second time round feeling" and the Wnchelsea is such a super project it warrants another go. The Proxxon seems a really good bit of kit not that I have anything to compare it to. I have found the second set of bulkheads much easier to cut more accurately than the first. I think that is a combination of little more experience with the saw and using Plywood lite. I'm much more confident of a good outcome than I was at the equivalent stage with W1 but time will tell. All the best everyone Fred
-
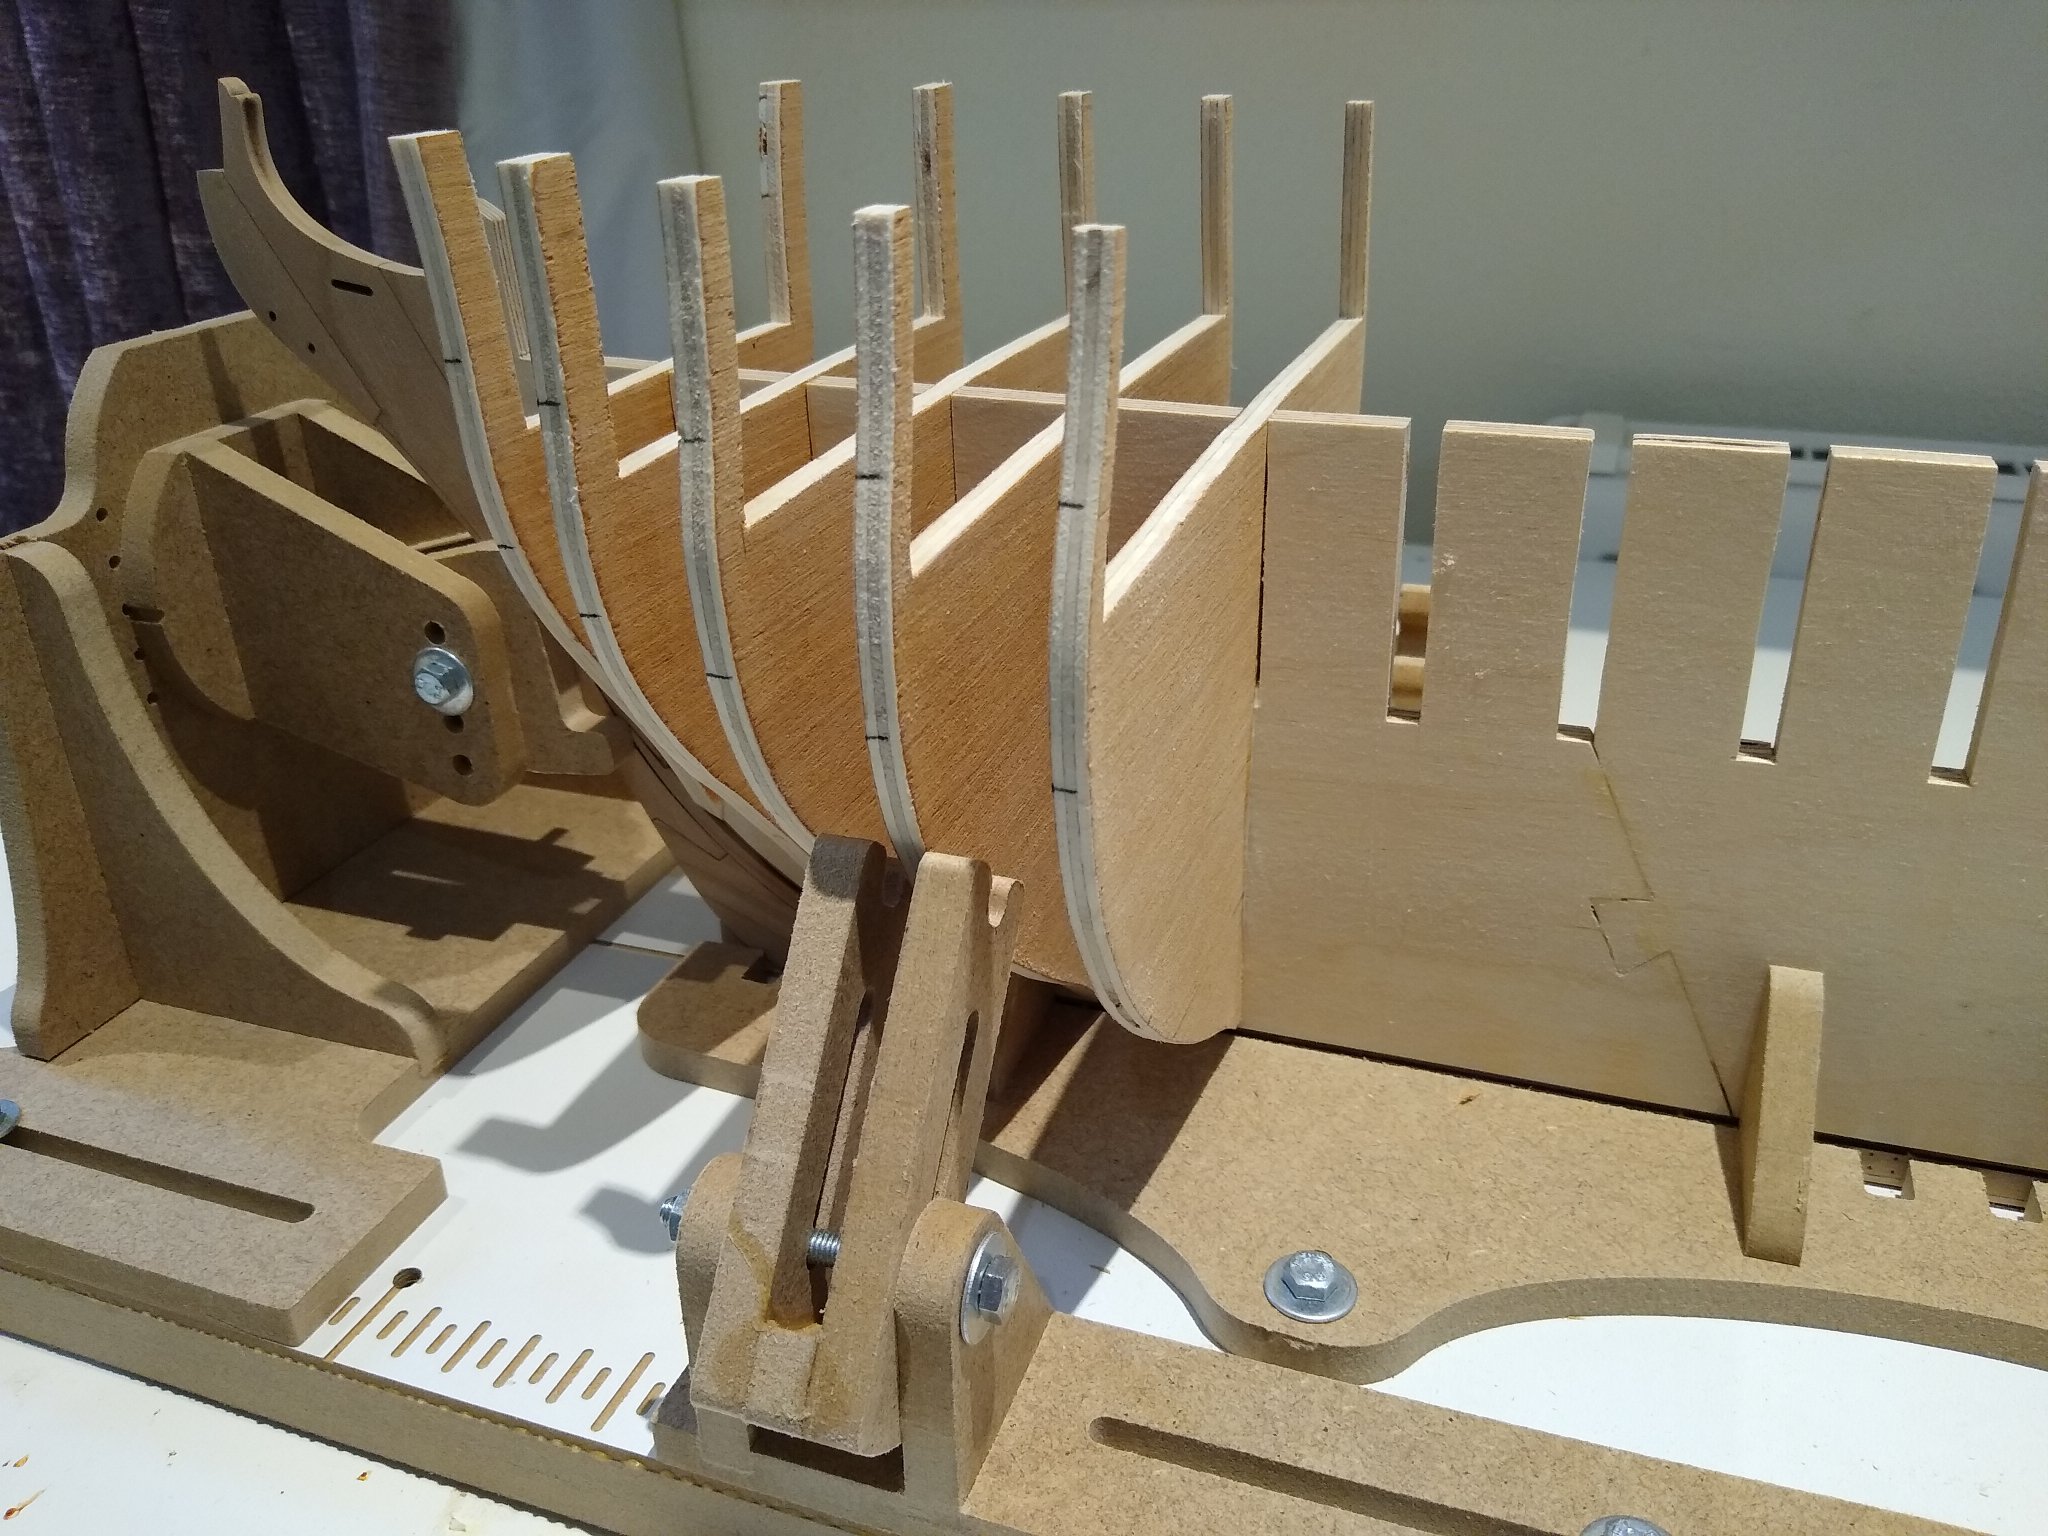
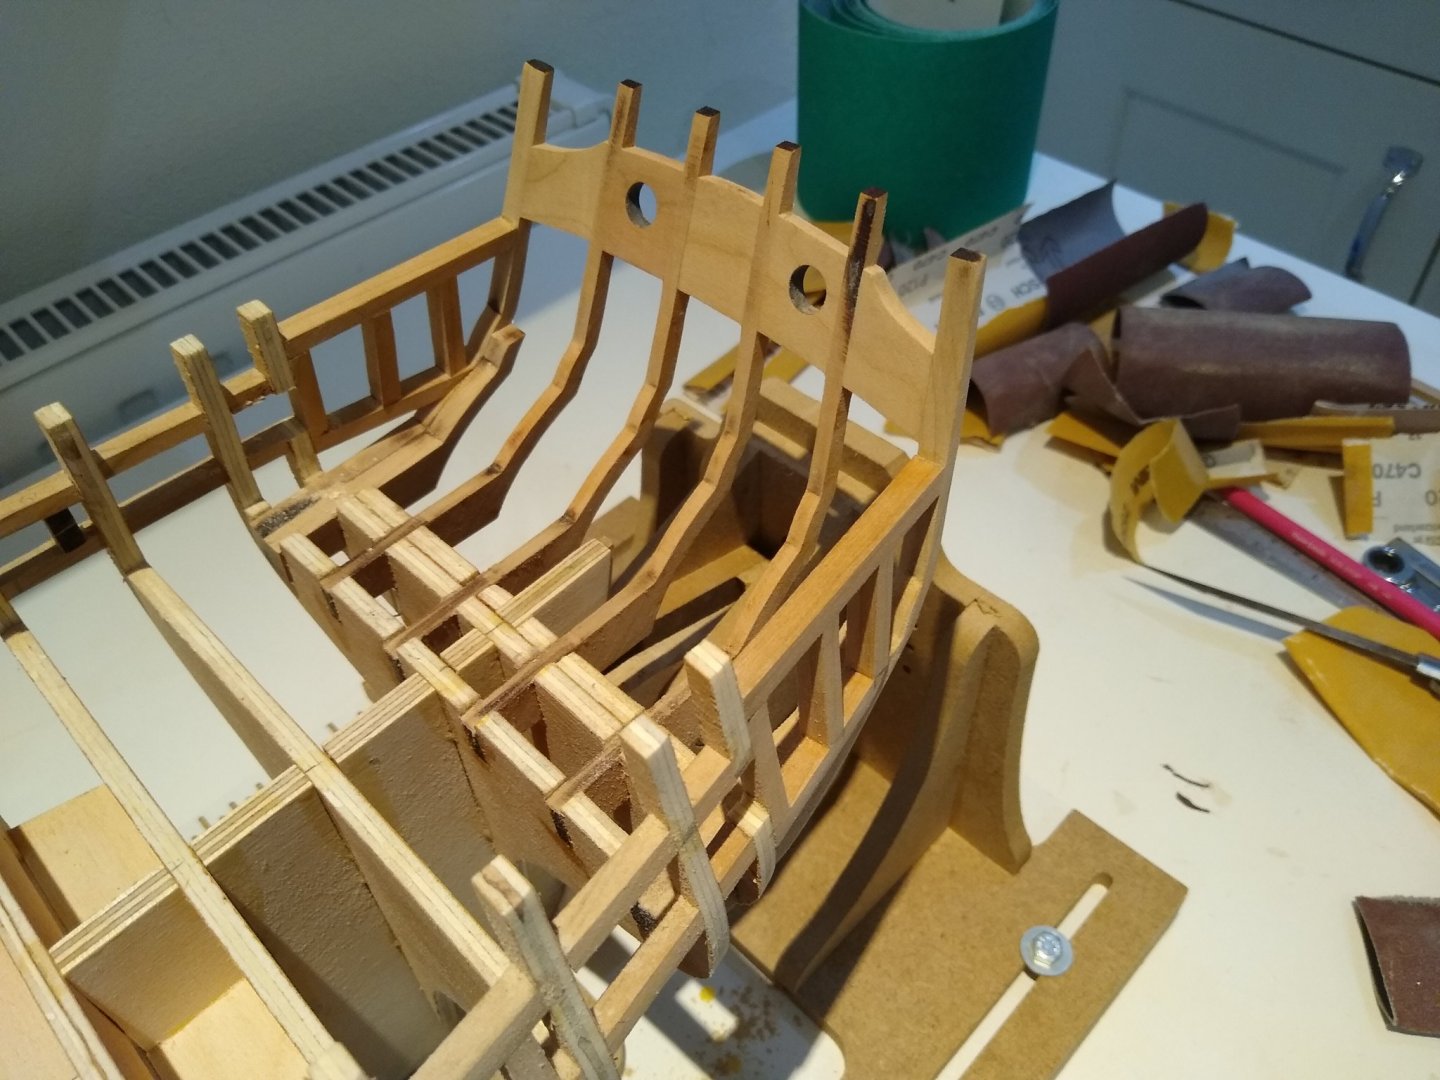
Hi Greg May I offer a few thoughts about cutting your own bulkheads/bulkhead former? First, it is the cutting out of slots in the bulkheads that really matters. A little bit of "out" in the slot will mean a big "out" at the horns of the bulkheads. I found that out, to my cost, with my first Winchelsea build. For W2 I have printed an extra set of the bulkhead plans and I lay each bulkhead, as I cut it out, on a clean plan examining the cut out slot very carefully for accuracy before any filing. Next, I draw the centre line of the bulkhead on the clean plan, at deck level, measured between the two "horns" and I mark that on the cut out bulkhead. That line should then line up perfectly with the centre of the bulkhead former. Finally, I try fit and eyeball the "flow" of the bulkheads both from the sides for and aft and along the deck. Time spent here will really repay when it comes to the planking. I hope that helps. Good luck with your build. Fred
-
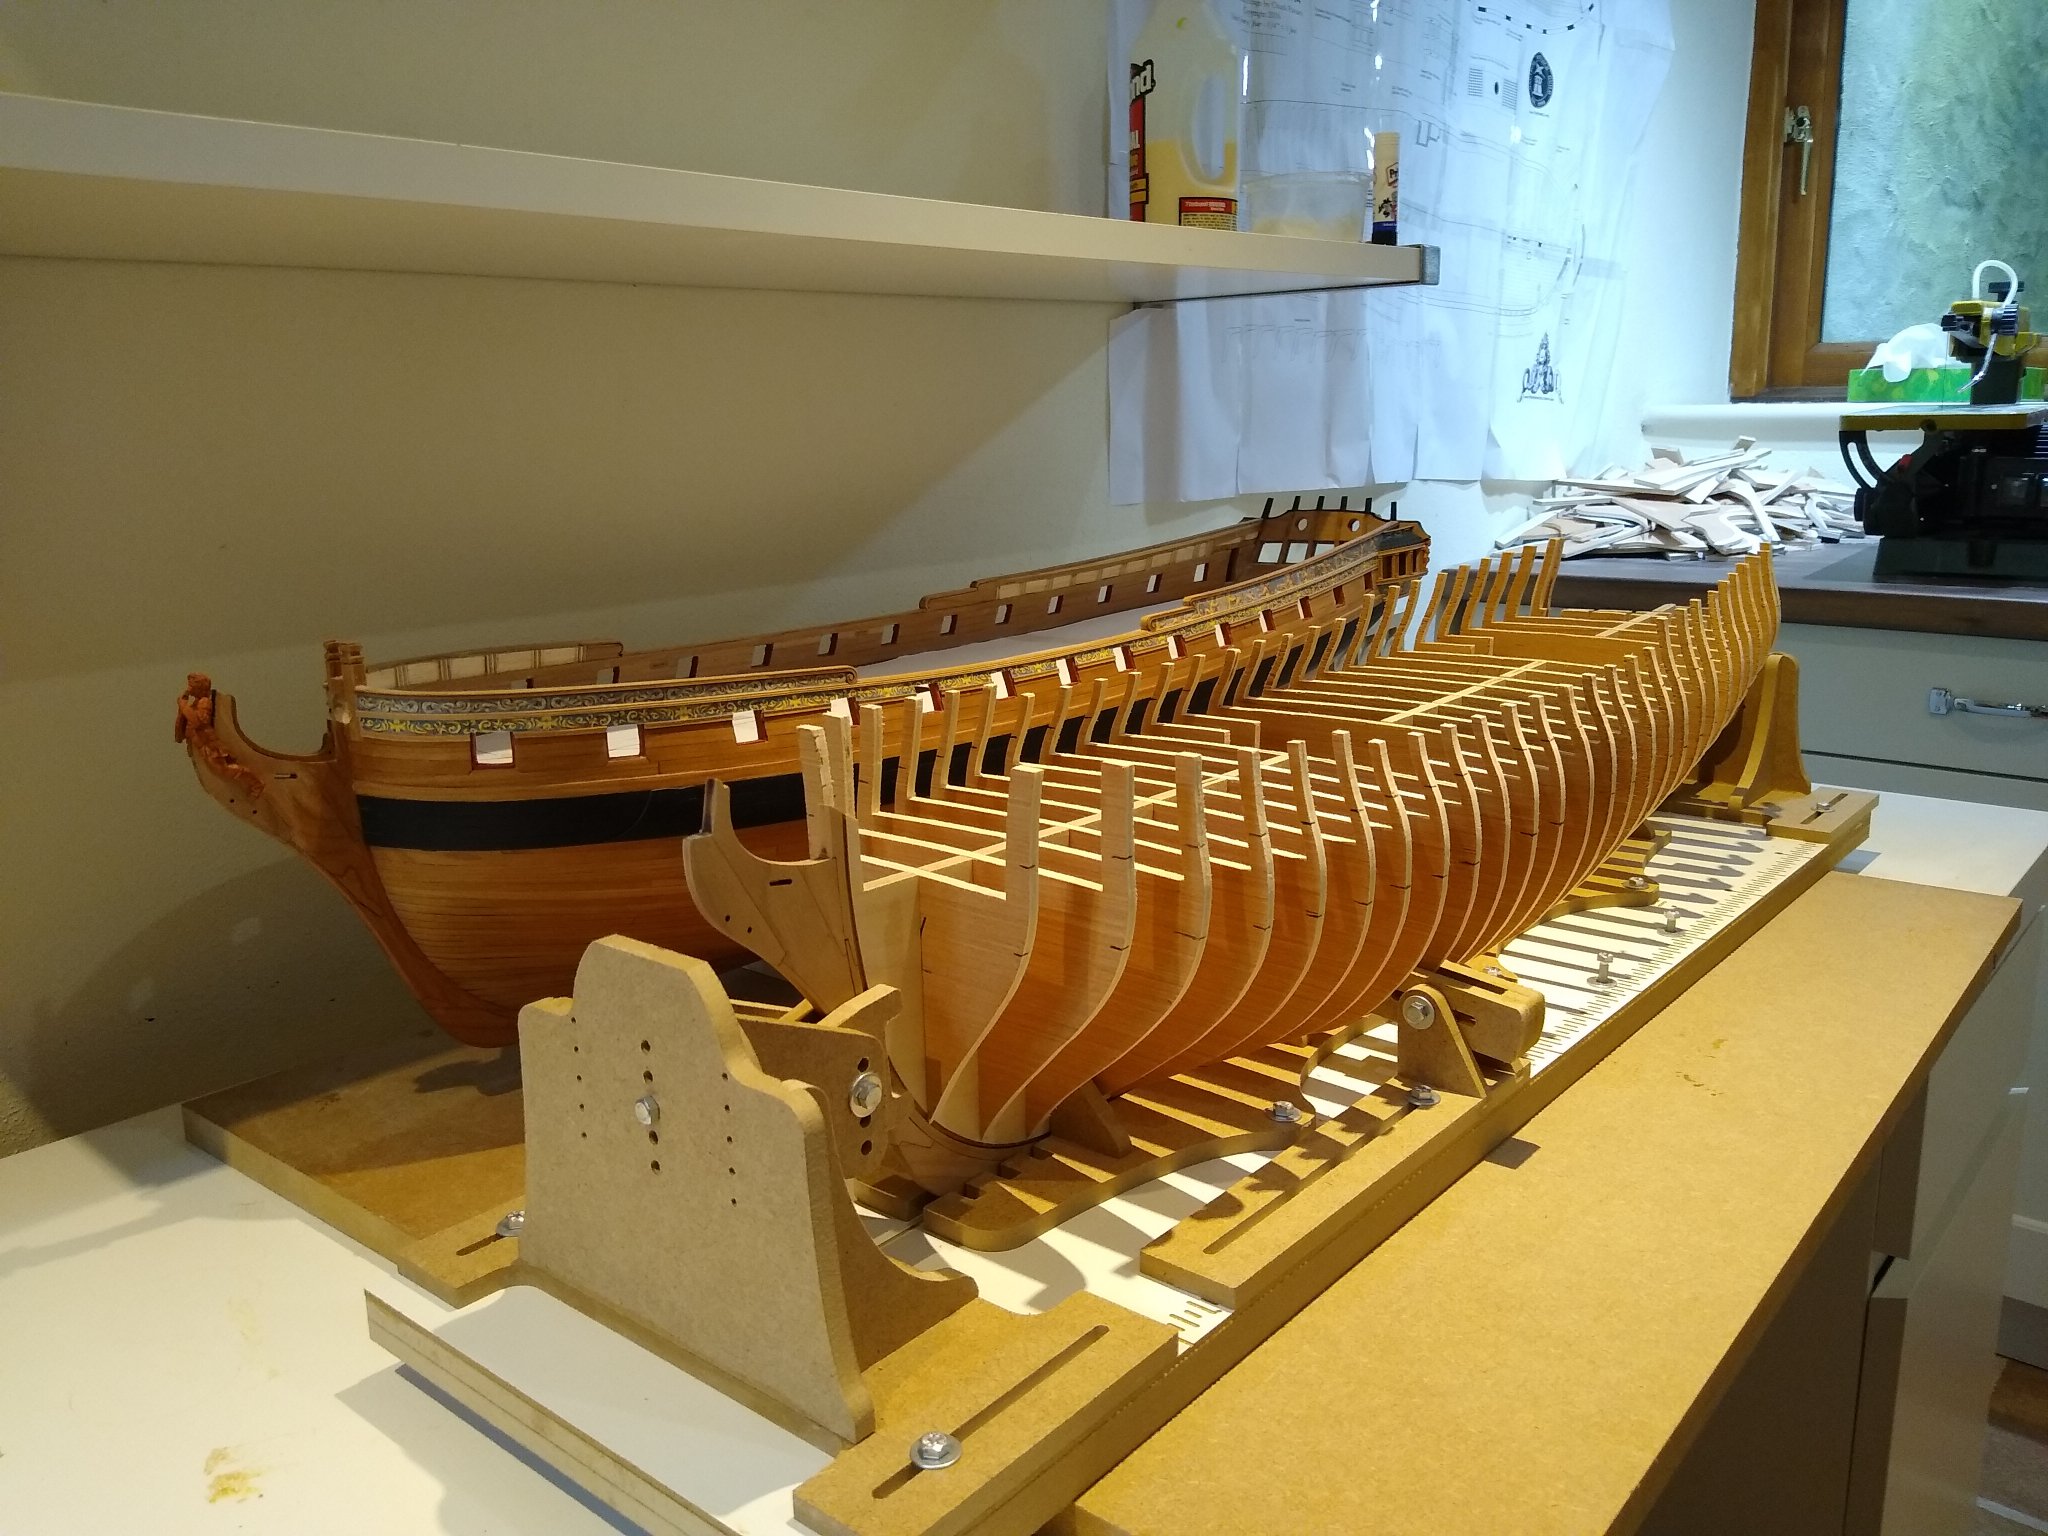
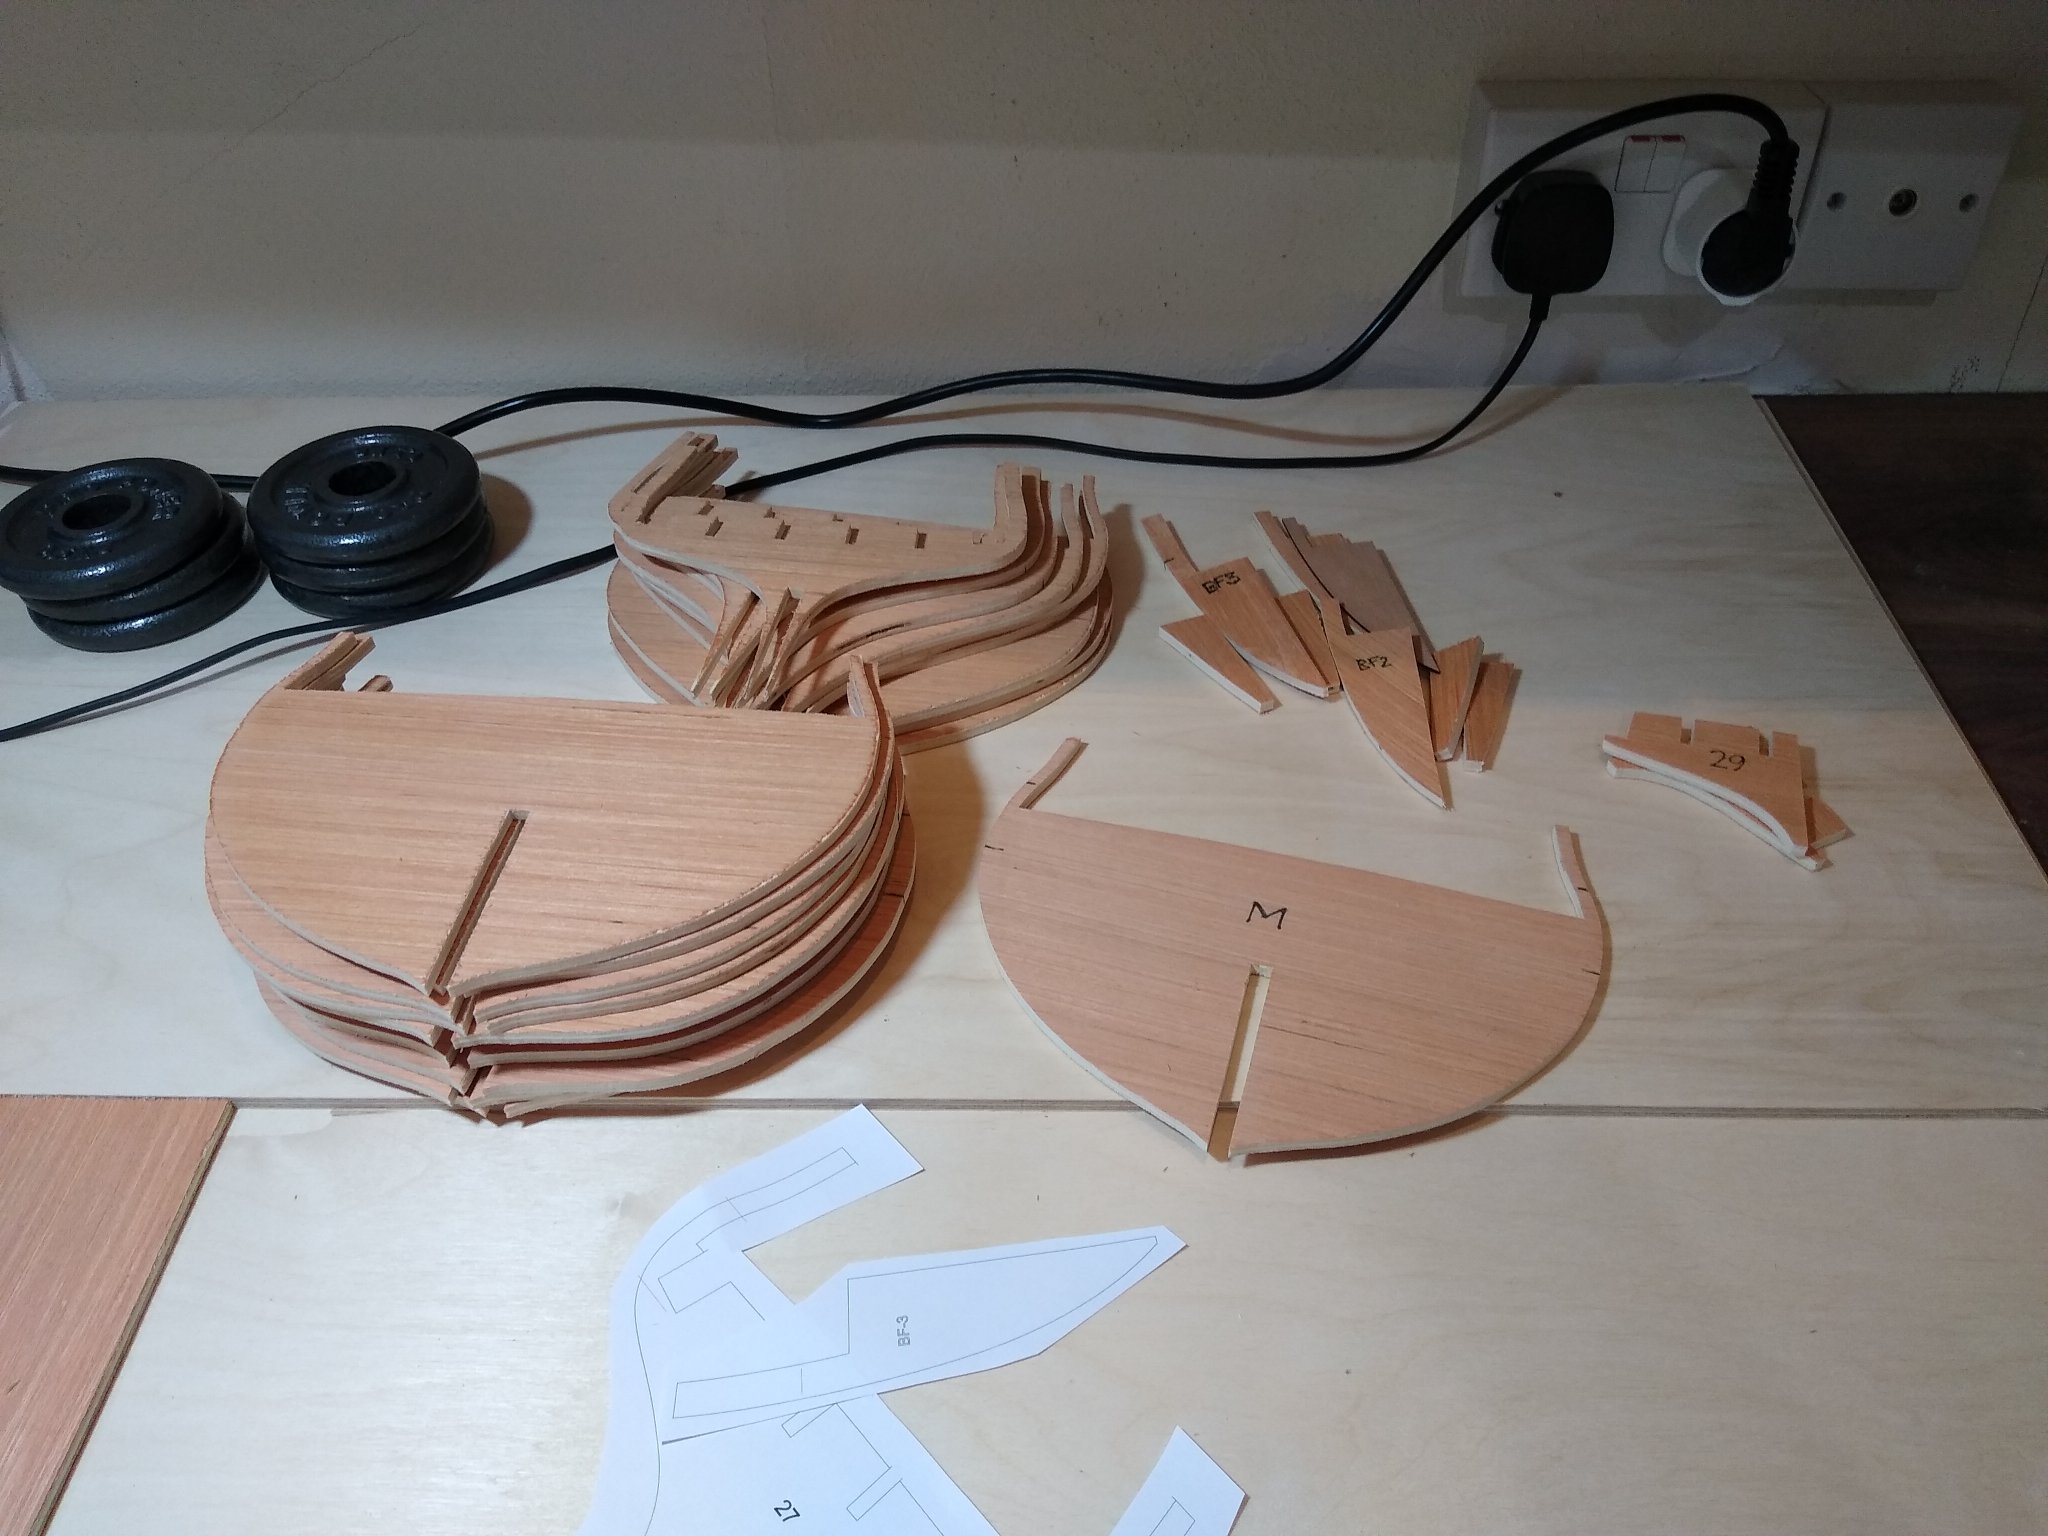
I have made so many mistakes on my Winchelsea - not big ones for the most part; but nevertheless leaving me thinking "I could/should have done better" – that I am going to start a new build. I don't aspire to match the standards of Chuck or Mike and others but I do hope to improve. For the first build ("W1") I took Chuck at his word as to the cost of buying the Syren bulkhead pack – well over £200 here in the UK with shipping and import duty – against buying a scroll saw and a sheet of plywood so the cost of starting again is pretty modest. I will build W2 to the end of chapter 3 and then decide whether I am making a worthwhile improvement. I shall be disappointed if I don't give in all I have learned reading all the logs and from building W1. If I don't see a worthwhile improvement by the end of chapter 3 I may give up on W2. If I can see an improvement I will carry on building W1 ahead of W2 hopefully making all the mistakes on W1 and channelling all the learning and experience into W2. That's the plan. I bought a Proxxon scroll saw for W1 and that seems to work pretty well. I bought some Baltic birch plywood for W1 which was a tough sand. I have used the same plywood for the bulkhead former for W2 but bought some plywood-lite for the bulkheads which I hope will be much easier to sand. I had no idea when starting W1 that there were different grades of plywood. I have also purchased for W2 a Hobby Zone building slip. It's a handy bit of kit, up to a point, but could, I think, have been much better than it is. I would have preferred, for example, a polycarbonate or plastic base with an etched grid and the slide along gantry bit (which you assemble yourself) and which should be really helpful in squaring up the bulkheads is ever so slightly out of true – 90° on one side and about 88° or so on the other. That may well be down to incompetent assembly on my part but it surely would not have cost very much to include a pre--assembled plastic component. Here are some pictures.
-
Wow! If you can pull off drawing the friezes by hand - and you clearly have an Italians feel for classical drawing - that really will be something. Good luck Guillermo! I will watch this log with keen interest. And your build is superb. Fred
-
Those are the little beggars you are referring to. I wondered where they went. Don't worry about them. Just shave off one ply of bf2 and you will be fine. Good luck Scott Fred
-
Thanks Edward. That's really helpful. Fred
-
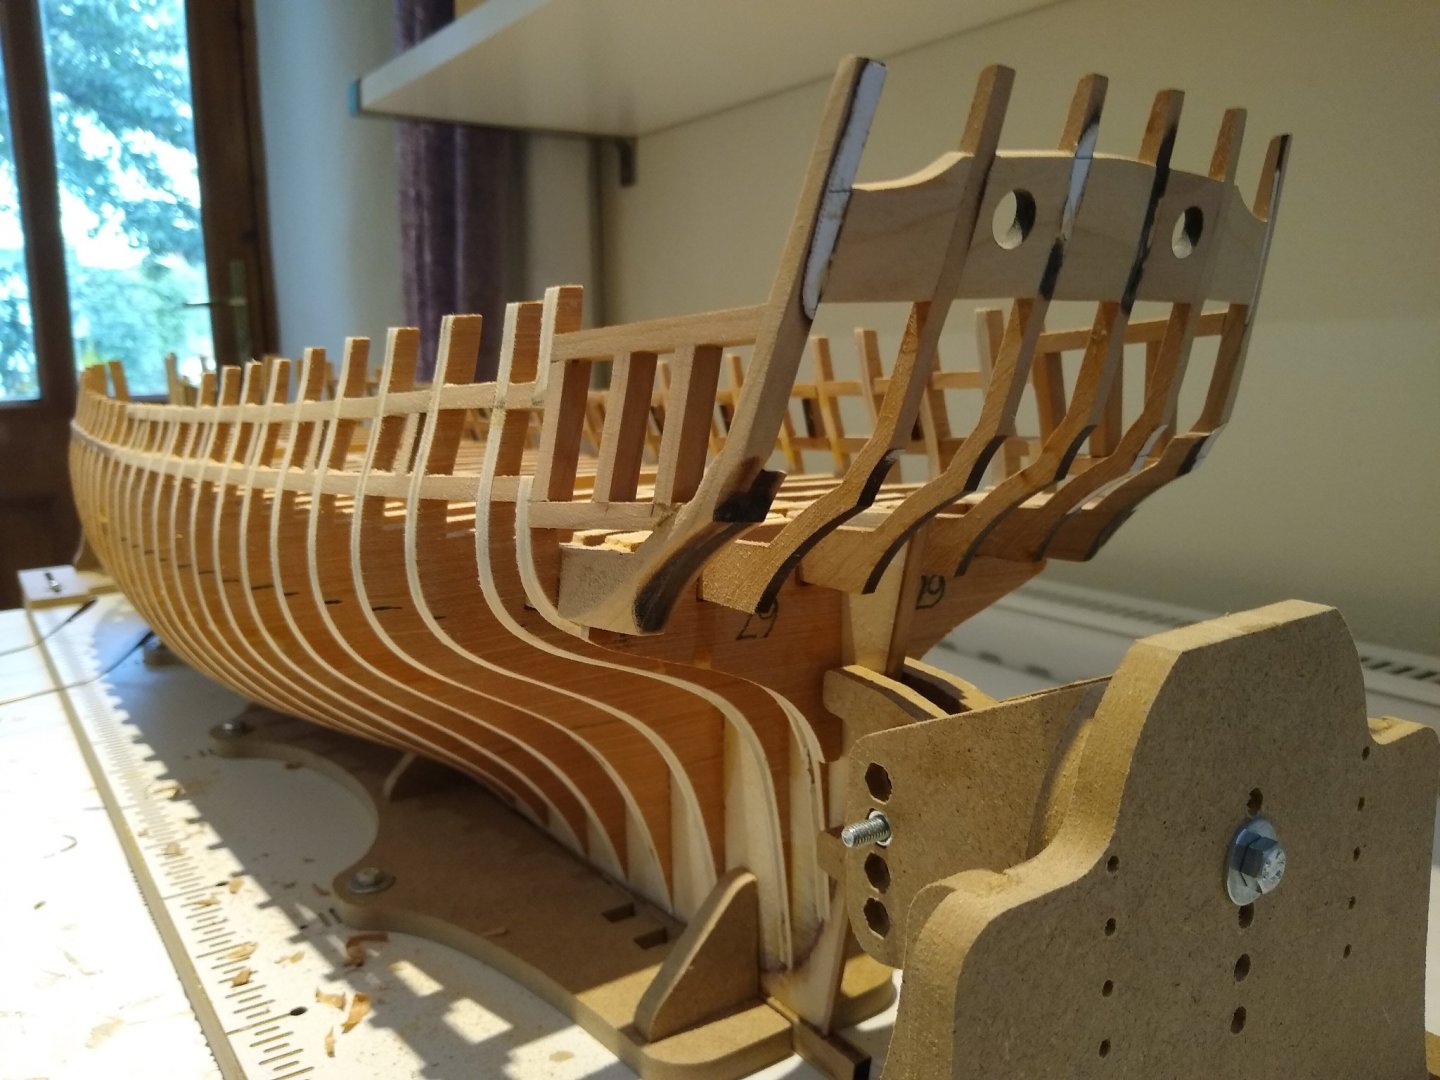
Here we are

-
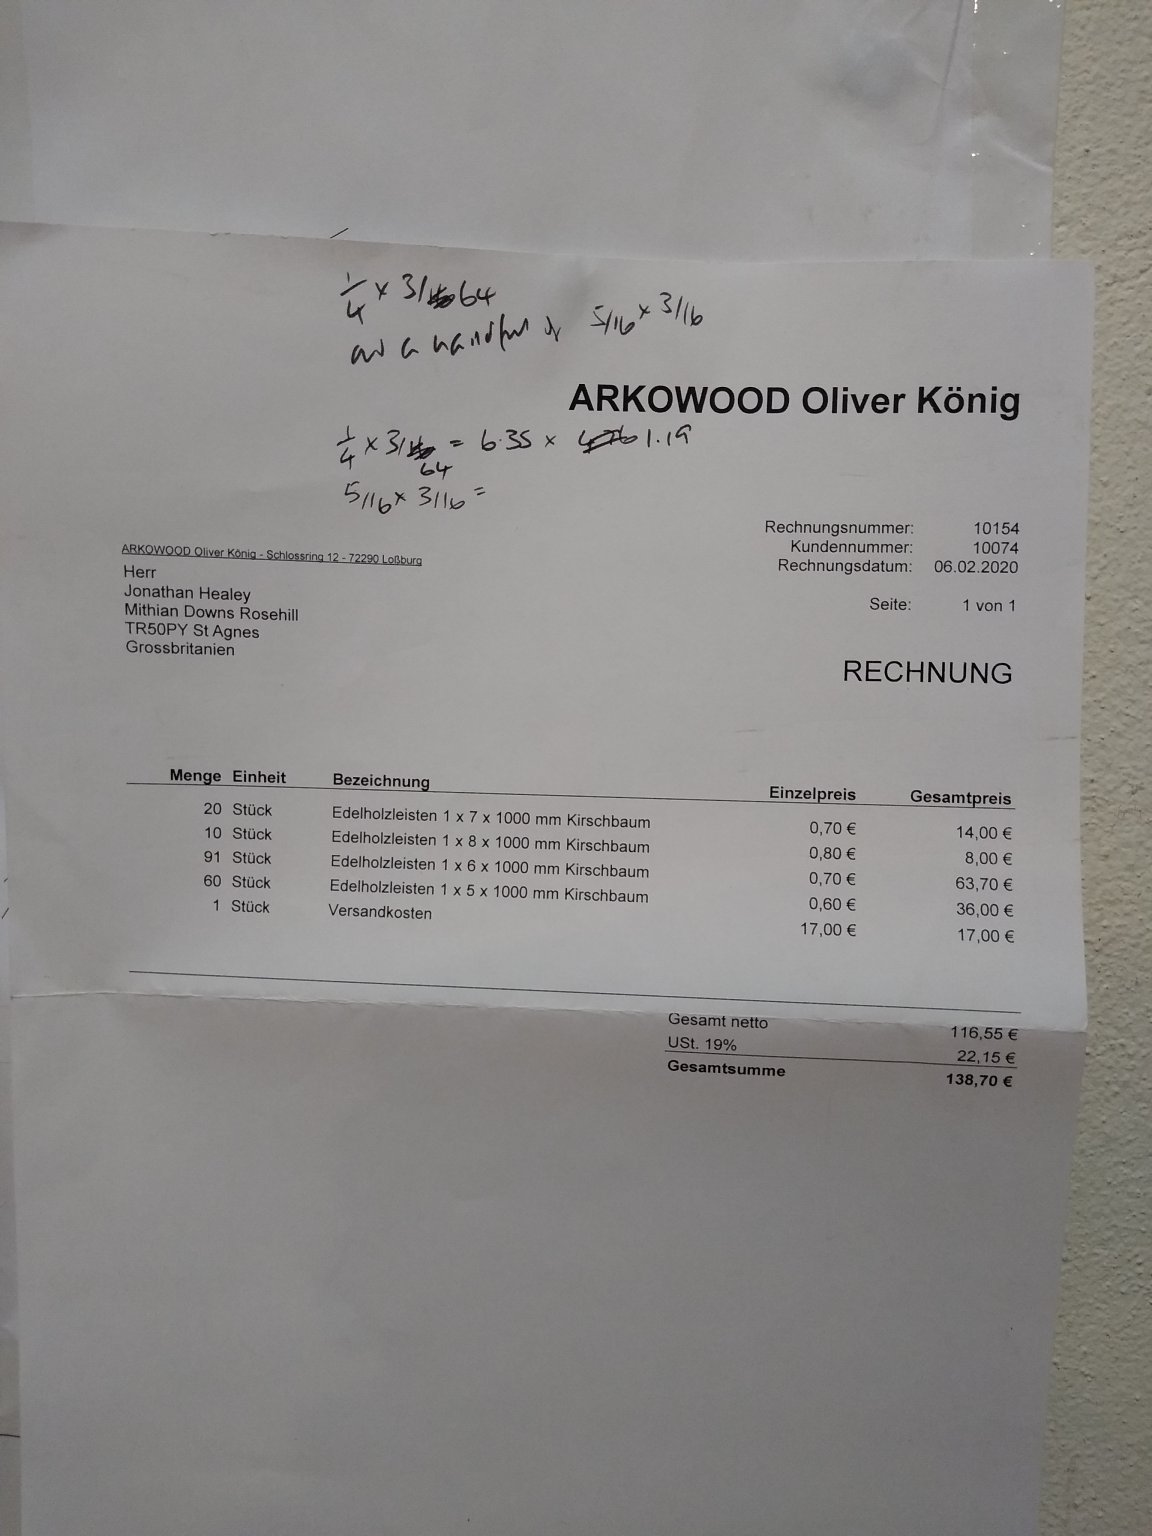
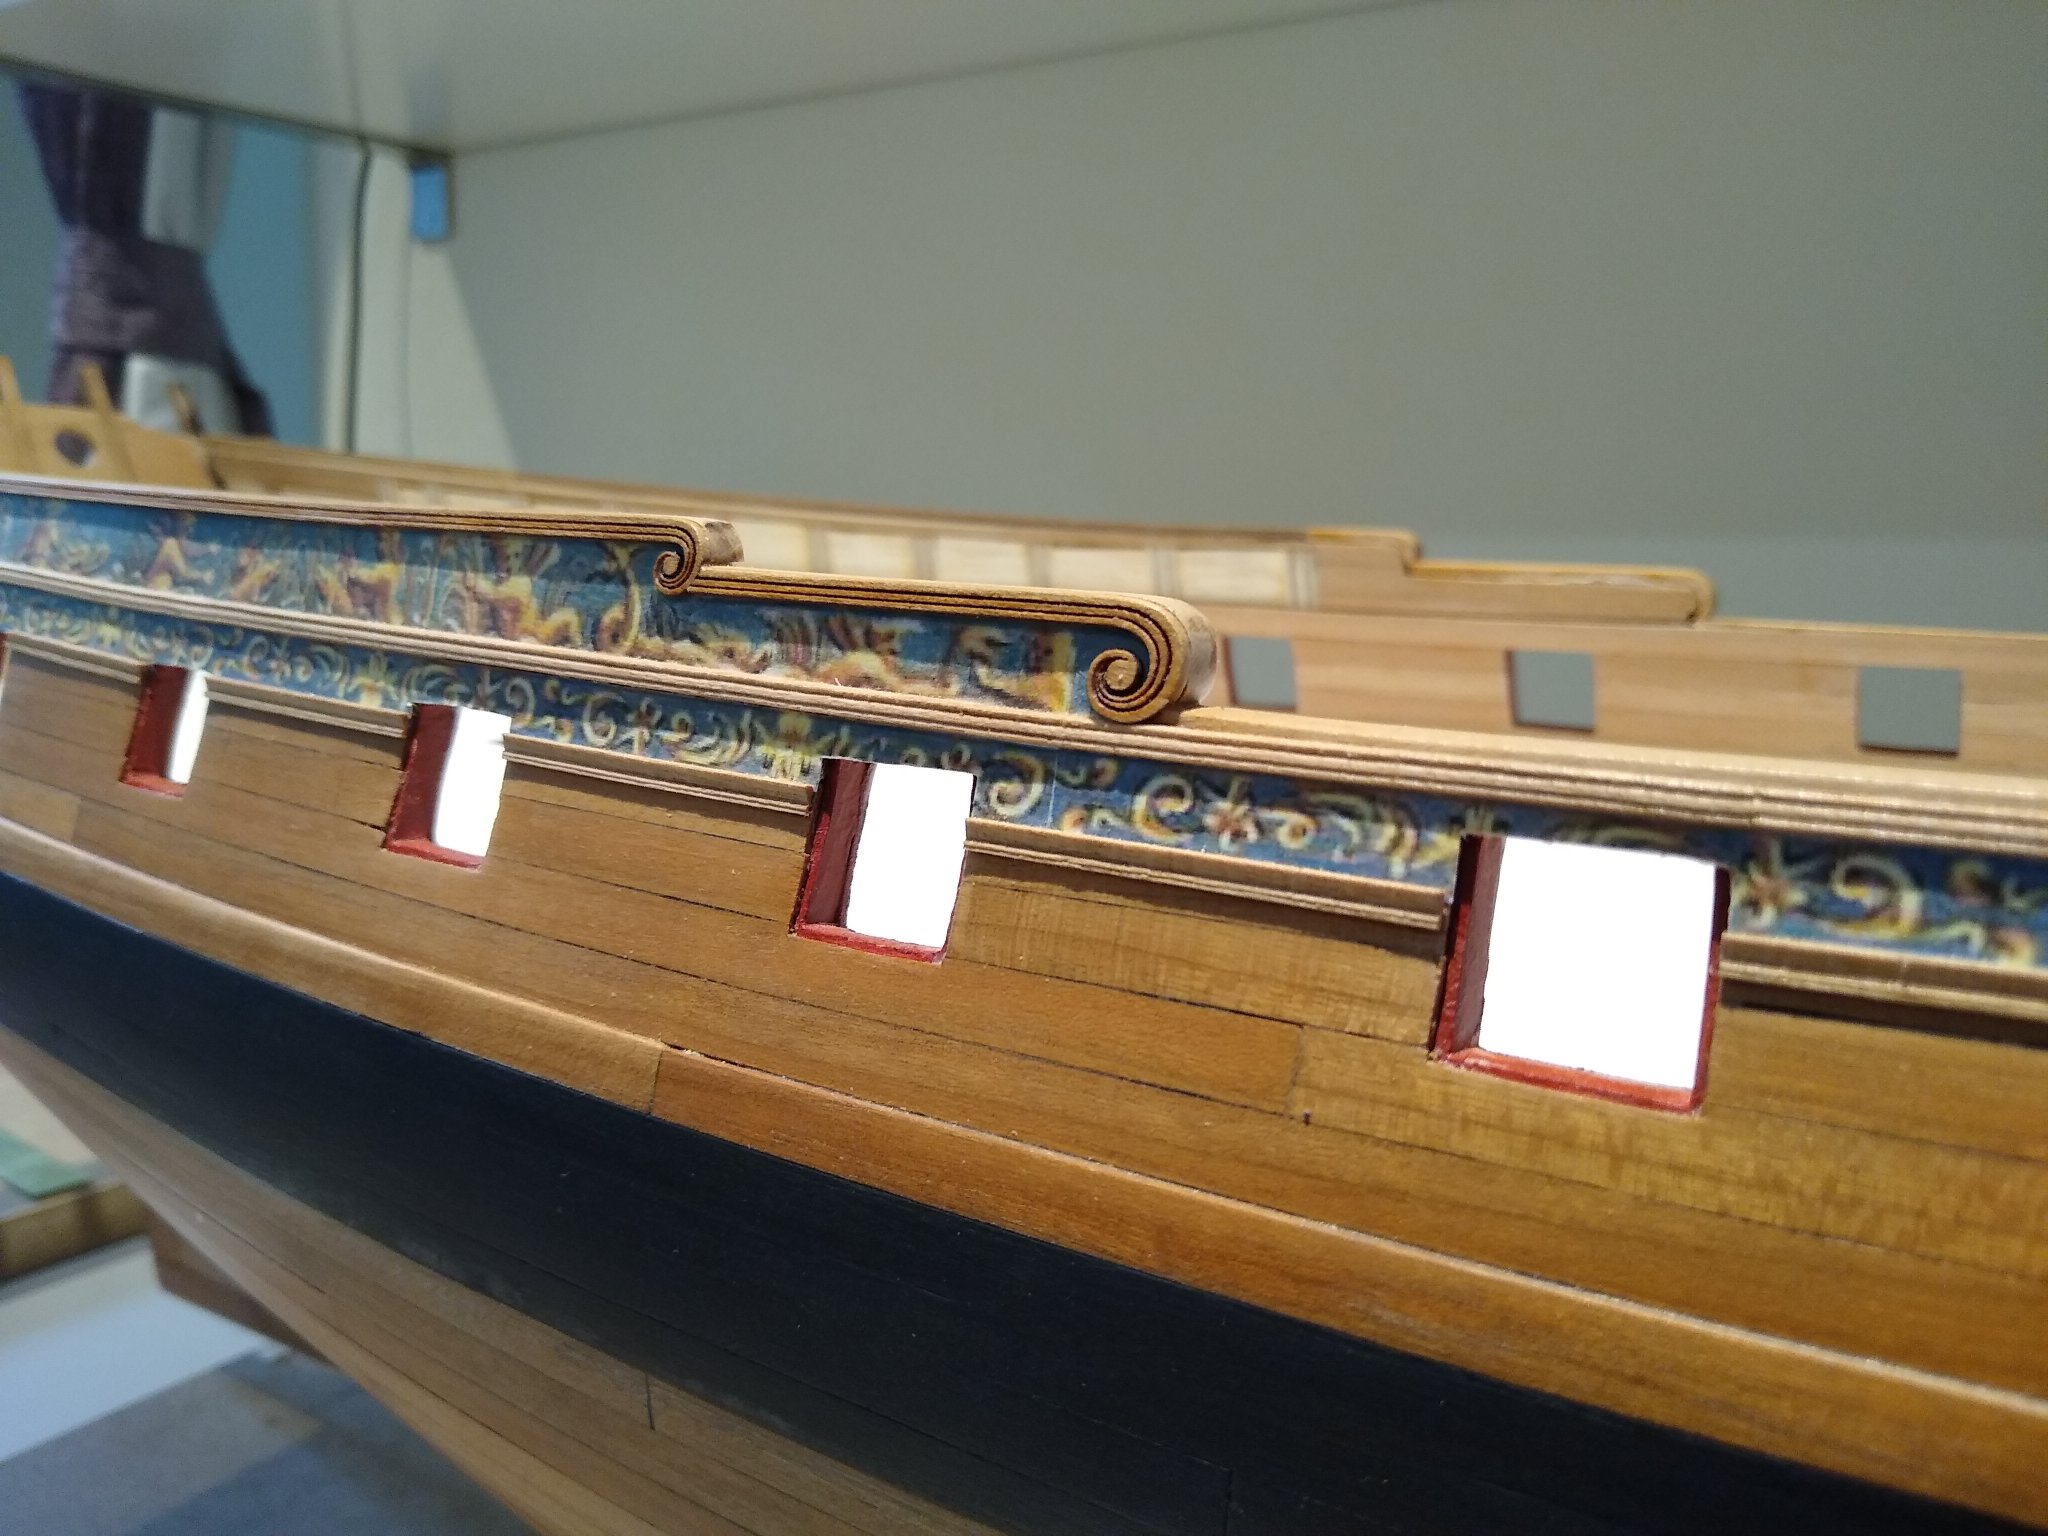
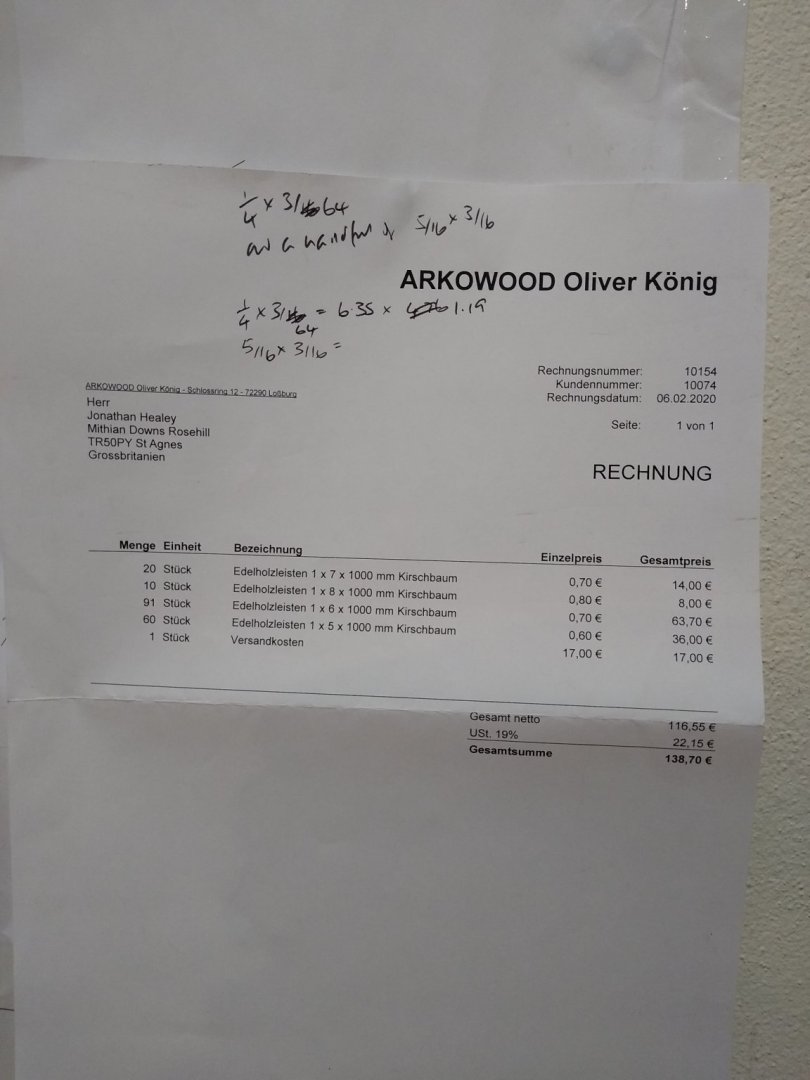
Thanks all. I got the cherry strips from Arkowood Oliver Konig in Germany. I paid £138 including shipping and have easily enough for this Winchelsea and reasonable start on another. I wish I had graded day strips. Some are very clean of grain and some show a lot of grain. If I had used the grainy strips under the Wales and friezes I was had a cleaner finish.. A good table saw seems a very attractive idea but I have no idea how the cost of of home cut strips compares with commercial strips. fred
-
Thanks Reg. I'll keep an eye out on Amazon. In the meantime if anyone else has an alternative to the the fruit wood gel I'd love to know of it. Your Winchelsea is looking superb Fred
- 137 replies
-
- 1
-

-
- winchelsea
- Syren Ship Model Company
- (and 1 more)
-
Reg - how did you finish your resin castings given the non availability in NZ (just as in the UK) of fruitwood gel? They really look the part Fred
- 137 replies
-
- 1
-
-
- winchelsea
- Syren Ship Model Company
- (and 1 more)
-
PS I admire the extent you are taking on the scratch building!
-
Looking good Edward. How are you finding your Proxxon table saw? The Jim Byrnes seems to be the one to have but I suspect with VAT and import duty its probably prohibitively expensive whereas we can still get the Proxxon duty free at least I guess until December. But there is no point in buying the Proxxon unless it really does the job. What are you thoughts? Fred
-
Thank you Bob
-
Please forgive the spelling errors. I used voice recognition on the phone which is at least better than my typing
-
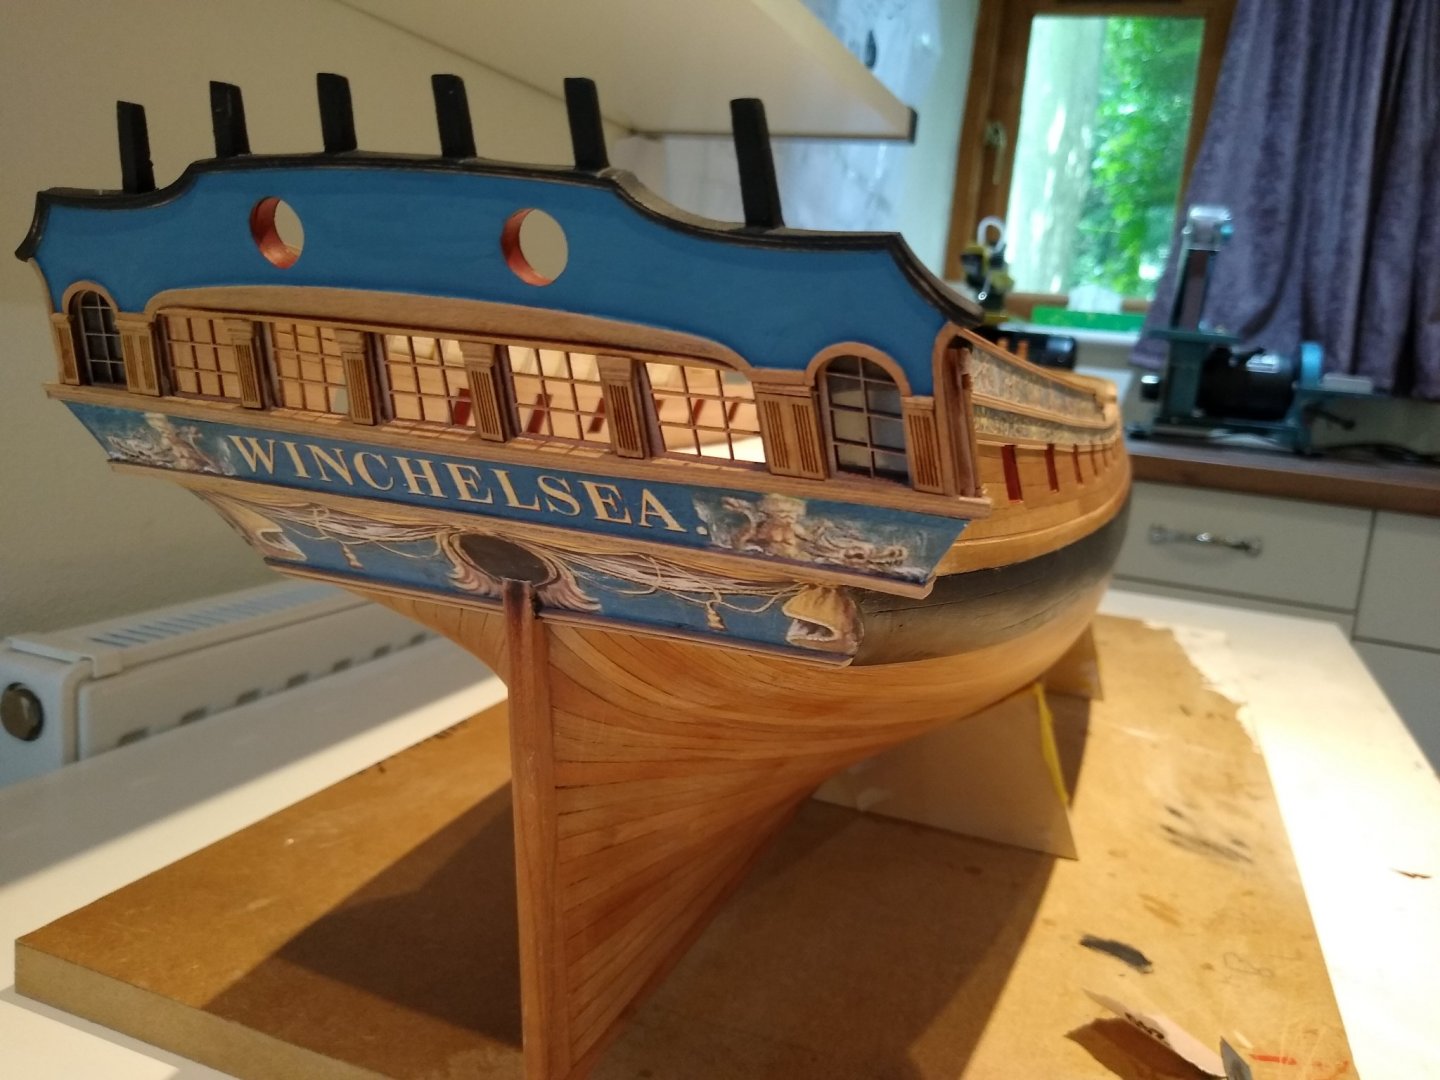
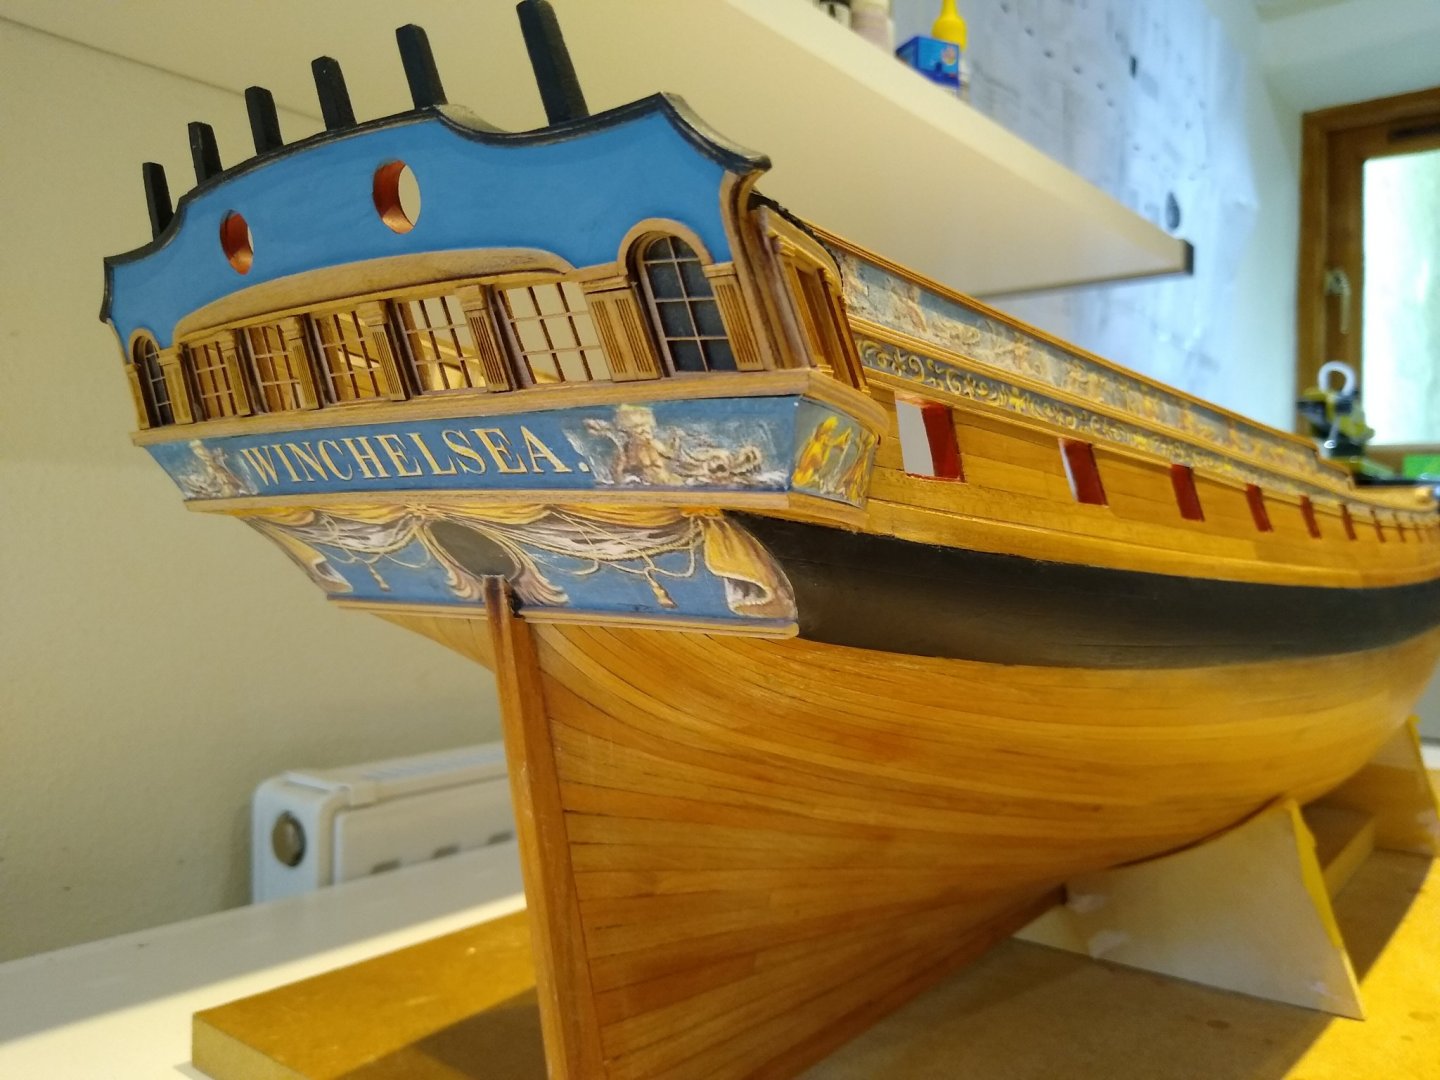
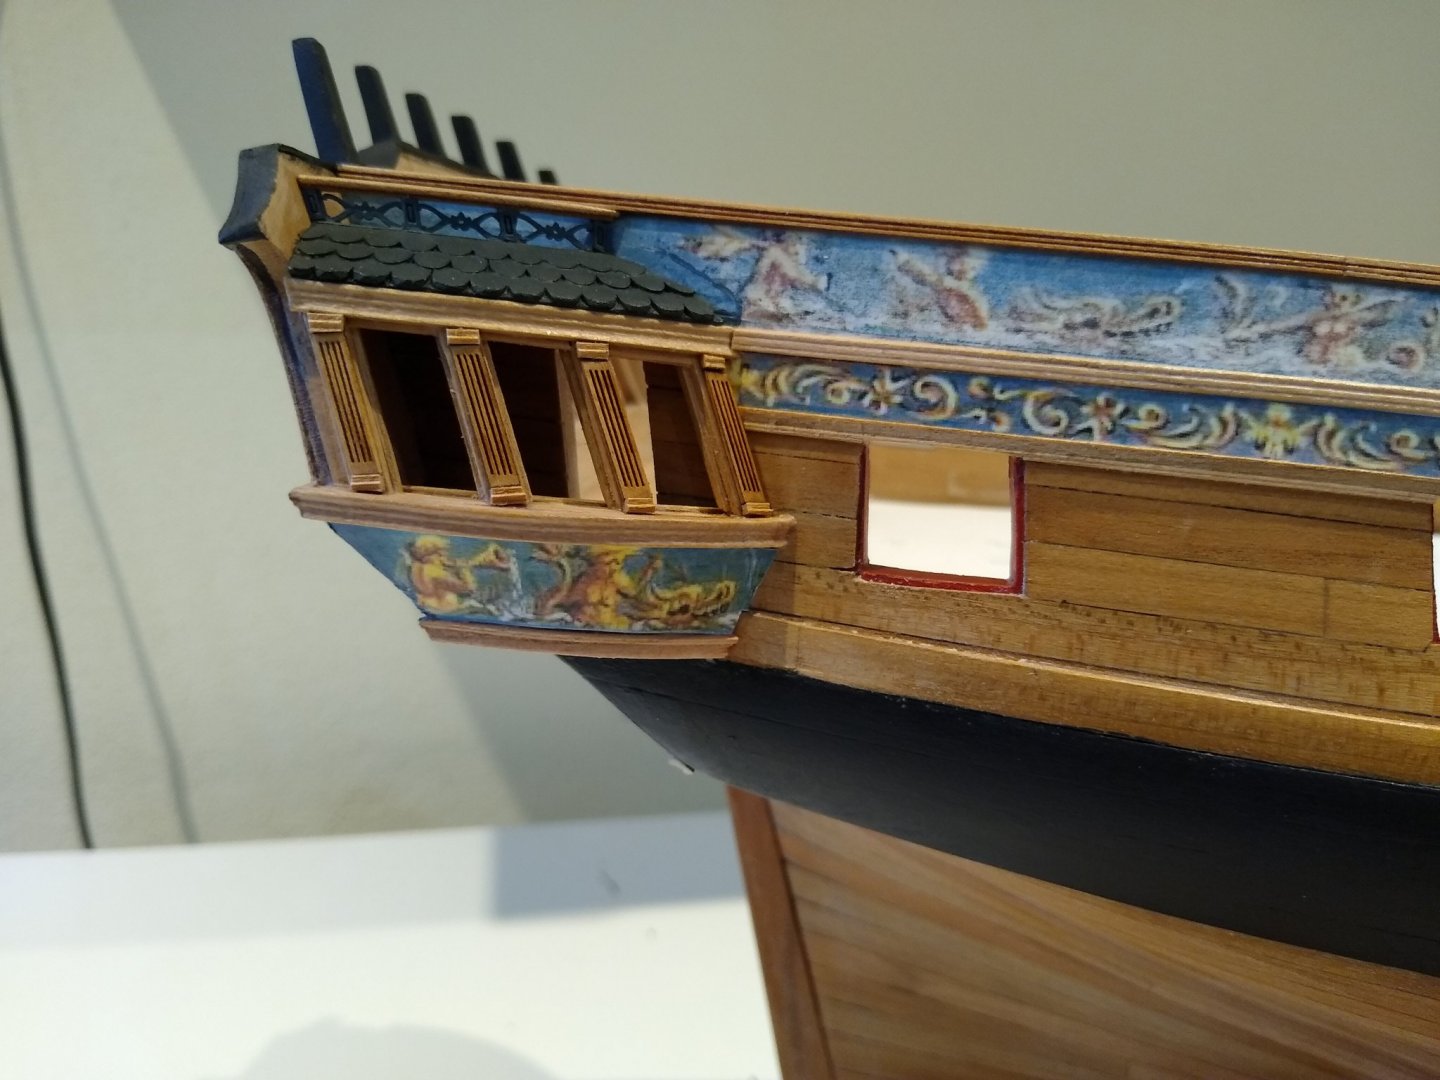
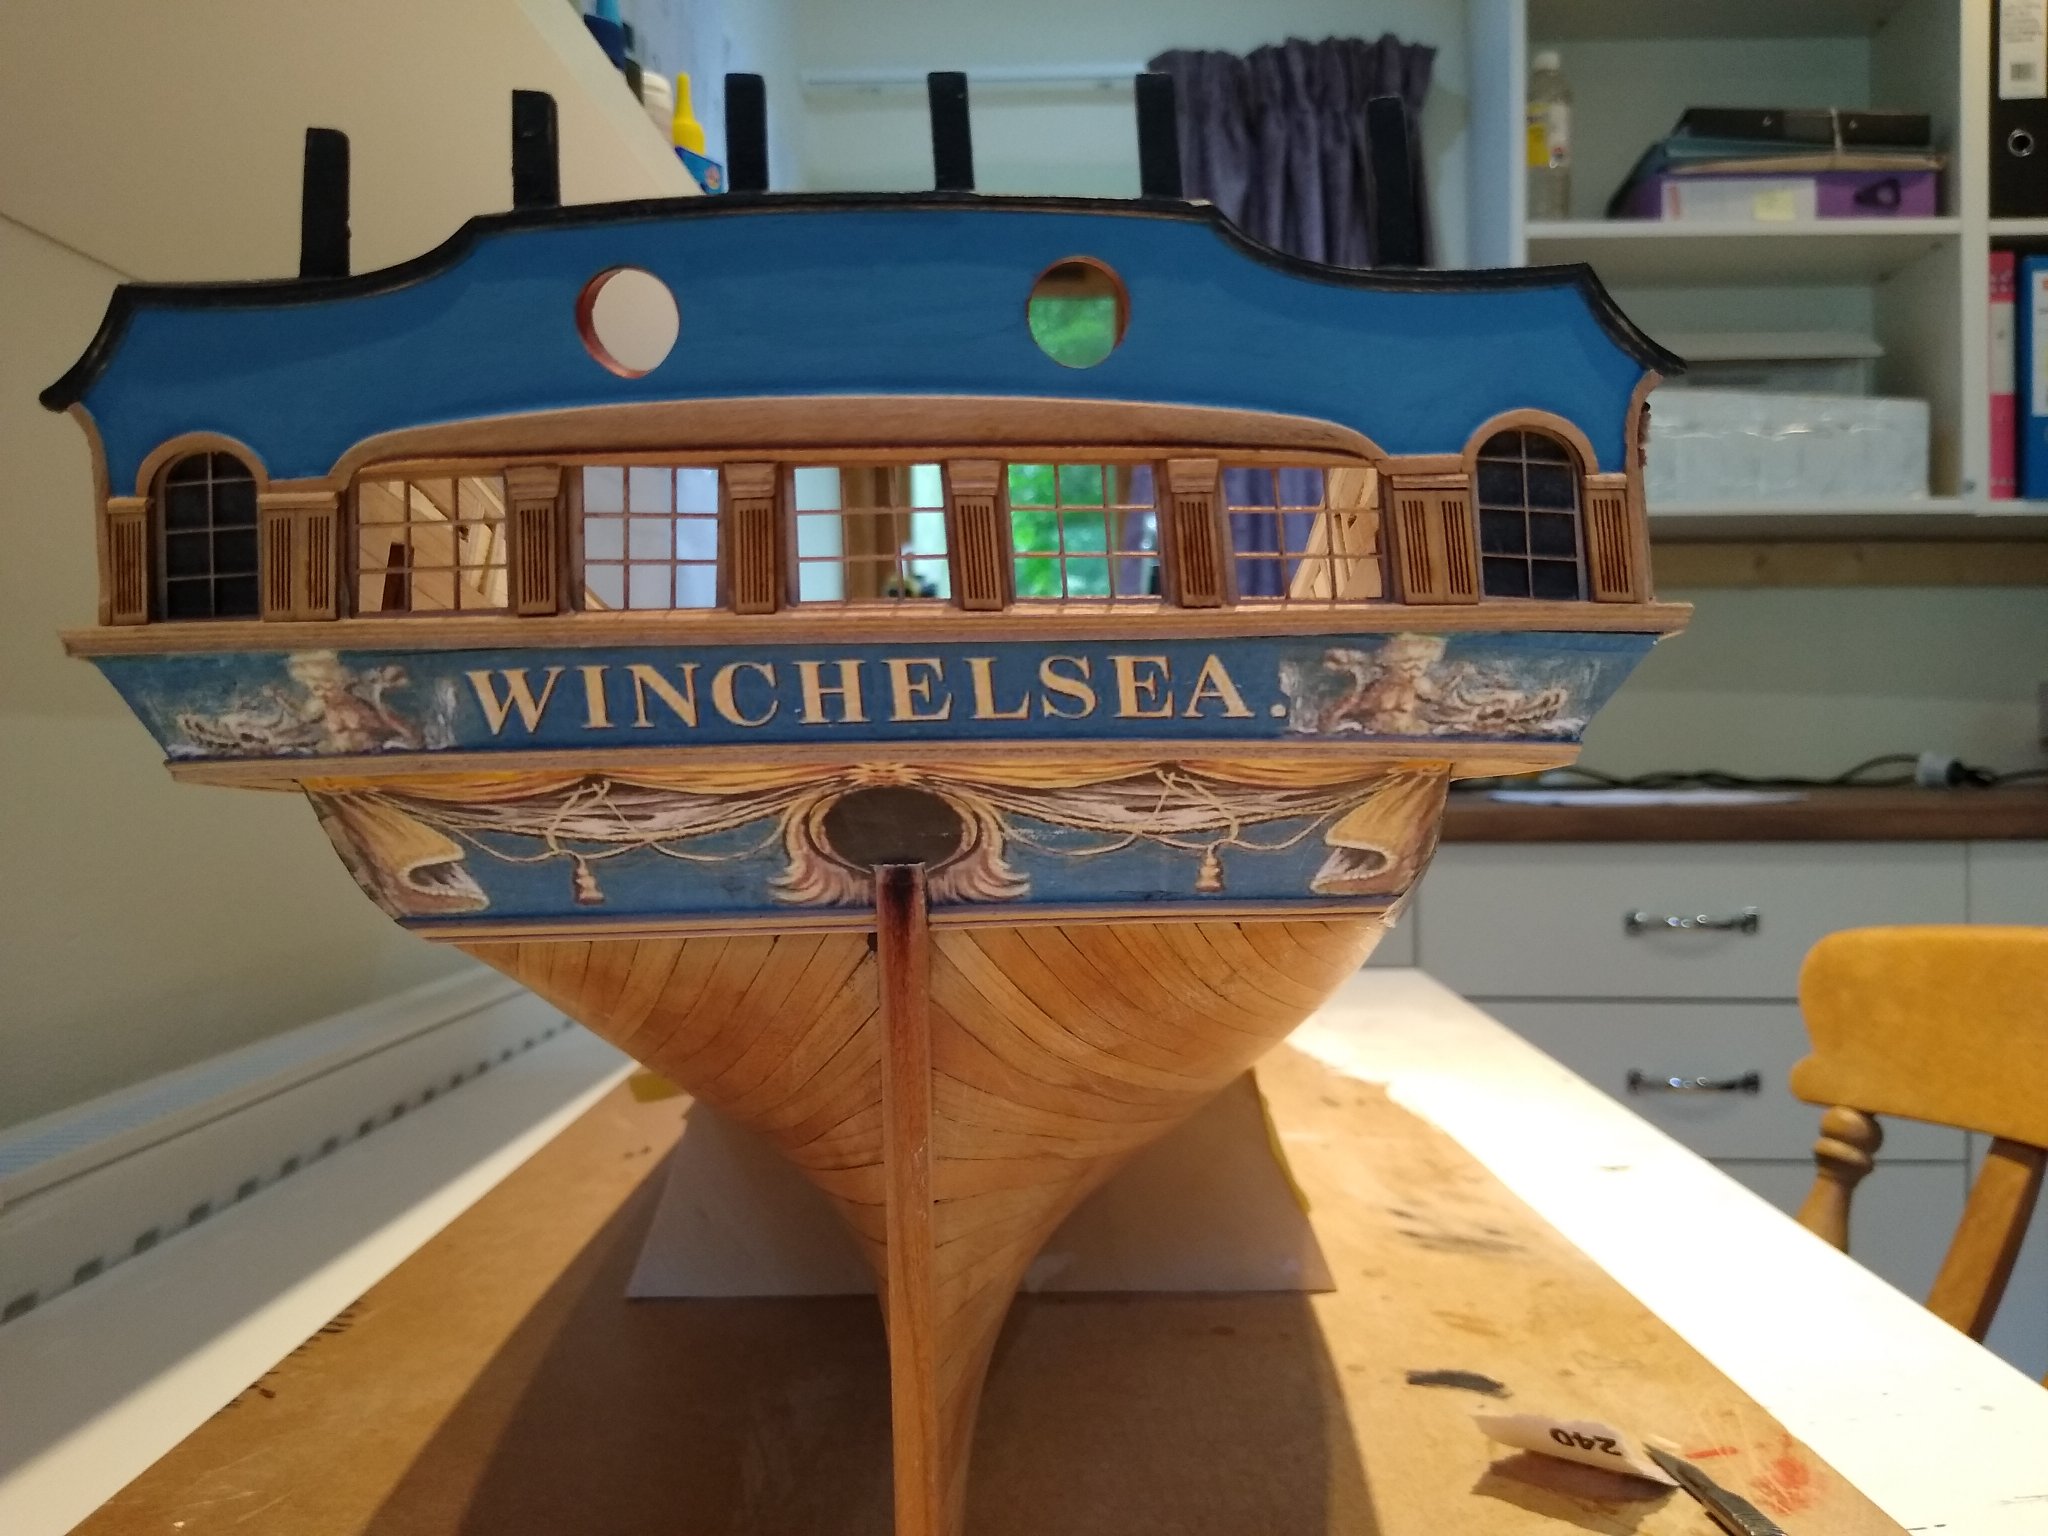
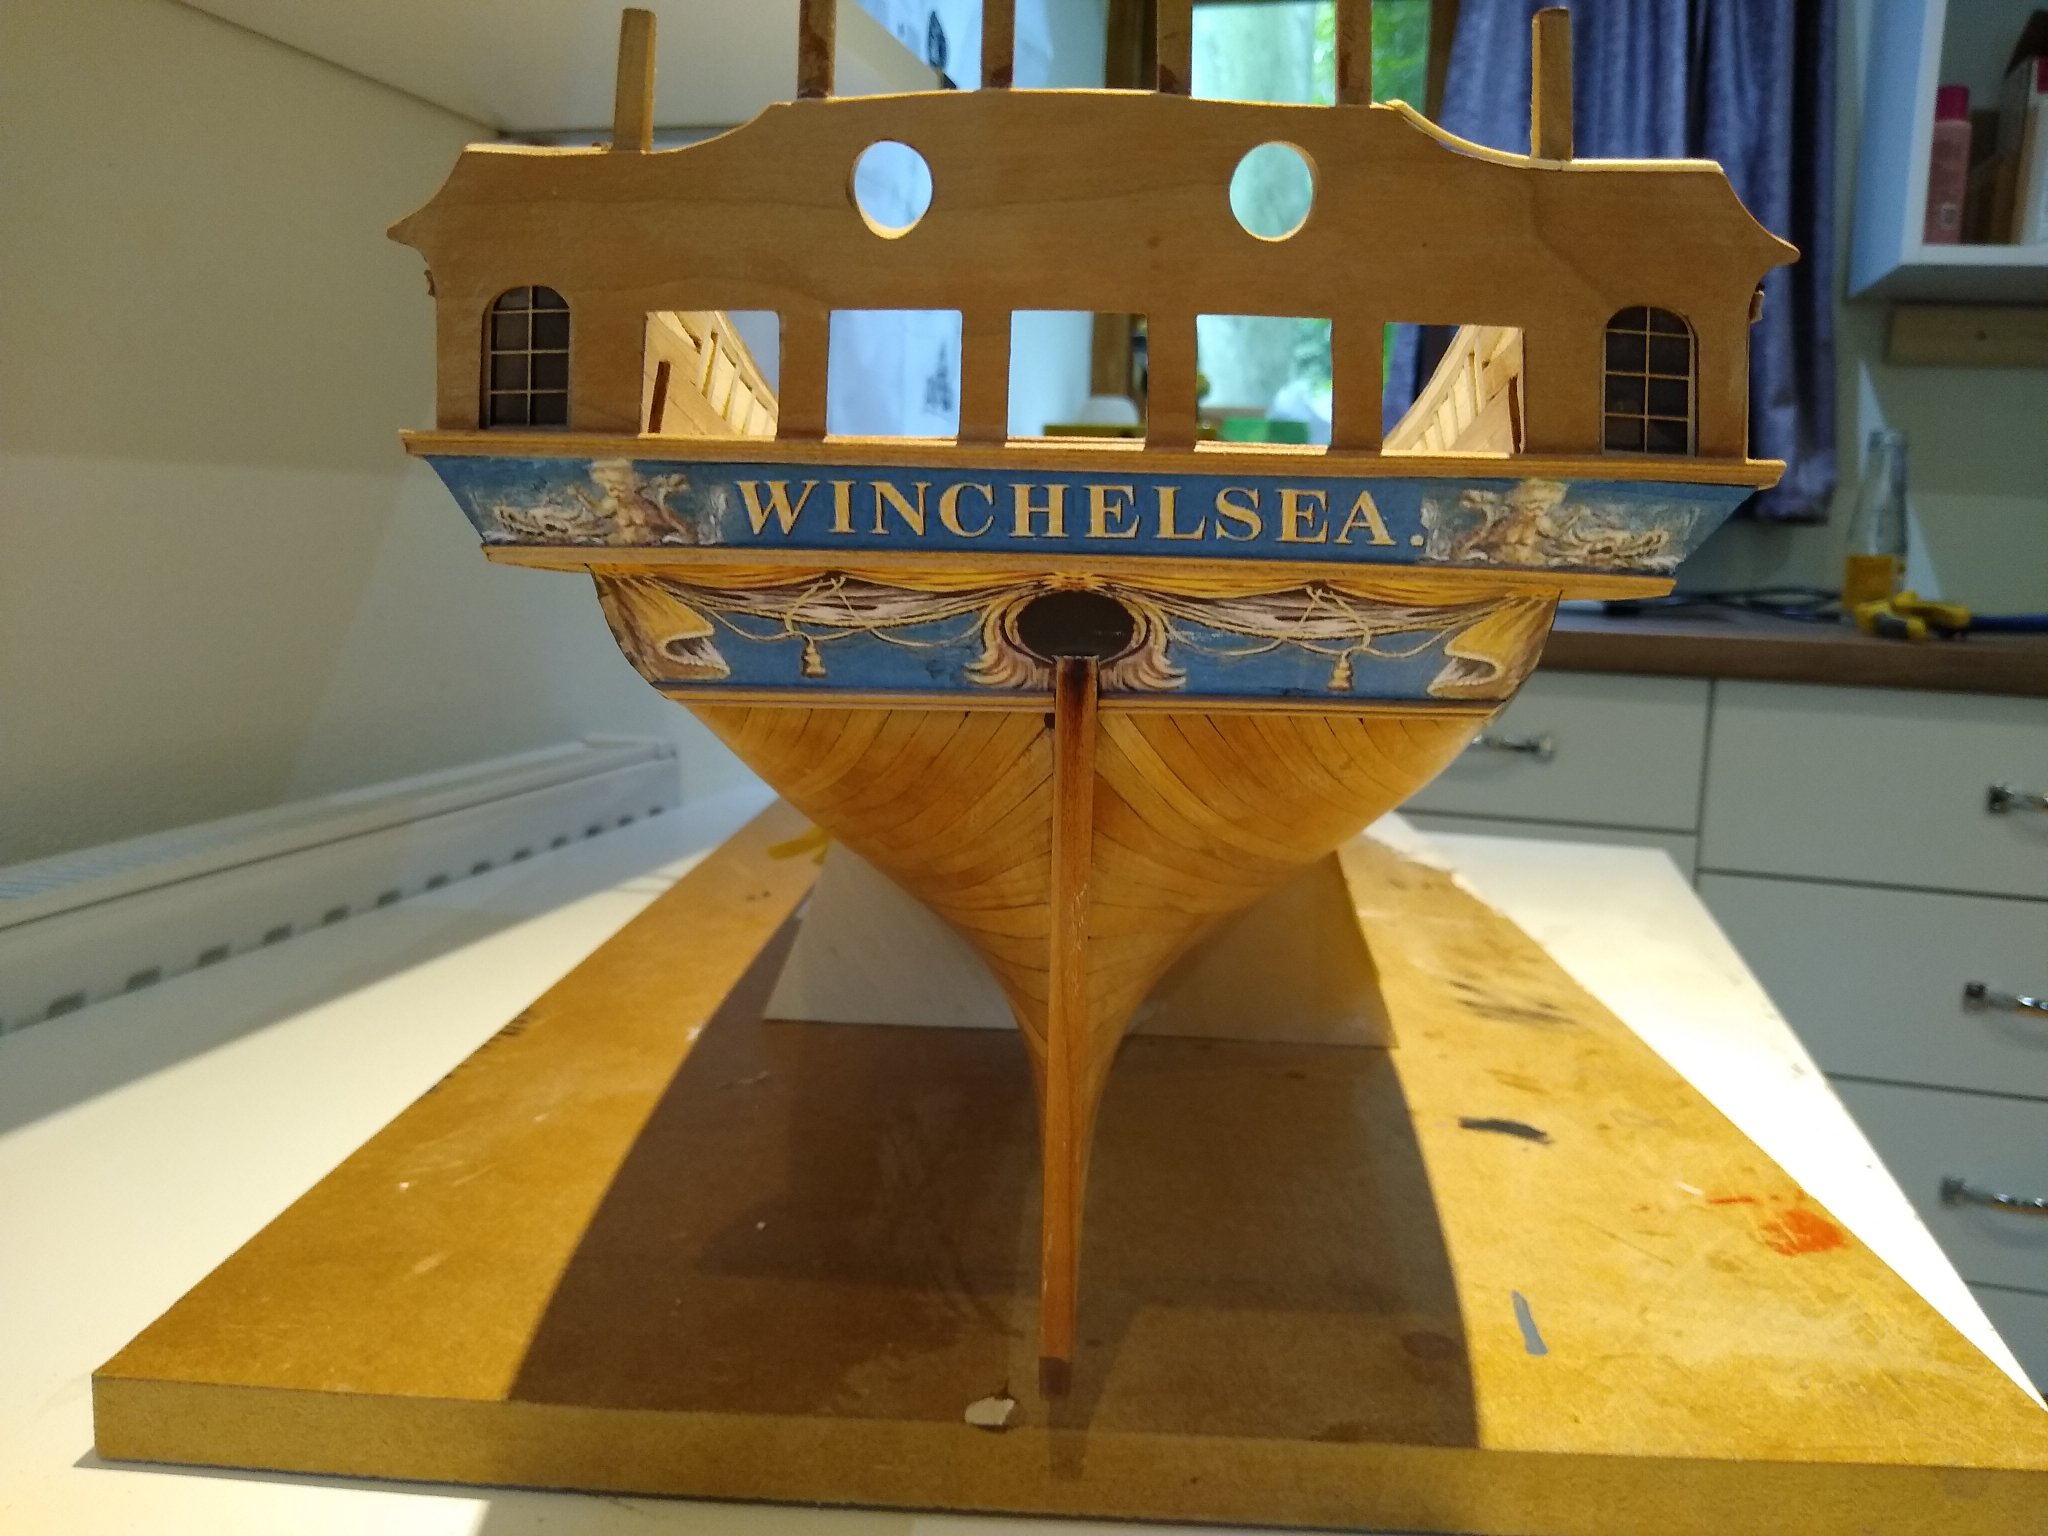
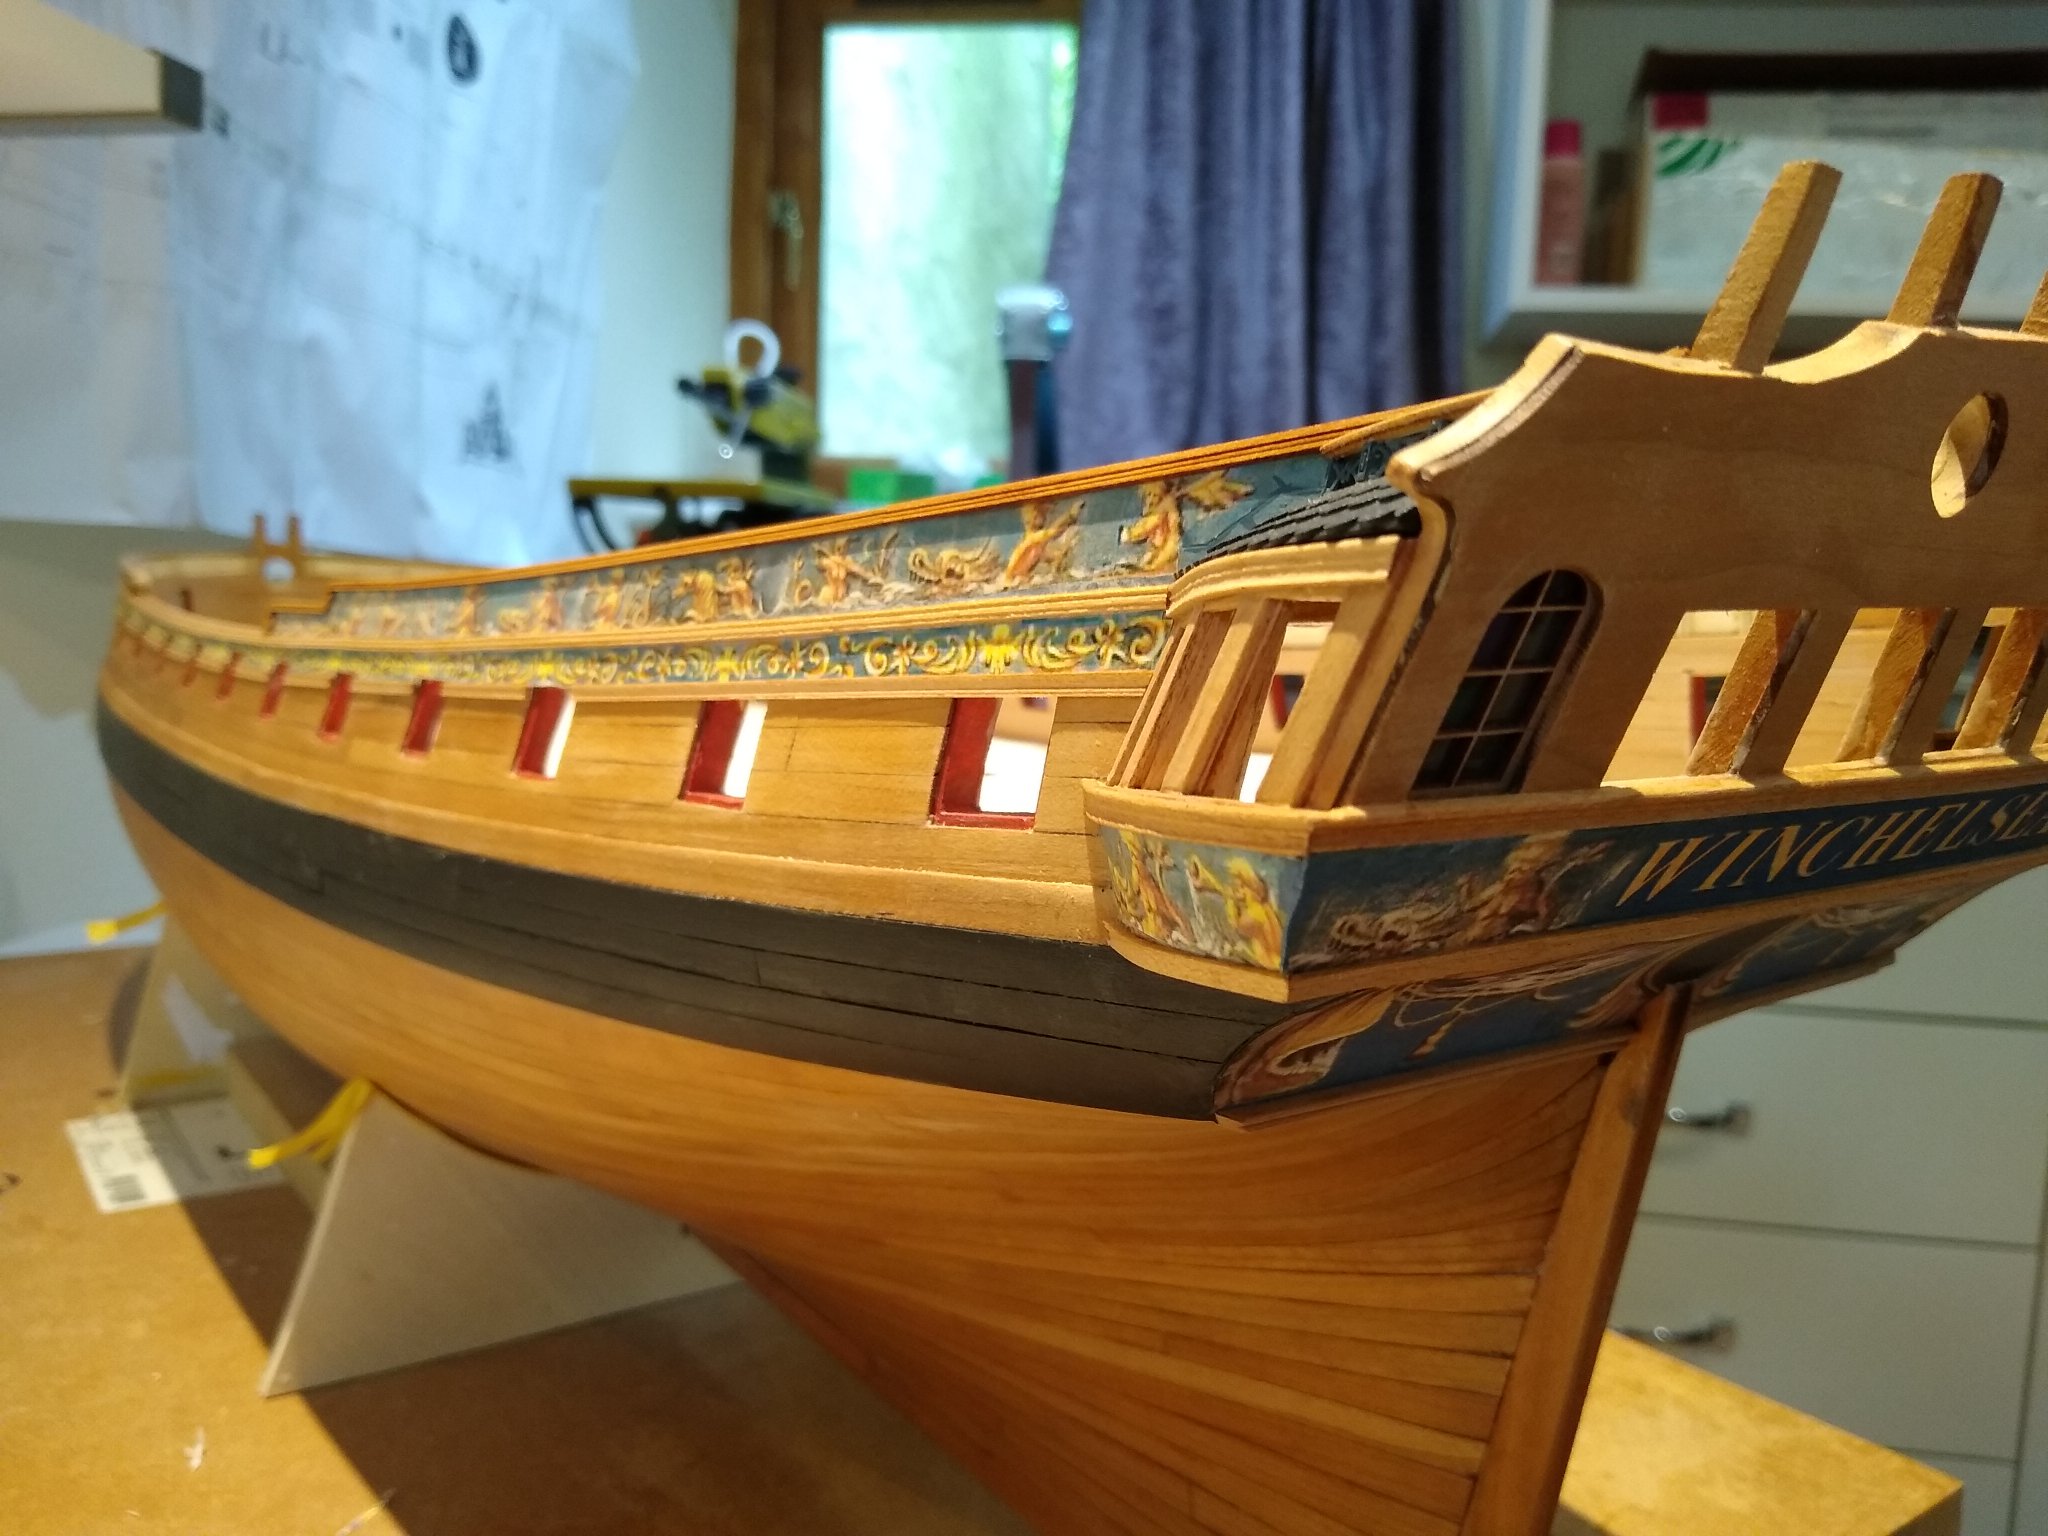
Chapter 3 finished. I'm pretty pleased with it it though there are obvious errors. I set the upper beam of the quarter gallery too high with the result that the fancy moulding across the transom is too high hi and there is no run for pedestals for the laser cut columns. I painted the the piece about the windows red but I didn't like it it and prefer it plain. I've ordered the the resin parts from Syren.