king derelict
-
Posts
3,293 -
Joined
-
Last visited
Content Type
Profiles
Forums
Gallery
Events
Everything posted by king derelict
-
Very nice PE work Mike. It’s building up to a nice looking ship Alan
-
Amazing work Yves. You are showing the way to the new frontiers of the hobby in great style. Congratulations alan
-
Lovely guns Mike. I like your seascape a lot too. I am getting keen to getting back to mine alan
-
Wow Mike, that’s going to be interesting. My eyes ache looking at the instructions. But I’m sure you will do a great job alan
-
Thank you very much Dan. Amsterdam was very enjoyable and pretty with the light covering of snow. I was lucky to find a very nice hotel not far from Centraal station and close to the maritime museum which was very interesting. I am a bit of a disappointment, I prefer the maritime museum over the Van Gogh museum. The delay meant I missed my visits to Warsaw and Krakow. The good news was I arrived in Berlin in time to say goodbye to my friends who are moving to Japan in three weeks time. And in the uk my dad seems much better than I hoped alan
-
The train was two minutes late getting into Berlin and very comfortable. I was amazed at the chaos in Amsterdam, Paris and Brussels considering that the snowfall was moderate and the temperatures not far from freezing. Lack of deicer was mentioned. Berlin was seriously cold but the public transport worked and my first flight to Manchester was bang on time. Then I had the next flight from Frankfurt cancelled, eventually reaching Manchester at midnight and my cousins at 3am. I picked up the rental car and due to a car crash on the motorway I took six hours for a two hour journey. Feeling seriously victimized at this point but the great news was finding my dad much better than I expected. He’s trotting around the house with his stick and doing very well. Just got to keep him away from high shelves. Dan, sorry for hijacking the thread alan
-
Another beautiful car Rob despite the setbacks you did a great job. Congratulations alan
-
And most of my cold weather gear was in my bag that KLM has mislaid. Primark men’s floor on Damrak was full of similar folk fighting over the last medium and large clothing sizes in the store 😃
-
Sorry to see disaster strike with such a beautiful model nearly finished. Congratulations on already working the recovery. Alan
-
Absolutely beautiful Bulldog Dan. The finish is immaculate and realistic too. Great work. after five days stuck in Amsterdam because of the snow, flights cancelled at Schiphol and NS trains cancelled for days Im finally on my way to Berlin where the weather is also due to deteriorate. I got to know Amsterdam a bit better though alan
-
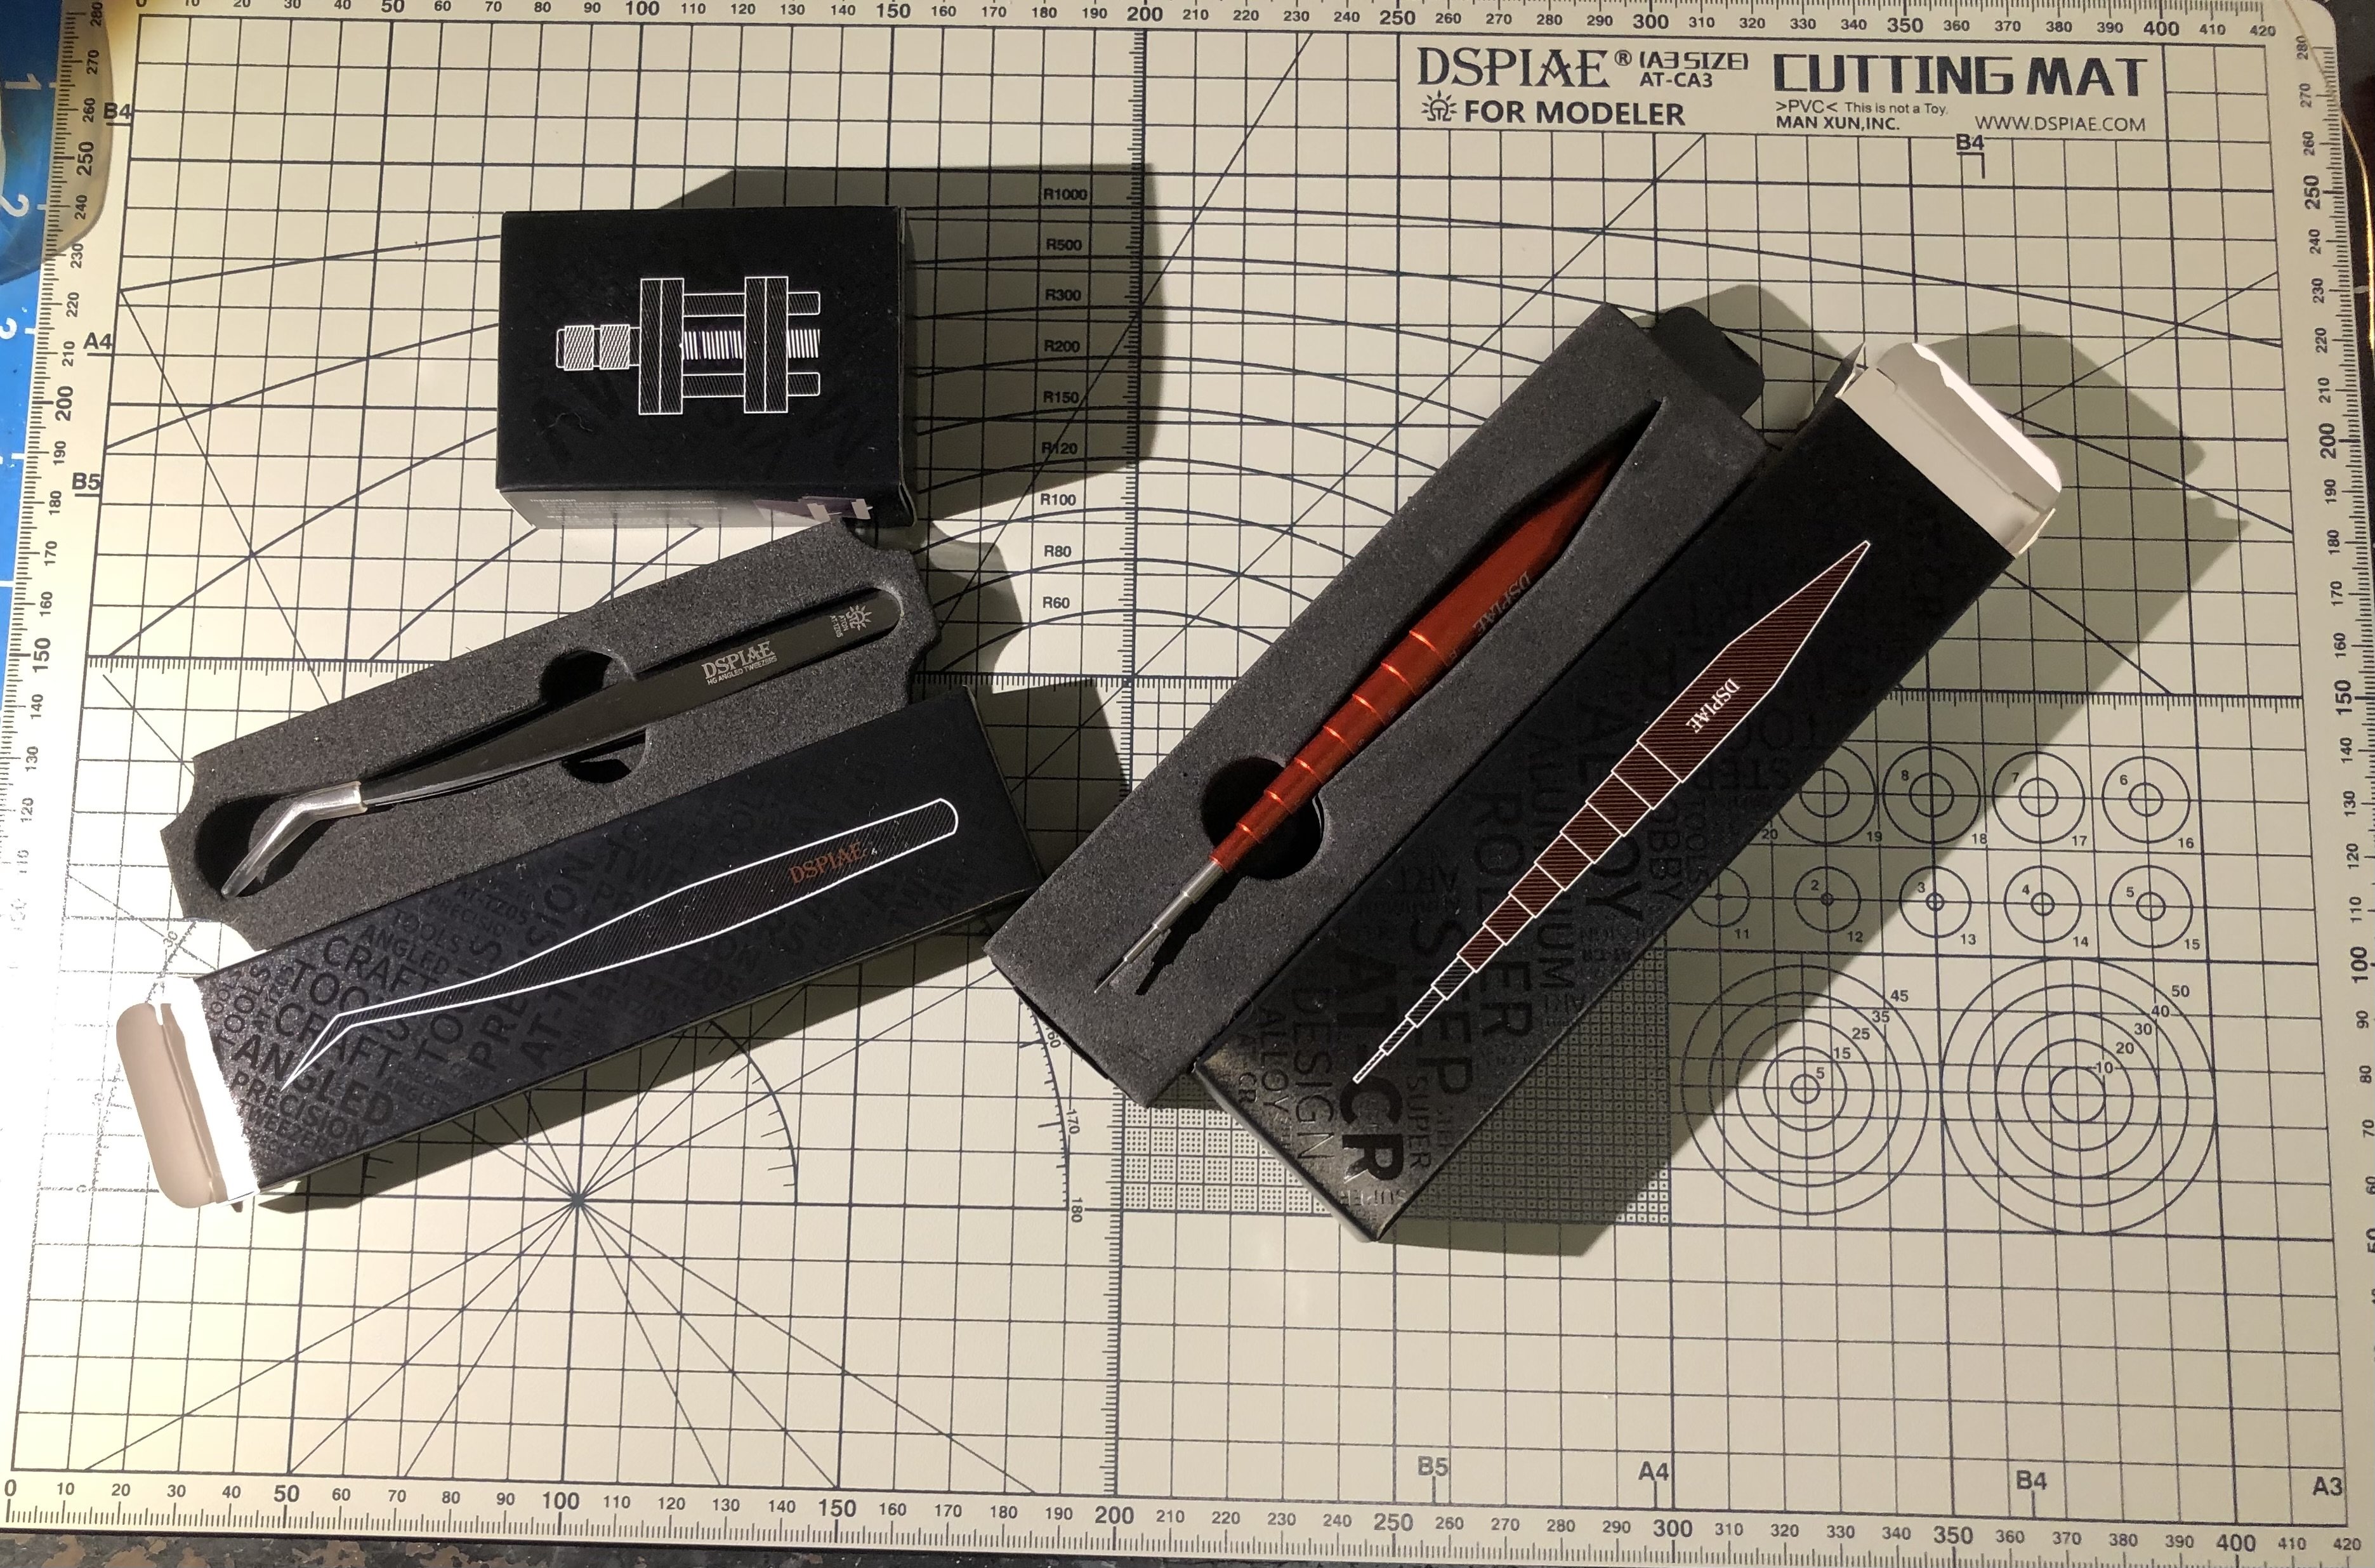
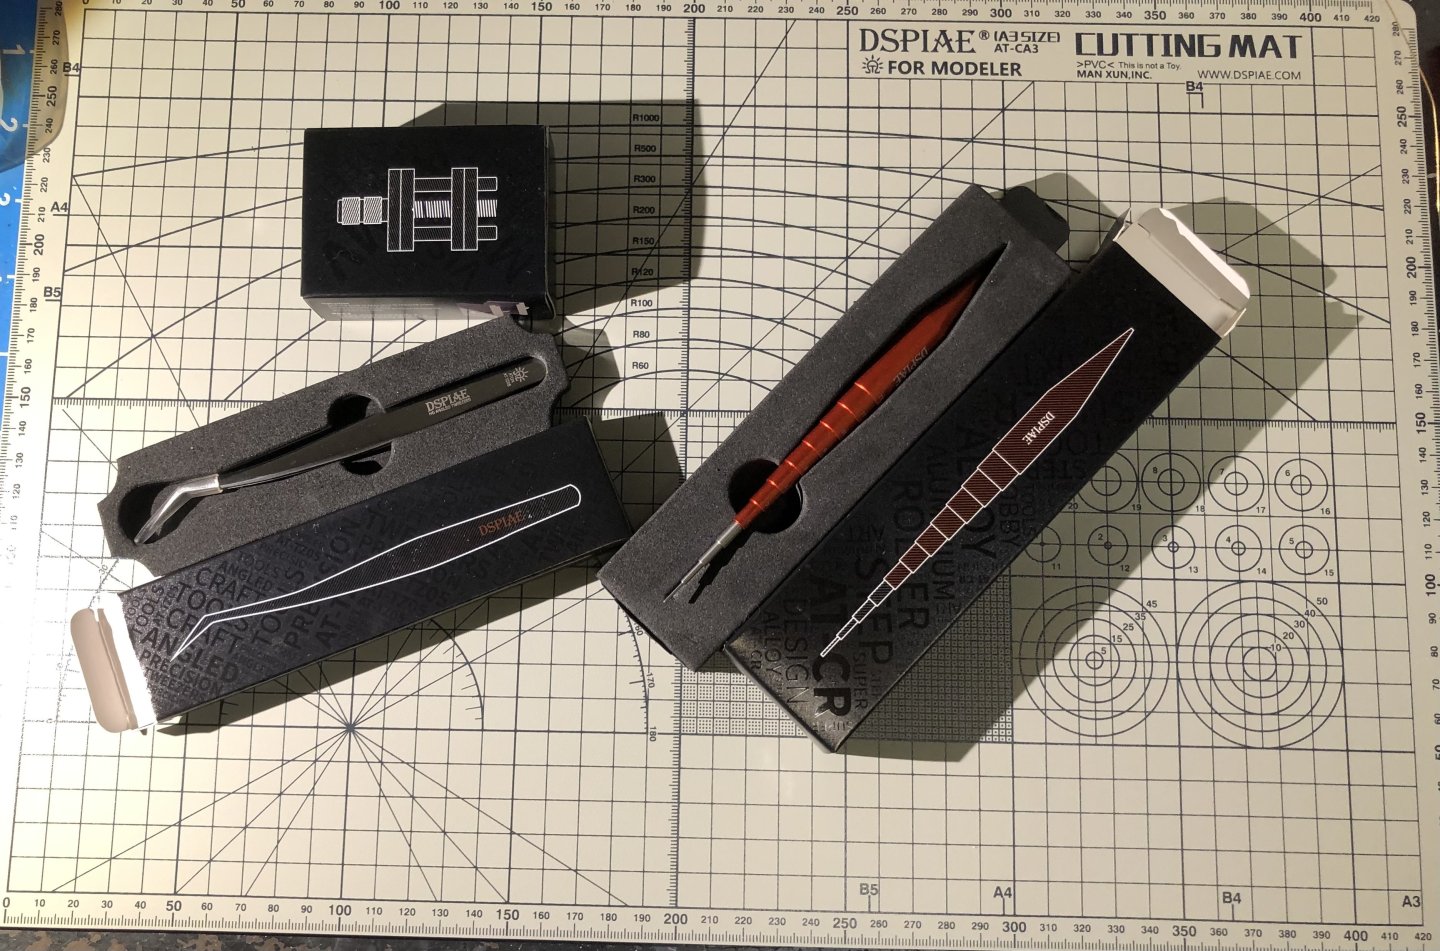
Hi Mike The tweezers look pretty good. They are nice and thin at the tips so easy to slide under delicate PE. Nicely made I look forward to trying them. I bought some nice looking fine point tweezers off eBay a while back but they turned out to be some off brand instead of the brand name in the description. They are okay but the points are very thick and clumsy so they don’t get used a lot. Happy New Year alan
- 40 replies
-
- 3
-

-

-
- Five Star
- Akitsu Maru
- (and 1 more)
-
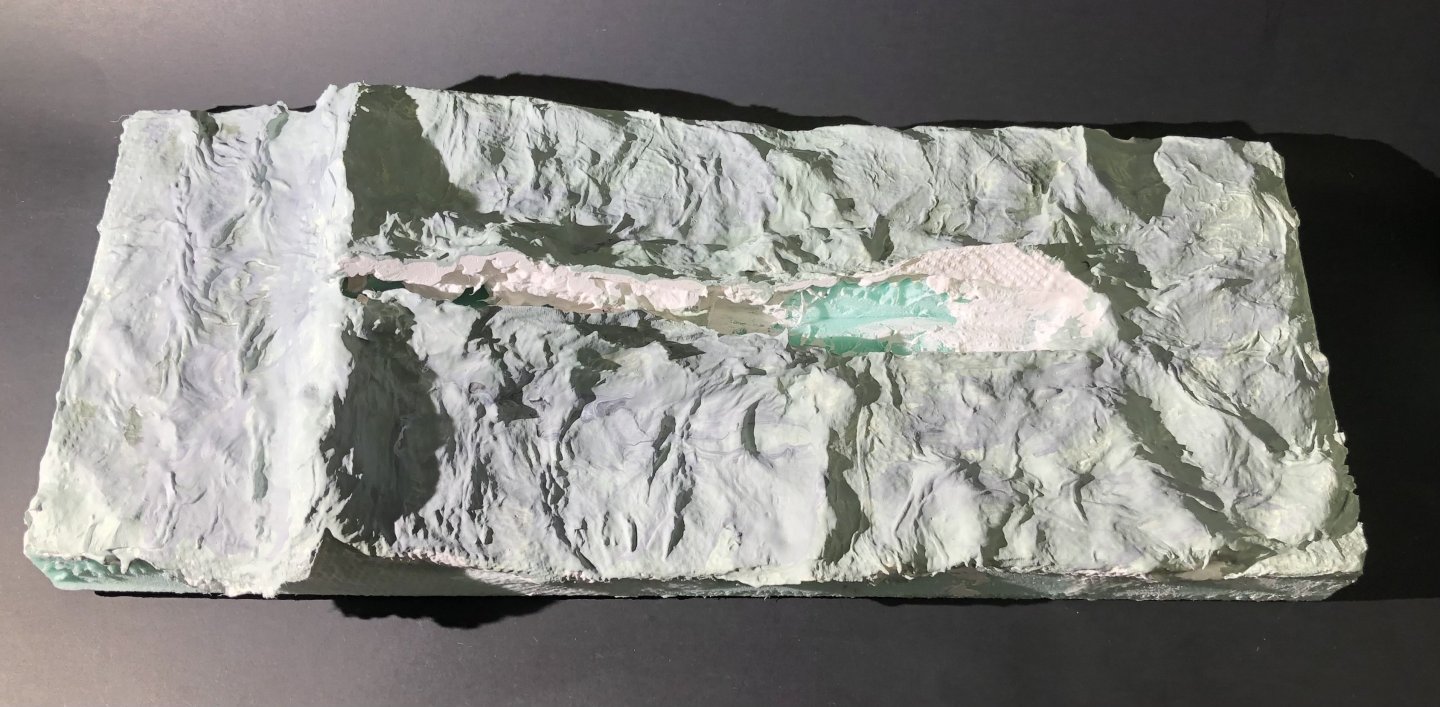
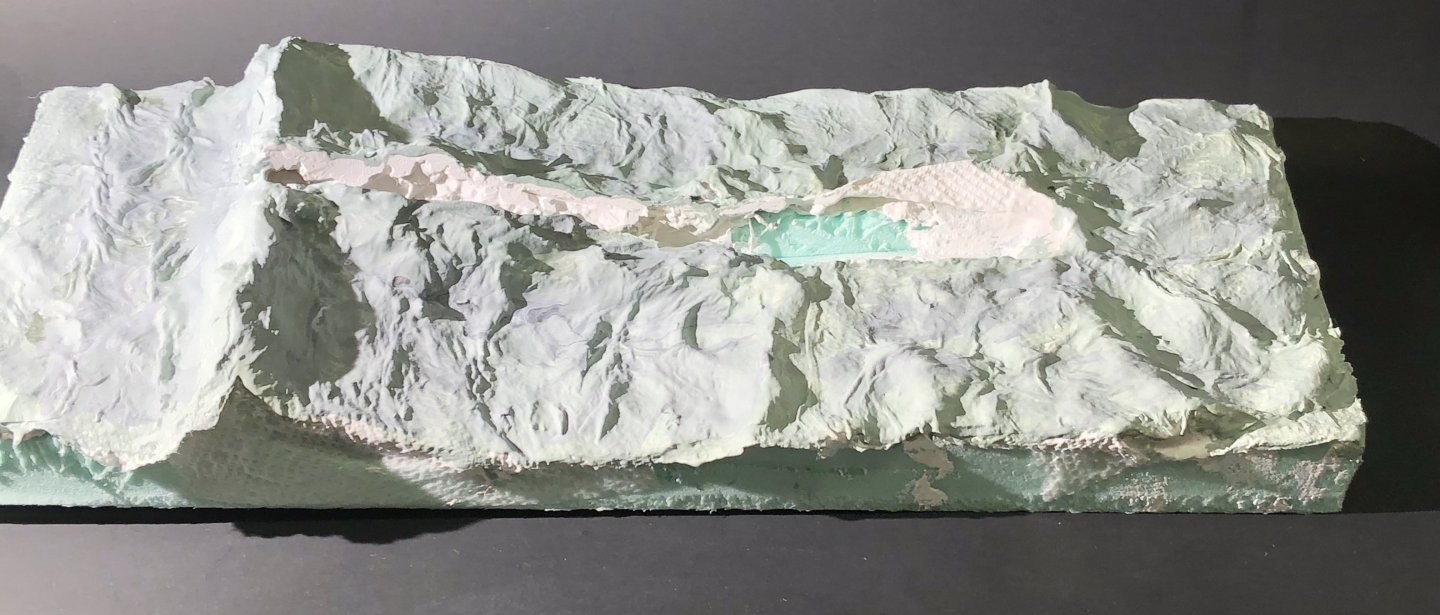
I seem to have been very slothful during the Christmas period with not much getting done on Monmouth. I added a slightly darker wash in the shadows of the waves and painted a coat of gloss medium over the whole thing. I’m still undecided about the overall color being too light and I thought the gloss might help me decide. I’m tempted to start adding the wave crests and foam and see how it shapes up. I’ve been looking for the bag of teddy bear stuffing that I used for my Flower corvette but I can’t find it anywhere so Ive ordered more. I’m writing this sitting in Atlanta airport waiting for the flight to Manchester. I will be in Europe for three weeks so no progress until later in January. Happy New Year all alan
-
Oh with all this flat rate shipping stuff I had to make it worthwhile. So a few more DSPIAE bits join the tool chest. New cutting mat, angled tweezers and rolling tool along with the Vice which is very nice, another one may go on the new year shopping list. I’m impressed with the quality of the tools, they look like they will last. Happy Christmas alan
- 40 replies
-
- 2
-
-
- Five Star
- Akitsu Maru
- (and 1 more)
-
Thanks Andrew, I’m beginning to think that I might have bitten off more than I can chew but it will be interesting. Happy Christmas and a joyous New Year alan
-
Fantastic work Yves. Your log updates are a do-not-miss read for me alan
-
The engine looks fantastic Rob. Great job. alan
-
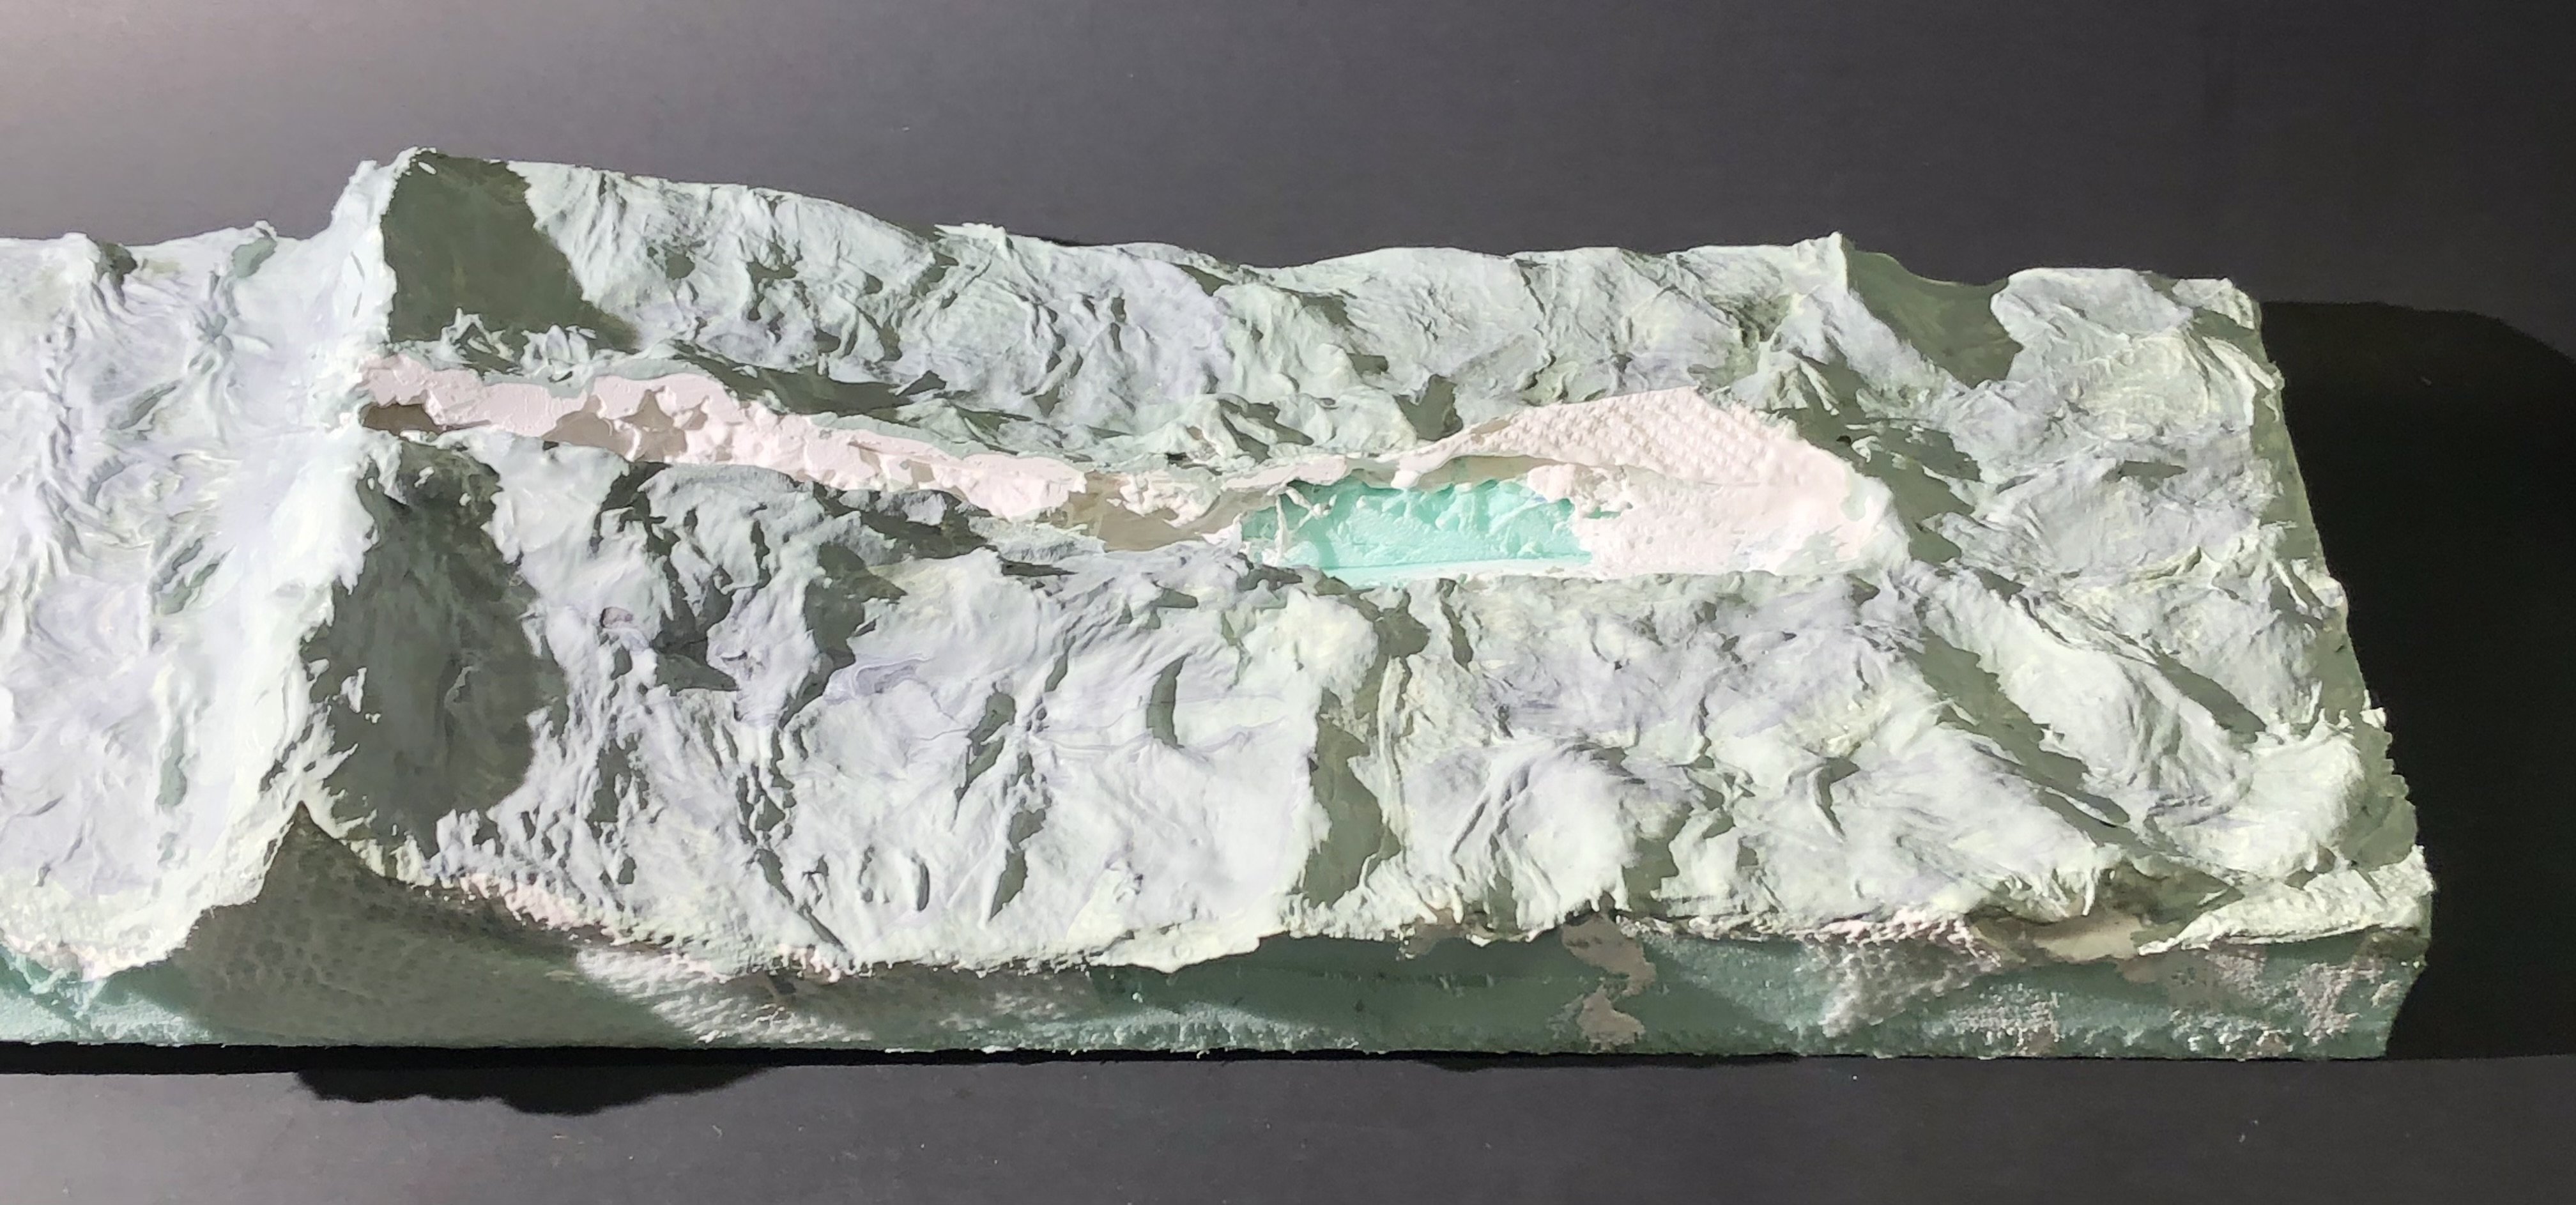
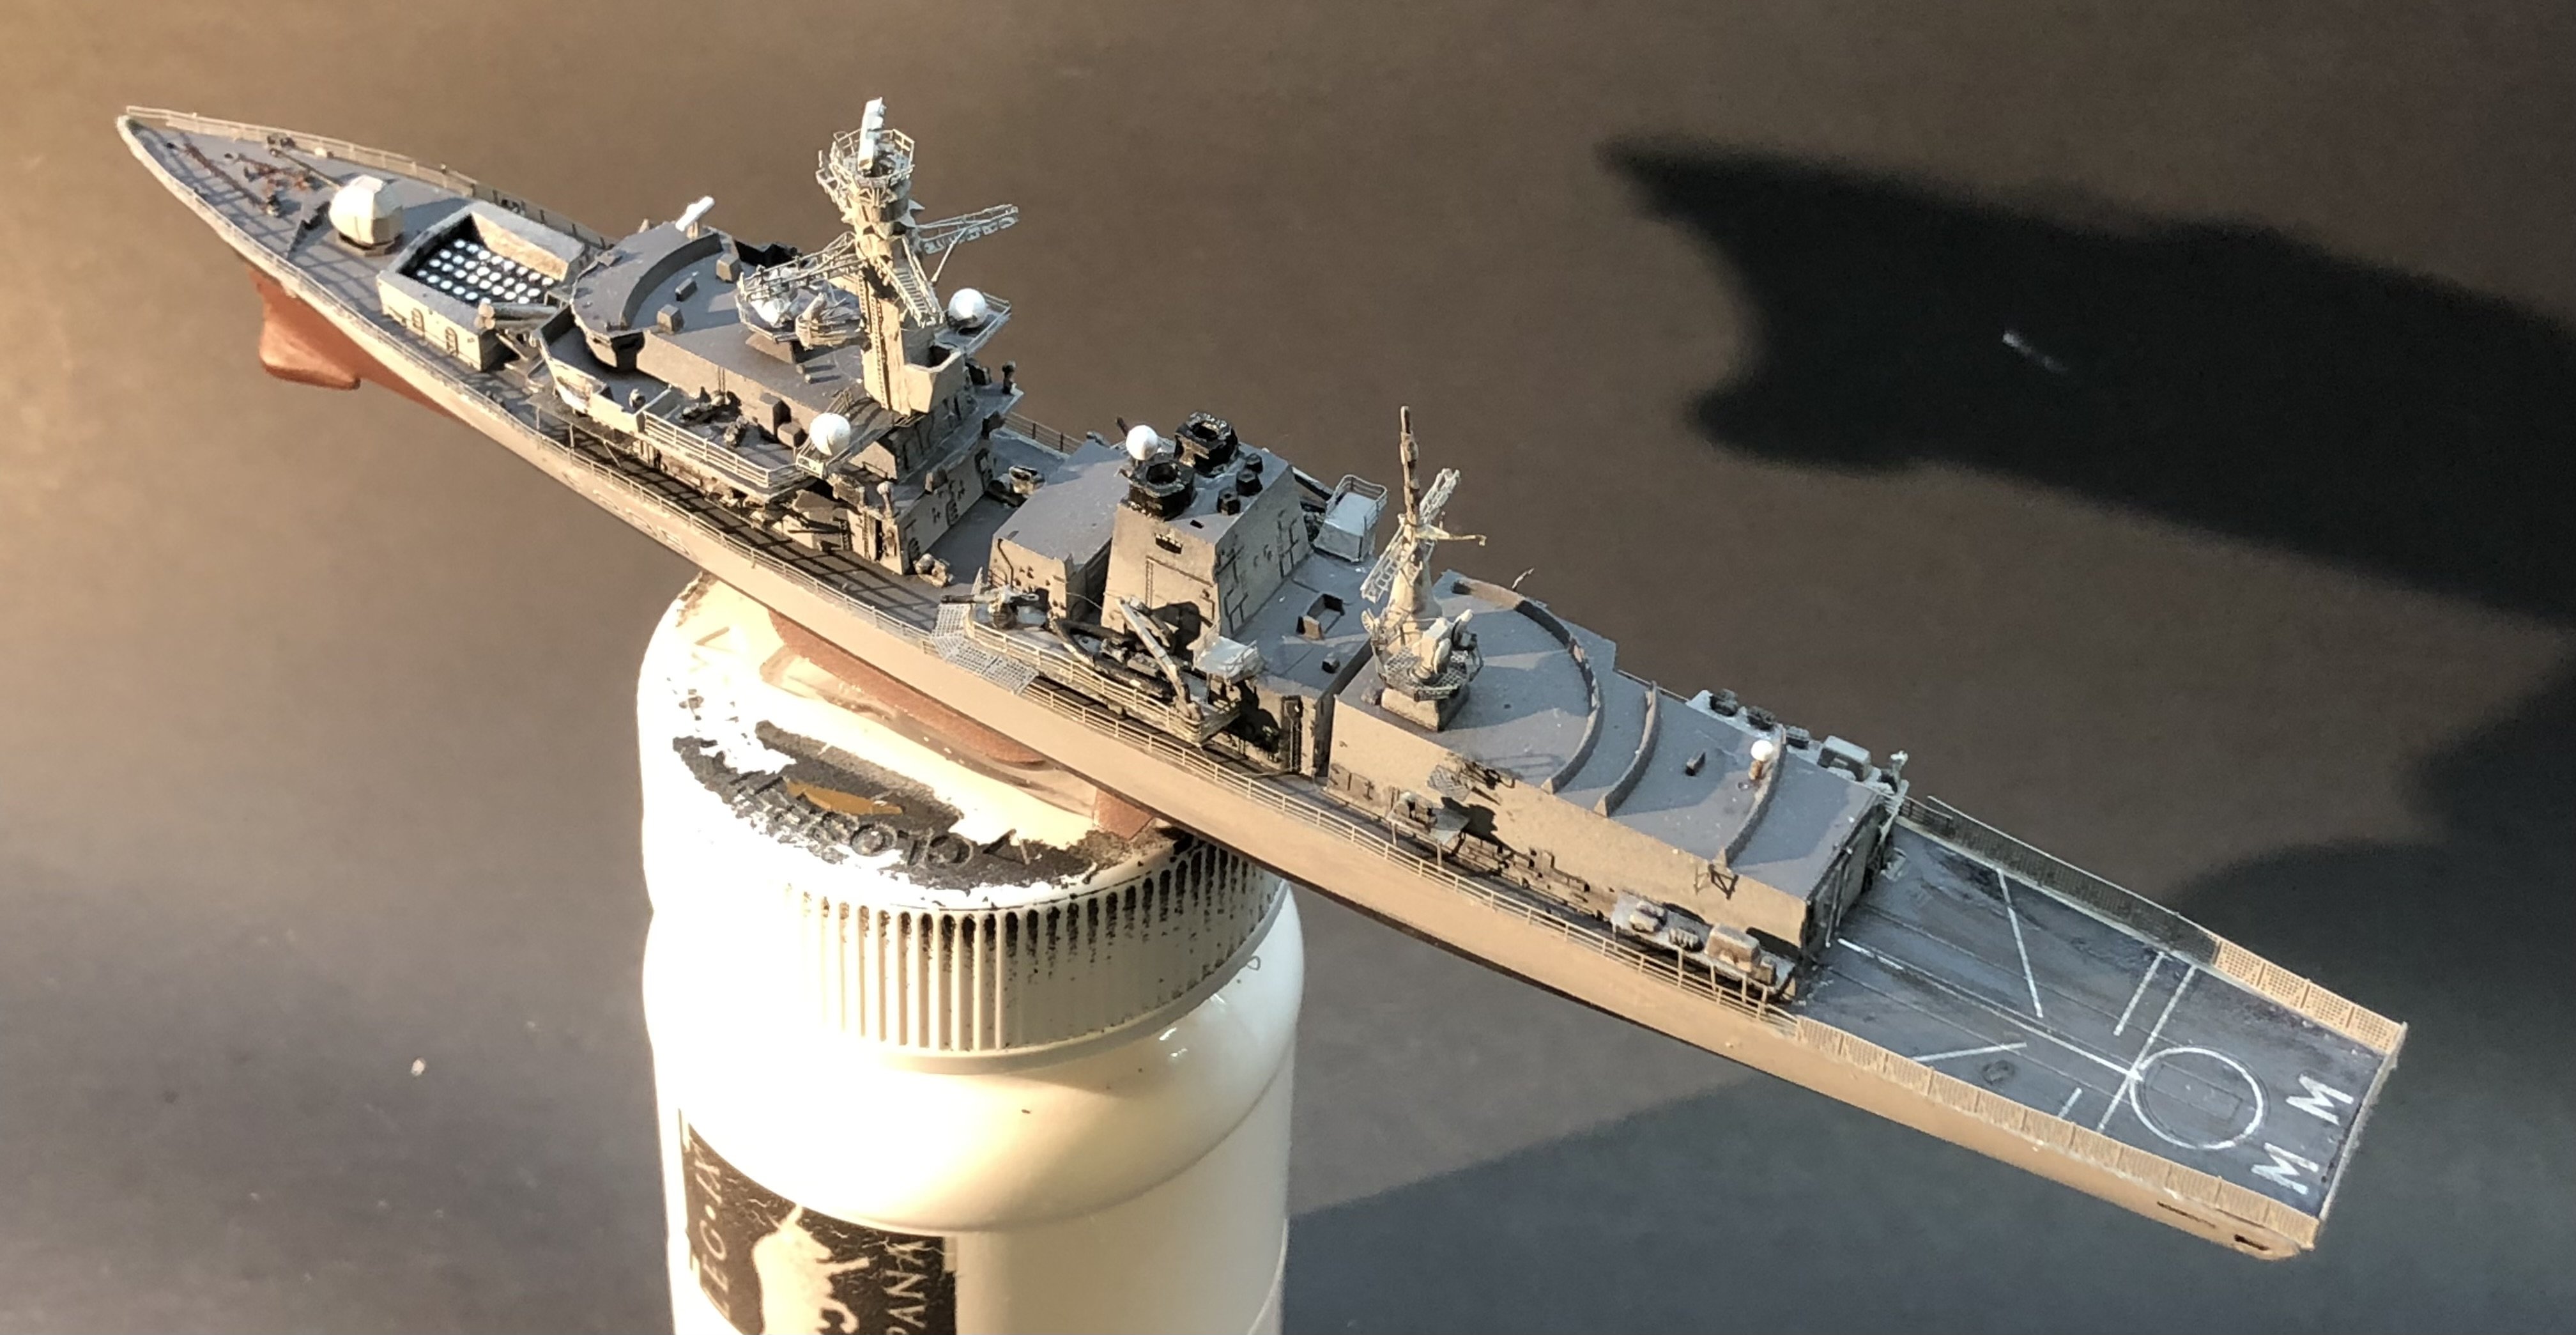
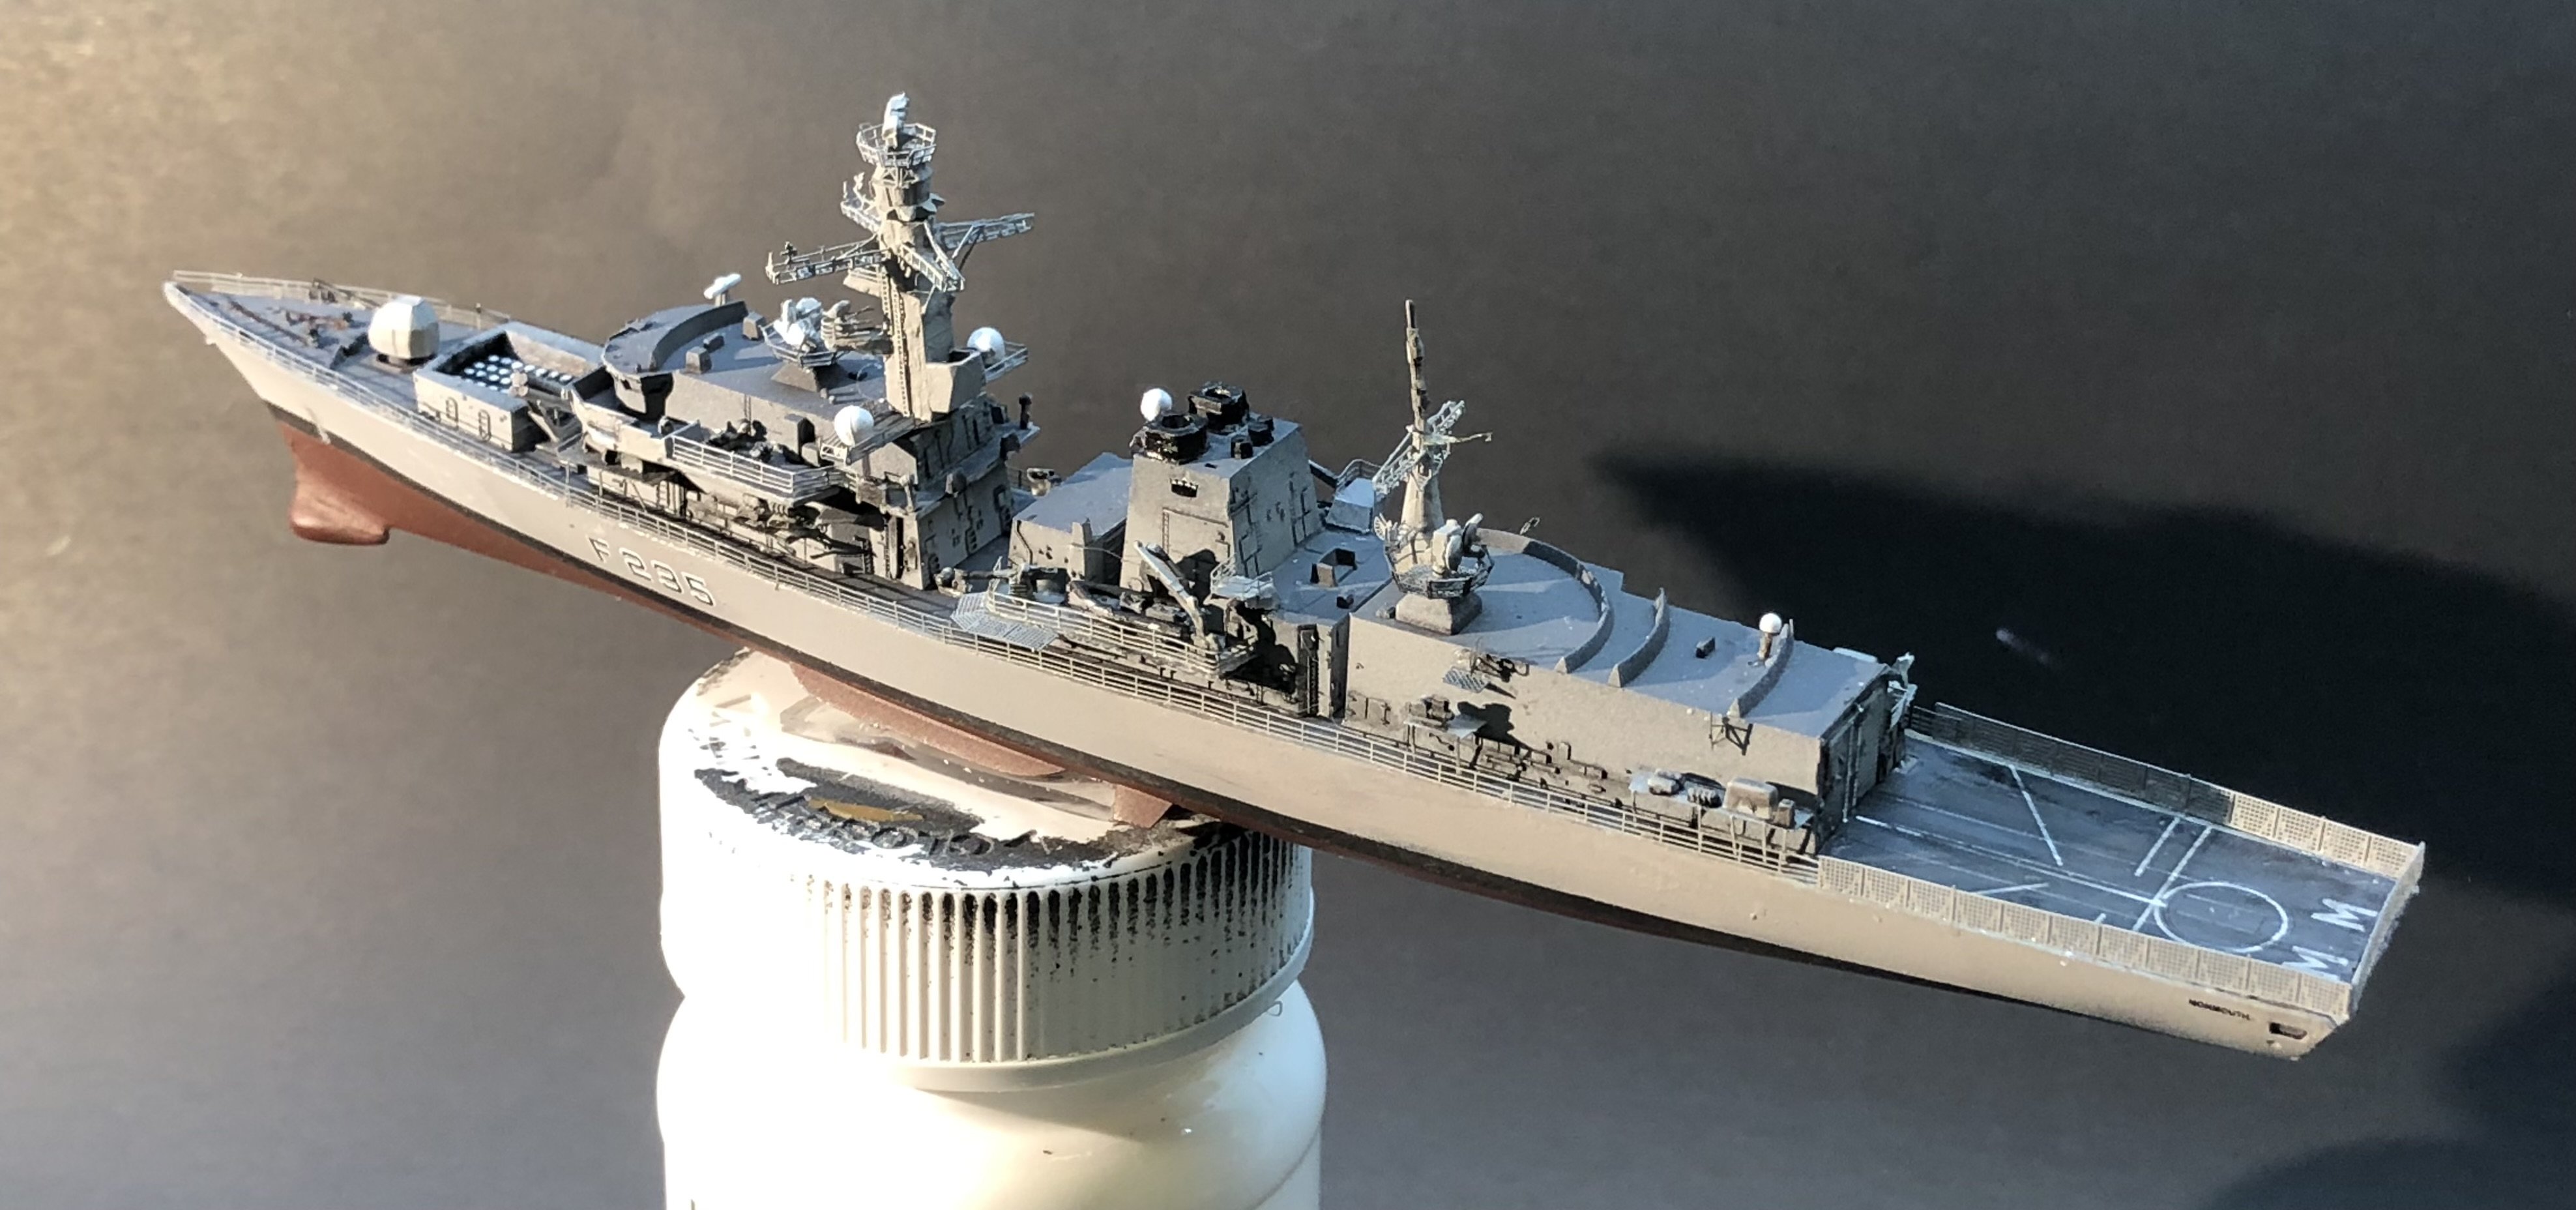
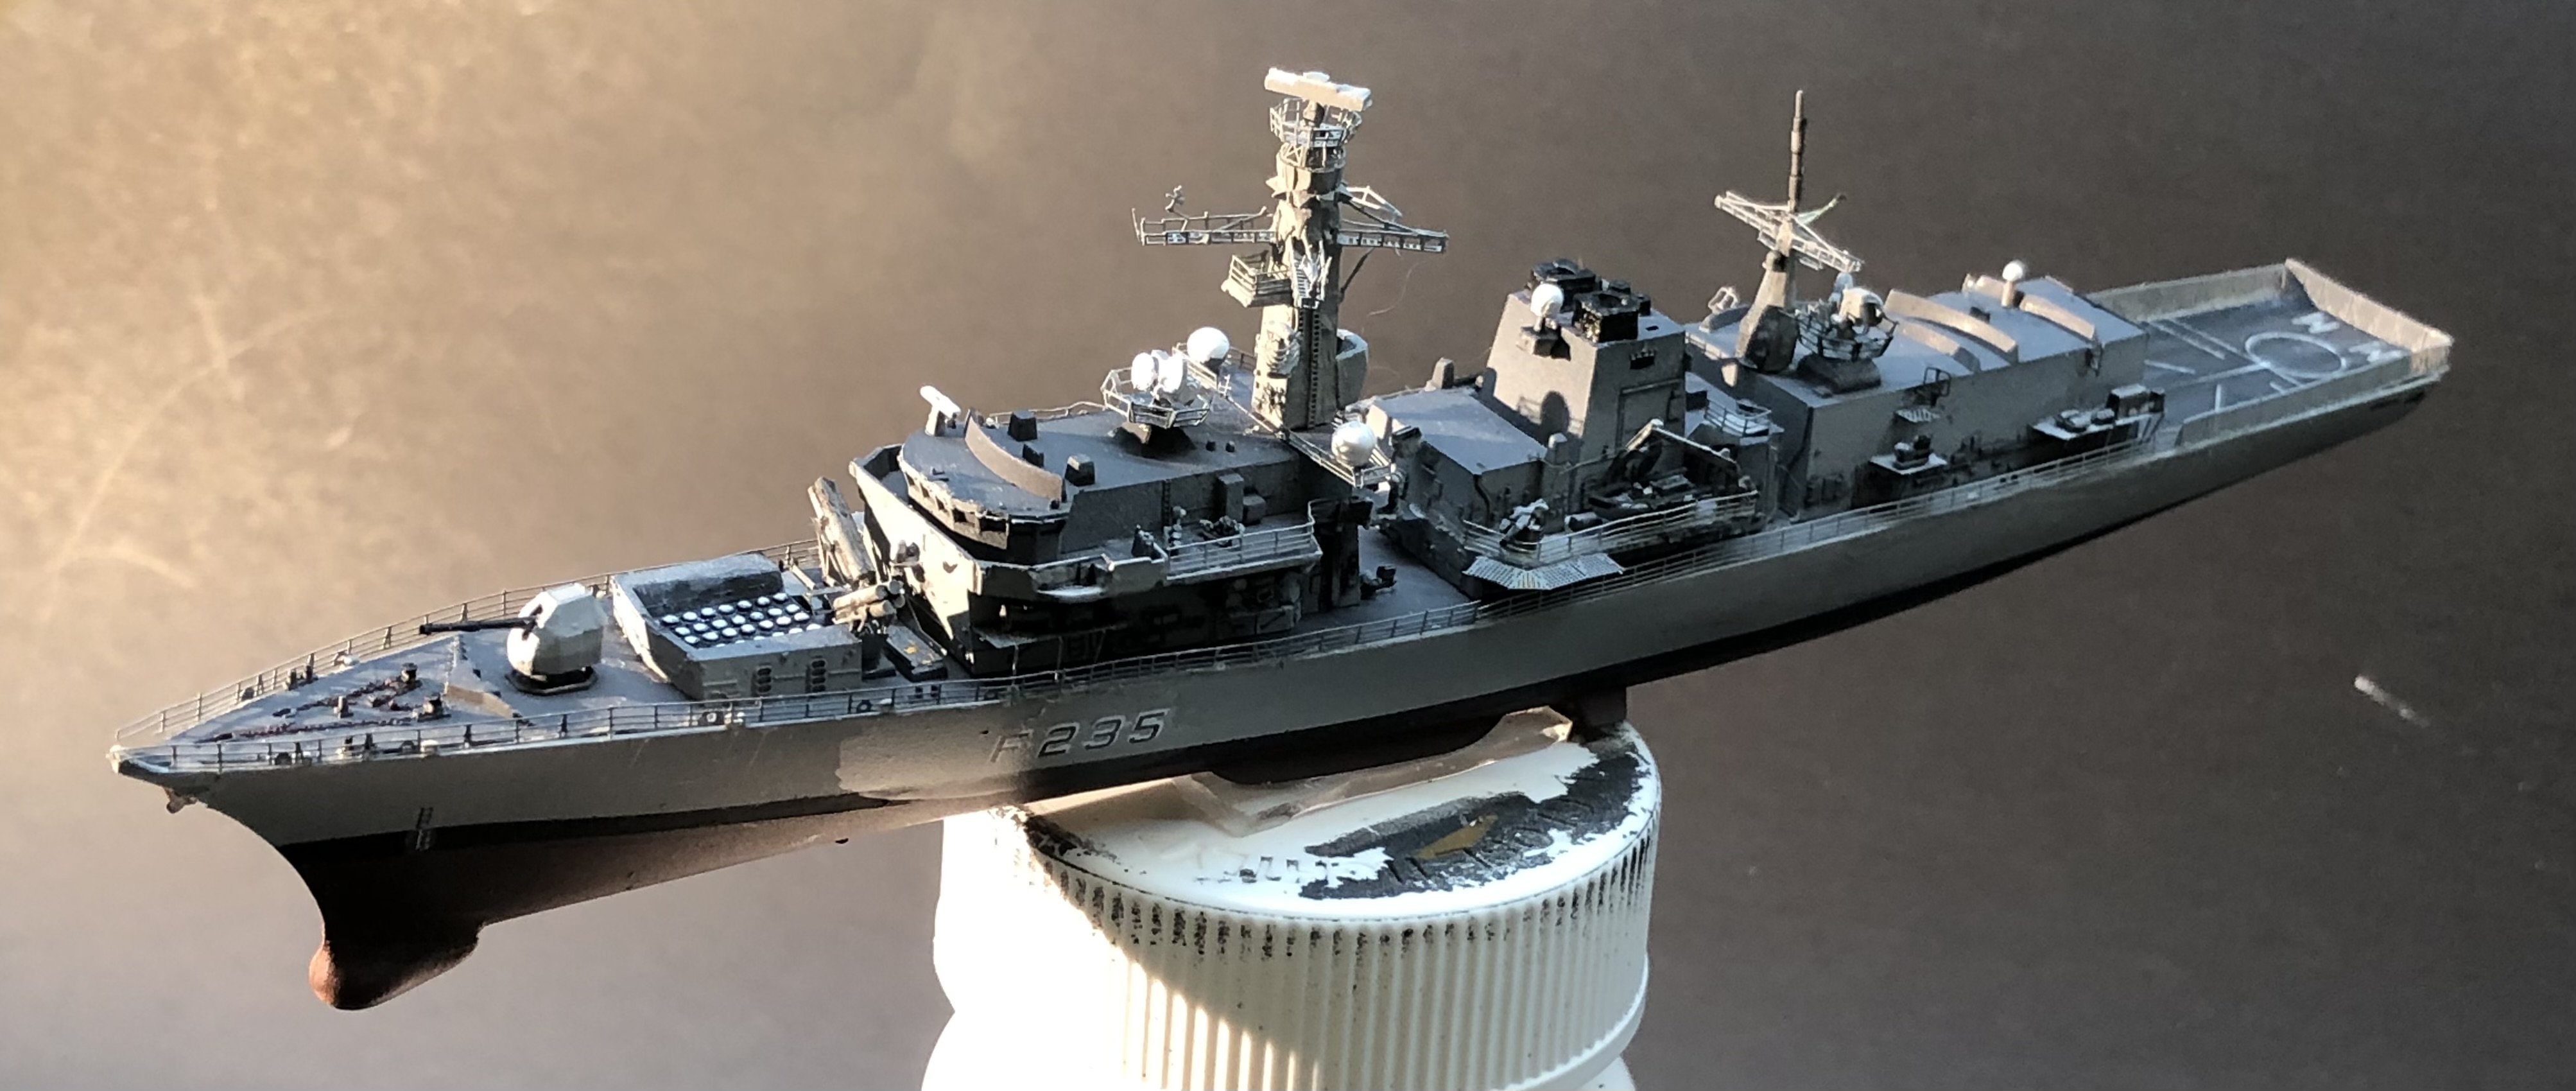
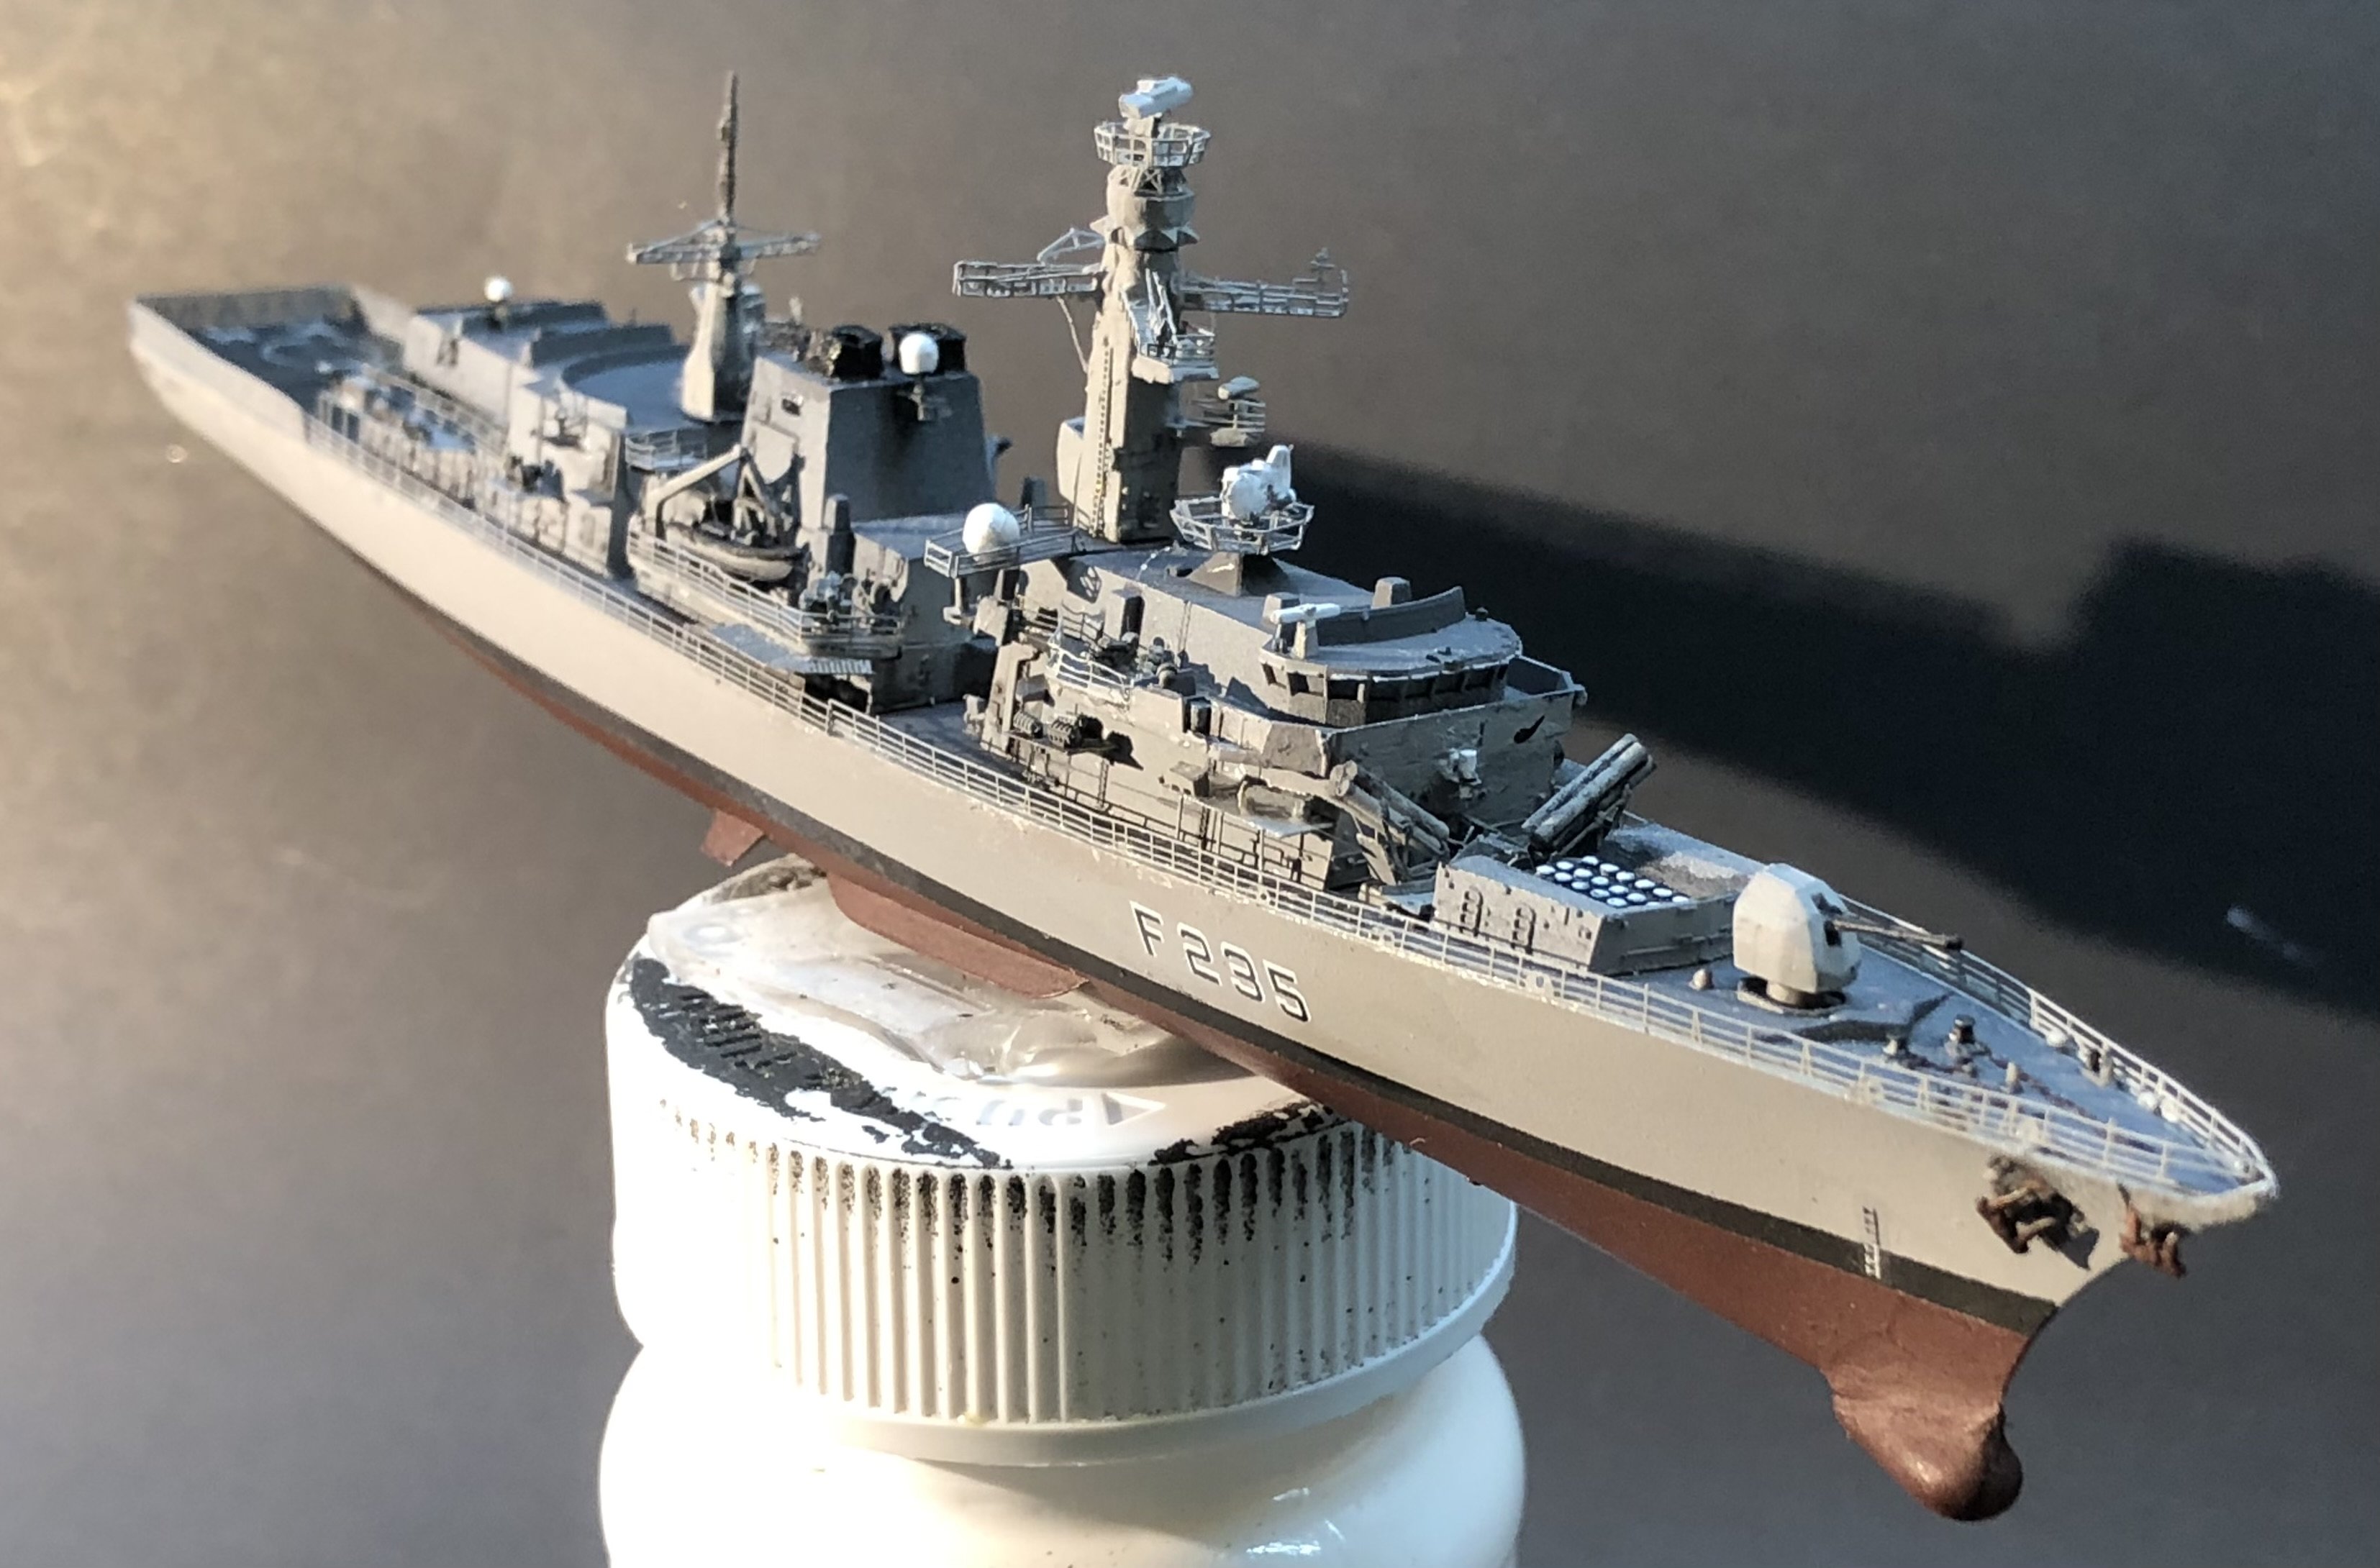
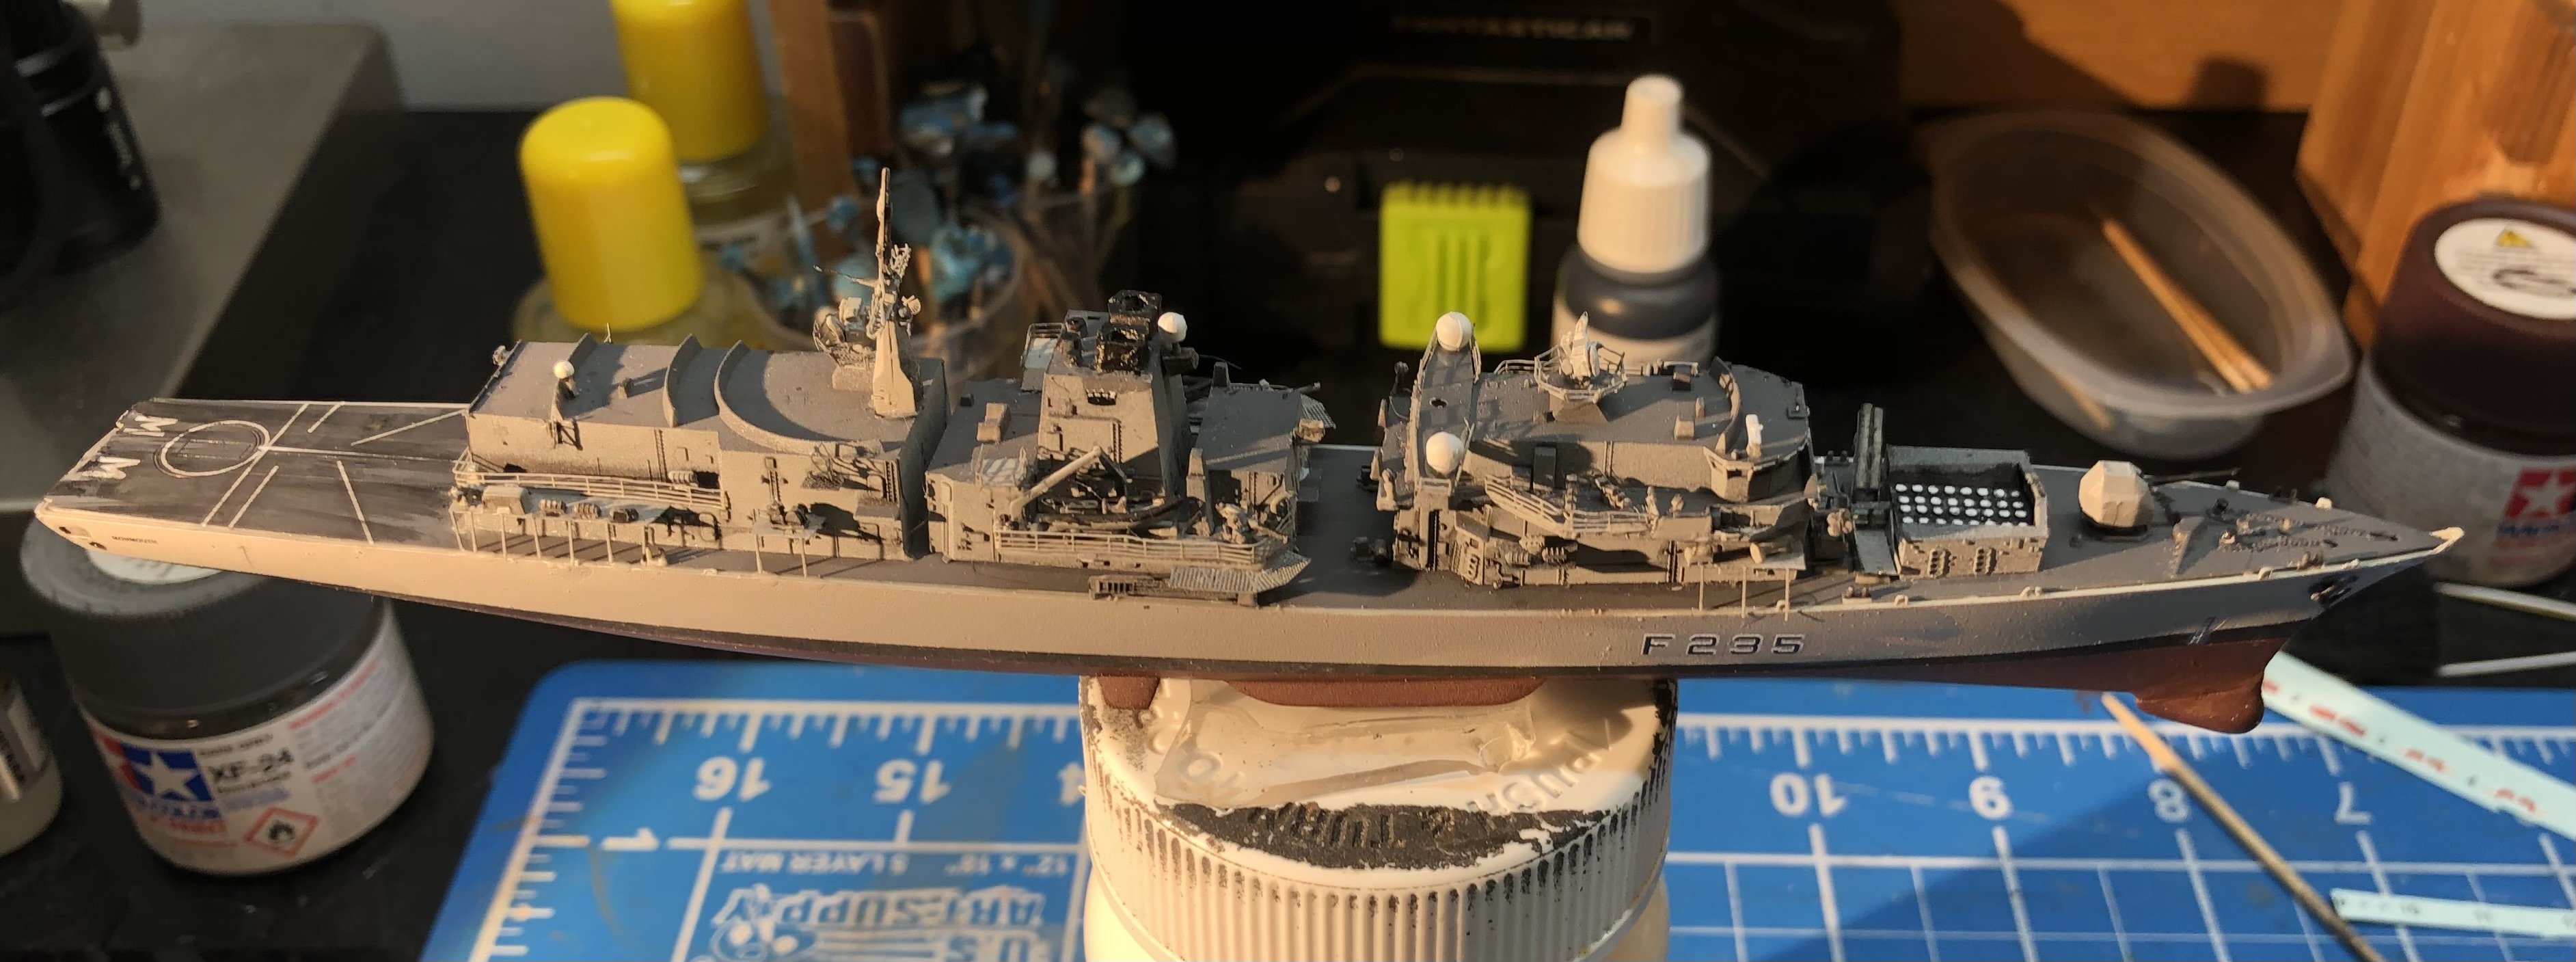
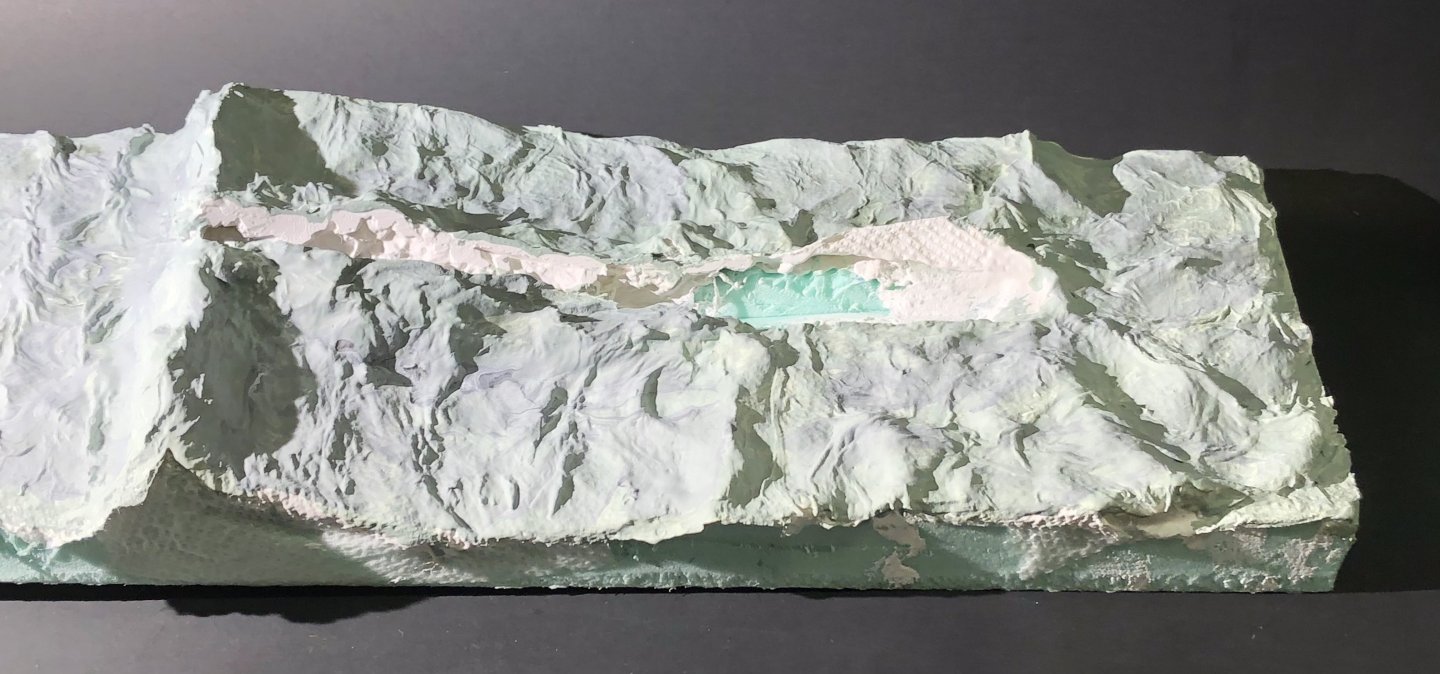
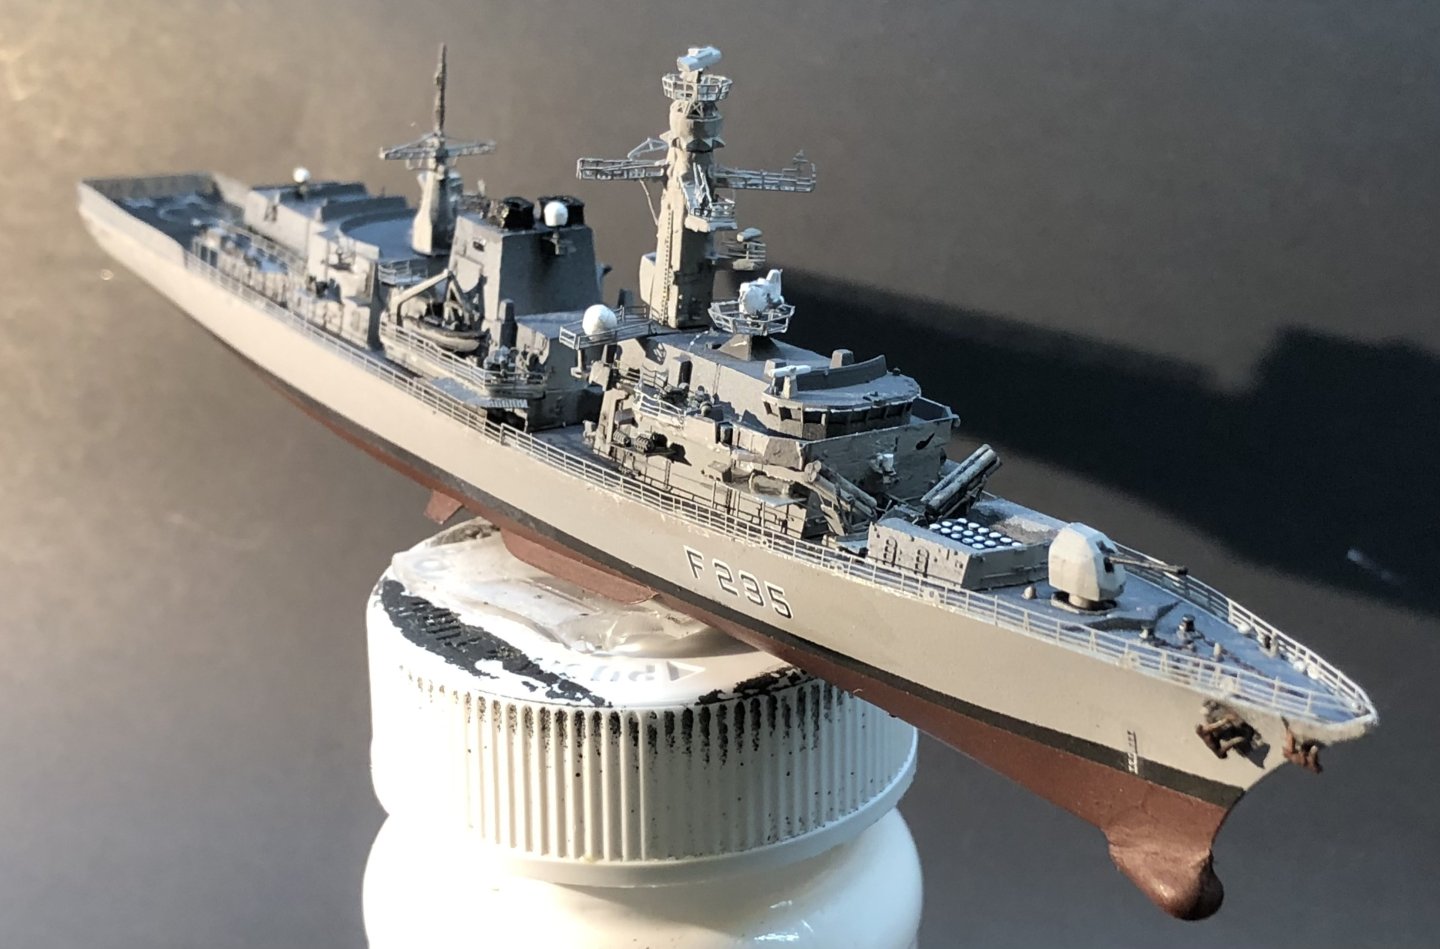
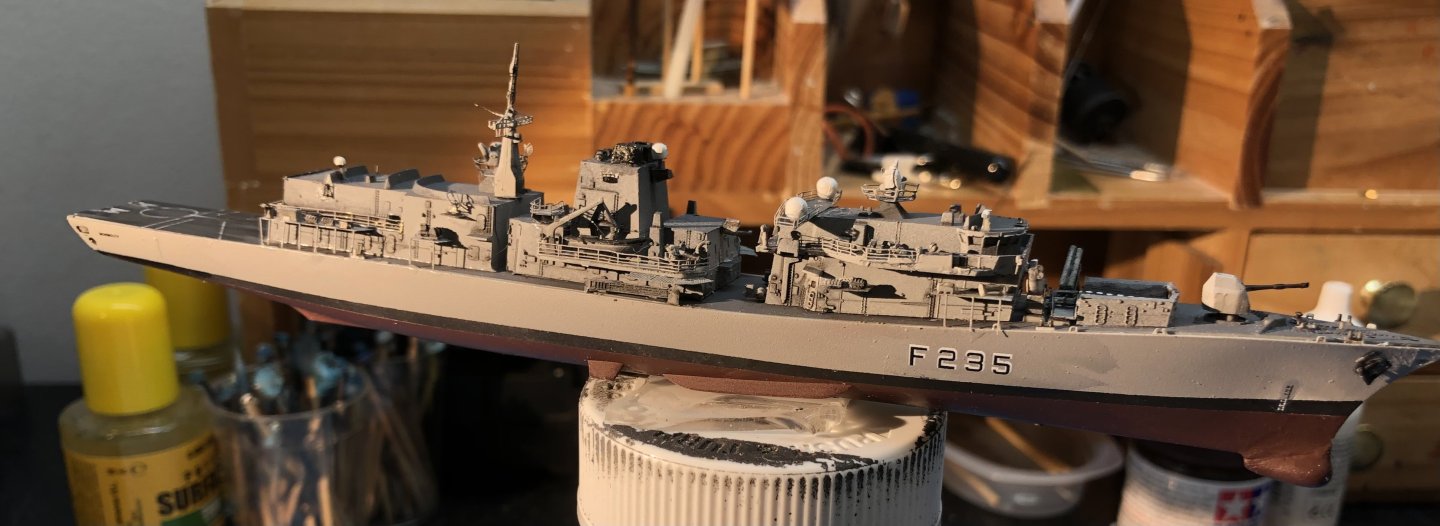
Time at the bench seems to be at a premium these days. Christmas preparations and booking my travel to Europe immediately after has taken more time than I expected. My father is recovering well, eating, sleeping and pain free just a bit frail walking any distance. I guess they taught those WWII paratroopers how to land properly. So I’ll squeeze in a trip to Berlin to say goodbye to a friend there moving to Japan and then a quick visit to Warsaw and Krakow. Anyway, Monmouth! I finished the deck railings. The WE PE is very thin and extremely easy to deform so this was a bit of a breath holding exercise. I put the flight deck nets in the raised position. The back netting needed to be reduced in width to agree with the Trumpeter dimensions but it was easy to trim a little from both sides. At last the foremast was mounted and with some minor touch up I think the ship is complete. I haven’t done any real weathering, she looked pretty good while she was with us. I’ve been fiddling with the seascape too. The pattern on the paper towels showed through the gesso so I added a layer of toilet tissue and obliterated it as well as tidying up some of the wave shapes. After another coat of gesso it looked reasonable so started adding colour. I used a light grey green mix and added some darker grey in the depths. I’m thinking it may be a bit too light so may add a darker shade but I was thinking a churning sea would be quite aerated and a lighter color. I might add the white wave crests and foam and see how that goes. A bit trial and error at this point. Thanks for looking in, for the likes and comments. alan


-
Great work on the details of the aircraft. alan
-
Beautiful models of two lovely and iconic aircraft. You did a great job. Congratulationsalan. alan
-
Looking very good. The neat rigging and excellent deck details really make the model stand out. alan
- 79 replies
-
- 1
-
-
- Nordkap
- Billing Boats
- (and 2 more)
-
The crumpled foil gets rid of any absolute flat surfaces on the seascape but I think the paper and dilute glue can do the same thing and is more controllable. I think it’s easy to overdo the wave heights in 1/700 too so they all foil needs to be fairly restrained. alan
-
That seems to be the conundrum. One way or the other something catches up with you. Masking the deck can be miserable and time consuming and still ends up with some areas still being tricky to paint. Thanks for Vallejo Atlantic Blue information, I’ll look into it. I think Mig Ammo also do range of ocean colours (they seem to do a range of colours for everything else) I’ll go with grey green as the base color for the sea. Thanks alan
-
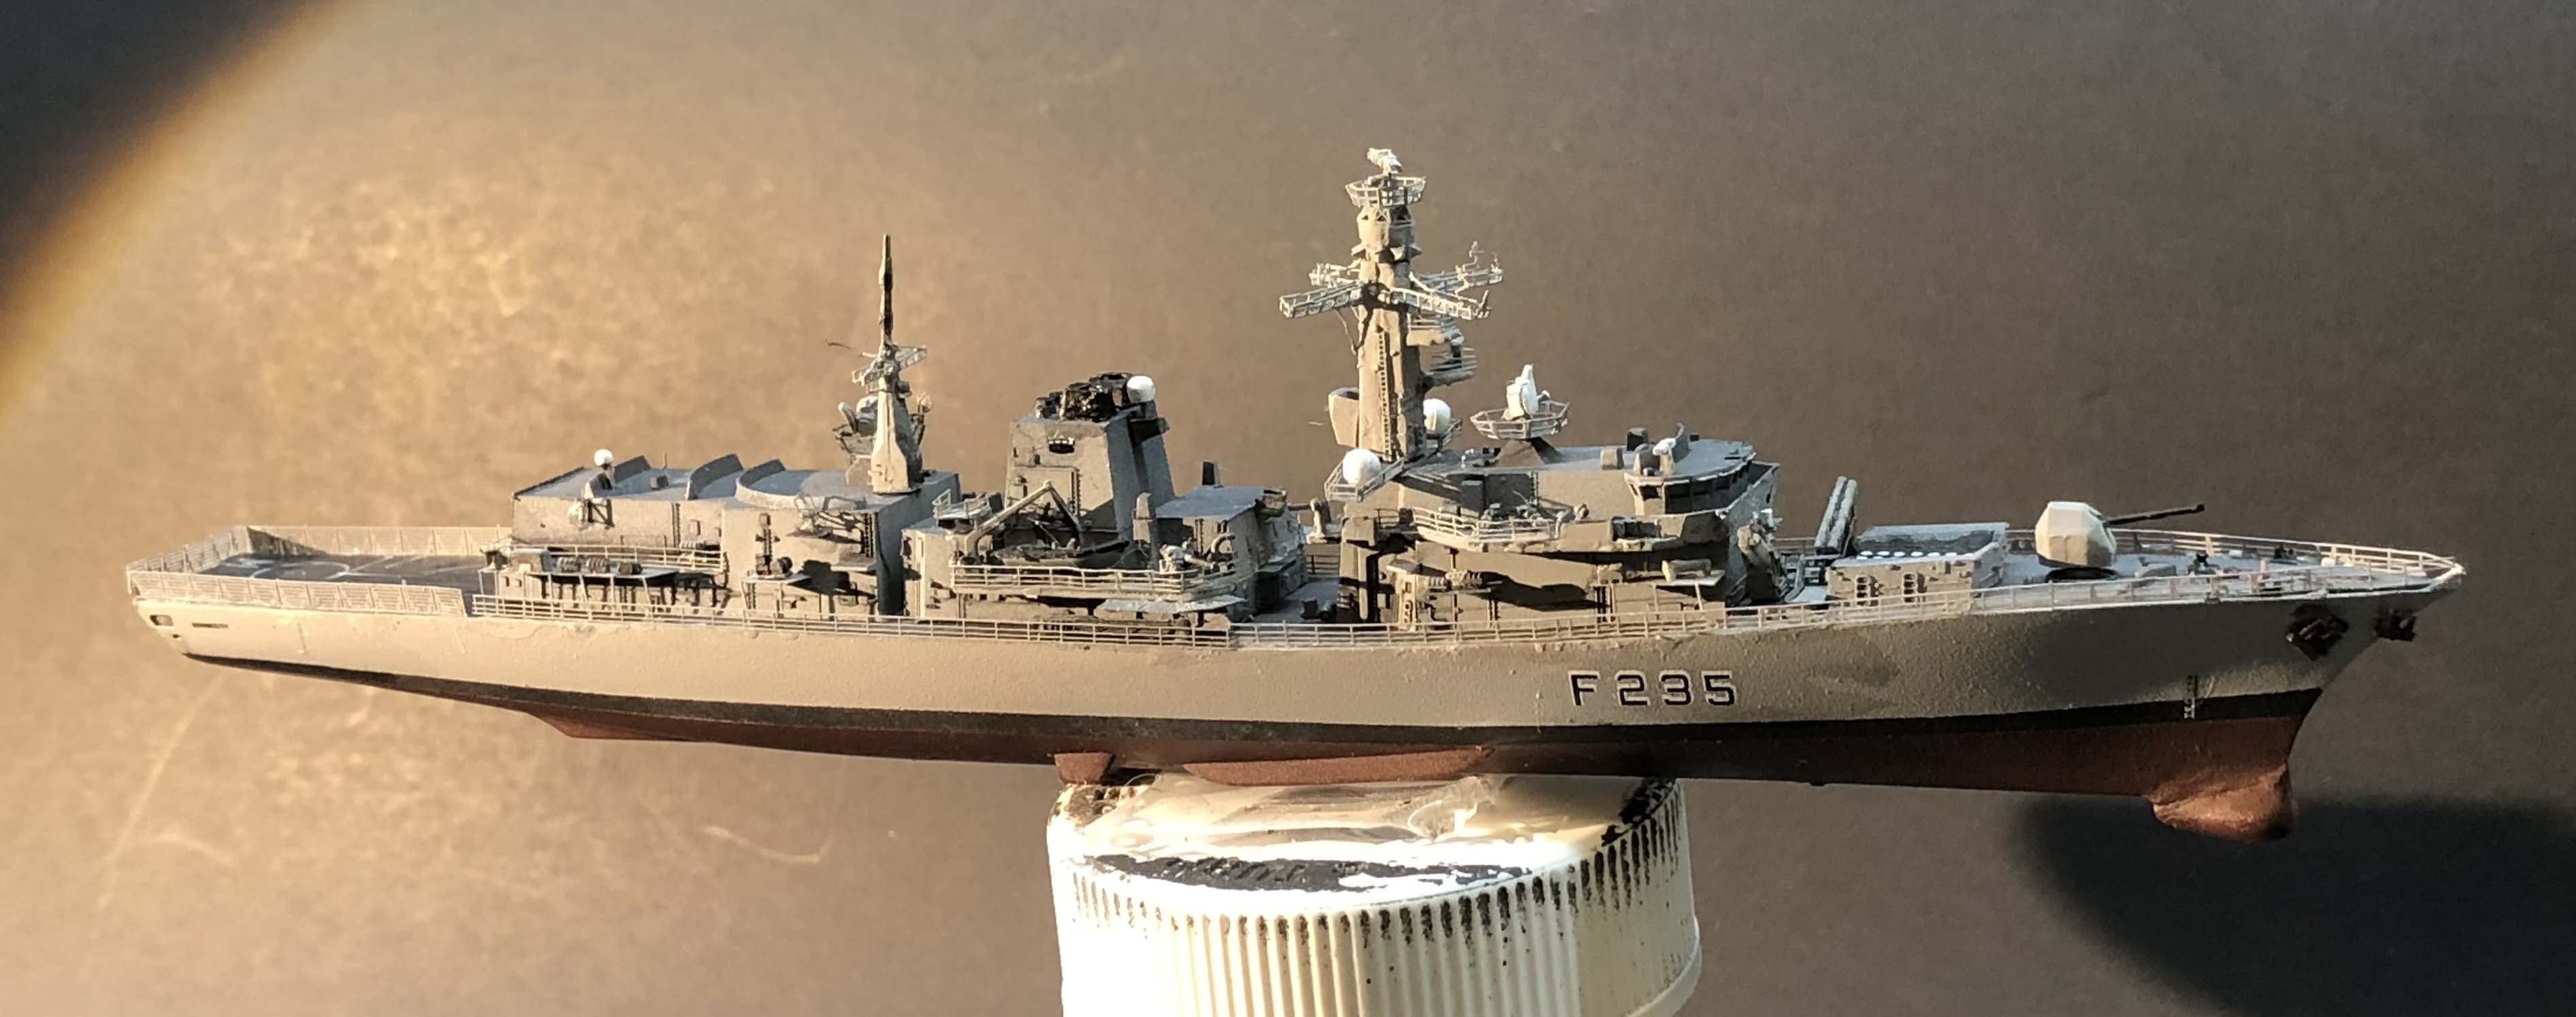
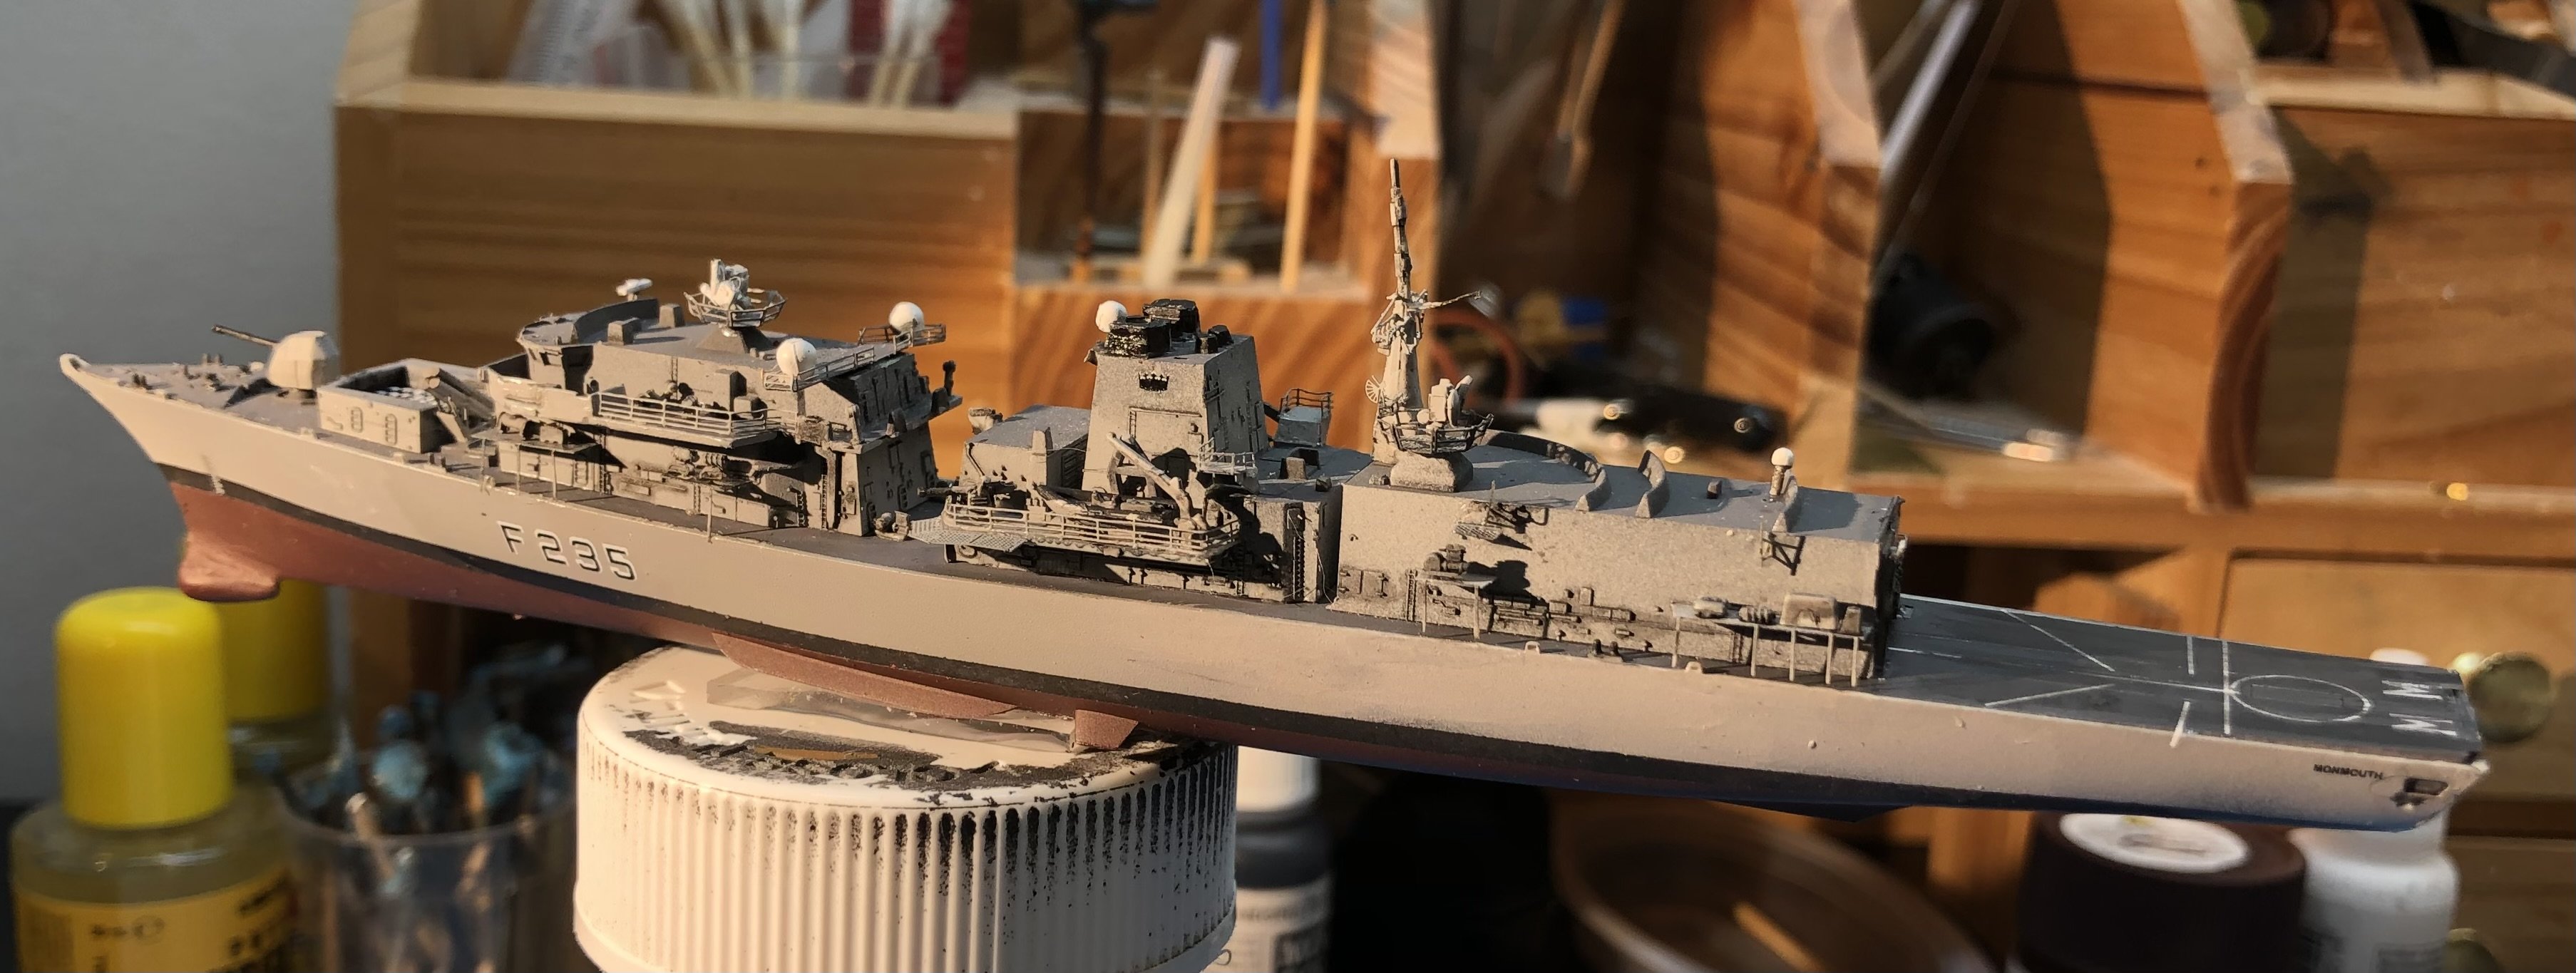
I don’t seem to have a lot of time at the workbench, not sure why. Anyway the seascape is sidelined while I work on the ships details. All the side decks have been added, along with the raft barrels. The WE PE sheet provides tiny supports for the barrels and after painstakingly bending them into shape, losing them, finding them and adding the kit barrels I decided I didn’t like them. They set the barrels far too high on the side decks compared to the photos of the real ship so they all had to be ripped off. Ive put a thin black oil wash to highlight the details and to tone down the white markings on the flight deck. The remaining tasks are the anchor chains, the deck railings and placing the foremast. Thanks for looking in, the likes and comments. alan


-
Well it is Christmas so I ordered one. Thanks very much for the information Mike. I’m sure it’s going to be very useful for dealing with fiddly substructures. Of course with flat shipping rates you can’t just buy one item.😁 alan
- 40 replies
-
- 3
-
-
- Five Star
- Akitsu Maru
- (and 1 more)