


king derelict
-
Posts
3,295 -
Joined
-
Last visited
Content Type
Profiles
Forums
Gallery
Events
Everything posted by king derelict
-
Progress continues but at the speed of printing. Adding the supports increased the build time so we are still working away on hull section 7. As you can see it will be a day and a half marathon when completed. The support structure for the prop tunnel finishes at the dotted line about halfway up and the tunnel itself is the upper section Thanks for looking Alan
.jpg.ad4792de4084dbe9a90f3b813fdbfa70.jpg)
.thumb.jpg.54076e20e15616781c35bc82ab2276f5.jpg)
- 460 replies
-
- 7
-

-
- Finished
- Flower-class
- (and 1 more)
-
Thanks Ron I wanted to document the holes in the road that I fell into that Yves skills and research kept him out of. Ultimately I hope it will become a proper ships build log but I wanted to address how I got there and the effort and learning that it took. Alan
- 460 replies
-
- 4
-
-
- Finished
- Flower-class
- (and 1 more)
-
Thanks Craig; I'll keep an eye on them I think the items you mention are probably areas where there is some compromise in a hobby machine and capable of improvement. Watching the vertical rod for run out it appears to be straight but I am learning that these machines are all about small errors. Also probably why you can spent $800 on a machine instead of $200 Alan
- 460 replies
-
- 5
-
-
- Finished
- Flower-class
- (and 1 more)
-
Thanks Egilman I'm looking forward to hitting the plateau😄. Getting the hull sections done will be a huge milestone Alan
- 460 replies
-
- 4
-
-
- Finished
- Flower-class
- (and 1 more)
-
Today was a monster grey spray day. The hull grey was sprayed (on the hull) and the superstructure modules and components got the light grey treatment and emptied my bottle of light grey. The masks were taken off and the hull and some structure is now ready for the wooden decks and then more detail and PE as they get built up. The fine detail and PE that Flyhawk puts in their models is starting so show nicely. Thanks for looking and have a great weekend Alan
.jpg.e3b5a656d08a15682ced7cf5b6277698.jpg)

.jpg.554ad68037d1502787d4b94531a18115.jpg)

-
Thank you for the kind words OC. I'm using the Vallejo black primer. I have their grey too but I like the black with thin layers of the final coat it seems to give some shading and depth to the model. I air brush it undiluted or with a few drops of their thinner. It doesn't need much thinner at all. Alan
-
Hi OC I expect you already know but there is a guy called Chris Dodson on a miniatures / war gaming forum who builds massive battle dioramas in 28mm I think (currently building Antietam. He has some interesting ideas for ground cover. May be worth a look. Alan
-
Thank you for the kind words OC. I'm using the Vallejo black primer. I have their grey too but I like the black with thin layers of the final coat it seems to give some shading and depth to the model. I air brush it undiluted or with a few drops of their thinner. It doesn't need much thinner at all. Alan
-
The slate floor looks like the real thing. I hadn't appreciated the size of the farm. This will be a spectacular diorama. Alan
-
The learning experience continues but there was some positive progress to help my sanity This morning I was very happy to find the print for hull section #3 had successfully completed. I sliced the file for section 7 and set the printer in motion. I initially used the Crealty slicer and set a skirt but it seems the program allows a skirt which is too large for the bed and the result is a tangle so I returned to the Cura slicer and a 6mm brim to help the part adhere to the bed. I was thrilled to find that the print looked good at the first attempt and I left it to its own devices. Driving to Aldi to buy coffee a little later it occurred to me that this was the section that has the propeller tunnel begin in mid section. This meant the printer was probably going to try to build the circular section in mid air and that was unlikely to end well. In hind sight the same problem was present with section #1 where there is a section of deck. I had been a bit disappointed to find a few layers of the deck to be loose and for some reason it didn't occur to me that the printer was extruding the filament without a surface to stick to and build from. I think I escaped lightly on this one probably because it was a straight line piece. Hopefully it will be salvageable. I couldn't see the printer coping with a mid air circular section so I reluctantly stopped the print which was looking nice. I went back to Cura and added supports and sliced again. Again (I'm almost afraid to say it) the print started well on the first attempt and is now in progress with supports in place. So I lost a few hours and a few metres of filament but at least I didn't let the whole thing print off. As I said above I'm almost scared to think about it too much but if I now have the bed reliably levelled it is going to make this project a lot more fun. Thanks for looking in Alan
.jpg.592df6cca6bc90c73daf5ab2e32c5b4f.jpg)
.jpg.32575604f5044a6232f07e21a95cf746.jpg)
.jpg.a68defad6badcd8bb0009cbfa6b16c4d.jpg)
.jpg.9d4b16bb4cf73d7f7be4890b9521ced4.jpg)
.jpg.8a3984e5a20d3f942b0301236792cc17.jpg)
- 460 replies
-
- 9
-
-
- Finished
- Flower-class
- (and 1 more)
-
Yesterday I started primer coast. I haven't used this much primer in a single session before and there are still a few parts still to do. Looking where I am with the build I think Flyhawk provided the parts for Scharnhorst as well so I think there will be some unused parts. Today the dark grey went onto the metal decks and the gun turret tops. Some light grey on the secondary armaments and small deck fittings. I masked the wooden deck areas so the wooden deck will be sticking to the bare plastic rather than paint. I'm hoping that will improve adhesion. I don't know if that is really necessary but I didn't want to mess up the wooden decks Next up will be masking the dark grey areas and painting the hull grey and superstructure before returning to building up details. Thanks for looking Alan
.jpg.a88d49c1eadb99e8decd744539c3381c.jpg)
.jpg.608ece151c9e7d44277acf4370444435.jpg)
.jpg.5129fa0003031607866b3b5260993417.jpg)
.jpg.8620b0236edd0489716e7aebe7ad6f23.jpg)
-
Yves She is looking spectacular as the paint and details are added. Its an inspiration for me flailing around in the trenches. Alan
- 321 replies
-
- 7
-
-
- Finished
- Flower-class
- (and 1 more)
-
Craig She looks great. The details are so neat and clean - and there are a lot of them. I'm hoping the Geisenau will break me in for attempting the Hood when it arrives. Alan
- 225 replies
-
- 6
-
-
- I Love Kit
- Hood
- (and 2 more)
-
In spite of getting a good test result from the levelling technique mentioned earlier it took a stunning 23 attempts to get a print to establish on the bed. My new found knowledge from the leveling exercise did allow me to understand that the front right corner was not perfectly level and was resulting in the print lifting or the nozzle ploughing the print. The movement of the adjusting screw from too much gap to too little seems to be less than 1/4 turn of the screw. So each attempt was made with the front right screw being tweaked a small amount and the print started. again and the initial layers observed to see how they are laying down. I suspect that these hull prints which use the full scope of the bed are much more sensitive to leveling issues than a small print in the centre of the bed. I thought I had a good print initiated but returning after an hour I found the front right part had lifted from the bed and been moved by teh nozzle and a distorted print was resulting. At 1am I managed to get a clean looking start to the print and it is now in progress with 5 hours still to run. It will be interesting to see if I can go straight into another hull print without having to go through the levelling voodoo first. I had hoped the stronger springs would remove that need but we shall see sometime tomorrow
.jpg.c9ed83ac8d37b177e8d61c0d291ef394.jpg)
.thumb.jpg.992a62988d2ad0a8ce694d356fa4bbdd.jpg)
- 460 replies
-
- 9
-
-
- Finished
- Flower-class
- (and 1 more)
-
Thanks Yves That's close to what I'm using although I have the bed at 65C. I haven't tried a deck piece yet. I'm trying to tough it out with the hull sections. 😄 Alan
- 460 replies
-
- 5
-
-
- Finished
- Flower-class
- (and 1 more)
-
From my limited experience the thin even coats of paint that don't hide the details will impress you and really make your work look good. I need to learn to shade and free hand areas like the masters but even at my level of ability I get results I couldn't emulate any other way. Alan
-
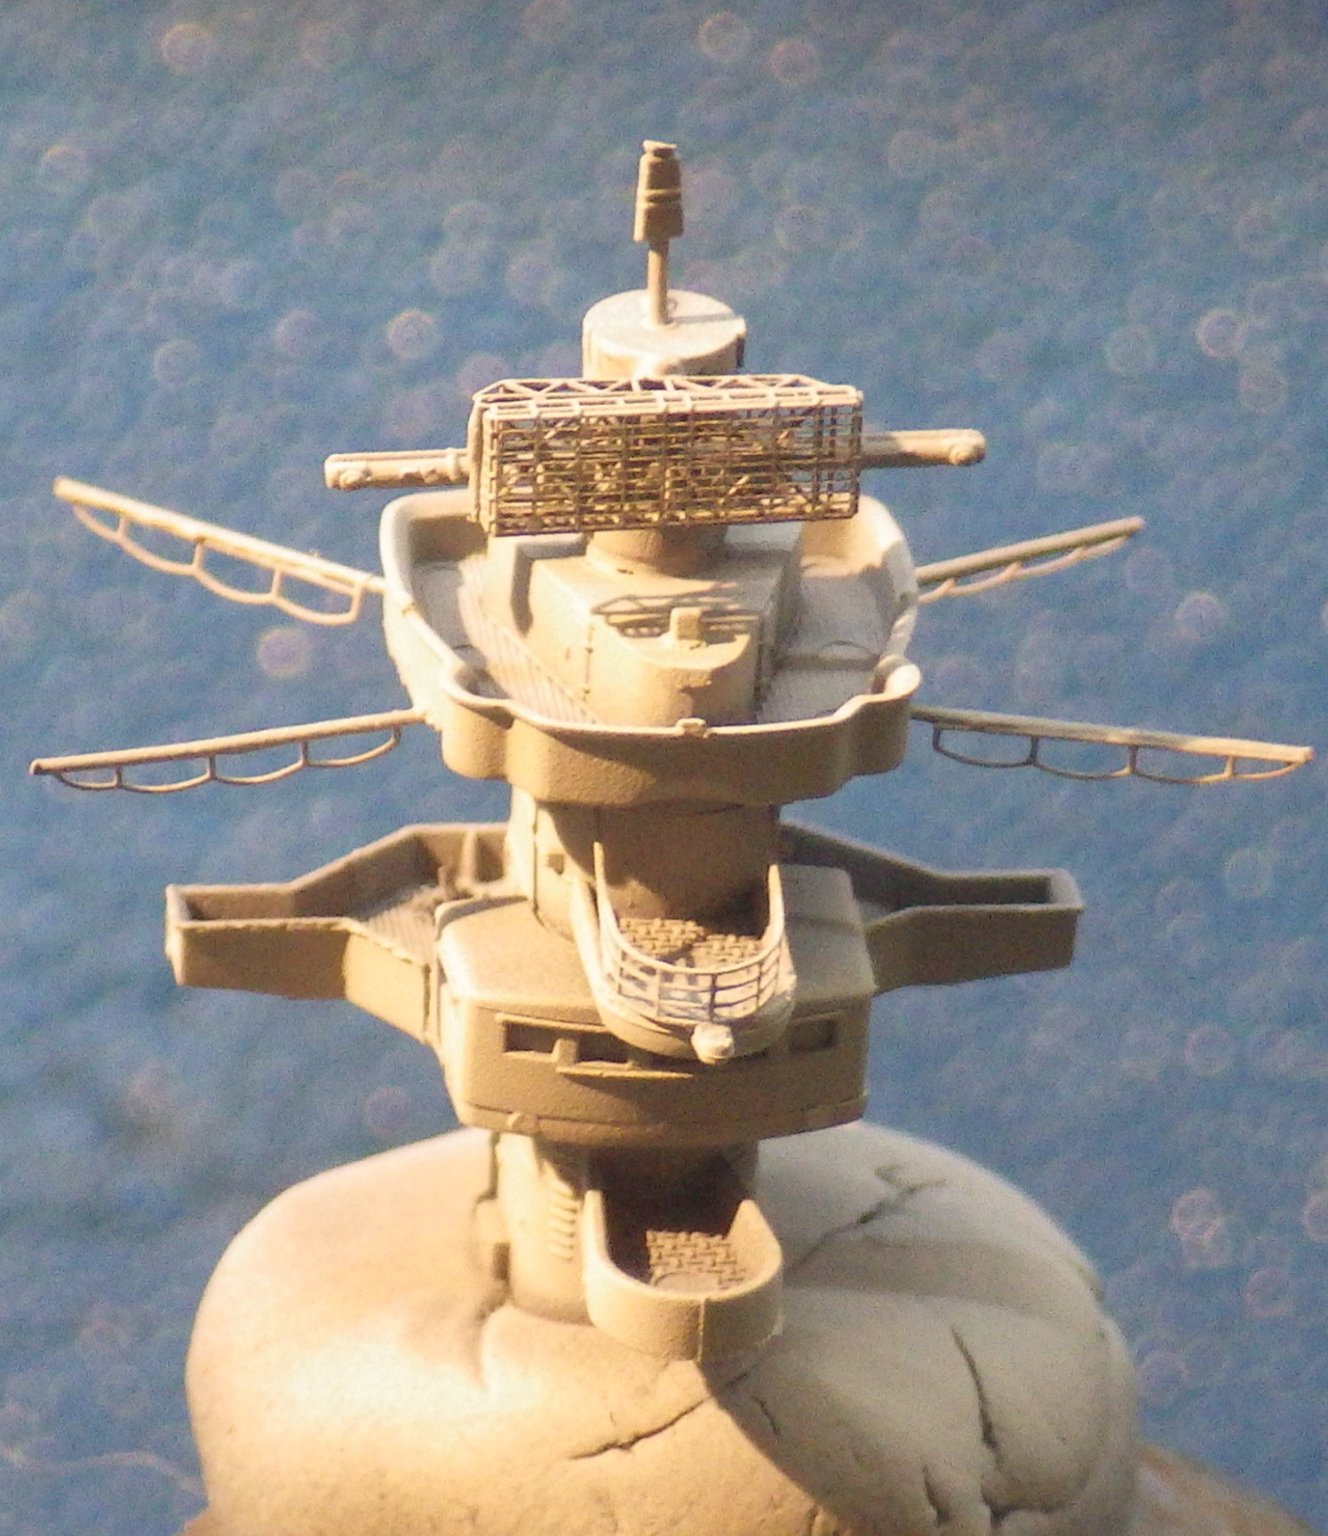
Not a lot to report - guns and more guns. I finished adding the brass barrels to the 105mm guns. The all plastic 37mm guns were fiddly and the barrels are very delicate. Cleaning the sprue off was a bit nerve-wracking. No spares for this calibre. I have one more set of brass barrels to install in the individual 150 mm turrets and then the paint shop awaits. I see Mt Stubby Fingers accidently moved one of the 105 mm barrels. These photos are great for catching that sort of stuff Thanks for visiting Alan

-
Thanks Yves Unfortunately the euphoria didn't last. I'm on my sixth attempt to print hull section three. All attempts without a brim wouldn't stick and although the Creality slicer allowed a skirt the skirt was actually off the print bed so it created its own tangle of filament. I'm on my second attempt with a narrow brim. The first attempt somehow picked up the brim and folded it across the rest of the print. I'm trying again with the speed dialled down to 60% and so far it looks like it might work. I ran the test print between attempts and it is still good. It is all a bit confusing. I went back to the Cura slicer. It seems very similar to the Creality version but it seems to be better about not allowing print off the edge of teh bed. I also notice that the prints are not centered on the bed but biased to the left. I'm not sure that is normal but if there are any hull sections wider than section 3 I think it might be an embarrassment. Thanks for the usage figures. I'll have to include my spaghetti balls and factor up a little. Alan
- 460 replies
-
- 6
-
-

-
- Finished
- Flower-class
- (and 1 more)
-
Great news. I'm sure you will make some great models with it once you become familiar with it. Alan
-
There are a wealth of videos out there some, of course, better than others. I watched one in my early days which recommended that you dilute your stock paint in the bottles. I have read subsequently that will ruin the paint quickly. I have also seen it stated that Hoppes (gun oil) should be used as part of cleaning the airbrush. I think the experts here are the source of quality advice. Alan
-
Hull section 2 with a narrow brim successfully completed printing last night. There are a few fuzzy bits on the weld lines but I think they will sand off without too much trouble, I turned the nozzle temperature down from 210 to 200 for the last half of the print and that seemed to clean up the print and as it did nothing for the bed adhesion I will revert to 200 in the future. Its been an interesting day for tinkering with the machine. The new springs arrived this afternoon and are both stiffer and better made with machined ends that hopefully will not move around during use and adjustment. It was a quick job to fit them. The new ones are the golden one on the right And installed There is a much better resistance to the levelling wheels now and it feels as if a lot of play has been removed. I watched a YouTube video with what looks like a very rational approach to levelling. I hope its acceptable to post it. After setting the nozzle gap with paper as seems common the author provides a test piece to print and then adjustments are made relative to the test piece results rather than the paper gap setting. The test piece showed a problem with the front left corner having too large a gap and a minor one at front and right. These have been the problem areas throughout with bed adhesion so it was interesting to see a potential explanation. I made very small changes to teh front wheels and the third print was successful. Tomorrow I will find out if this translates into an easier time with hull section #3 but for now I'm quite excited to feel I maight have progressed a little. Thanks for looking Alan
.jpg.b0069721f92a2f19d654aa4a286c7812.jpg)
.jpg.62818bef8d089f5fdc1966d746c8844e.jpg)
.jpg.3def2904f423044f9e28bea69c78cebb.jpg)
.jpg.e439cf4f1e46a68b9ac7da1e92a9ef92.jpg)
- 460 replies
-
- 10
-
-
- Finished
- Flower-class
- (and 1 more)
-
Thank Yves I hope this log might compliment yours and also present some of the bumps in the road that I found and you missed. I'm beginning to think the levelling springs are an area where there is variation between machines. Even with all the initial problems I am grateful that you recommended the Ender 3 v2. In spite of the grumbles both my colleagues are excited by what can be done with a machine at that price point. Alan
- 460 replies
-
- 5
-
-
- Finished
- Flower-class
- (and 1 more)
-
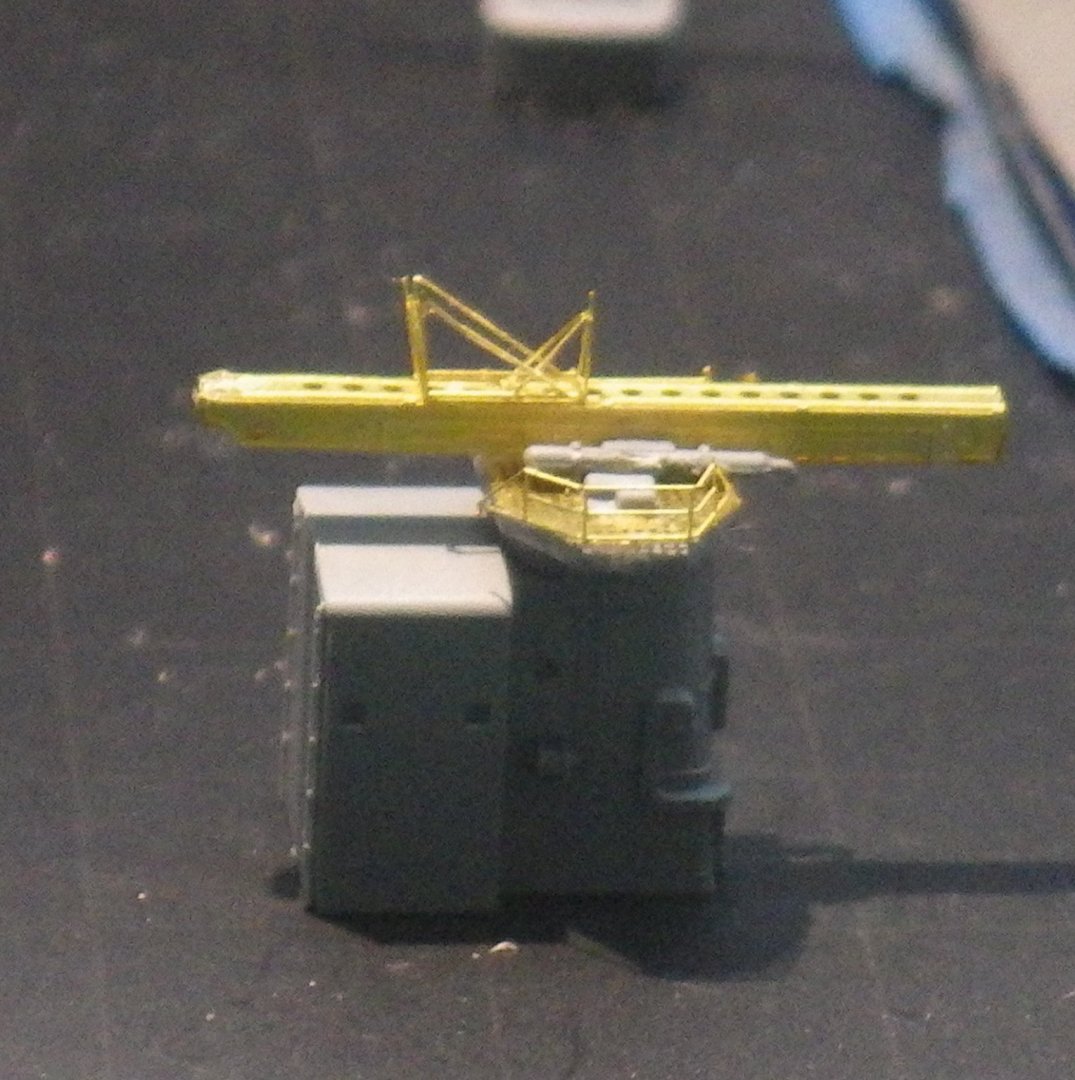
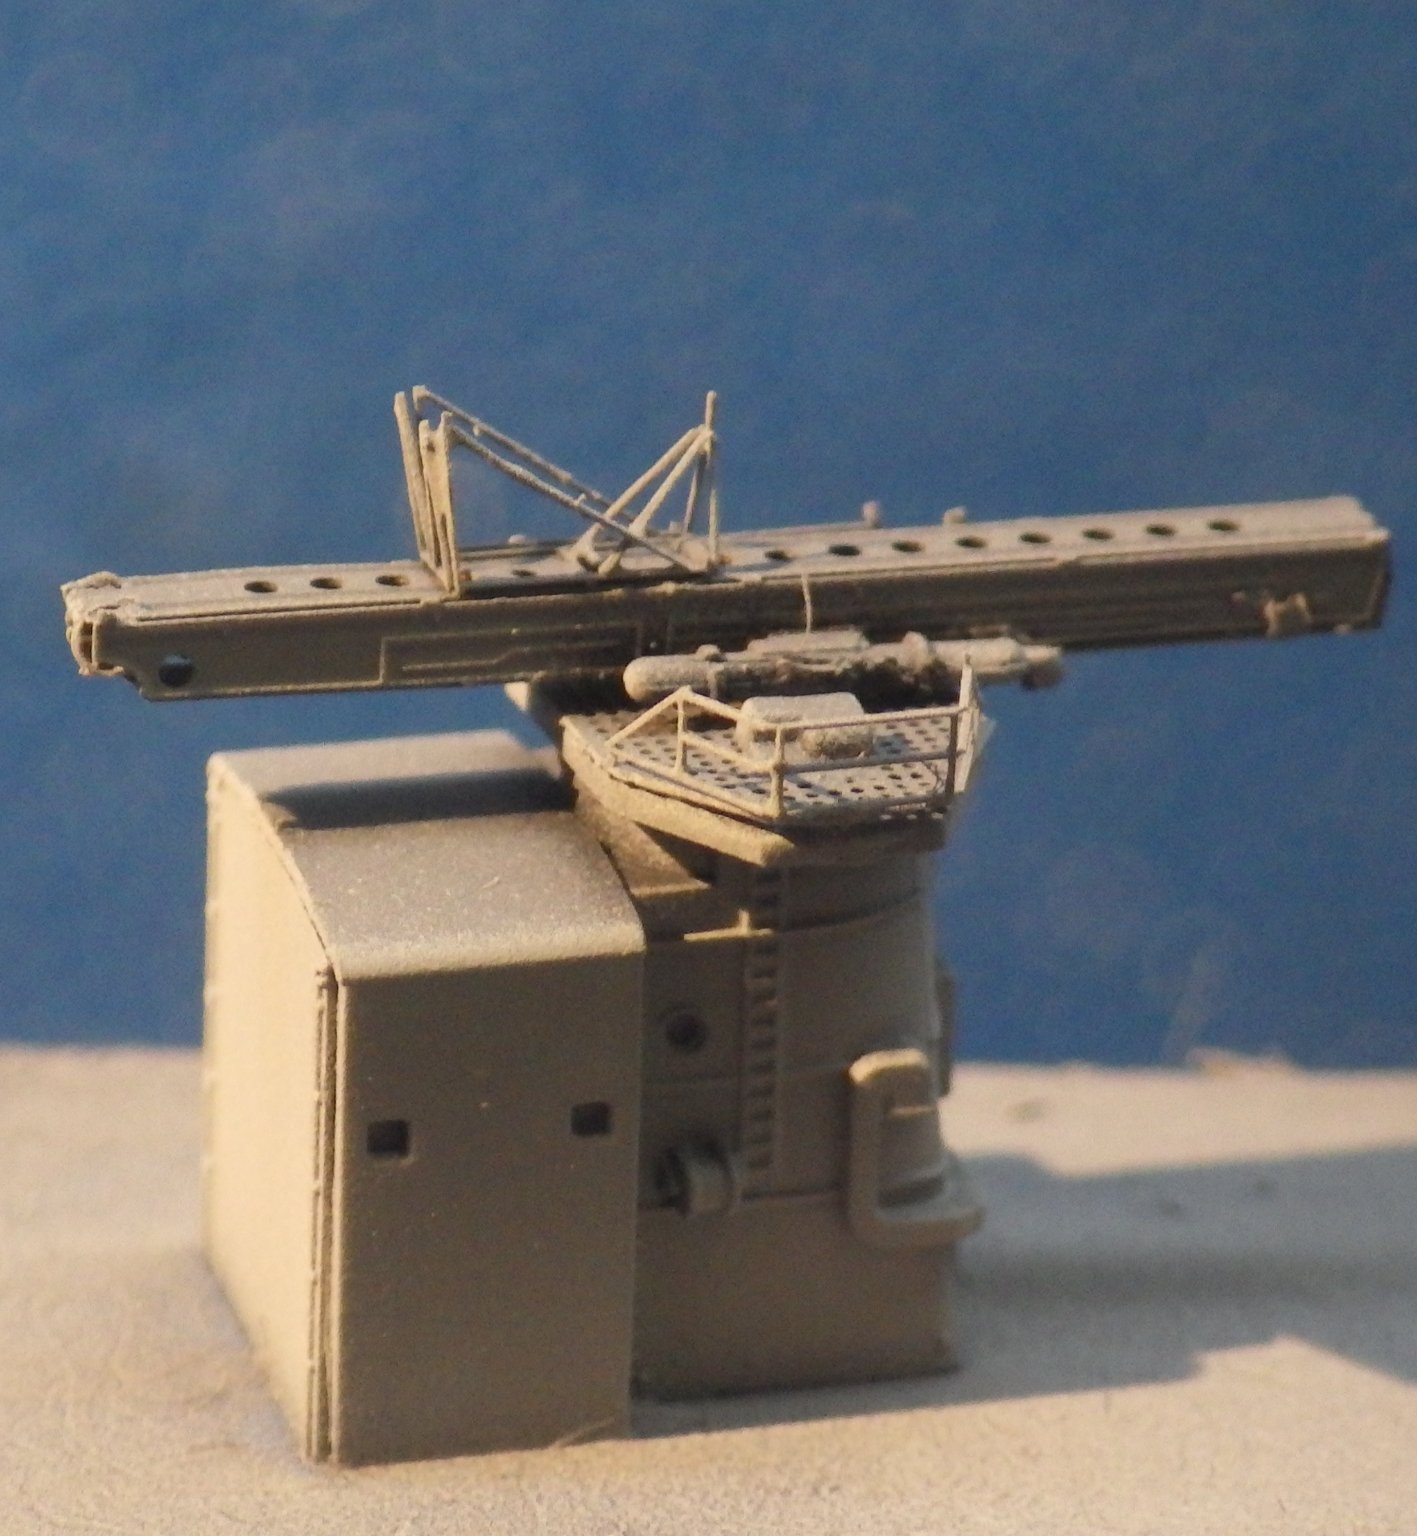
So the only assembling that got done at the weekend was putting together a treadmill for a friend who doesn't like walking in the Florida summer. Back with Geisenau I thought I would knock out the remaining brass barrels and start painting. I hadn't realized how many barrels there are to install and how small they are. I did think I might just stay with the plastic barrels because they look quite nice nut when you put the brass barrels next to them they look a bit clumsy. These are the 105 mm guns I believe And the 10 In the end I managed to do half the 105mm and about the same for the 150 mm guns. I think there is another package of barrels lurking in the box still to be used. I did complete the catapult PE and mounted it along with a few other miscellaneous parts. The pile of parts is lowering a bit and I'm looking forward to getting some primer in place. Its slow because I'm generally having to evaluate whether I can build up an assebly or find I've complicated my life when it comes round to fitting the wooden decks. Thanks for looking in Alan
.jpg.4a4793242a8d8028471938f49d8211cb.jpg)
.jpg.d6245ebe5d20543e938dacb8f9ac6727.jpg)
.jpg.260b9ca4fd1fedd26b93f81414070771.jpg)
.jpg.3c2c62fc6aee2f8e3462f2e6fede33d7.jpg)
- 132 replies
-
- 10
-
-
I'm a novice at airbrushing so I'm happy to be contradicted here. I use Vallejo acrylic thinner and it seems to work well with the Tamiya and AK acrylics I use. It is low odour too. I learnt that keeping the nozzle nice and clean is a big contribution to a decent paint session. I think you can use window cleaner or Chlorox cleaner too instead of the proprietary stuff. I haven't got brave enough to try that yet. I'm getting results that I am happy with, certainly much better than the brush but I still have a lot of learning to do. Alan
-
This is starting to look very good, well it always did really but now its really taking on some life. It gives me a real goal to aim at. Alan
- 321 replies
-
- 9
-
-
- Finished
- Flower-class
- (and 1 more)
.jpg.f8380cca4bf3b7cfe1b042b704c59e44.jpg)
.jpg.9b2c979e4e663bf6831343ba5082a291.jpg)

