


Jorge Hedges
-
Posts
119 -
Joined
-
Last visited
Content Type
Profiles
Forums
Gallery
Events
Posts posted by Jorge Hedges
-
-
Hello All!
Trying to pick your brains here...
Looking for opinions on Unimat vs. Sherline, why your pick, and would you go lathe only or with mill?
Your input wanted... I'd like something not too complicated, as it will be my initial plunge to this type of tool, but I wouldn't want to waste money in something that I may get as a package, as opposed to buying afterwards separately (and more expensive probably).
Would like to be able to input the measurement electronically, for precision sakes.
Would this be a good package to start? https://www.ebay.com/itm/SHERLINE-4410-C-3-5-X-17-LATHE-METRIC-the-C-Package-INCH-SEE-PN-4400C/153087814518?hash=item23a4beab76:g:5noAAOSw1qtbPkxD
In the meantime, will continue to read on both items... thanks, as always, for your help!
Jorge
-
-
-
On 4/19/2020 at 12:03 PM, samueljr said:
I've added two like new condition AOS book titles to my library reduction sell-off
THE NAVAL CUTTER ALERT
THE SHIPS OF CHRISTOPHER COLUMBUS
Each is in like new condition
Each is $35.00 plush shipping or both for $60 plus shipping
Other titles can be found on my earlier thread
I'm also adding the entire runs of MODEL SHIP BUILDER and SHIPS IN SCALE magazines
PM me with questions or order(s)
I'll be updating the list next week
Thanks - Sam
Hello Sam! Do you have the AOTS Alert book available? Please advise, as I am gearing up for this build. Thanks!
Jorge
-
-
-
-
Thanks for the square stock tip... I definitely have some. And great image of the Anatomy of the Ship - The Ships of Christoper Columbus. Thank you tons!
Jorge
-
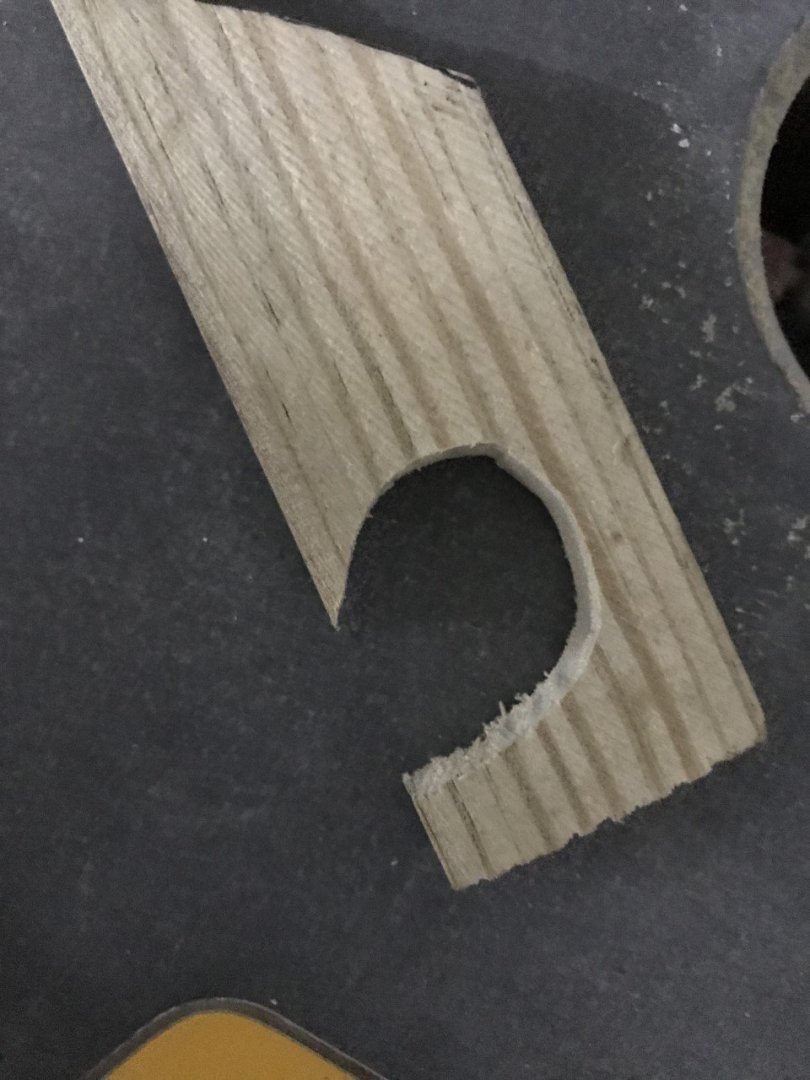
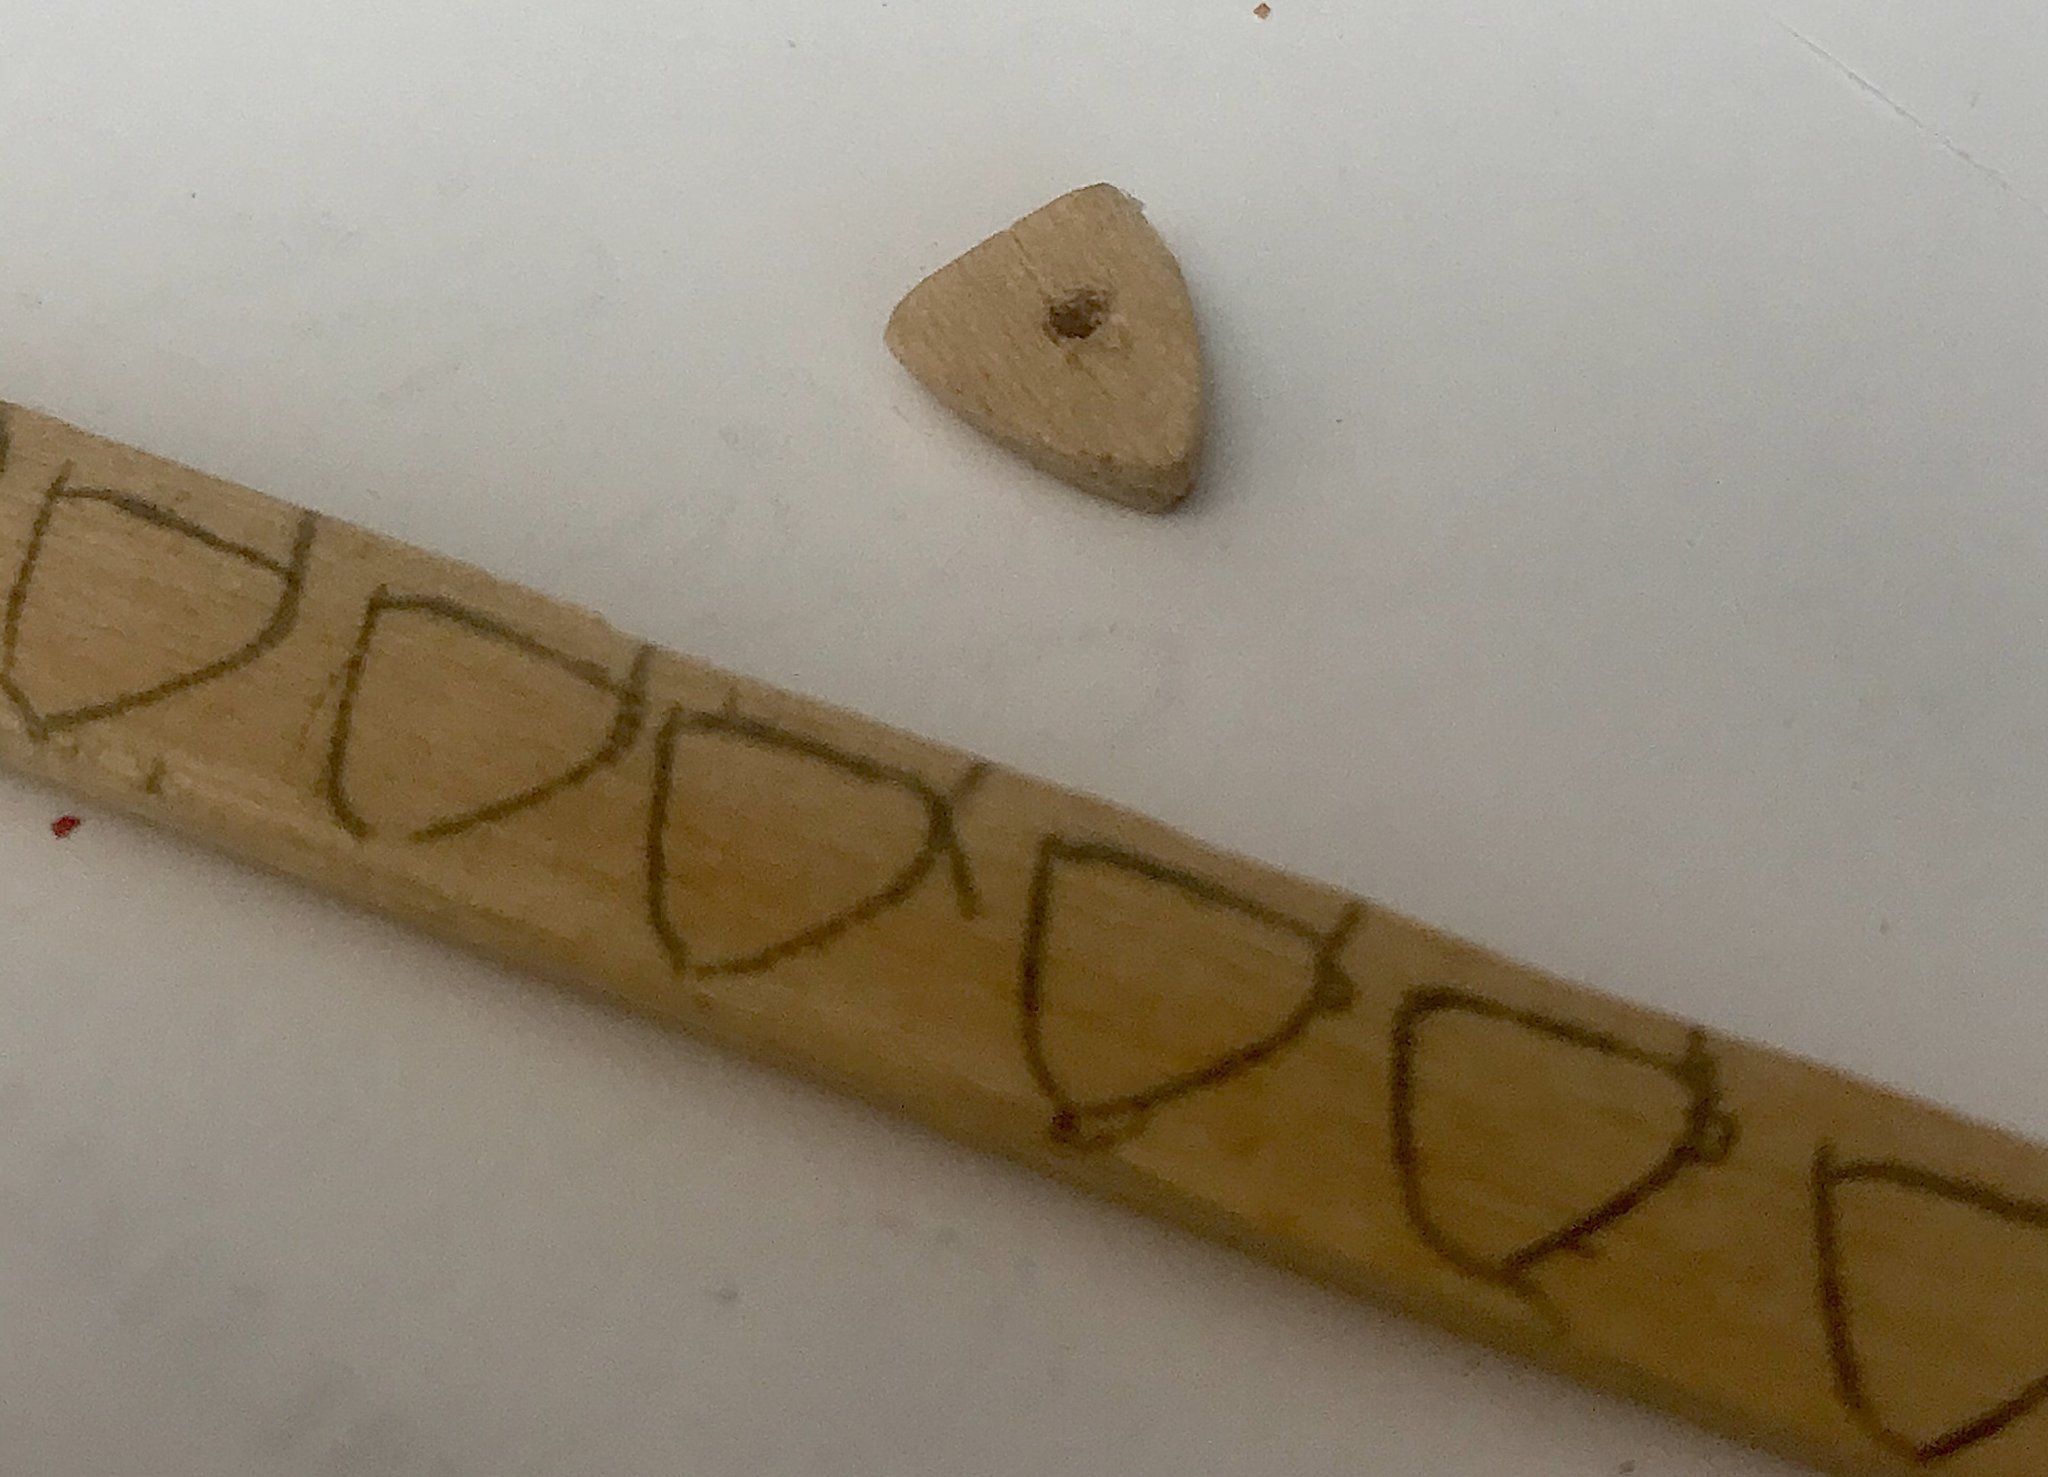
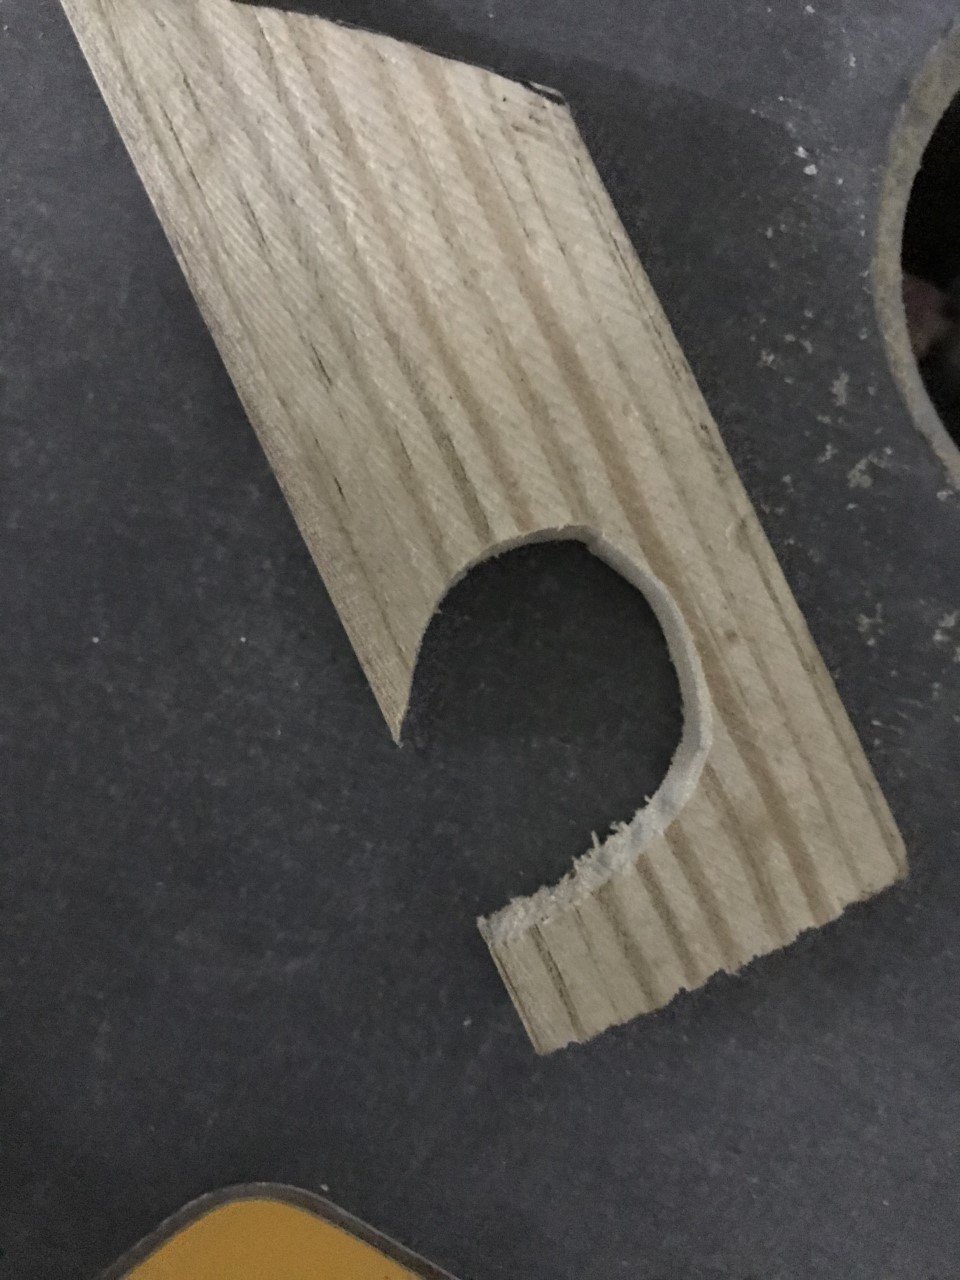
Here's the start of the scratch ones... I think I have to reduce it a tad, and I definitely have to open the center a bit more. I think I will coat them in CA super thin for penetration, and make them stronger for the center work. Then I can sand and tint... or maybe tint first, CA coat, work, and sand... test phase!
Any recommendations welcome!
Regards,
Jorge

-
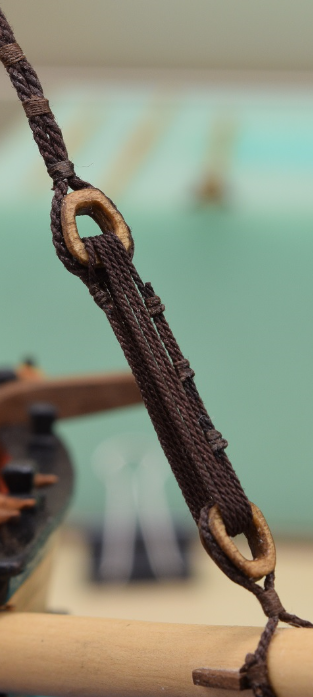
So, not much info found to date after searching for a couple of days on and off.... anyone have any image or picture of how the caravel deadeyes were rigged, and what type was used? I've see some kind of boxy ones, and others have mentioned the heart type. Also, in a Caravel, would they be tied down to a cleat, or some other fixing type was used?
Not sure which one would be more period correct, and would love to improve the look of the mini-Mamoli kit. I am set for building them (as the size will be an issue for purchasing purposes), and would kike to rig correctly, so if any feedback/image can be shared with me, it will be greatly appreciated!
Pics below are the best that I have found...
Thanks,
Jorge

-
-
-
Hello All:
Two quick questions... Who makes the best La Nina caravel kit? Why do you think it is the best kit?
Look forward to your replies... would like to build one of my favorite vessels of all time... It is definitely impressive the use it was given for a vessel of that size, in an era of many unknowns, navigation-wise relative to knowledge of our globe.
Thanks!
Jorge
-
-
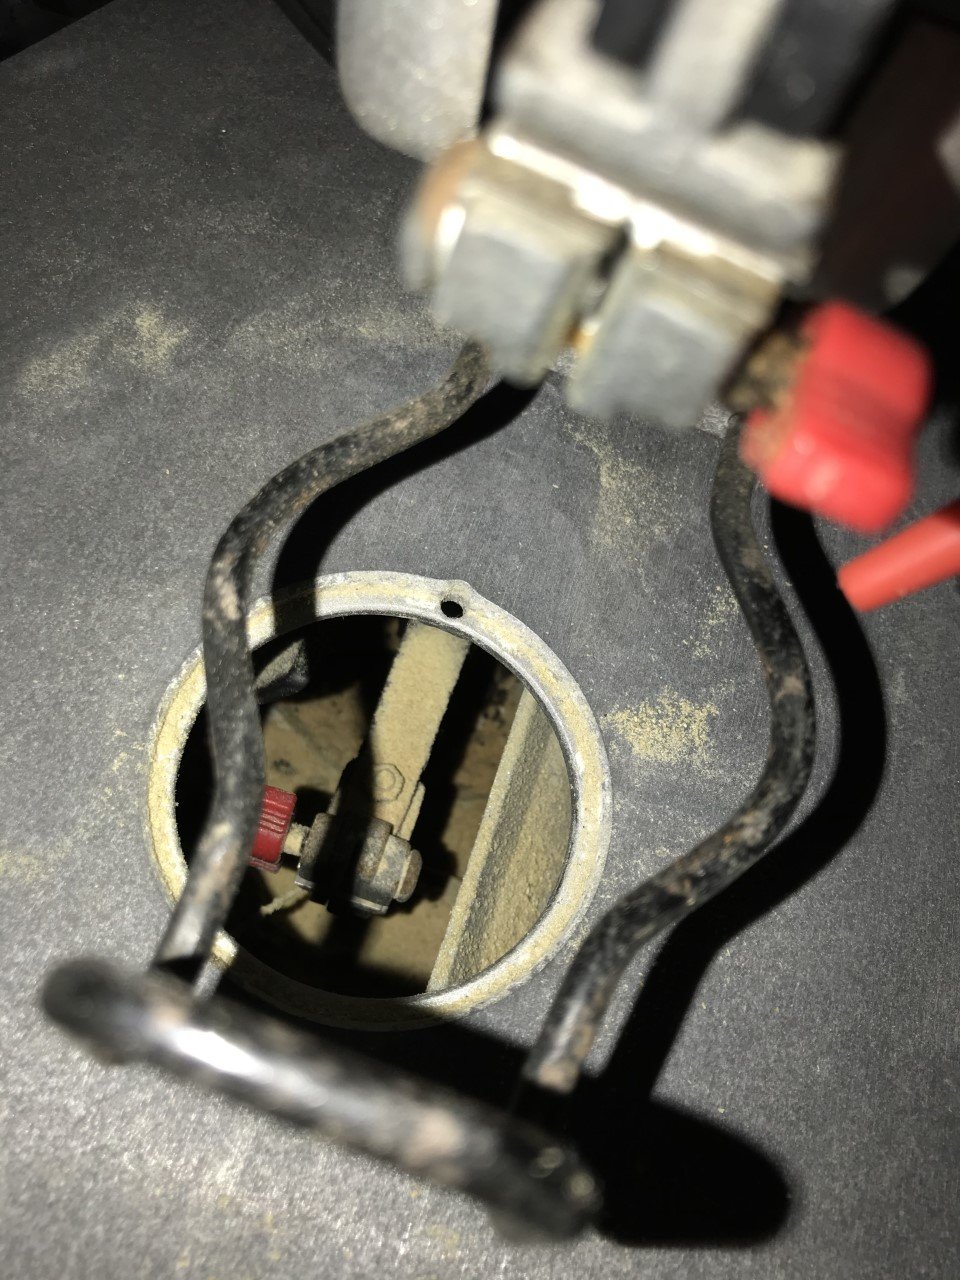
13 hours ago, Jaager said:
Jorge,
Here is the type of vise:
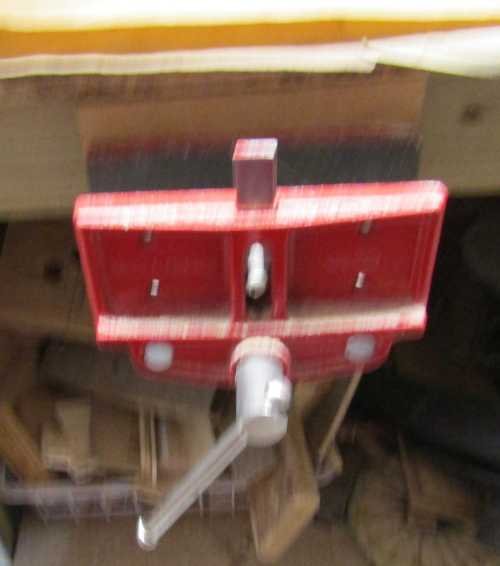
The top of a work surface intended to be clamped by the vise:
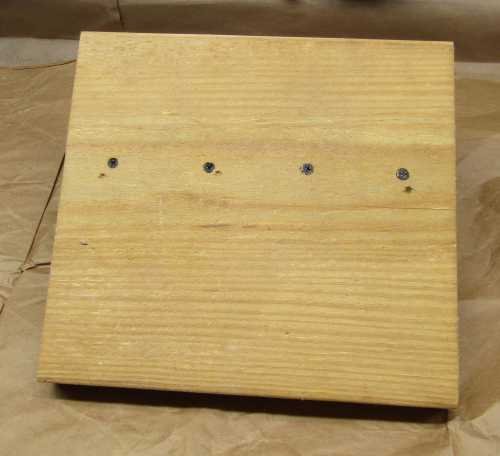
The bottom of the work surface with the tongue that fits into the vise:
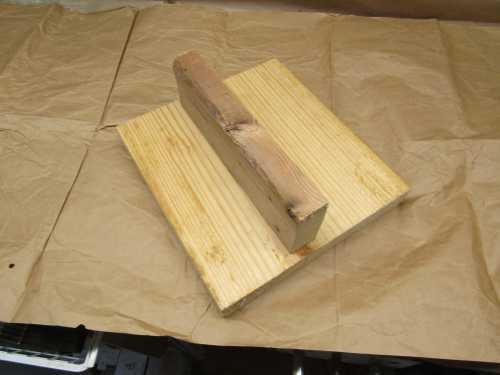
A mechanics vise bolted to a piece of 2x12 and clamped by the bench vise:
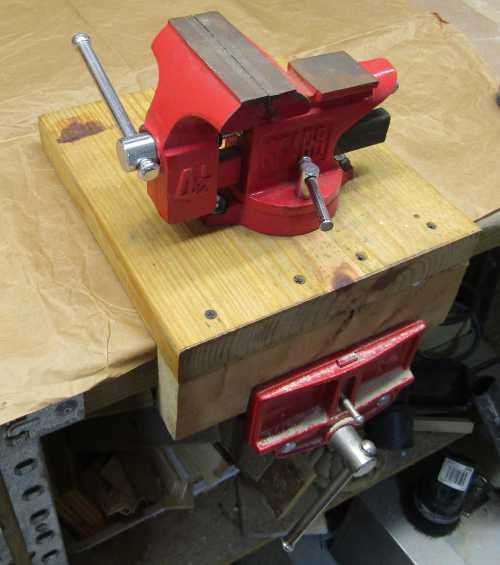
The specific tools for my 9" bandsaw, placed to be at hand:
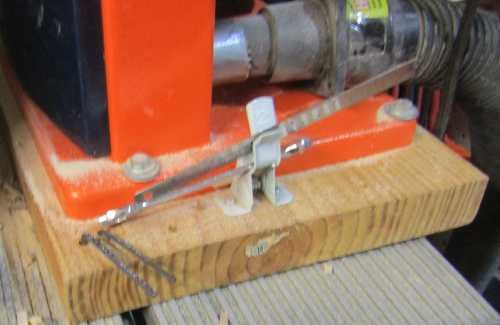
The 6" steel ruler - I have several and they seem to hide if I do not detail them to a tool. The bandsaw is heavy enough not to need clamping so I removed the tongue.
Gotcha; thank you tons! The difference is the vise installed on the table. Thanks again!
Jorge
-
On 4/24/2020 at 2:12 PM, Jaager said:
Rather than bolt tools directly to my bench top, I added a woodworkers vise under the front of the bench - a cheap HF vise that wants to rack when tightened, because the tolerances are from poverty. But I do not do full size wood projects and it is not needed for that.
I use a 2x12 to make a tool base. I use lag bolts to secure the tool and to mount a second piece of 2x12 to the front of the base and make it long enough to engage the vise.
I can store the tools under the bench and have the whole bench open when I need it. I can interchange a grinder, machinist's vise, 9" band saw.
There are open wrenches specific to the saw. I fixed a spring clamp that is for dowels used for clothing hangers to the top of the base. It holds the wrenches, but easily turns them loose. Holes in the top hold tool specific Allen wrenches.
It looks like a 2x12 may be difficult to source, but the width is good to have.
Hello Jaager!
Any pics you can share related to your bench/vise setup? I would like to see if I can apply your concept, even if having to use a variation of it.
Thanks!
-
Ok, adjusted last night everything.
Clamped down the saw with 2 c-clamps, for testing sakes, and vibrations were markedly lower. So all in all, I have to put some kind of light isolation pad, and bolt down to the sturdy table at the garage... unit is pretty much usable, big time!
Now, I have to make a cover from either wood or aluminum where the saw blade runs, so onto the next mini-project (pic below).
I cut a 10mm pine or dense plywood piece (I really couldn't tell what wood), and the unit pretty much behaved well for the type and size of the wood. These rough cuts can definitely be sanded down as needed with my spindle sander, or files/sanding paper.... the " circle" attempt is about 1" diameter.
All in all, saved money for the blades (any good recommendations for this scrollsaw), and most importantly, for the Byrnes Sander, which according to them, mine should be available within the next 3 weeks.
Thank you all for the support!


-
-
This is the hand me down scroll saw i have... will do some double checking on finer adjustments, and see if I can clamp down/bolt to the table to see what happens... I assume that if affixed to the table, vibrations will cease, and I may have saved some extra cash... for a Byrne's sander...! I think that this unit with good blades still has some life left for frame cutting.

*crappy pic, BTW... I may get a better, detailed one...
-
-
On 4/26/2013 at 10:02 PM, Dee_Dee said:
Does CA glue have a ‘shelf life’? Specifically, AFTER the bottle has been opened?
Reason I ask, is for the past few months, I’ve been using a bottle of ‘Mercury Adhesives M300M’, orange label, medium viscosity, 2 ounce bottle. Starting yesterday, this glue will not ‘set up’ and 'do its job.' Today, I squirted some on to a piece of cardboard and two hours later, it was still sticky and ‘gloopy’ (a technical term.) There’s about 15% left in the bottle (bottom of the label.) I’m positive I did not contaminate the glue and always keep the cap on the bottle.
With just 15% left in the bottle, is there too much air in the bottle?
The obvious fix is going forward I’ll stick with the one ounce bottles. But I’m just curious why this happened. ……Yes, I know what ‘they’ say about the curious cat.
It sounds like I use a lot of CA, but I don’t. When I do use it, I squirt some onto cardboard and then apply with the tip of a bamboo skewer. More than half of what goes onto the cardboard is still on the cardboard, no cross contamination as one side is for CA and the other for Elmer’s and separate bamboo skewers for each.
Thanks
Dee Dee
After opening CA, I store it in the fridge. It is the humidity of the air that causes the CA, with time, to become "gloopy" and "non-stickiness". I live in Puerto Rico close to the beach, so the humidity tends to damage/render useless CA if left out for some time. I have had to throw away half-full CA bottles, until I was told about the fridge trick. And mid you, I use Titebond II for my wood work; CA is for minor stuff and plastic and resin military miniature builds (1/35 scale)… a whole different world!
-
Hello Gents!
Need you to sell me why a scroll saw or a band saw.
I have most of the tools already (Both Byrne's table saw and thickness sander, Proxxon mini table saw, etc...), and have currently have an older Craftsman scroll saw. Unit works, but it sure seems to jump hard (strong vibration up and down) when in operation. Already opened it up, lubricated, checked, and I can't find the source of the harsh vibration... maybe better adjustment on blade tension?
Anyway, it doesn't help that the base is round, so I'm thinking of making a square aluminum base so I have a bigger platform that I can countersink/both it to the tool's round platform, and be able to even maybe clamp a fence, as I have seen in some woodworking sites.
So, long story short... if this harsh vibration continues, and cant really use it for more delicate work, what brand and model of a band saw o scroll saw would you try to sell to me? I am assuming that the most use it will see if for frames, when I finally decide to do my own frame version of cross sections or full framed hull.
Appreciate your input!
Thanks,
Jorge
-
Hello!
Quick question... anyone have a spare Mantua Panart Battle Station instruction booklet in English that can part with?
I have an older version of the kit, and it only came with a plan sheet in Italian, and looking at some recent images and videos, so I could get a feel for the project, I noticed that newer versions have this instruction booklet now included.
I have googled for this manual, as well as Model Expo, who has some instructions in their website, but no dice...
Any helping hand out there with a link to instructions or an extra manual or scans?
Thank you tons!
Regards,
Jorge
-
Hello!
Will start soon the deck planking of the Model Shipways Niagara Brig. Interested in determining what pattern is used for the laying of the same.
Any diagram/image/pics greatly appreciated!
Thanks,
Jorge


Unimat or Sherline... your feedback, please...
in Modeling tools and Workshop Equipment
Posted
Thank you all for your great feedback, and taking the time to provide detailed information. Will definitely keep reading, and asking if it comes to that.
And when about to pull the trigger, will advise, with the reason, and see what your feedback is once again.
Appreciate it tons!
Jorge