MORE HANDBOOKS ARE ON THEIR WAY! We will let you know when they get here.
×


mfrazier
-
Posts
253 -
Joined
-
Last visited
Content Type
Profiles
Forums
Gallery
Events
Everything posted by mfrazier
-
 I have downloaded the plans, today, so far and will be studying them. This is going to be a fill in project while I build the "Victory", so it will be going slow for me. I haven't decided yet if to build from scratch or order the laser cuts. Still have to decide on wood also. I intend to build both ships simultaneously using this one to fill gaps and when I need a break. So many decisions before I start though. Will check out the parts on Syren first thing though. Mark Frazier
 -
anyone who has built the Caldercraft HMS Victory, can you tell me the dimensions of the brass fire buckets in the kit?
-
Daniel, I built the same model by Occre and spent many hours studying those directions (and I use that term very loosely) trying to figure out the rigging instructions. Finally one day they made sense after many many hours. I found the references to the lines correspond to a chart they supplied for locations where they attach and go. they also show a partial view from the side but don't reference there is another the same on the other side of the ship. They were difficult but made good sense once you get them figured out. Mark Nice build , by the way.
-
I have read that Syren is the place to get good rope. Once I get the kit, I intend to replace all the rope if it is not good quality. I have been researching some other sites that offer quality replacement parts for the Victory. Once I get the kit, I will replace anything that I feel is not as it should be whether I make it or buy it. I have the means to make most anything. I have been reading and bookmarking several of the other Victory builds on here for tips and ideas. There have been some great ones.
-
I believe once this ship is finished, I will revisit it later and replace all the rigging with better materials and correct my mistakes. Most people won't notice the flaws or mistakes , but I do. My mate is anxious to put this ship on display in the living room. I will take a short break as I'm off to the Cleveland Clinic heart institute tomorrow ,while I await my next build which should arrive in a few weeks. It is the HMS Victory by Billings Boats, 1:75 scale.
-
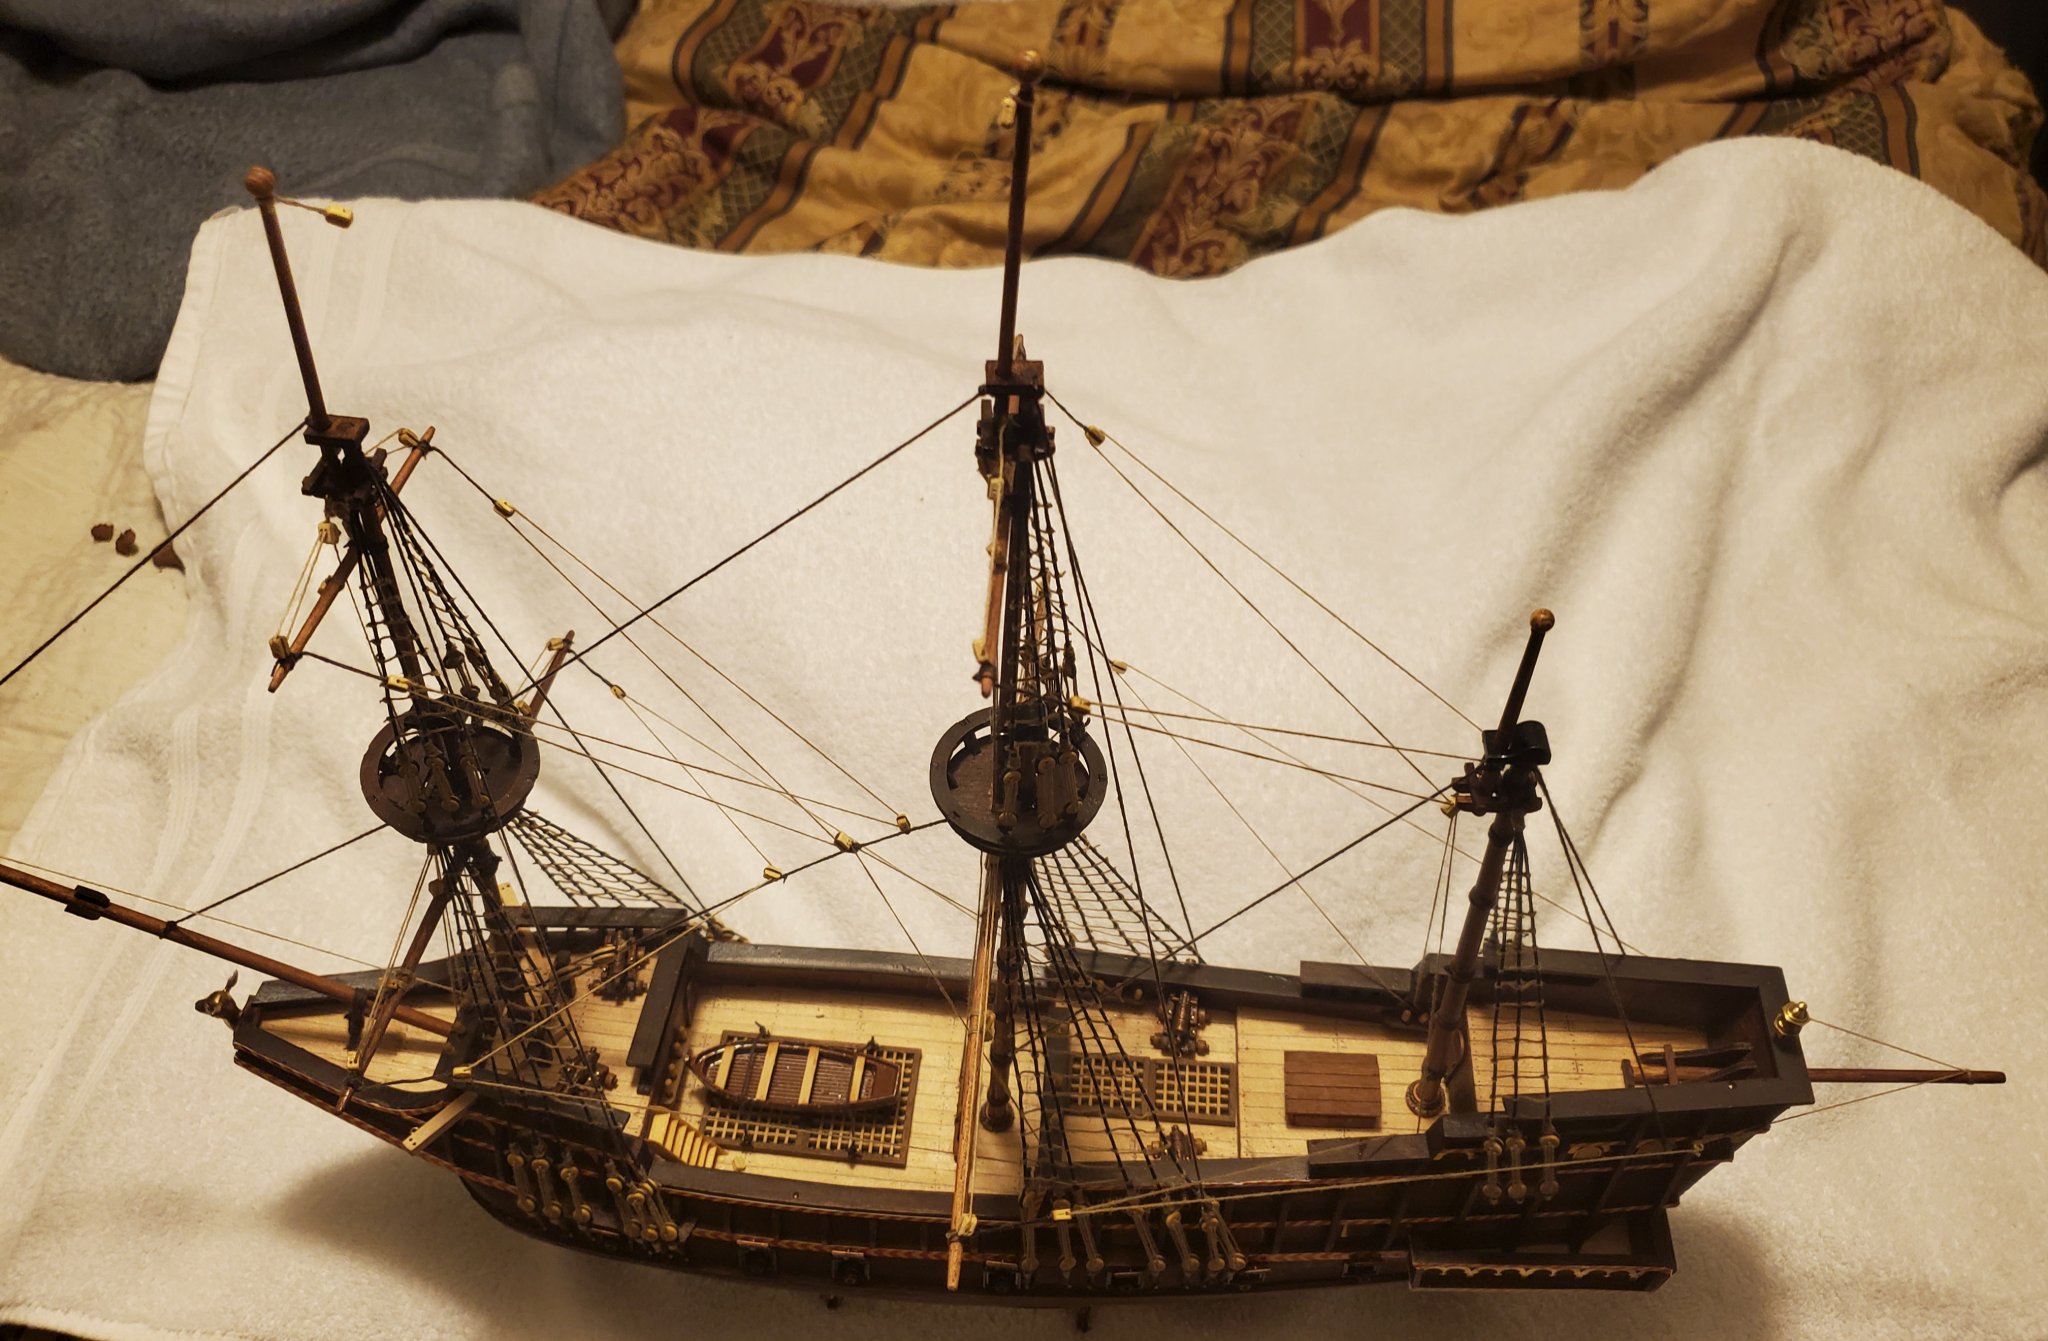
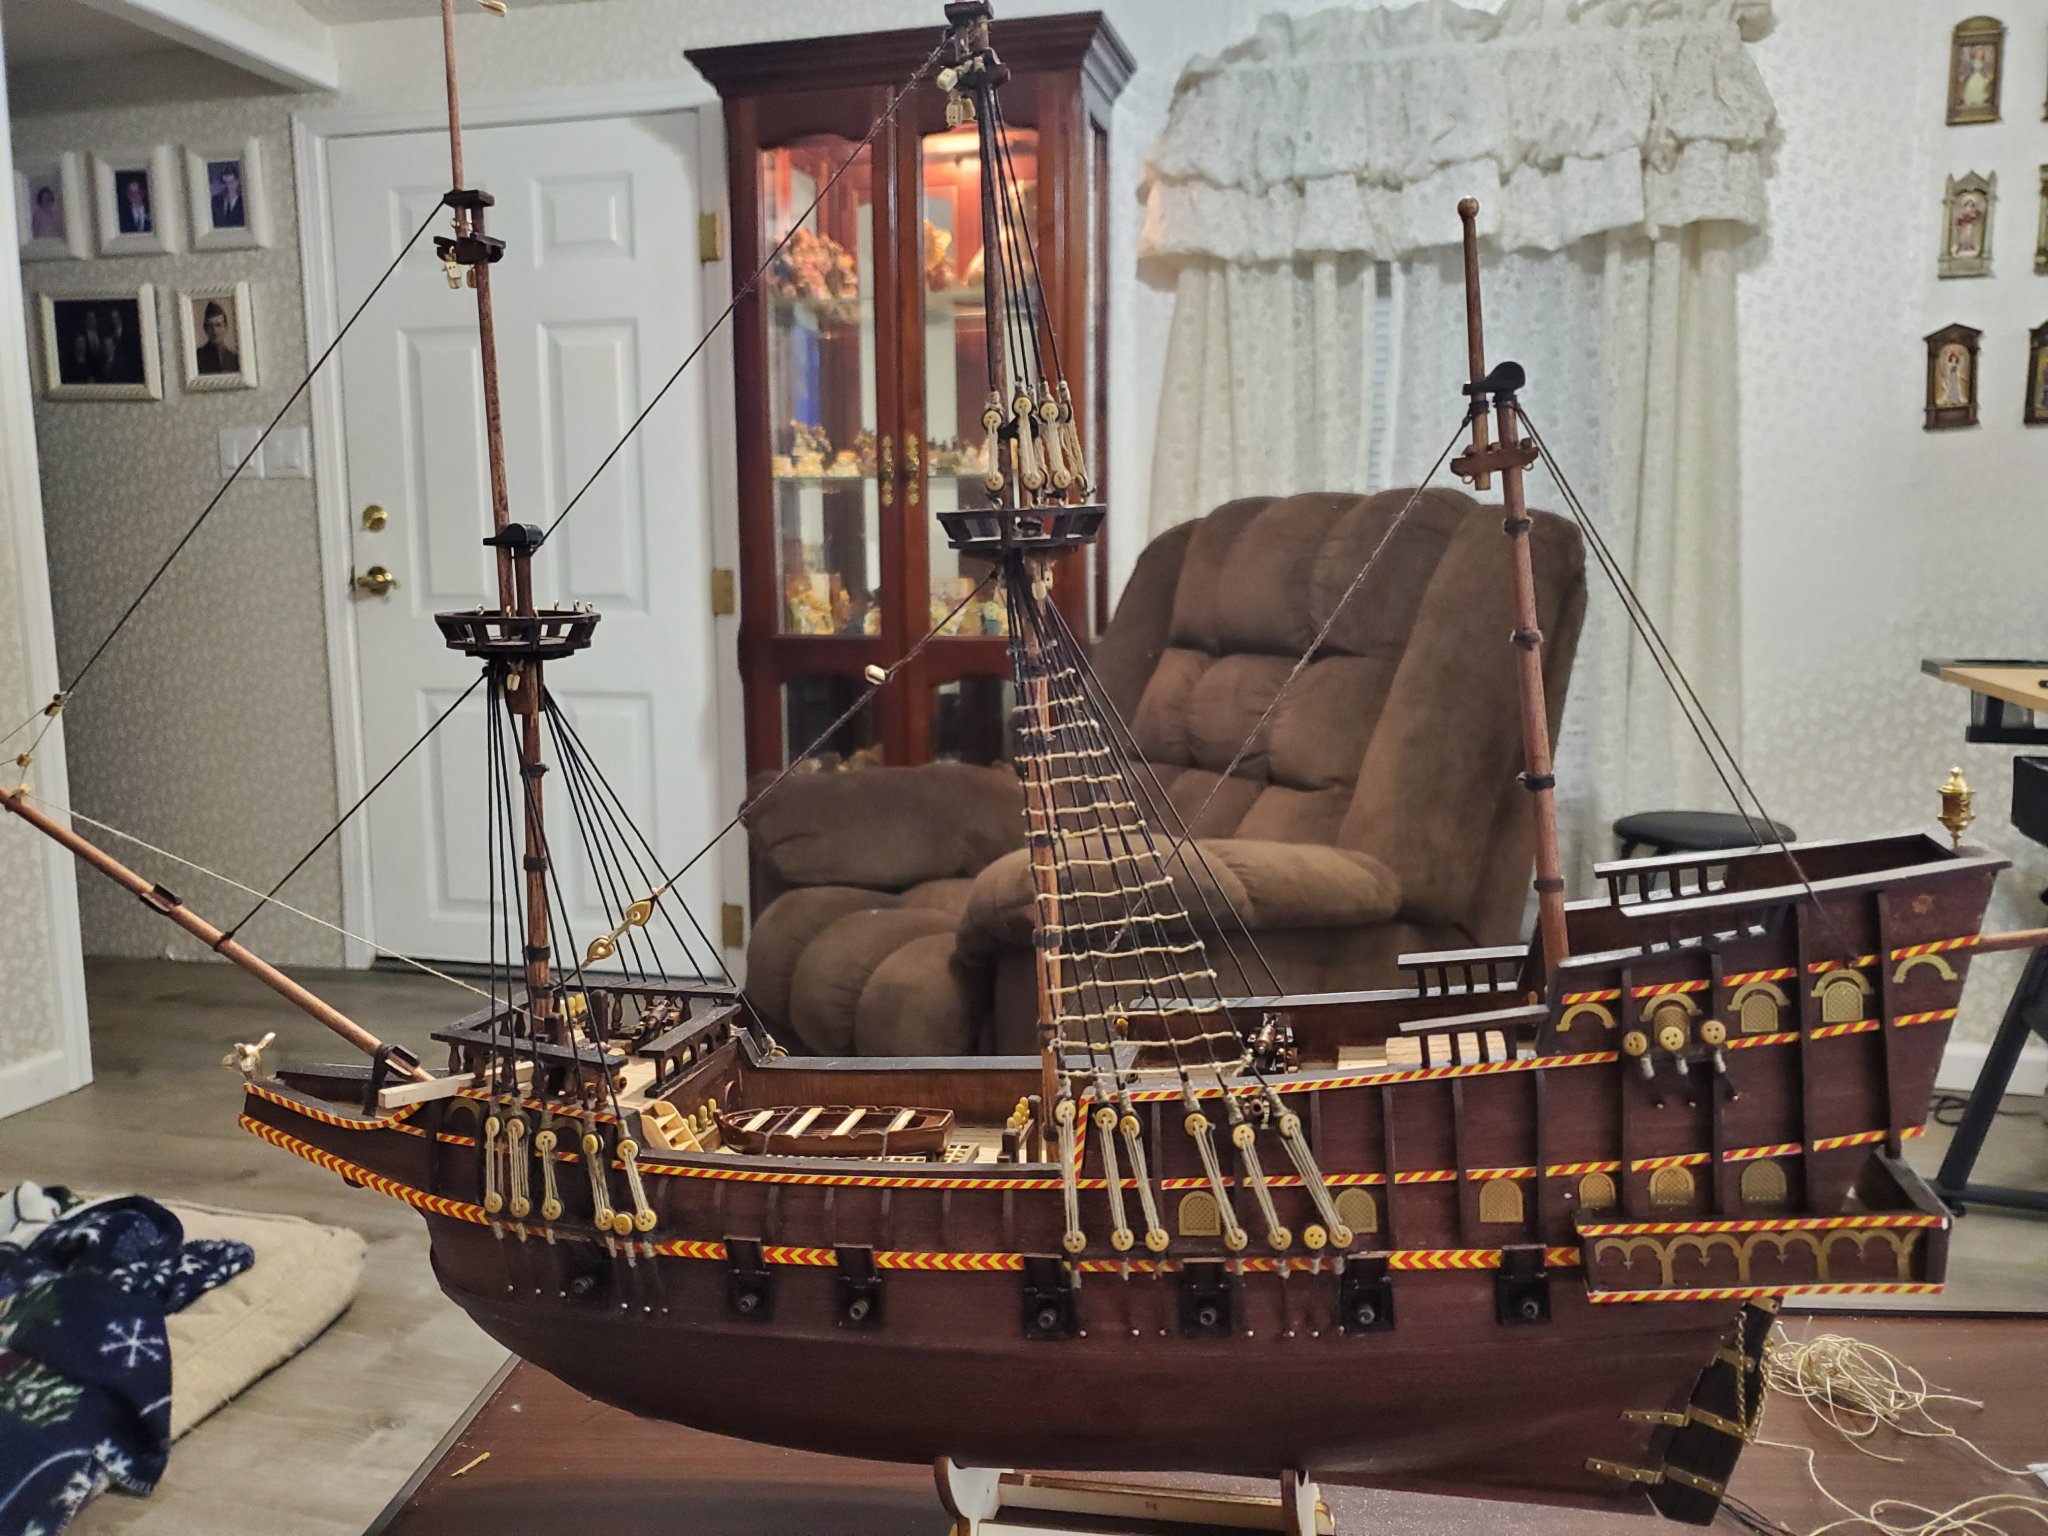
This build is wrapping up soon. I still have to rig the mizzen mast and the bow sprit. I learned a lot on this build and made some mistakes, but all in all, it went pretty good. The only real complaints I have on this kit is the quality of the rigging materials, meaning the blocks and rope. The rope was very "fuzzy" and the blocks needed a lot of work. I have chosen not to put the sails on. I don't know if it's the way they were made, but I put the main sail on and did not like the way it looked. They seemed too big. When I redo the rigging, I may put sails on rolled up.

-
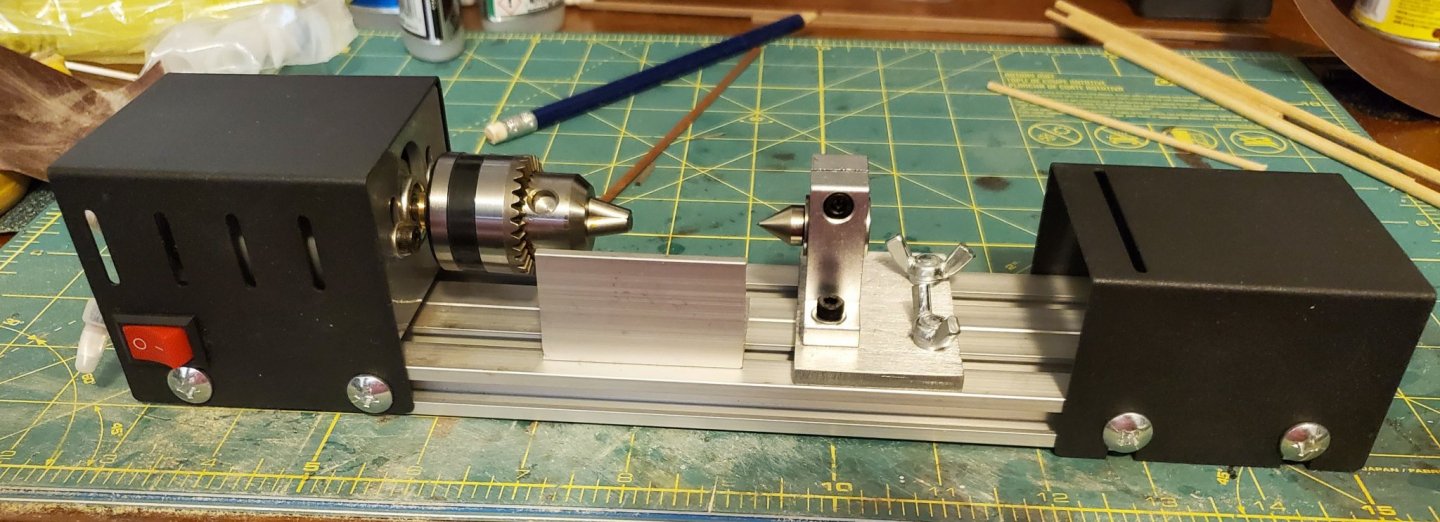
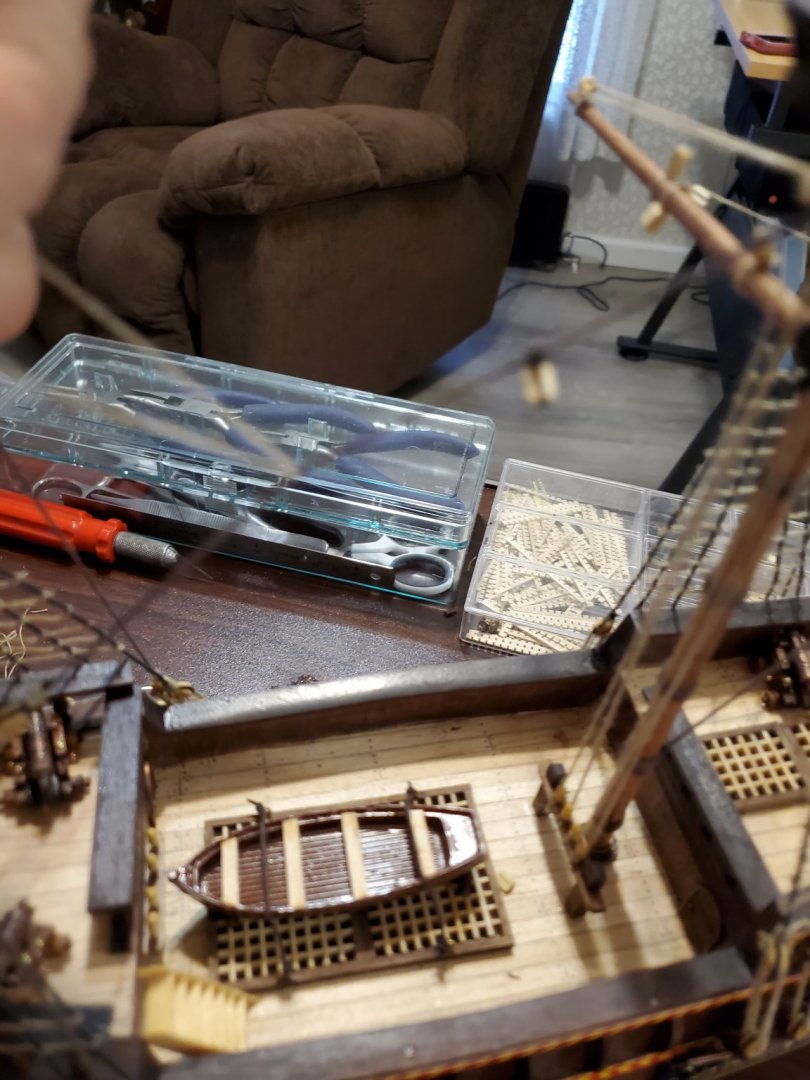
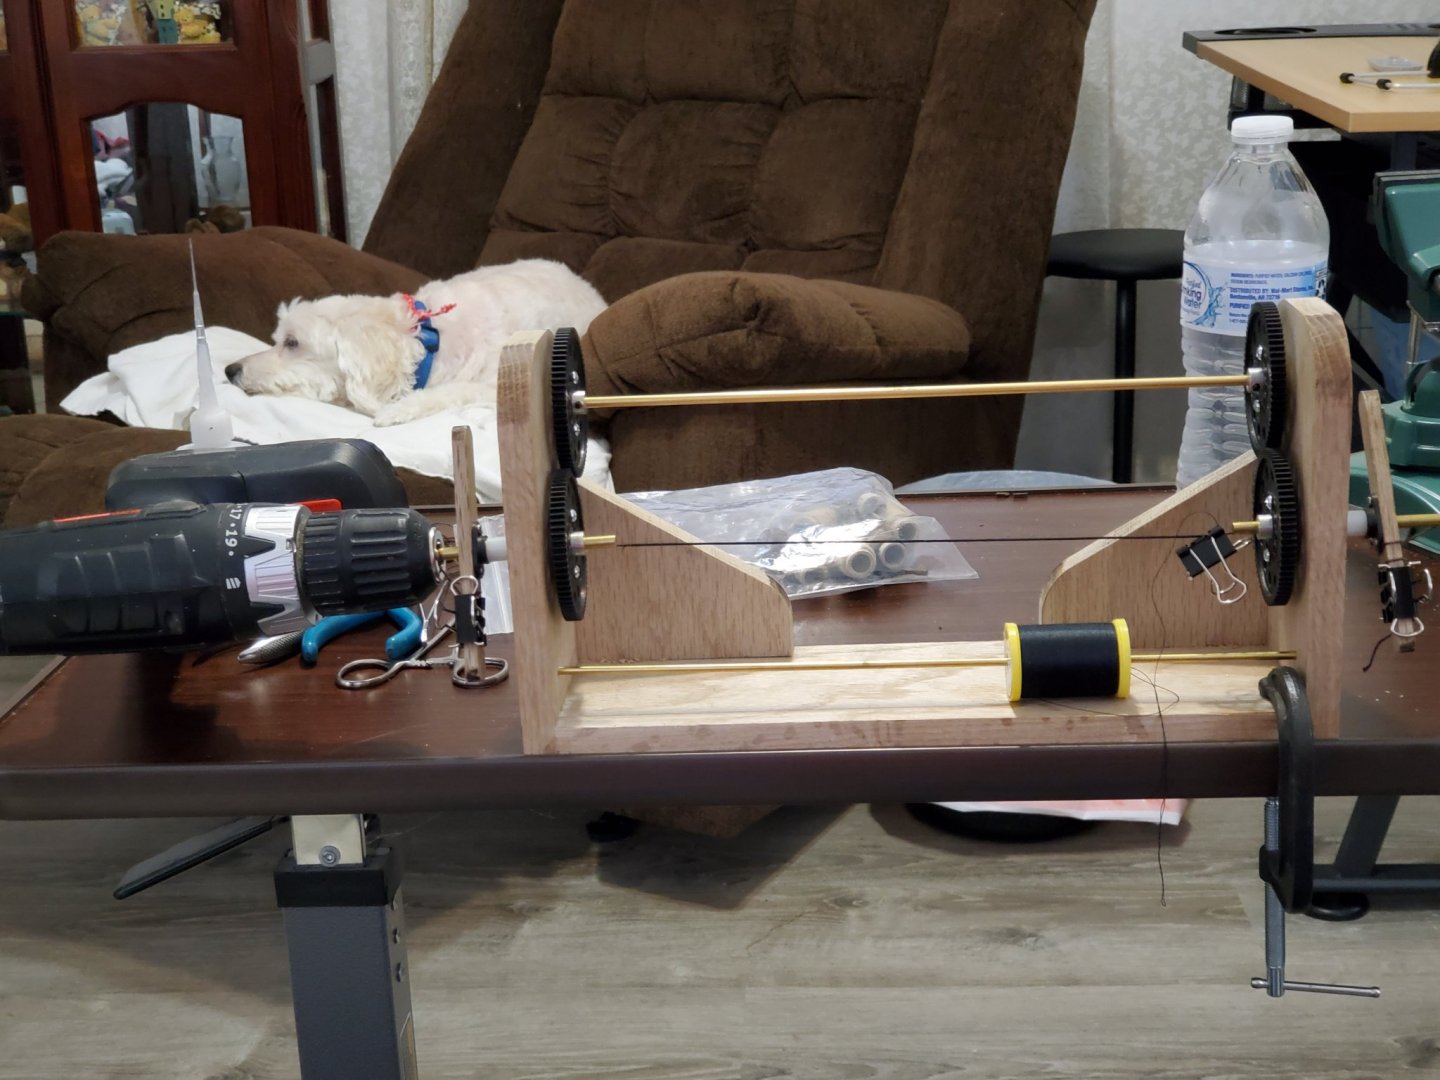
I got a new toy today. It is a bead lathe I bought off ebay for 25 bucks. I'm going to take it to the machine shop and lengthen the bed so it will hold up to 14 inches long. I will use it for tapering masts and yards as well as turning other wood parts for a ship. To keep the chuck from damaging the wood, I have some short pieces of brass tubing of various sizes. I split them in half lengthwise and place the pieces around the end of a dowel where I chuck them. It holds without damage to the wood. I tried it on a 6 mm diameter dowel and it works excellent. I also got a disc sander attachment. Nice little machine for the money.
-
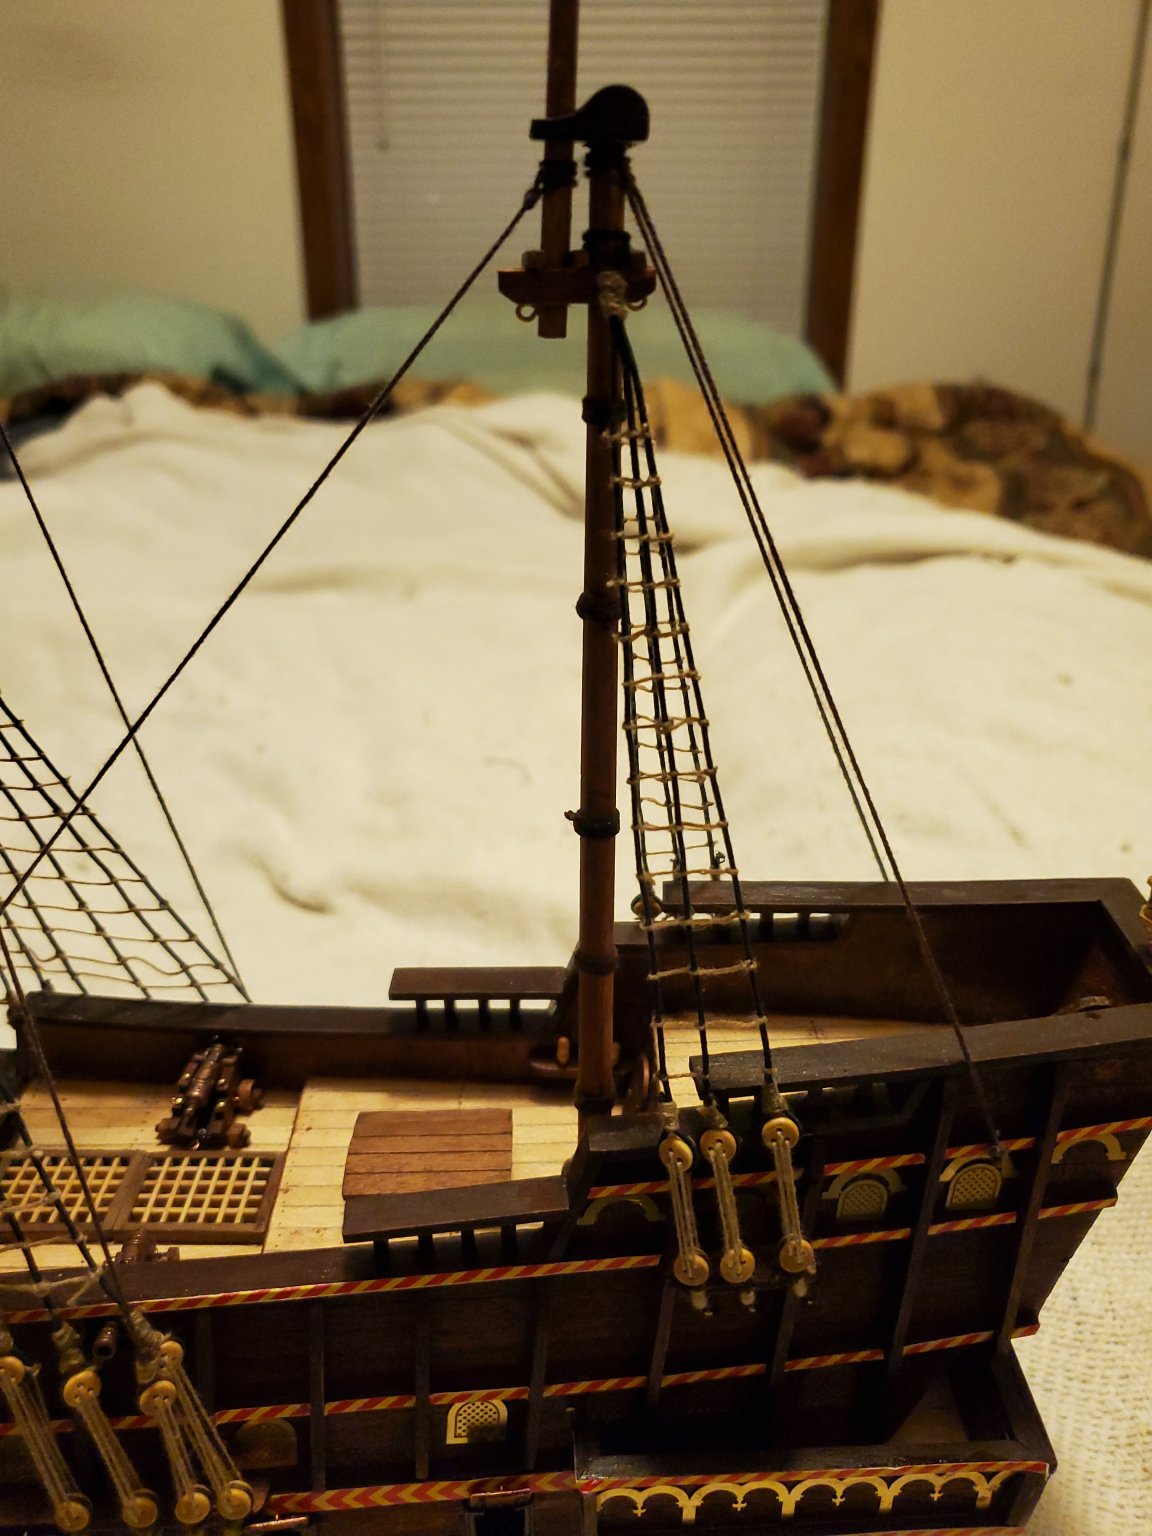
That's what I thought. There should at least be a block on the stay. I think I am going to put one there. Since I have a lot of the rigging done, I find some of the remaining tie points for some of the lines do not make sense. There are more convenient points, so I am changing a few of them to be more " balanced" looking. I also am thinking about not putting the sails on. I haven't quite decided yet. I am not crazy about the sails provided. I think I would prefer the sails rolled up.
-
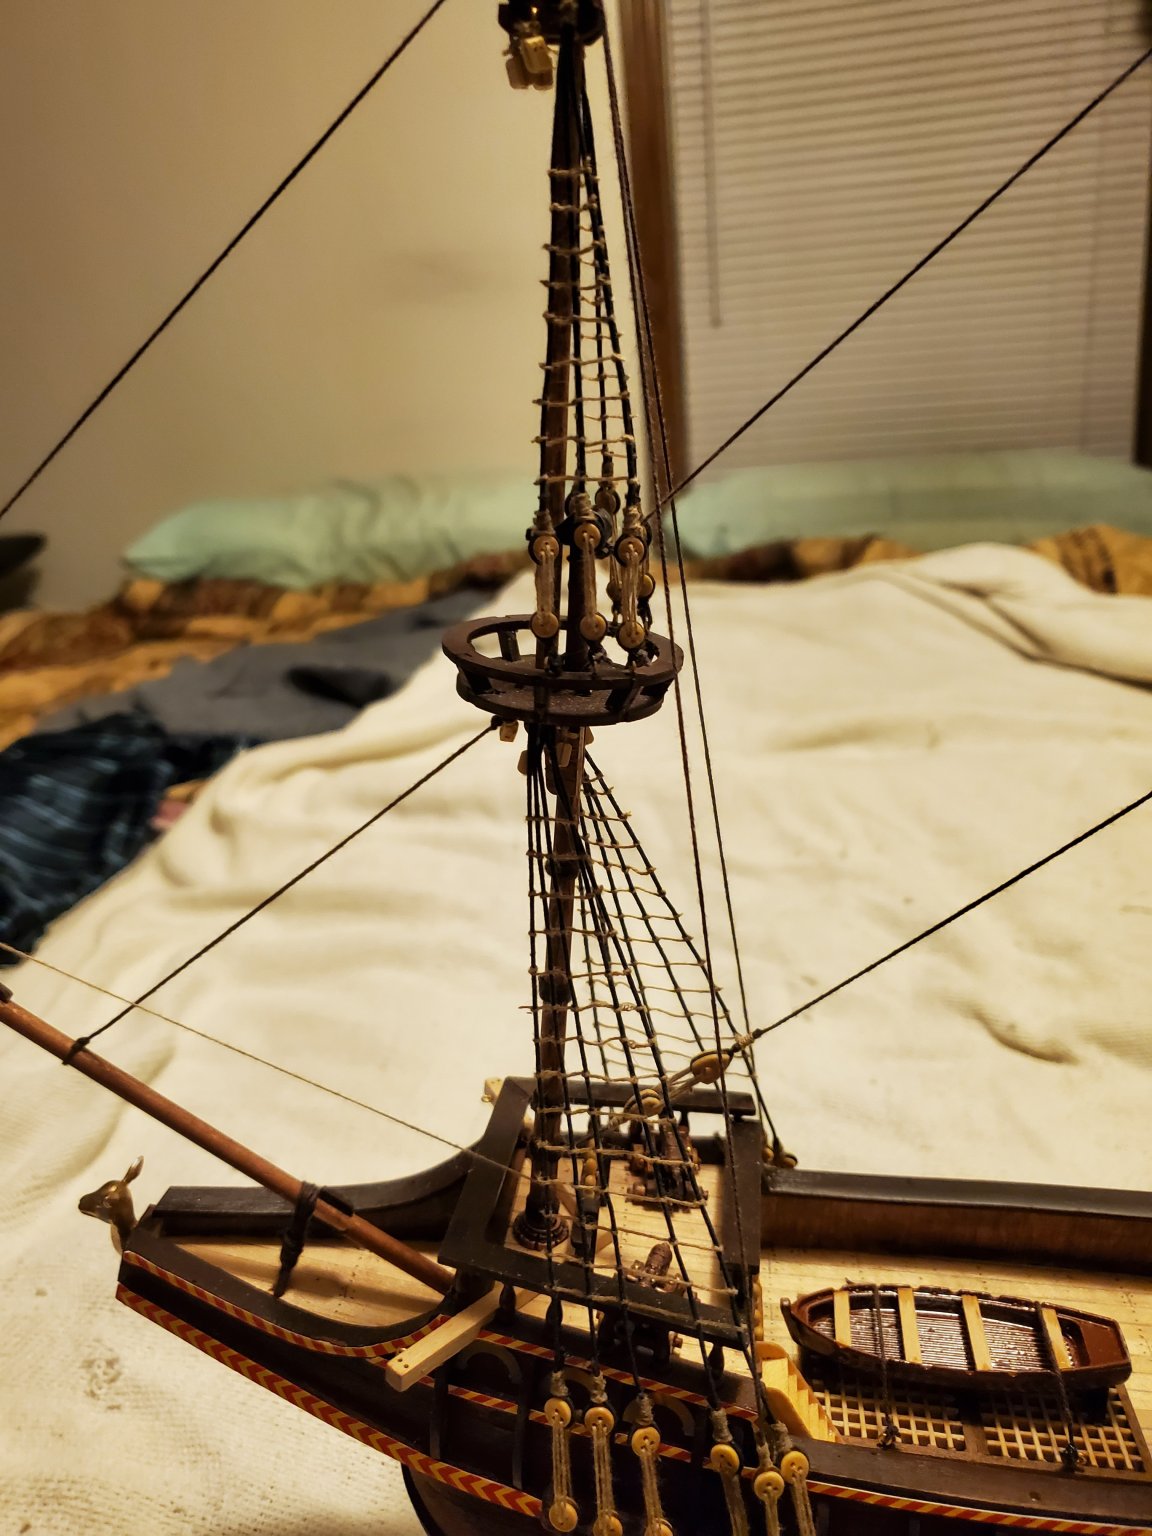
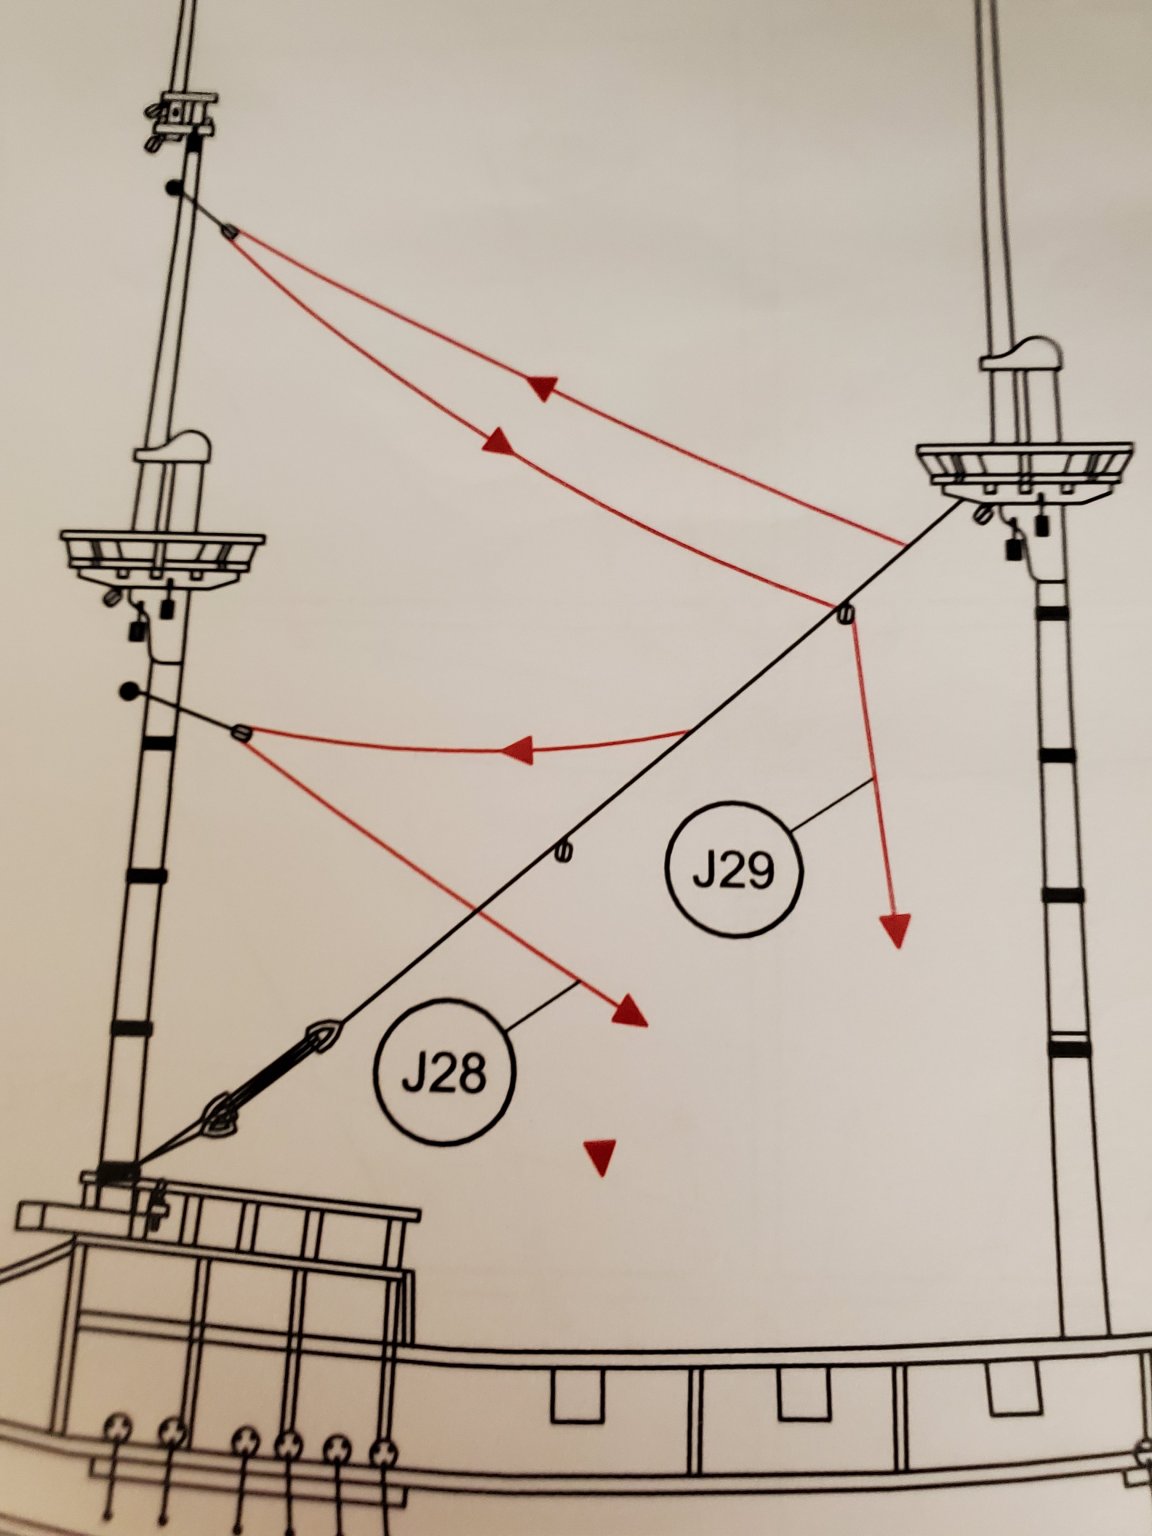
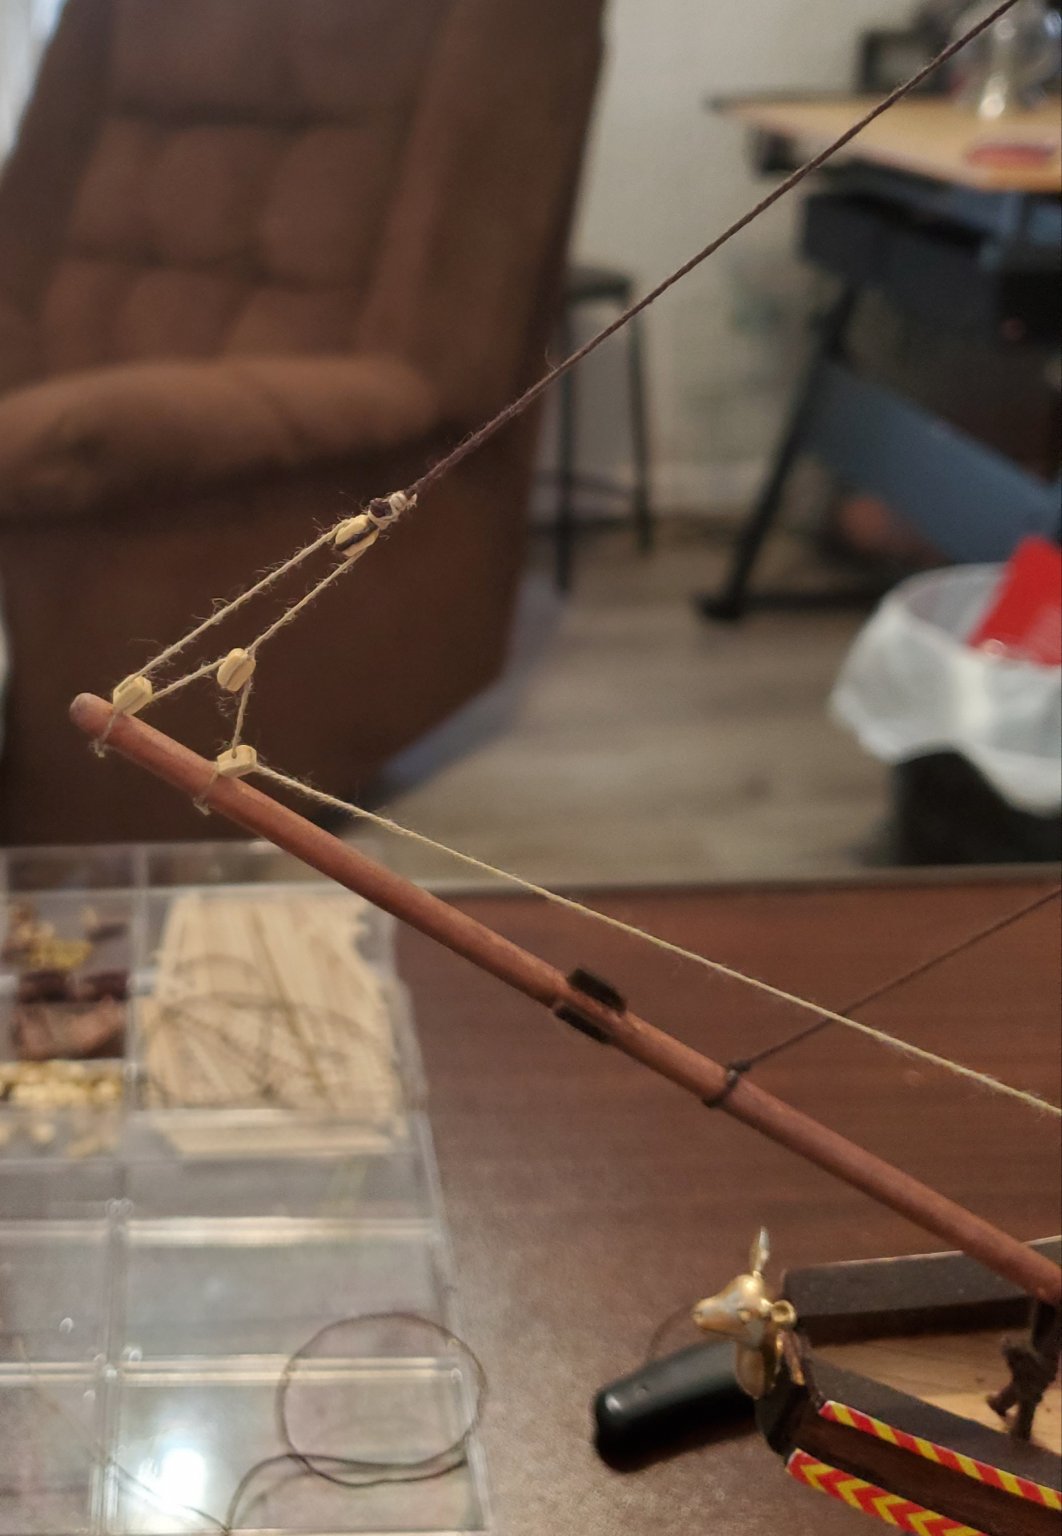
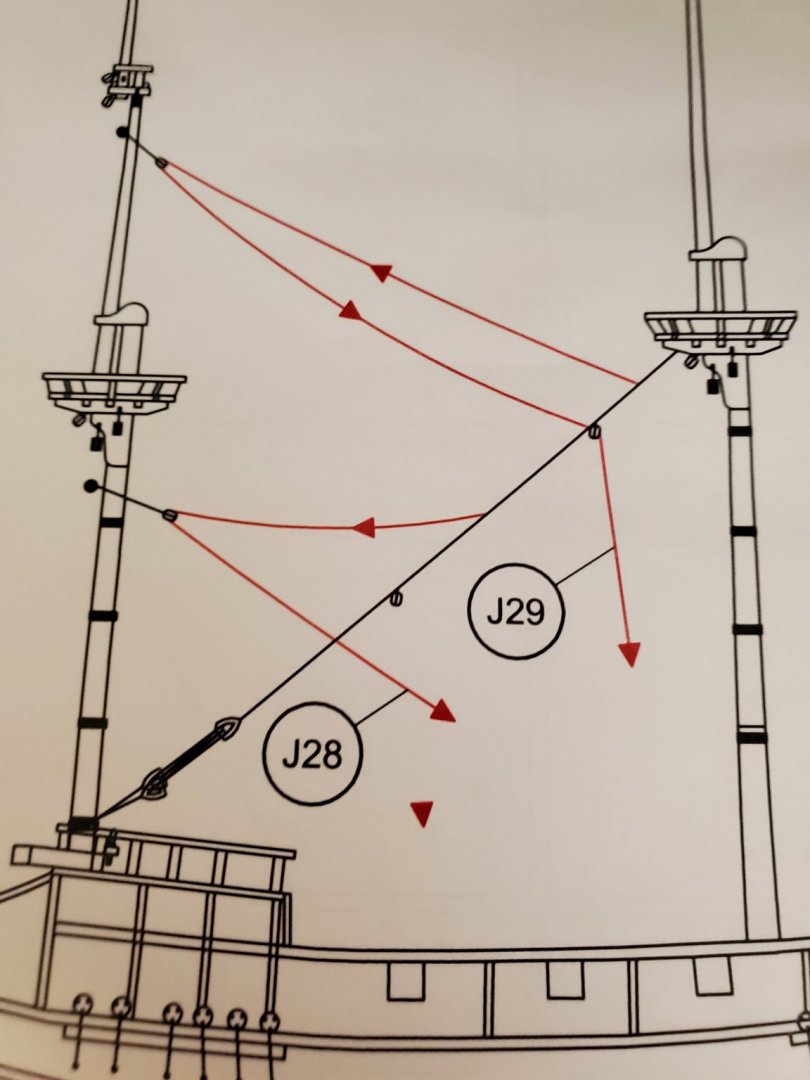
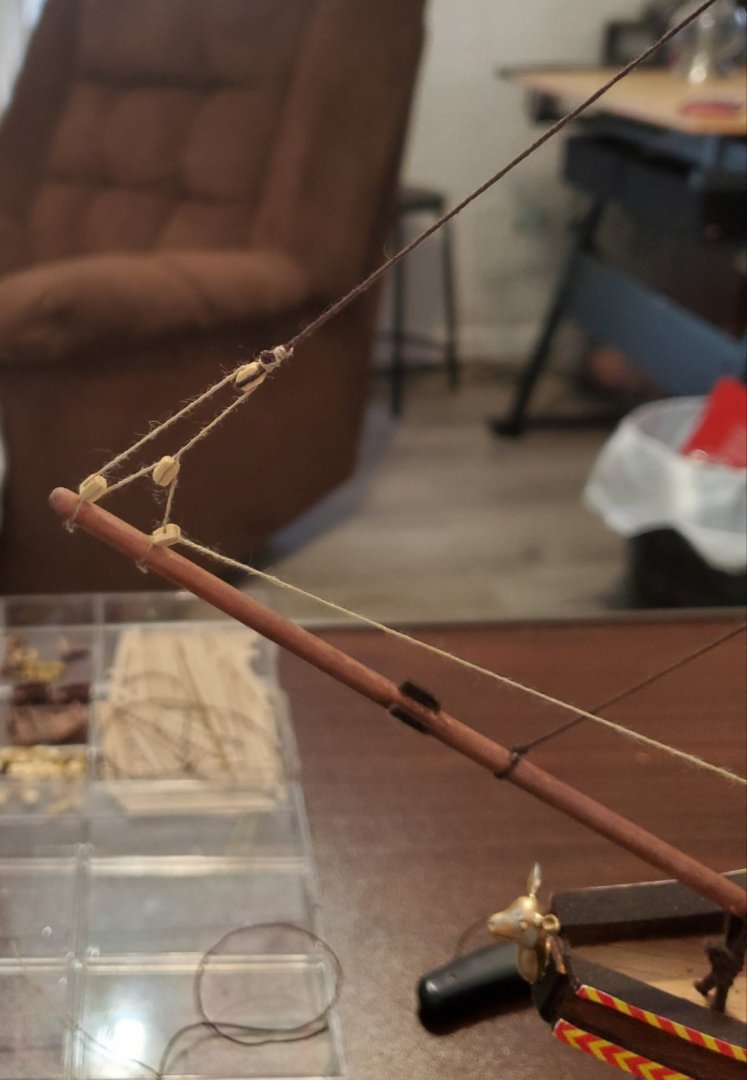
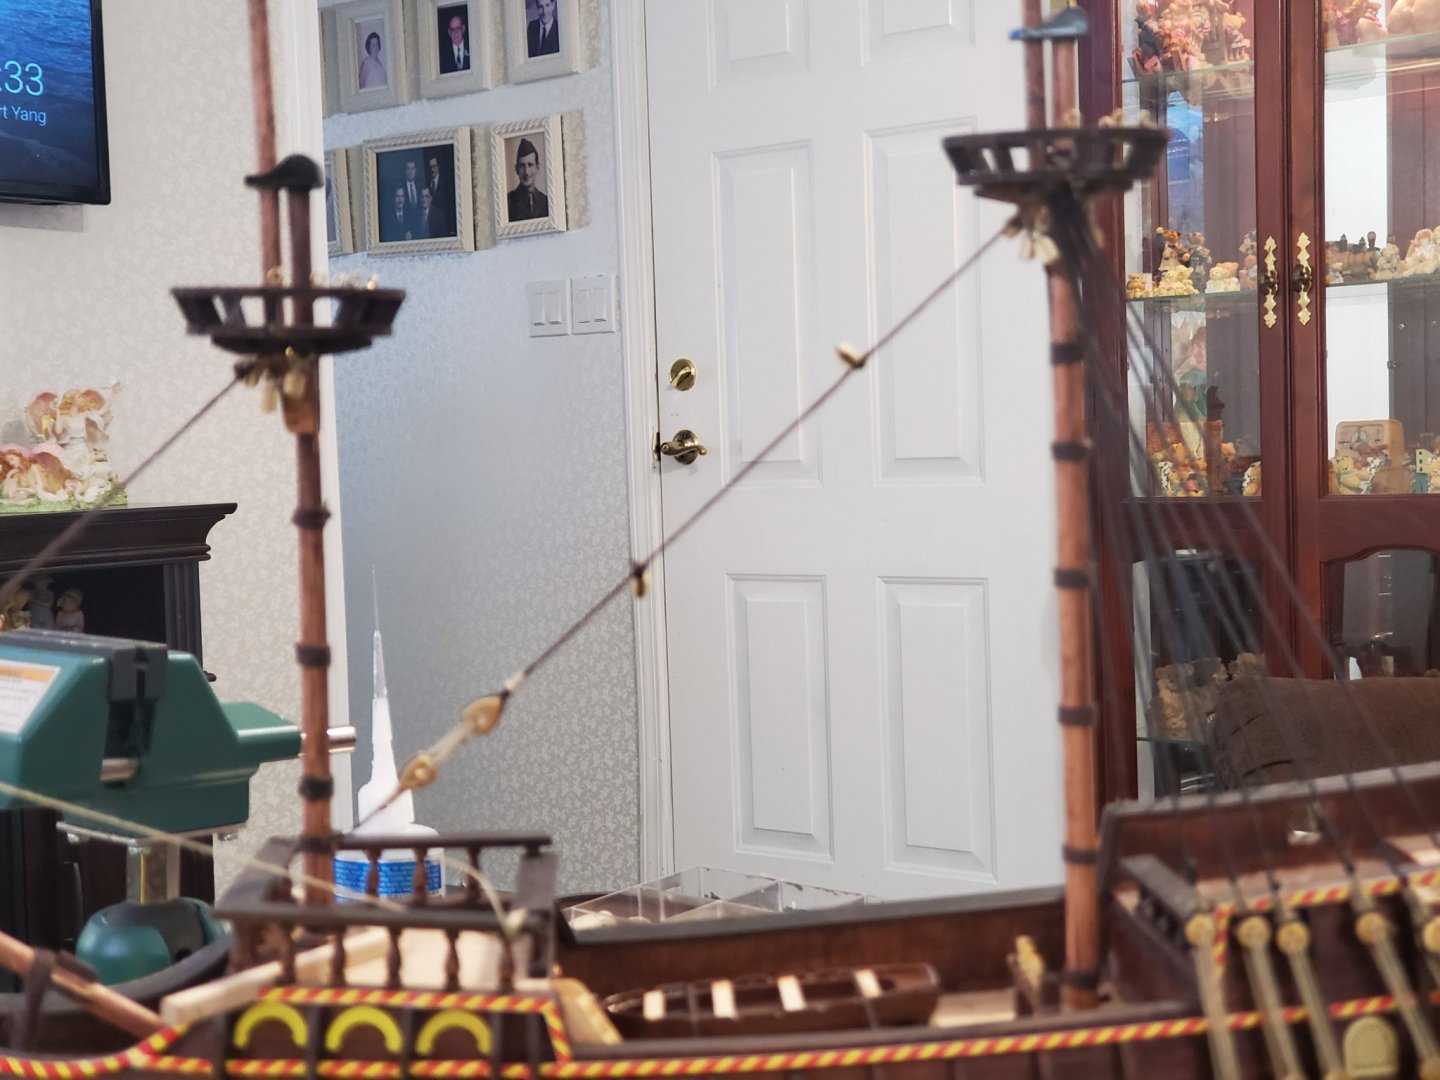
Yeah, almost. I can't quite figure out the rigging on the lower yard arm on the fore mast. The instructions ( term used very loosely) show the rope going around the center of the rope ( I believe it is the main mast stay?)from the main mast kind of in a "V". Each side of this "V" goes to through a block at the end of the yard arm and down to a belaying pin. I don't understand what is supposed to secure this rope to the other rope without sliding. It just doesn't make sense. This photo illustrates what the instructions show. ( sorry it is blurry)
-
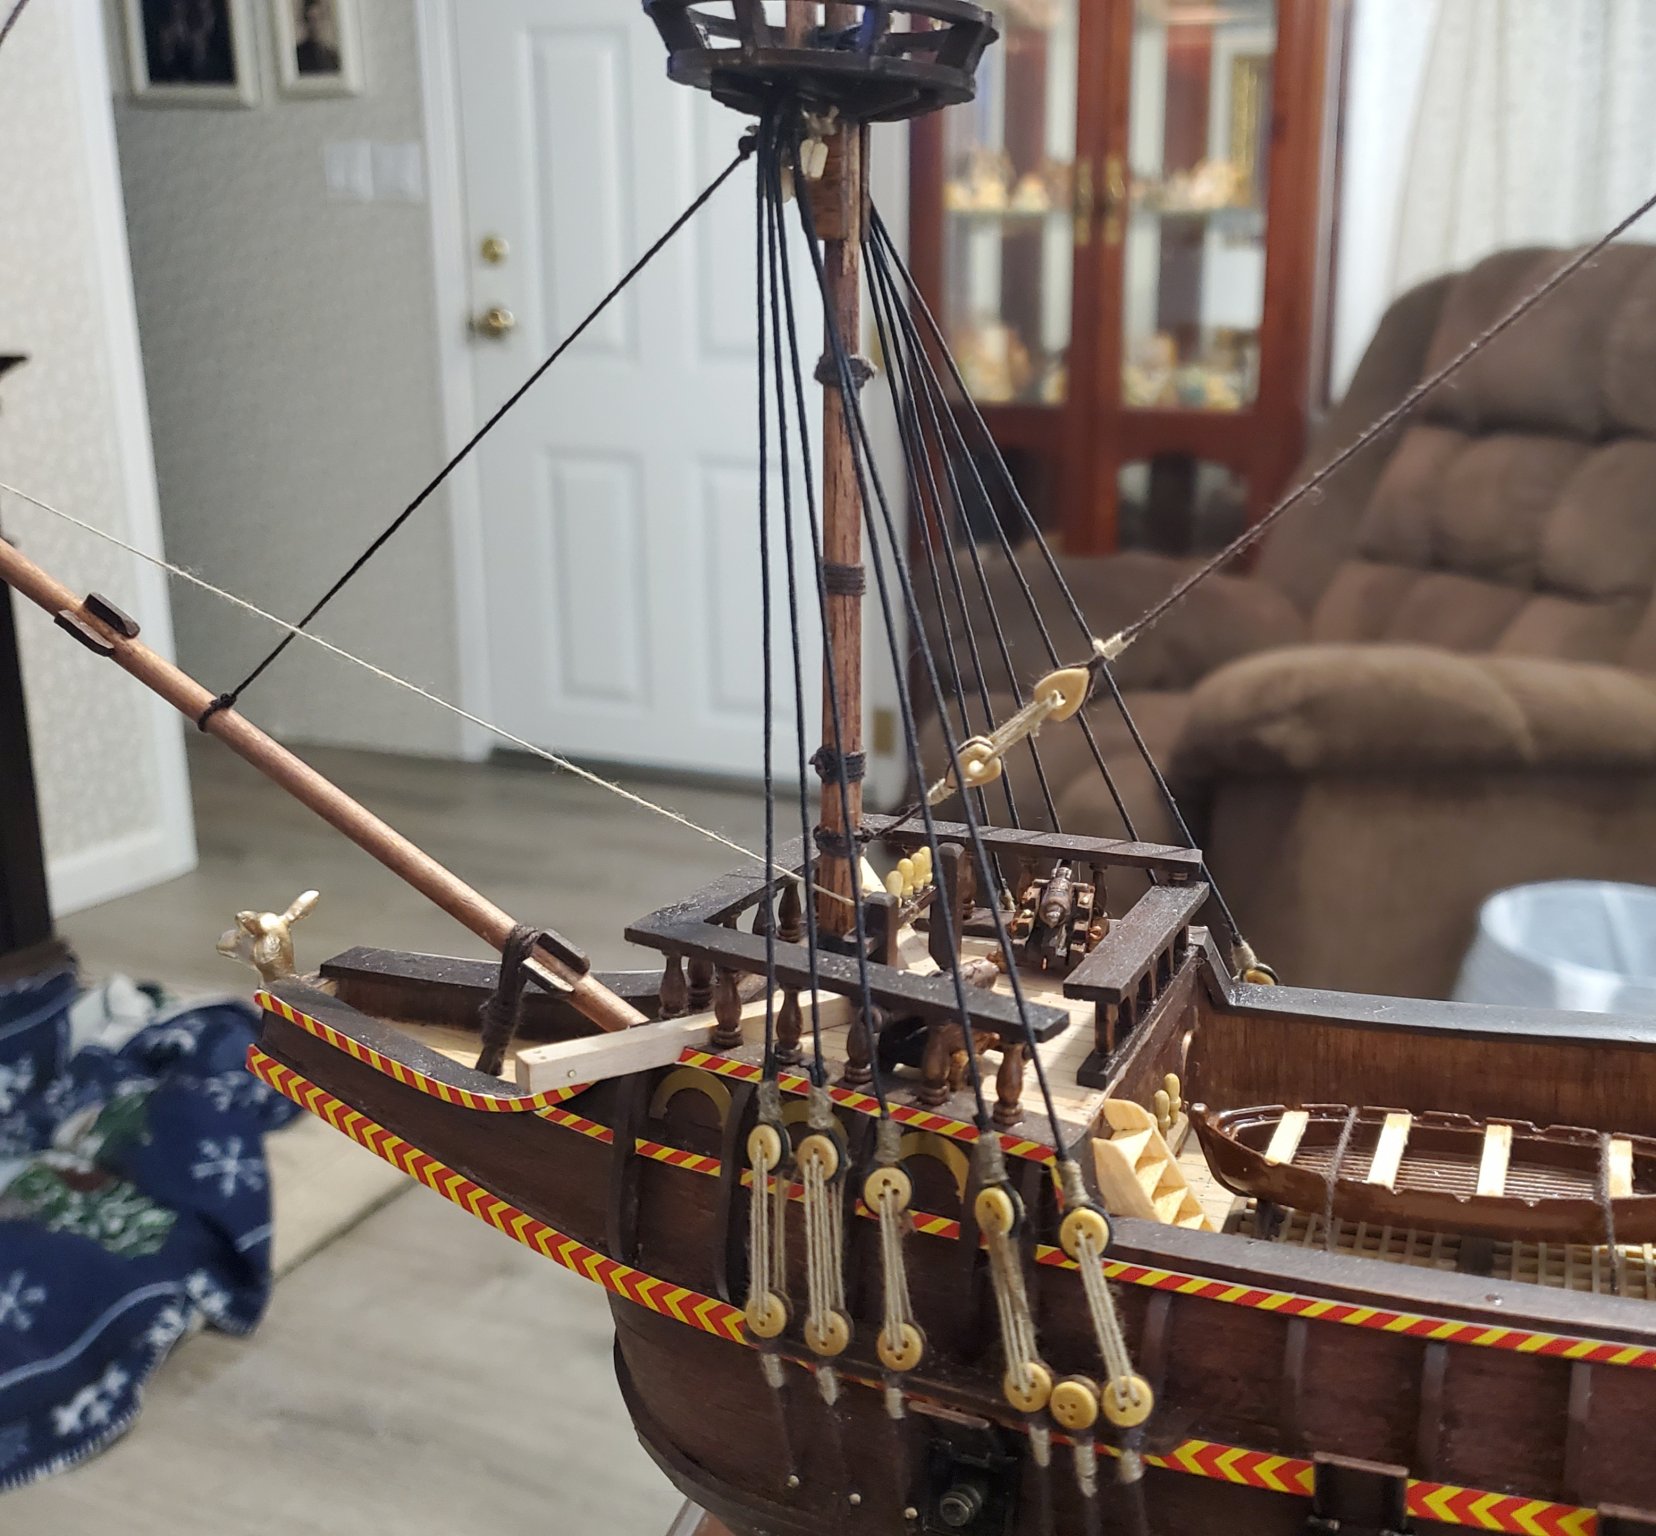
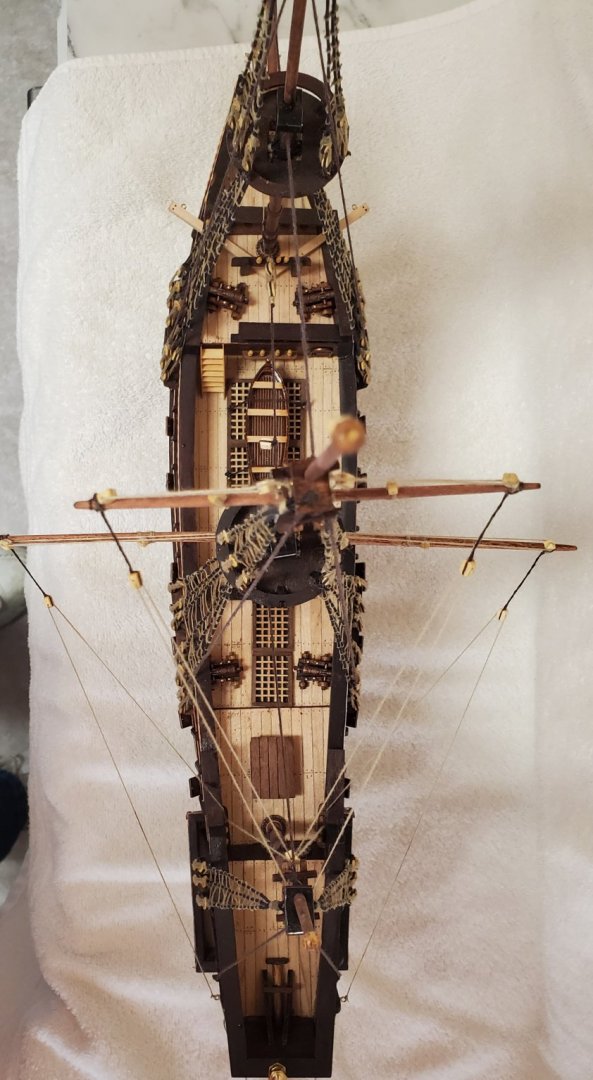
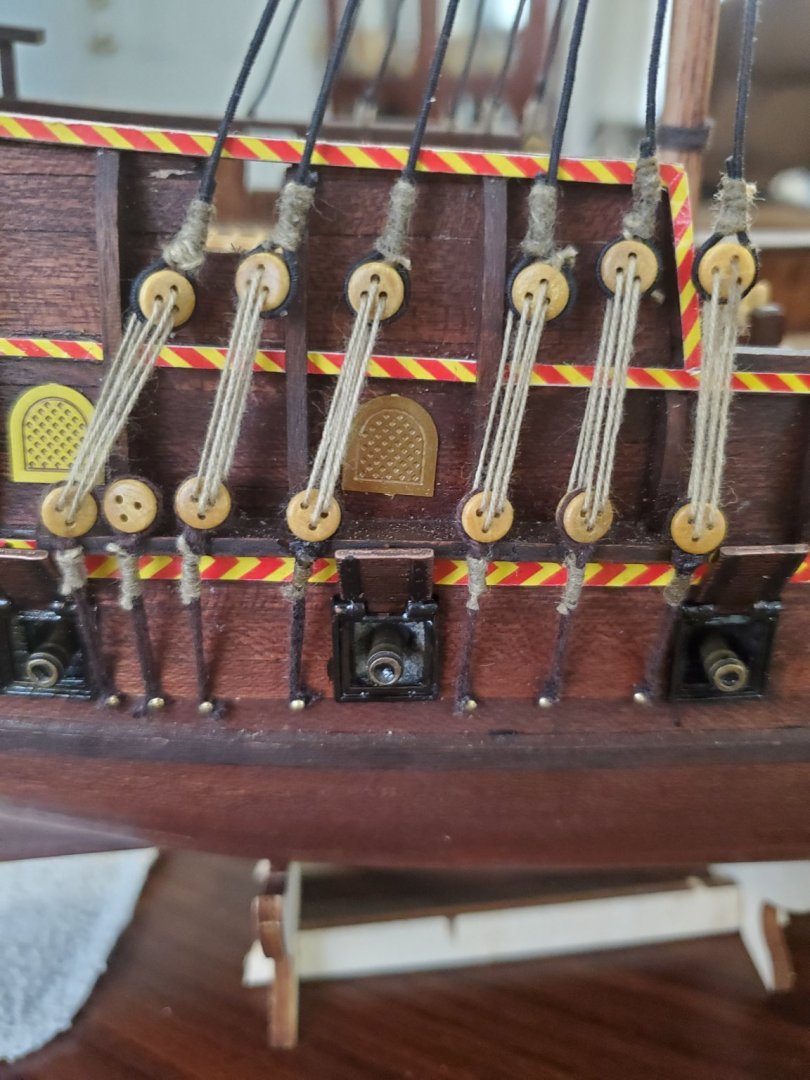
It is only 8 degrees F outside and too cold to go out, so I am spending the day working on rigging. The instructions are so vague. I have to study for quite some time until I finally figure out where the lines go. Maybe someone of you can answer a question. I thought there would only be one line attached to a belaying pin. That is the case with this model except at the base of the main mast. Following the instructions there are four belaying pins but six line going to this location. That means two of the pins have two lines attached. Is this something that would be done? It isn't really a problem, just curious. No one in the world I live in would ever notice a mistake on this model.


-
Thank you.
-
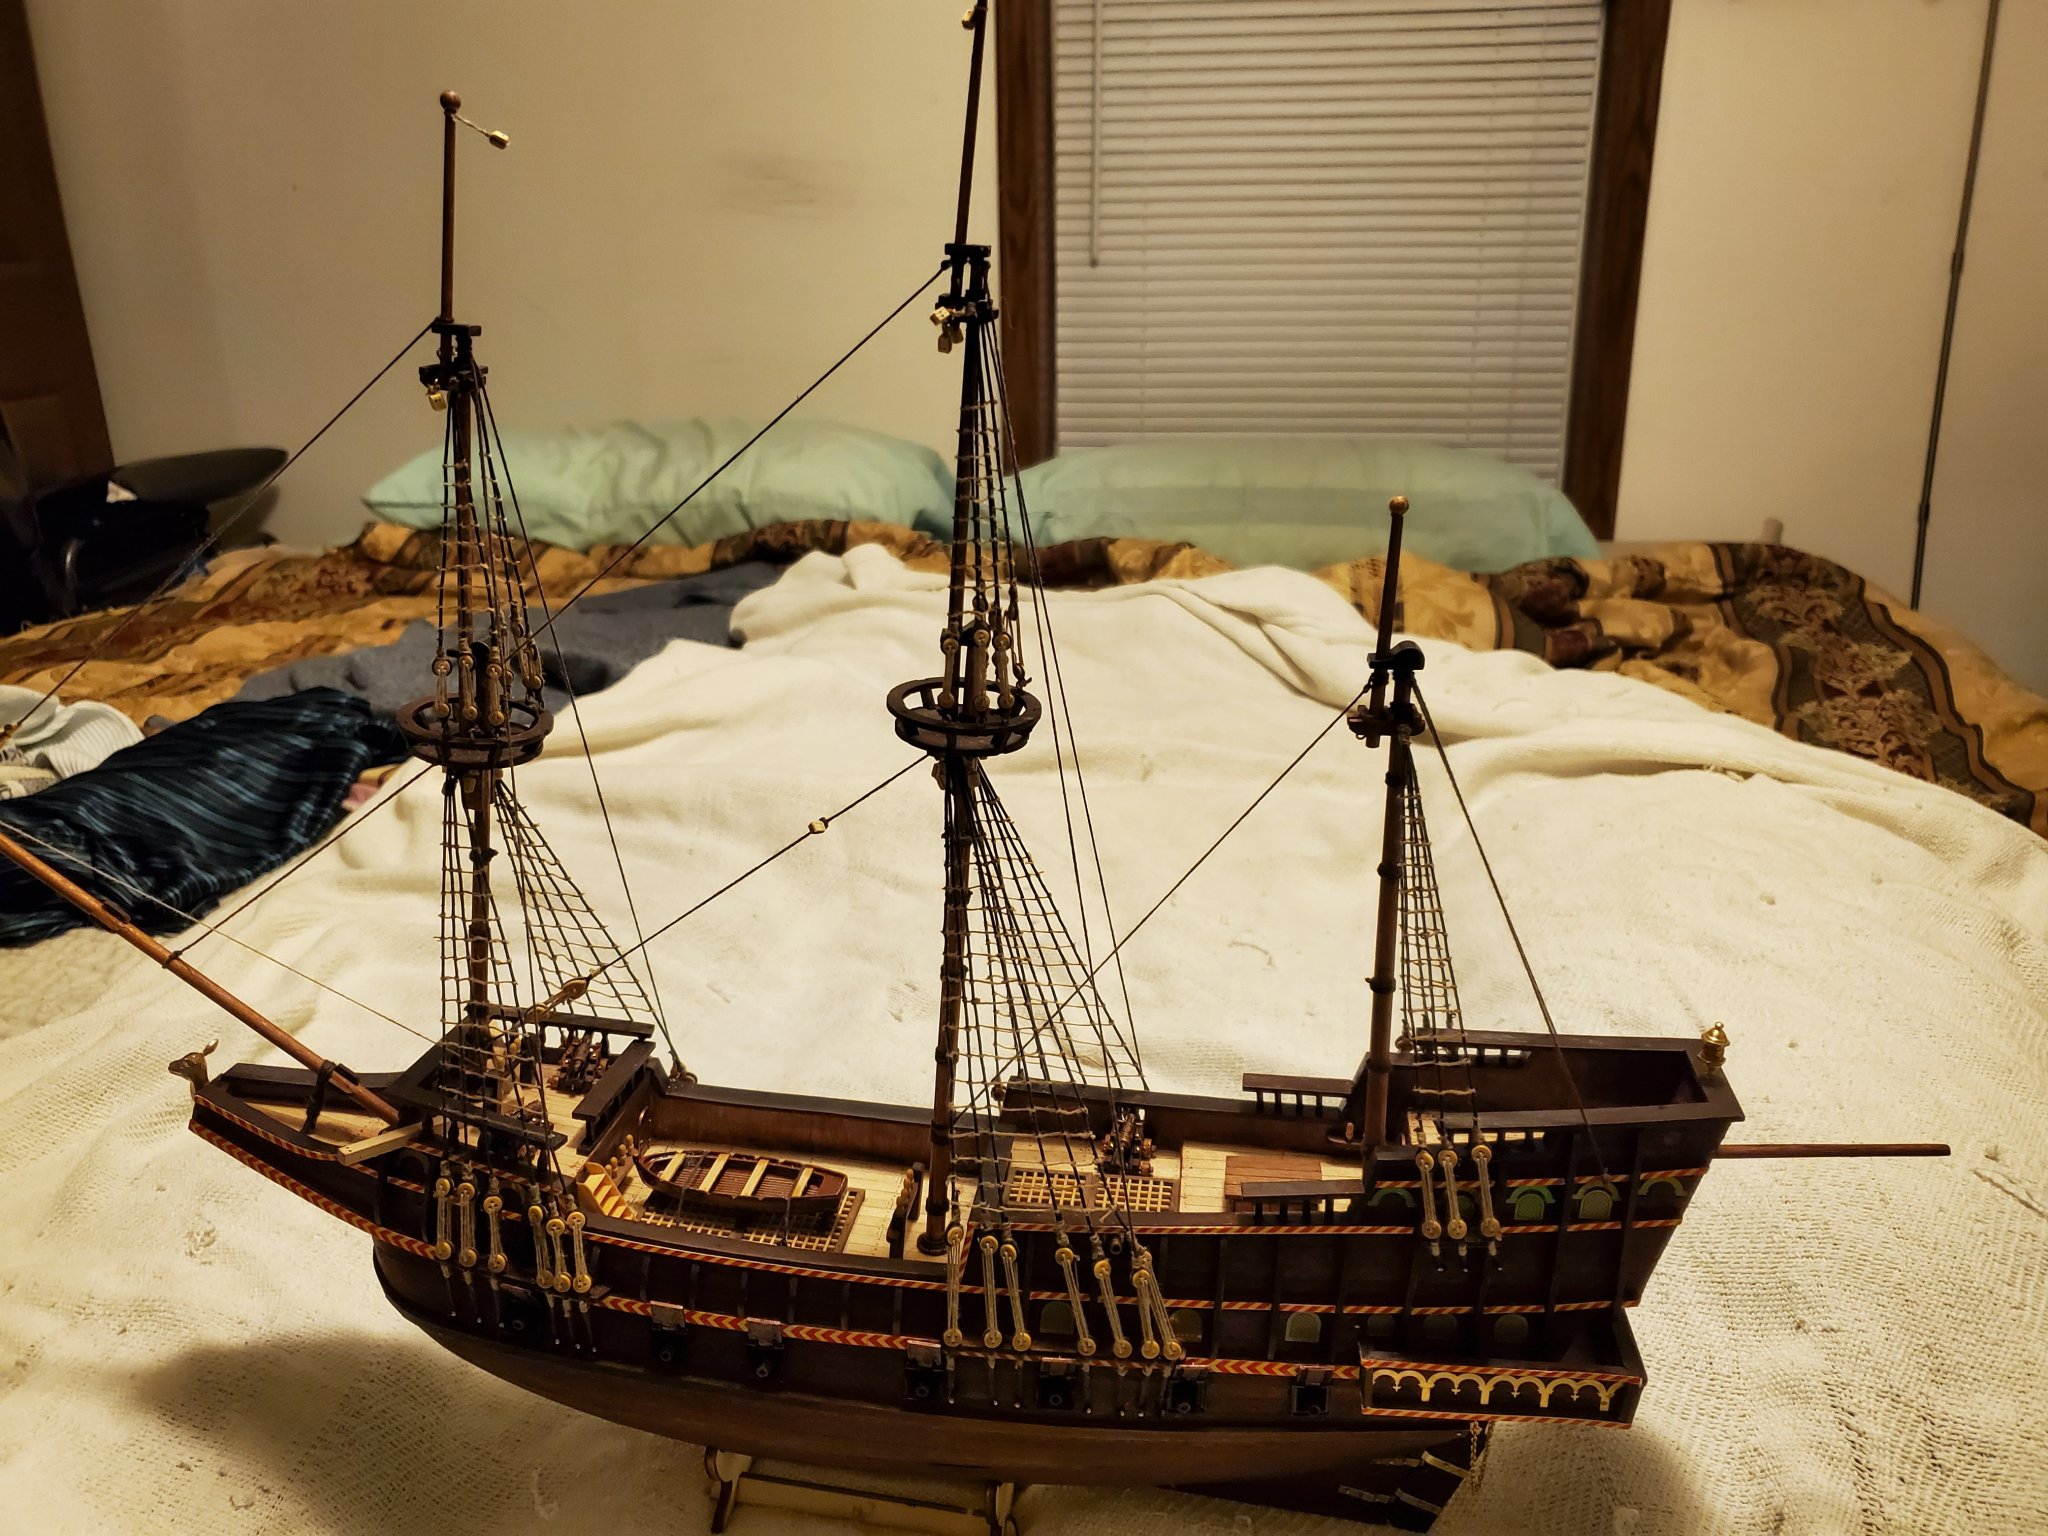
I have all the shrouds,rat lines, and mast stays installed. I learned a lot on this model so far and these lessons will help on my next one.


-
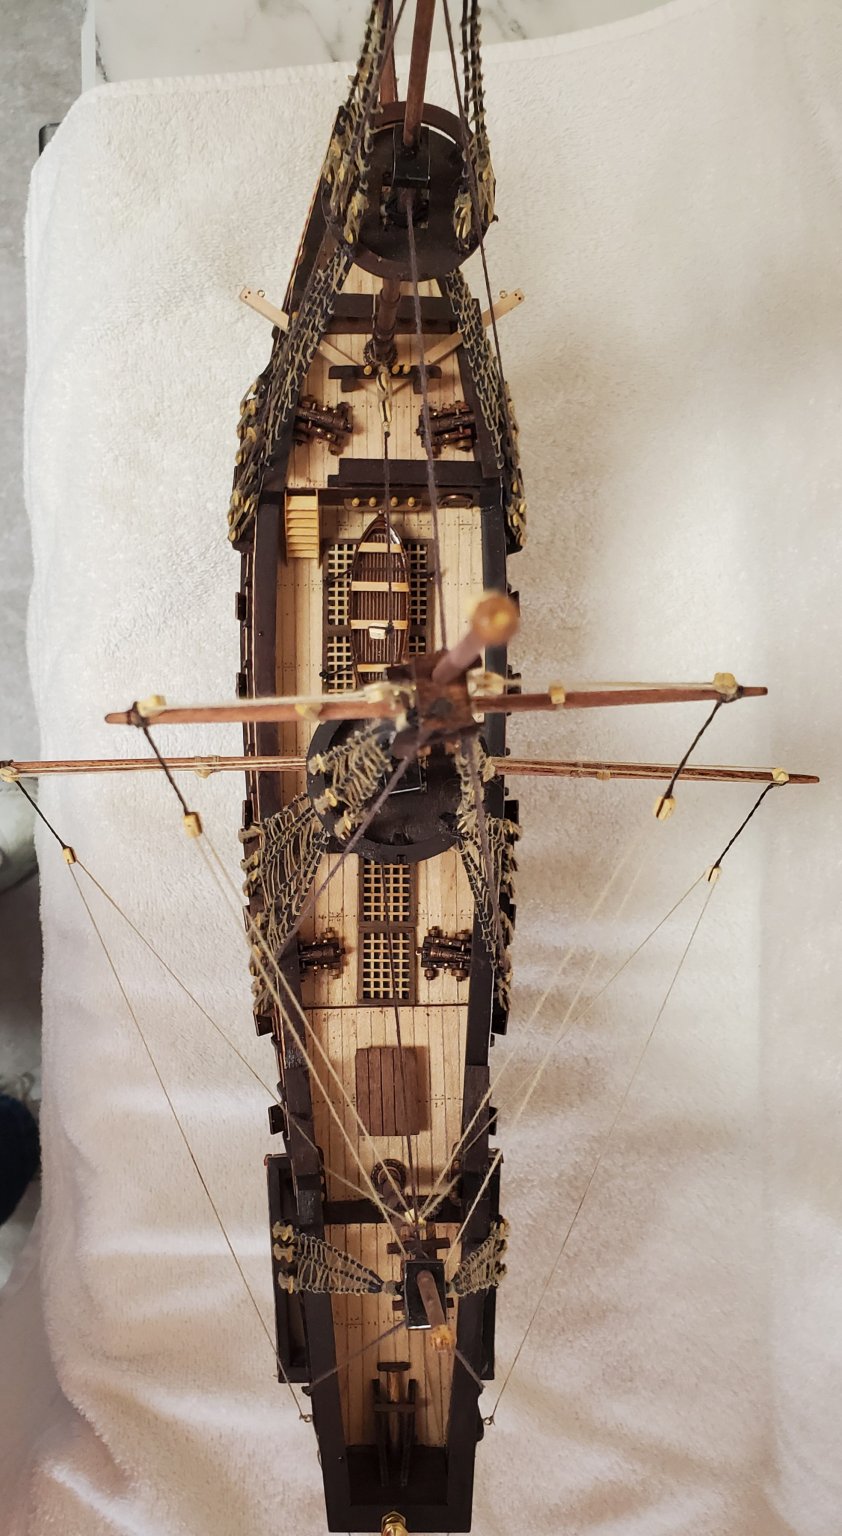
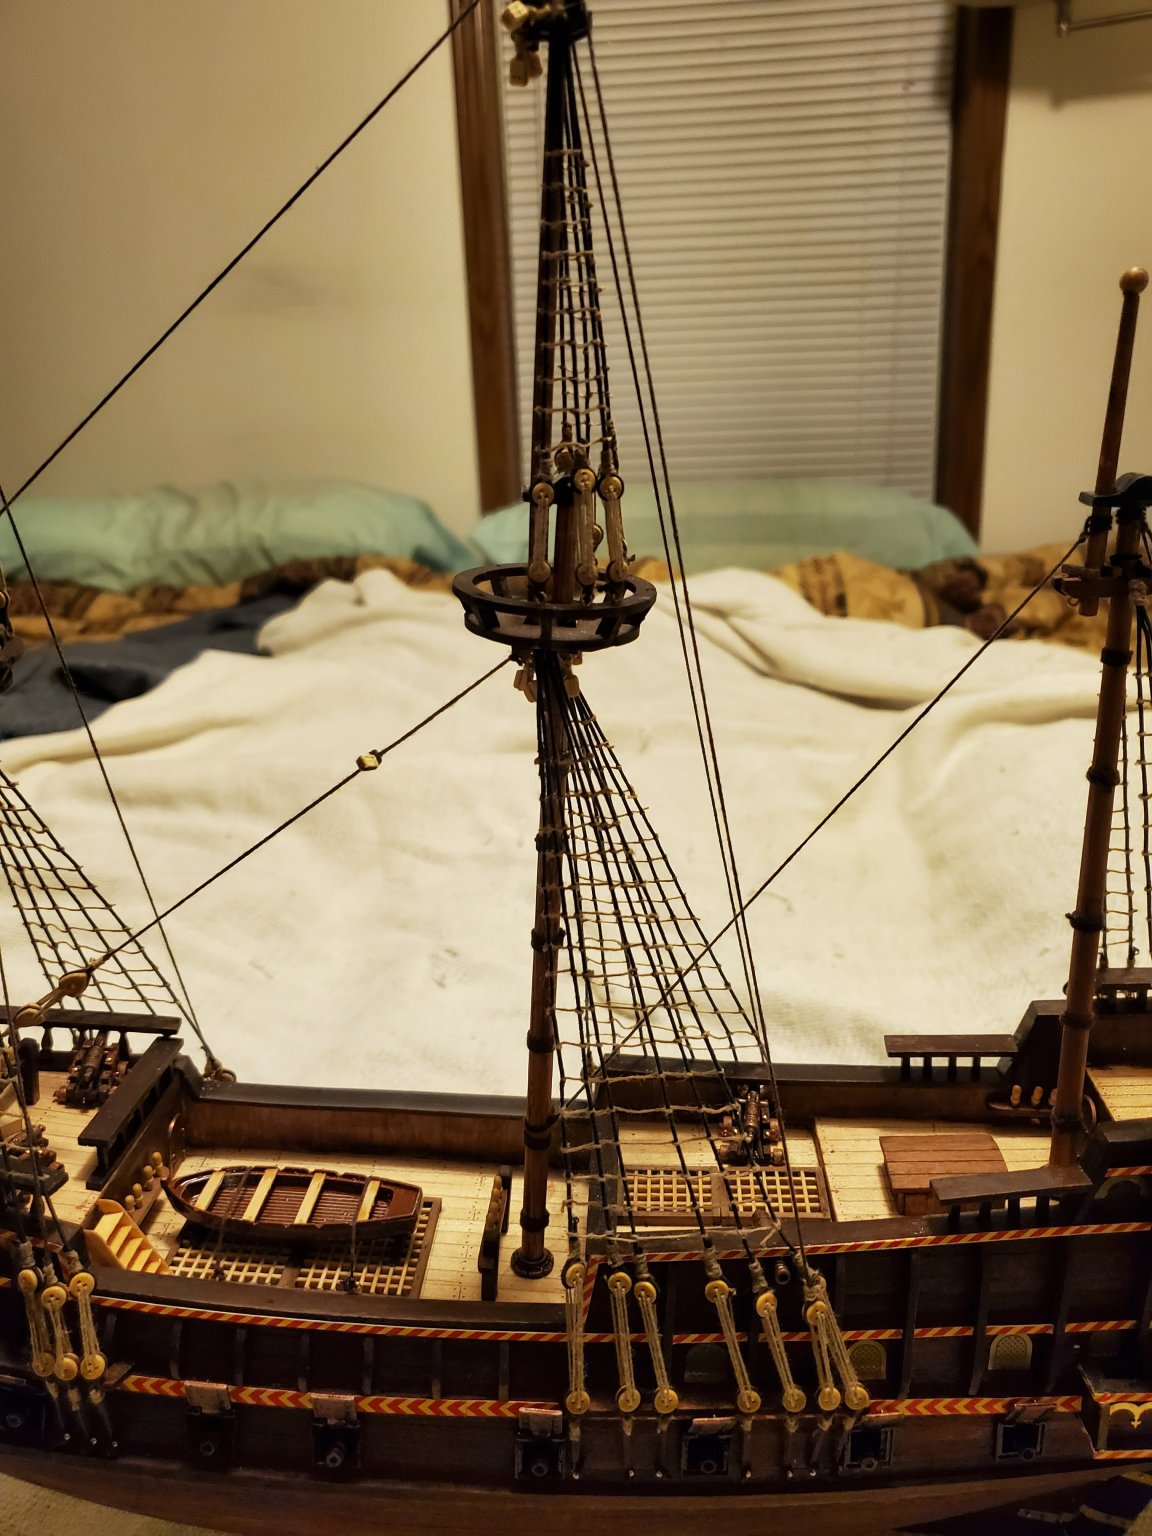
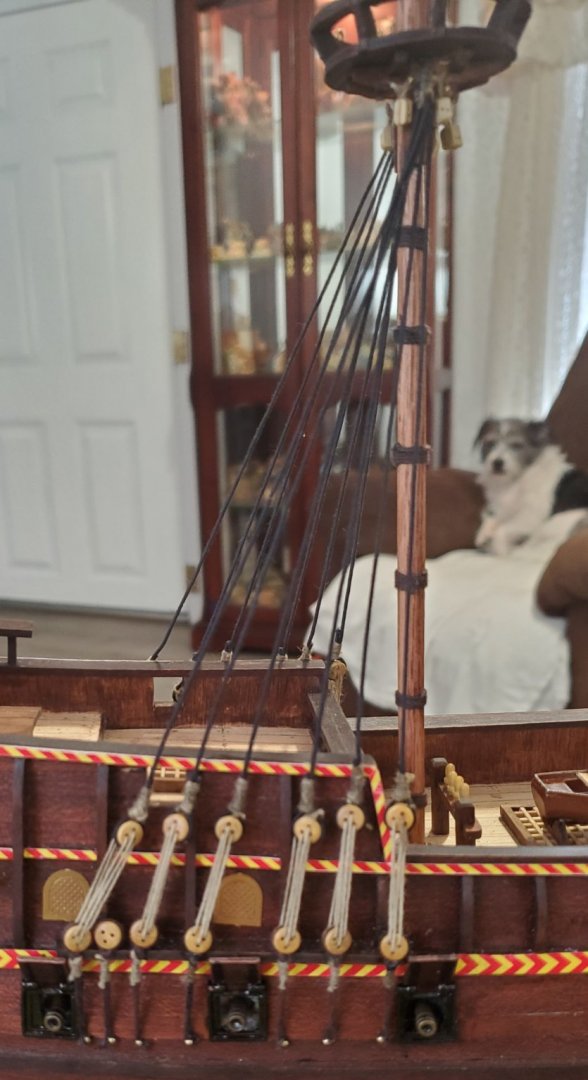
I think I see. This is another view of them from a different perspective than the page showing the yard arms.
-
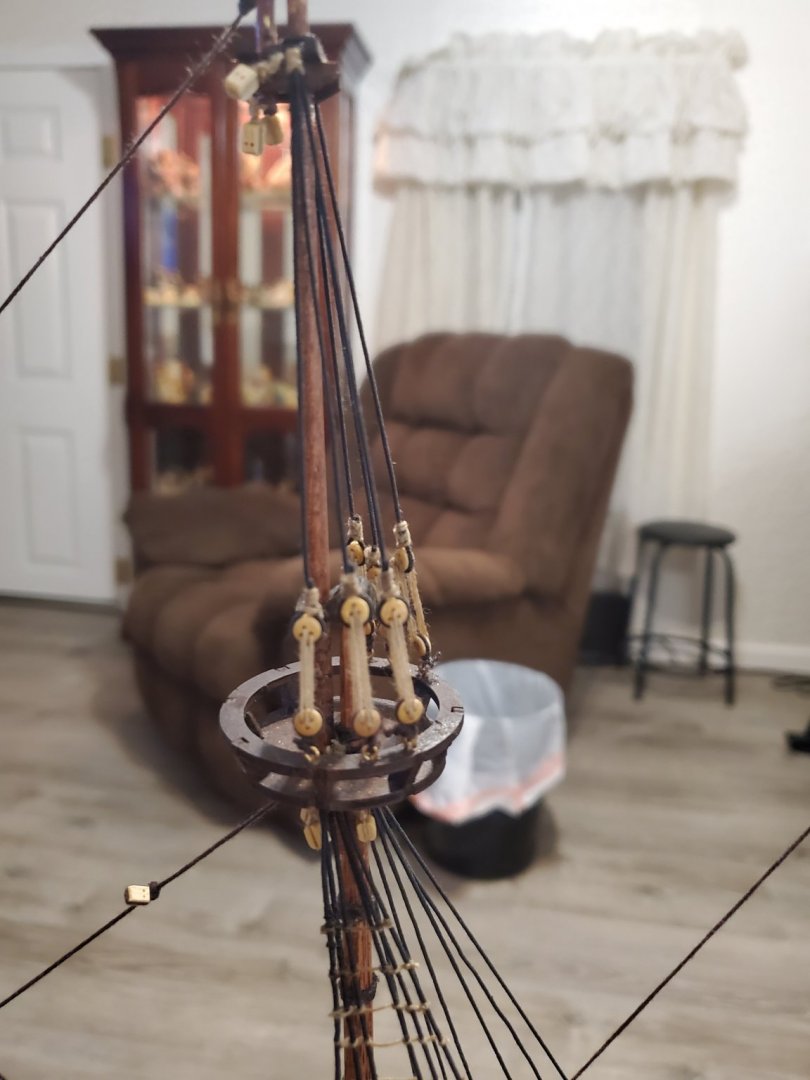
I can figure out most of the directions for the rigging. It seems if I stare at them long enough, it finally sinks in. But there are a few lines I just can't understand. On this photo it looks as if some of the lines start right in the middle of another line and that just doesn't make sense.
-
Thanks O.C. I started out trying to tie the rat lines with the clove hitch, but found it very difficult on the small scale, so I finally started doing what you said, wrap around and a dad of glue. I found it much easier to control everything and at this small scale, I have a hard time seeing the difference.
-
Thank you. I find the rat lines very difficult to get even and straight or tight
-
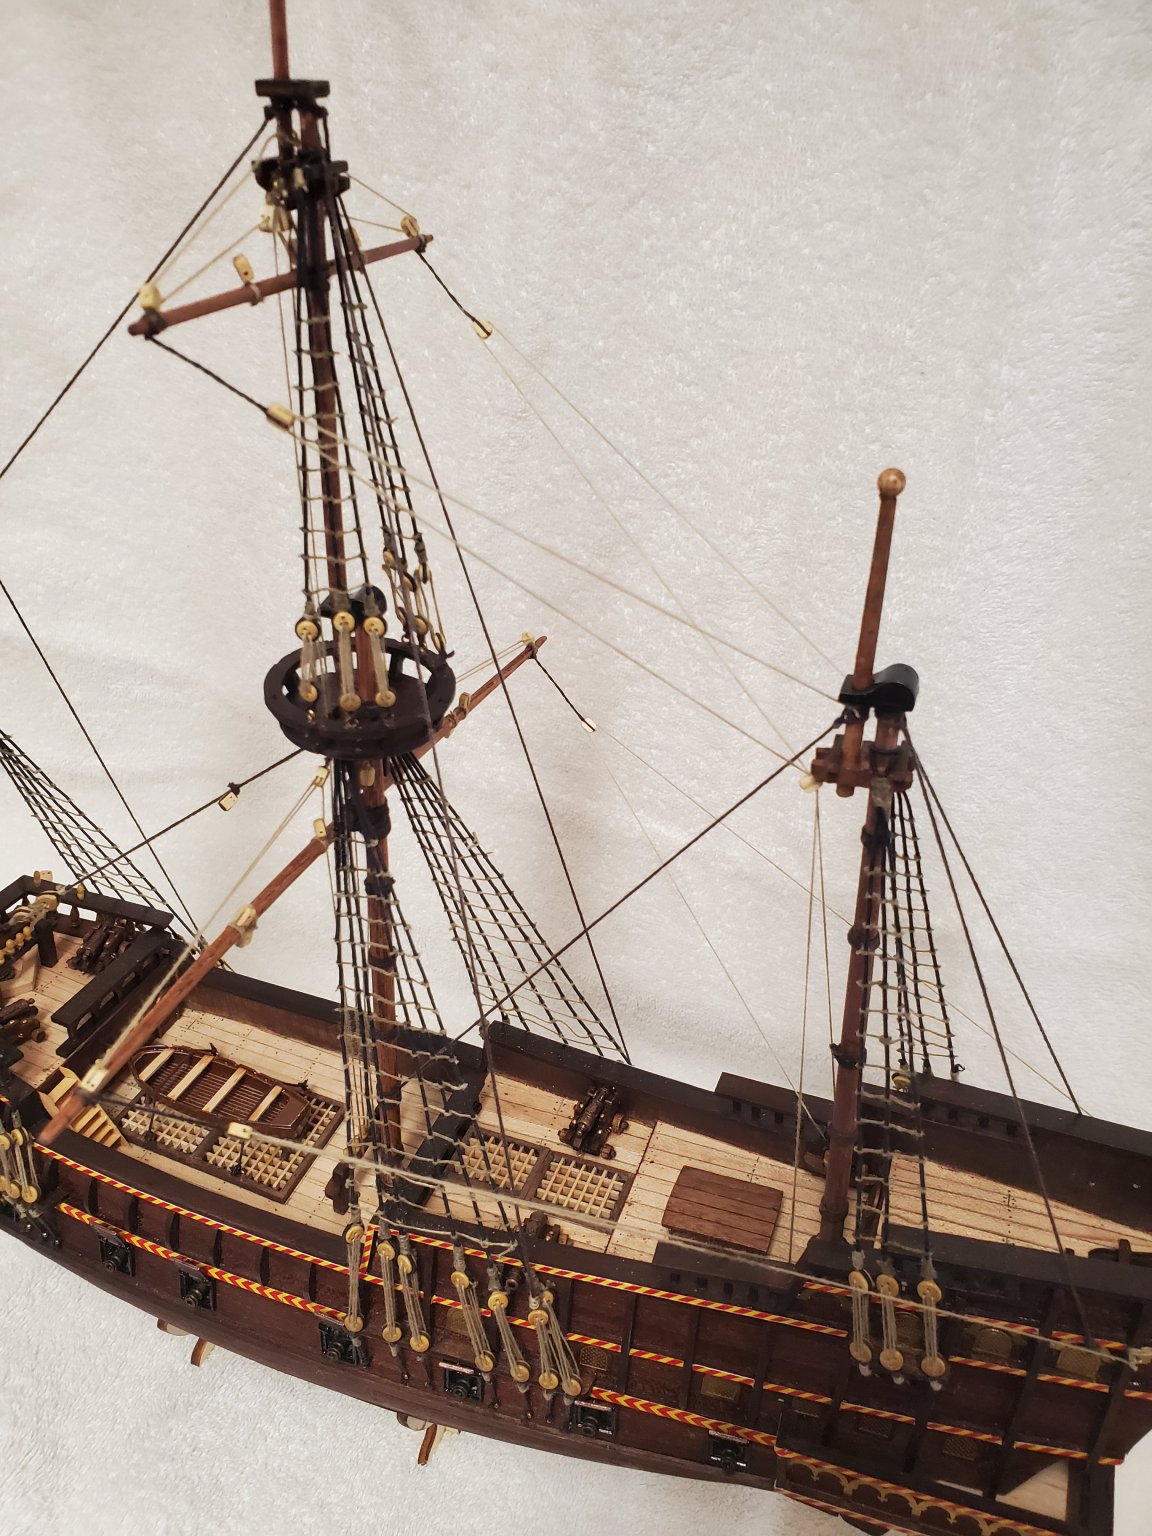
The rigging is tough at this small scale. I am not happy with the rat lines, but is the best I could do with my tremors. I think I can live with it though. I read where the rat lines were supposed to be the tan color and the standing rigging ( shrouds) should be black. I think I would have liked the rat lines black also, but I ain't about to do them over. This one side took 3 hours.


-
Thank you. I think it looks much better.
-
With 16 more shroud lines to serve, my poor finger was getting tired turning the serving machine, not to mention, I was getting a blister on the side of my finger. Soooooo .... I chucked my drill on the end of the machine and now I can serve 16 inches of rope in 3 minutes instead of 25 minutes. 😆
-
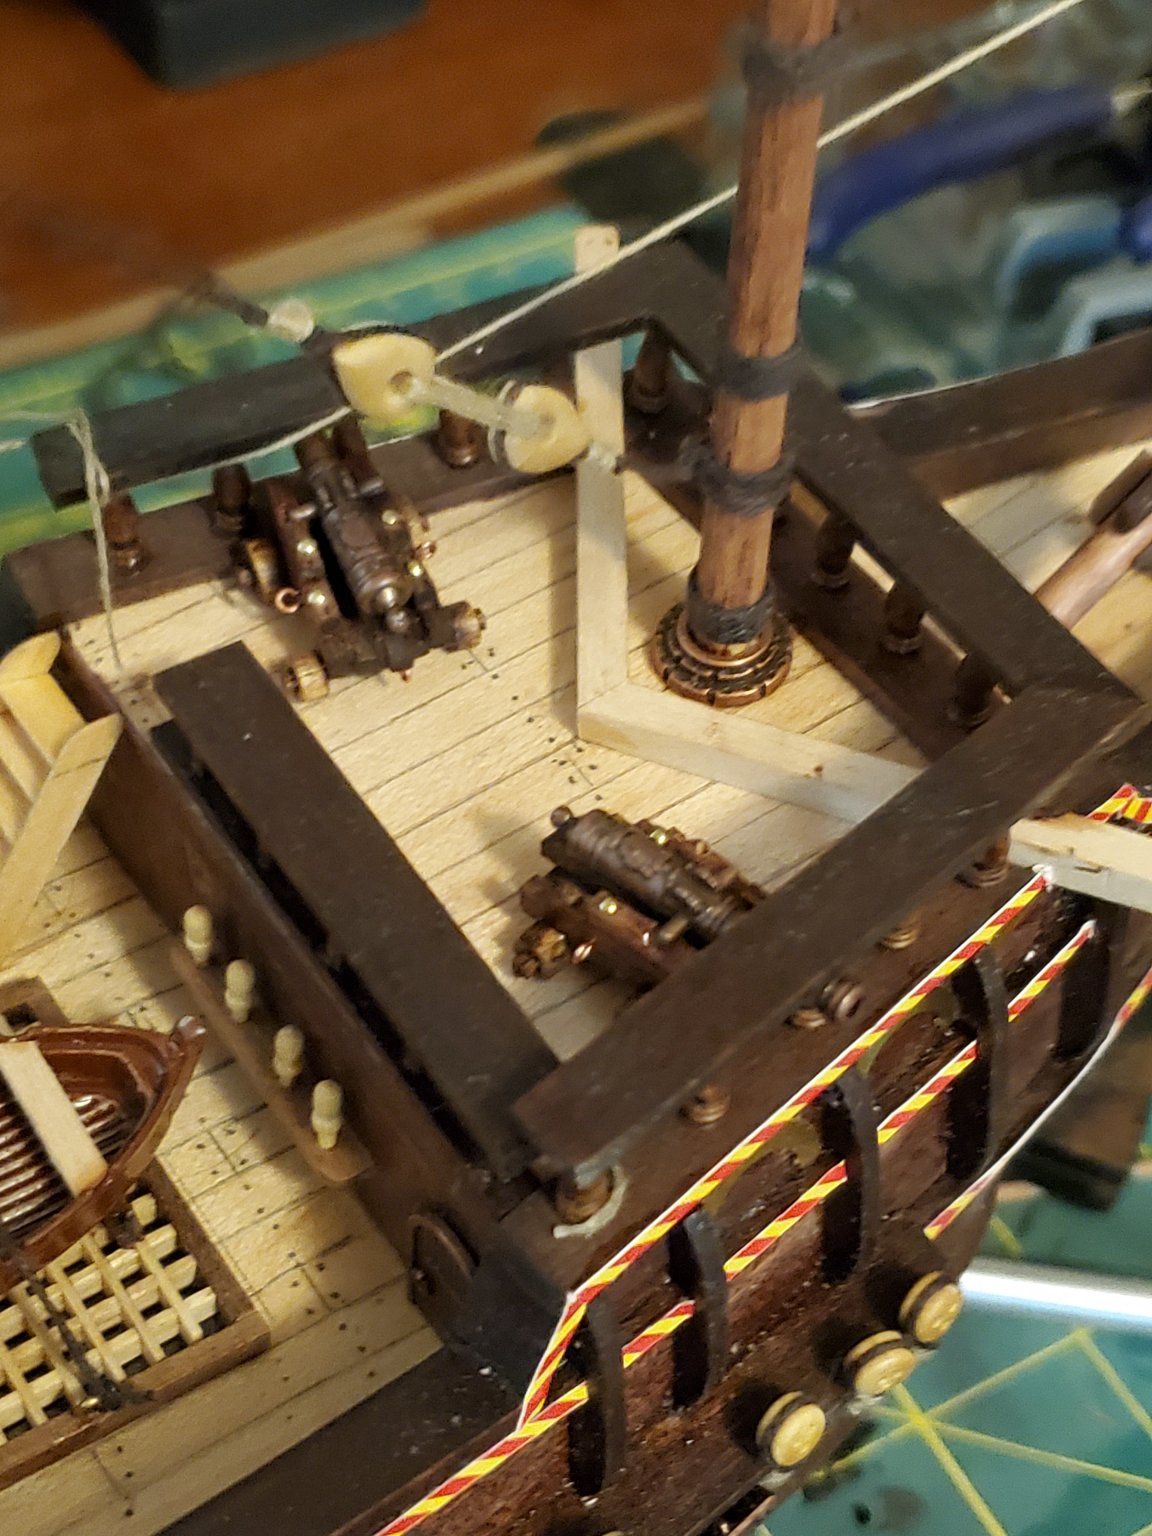
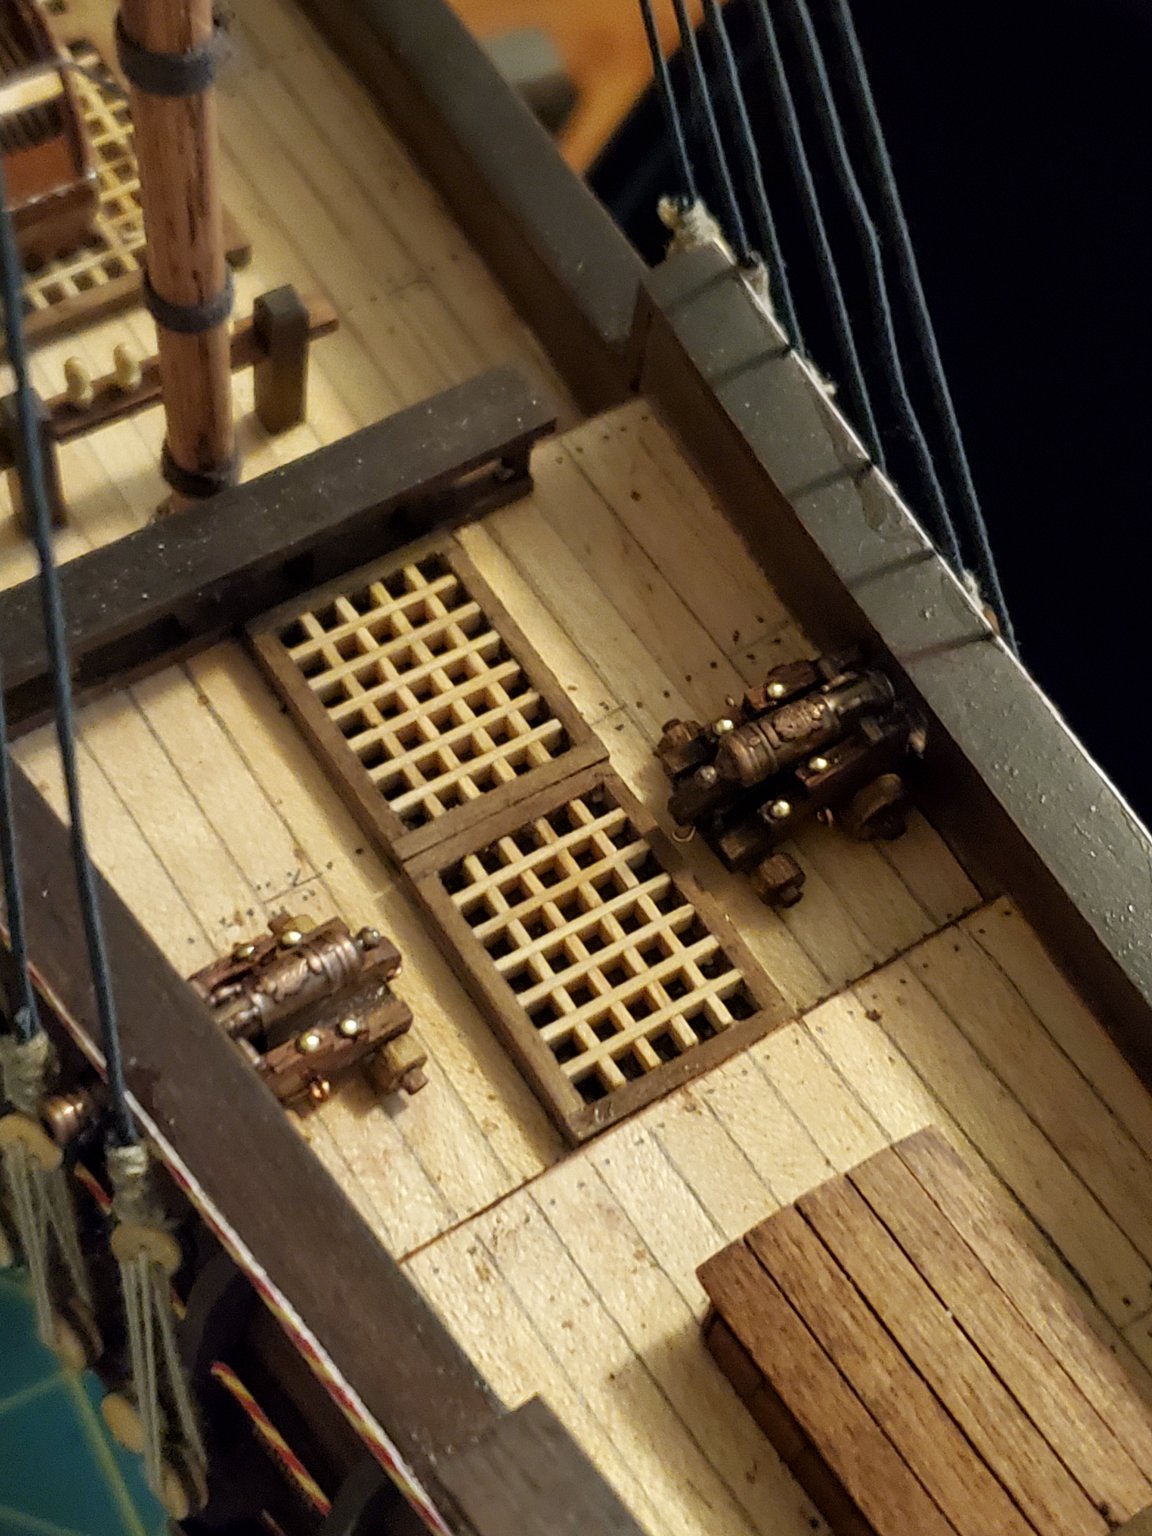
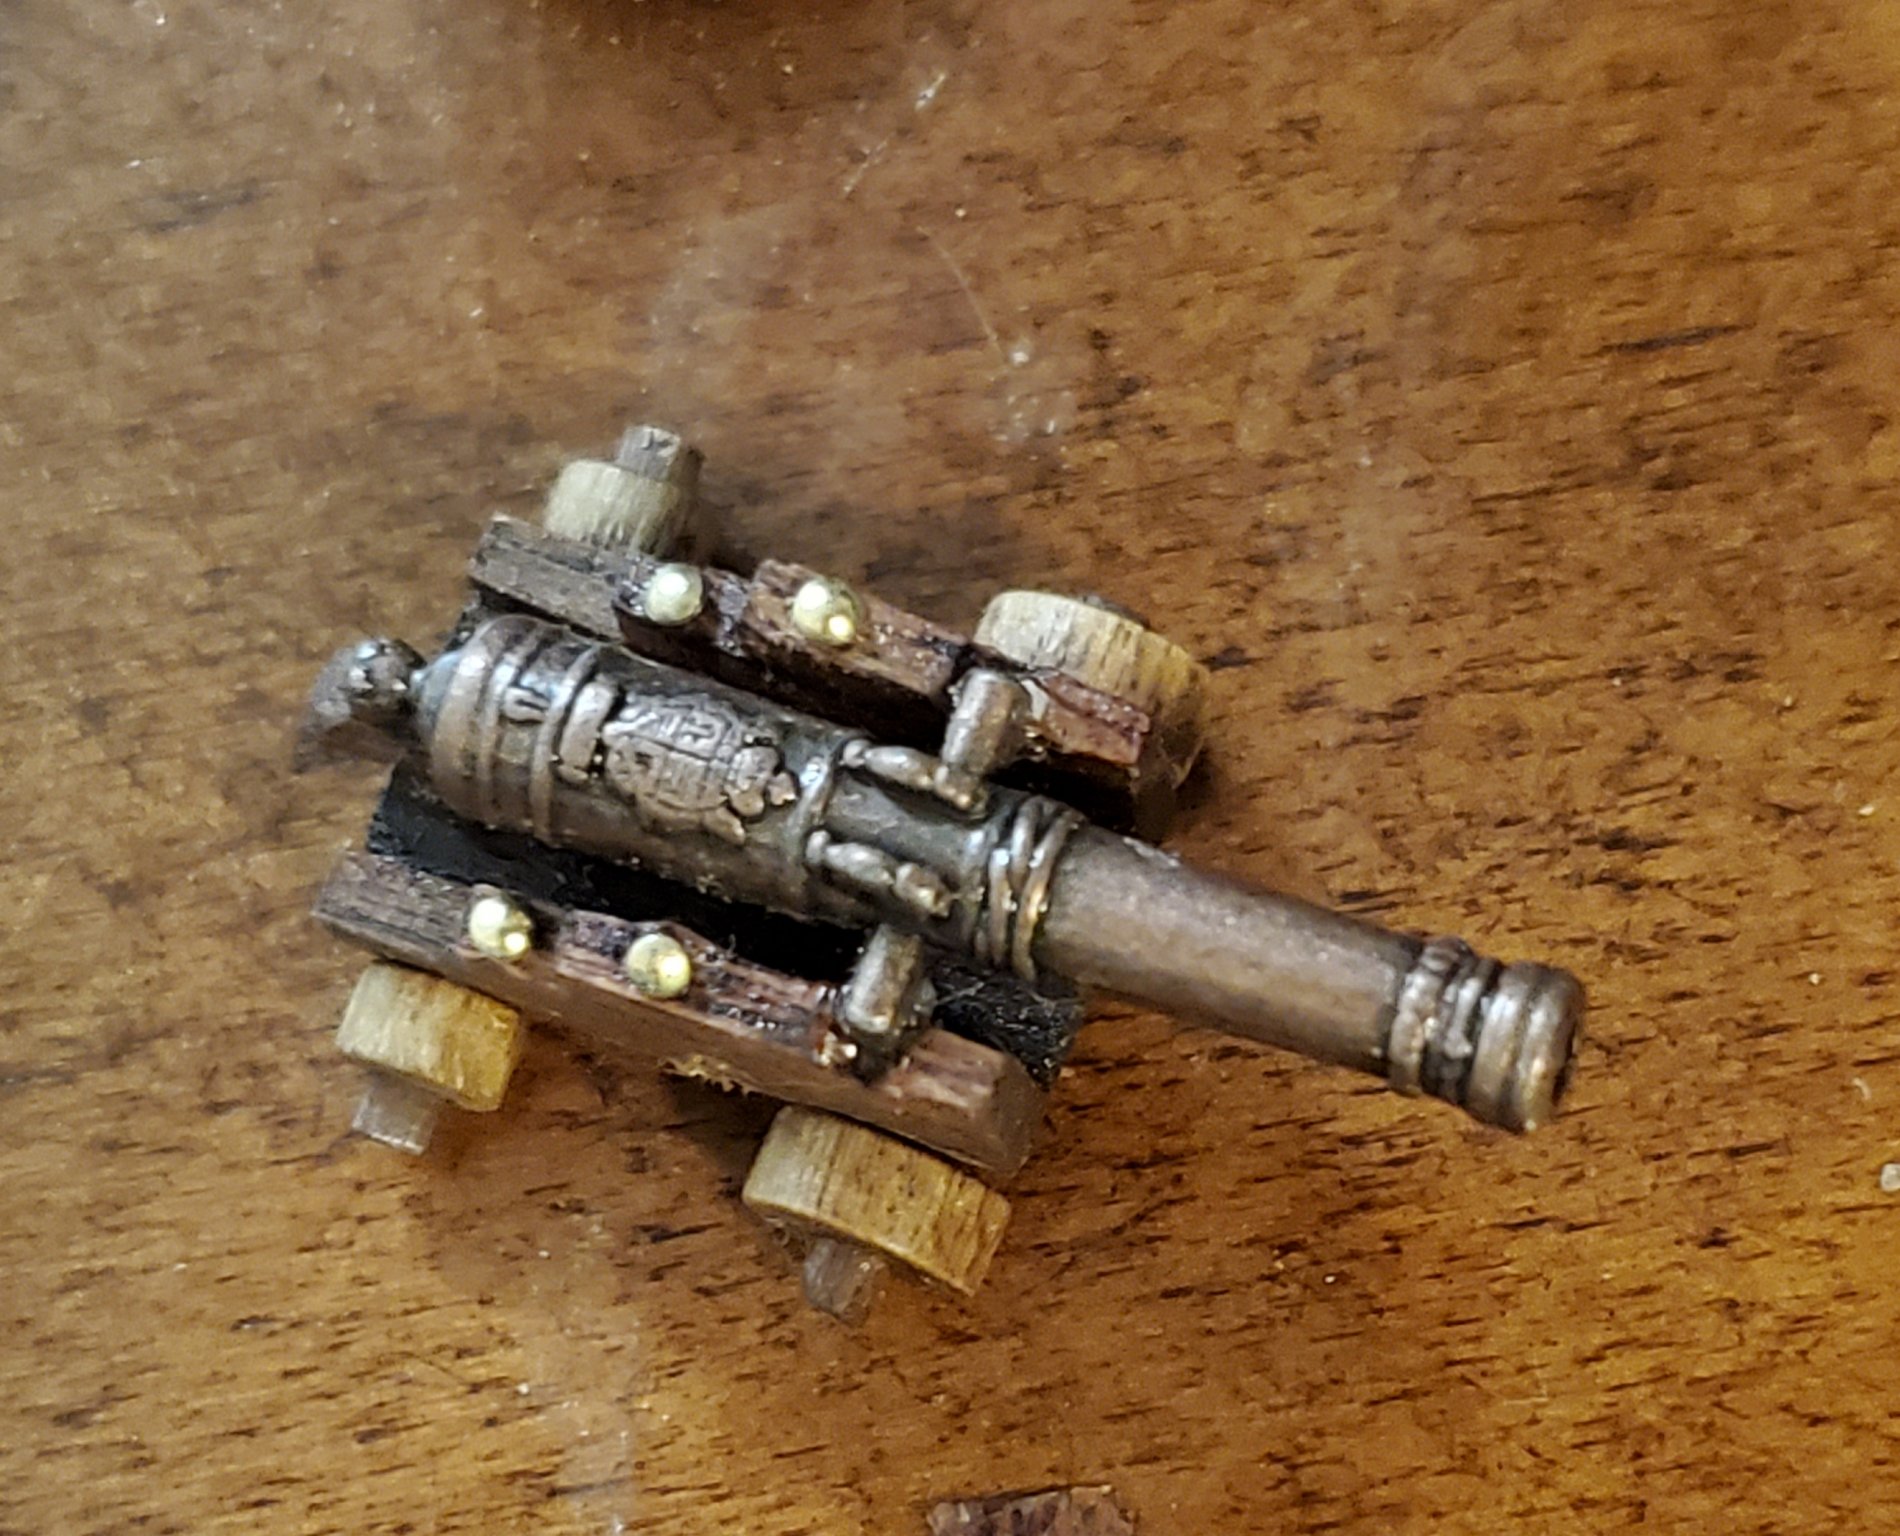
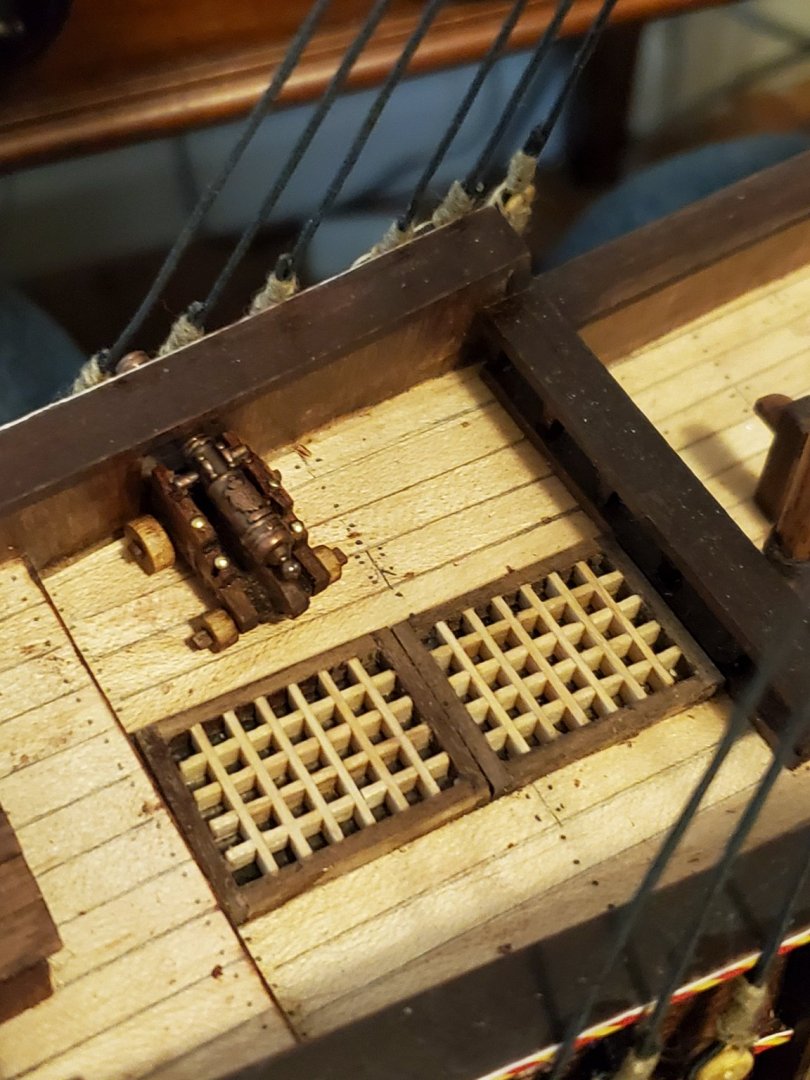
I got the four deck cannons built. I put rings on the carriage for the ropes to the hull, but not sure I can do that small work in that small space. I will try though.


-
I am anxious for the kit to arrive
-
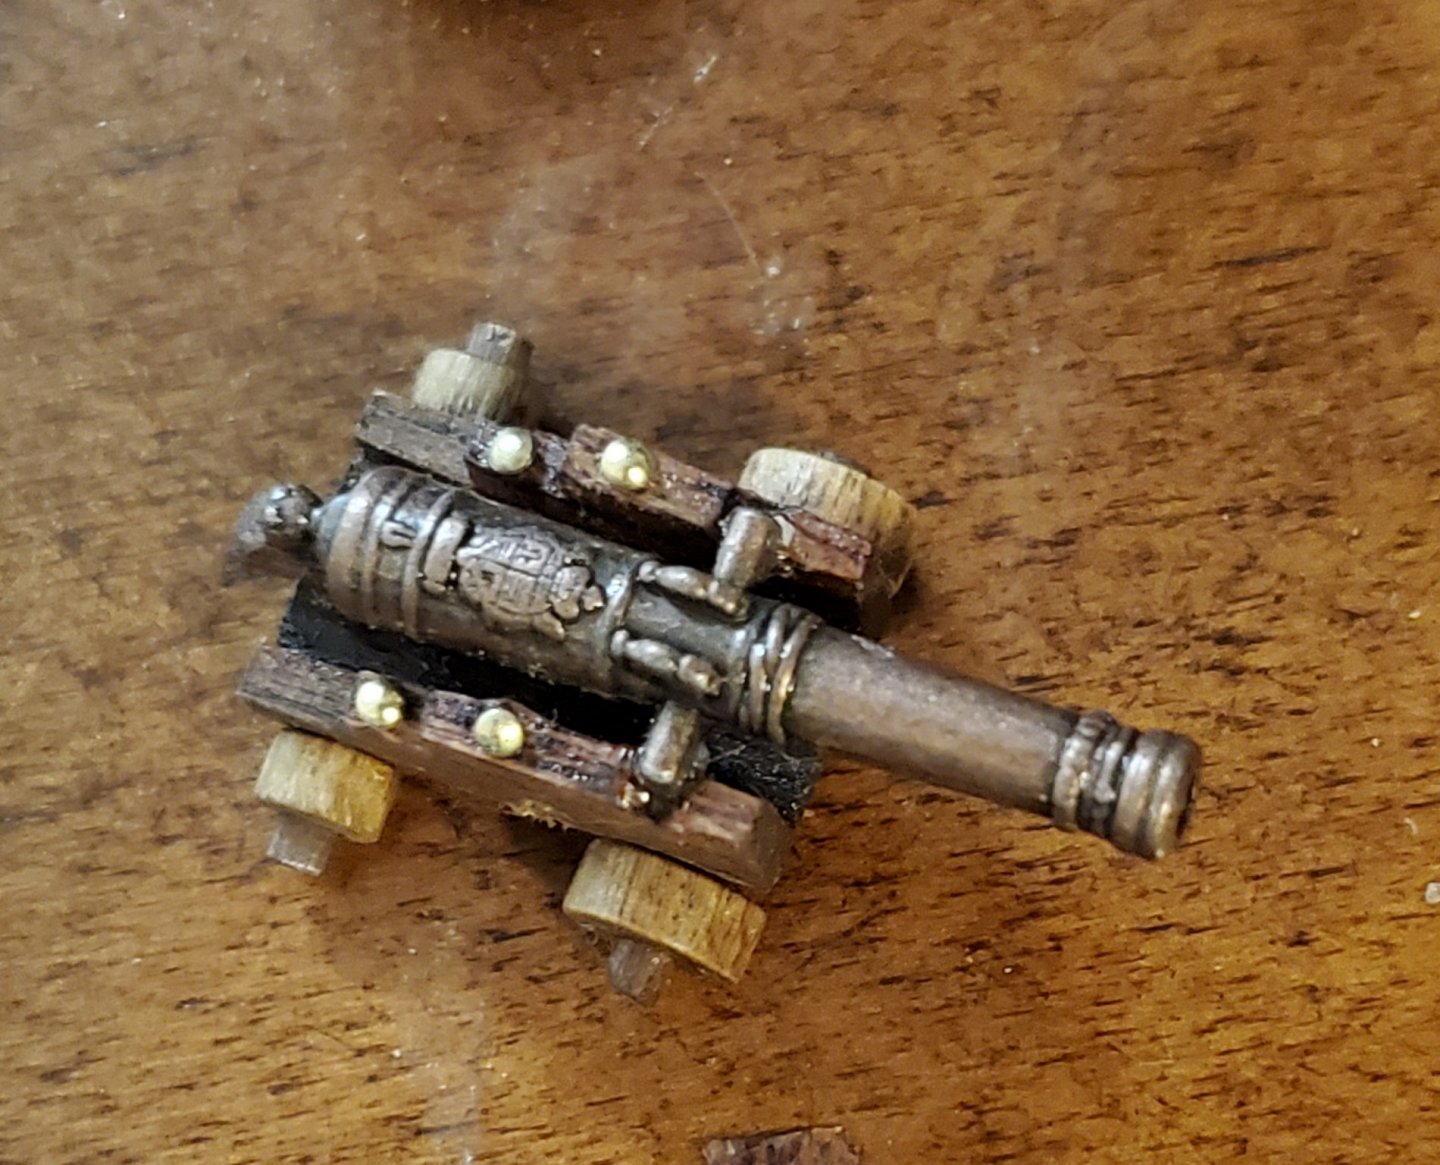
I didn't like the little cast metal cannon carriage that came in the kit, so I made a wooden carriage. It looks a lot better. Now only 3 more to make. In the last photo, you can see the two compared.

-
I placed the lines from the masts so I could use them to pull the masts straight and hold them. I did this now so it wouldn't affect the other lines later. I am pleased so far, but the rigging instructions are so vague, they show the various lines and how they go to the blocks, but leave no clue where they go to tie off. I looked at several builds on you tube and none of the rigging on them is even close to being the same. This led me to believe they ran into the same problem and just used their imagination. I will study some more.
-
I started installing the shroud lines today. I am so glad some of you suggested serving the lines. The quality and appearance difference is astounding. It really makes a big difference. Rigging these deadeyes is really difficult and time consuming (especially when you have tremors).the rigging is going to go slowly and take quite some time.
-
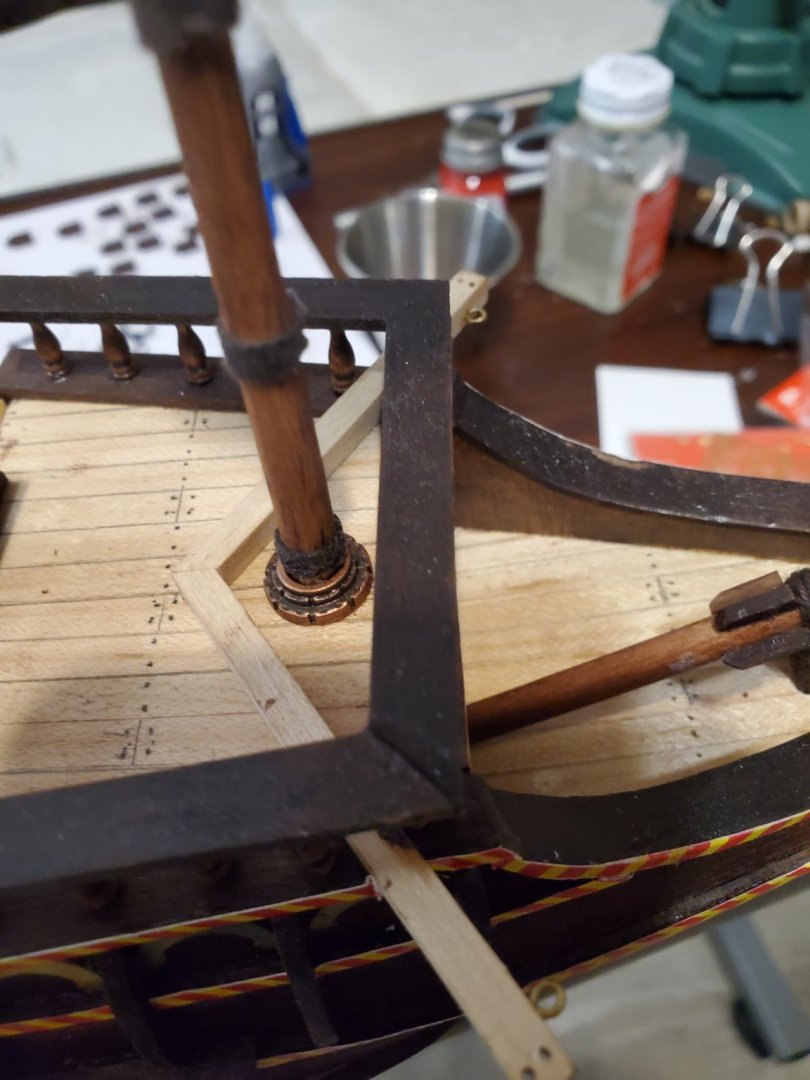
I wasn't impressed with the little wooden ring in the kit for the base of the mast, so I found these nice bronze ones to make the detail nicer.