HOLIDAY DONATION DRIVE - SUPPORT MSW - DO YOUR PART TO KEEP THIS GREAT FORUM GOING! (Only 20 donations so far - C'mon guys!)
×


ObviousNewbie
-
Posts
211 -
Joined
-
Last visited
Content Type
Profiles
Forums
Gallery
Events
Everything posted by ObviousNewbie
-
Small update, port chainplates for the foremast are done: Some corrections to be made, but I think they look the part. As the store did not have all the necessary messing in stock, I decided to work mast per mast, so started on the foremast as well. Take care.

-
I used white glue on mine, worked like a charm, the second layer planks are relatively thin, so adhere quite quickly. Not as quickly as contact glue probably, but it allows for corrections, and depending on the type of white glue you use, you wipe off any excess with a damp cloth without leaving any marks.
-
I know the feeling, I spent hours staring at pictures of builds just to convince myself my first first planking didn't go horribly wrong 🙂
-
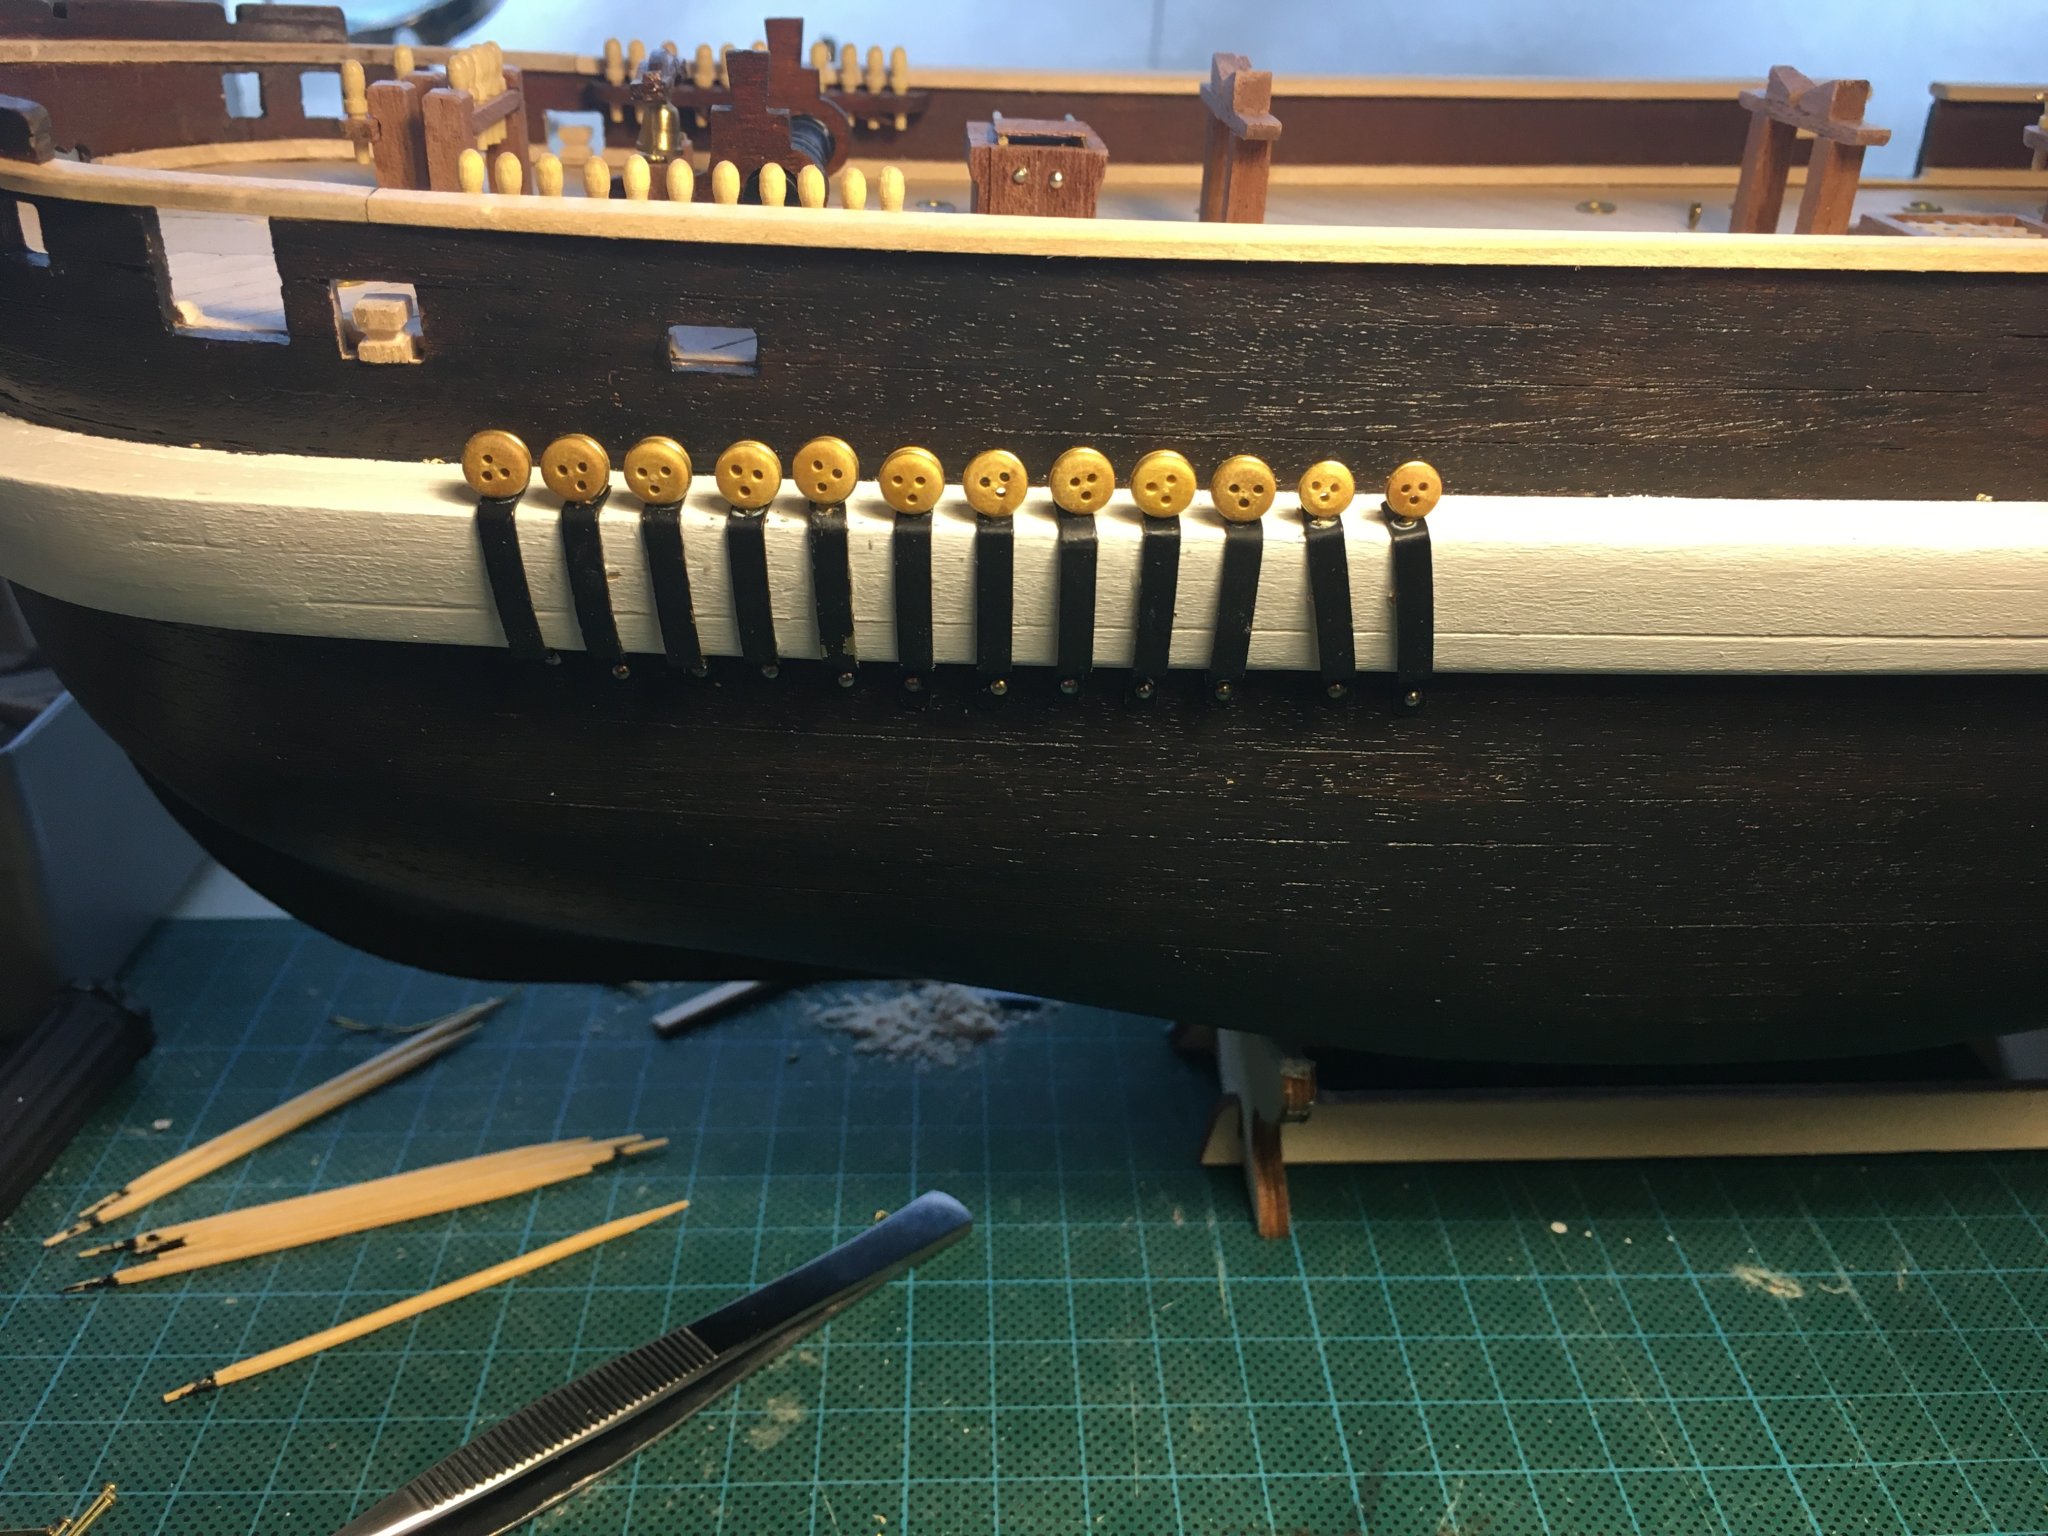
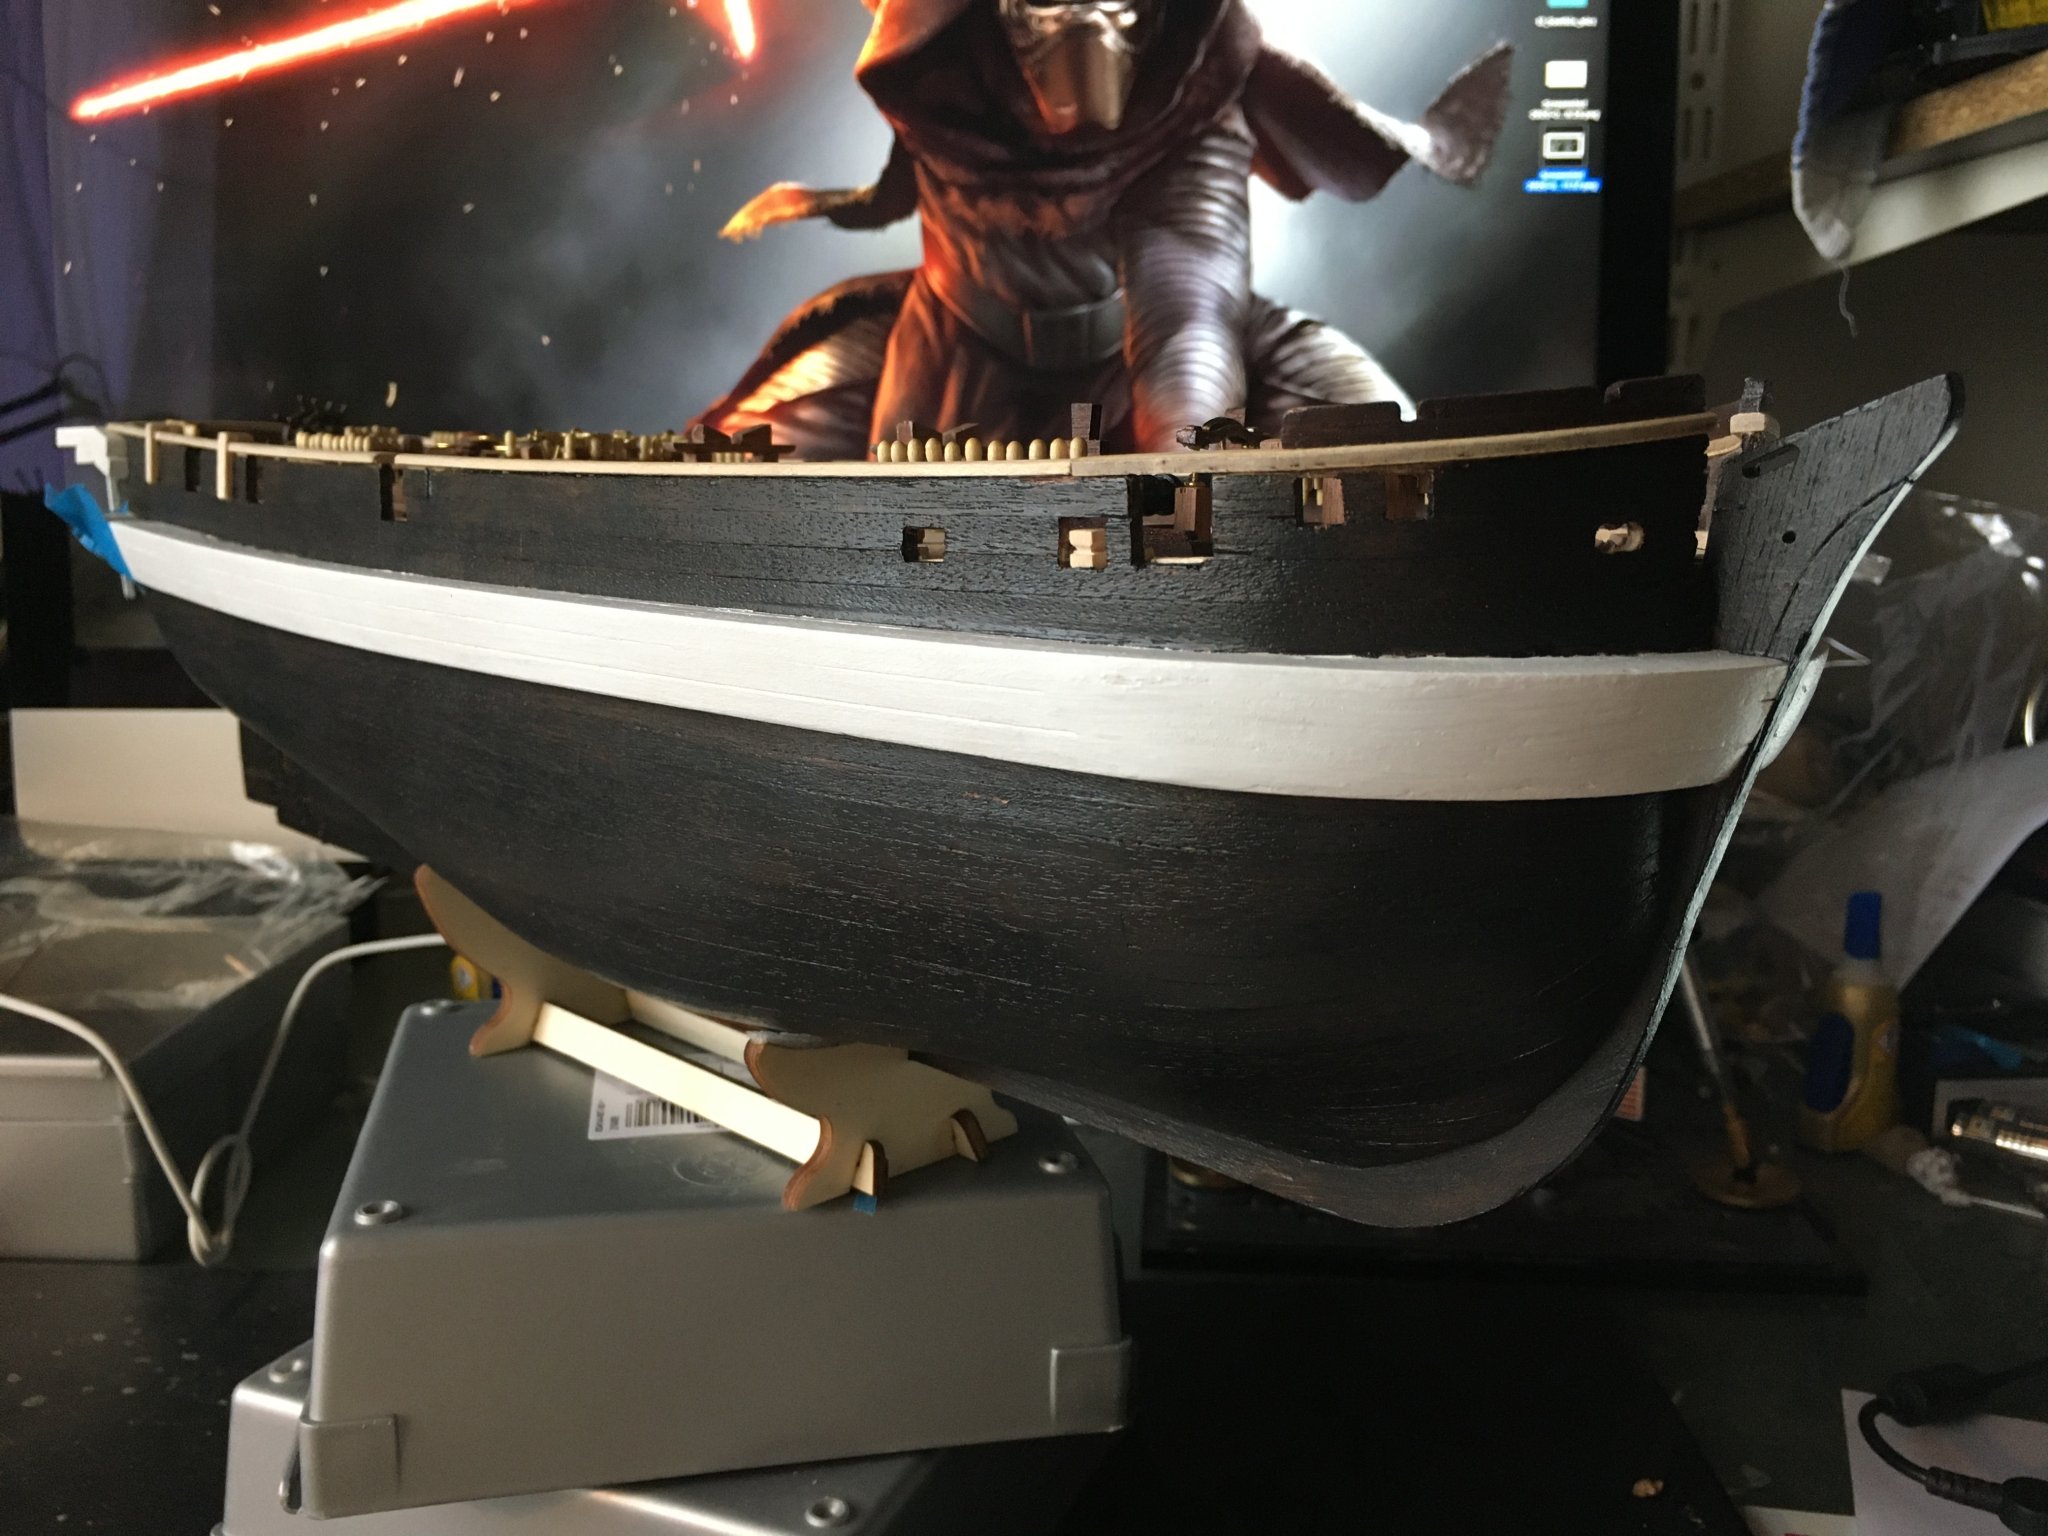
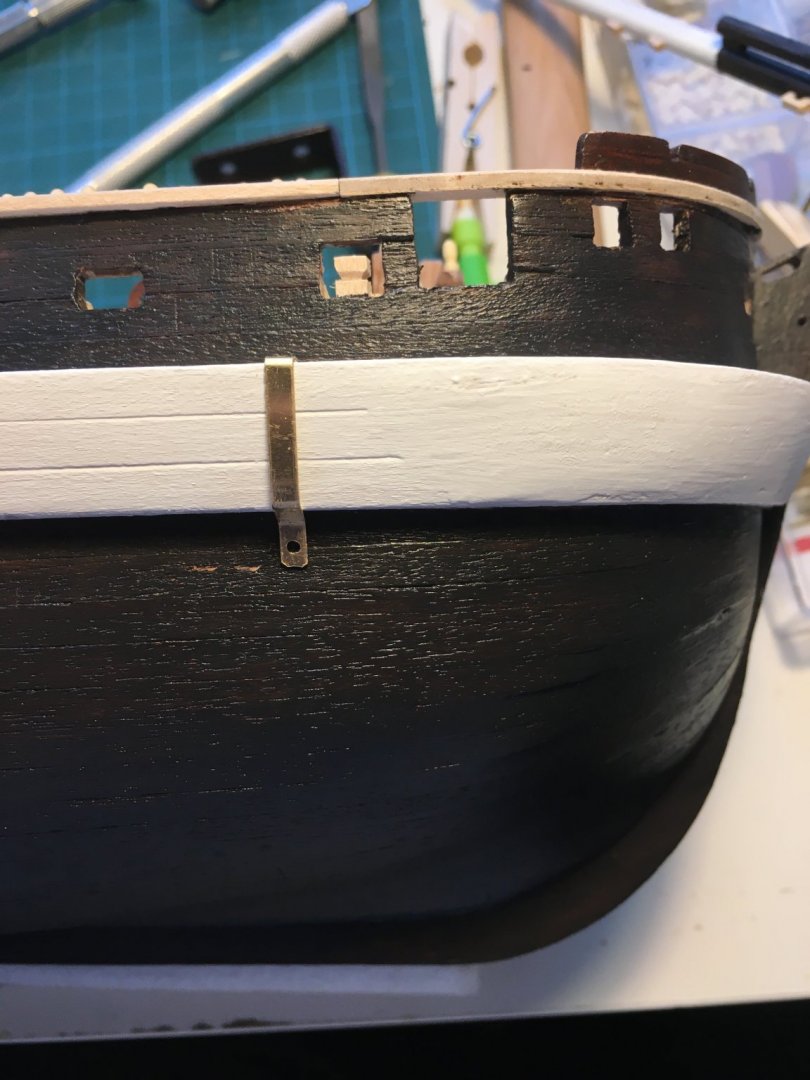
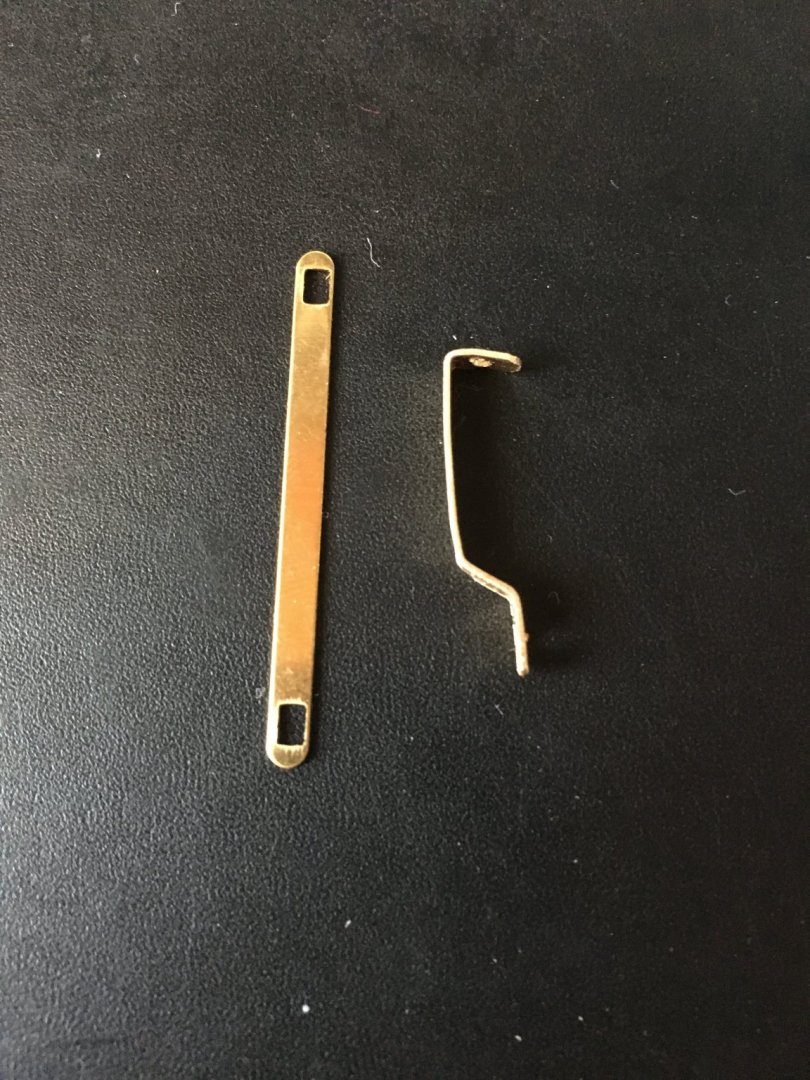
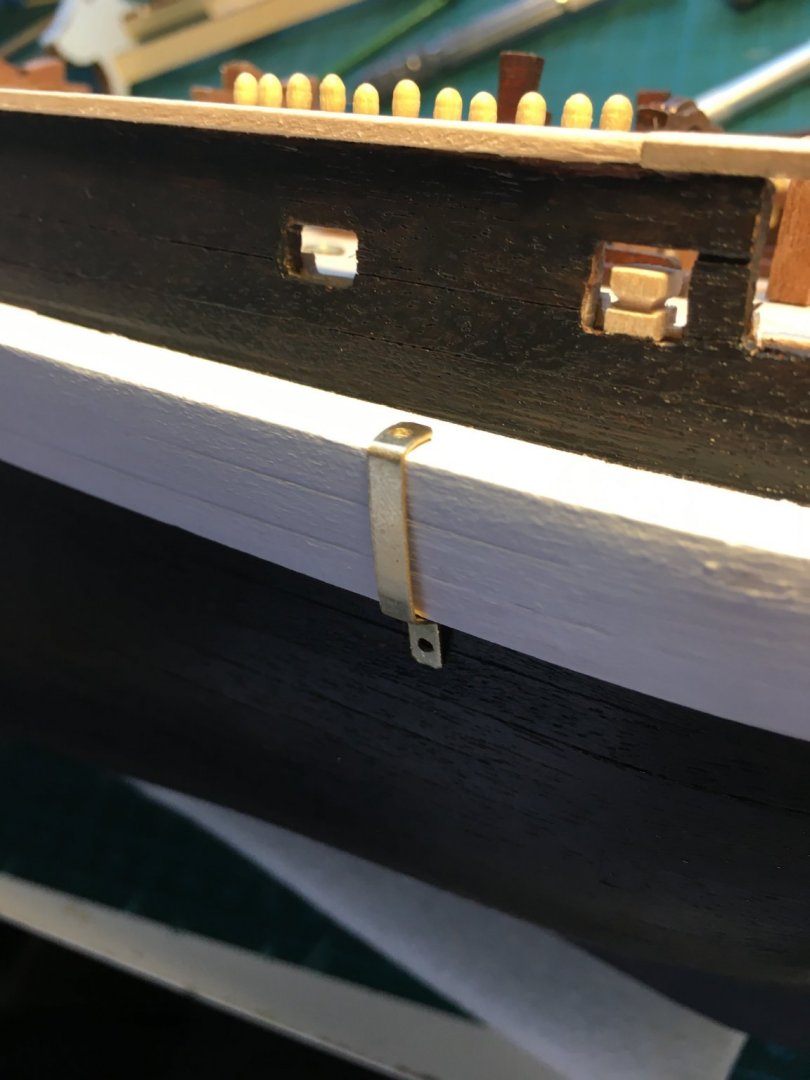
Hi all, It's been a while, but the Lady has her colours: Some minor corrections to be done, but all in all I'm quite pleased with how she looks 🙂 After that, tried my hand at the bowsprit, which is coming along nicely (no pictures yet). I need some advice on the chainplates though. I was a bit reluctant to put up the out-of-box solution, somehow didn't seem to fit. Keith S got me a valuable alternative, but price wise the import tariffs alone are doubling the price almost 😞 . So went out to look for a local solution, as the stores reopened last week. Found chainplates from Billing Boats which were more to my liking: Left the standard issue, on the right after shortening, drilling two holes and bending to match the ice shock. When in position (dry fitted and unpainted) it looks like this: I've painted my prototype for a final fitting, I'm just wondering if the width isn't too much. Chainplate is 3mm wide, Deadeye going above it will be 5mm. Any suggestions/comments?

-
Welcome to Terror! Building this as my first model, just finished painting. Glad to have you aboard, good luck 🙂
-
Hi Paul, regarding the shrouds, have a look at this: Found this playlist on Youtube, although he's building the Santissima Trinidad, a monster of a ship, he really goes step by step and explains the basic rigging. In this video he's installing the first shrouds. Hope this helps! The Blue Angels, would love to see them in action one day, enjoy!
-
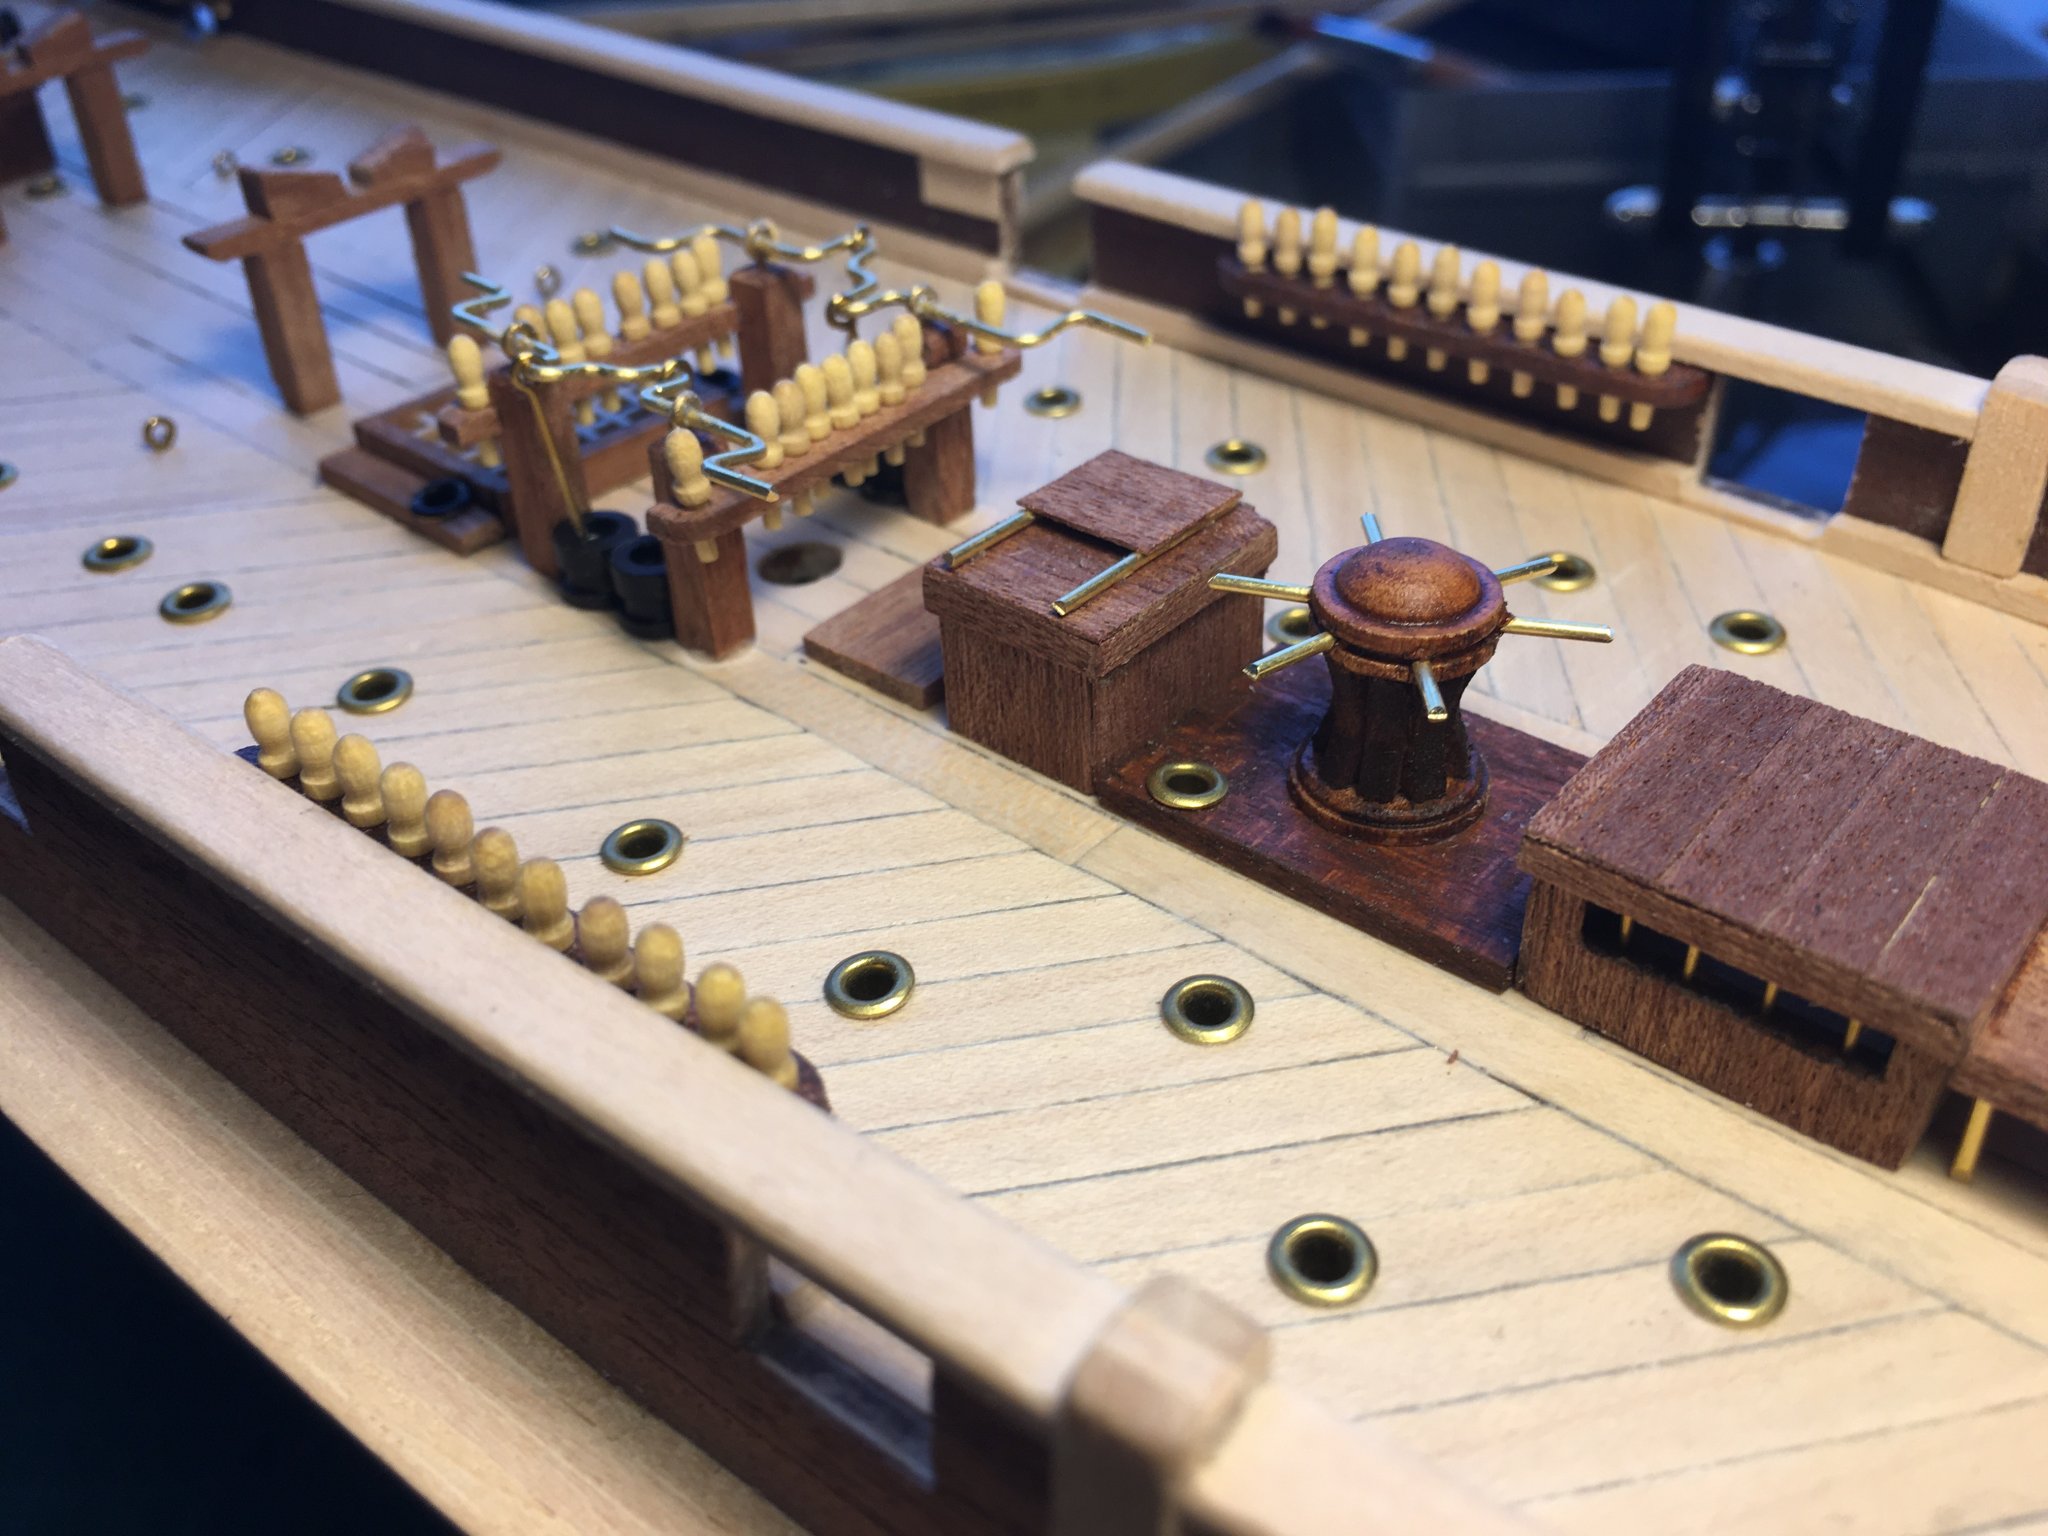
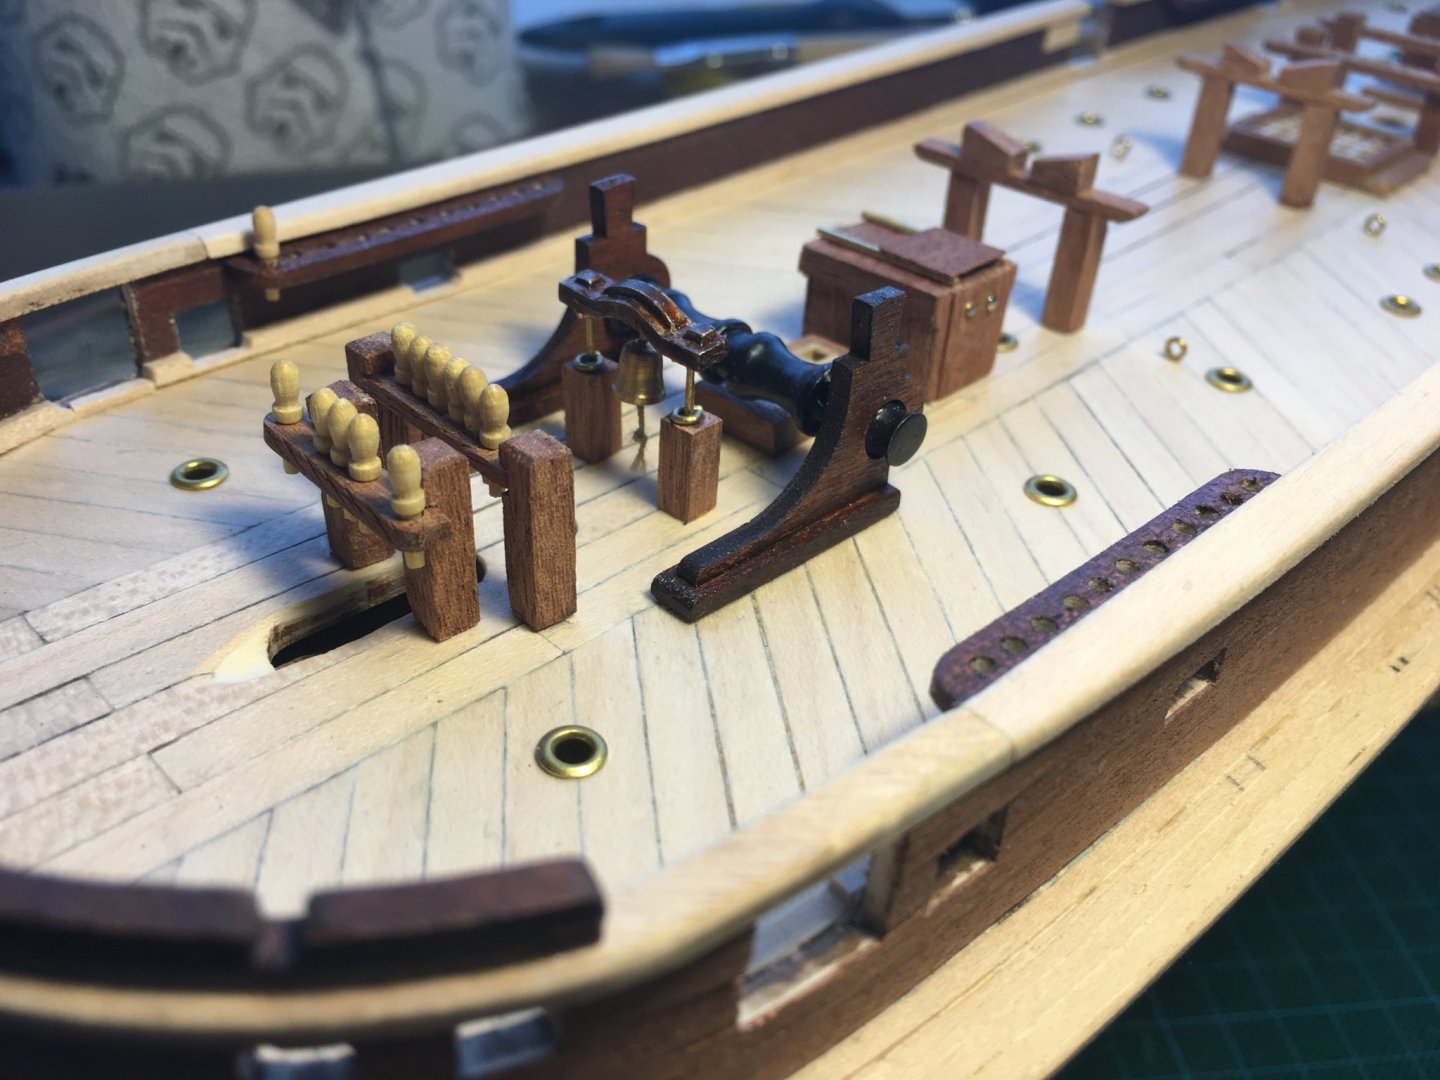
Hi all, slow progress, lots of testing, and busy times at the home office. But, the capstan and the pumps are finished: Thinking about painting now, found a black furniture varnish in one of the few shops still open, tested it against the flat black Tamiya paint: The blue shine is coming from the window, but all in all I think the varnish works better than the paint, which is a bit too flat in my opinion. On the left side the varnish, one coat on the left, two coats on the right. Makes a bit of a difference but not much. Prefer some of the wood colour to still be present so I'll probably go for this. Underneath the varnish is an armour plate which I'm supposed to attach to the bow. Thinking about it, I decided to test how it would hold out with paint. Well, the result is not spectacular. So either I go for specific metal paint and risk Terror having two shades of black, or I just abandon the plating... What do you think?


-
So you're going ahead with the armour plating? Brave man, good luck! Me, I'm partial to skipping it, seems too much of a risk. On the other hand, she was an ice-breaker, so...
-
Hi Paul! When you're starting on the buffers, make sure you cut/sand them to shape at the stern. the instructions tell you to cut afterwards, but I heard that's a big headache. I cut them to shape, more work indeed, but that way you don't have to go to the hull with a knife 🙂 Make sure you position the first plank correctly, I did that wrong, and did not measure the 2cm at the bow, so I had to give HMS Terror a nose job to make the edge of the bow fit with the buffers. Good luck!
-
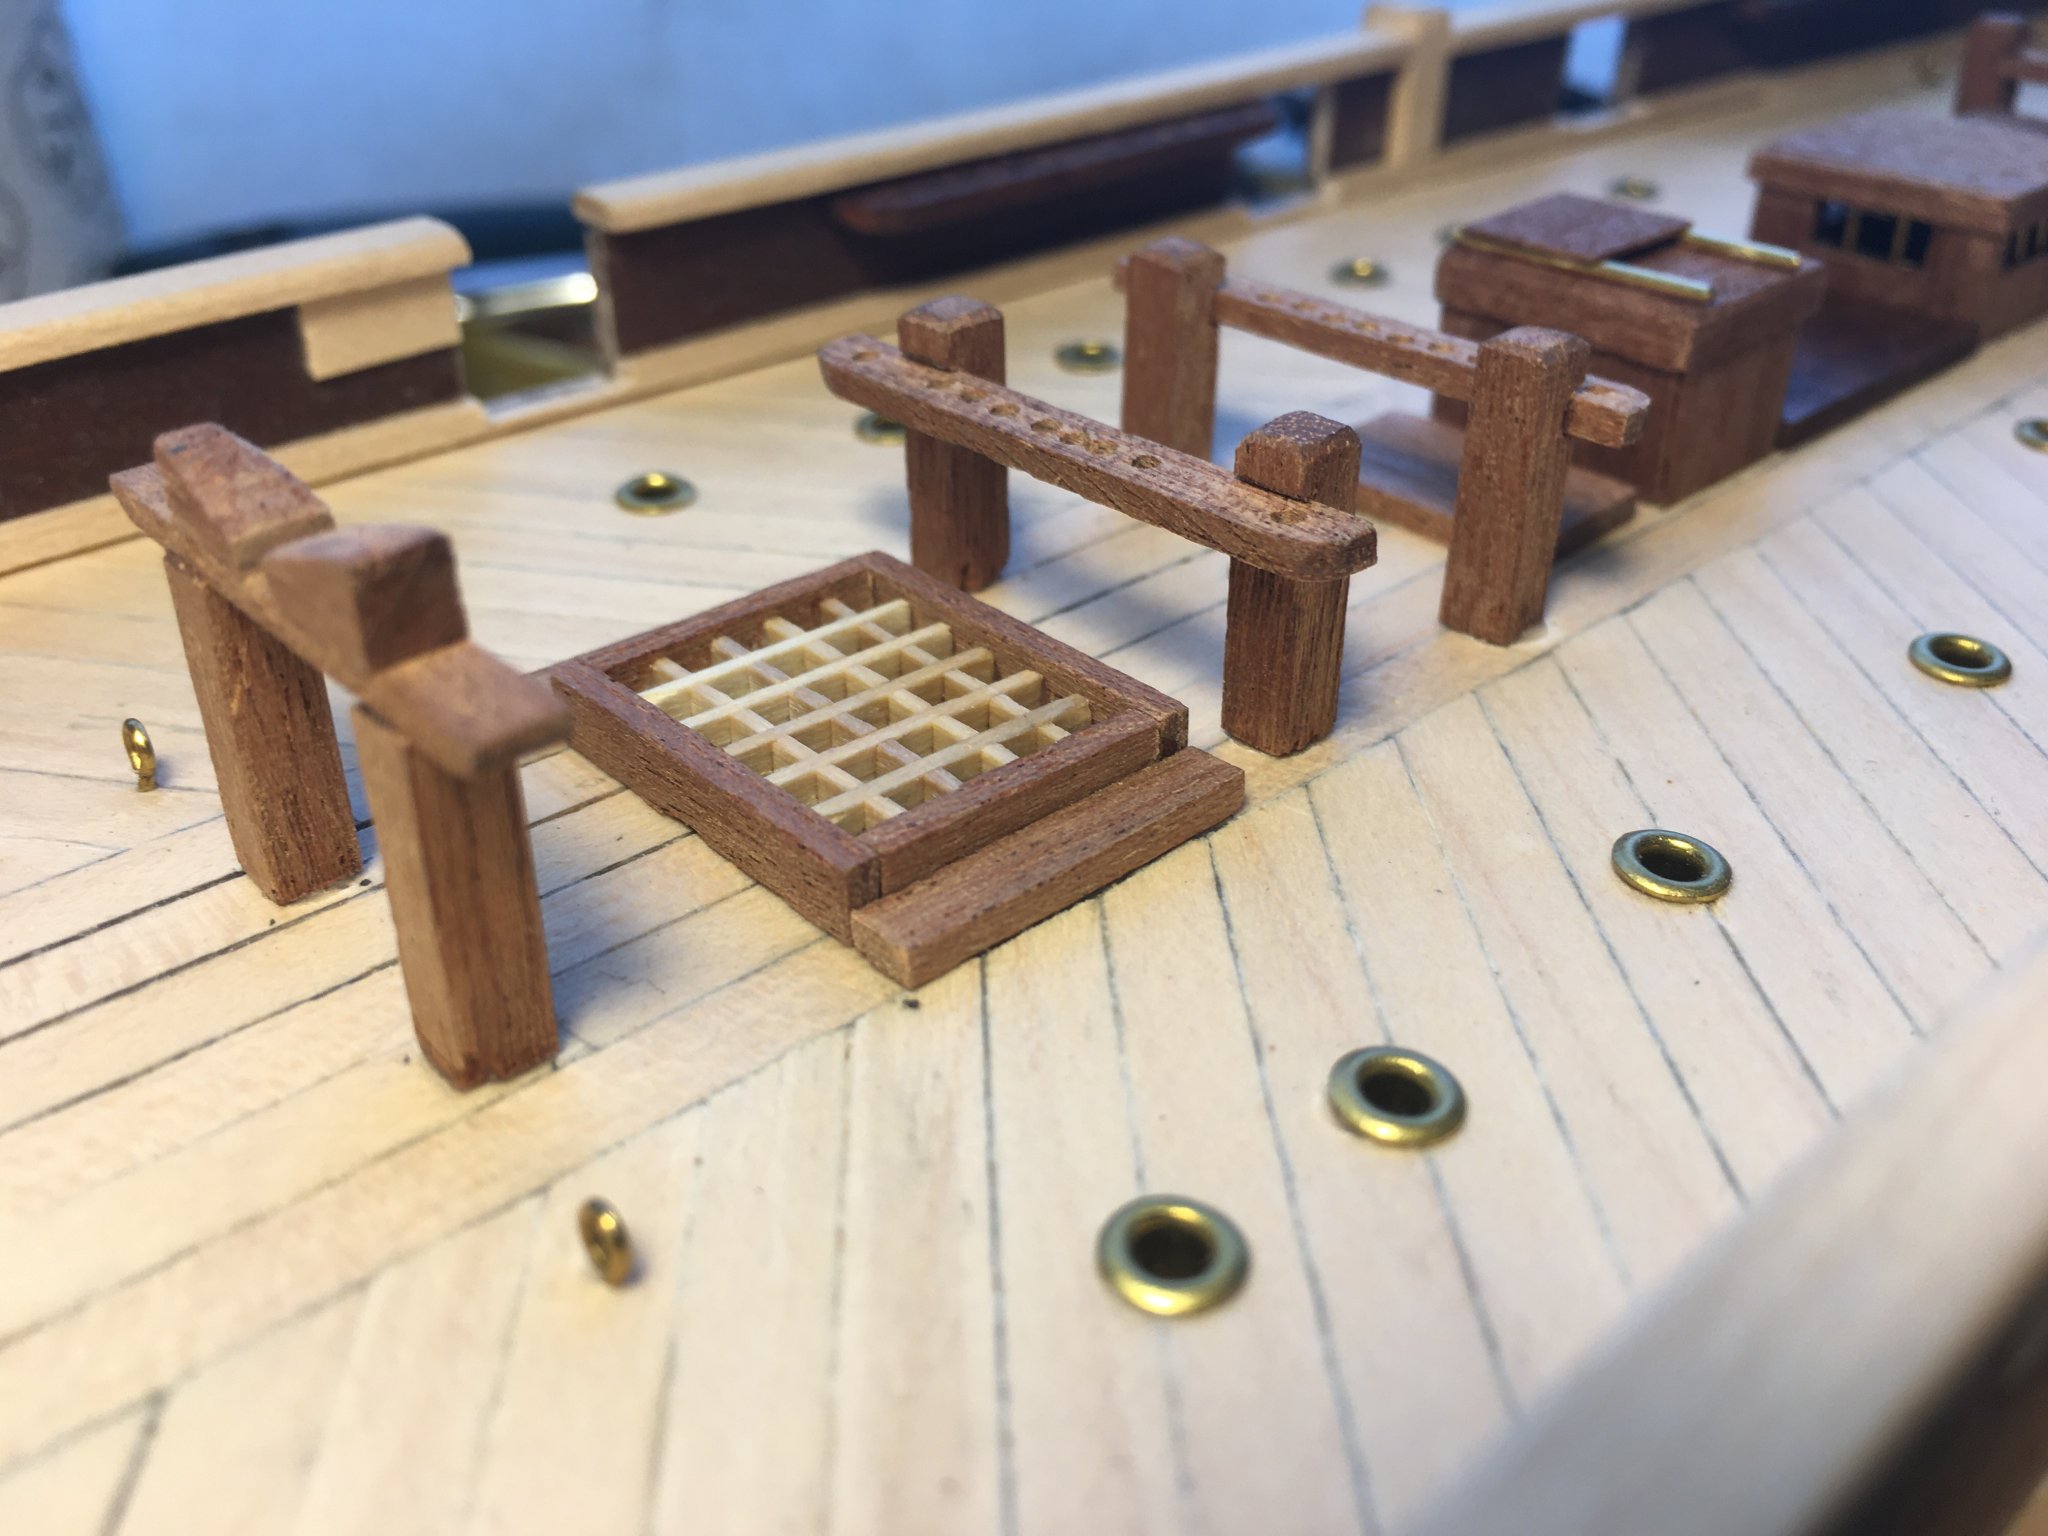
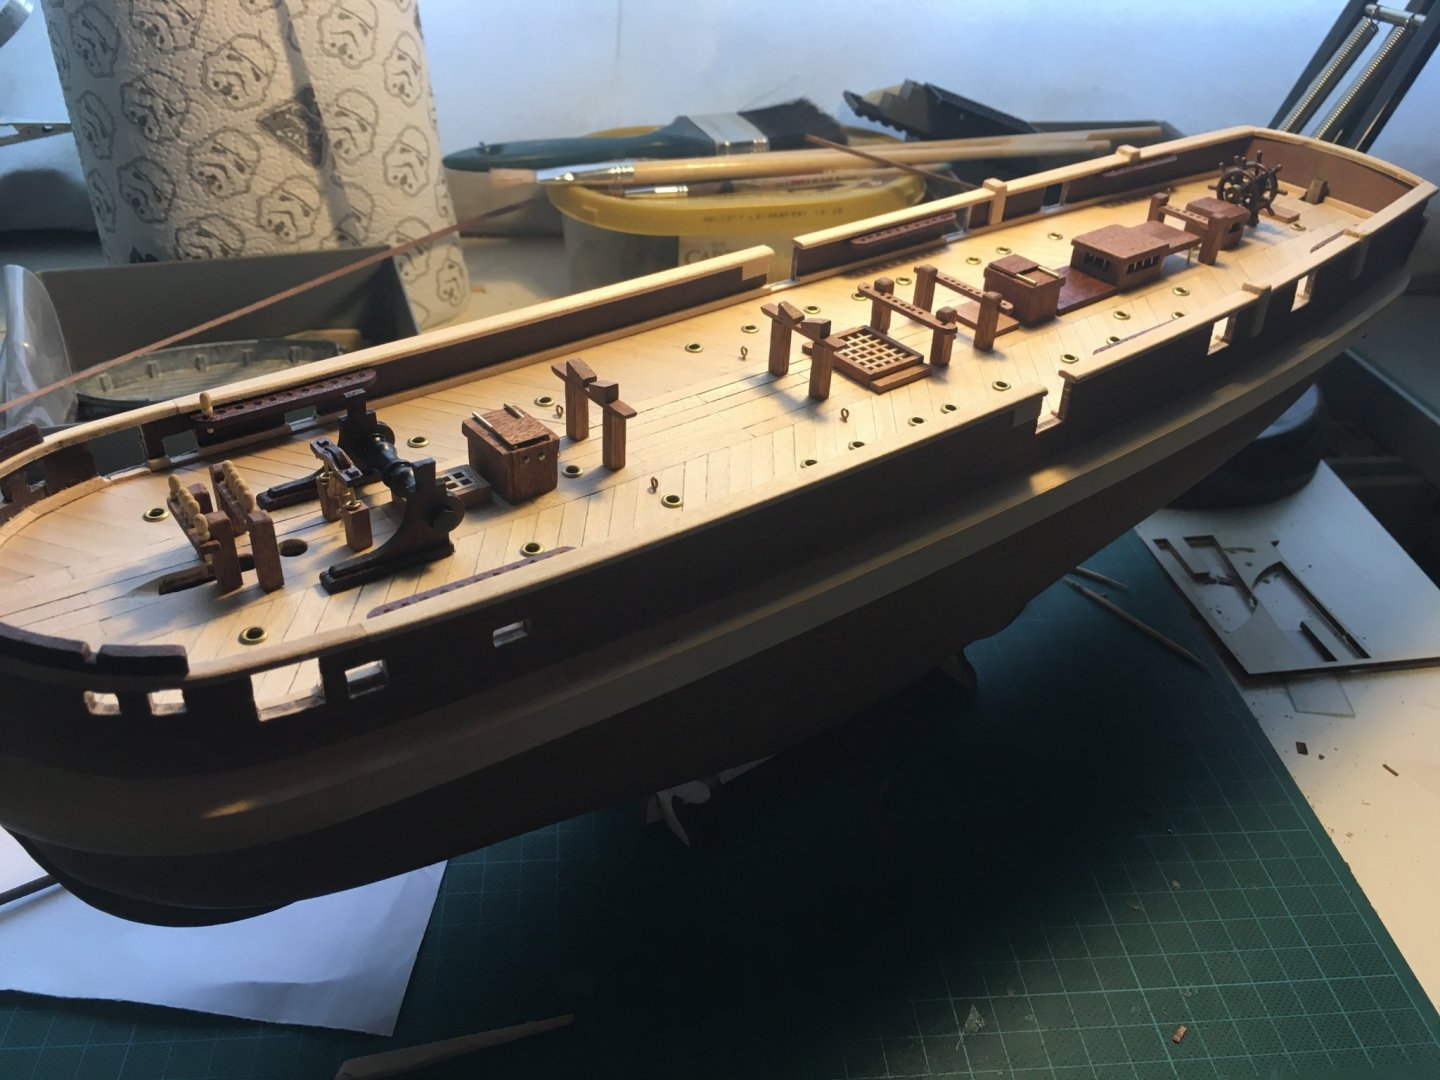
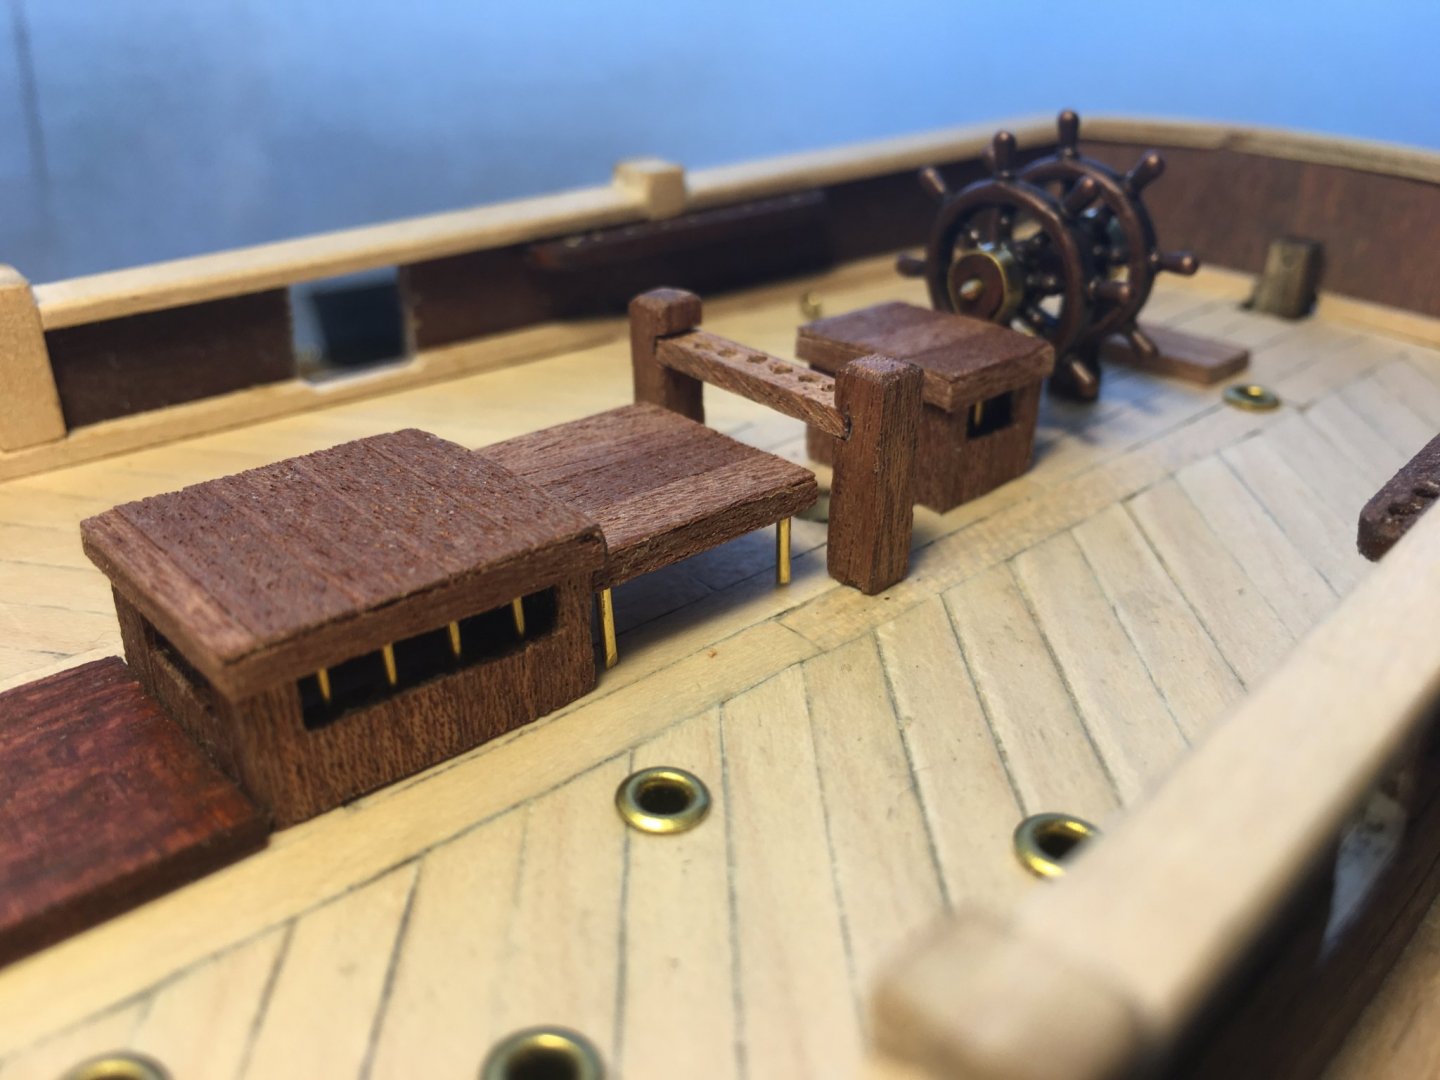
Hi all, busy week, working from home and in the evening working on the deck structures. But we're almost there: Some details: Didn't like the way the plywood was showing on the rooftops, so lined all of them with leftover Sapelli wood. Going for the natural look on the belaying pins,I'll probably have some trouble fitting them in some of the belaying tables as my drilling technique improved as I went 🙂 Learned a lot working on the deck, from using opaque paper as a template to mark the structures, using Lego bricks and corners to create 90° angles, etc. And patience, lots of patience 🙂 But frankly, the focus is keeping me sane, haven't been outside for 7 weeks now, still holding on, but some days are better than others. Next step, finish the deck (capstan), leaving all the fragile stuff for last, like davits etc. Then building and painting the catheads and the stern davits (almost done), then paint the relevant parts white. Question: for the black hull paint, what to use best? Was thinking of ebony stain/varnish, but maybe paint is a better option? Still of two minds whether or not to install the bow armour plating. Seems very complex AND very visible, not a good combo.

-
Amazing build log btw, thnx for the tip! I know 🙂 I thought you were referring to a specific type of glue. I remember from my plastic days I had a specific Humbrol glue which actually melted the polystyrene to almost weld pieces together... Ah, the good old days 🙂
-
Thnx for the tip, can you shed some light on this? I'm not familiar with polystyrene as a glue. Thnx!
-
That was what I was thinking as well when I installed it, especially as the curved railings on the bow are narrower as well. Solved it with the sanding block, but still...
-
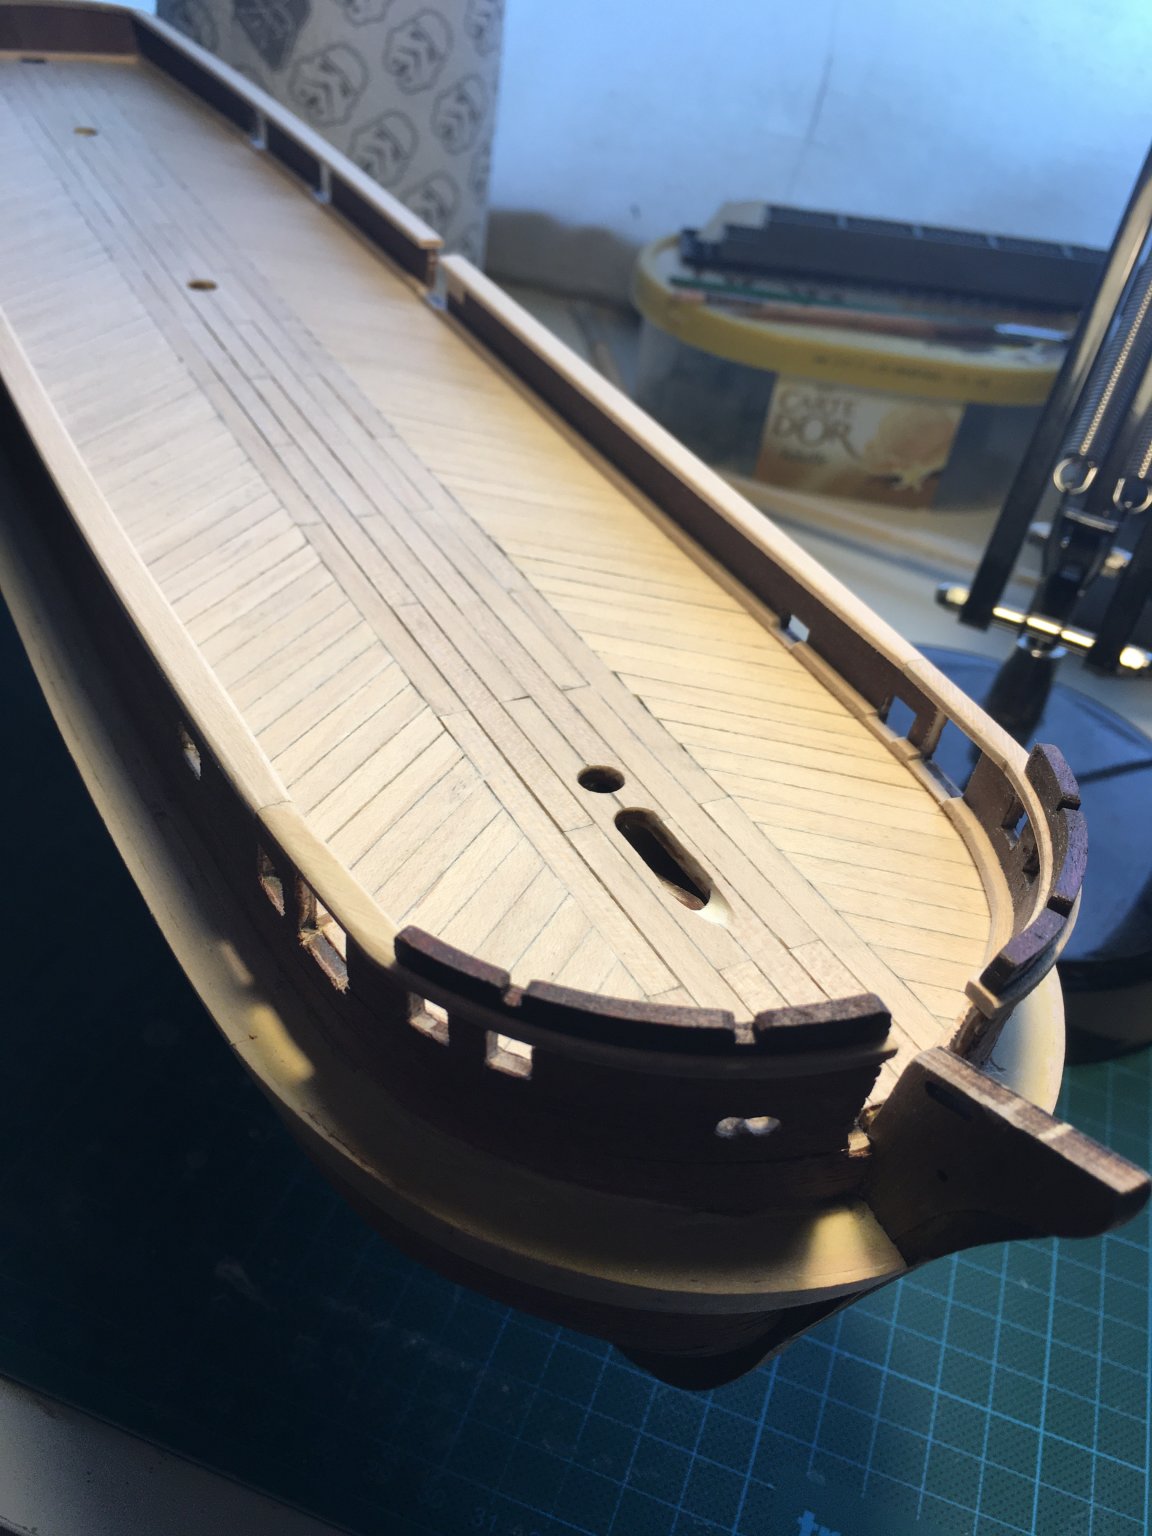
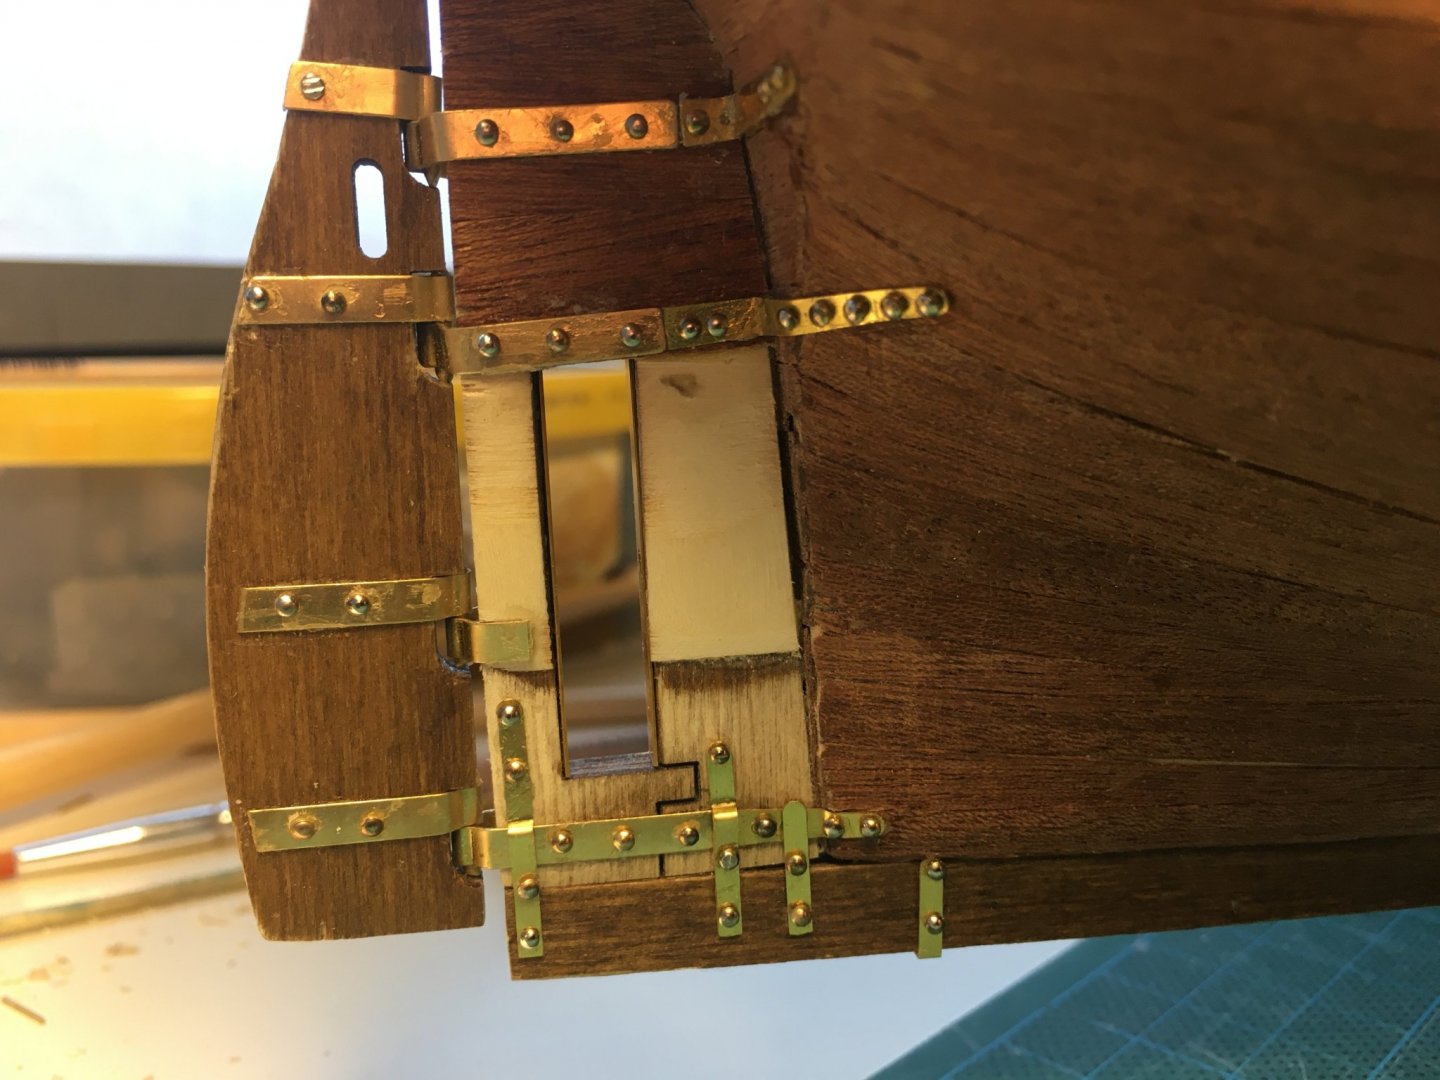
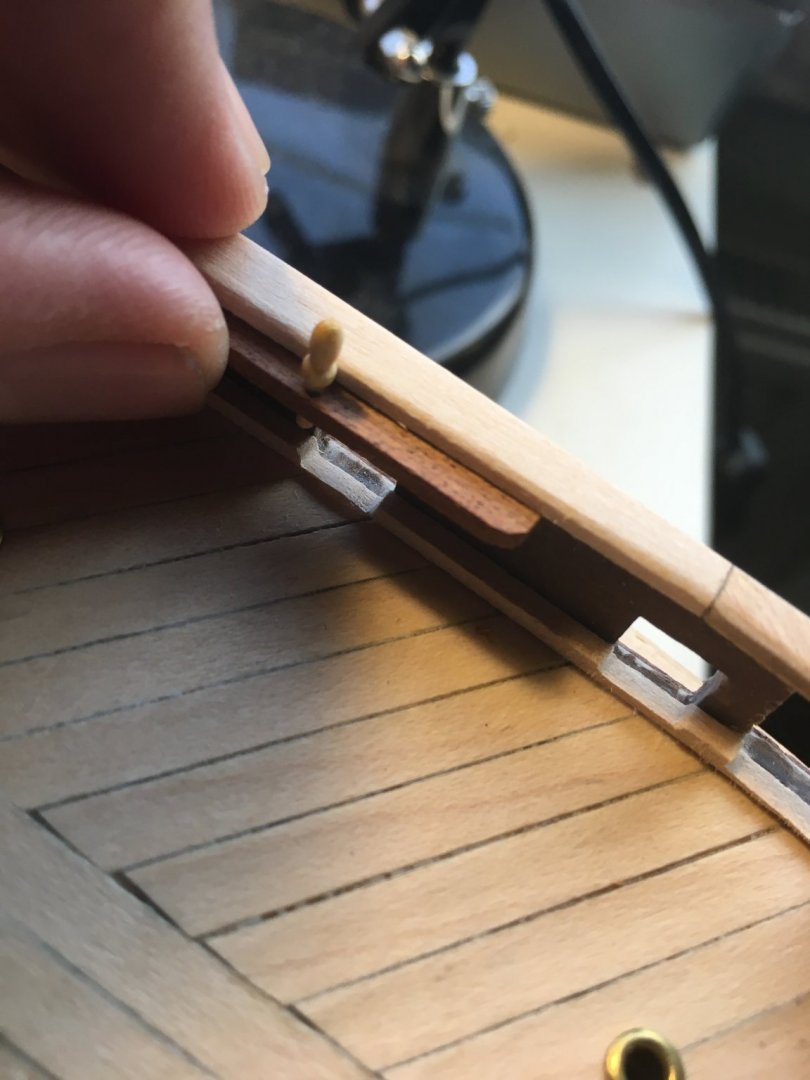
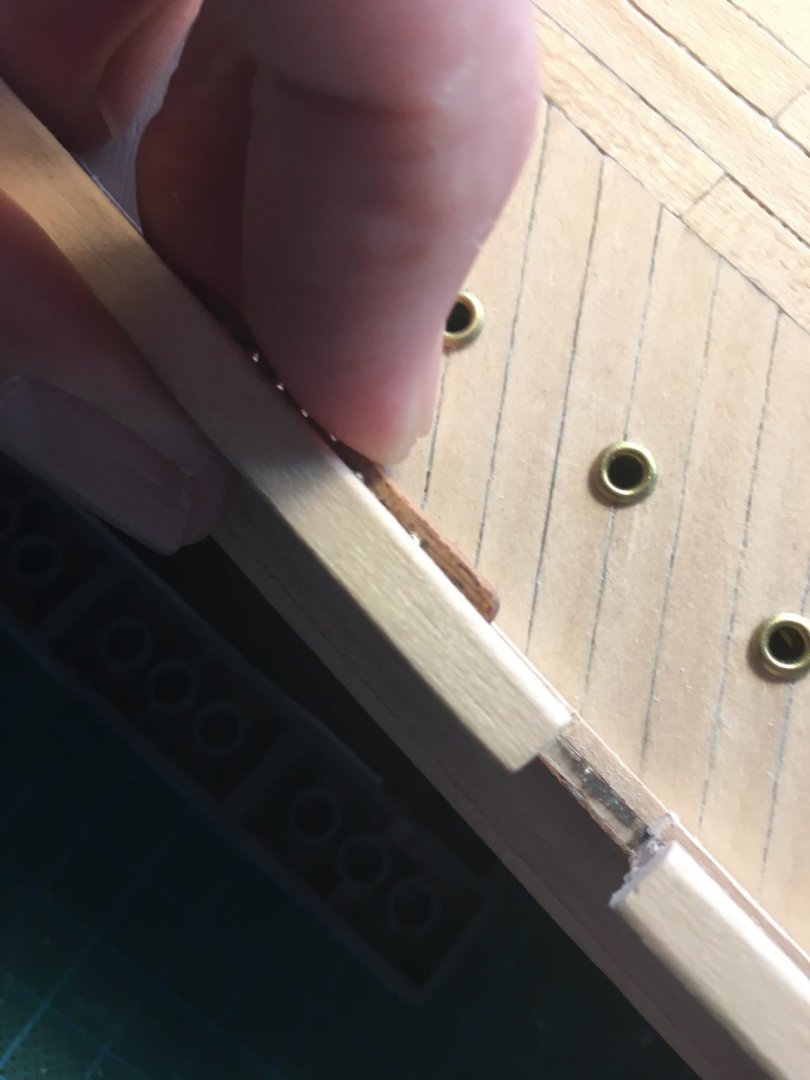
Hi all, small update, and a request for advice (again) 🙂 Rudder installation is finished: This was easily the most frustrating part of the build so far, getting the rivets in the right position and keeping them there was a pain. Respect for shipwrights who use CA glue for their entire build, even when using gel-based CA I was messing about and gluing myself to the ship on a regular basis. A learning experience, and an exercise in patience... Moved on to the light openings in the deck: Went a bit better, although taking a drill to Terror was well, scary. Next up came the support thingies at the rear of the bulwarks: I love how you get to shape wood with sanding blocks, a source of delight 🙂 Started on the planks that hold the belaying pins (sorry, don't know the nautical term), and here I need some advice: the instructions call to use sapelli wood 2mm by 4mm, and drill holes for the pins 1mm in diameter. First of all, the 1mm holes are way too small for the pins to fit, so drilled 1,5mm holes in which the pins fit, but only just. but then the plank itself is not nearly wide enough for fitting correctly: Especially with the belaying pin in them, the plank is too narrow, as it doesn't touch the bulwark: Thinking of two options: either extend the planks using 2mm by 2mm ramin that I have lying around, OR bite the bullet, buy another strip of wood, but wider, and proceed from there. I read in Mastini's book most companies use wood for these planks which is hardly strong enough to hold during rigging, so maybe that might be the way to go? Second point: in the instructions the belaying pins are painted black. What would be the best way of doing this, as the pins are preformed (and way too big for the scale I think) and in light wood. As always, thnx for your input!


-
Thnx Keith, worked like a charm! Allthough not that visible in the picture, as I also aged the cellophane a bit..
-
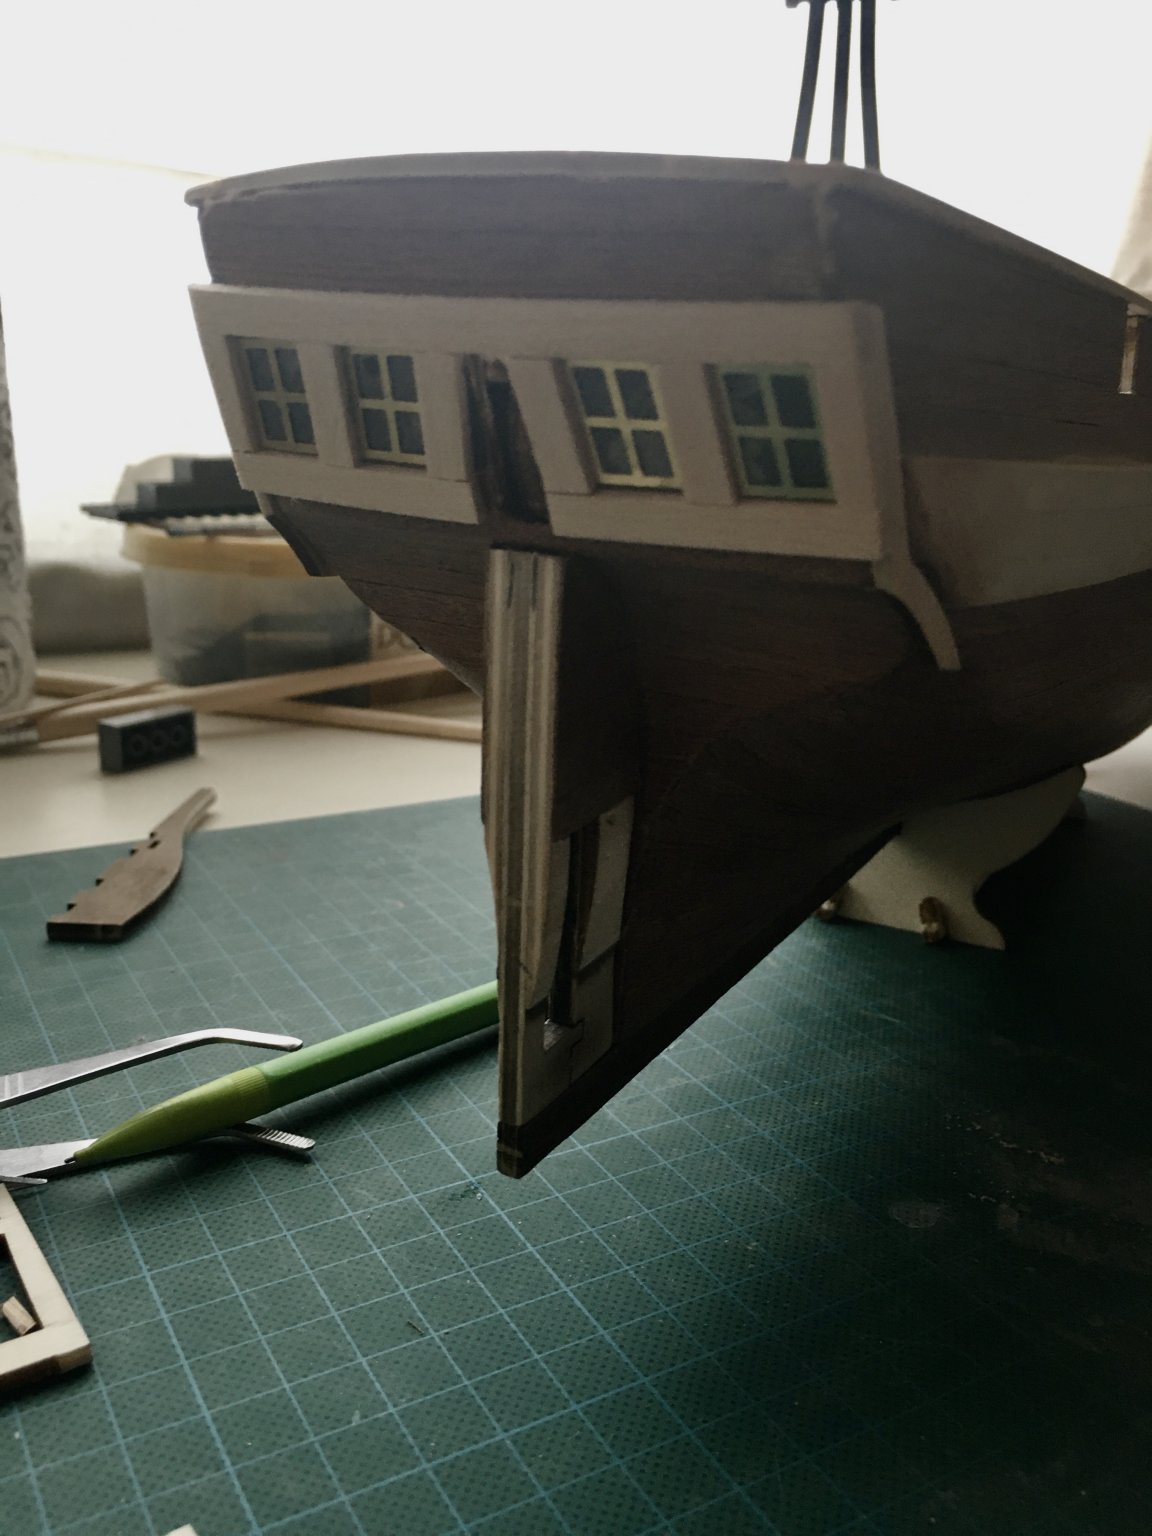
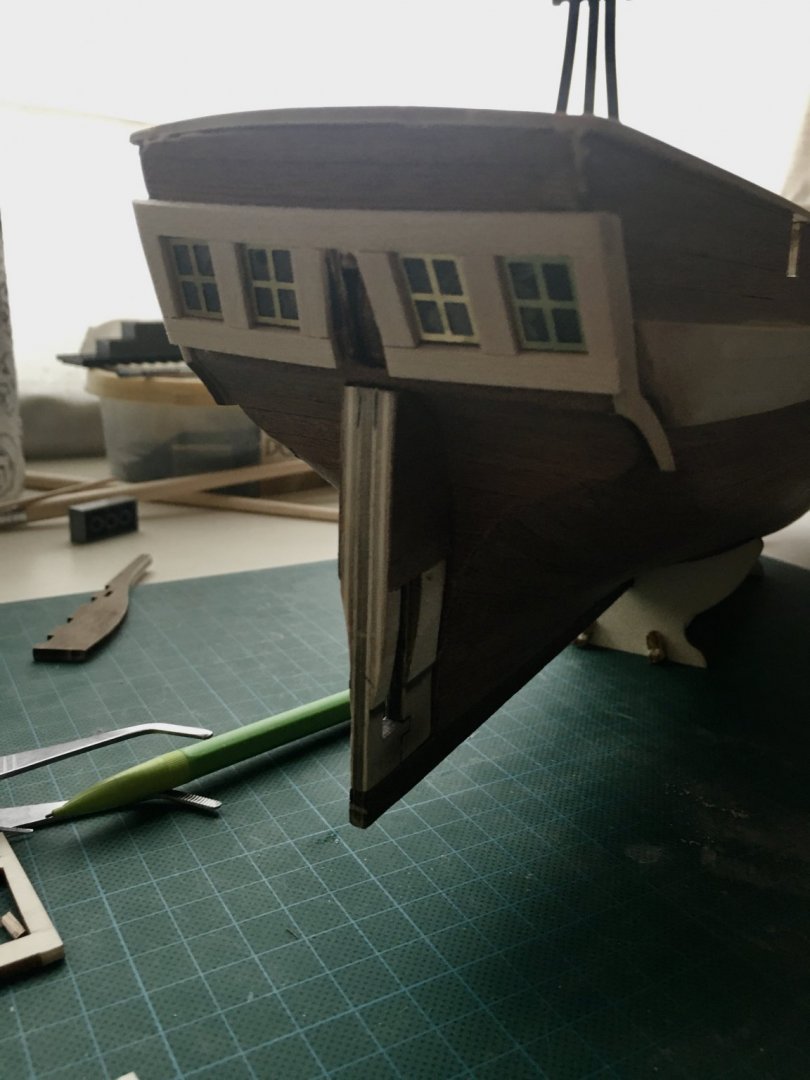
Hi all, hope you're all ok and hanging on.. Small update and a question: first of all finished the railings and started on the mirror: I didn't trim the edges of the ice shocks, was too concerned I'd run into the same issues as I had with the front of the shocks. My question: I'm planning on adding a layer of clear cellophane to the back of the windows to mimic glass, but I'm doubting as to how to paint the background cover. Occre paints theirs bright blue i their videos, but that seems a bit too much. Tested with black, but that's just too dark, especially as the rest of the ship will be painted black as well. Any thoughts?


-
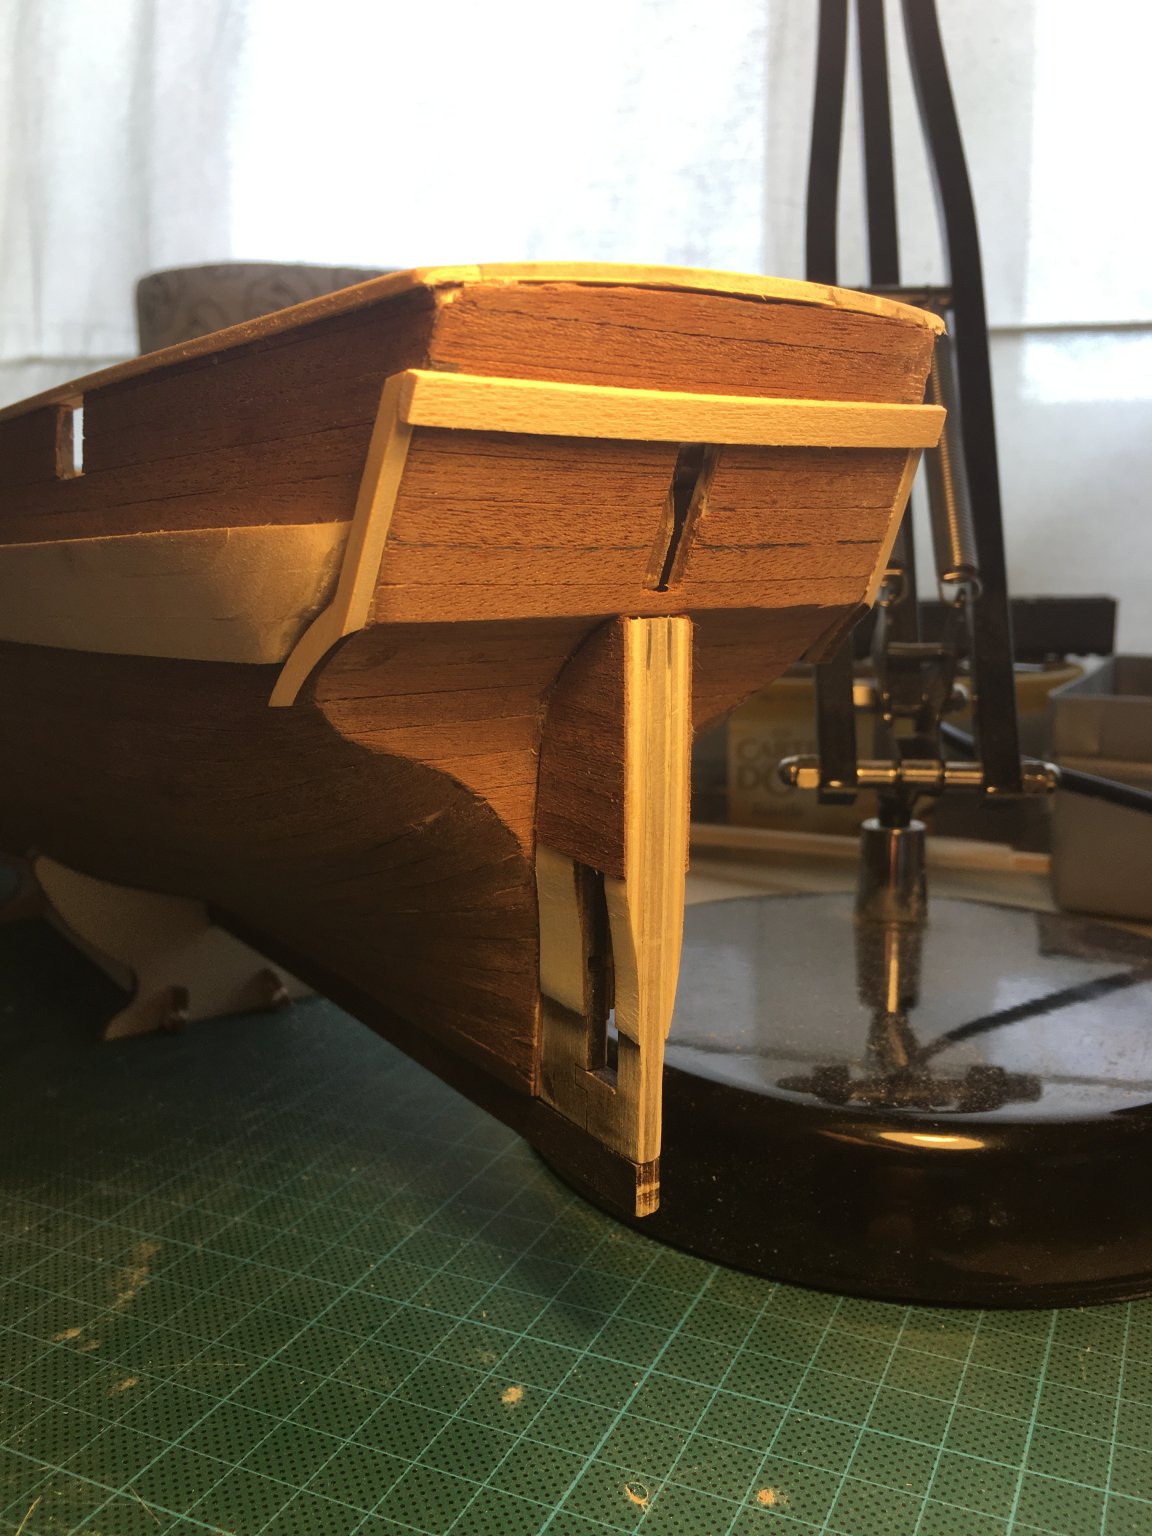
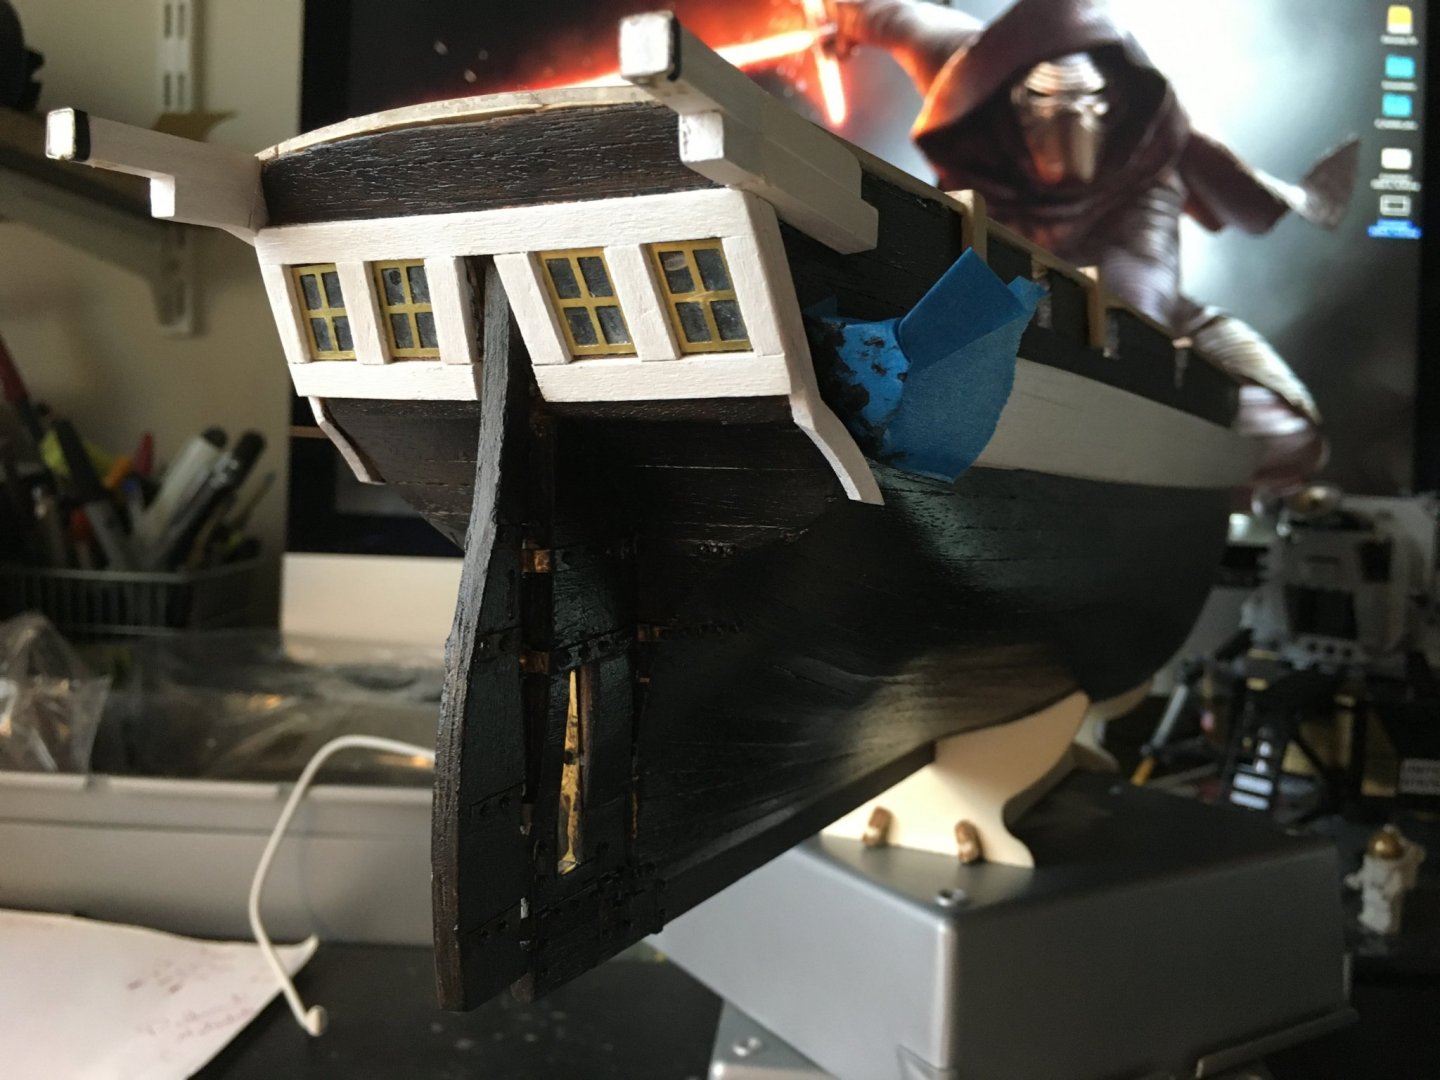
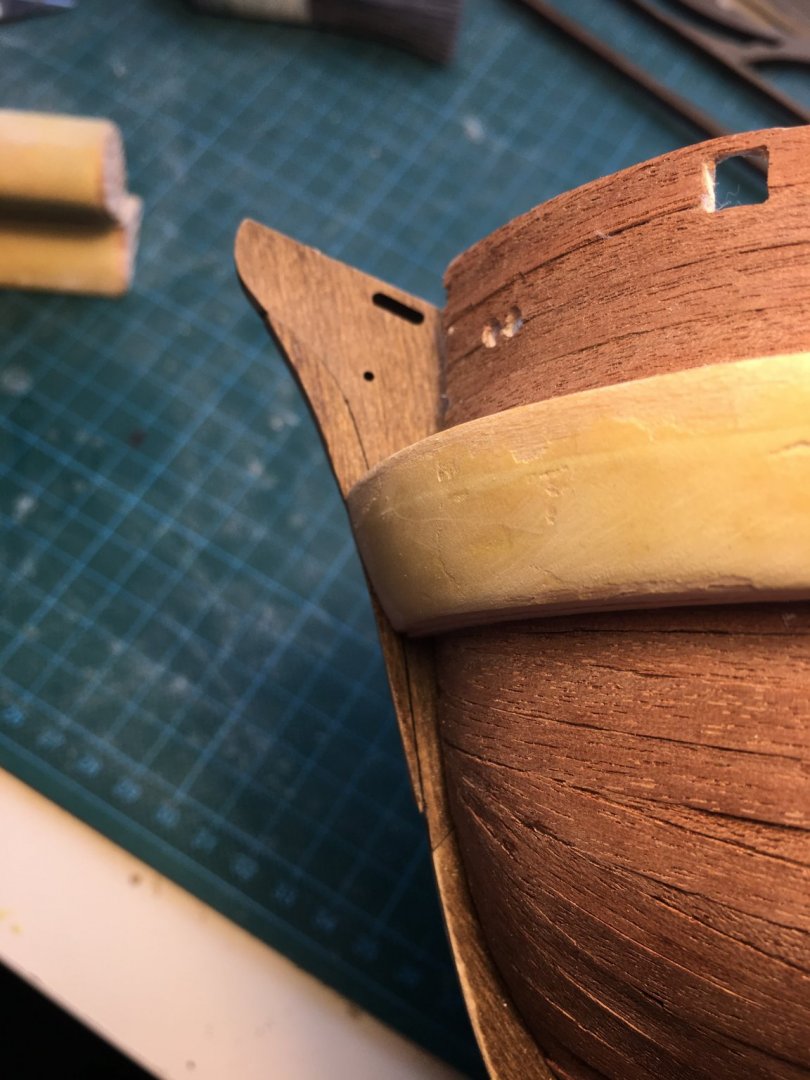
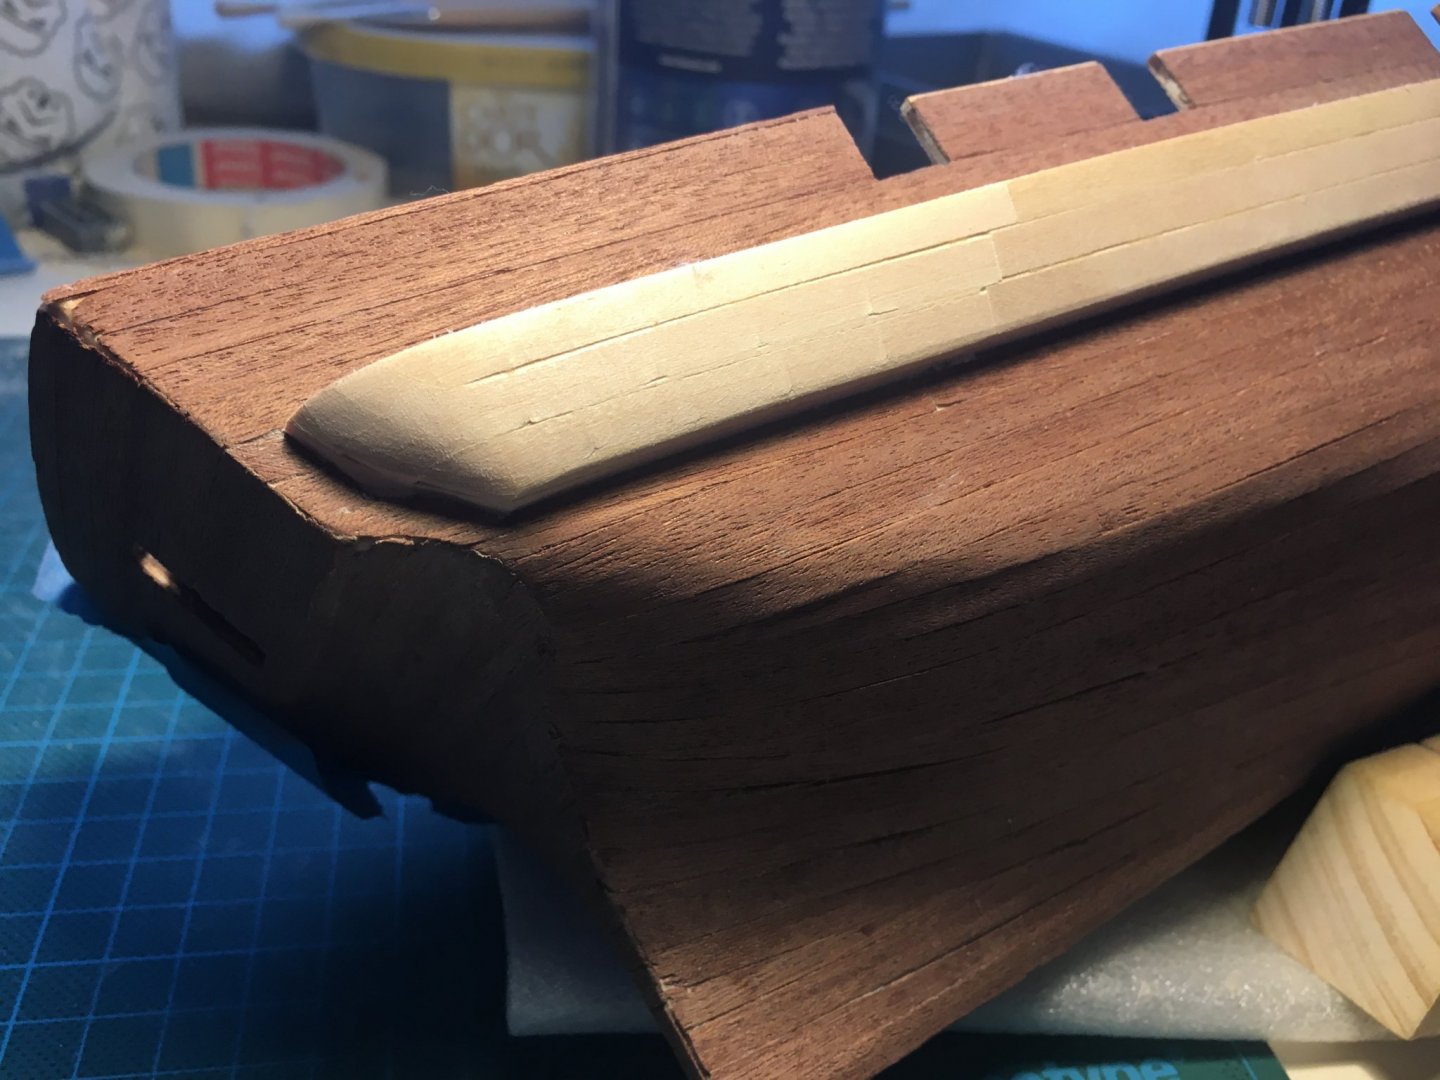
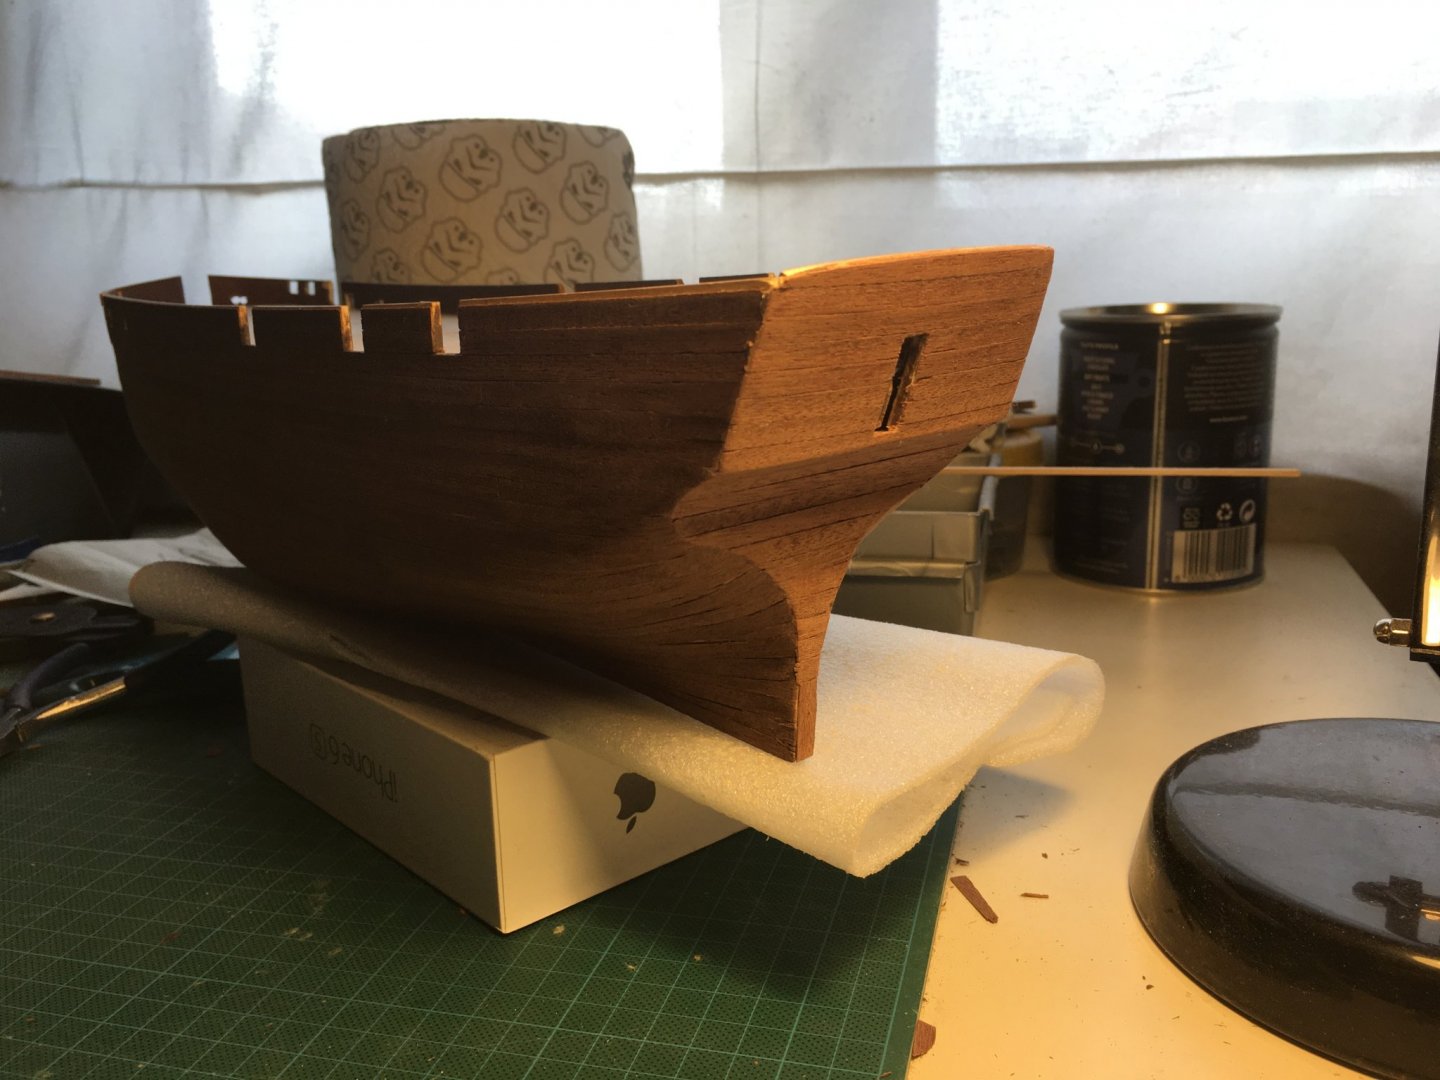
Thnx Keith, your CA solution worked, managed to sand smooth without doing any further damage 🙂 But then I found something more fundamentally wrong: a construction error 😞 When fitting the bow I noticed the channel shocks were wider than the bow piece: I got my height measurements for the shocks all wrong, not measuring at the bow. I couldn't really sand the shocks further down as the damage underneath from the plank bender would be significant, but I also didn't want to leave the bow as such. So I came up with an idea: I used a piece of spruce where the bow piece was in to cut out a small extension to the piece: Fry fitted kit looked like this: And this is what she looks like after sanding: So basically, I gave HMS Terror a Nose Job 🙂 Not historically accurate, I know, but given the options, I thought it best to proceed this way... installed the aft keel and rudder base as well, so moving on to the top of the deck (finally). A question about this stage: plans call for a 2 by 2mm strip to be bent to decorate the base of the bulwark, including the bow. How best to bend such a delicate piece? Steam?


-
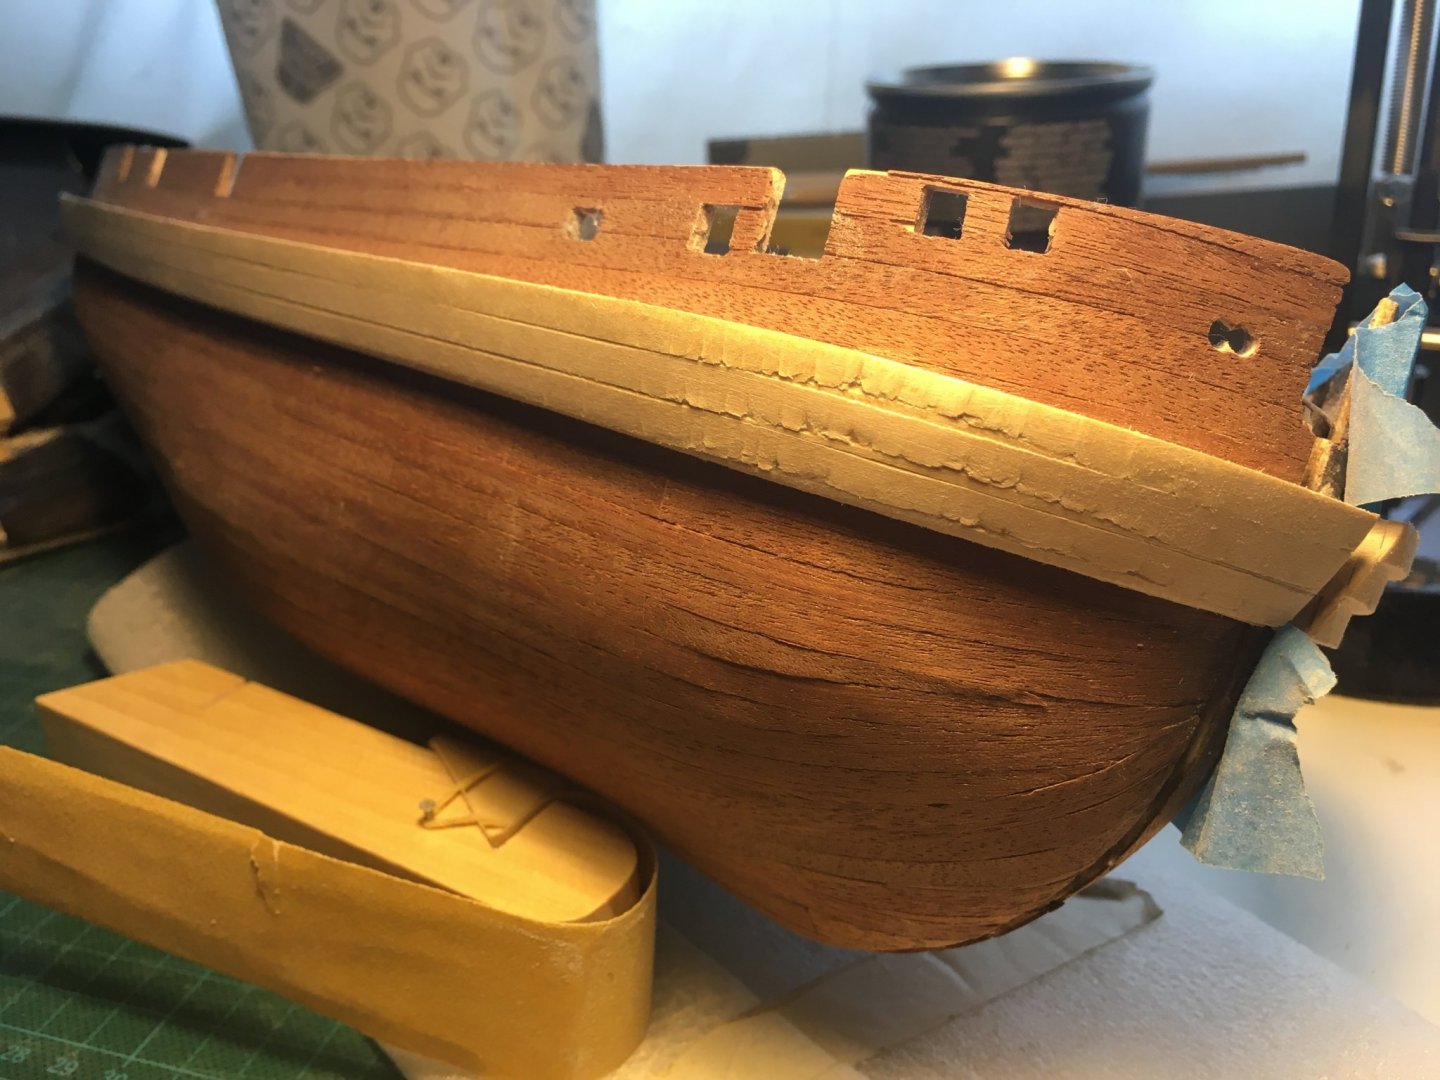
Hi all, I need some advice on how to proceed. First of all, half of the ice-shock sanding is complete: But while sanding the bow, the wood started misbehaving: Probable cause: I bent the planks using the plank bender clamp and I think the damage I did to the planks is showing... Tried evening it with P180 and P400, to no avail. Any suggestions on how to correct this? Thnx in advance for your help!
-
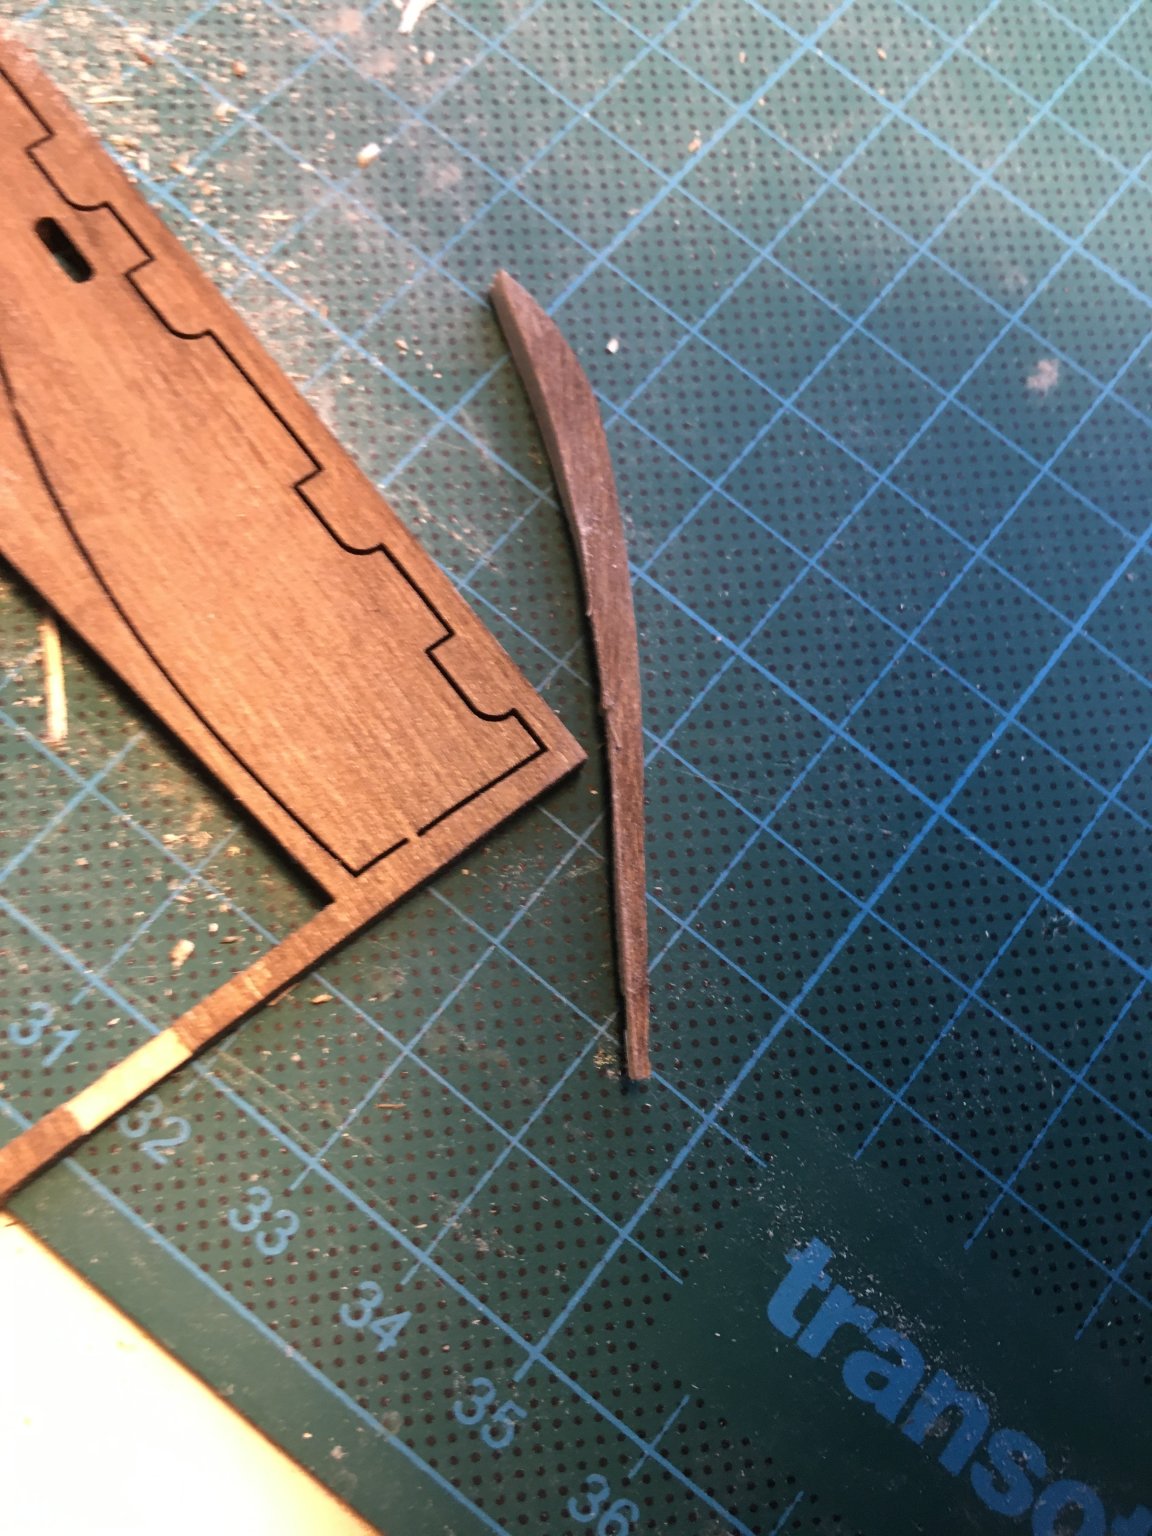
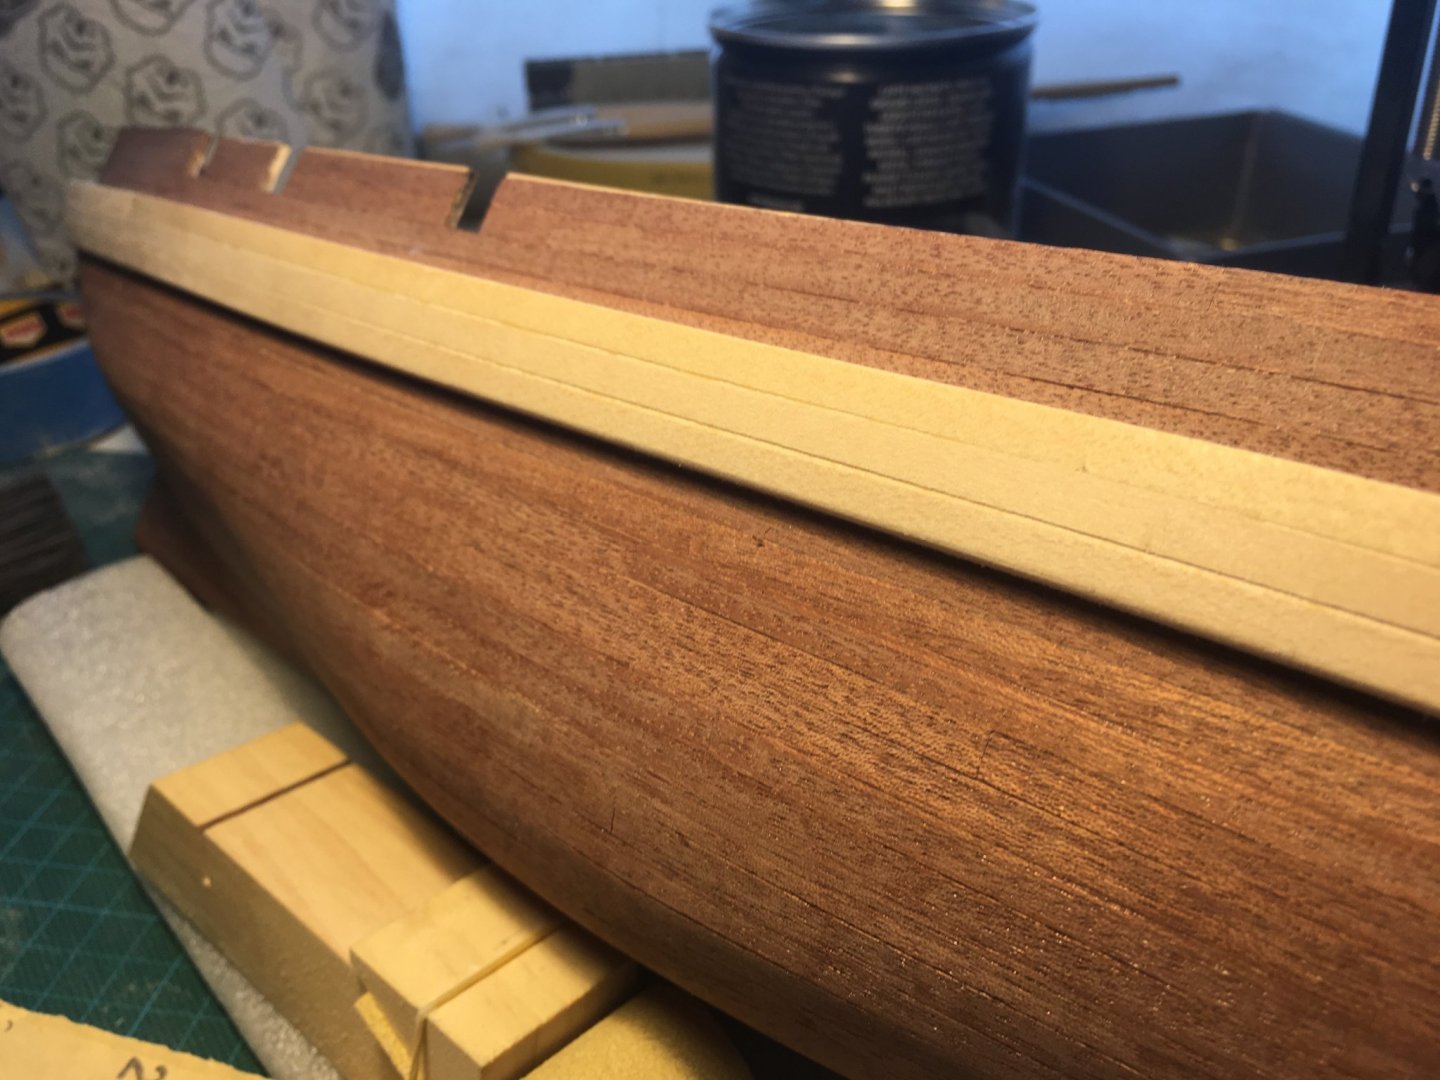
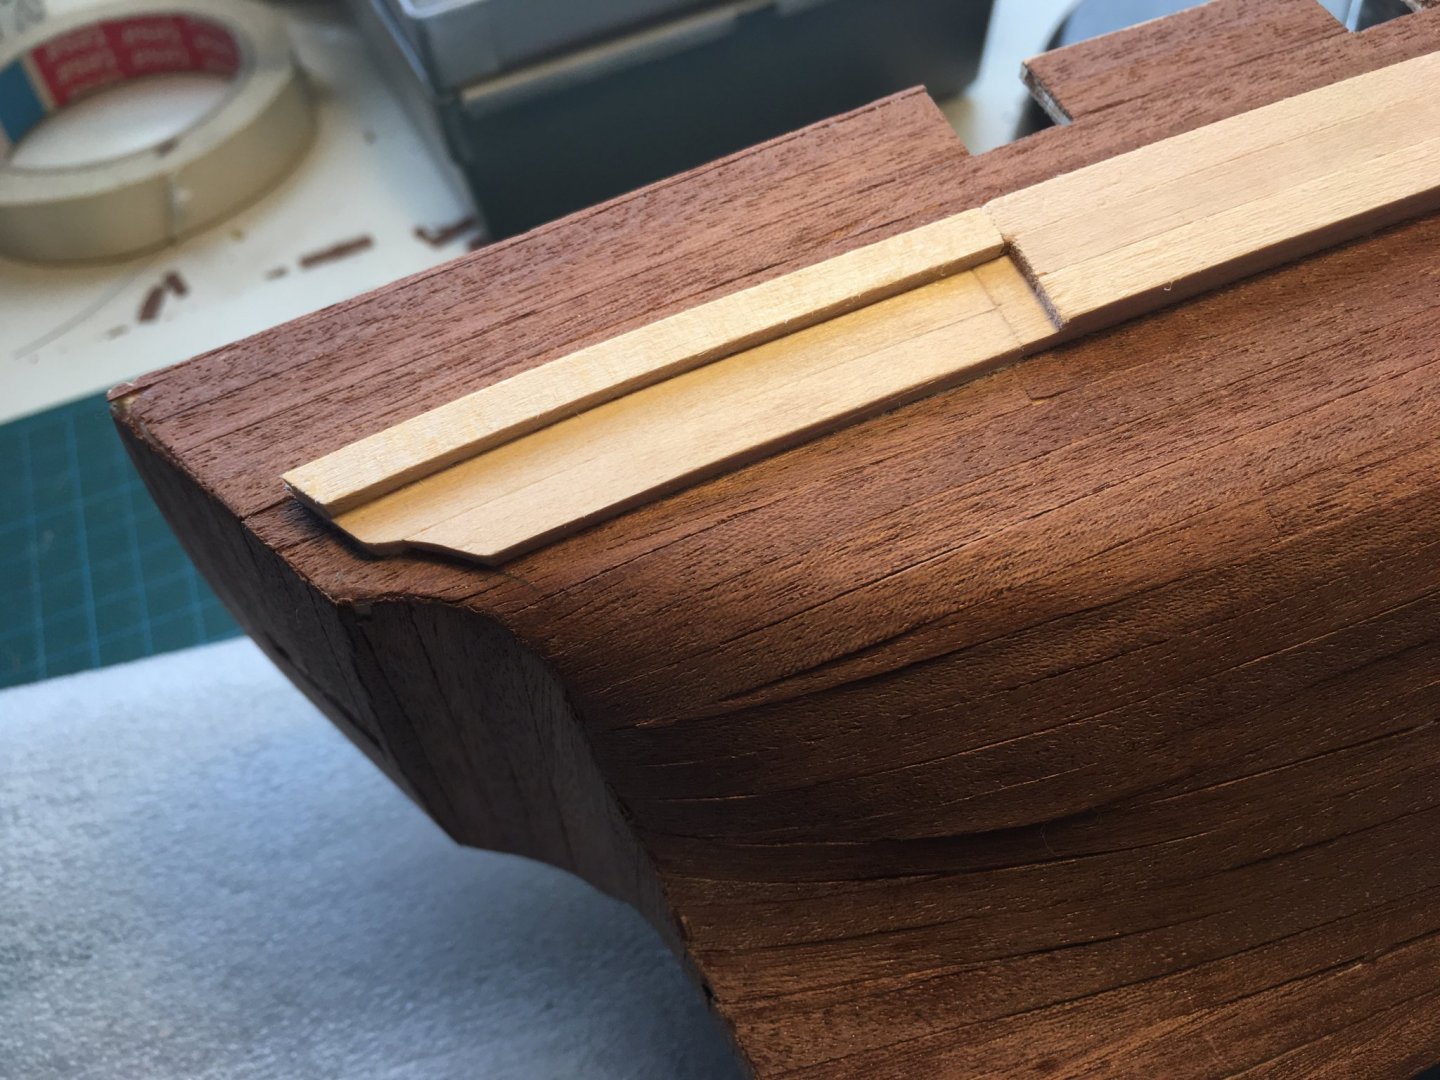
Good morning from sunny quarantined Belgium 🙂 Before starting work in the garden, had some time to update: ice-shocks are in full swing: Almost done, then time to sand again. Previous sanding experience taught me to do this ascitity outside, and the weather is up for it. Just a couple of more layers and we're good to go. Decided to go against the plans which call for covering the whole length of the hull and then cut away the ice shock part that needs to be replaced. Had no desire to take a knife to the second planking, so cut the stern end of the ice-shock to shape: This will eventually be sanded down to a curve, but it makes more sense somehow.
-
Thnx, it feels good to finish it, a little sense of achievement 🙂
-
Thnx! Still thinking about the bow plating, seems very complex to do, but I will test ebony stain to paint her, as soon as I can get my hands on it. I'm a bit concerned about glueing the catheads on paint, stain seems to be the better choice, but that still needs to be tested of course. Correct me if 'm wrong, but the ice shocks follow the curve of the top of the bulwarks, correct?
-
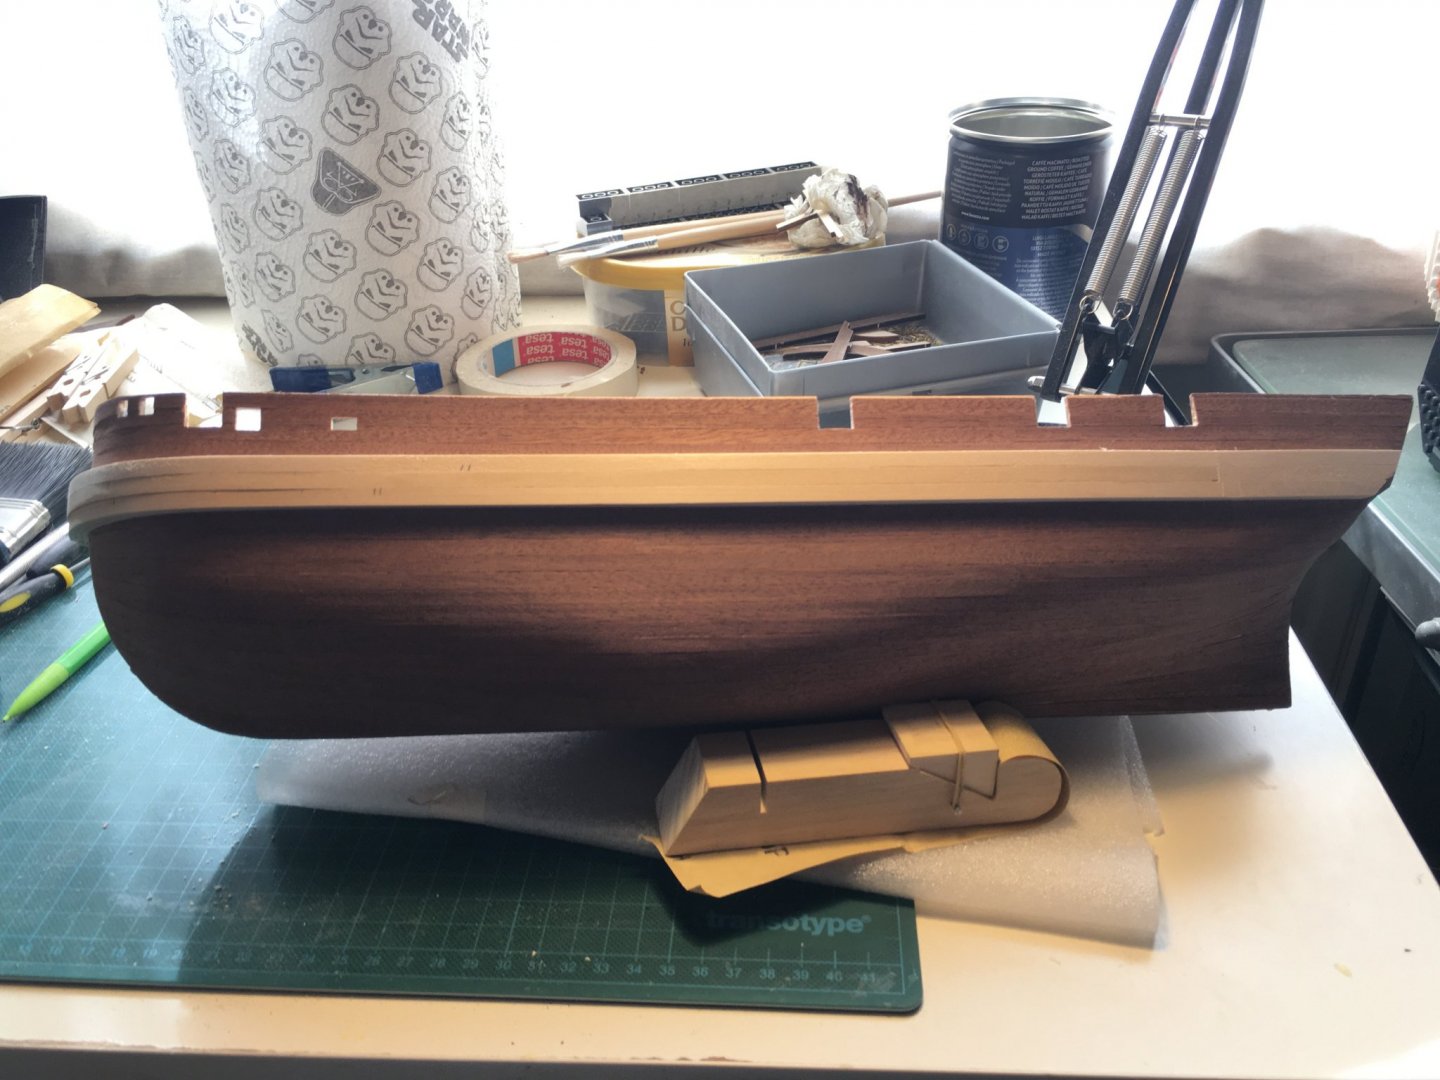
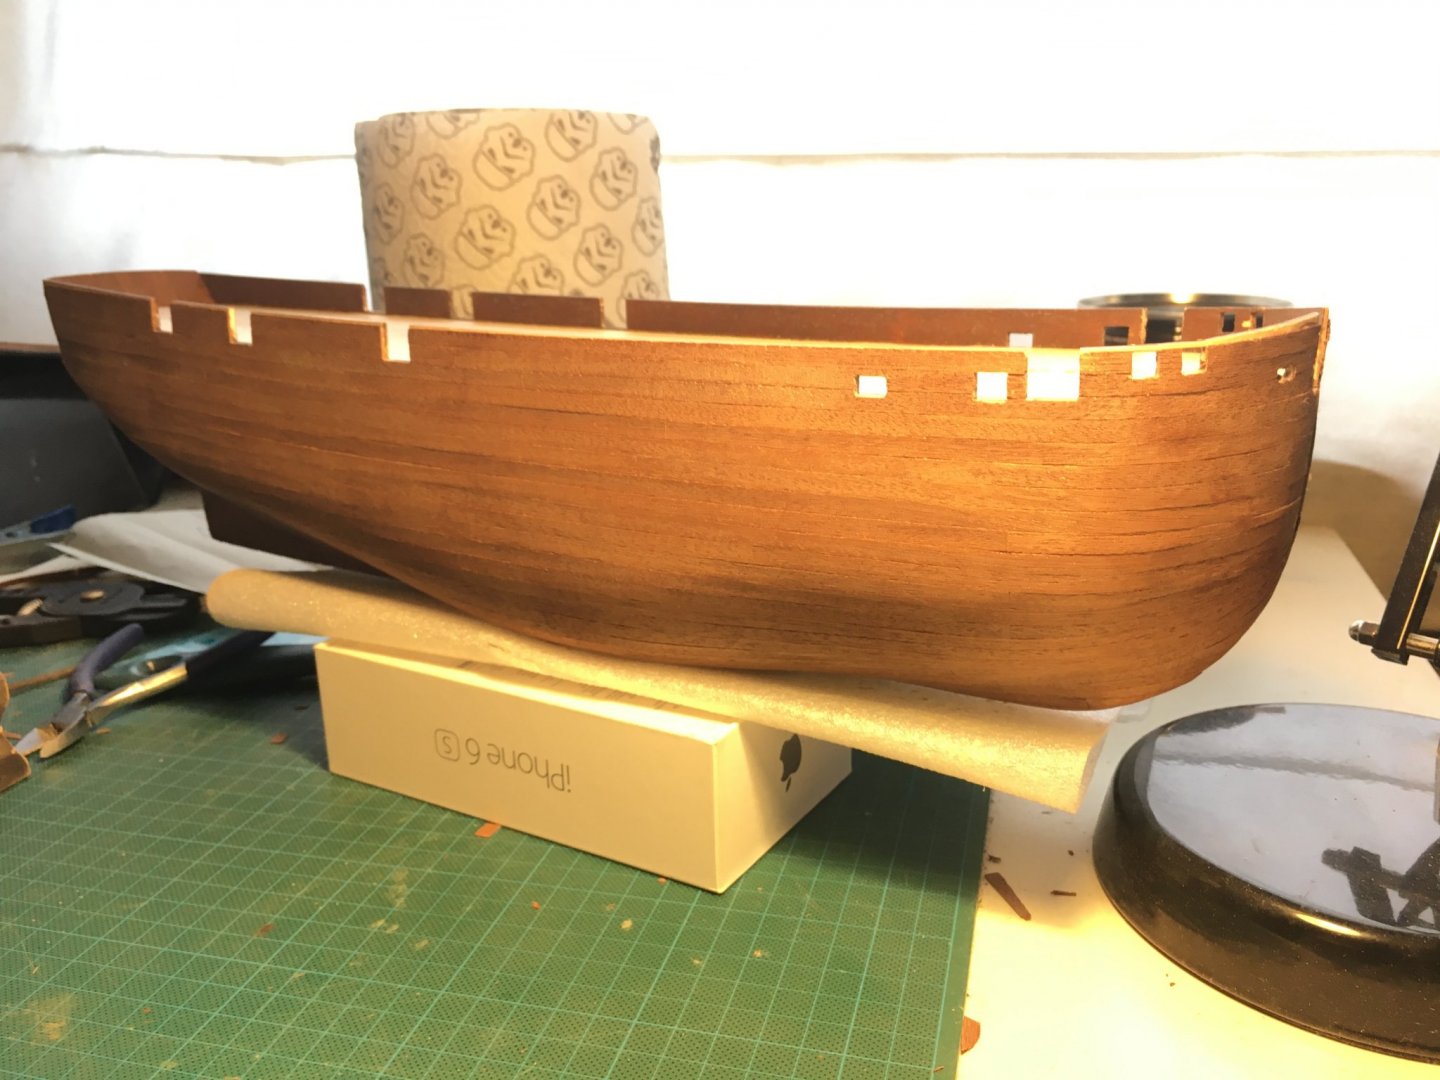
Small update: second hull planking is finished 🙂 Some minor details need to be added, followed by the last sanding. Made plenty of mistakes, and you'll probably see more I haven't even noticed, but I will continue the build, to learn and improve. Working with the veneer was a challenge, it took me some time to figure out how to cut to size without splintering but I got there. Next step, installing the ice-shocks, and then the keel.

-
Thnx for the tip! Dryfitted them separately, indeed the bowsprit doesn't touch the bow piece, will correct before continuing.
-
Finalising second planking, question though: which sanding paper is best to send down the 0,6mm Sapelli? Sanded down the first layer with P180, but that might be a bit too much. I've got P320 and P400 lying around, any suggestions?