ObviousNewbie
-
Posts
211 -
Joined
-
Last visited
Content Type
Profiles
Forums
Gallery
Events
Everything posted by ObviousNewbie
-
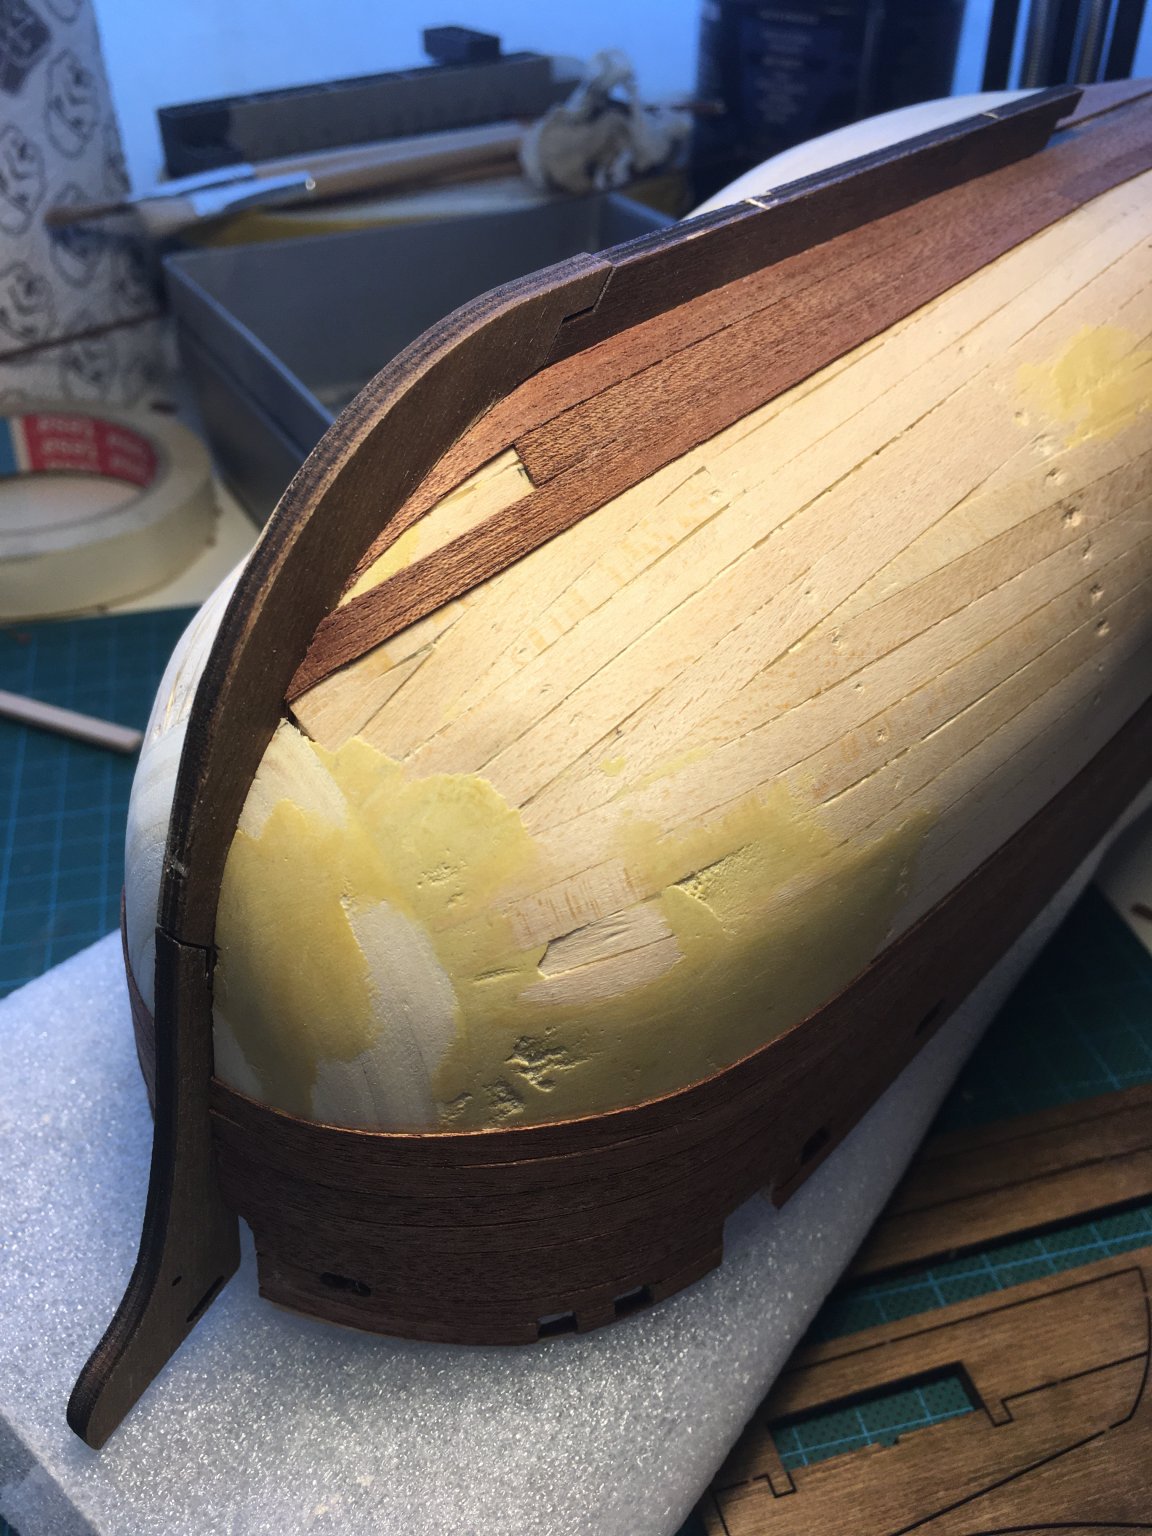
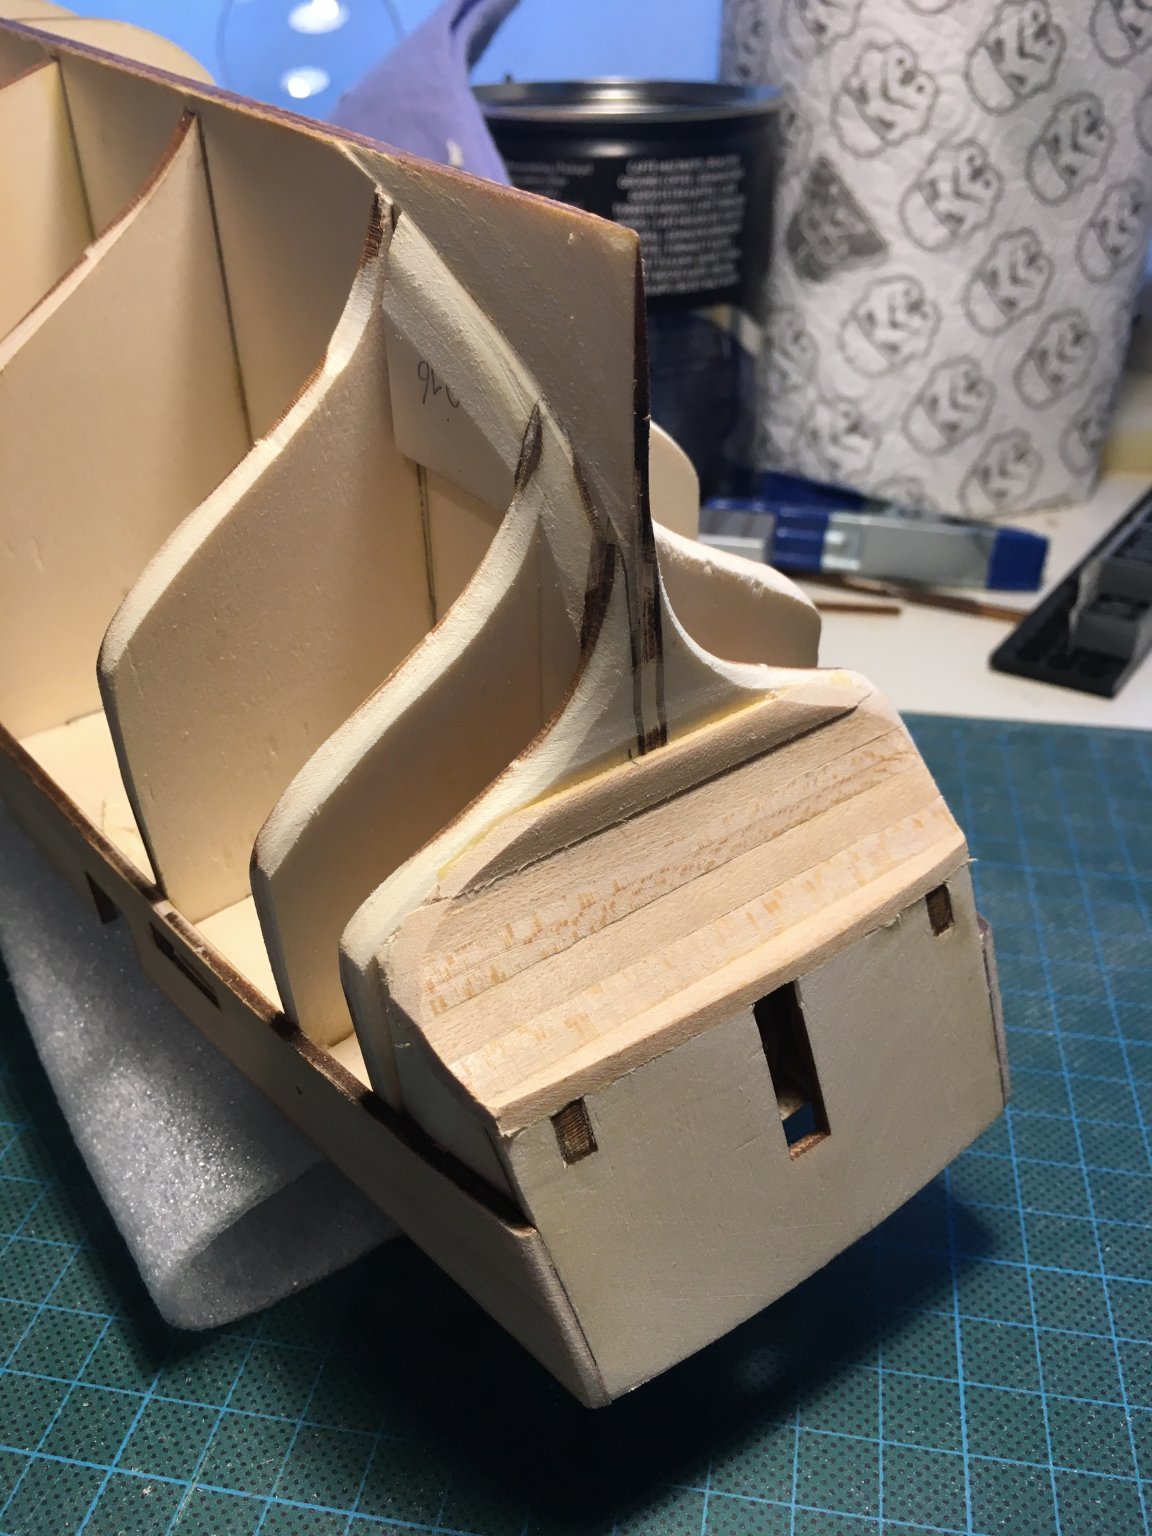
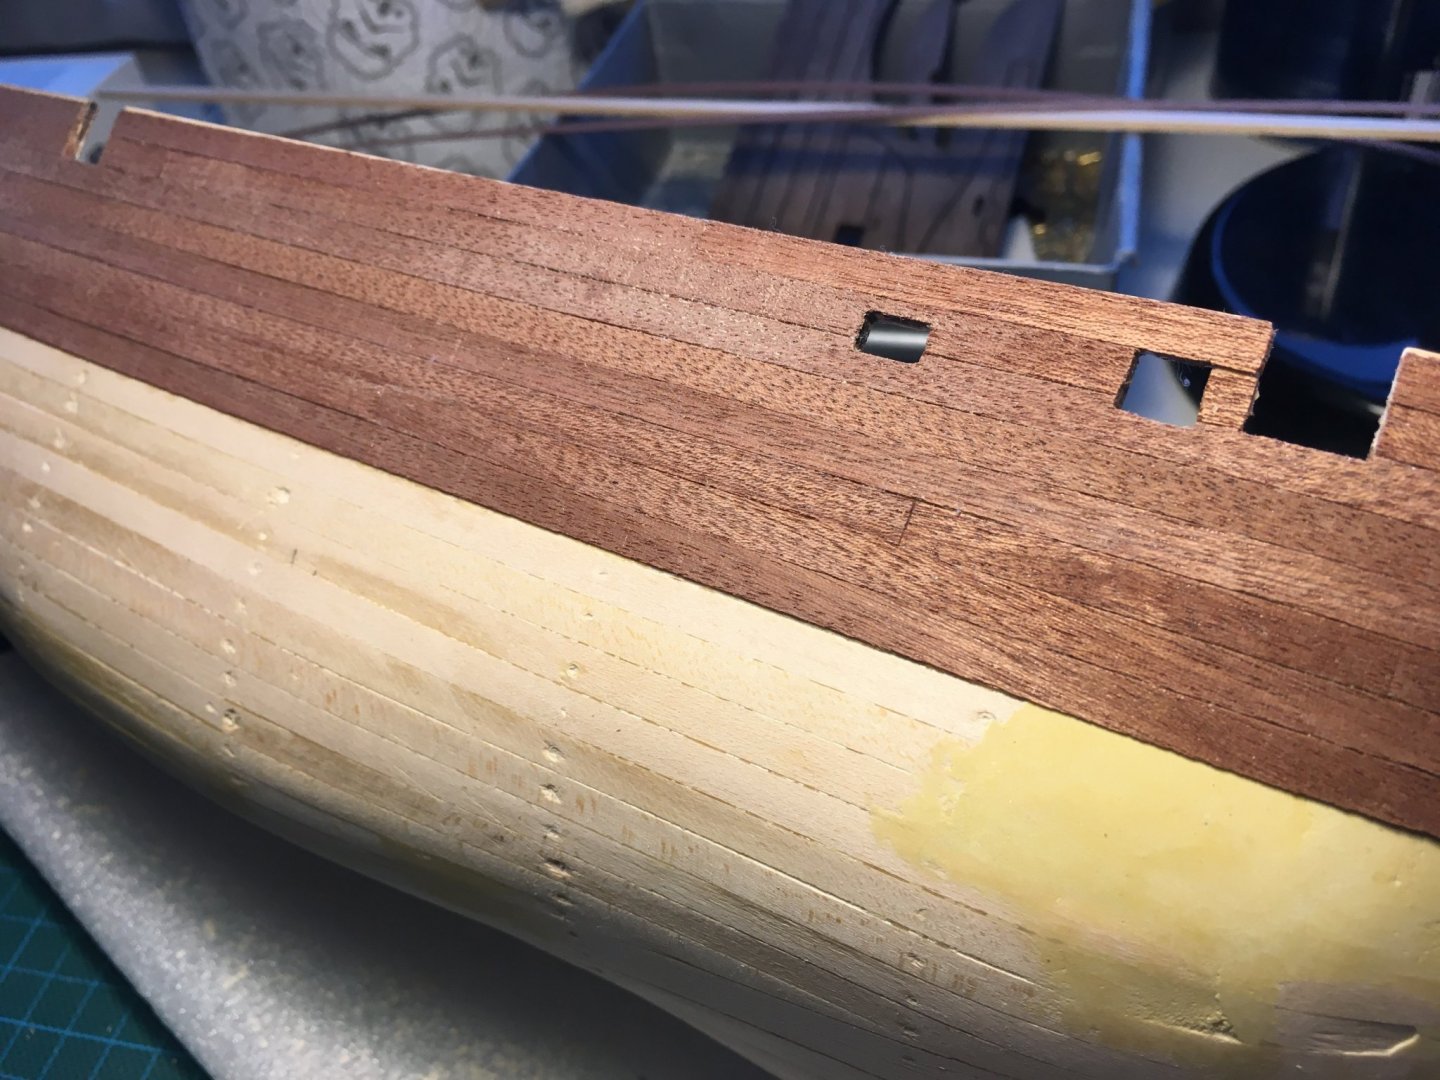
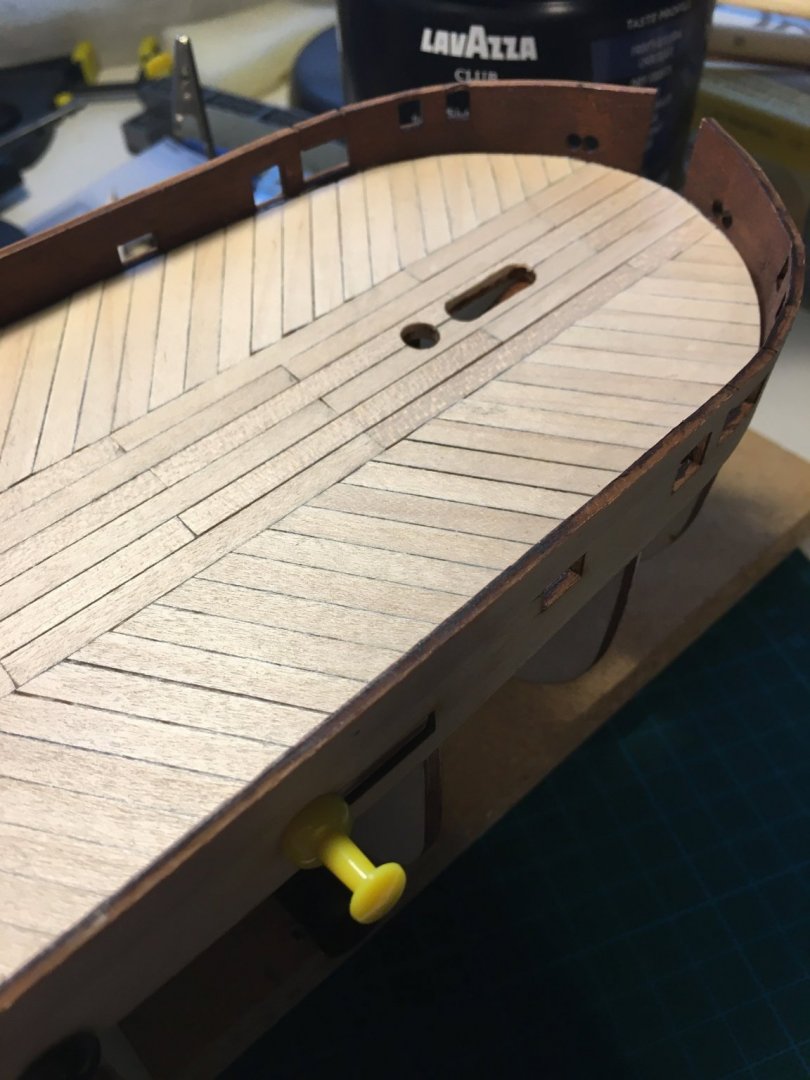
Small update, fitted the second planking garboard: Sorry to spam, but I feel really proud about this one. Couldn't get my head around how to approach it, but eventually worked it out. Dry fitted parts of the keel to check fitting: Question: any tips on how to cut stealers from the second planking wood? The sapelli used is very brittle, cutting it exactly is almost impossible, especially with the sharp edges used for the stealers. Thnx for your answers!

-
Thnx Patrick, you have to do something when you're not allowed to go out, right? 🙂 Honestly if I didn't't have the ship to be working on, I'd be going crazy already..
-
Congrats, she looks amazing 🙂
-
Yep, that's where I got the 15mm from. I should study Matthew Betts' site a bit more in detail, did he even finish the model? I read it was 1/48th scale, but he got delayed when they hired him as an expert on the TV show..
-
Thnx Keith! (The name is Robert, by the way 🙂 ) Very helpful indeed, I'm keeping this link for when I get closer to the deadeyes. Looked at the pictures on both the site and the box, and indeed, there is a discrepancy, best item to see that are the catheads. Thnx for the heads-up, will keep that in mind when I start on the bumpers!
-
Small update: thnx Wahka_est! Tried out the combined CA/PVA approach, works like a charm: Continuing tomorrow 🙂
-
Hi Keith, she looks great, splendid work. Could you shed some more light on the channels and deadeyes? What did you use? I'm building Terror as well, and this is one of the open questions I still had, as I4d like the channels to be black like yours. Thnx in advance for your help!
-
Looks great, awesome work! Have the same issue when dry fitting the bow and the bowsprit, will probably need to sand down the opening in the deck to lower the beam, measuring the angle from the plans so I can replicate correctly. Btw, you probably know this, but just in case: in the pictures the bowsprit is fitted upside down 🙂
-
Thnx for your comments! I know, I've been feeling her all the time, looking for edges to sand off, in the meantime being astounded that something as simple as sanding paper can really sculpt a shape into it. She feels smoother than she looks, but I'm going to go over her with some P240 to smoothen even more. Interesting, I had the same idea when it came to second planking😄 . Saw some videos online where the guy used pins to set the veneer, but when I tested that the veneer just split, so that's a no go. Probably the pins I'm using are too wide. Will try that out later today. As for the second one, although it's early days, I still feel I'm hooked, so looking at something else already: either the Occre Beagle, or when I'm feeling very ambitious, the Occre NS Mercedes. But let's finish this one first 🙂 Seems though stock is running out on these kits pretty fast, so I might move too buy and then stock until the time is right...
-
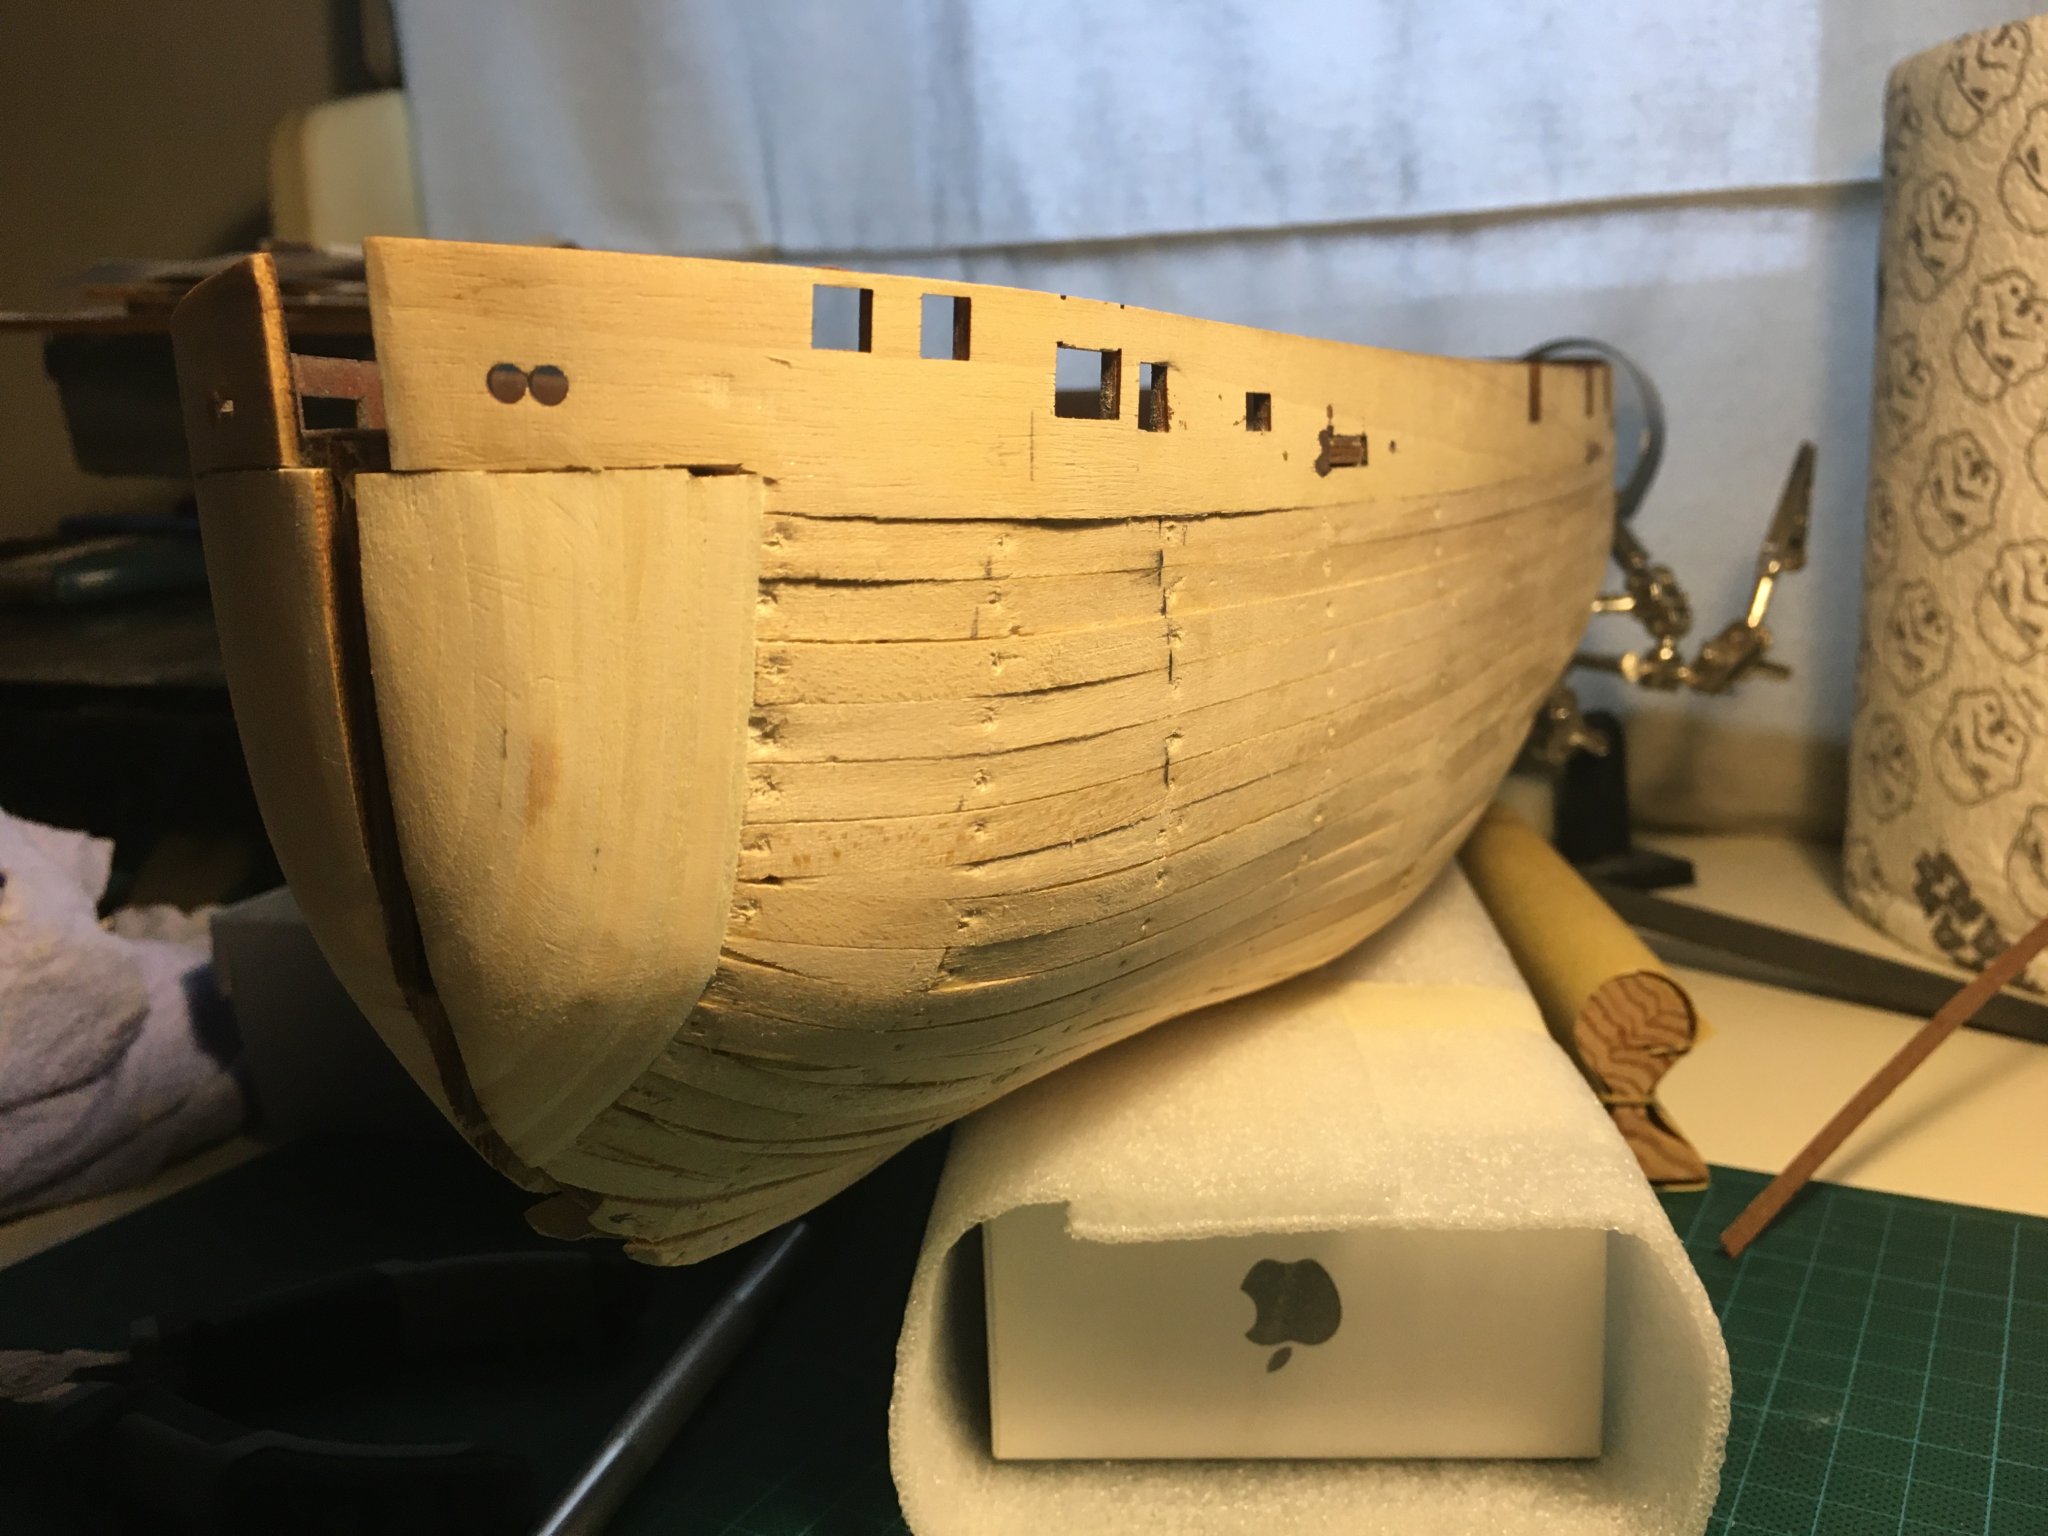
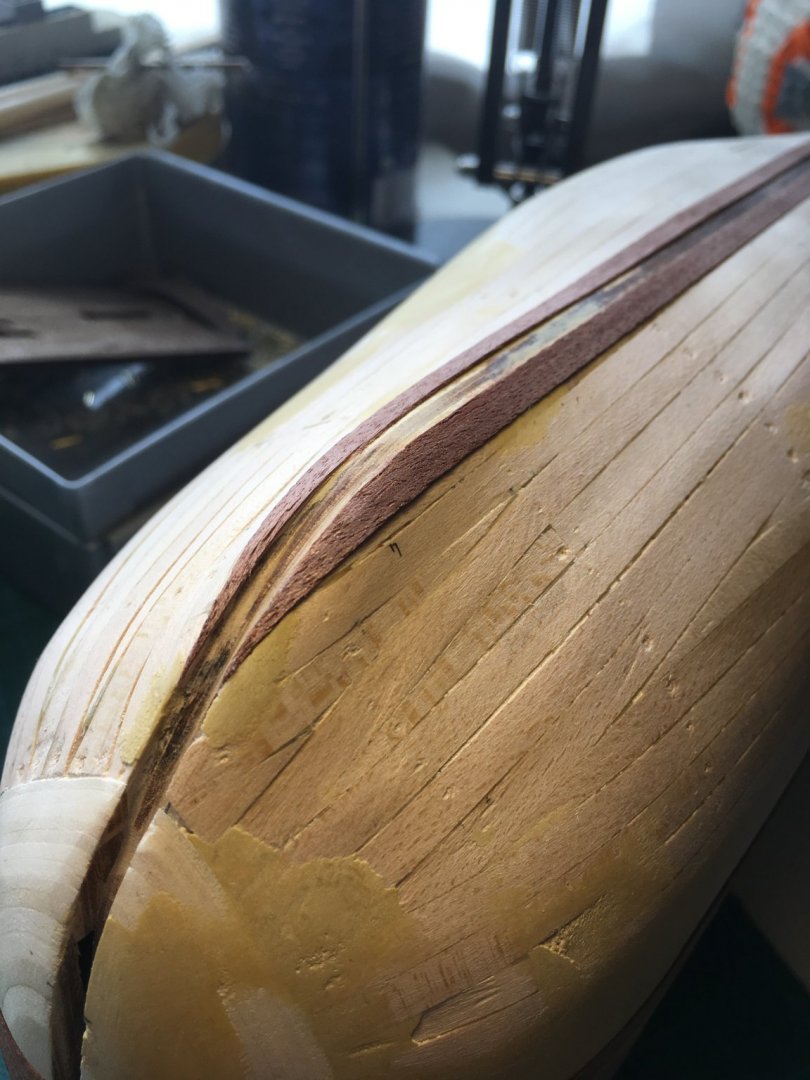
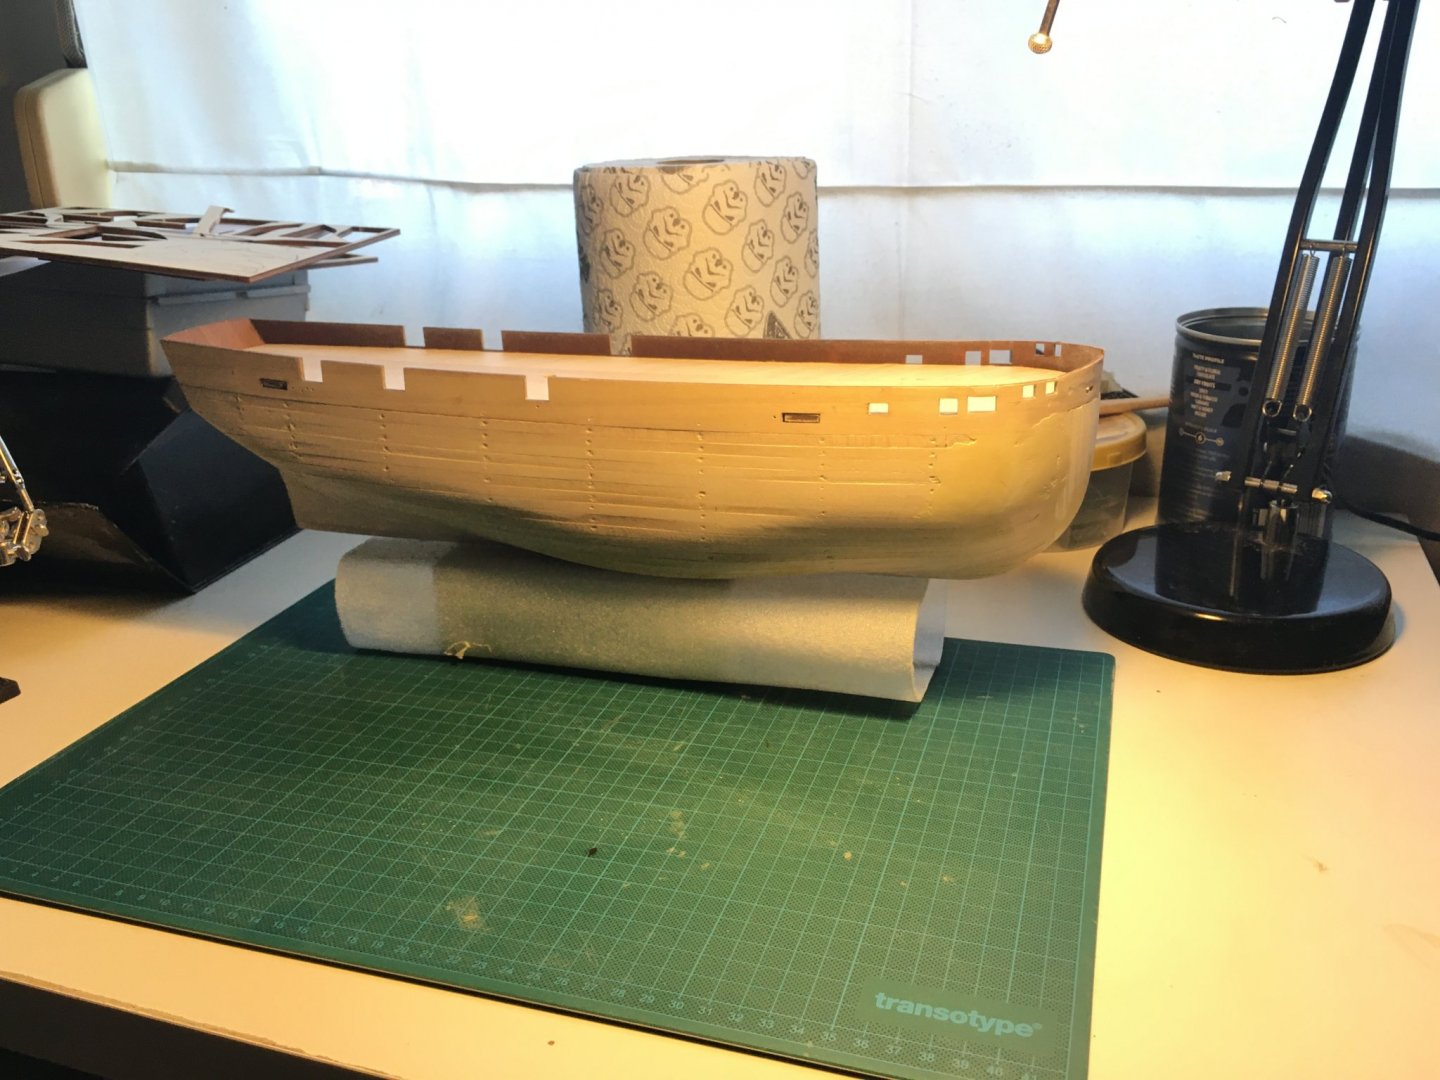
After a lot of sanding and corrections with wood putty and then some more sanding, I think we're there: Had to do some major work on port side because of the Dremel Incident and some misaligned strips of wood the were too low to just sand flush. Filled up some of the bigger holes, repaired a misalignment on the stern, got the lower bow sorted out and cleaned up the shipyard 🙂 Aaaand I'm stuck.. Next step would be second layer of planking, but as I don't have any cobbler's glue, and the stores that sell it are all shut, I can't just pop out and get some. Will keep my eye open in the supermarket to see what they have. Thought of continuing with other parts of the ship, but I don't have the paint for the masts yet, and I don't want to start on the small items of the superstructure because I know myself: these things need to be built and glued into place before they go missing/get damaged. So I'm on hold for a couple of days. I hope you're all doing well and keeping healthy in these weird times..
-
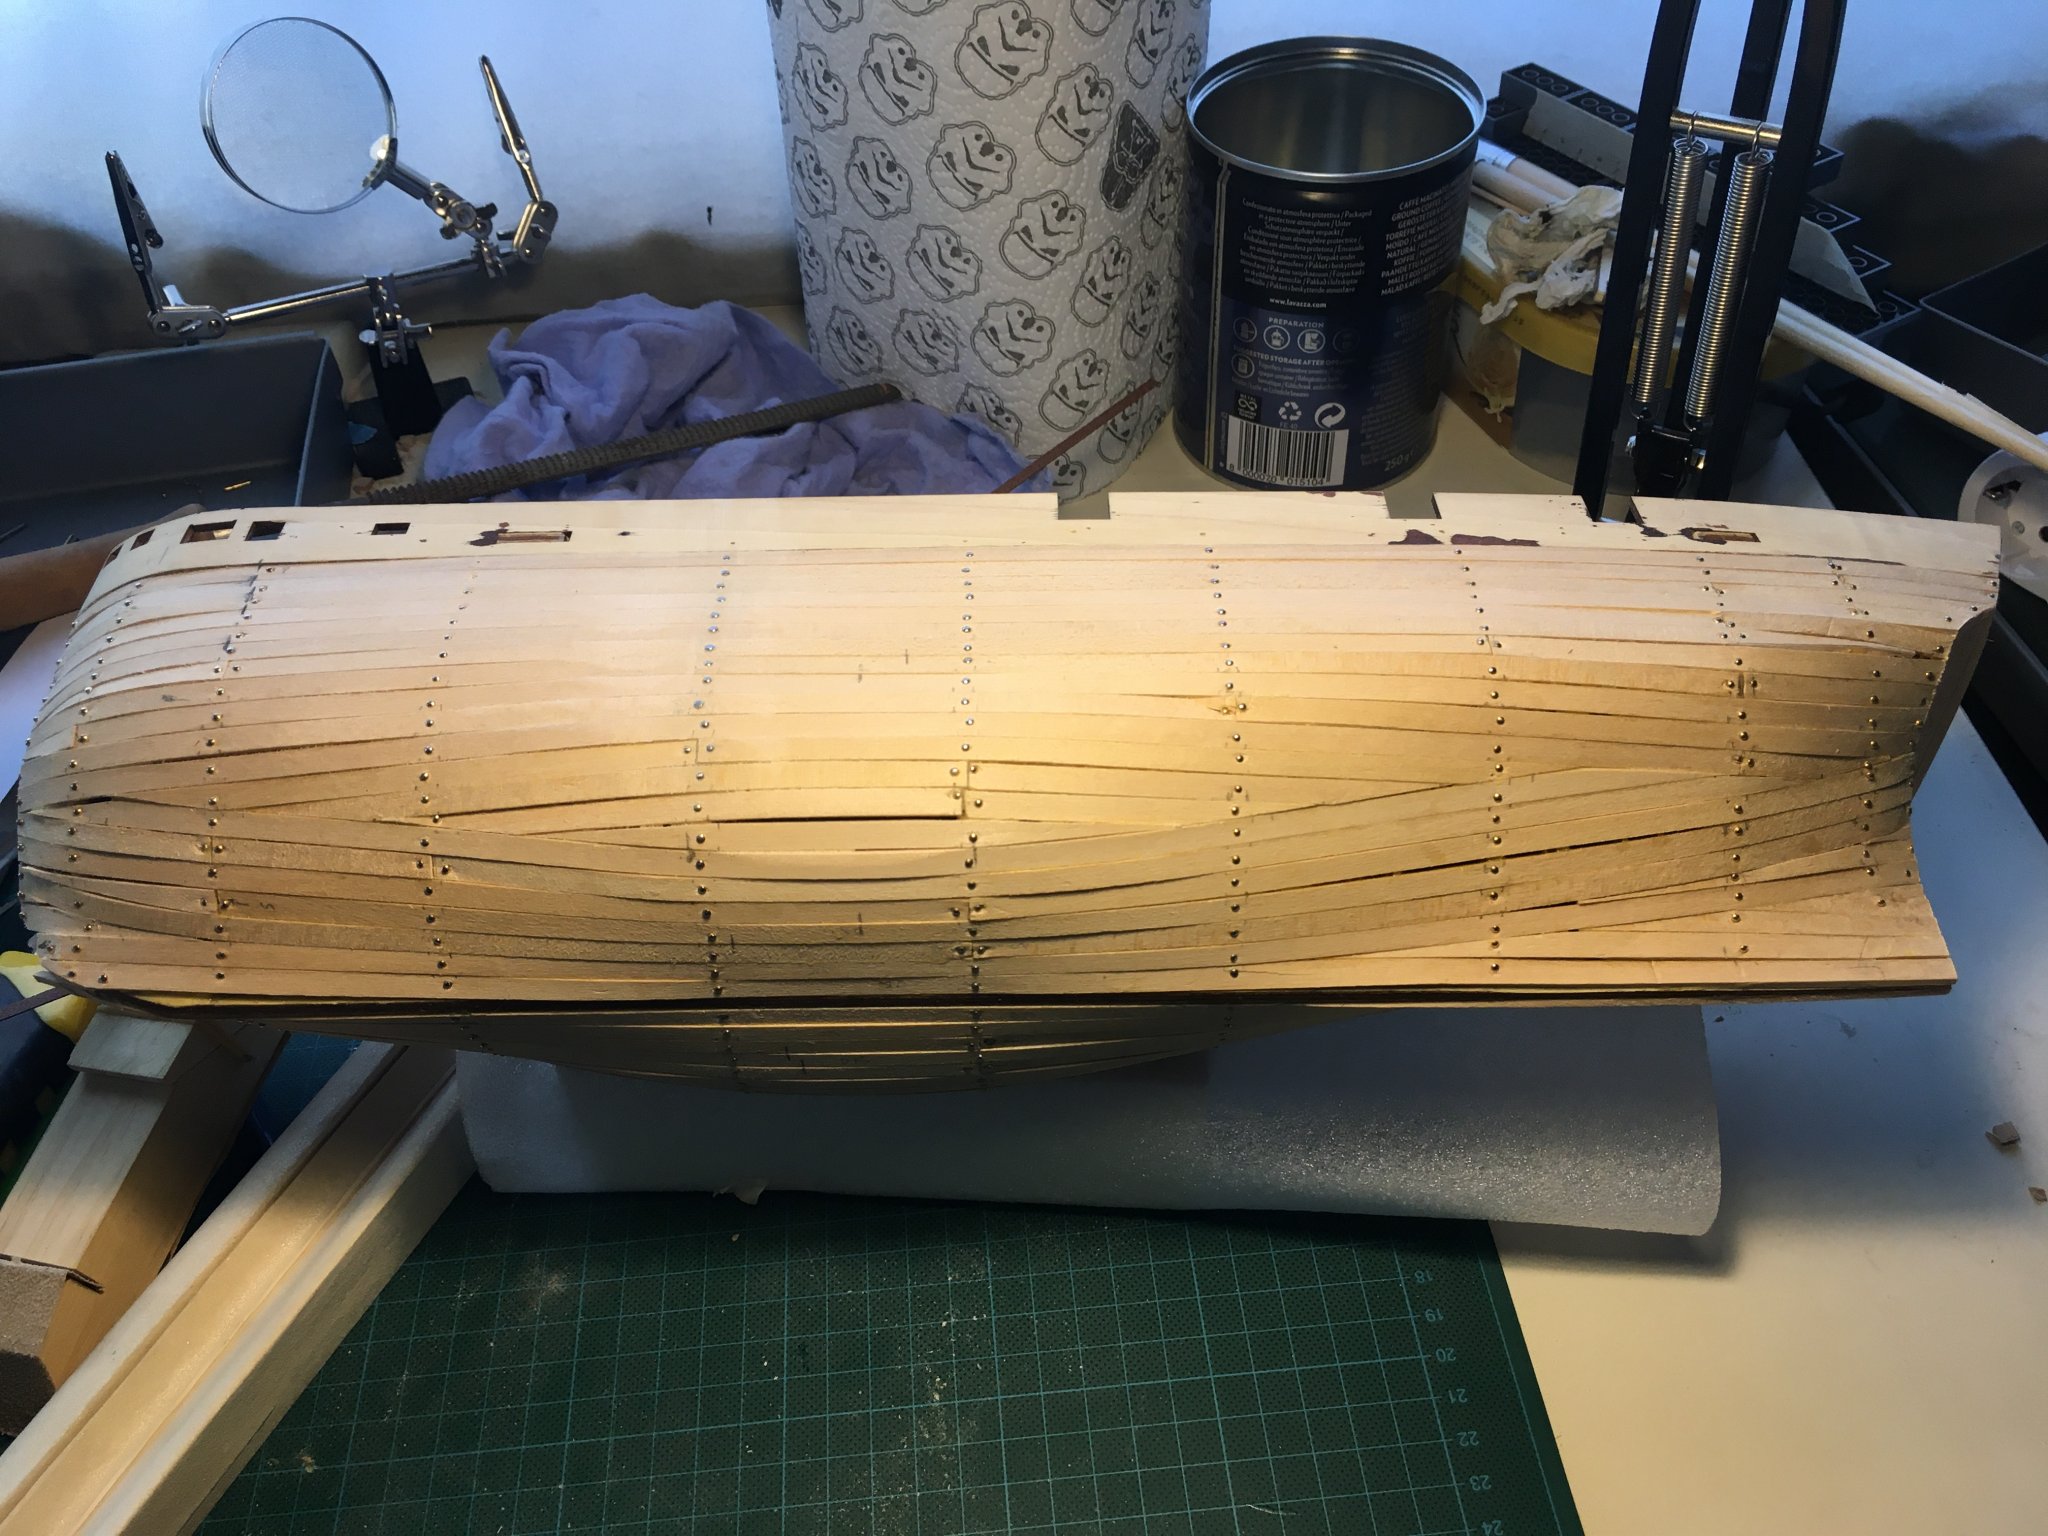
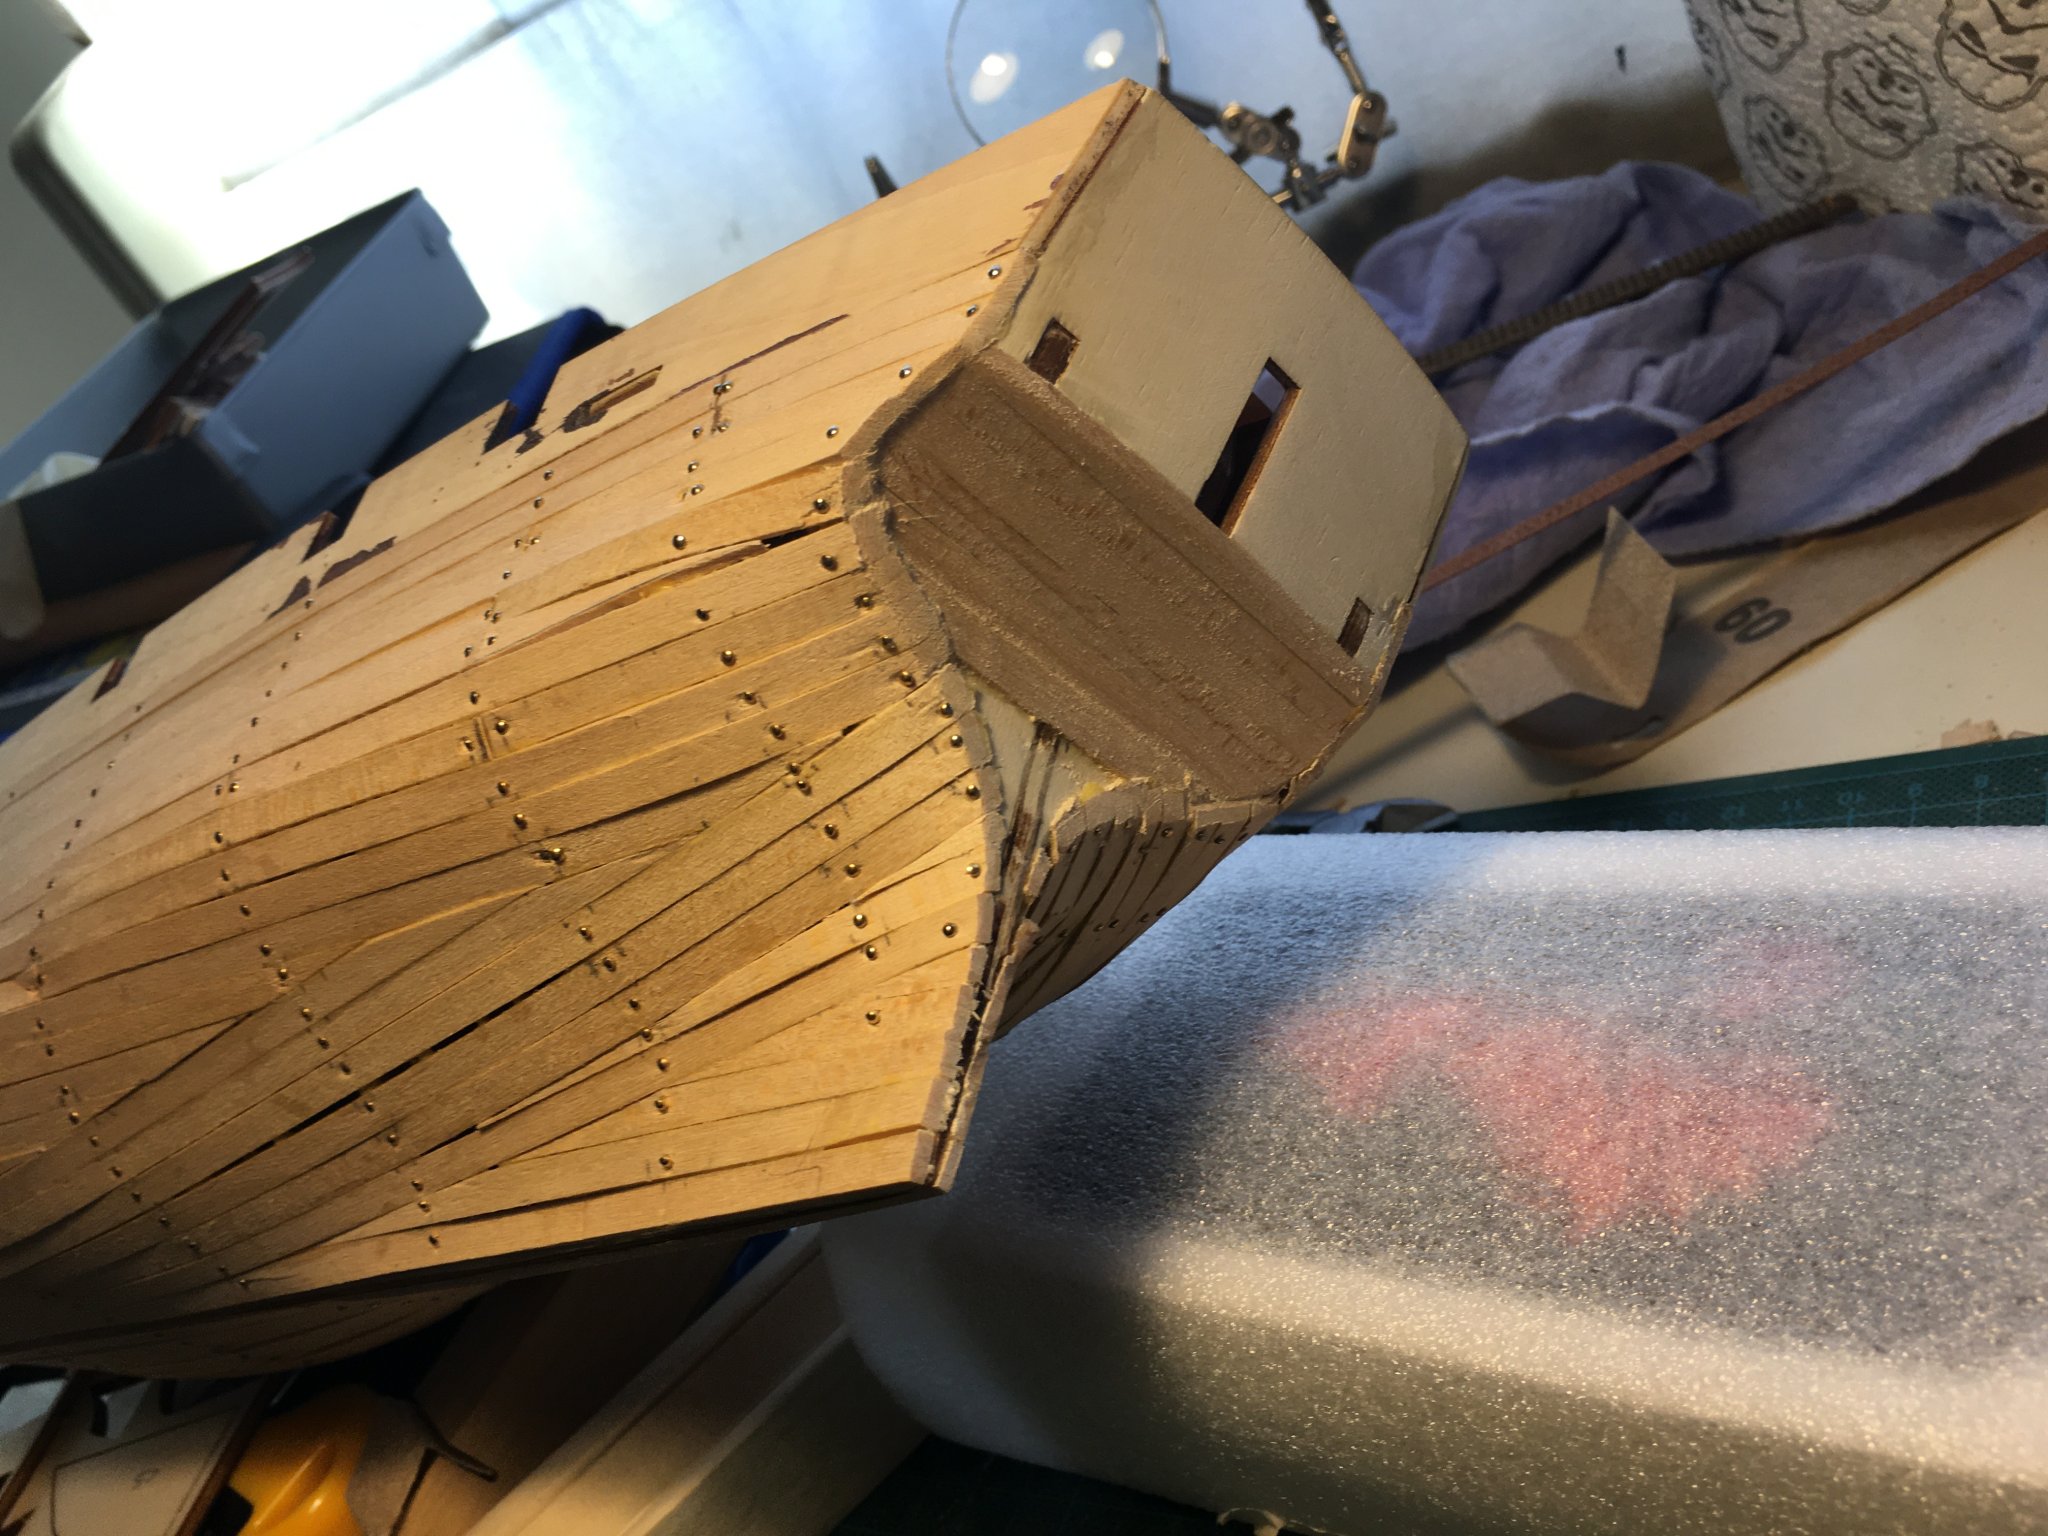
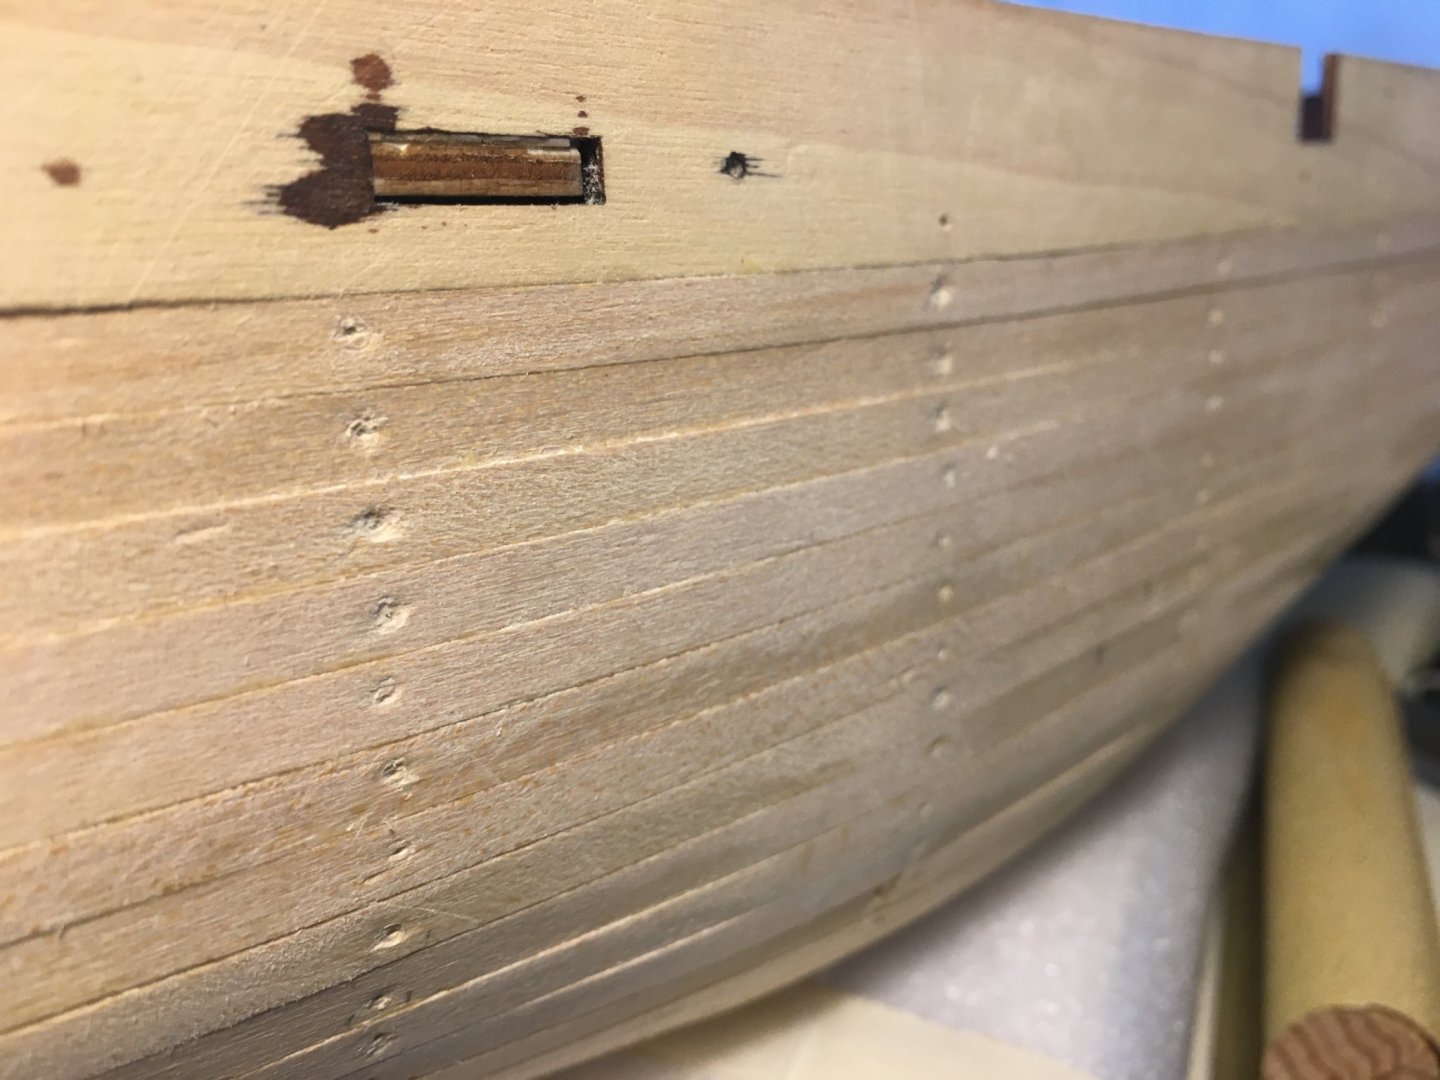
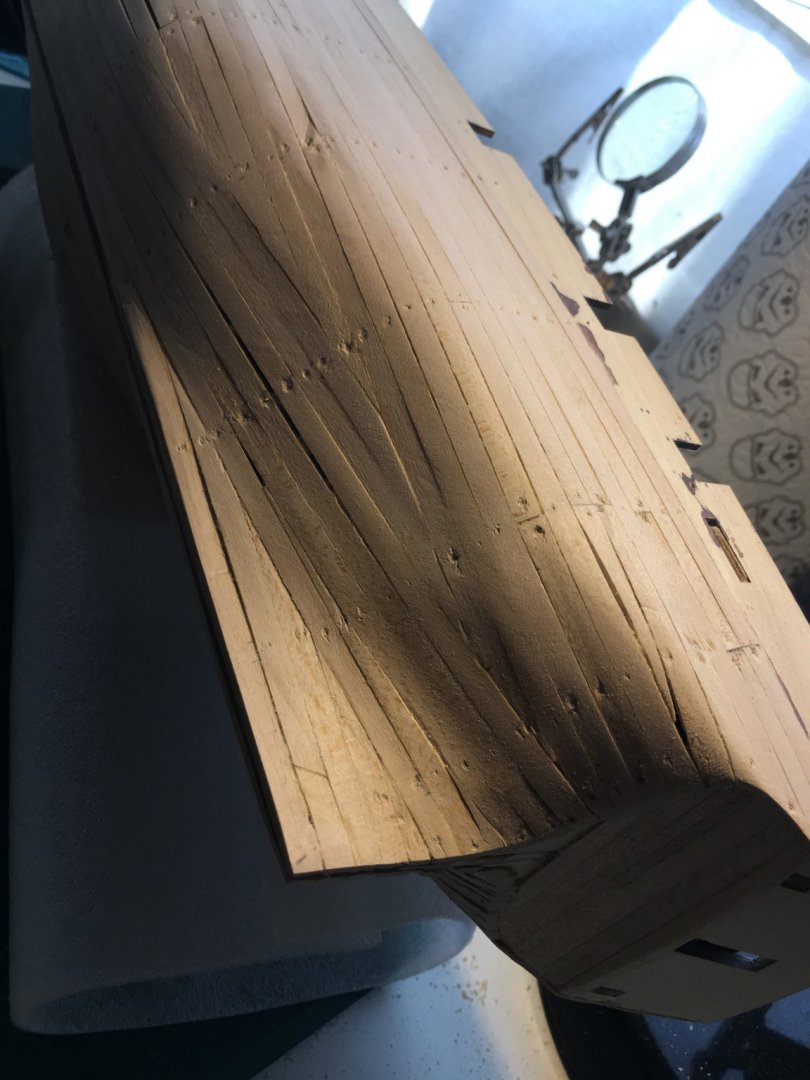
Hi all, it seems I do have more time on my hands: as the nails kept bothering me, instead of putting the Dremel on them I decided to remove them completely, and manually. That took some time, but here's the result: A more smoother surface, and about 300 nails recuperated 🙂 Sanding has commenced, starting with the bow: That was... interesting 🙂 As the plans call for straight pieces of plywood to be stacked and then sanded down, I used the Dremel with the hose to get the chunck off, before moving to the finer finish with the sanding blocks. I really need some Dremel 101 because I managed to make 2 small dents in the bow wood on the starboard side, which I can fill with wood filler of course (got my hands on that before the lockdown went into effect). Another lesson learned. After that manual sanding, and I found the P180 is doing a much better job than the P60 I was using before. Conitued using that on the hull: Still a working progress, but am I correct in assuming there's 3 phases to hull sanding: 1: Basic levelling, exposing areas that cannot be sanded down and need to be filled with wood filler 2: Use the wood filler 3: Sand down the wood filler and finalise. Also, I found the best way to discover unevenness is to use your fingers and go by touch. That led to some strange looks from the Admiral and the Rear-Admiral (17-year old daughter) 🙂 Am I missing a technique I haven't read about?

-
For what it's worth, you're an inspiration and a big help 🙂 As we're tackling the same model and you're way ahead of me (still removing nails to start sanding her down and filling gaps on the first layer of planking), you're a bit of a trailblazer. Thnx again!
-
Thnx for that advice, MR. Coyle. Indeed, I stopped sanding very quickly when I saw the result of working on the nails. I do have a Dremel with a hose attachment, so will try that out on some test nails later today. I can fiddle out some of the nails, but removing them all is going to damage the planks too much in some places I fear. Thnx for the support 🙂 Glue is holding on the nails I removed, but some are just too deep to be taken out without damaging the wood. Will try the Dremel approach later today. As Belgium will be put on lockdown due to the Corona virus as of midday today, I think I'll have plenty of time on my hands...
-
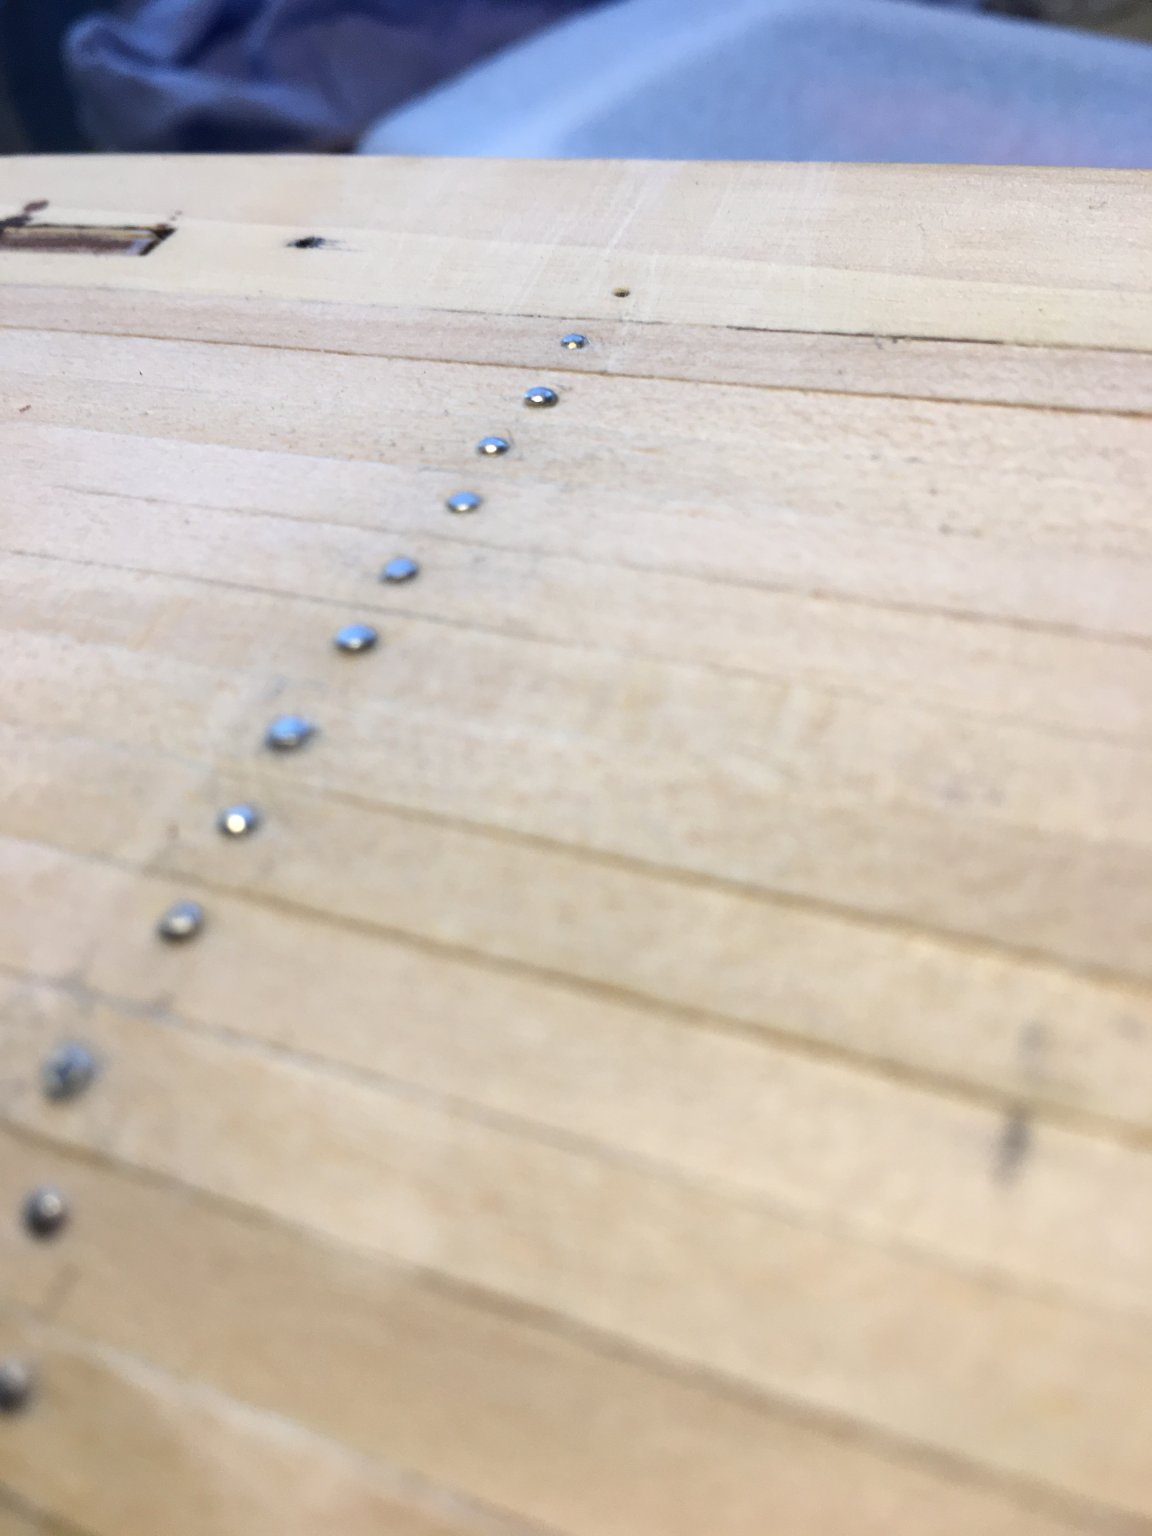
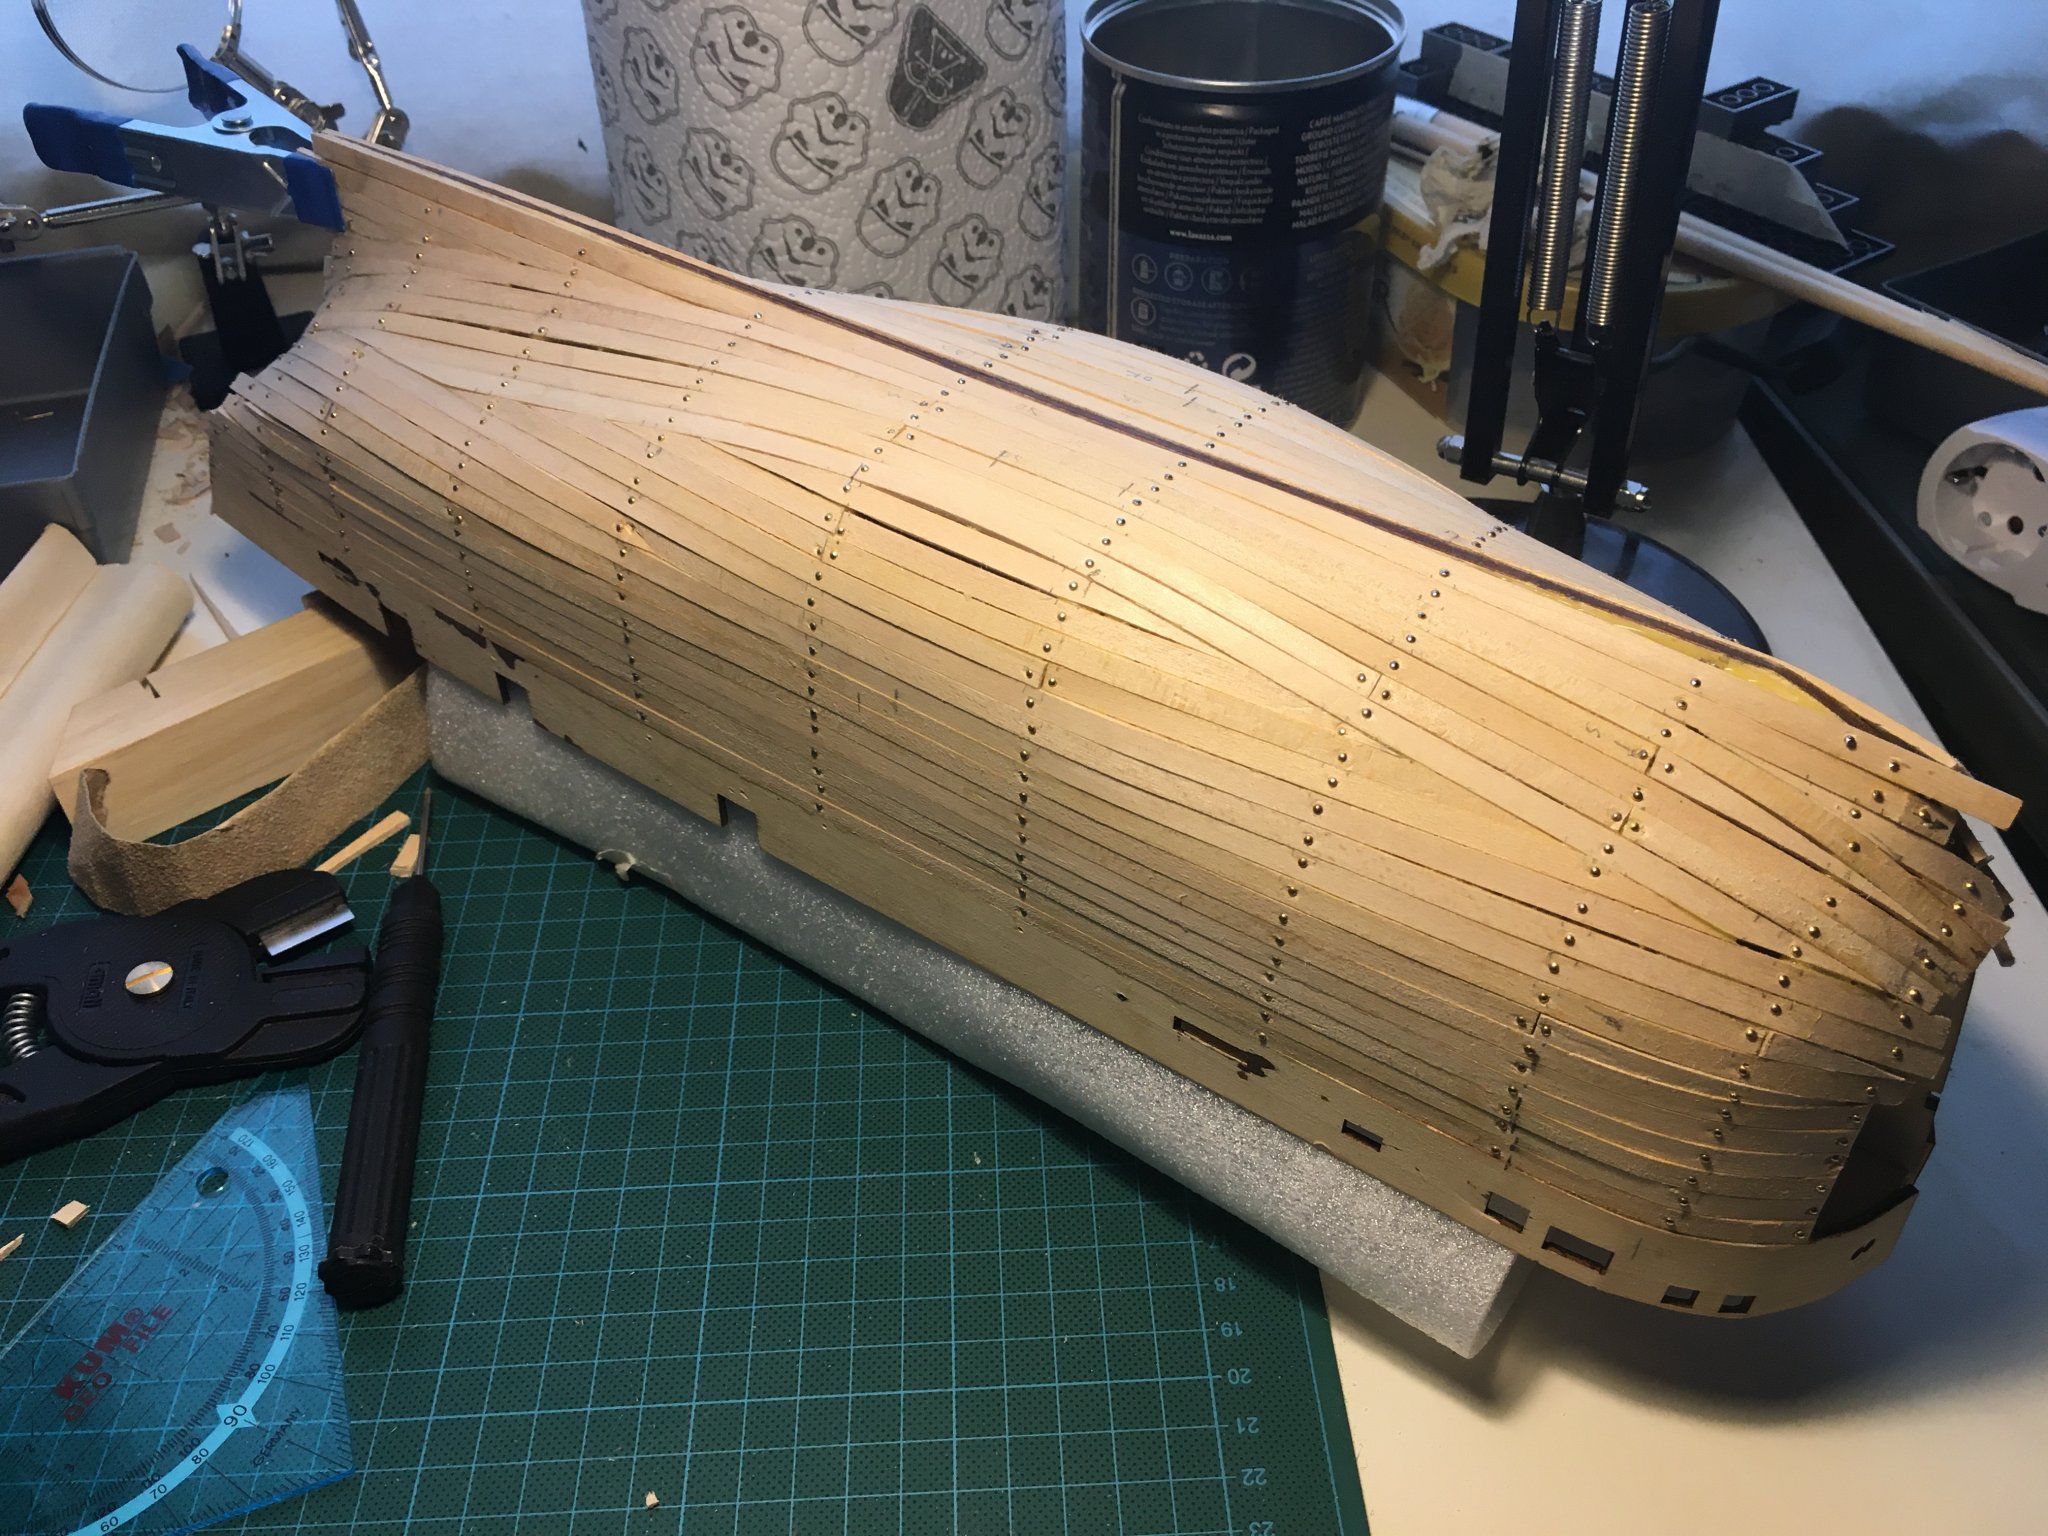
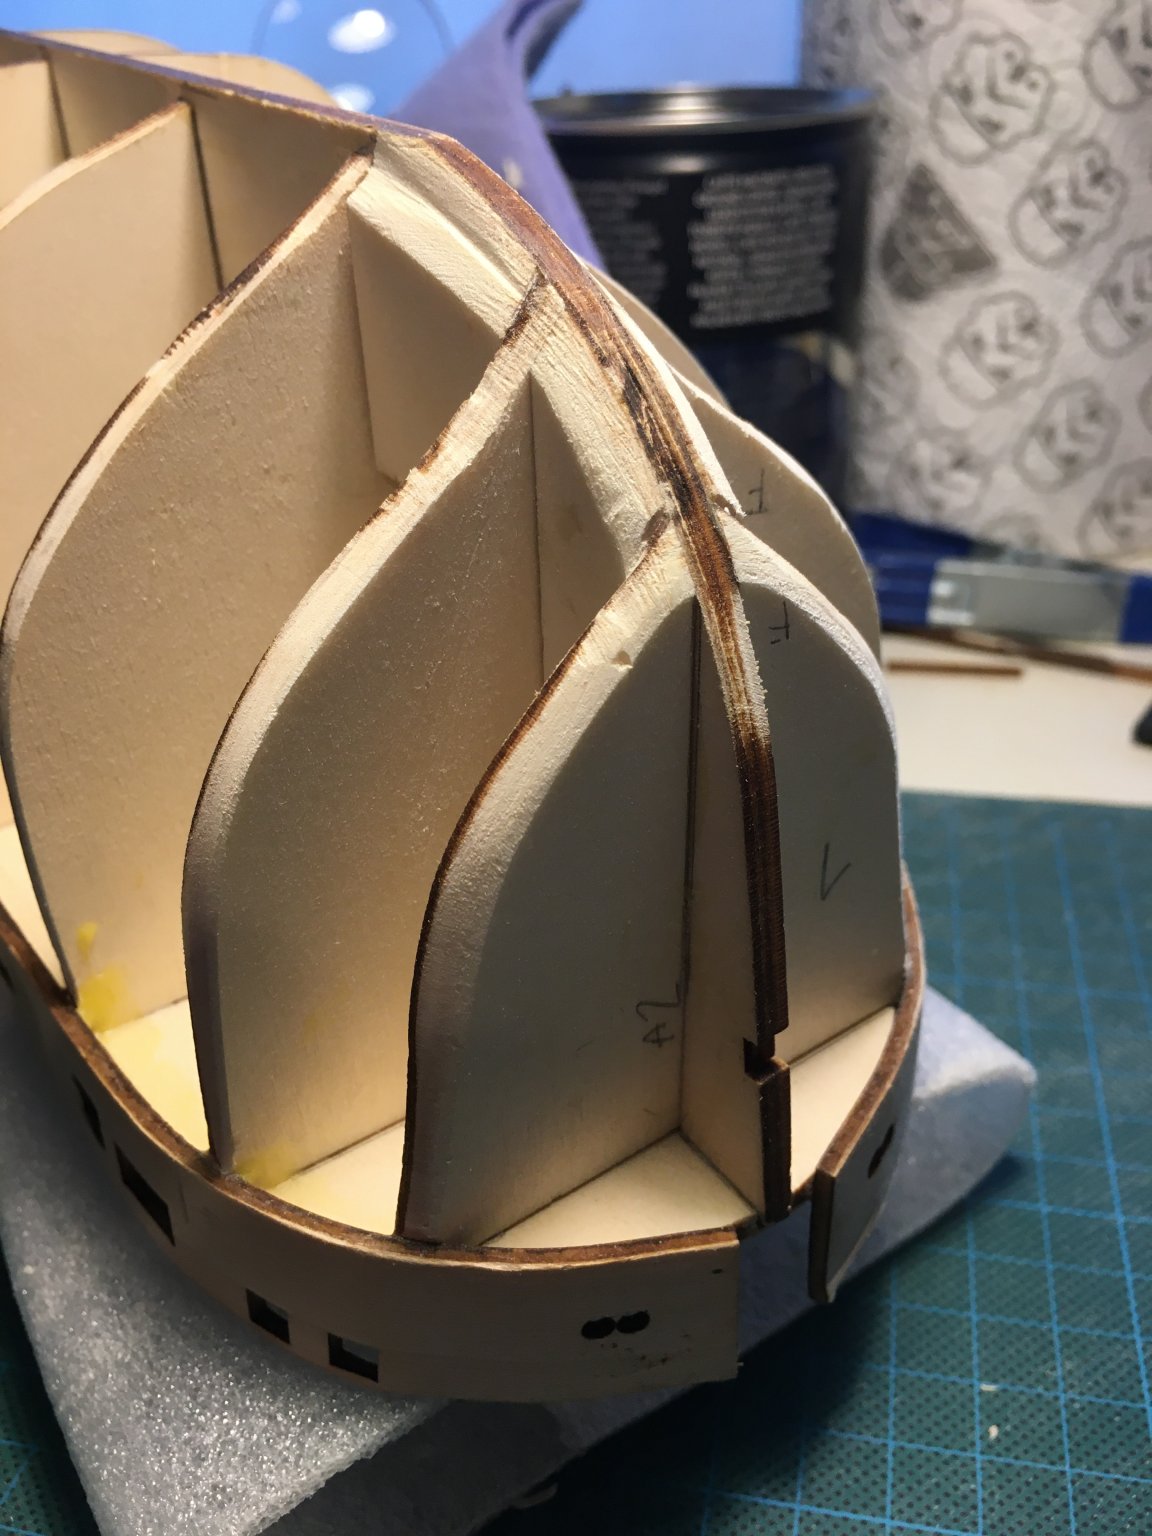
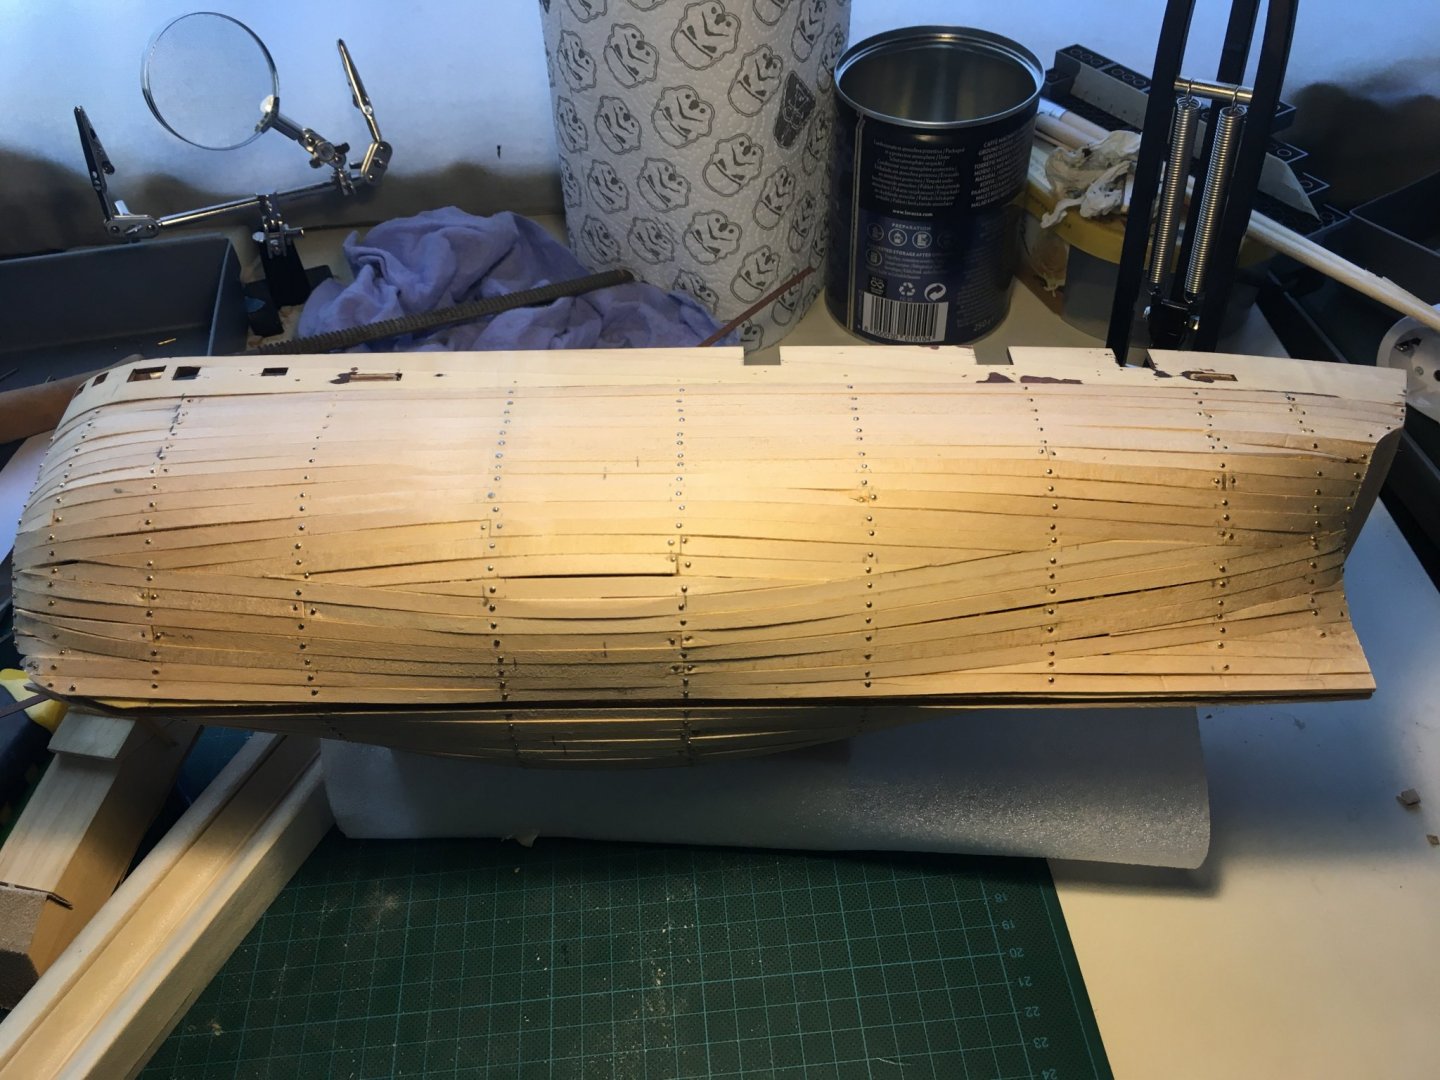
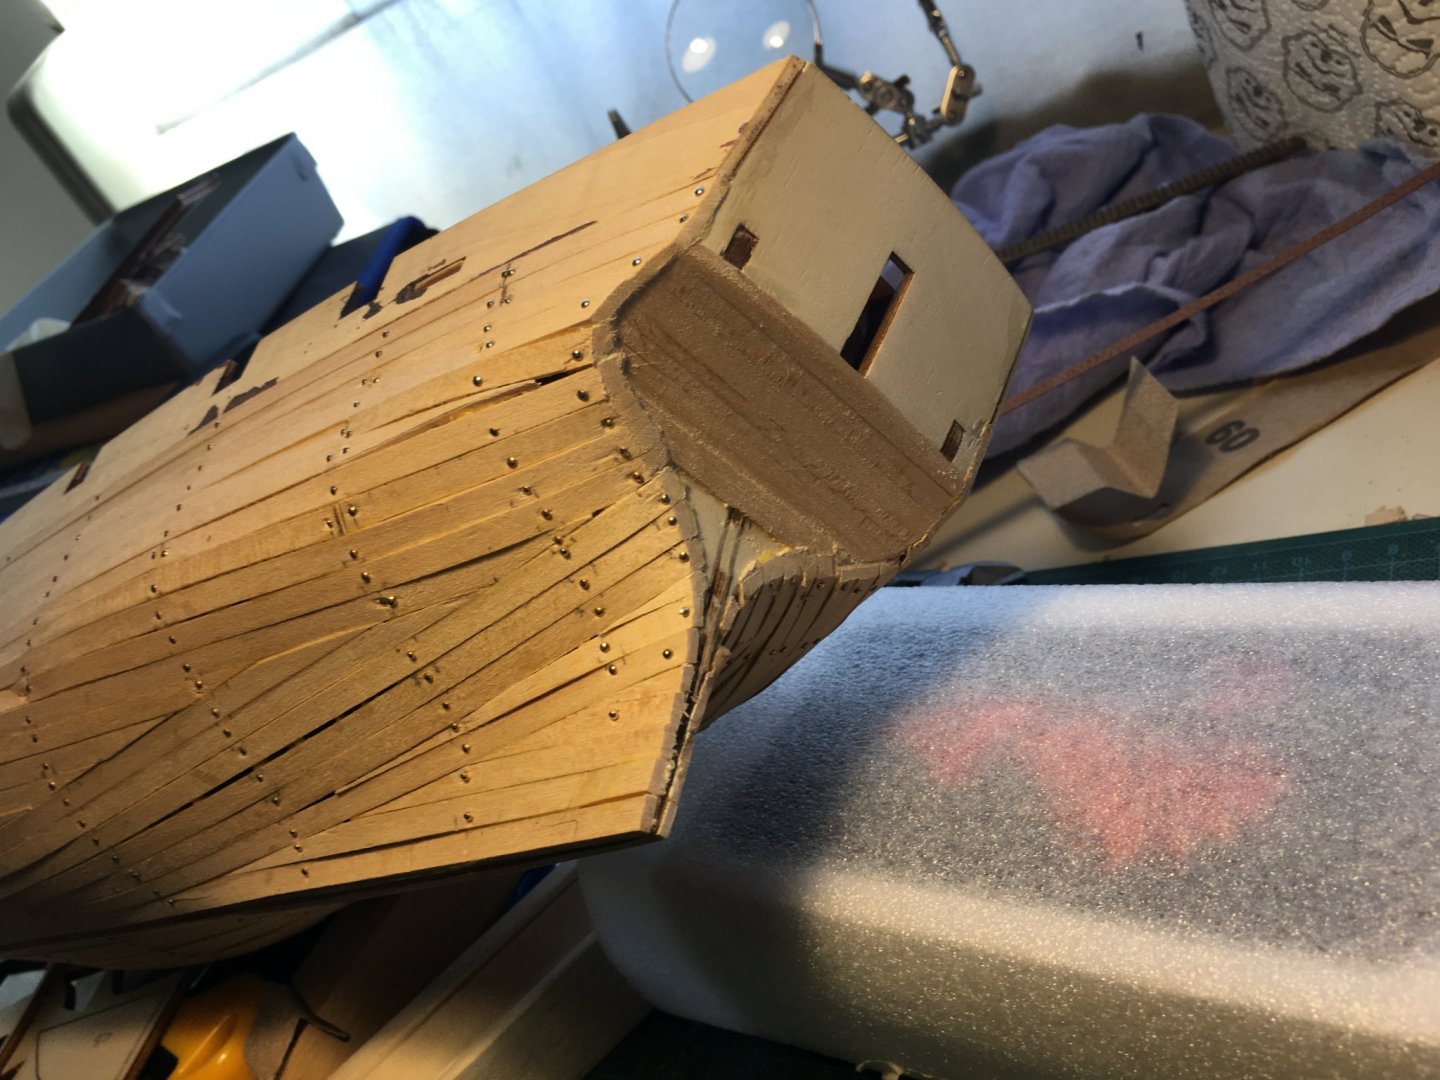
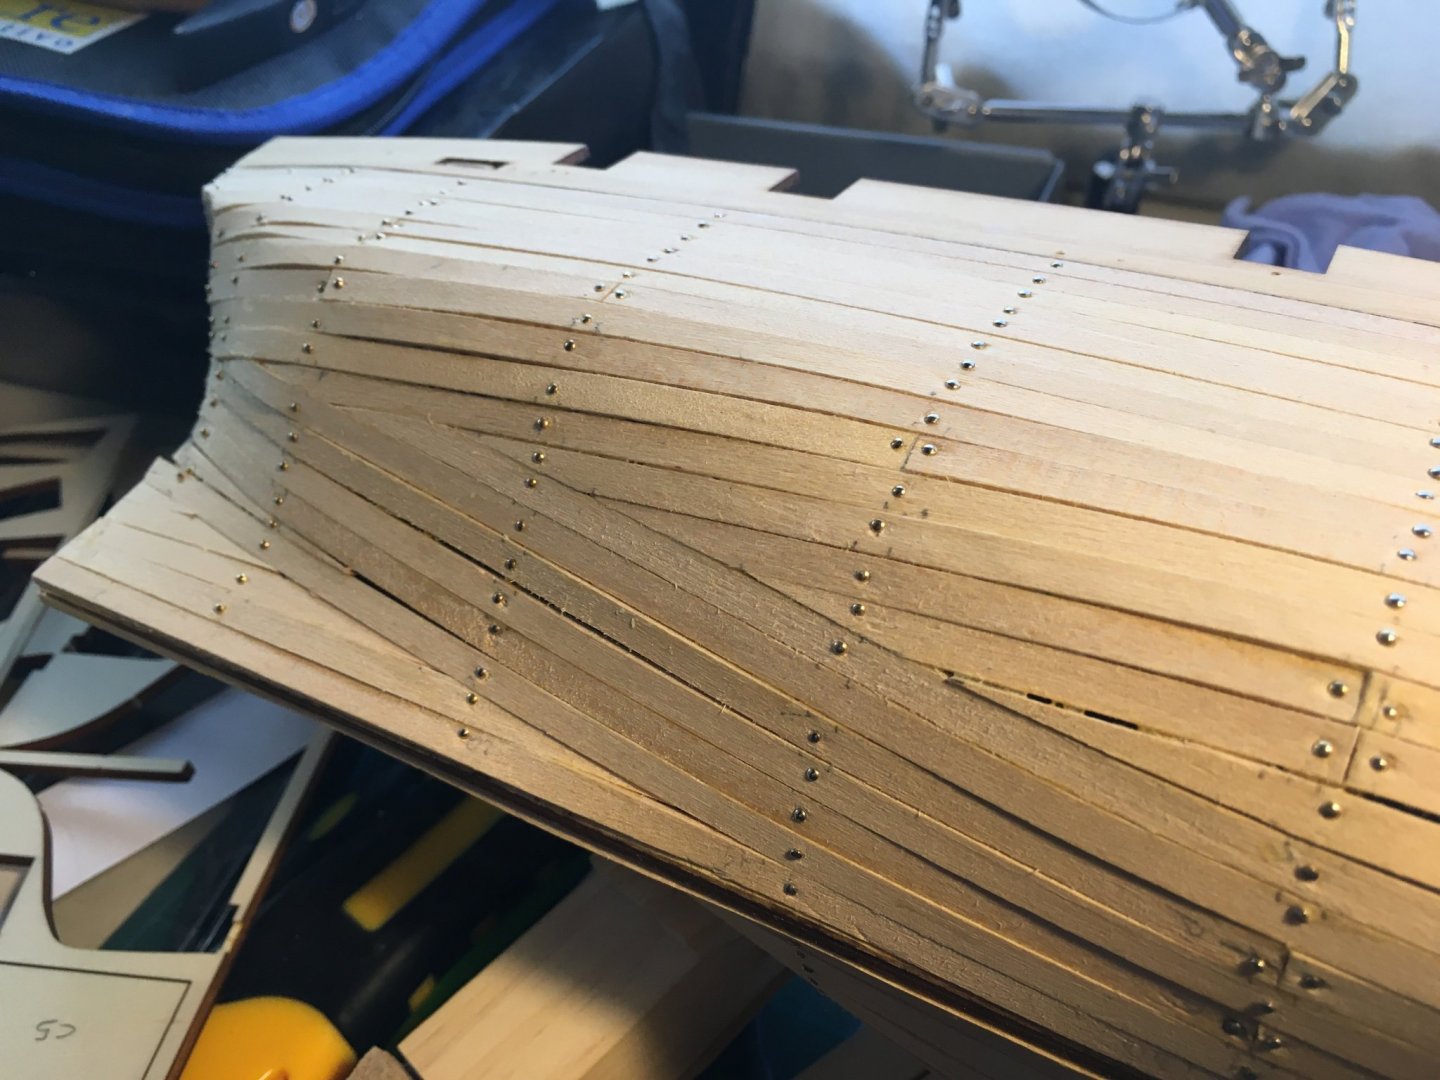
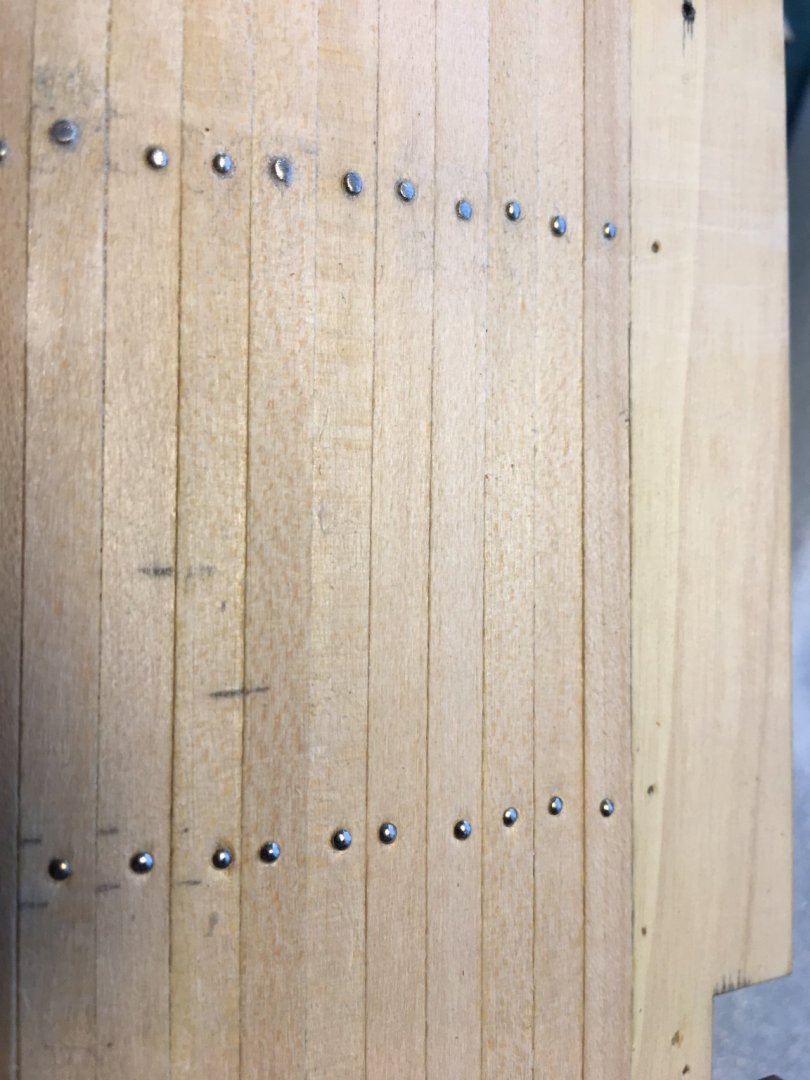
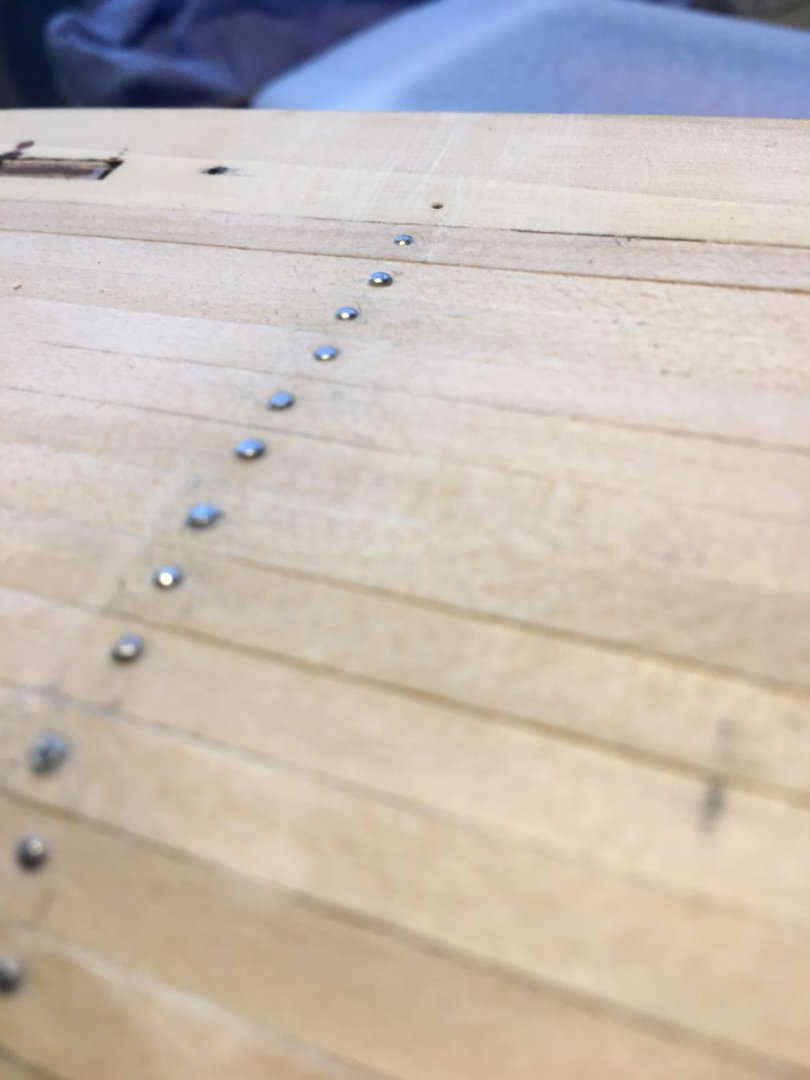
Hi all, First planking is finished! Again, this is my first time, so be gentle 🙂 . Used a combo of plank bending pliers for the easy bends, and steam for the garboard and the planks lower to the keel. The advice I read over here: "Treat every plank as it's own project", helped. Made some mistakes I will need to correct during sanding and filling, most notably on the bow, where I did not bend the planks enough: Will think about how to solve this later, but any advice is welcome! Started sanding as well: Question: From the Occre videos, I saw the heads of the nails need to be filed down. 1) What is the best tool for this? and 2) How much do the nails need to be sanded down? Tried on a row with some sanding paper: Top row is sanded, bottom row not sanded. Is this enough, or do the nails really need to be flush? Quick note: there's a thin layer of second planking coming on top of this, not sure how much that will show nail bump-wise. As always, thnx for your input!

-
Beautiful work! Love how the wood texture comes through the paint. I guess you decided not to go for the metal plating on the bow?
-
Well, the planks align as they are now, I'm worried the planks will recess too much and I'll need to attack the bulwark with my sander. Tried the pins you used to attach the bulwarks to the hull, maybe they're the wrong kind, but I had difficulty insetting them into the wood, nails seem to work better for me. But thnx for the tip, I will use them for other stages in the build, I'm sure. Regarding the balsa wood, I'm a bit of two minds, as so far no build log or video has shown them being used. With your experience, why would you use them, if you had to do it again?
-
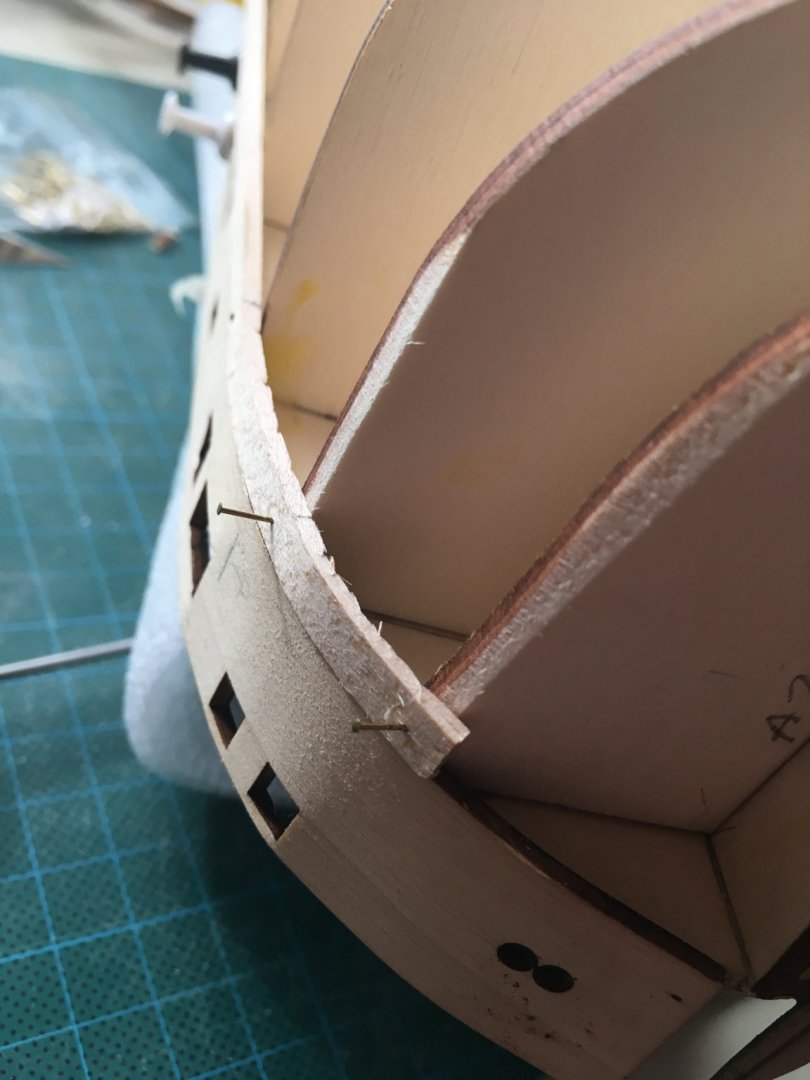
Hi all, quick question: I've been experimenting with sanding/fairing in preparation for the first layer planking, trying out a pin pusher (works really well), and the plank bender. Test fitted one plank: Now the question: the plank fits snugly with the bulwark, but as you can see I didn't sand that much. So what has priority: maximum contact between plank and bulkhead (and sand off the excess bulwark later) OR alignment with the bulwark and lesser contact? (Test fitting came a bit loose, but trust me, the plank fitted 🙂 )
-
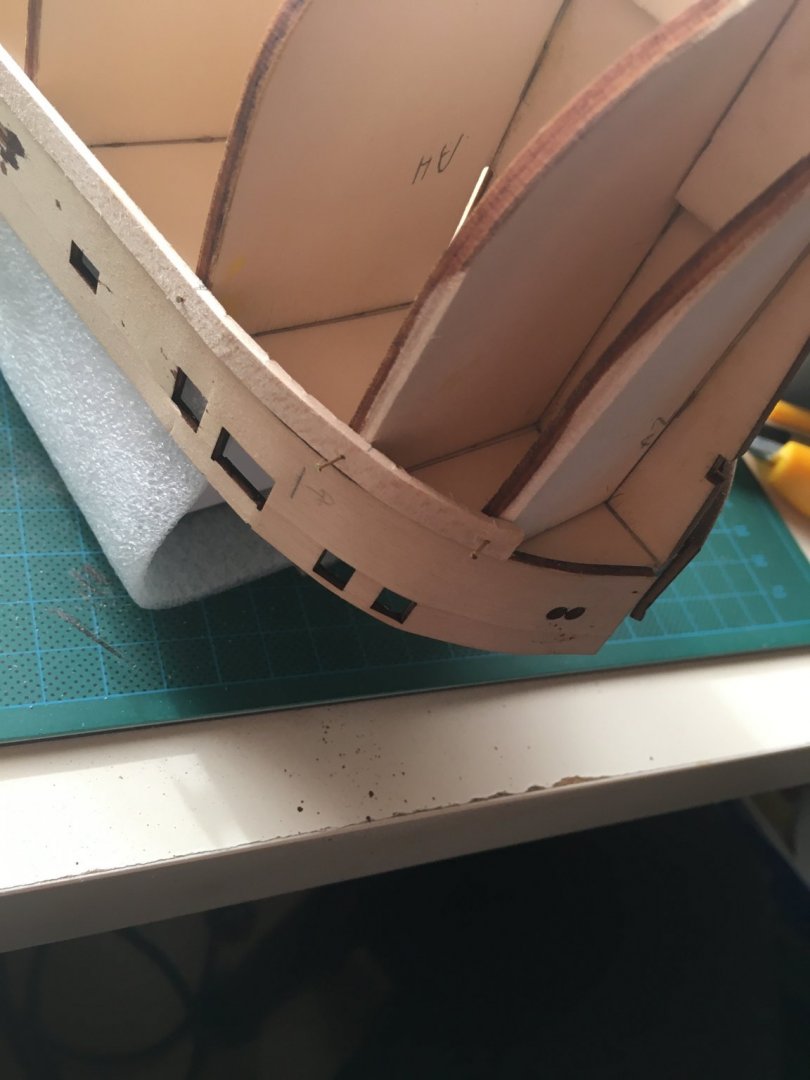
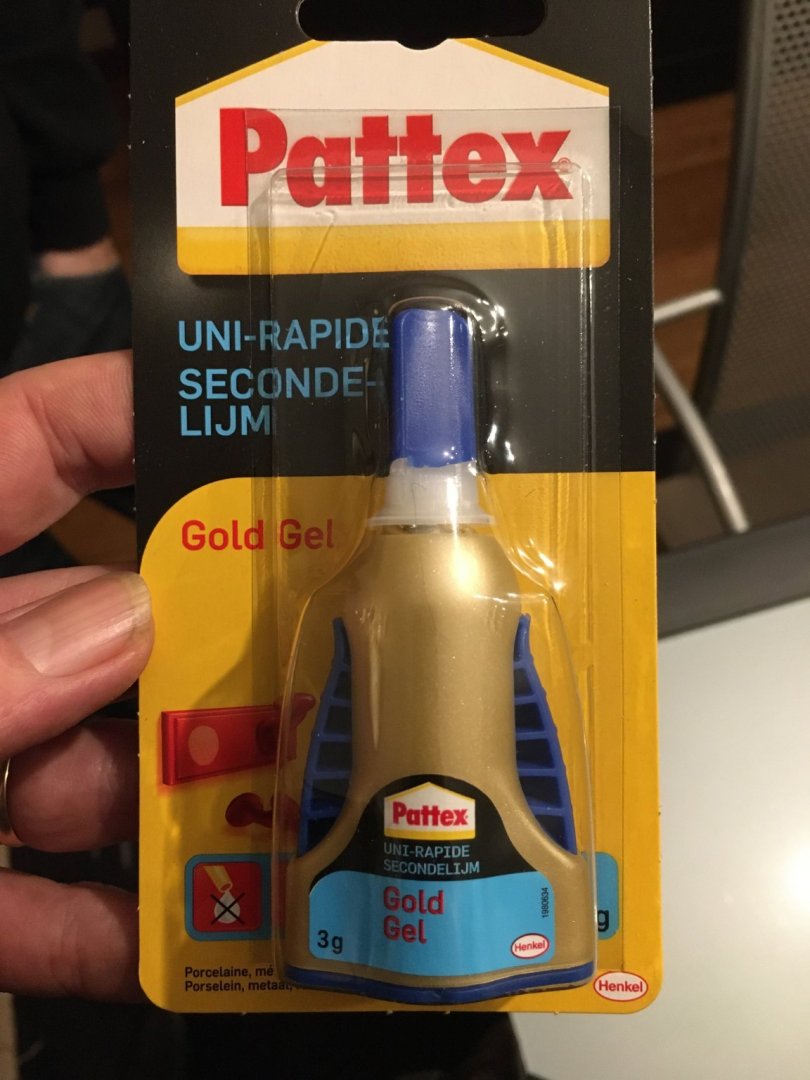
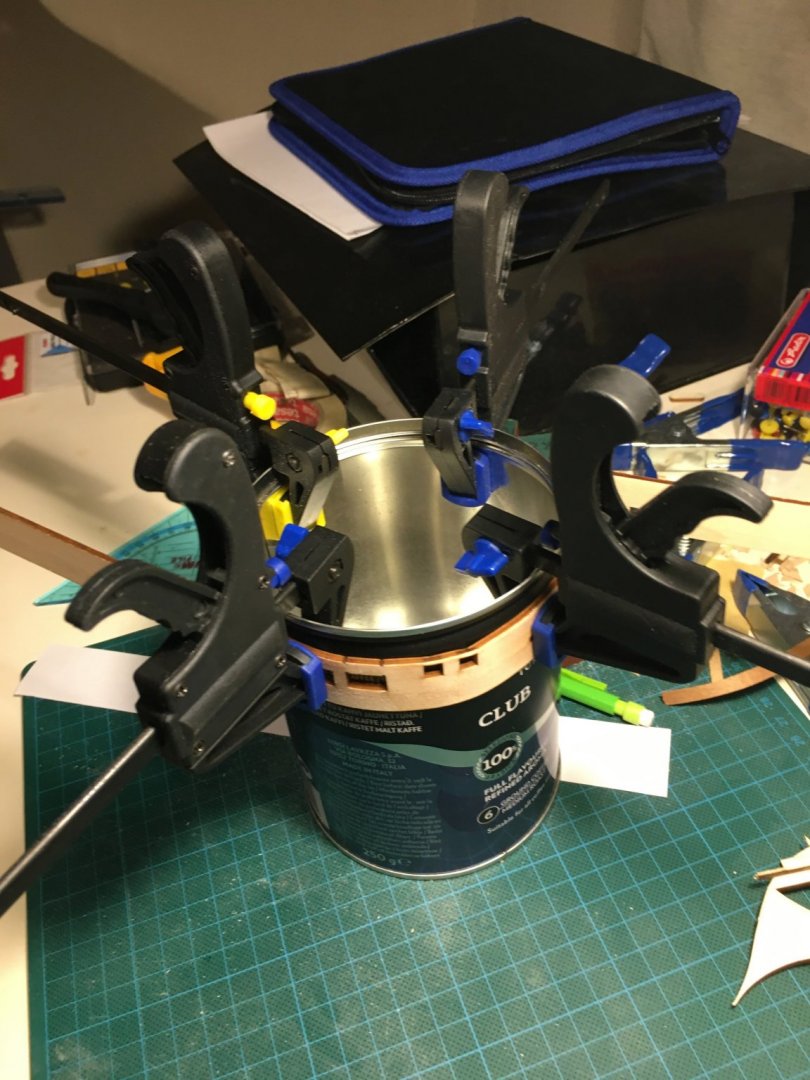
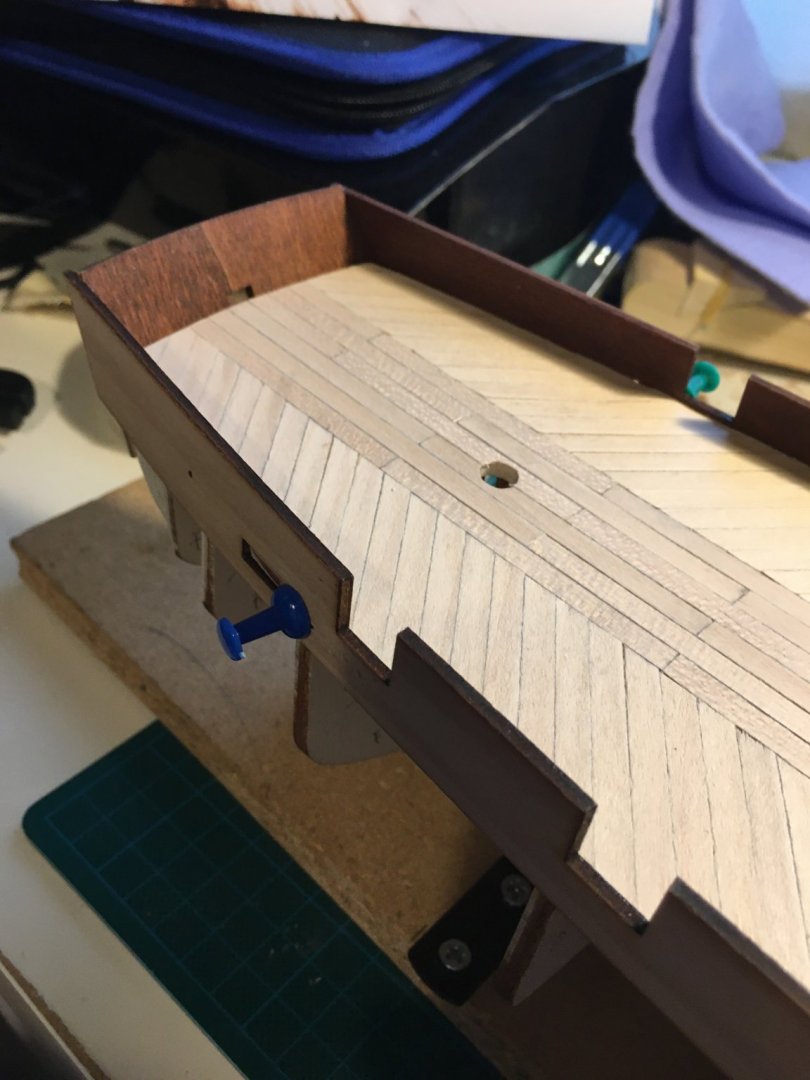
Busy week last week, managed to do some work nonetheless.. And my first blunder 🙂 After testing the varnish, I planned to move ahead: glueing the deck on the bulkheads, bending, painting and attaching the bulwarks. First experiences with the CA glue were... interesting. Mind you, I got the thin CA, which was not really suited for attaching the deck. Friend of mine gave me some advice to try this out: CA glue, but a gel, easy to apply even with a spatula if necessary. In short, good stuff. After some tests I attached the deck without any issue. Next up, bending the bulwarks. Did a lot of reading and asked for advice (thnx Wahka_est!) and went for it: put the 2 bulwarks in piping hot water and let soak for an hour. Then bending them around a tin can: Worked like a charm... But after allowing them to dry I realised I apparently choose to neglect my marks on the wood and bent both bulwarks in the same direction. After a brief moment of panic and a dash to find the Occre support contact, decided to simply put the wood back in the water, and try and bend it the other way. To my surprise, not a minute after re-immersing the bulwark in the water, the curve straightened itself out. Let it soak, bent it carefully the other way, let dry. What a material, you try doing that with plastic 🙂 After varnishing the bent bulwarks, planned the assembly to the hull. Stern fitted perfectly, some CA was going to be needed for the front, and here we are: Far from perfect, but a good first try, I think. I'm going to let the hull dry overnight and then fairing commences 🙂
-
Indeed, that's an issue I'll be facing as well. Wanted to solve it like this (as described in the Mastini book): Dry fit a mast, tie a rope line on the approximate height of where the shroud finishes, and then use that line as a guide to mark the deadeyes on the buffer.I think as soon as you measure the first, you get a good idea of where the rest should go as the spacing of the deadeyes is a constant (please correct me if I'm wrong). Issue 2 is then, how to determine the connection point from the deadeyes to their attachment points at the bottom of the buffer. You'l probably notice the ads lines do not run in the same direction as the line of the shroud. I've seen a lot of different approaches to this, from just ignoring the plans and make the connections all straight, to following the shroud lines. Still trying to figure this one out..
-
Wow, great work! How did you get that nice curve in the buffers?
-
Nice work! I assume you taped the top to prevent damage while sanding down the sides?
-
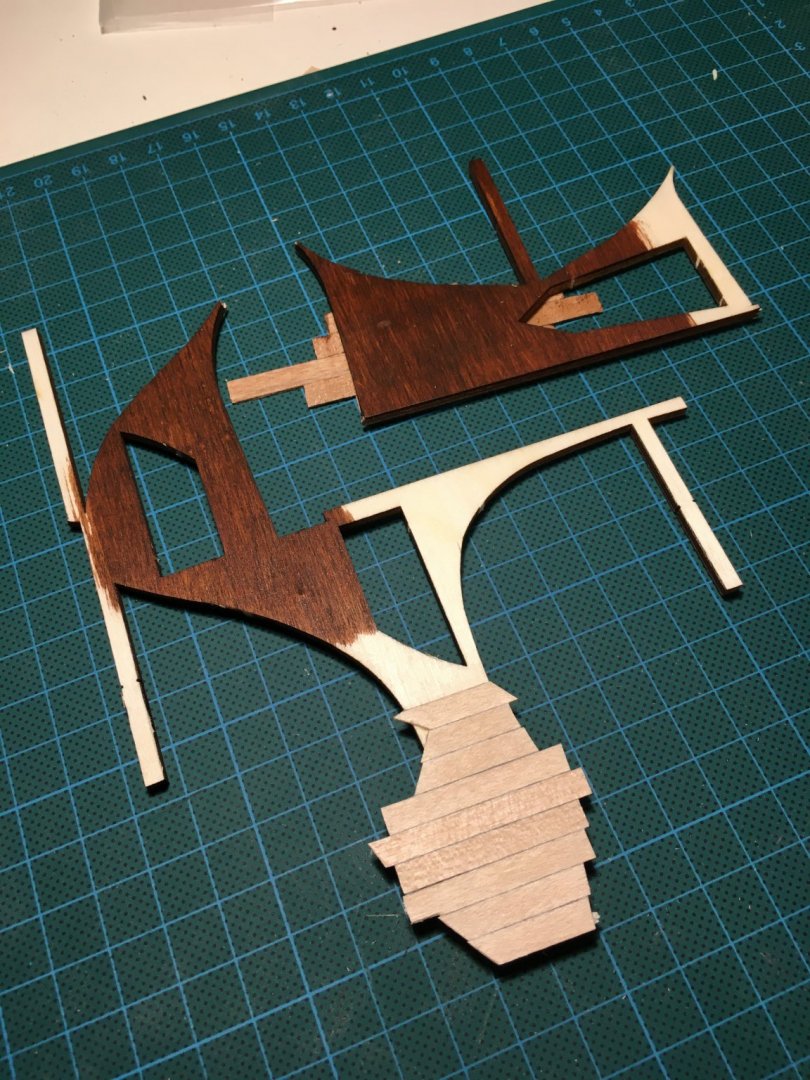
Some testing today, tried out the colourless matt varnish as well as the brown stain: First coat for both colours. I really like the brown stain, after one coat it gives this warm dark tint without hiding the wood structure. The colourless one is, well invisible 🙂 Coated the deck with a first coat of colourless, while giving the test batch a second layer. I am going to use the dark brown on the sides of the bulwarks and the inside of the mirror. Waiting for everything to dry and then: attaching the deck to the hull..