.jpeg.9d9bab3fa66f4349cae83f4155046894.jpeg)
rkwz
-
Posts
241 -
Joined
-
Last visited
Content Type
Profiles
Forums
Gallery
Events
Everything posted by rkwz
-
.thumb.jpeg.d239701c2f7247a100a3f432822c4eda.jpeg) Thought I'd drop in and check out your build... being a newbie to ship building, I can relate to your frustrations! Great work and thanks for sharing your process, she's a beauty
Thought I'd drop in and check out your build... being a newbie to ship building, I can relate to your frustrations! Great work and thanks for sharing your process, she's a beauty- 56 replies
-
- 1
-

-
- constitution
- revell
- (and 2 more)
-
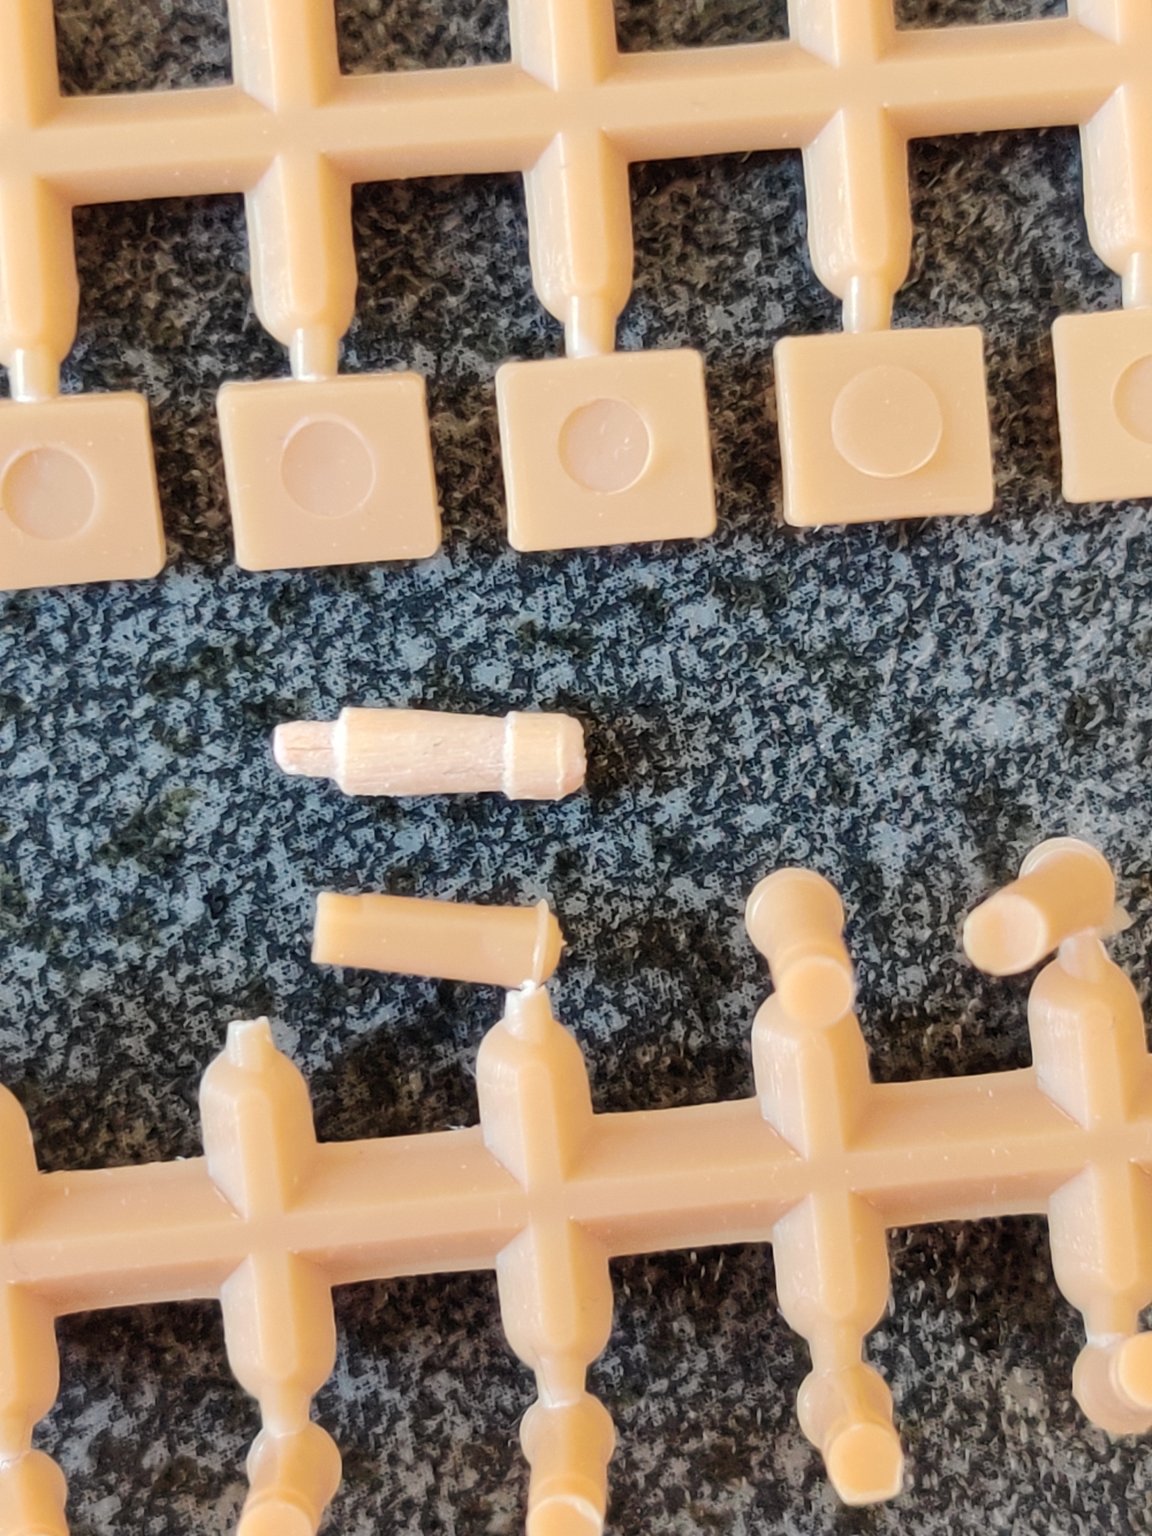
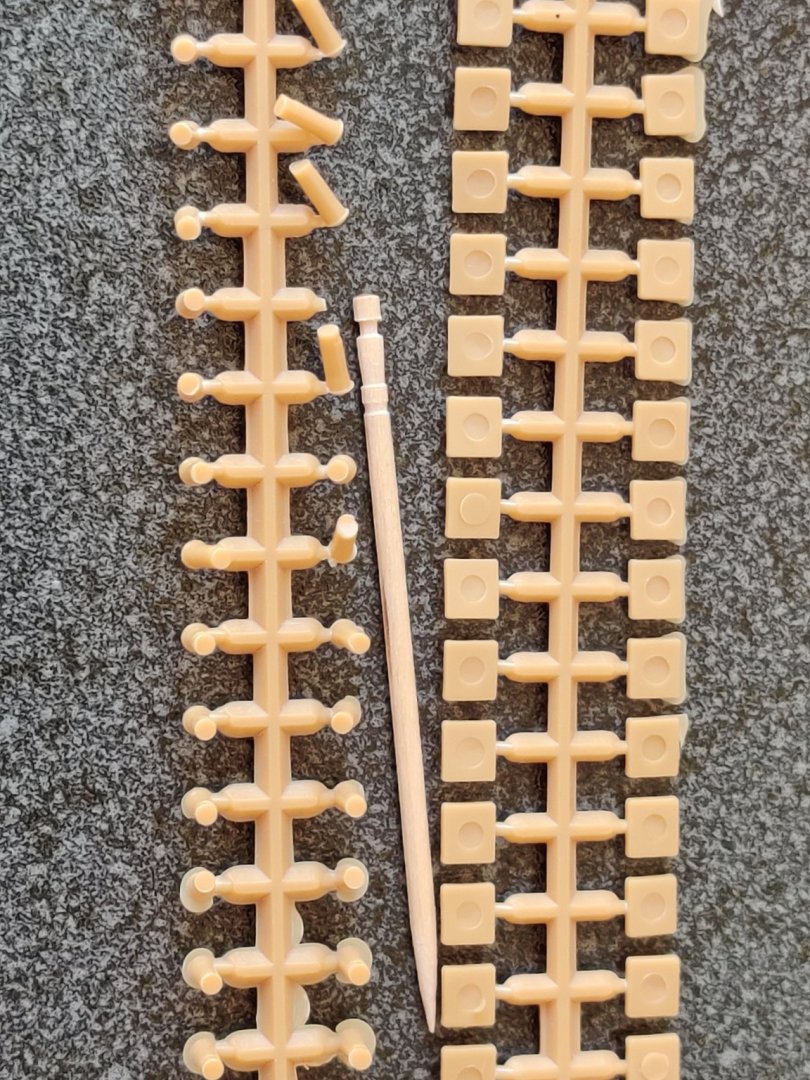
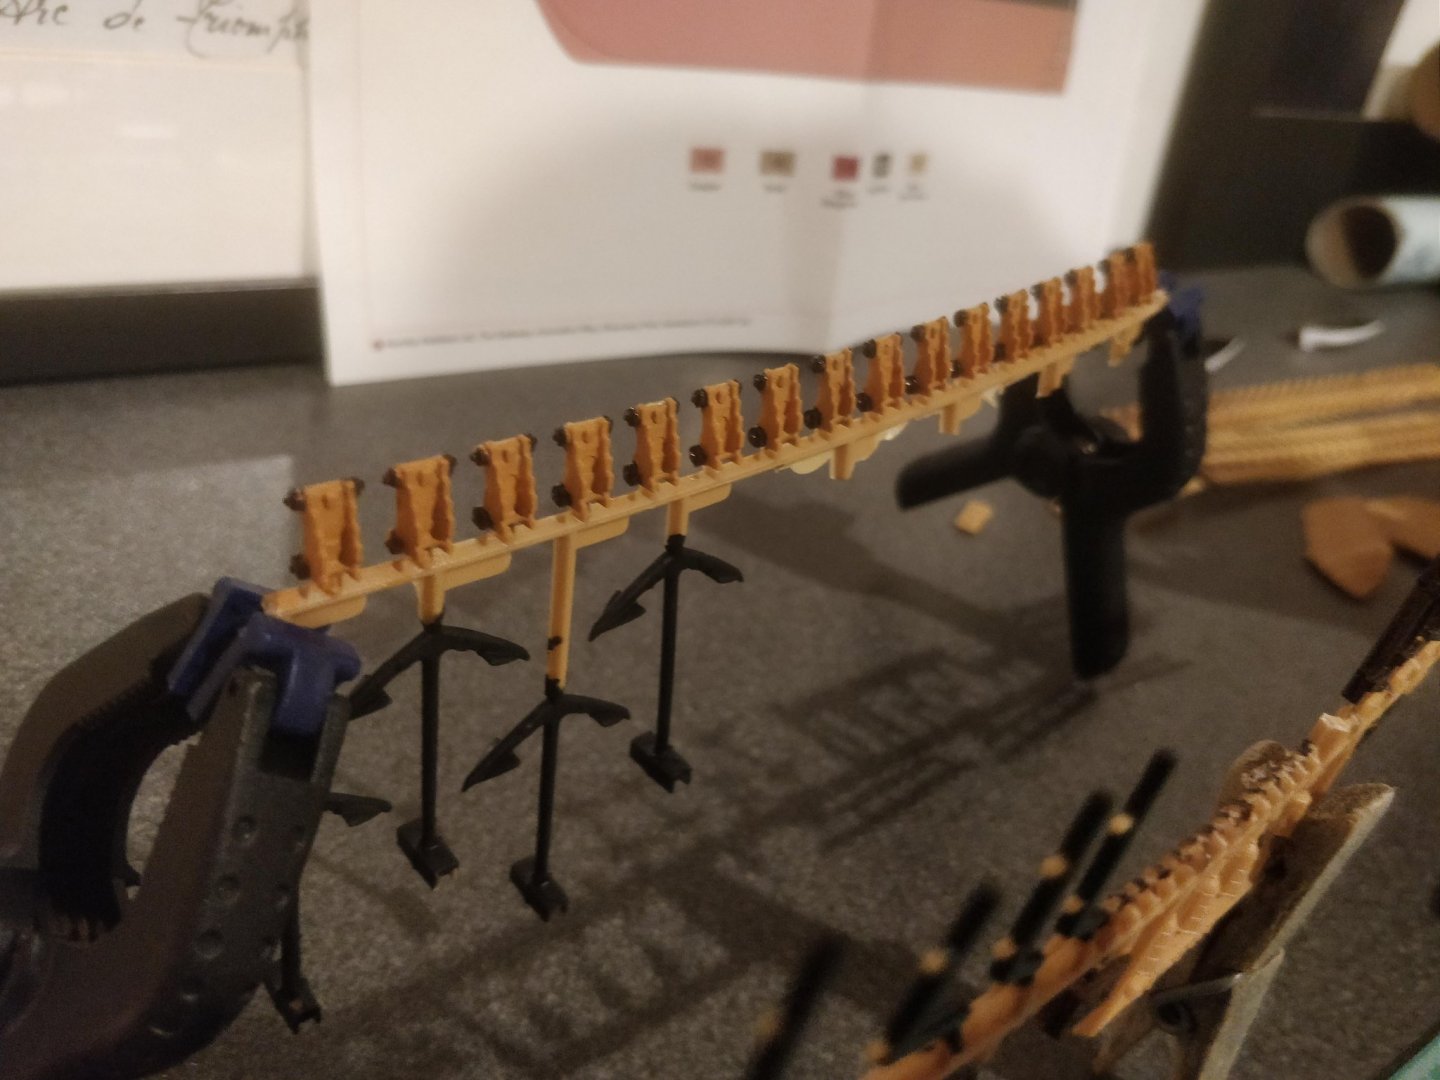
Might have found a solution to the missing dummy cannons after all... Noticed the heads of the toothpicks I had been using to mix paint with are a near perfect fit! Will try glueing this on with super 'Phatic glue. This glue seems to work better than tamiya cement for plastic/wood to paint adhesion and dries without leaving any noticeable residue.

-
Hi Thunder, thanks for sharing a photo of your Victory... the rigging ropes look taut and the ship looks very much to scale and is absolutely beautiful. Still reading the Noel Hackney book and suspect I will have to reread it many times over as I go through each rigging step in detail later. If you don't mind me asking did you stick to the plastic masts supplied in the kit? I am a little worried they may not be rigid enough and may snap during the rigging process... one of mine came a little deformed because the sprue attachment broke off. Also did you use the thread supplied with the kit or fishing wire for the rigging? Before rigging the ship, I have to glue on the dummy cannons and gunport lids. Just did a count and realised I've lost 4 cannons (which are really bits of plastic cylinders glued to the hull) and 1 lid. Will either use styrene or fashion them out of the excess bits of sprue to compensate. Also the 2 upper deck carronades and gun carriages have yet to be positioned. Still deciding what to do with them in terms of rigging. Might have to glue on a tiny piece of styrene to represent the side tackles as Blue Ensign suggested earlier to maintain some sense of scale. Thanks for the link to dafinimus.de, EricWilliamMarshall. Have had a look previously but the AIRFIX kit i'm tackling is much smaller in size... would love to have a crack at the Heller Victory kit in future though (I hear this is the best plastic kit representation of the Victory).
-
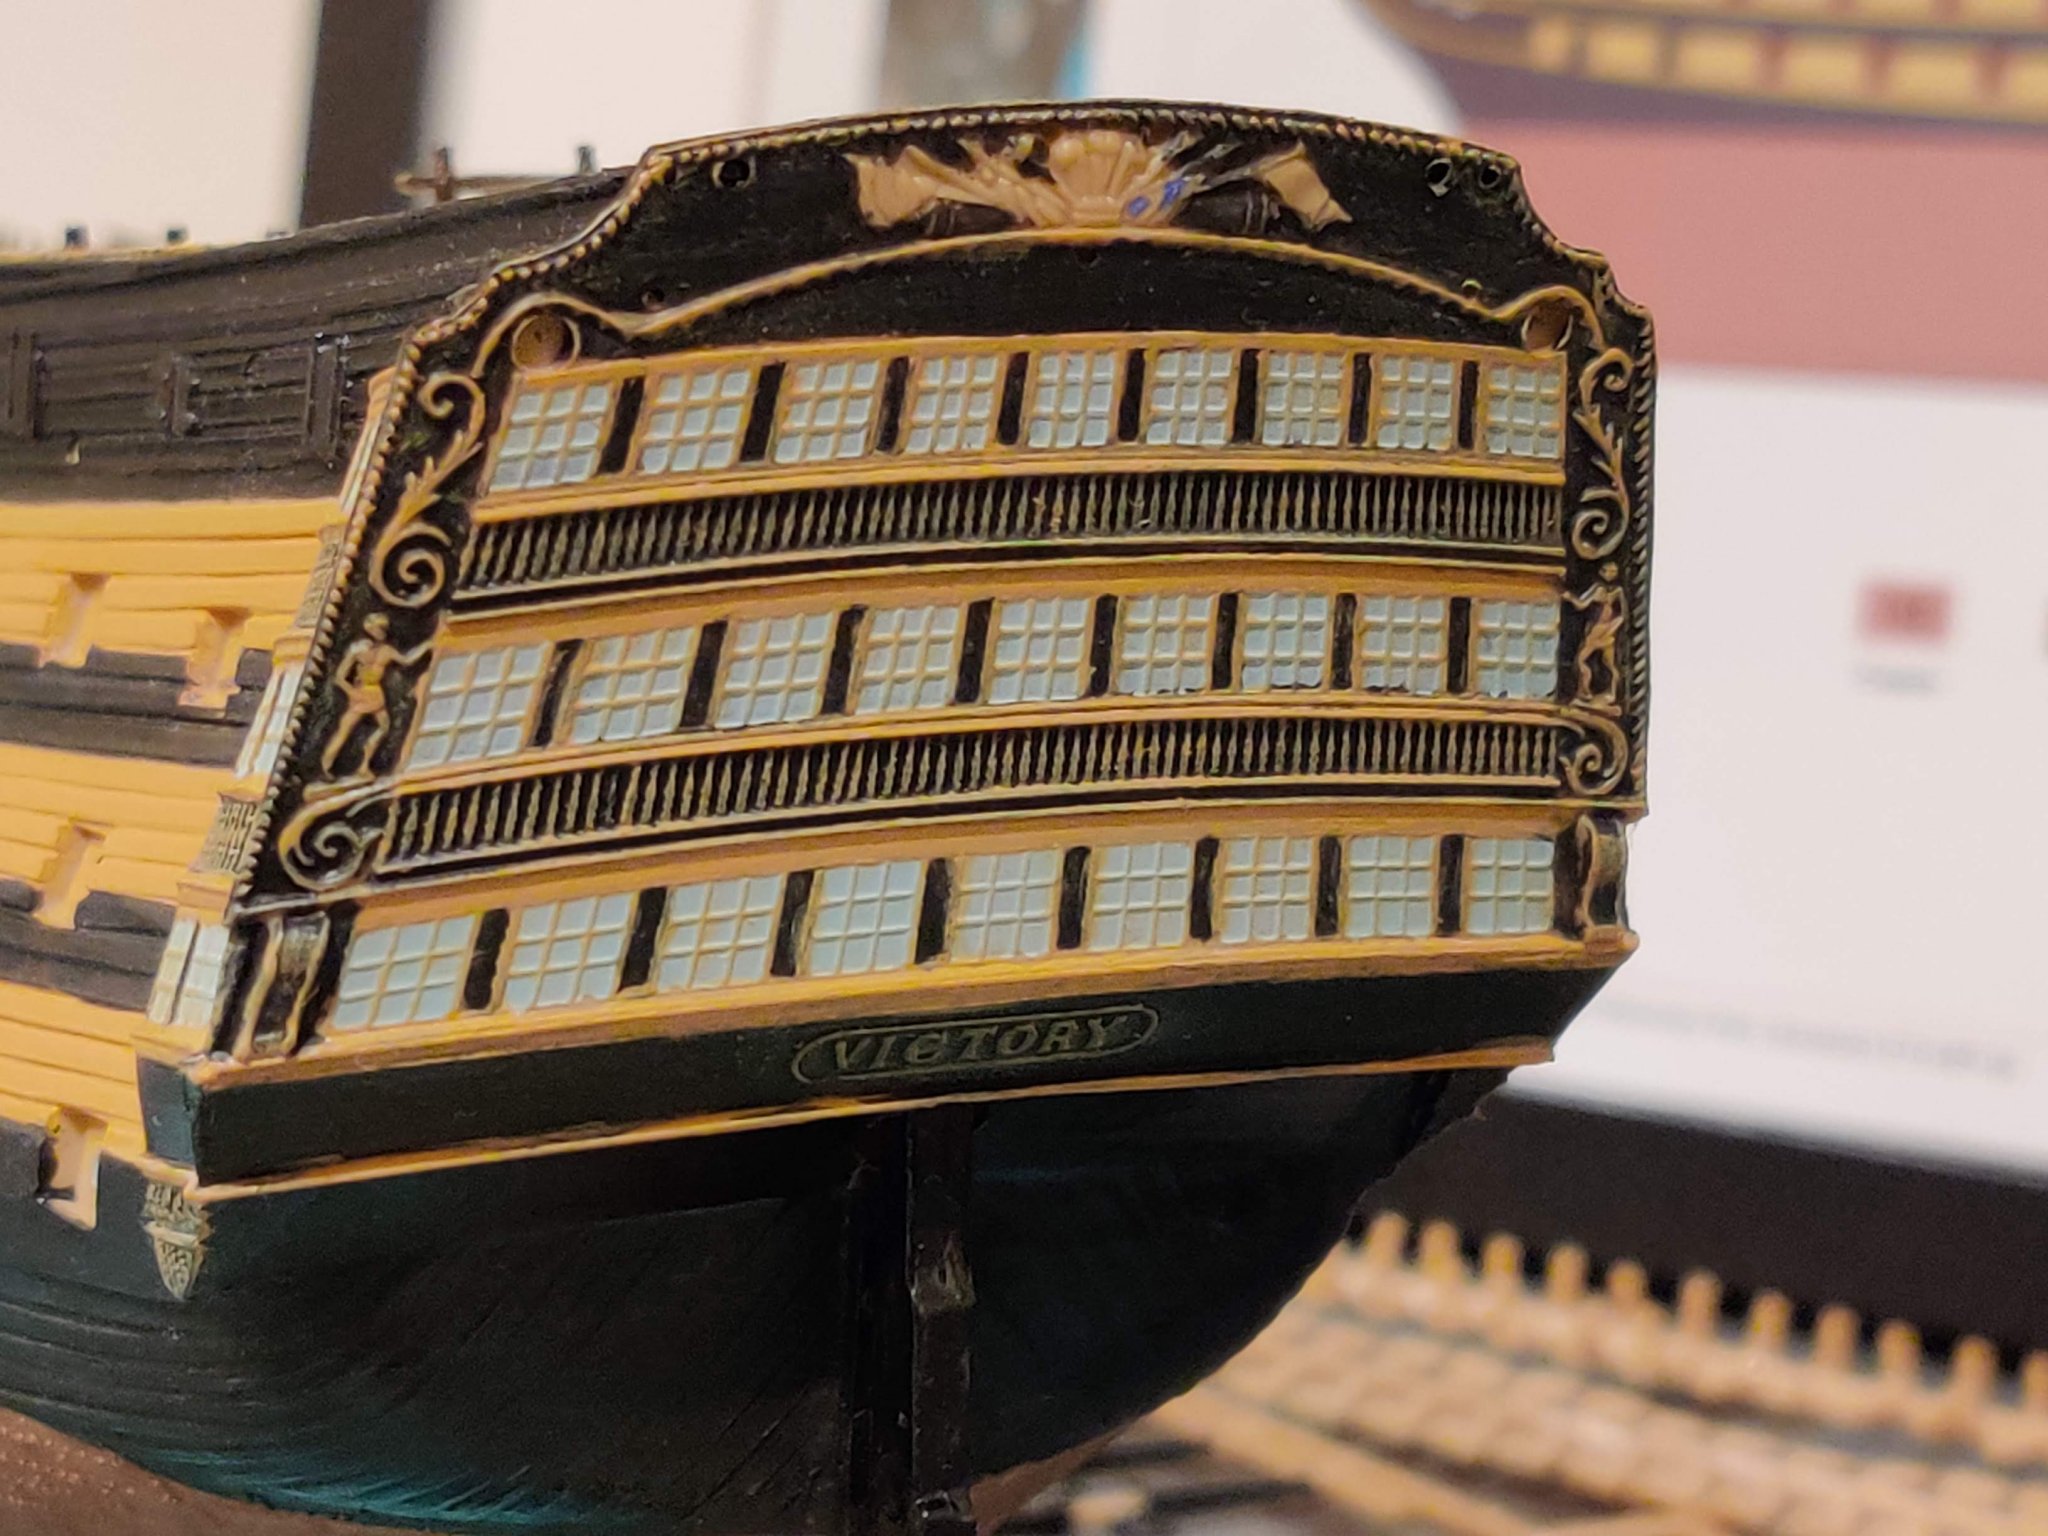
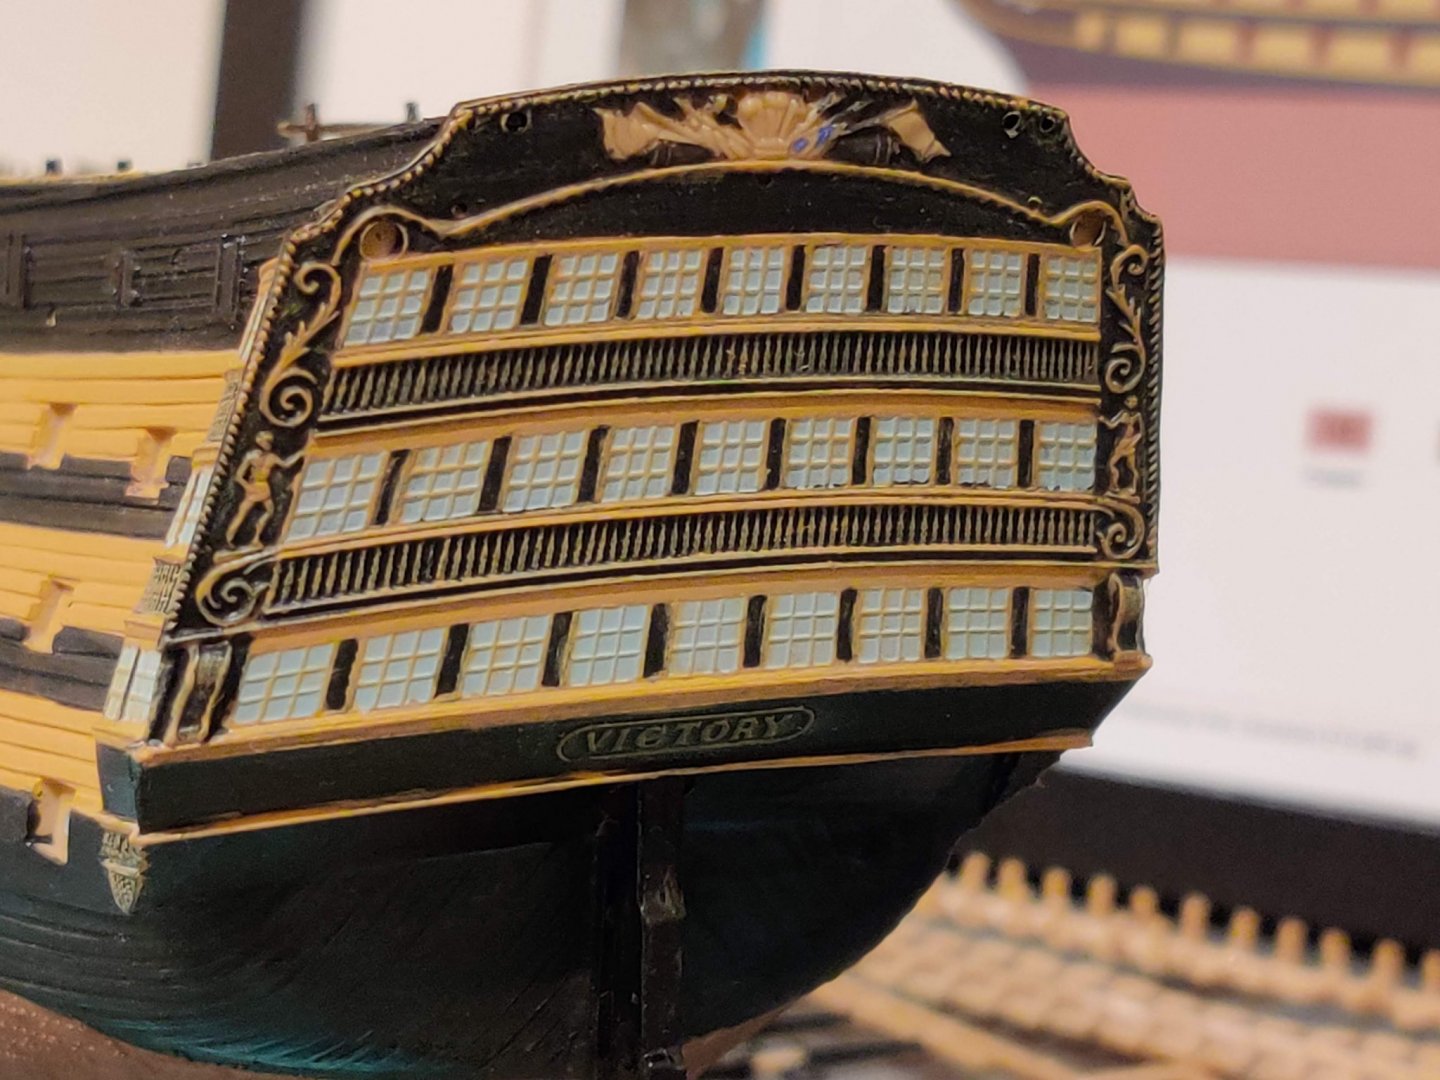
Thank you for your kind words, OC. Slow progress, waiting for paint to dry but have finally started work painting the stern. Needs a little touch up and detailing after my crash course in dry brushing... The next job was to fit the headrails which isn't an exact fit. Had to get creative clamping it down and hopefully the glue should hold.

- 190 replies
-
- 10
-
-
Thanks for the tip Blue Ensign, notice the eyebolts you recommended come in 7mm lengths being longer than the ones on the HiSModels page... Haven't worked out what I need yet in terms of quantity. On a separate note, have just received the book by Noel Hackney in the mail so time for some bedtime reading! Cheers,
-
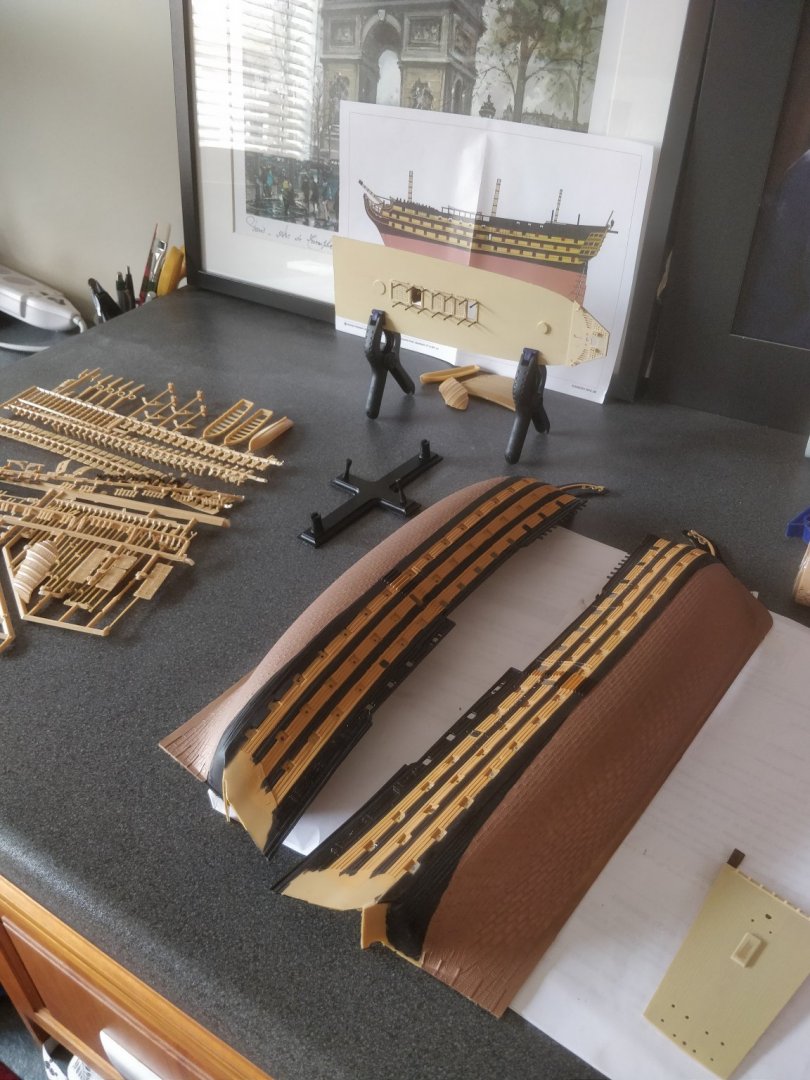
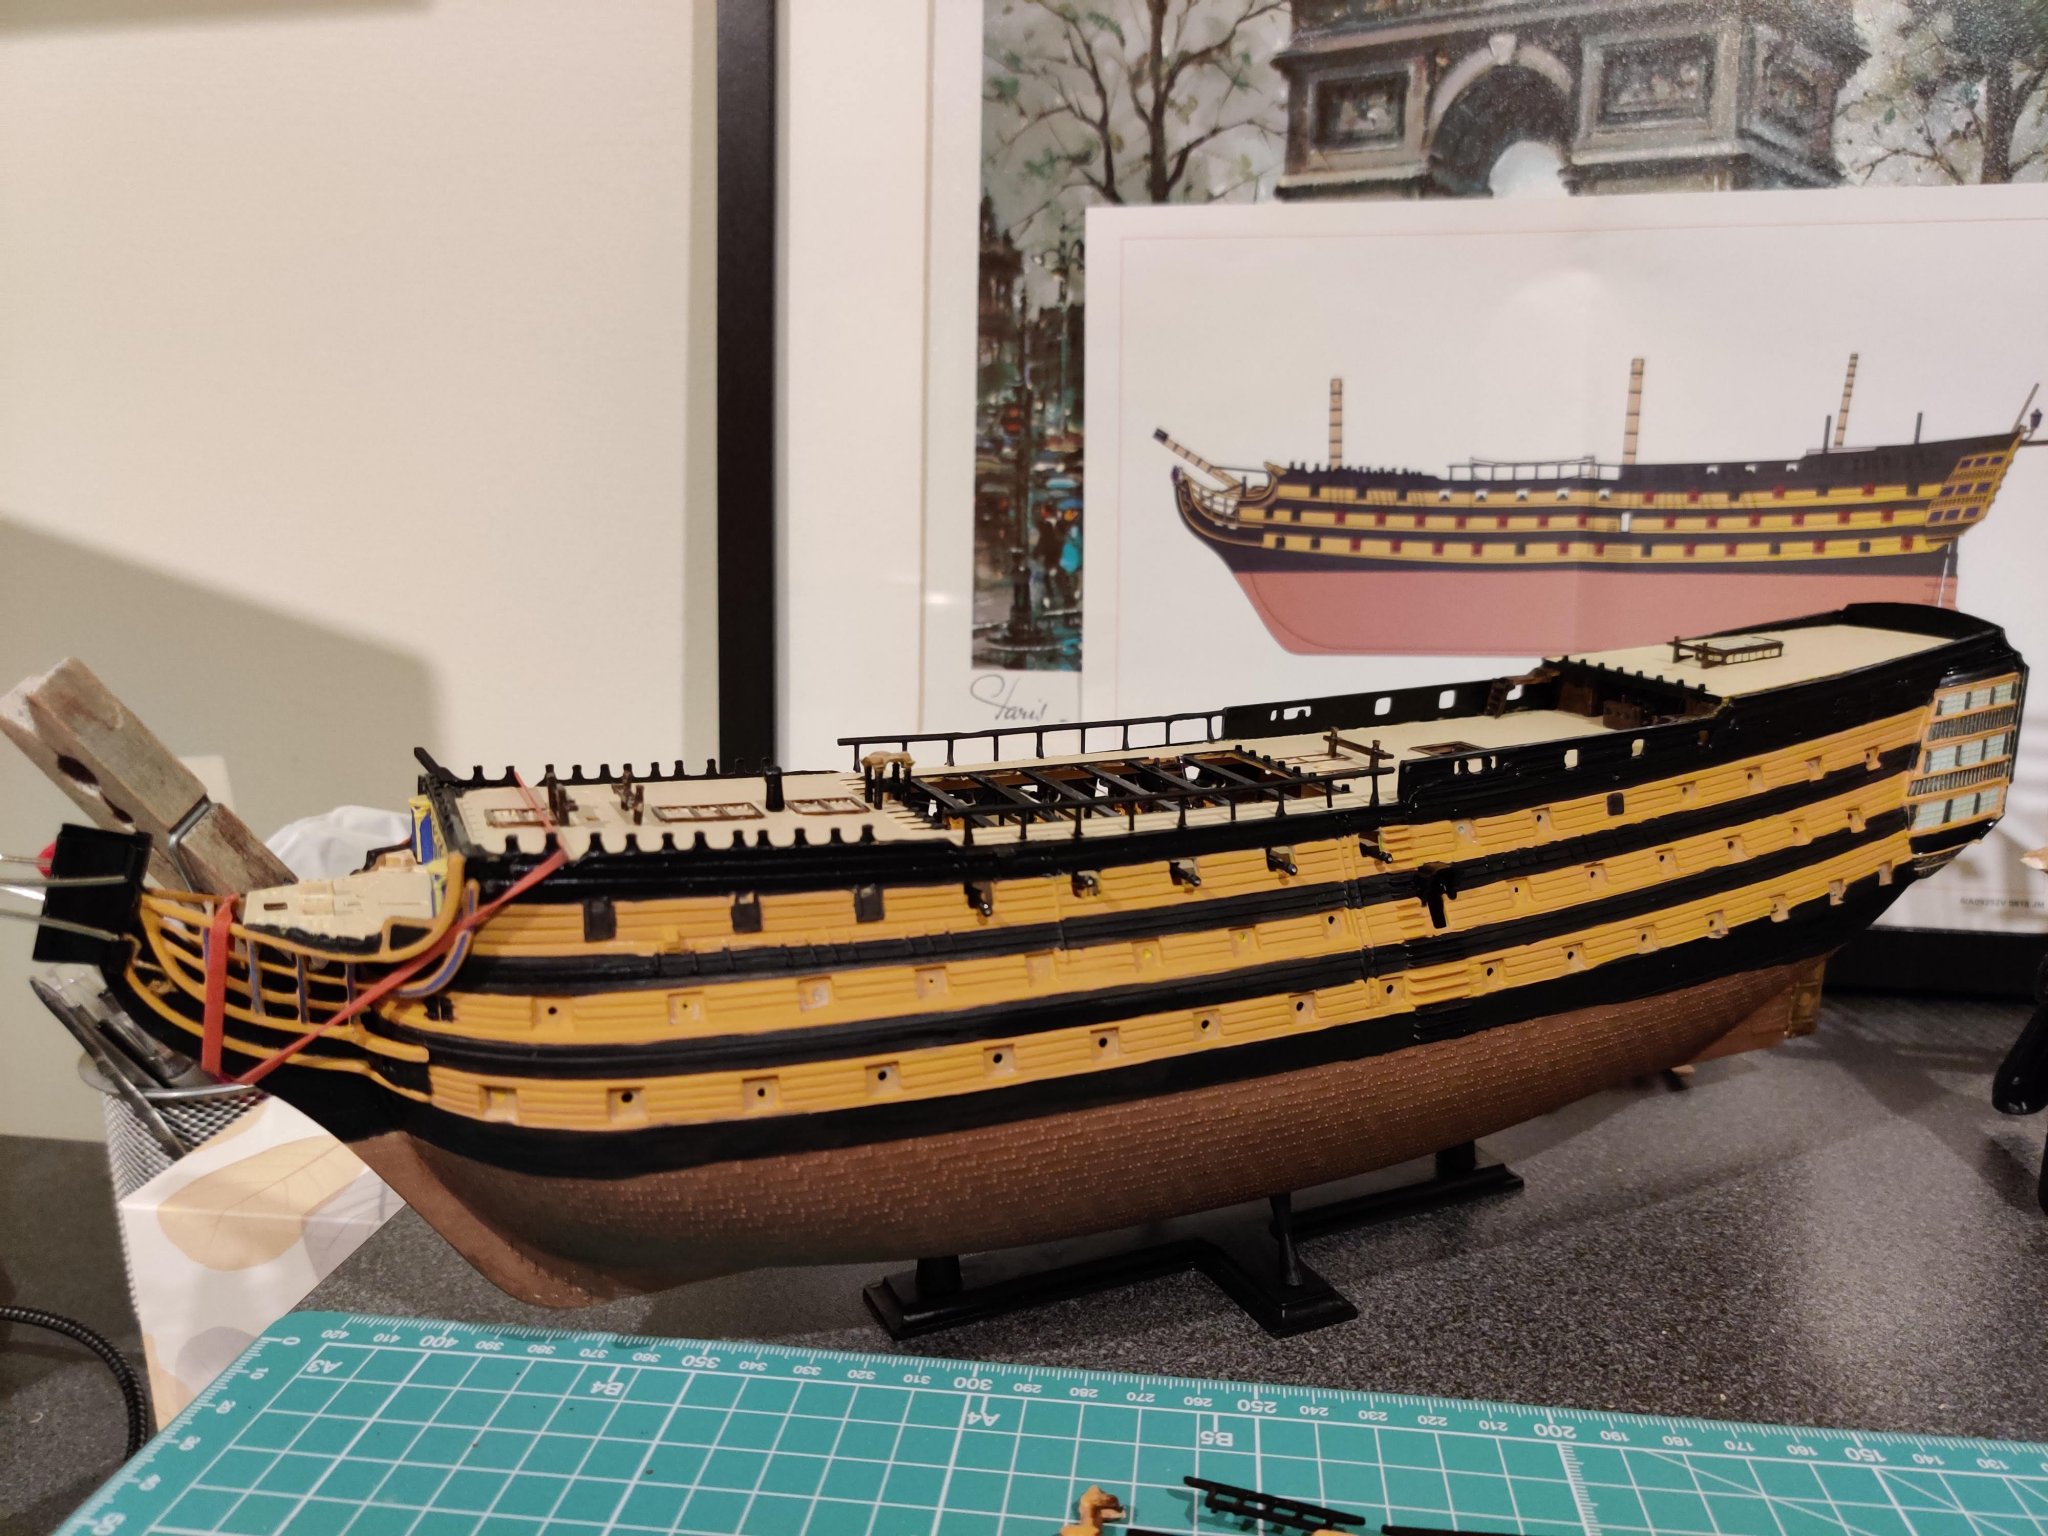
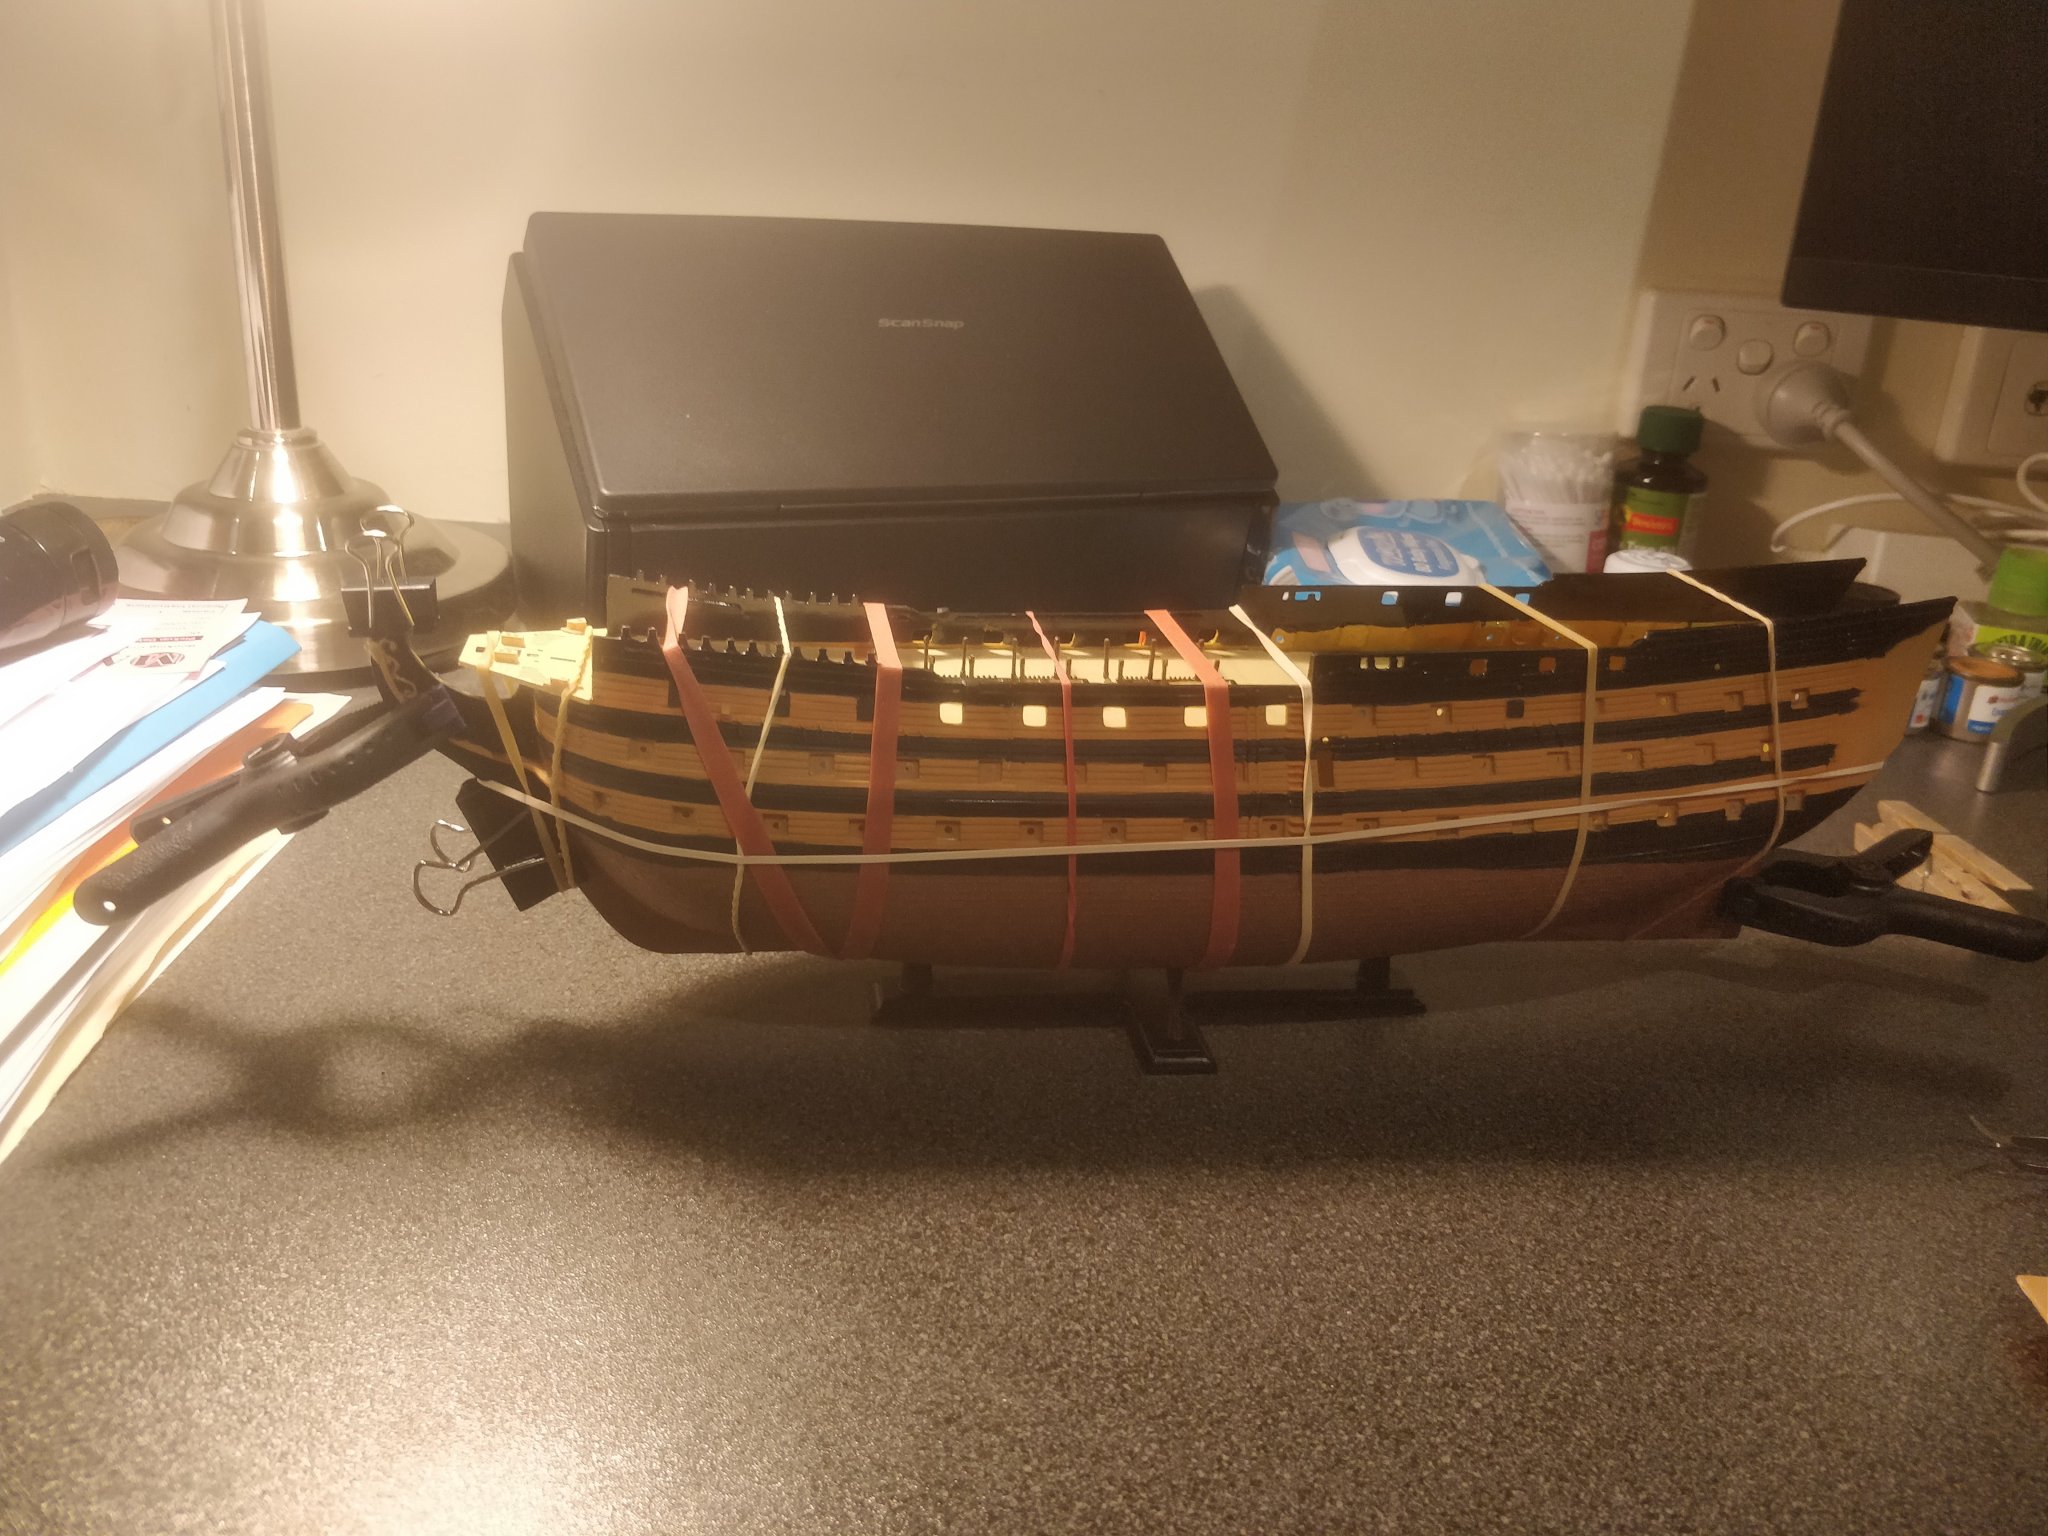
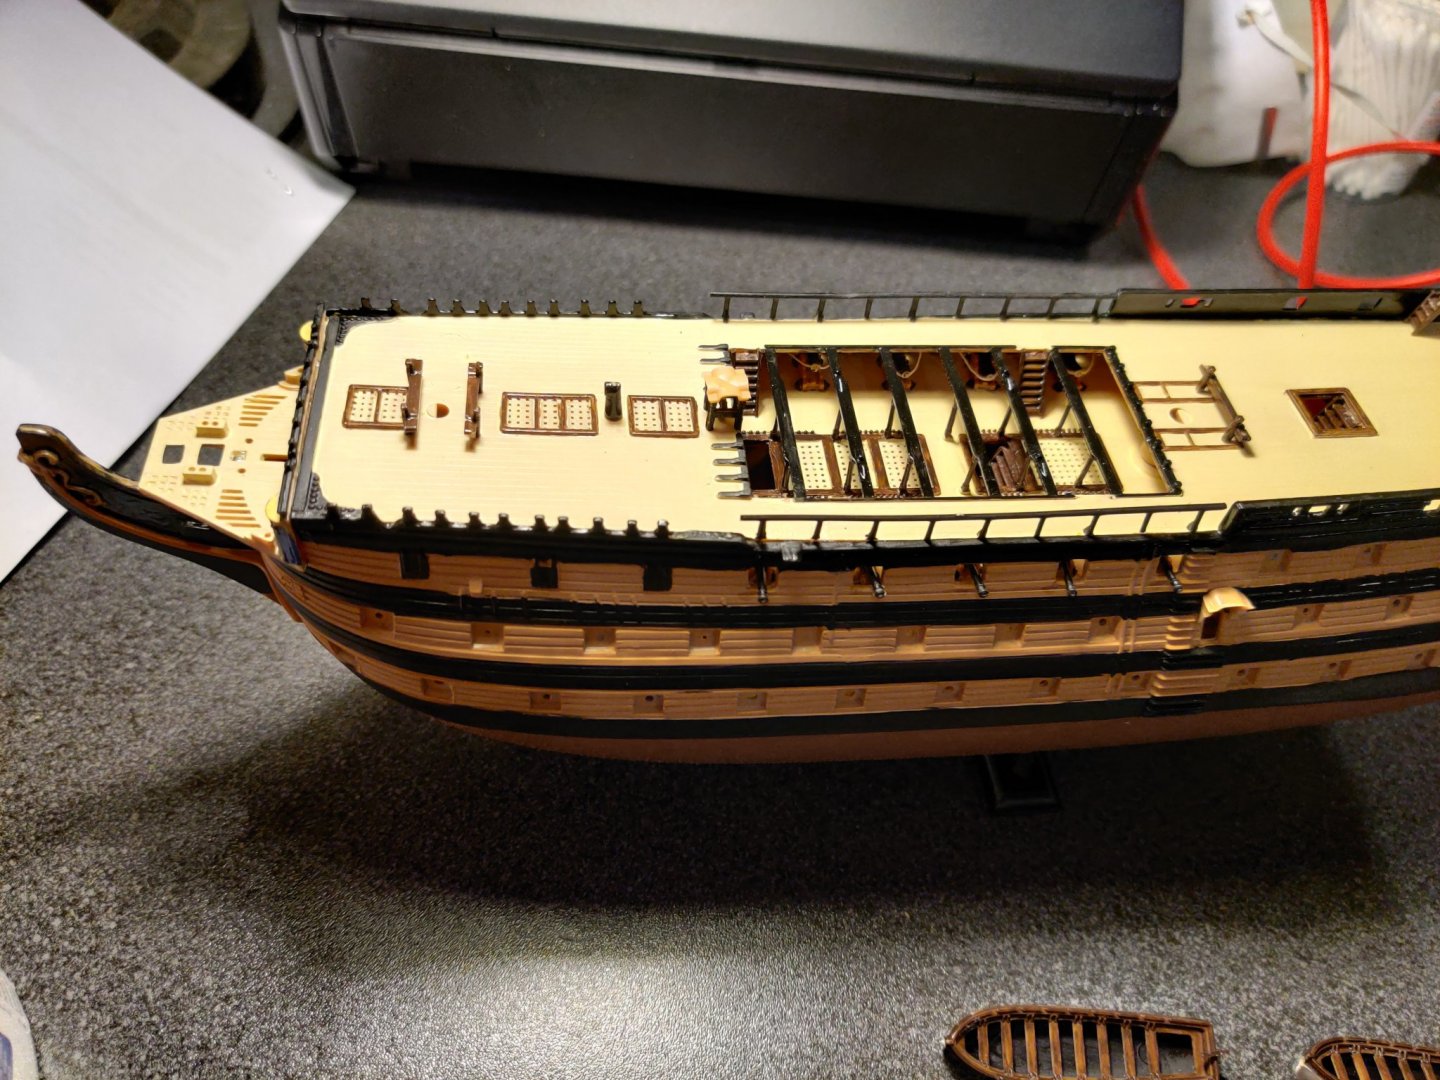
Making some progress with the build, ship is starting to take shape, but I realise I am barely halfway there... Made many mistakes and this is what I have taken out of the experience so far: 1. Definitely should have glued the ship together instead of painting them first. 2. The fit on this ship isn't perfect, was frustrating getting the decks to align and stay in position while the glue was setting. Luckily I invested in some clamps and rubber bands. The stern didn't fit properly as well, so I may have to cover up the gaps with putty. 3. Lucky I rigged the below deck cannons as I have lost count of the number of times they were knocked off position. I will look to do the same for the upper deck cannons, but maybe do a better job of it this time. Some minor touch ups to be done later, for example the copper roof over the ship's bell, fingerprint marks etc. Found this site for accessories for the Airfix Victory 1/180: https://www.hismodel.com/articles-category-38 I'm planning to get my hands on some blocks, boat hooks, eyelets, deadeyes, proper thread etc. but will have to carefully figure out what sizes to get in order to maintain the scale of the ship. Also not keen on glueing rope to the ship's hull after my experience with rigging the cannons before.

-
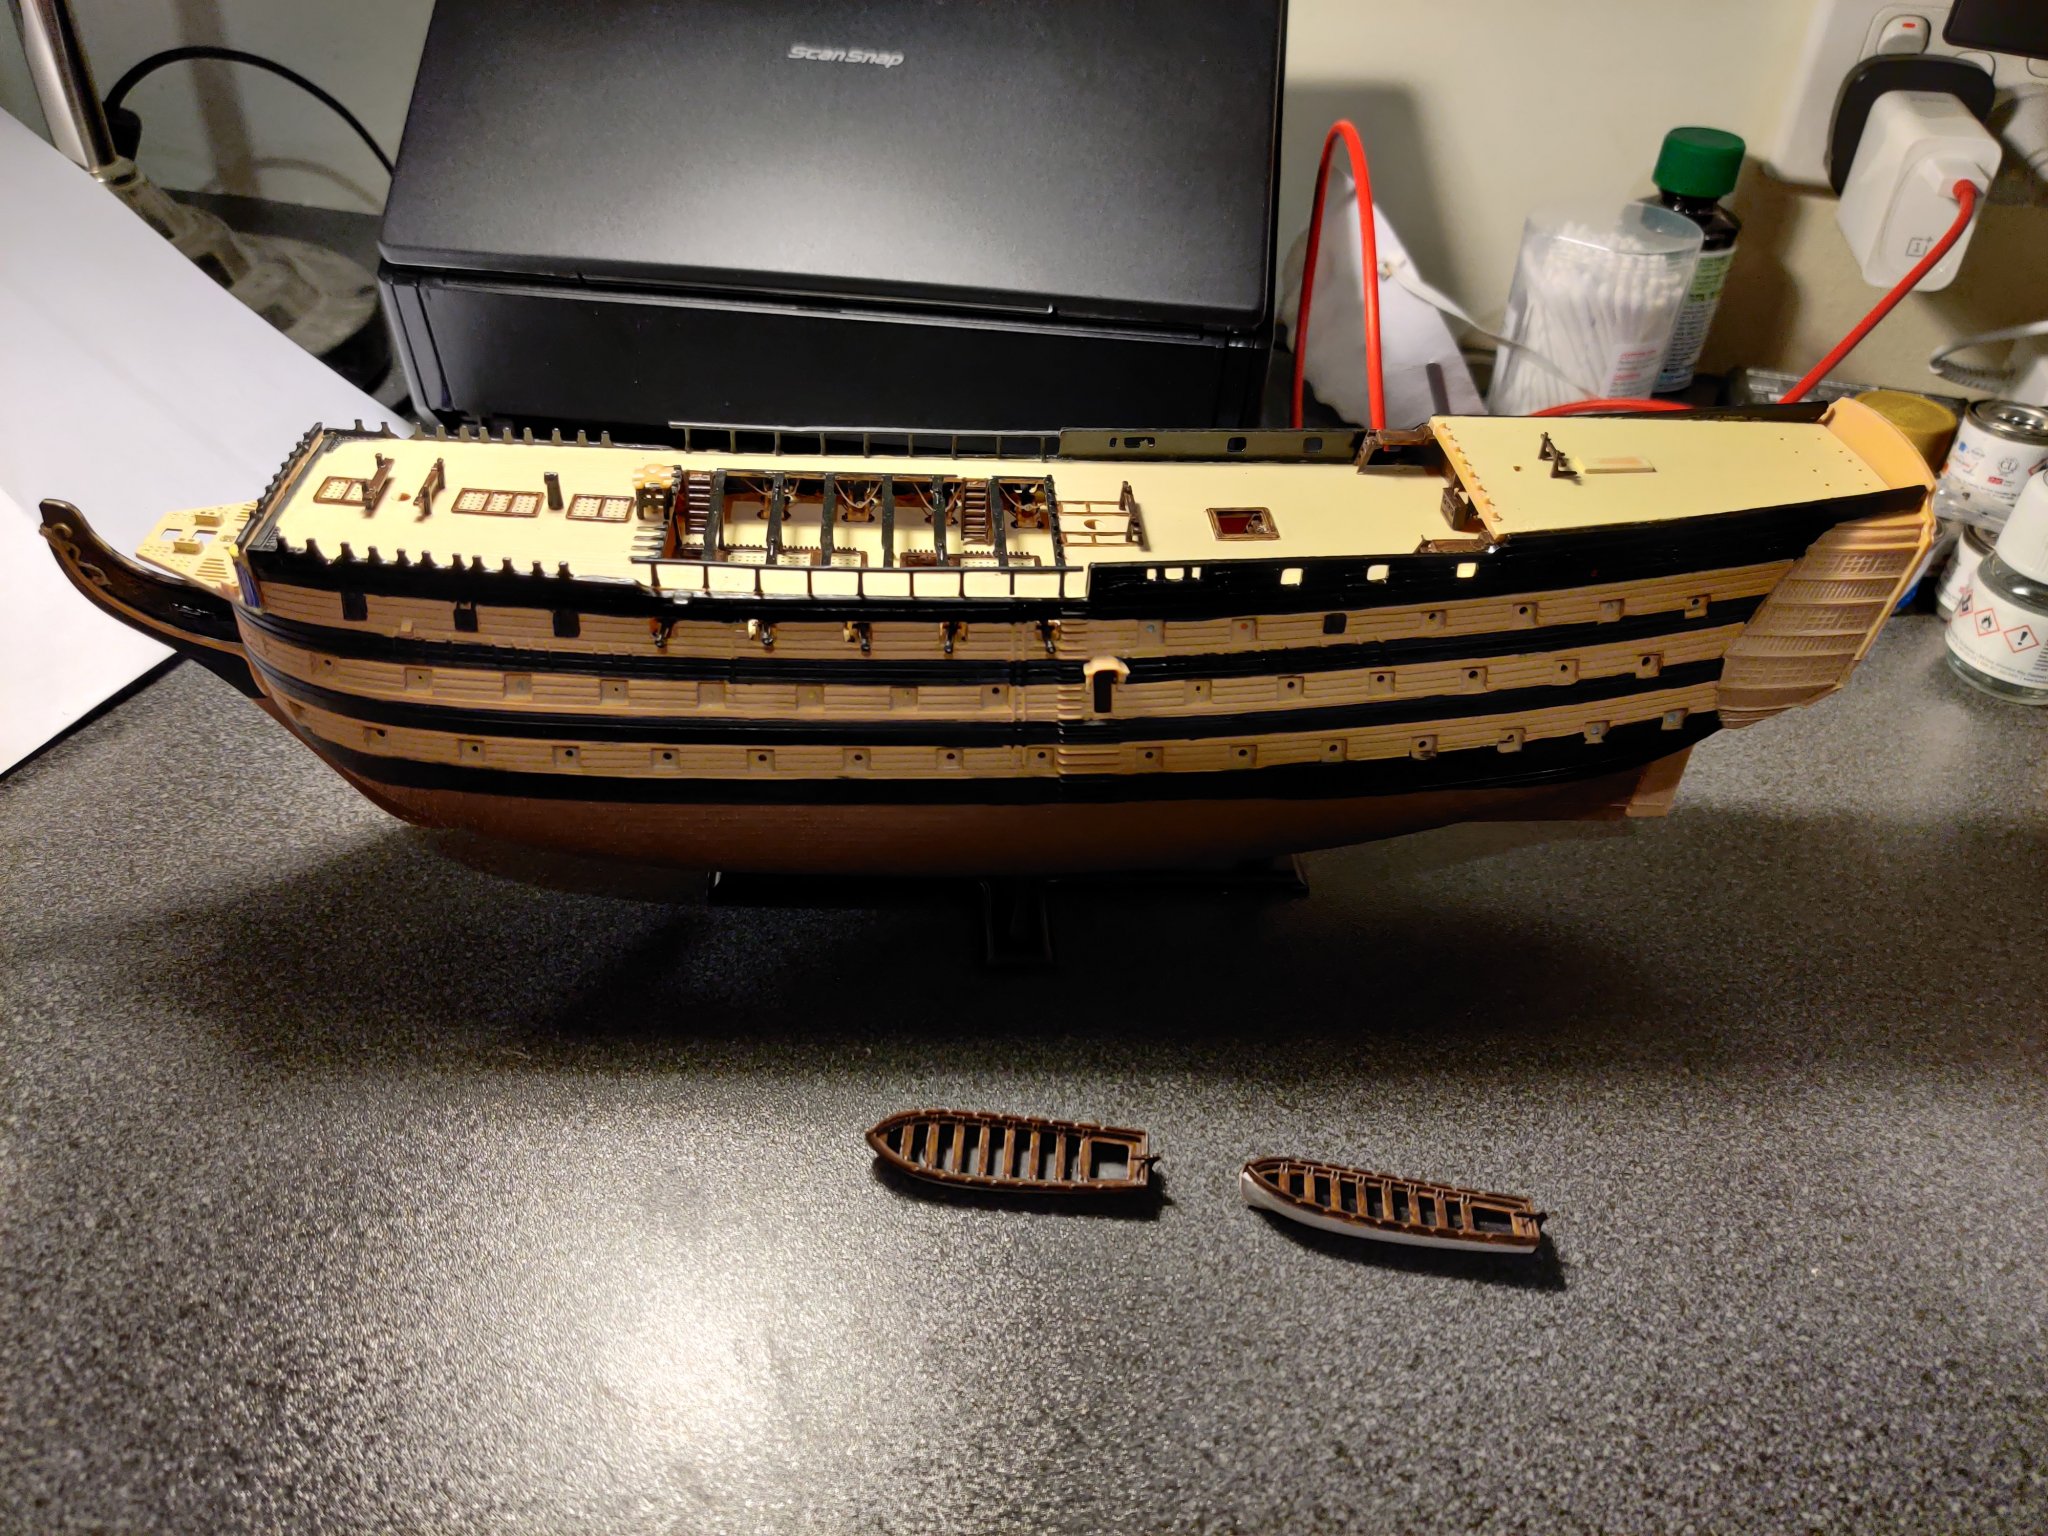
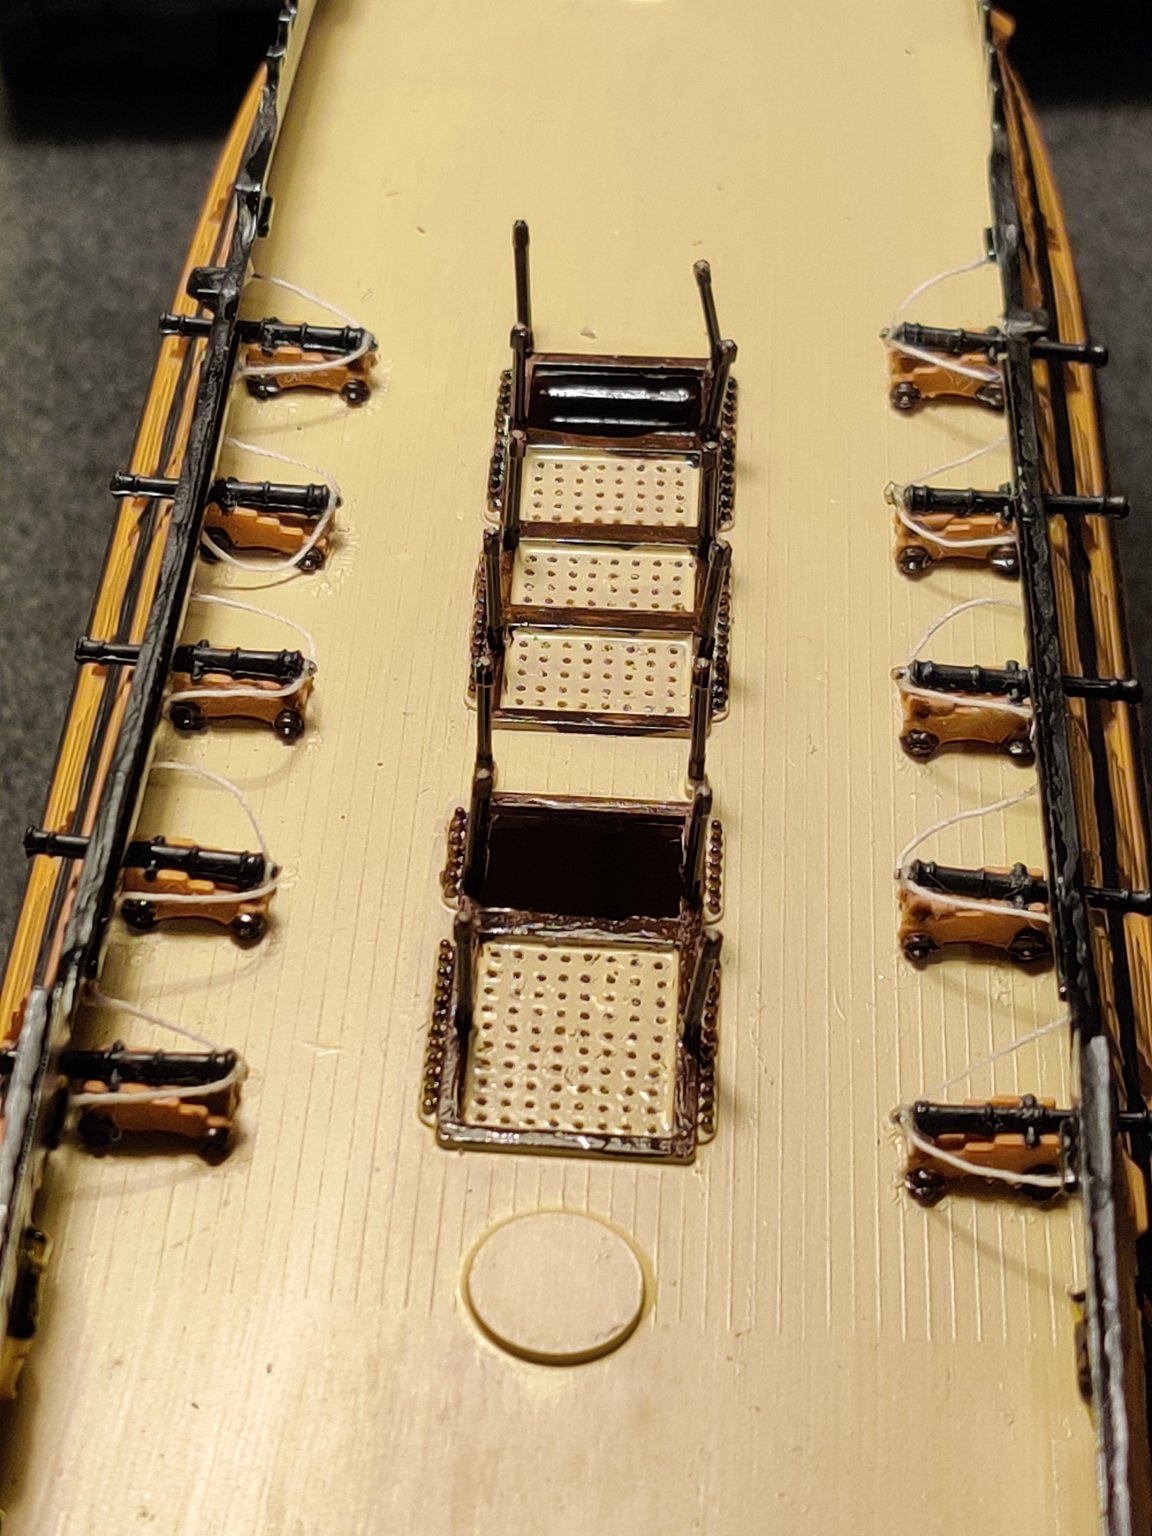
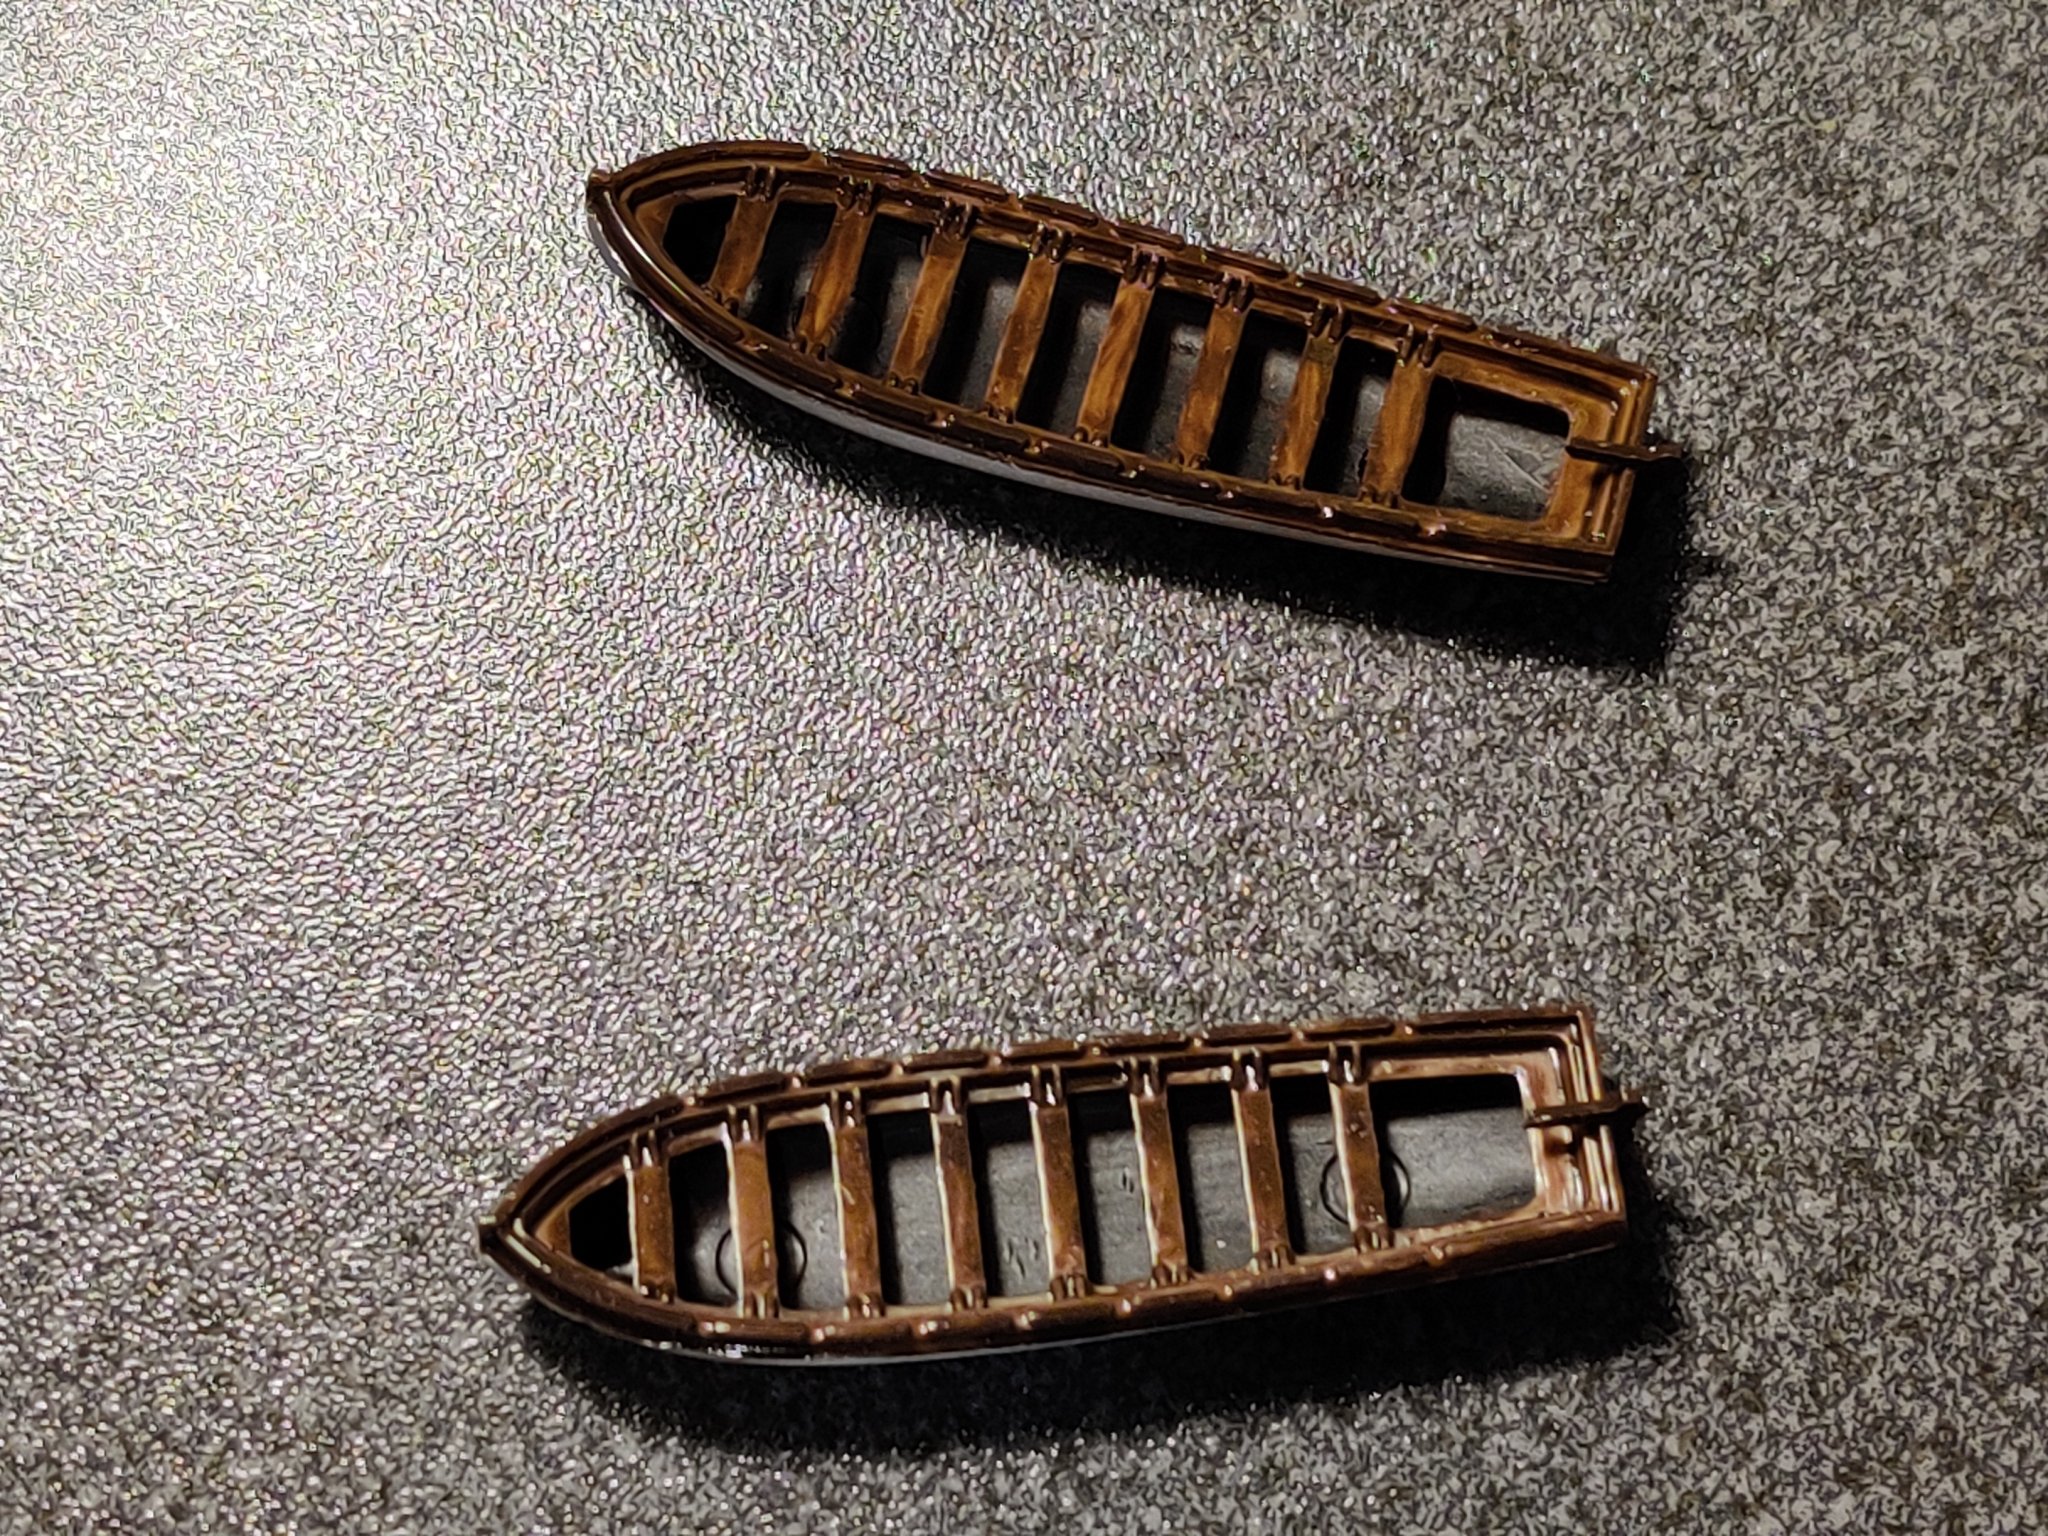
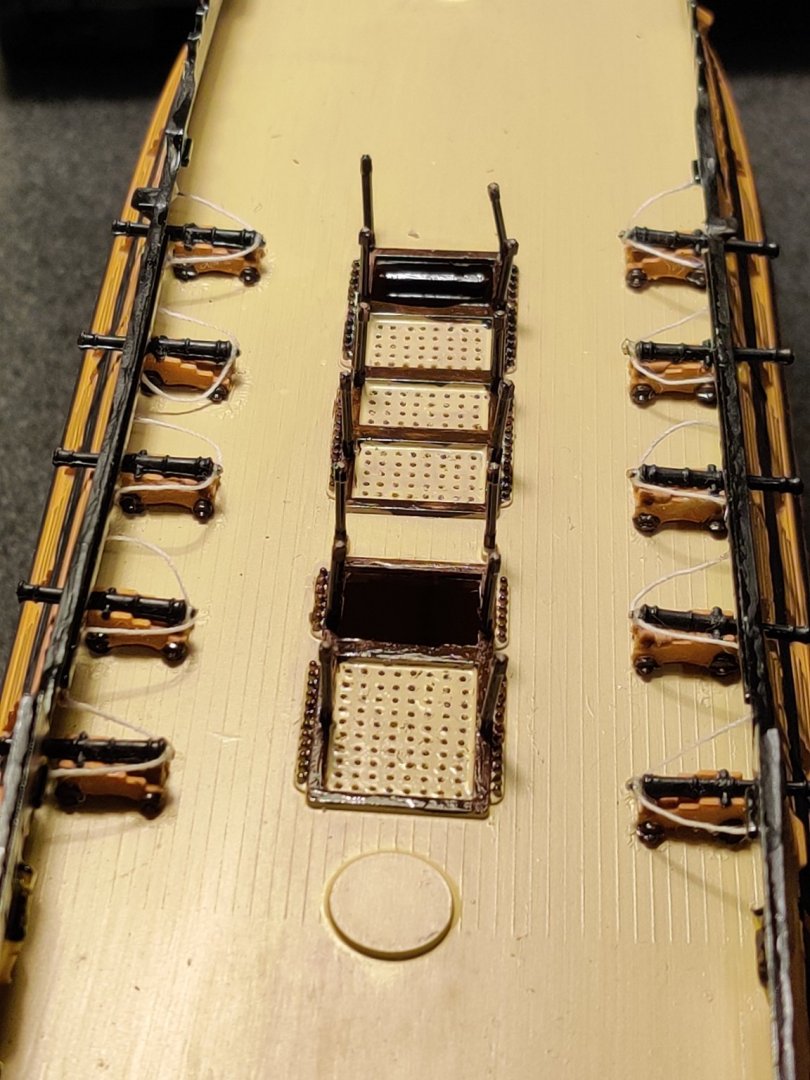
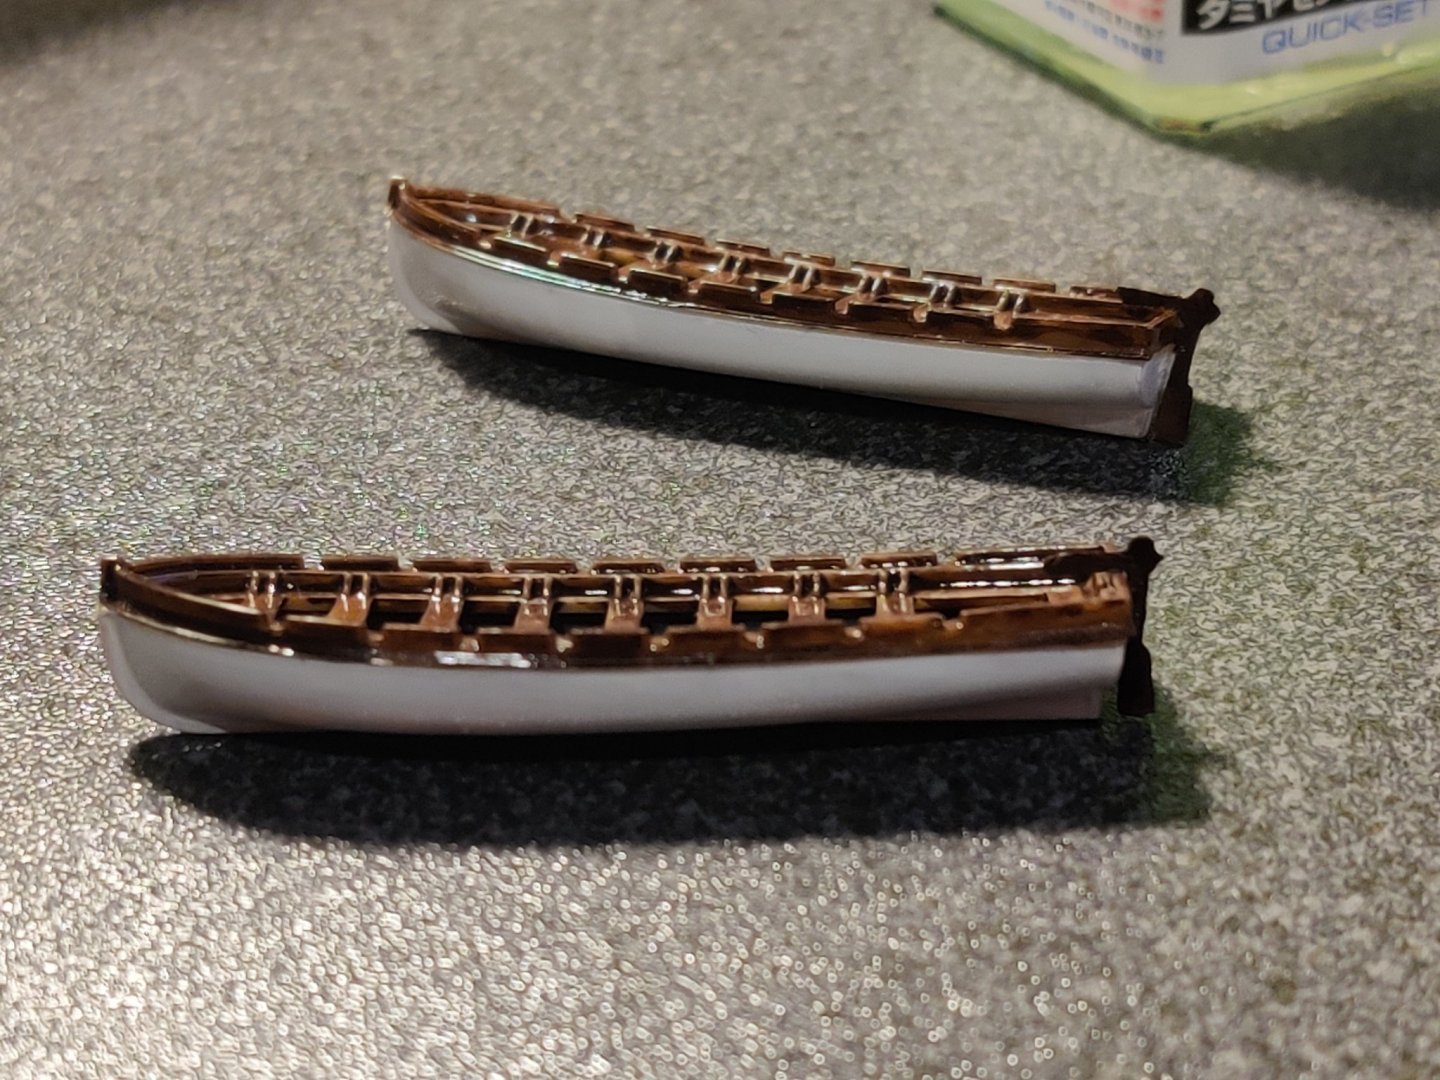
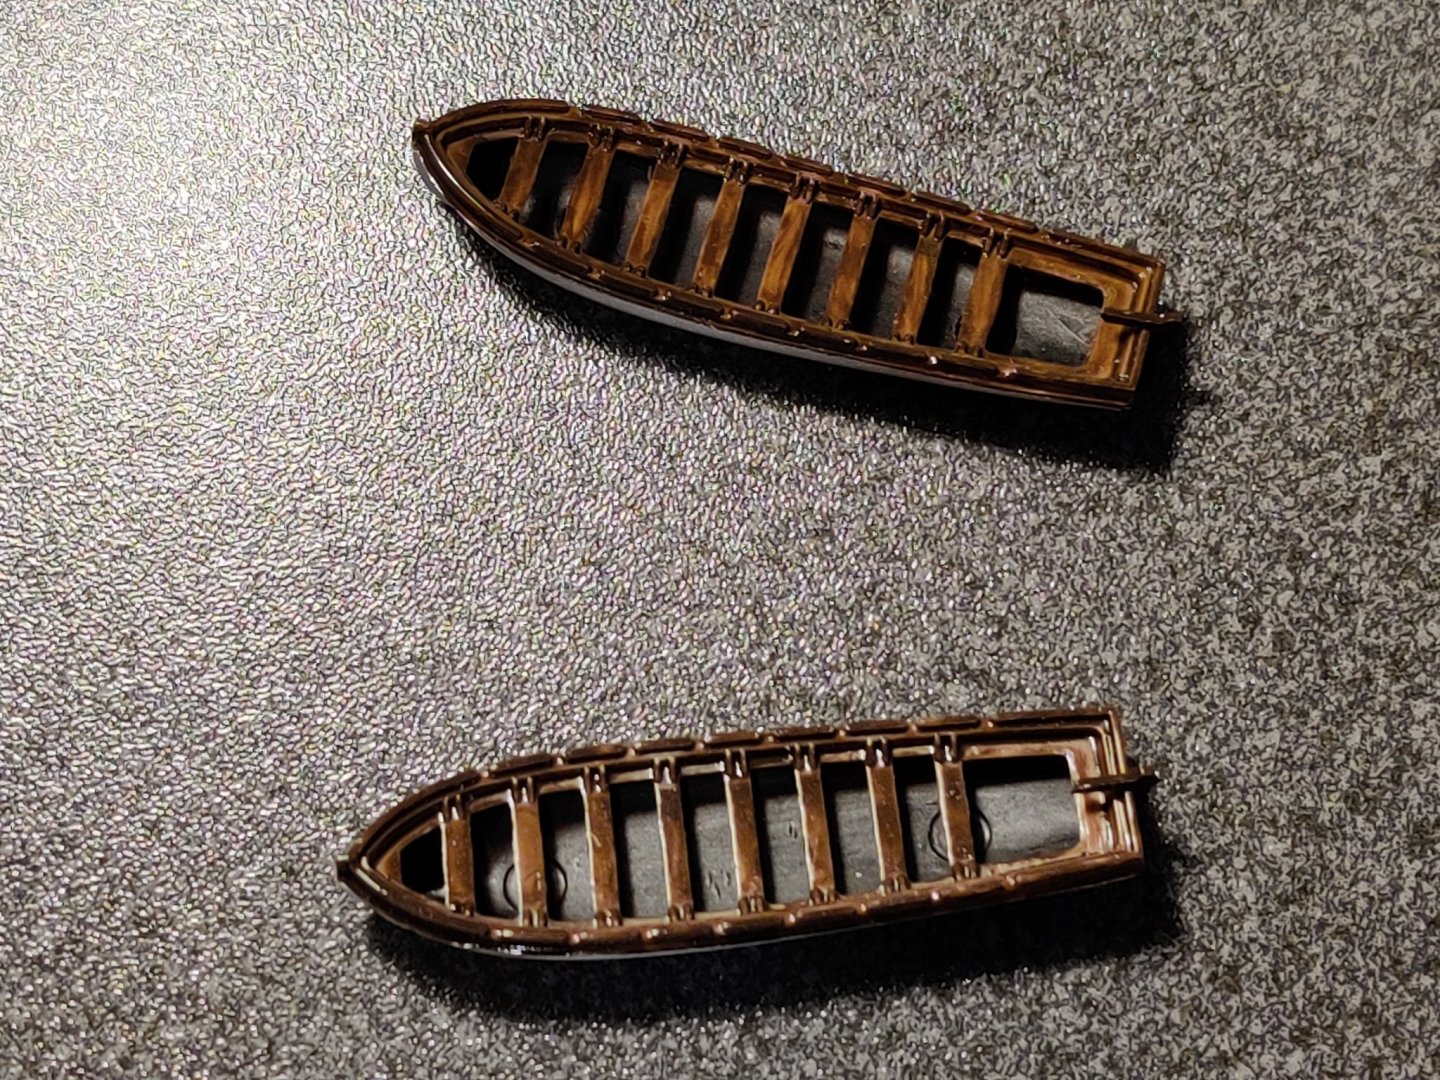
Cannon rigging done for the lower deck. Due to the small scale and my fat fingers, I didn't attempt the side tackles and did a simple representation instead based on my limited ability. After the first attempt at glueing the "rope" to the hull, I worked out it was better to drill a little hole into the plastic, dab a tiny amount of Super 'phatic glue onto the hole, wait for it to dry a little, then jam the rope knot into the hole and pray. The rope tended to stick on to my forceps in preference to the hull but eventually I persisted and got through all 10 cannons. Will need to touch up the deck paint (as you can see, the Tamiya extra thin cement melts plastic and enamel paint) around the gun carriages. Notice the deck hasn't adhered to the hull properly (as mentioned earlier), hopefully won't be a problem when I add on the upper deck later. Broke a few deck posts in the process, but nothing Tamiya cement can't fix... Also had a go at finishing the lifeboats. Again had to drill a little hole to fit the rudder.

-
I think you mean how much fun I'll have rigging them up Blue Ensign? (Am I going to regret saying this...?) As always thanks for sharing your tips, will give it a whirl I think and share my progress (or disaster story) later haha.
-
Slow progress, painted the gun carriages and plan to glue them to the lower deck first before the upper deck is installed which I thought might be easier to manage. Would like to rig the cannons for added detail, but have heard it may not be worth the effort for a ship of this scale ... Would anyone kindly share some advice on this?
-
Thank you everyone for your constructive comments and input. Time to get my hands on a respirator mask (or continue curing my throat with an Old Fashioned) and fine pin files from the local hobby store. Will dry brush the stern windows as recommended too. Notice the stern parts doesn't fit easily onto the hull and will research filling it up with putty... any advice or experience to share with me on this step? Pardon my ignorance. Managed to find a copy of HMS Victory(Classic Ships No 1: Their History and how to model them) on world of books for a steal, will have a good read of it before getting too far ahead of myself with the build! Thank you Blue Ensign (btw I had a look at some of your builds and was blown away by your skill ... Was initially going to go sail-less as the plastic sails in the kit didn't really appeal to me, might attempt your sail making technique when I get to that challenge) Cheers,
-
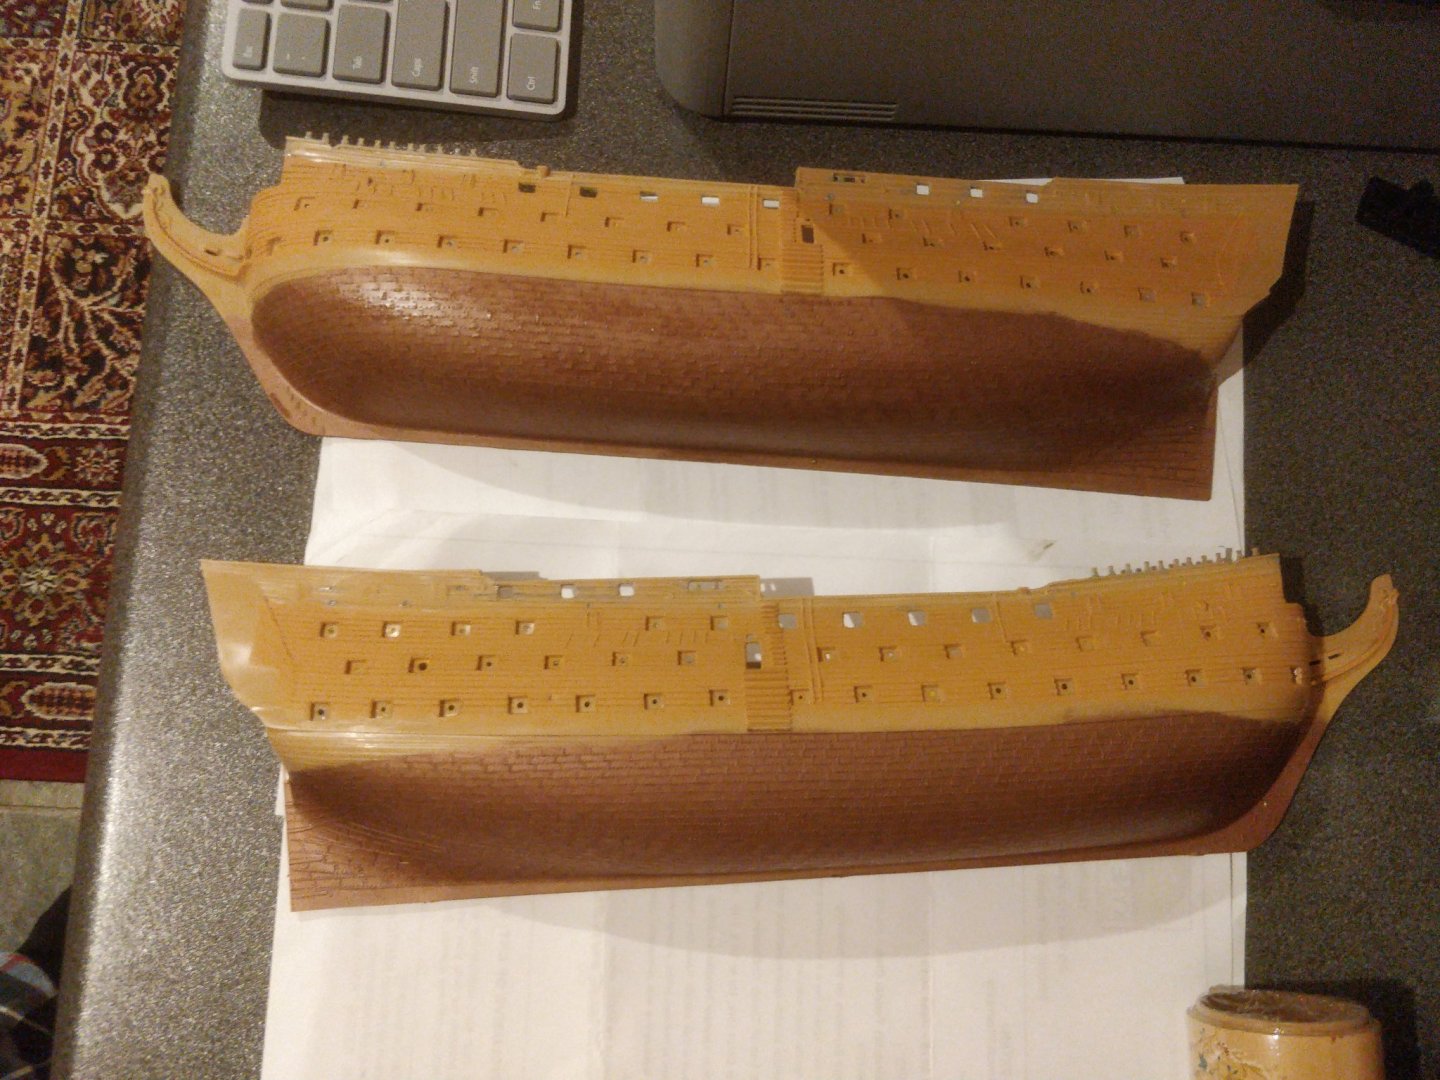
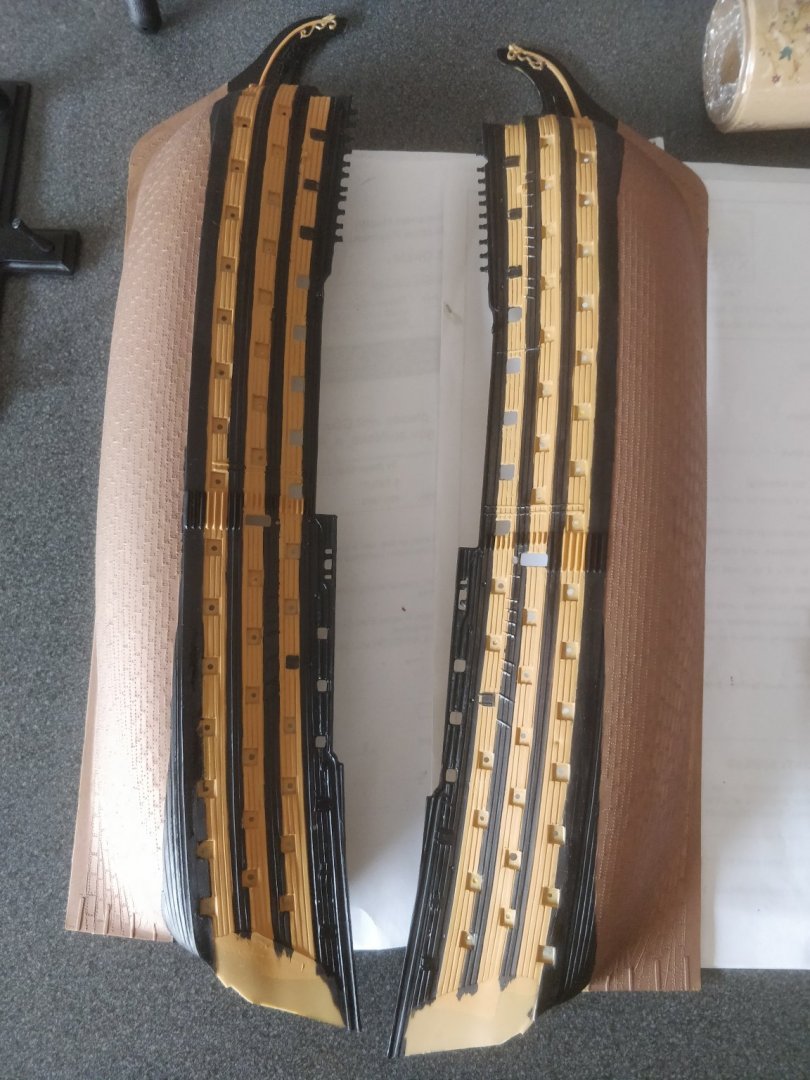
This is my first attempt at model ship building... I plan to move on to wooden ships but thought I'd try my hand at a plastic ship first to ease into the hobby. The kit requires quite a bit of time spent removing the excess flashing. I tried my hand at acrylic paints initially but decided to stick to Humbrol enamel paints (hand painted) as recommended in the manual. Instead of Humbrol 81 Matt Pale Yellow, I opted for 63 Sand Matt as I felt it didn't look as bright and had a more muted tone. Got a sore throat while painting the hull and wondered if it was due to the solvents in the enamel paint. Cured it with some whiskey but will be sure to wear a face mask moving forward... I painted the sections first before glueing them thinking it would be easier to paint them this way. I used Tamiya Extra Thin Cement to glue the hull and bottom deck to start and noticed some slight dissolving of the enamel paint. Will touch them up later but maybe glueing them first would have been wiser... Glued on the deck posts first but now starting to regret it as I foresee some issues aligning the upper deck above this (could knock them over). Hopefully these decisions won't come back to bite my behind later in the build. I am however enjoying the build process immensely. As a total newbie, I have a few questions to ask: 1. I used a fine handheld drill to reopen the holes in the hatches but in the process, the holes became round and lost its original square shape. Is there a better way to do this? 2. Any advice on painting the stern? Was thinking of painting the lighter colours on first then filling the windows with either a light blue or grey colour. Or is it better to do the opposite and dry brush the window frames with yellow? Thanks again for sharing your thoughts. Cheers,