.jpeg.9d9bab3fa66f4349cae83f4155046894.jpeg)
rkwz
-
Posts
241 -
Joined
-
Last visited
Content Type
Profiles
Forums
Gallery
Events
Everything posted by rkwz
-
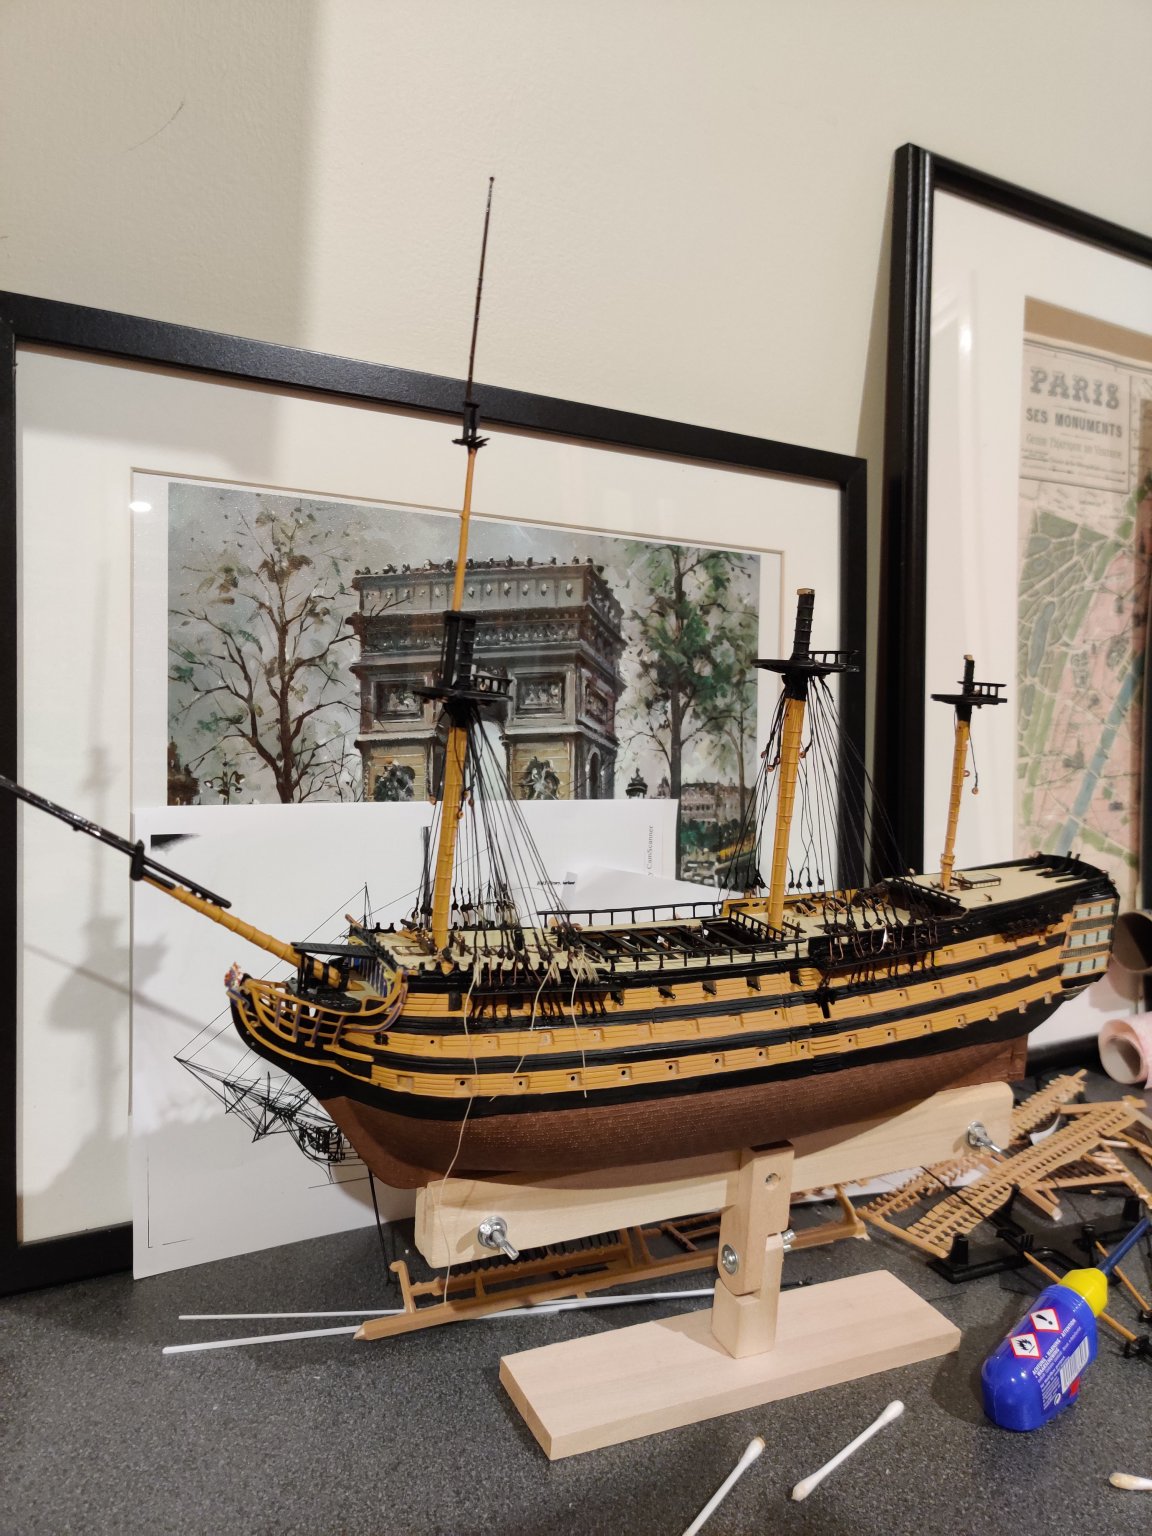
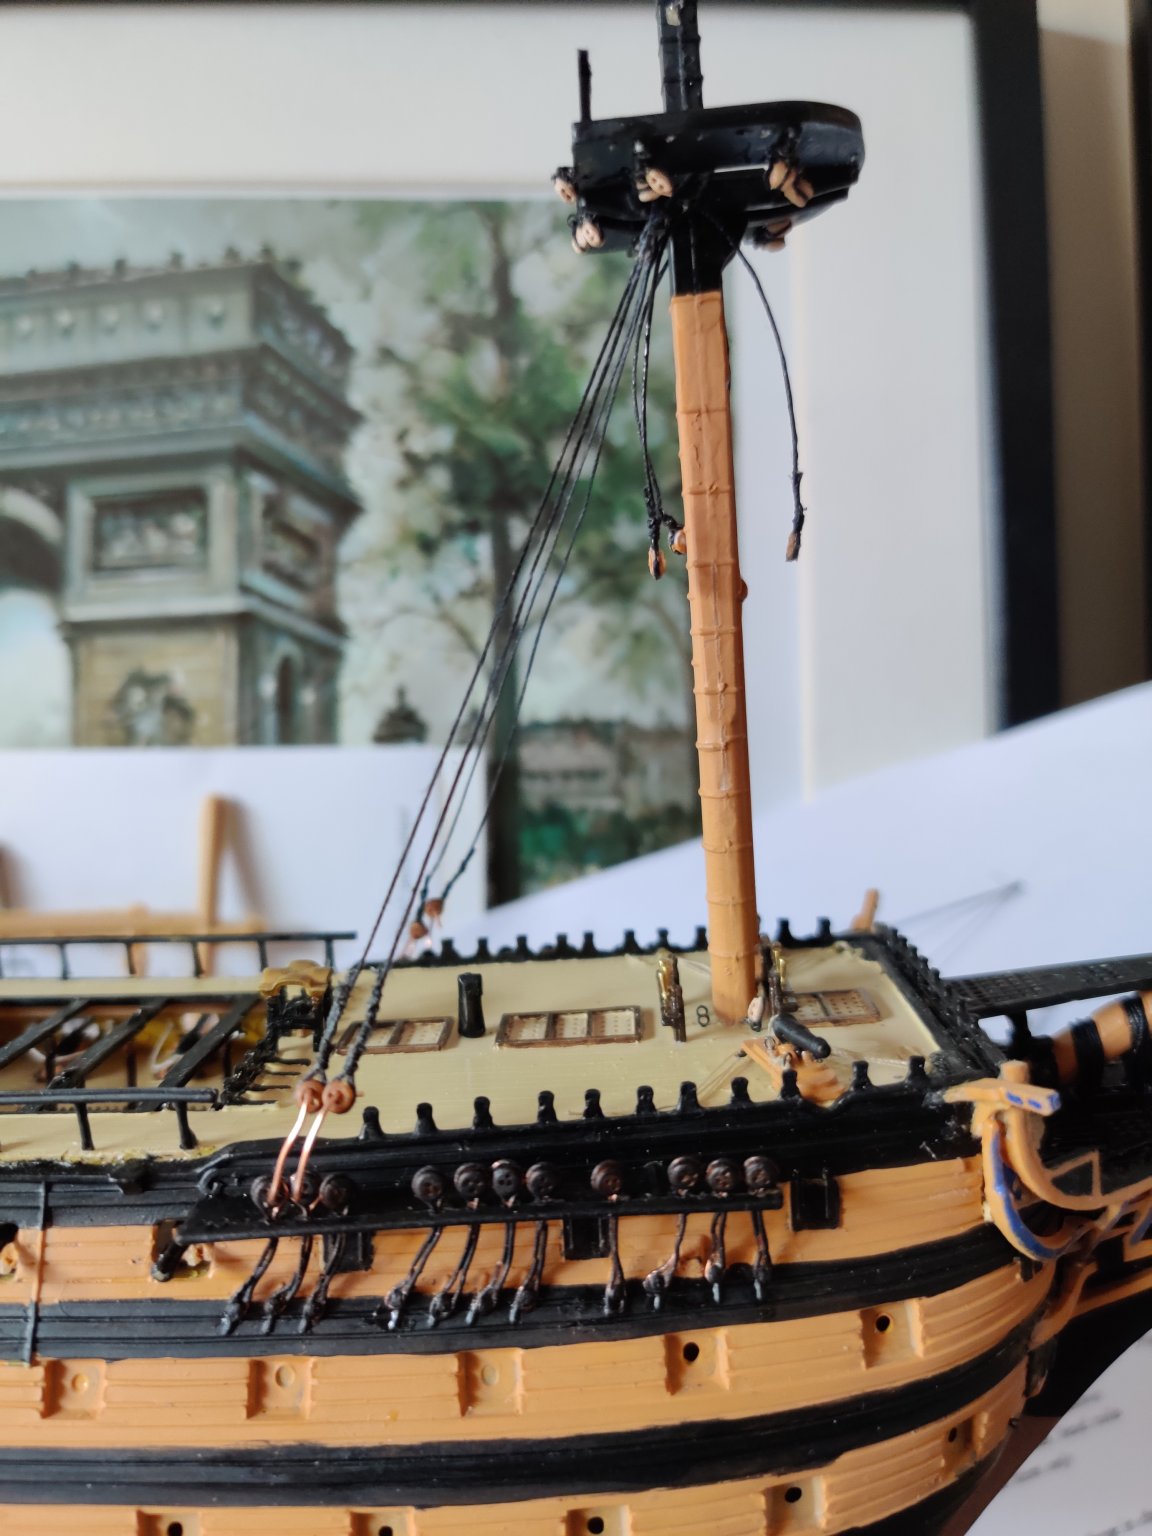
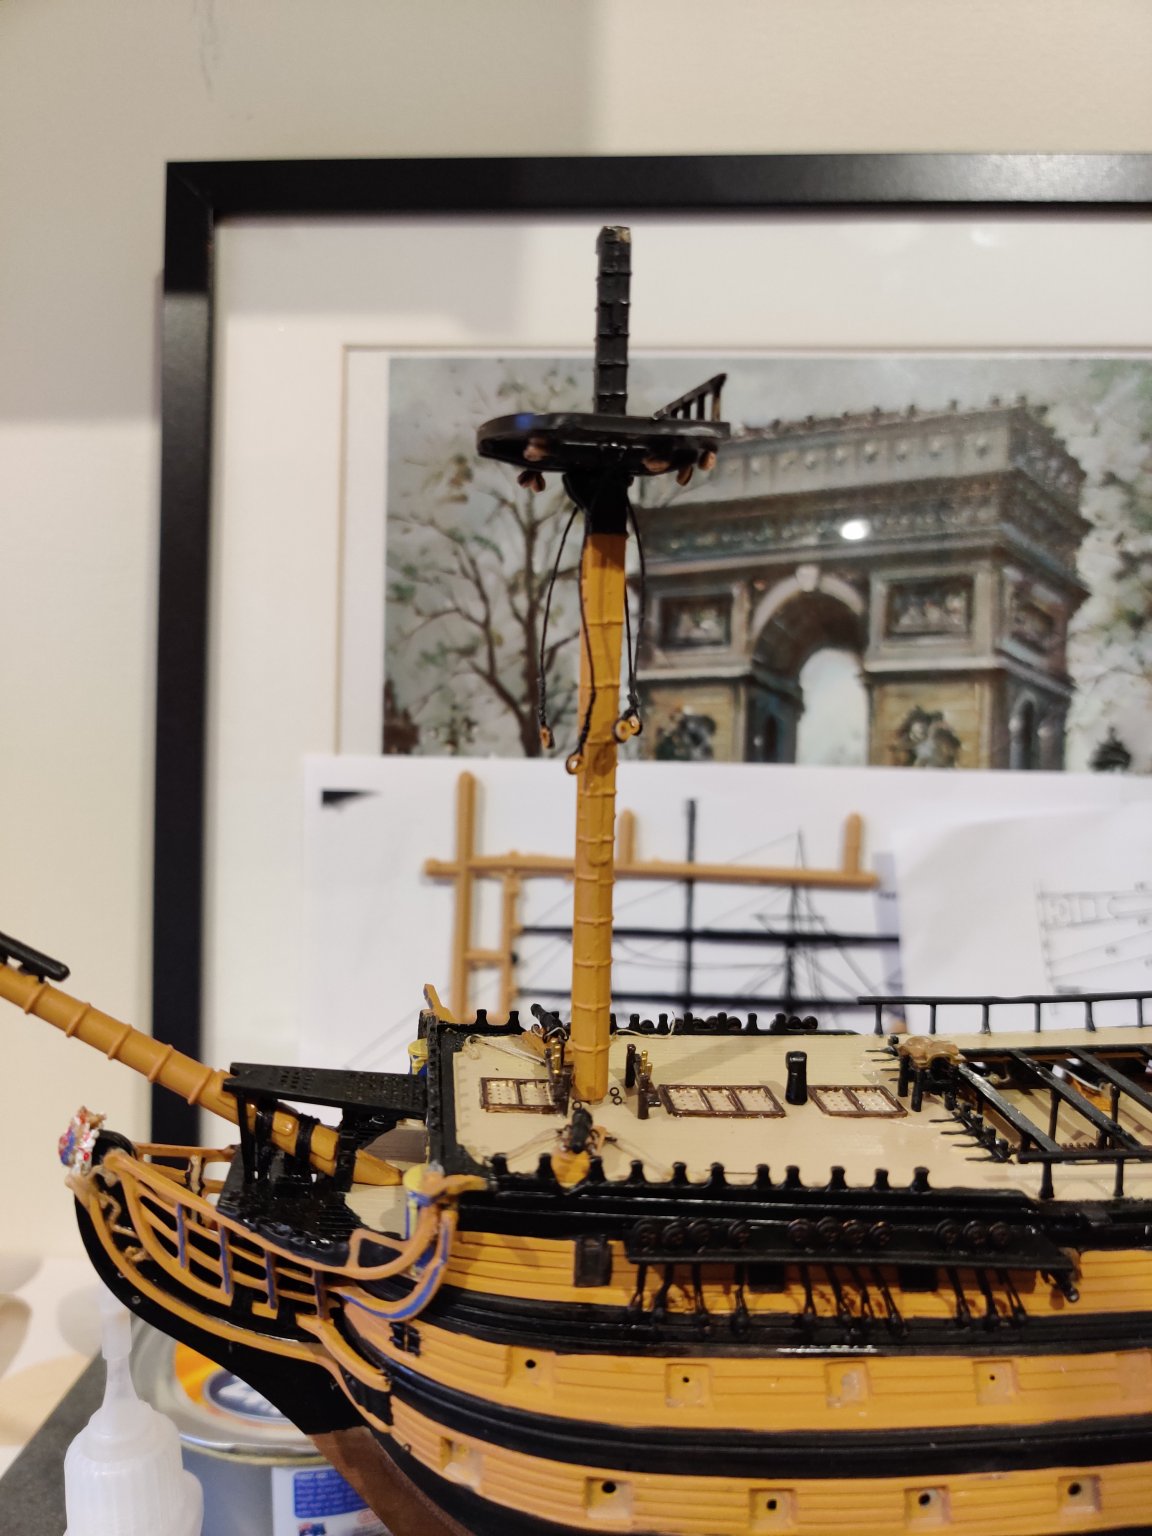
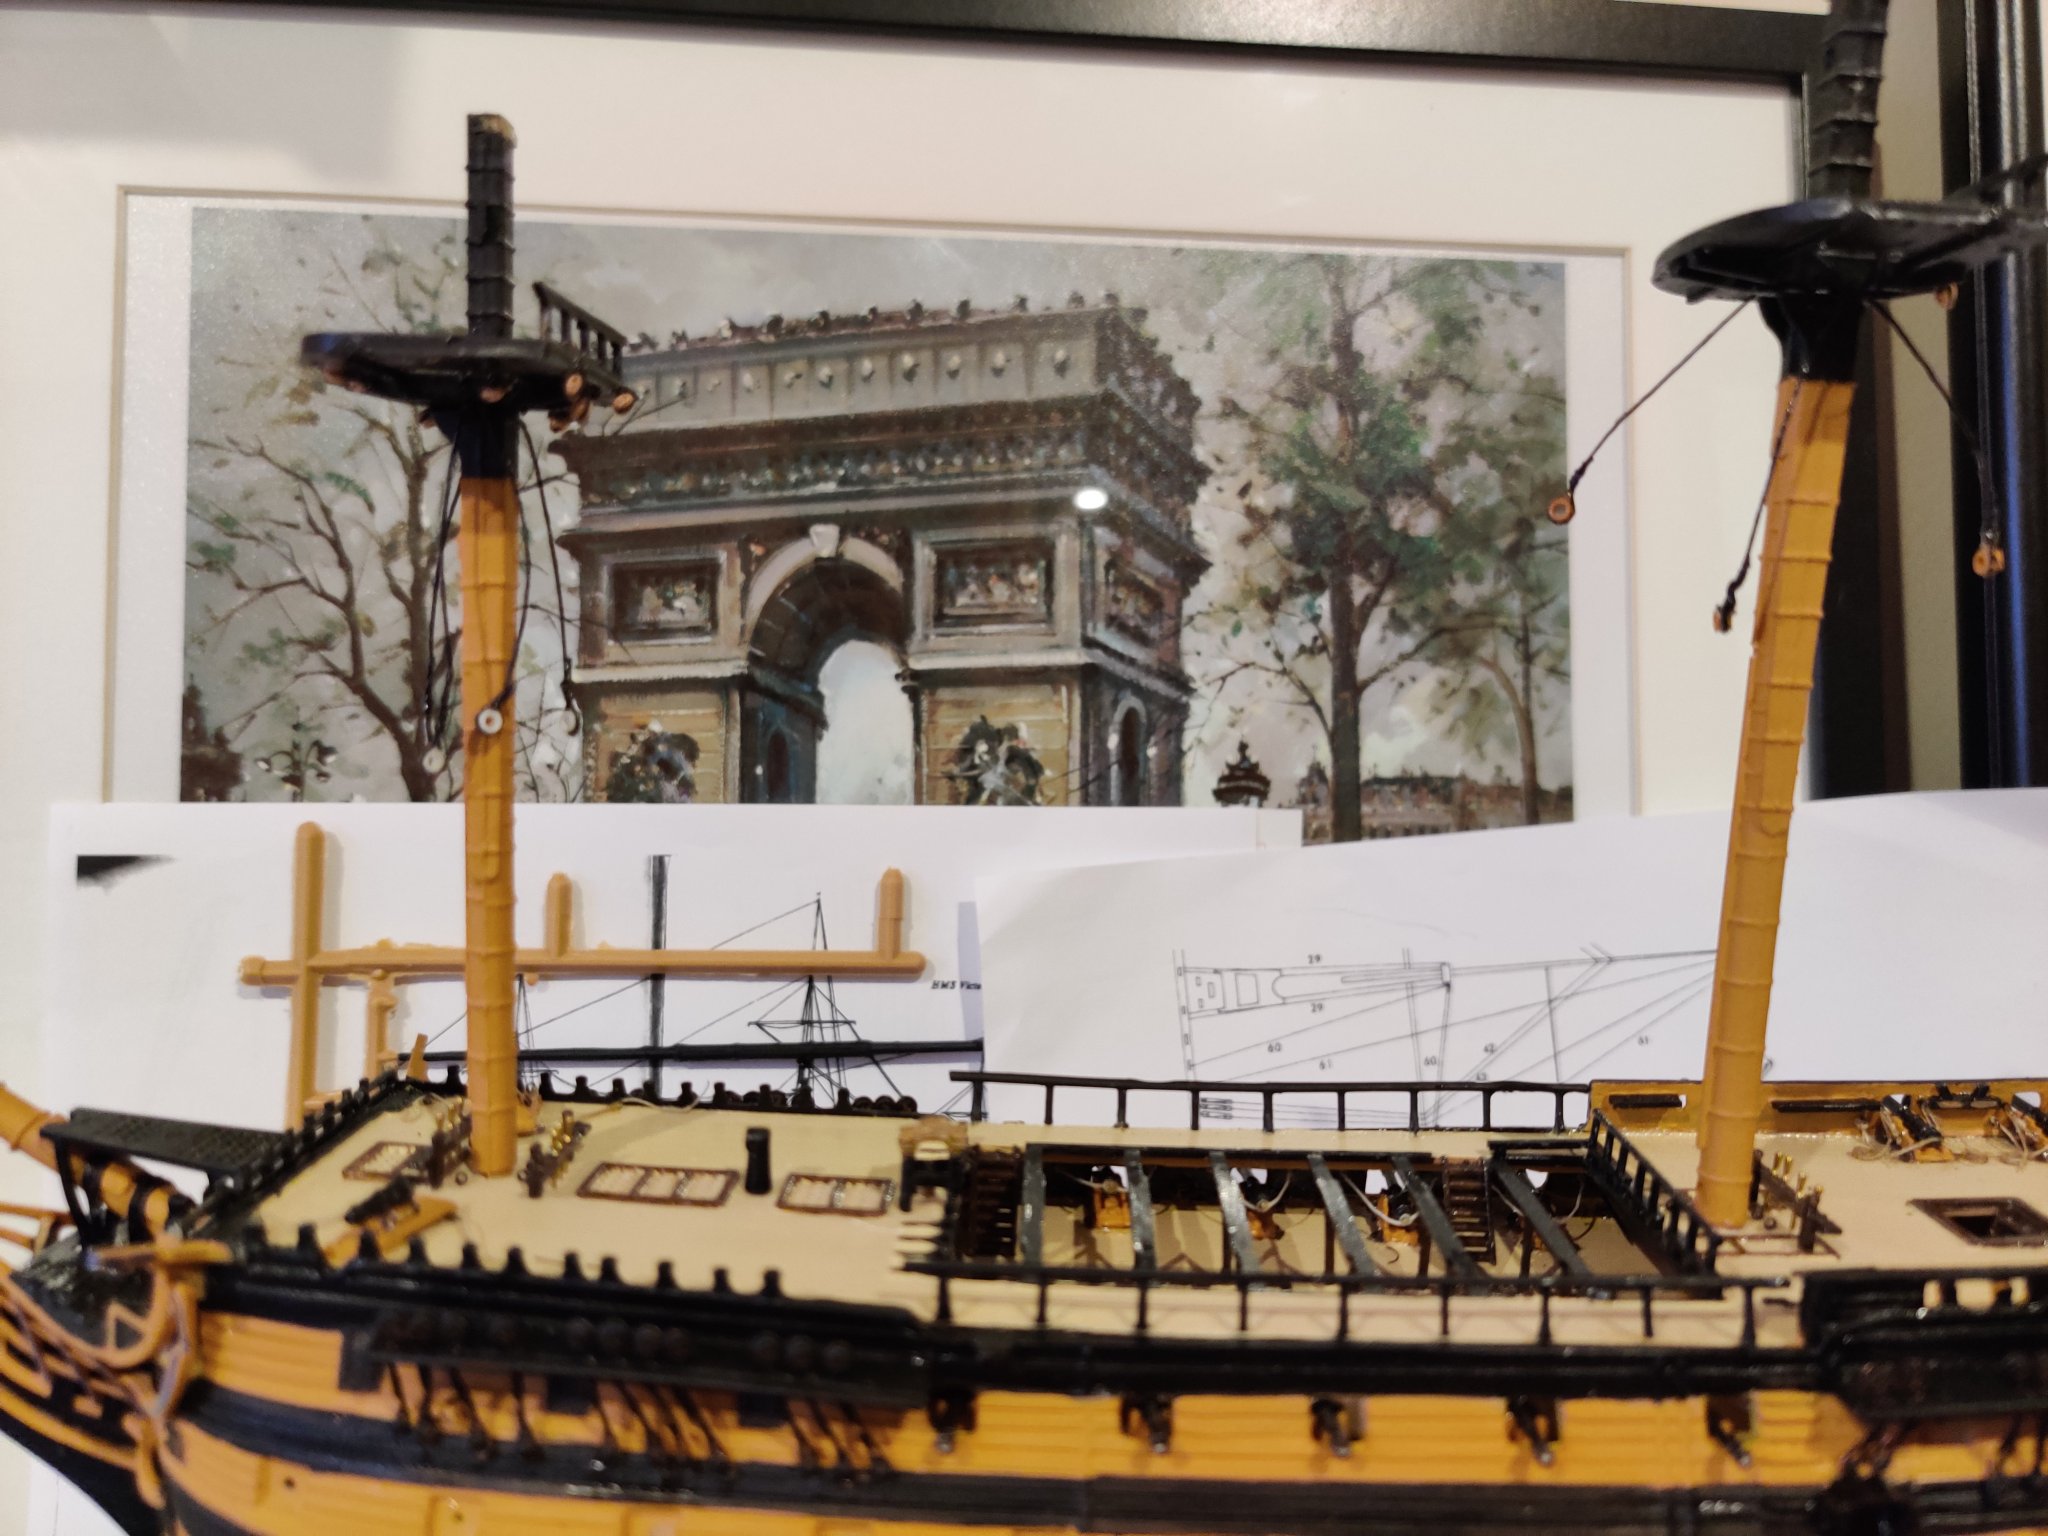
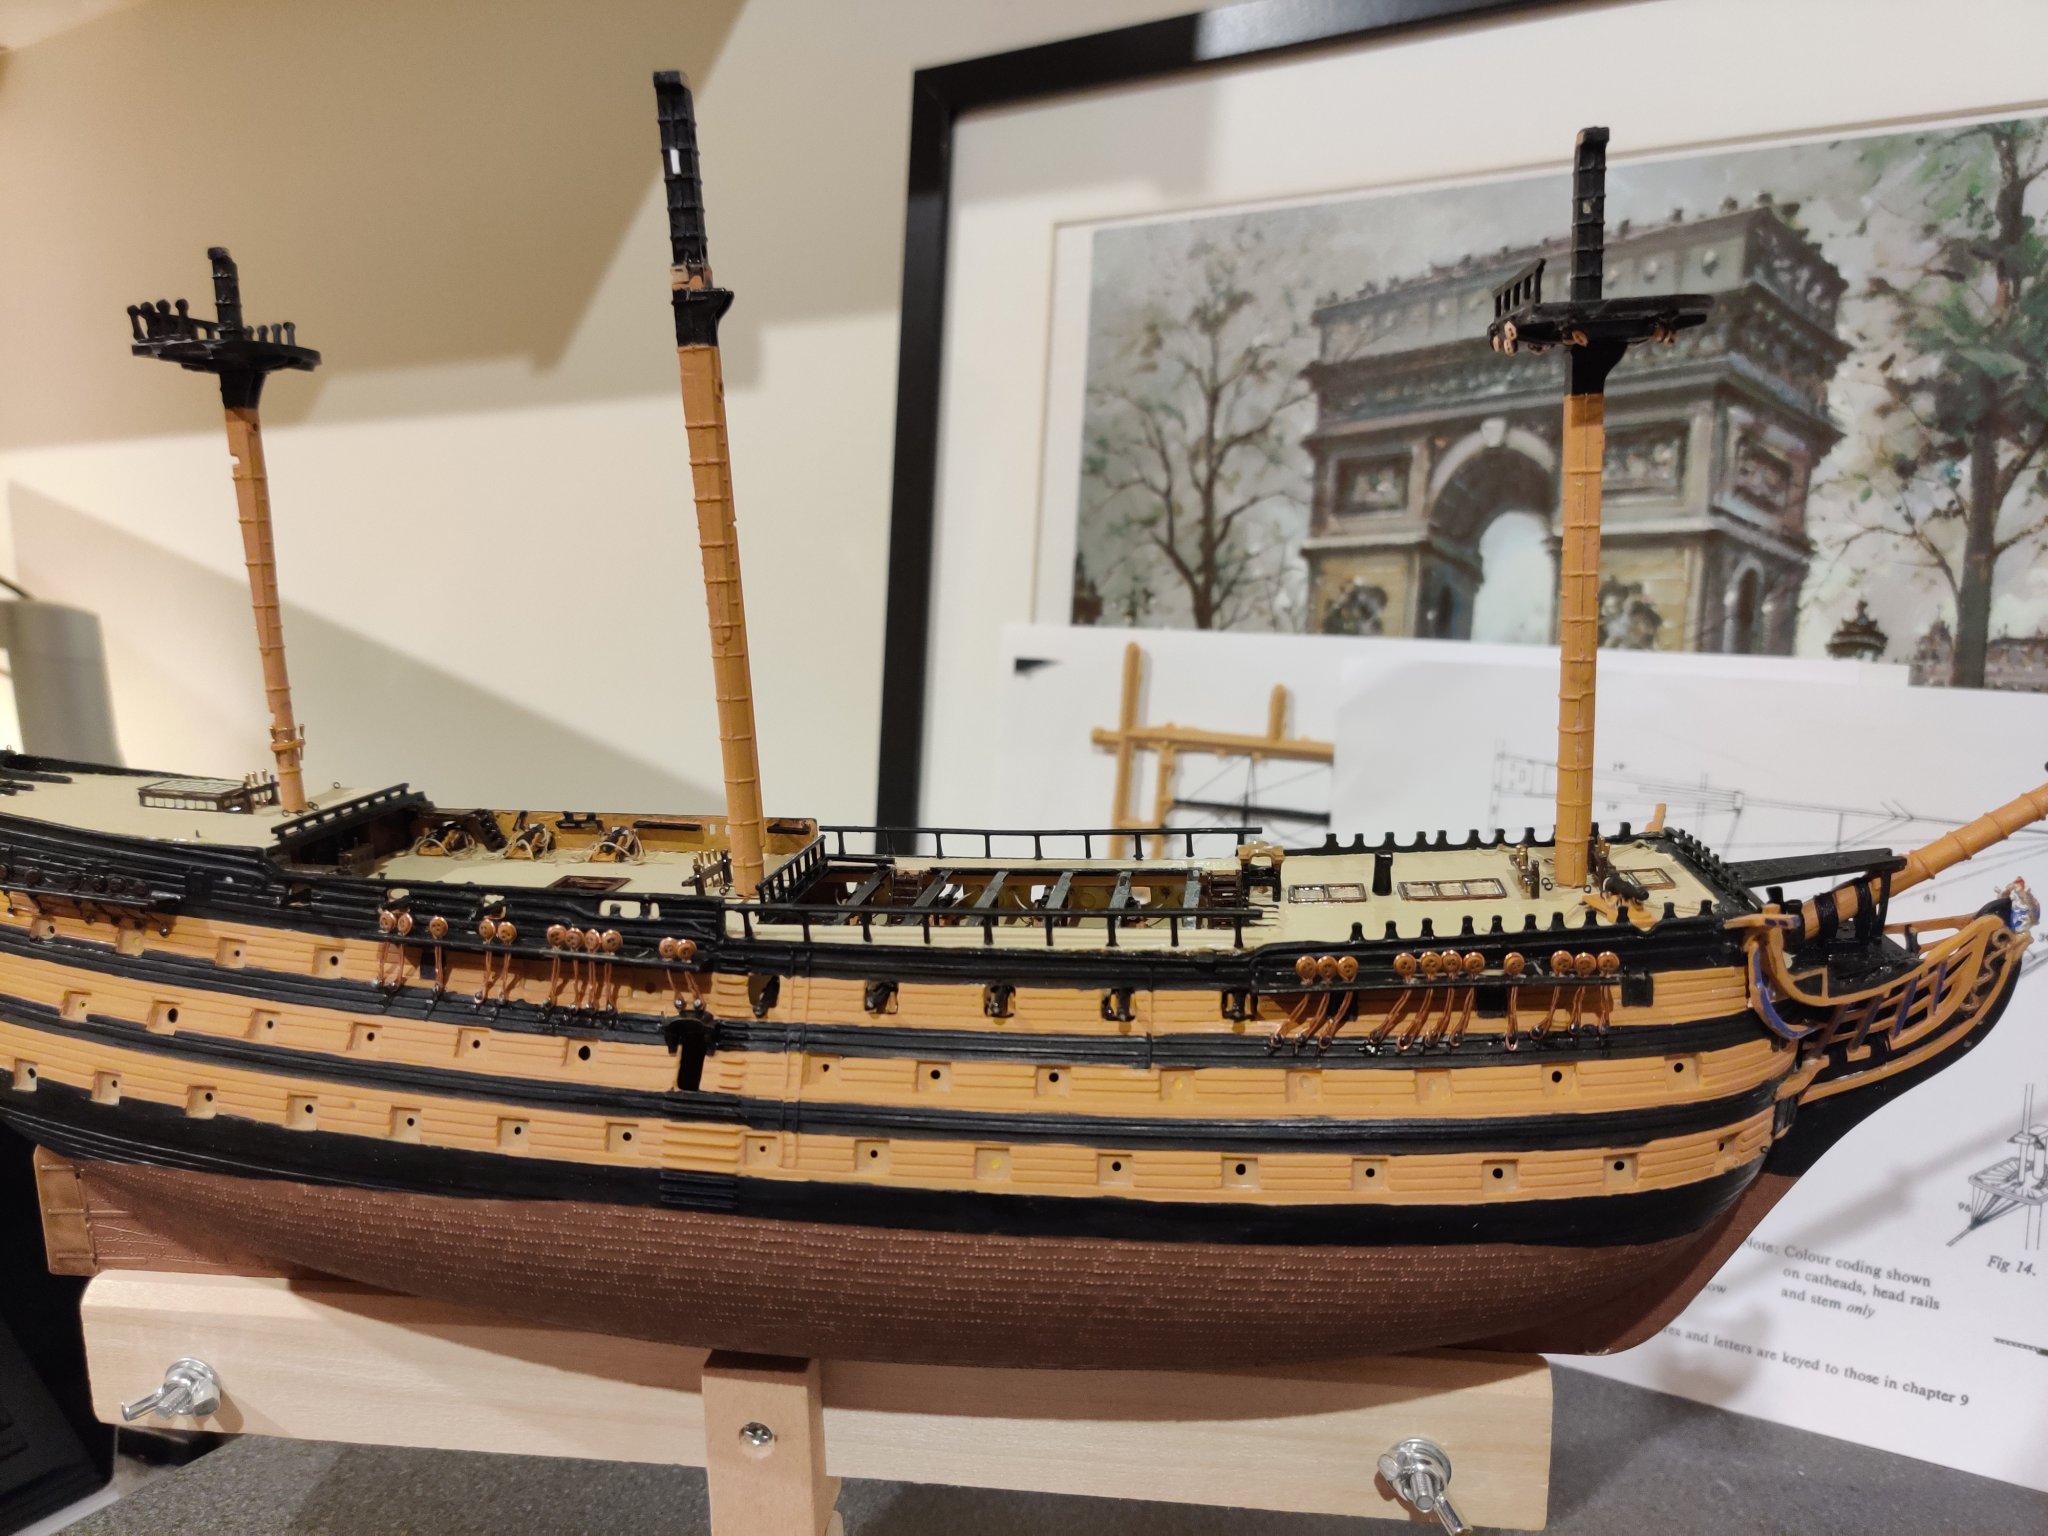
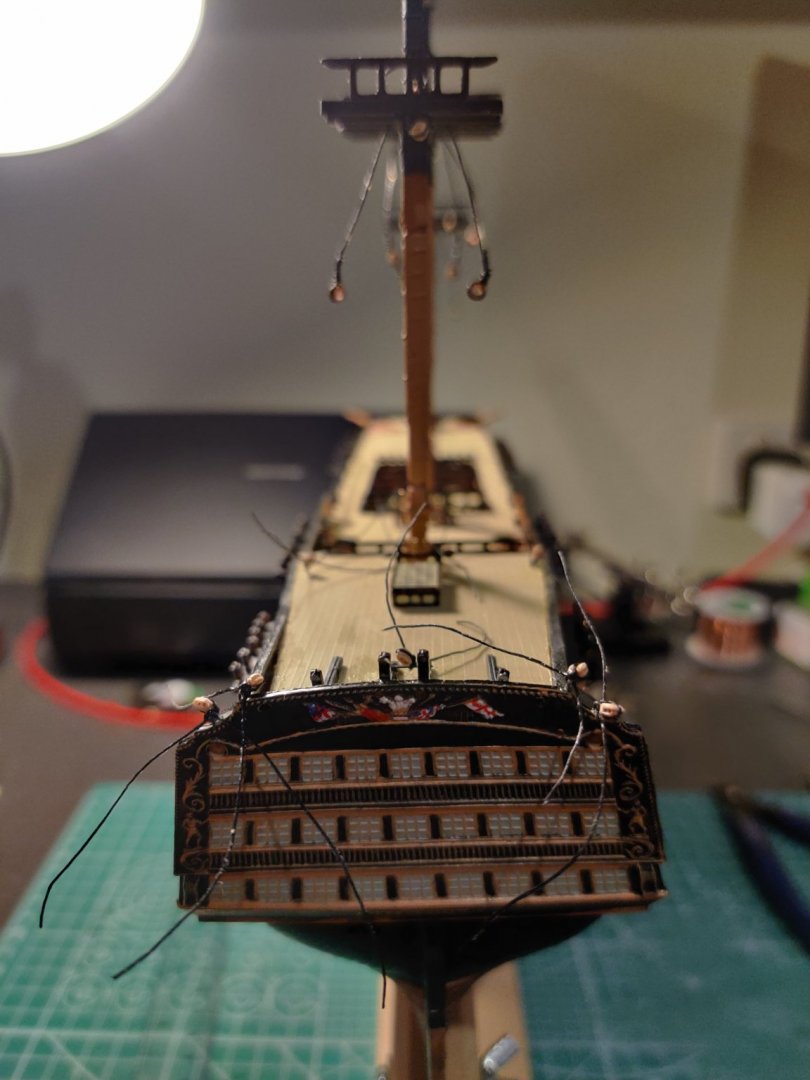
.thumb.jpeg.d239701c2f7247a100a3f432822c4eda.jpeg) Just a little update (haven't given up yet!). Still battling on with shrouds. Once I get the fore and main stays in place, I should then be able to tension the lanyards and adjust the foremast which is slightly leaning aft. Just counted my deadeyes and realised I only have 2 left over for the bowsprit rigging. Looks like another top up purchase is in order...
Just a little update (haven't given up yet!). Still battling on with shrouds. Once I get the fore and main stays in place, I should then be able to tension the lanyards and adjust the foremast which is slightly leaning aft. Just counted my deadeyes and realised I only have 2 left over for the bowsprit rigging. Looks like another top up purchase is in order...
-
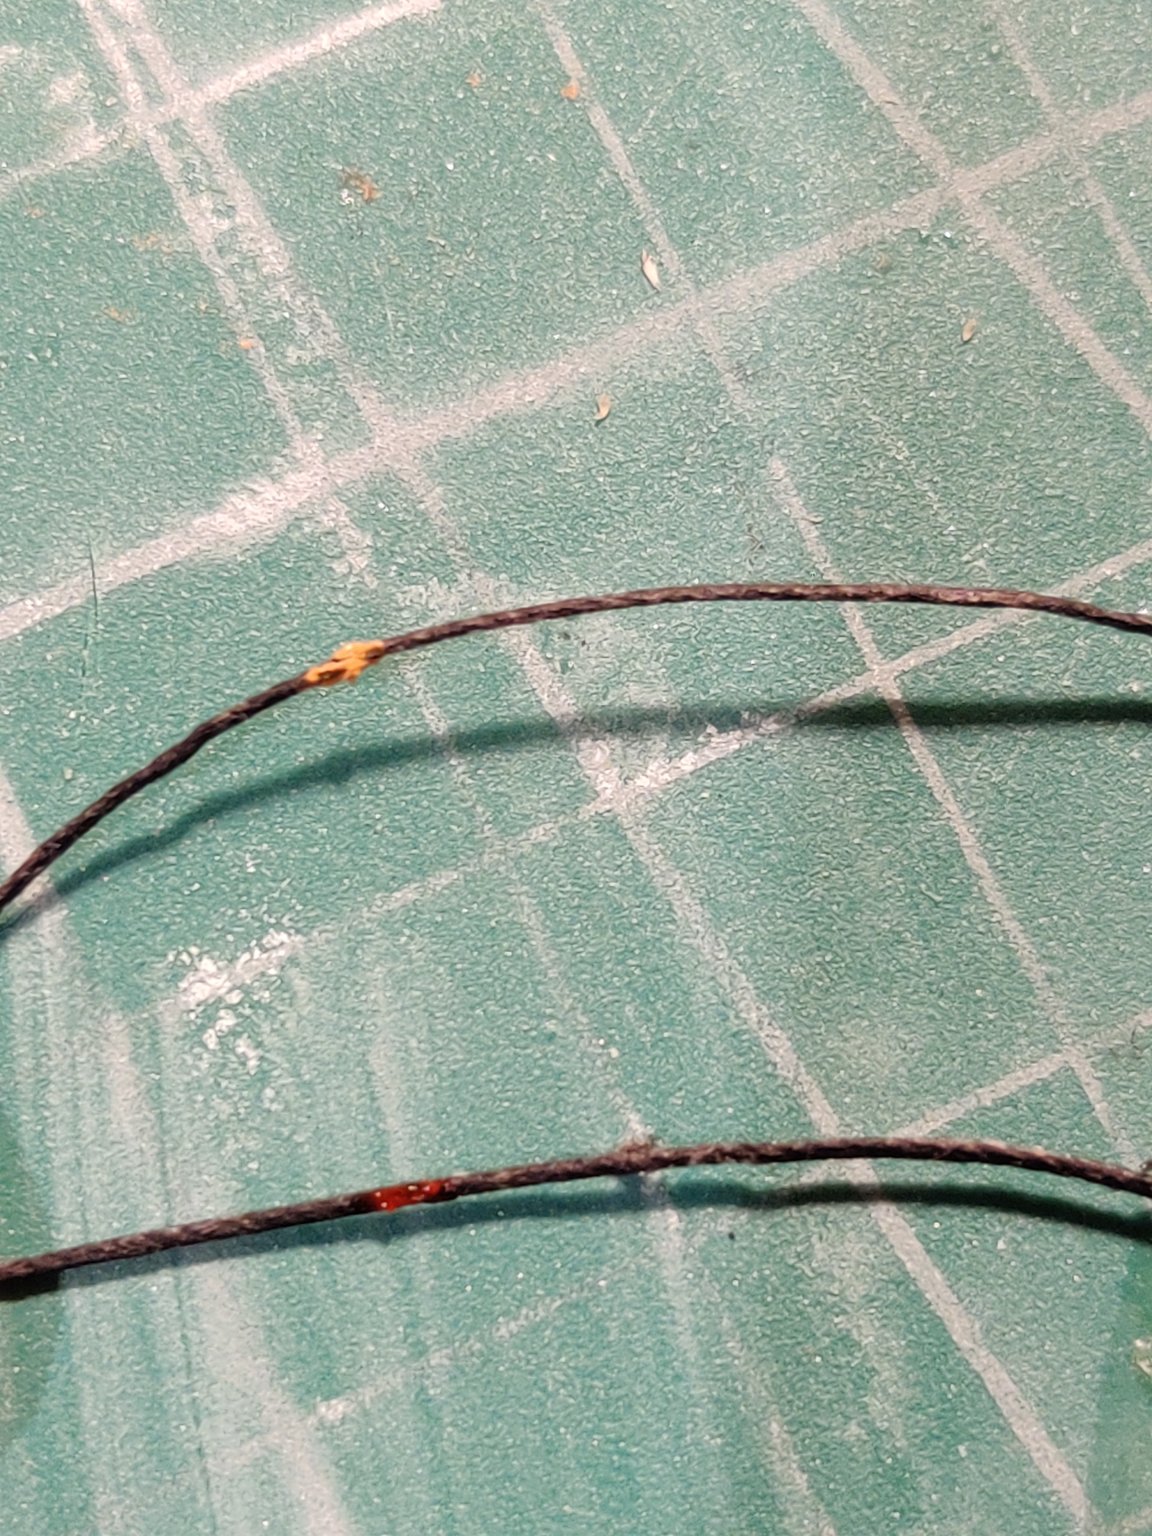
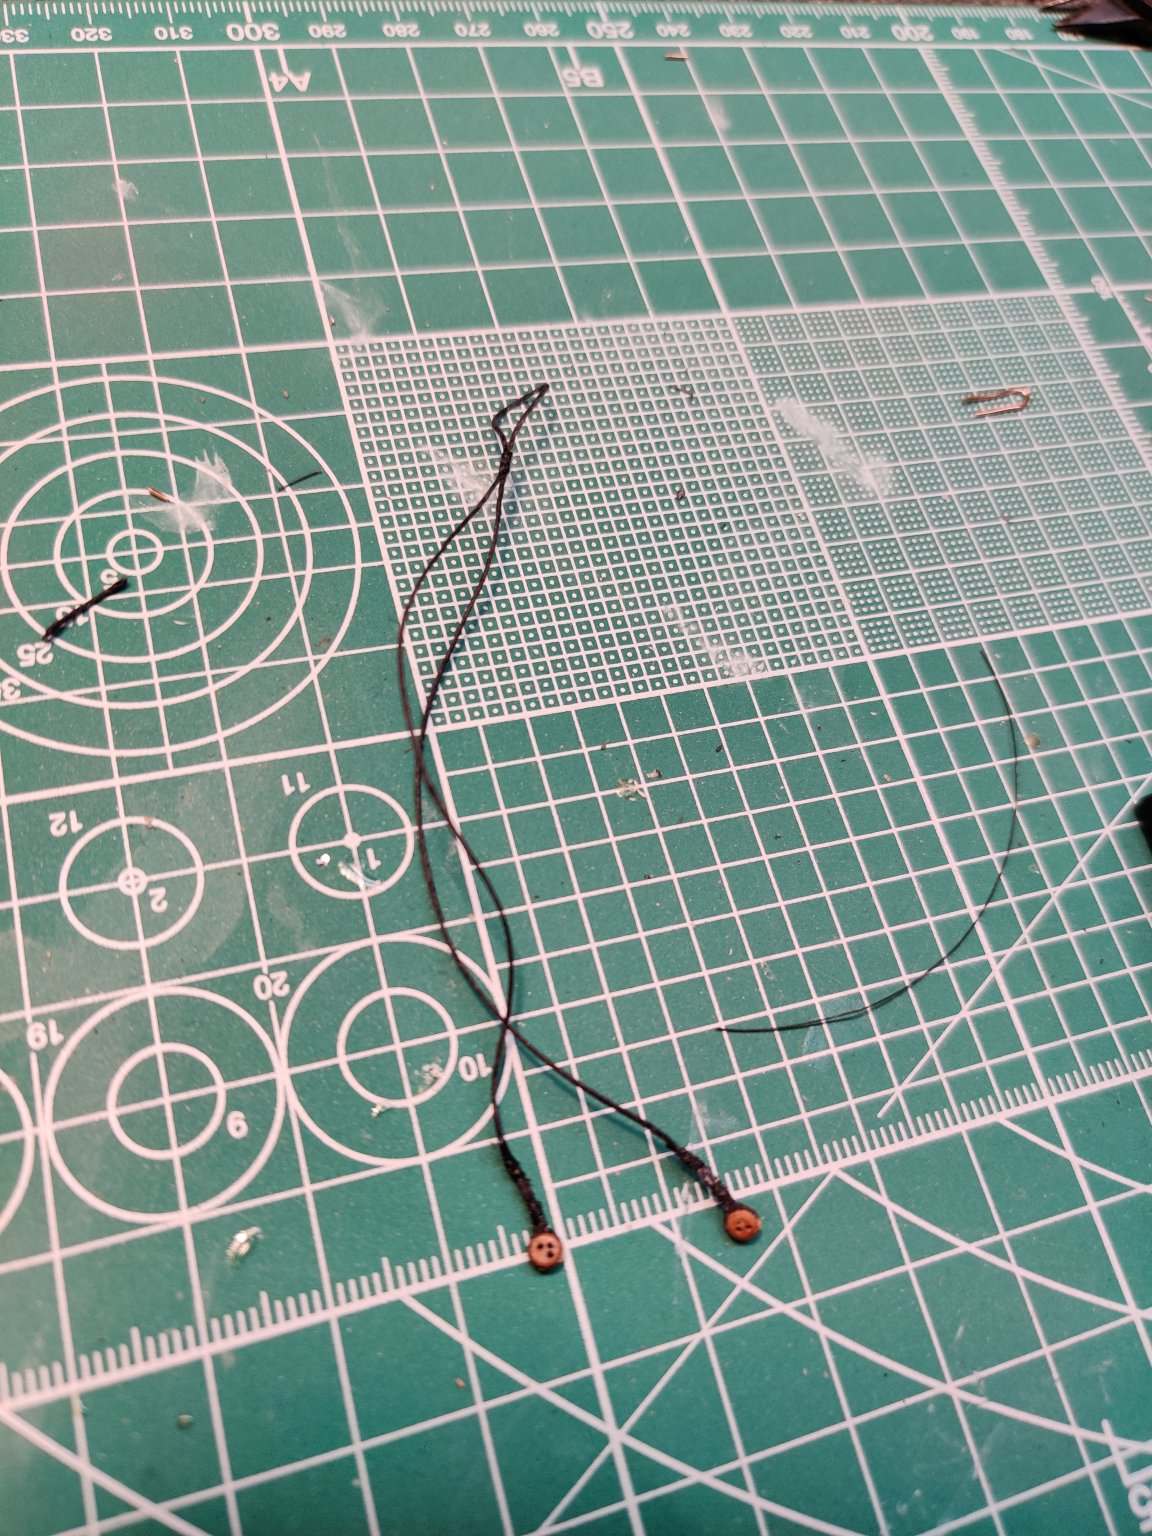
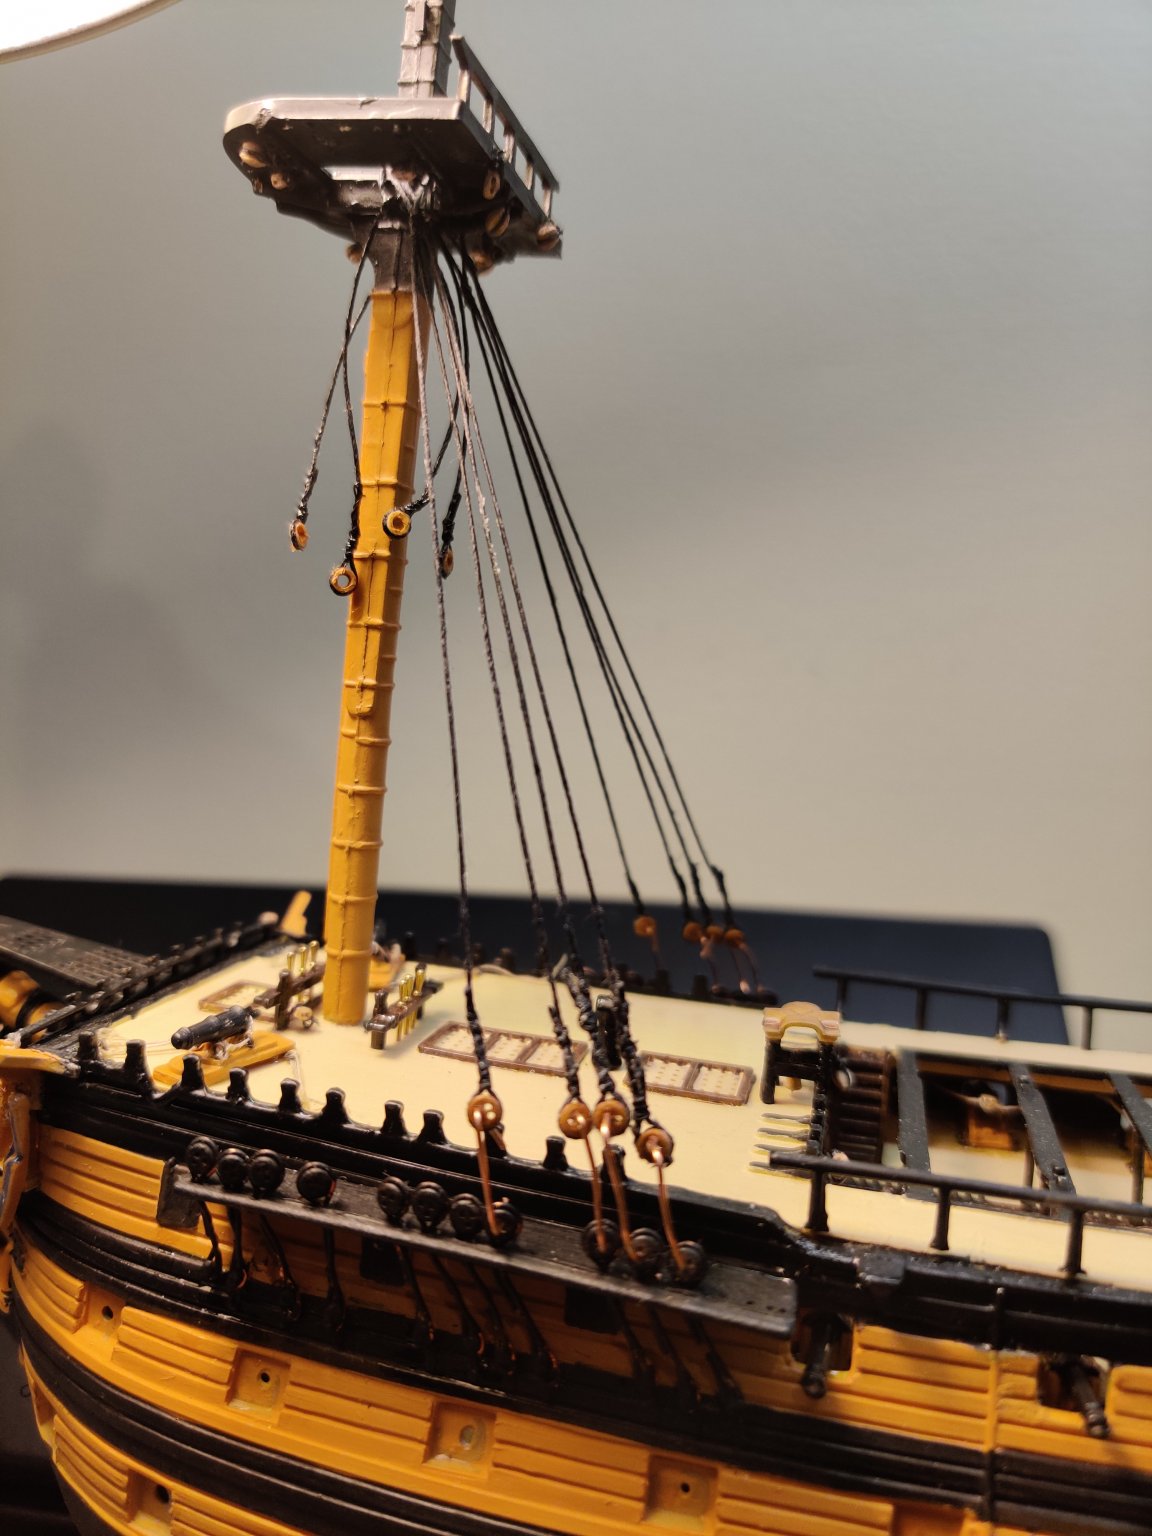
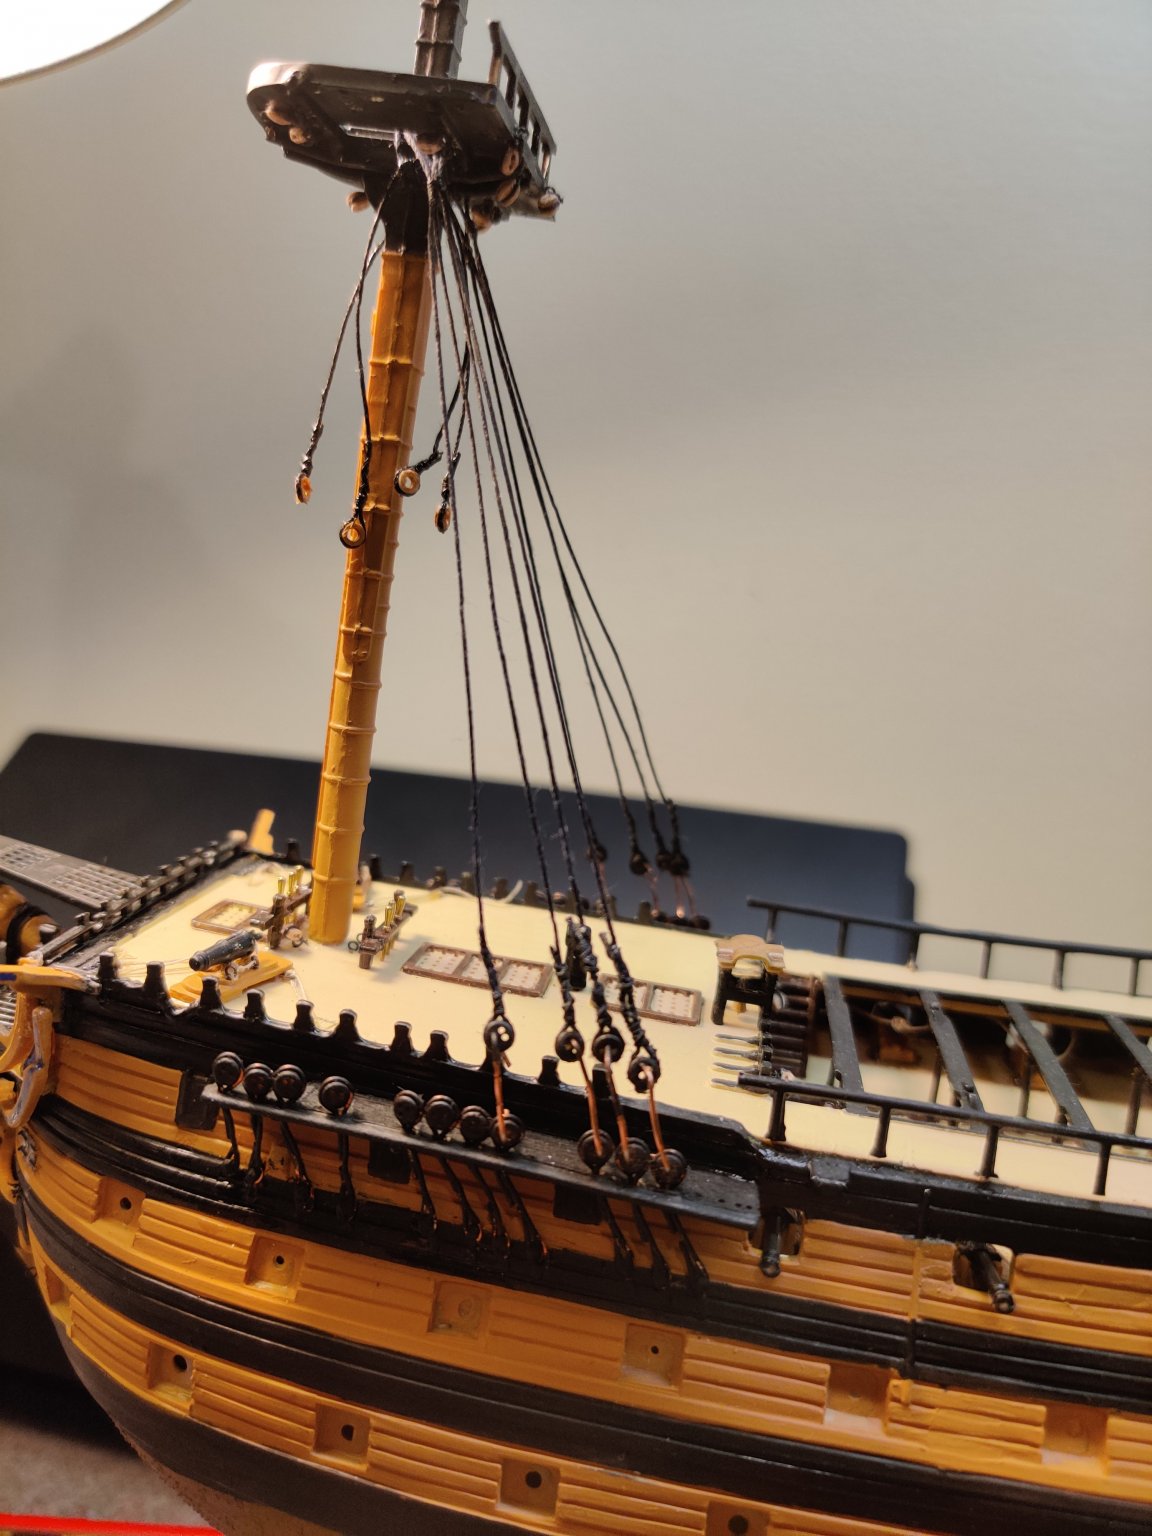
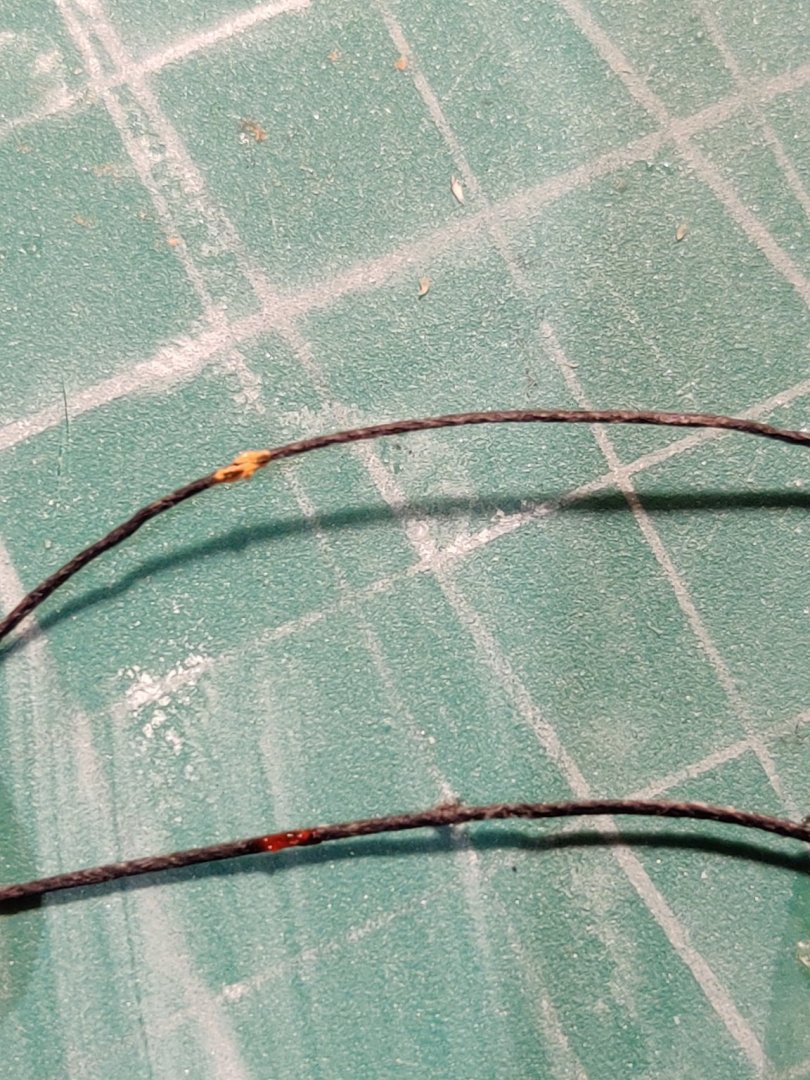
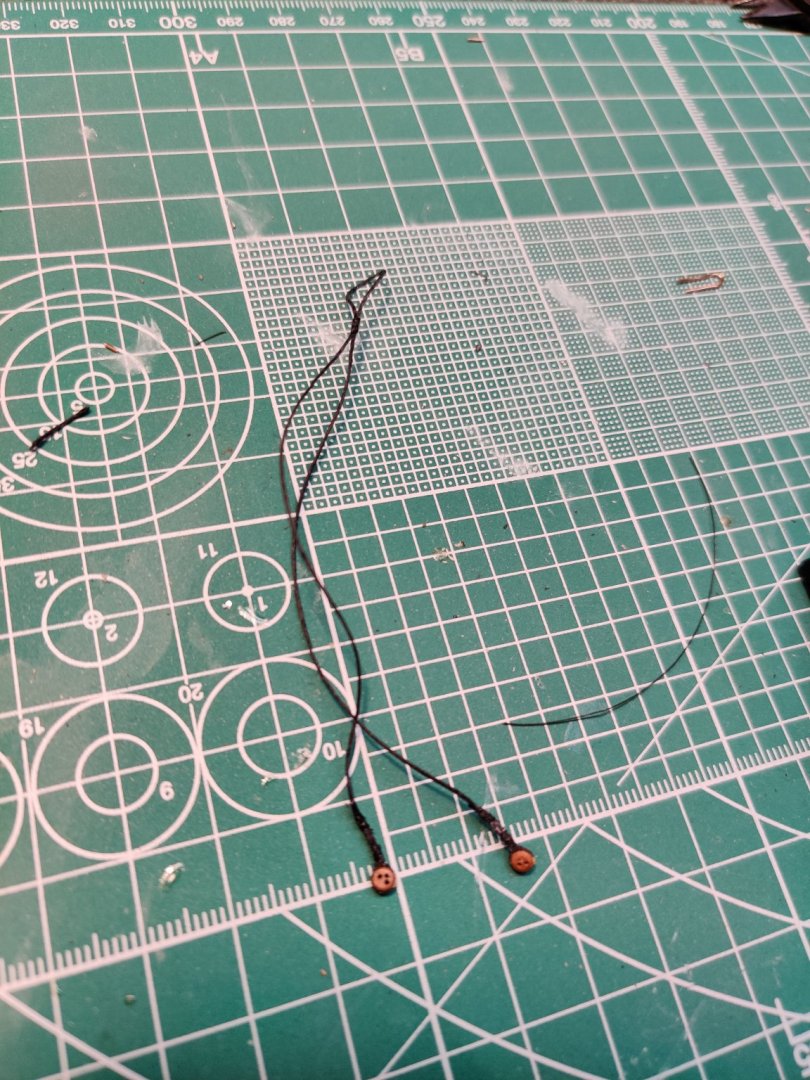
So far, I've found the method that works for me is to mark with paint the position for the deadeyes during a dry fitting run (after seizing the loop that goes over the mast), I figured I would have to "tar" the shrouds later anyway 😁 Different coloured paint to differentiate the shroud positions. Example of a finished shroud. Seizing is becoming faster and easier now that I've gotten the hang of it. Fishing line may not be realistic but it works at this scale. A little dry fitting again using copper wire to hold it in place albeit loosely. Now before I get too excited and get ahead of myself as has occurred many many times prior, I decided to stop here with the first 4 shrouds aft. After dry brushing the deadeyes and once they are dry, I will rig these in place with beige thread just to see if I'm on the right track. I am a little worried the foremast is beginning to tilt back at a slight angle (I had broken this too when I dropped the ship a few days ago) so I'll need to tread carefully when tensioning the lanyards. Edit: Then I realised the sequence of shrouds over the mast head is the other way round (fore to aft)... 🤦♂️

-
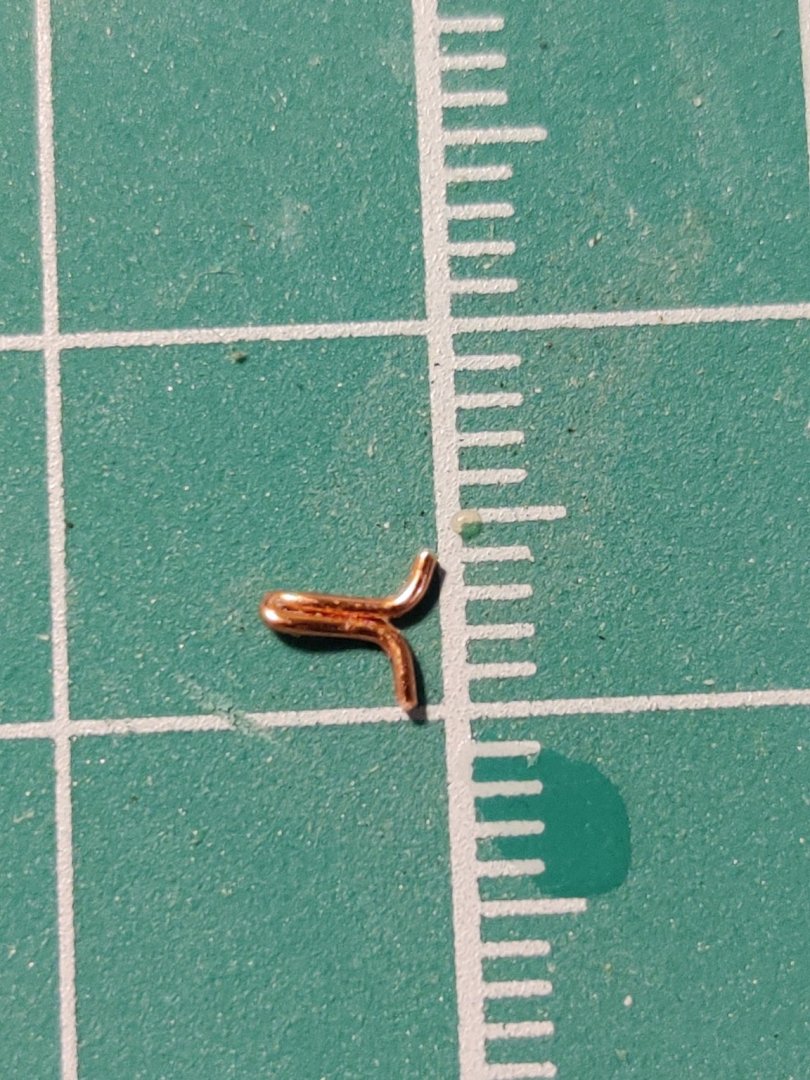
I fashioned this "cleat" out of 0.5mm copper wire which could be strong enough to handle the tension when wrapping thread around them later. If anyone has a better idea or option, please don't hold back!
-
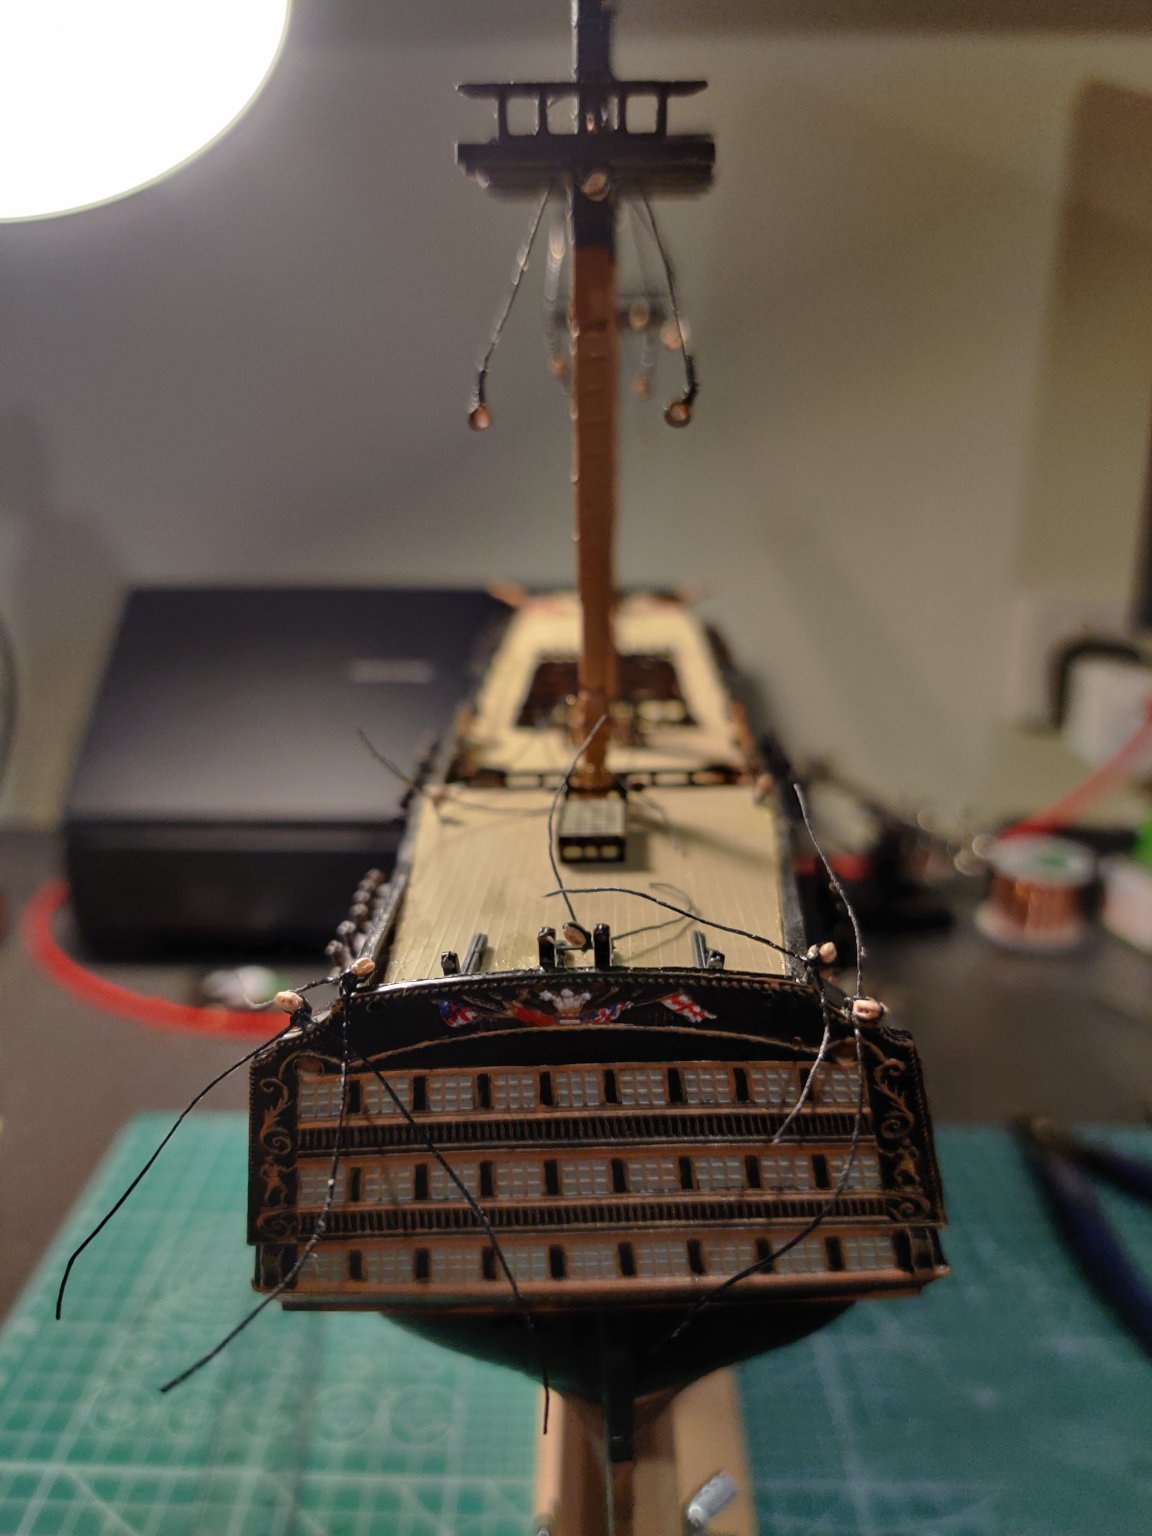
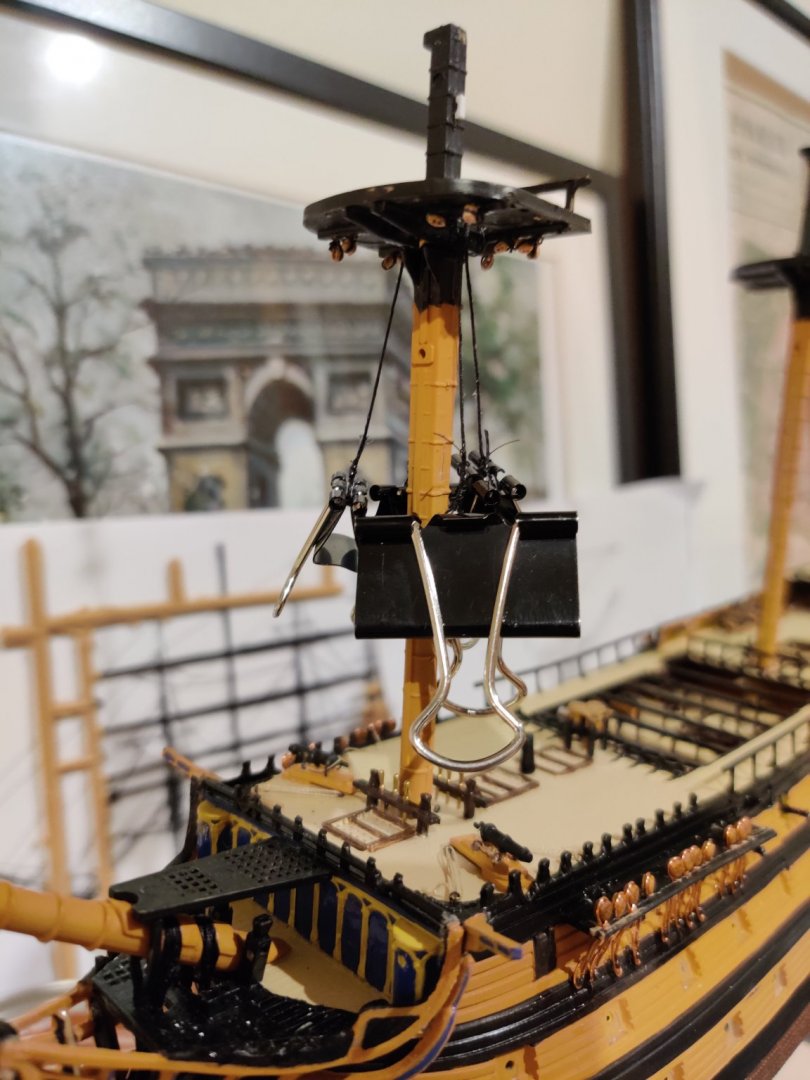
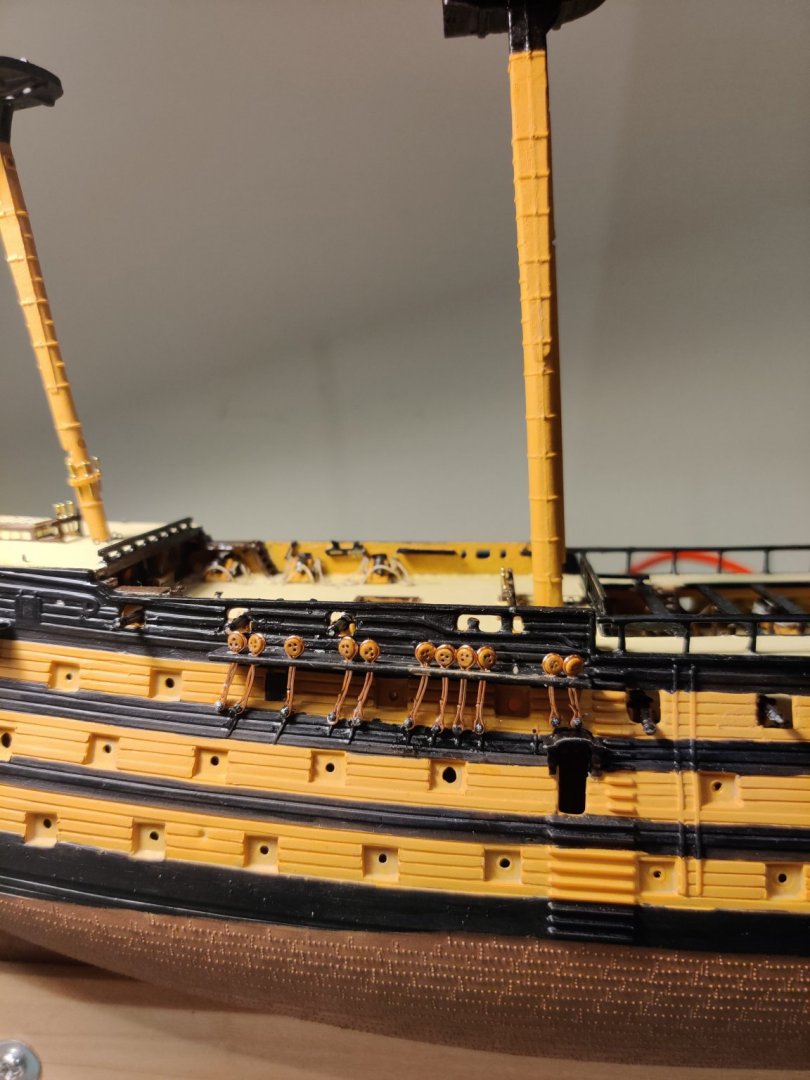
Fairly productive night, attached 17 blocks to various points along the deck and stern. All this before I broke the main mast again trying to hang weights off the burton pendants... 😭

-
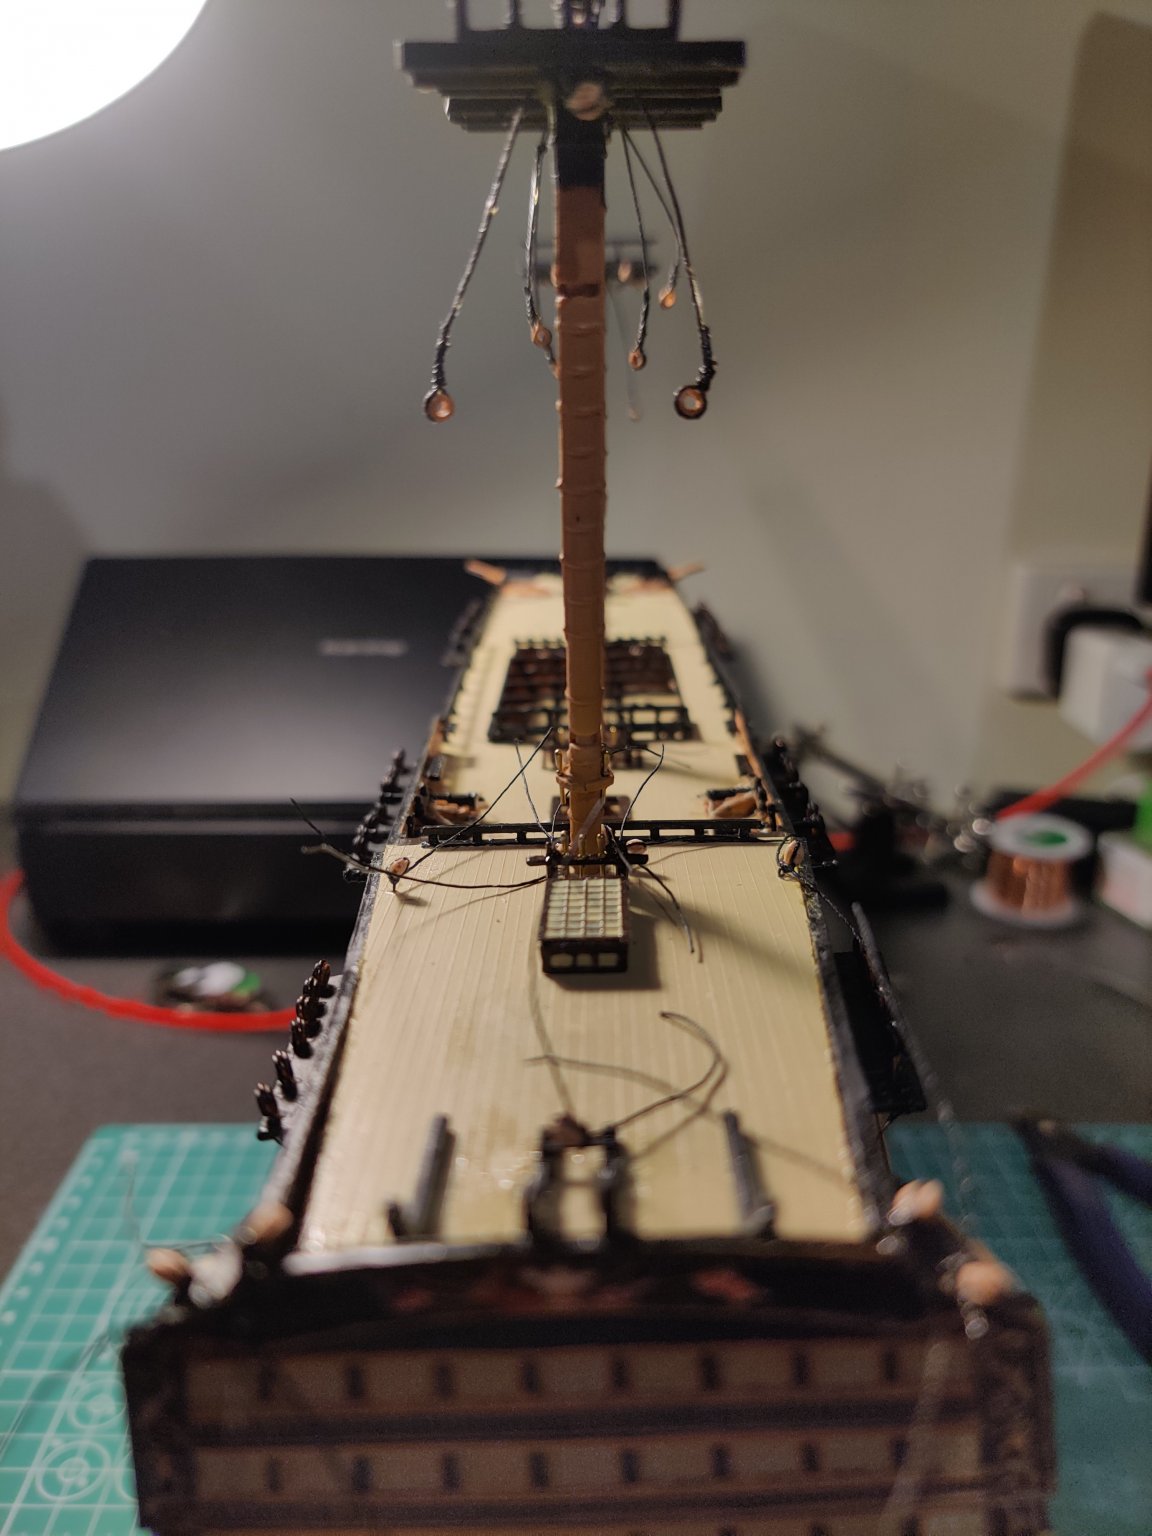
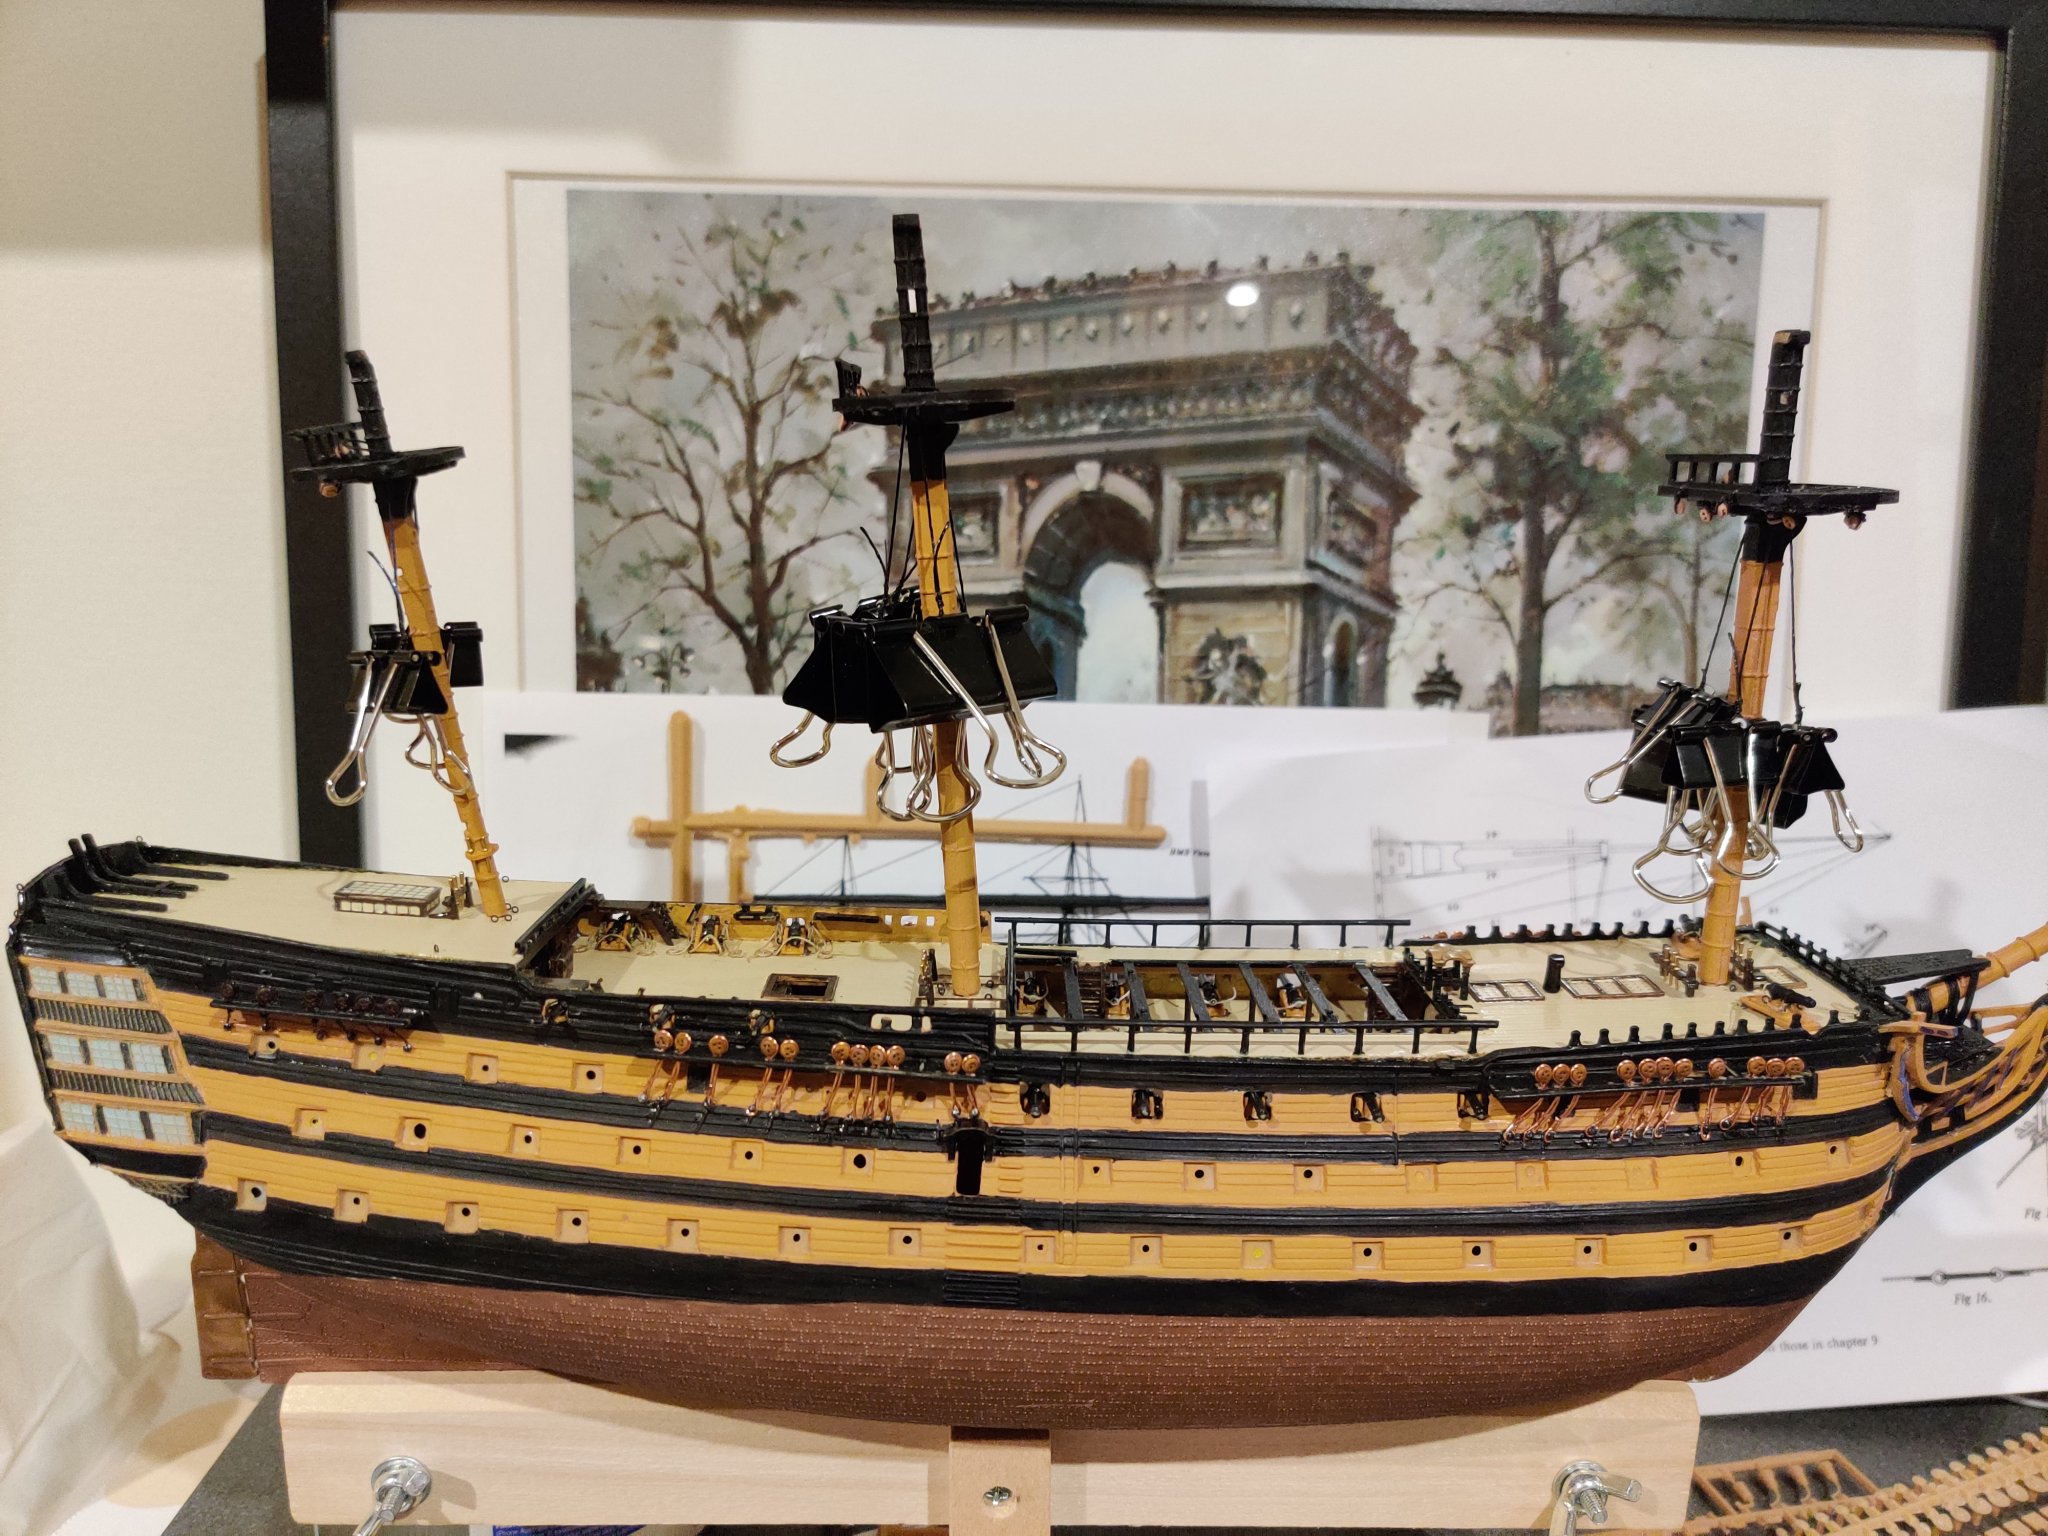
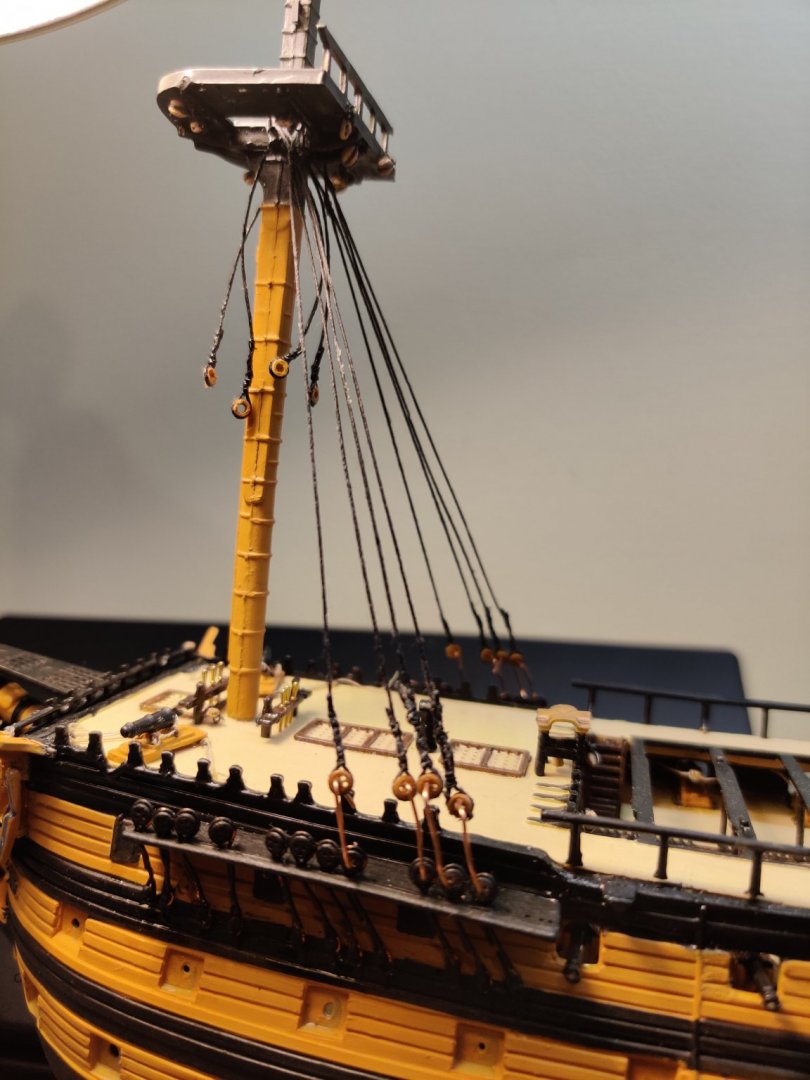
Being a newbie, I forgot to stiffen the thread at the point where the burton pendants loop over the mast. The result (see main mast) looked totally unnatural unless it was a very windy day 😁. Fixed this problem with a second run on the fore mast as you can see. Looking a little better but still the threads are a little curved. A touch of paint on the pendants to pass them off as wood. I'm a little paranoid about access before the shrouds go on. Next I'll get some blocks attached to the eyebolts around each mast.


-
Enamel paint seems to adhere better to plastic card? Could save time priming with acrylic if that helps...
-
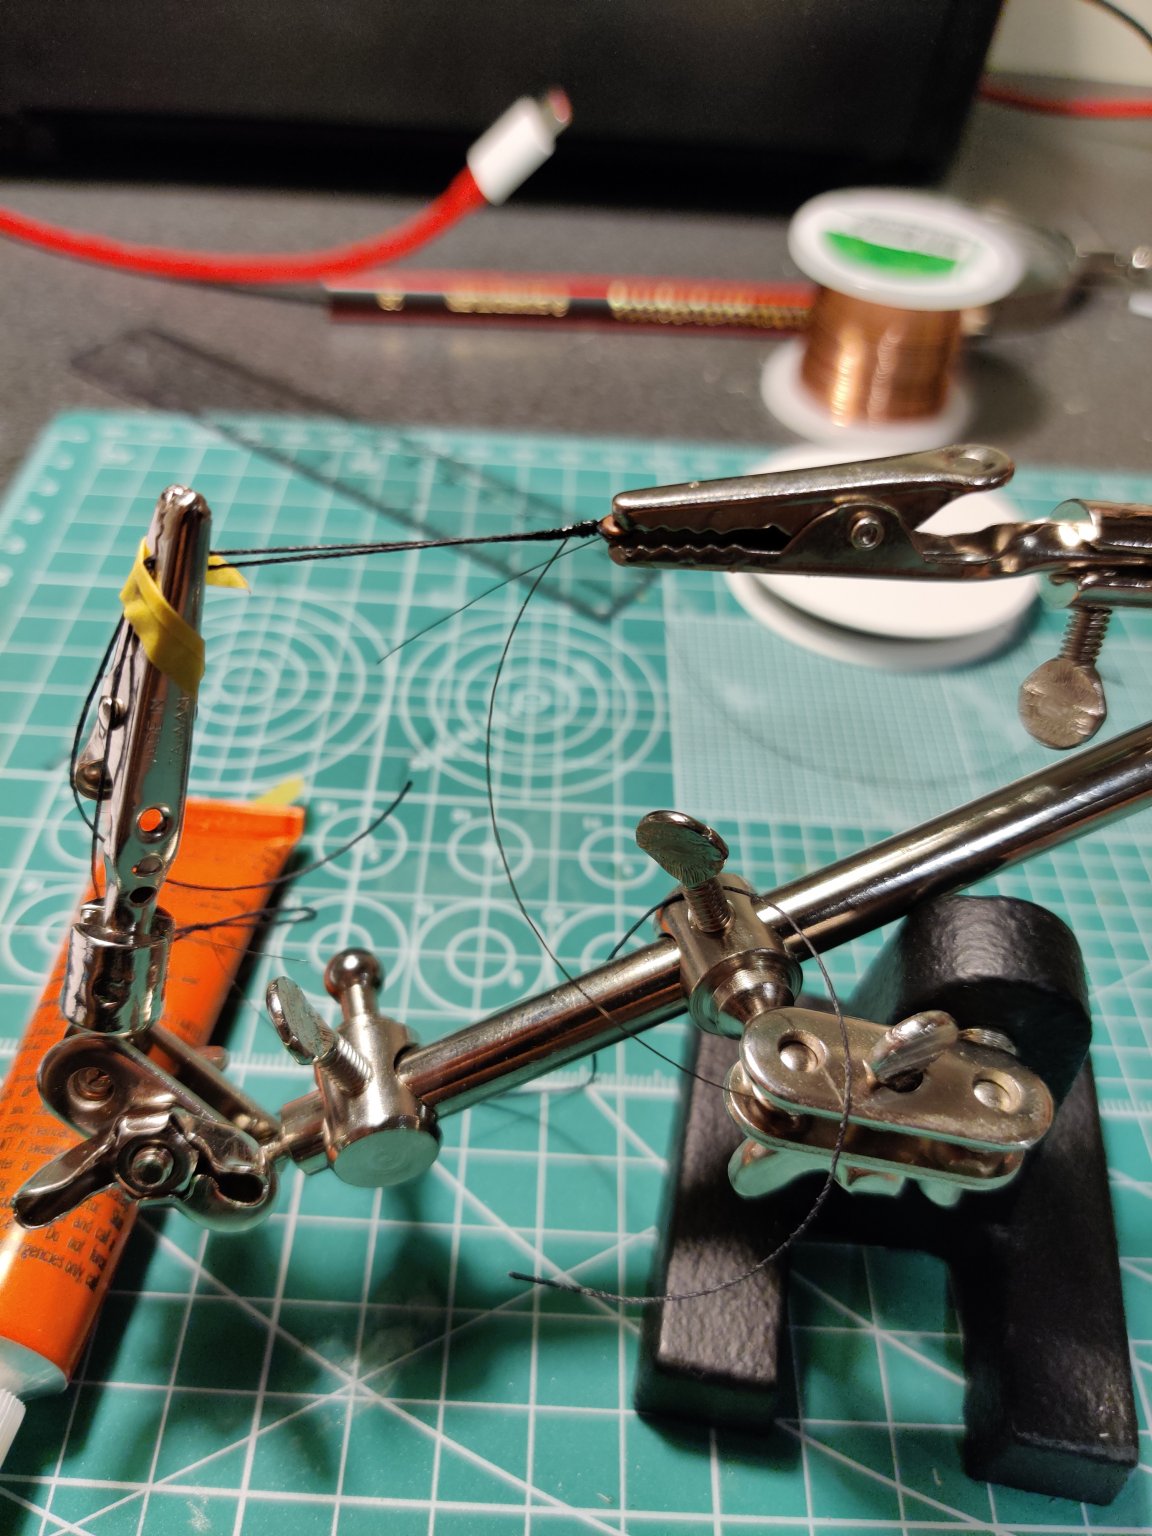
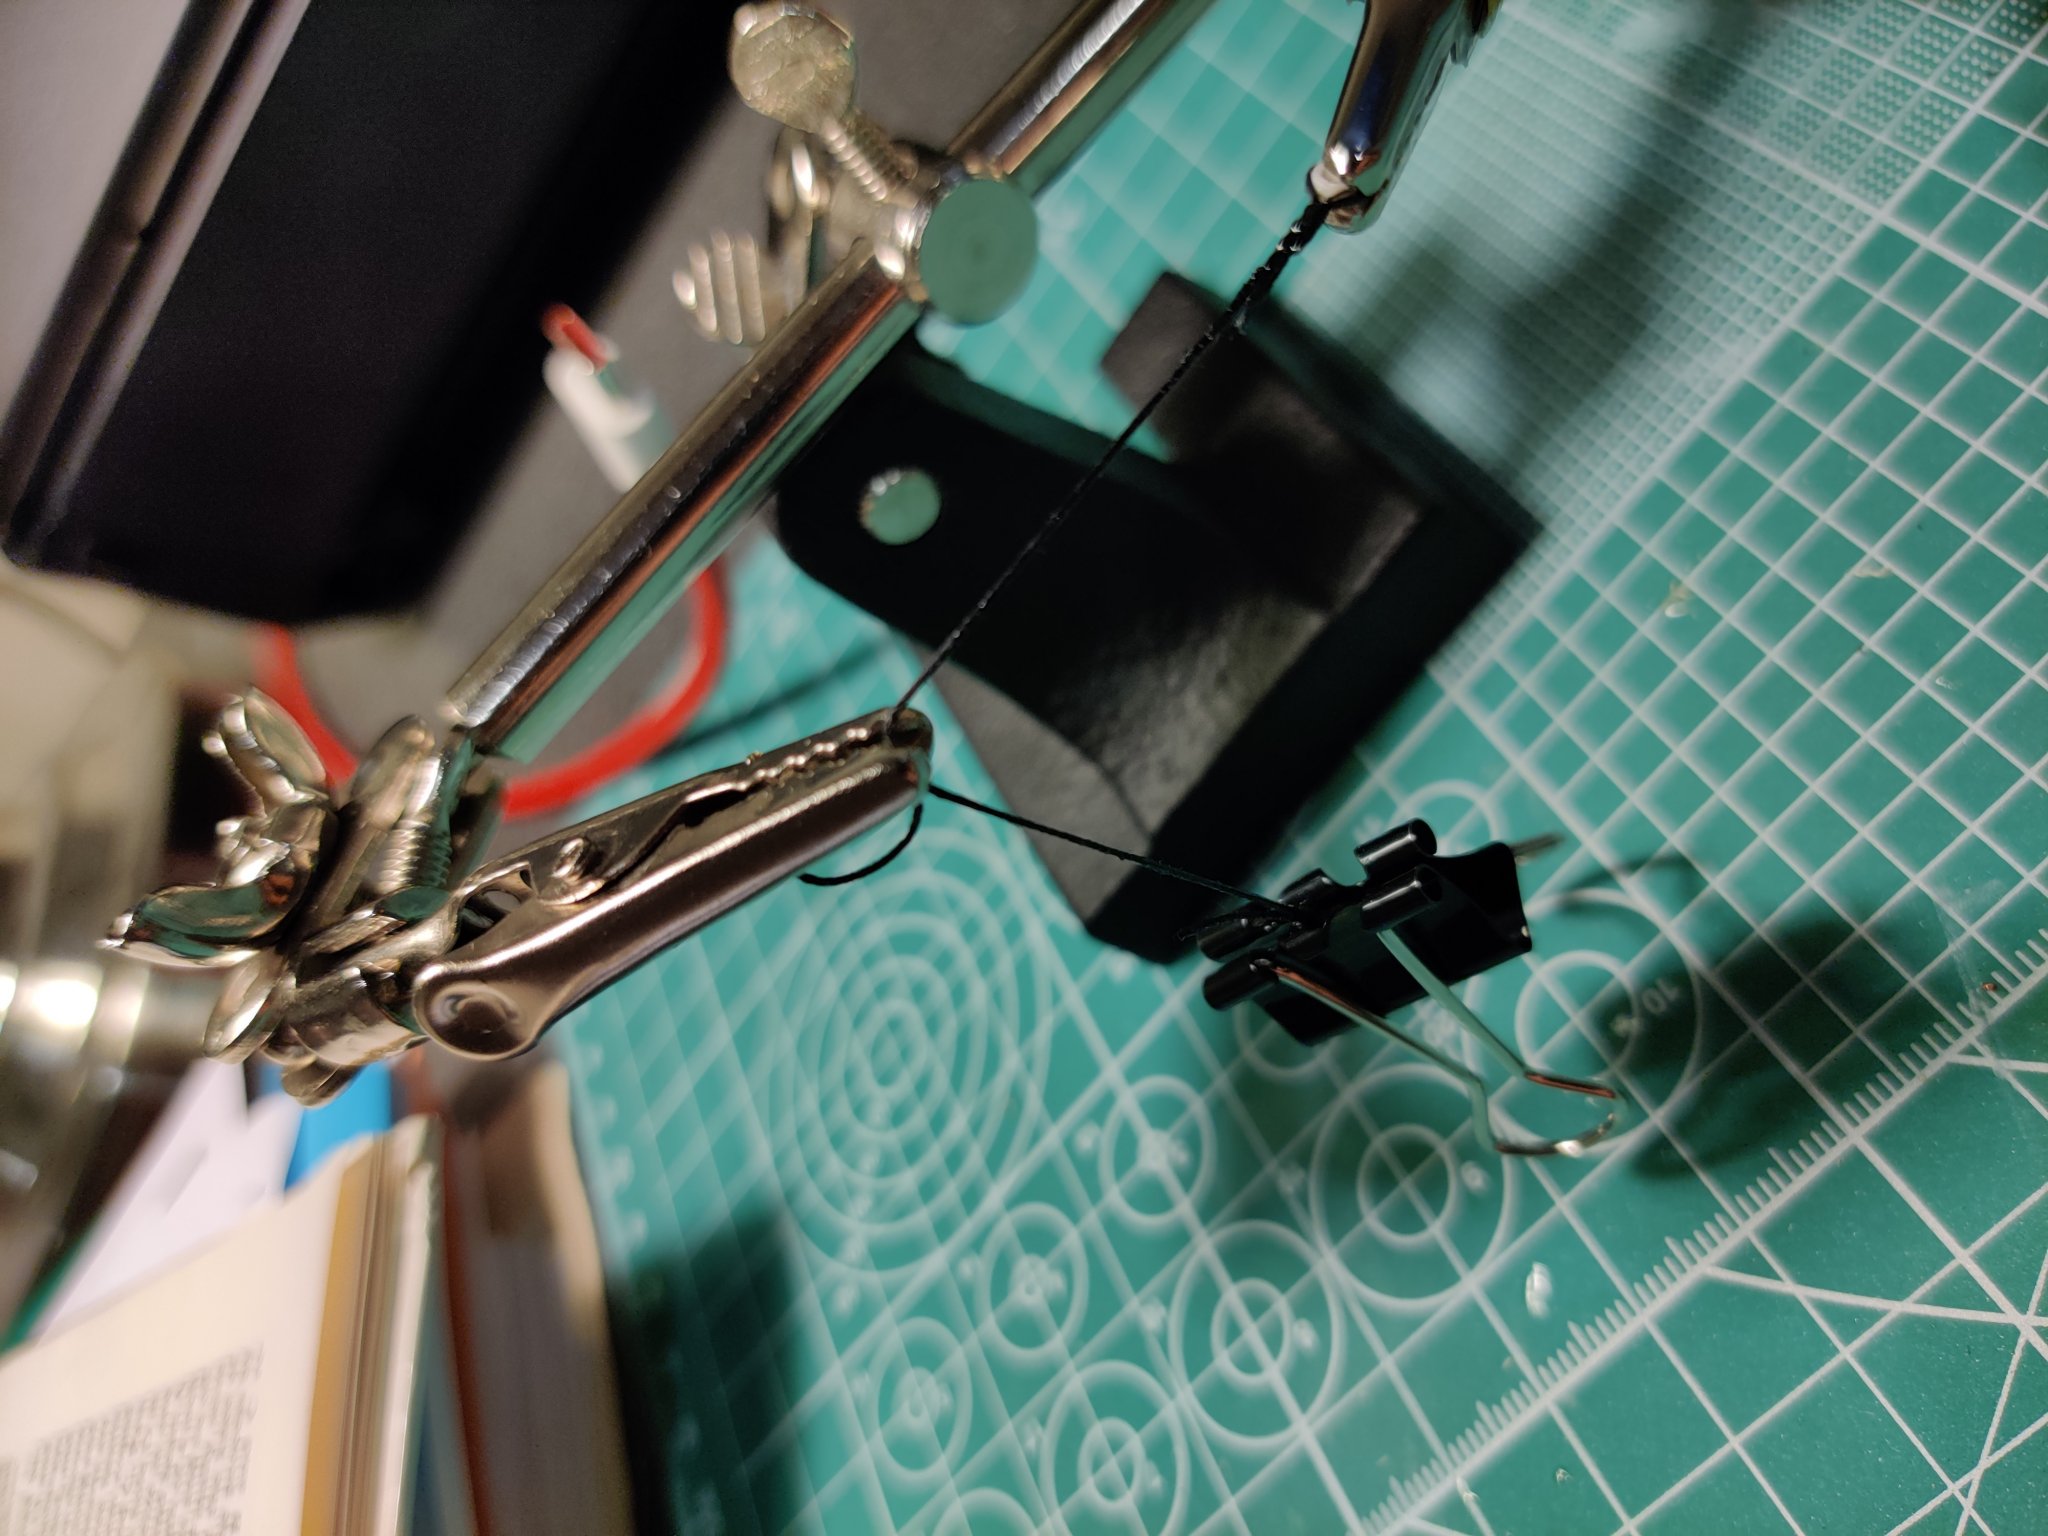
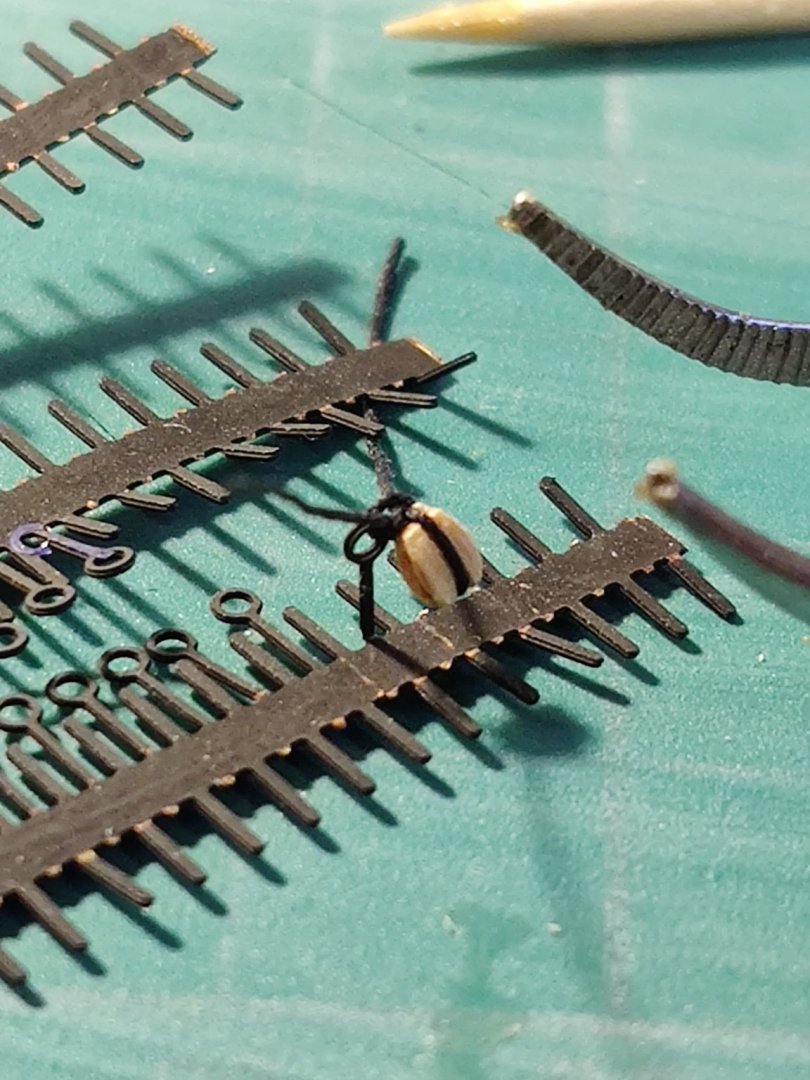
Still have to tackle the pendants around the masts before the real fun begins. This is my first go at seizing threads together. Really need 4-5 helping hands getting this done... I used 2mm styrene tubes sliced off with a scalpel and wound black thread around it, then seized using 0.18mm black fishing wire. Seized and placed over the foremast starboard before port side. A little glue and an assortment of weights to shape the thread.  My main mast snapped recently (could be the kids) and I had to glue it back and possibly adjust again when the shrouds and stays are rigged ... Could someone please confirm the mast-deck angle from a side view (90 deg?) Cheers


-
Nearly finished with the fore channels, worked out a better way to keep the deadeyes straight by clamping them with self closing forceps. One more channel to go, then I'll need to cement the masts into place, finish mods for the tops and then tackle the shrouds (gulp)...


-
Sorry I actually meant the lower deadeyes 😁, but I would hardly call that cheating... Those futtock shrouds will be a pain later for me too I foresee. I was worried that tying clove hitches for the ratlines would look out of scale myself, but yours is proof it can be done and still look great!
-
Hi Backer, if you don't mind me asking, what kind of jig did you use to hold the deadeyes in place for the shrouds?
-
Next mod, added foretop blocks on the lower side. I found it was easier to attach the 2mm blocks to eyebolts which were bent perpendicular to the eyebolt etch frame.

-
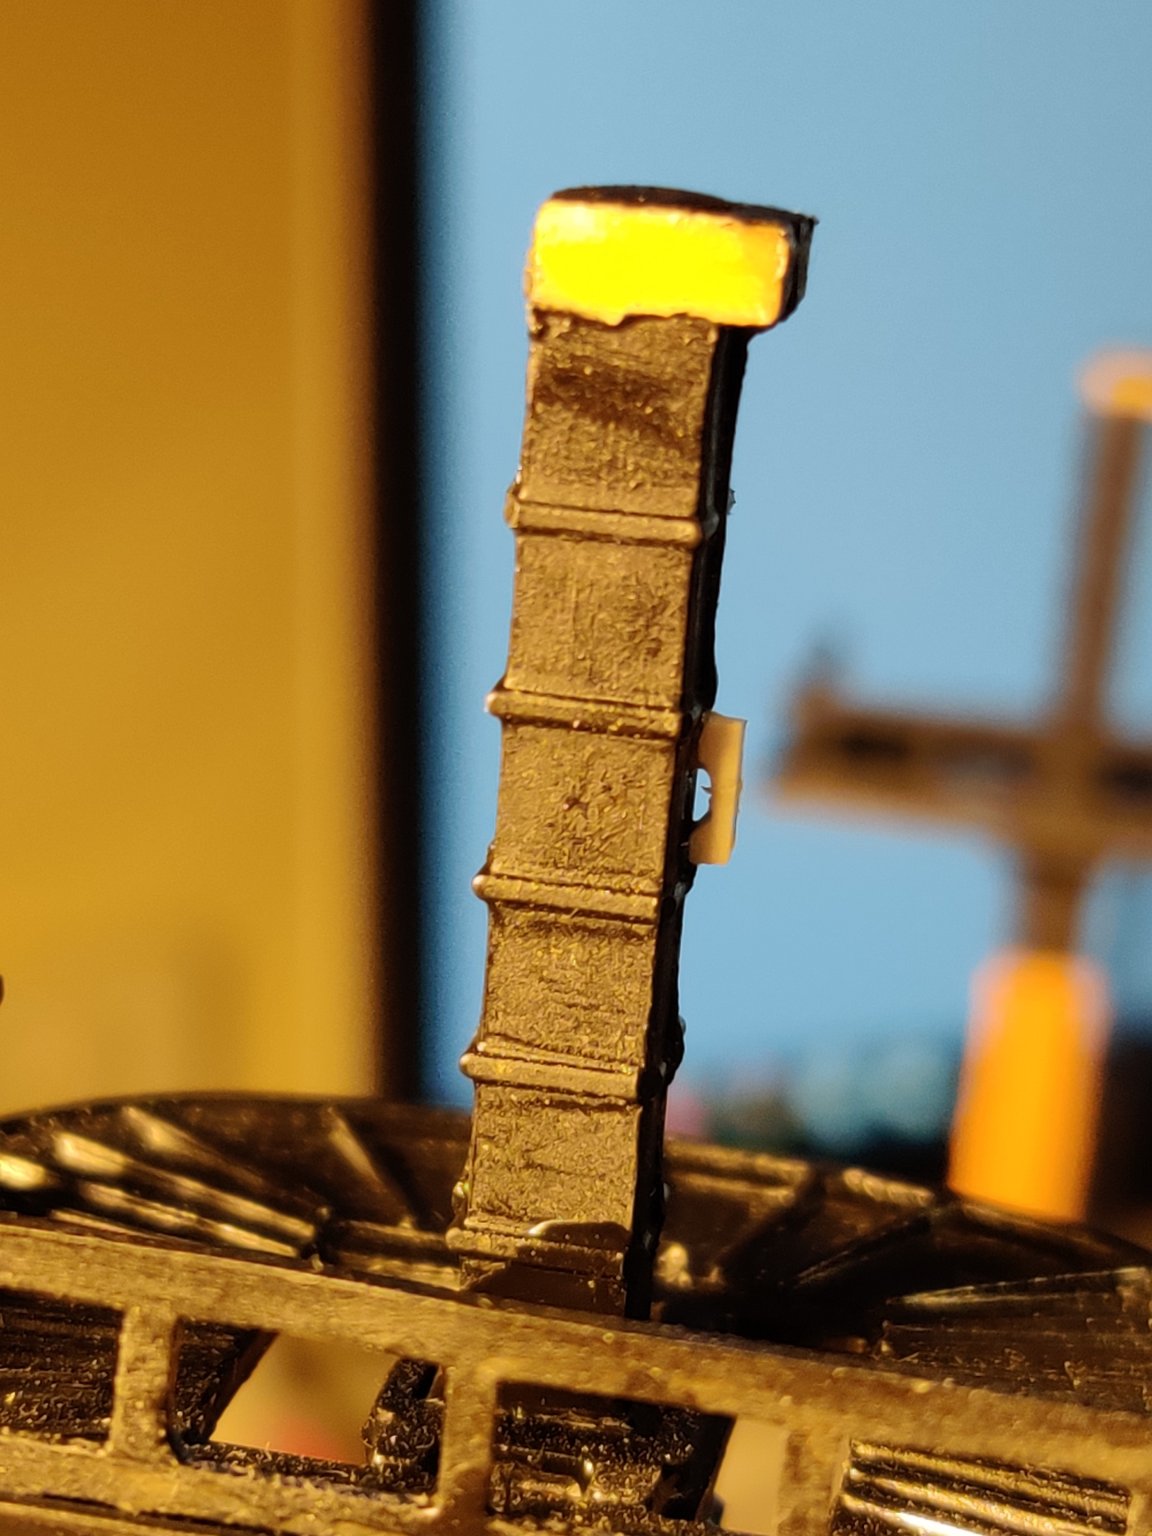
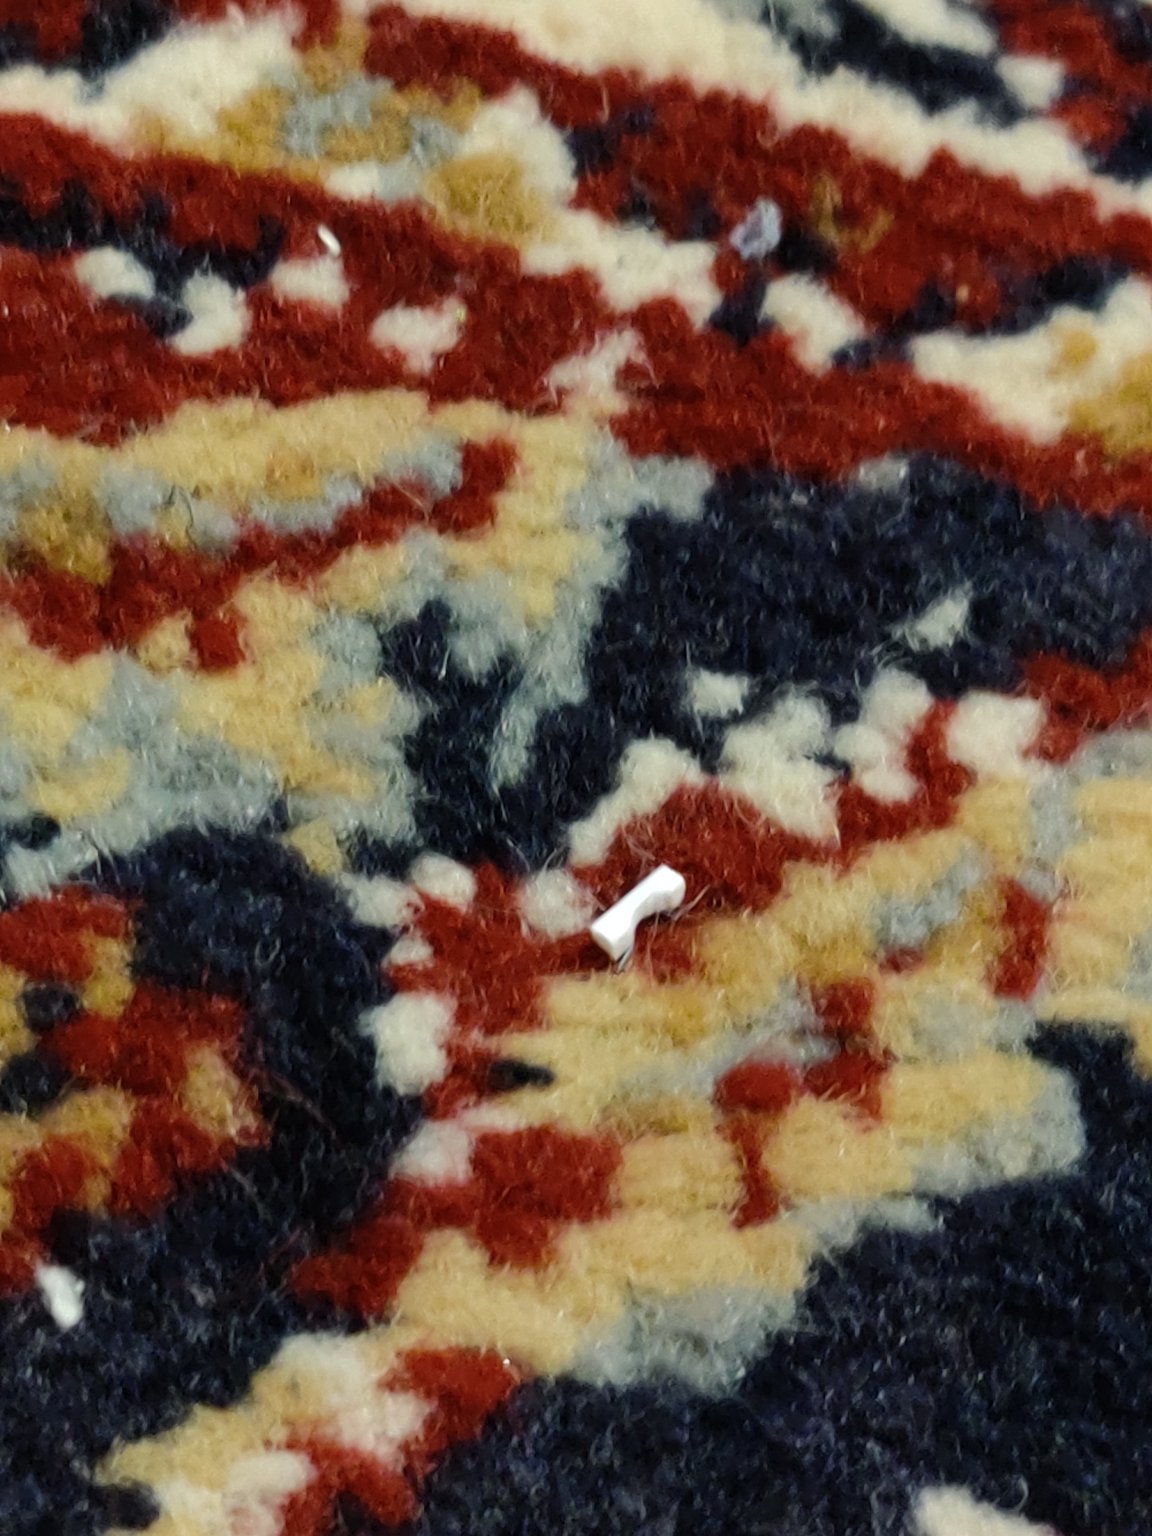
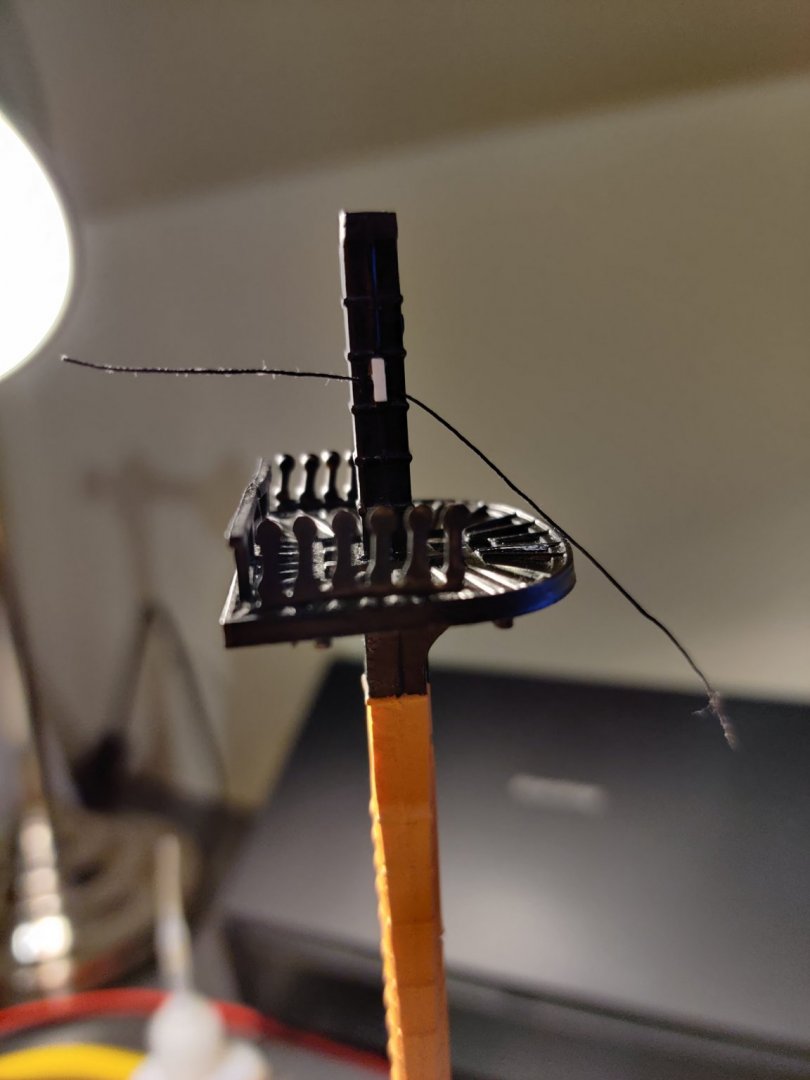
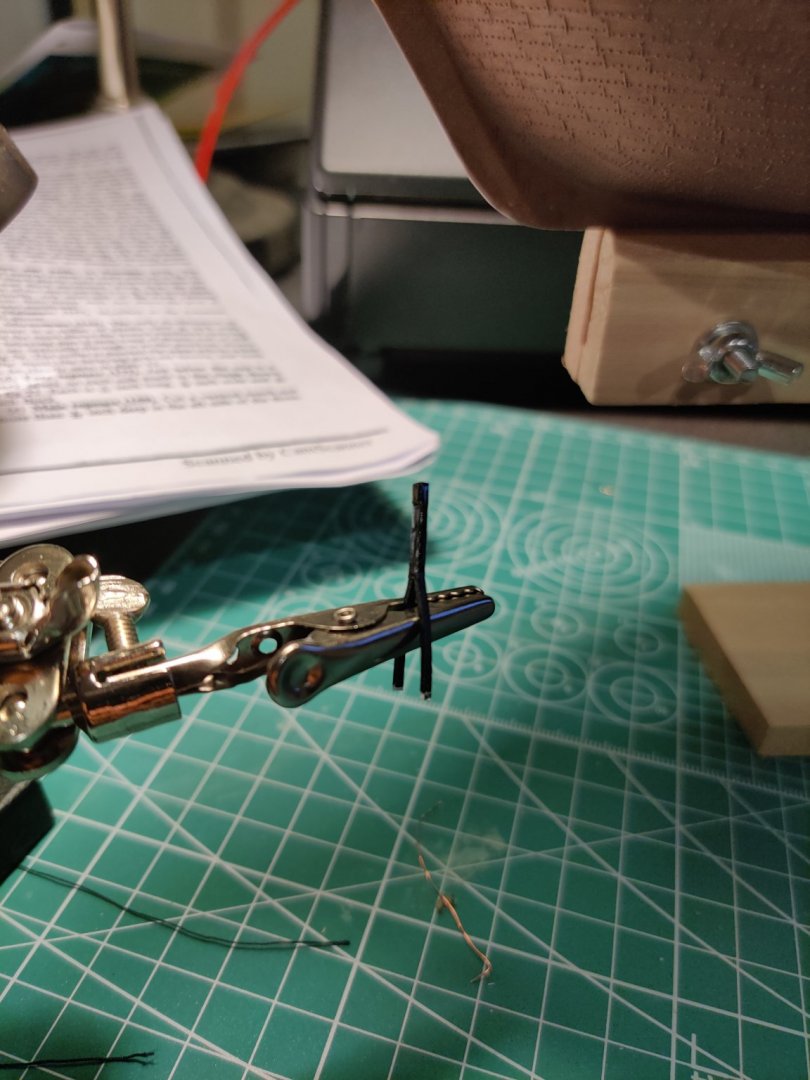
Minor update as progress is slow on my end... Simulated chain links using 0.5mm copper wire this time seems a little better on the main channels. Next it was time to make some cleats for the mastheads. After some thought, I decided to use a rounded needle file to create an indent in a strip of 1mm square styrene strip, then I sliced it off to a 3mm length using my exacto knife (nail clippers and sprue cutters seem to deform the styrene) Being a newbie, I forgot to hold the cleat before slicing it off... And after some colourful language and searching with a torchlight on all fours (really should not work over patterned carpet), I found it luckily. Glued it onto the mast Threaded to check the opening was sufficiently large enough ... Hooray! I seem to get excited by the littlest things. Cheek blocks added to the fore topmast for the jibstay (1.5mm square styrene this time) Till next time...


-
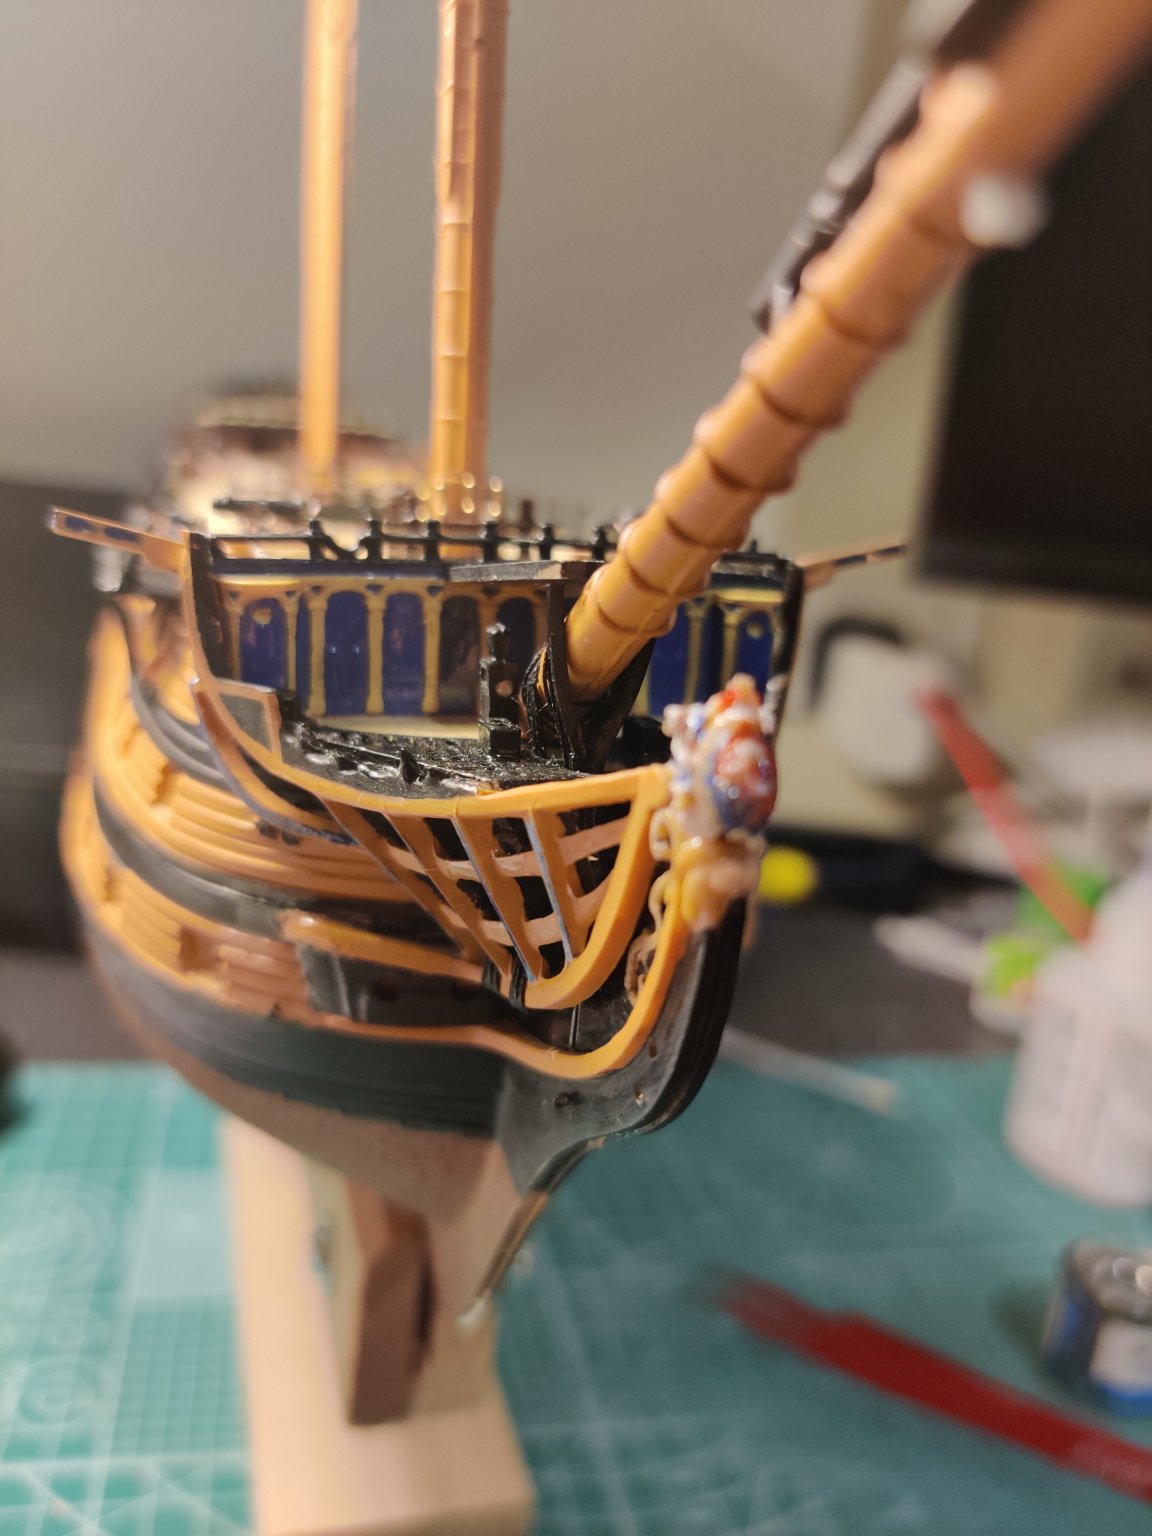
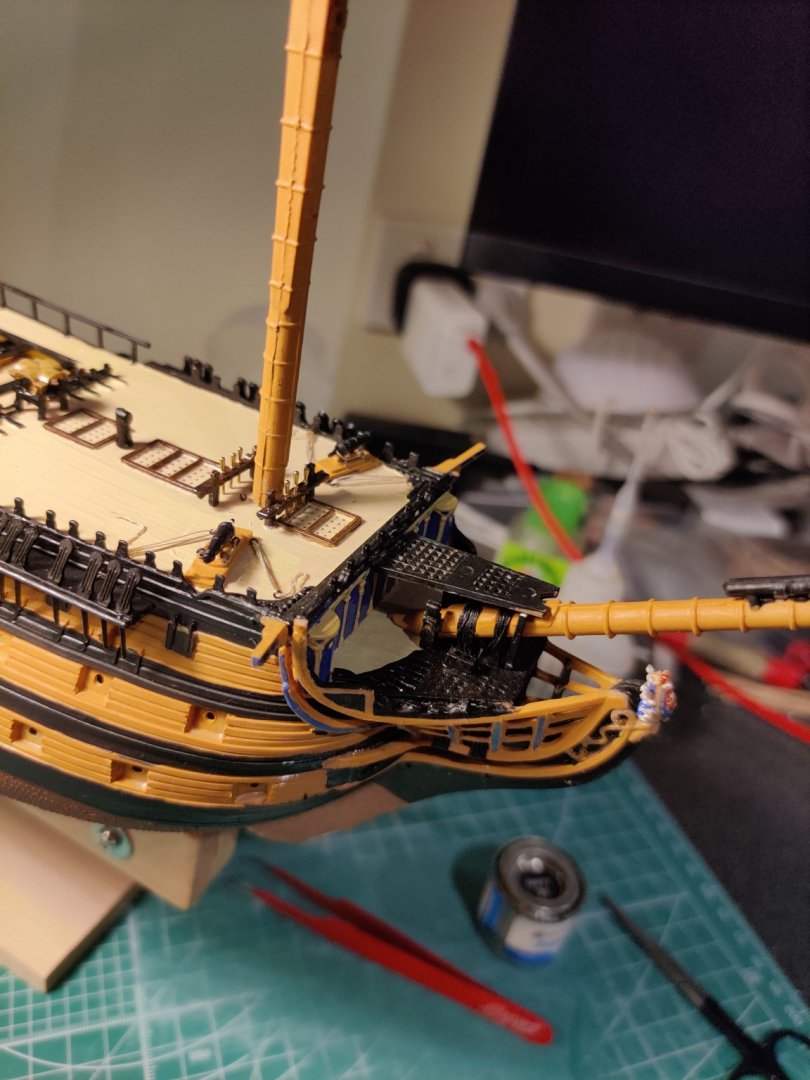
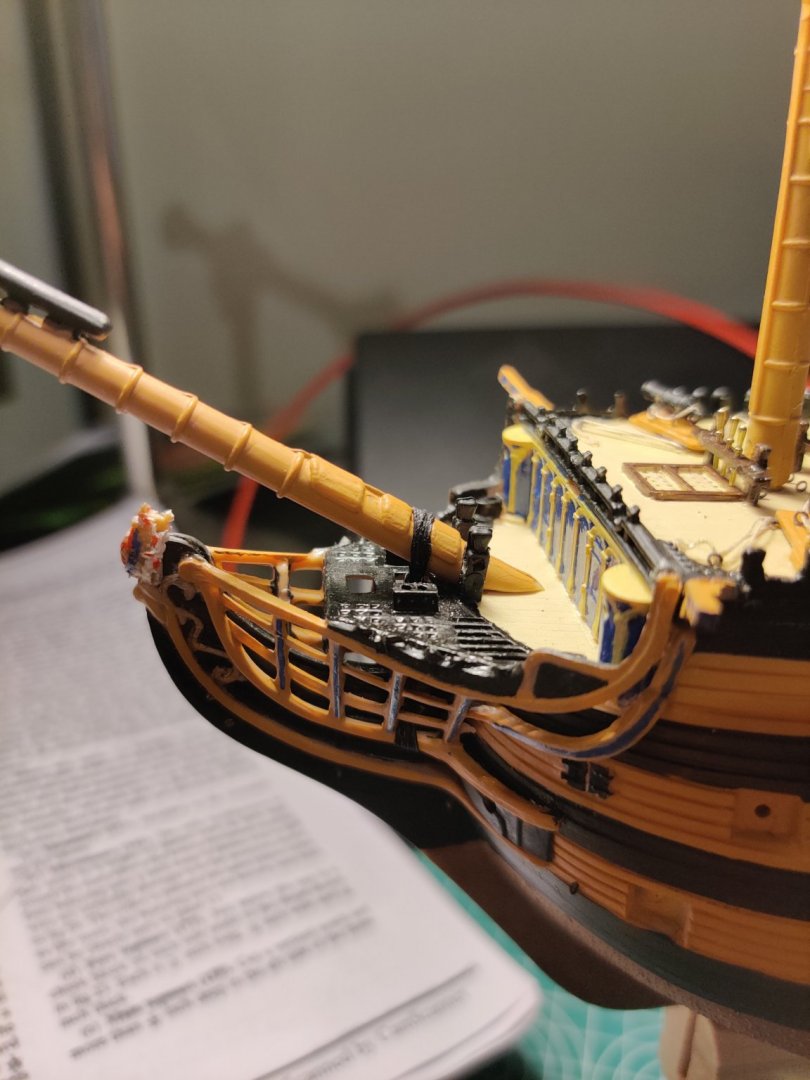
Completed the gammoning of the bowspirit and hurray, I was able to fit in the Marine's walk support with some manipulation after all (my backup plan was to have snap the "wishbone" in 2 to fit then cement them again). A little dry run to check the fit. The marine's walk still needs some slots expanded for the mainstay and main preventer stay collars later. Now I have to decide whether to add netting to this model before access will only becomd more difficult later.... For my shopping list, I will need to get some new fine triangular files and drill bits after snapping them too! Also I'm waiting on Longridge's book to arrive so I can make more sense of the rigging. I look forward to the day 3D printers become more affordable to purchase and also easy to use... I am still wrestling with the problem of making mast cleats (wonder if plastic sprue would be strong enough?) for this scale ship. So far Dafi/Daniel seems to have the best option with his 2-4mm etch kits. Will you add these to your Bounty and if so I'd be keen to learn from you

-
Thank you! Wish I was as resourceful as you... your scratch deadeye setup is fantastic and I especially like your chain plates made from sprue You must have incredibly steady hands to drill holes into your cannon barrels at that scale without snapping them.
-
Pulling up my chair to learn something from you if you don't mind. Amazing work and great use of scrap plastic to "pimp" the old kit . I like your copper hull idea in particular. Looking forward to seeing more of your progress
-
Moving ahead with the assembly instructions by Hackney... Gammoning partly installed, but then I am facing a dilemma... Should I glue on the Marine's walk supports first before gammoning the forward bowspirit section? I fear I may not be able to angle the supports in to fit after this is done. I guess I could bite the bullet and glue it on first, but that would make threading more difficult. Ponder ponder 🤔 (sage advice anyone? 😁 )
-
Amazing attention to detail and such clean work!
-
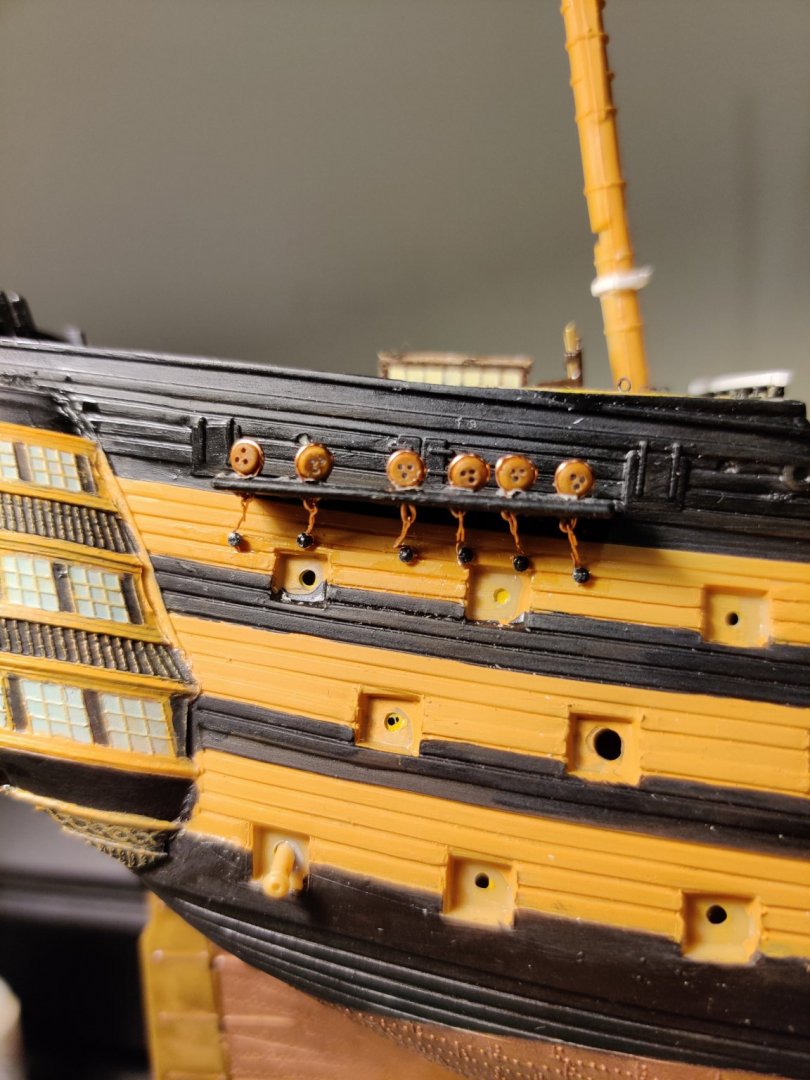
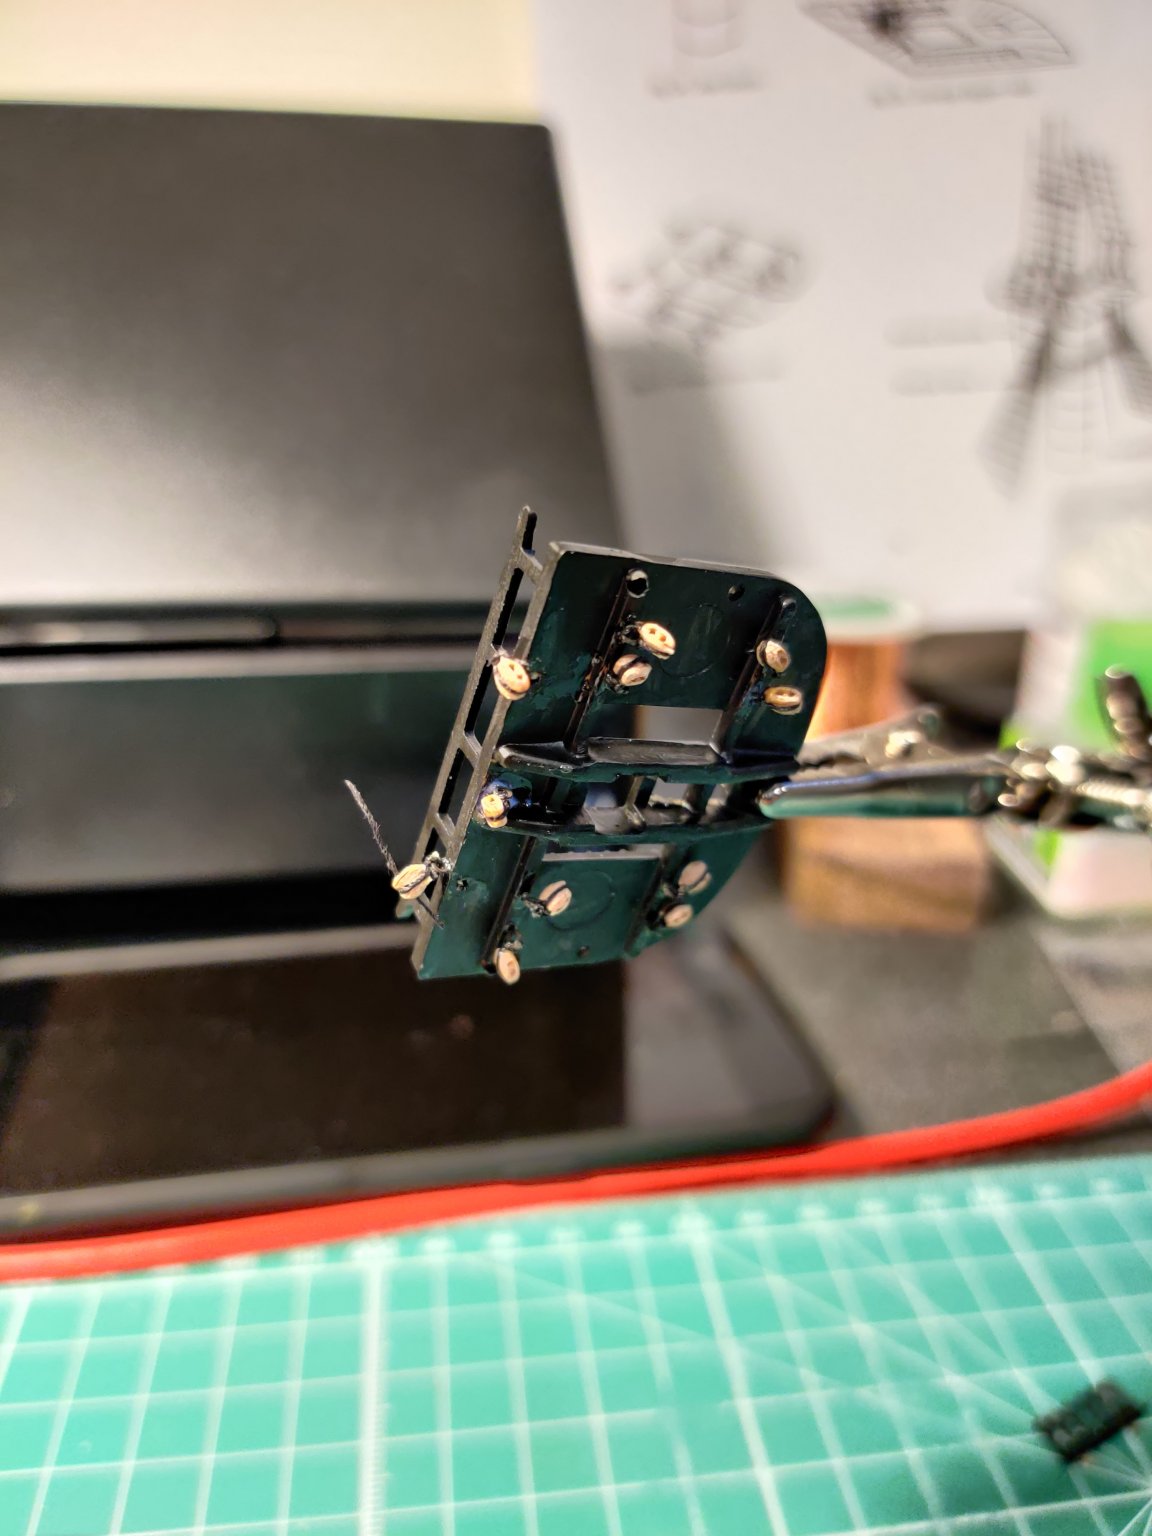
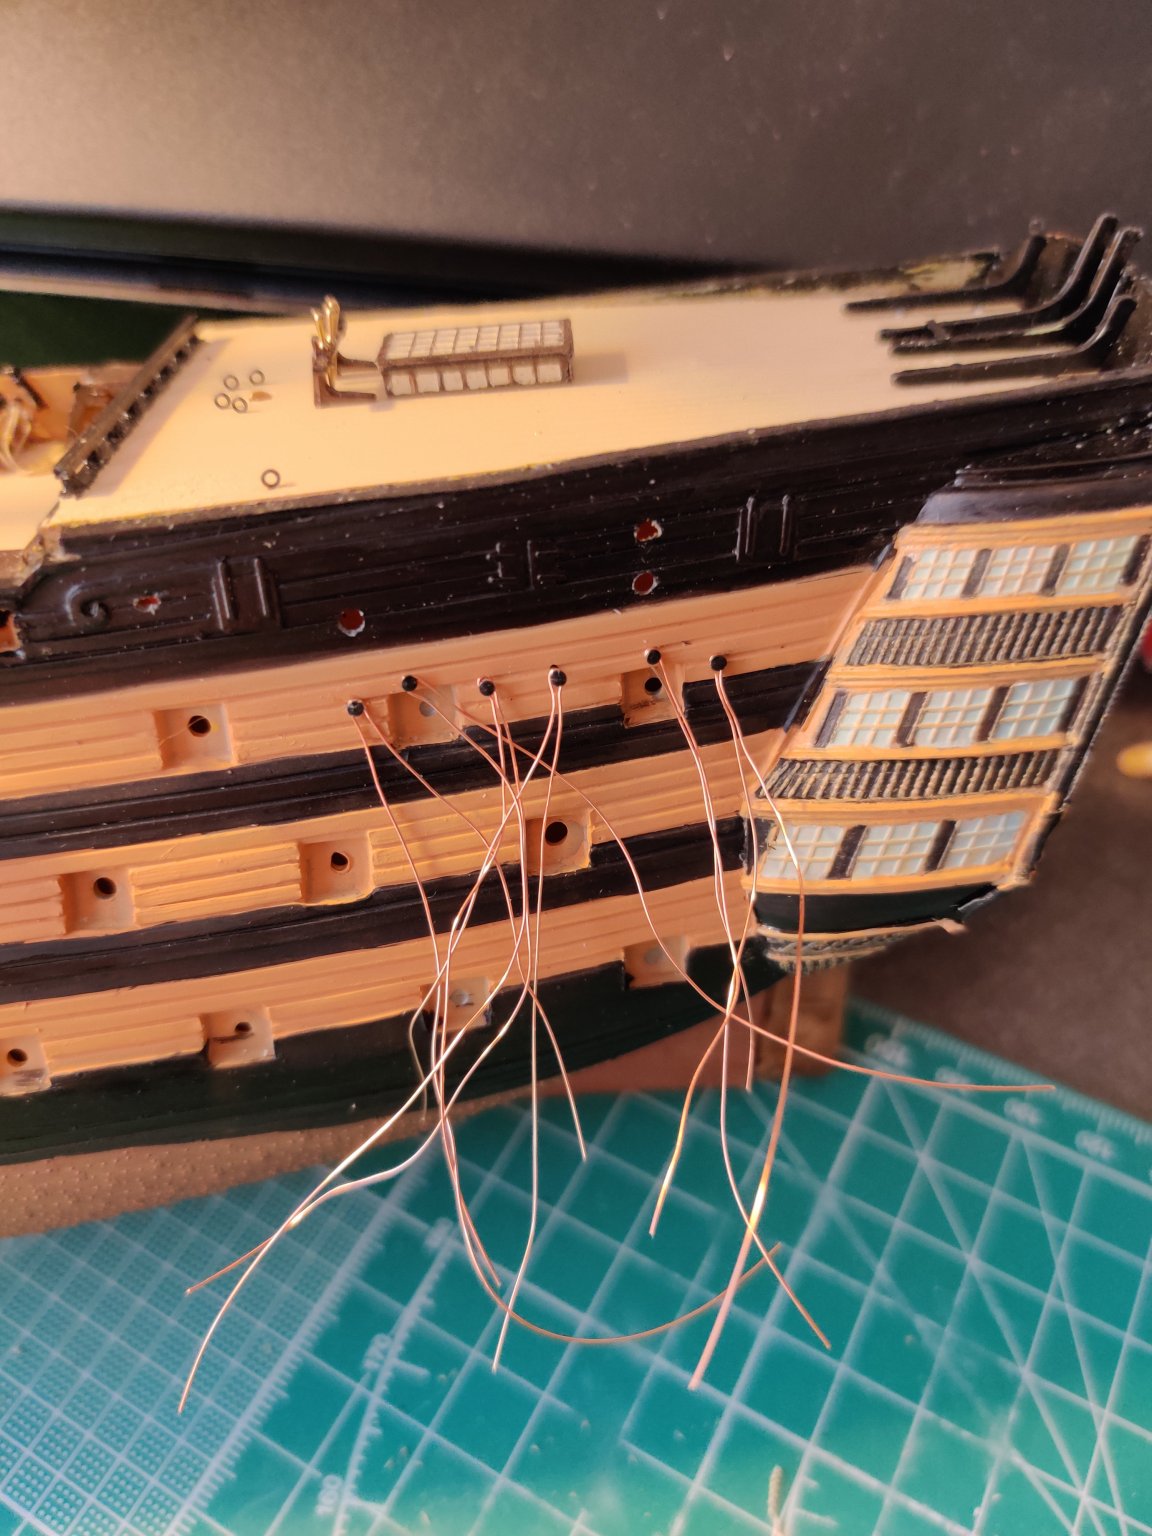
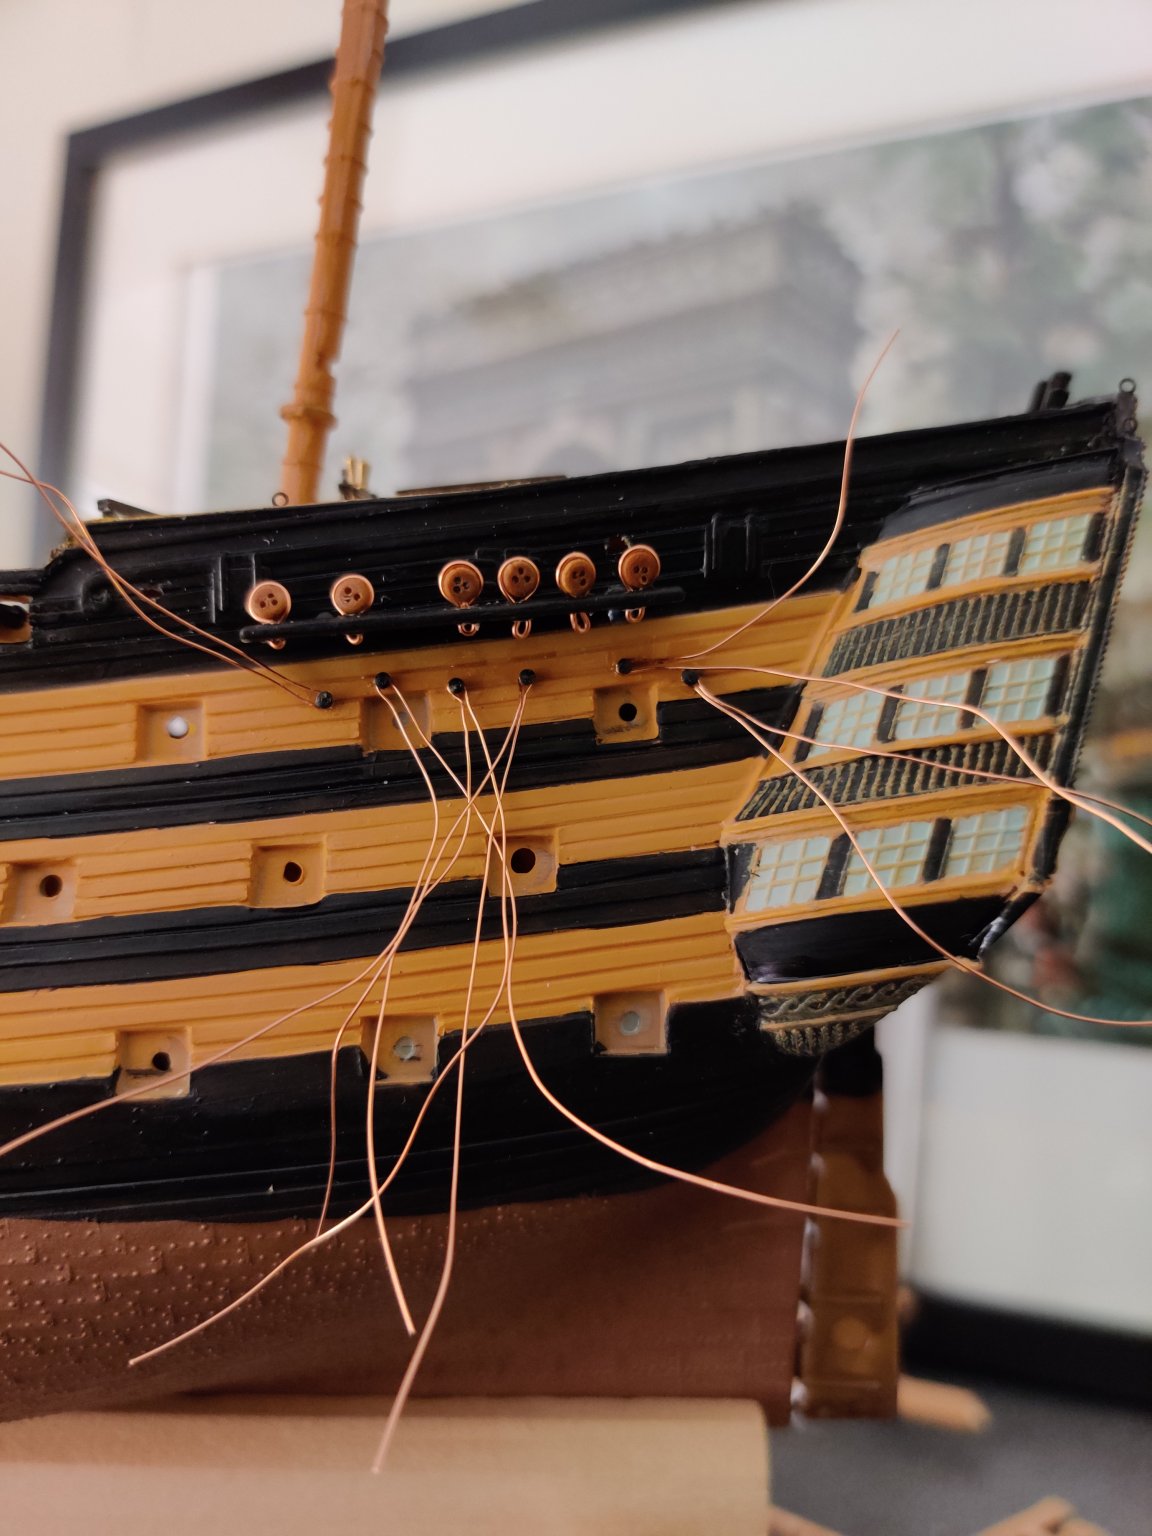
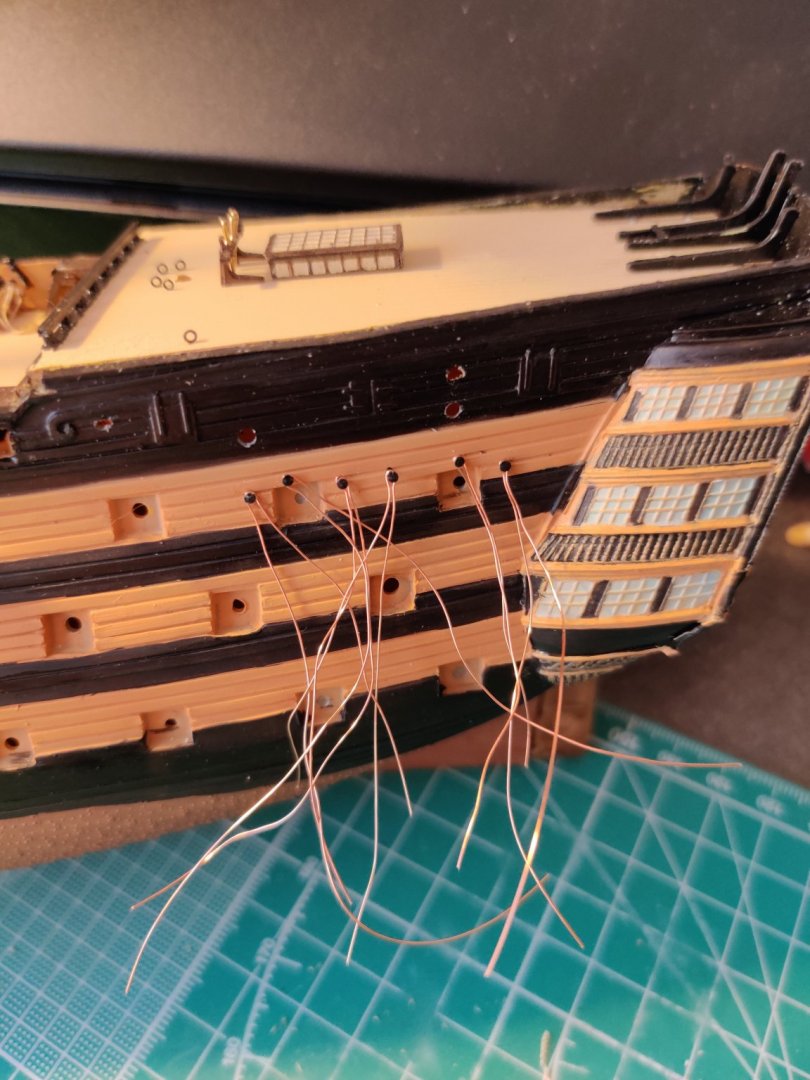
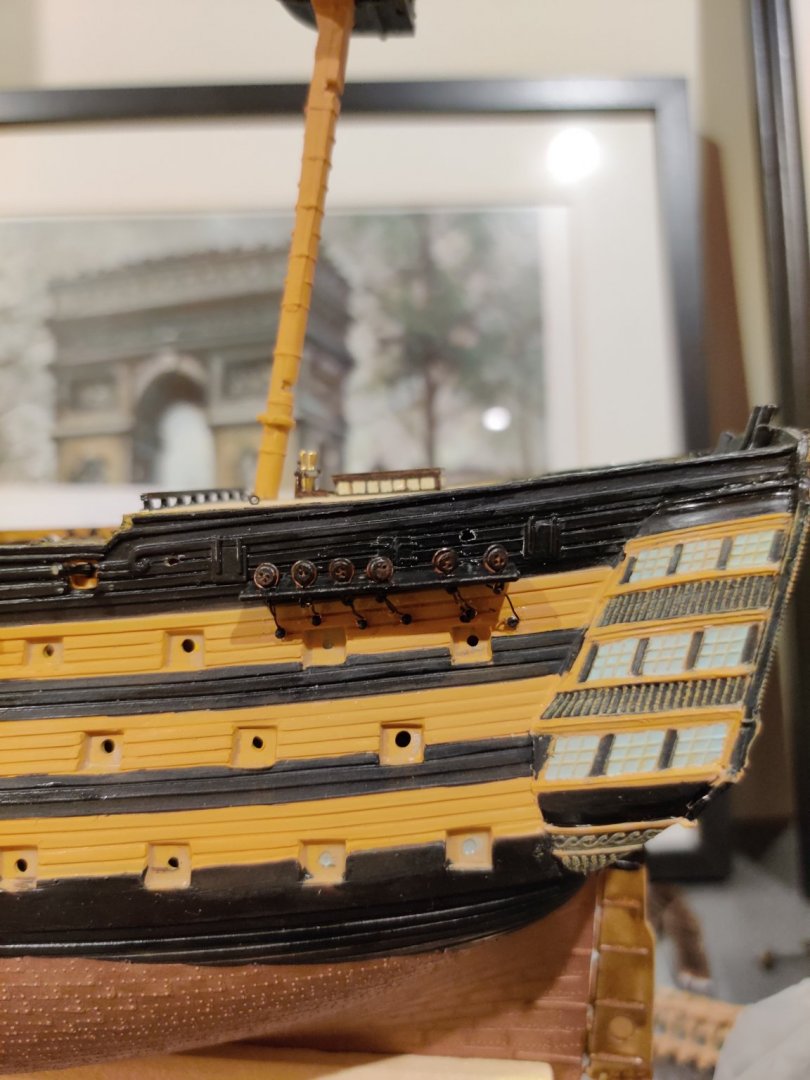
I realised later it is much easier to tie the copper wire onto the pins first, glue the pins into the hull, then glue the channels into place. Once set, I could then thread the wire through the deadeye bolts with ease. Note, the above picture shows the mizzen channel upside down (i.e. deadeyes positioned back to front ...) 🤬 Fixed the deadeye positions on the channel, tied the wire, then applied black paint by lightly dry brushing them (this seems to prevent the blocking of the threading holes in the deadeyes i was so afraid of earlier)

-
Thanks mate, couple of days of watery eyes and wearing Darth Vader masks, but luckily a storm hit us yesterday which cleared the smog a little...
-
Thanks, shipman. I am using this build to pickup as many new skills as I can although I totally agree sometimes my ambition has got the better of me... But I plan to finish what I started (eventually) and am in no real hurry . Since I've committed to cutting off the kit molded deadeyes, I plan to soldier on with the rest of the channels (perhaps the main and fore channels will be easier to manage since the chain plate length is nearly double in length). Haven't decided what to do with the upper masts yet, I now realise the deadeyes should be 1-1.5mm (think this is far too small to make for my ability) to do it justice. I fear I may have to use the kit deadeyes which is a pity in terms of consistency... We shall see. Thank you for the tip for opening the square ports, hatches and windows. I picked up some fine triangular files too late unfortunately. They would have helped for cleaning the mould lines off the masts earlier too (I had earlier spent ages cleaning off with the back of a scalpel blade but lost patience)! I'm looking forward to the rigging, but there is still much to complete before we get there.
-
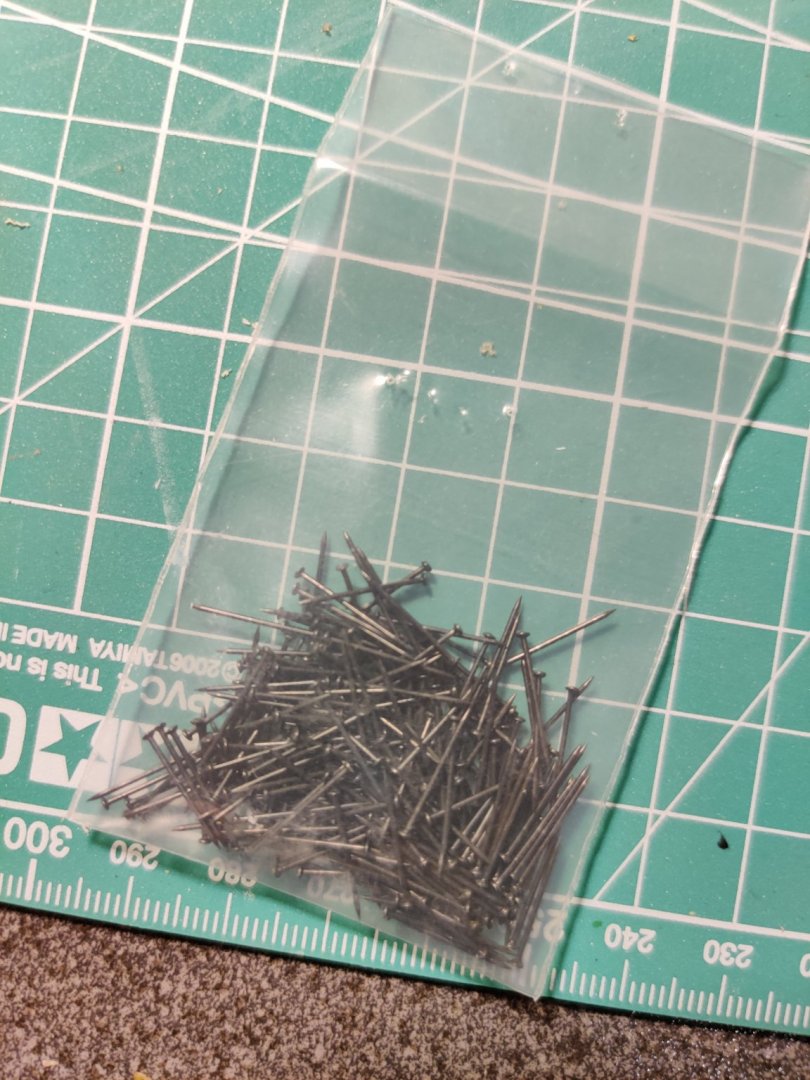
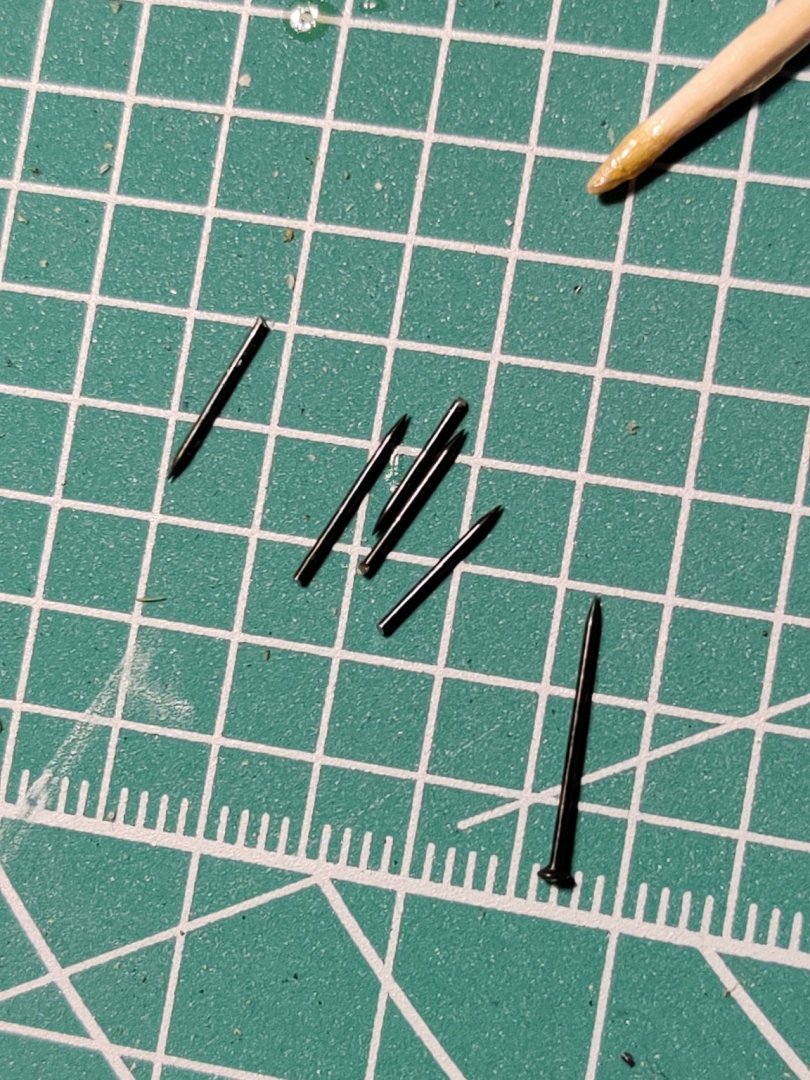
Well I gave it a shot and frankly am wondering whether I should have used thread instead of copper wire to simulate the chain plates. By the way I found some model train track fixing pins with 1-1.5mm heads from a hobby shop. After some decapitation of these pins, they did a good job holding the "chain plates" in place. I looped the 0.3mm copper wire around the pin heads and although it was fiddly, here is the result (mizzen channels to start as they require the least number of deadeyes) Wasn't easy getting the needle nose pliers to bite so used precision tweezers to clamp the wire into a straight line (sort of). I will test out water based black paint on the deadeyes later as I worry enamel paint could block the threading holes which are smaller than my finest precision drill bit. Maybe there is a smaller size I can buy?