.jpeg.9d9bab3fa66f4349cae83f4155046894.jpeg)
rkwz
-
Posts
241 -
Joined
-
Last visited
Content Type
Profiles
Forums
Gallery
Events
Everything posted by rkwz
-
.thumb.jpeg.d239701c2f7247a100a3f432822c4eda.jpeg) Really? Just checked out your Sherbourne and they look great. Btw she is a fantastic model To be honest I don't really know if the 0.3mm wire will work as chain plates yet, seems a little too malleable but we shall see when I get my pins in haha.
Really? Just checked out your Sherbourne and they look great. Btw she is a fantastic model To be honest I don't really know if the 0.3mm wire will work as chain plates yet, seems a little too malleable but we shall see when I get my pins in haha. -
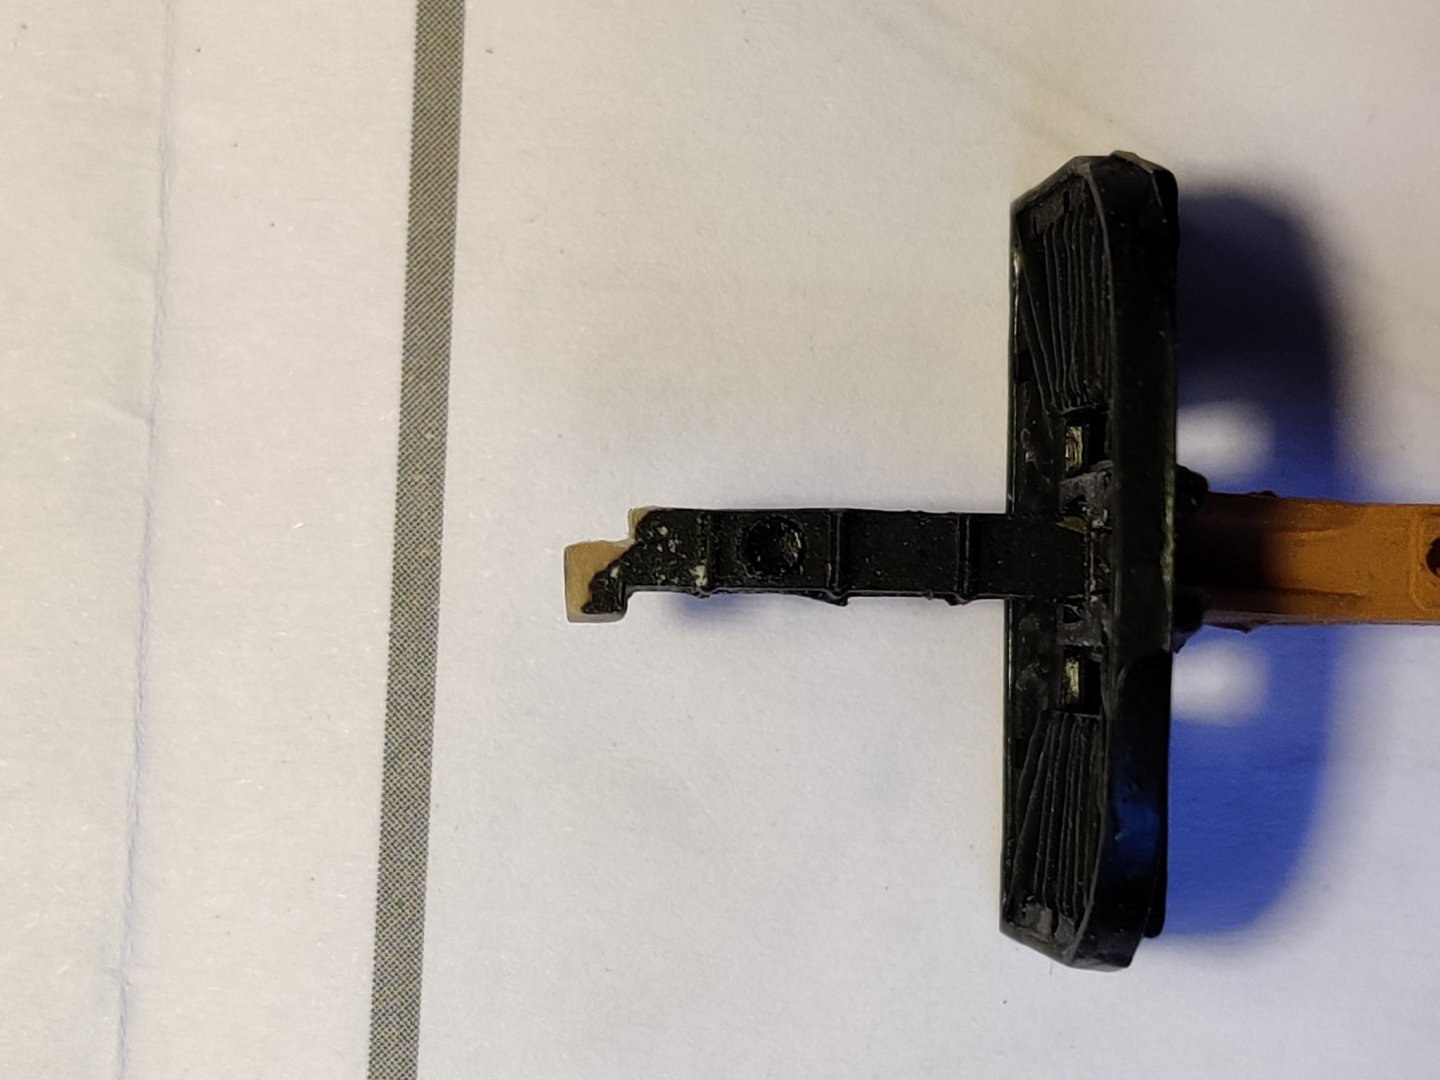
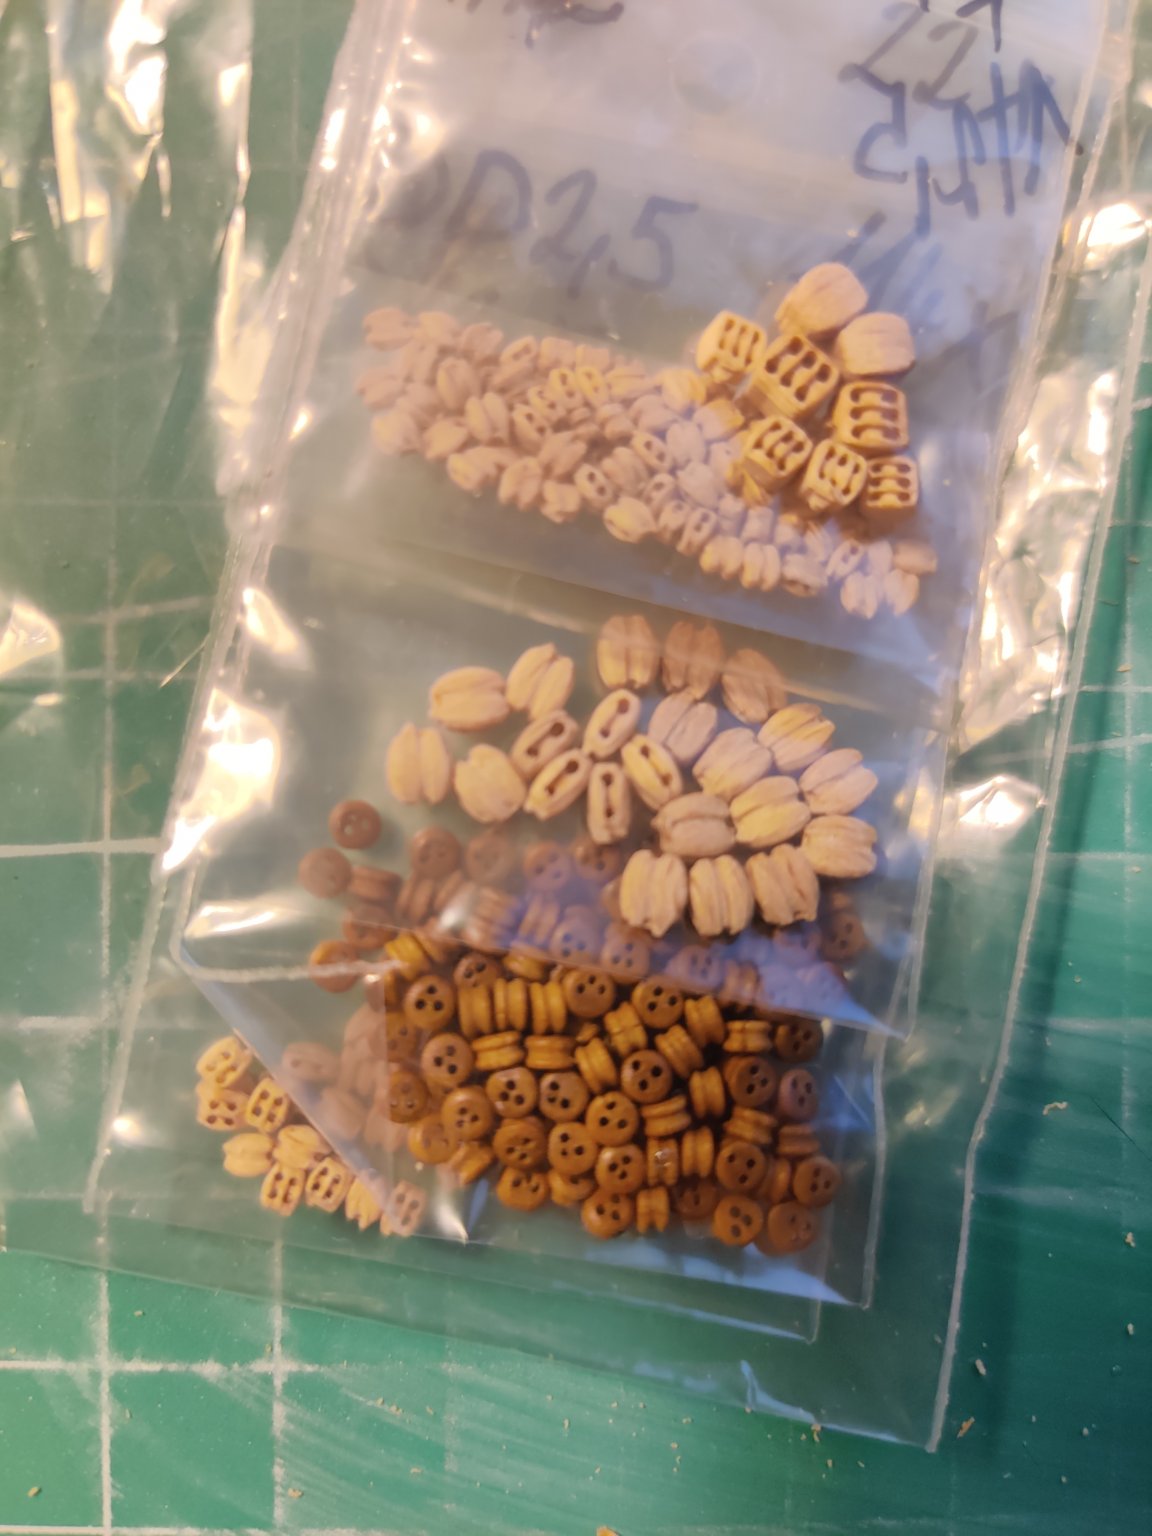
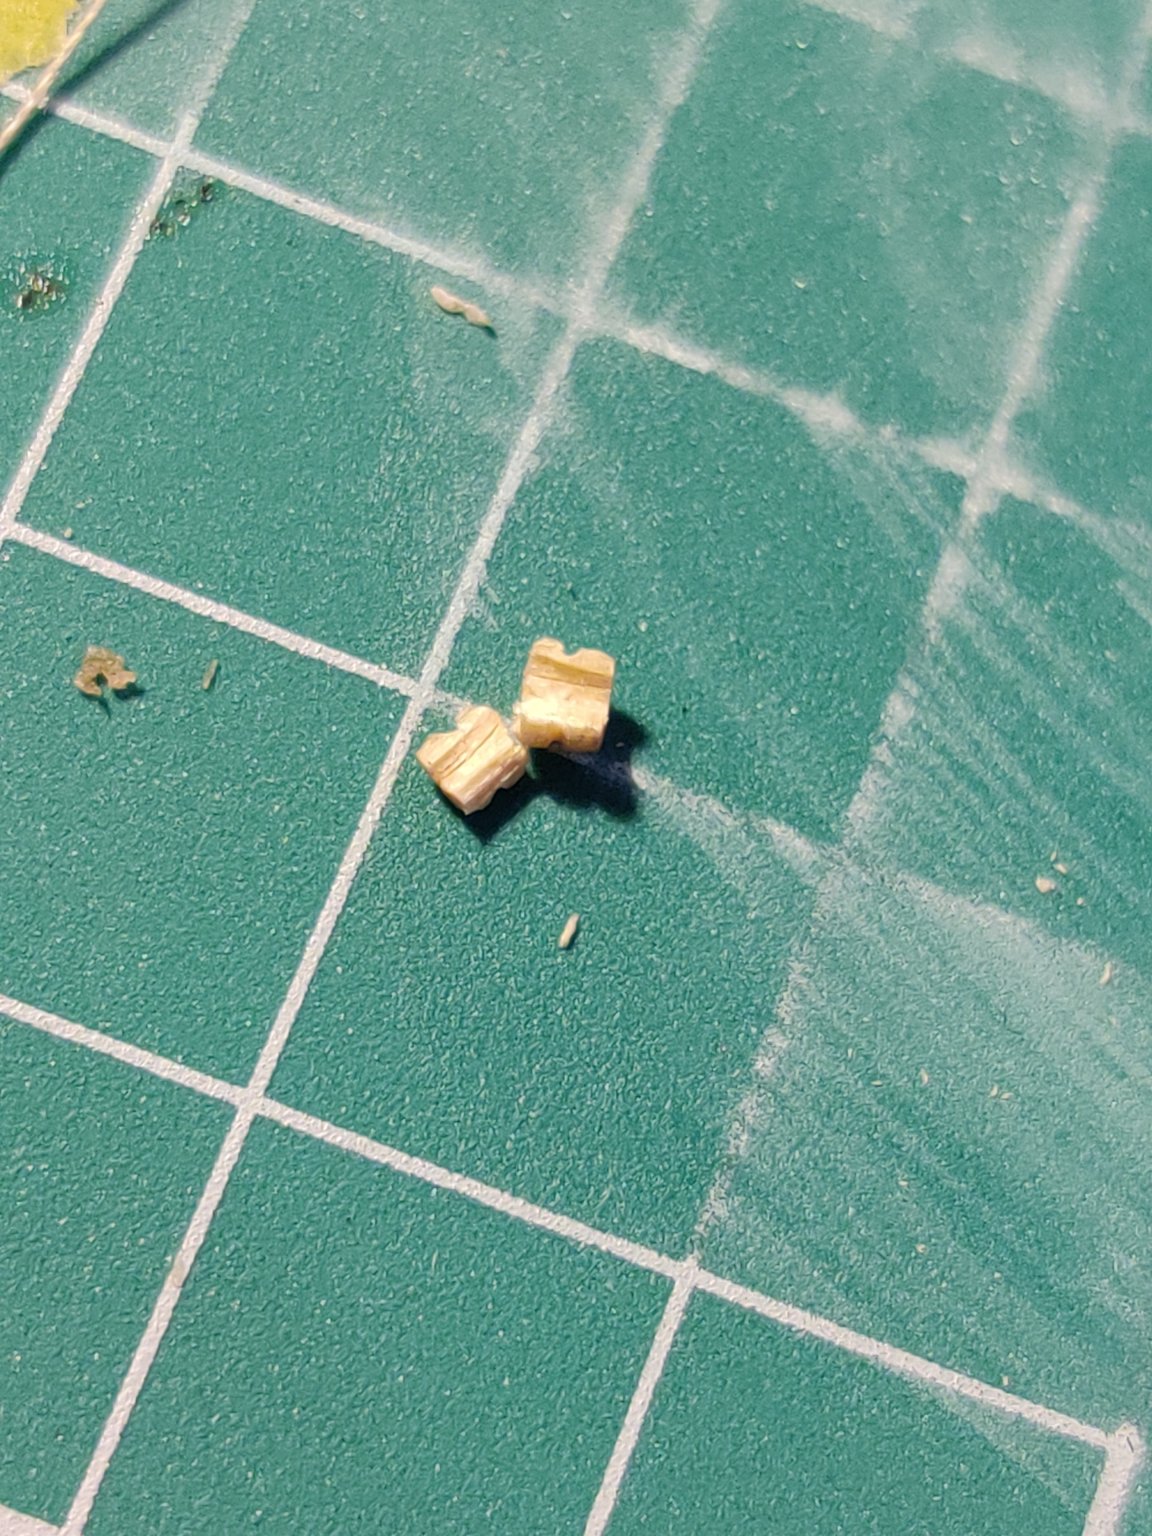
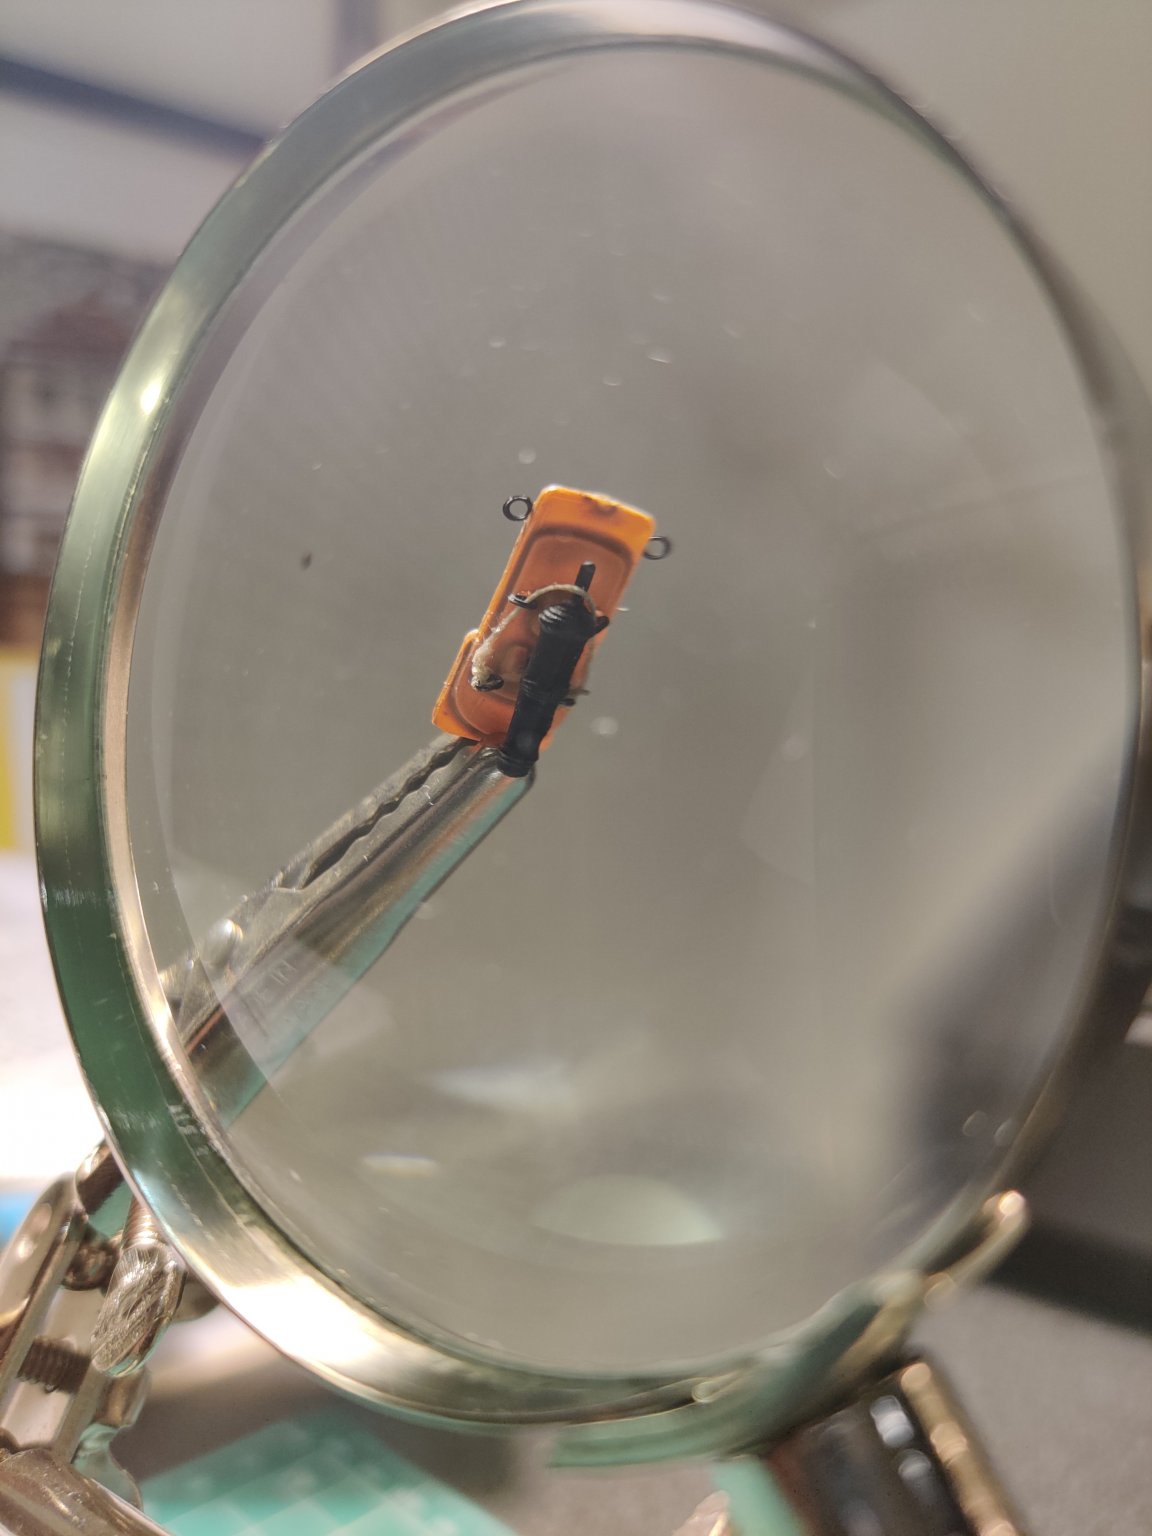
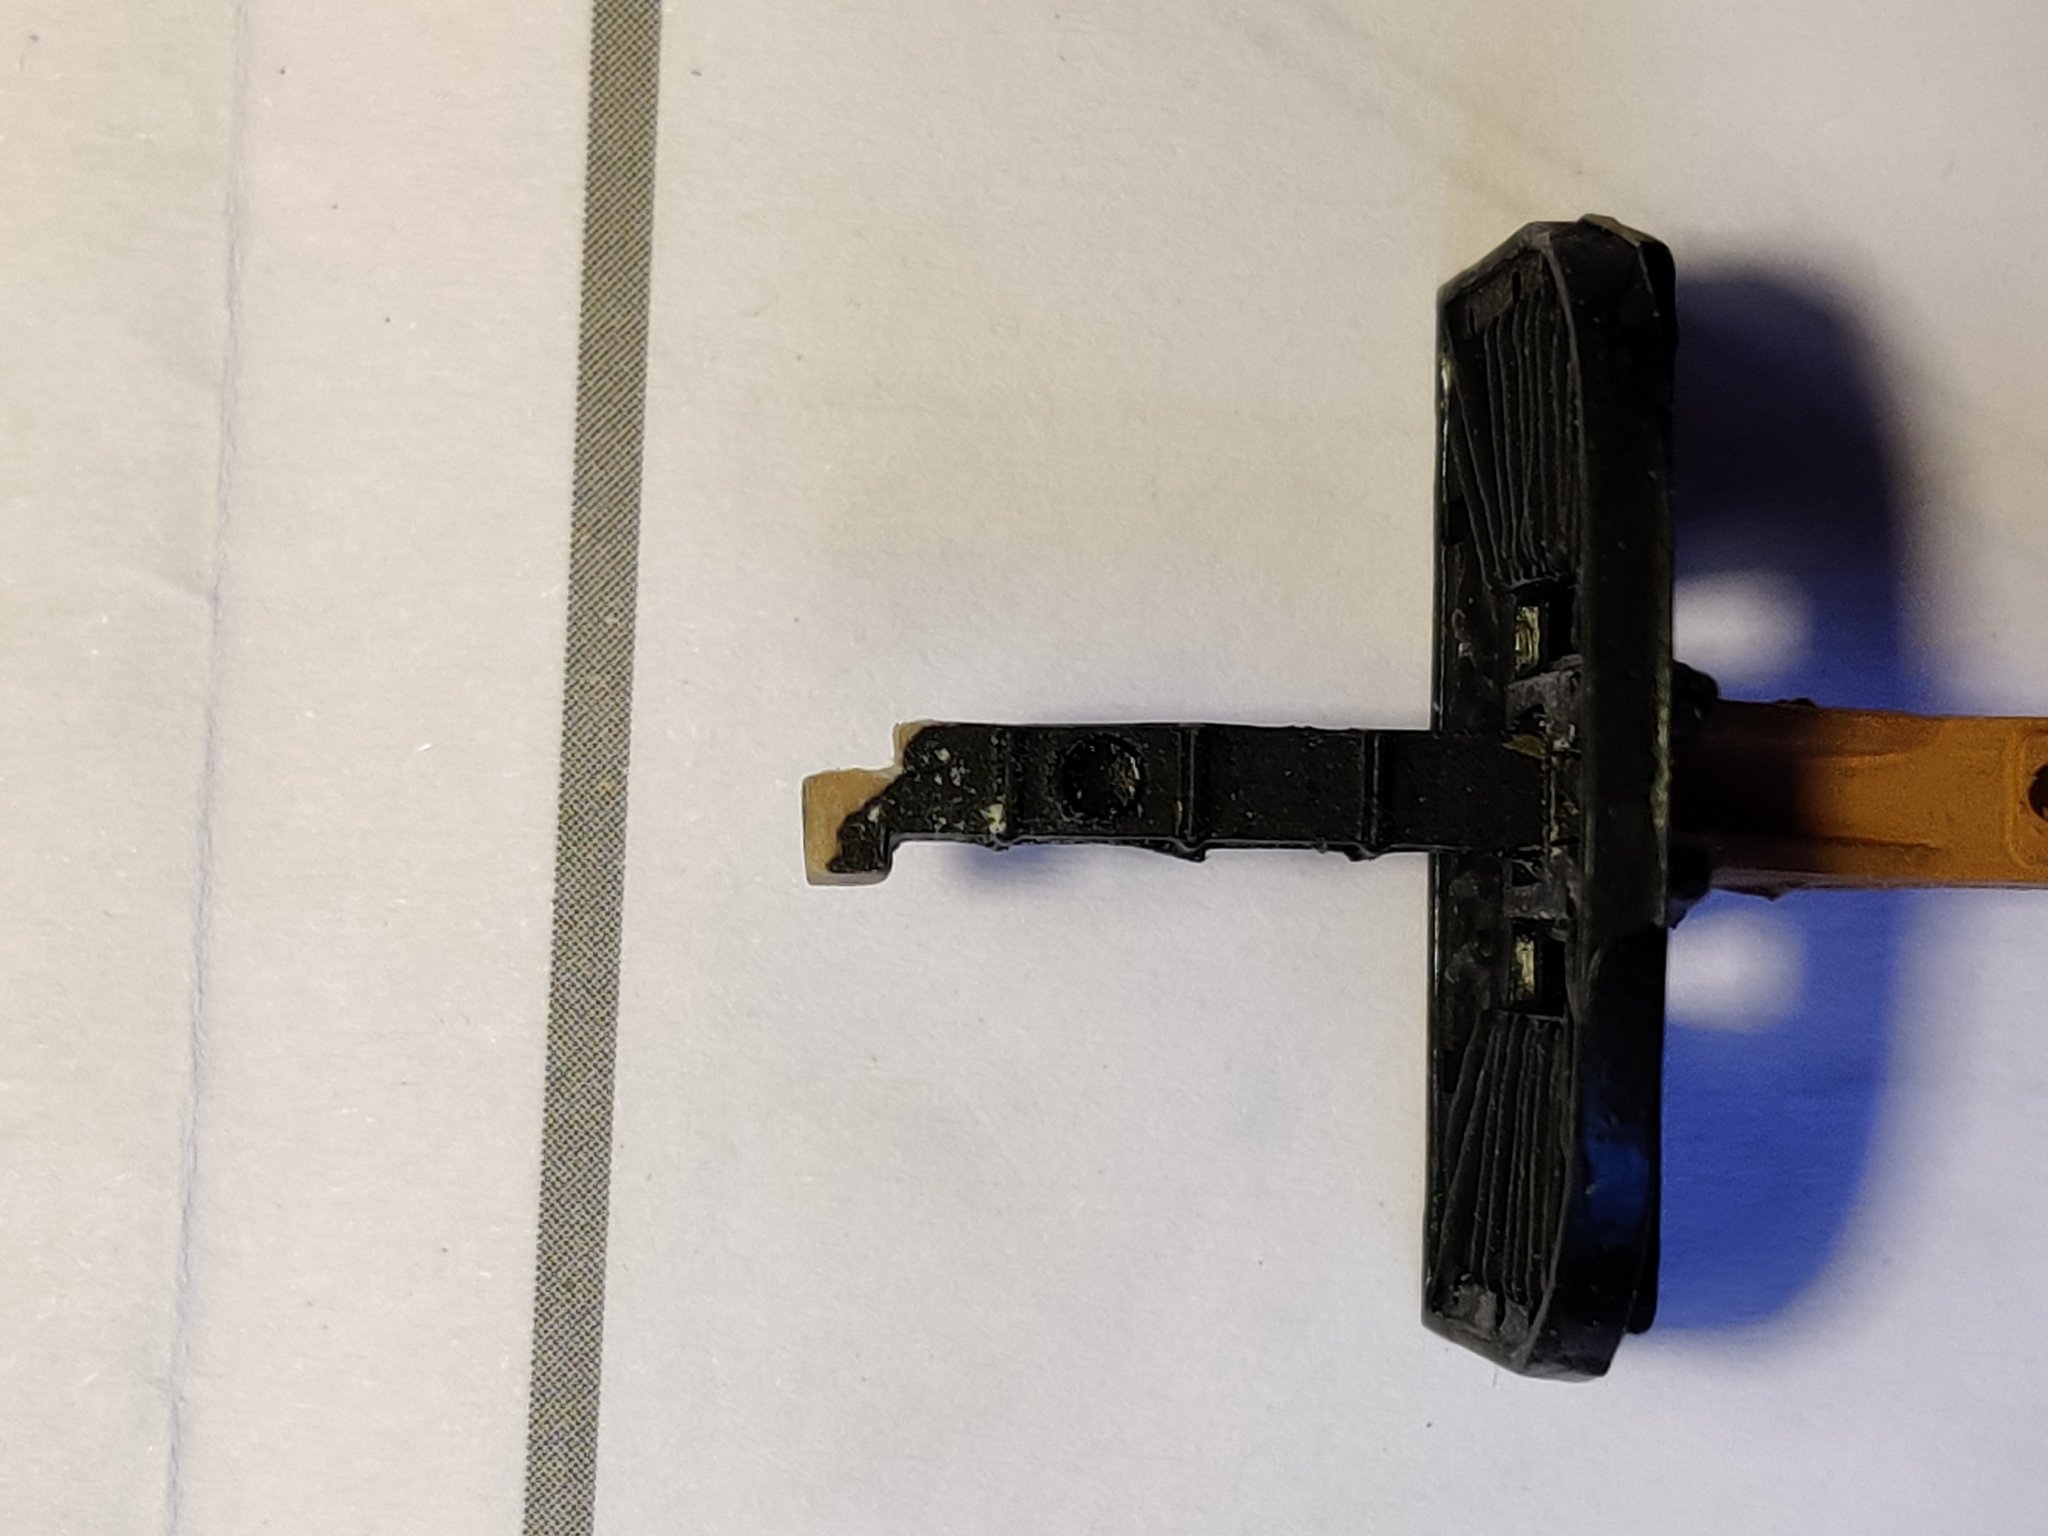
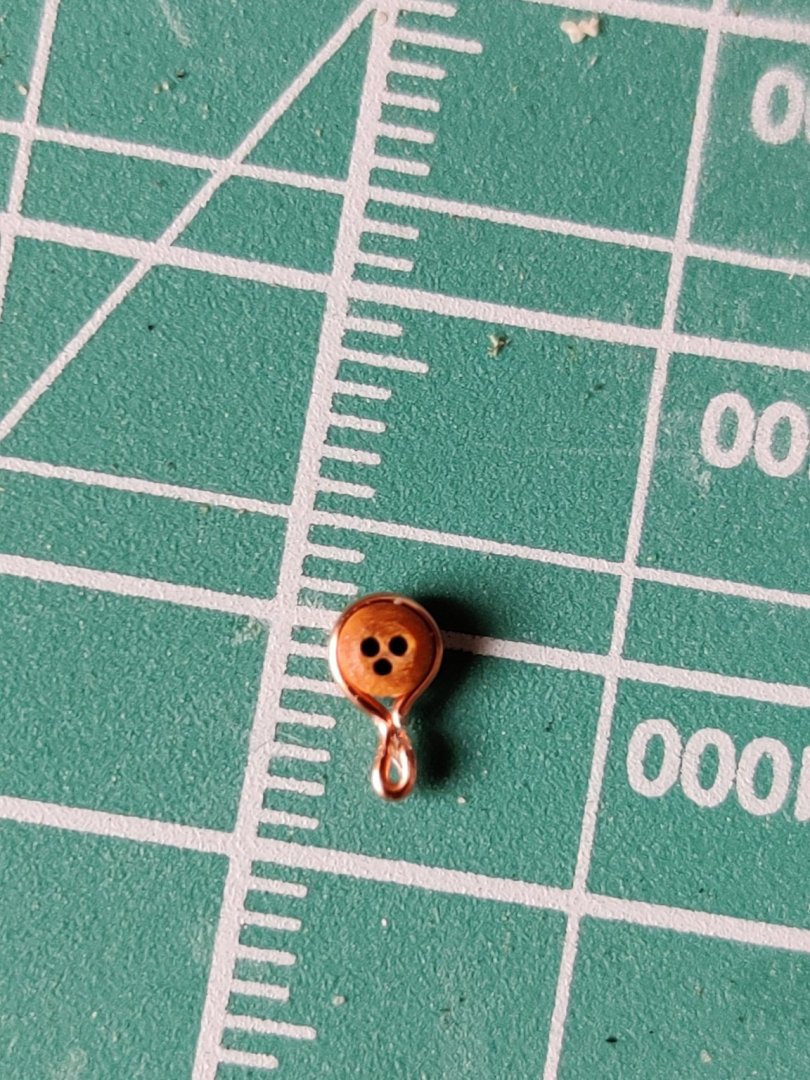
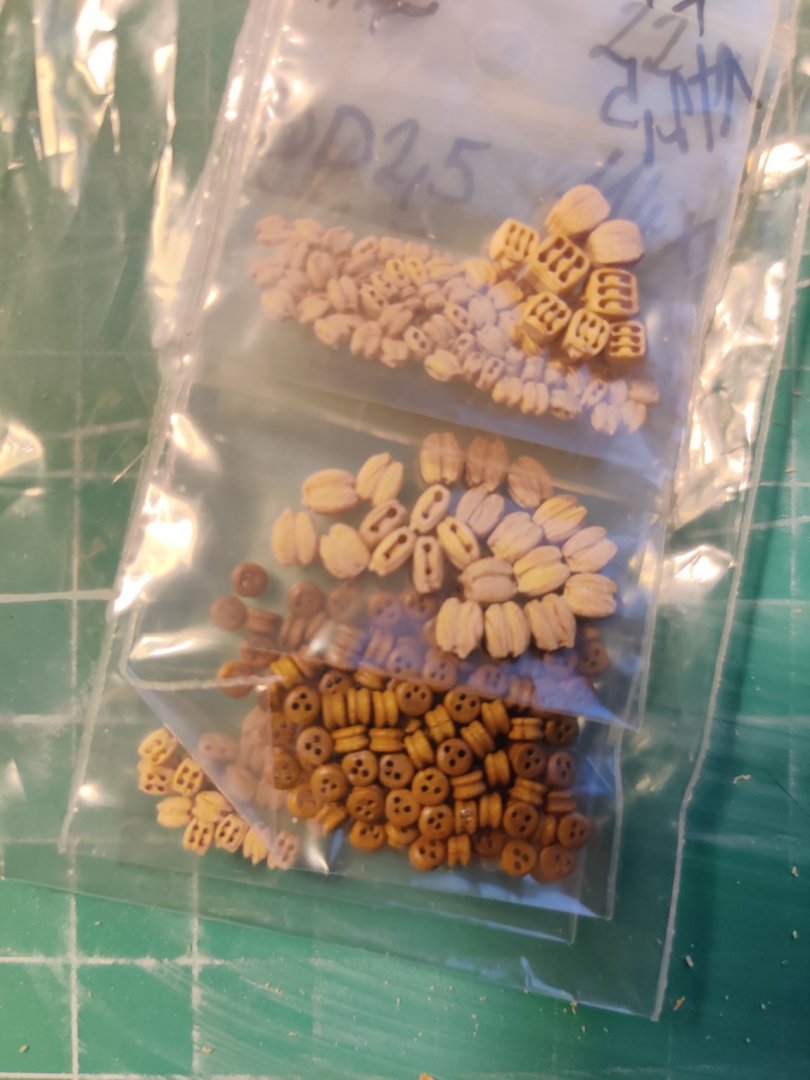
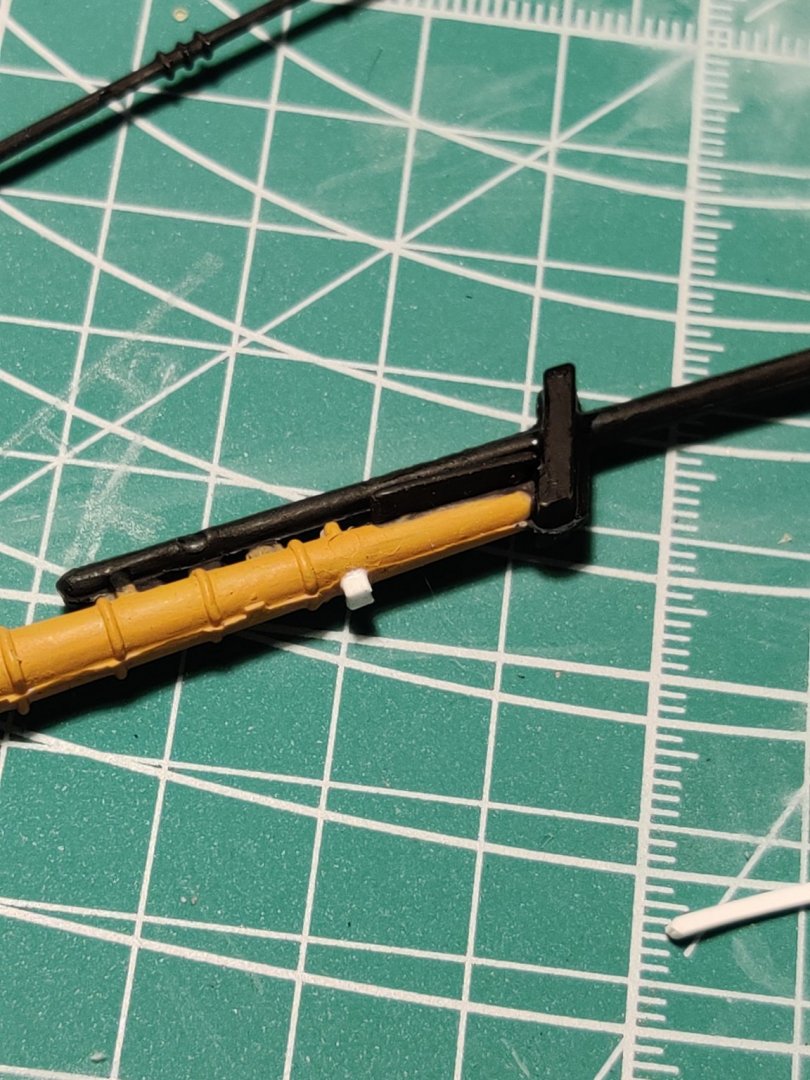
Made a little batch of deadeyes then suddenly remembered the golden rule to do a dry fitting first! Luckily it fit although I'll need to add a little extra length at the bottom to compensate for the thickness of the channel. 0.3mm copper thread to simulate chainplates (needs adjustment)

-
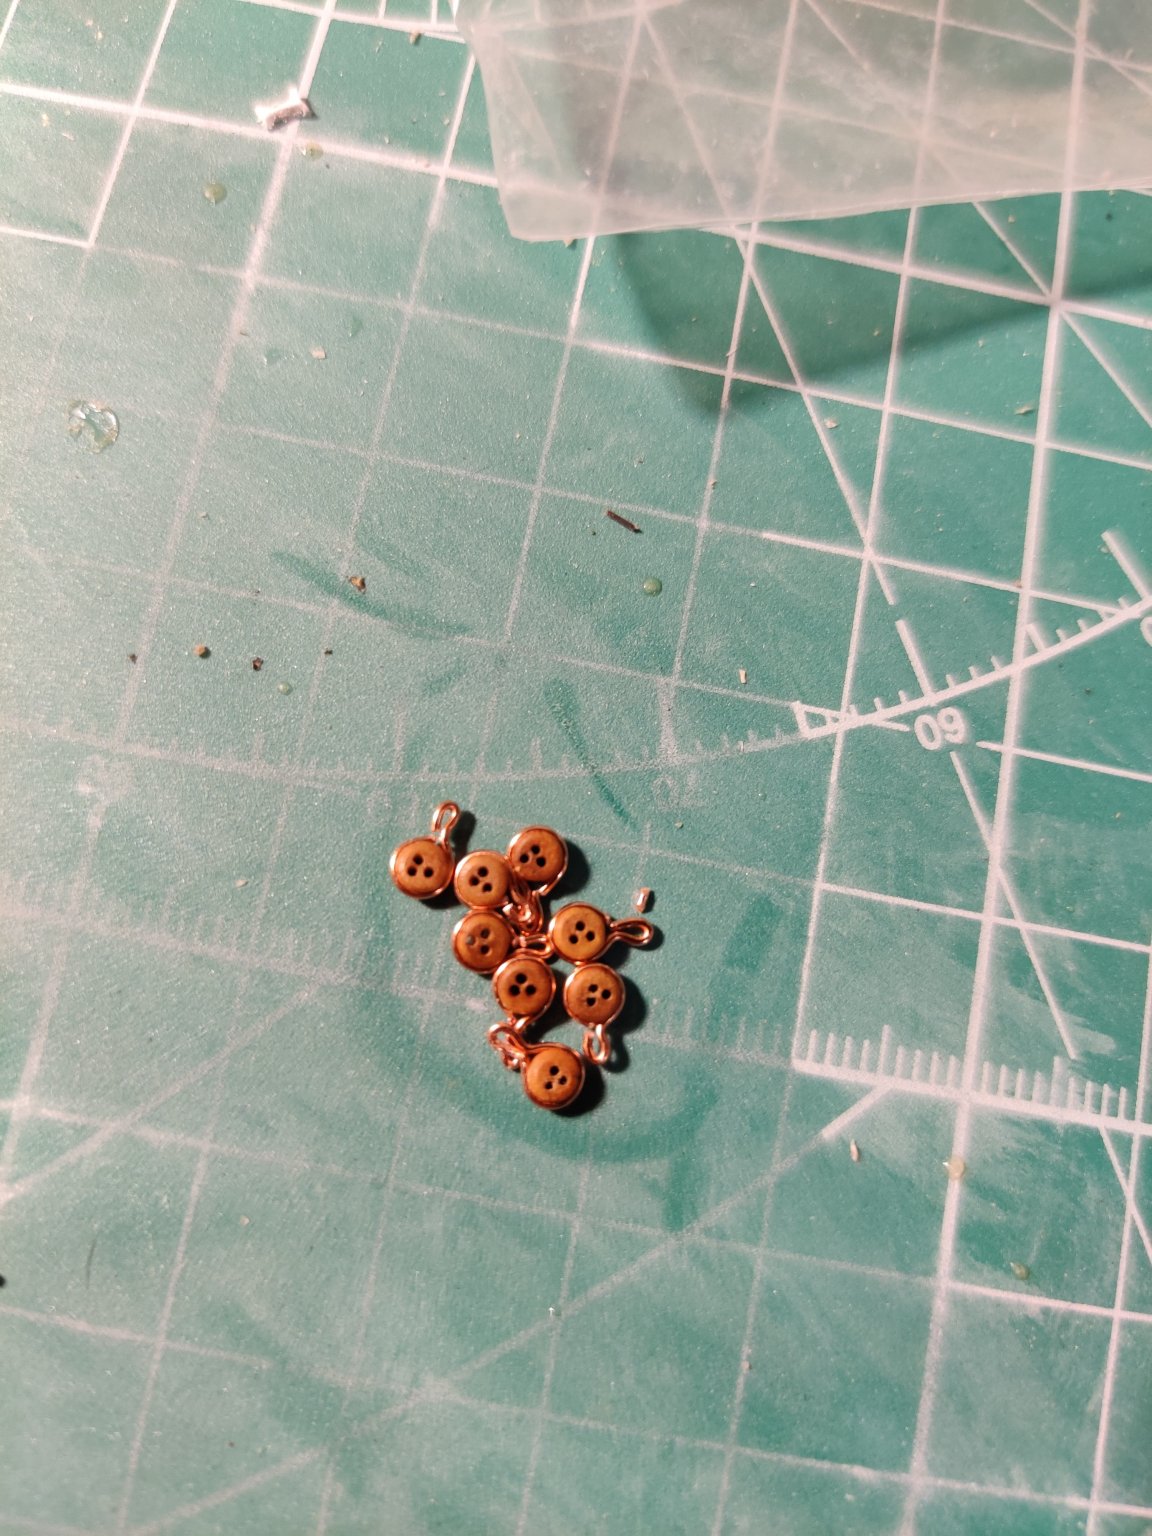
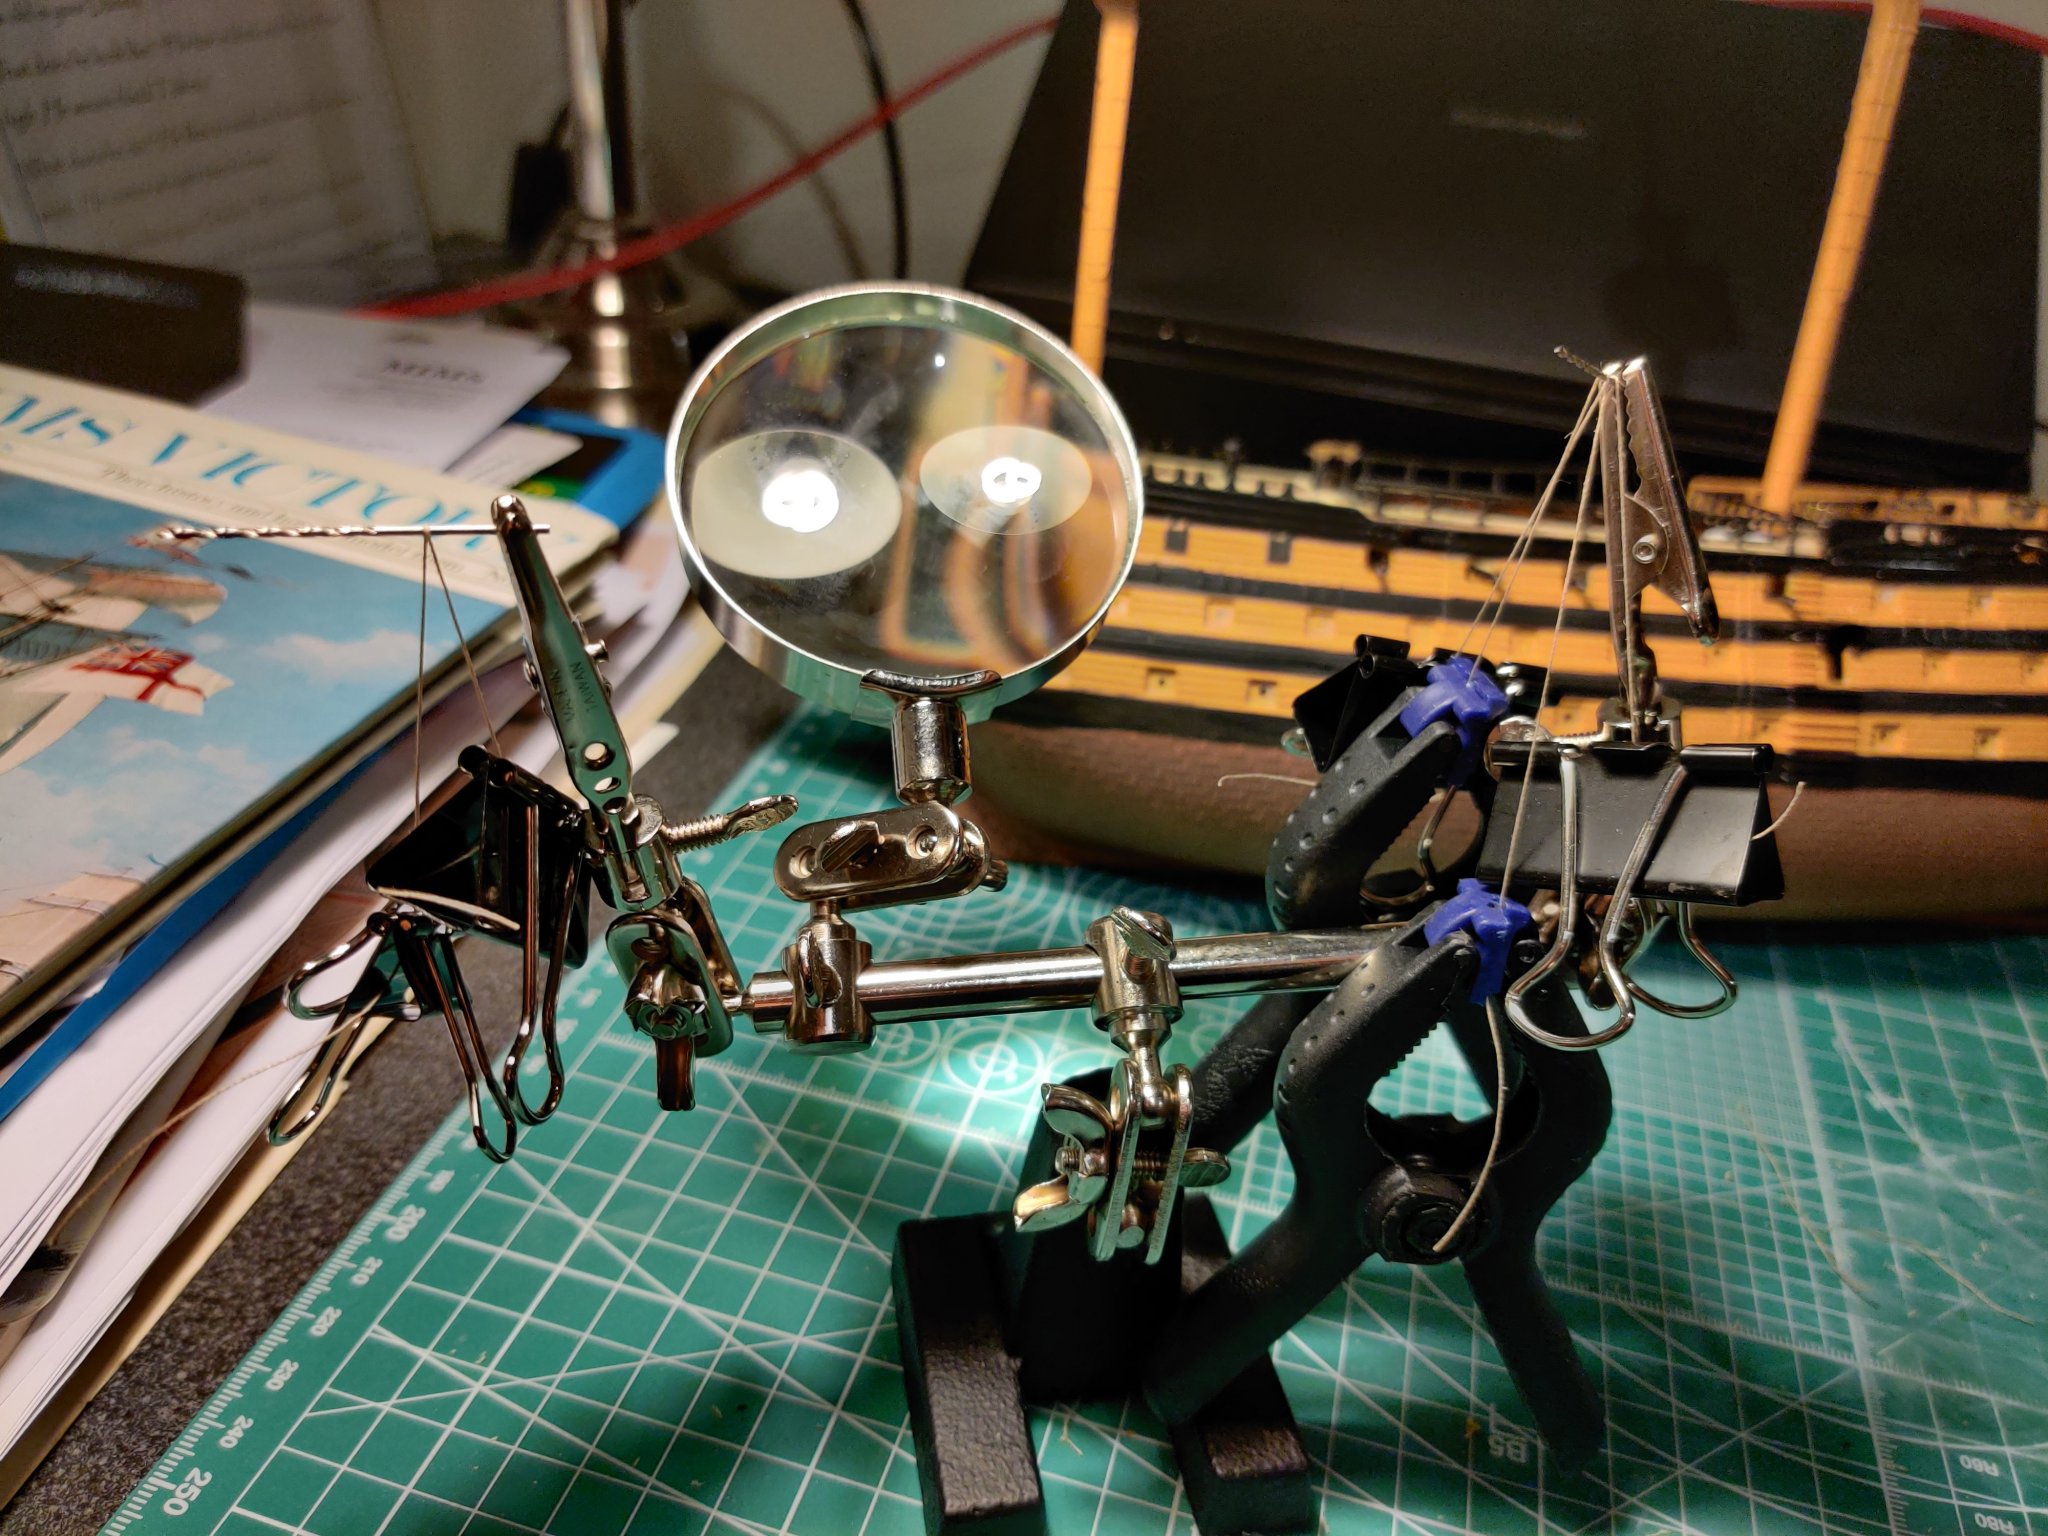
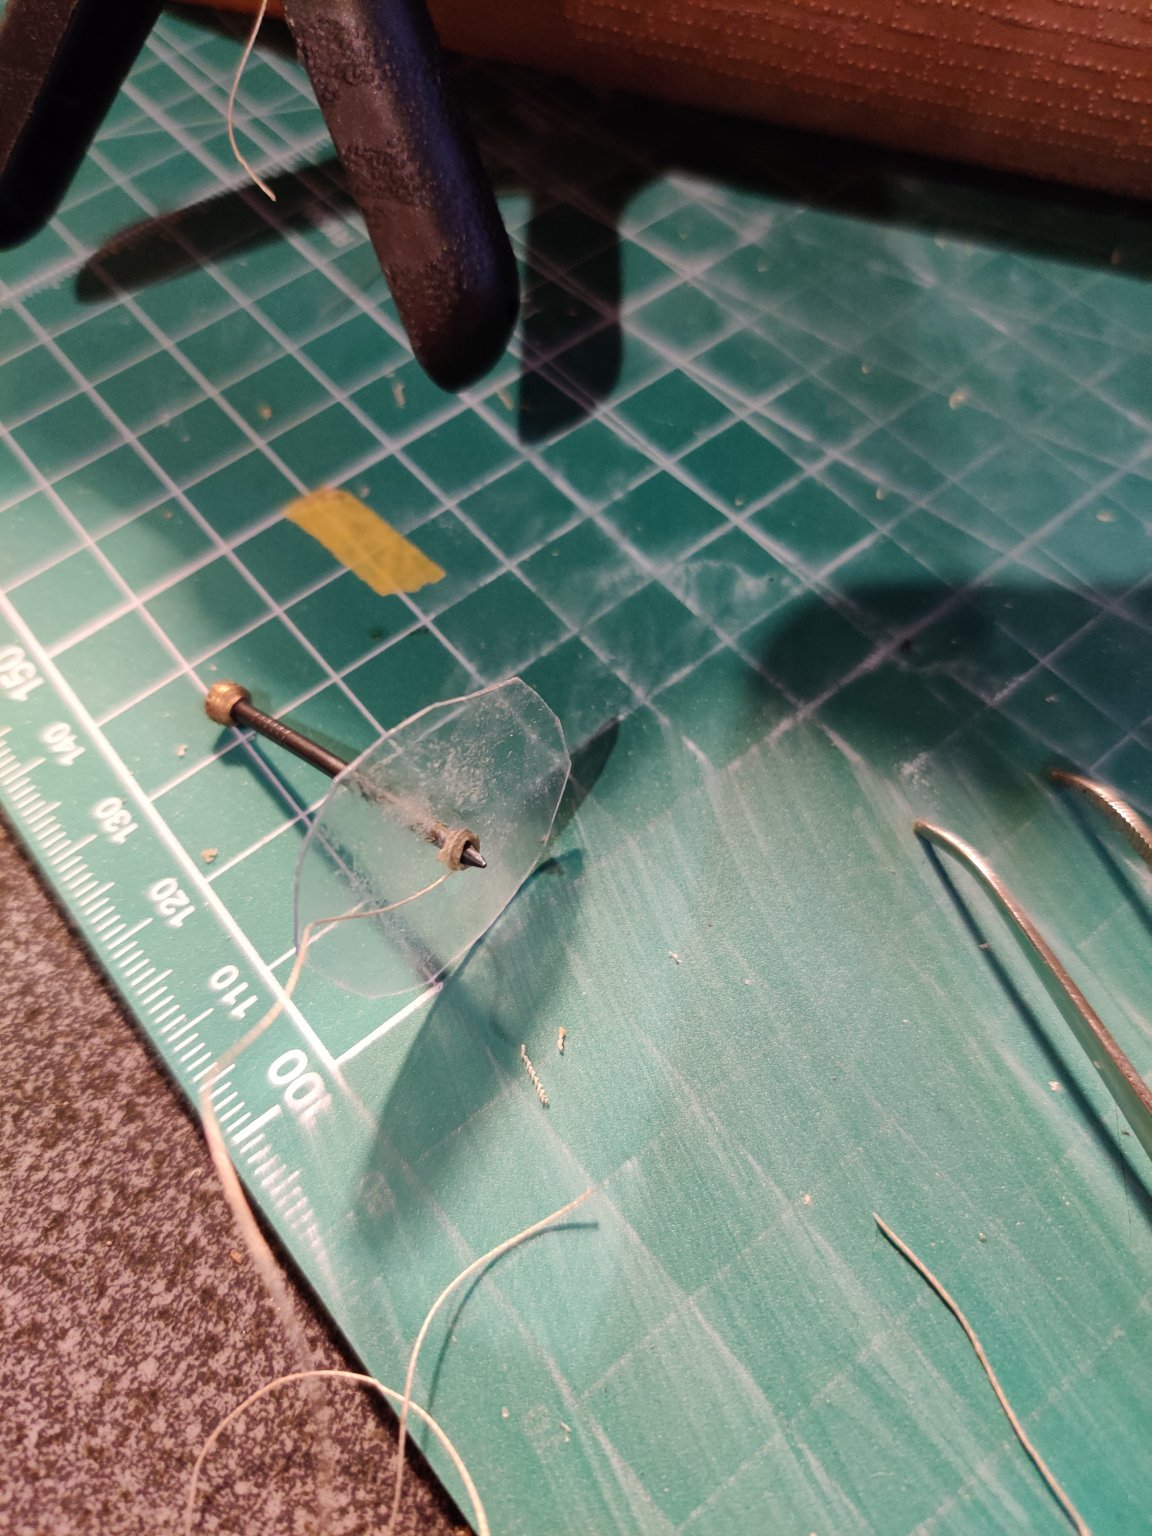
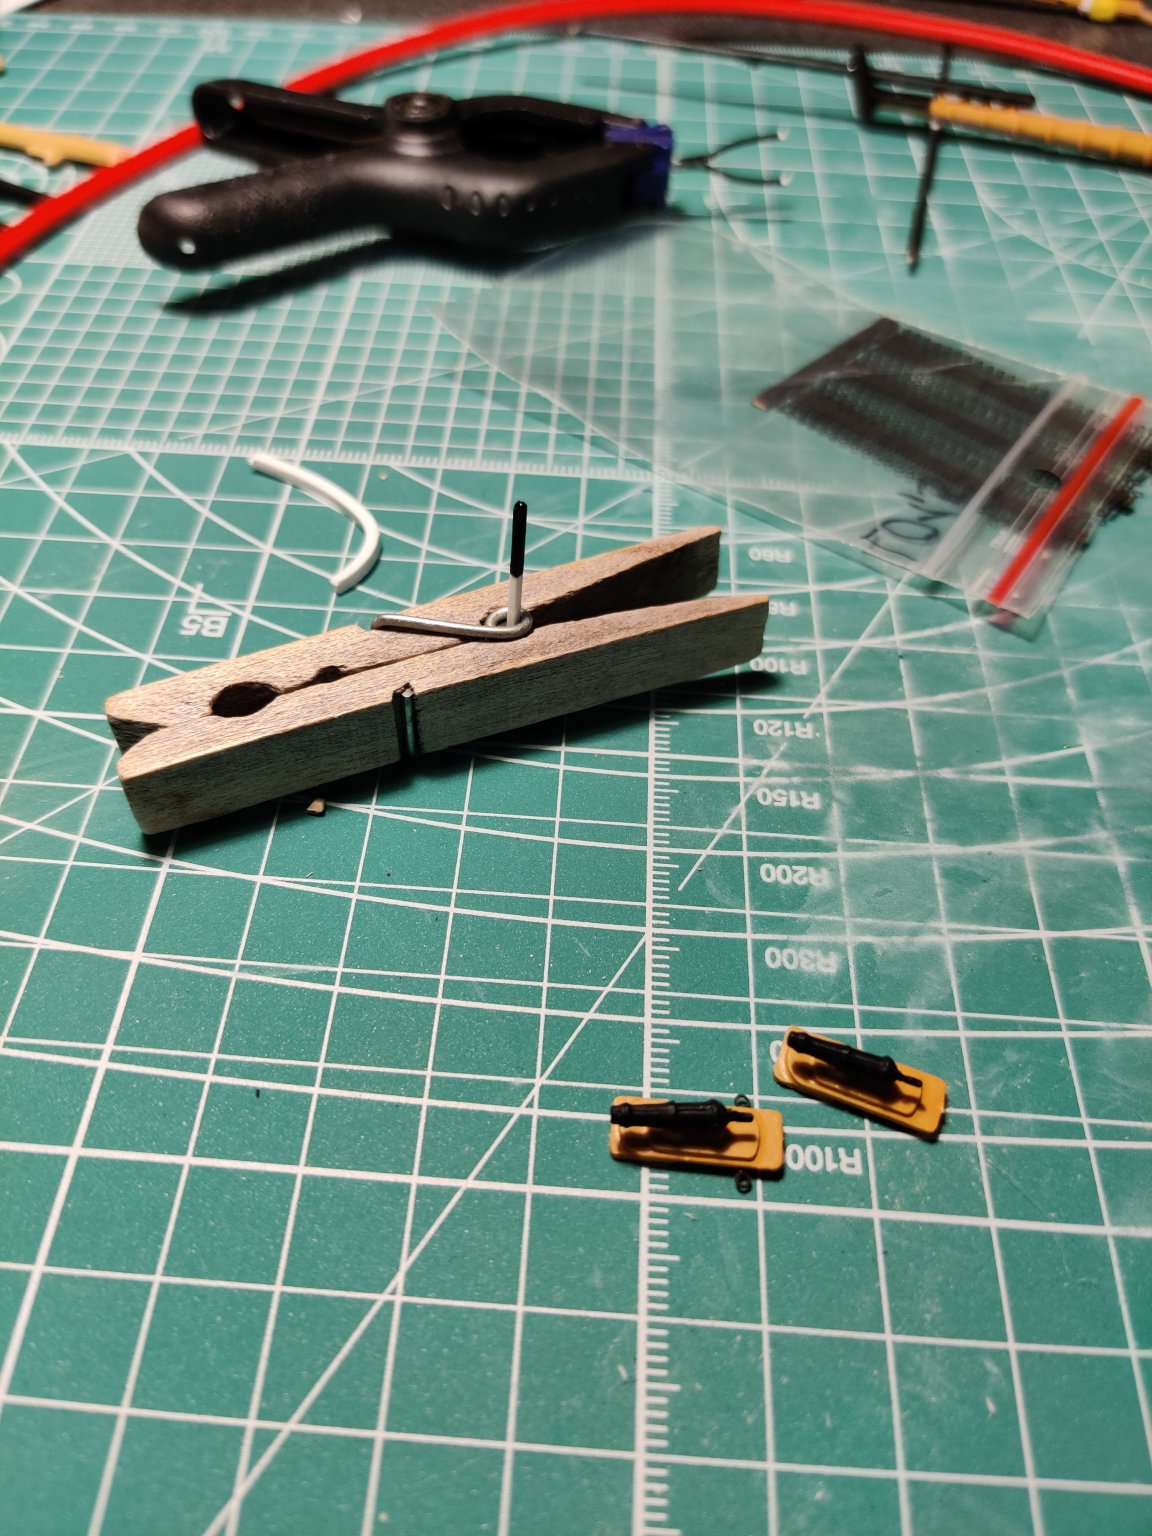
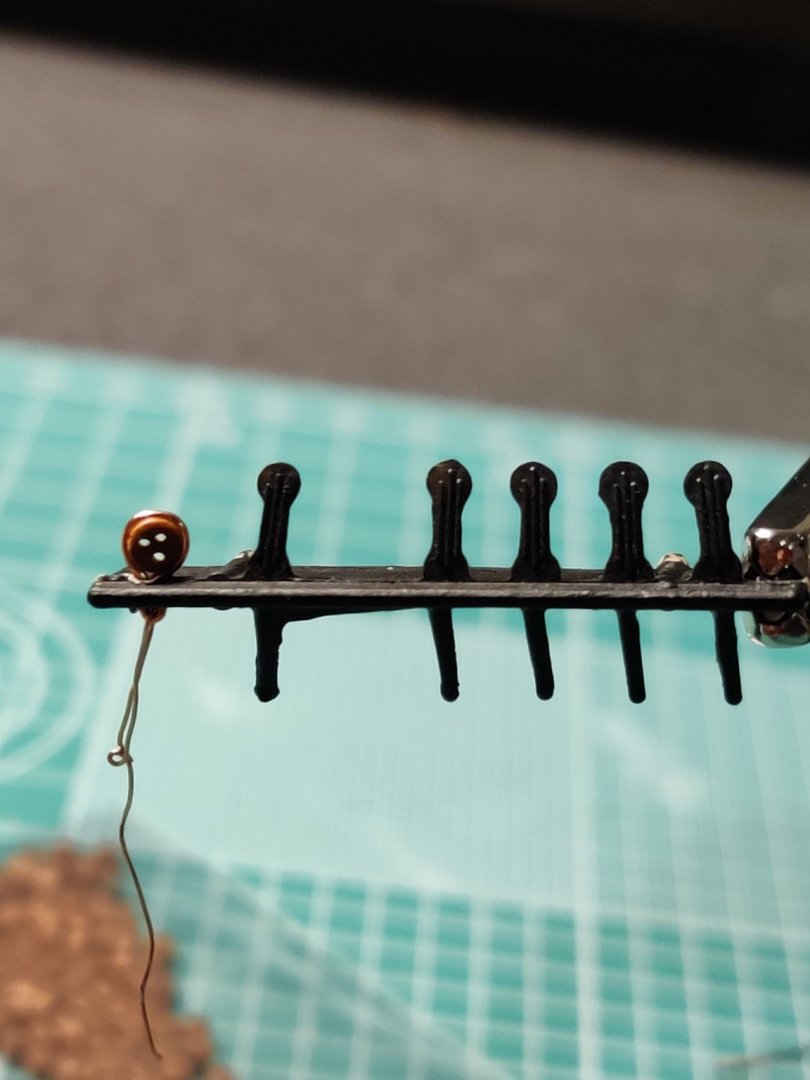
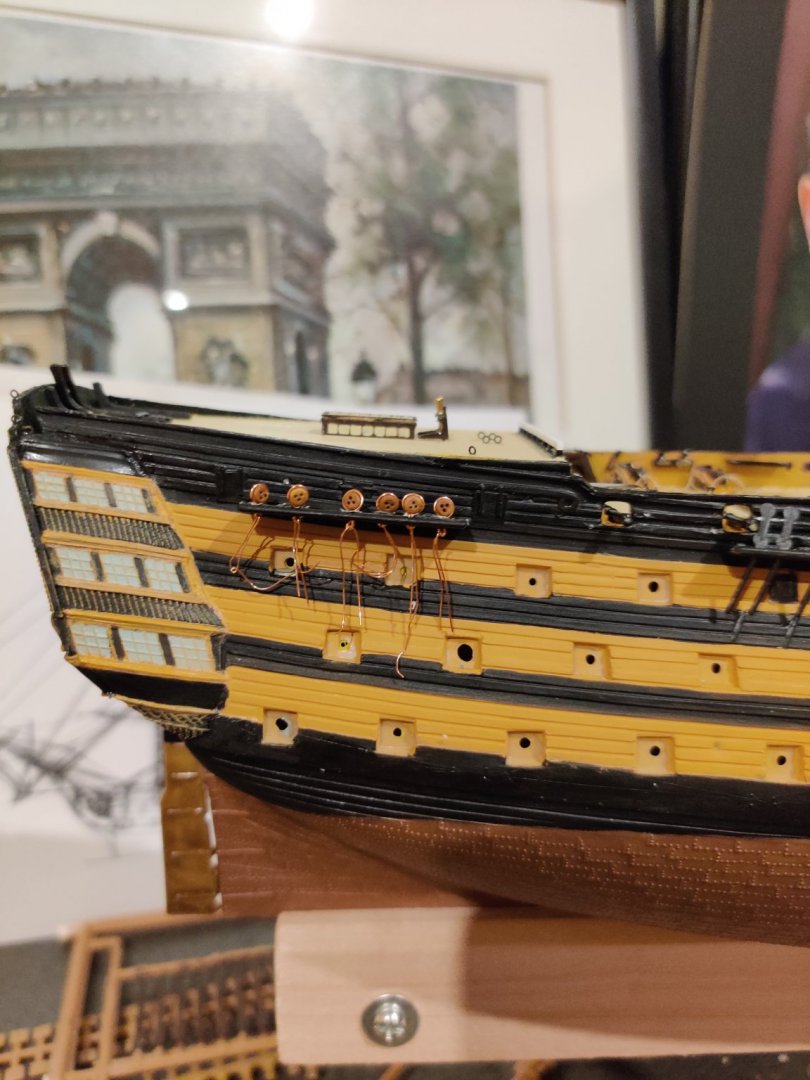
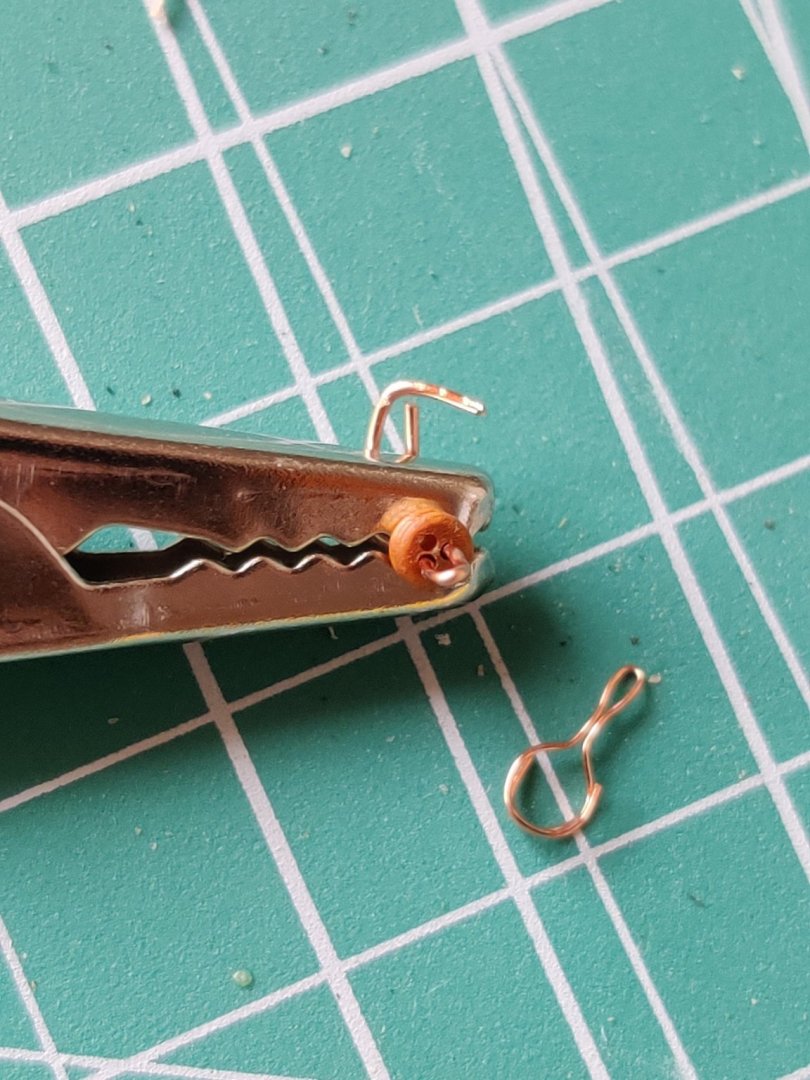
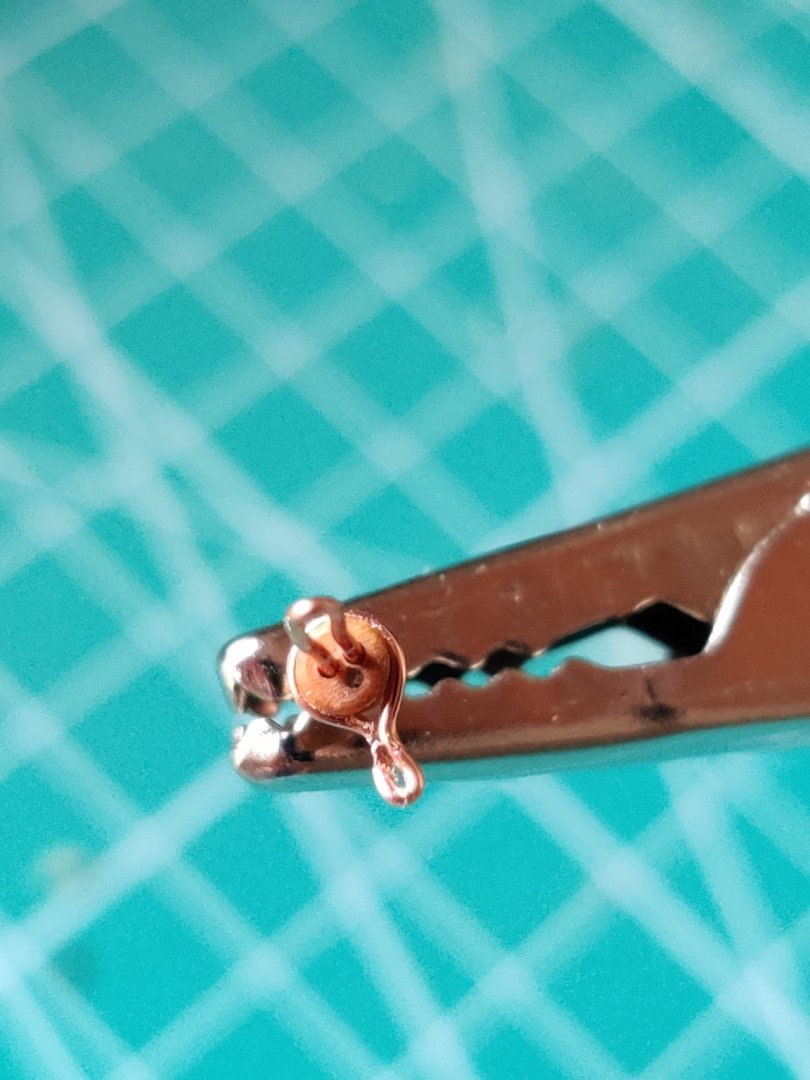
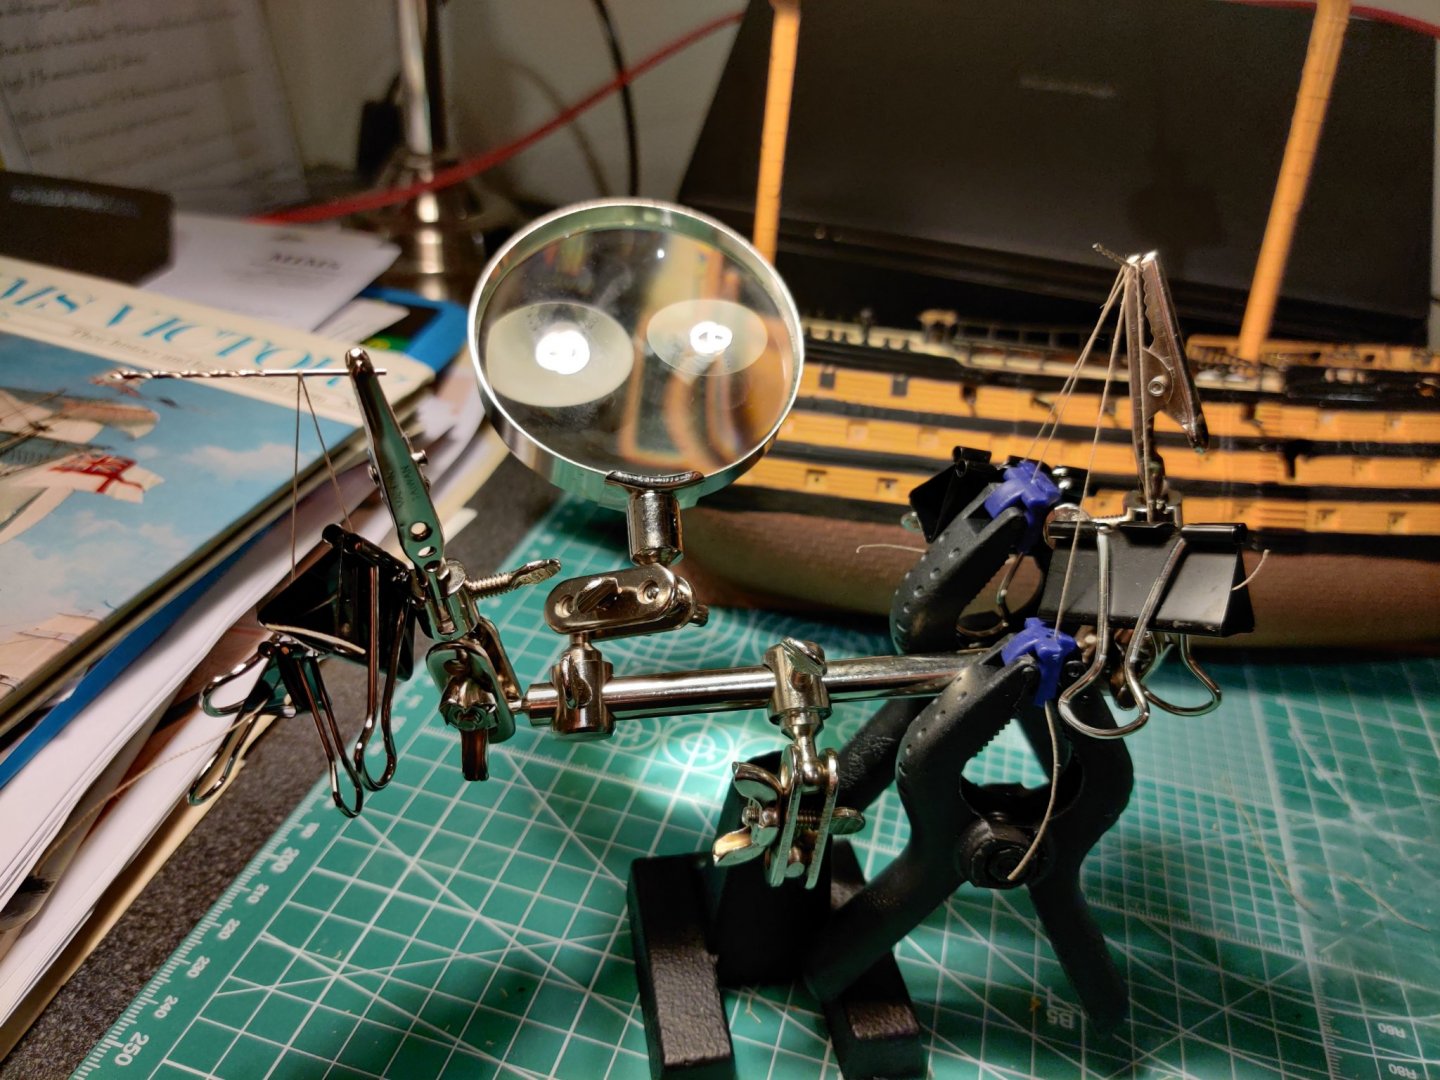
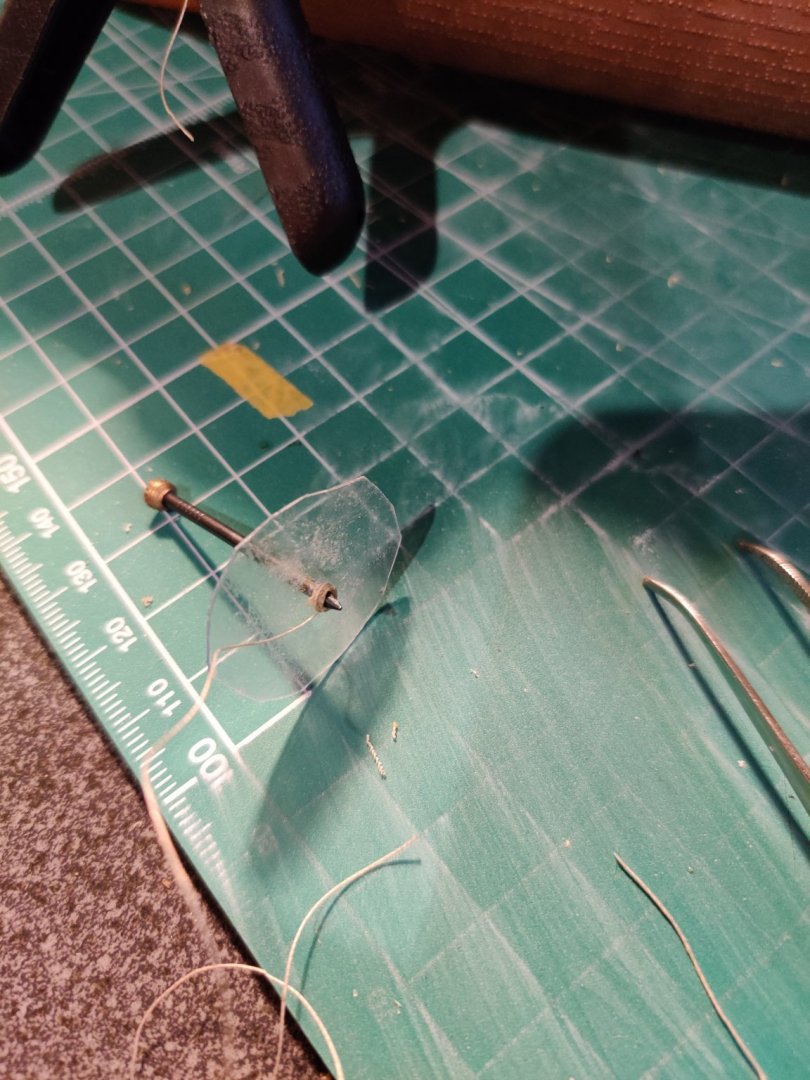
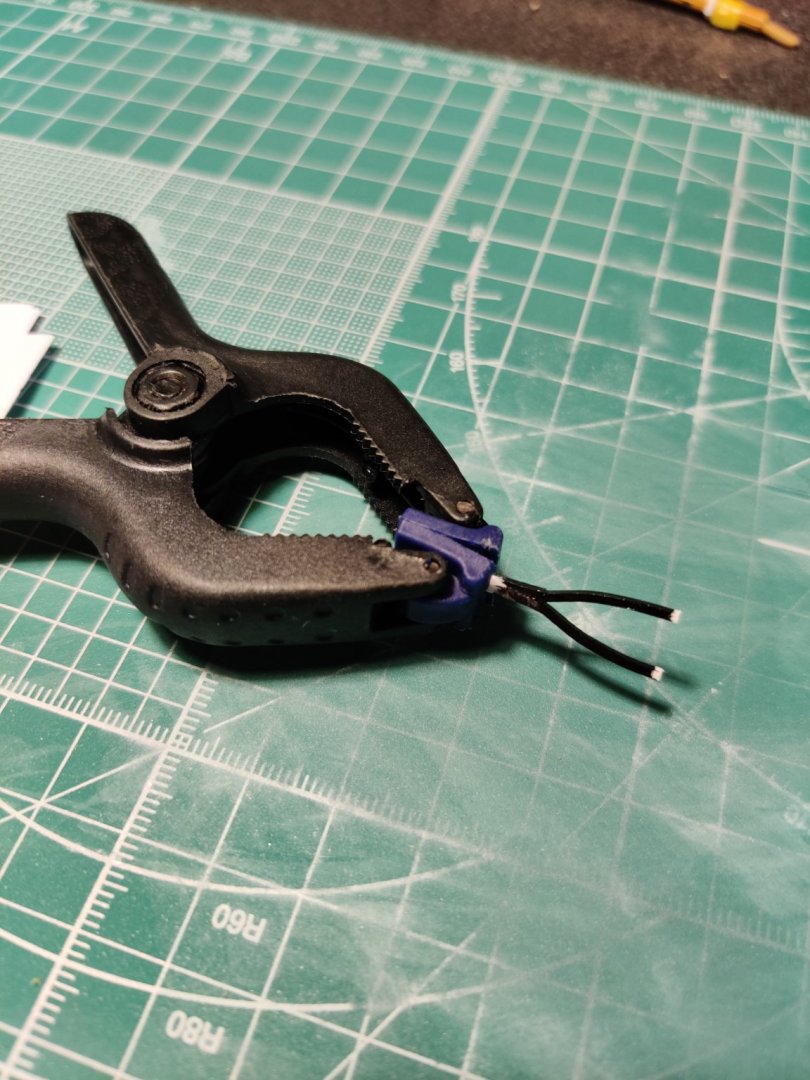
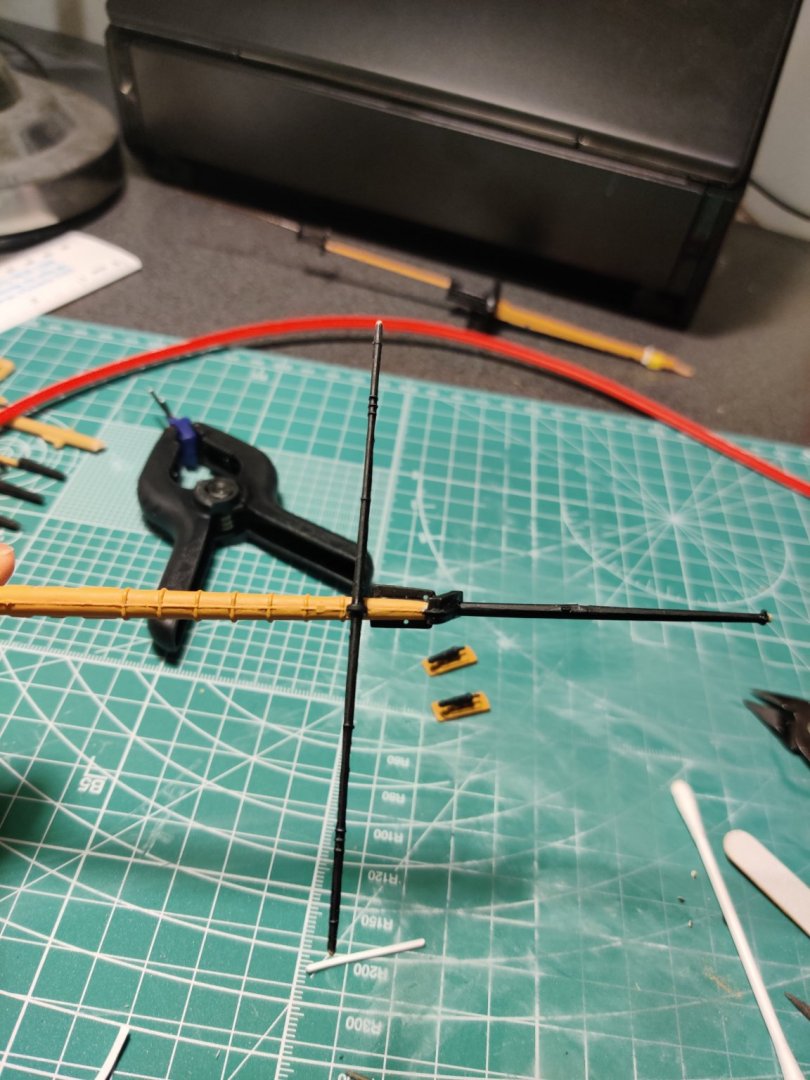
Got my hands on some copper wire and made a jig to hold the 2mm deadeyes in place (0.5mm copper wire curved on itself and clamped by an alligator clip). My first attempt to use 0.3mm wasn't great as the wire bends a little too easily. Tried again with 0.5mm wire with a little hook at the end. Don't think I've got the guts to solder it, seems to retain it's shape better so hopefully I can get away with this. Now to make another 37 of these buggers for the channels...
-
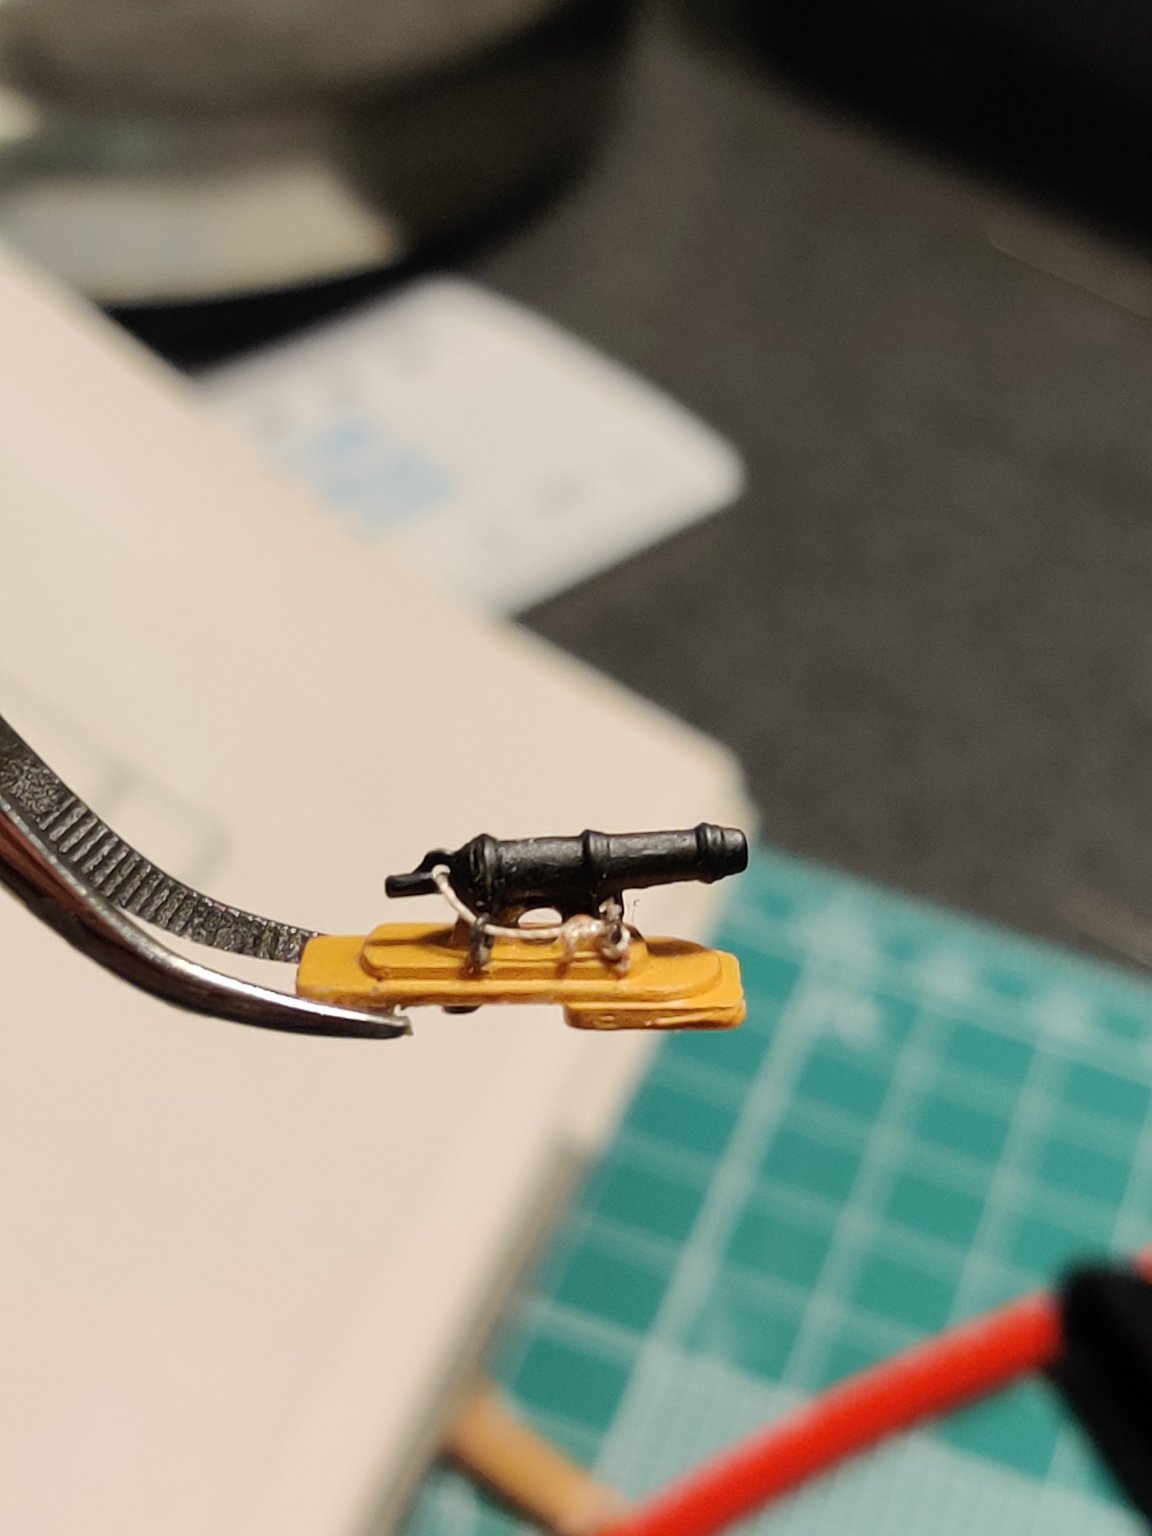
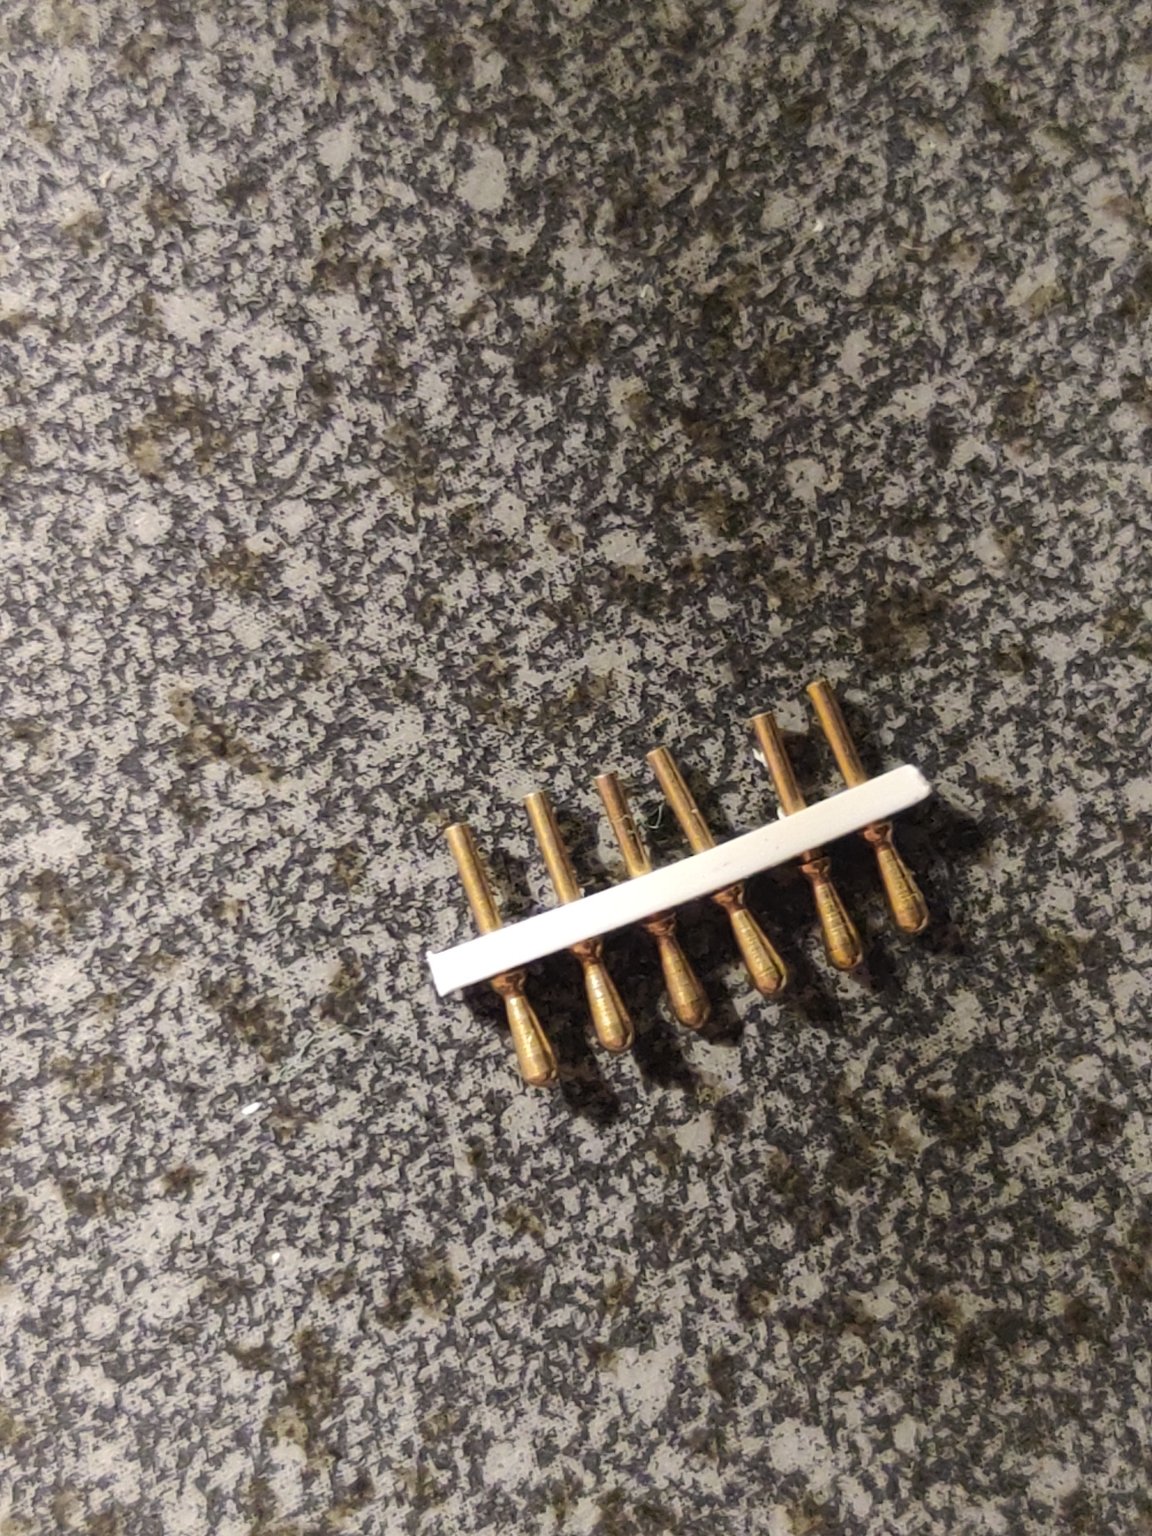
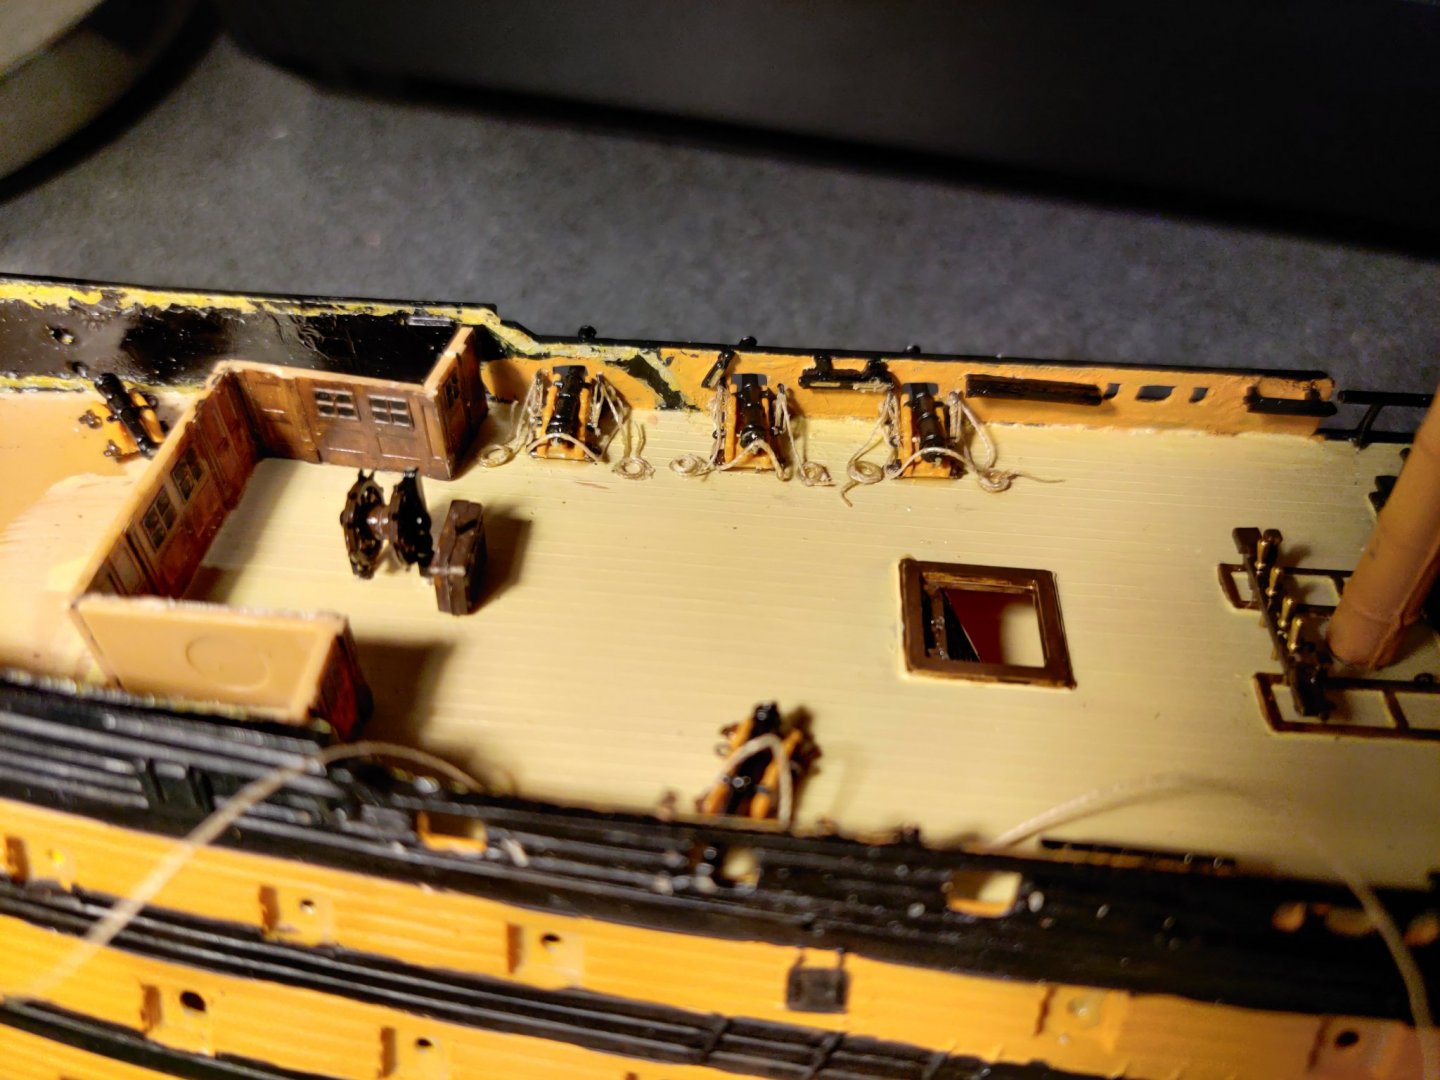
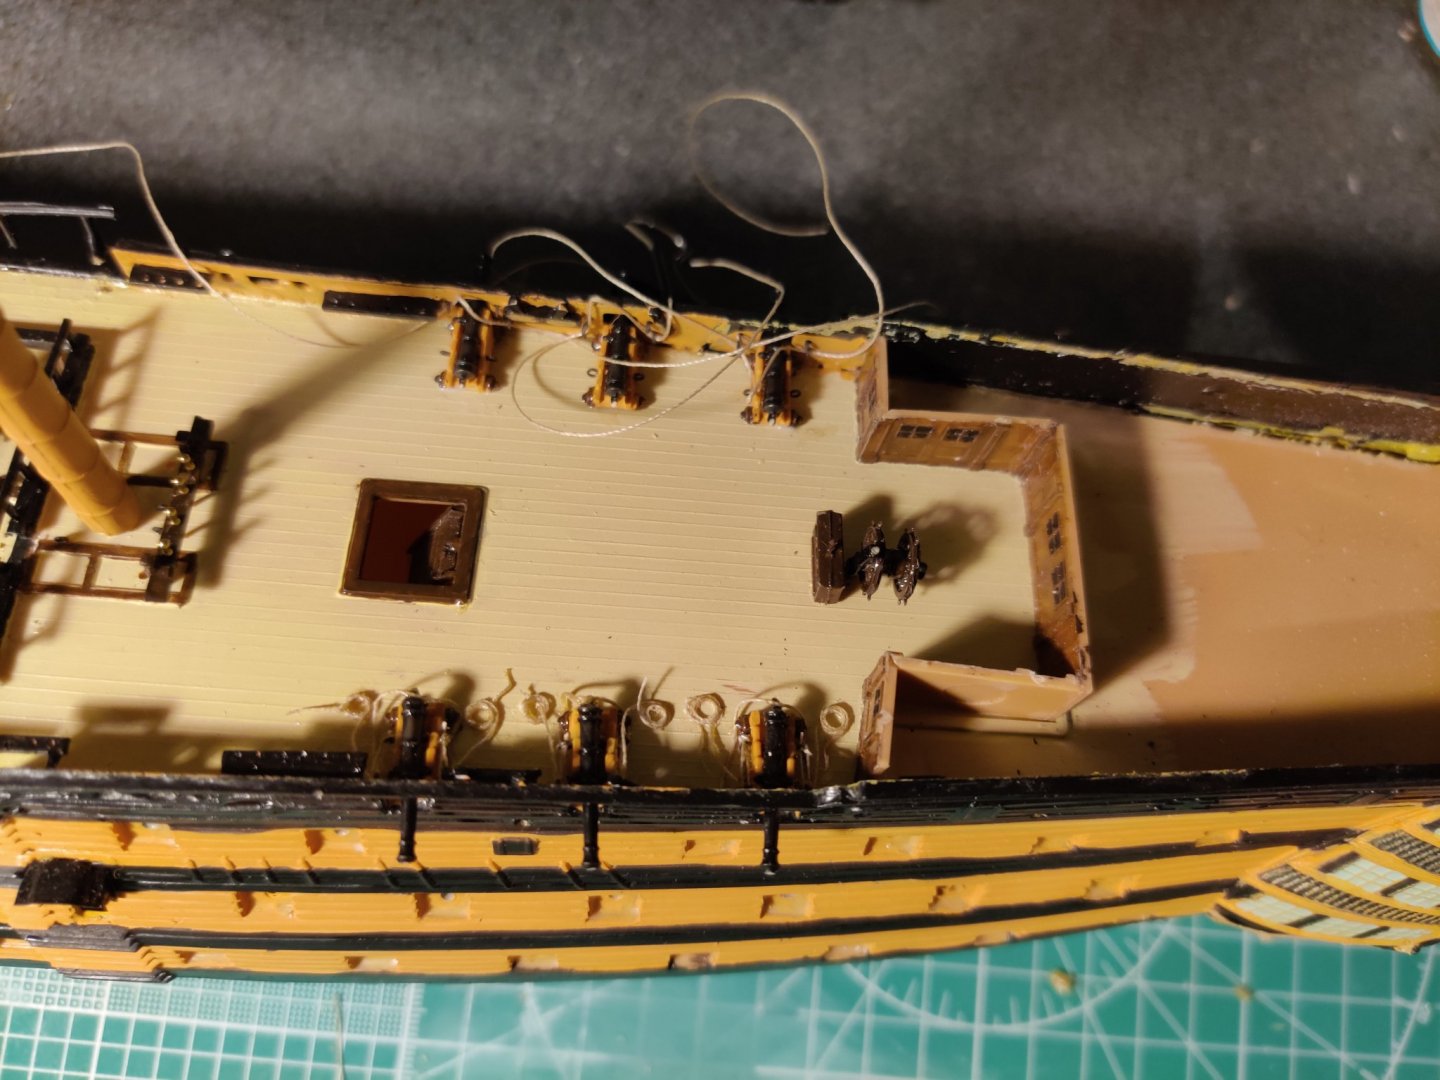
Finished rigging the cannons finally! Then I realised I'd forgotten to paint the gunport frame in red first before placing the cannons... Aaargh! Next mod to ponder... Should I stick to the kit supplied channels and mock deadeye setup or take the plunge, cut off the damned things and use those lovely 2mm deadeyes from Radimir? Looks like I'll give it a try after all. In preparation for this step, I bought some 4mm tiny brass nails off eBay called Escutcheon pins (for shoe repairs apparently) with a 1.5mm diameter head. These will be used to pin the chainplates to the hull and will take a month to arrive. Now to get my hands on 0.3-0.5mm copper or brass wire to make the chainplates and a crash course in soldering...

-
Beautiful!
-
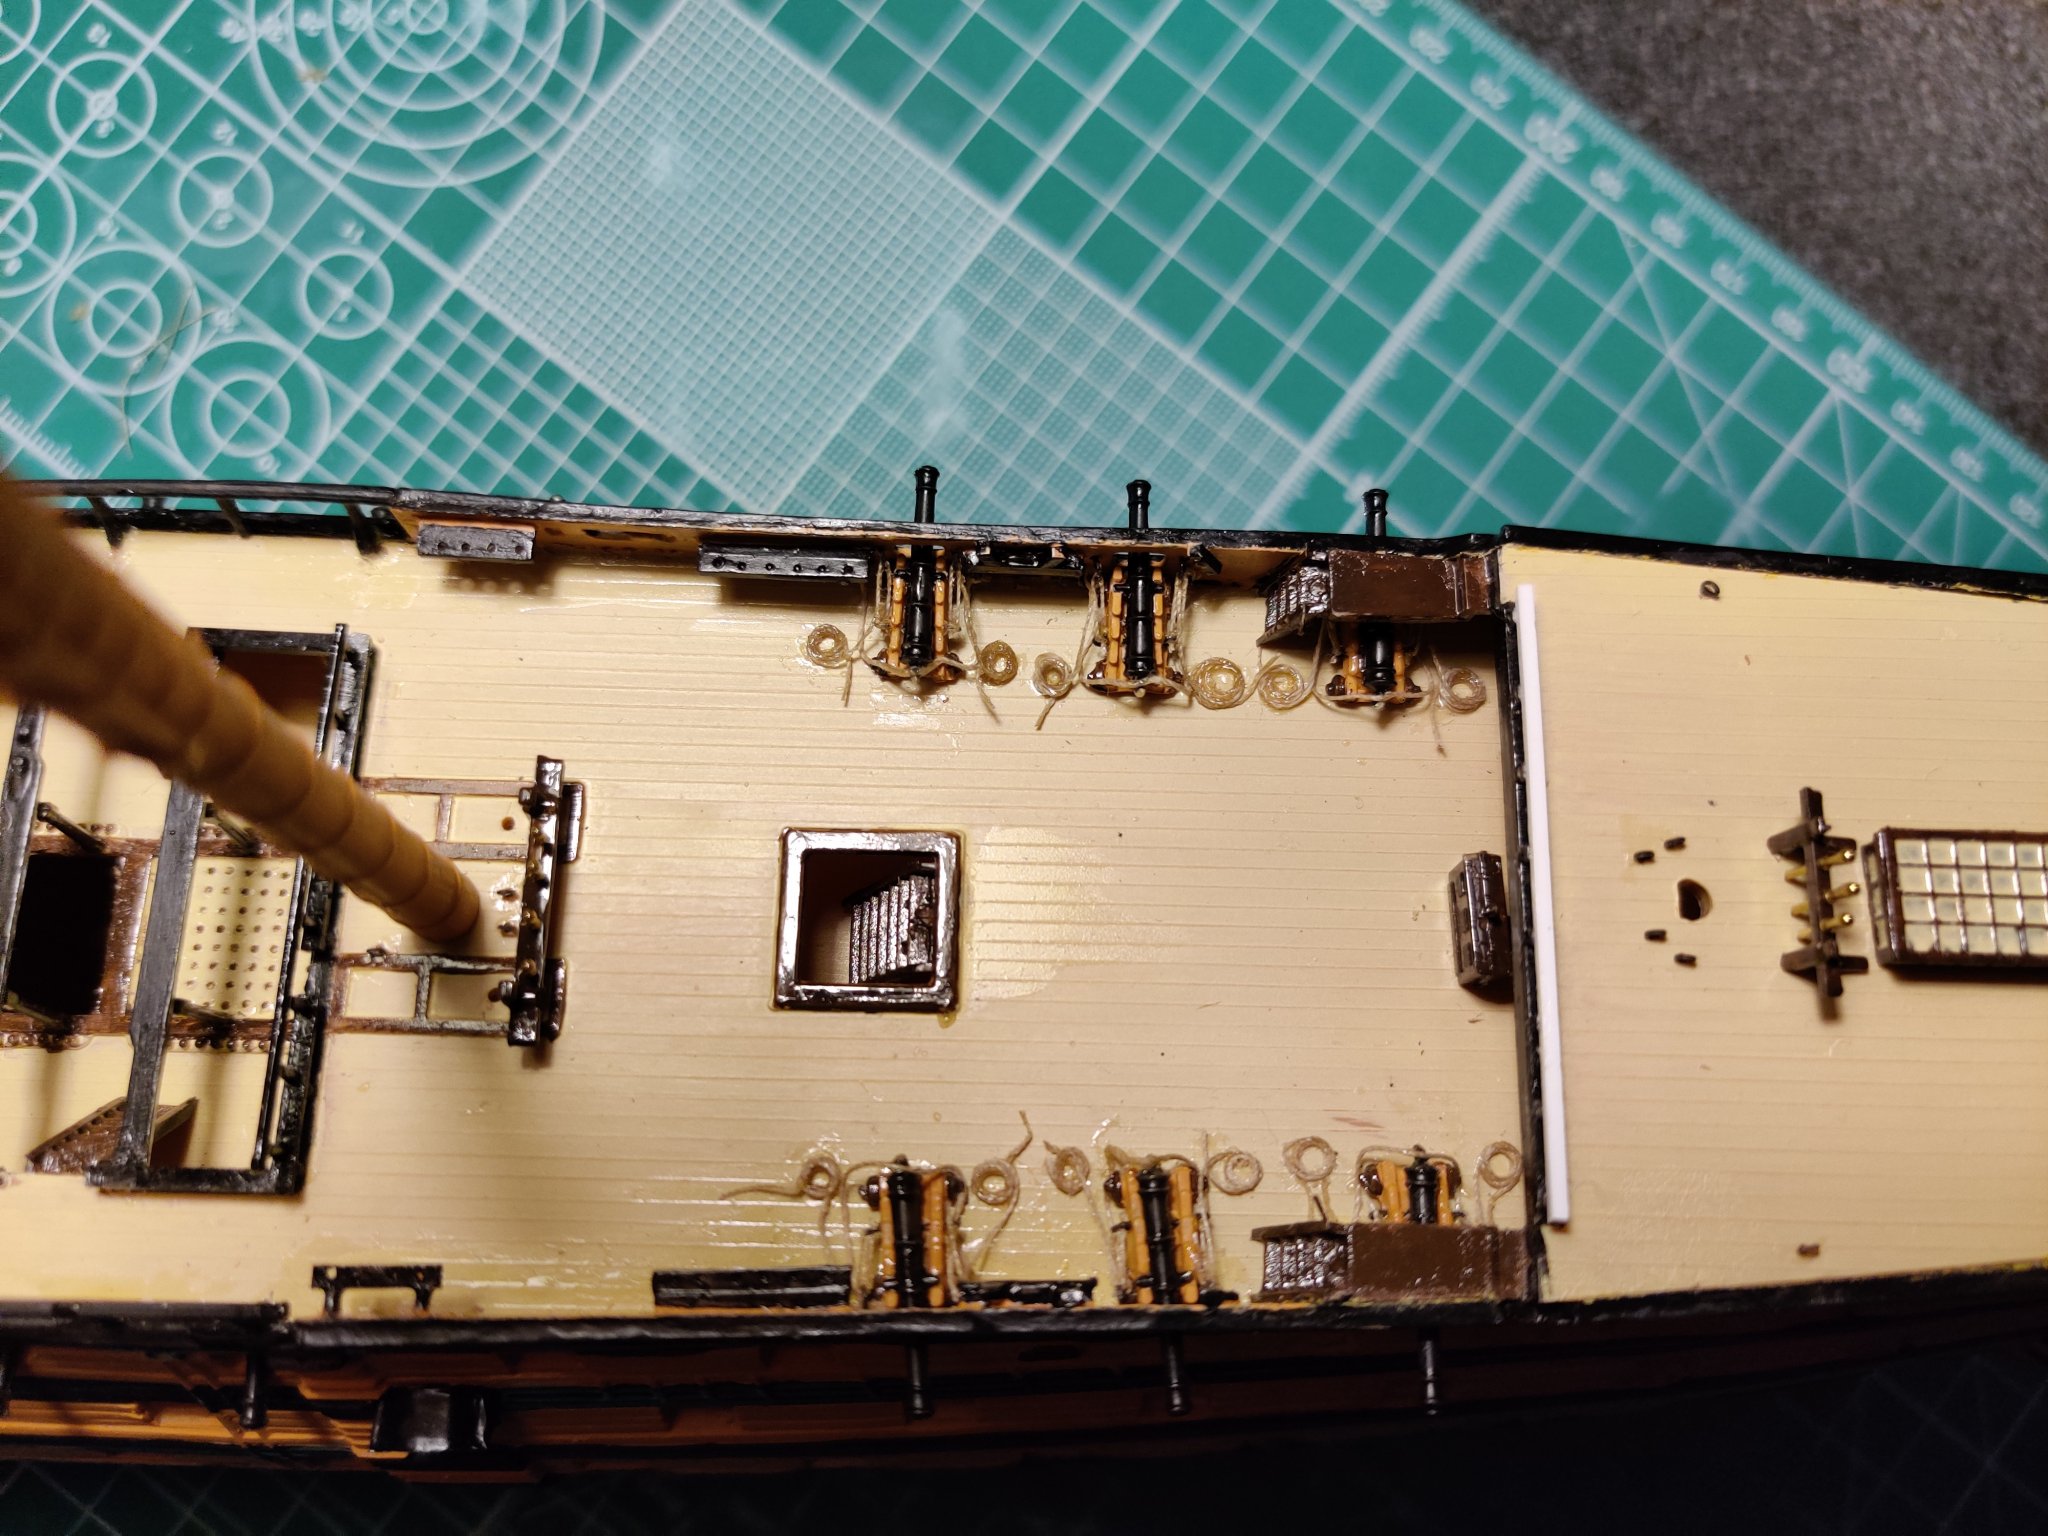
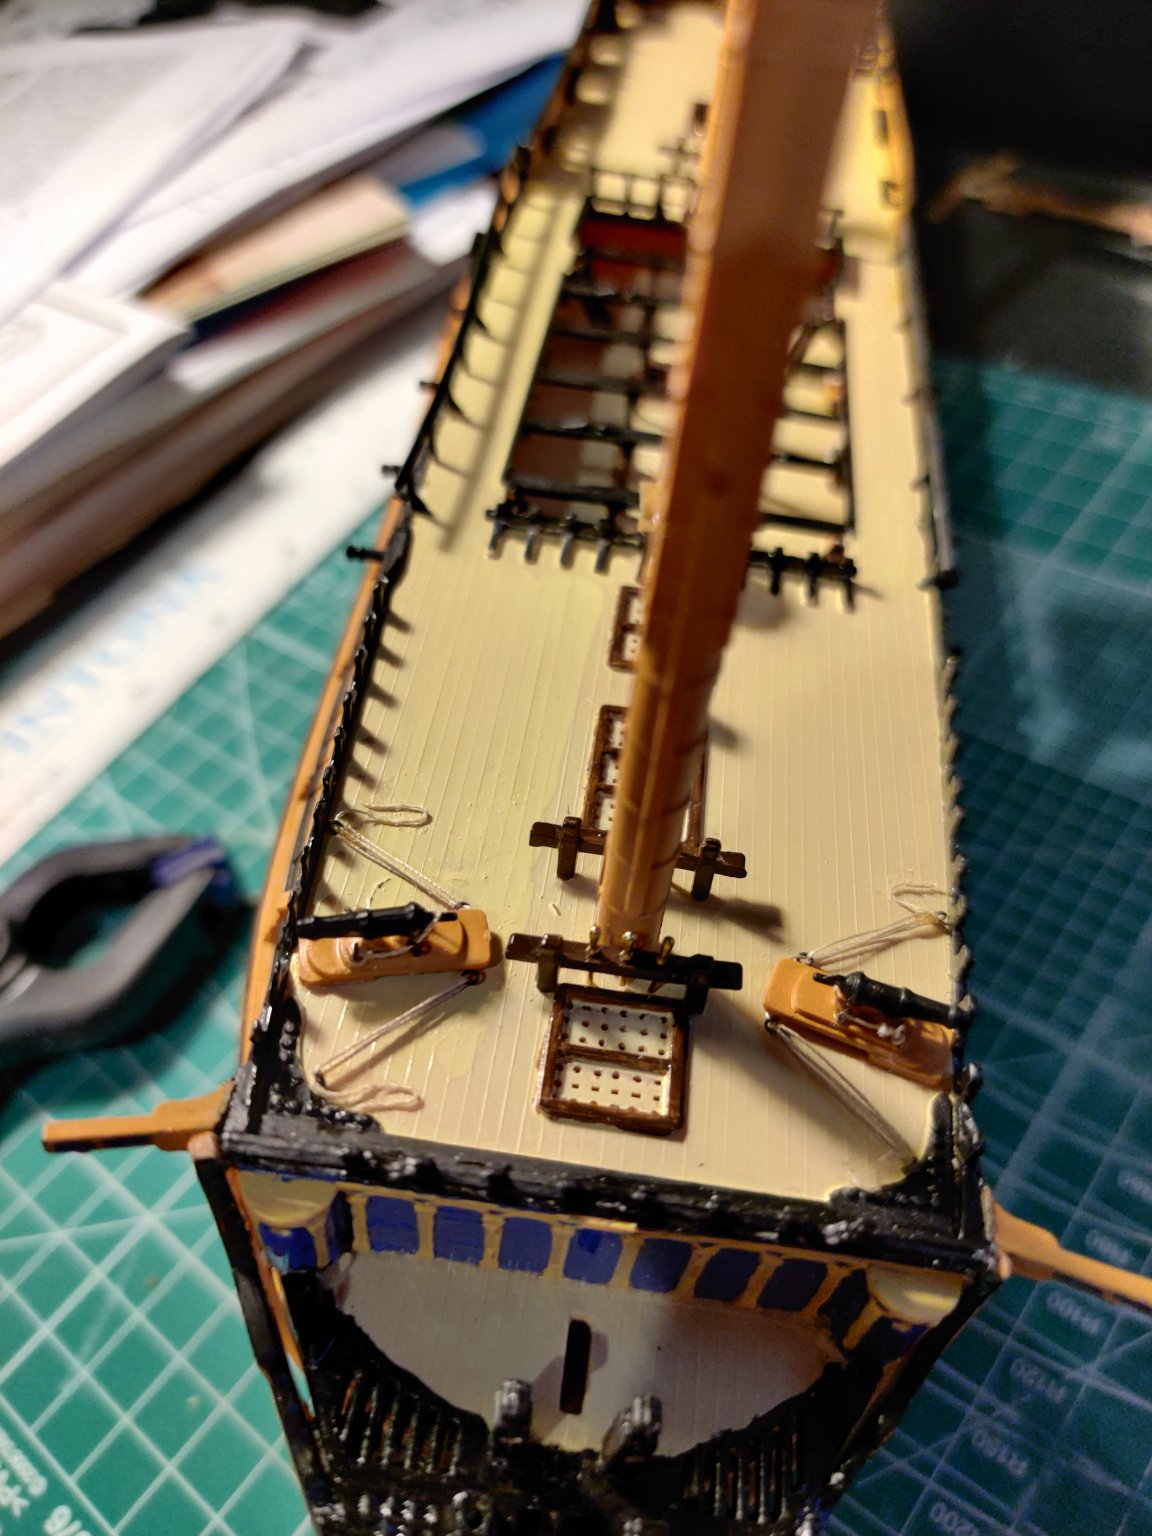
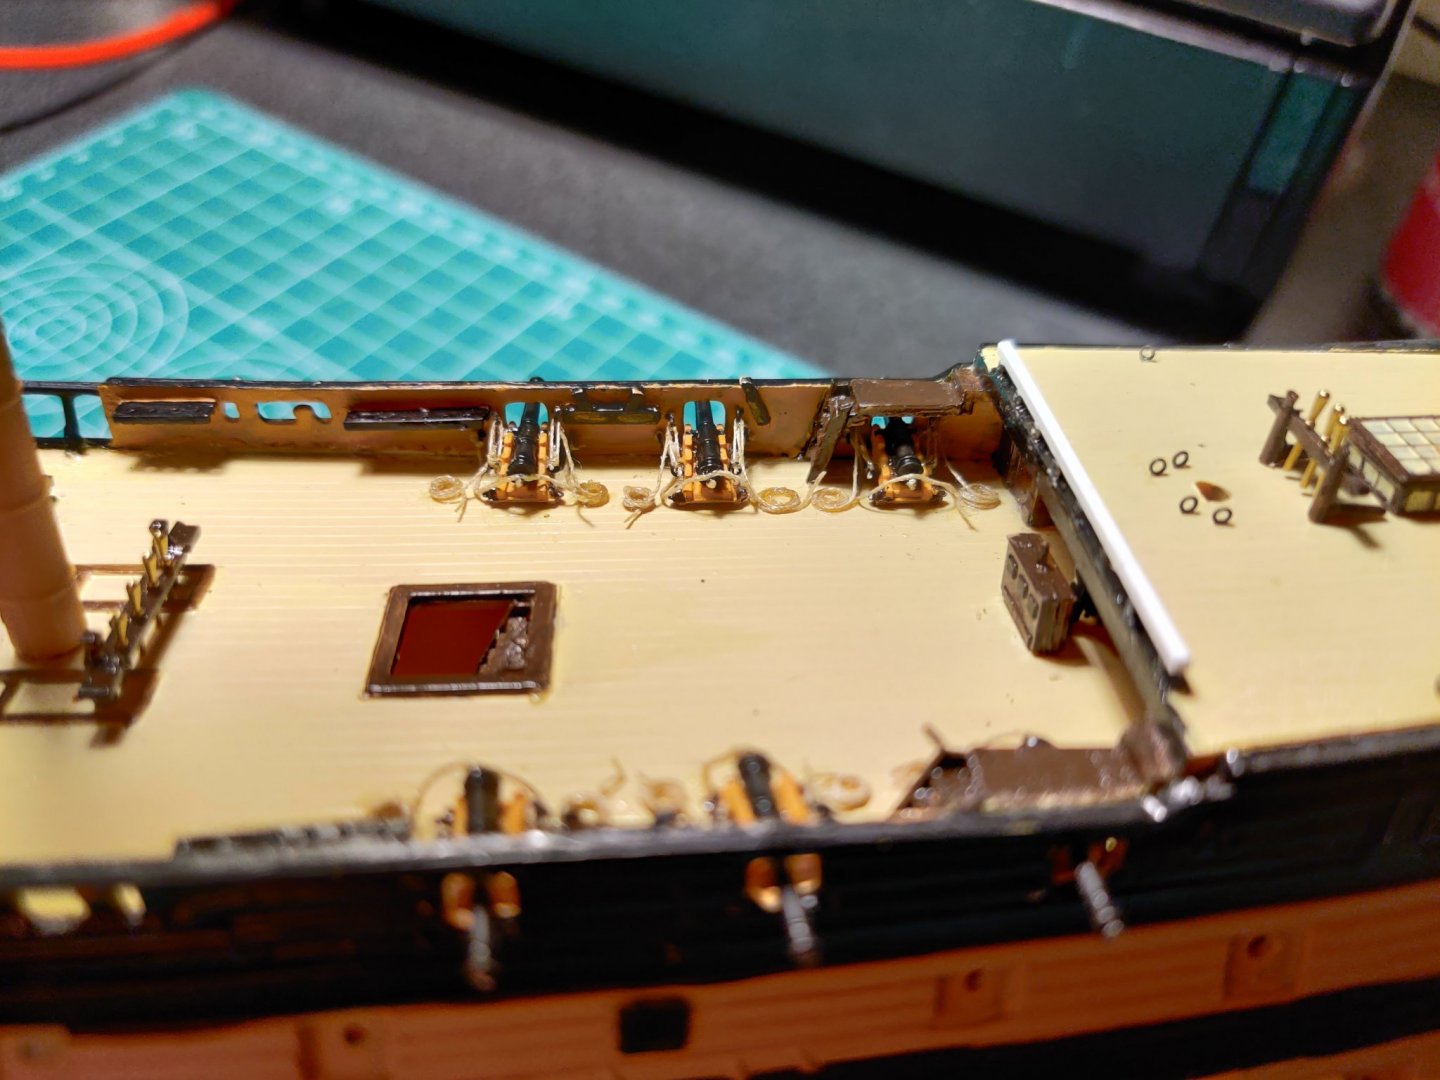
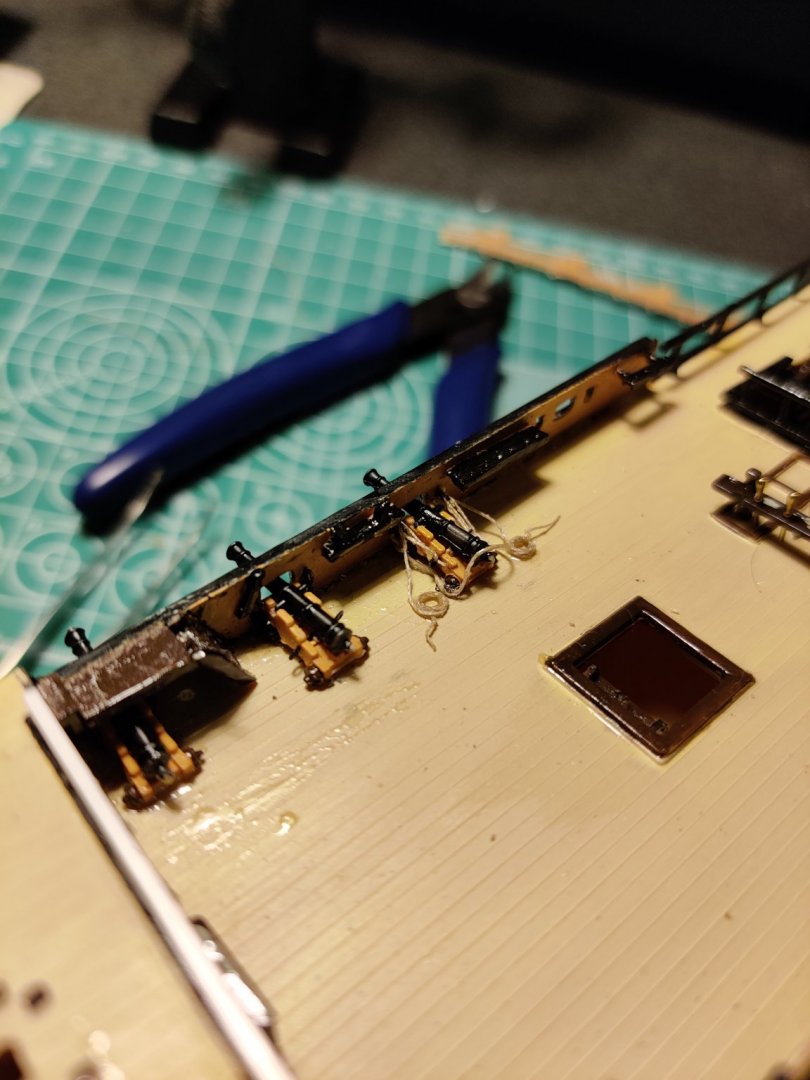
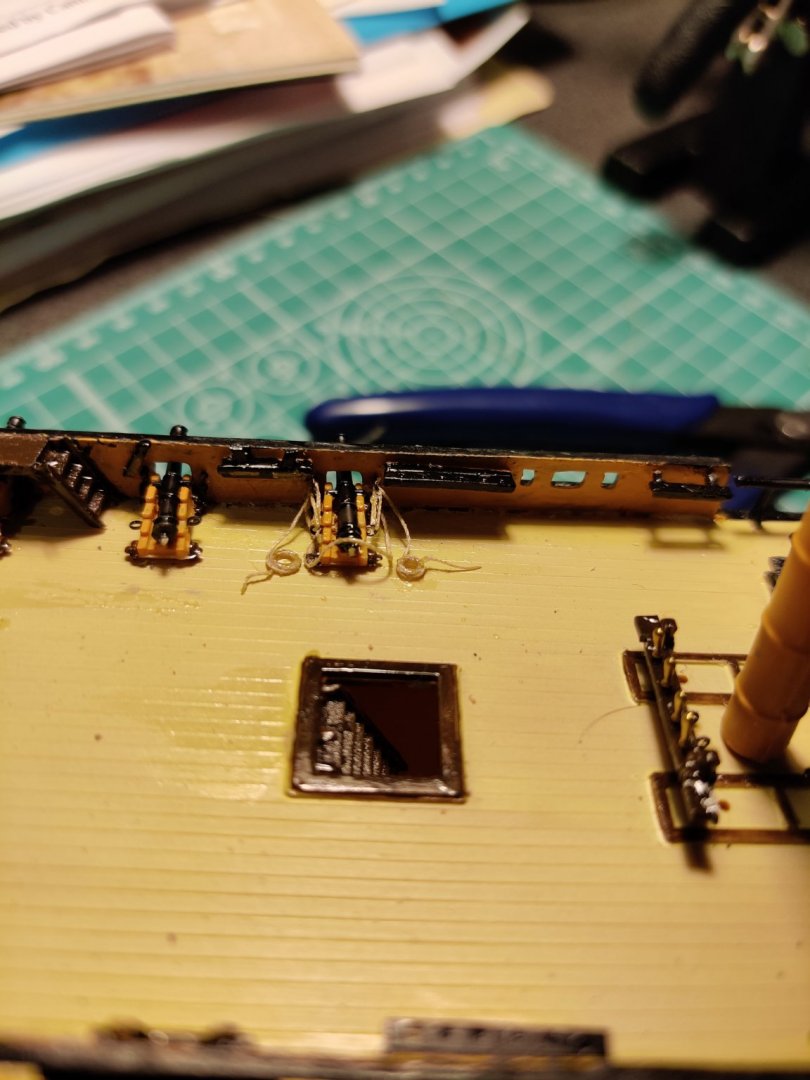
Started off the session finishing off the port side cannons. Decided to rip off the poop deck to preserve my sanity... 80% of my time spent building the ship seems to be spent pondering and mentally preparing for the next stage... Some of the lessons (after much swearing) I learnt from rigging the first 3 cannons were: 1. Use glue sparingly 2. It is easier to thread the eyebolts BEFORE glueing the cannons on the deck for easier access 3. Rigging tension needs to be adjusted carefully. This I discovered after popping out 2-3 eyebolts for the side tackles. 4. Those precious 1.5mm Eyebolts are a b**** to find when misplaced (lost 4 so far). Used 48 (out of 100) so far just on the cannons and carronades and think I will need to top up more again soon... To get the thread to bend over the pommelions of the cannons, I used fine drill screws to balance the thread with a touch of phatic glue on the bend, then hung whatever manner of objects I could find to stiffen it up. Next set of breeching ropes pre-threaded and cannons glued onto the deck. Will let it sit overnight this time. What took me 3-4 hours yesterday night was done within an hour today now that I'm on a roll! To be continued....
-
First upper deck cannon rigged... Not looking forward to rigging the 2 beneath the stairs though Forgive the glue streaks, should wash off with wet wipes once I finish the job. Thanks to Modeler12 for the idea for the rope coil jig!
-
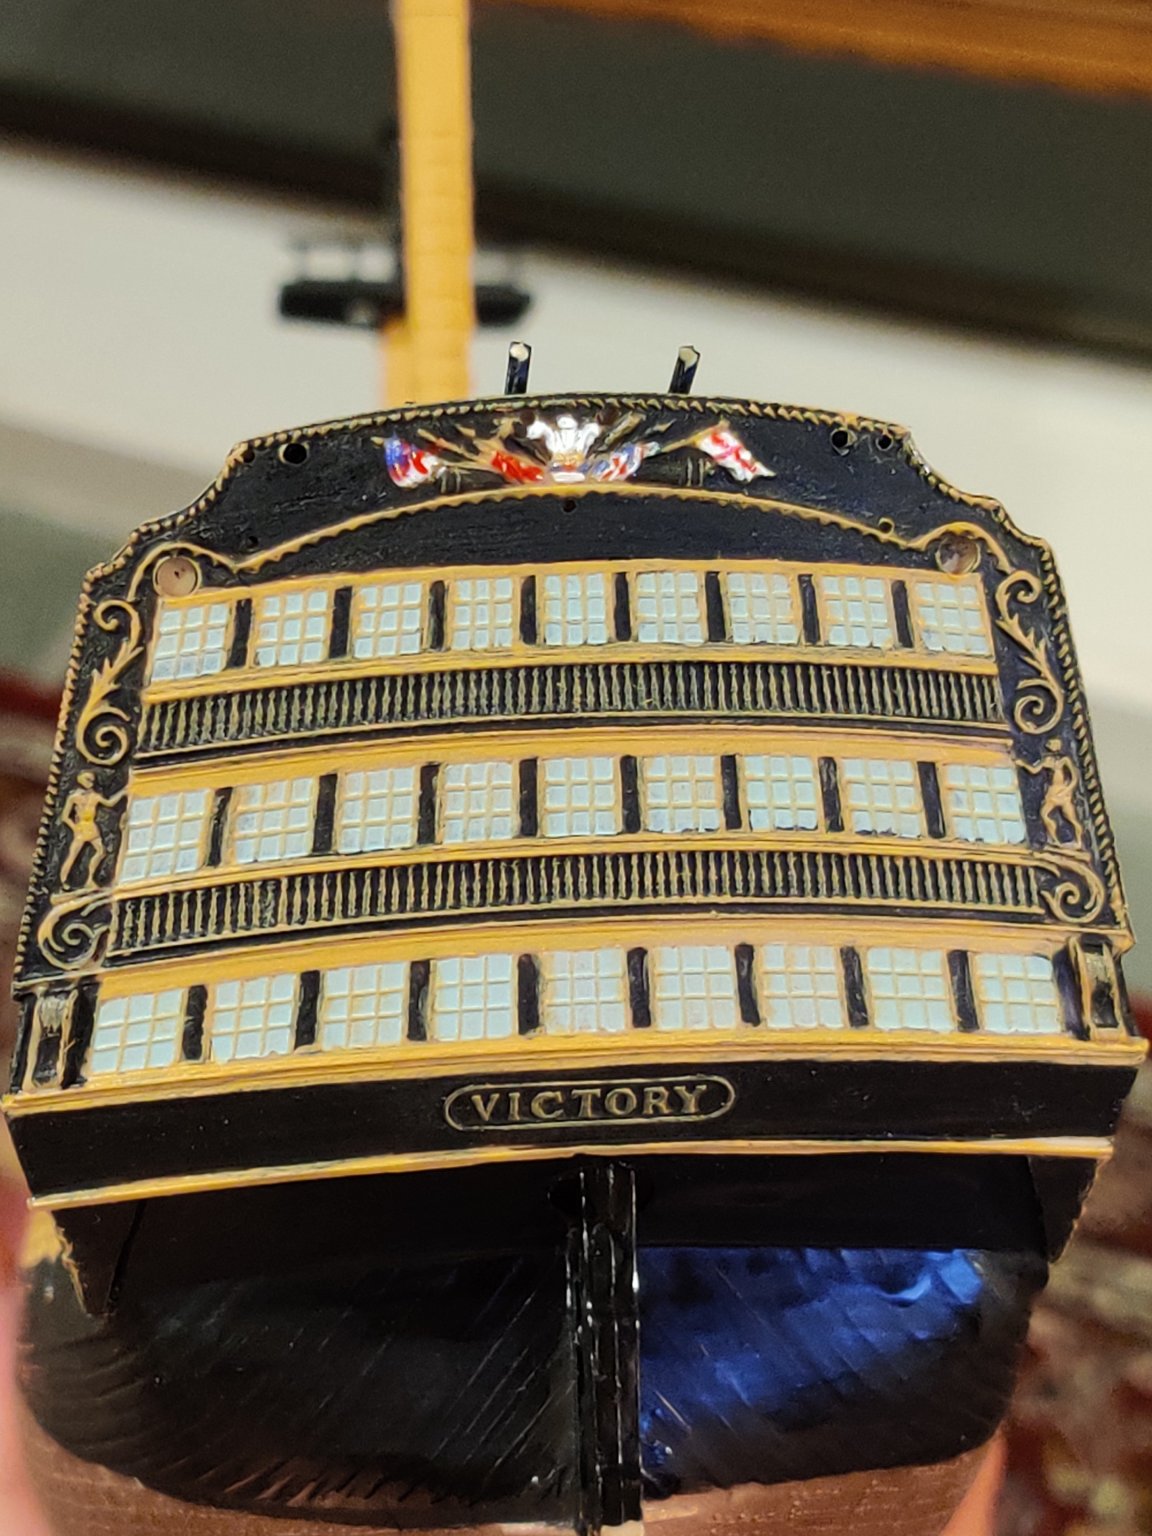
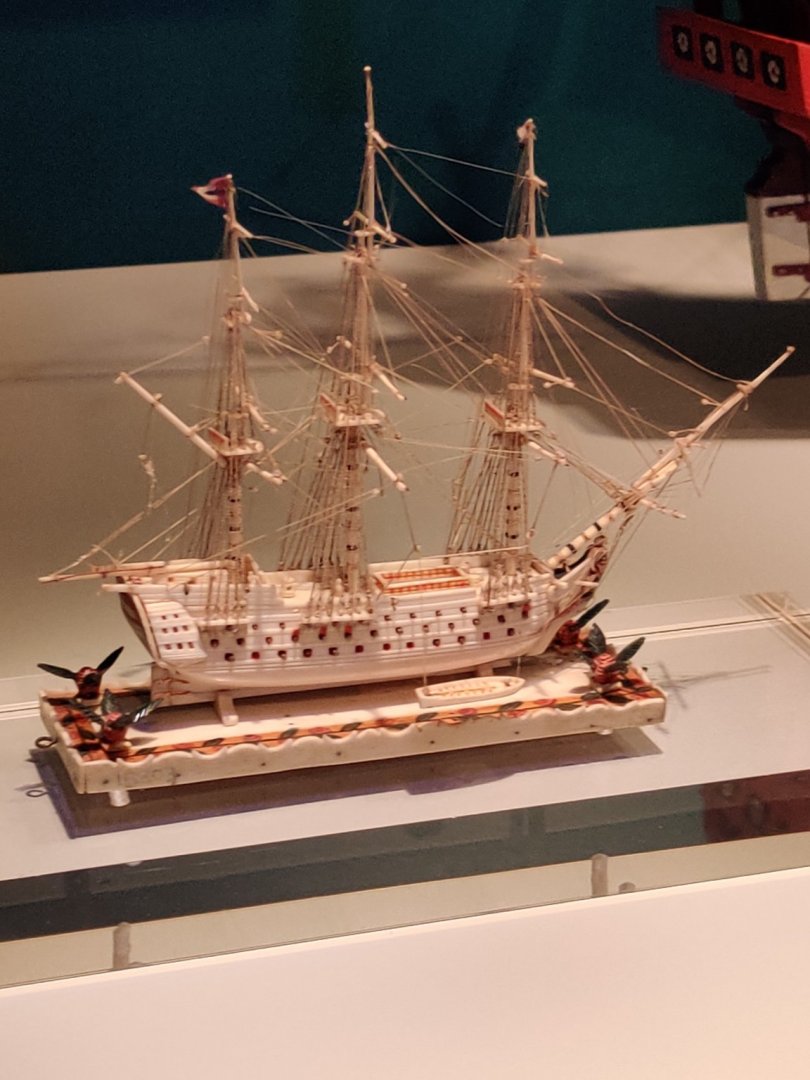
Wow Shipman, that's tiny and so detailed... Hats off to you sir. Can't imagine how challenging it would've been rigging this? Also a bit of fun, when I brought my kids to the local museum recently, I came across this amazing ivory model built by a 19th century French prisoner of war out of bone (maybe a prisoner from Trafalgar? 😄). I think it was of a similar scale to your beauty.
-
Carronades installed finally... Initially I thought I might be able to use blocks for the side tackles and attempted to fashion some from a wooden toothpick. Well, that didn't work... Shattered as soon as I sliced it off... So I decided to use thread to rig the carriage instead and then insert a false styrene block later. Happy with the result, but it was a pain "slackening" the thread.


-
She's looking amazing. Thought I'd drop by and follow your progress and pick up some knowledge from your build... Working on the 1/180 plastic version myself, I'm in awe of your fine work on wood no less!
-
Hi Blue Ensign, if you don't mind me asking... What did you use to pin the preventer plates? I've seen Dafi grinding sewing pins to 4mm lengths with a Dremel for his Victory but was hoping to find an alternative method where possible... Cheers,
-
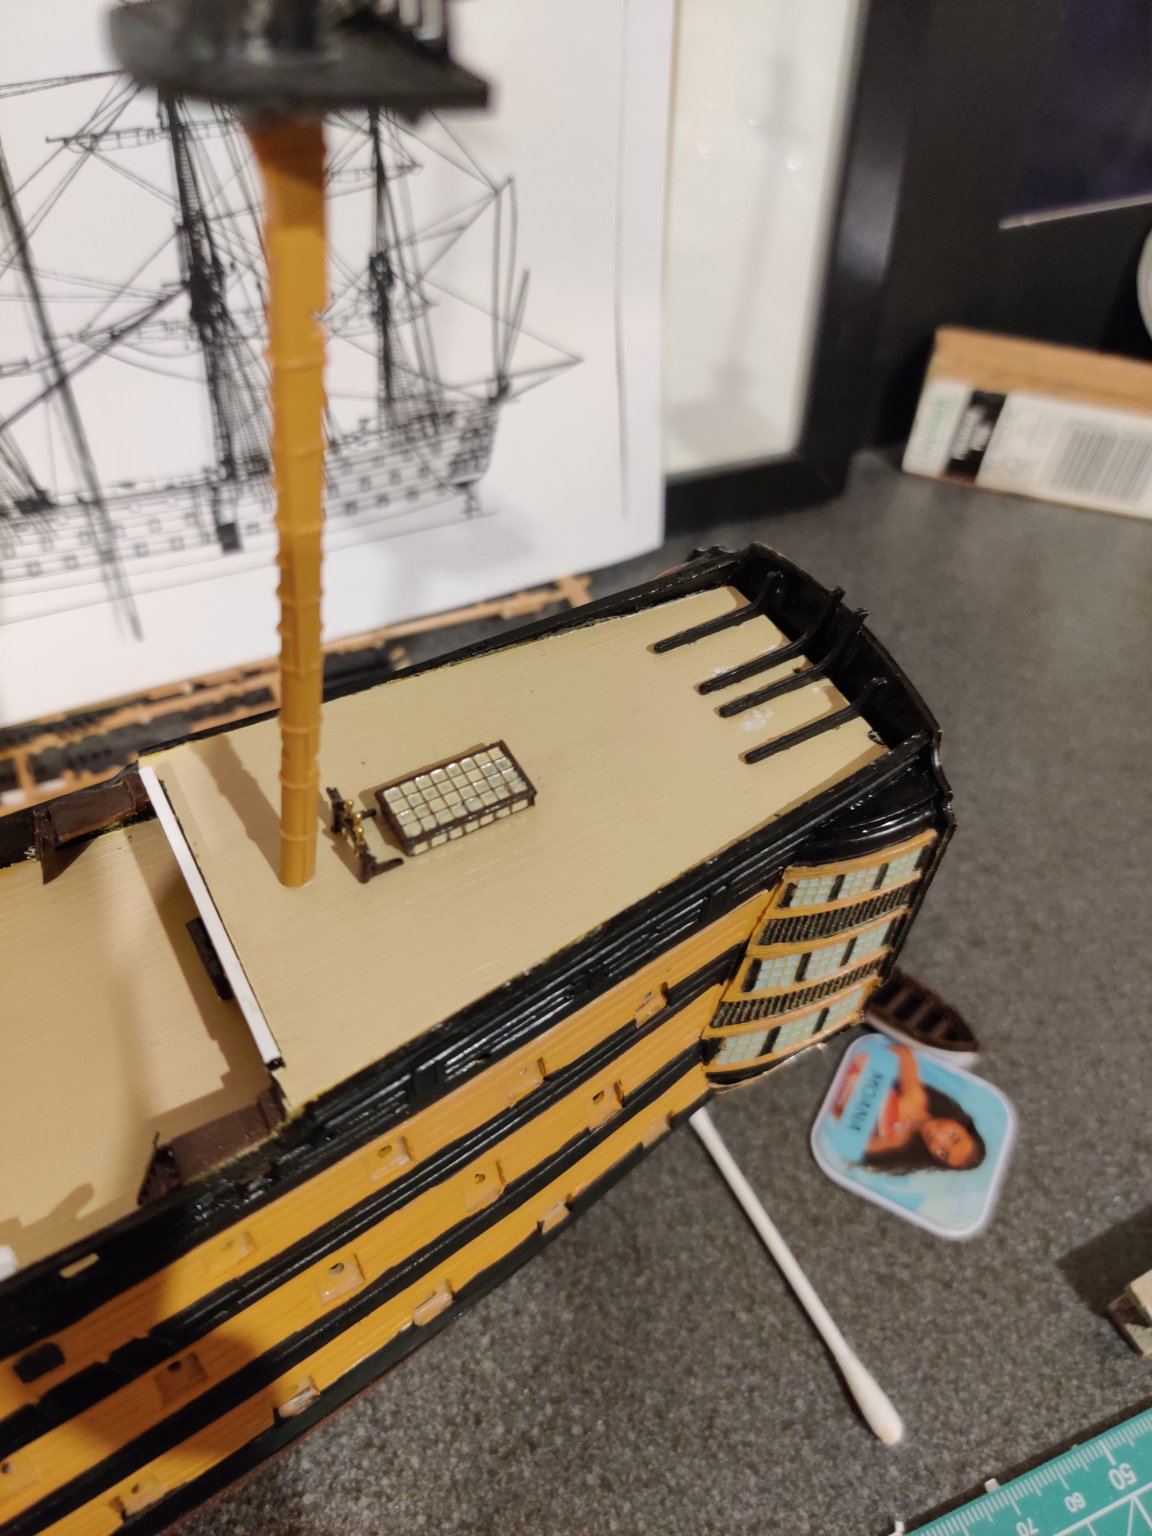
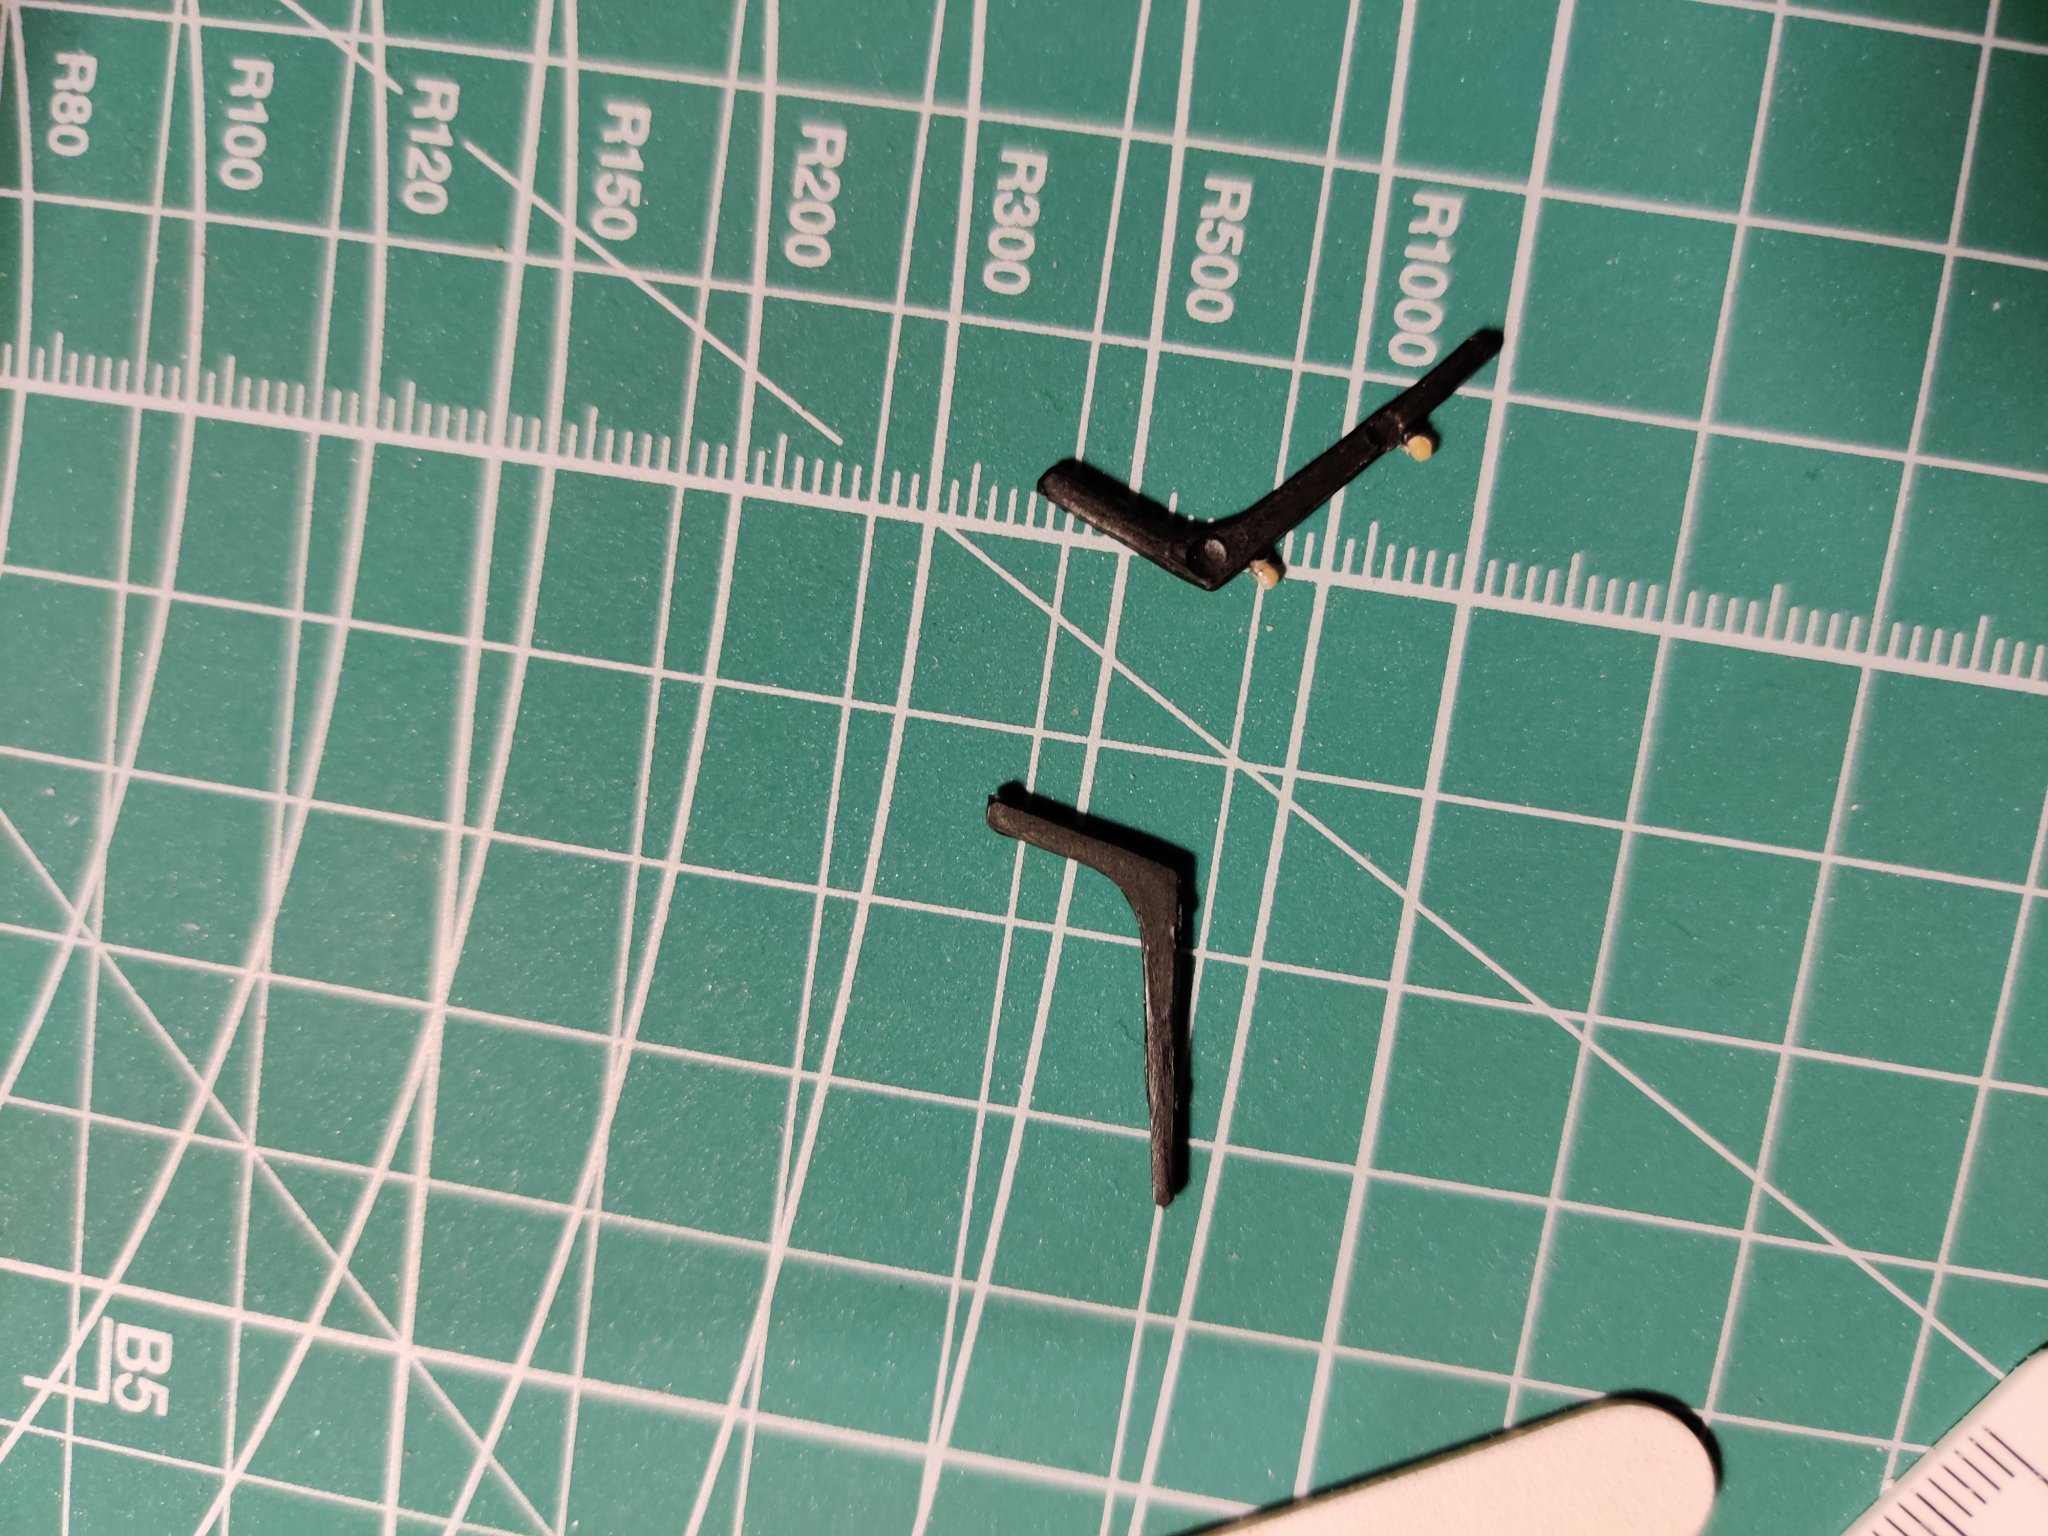
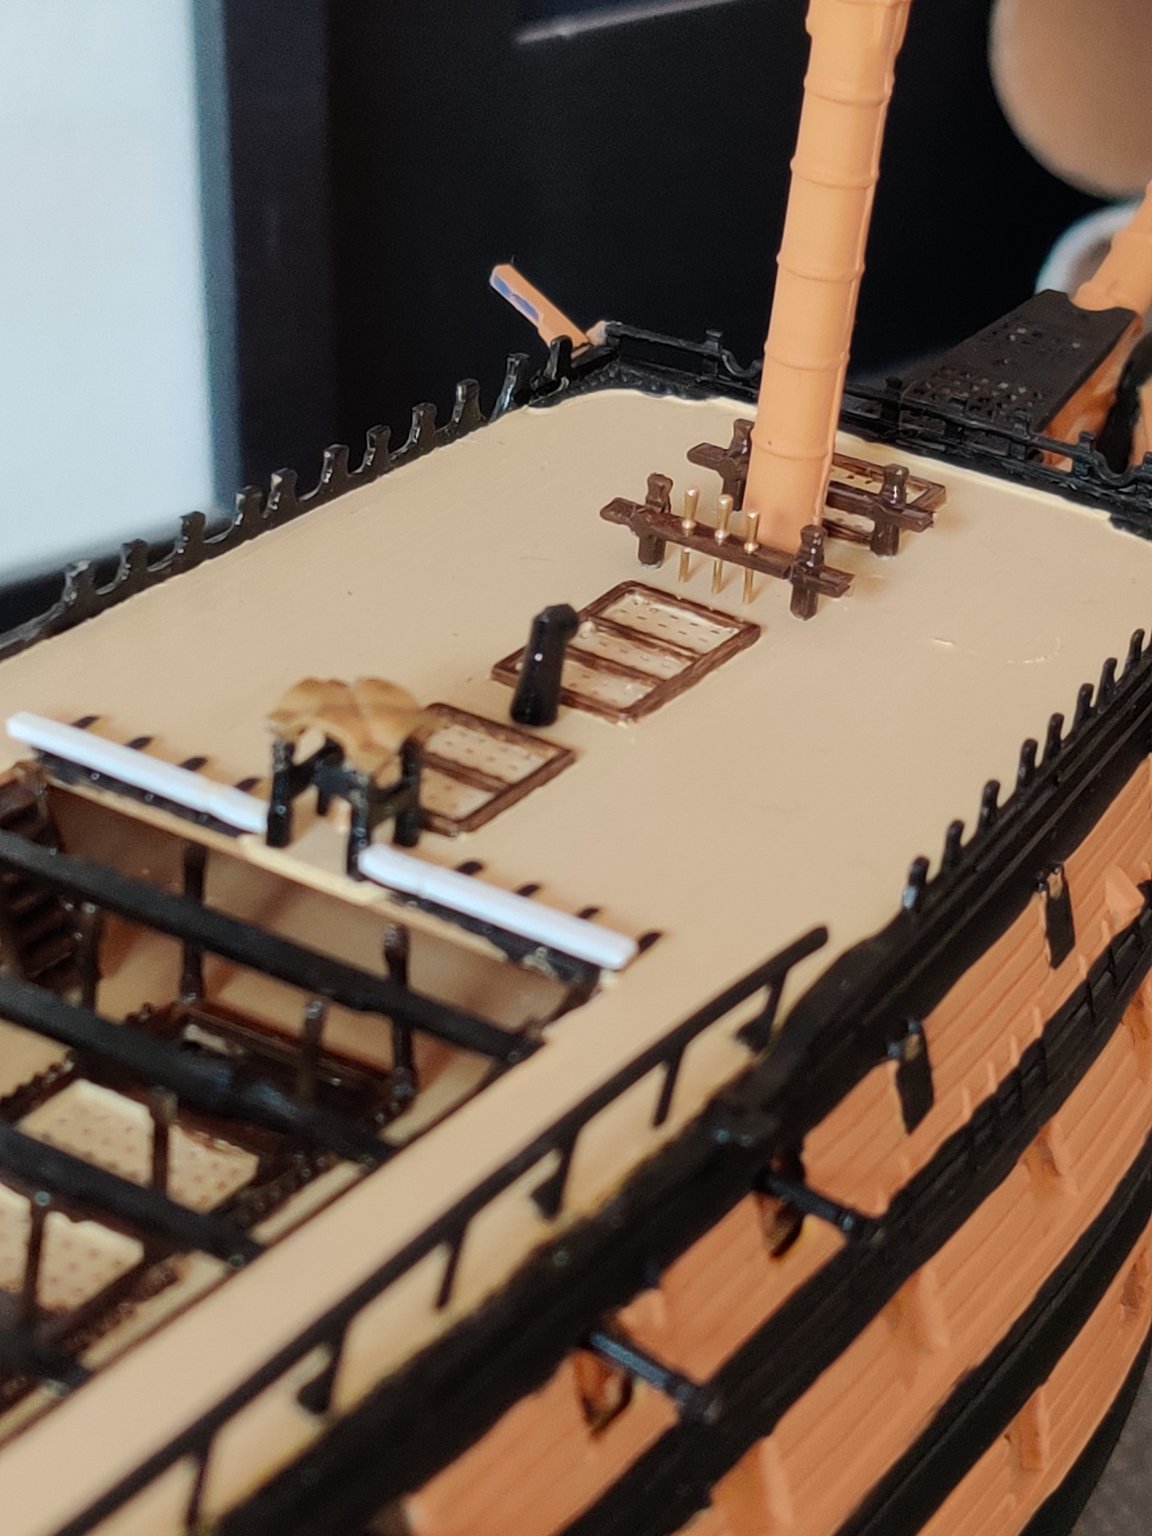
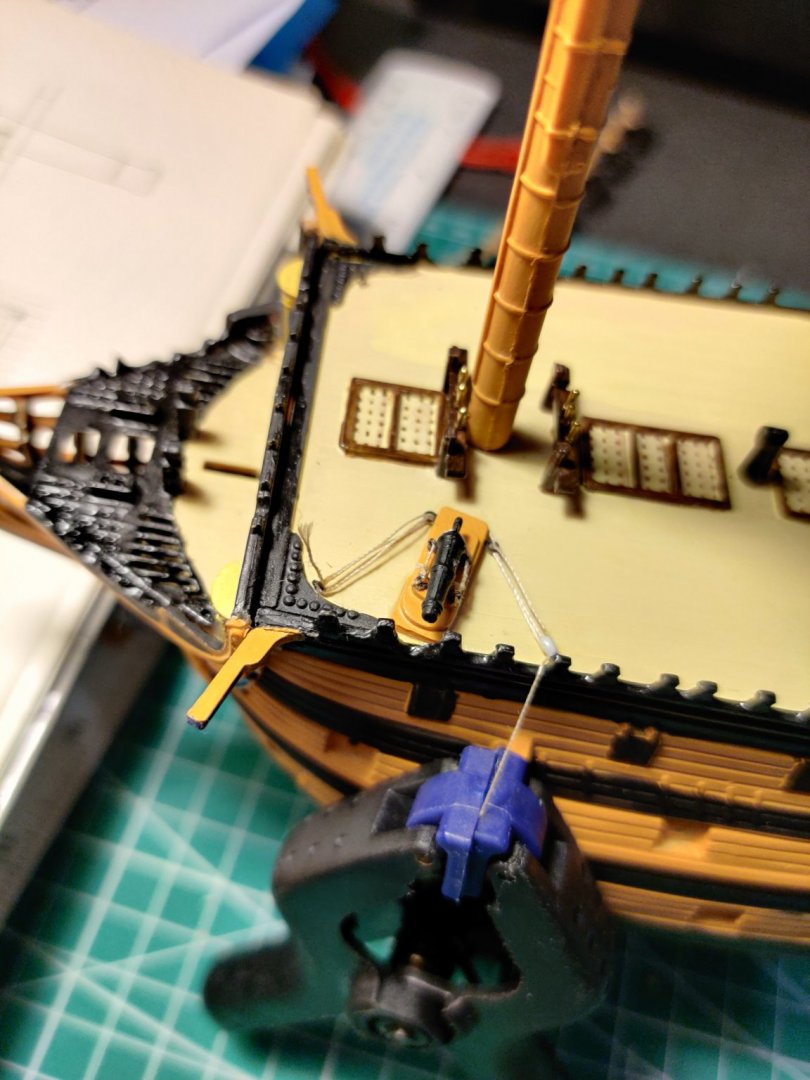
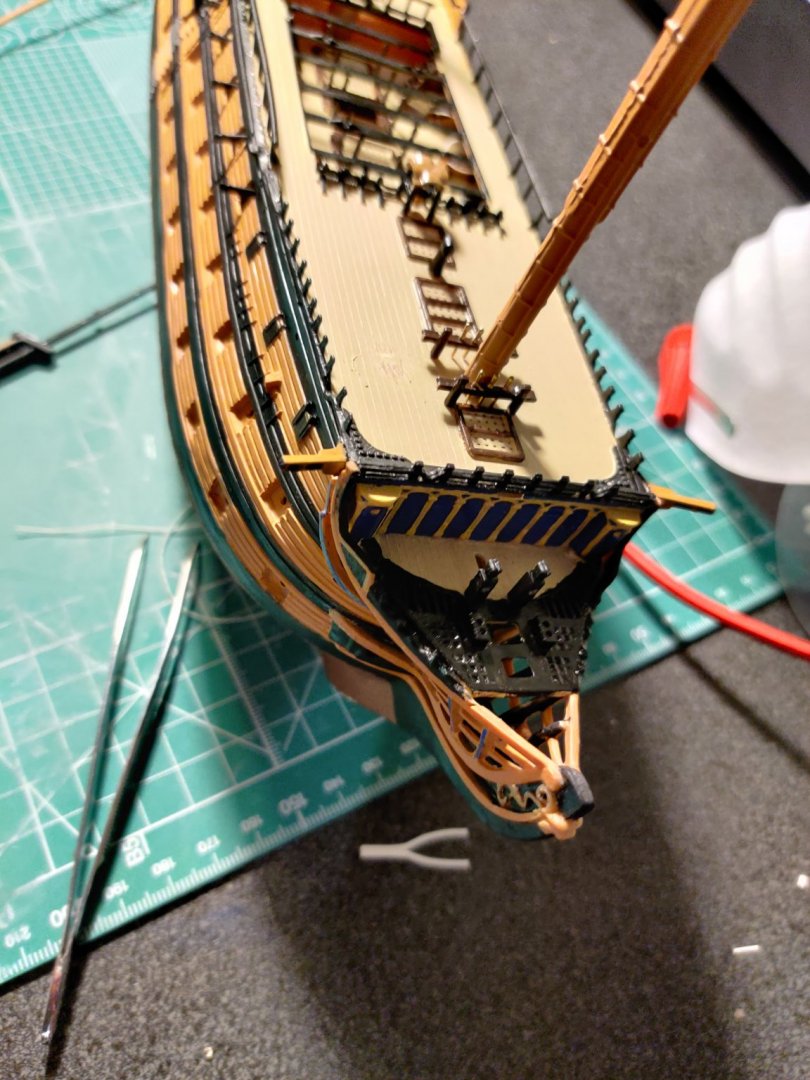
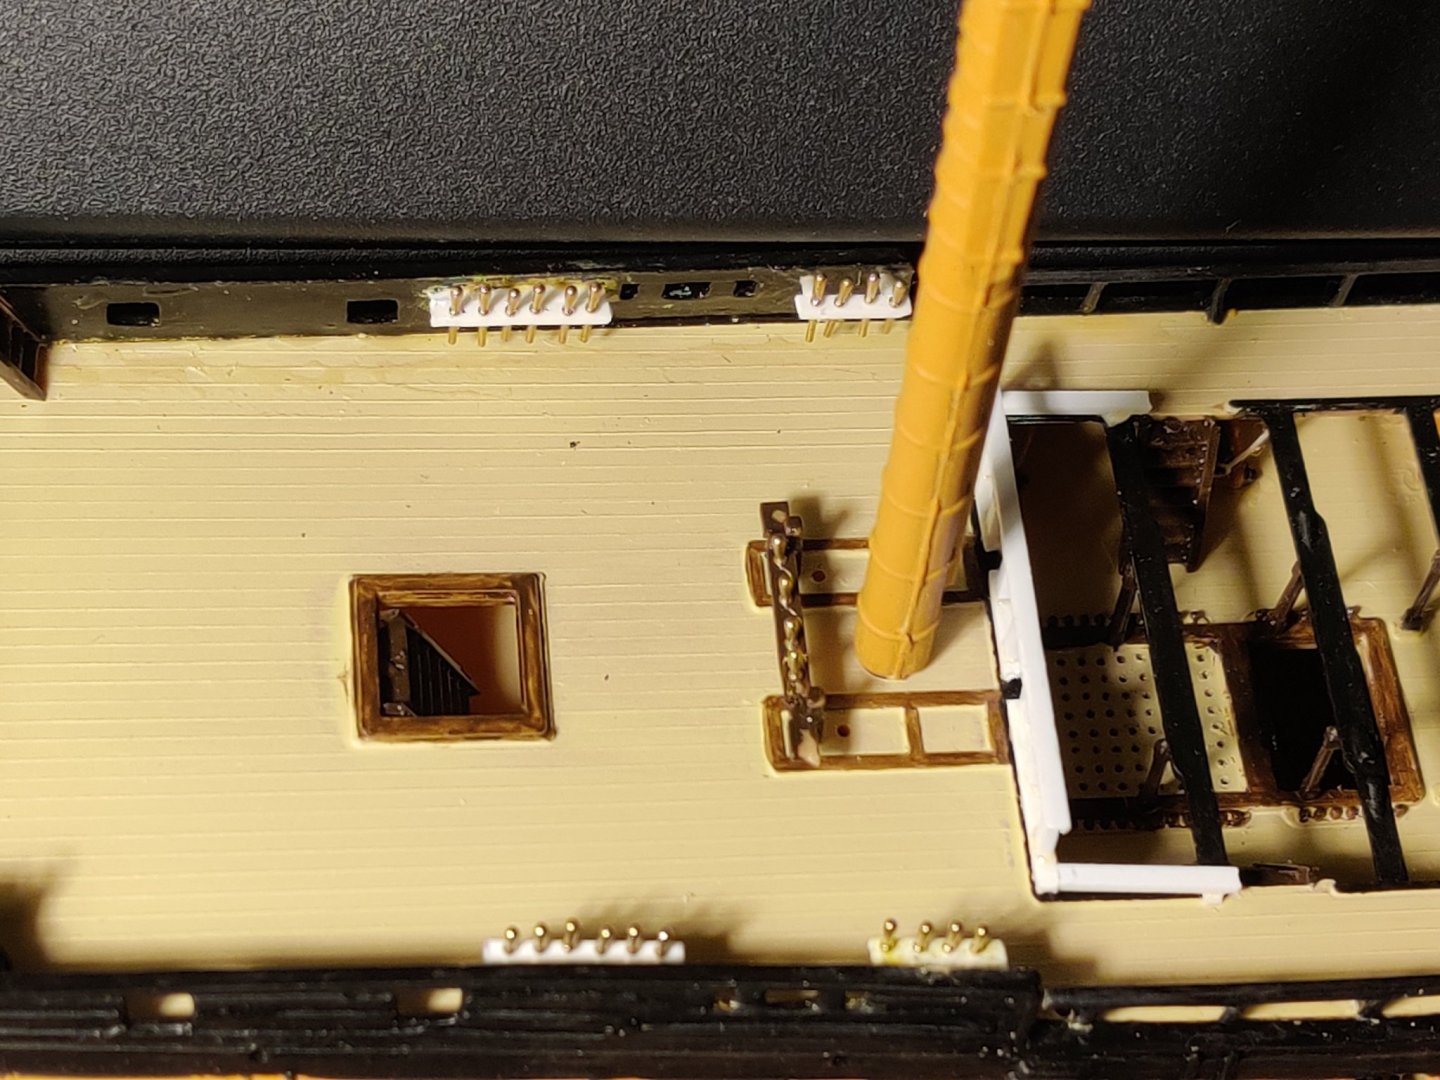
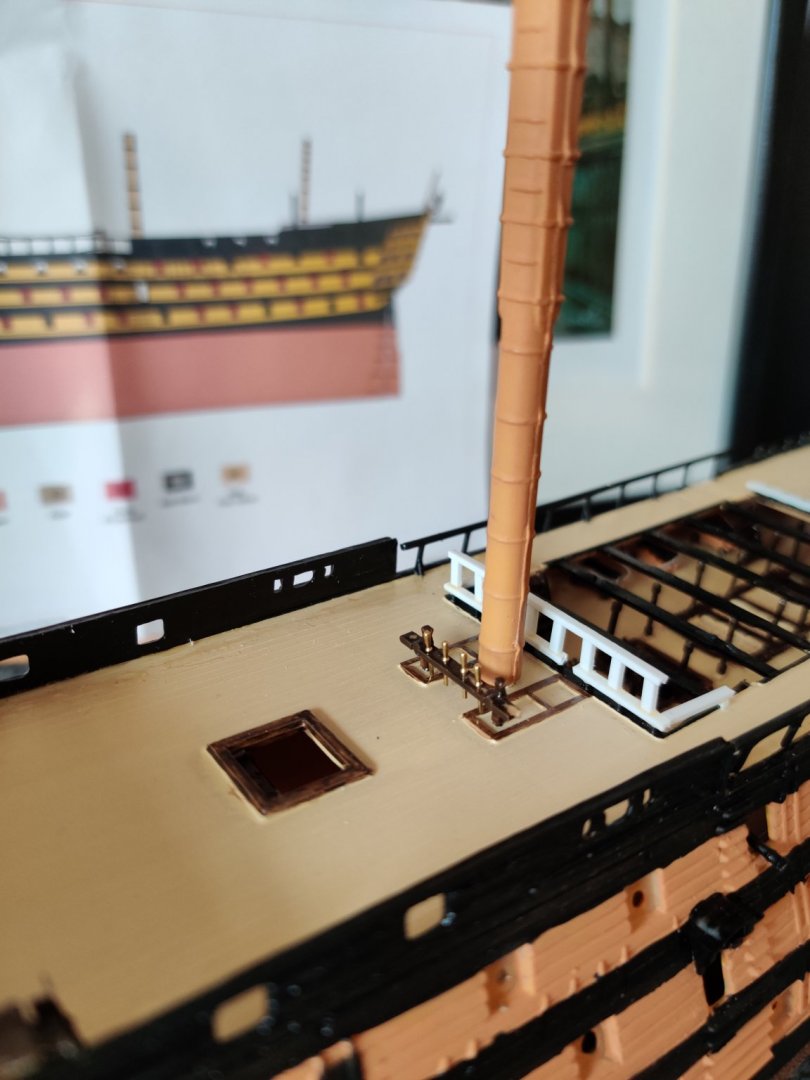
Been a busy Christmas so haven't paid much attention to the Victory. Did a little painting to start, especially the modded deck rails, footrails and bow area. Continuing on, I finally got around to making the support for the Marine's walk (yet another mod) out of scrap 1mm styrene strips. Looks a little like a wishing bone... Next mod was to reposition the locating lug underneath the bowspirit which connects to the spritsail yard. A little dry run, no cementing till later when I revisit this. Got a bunch of eyebolts and blocks etc from the good Radimir from the Czech republic .... Finally I can start pimpin' the Victory as Dafi would say! Next step, I thought I'd do a better effort on the carronades this time, and although the eyebolts are a little large for this scale, what the heck I went ahead anyway just to try it out ... Now just waiting for my styrene "pretend blocks" to dry so I can start work on the side tackles... Till next time!


-
Hi Daniel/Dafi/DAn, I stumbled on your amazing blog and wanted to say thank you for posting an entertaining, educational and inspiring blog! In particular I enjoy seeing the fine scale work and figurines which injects so much life into your model and makes the inner workings of the ship more relatable to land lubbers like me. Hoping to see more posts to satisfy our dafi fix 😄 Cheers,
-
Goodbye old blocky stubs and hello 1mm stubs! Before... After! (Pls ignore glue damage... For now) Carved the curvy strip from a C rod and found it bended more easily without breaking. No lighter in sight so opted not to melt strips which could have been another option. Cheers

-
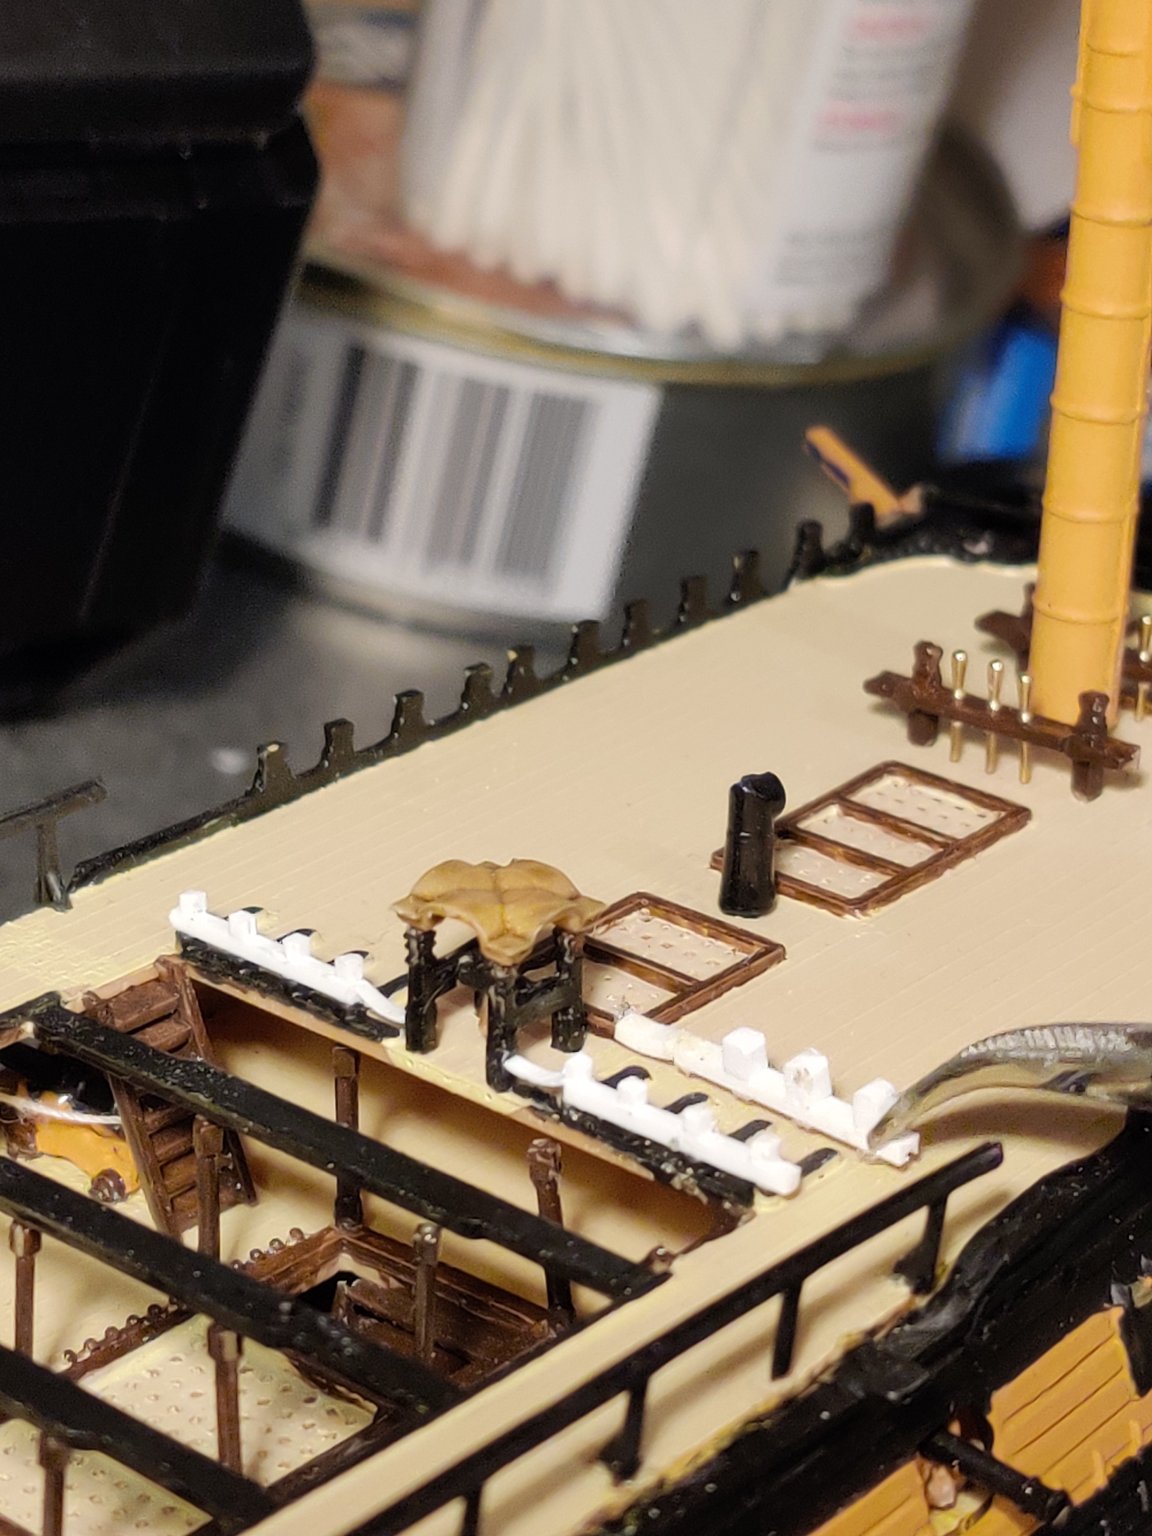
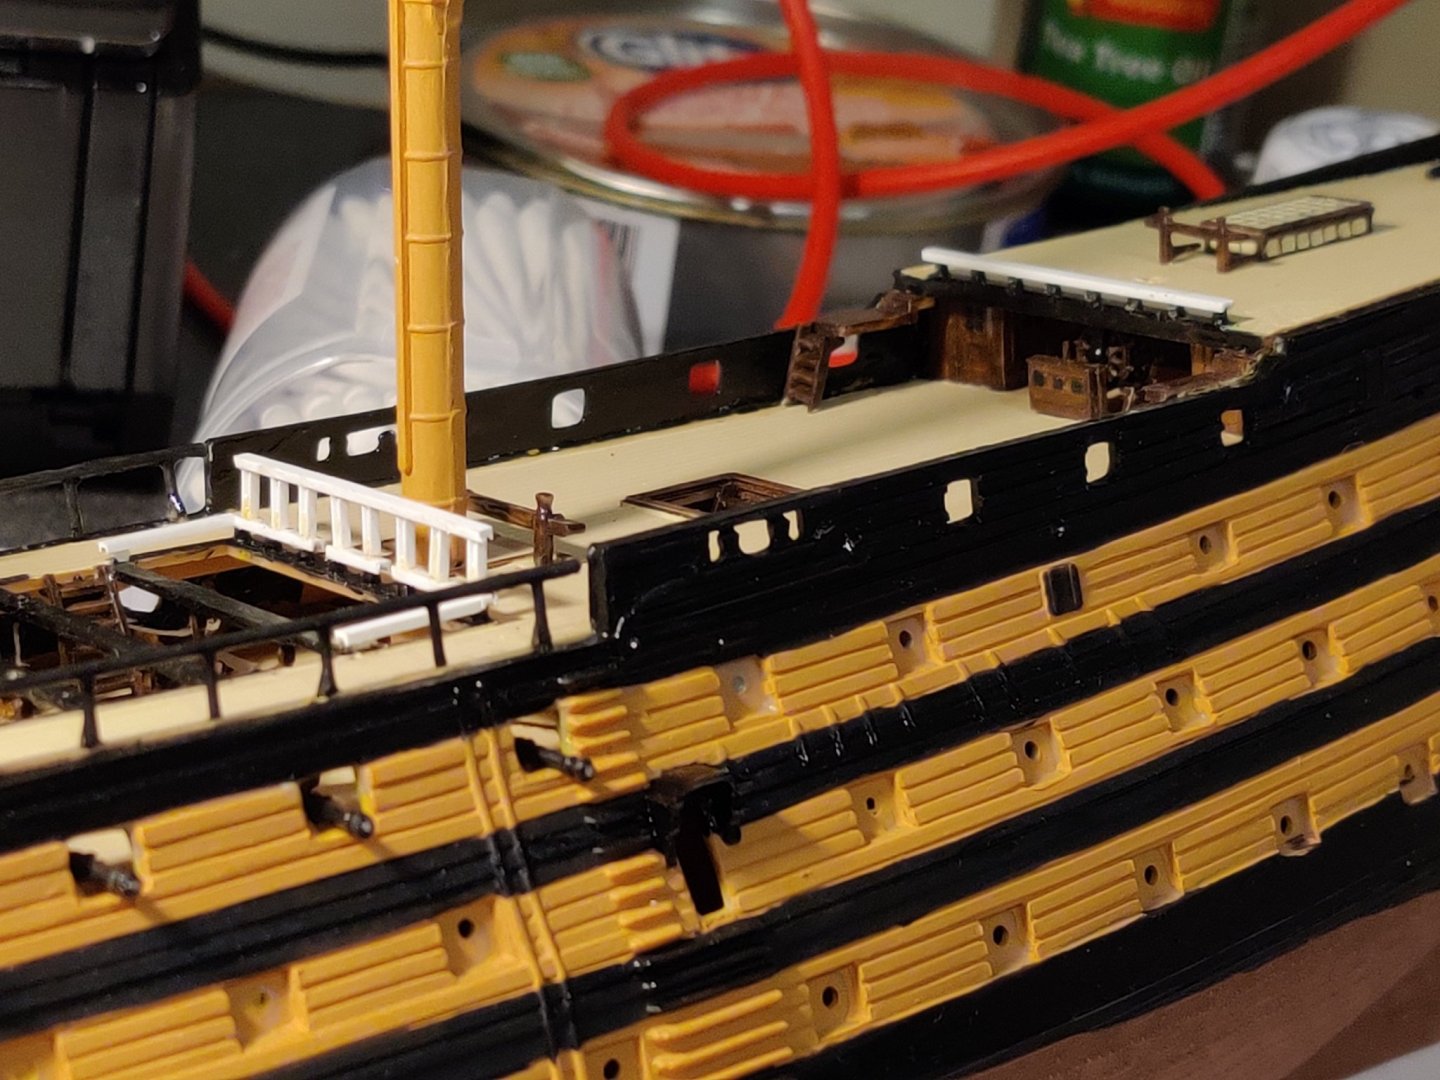
Wasn't happy with the way I'd constructed the footrails near the skid beam edge as it looked almost comically large in scale. Decided to rip out the footrails and use 1mm evergreen rods instead. Then I filed off the glue (should have used cement instead) on the bottom rails which I decided to retain. After measuring the rails, I cut a length of 1mm rod to size. Here's a little secret... My first attempt was a shocker. Used C strips as that was all I had. This time I vowed to do a better job rather than taking shortcuts... Cemented the vertical rods and this was the result (below) A little bit of cement.... Hooray! Next... I want to replace the stub supports on the rails alongside the belfry once I pickup 1mm square rods tomorrow!


-
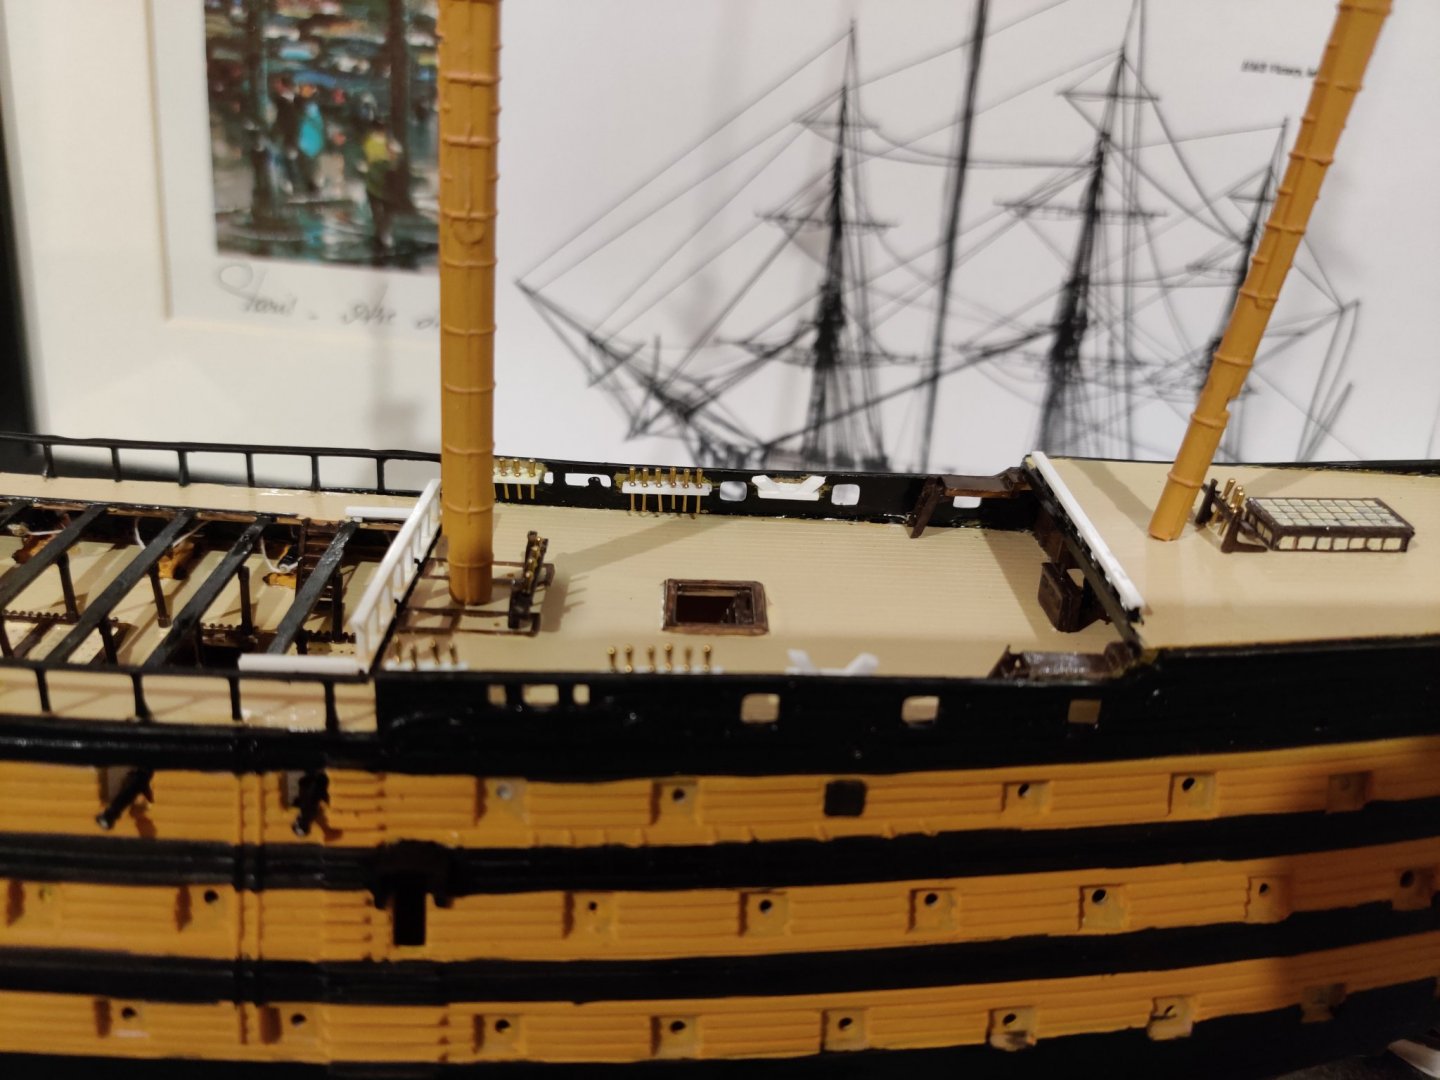
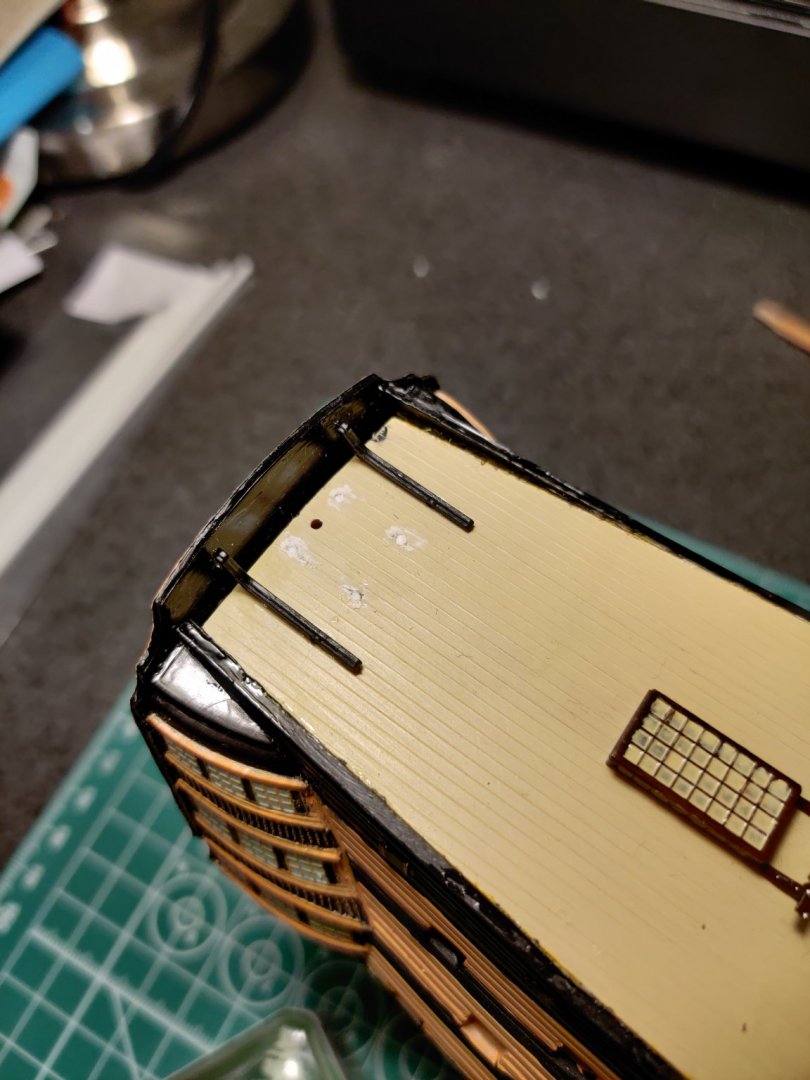
Mods and more mods.... Started my night by adding stubs to the footrails adjacent to the belfry. In hindsight I should have got 1mm square strips for better scaling. Next, time to take a deep breath and break off the end standards on the poop deck. Filed them down and repositioned them closer together with glue. Filled the holes with putty. I cut a section of a C strip join the 2 end standards Now I am really regretting not fitting the decks to the hull properly with greater care earlier in the build. The poop deck is flapping loose and I may have to putty the edges to the hull as a fix later Last step, continuing the deck rail fittings, i fashioned 2 kevels out of 1.5mm strips. 1 more set of kevels to go, but my stomach is grumbling now...


-
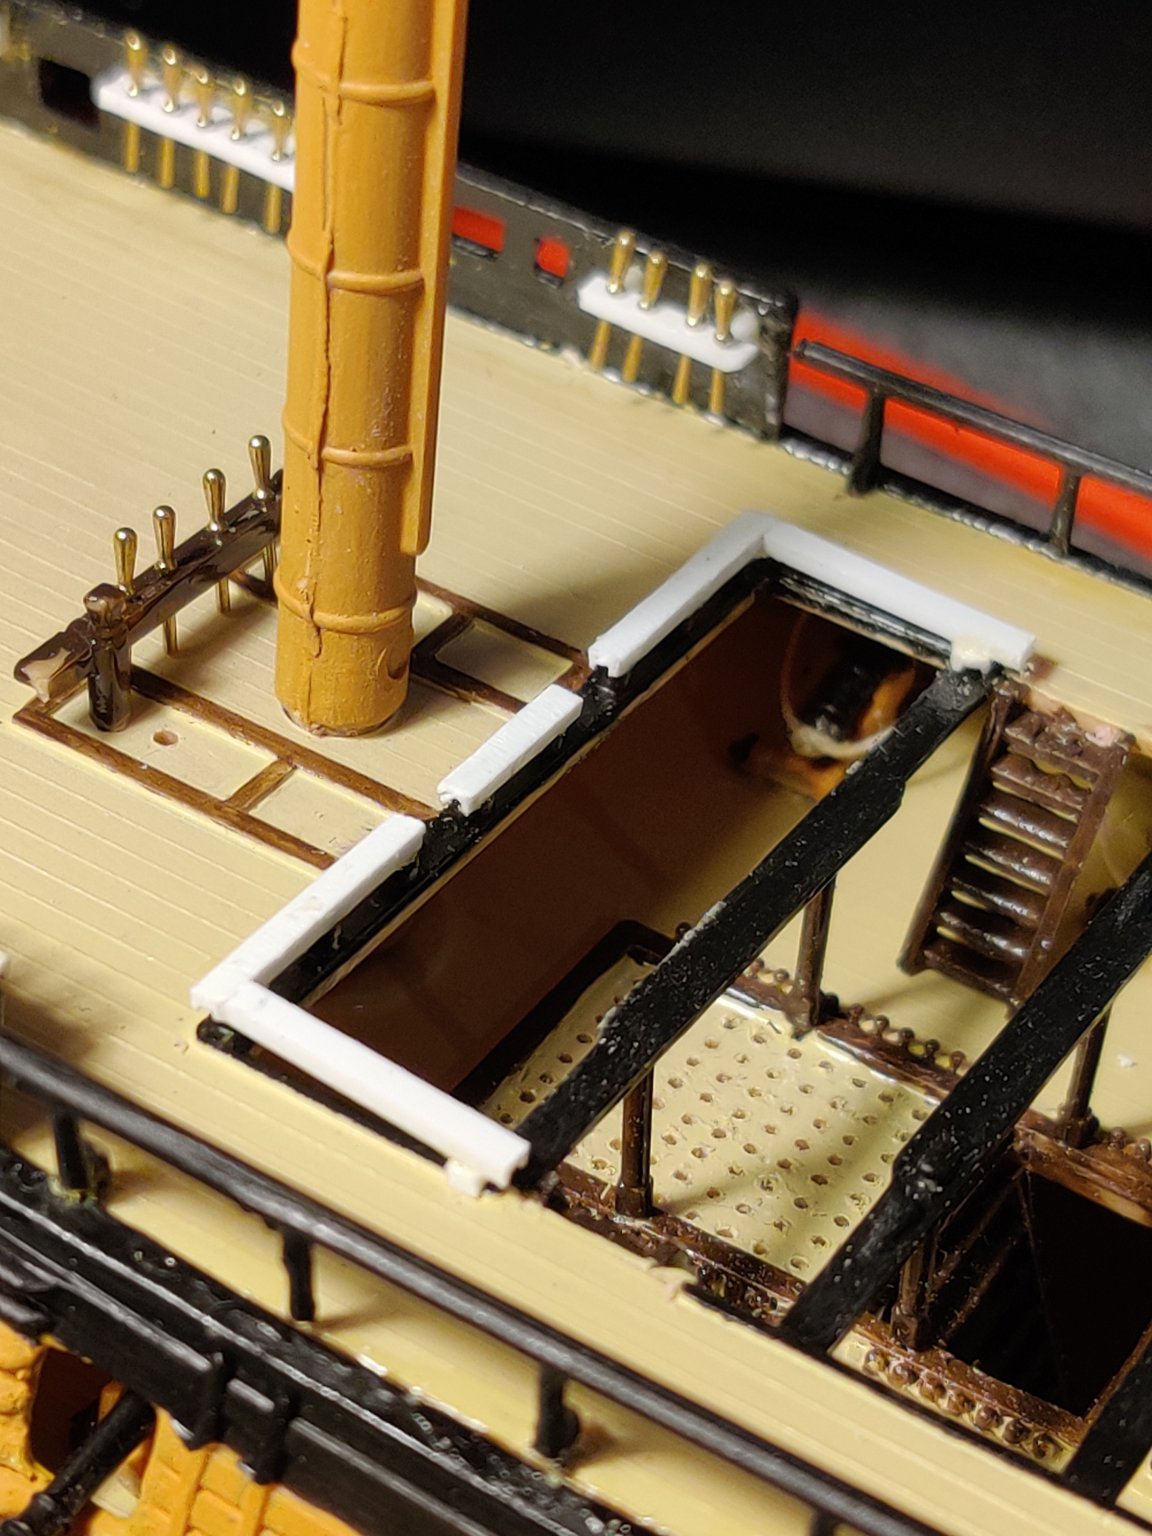
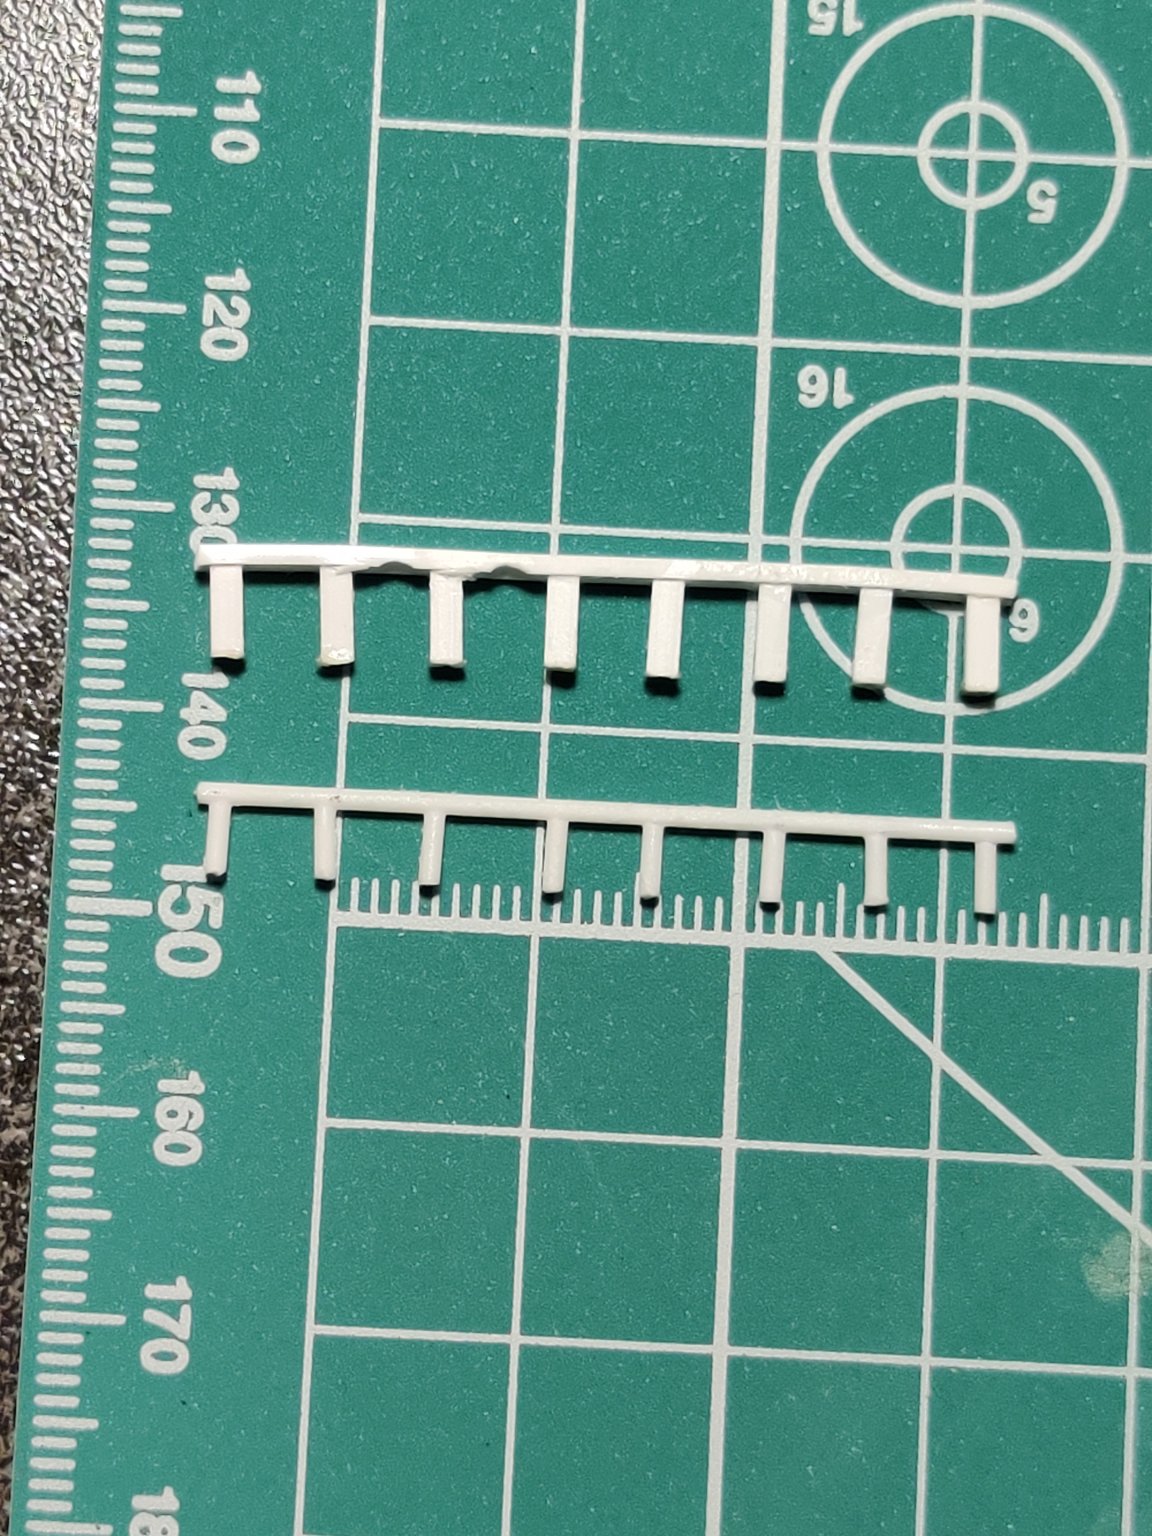
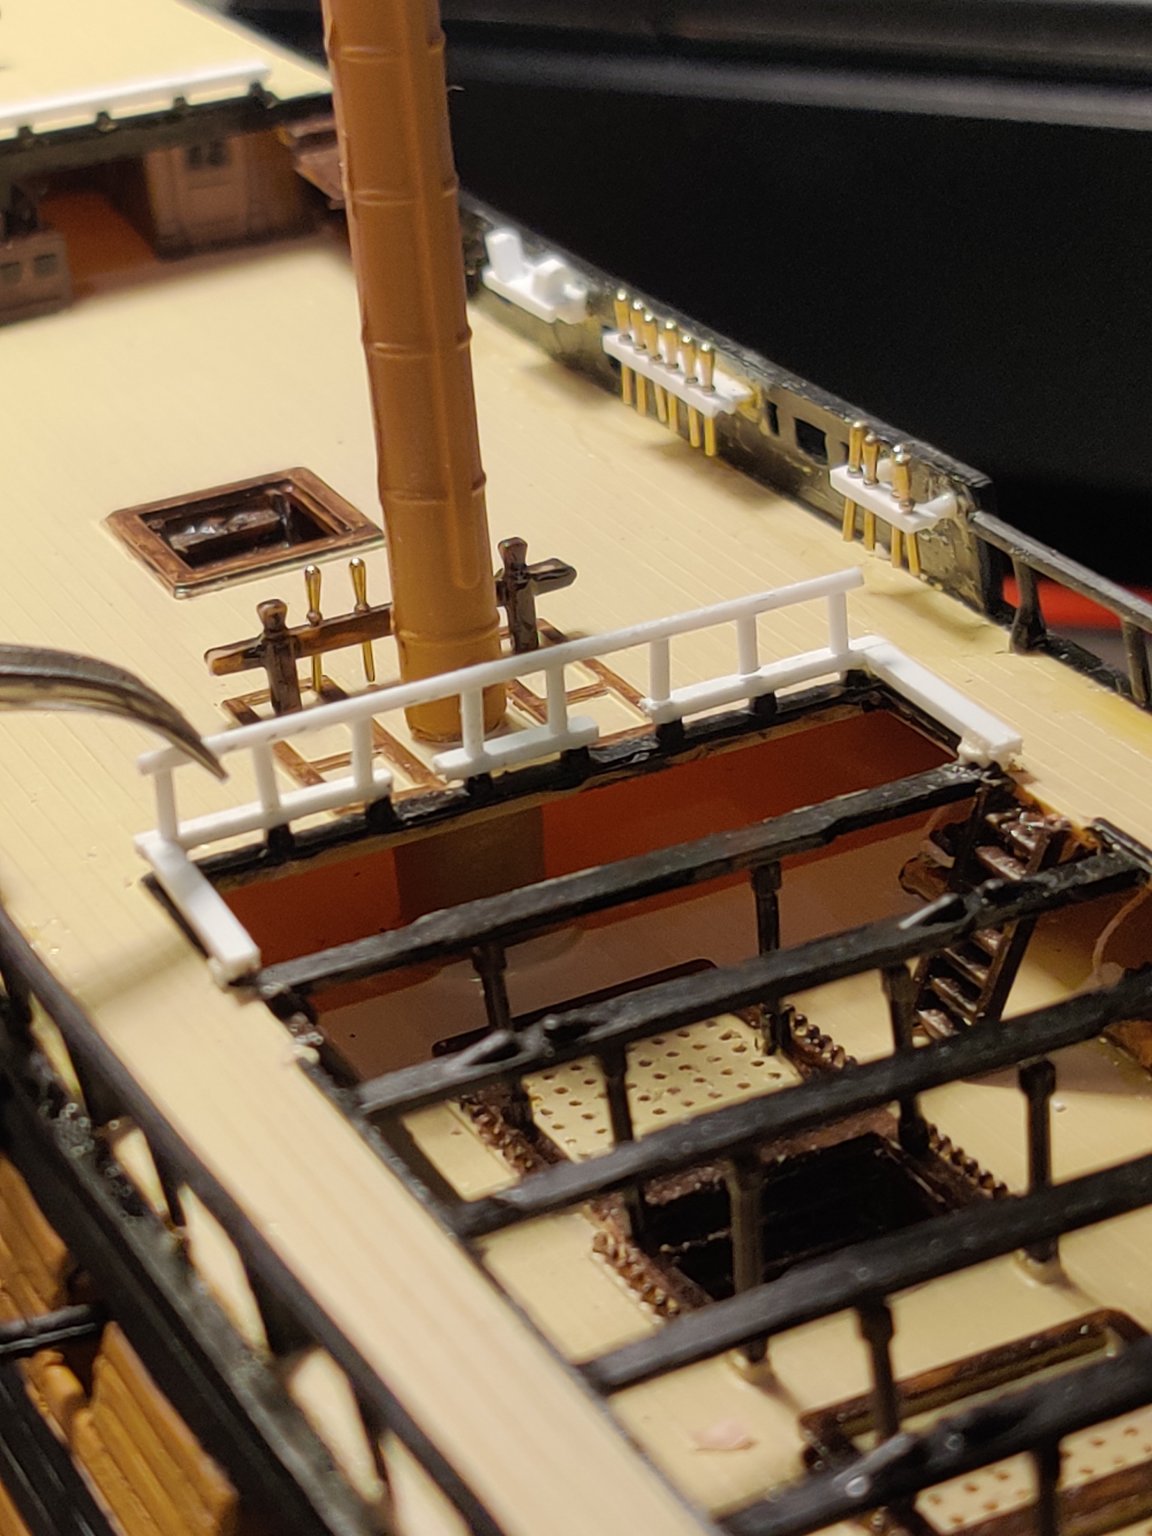
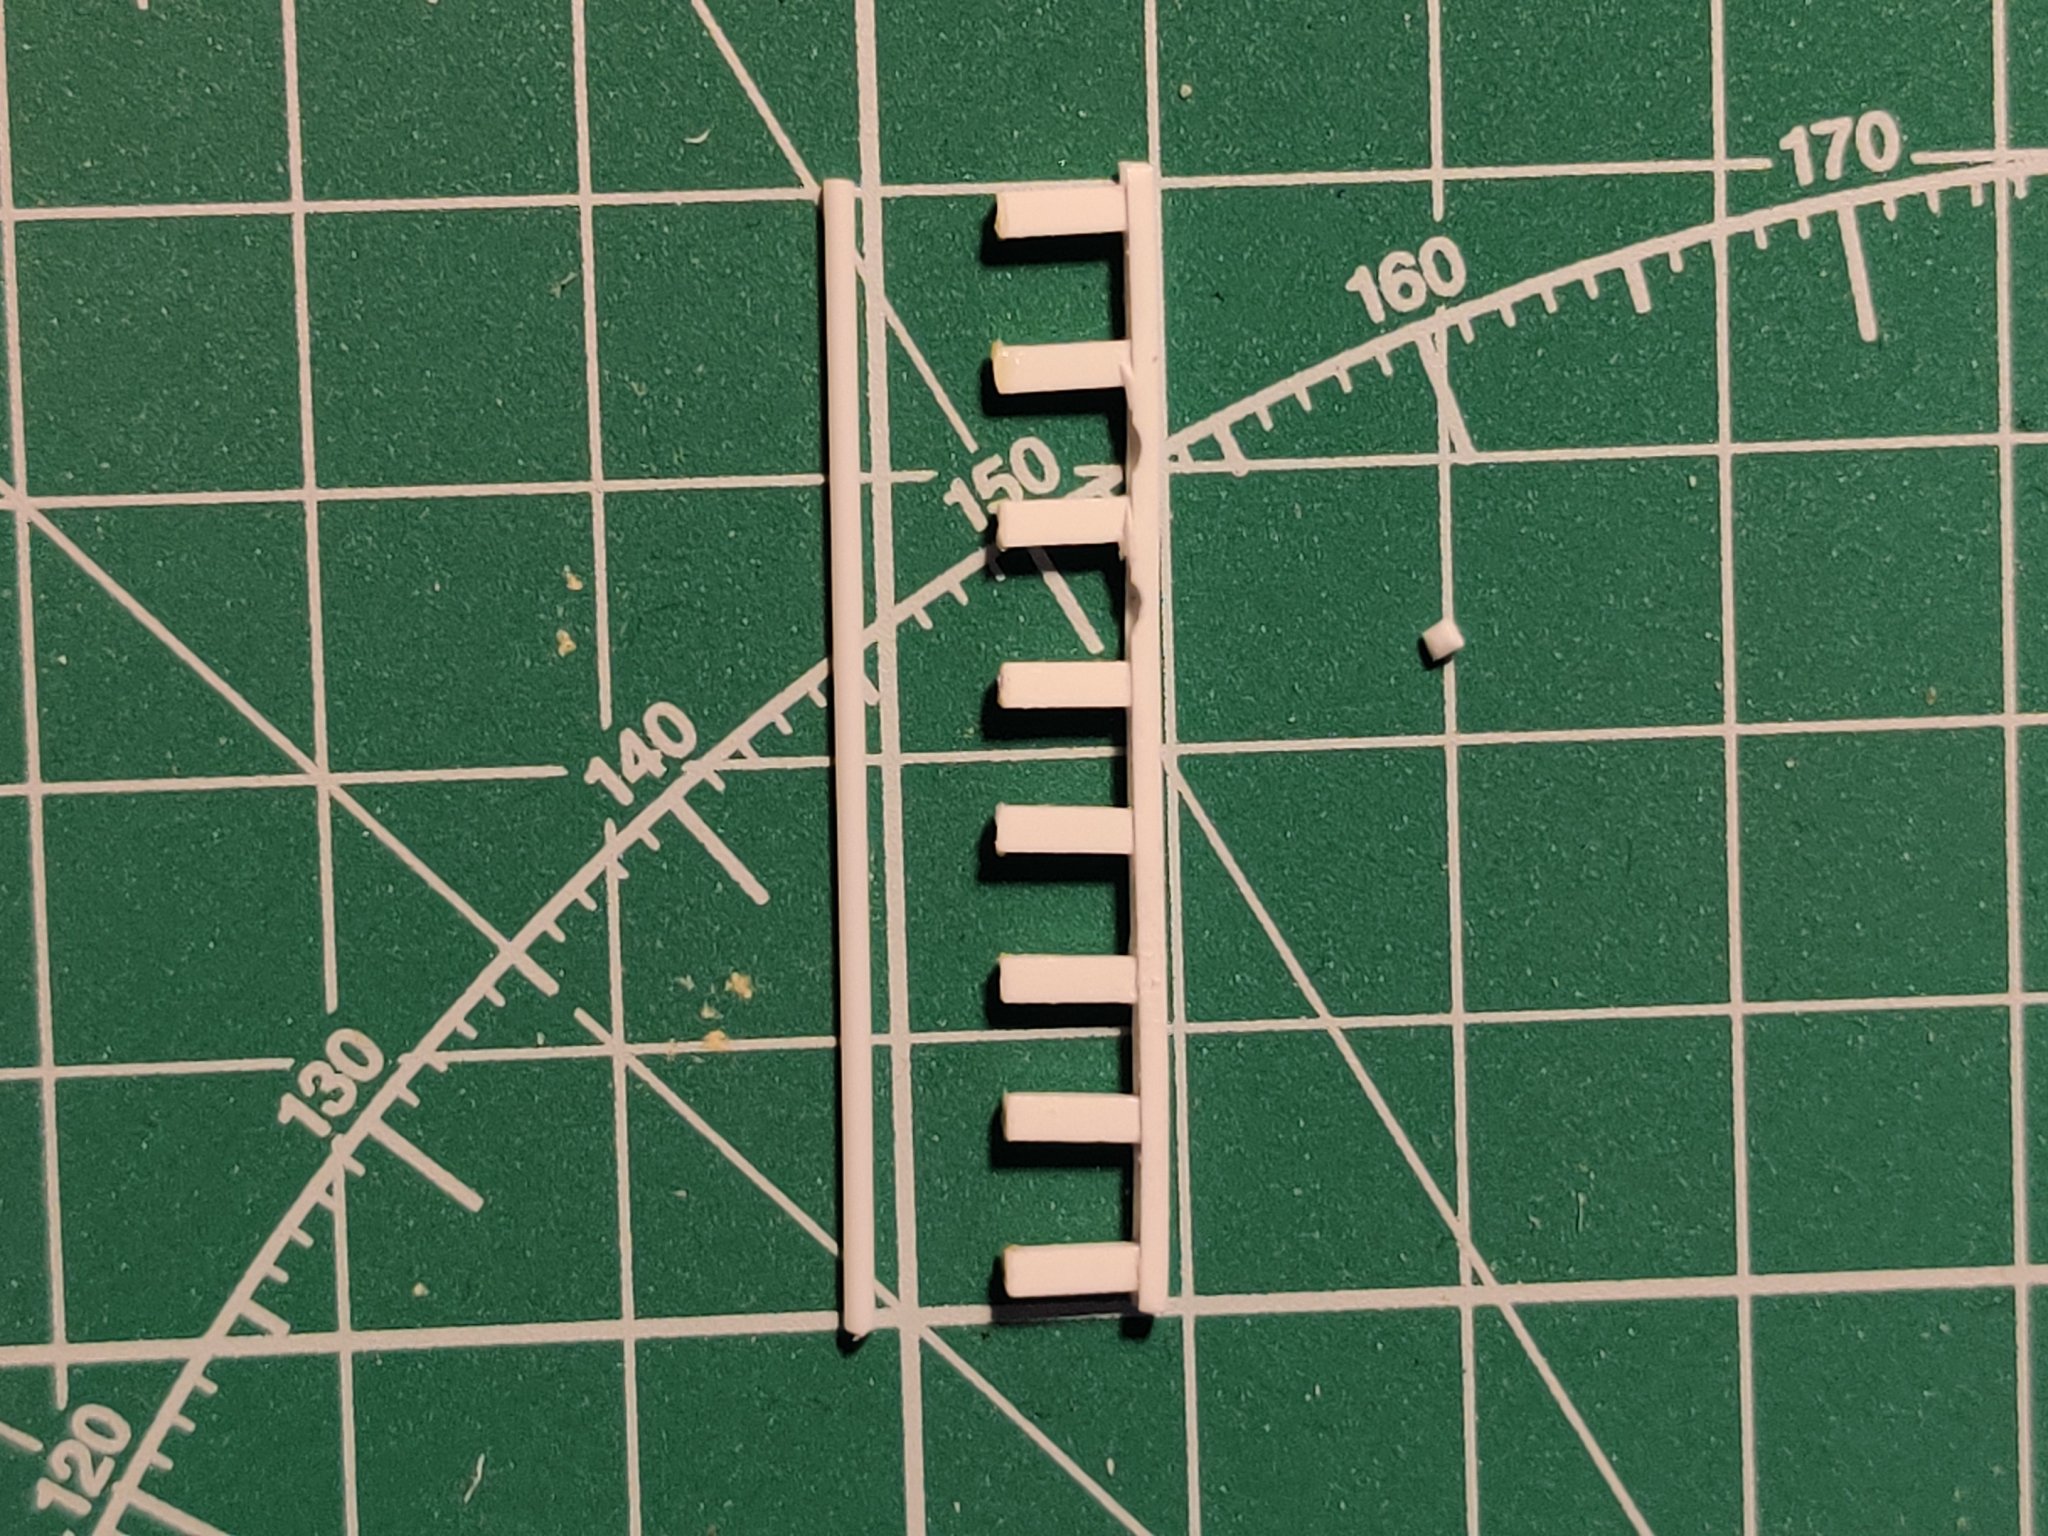
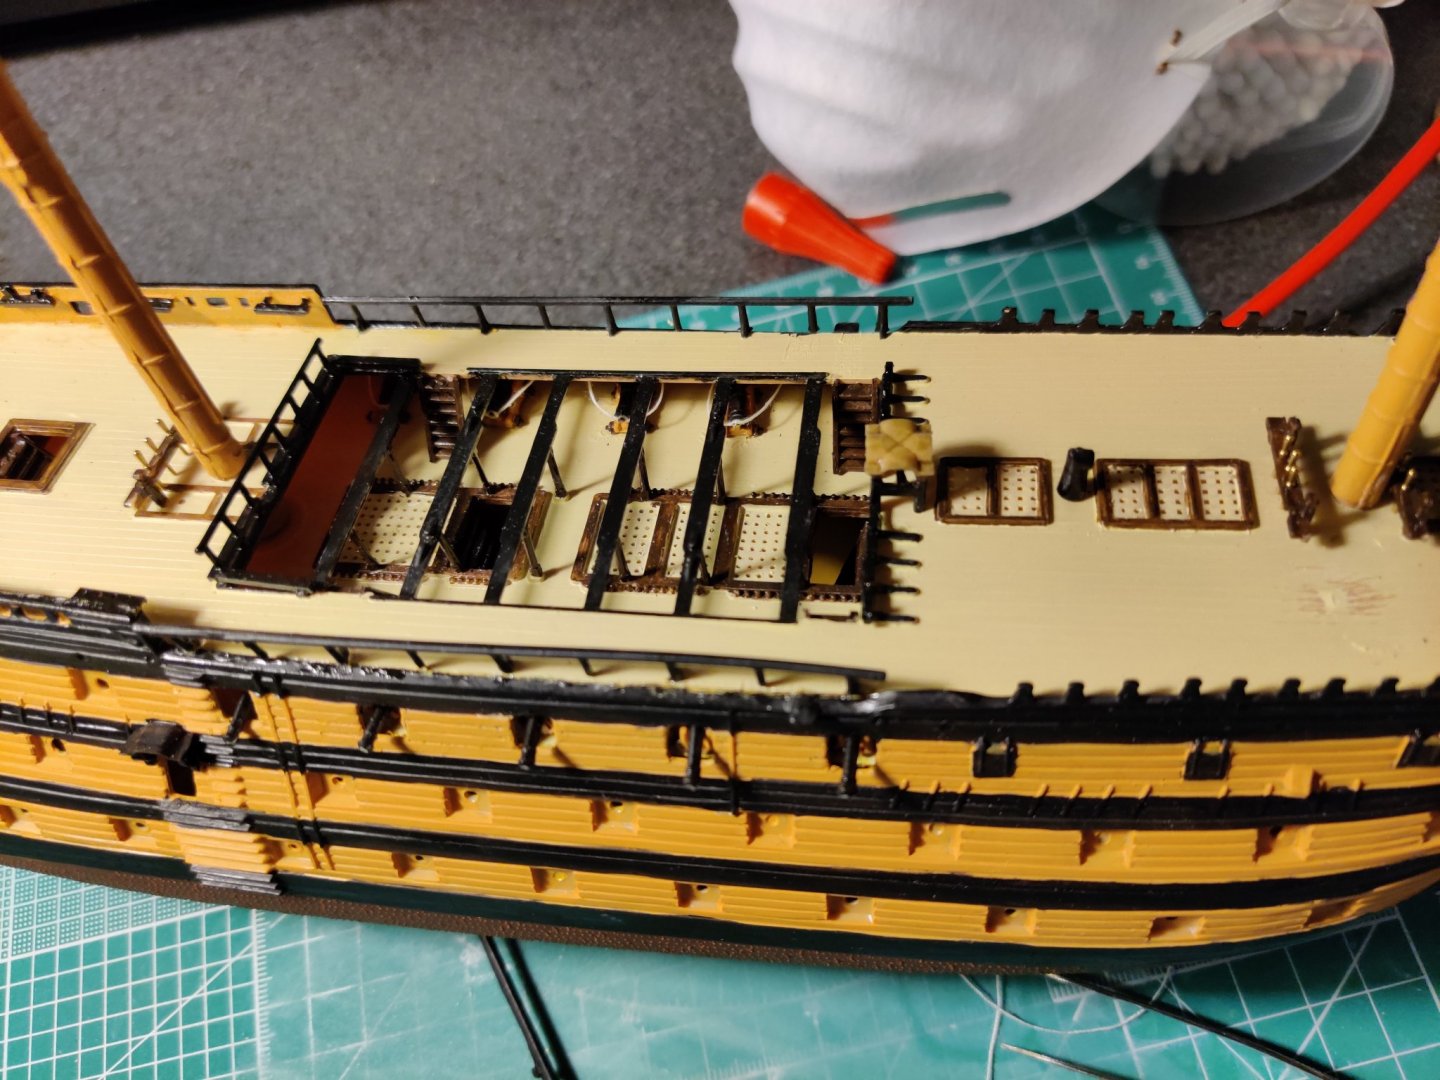
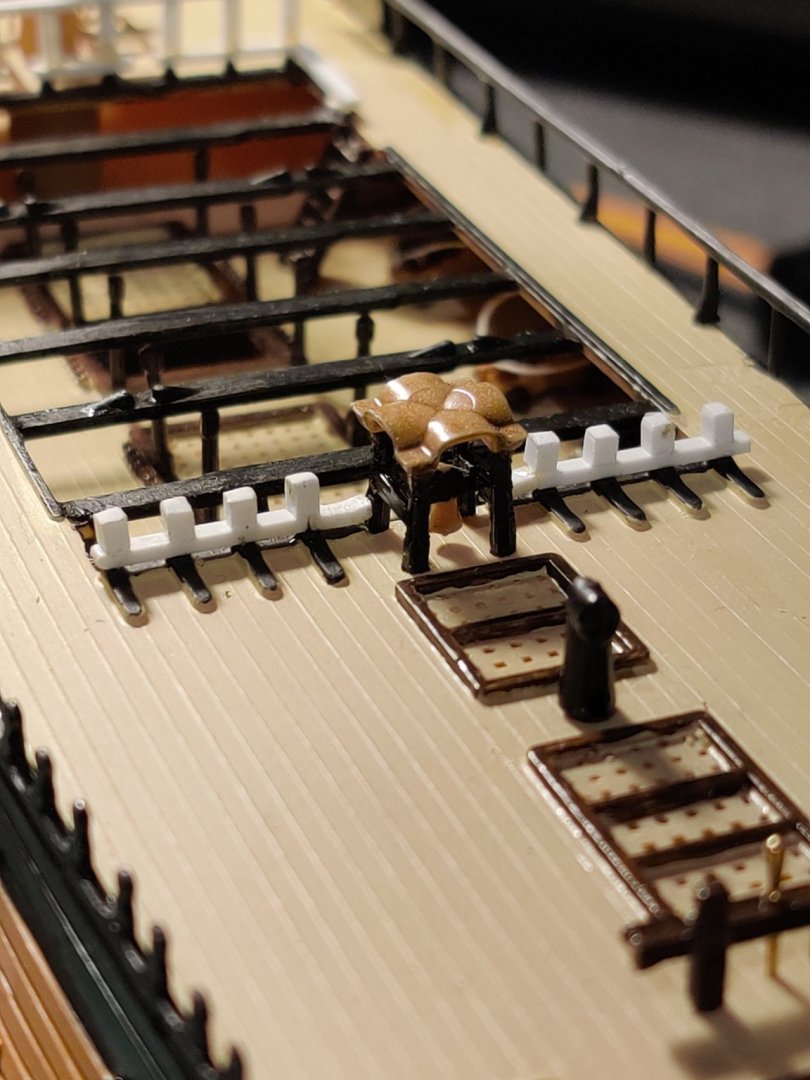
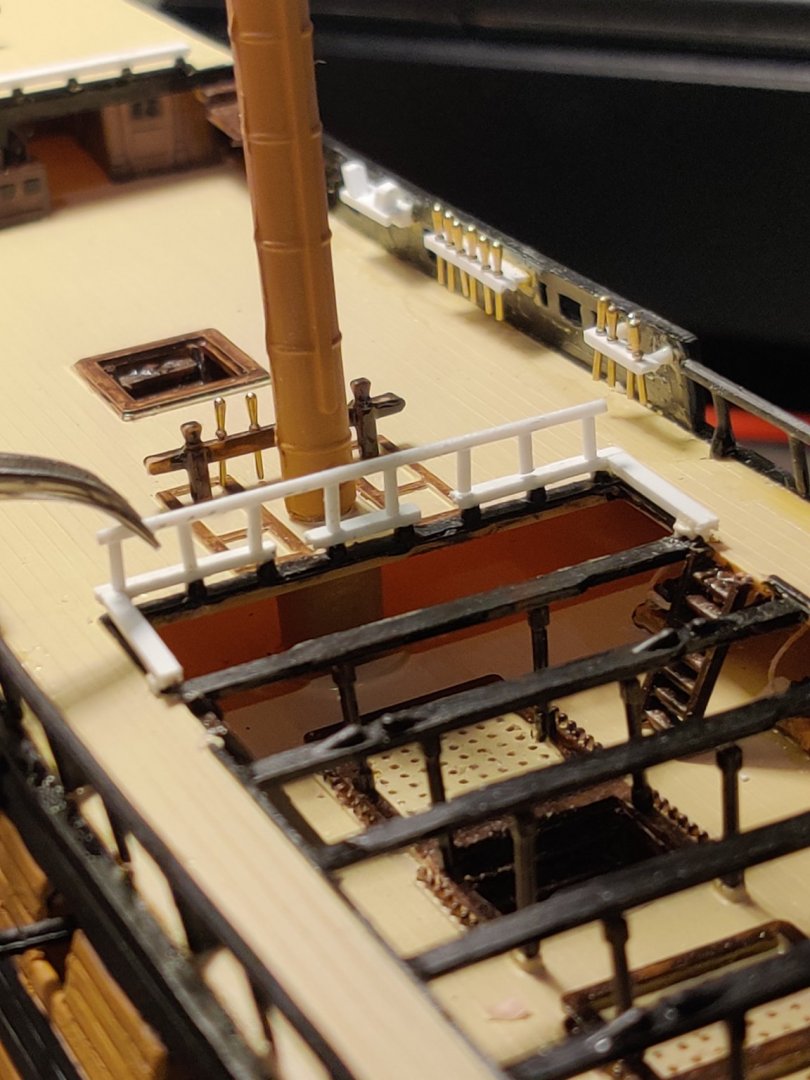
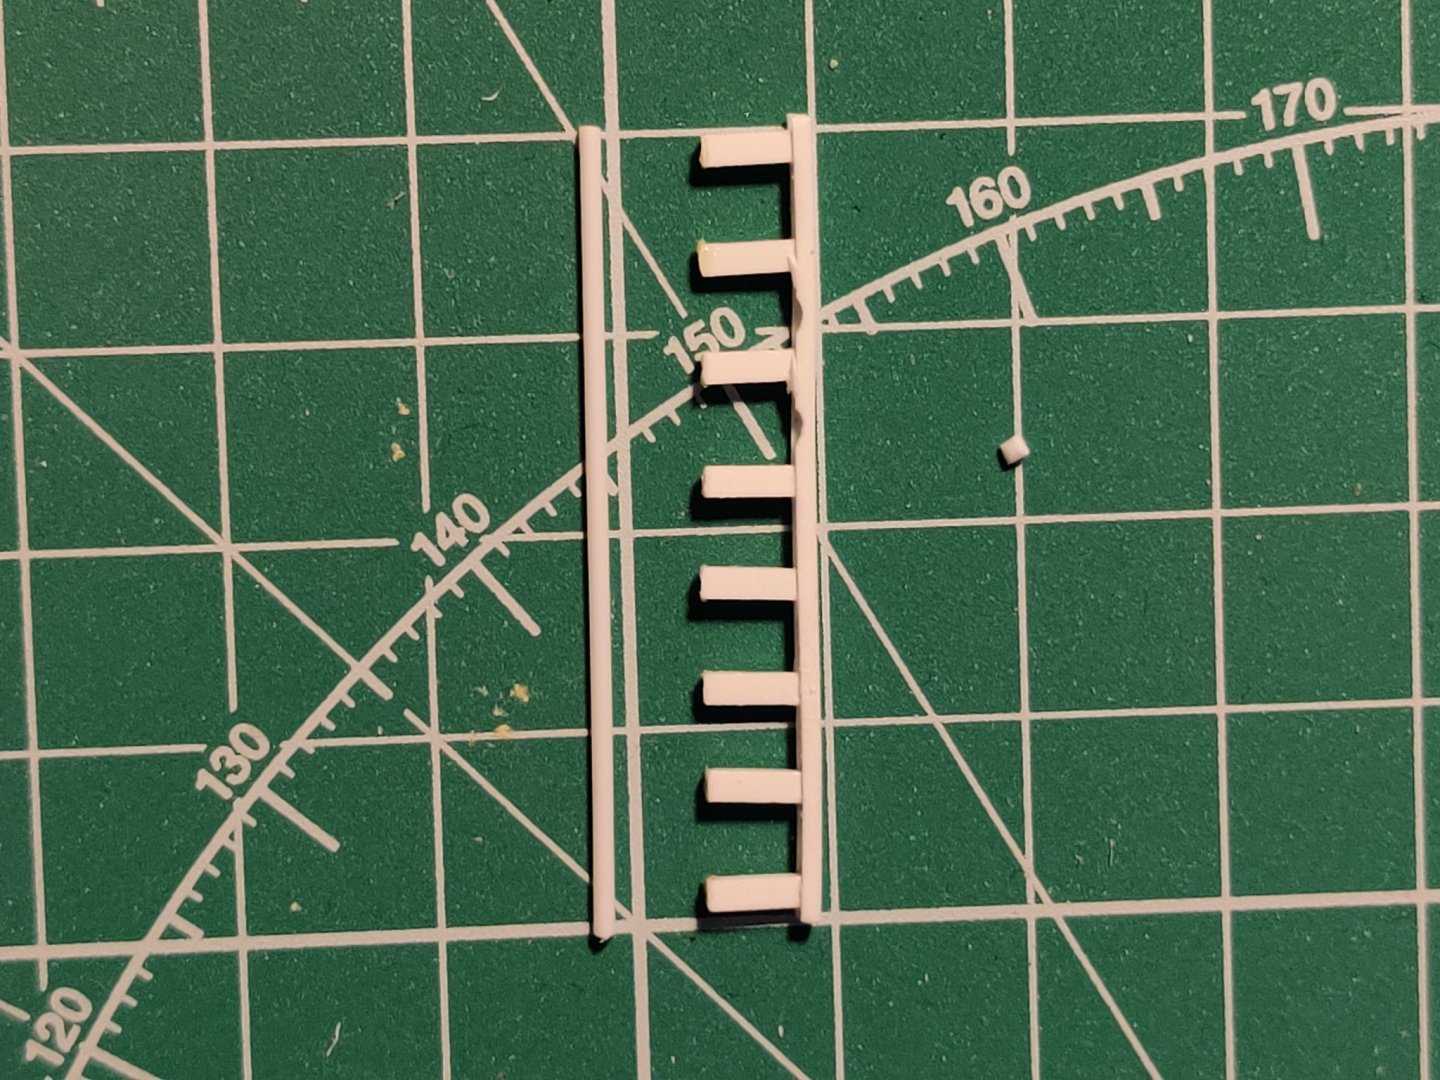
Haven't had much experience with wood... Might try styrene first as it could adhere a little easier to the plastic Hull. It was time to add deck rail fittings or 'kevels' according to Mod N of the Hackney manual. As I only had 1.5mm square styrene strips, I marked out the holes for the belaying pins first, drilled those holes, then cemented 2 x 1.5mm strips together. I then scraped out the black paint on the inner walls of the deck and cemented the 3mm kevels on. Next I will need to add 2 more panels on either side of the deck rail close to the poopdeck ladders. It seems my belaying pins are a little large in scale... oh well.

.jpeg.cb3febfa69f96be8a9fd4d50fe9d3fab.jpeg)
-
Hi Phil, just thought I'd drop in and check out your Victory... She's a fine looking ship! Love the detail you've achieved especially hand carving those fiddly bits. I'll be following your progress and get some inspiration from you for my build too!
-
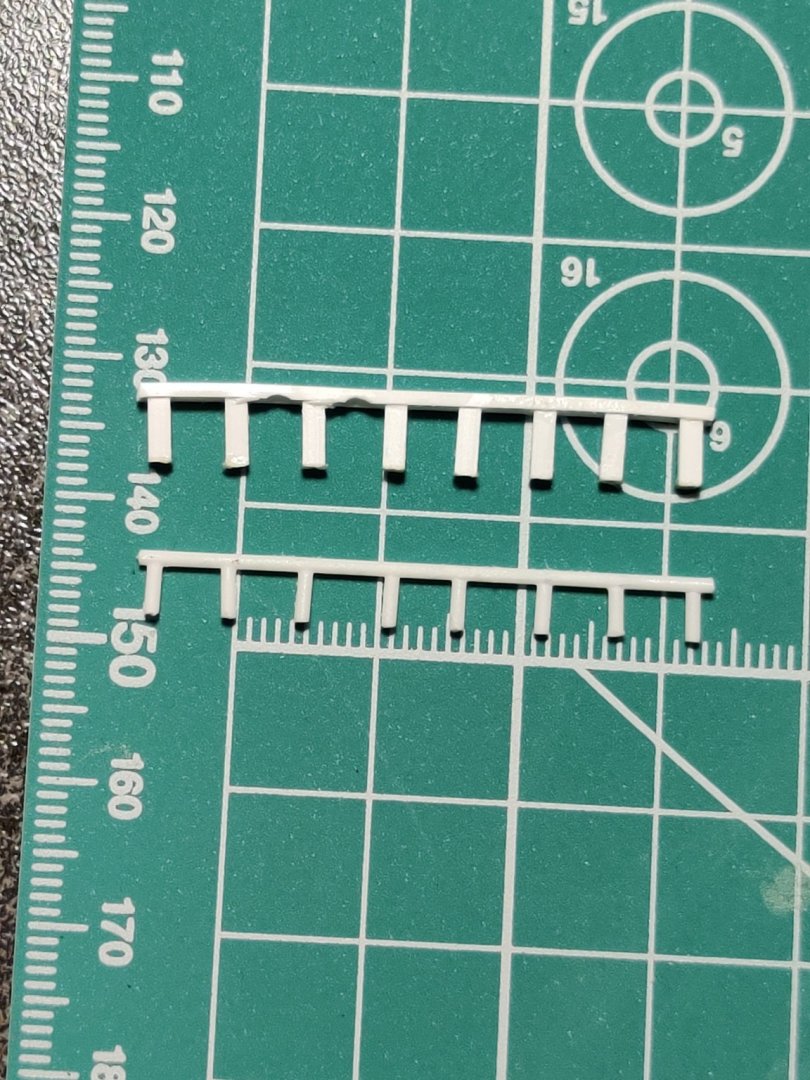
I have a question for everyone... Any recommendations for cleats (the Hackney book suggests 1.5mm ones fashioned from plastic)? These cleats will need to take on some tension from the ropes later. I was thinking of getting 1.5mm or wider H strips of styrene, unless there is a better way?
-
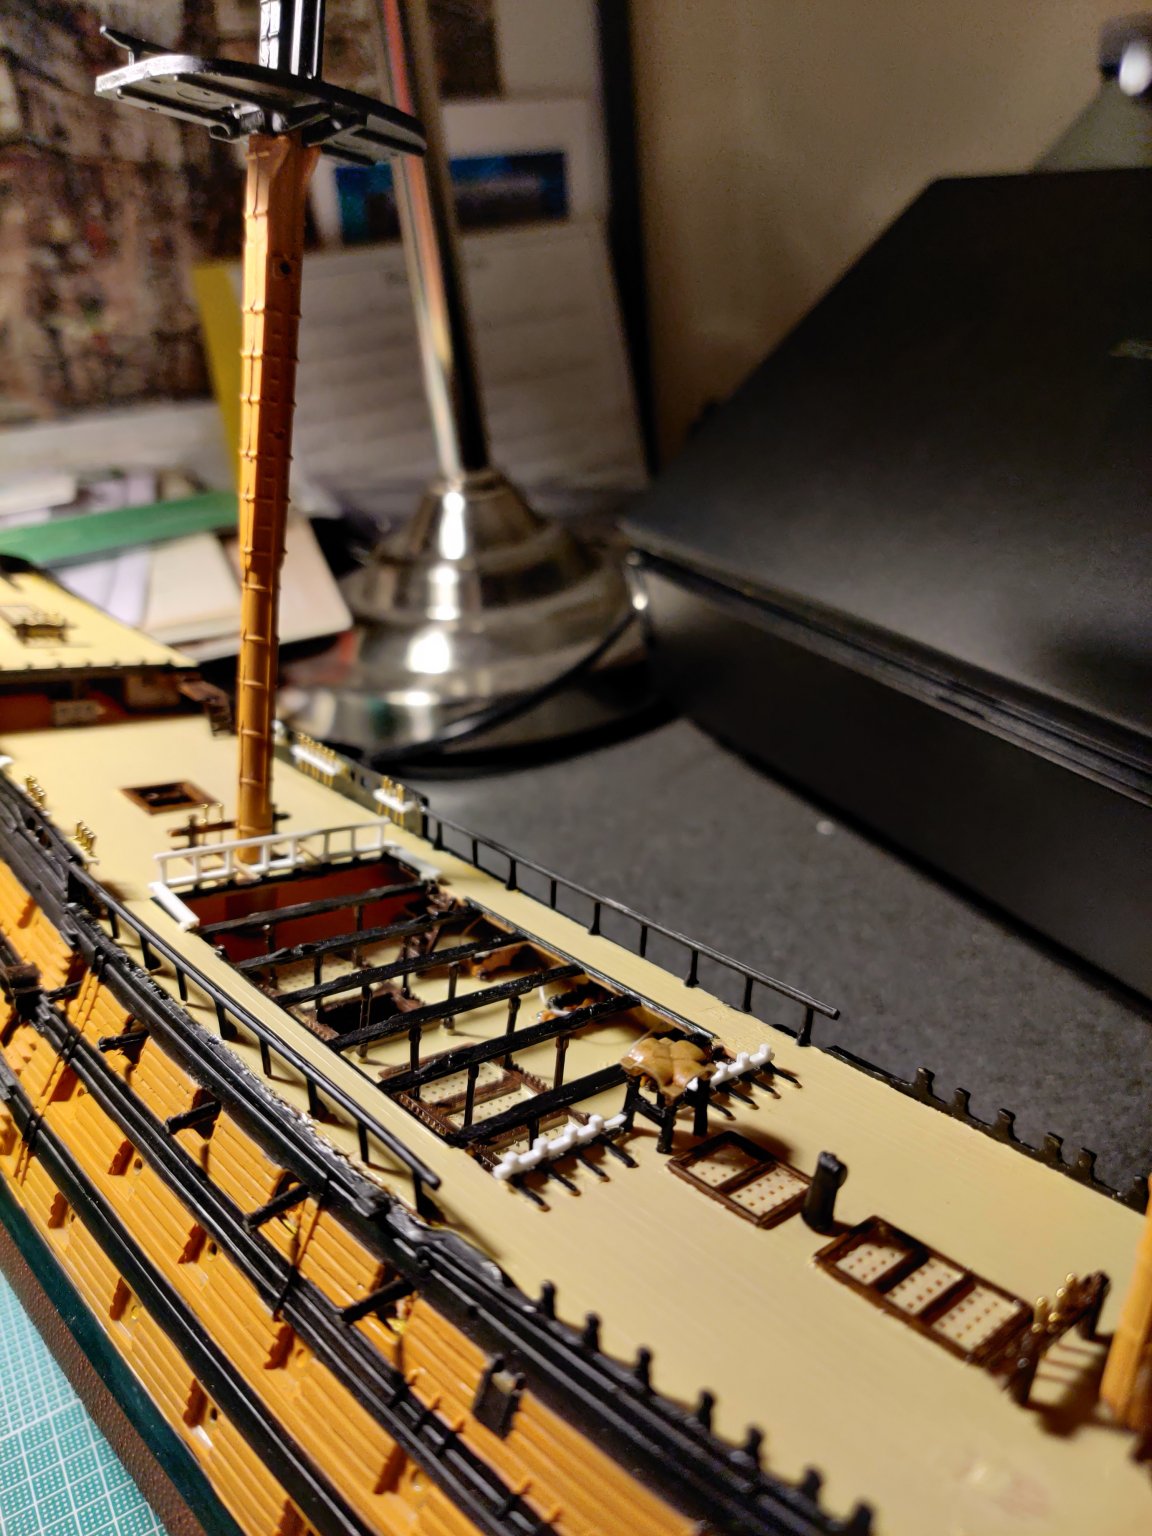
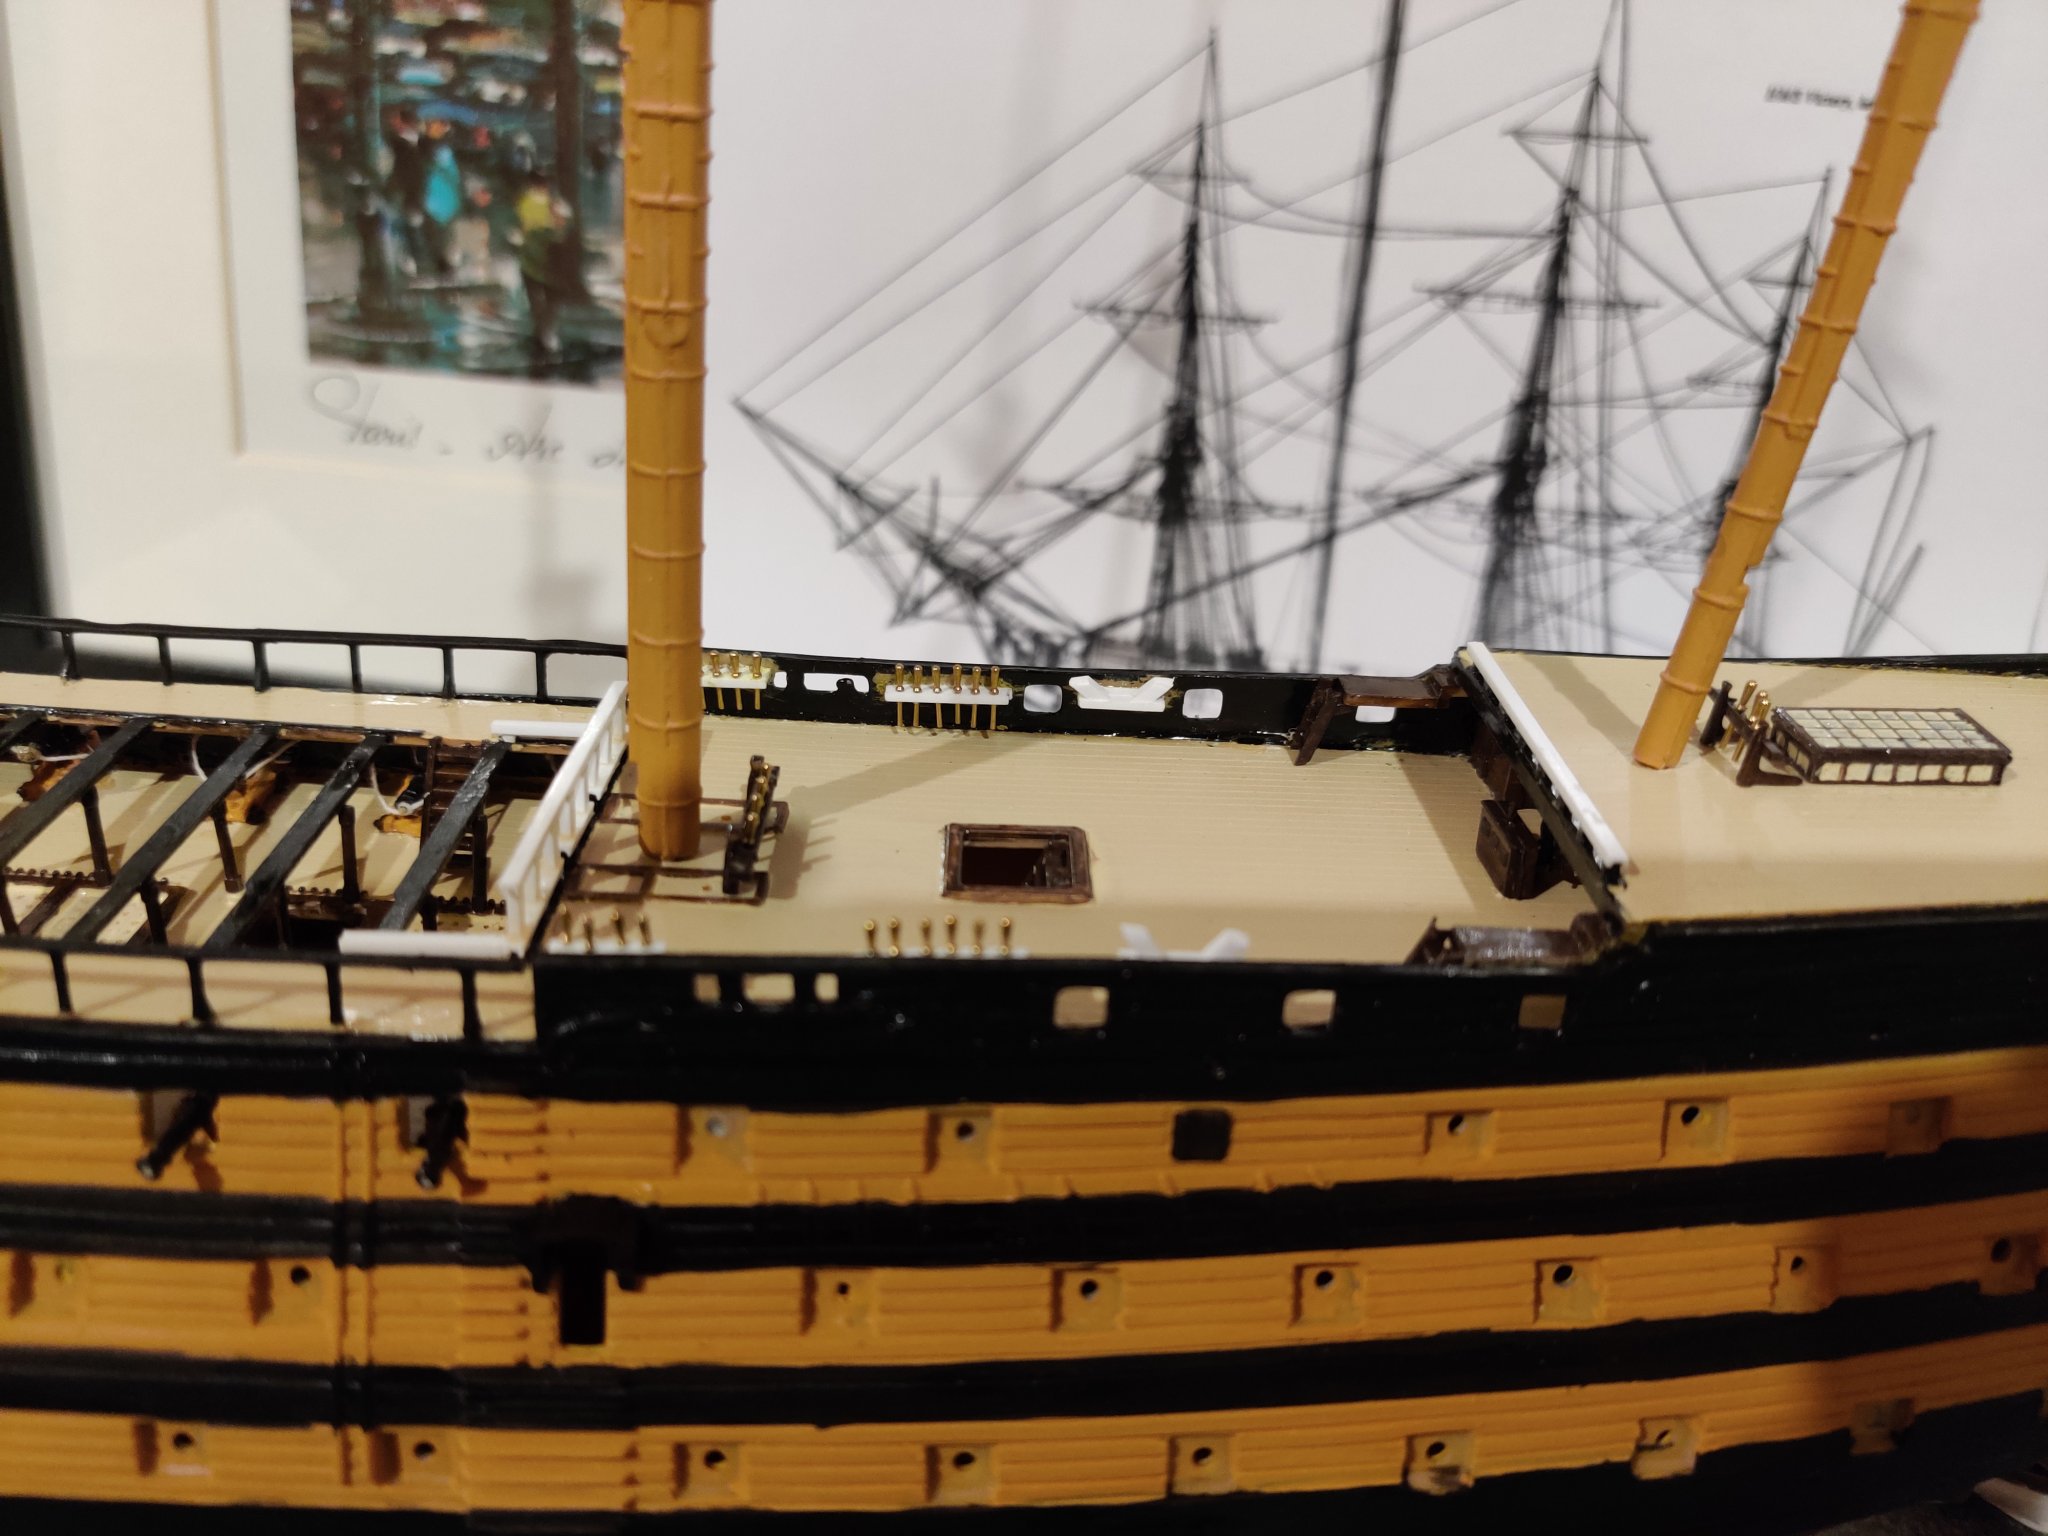
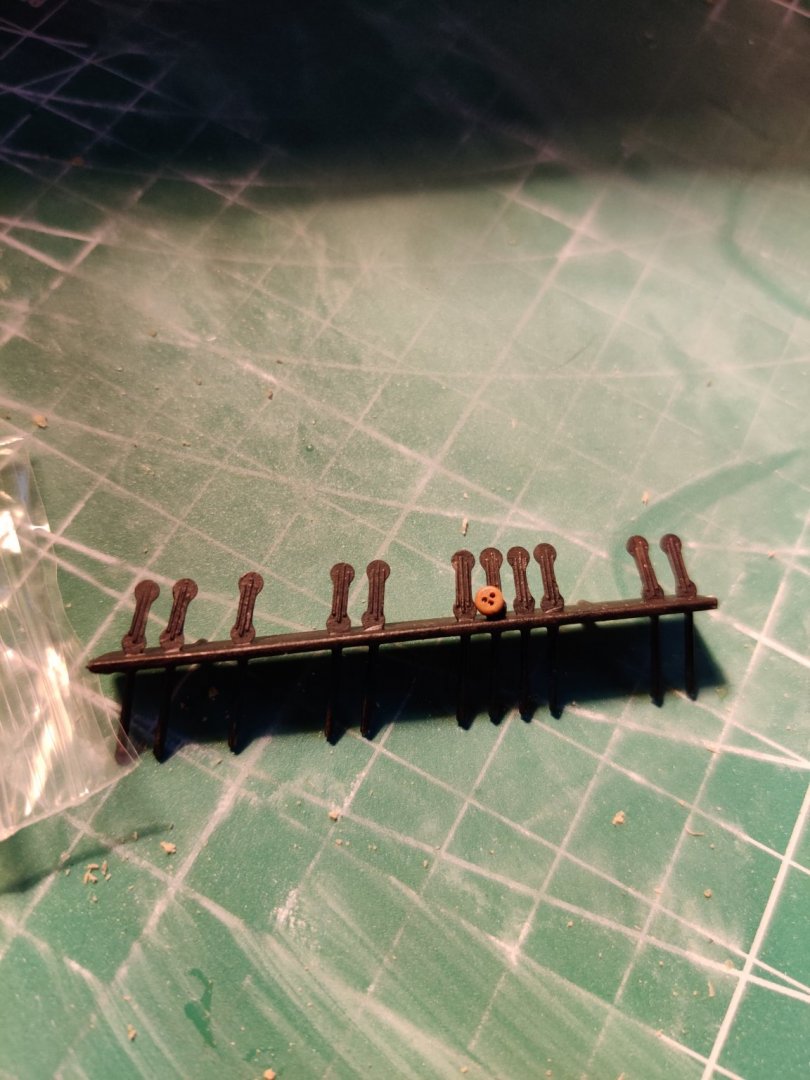
Thanks, Wallace. What started out as a simple project has descended into something of an obsession... Hoping to take my exp on this to the next build! Next job is to add belaying pins. Added footrails alongside the belfry. Still need to add 8 x square styrene blocks over the rails to carry the spirit topsail and yard braces later. only 1 belaying pin on the mizzen bit as my pins are in short supply (have 40 only) and I'm not planning on sail rigging. This will take on the mizzen top gallant halyard later.


-
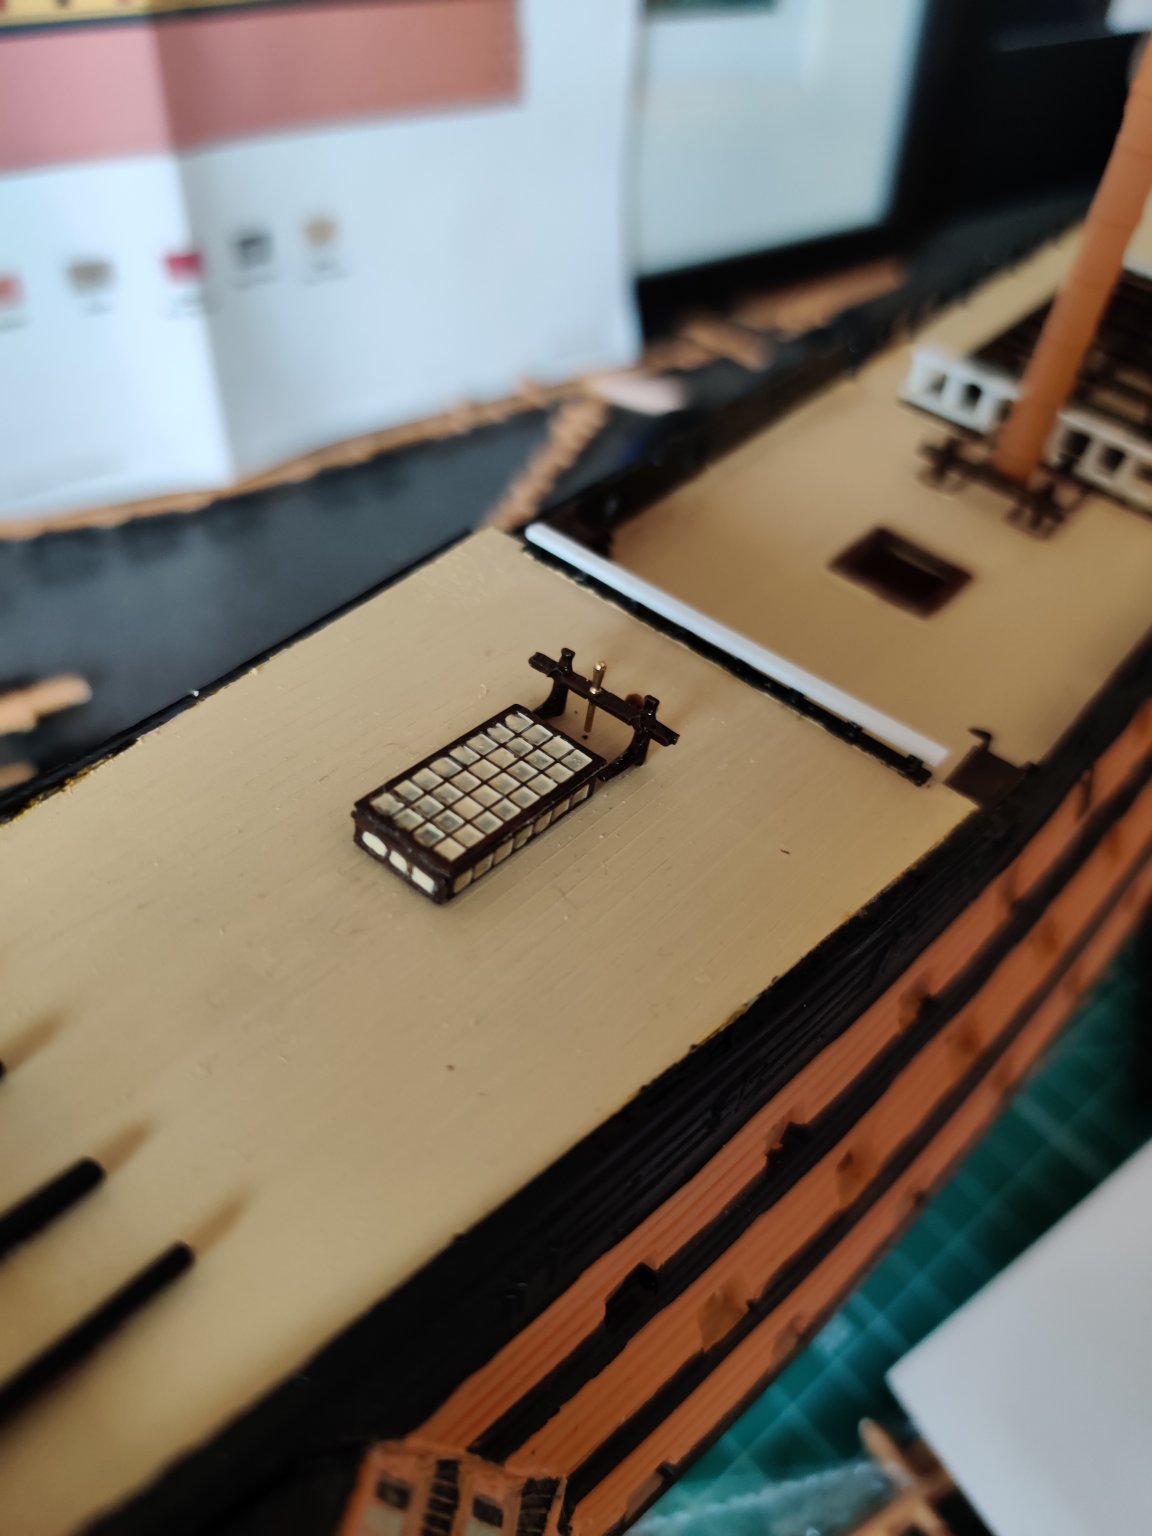
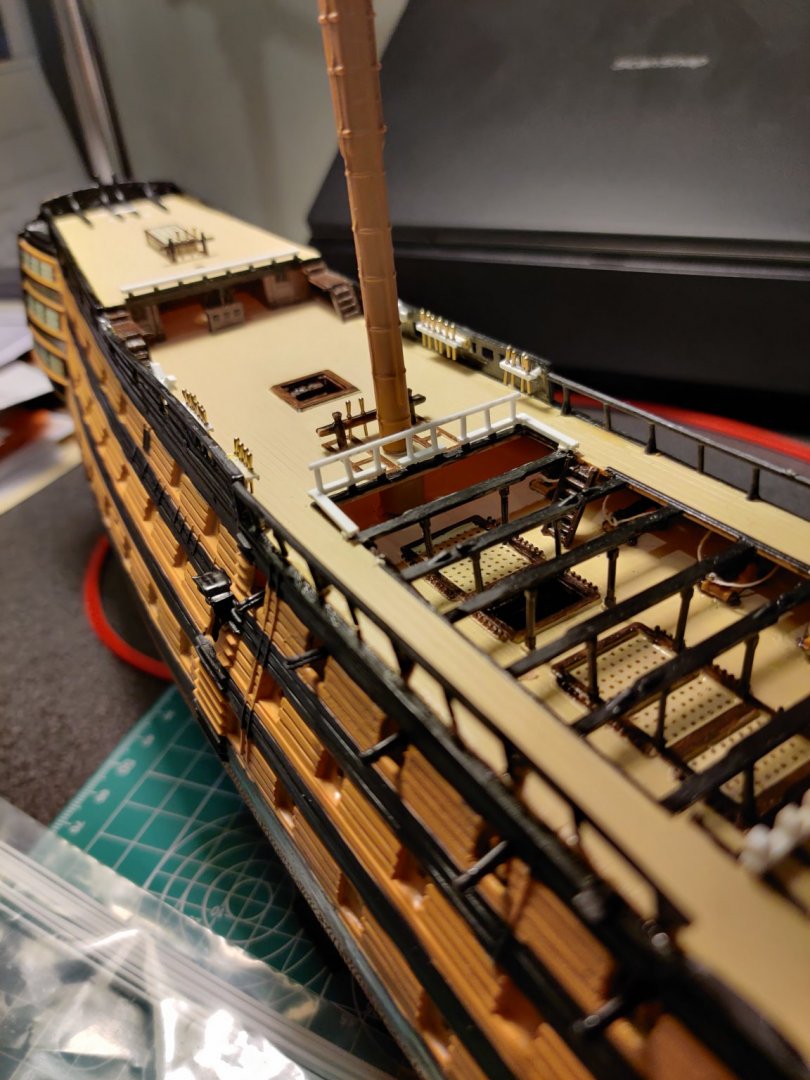
Started work on the mods as set out in chapter 7 of Noel Hackney's book. Quite a few to get through... Added posts to the aft edge of the skid beam opening. Completed footrail along the fwd edge of the poop deck. Working with 1.5mm thick styrene is pretty tricky. Drilled holes in the bowspirit 'bees'.
-
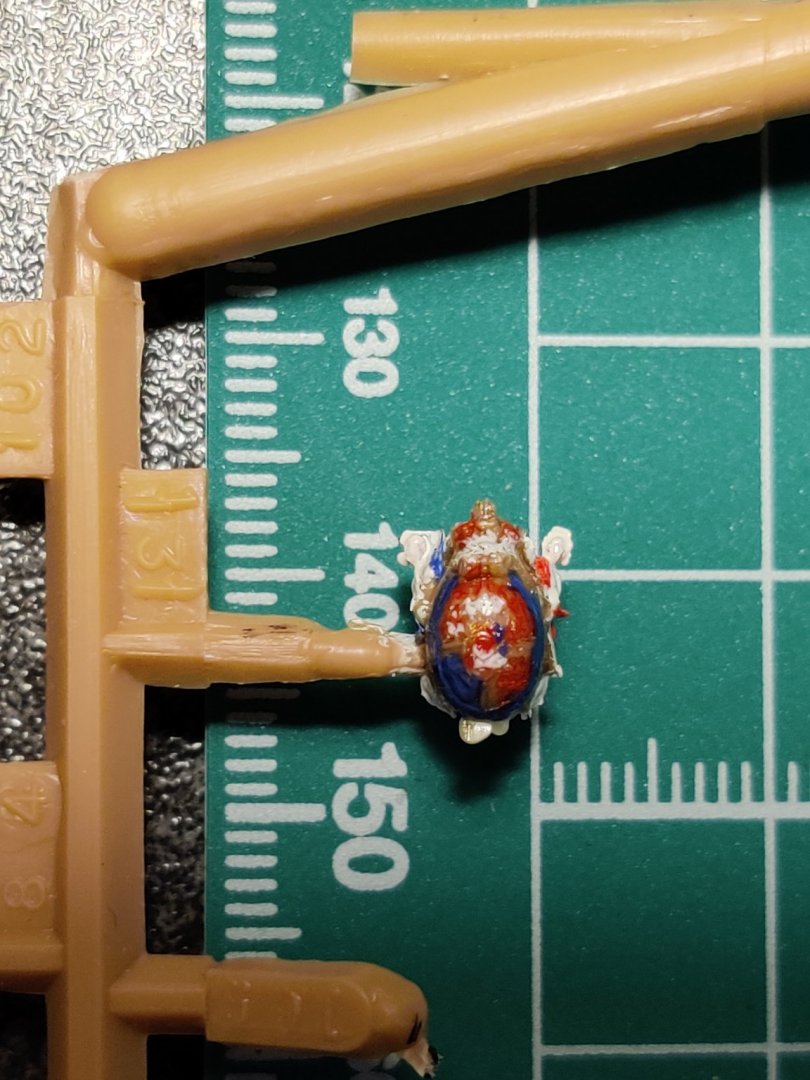
Did some more detailing on the stern and figurehead. Learnt that gold paint doesn't dry brush very well at this scale... will substitute it with something else but need the paint to dry first. Luckily the weather tomorrow will be 38 degrees 😓.

-
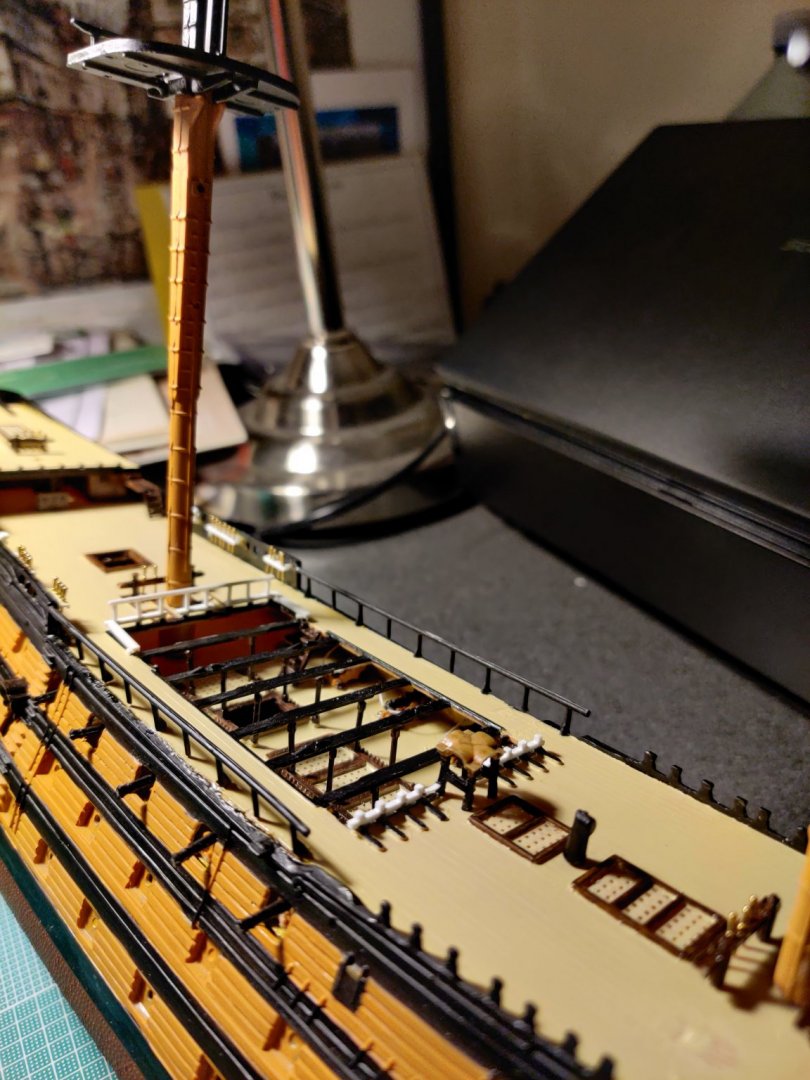
Thanks for your tips, Thunder. I think I might have got a little ahead of myself again haha. Thankfully I can still remove the masts (the main mast could be a challenge) to drill those holes and fit blocks etc. Ship building is an exercise in patience I've learnt. I did order some wooden deadeyes and blocks which will take 1-2 weeks to arrive, but will certainly try out your method of making them from styrene if I run into trouble later.
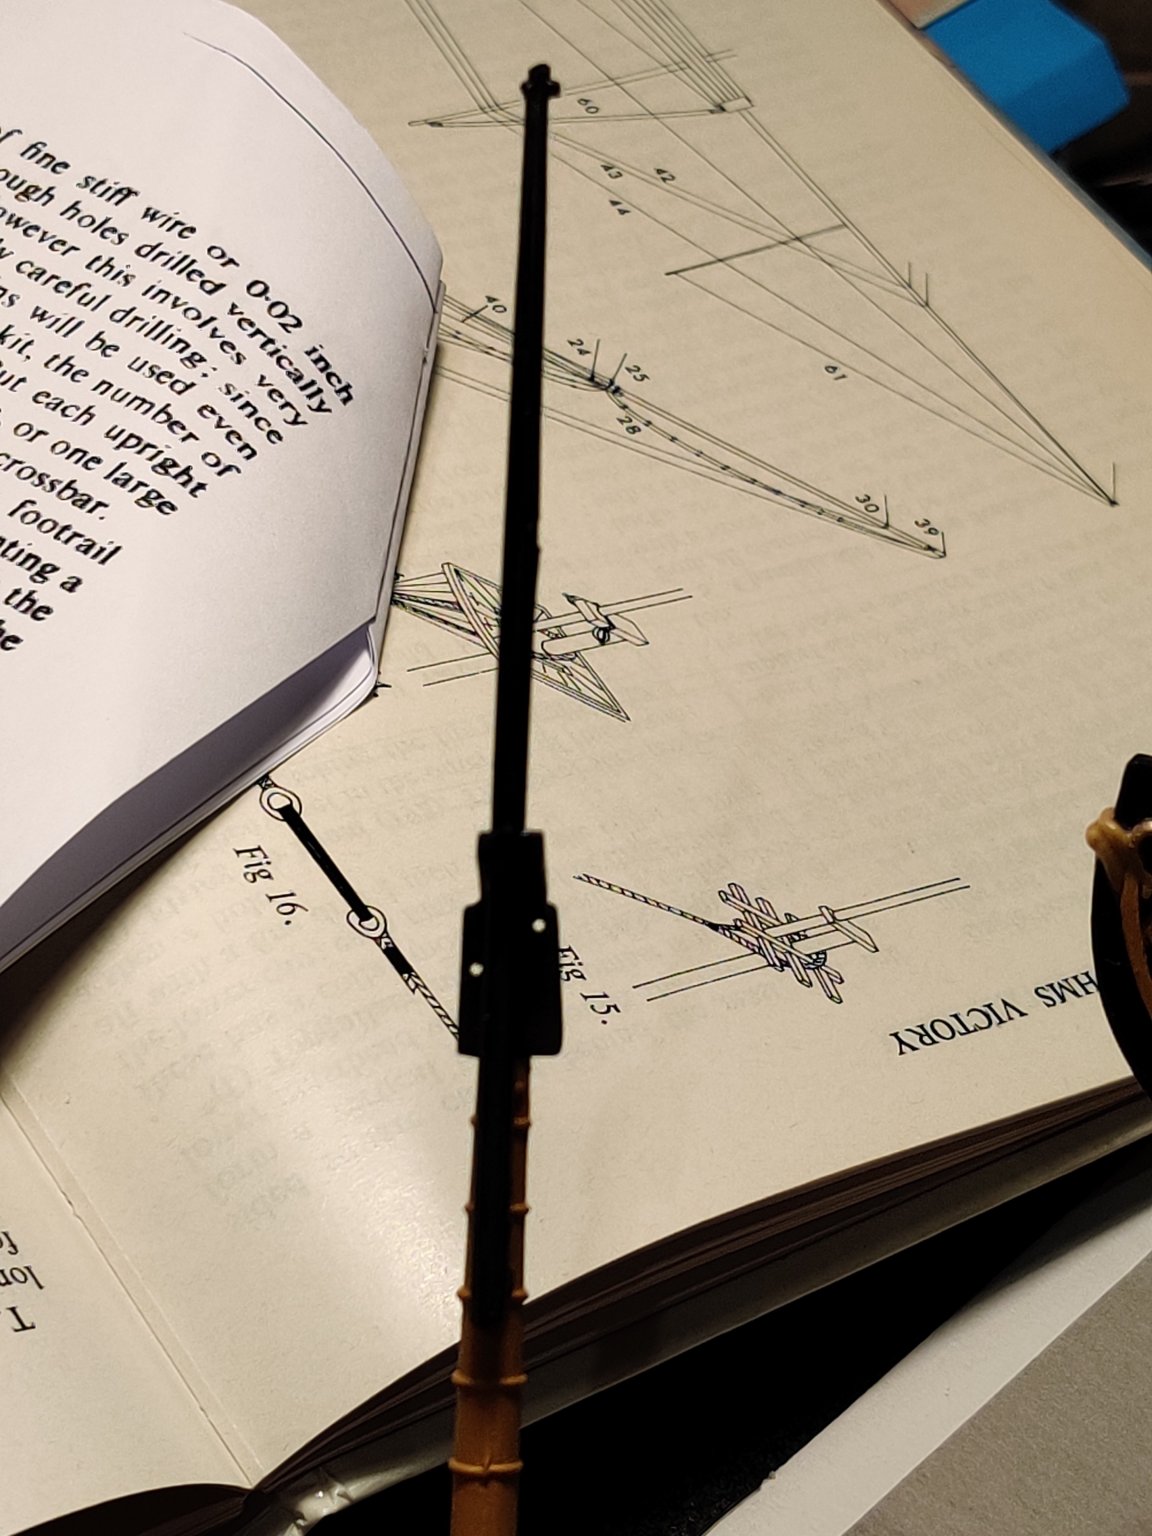
-
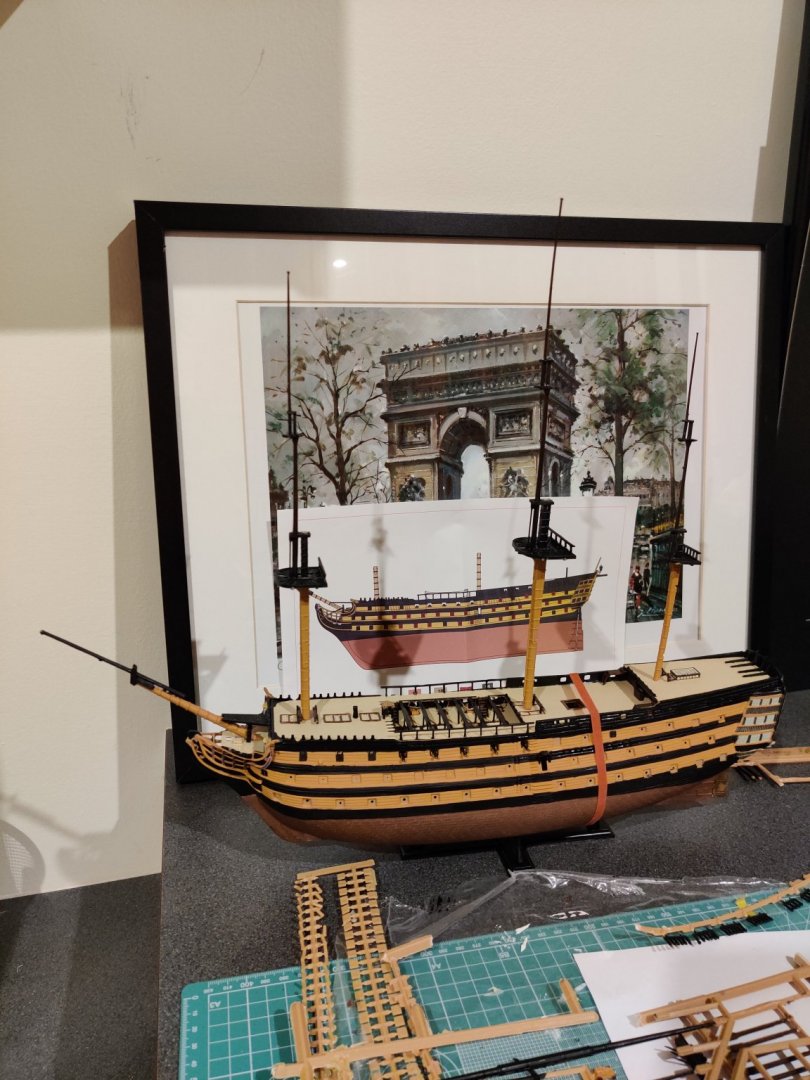
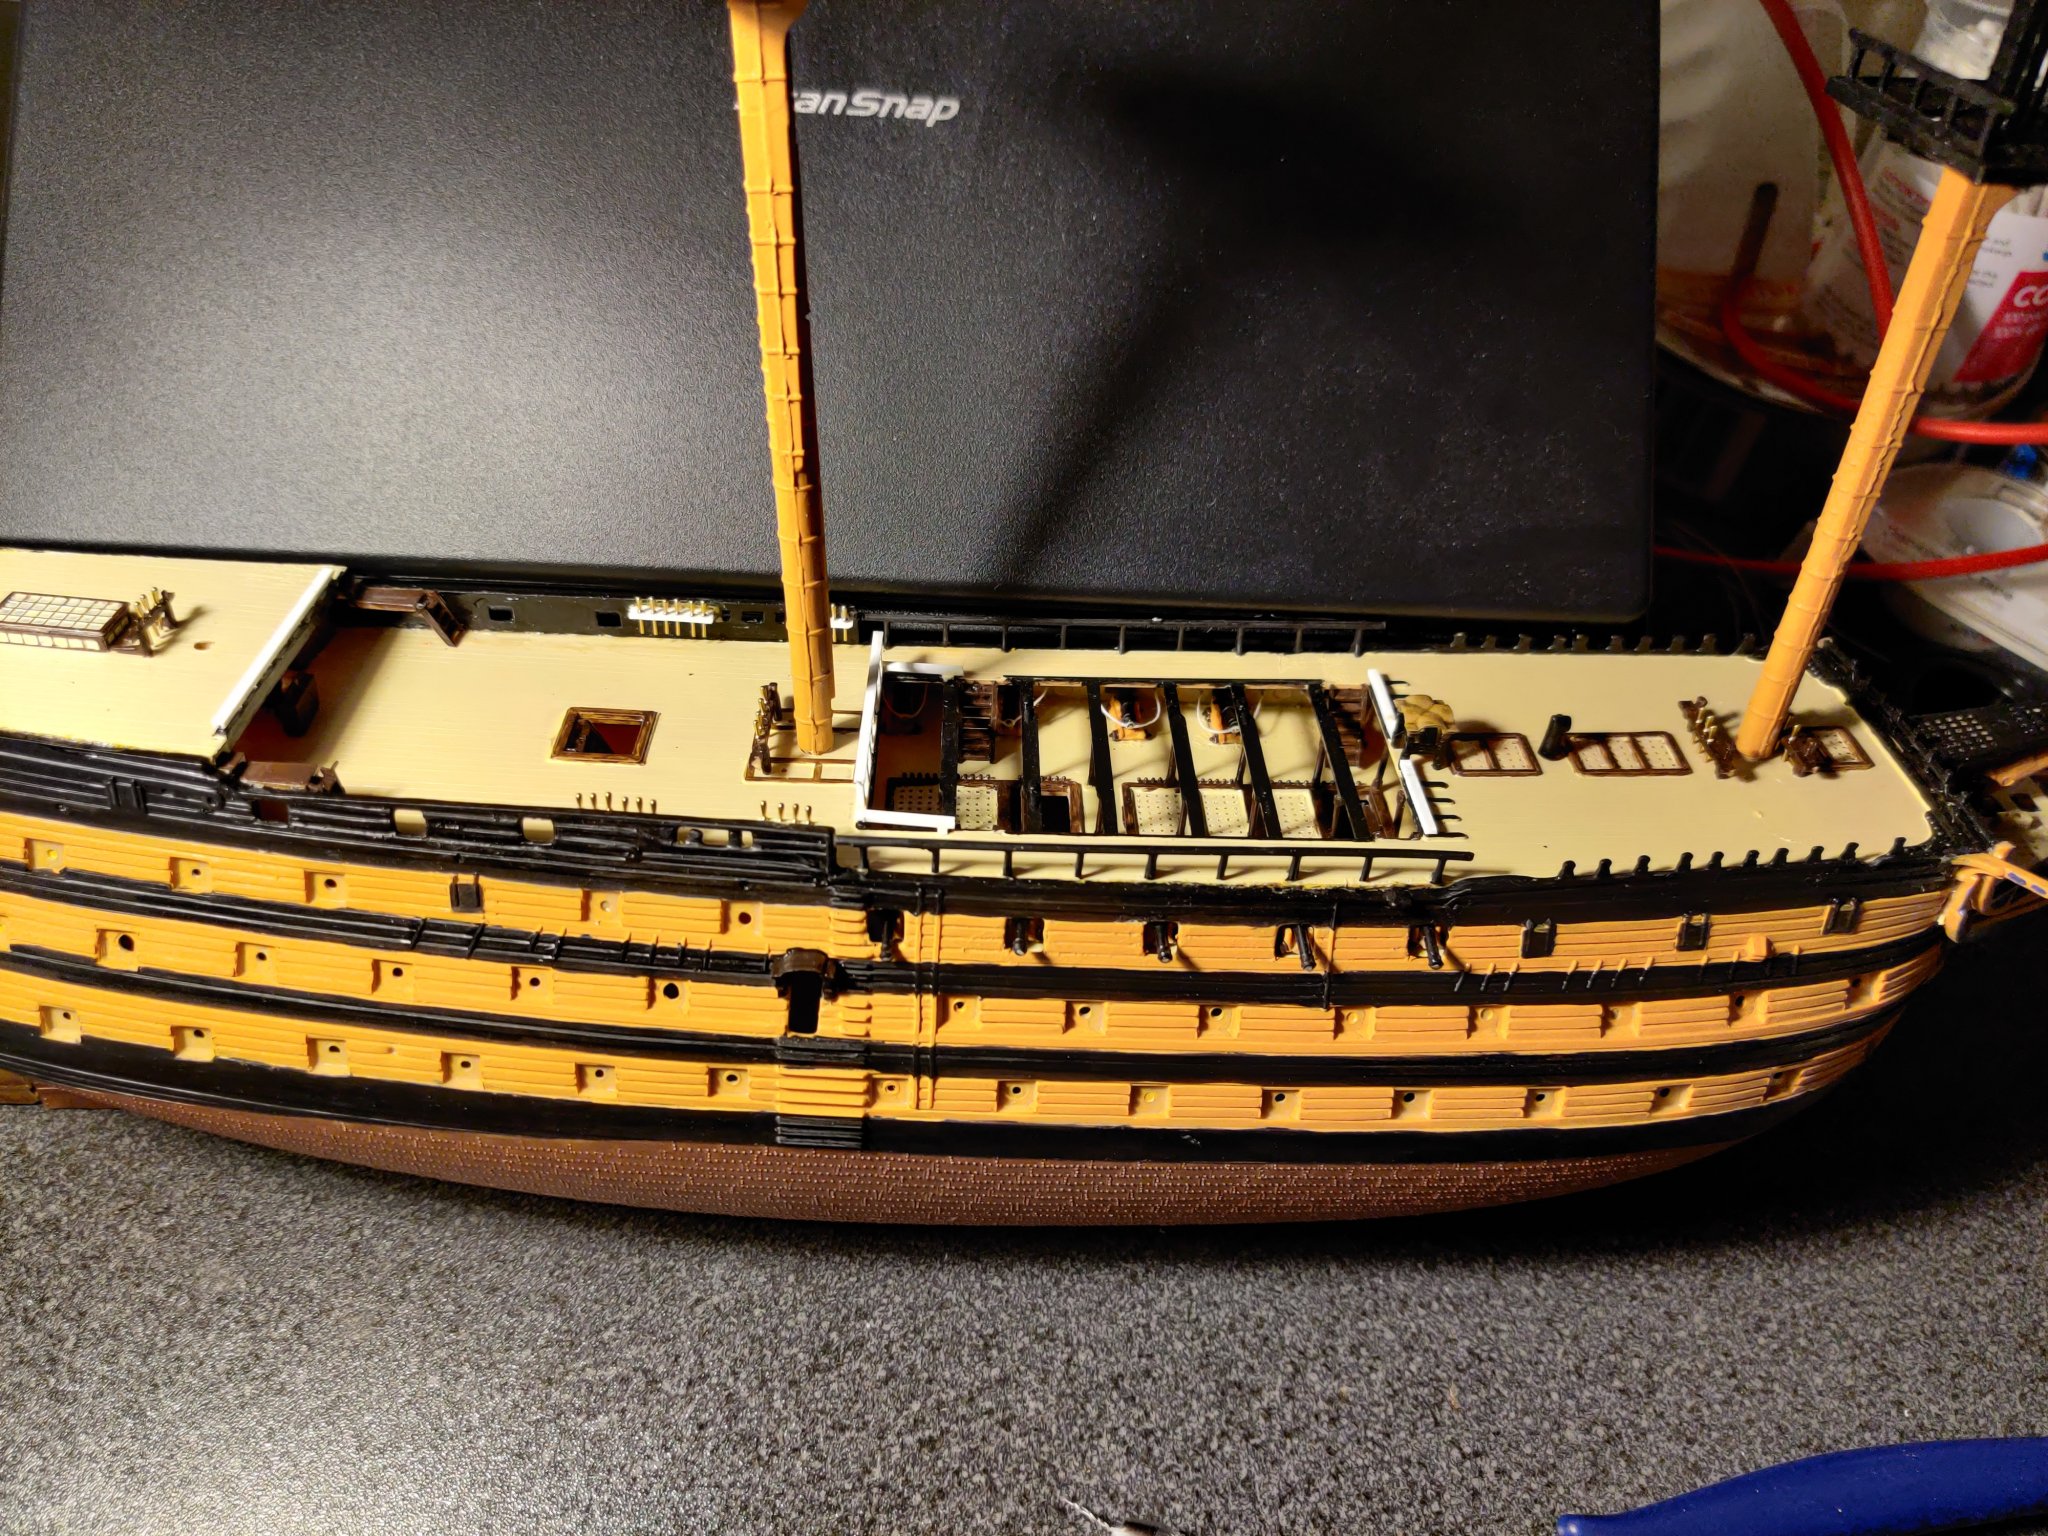
Thank you everyone for your words of encouragement. Getting to the fun bit now putting together the little pieces and setting up the masts. Noticed the attachment for the lower and top mizzen masts was off by a little over 1mm. after sanding that section down, I was finally able to fit it snugly. I've decided to keep the lower masts painted same colour as the hull without the black bands based on something I read that Nelson had ordered them painted that way to identify friendlies just before the Battle of Trafalgar. Well that was fun. Haven't glued on the masts yet in case I might need to remove them for rigging or space is needed for rigging the upper deck cannons, plus they need to be aligned at some stage. Also left the yards alone for the same reason. The main mast fit was tight and popped the upper deck adhesion to the hull, had to carefully wiggle it into position while holding the deck, and after that, I used Phatic glue to reseal the deck and hull connection (hence the rubber banding). Phatic glue is my newest friend. It doesn't dissolve enamel paint like the Tamiya cement and has reasonable adhesion. I'd recommend this for any plastic bits that would be easier to paint on the sprue before attaching them to the model.