


acaron41120
-
Posts
190 -
Joined
-
Last visited
Content Type
Profiles
Forums
Gallery
Events
Posts posted by acaron41120
-
-
Not sure if this is the correct title but there are kits out there of, oh say, the HMS Bounty, where the kit is just the section of the ship at midship and when complete it is displayed on a wall shelf etc.
I know its a personal preference/liking but I'd like to know what the builder of these thought and were they satisfied with them.
Allen
-
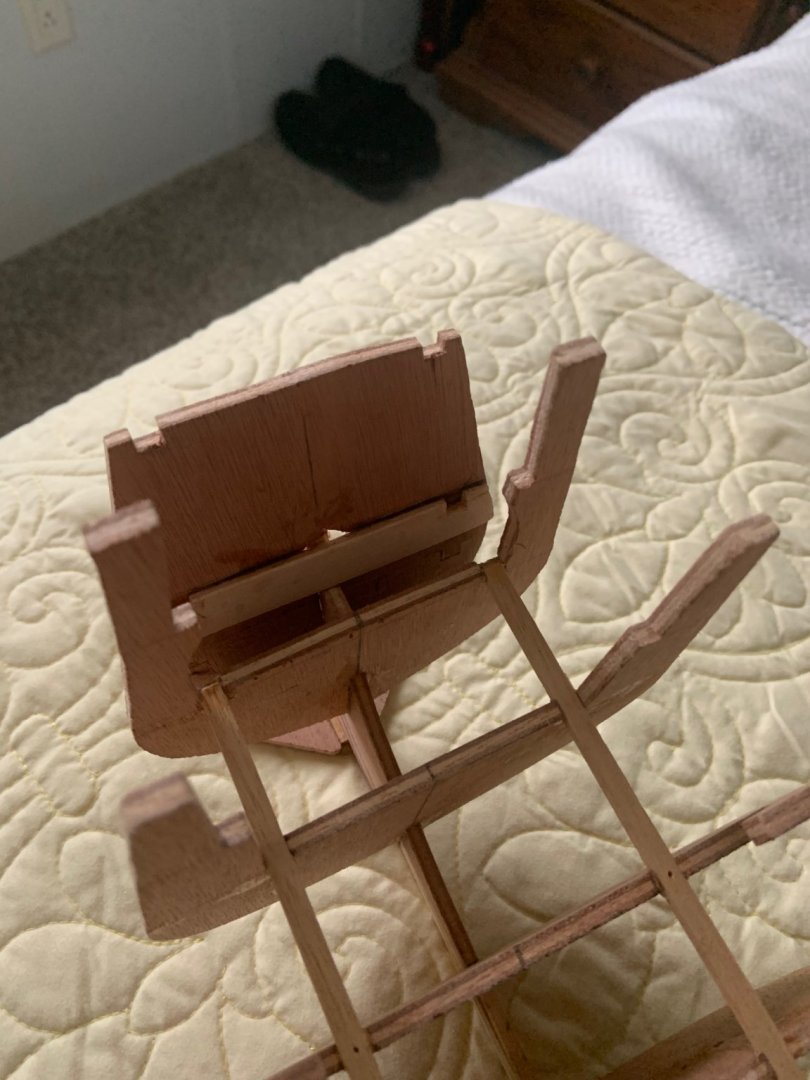
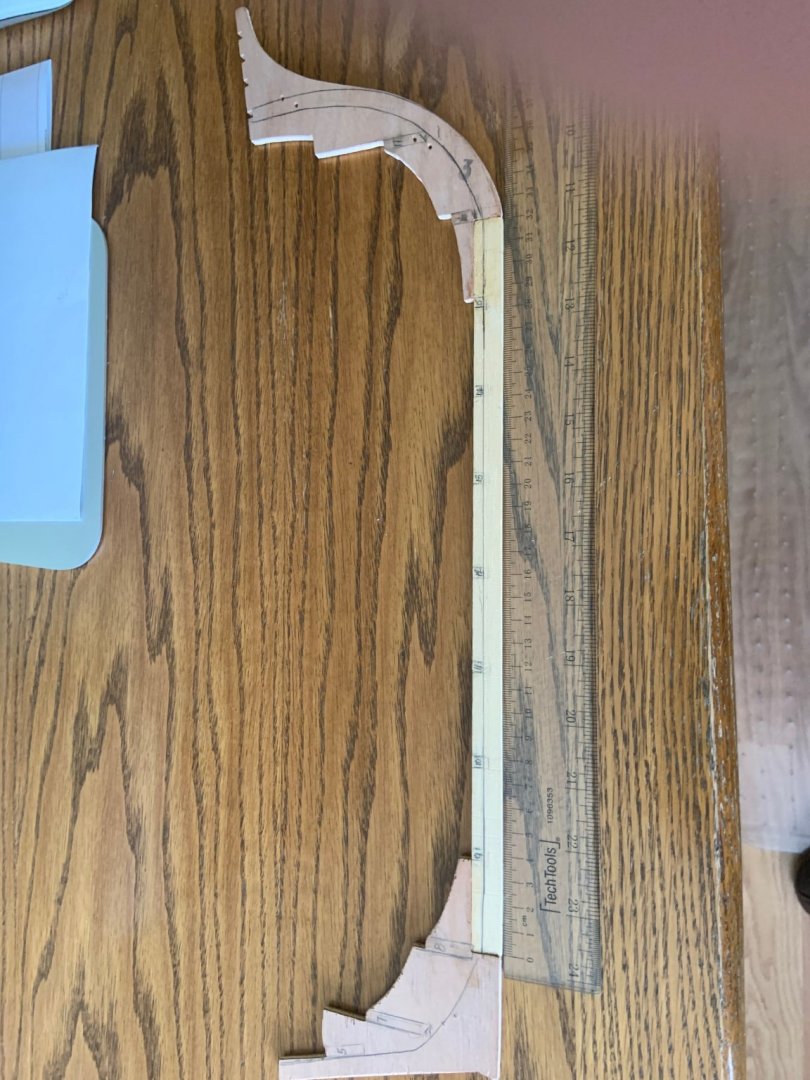
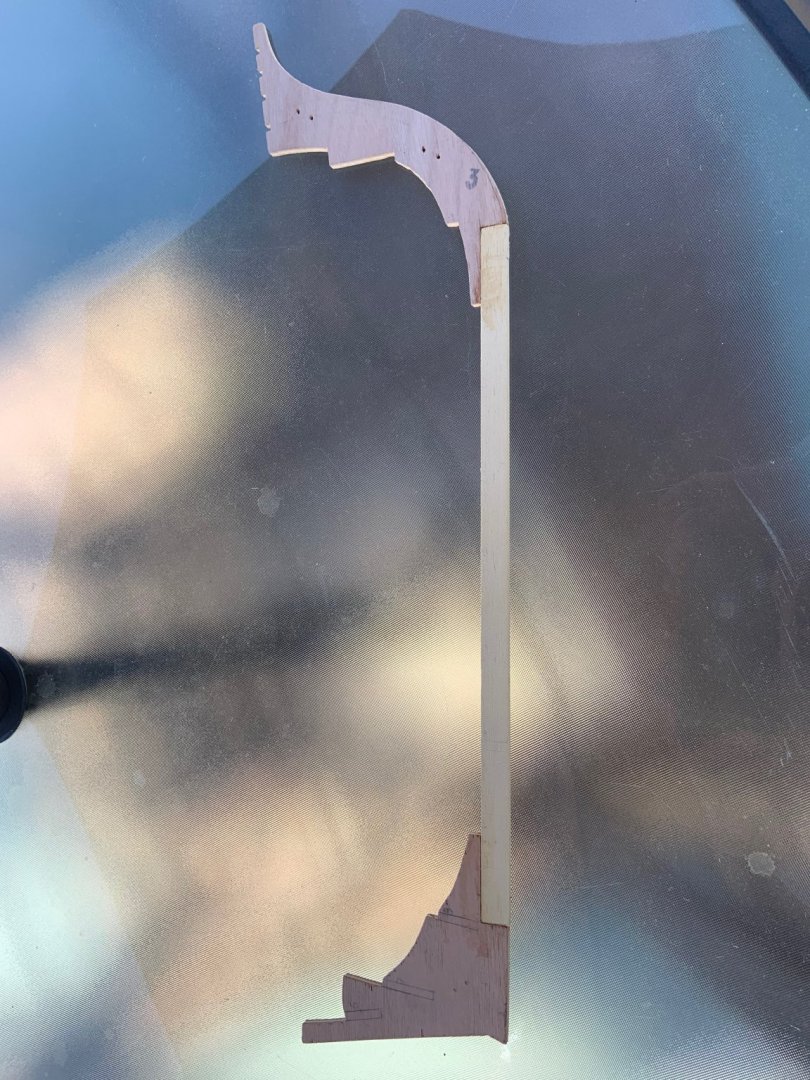
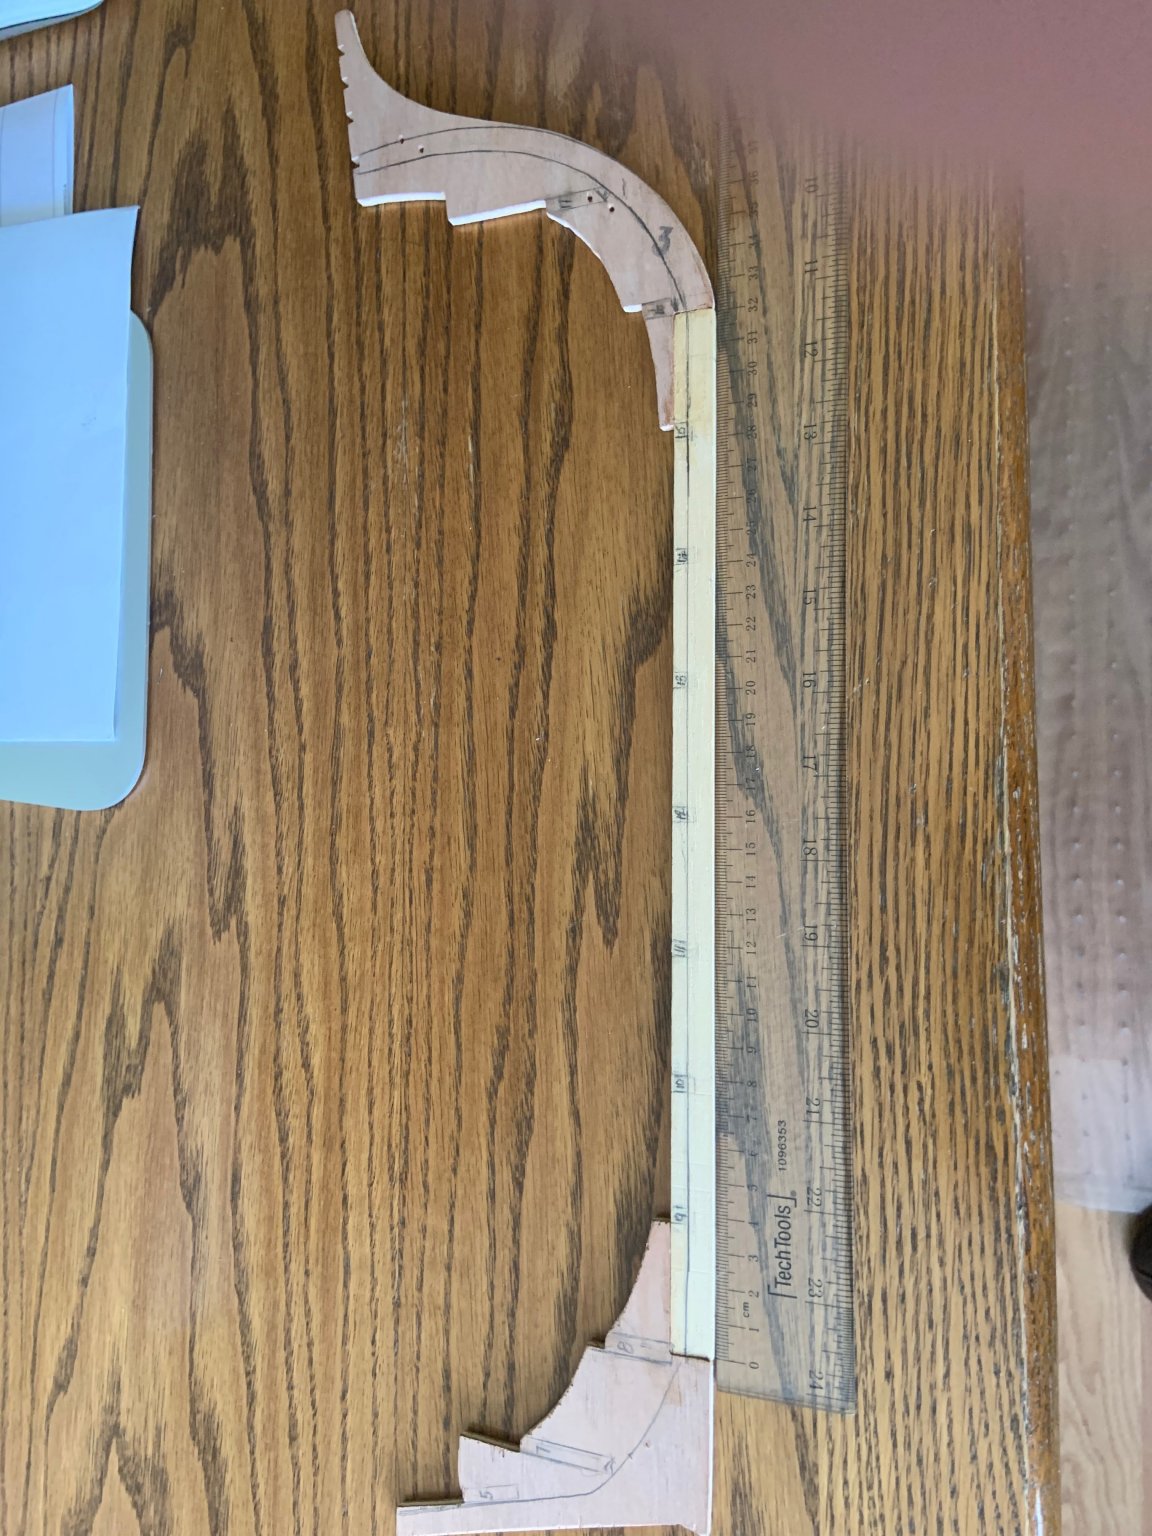
Well had the build going and while checking for everything being square I found that the stern (Bulkhead in this kit) was improperly installed by myself.
So today I carefully removed the bulkhead 5 and 6 and made the necessary corrections and dry fit it to recheck. So far so good. What follows is the
misalignment and repair photos. I believe that I was paying more attention to the placement of the opening for the tiller than the plans. Lesson learned.
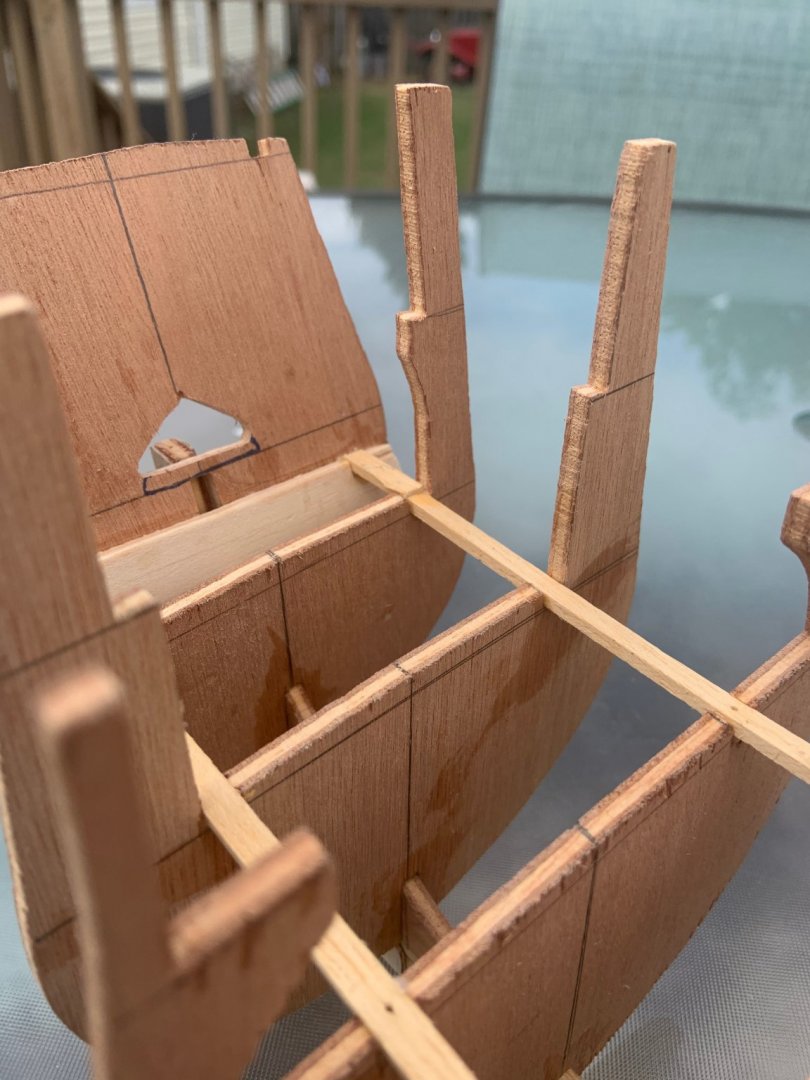
This is how the stern lined up. I don't know how to edit the photo but the notches on the top of the bulkhead should line
up with the notched second deck.
The plank shows where the top of the bulkhead should fit. This meant I had to remove the stern bulkhead and associated lumber.
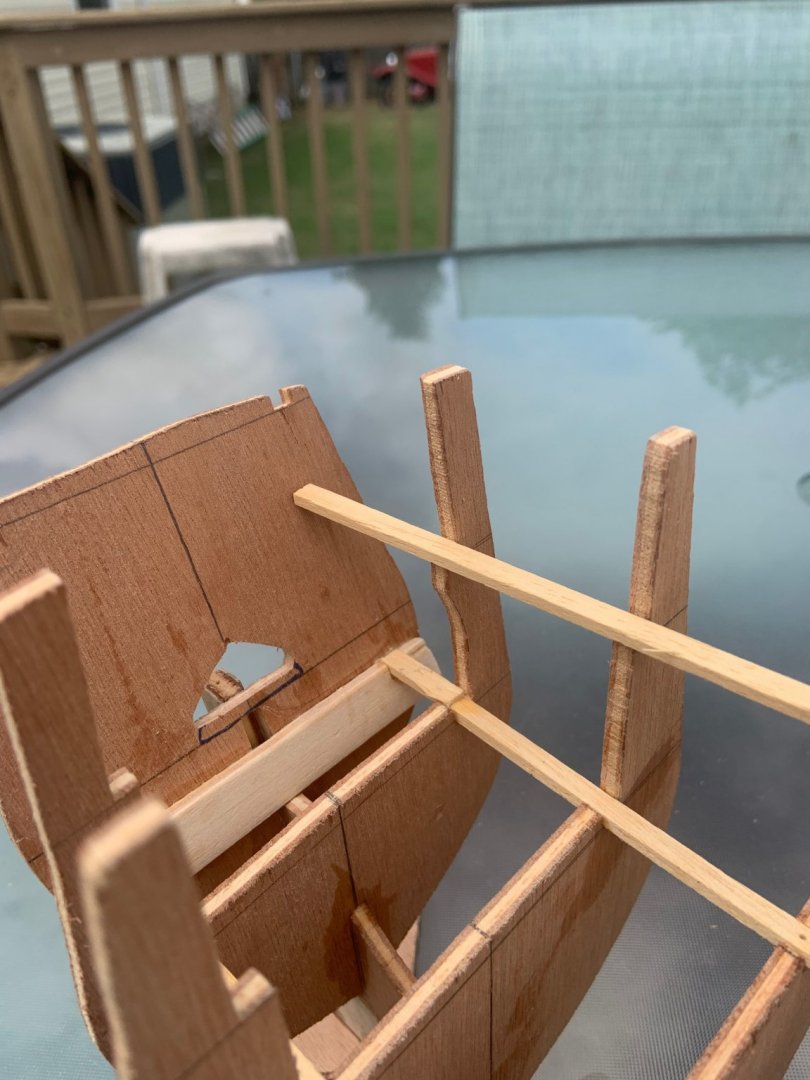
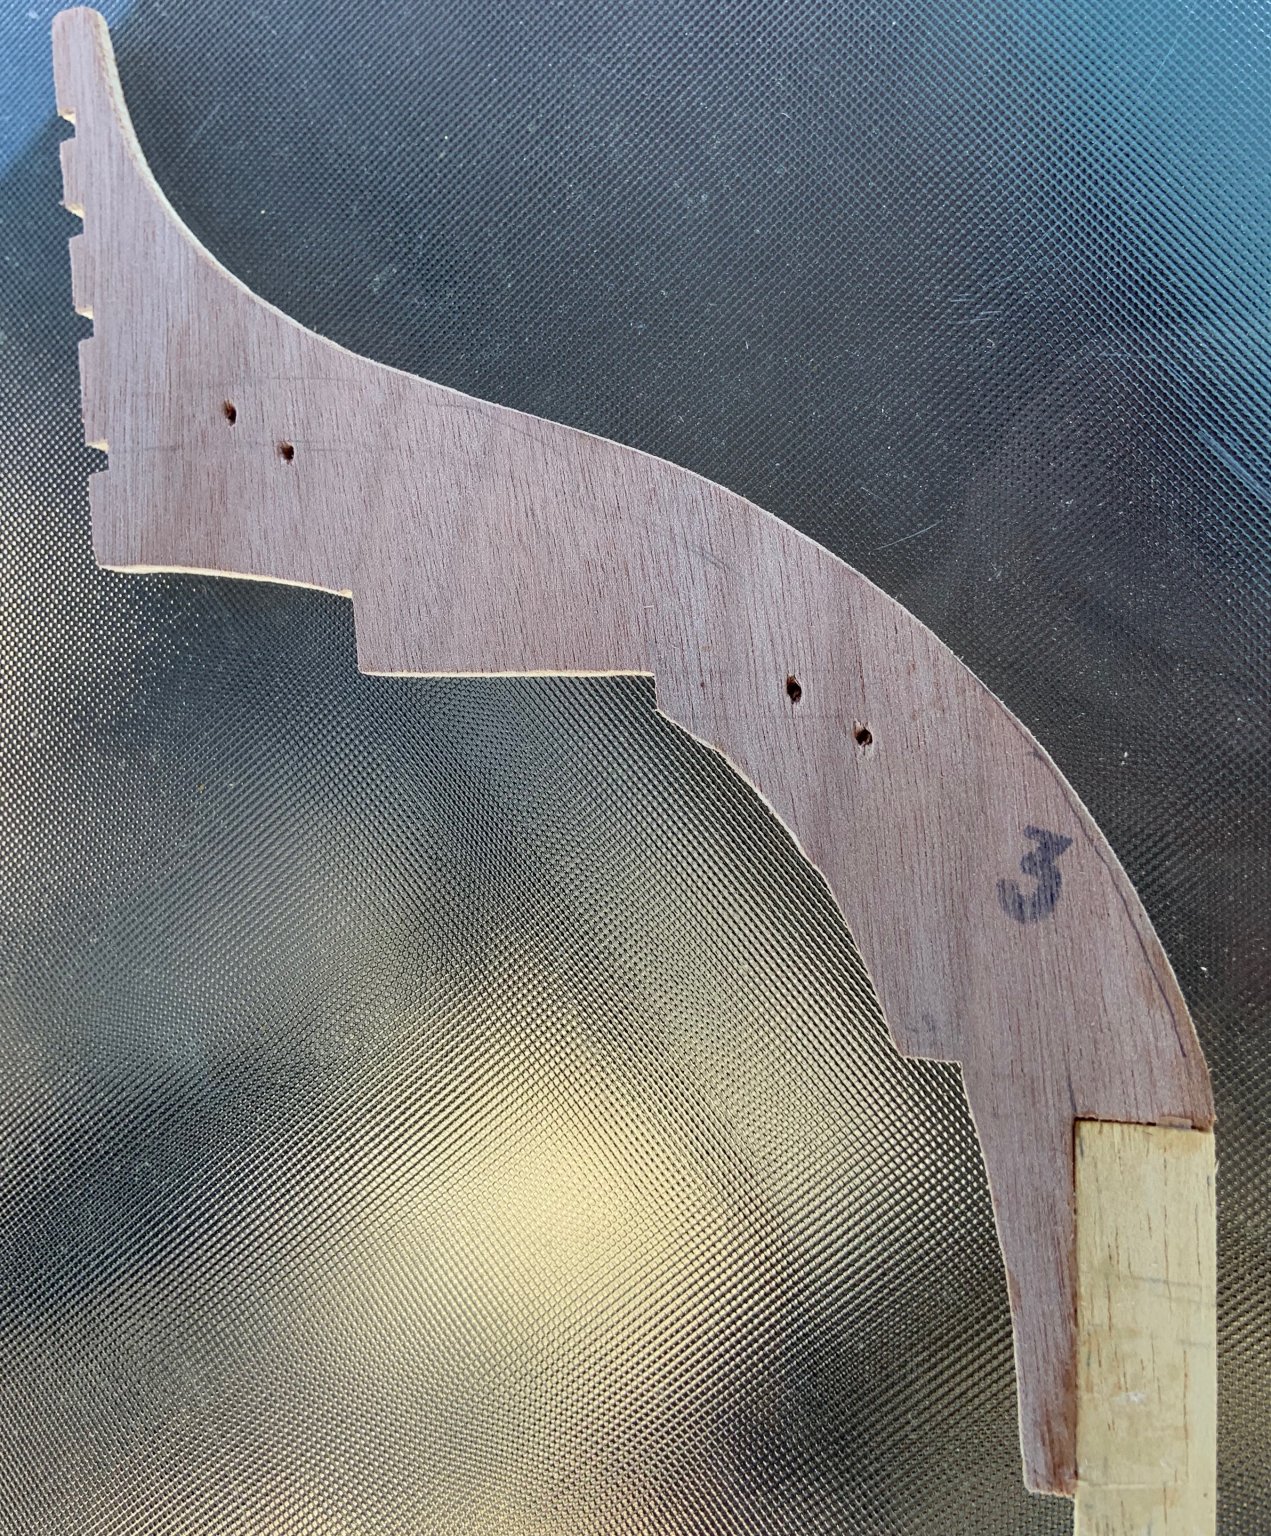
This is how it looked after the stern bulkhead was removed. Still had some cleanup to do but I didn't have to fabricate two new pieces.
Everything came off nicely.
Just a final cleanup then I'll do my first dry fit.
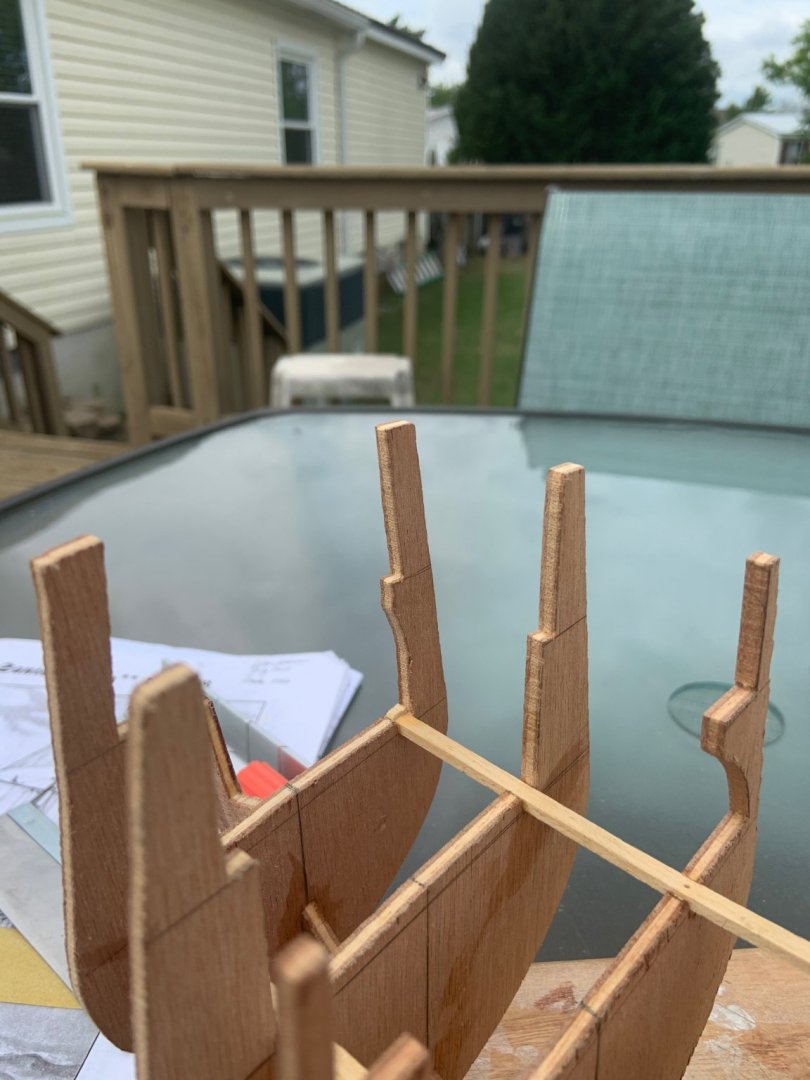
This is the stern post after the bulkhead removal. A little more cleanup and then start reassembly.
This is a dry fit to make certain that all lines up as it should.
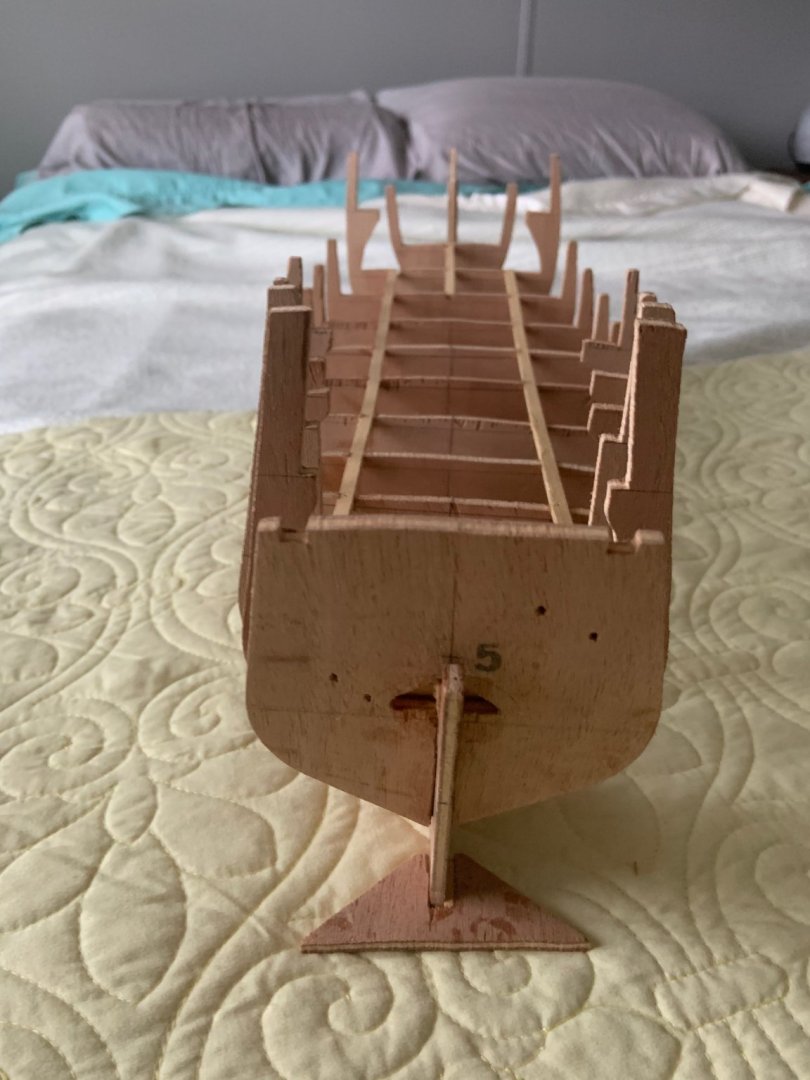
Final dry fit. Now I have to plug the opening for the tiller and move it where it should be.
- clearway and GrandpaPhil
-
 2
2
-
For really tight spots to get into, I use a syringe. I ordered some when I had to give my little daschund "Mitsy" insulin shots and have quite a few left over since she passed. I don't use the needles, just the syringe and that gets the tip into some really tight, hard to reach areas.
- mtaylor and Duanelaker
-
2
-
I have read a number of model ship build books that mention the ship's wale and where it goes but...what is the purpose of the wale?
-
-
-
Chris. That must have been cool being tutored by him. You're a lucky guy.
Thunder, that's the book I referred to a lot when building my other ship kits. I continue reading it especially now with building a blunt-nosed hull. I'm still having trouble understanding how to determine the number of planks needed on the hull and how to decide how many battens to use. I have never used that approach. I always started planking from the deck down and then from the deck up. But I'll figure it out and ask questions here.
-
I have read and reread an excellent book for model ship builders. Thought I'd pass this on for those who have never read it.
The book is entitled "Planking Techniques for Model Ship Builders" and is written by Donald Dressel. This book covers all
types of ship model building from Plank-on-Frame, Plank-on-Bulkhead and Scratch builds.
Allen
-
Bob. Sorry for the length.
I started the Billing Boats kits in 1977. The kits I built were (in order of build):
Marie Jeane
Bluenose
Bluenose II
Oseberg
Roar Ege
Santa Maria (just started)
Until I found this site I was okay with Billing Boats. I selected them for two reasons the primary was because my first build was while stationed in England and that was the only boats the store in the city carried. The second reason was their rating system for builders (beginner, advanced beginner, intermediate and expert). I have stayed with them because of familiarity. But somewhere between 1980 and now they have made a number of changes. The biggest was their rating system. The Bluenose is a good example. It went from a 1 star (advanced beginner) to a 2 star (intermediate) and their was no change to the boat that I can see. The quality of their kits was okay to me but that was because they were the only kit builder I knew. Since then I have found that their instructions are lacking in places and the plan views are lacking as well. As for wood quality they use a lot of mahogany strips for planking and now have switched to a less brittle wood. Abichi (I think). Since the internet came I have purchased all my kits from eBay. Same Billing Boats kits but found in estate sales and were less expensive than Billing Boats USA where I would have had to order them from. Over all, I think if you took the best parts from all the kits Billing, Maunta, Artenesia, etc.) you'd end up with a pretty fantastic kit. But even more expensive!
Allen
-
-
I have read several places including here that some kit manufacturers include enough planking in their kits to double plank a hull. I have built five kits and all were from Billing Boats. In no kit has there been enough to double plank a hull. If the instructions sheet with the inventory said 50 hull planks I'd get 55 or 56. Which kits have enough planks to double plank a hull?
-
Jagger. I don't have mush for tools other than the usual swiss files, Exacto cutters, chisels, fret saw, French curve, small clamps and sanding blocks. The only power tool I have for modeling besides a cordless drill is a Dremel tool. My other tools are for fixing aircraft and VWs. I can add the blocks if necessary and shape them by hand. It'll take some time but hey...I'm retired and I have plenty of time. Just have to wait for the local stores to reopen to get some wood stock.
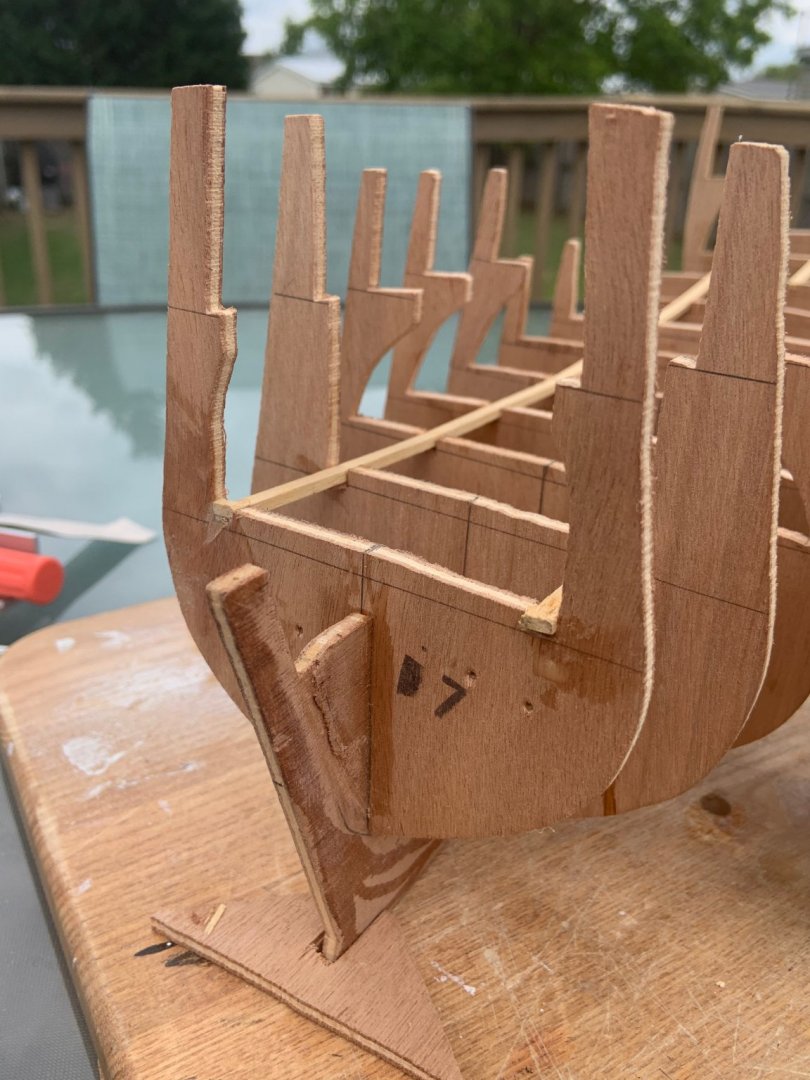
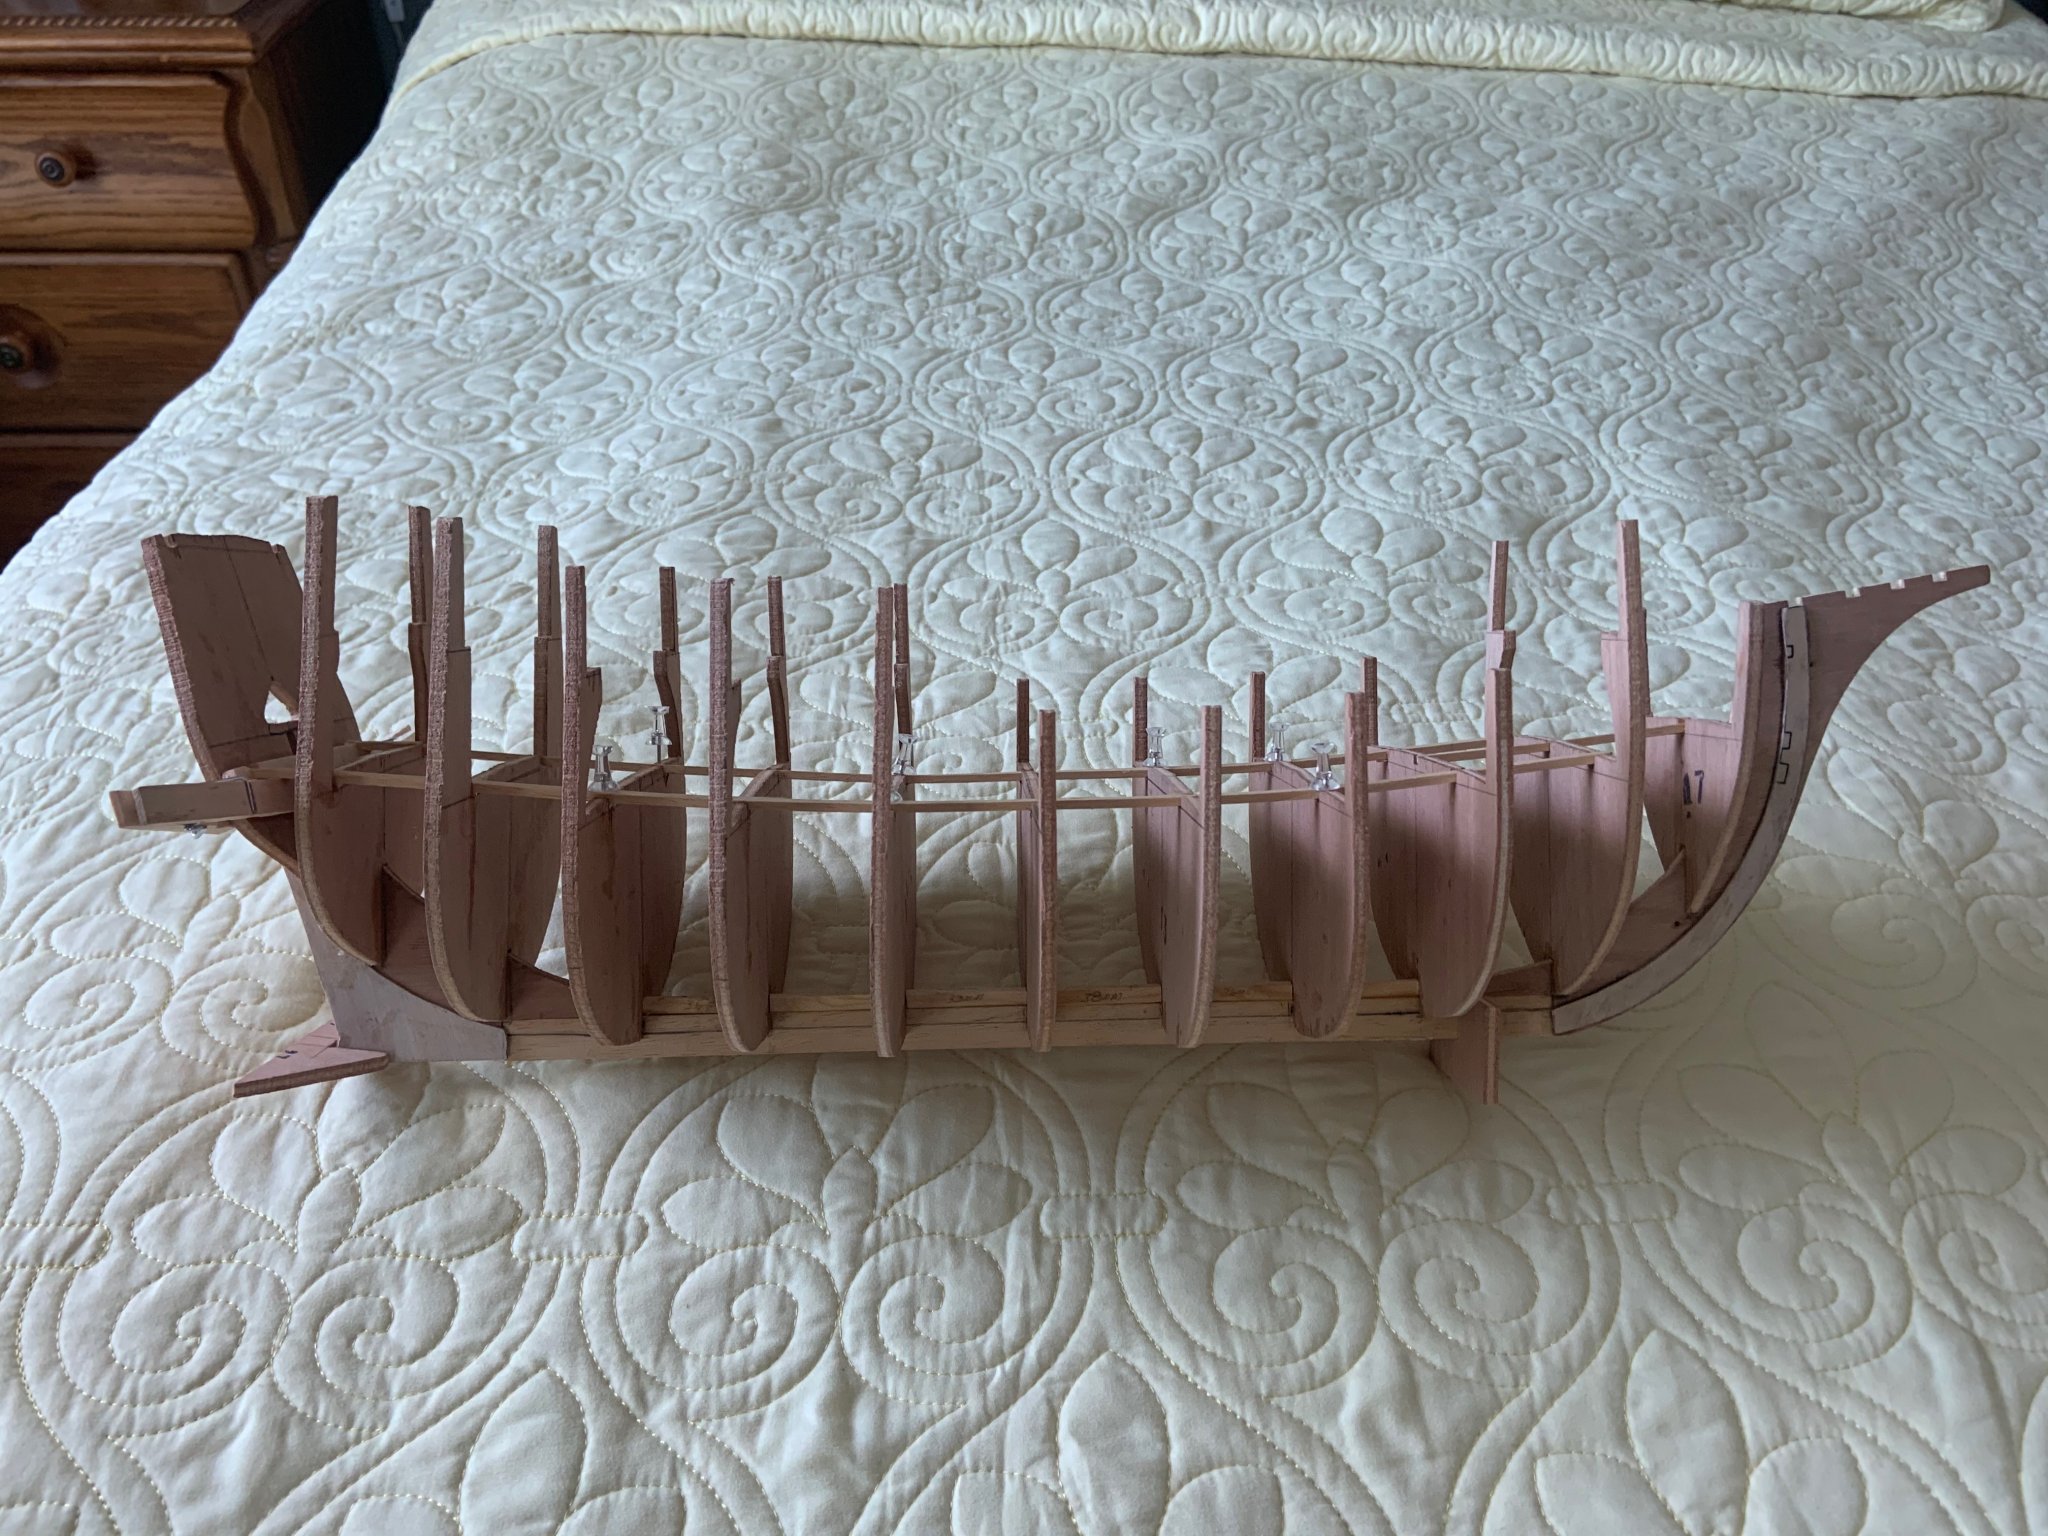
Telvine. Below is a photo of the hull with bulkheads installed.

The space between the five midship bulkheads is 1-1/2 inch. The space between the front three is 1-11/16 inch and the rear three is 1-3/8 inch.
-
I'll get a photo and post it later today or tomorrow. Have some yard repair to handle after three severe storms in 10 days.
Toni and Bosman. I have heard of adding filler between the bulkheads at the bow and stern but never between the other bulkheads. I think the filler route would be easier than guessing at the size of the added bulkhead and cutting it at the correct angle. Seems like a lot of extra work whereas adding a filler block would be easier to sand to the correct shape. What type of wood would you suggest for the filler?
-
-
Has anyone tried using silk span for sails? It works well with wood model airplanes and would seem easier to work with if having the sails furled on a wood model ship.
-
I have installed all the bulkheads on my keel. After a day of building I like to take a look at my work to enjoy and reflect on my progress. Today I noticed that there is about 1-1/2 inch between the bulkheads. More between some amidship. I have read about how spacing between bulkhead can affect the ship's hull and although I have never done this it did make me consider adding a bulkhead between the existing ones. Has anyone done this? If so, what are the problems I am likely to run into in doing this? Your comments will go a long way in helping me decide to do this or not. Thanks.
Allen
-
Welcome to MSW. Do a build log and post your questions. Most importantly...enjoy your build.
-
First ever attempt at a builder's log so please bear with me. This kit is a Plank-on-Bulkhead (POB) kit.
First I squared up the keel, stem post and stern post and then glued them together. I then let the assembly set on a 1 X 6 and set another 1 x 6 on top for 24 hours to cure up and to keep the assembly flat. After getting answers to my questions on the stem post and on cutting the rabbit, I dry fit the bulkheads to the keel assembly and marked where the rabbit should be cut. I have removed the bulkheads and will start cutting the rabbits tomorrow. (Have to home school my grandson during the day). My plan is sand it with 100 grit sandpaper glued to a paint stick. Here's how it went so far. So please let me know your thoughts and if I am proceeding correctly. Also noticed the Santa Maria scale was listed as 1:65 but the plans on Sheet 1 (the rigging sheet) says scale is 1:50. I guess this is typical of kits.
Thanks,
Allen
The keel assembly with the bulkhead positions and rabbit line marked.
The keel assembly BEFORE the rabbit line drawn in.

Stem post with the notorious "staple holes". These hole will not be visible when the hull is completed.
- Edwardkenway and GrandpaPhil
-
2
-
I have my keel/false keel assembled and have dry fit the bulkheads and marked the bottom edge of the bulkheads on the keel. The problem I'm having is how to cut the rabbit in the keel when the bottoms of the bulkhead don't line up in a row. Some of the bulkheads extend down lower on the keel than others. So my question is, do I trim the bottom of the bulkheads or leave them and cut a curved rabbit as opposed to a straight one? Seems to me that the straighter the rabbit the simpler the garboard strake will be. Am I correct in my thinking?
Allen
-
Thanks for the info. Also I've edited the original post stating I'm building the "Mayflower." I'm actually building the Santa Maria. Mark you said "Certainly neither bumkins nor bobstays would be used for the Mayflower, as both came into use later." I agree and your comment certain fits as the Santa Maria came way before the Mayflower. Thanks again for your help.
-
Michael. Nice to have another fellow from Cincinnati here on the site. As I've said welcome before I will second what Mark has suggested about starting a build log. I'll be starting mine later today. They show your progress and allow others to follow along with your progress. Like the old saying "a picture is worth a thousand words."
-
-
-
Mark and Scott. After looking at the instructions Mark supplied its very obvious that Model Shipway has way better plans. I've never seen that much detail in any model ship plans. Thank you both for your assistance. I'll contact the fellow and give him a fair price for the model kit.
Allen


Section Hull Model Kits
in Wood ship model kits
Posted
Artesania Latina has a 1:50 San Francisco Cross-section on eBay for a little over $100. Most others I've seen come from China and I'm not certain to their accuracy.