HOLIDAY DONATION DRIVE - SUPPORT MSW - DO YOUR PART TO KEEP THIS GREAT FORUM GOING! (Only 44 donations so far out of 49,000 members - C'mon guys!)
×


acaron41120
-
Posts
257 -
Joined
-
Last visited
Content Type
Profiles
Forums
Gallery
Events
Everything posted by acaron41120
-
Thanks Chris. So now I have to decide if I want to do a single planked or double planked hull. All the other billing boats I've made were single planked so I guess I'll continue that way. If I don't like the looks, then I'll buy some extra planks and do a double plank.
-
I have read several places including here that some kit manufacturers include enough planking in their kits to double plank a hull. I have built five kits and all were from Billing Boats. In no kit has there been enough to double plank a hull. If the instructions sheet with the inventory said 50 hull planks I'd get 55 or 56. Which kits have enough planks to double plank a hull?
-

Adding Bulkheads
acaron41120 replied to acaron41120's topic in Building, Framing, Planking and plating a ships hull and deck
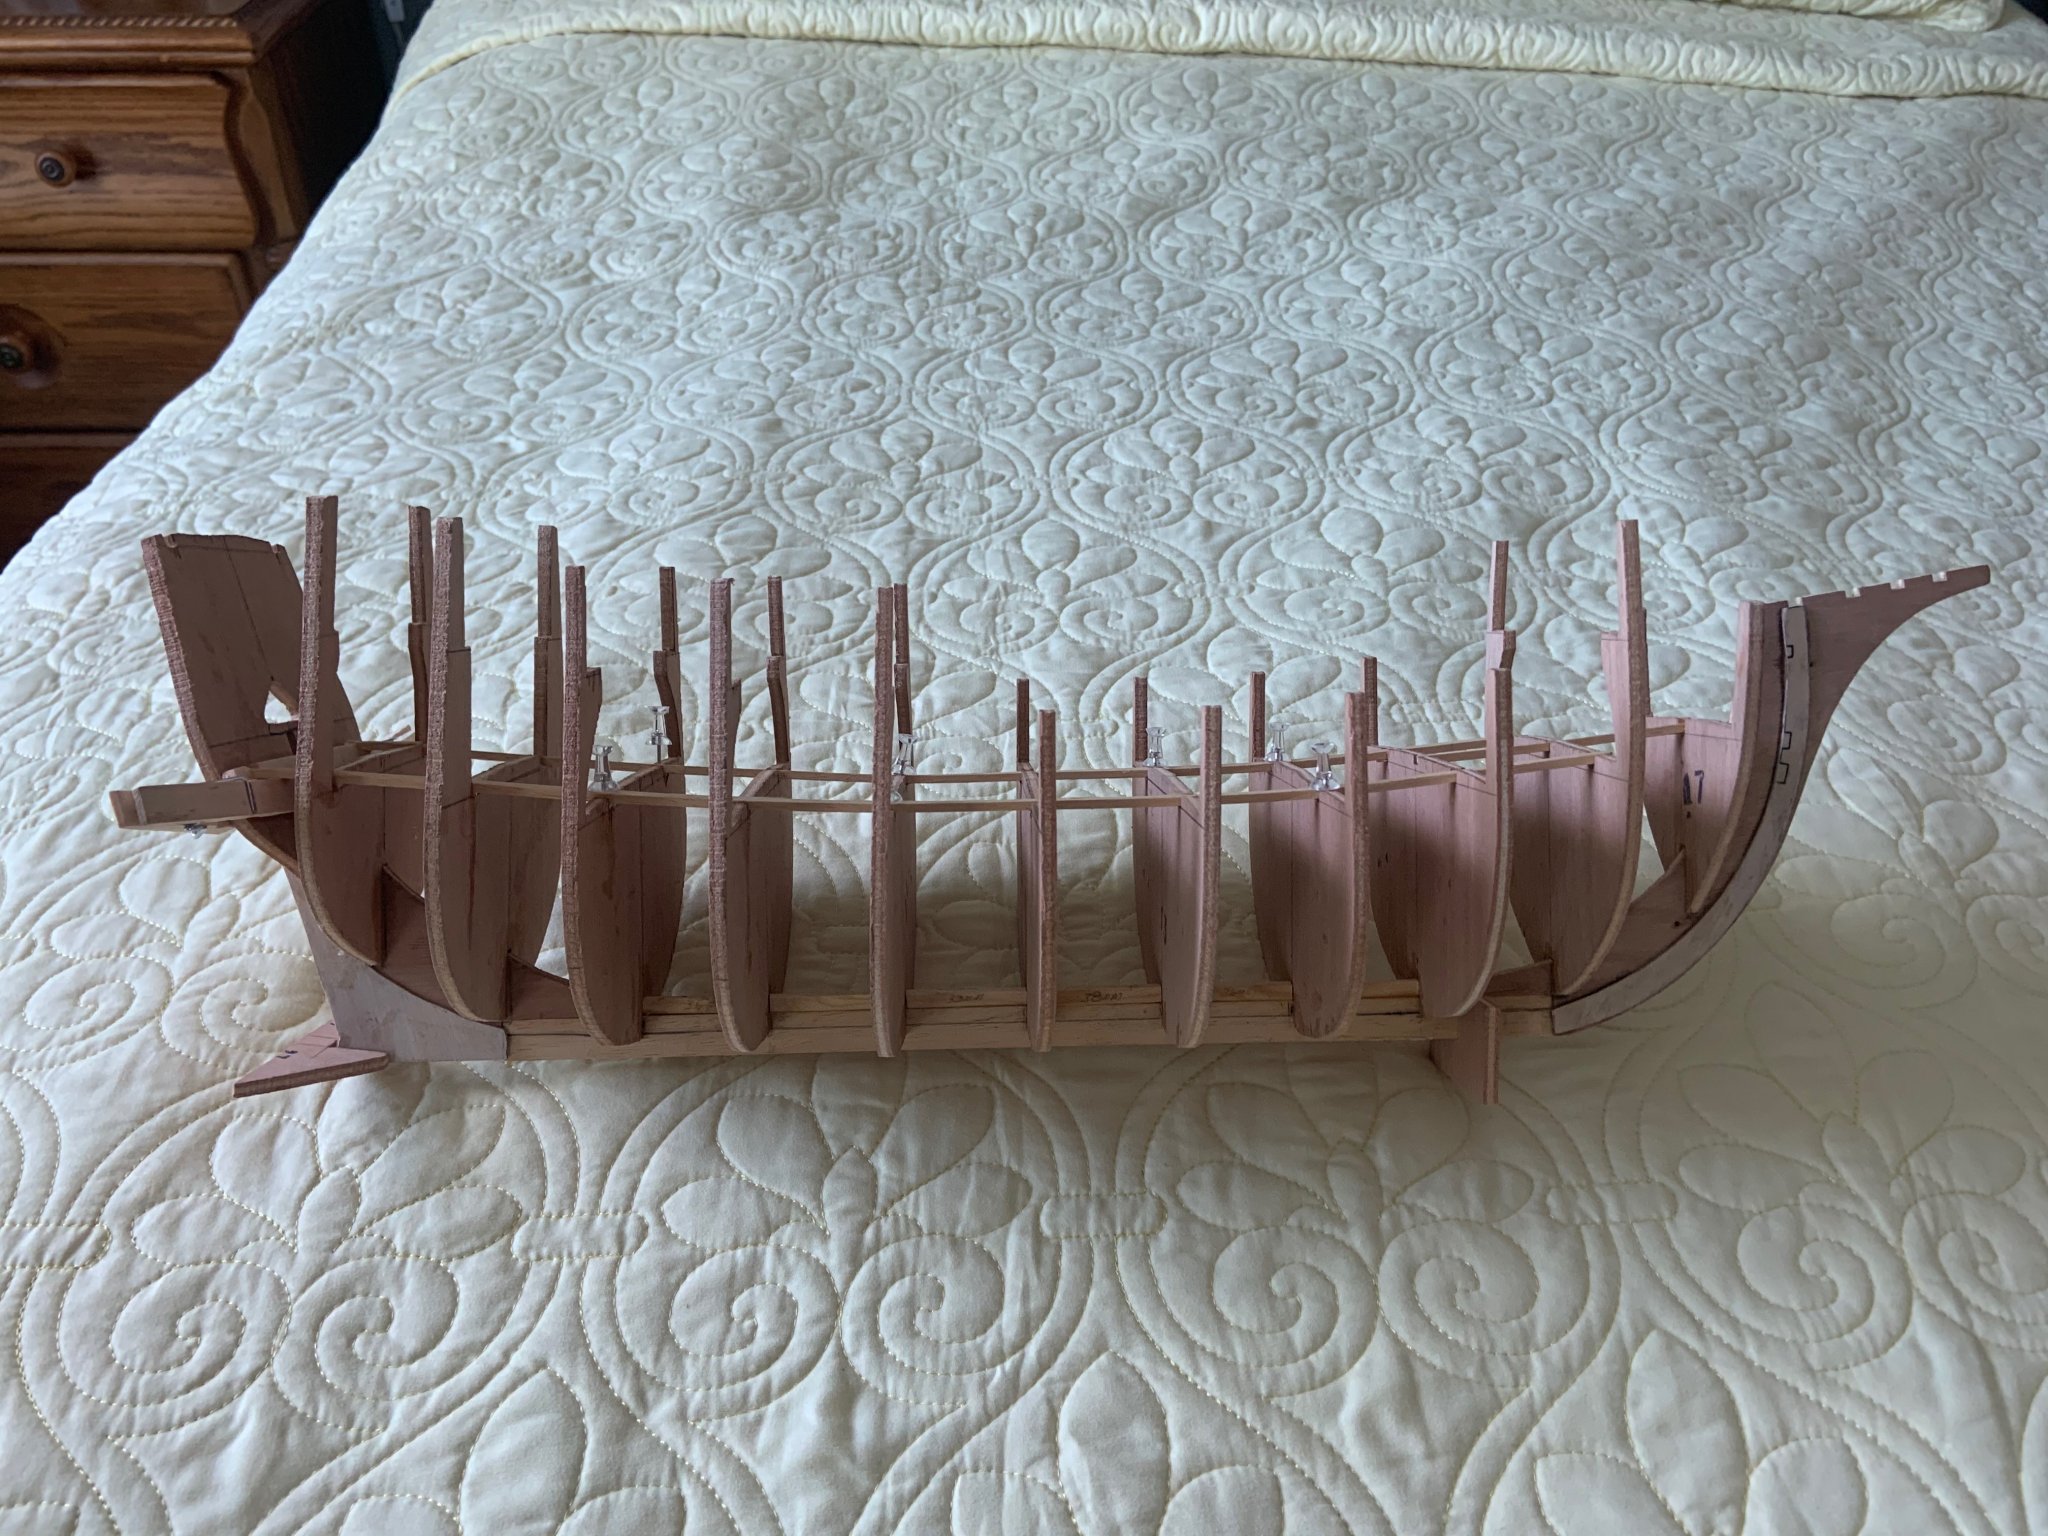
Jagger. I don't have mush for tools other than the usual swiss files, Exacto cutters, chisels, fret saw, French curve, small clamps and sanding blocks. The only power tool I have for modeling besides a cordless drill is a Dremel tool. My other tools are for fixing aircraft and VWs. I can add the blocks if necessary and shape them by hand. It'll take some time but hey...I'm retired and I have plenty of time. Just have to wait for the local stores to reopen to get some wood stock. Telvine. Below is a photo of the hull with bulkheads installed. The space between the five midship bulkheads is 1-1/2 inch. The space between the front three is 1-11/16 inch and the rear three is 1-3/8 inch.
-
Adding Bulkheads
acaron41120 replied to acaron41120's topic in Building, Framing, Planking and plating a ships hull and deck
I'll get a photo and post it later today or tomorrow. Have some yard repair to handle after three severe storms in 10 days. Toni and Bosman. I have heard of adding filler between the bulkheads at the bow and stern but never between the other bulkheads. I think the filler route would be easier than guessing at the size of the added bulkhead and cutting it at the correct angle. Seems like a lot of extra work whereas adding a filler block would be easier to sand to the correct shape. What type of wood would you suggest for the filler? -
I am building a Billing Boats Santa Maria kit and they split the color of the hull into two sections. From the waterline down they call the hull to be painted tan and from the waterline up they say clear poly. Just adding some info from another kit.
-
Making sails for HMS Victory
acaron41120 replied to rafterrat_2005's topic in Masting, rigging and sails
Has anyone tried using silk span for sails? It works well with wood model airplanes and would seem easier to work with if having the sails furled on a wood model ship. -
I have installed all the bulkheads on my keel. After a day of building I like to take a look at my work to enjoy and reflect on my progress. Today I noticed that there is about 1-1/2 inch between the bulkheads. More between some amidship. I have read about how spacing between bulkhead can affect the ship's hull and although I have never done this it did make me consider adding a bulkhead between the existing ones. Has anyone done this? If so, what are the problems I am likely to run into in doing this? Your comments will go a long way in helping me decide to do this or not. Thanks. Allen
-
Ahoy! Capt James, new builder
acaron41120 replied to Captain James's topic in New member Introductions
Welcome to MSW. Do a build log and post your questions. Most importantly...enjoy your build. -
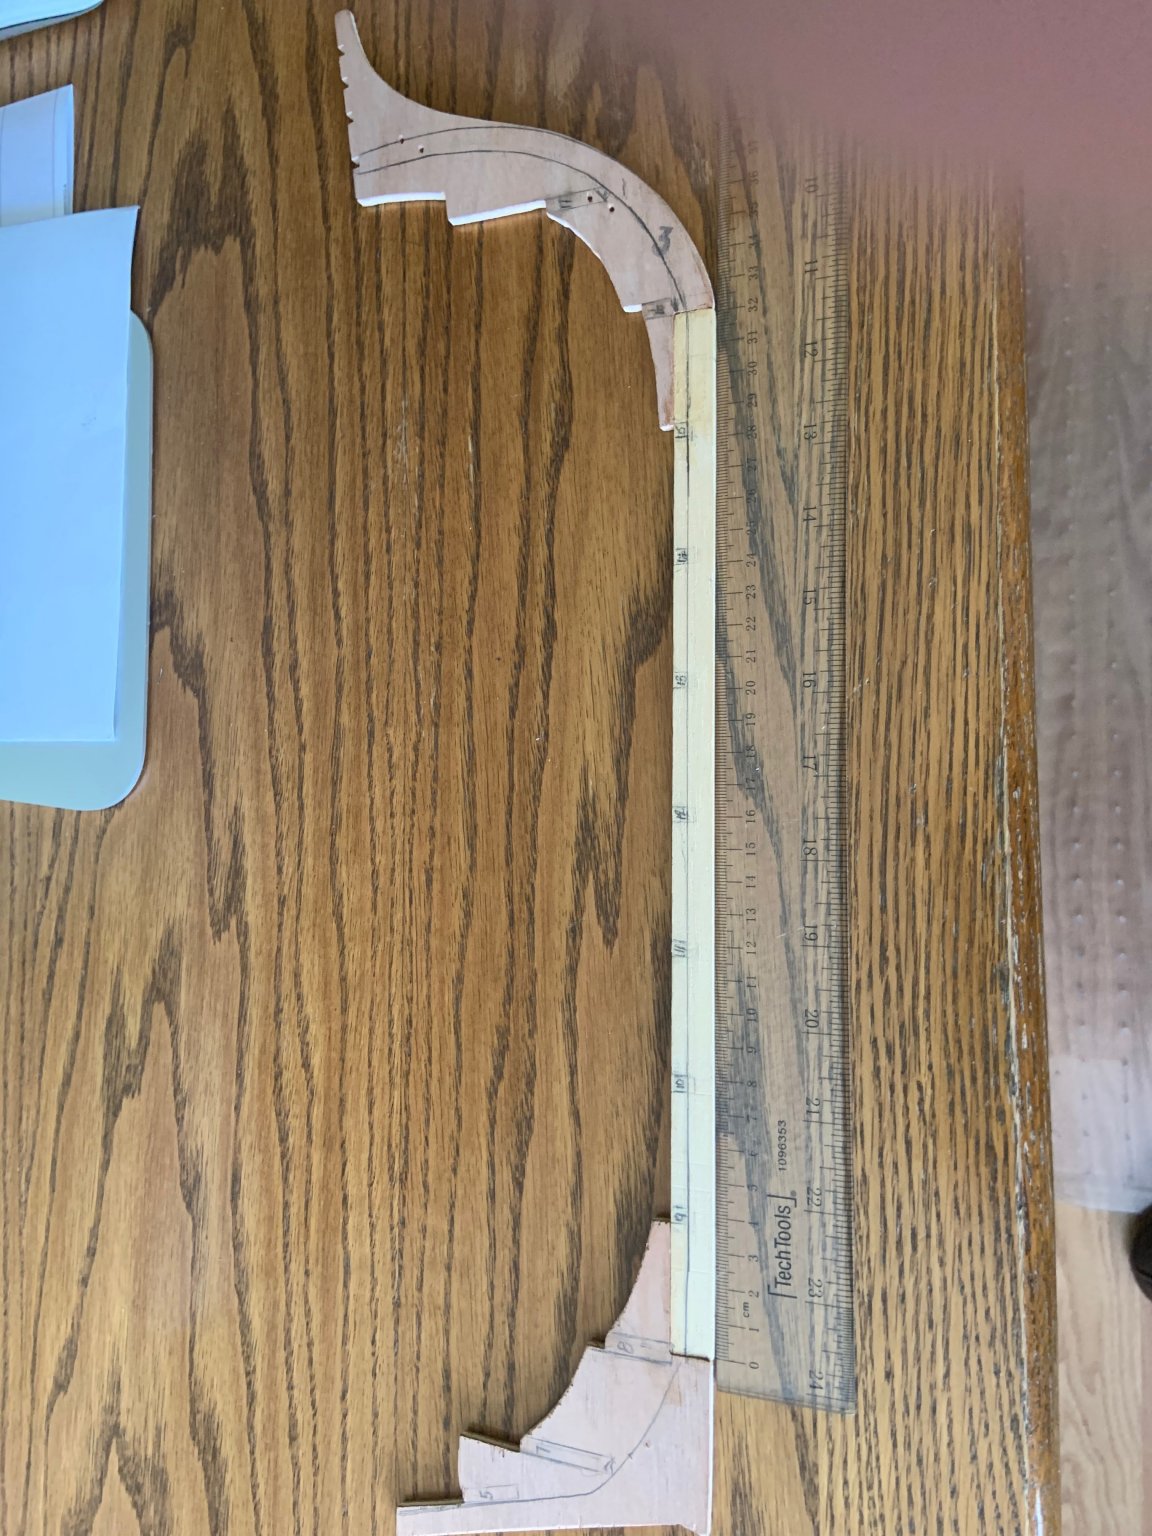
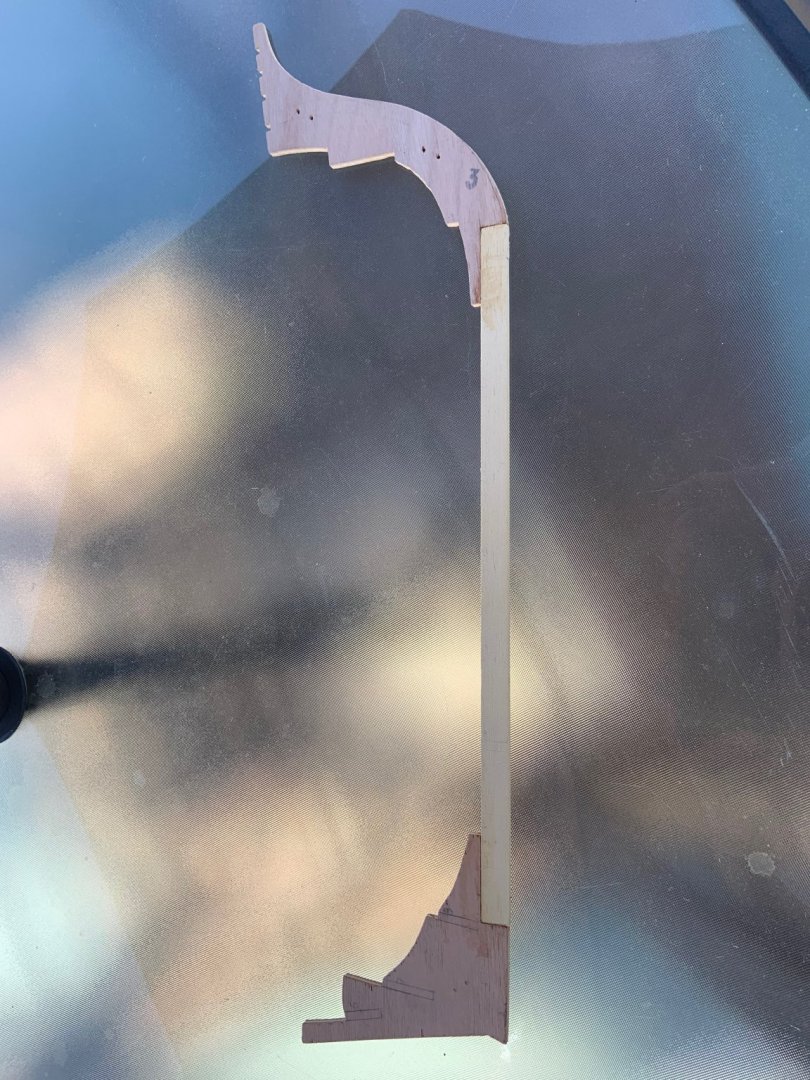
First ever attempt at a builder's log so please bear with me. This kit is a Plank-on-Bulkhead (POB) kit. First I squared up the keel, stem post and stern post and then glued them together. I then let the assembly set on a 1 X 6 and set another 1 x 6 on top for 24 hours to cure up and to keep the assembly flat. After getting answers to my questions on the stem post and on cutting the rabbit, I dry fit the bulkheads to the keel assembly and marked where the rabbit should be cut. I have removed the bulkheads and will start cutting the rabbits tomorrow. (Have to home school my grandson during the day). My plan is sand it with 100 grit sandpaper glued to a paint stick. Here's how it went so far. So please let me know your thoughts and if I am proceeding correctly. Also noticed the Santa Maria scale was listed as 1:65 but the plans on Sheet 1 (the rigging sheet) says scale is 1:50. I guess this is typical of kits. Thanks, Allen The keel assembly with the bulkhead positions and rabbit line marked. The keel assembly BEFORE the rabbit line drawn in. Stem post with the notorious "staple holes". These hole will not be visible when the hull is completed.

-
I have my keel/false keel assembled and have dry fit the bulkheads and marked the bottom edge of the bulkheads on the keel. The problem I'm having is how to cut the rabbit in the keel when the bottoms of the bulkhead don't line up in a row. Some of the bulkheads extend down lower on the keel than others. So my question is, do I trim the bottom of the bulkheads or leave them and cut a curved rabbit as opposed to a straight one? Seems to me that the straighter the rabbit the simpler the garboard strake will be. Am I correct in my thinking? Allen
-
Thanks for the info. Also I've edited the original post stating I'm building the "Mayflower." I'm actually building the Santa Maria. Mark you said "Certainly neither bumkins nor bobstays would be used for the Mayflower, as both came into use later." I agree and your comment certain fits as the Santa Maria came way before the Mayflower. Thanks again for your help.
-
Michael. Nice to have another fellow from Cincinnati here on the site. As I've said welcome before I will second what Mark has suggested about starting a build log. I'll be starting mine later today. They show your progress and allow others to follow along with your progress. Like the old saying "a picture is worth a thousand words."
-
Okay...here's a photo of the holes in my stem post. Hope this works!

-
Welcome aboard. You find a wealth of info and assistance here. Allen
-
Mark and Scott. After looking at the instructions Mark supplied its very obvious that Model Shipway has way better plans. I've never seen that much detail in any model ship plans. Thank you both for your assistance. I'll contact the fellow and give him a fair price for the model kit. Allen
-
I have taken a couple of pictures with my cell phone and will try to post them later tonight. My hope is that this site will post photos from a cell phone and saved in a file on an Apple computer.
-
Welcome Teo. Your model looks to be coming along nicely. Keep up the good work!
-
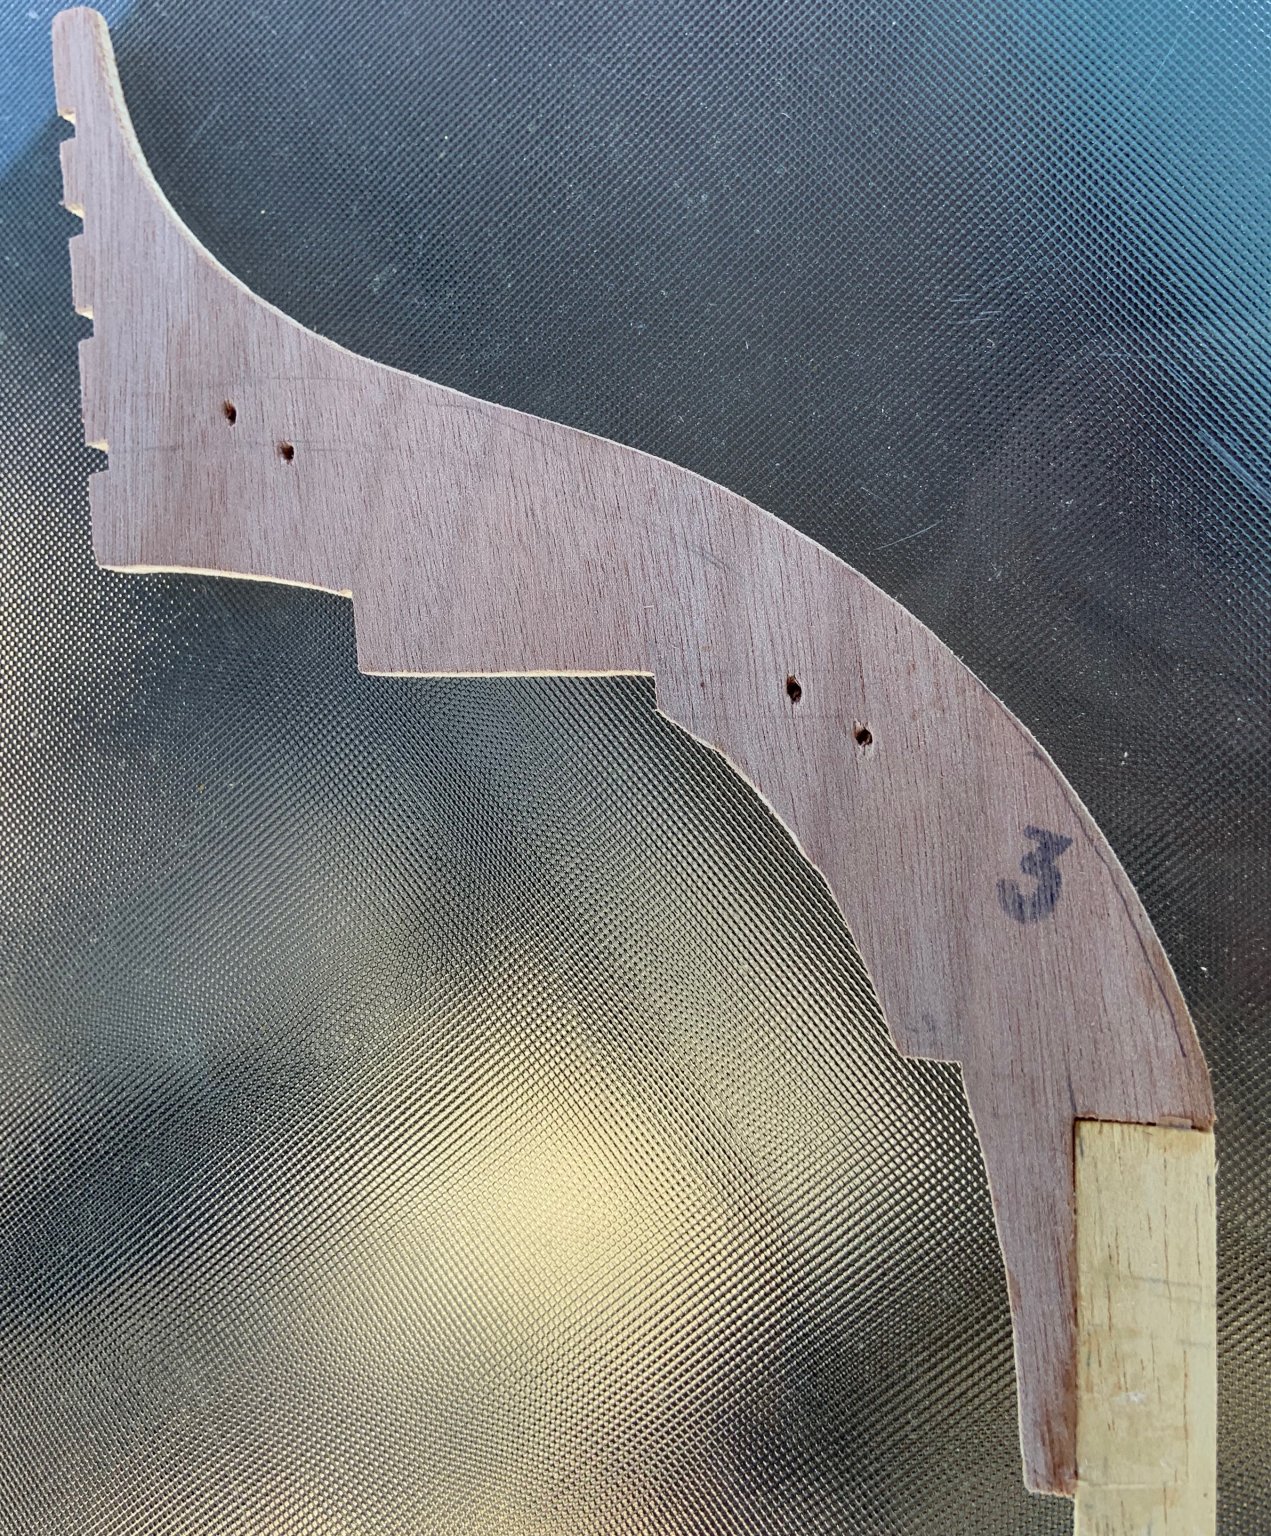
I am just starting the Billing Boats "Santa Maria." It is a 3-piece keel (stem post, keel and stern post) and where the stem post curves forward near the top, there are two holes that will be seen when the model is built. These holes were not made by a previous builder as I am the first one to build the kit. These holes look to be there since the kit was made at the factory. They are about the size of one of those large staples in heavy cardboard boxes. The plans don't show these holes so what are they used for? I thought they might be for the ropes securing the bowsprit to the stem post but neither the plans nor instructions say what to do about them? Should I fill them in or add a veneer or that part of the stem post? As soon as I figure out what to use for posting photos I'll post some photos! Thanks in advance for your help and suggestions. Allen C
-
I have a chance to get a Flying Fish kit by Model Shipways for next to nothing. The seller found the kit in a box of items from when his father passed and asked me if I wanted to buy it. My question is what are Model Shipway plans like? Are they easy to follow and understand or do they leave a lot to be desired? I have been building Billing Boats kits and theirs leave me with the impression that no one ever built any of their models. Thanks in advance. Allen C
-
Wefalck and all. Thanks for your comments. That is why i became a member here. I get to talk it over with other modelers and get that valuable feedback.
-
Bossman. Thanks for the info. That will help.
-
I use sawdust and Elmer's Wood Glue mixed with water and fill that way. Its works well if you are staining the wood. If painting then any filler is alright as the paint covers the filler. With a lot of fillers I've used, the stain doesn't seem to set well with the filler. That's what made me switch to sawdust and water/glue mix.
-
Joe. From what I've read installing the deck first allows a builder to get a true shape of the hull when planking. Start from the main deck etc. And it also makes it easier to lay the margin planks when planking the deck. Which is all well and good for a single deck ship. But then you have to cut the bulkhead at each deck level? Like you said that seems counterintuitive. On three of my first models (Marie Jeanne, Bluenose and Bluenose 2) I didn't remove any bulwarks above the deck and there was only a small difference in height with the Bluenoses. Planking the deck was done from the King plank in the center outward to the sides. I used a template made from cardboard to fit the planks by the bulwarks. I may just continue that method. Not at that point at the moment. My stem post, keel and stern post are glued up and drying. I'll start installing the bulkheads tomorrow. Just getting ready for that next step.
-
I have read in several books and on-line articles about removing bulwarks before placing and planking the deck on wooden kits. Seems reasonable on a single deck ship but when your building a ship model with multiple decks I get concerned. For instance; on my Santa Maria plank on bulkhead ship, the bulkheads for the bow and stern run from the keel all the way up. My concern is if I removed the bulwarks from the main deck up, wouldn't that weaken the part of the ship on the upper decks? What would I use to reattach the cut bulwarks so they will be strong enough? Cyano-glue or wood glue? Any help is greatly appreciated. Acaron41120 - Santa Maria- Billing Boats
-
Thanks Chris!